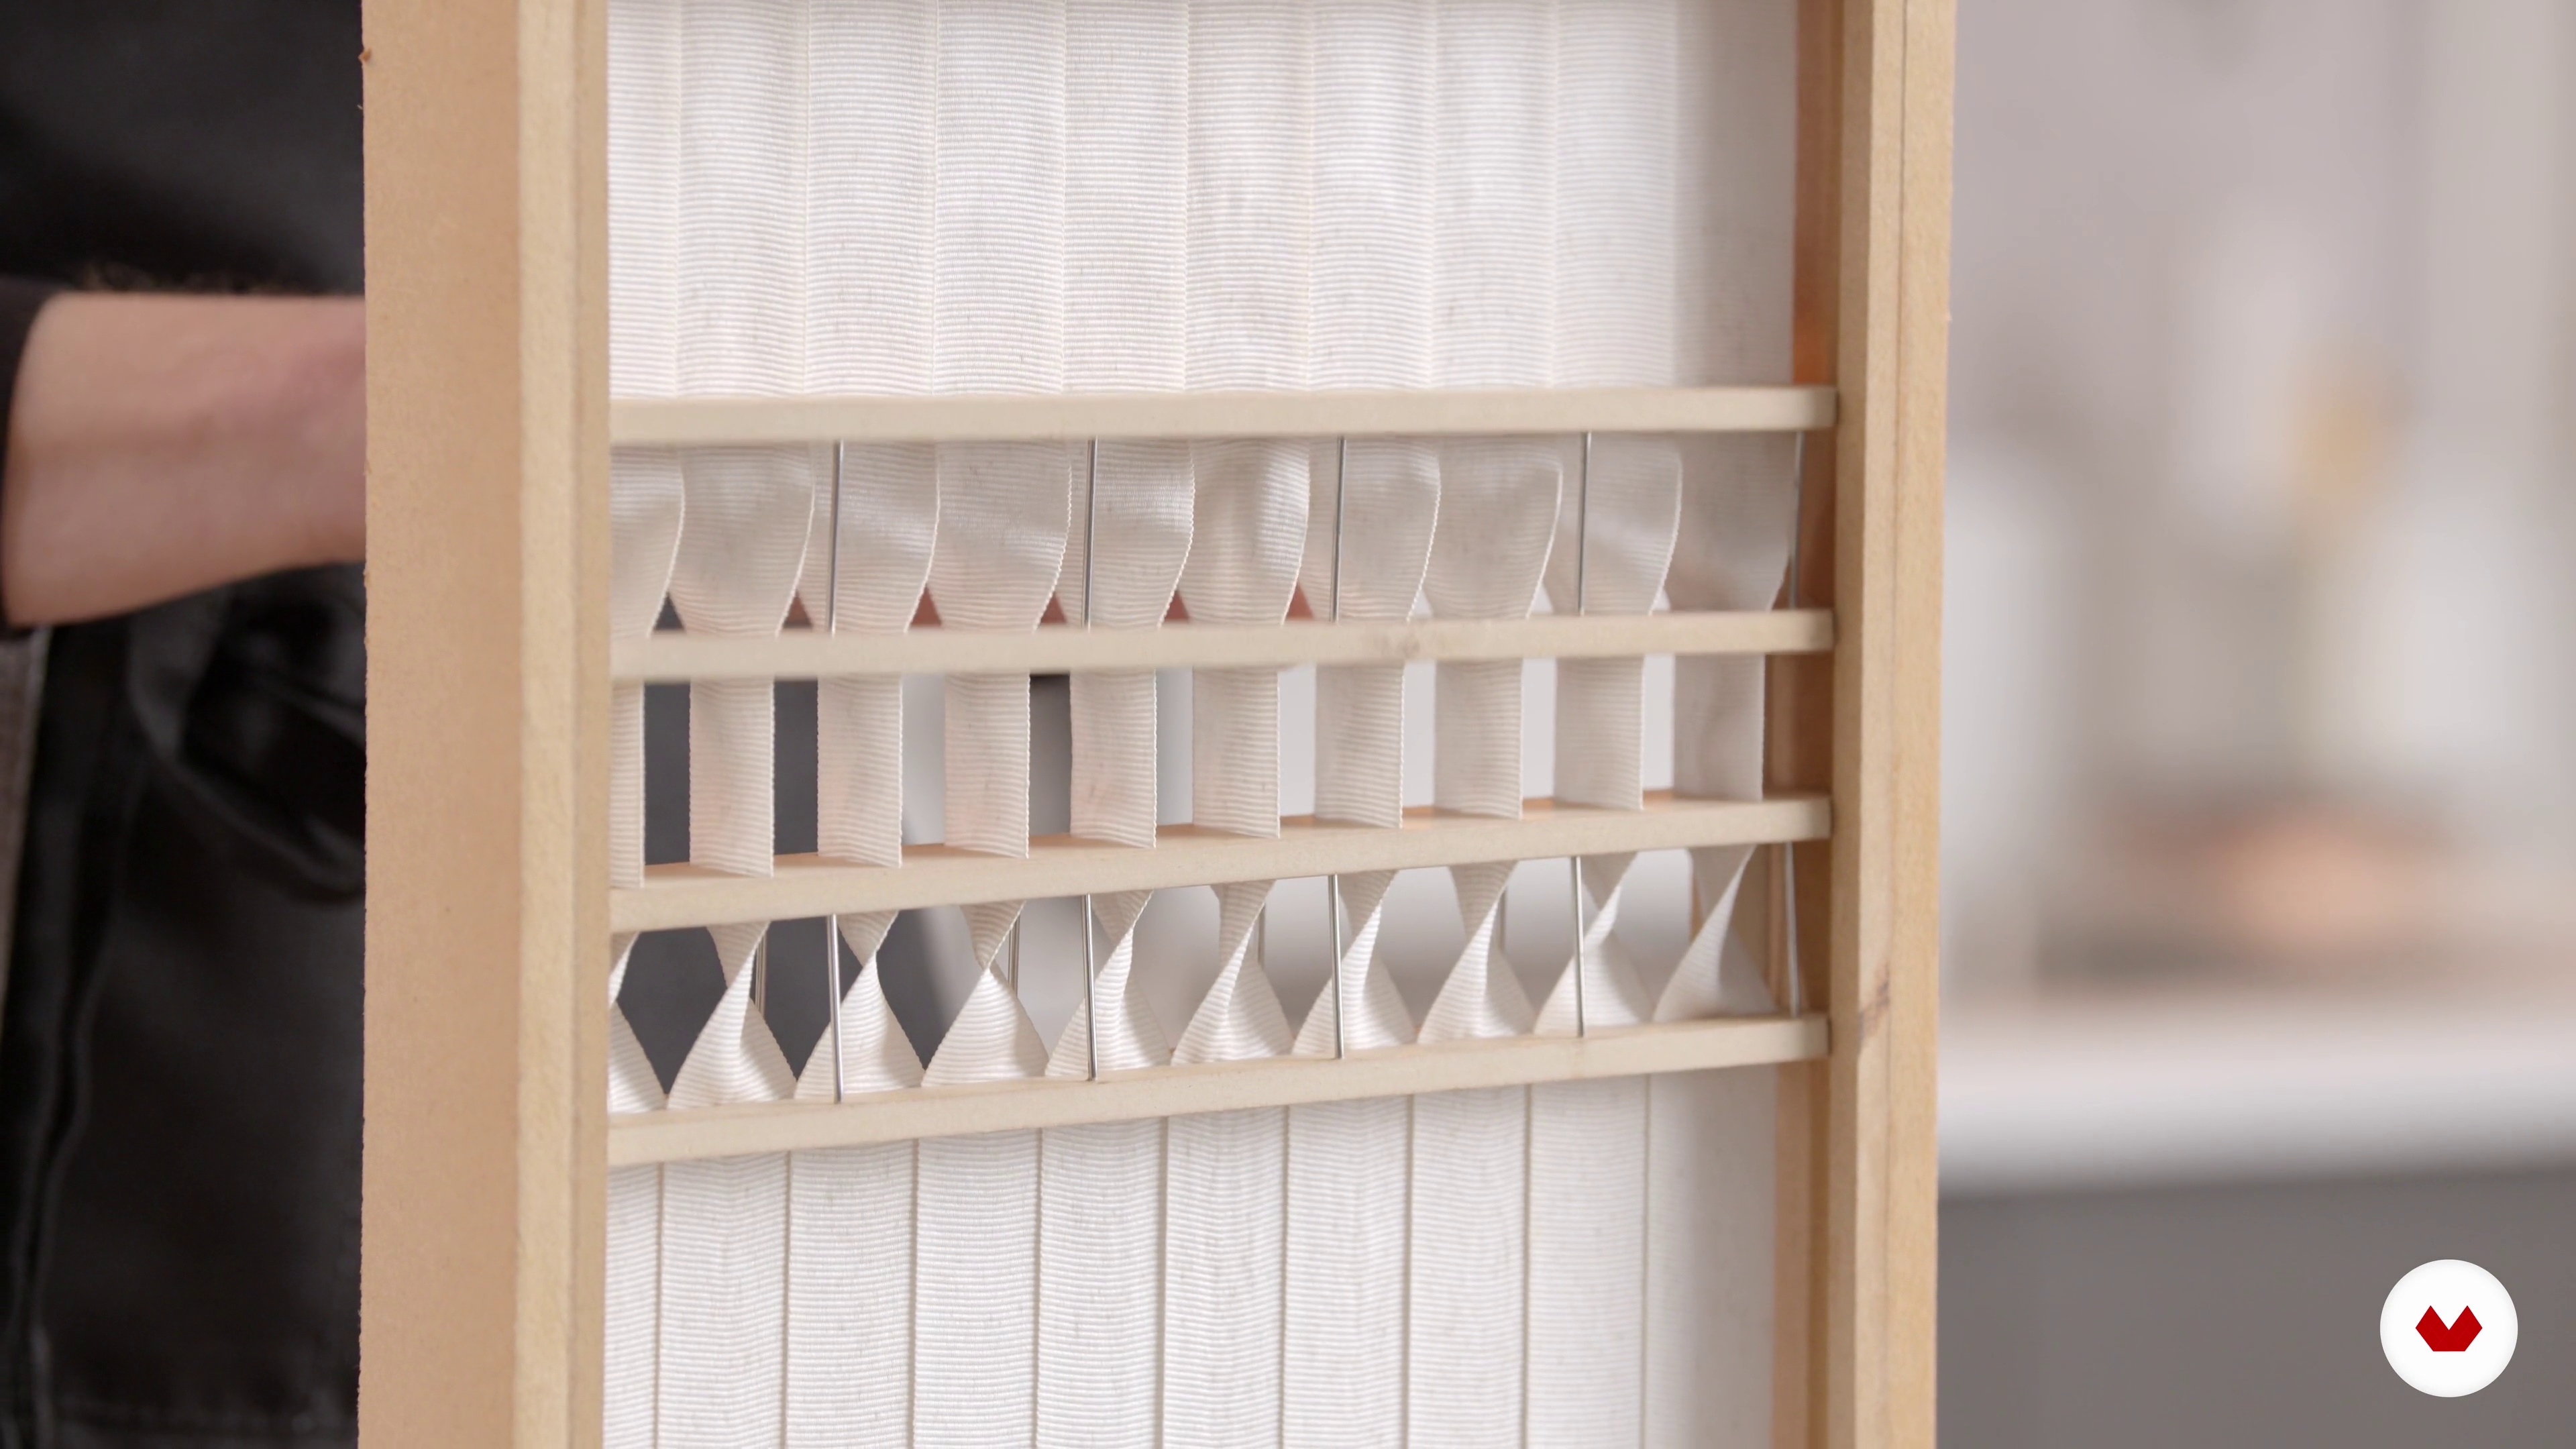
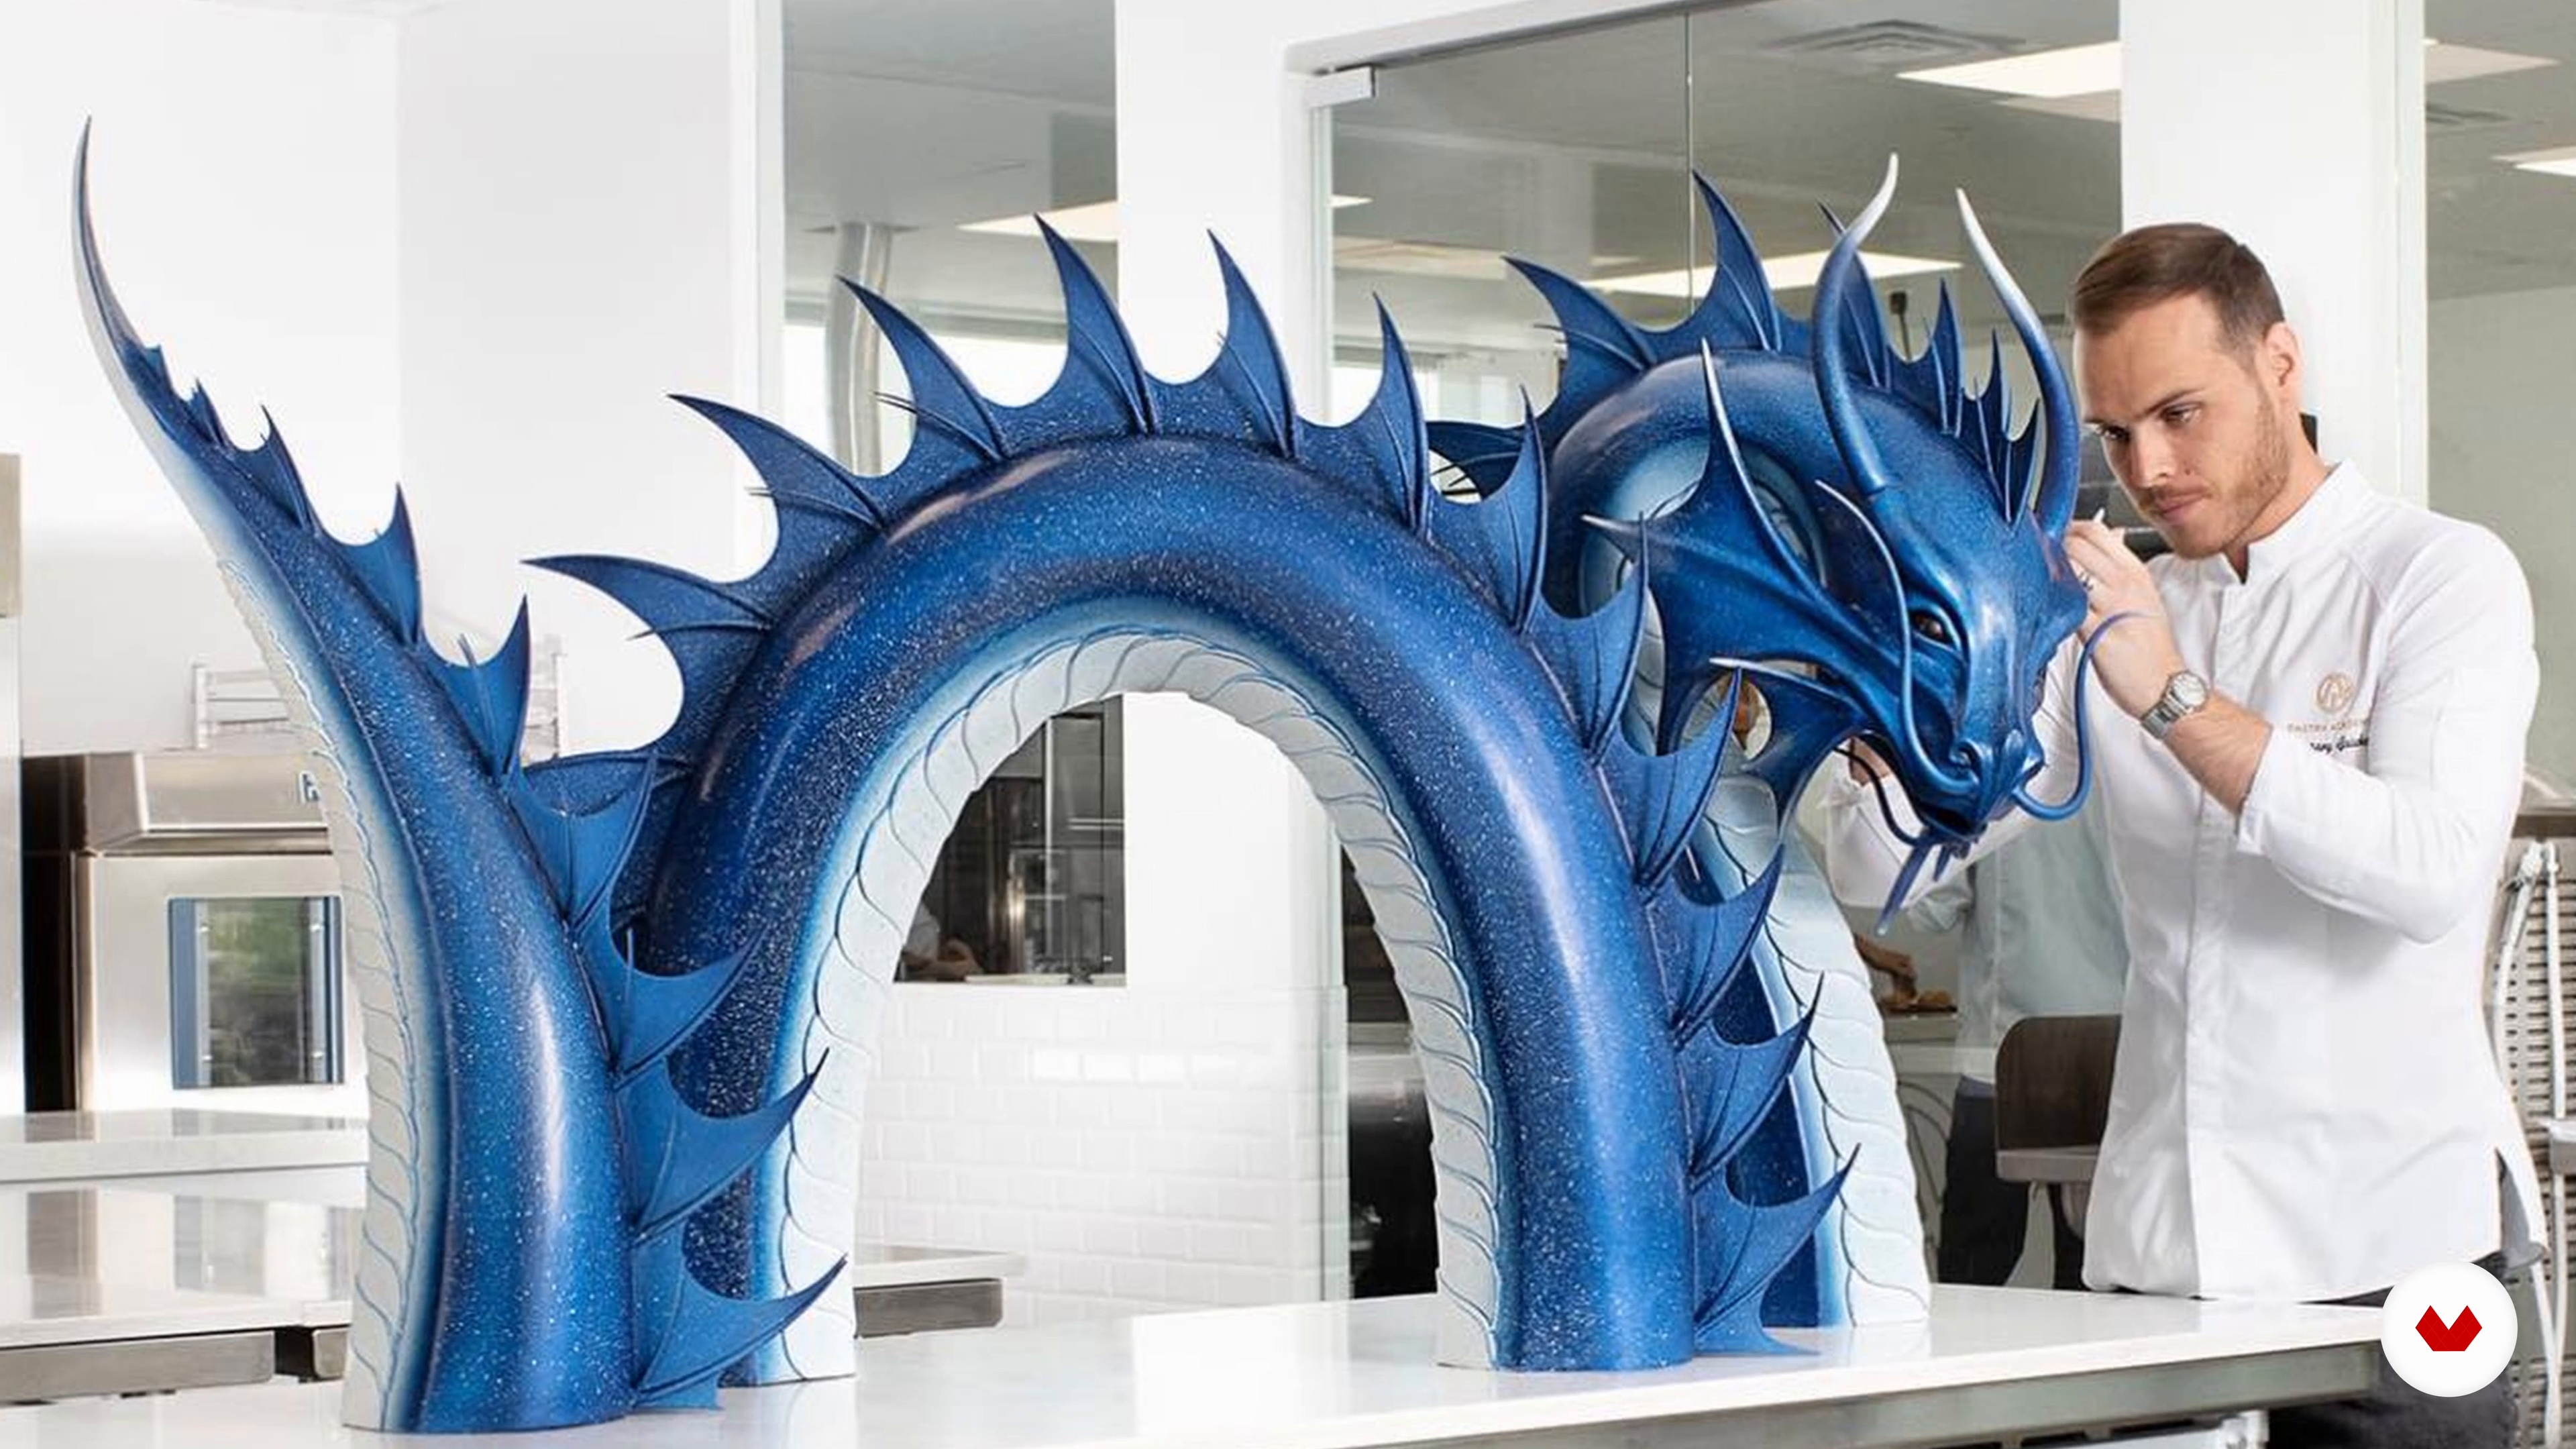
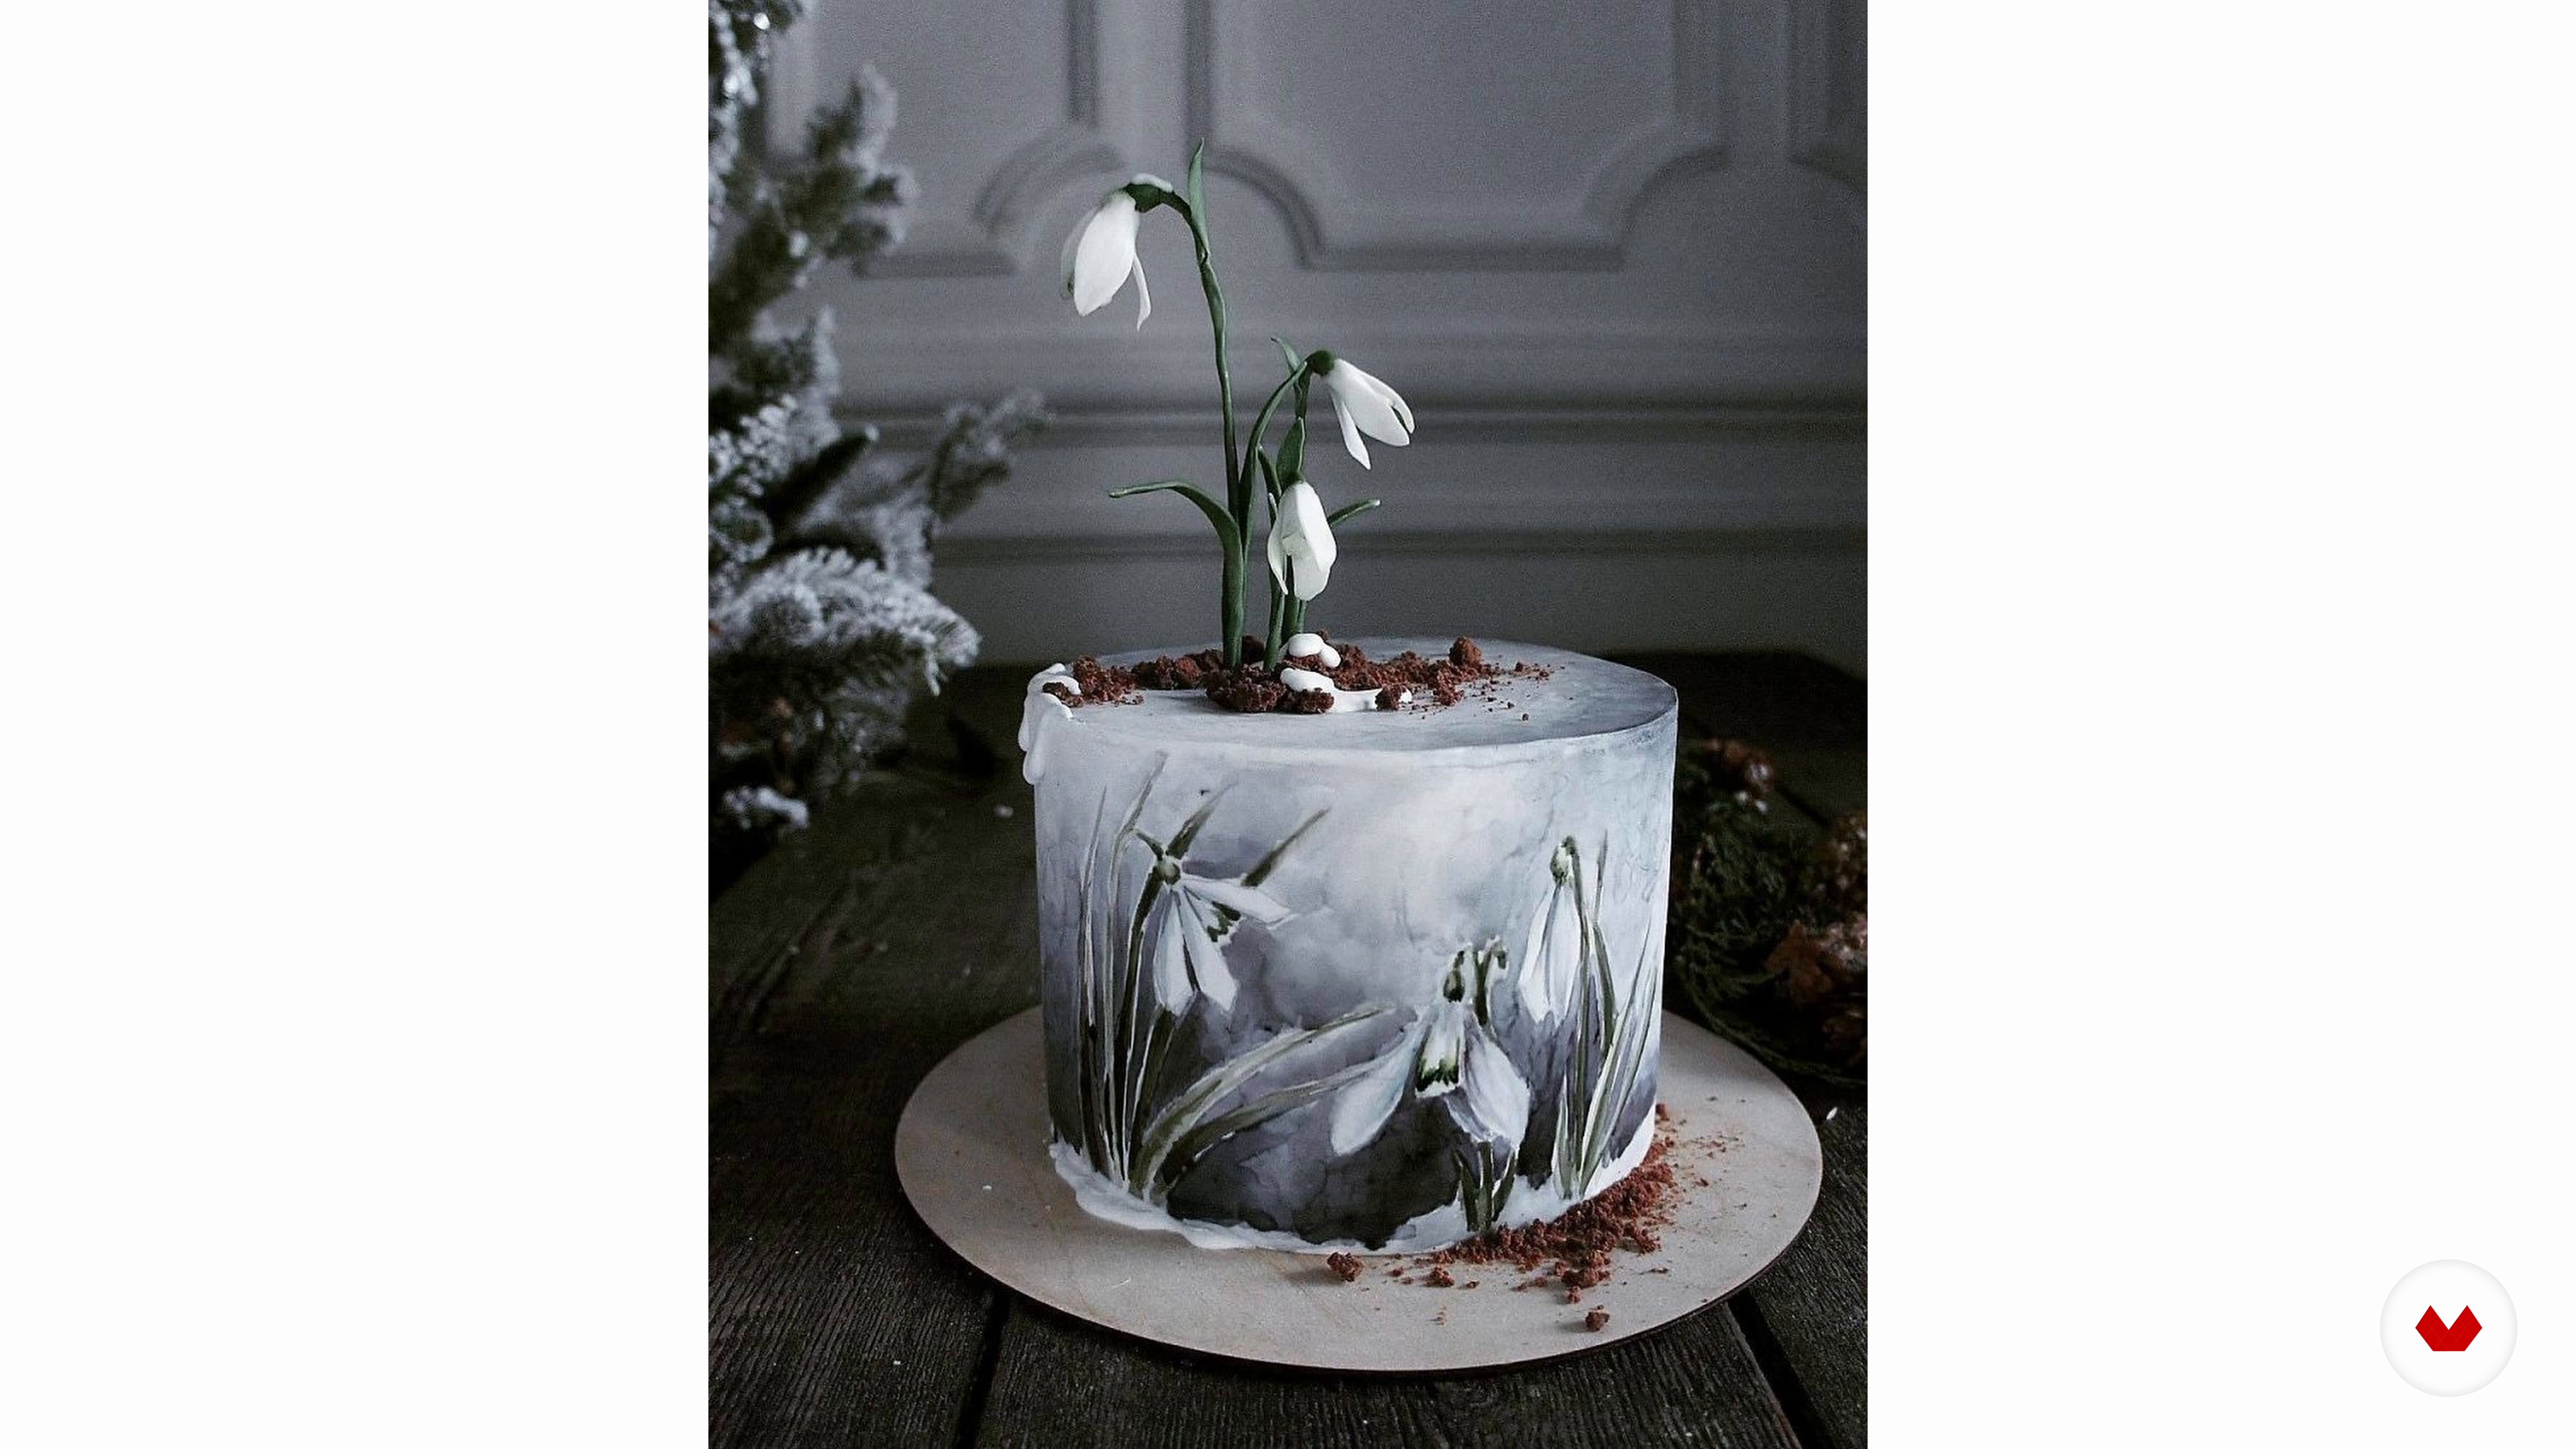
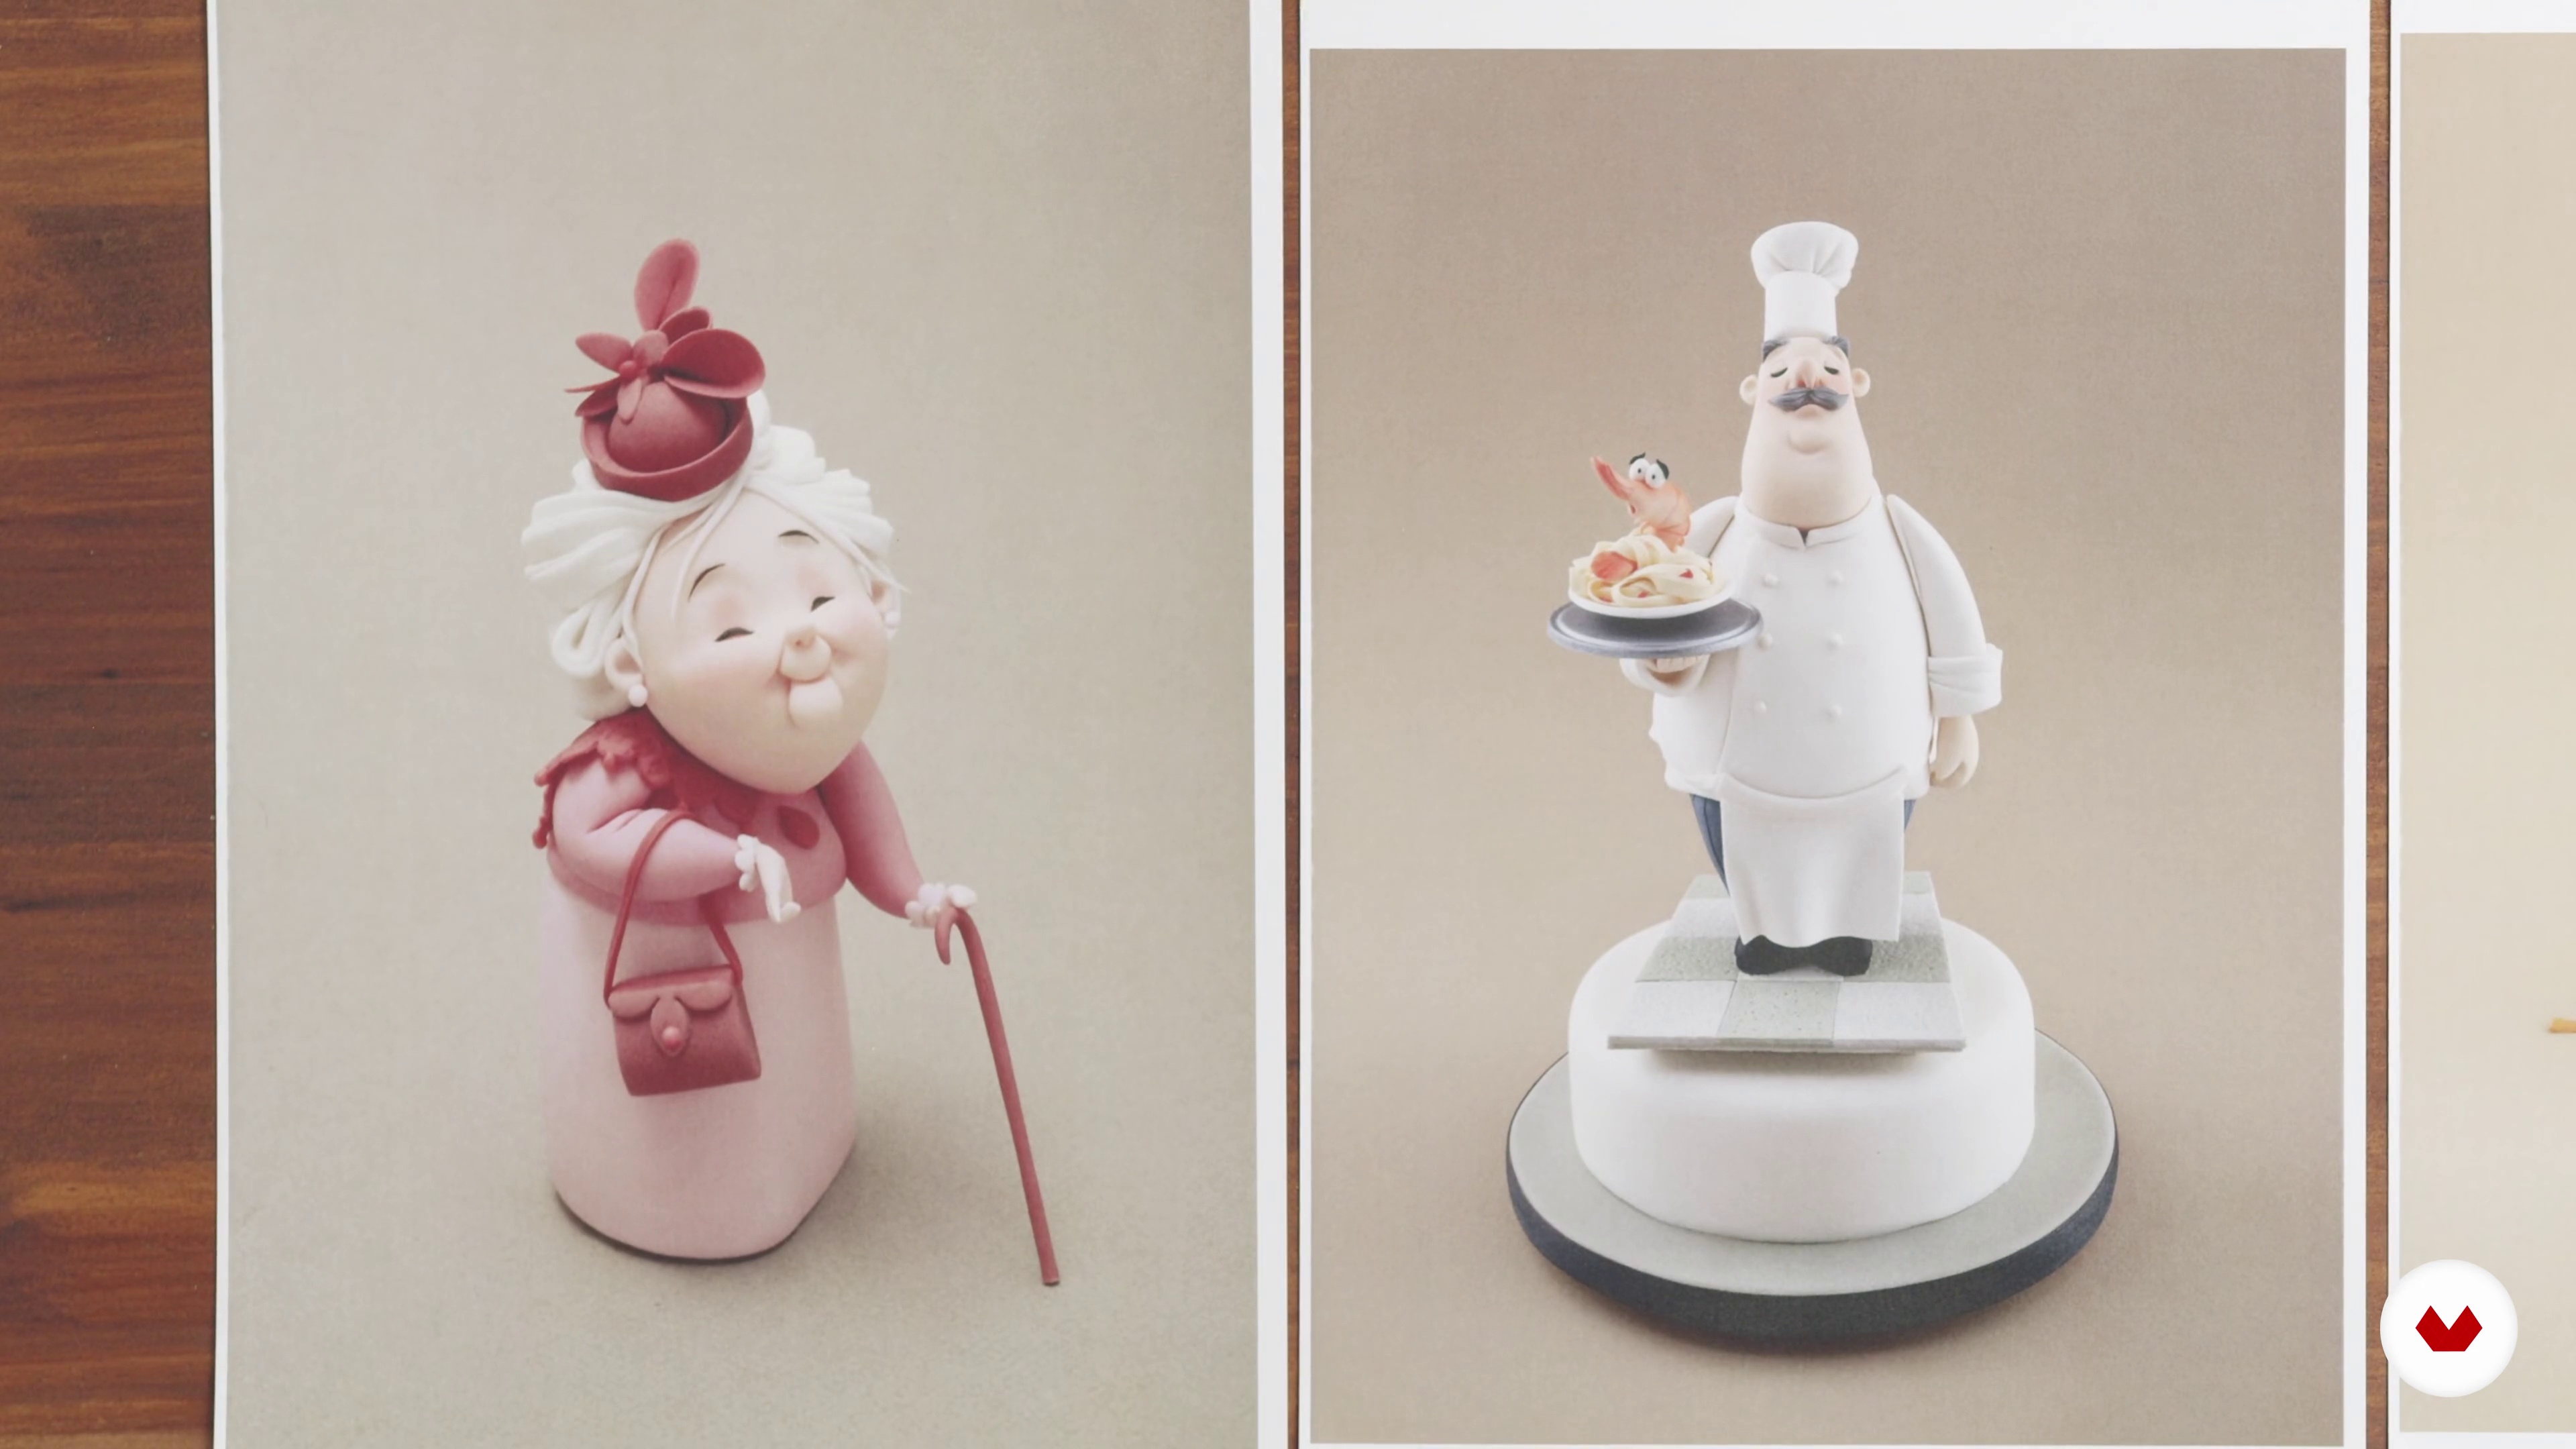
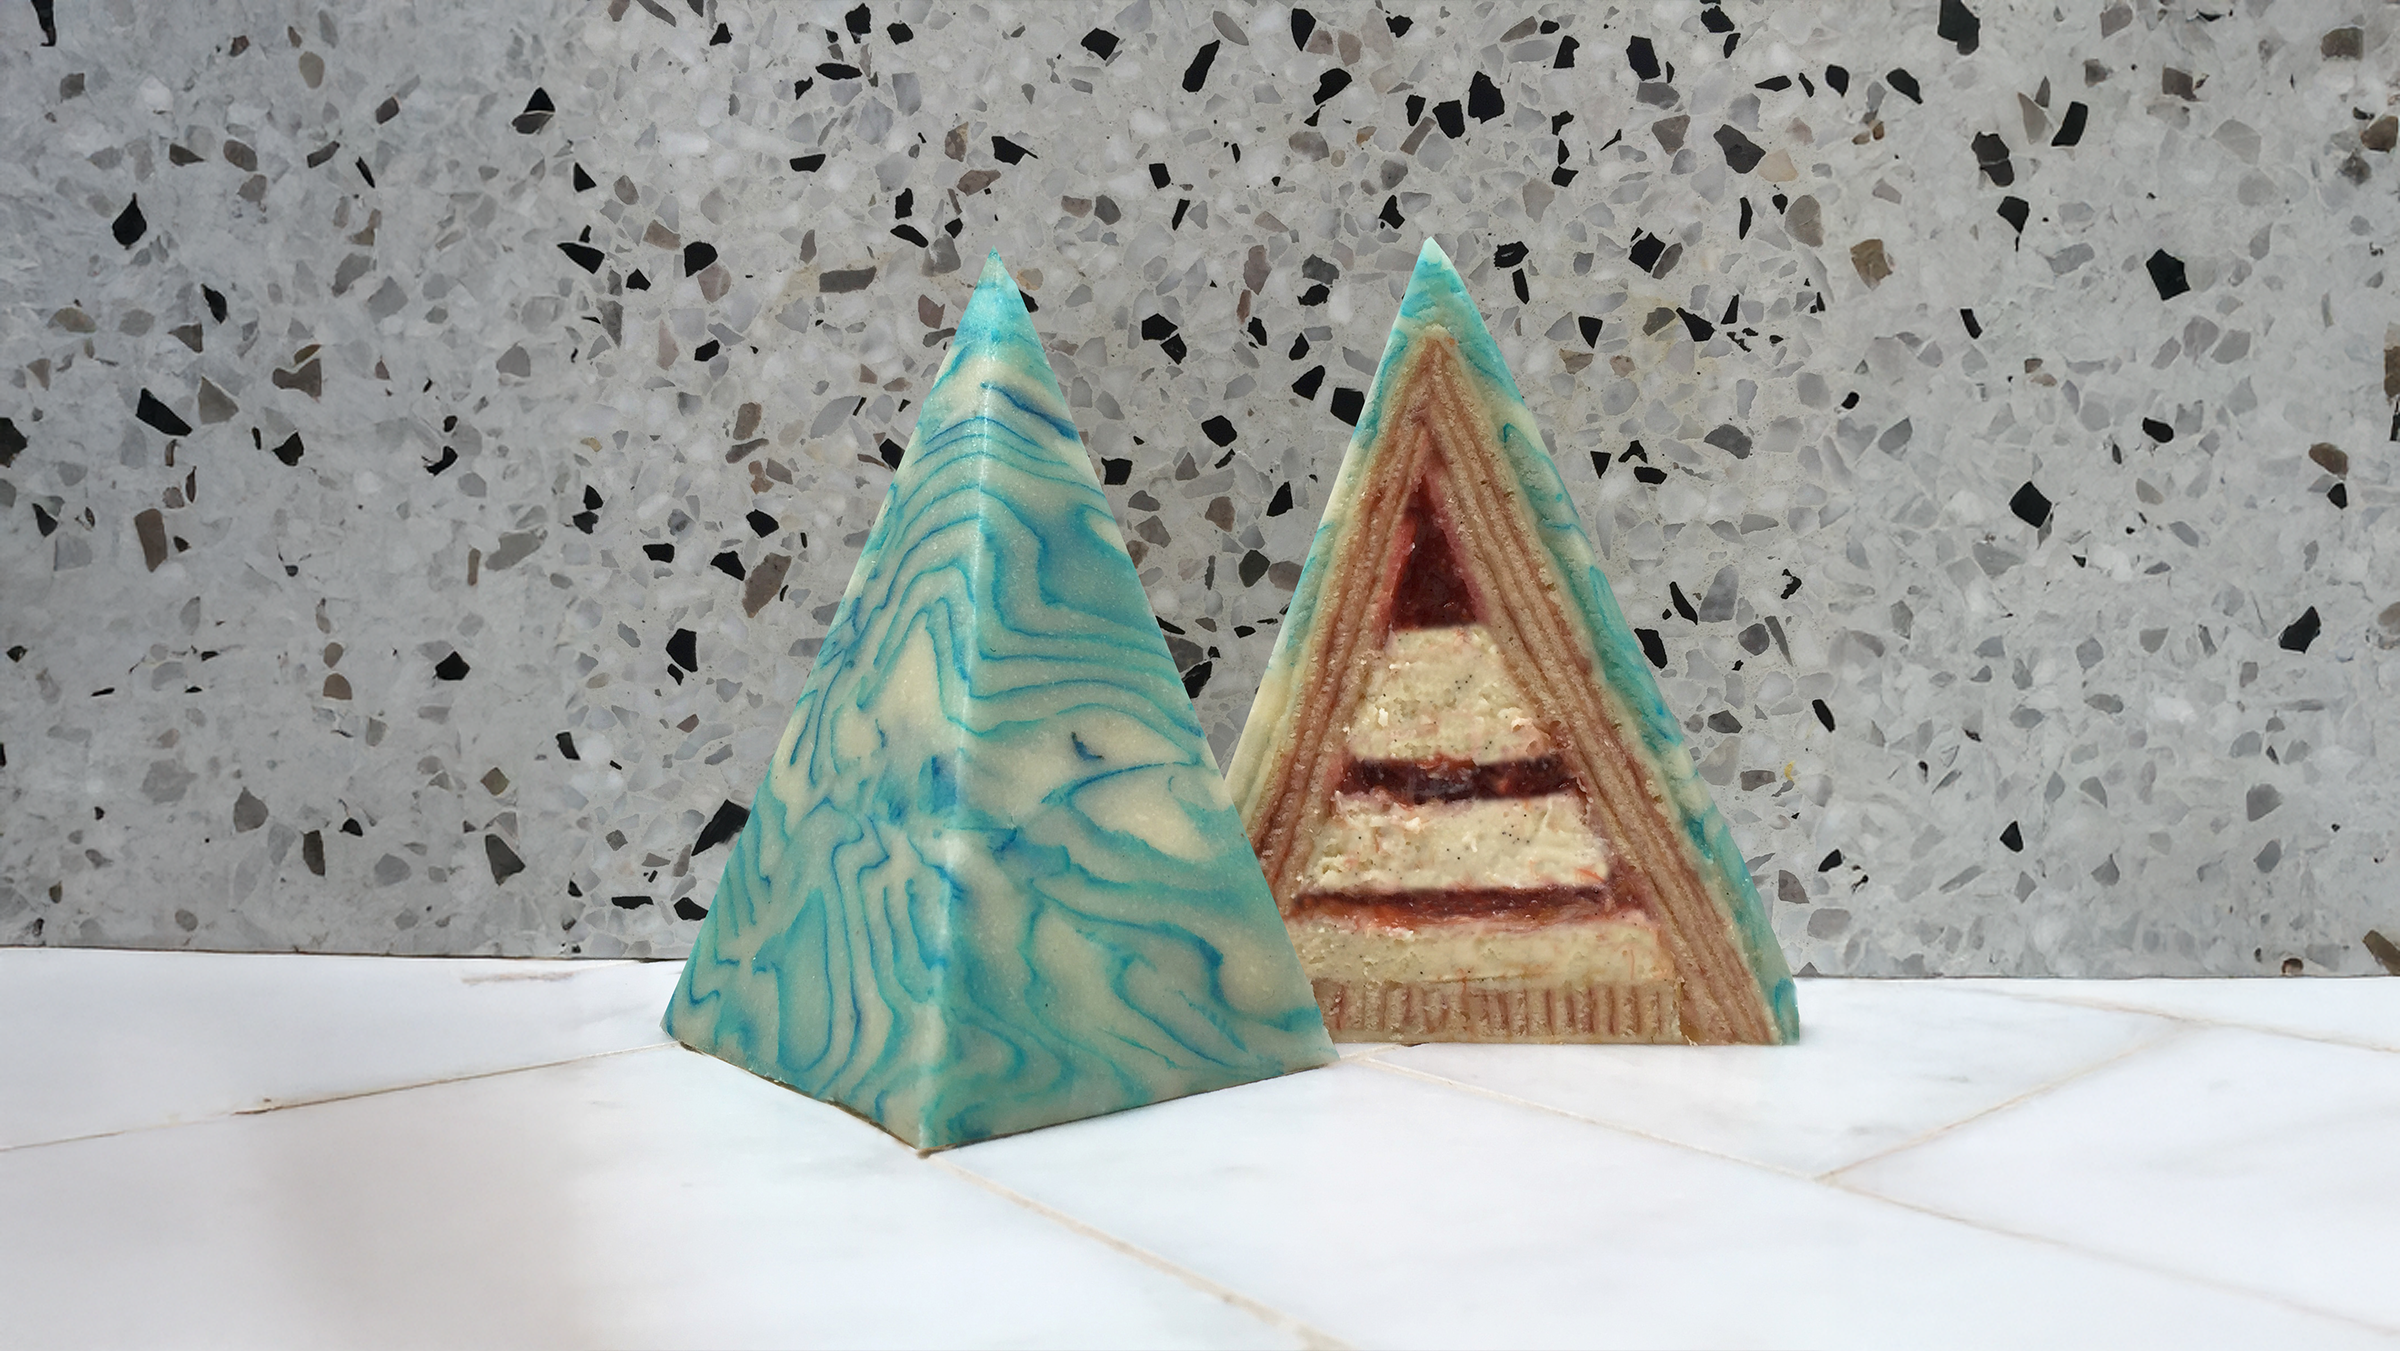
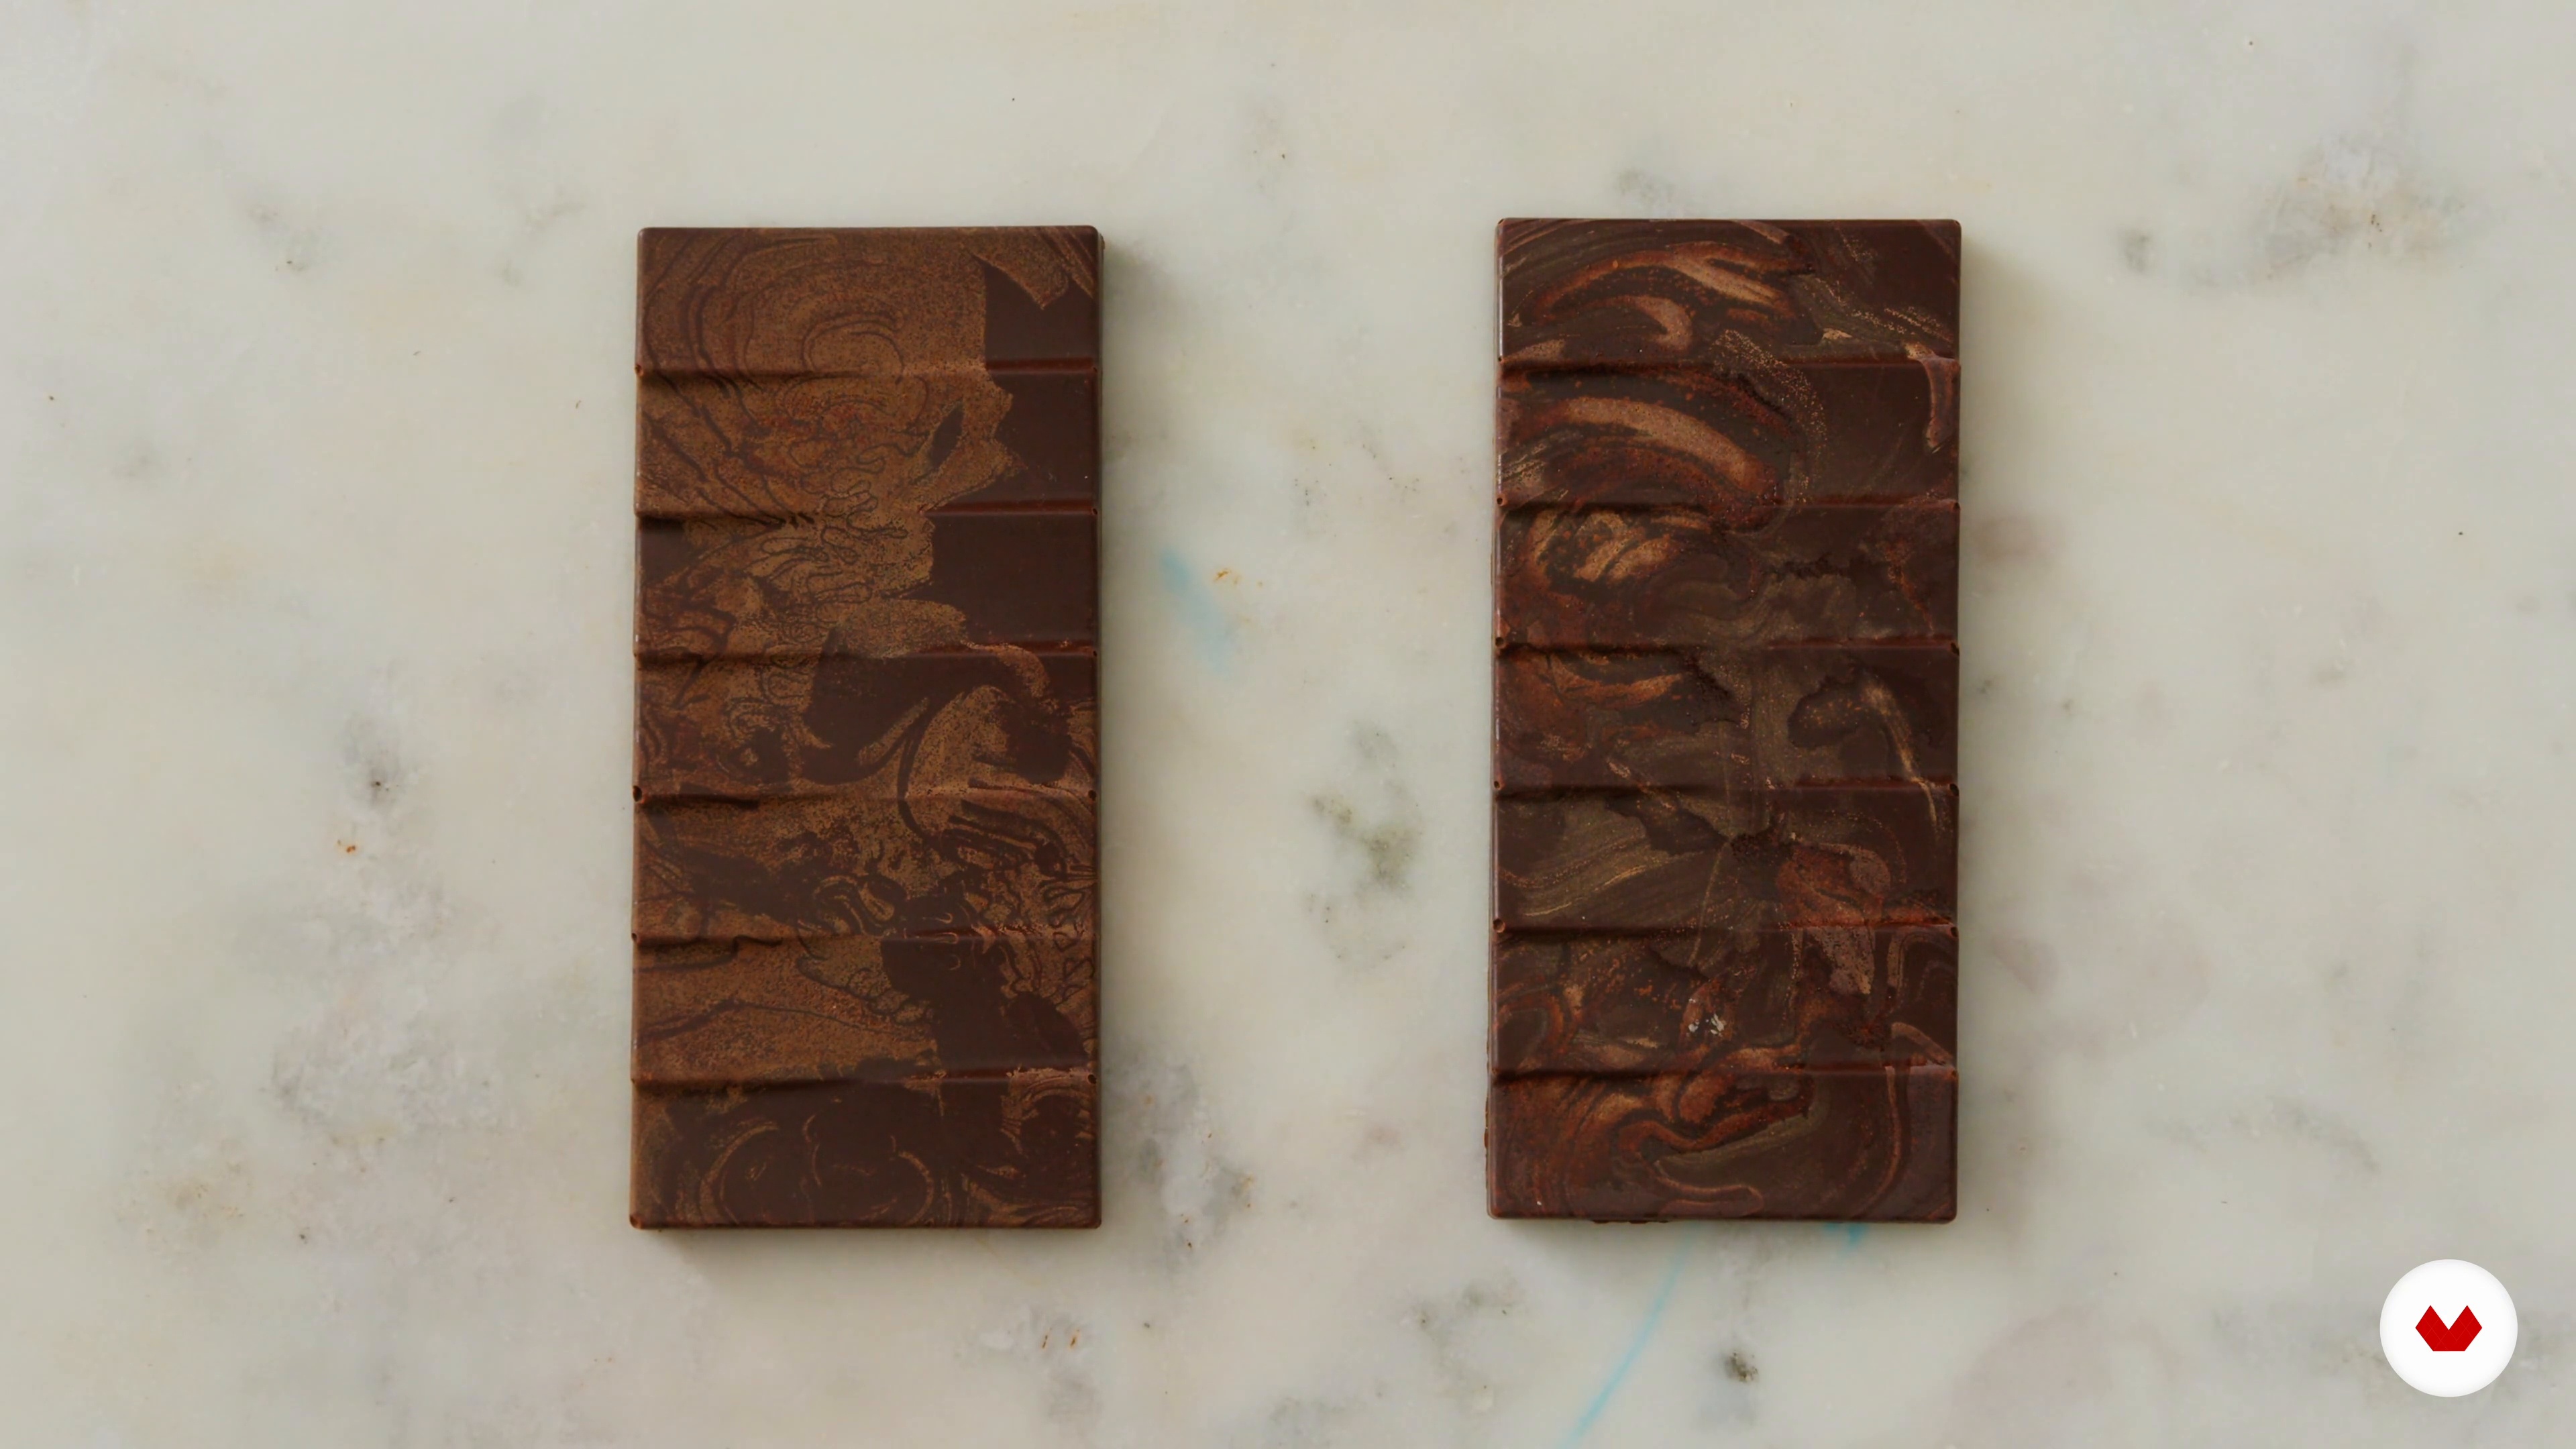
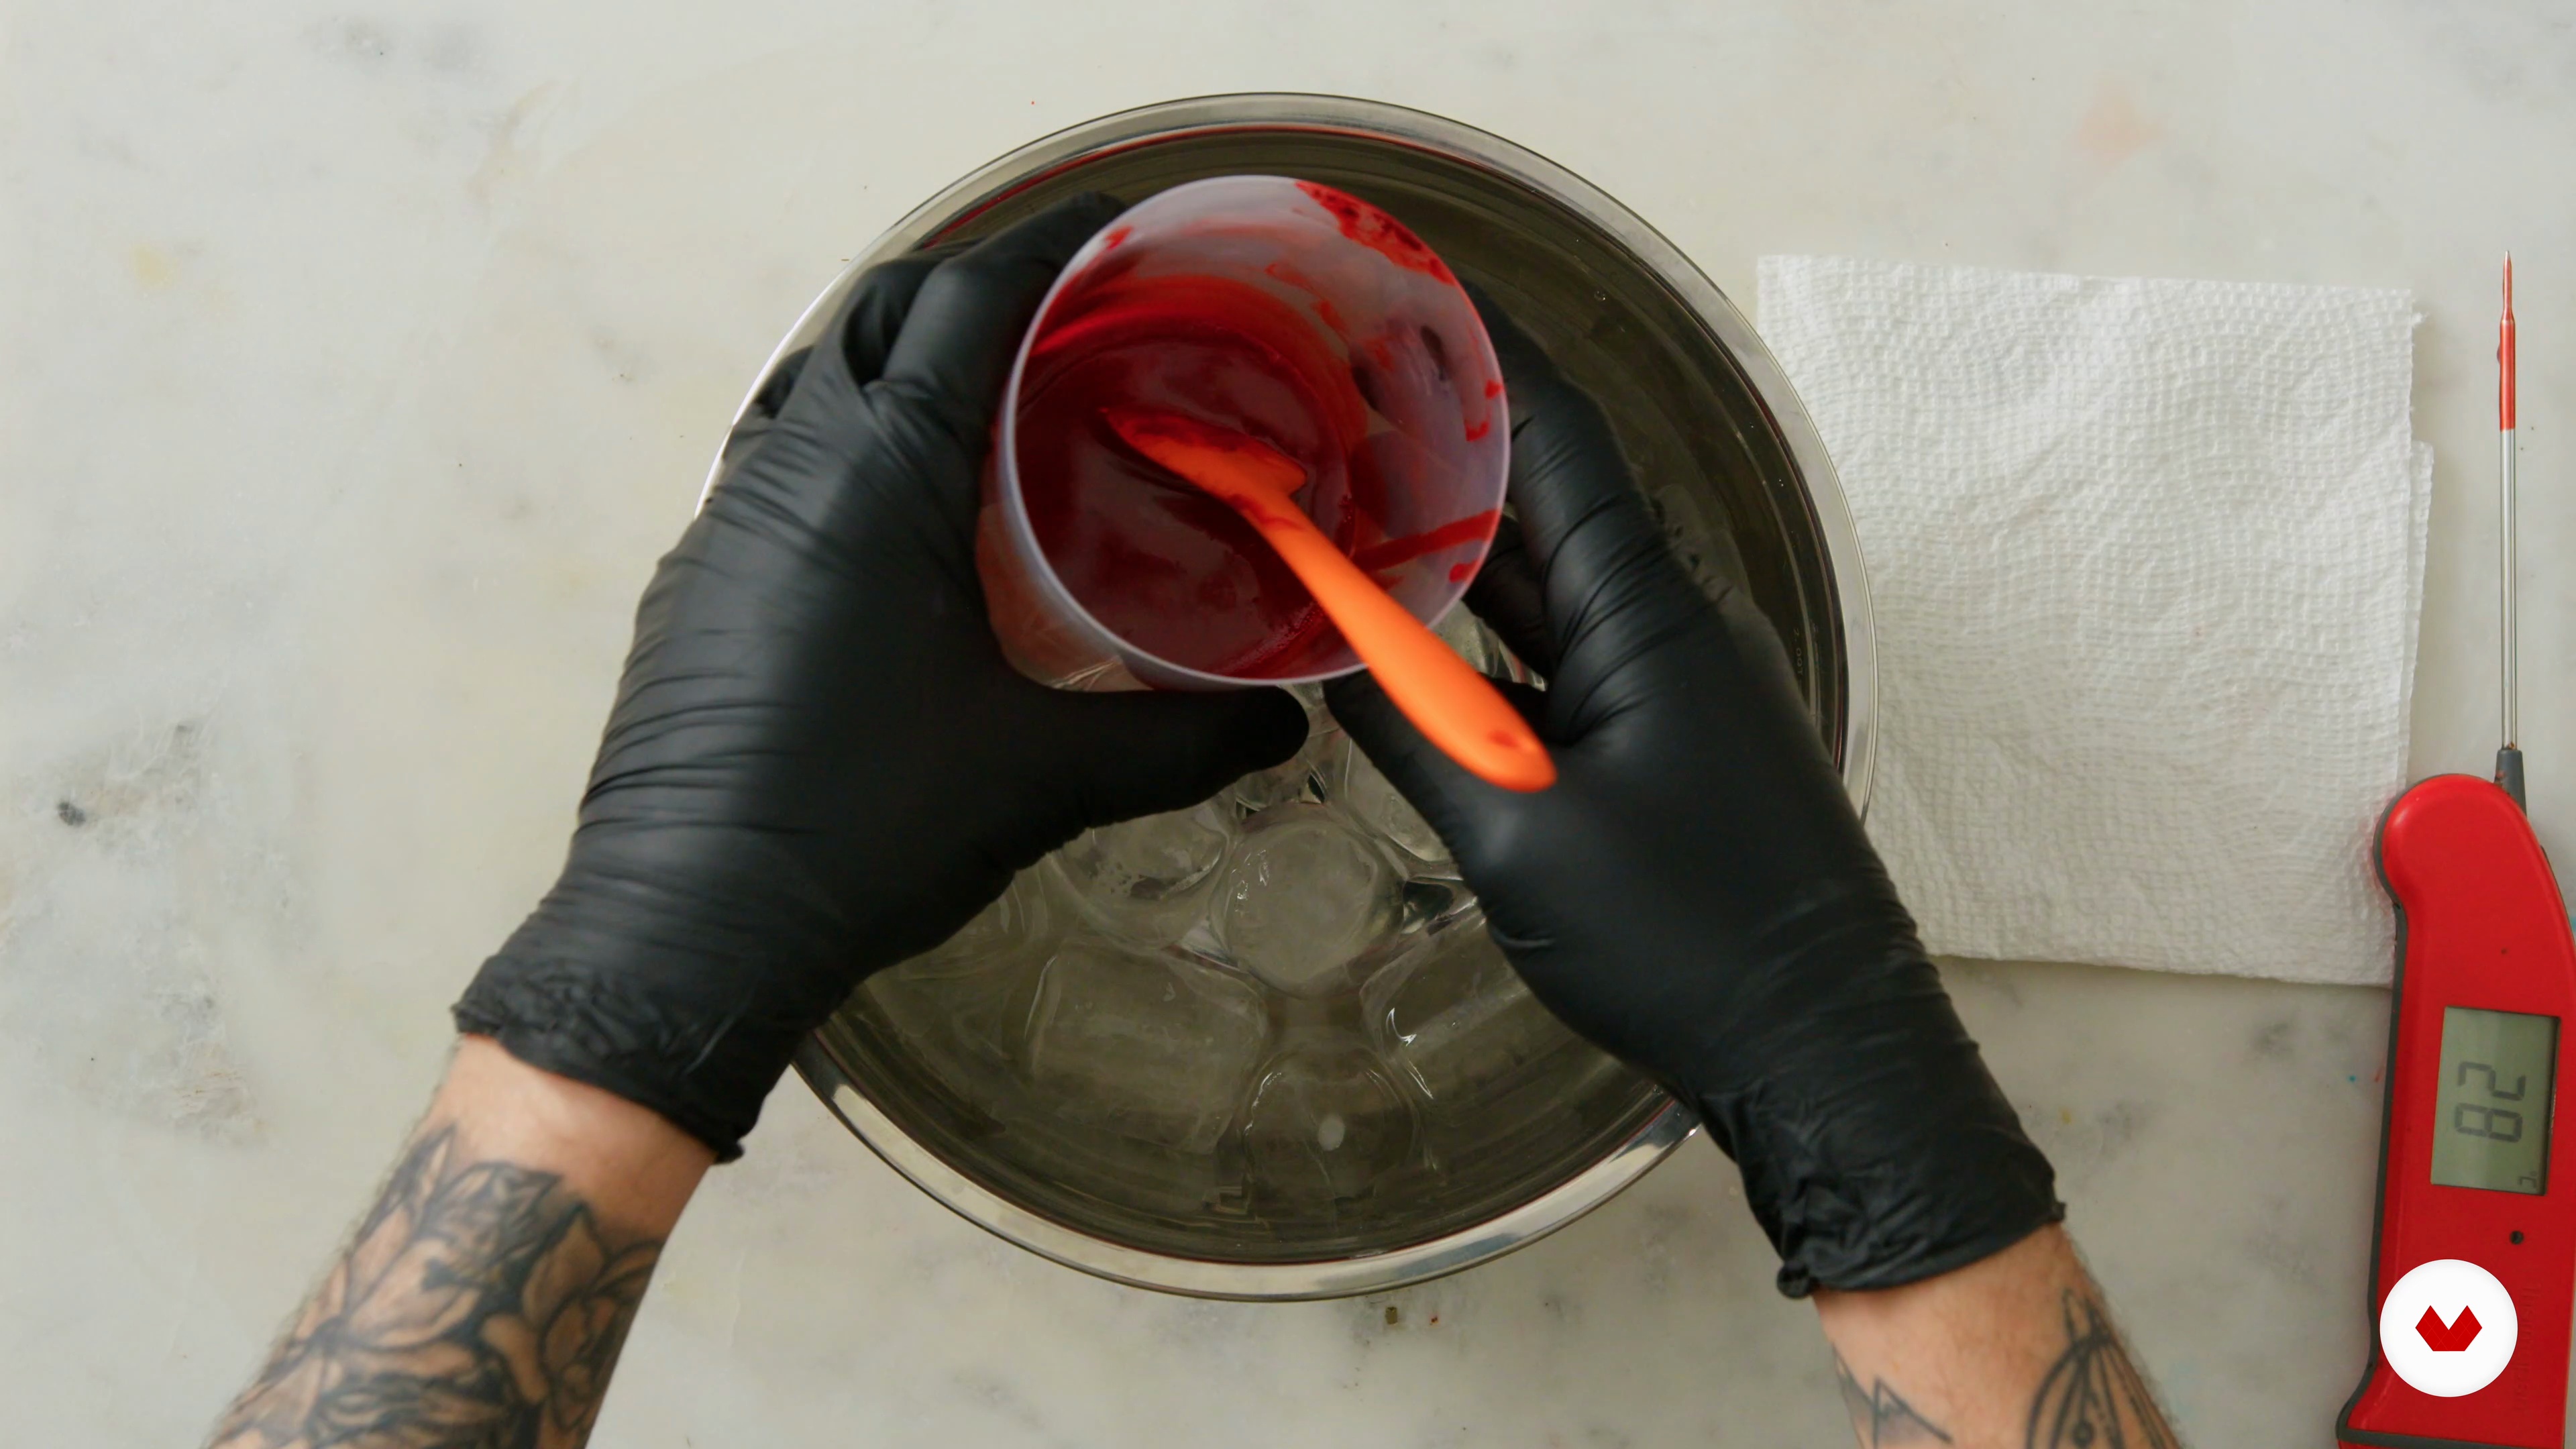
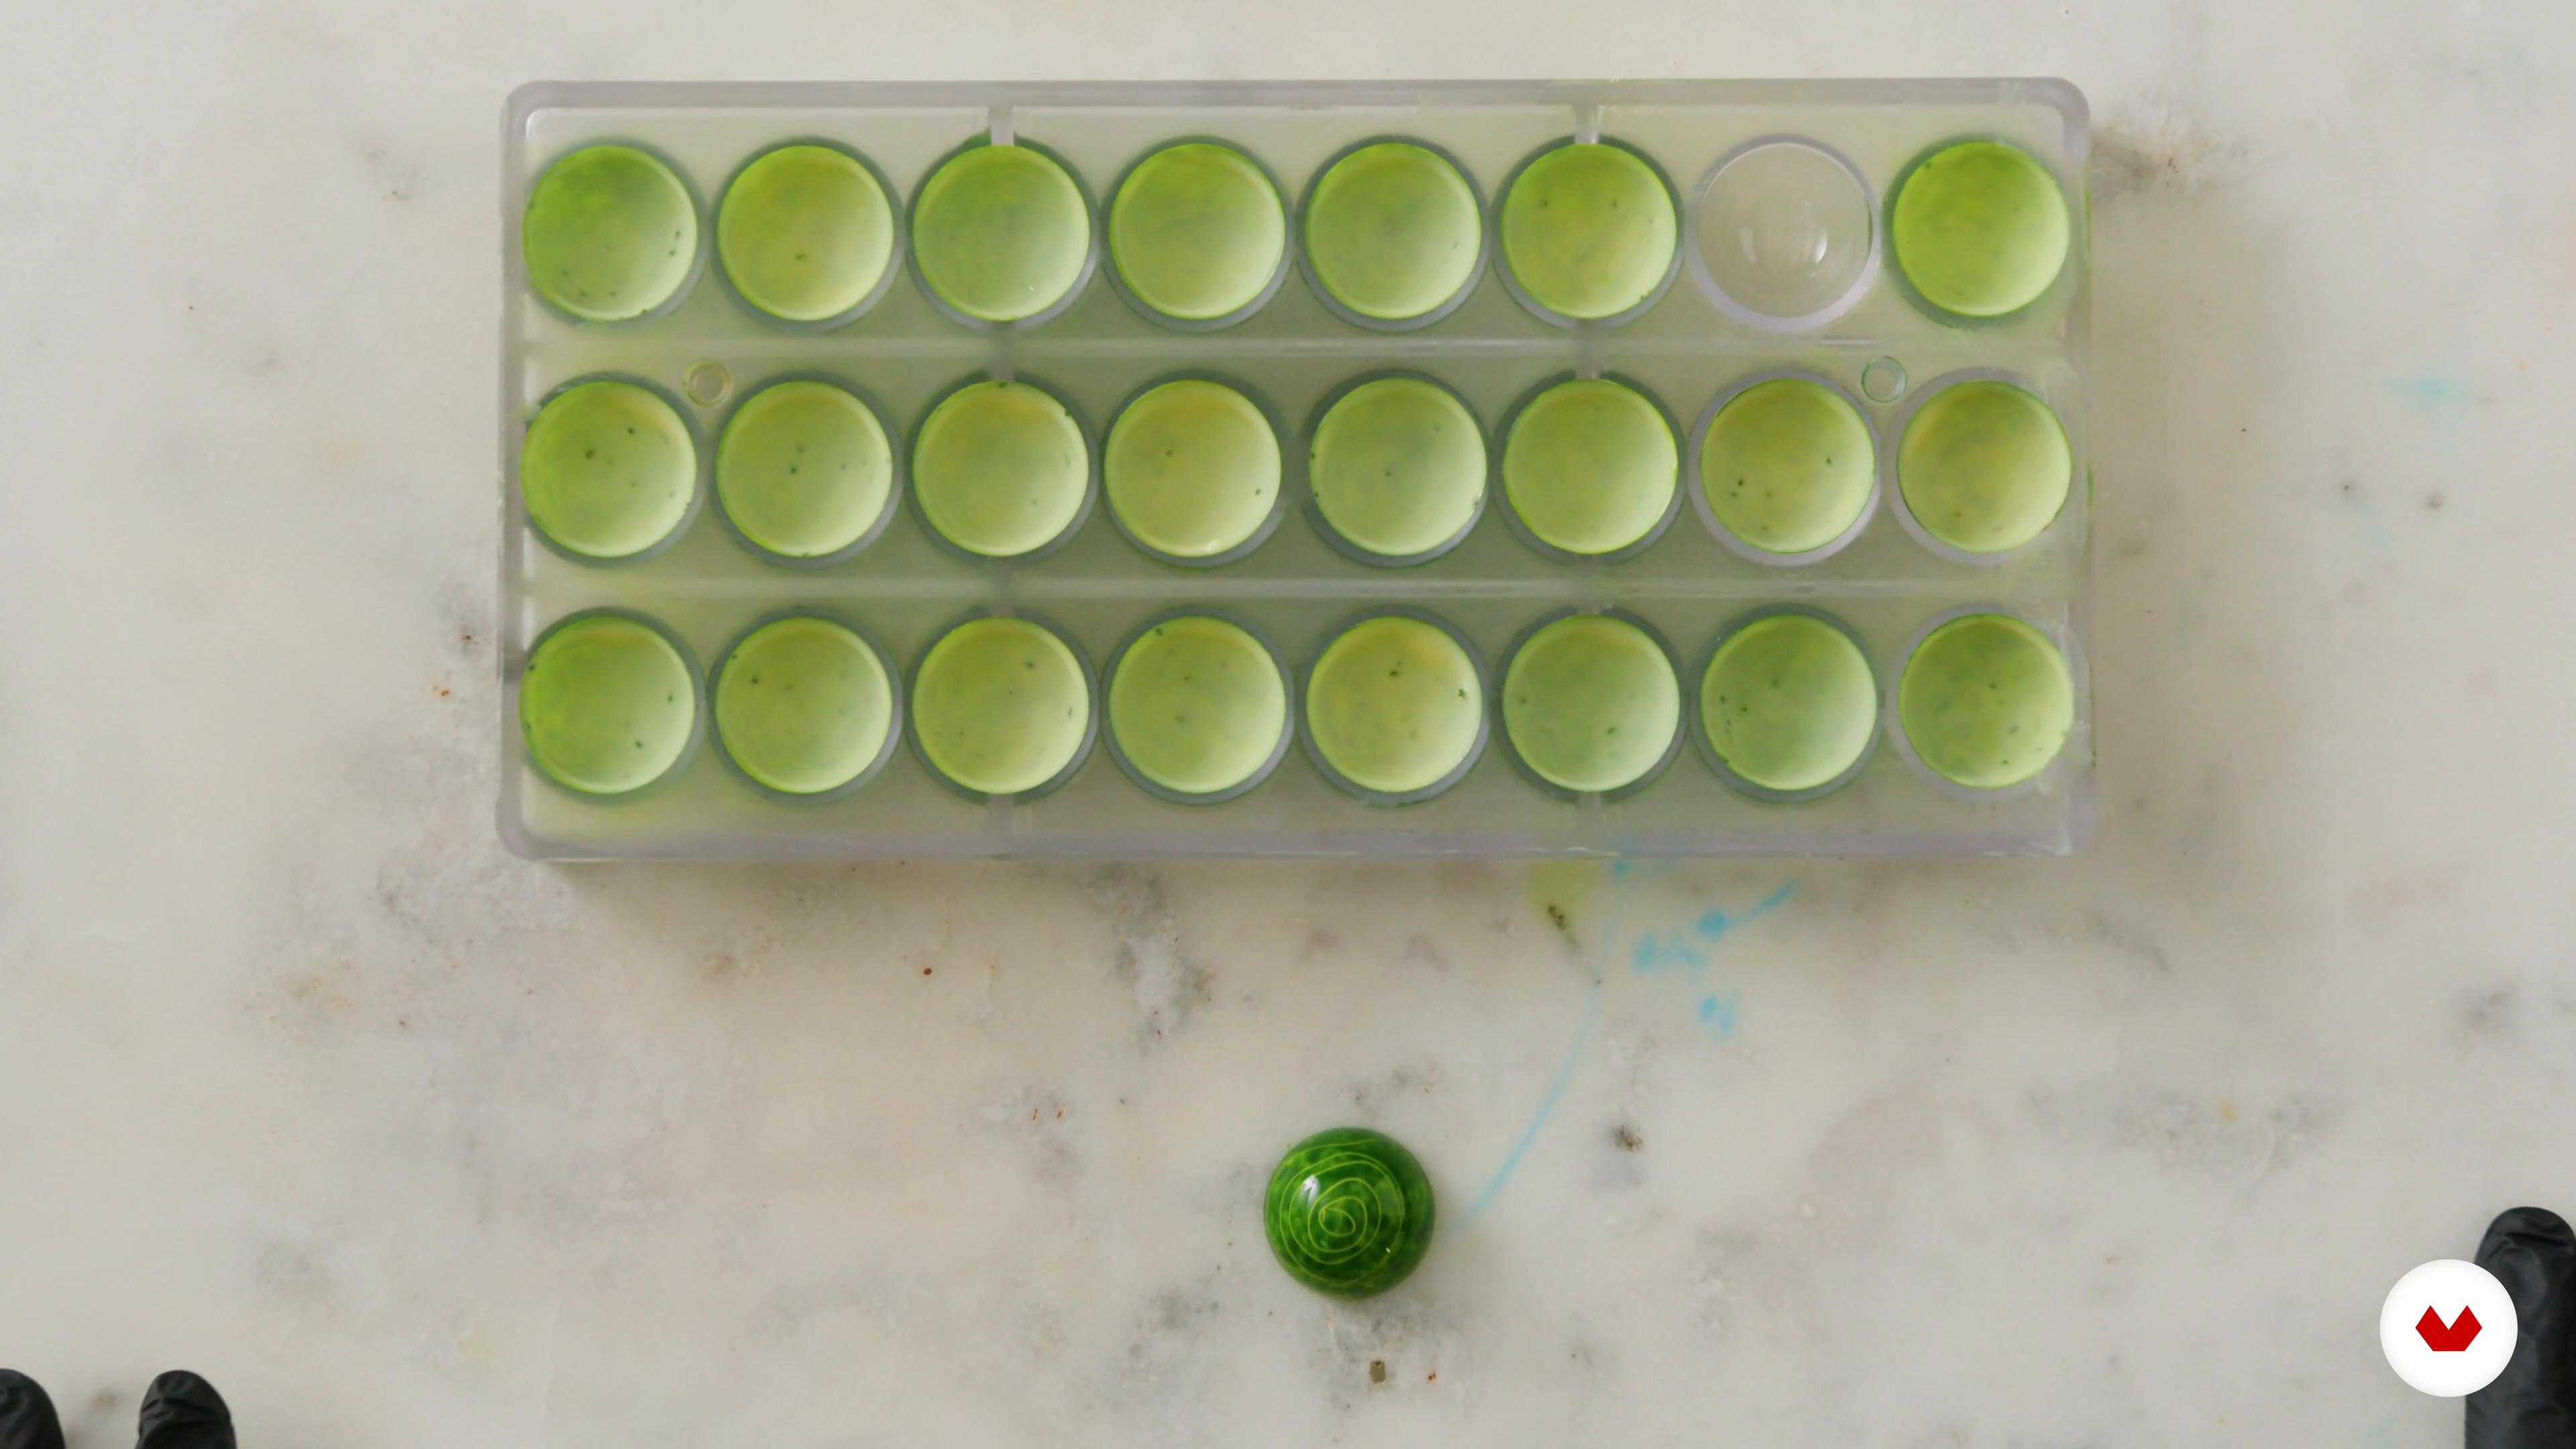
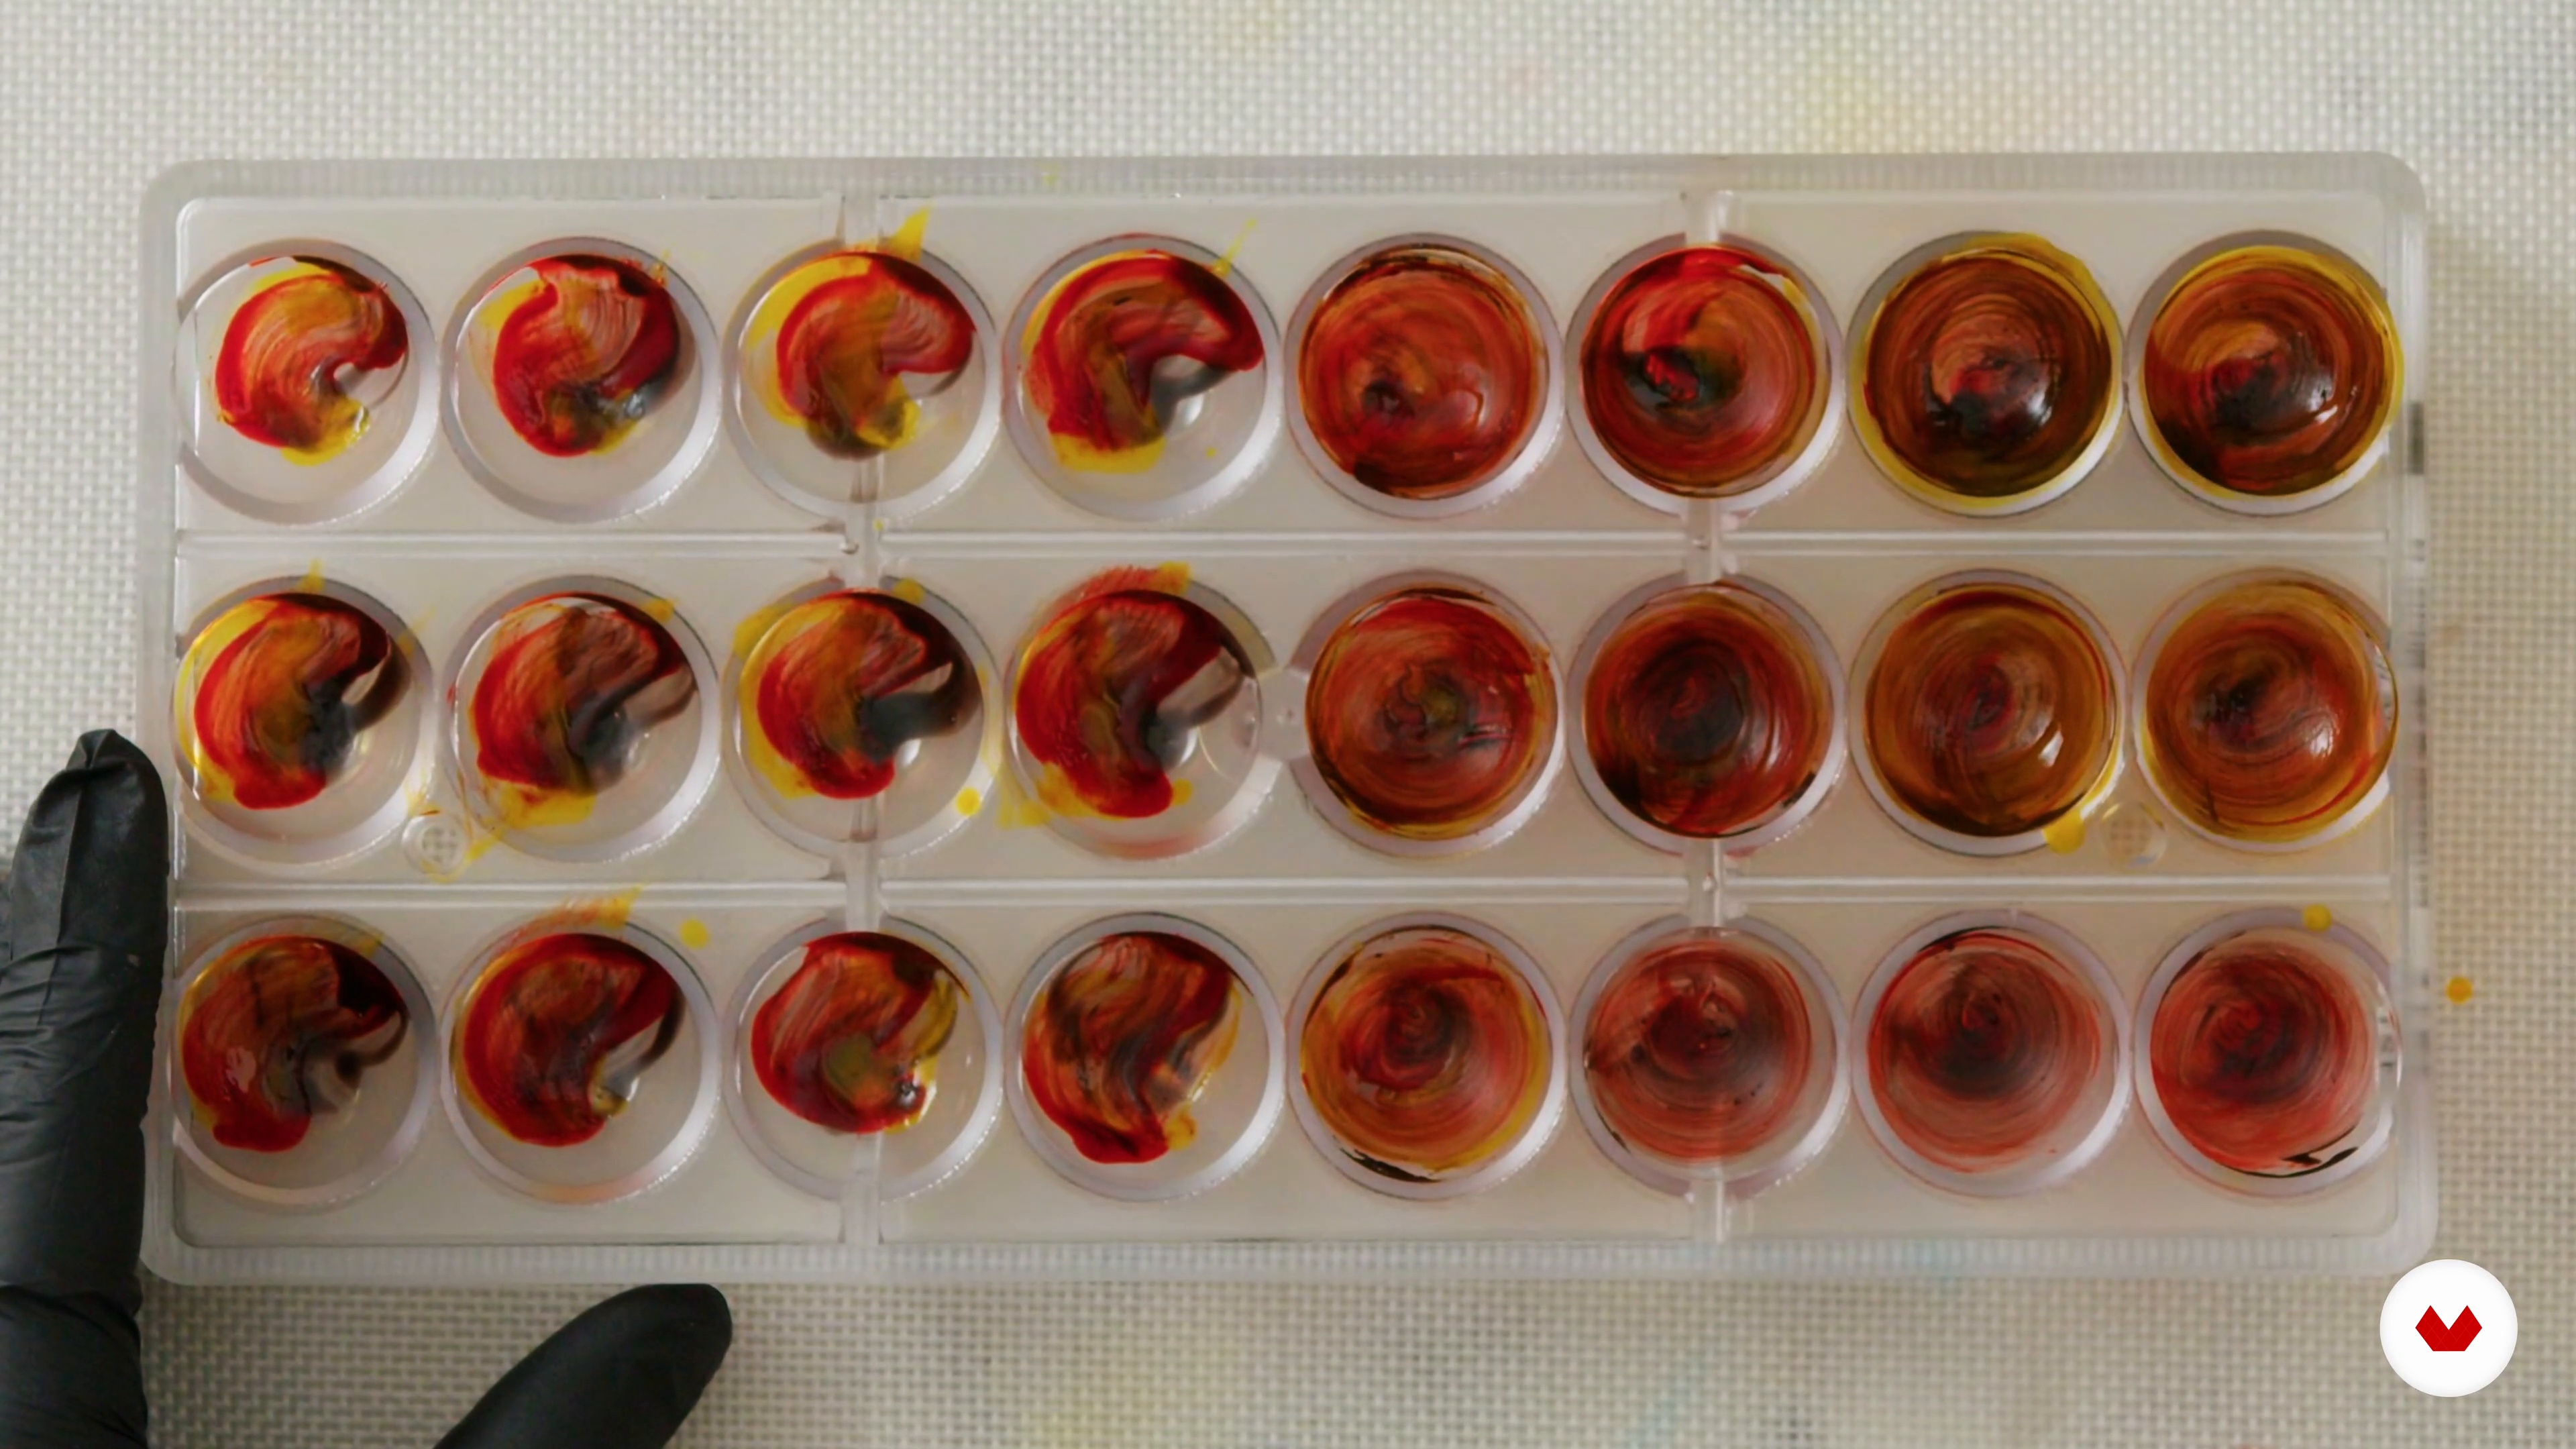
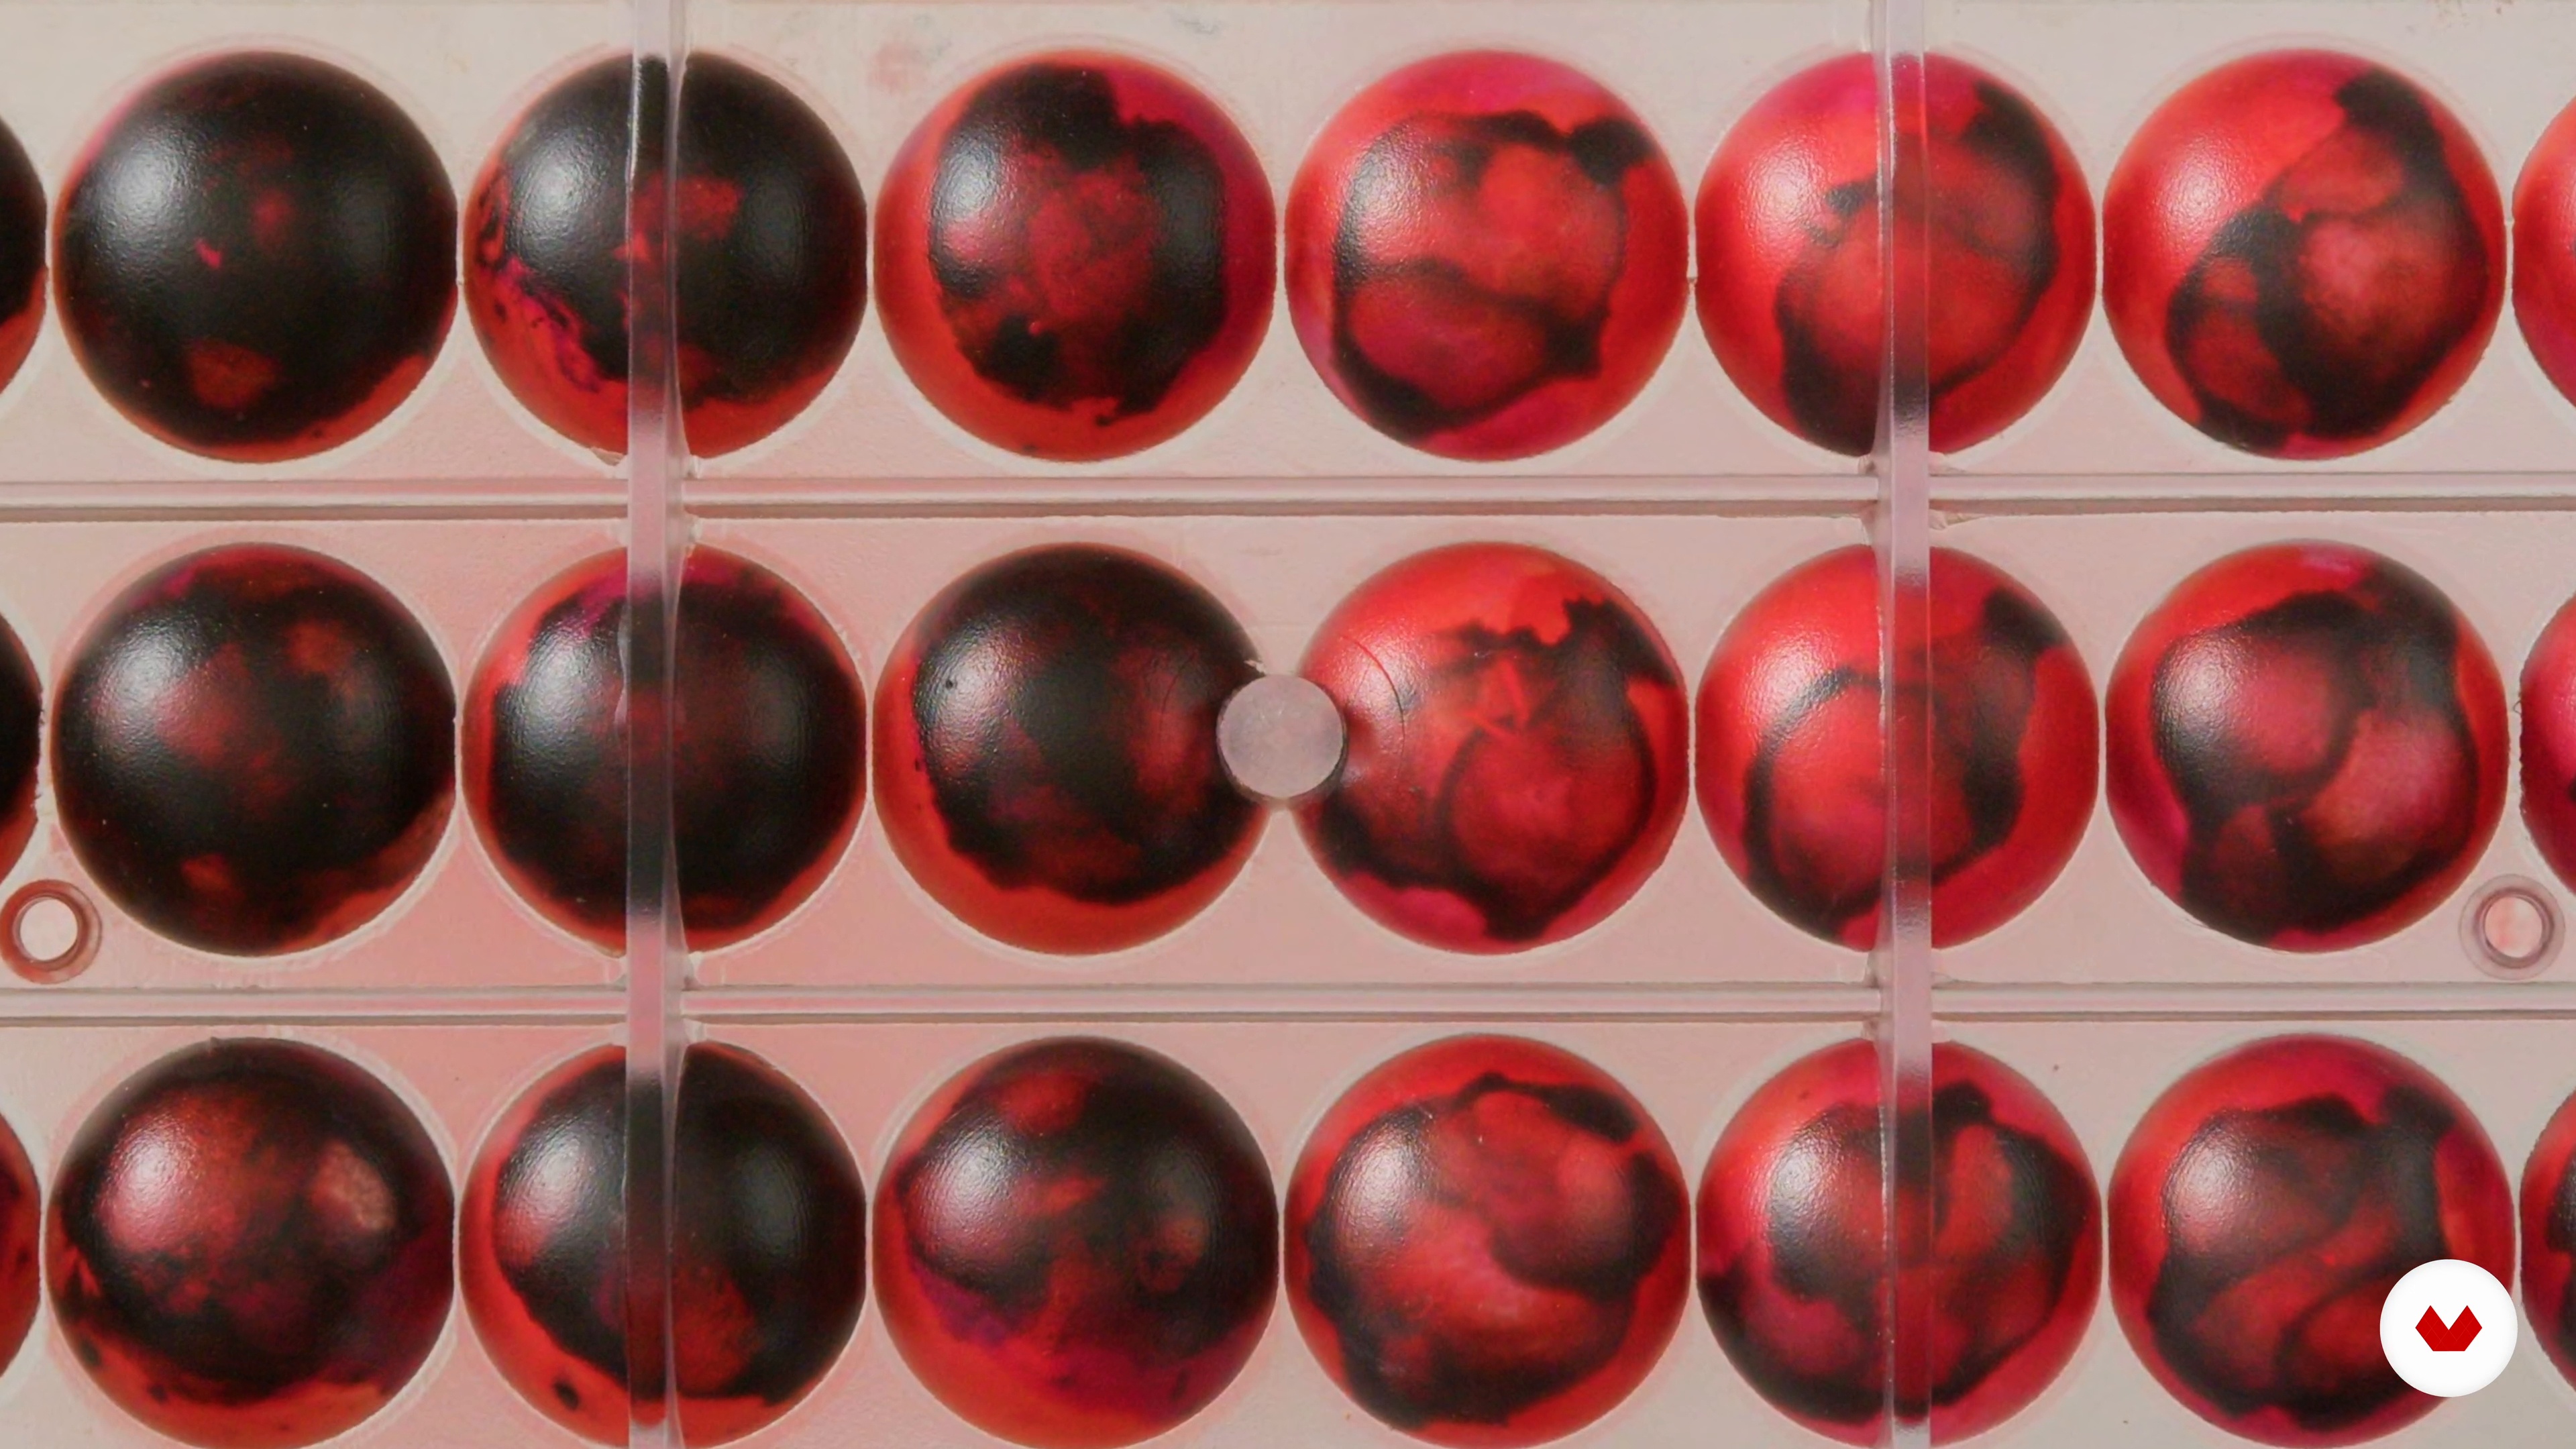
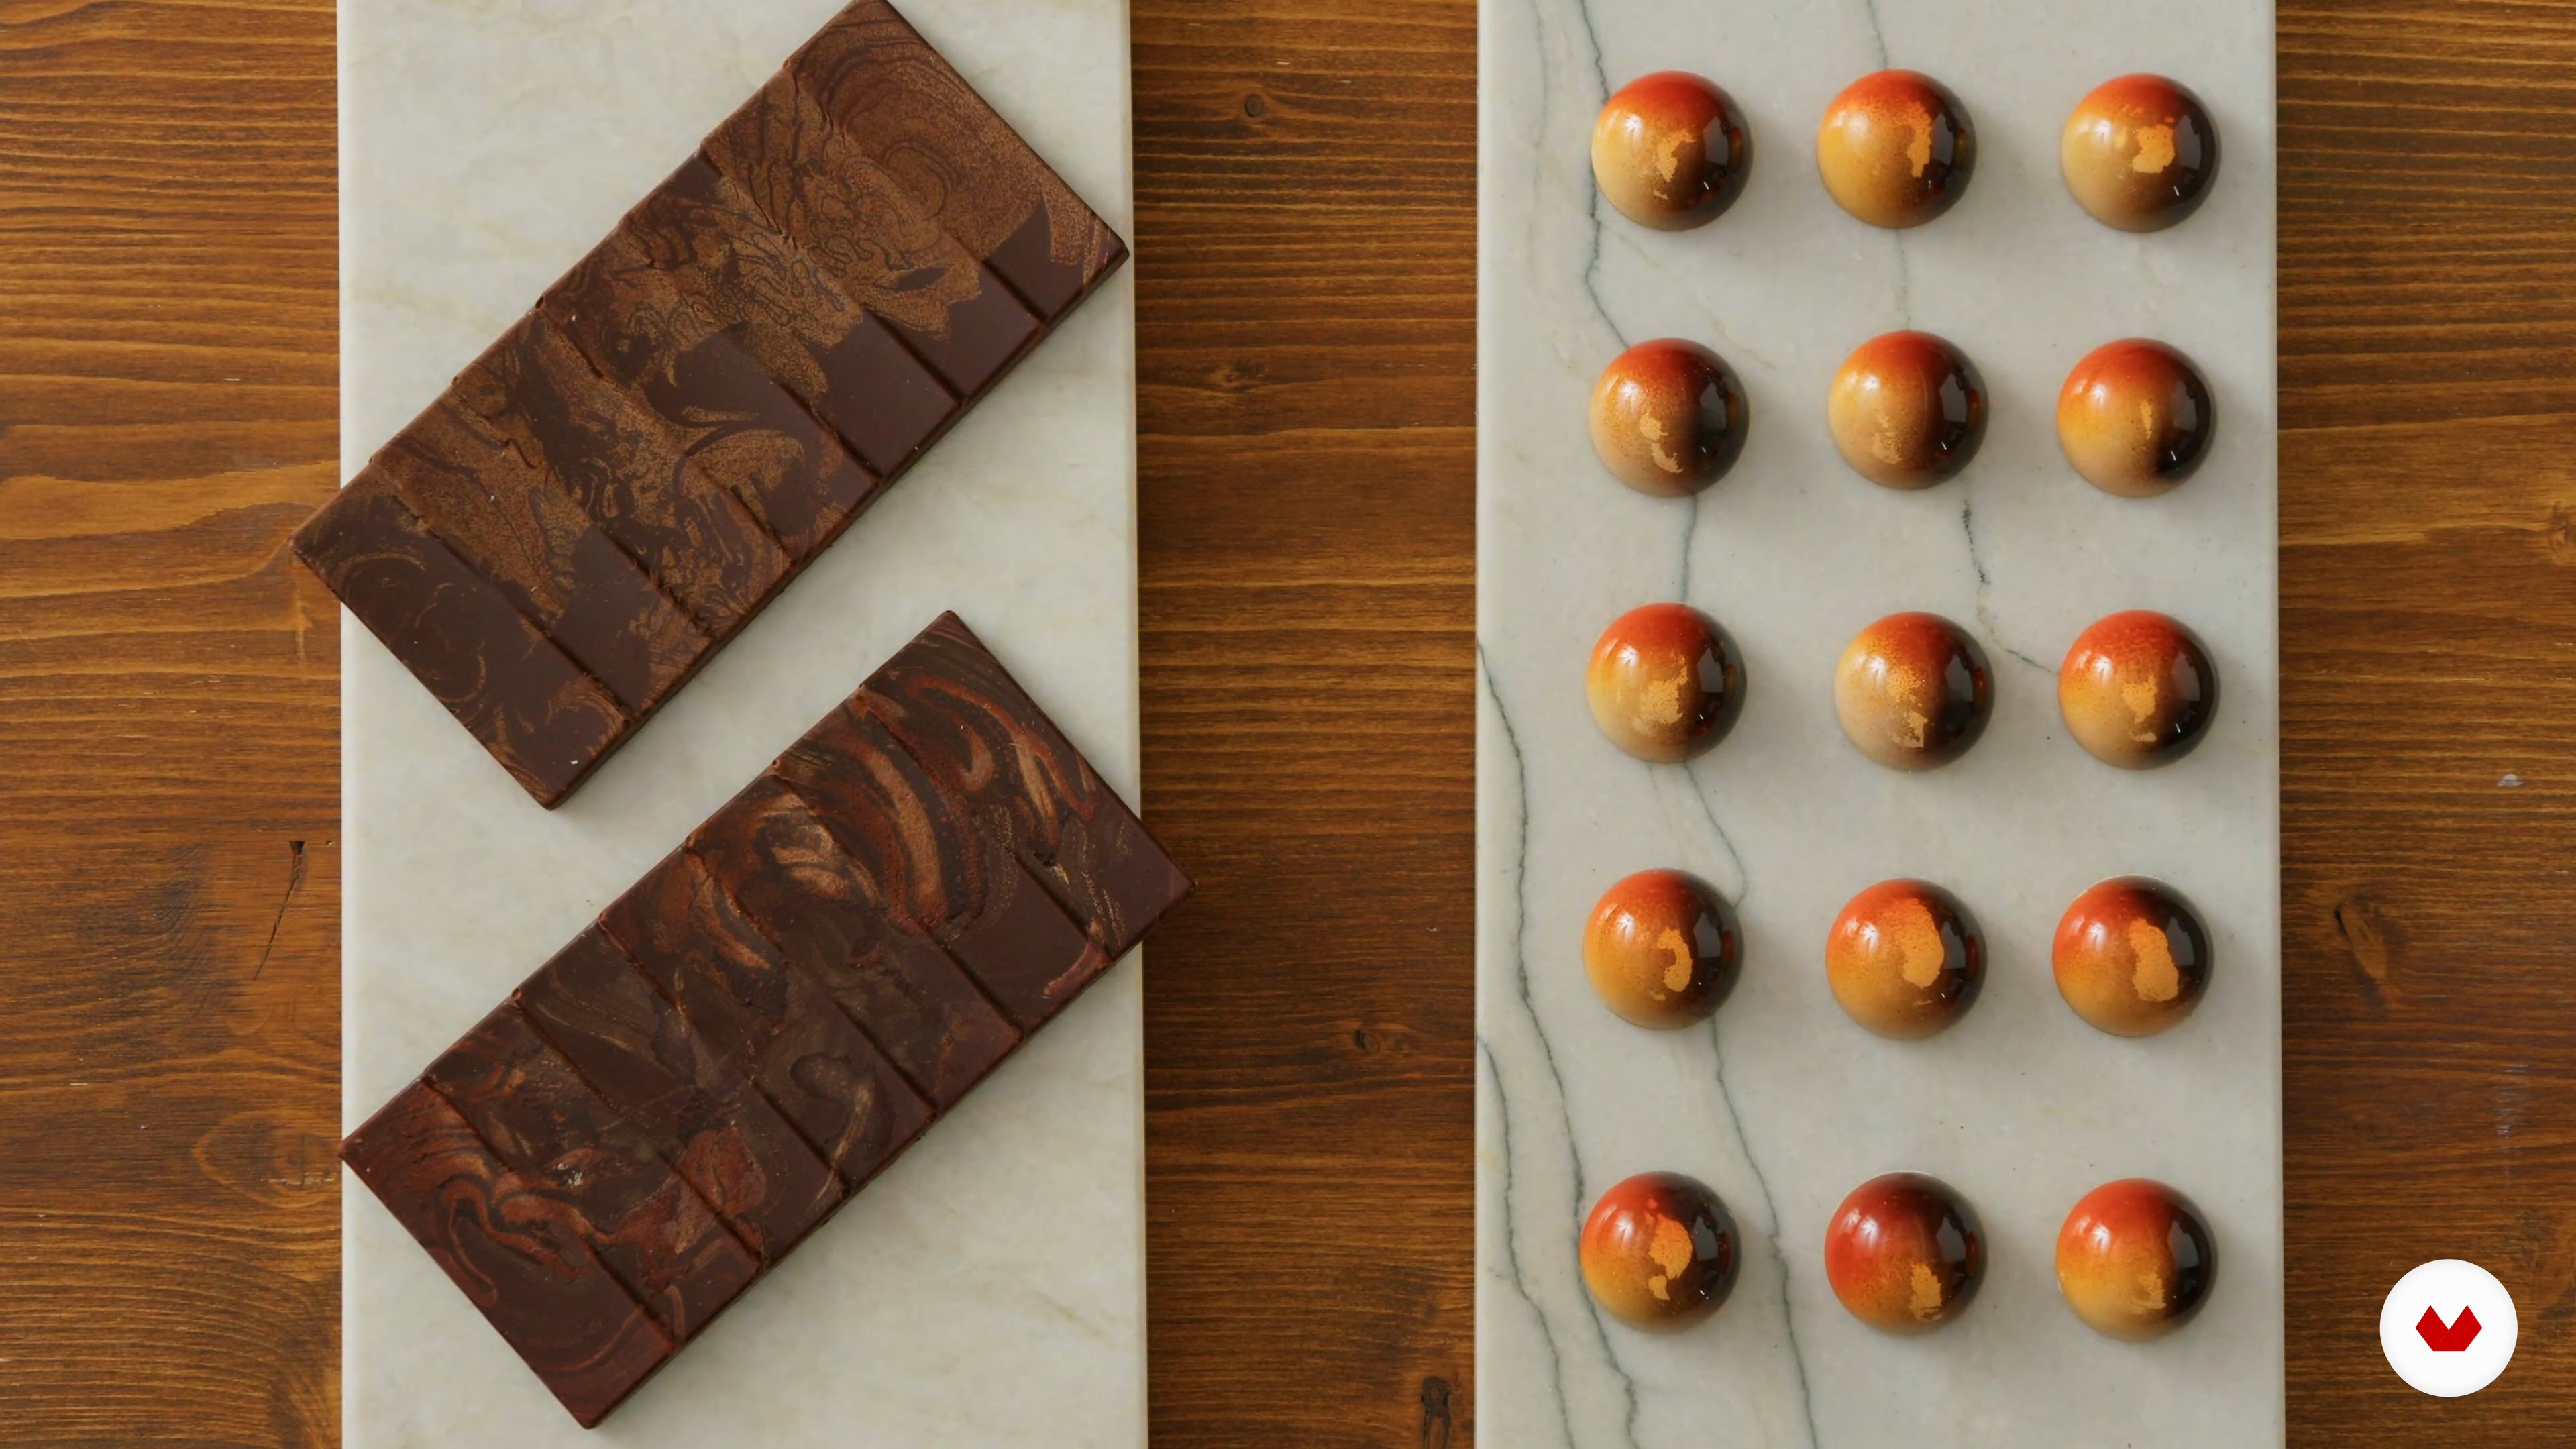
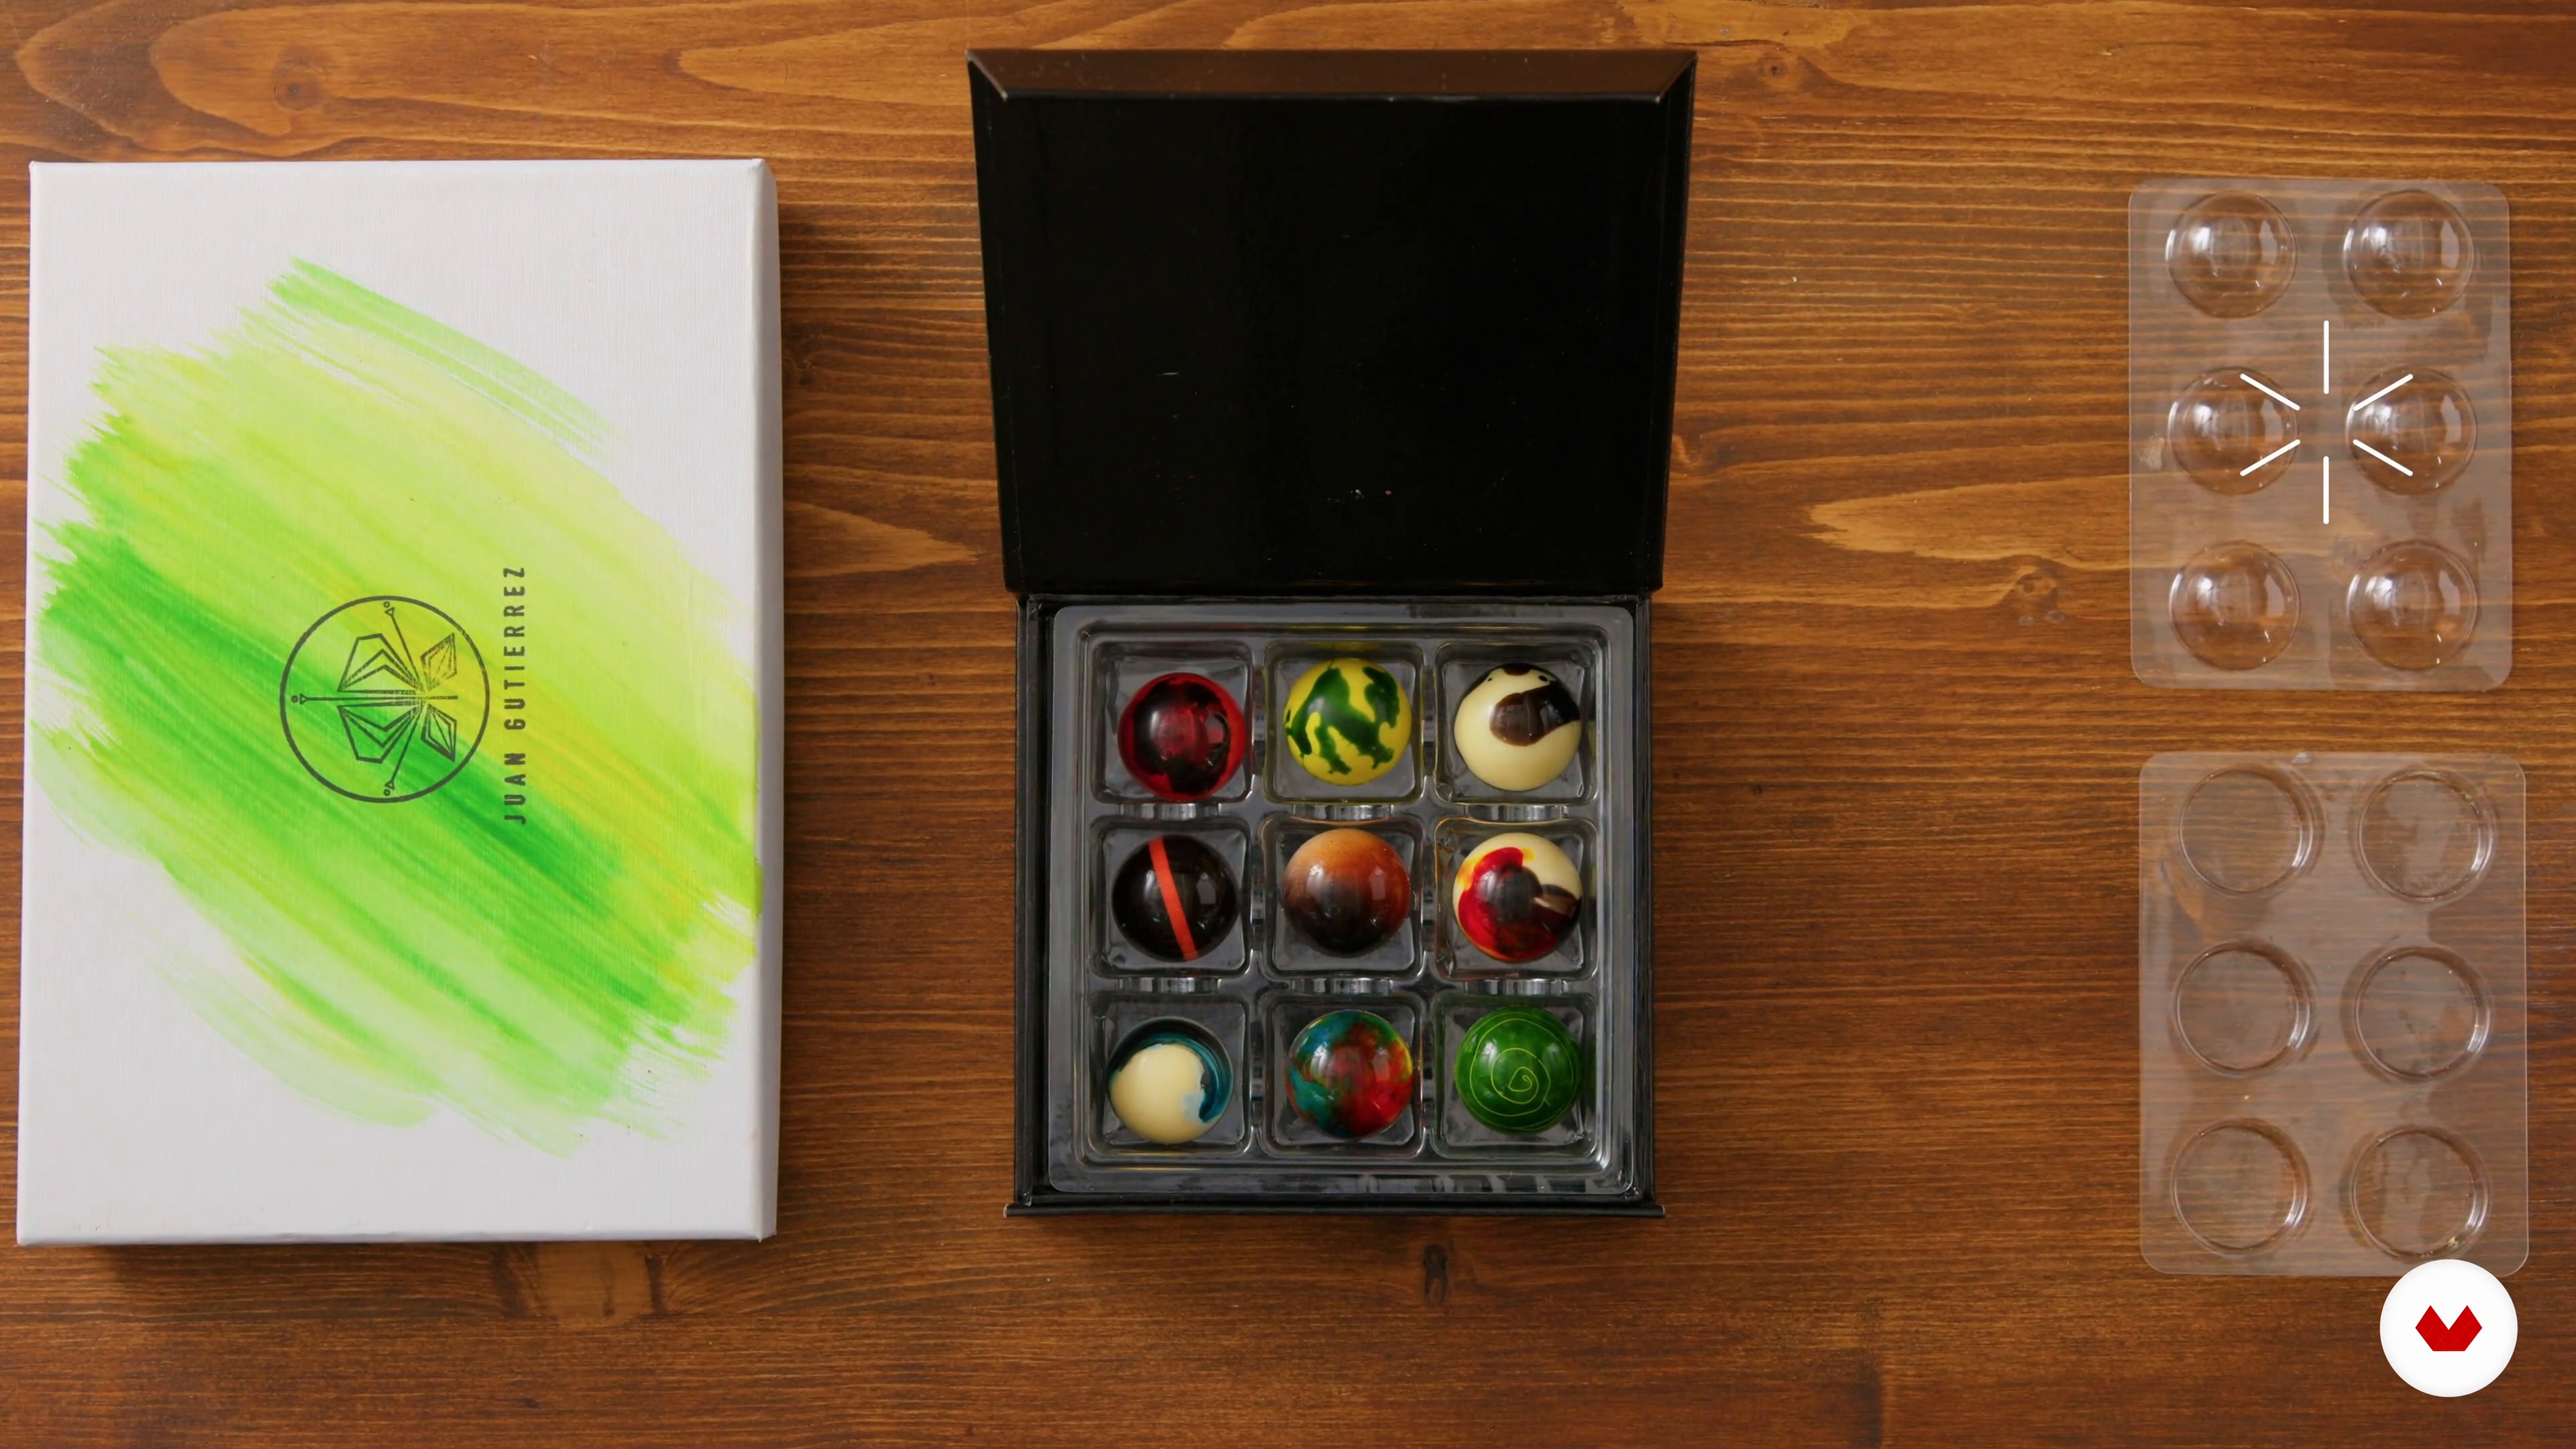
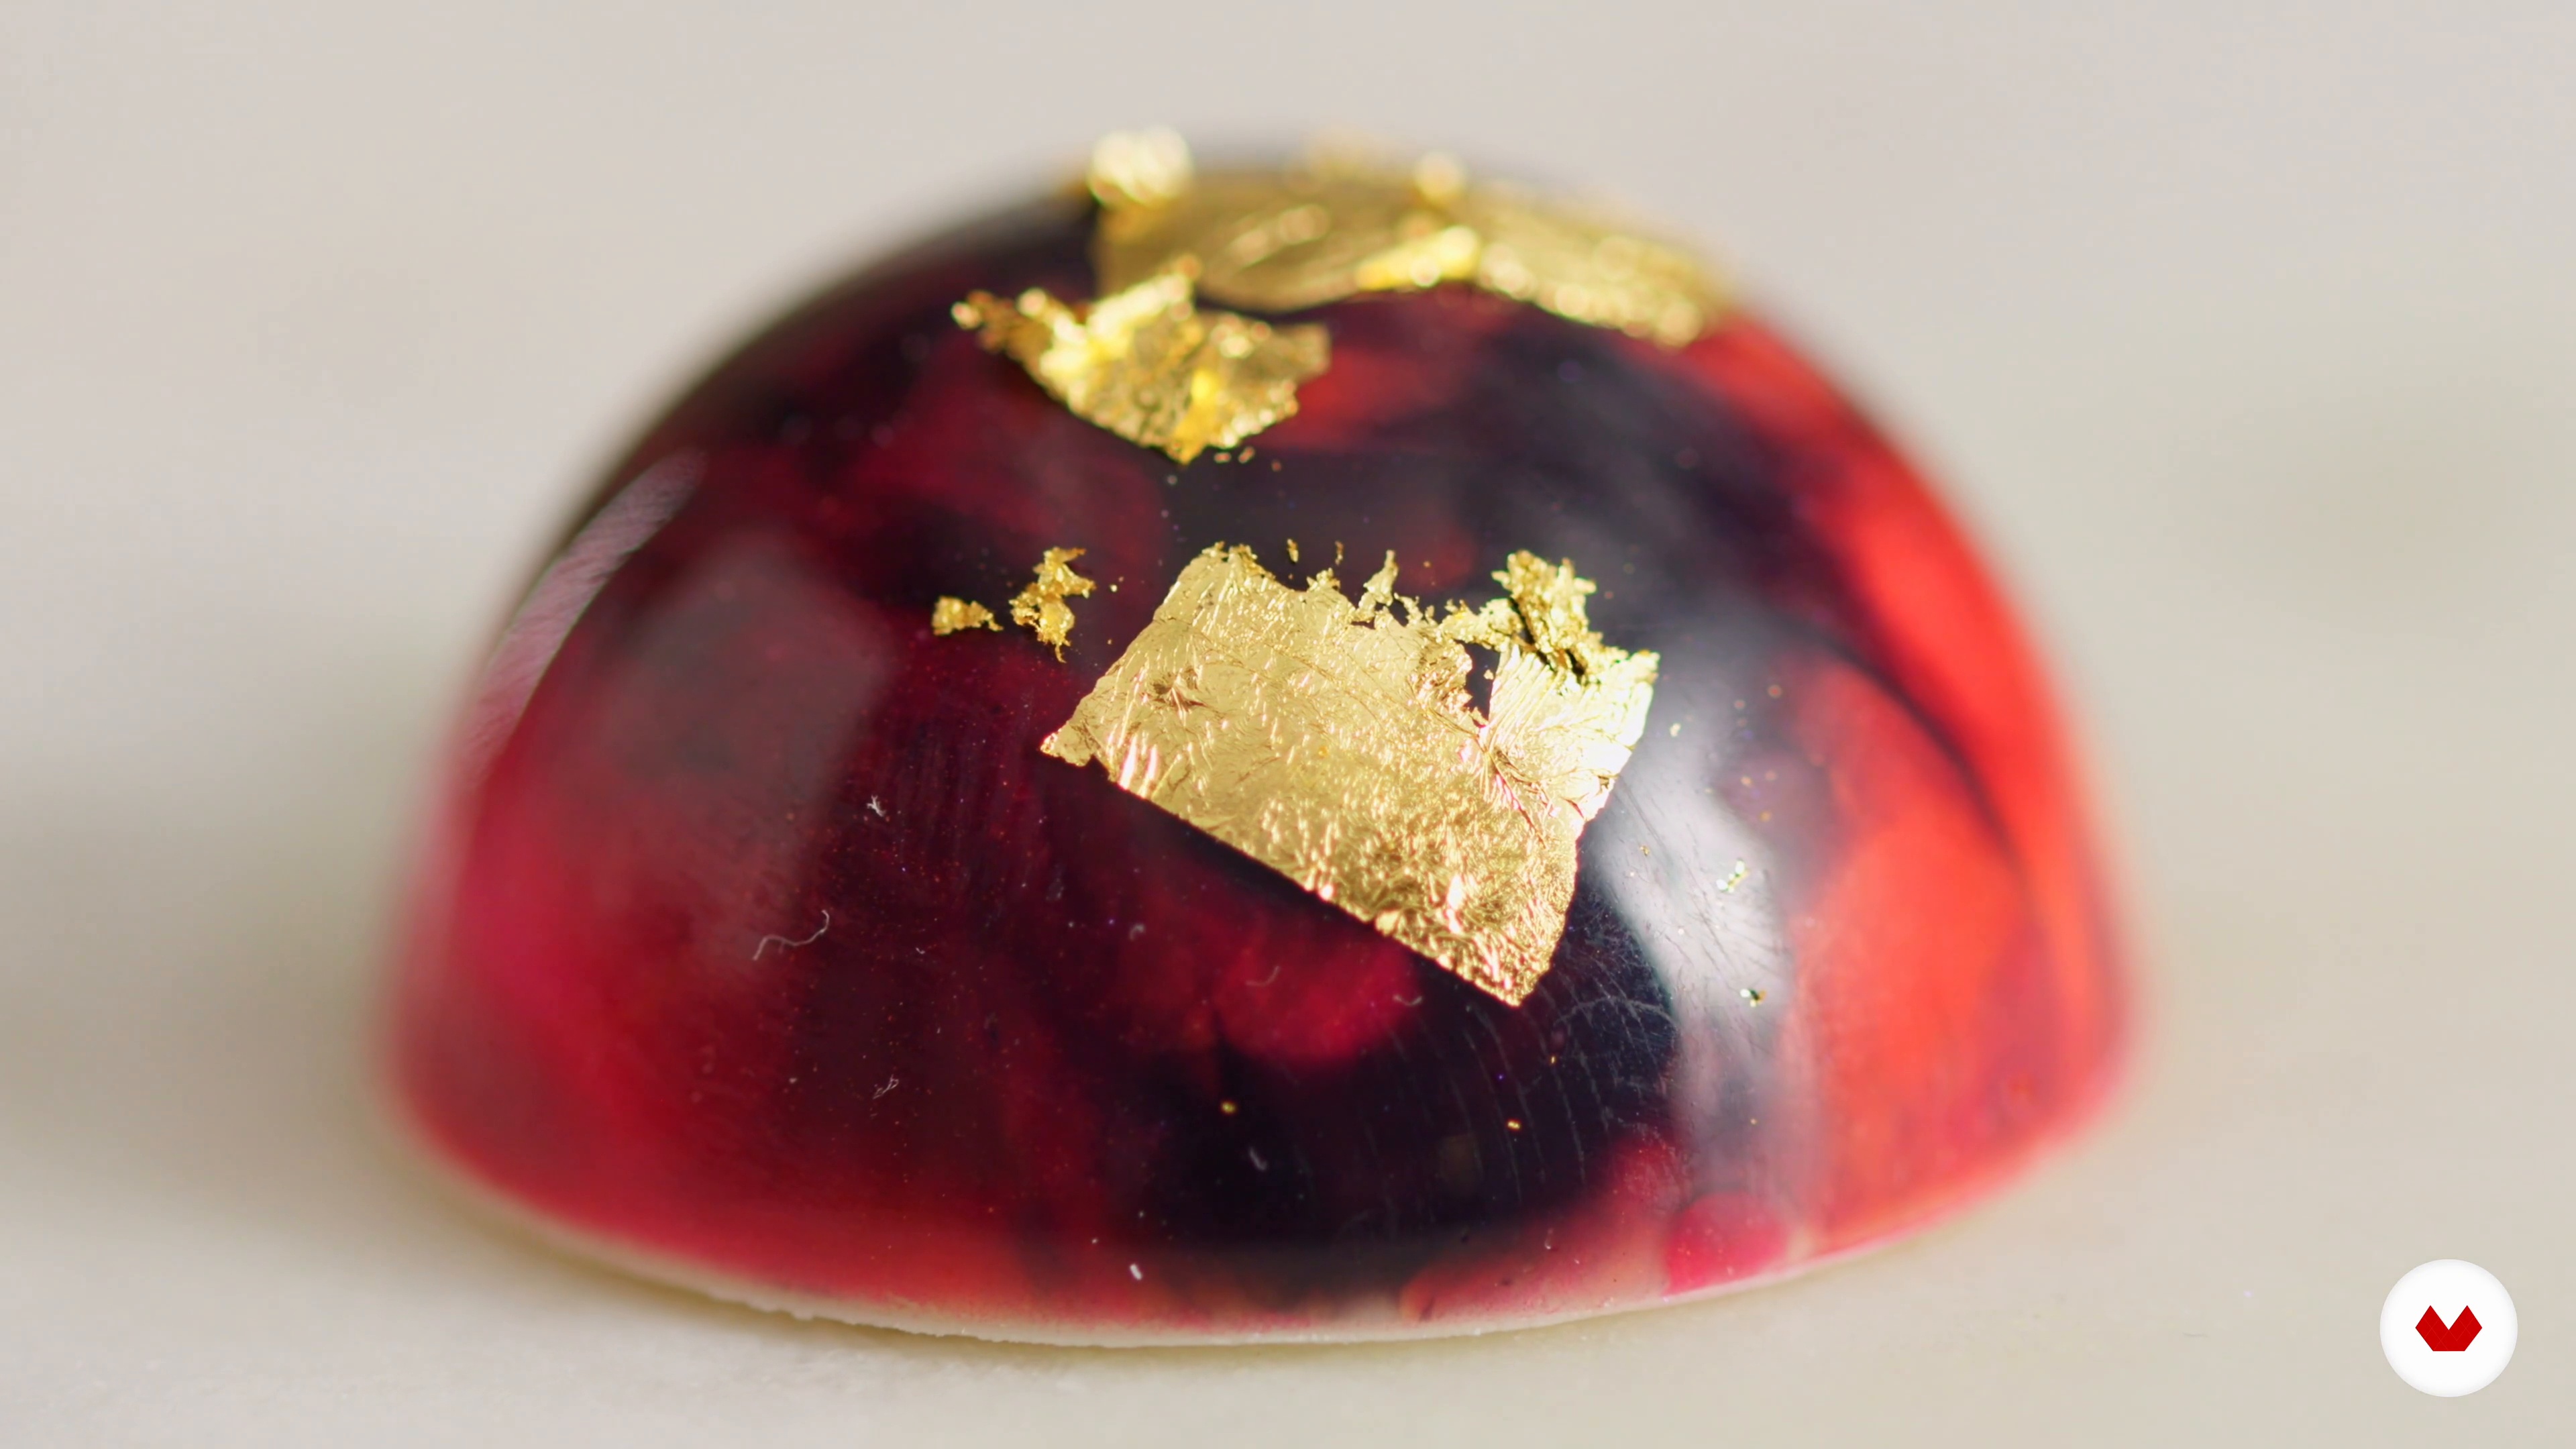
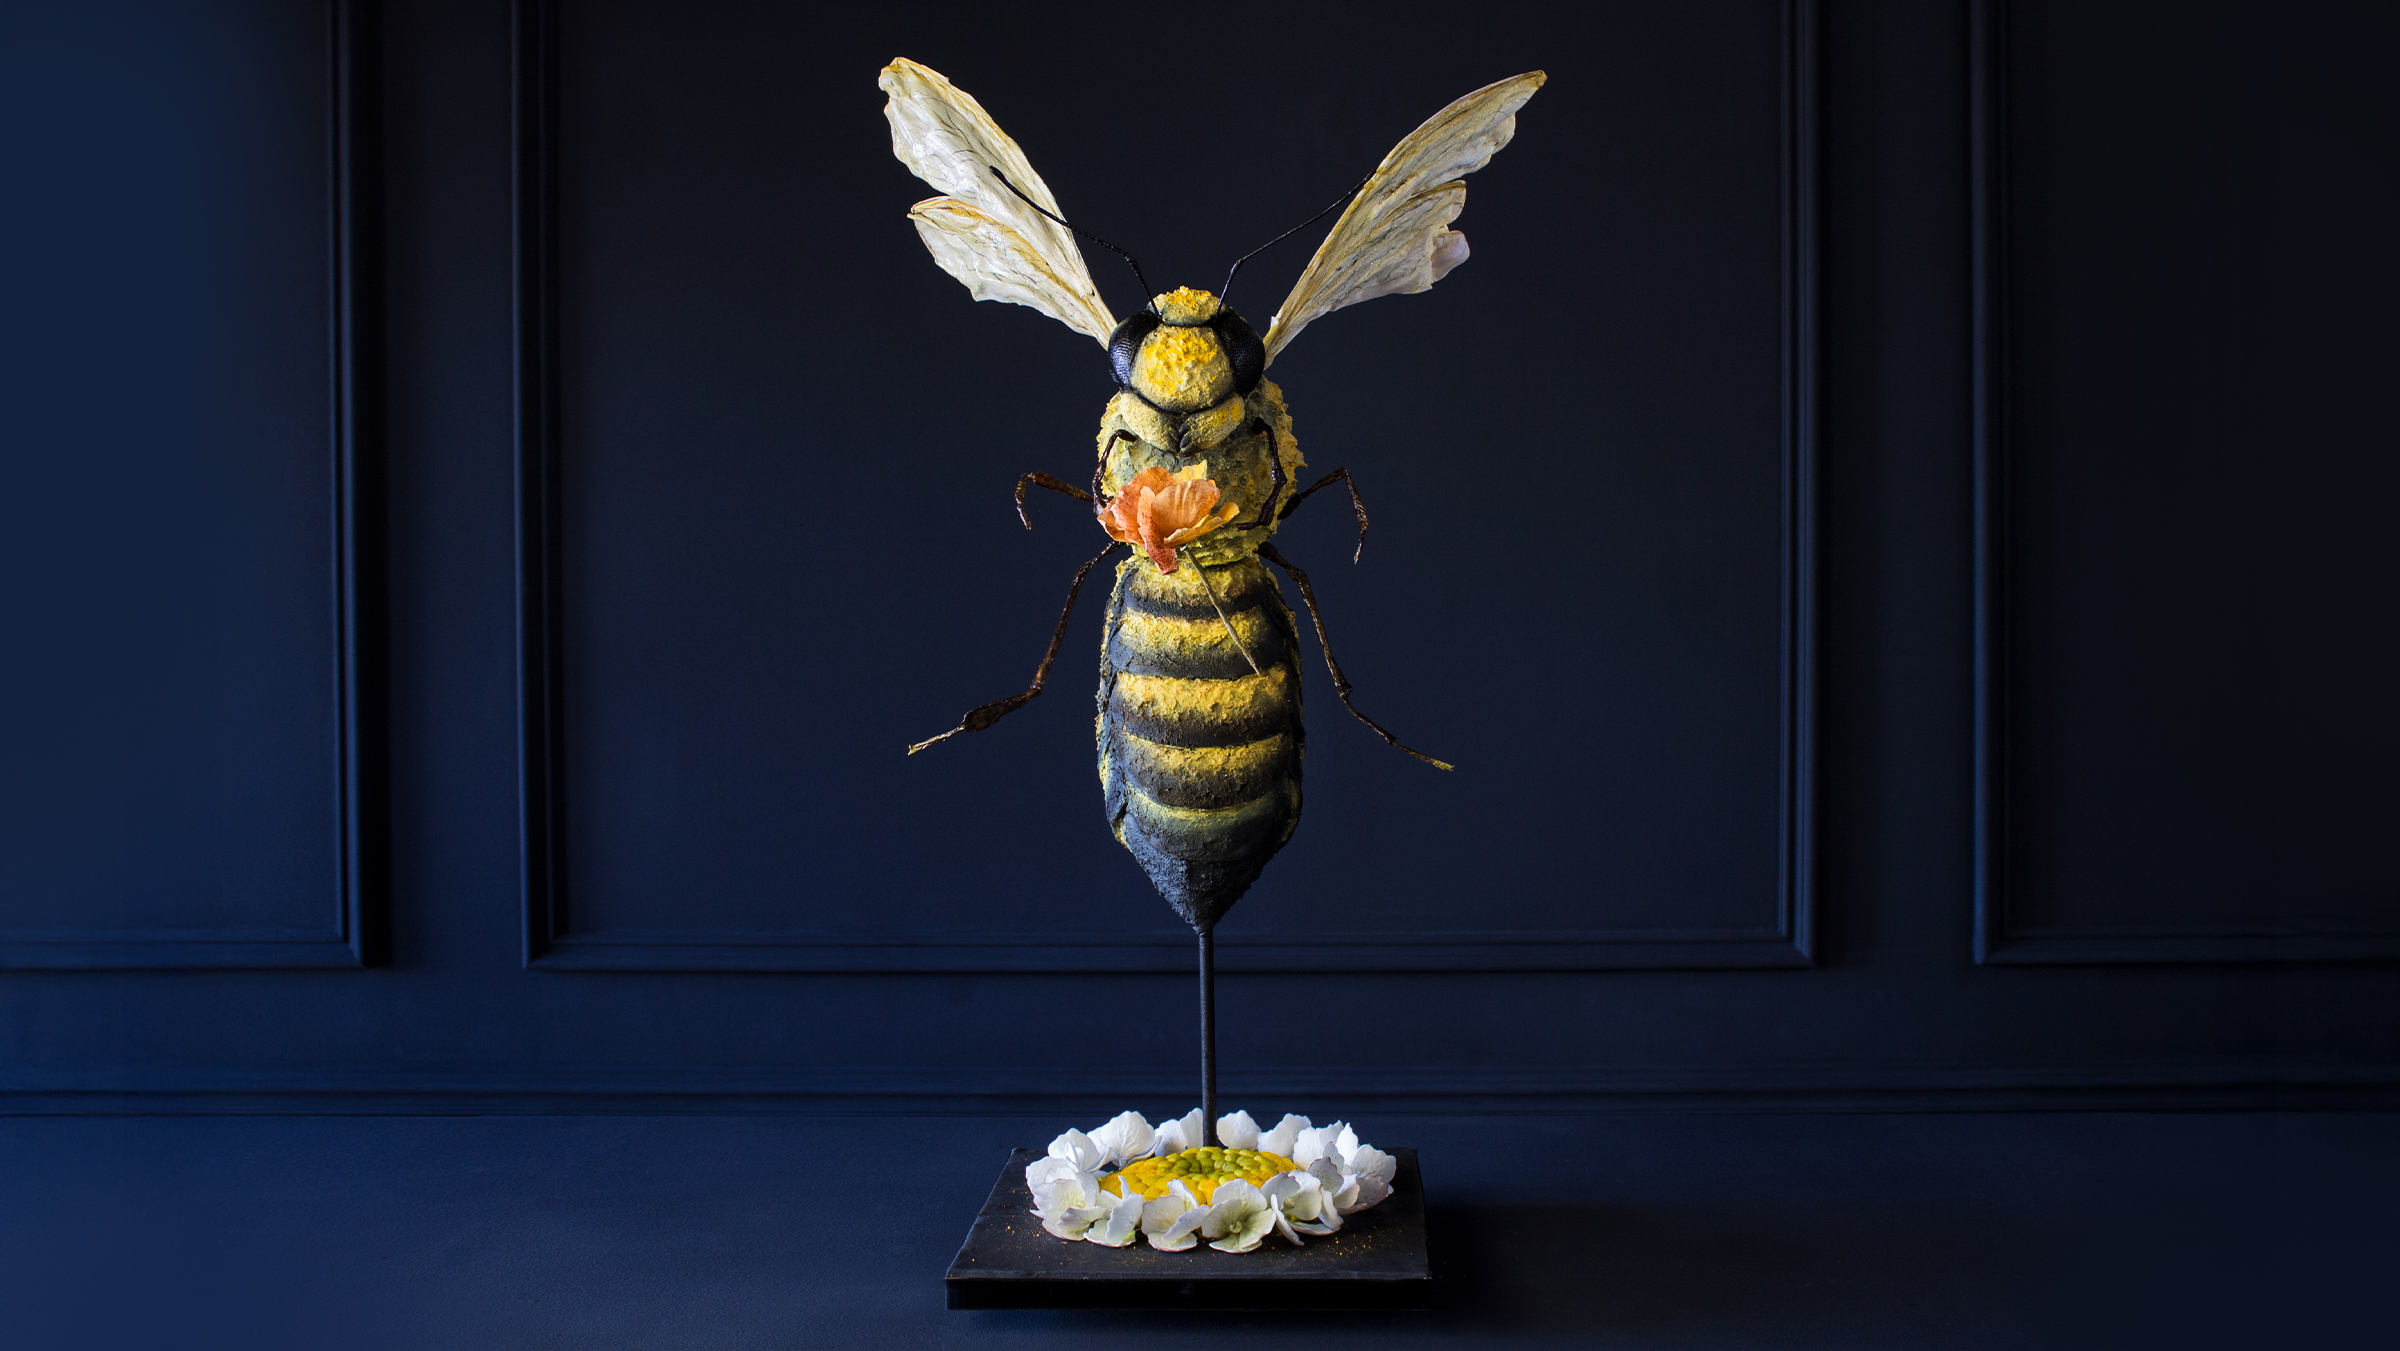
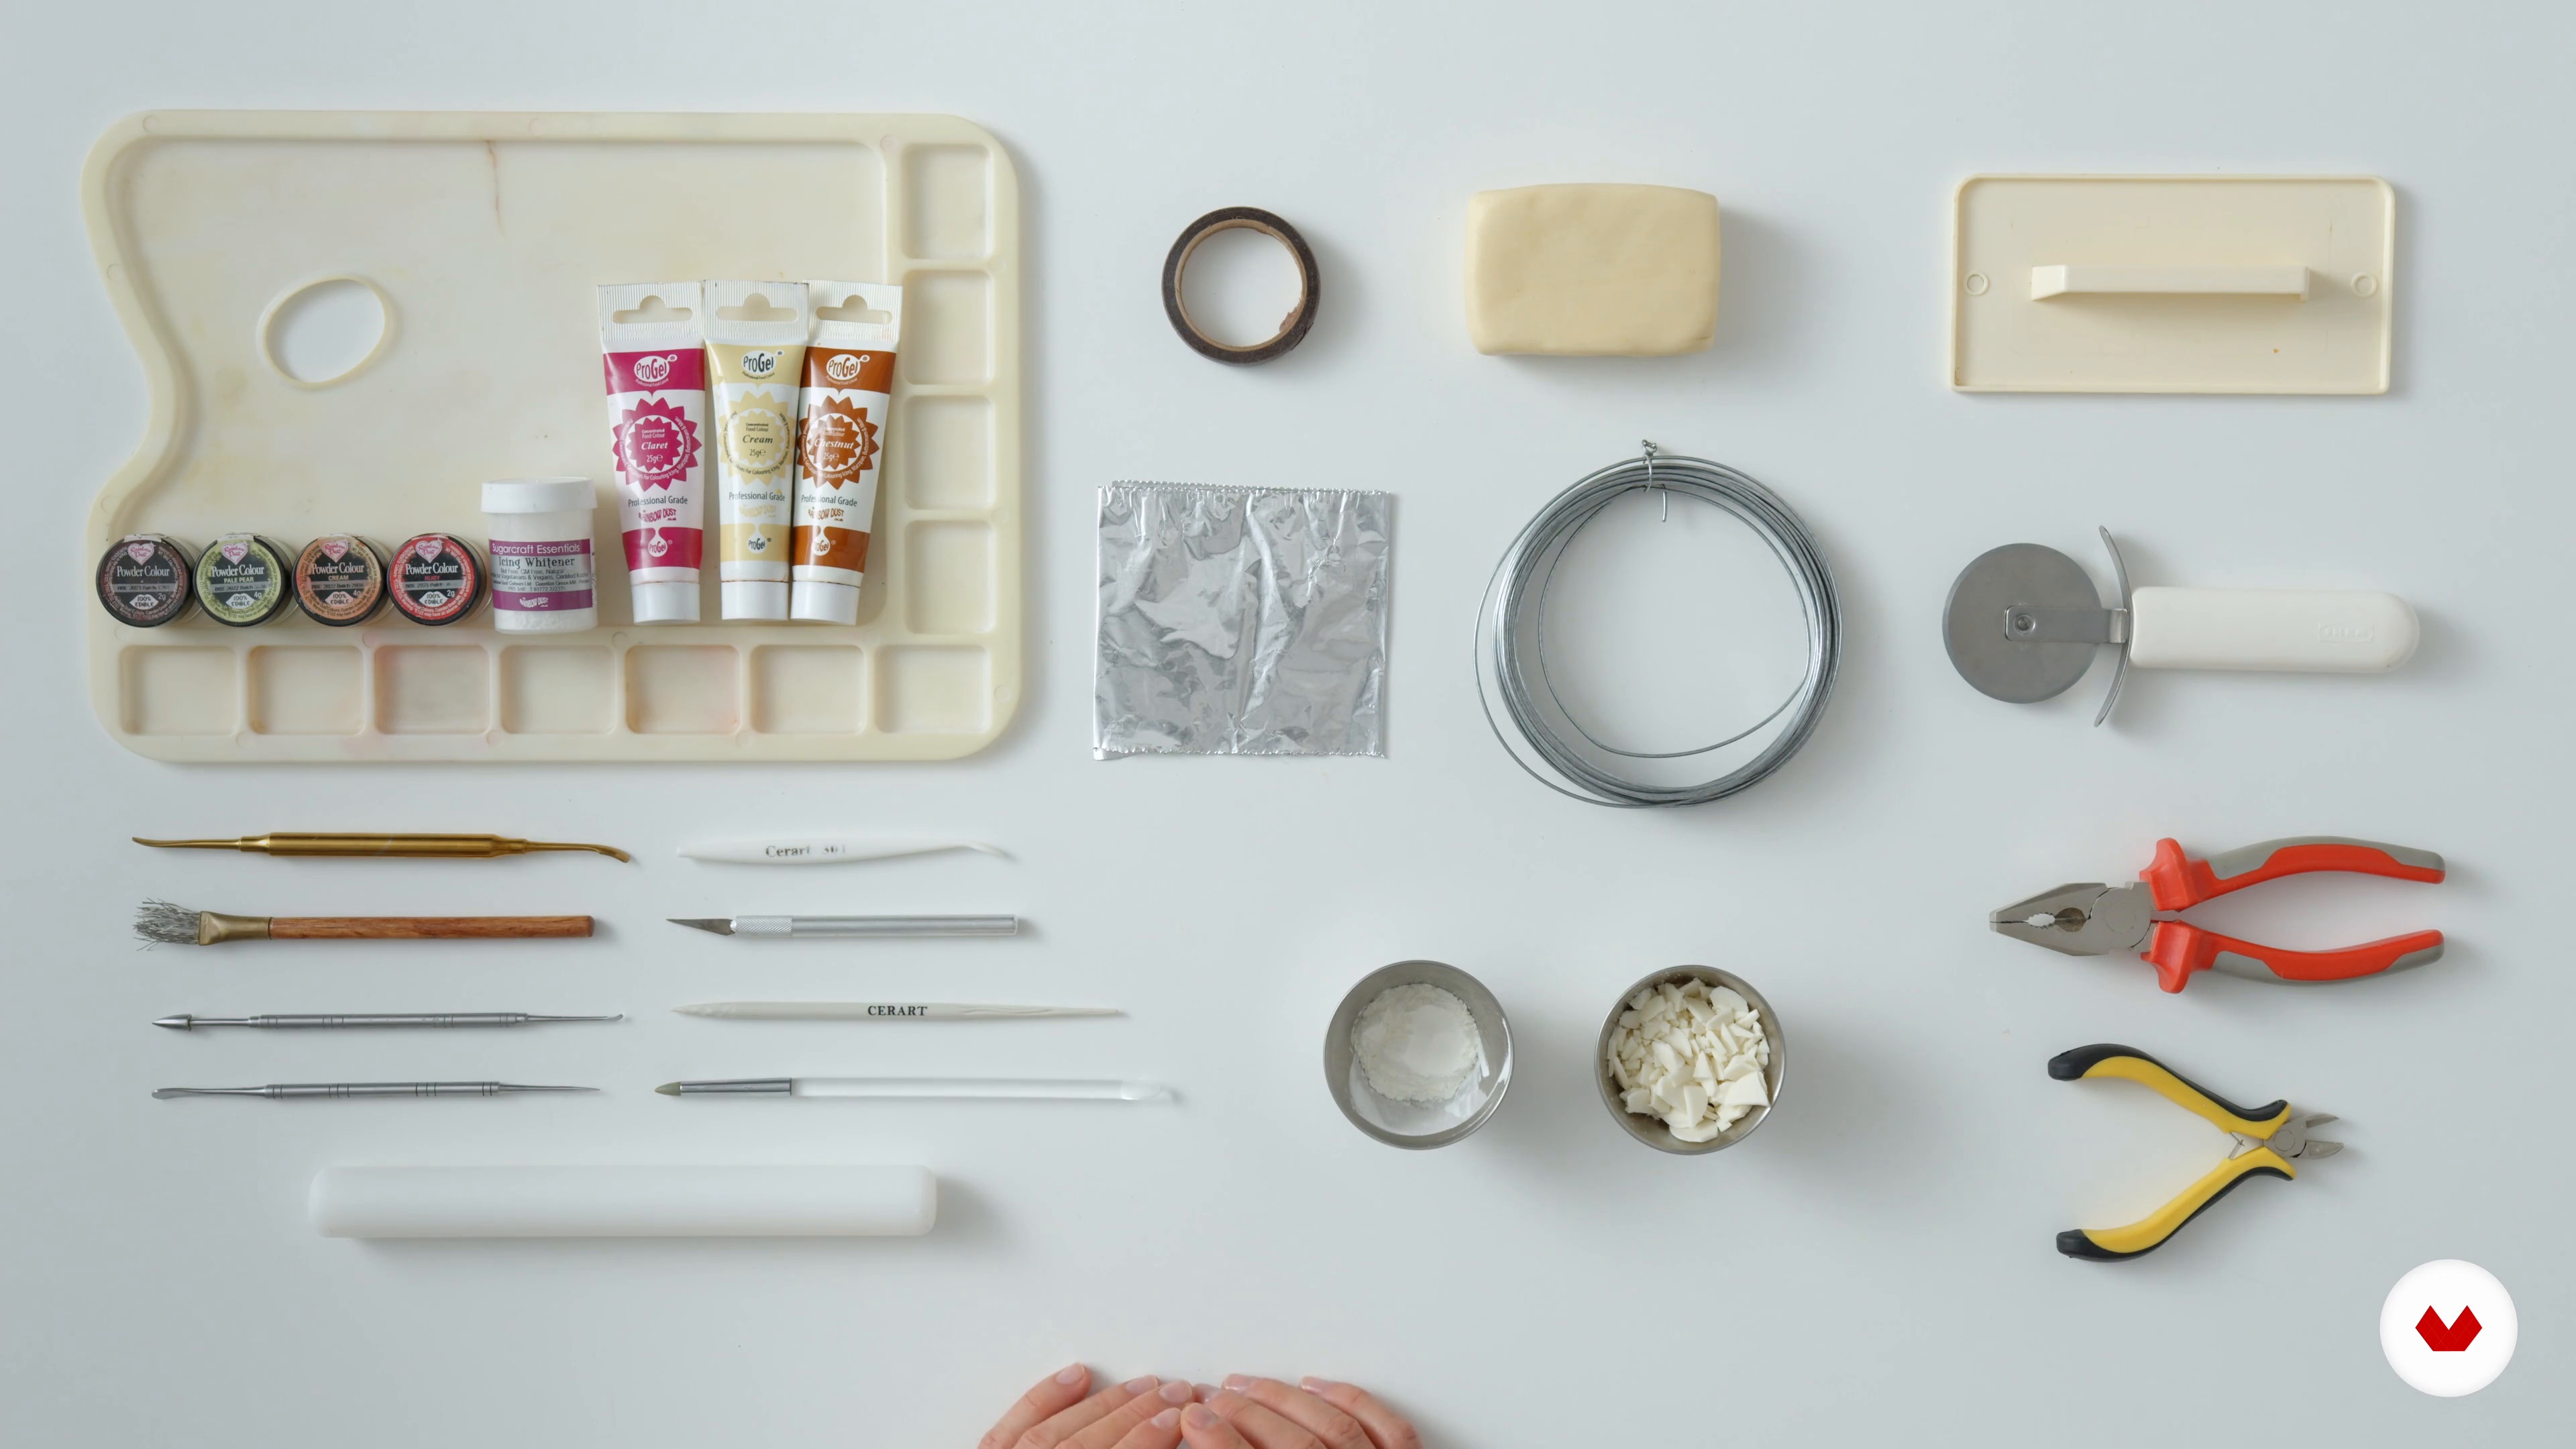
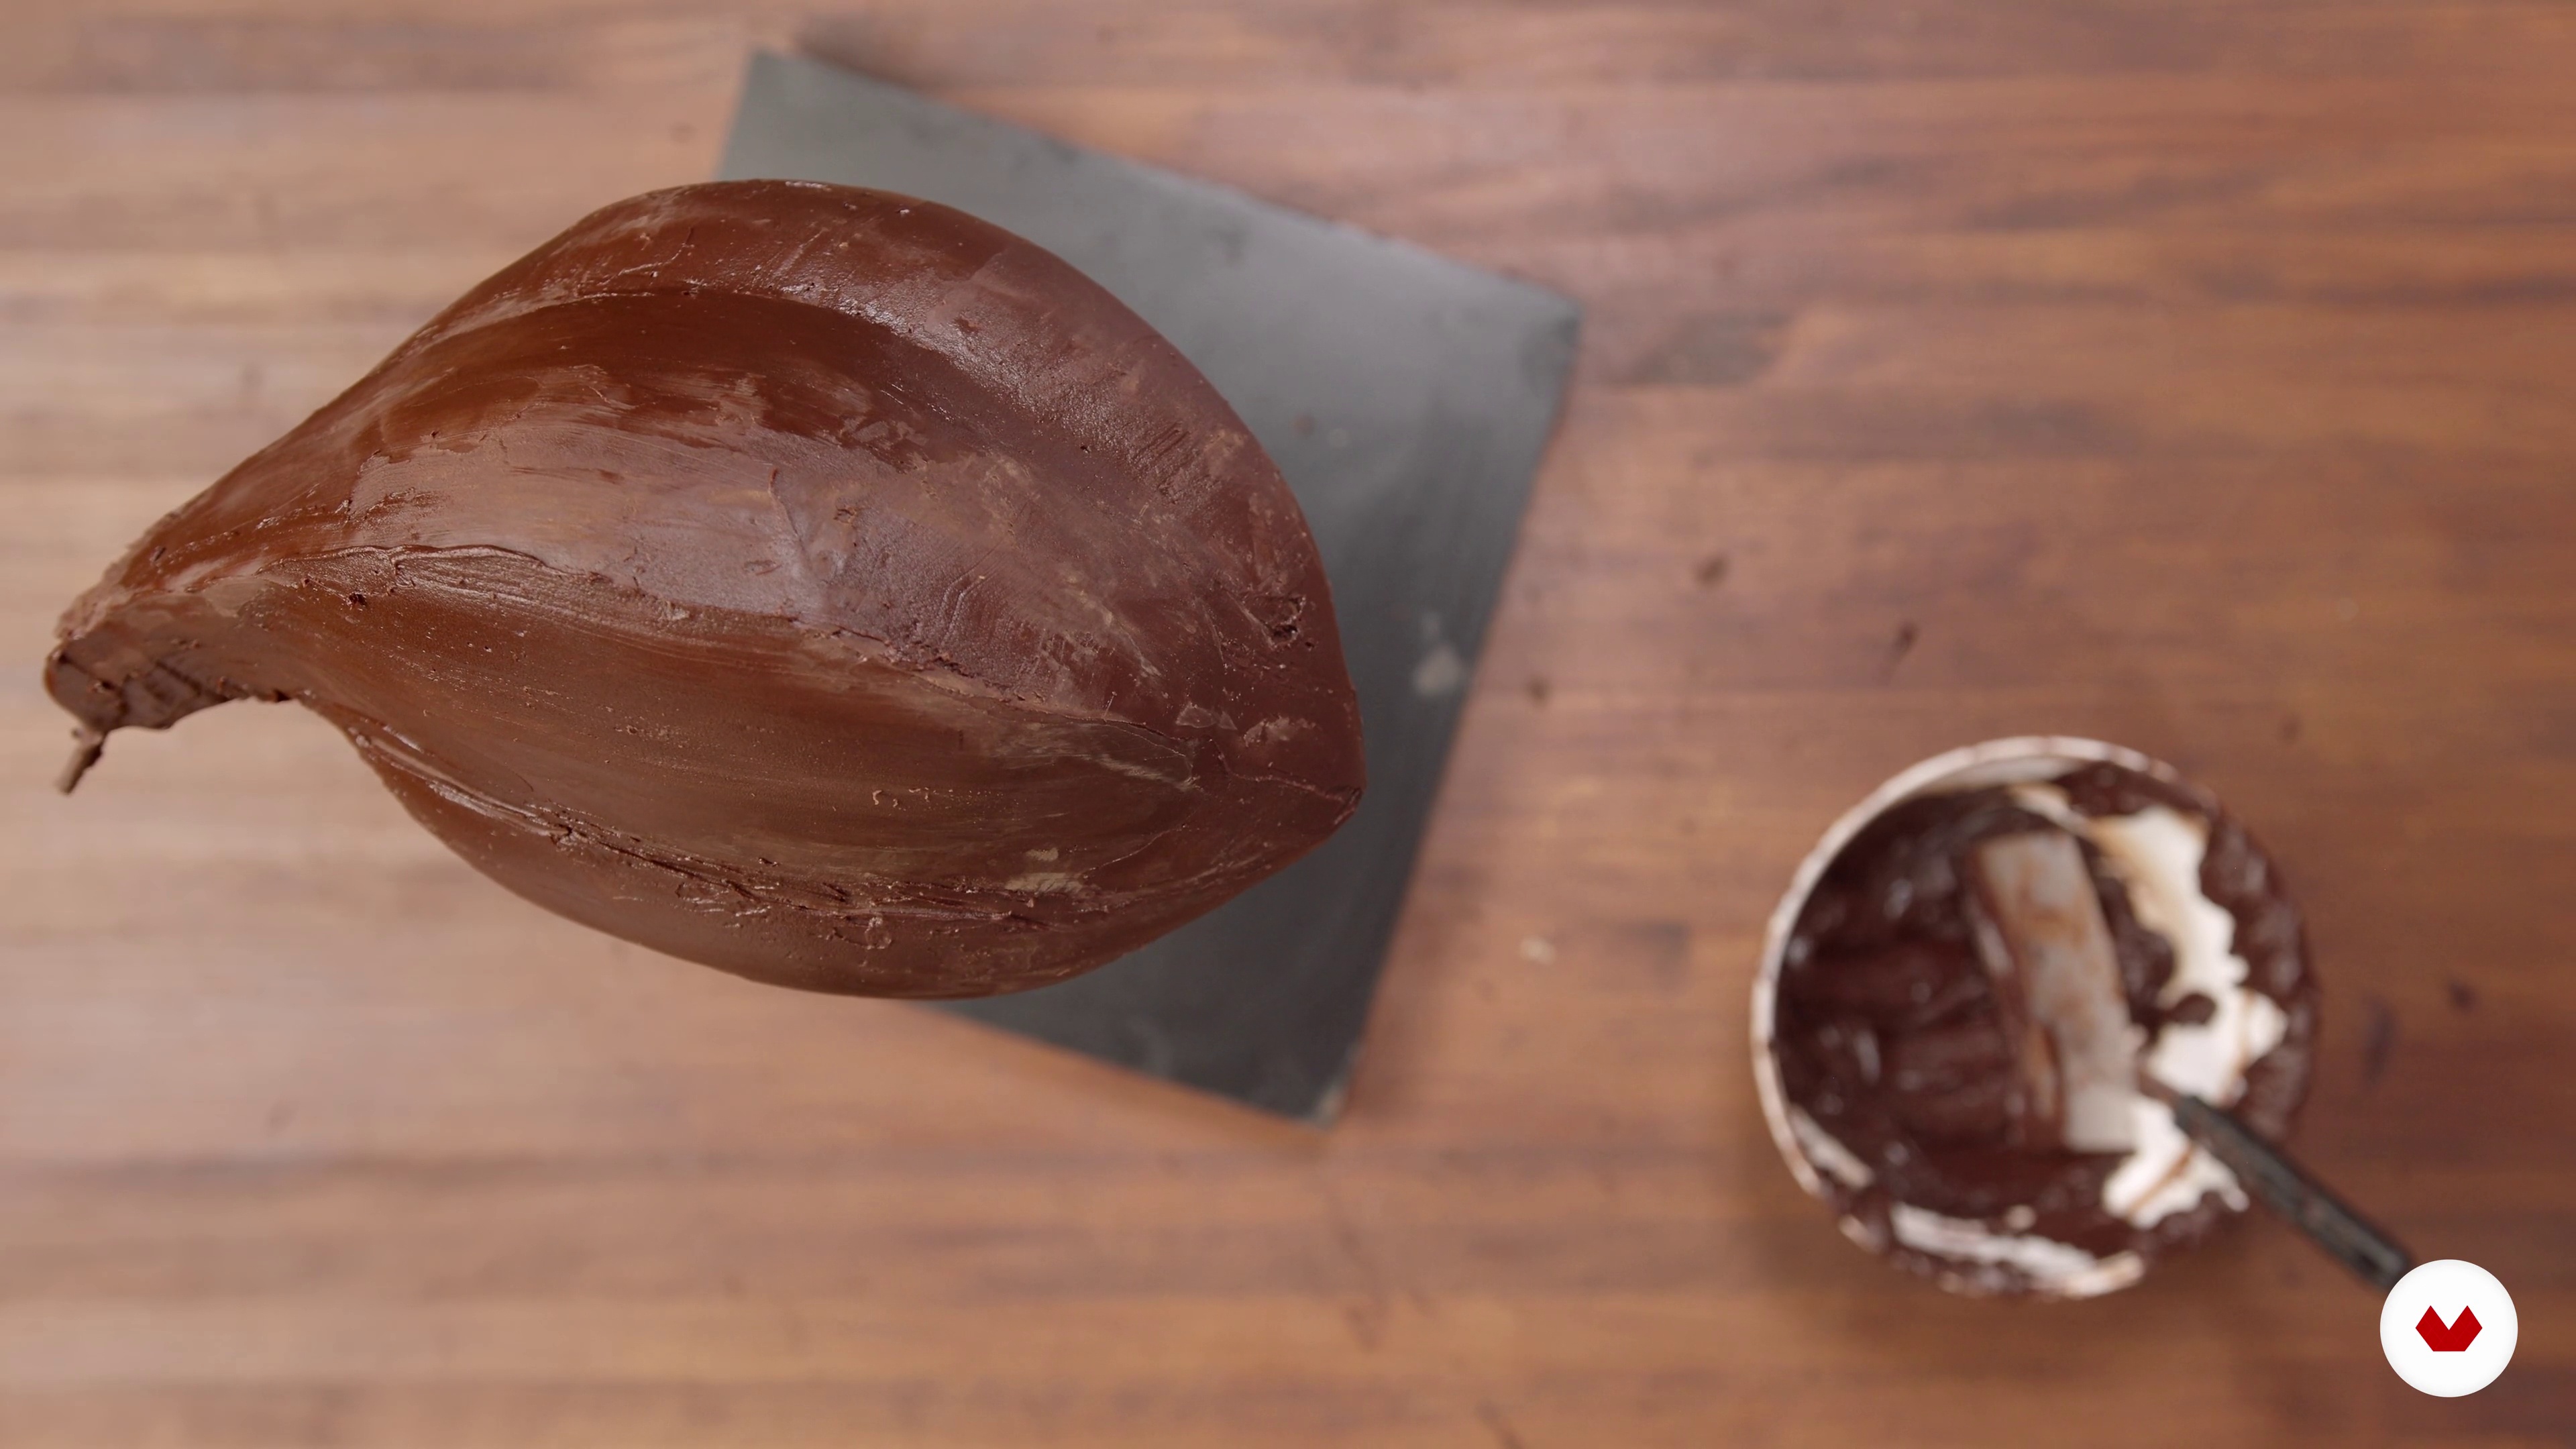
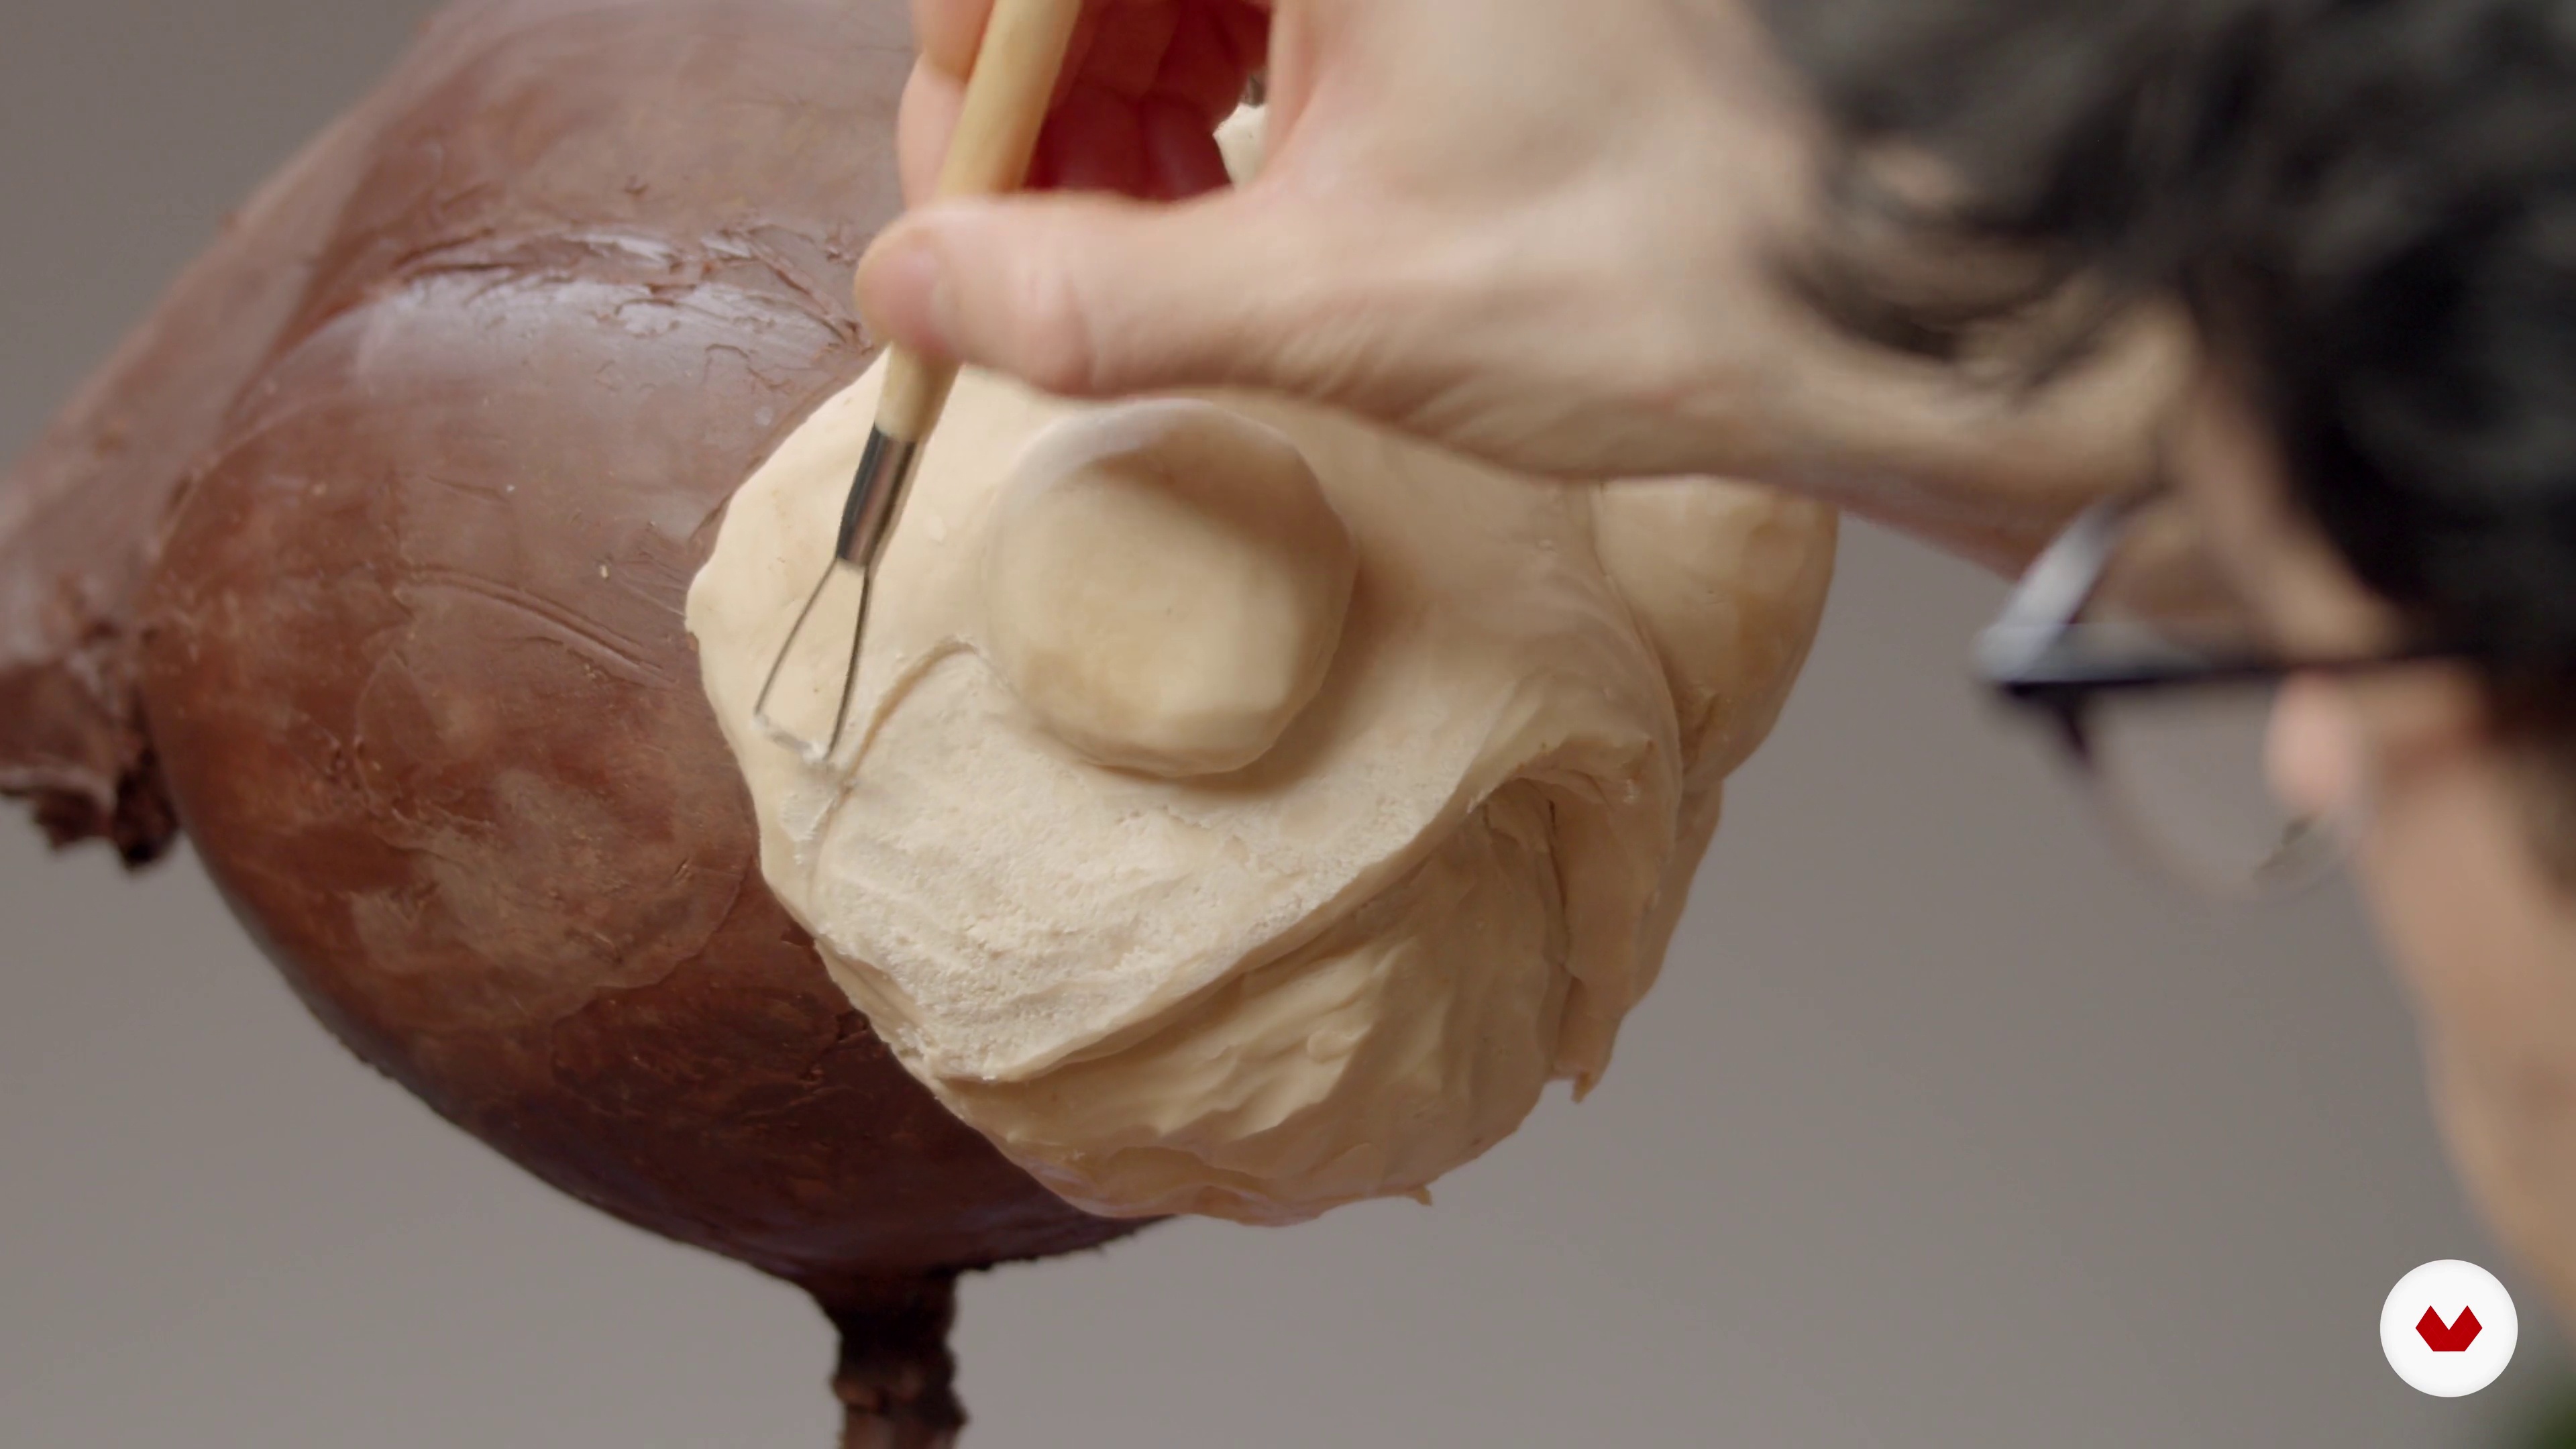
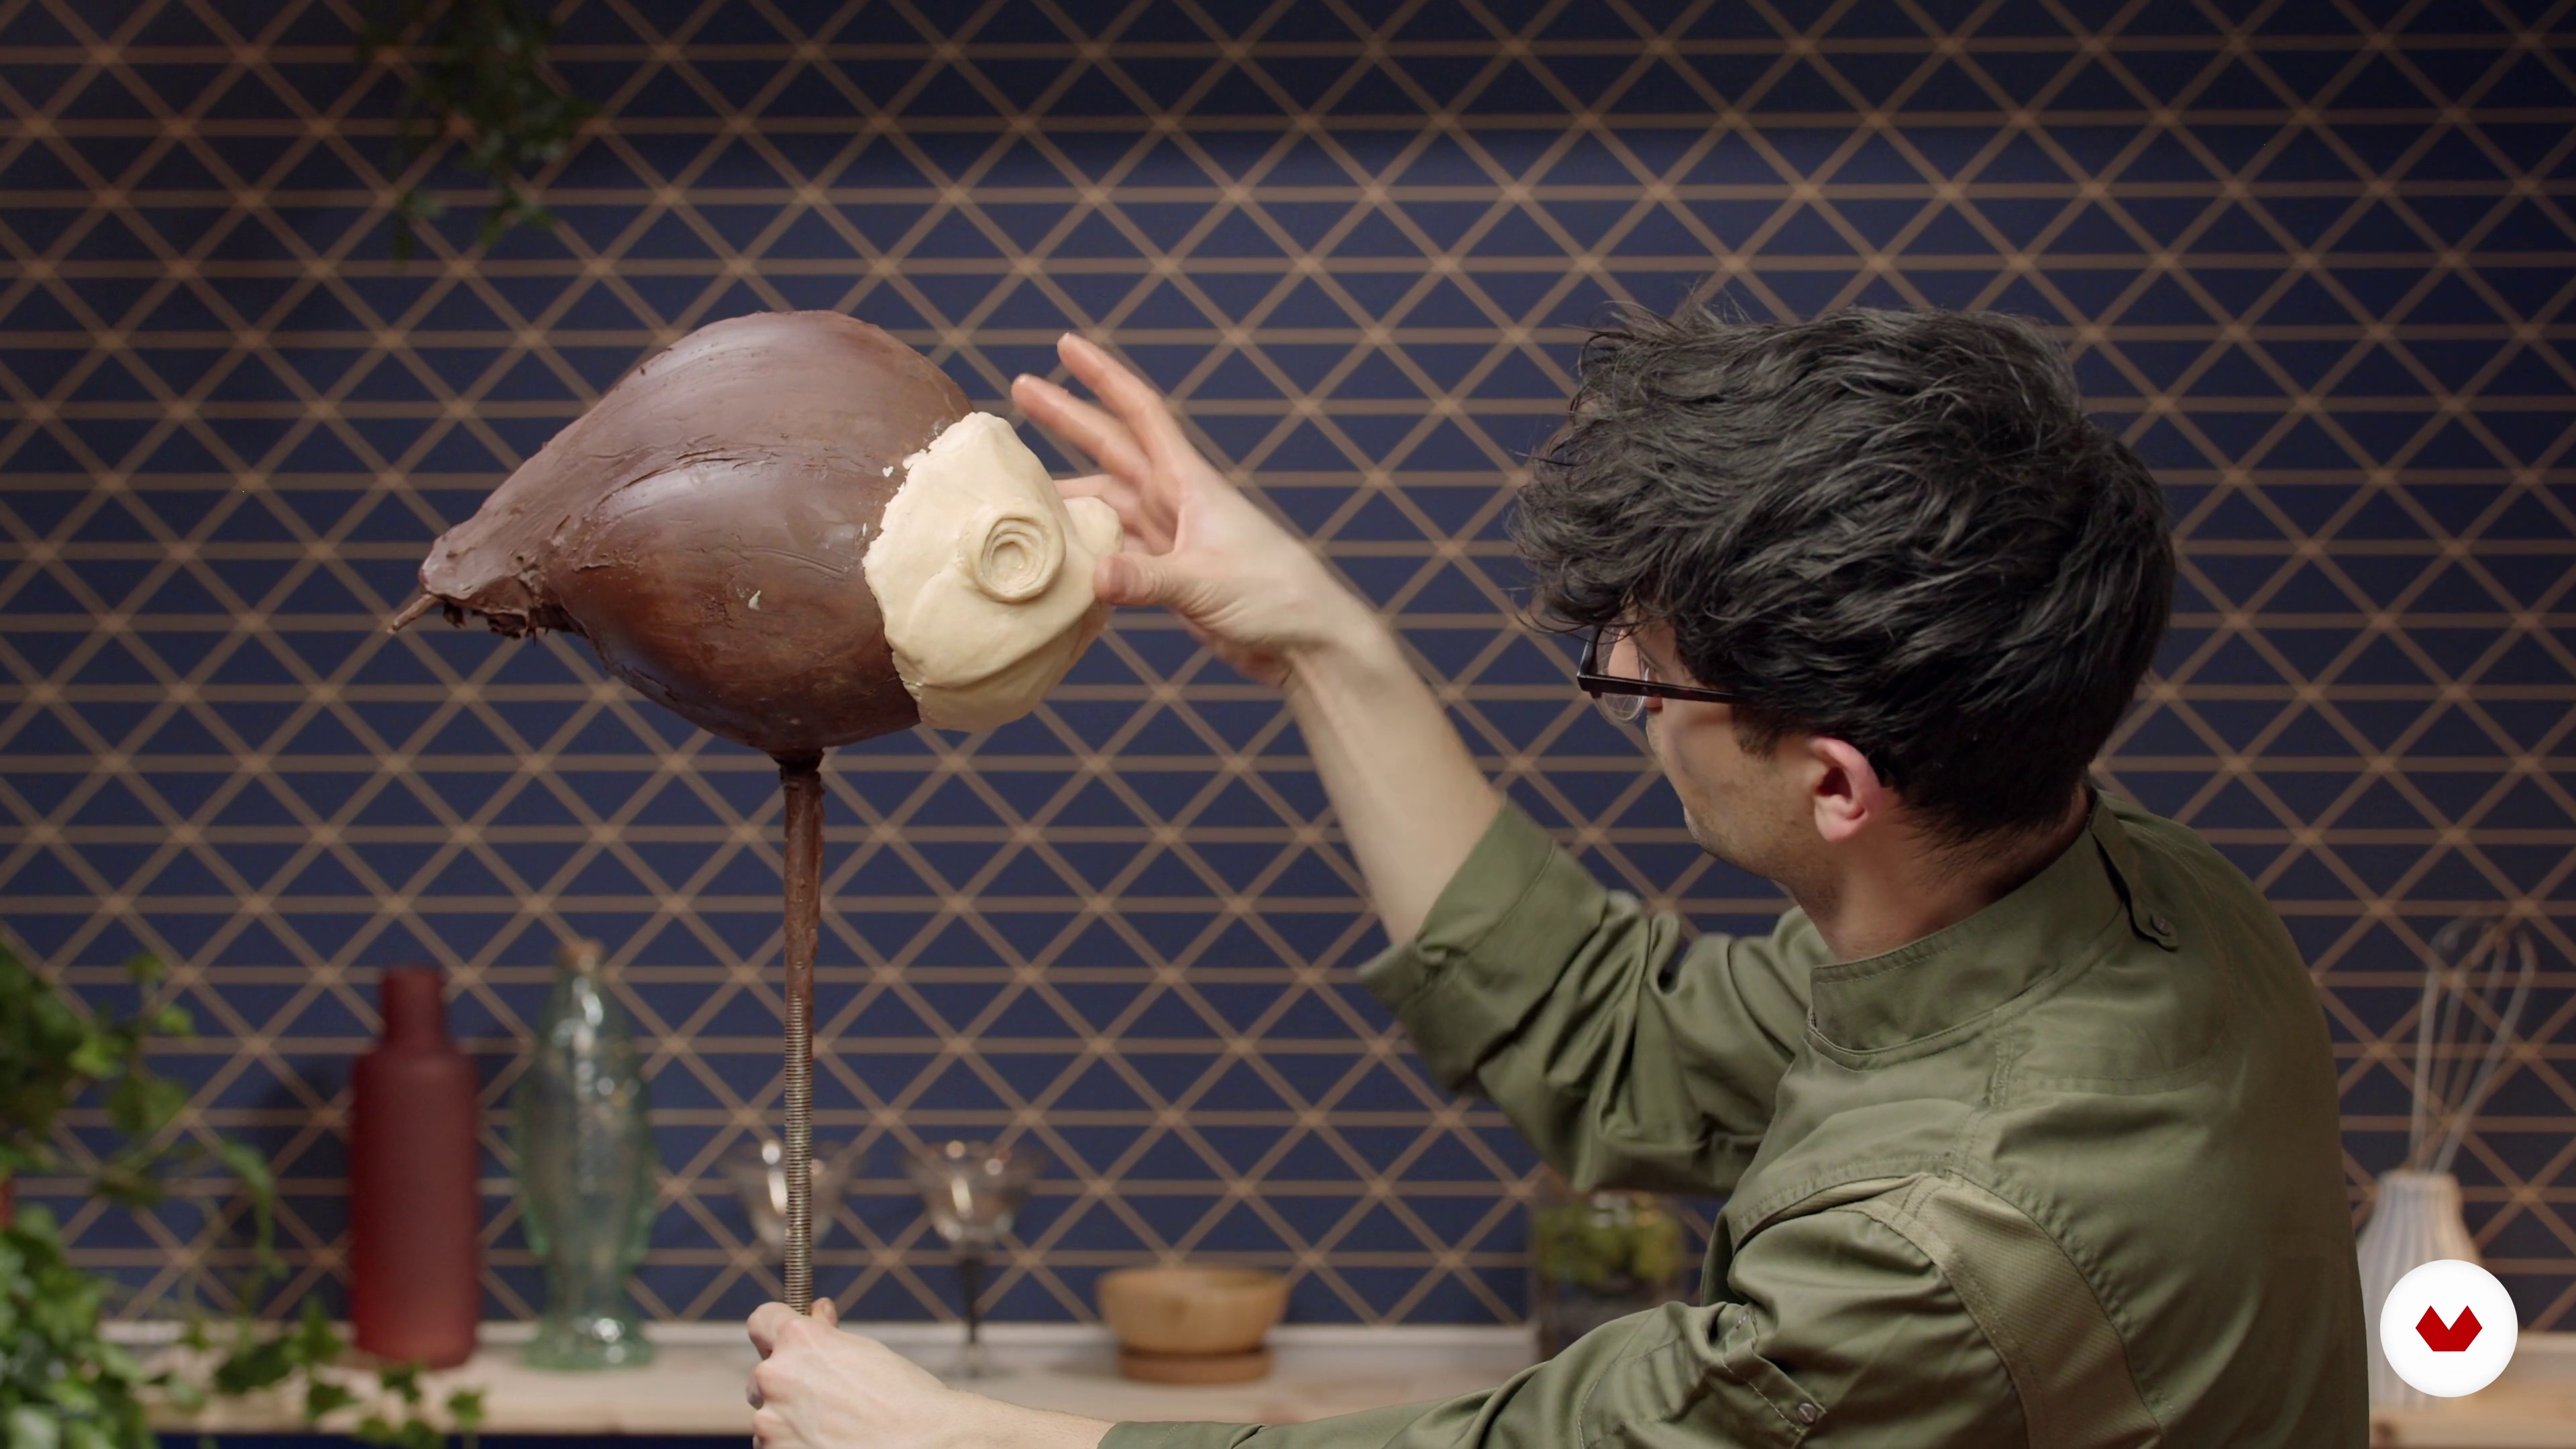
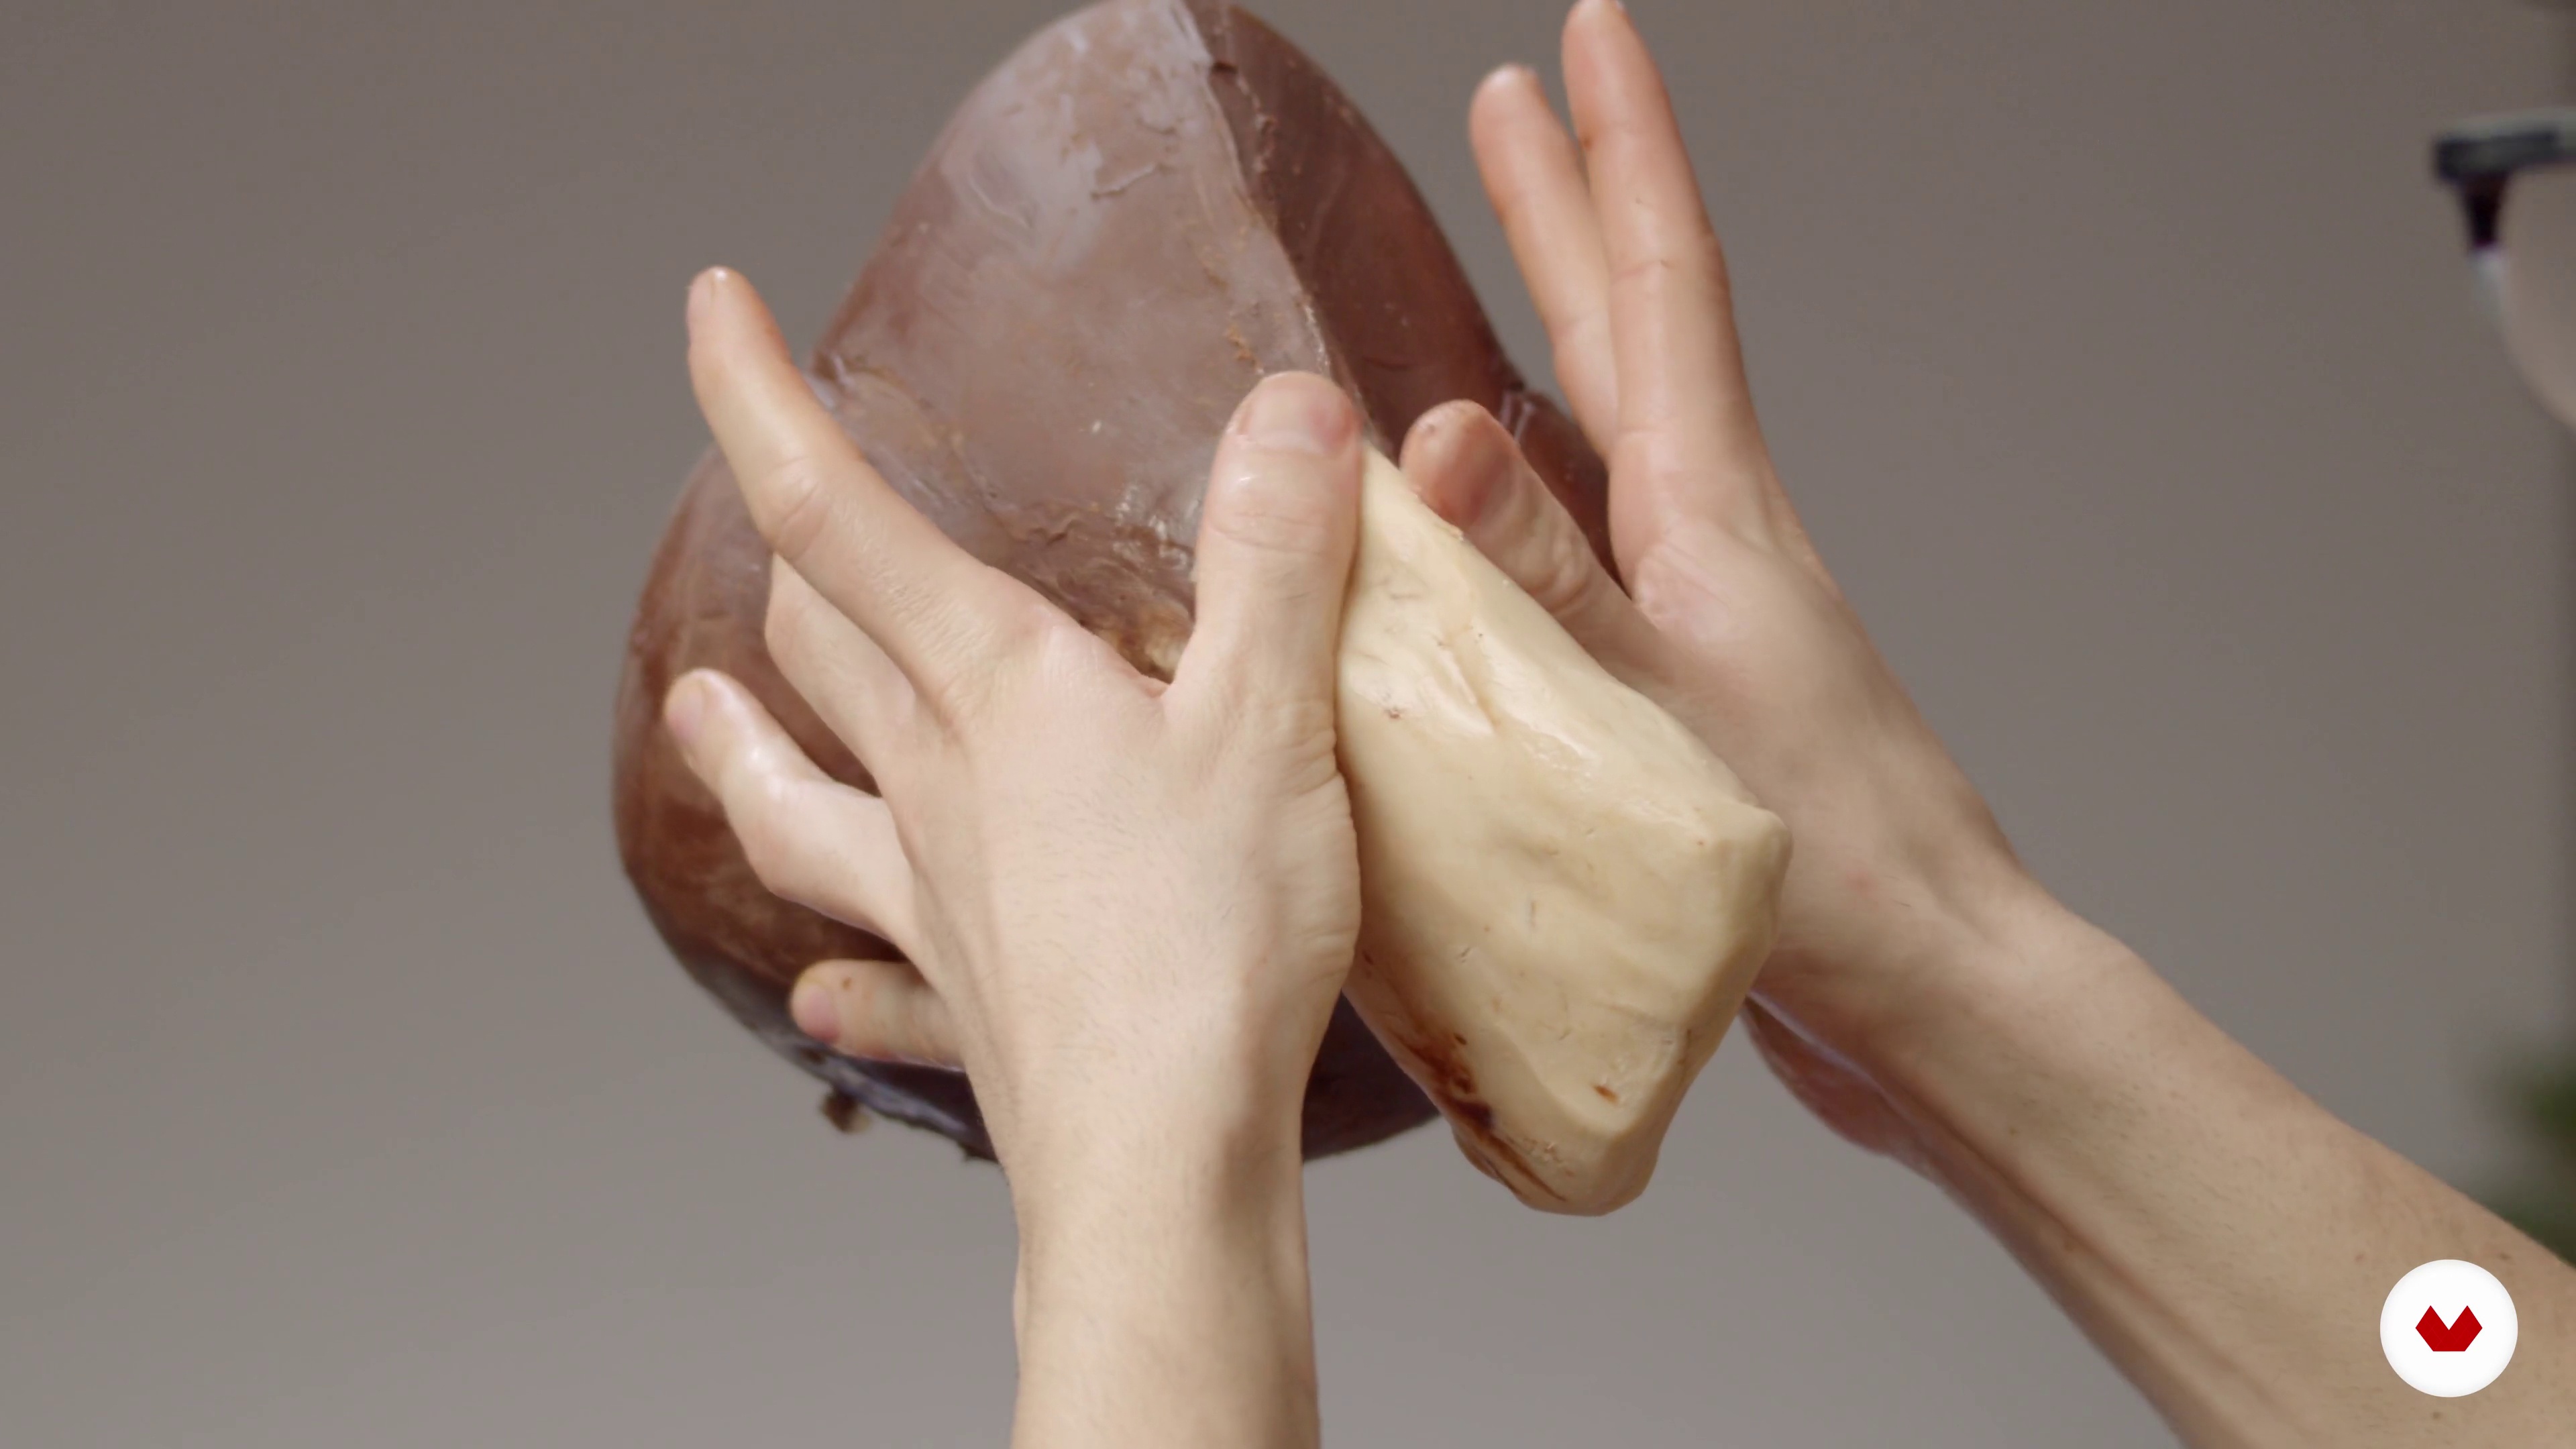
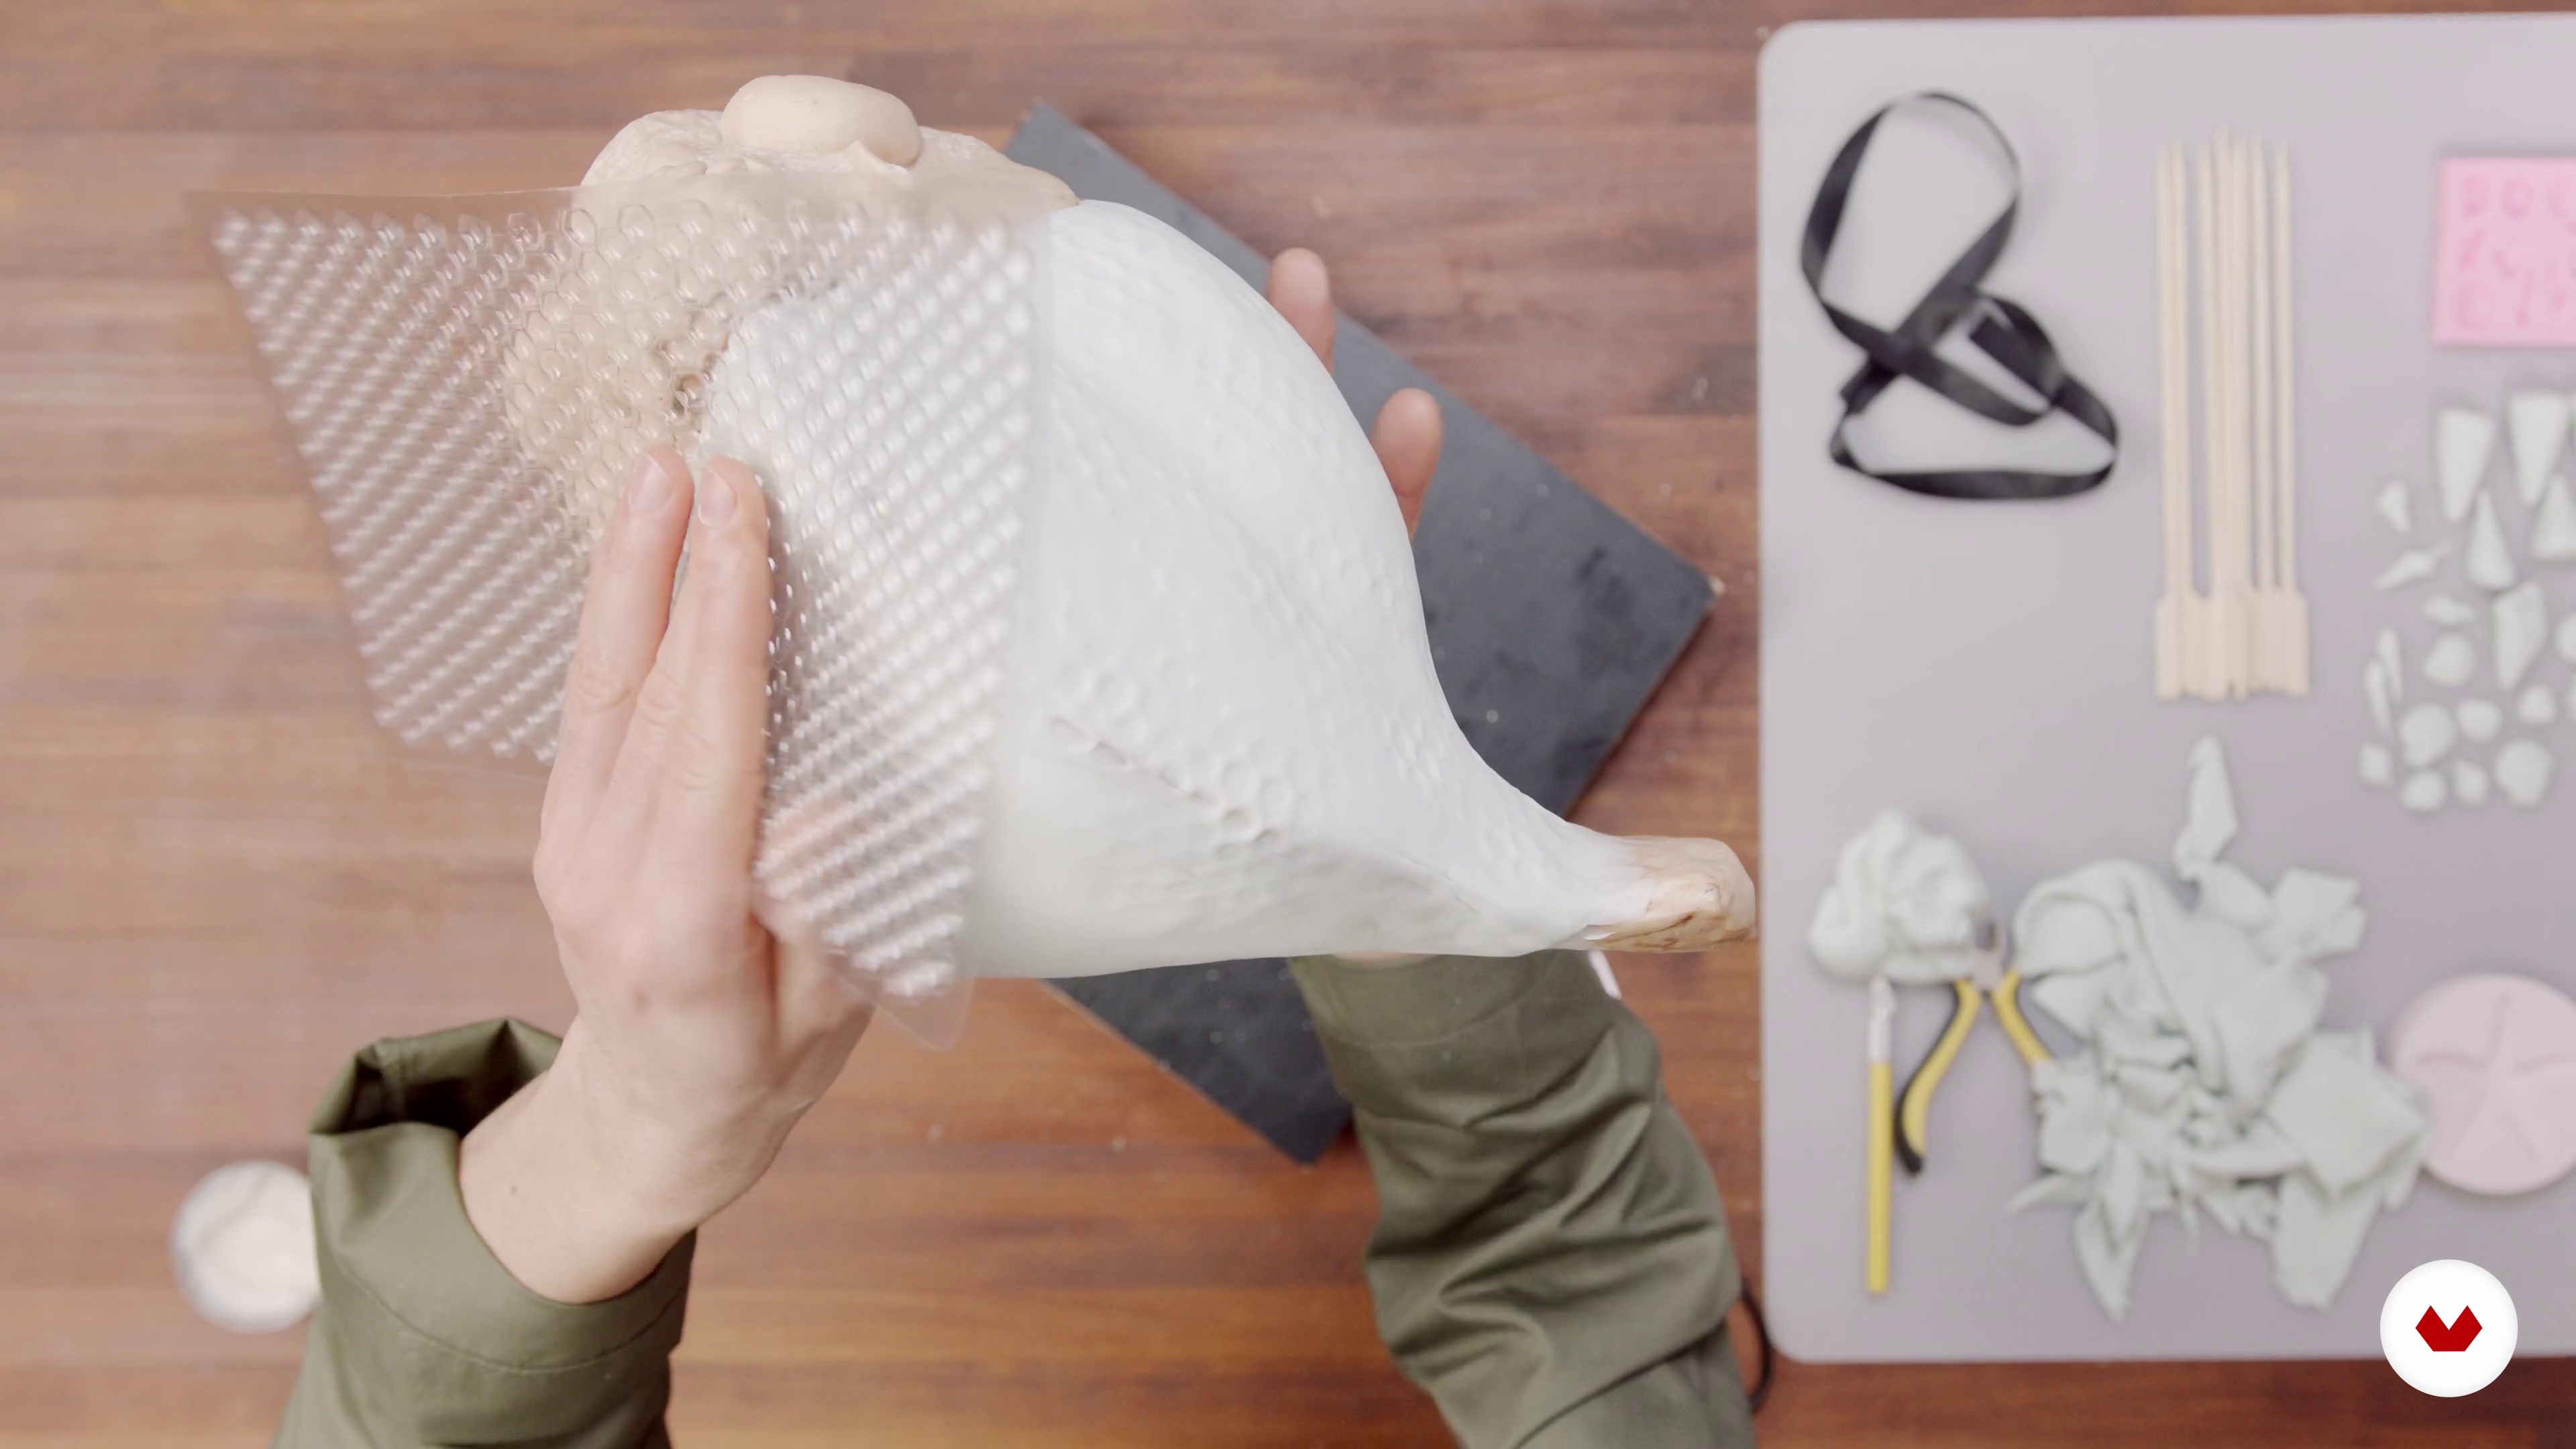
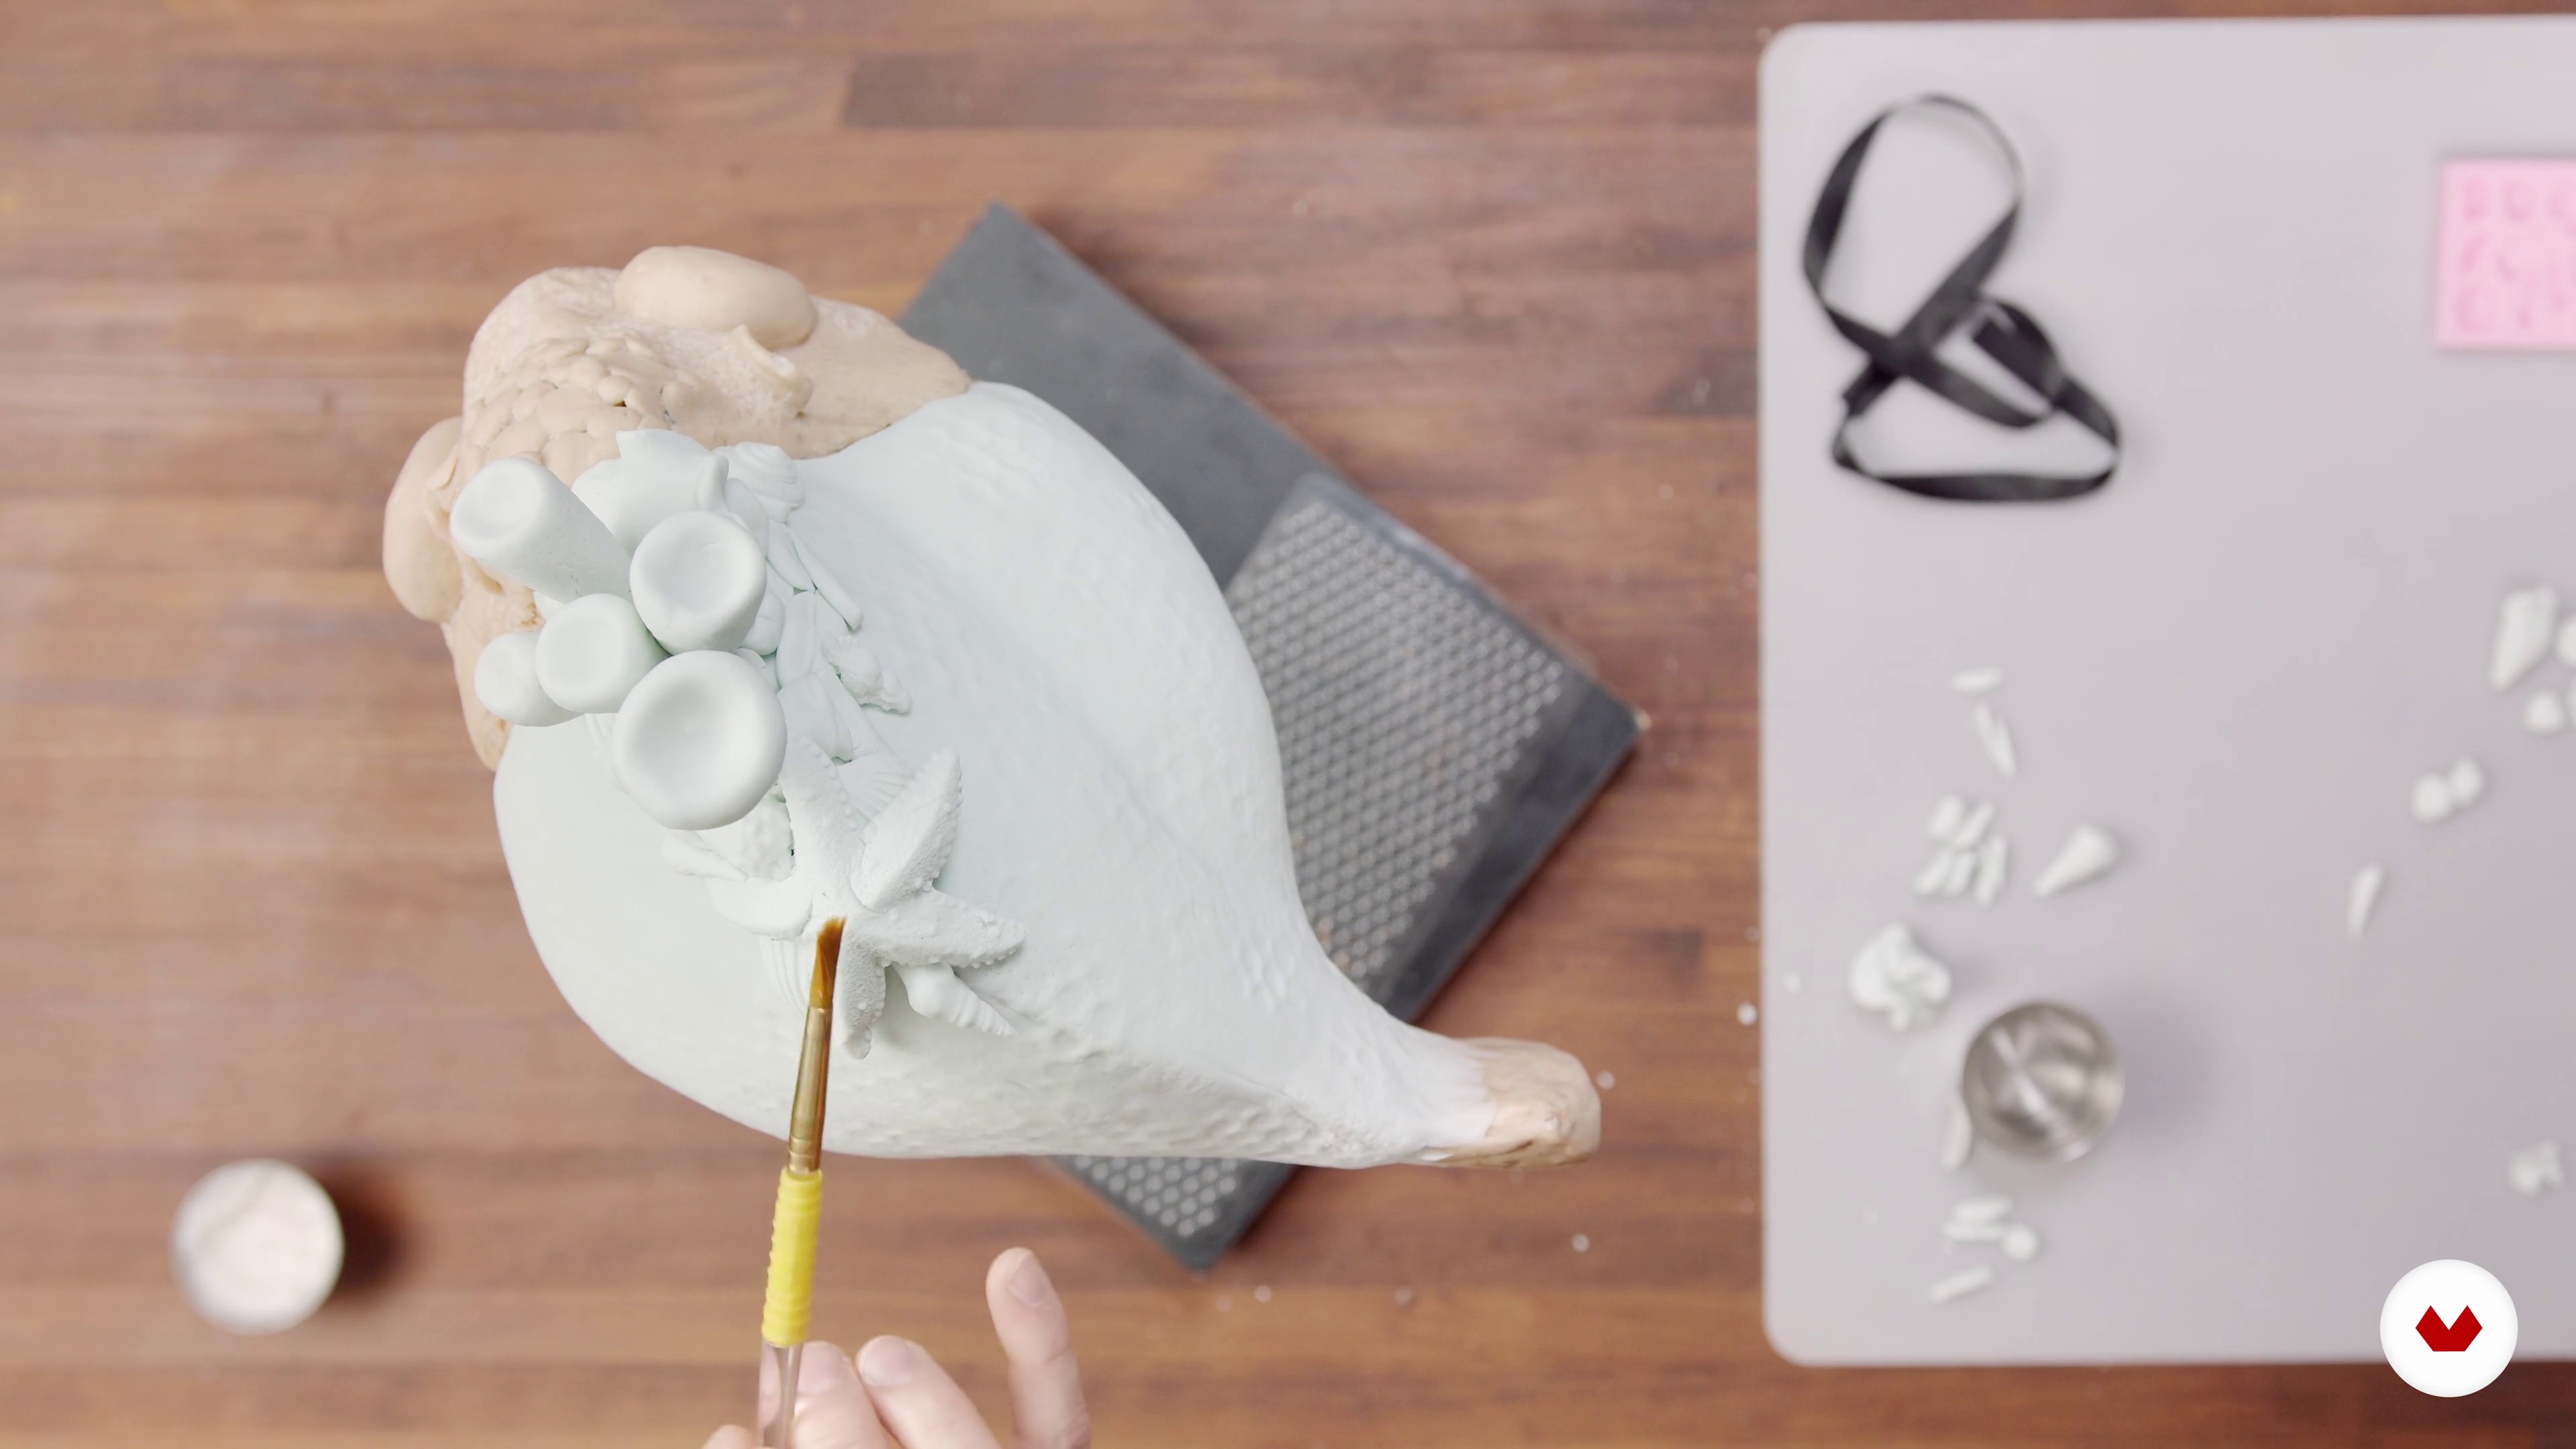
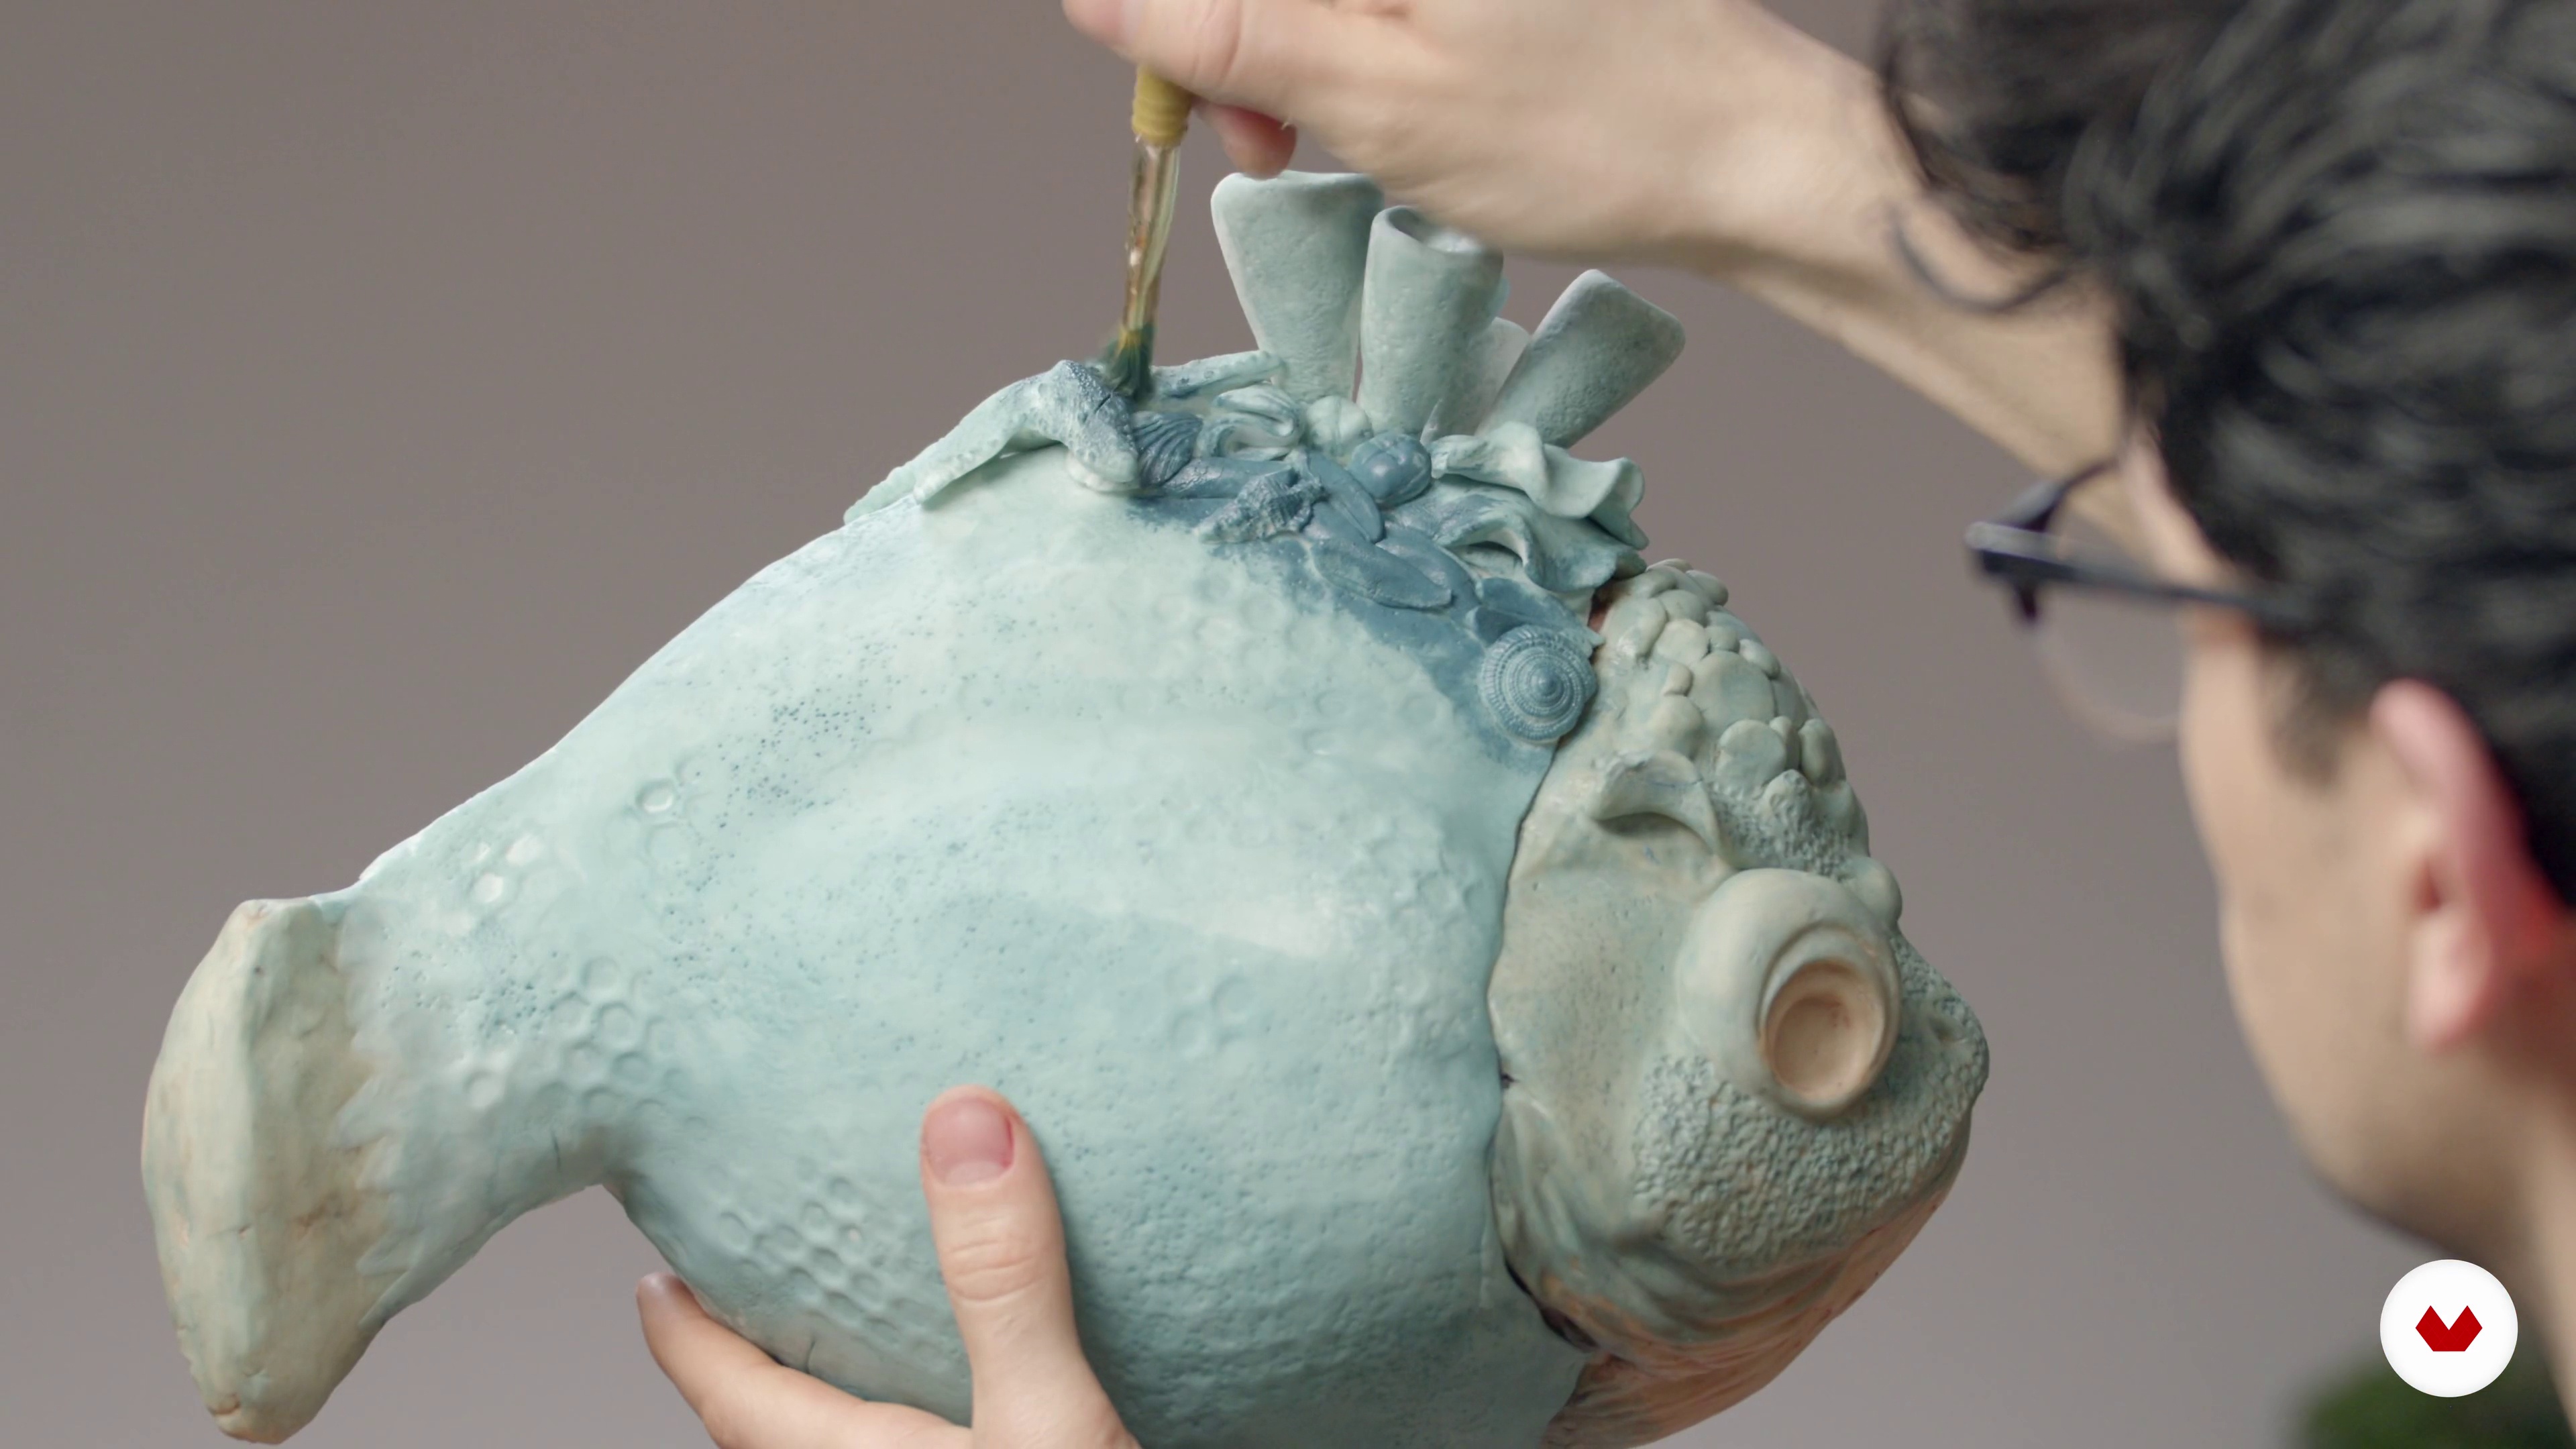
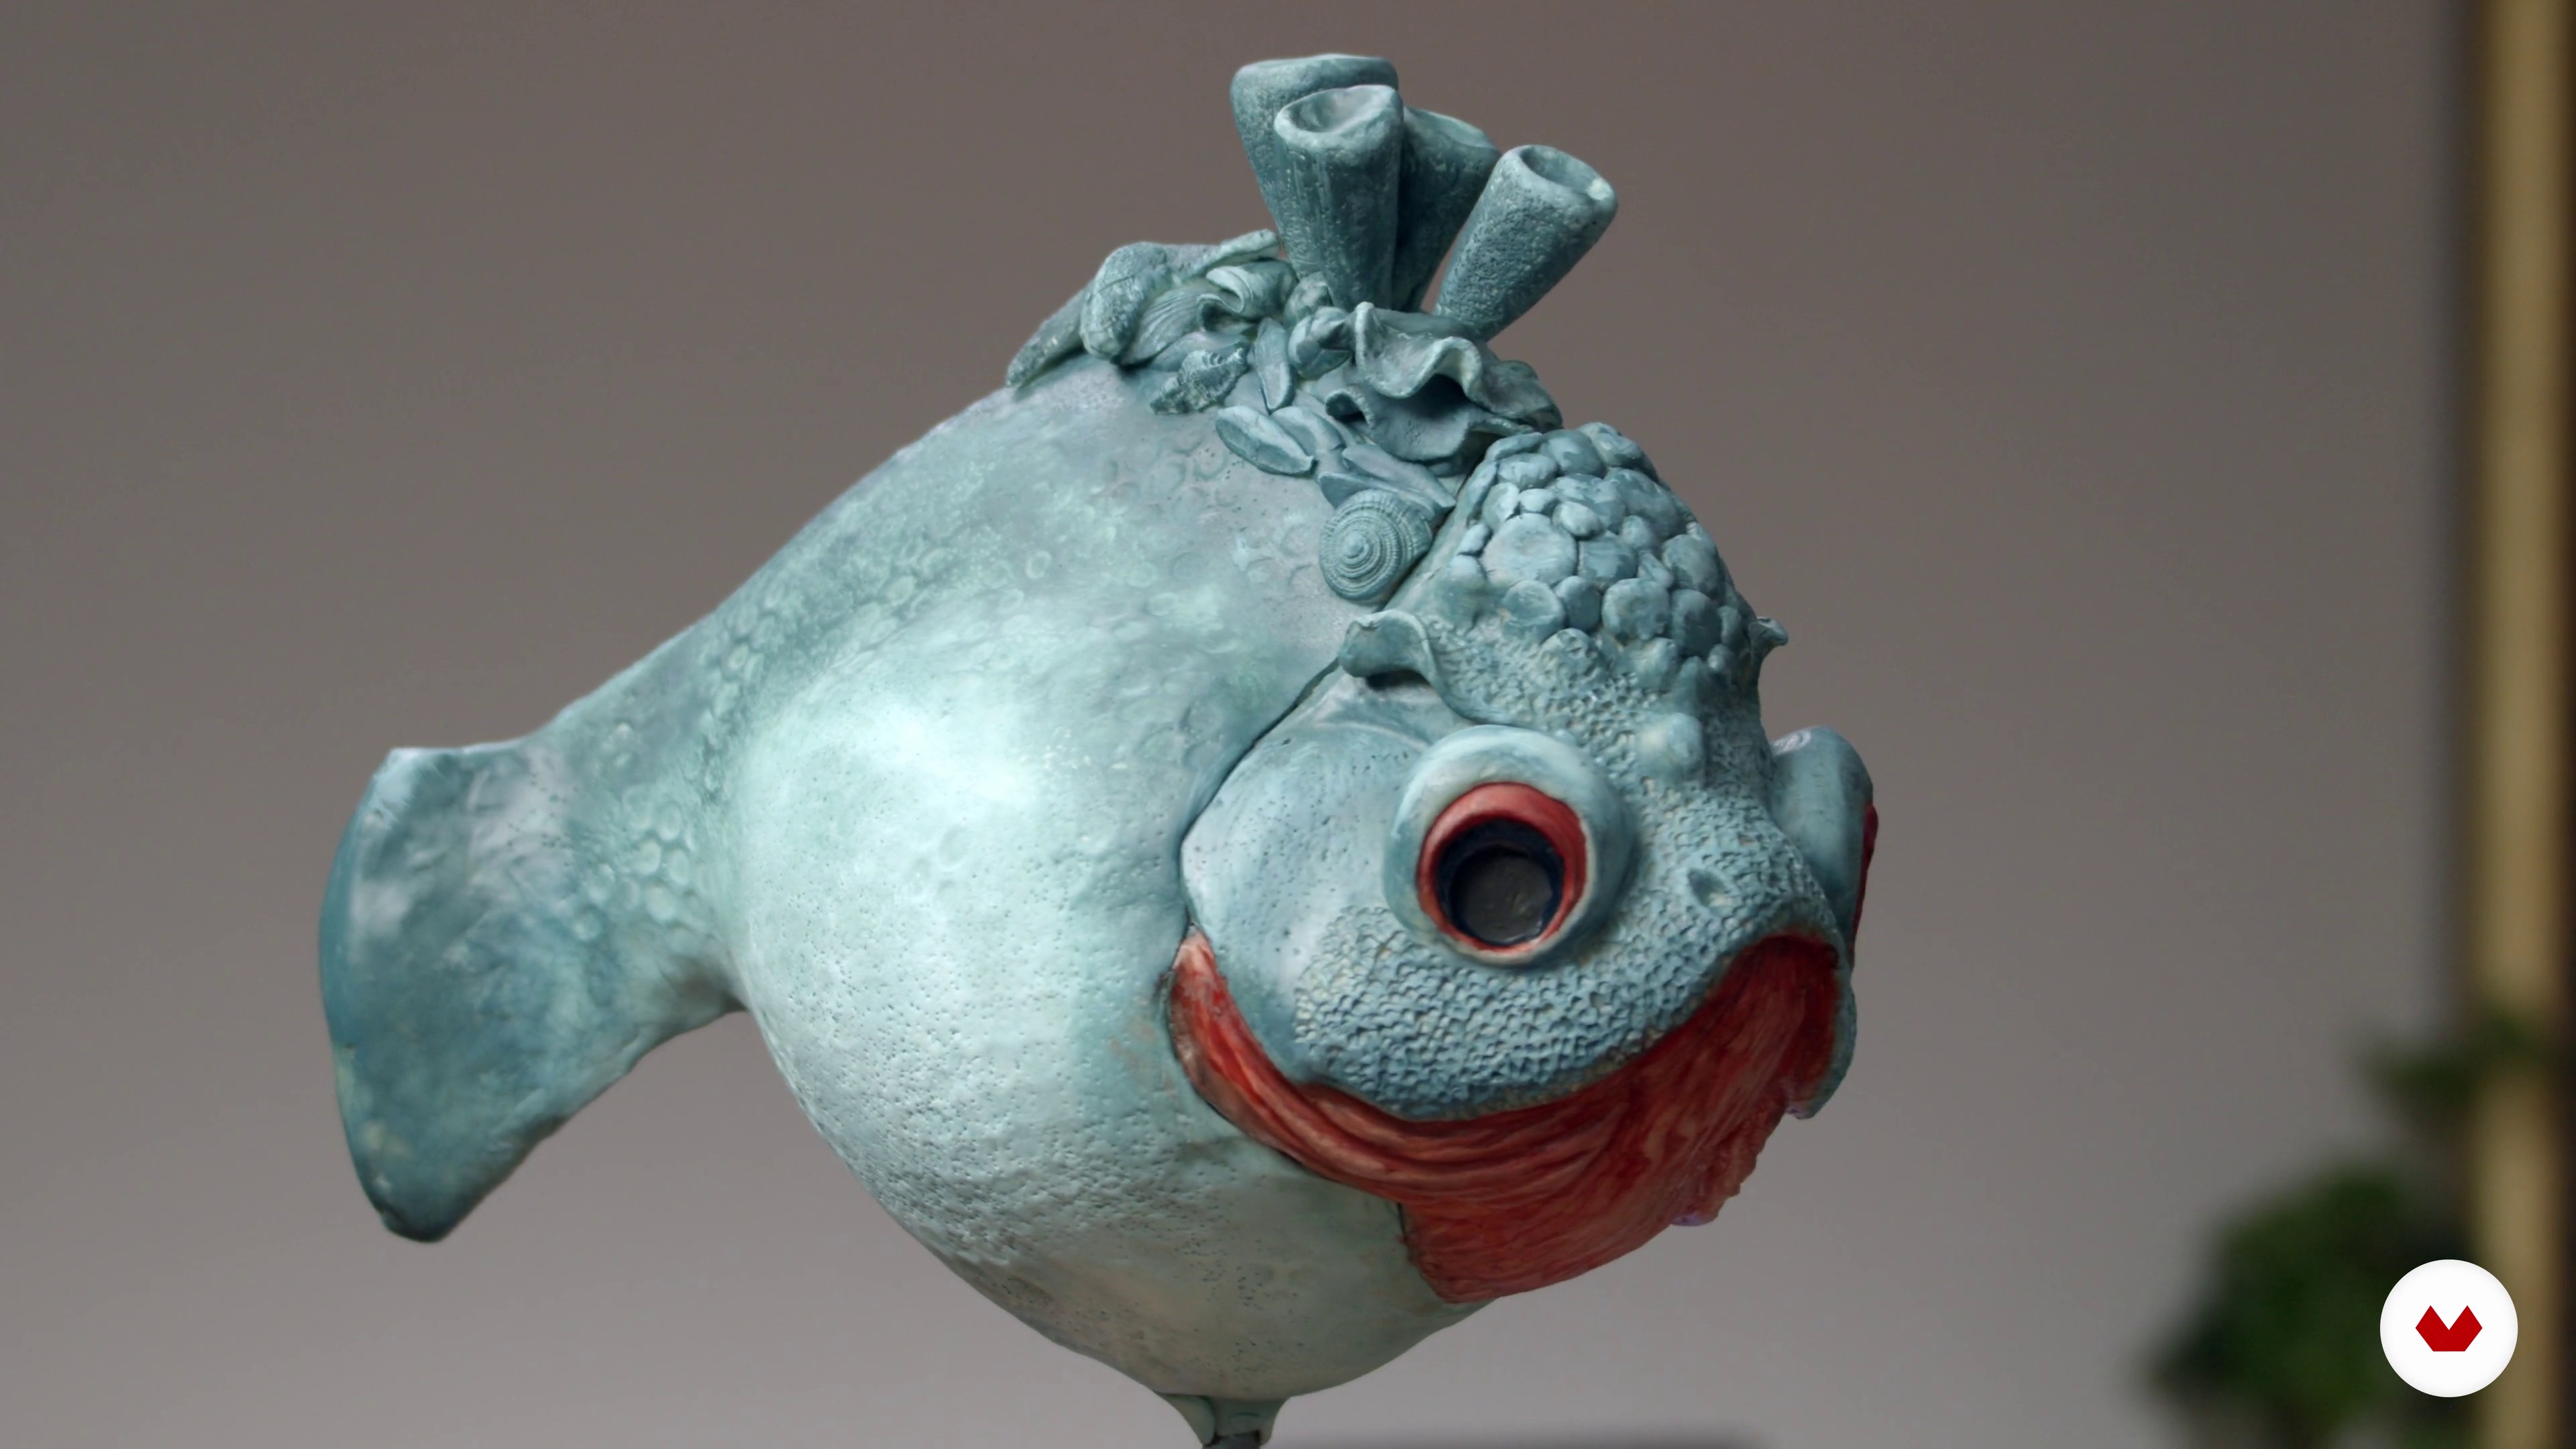
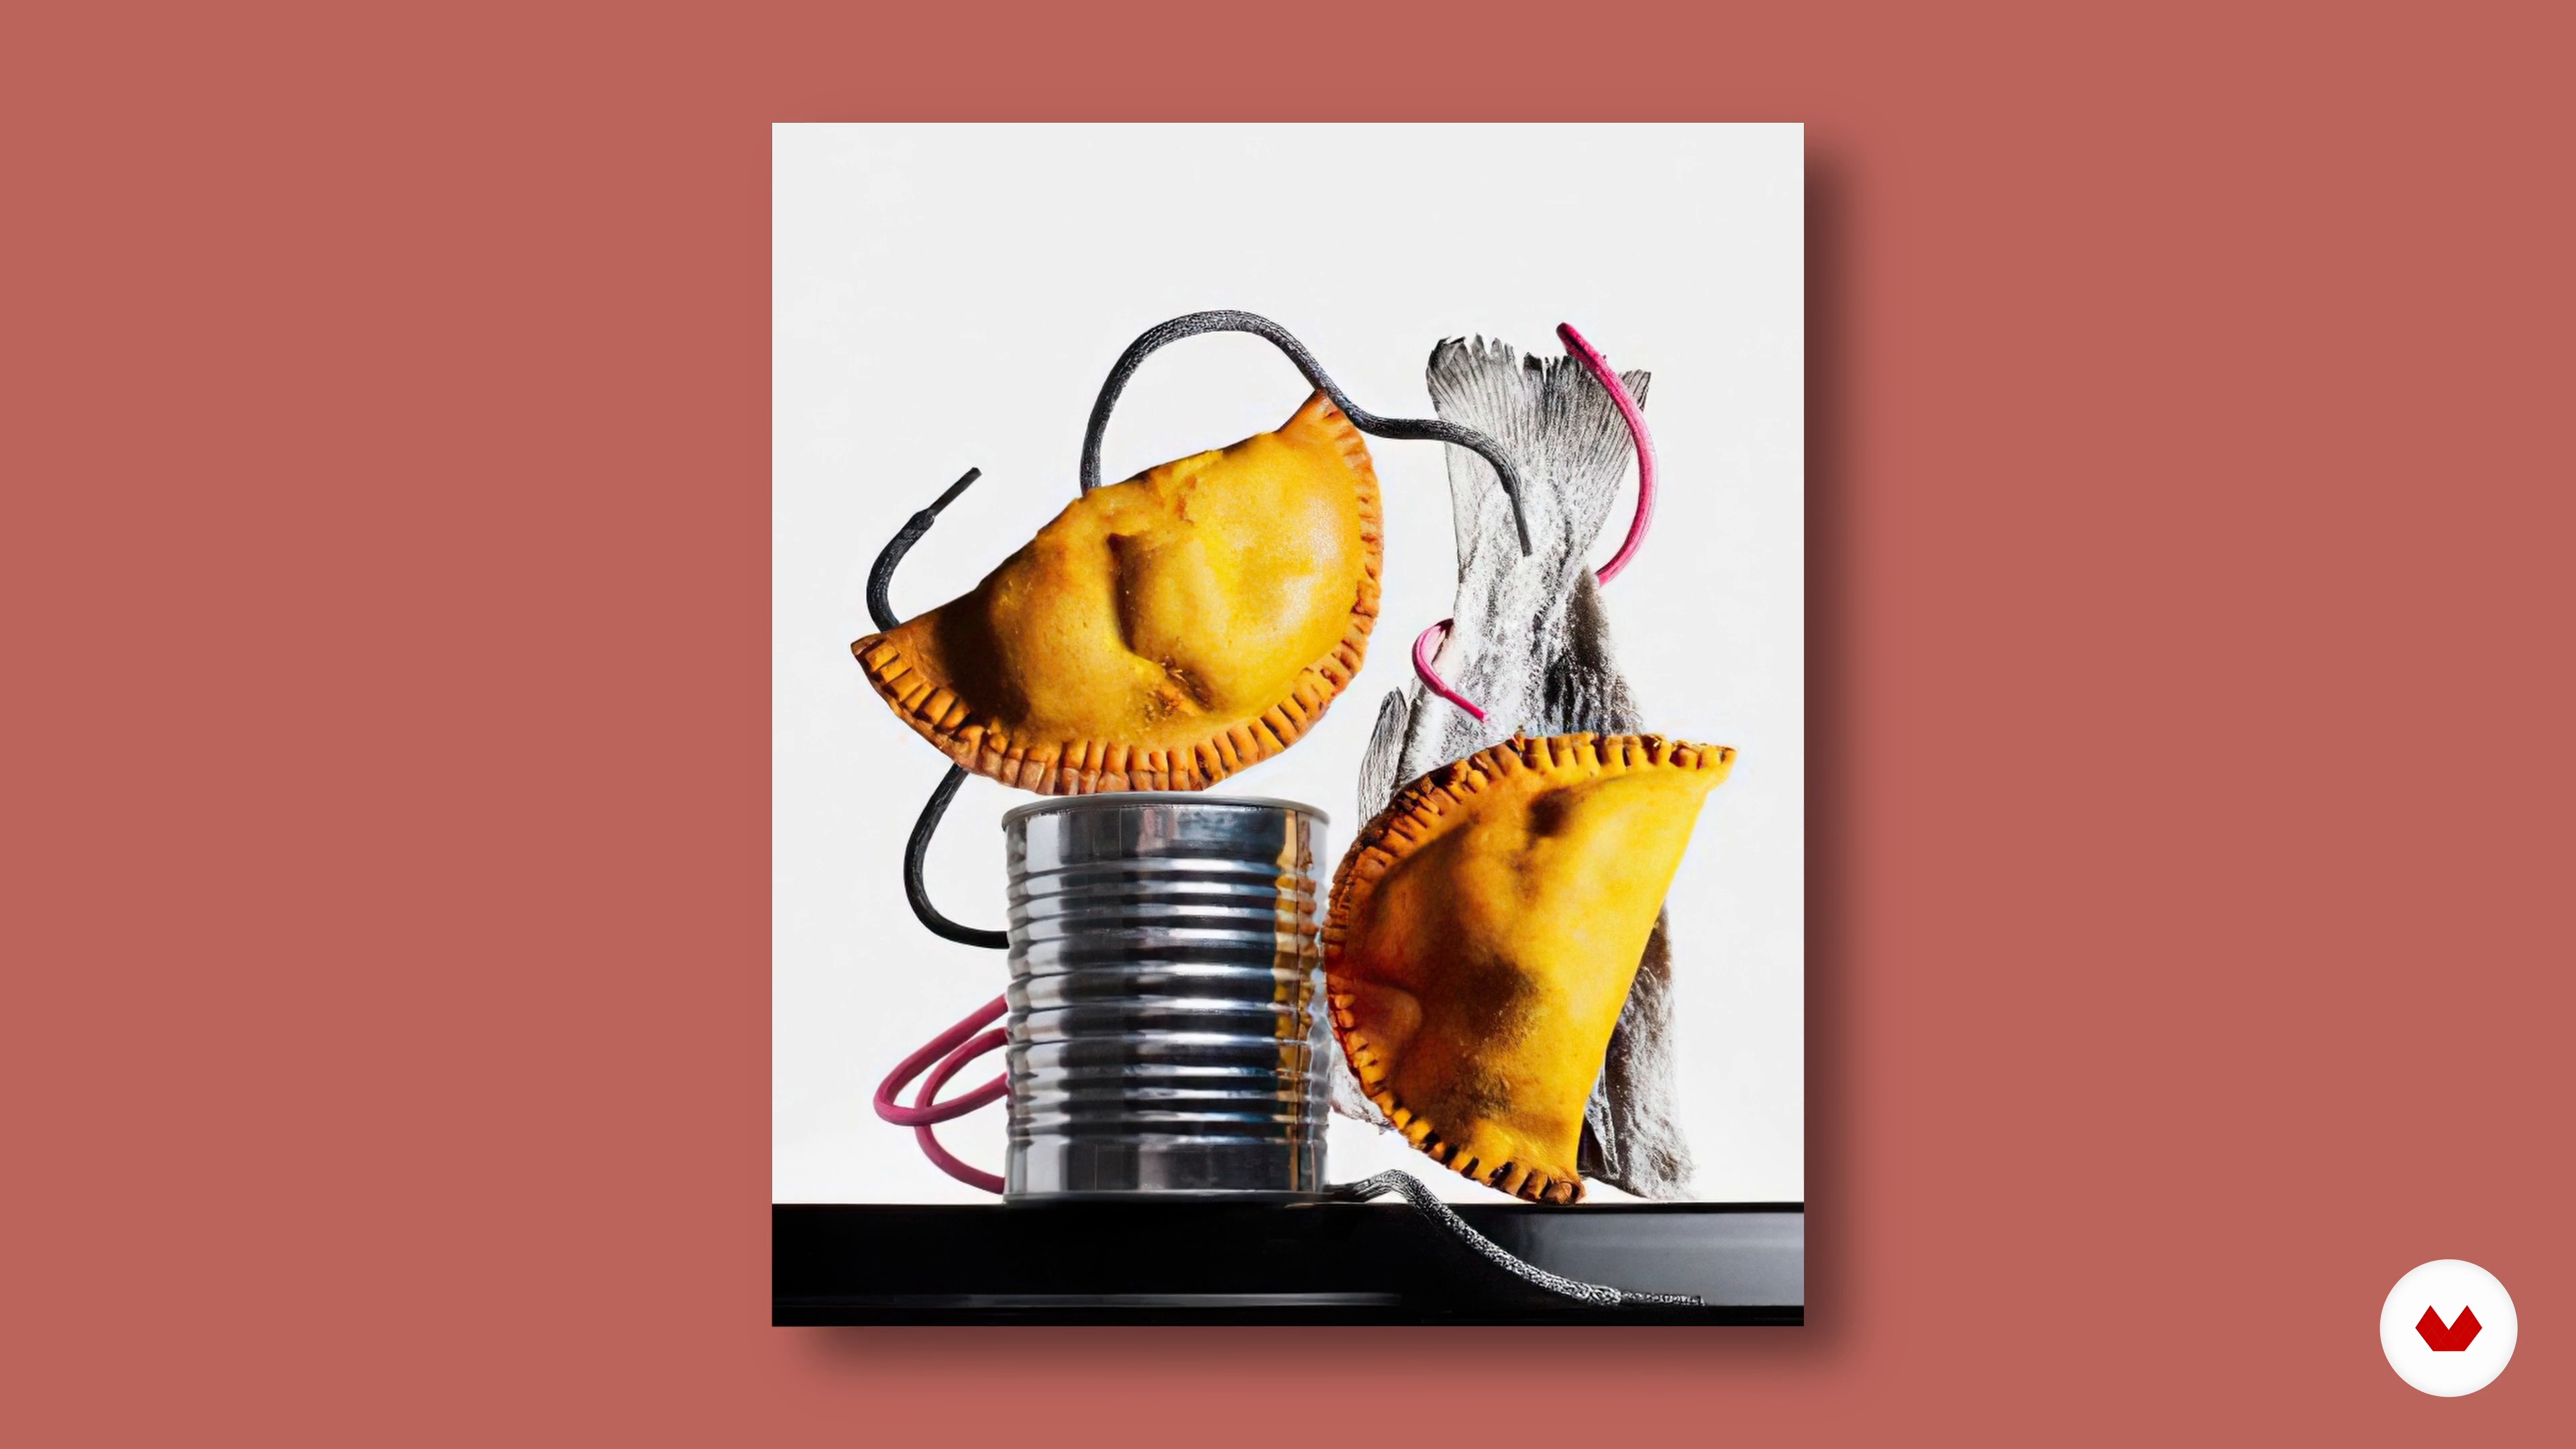
Explore the fascinating world of chocolate through a specialization that will help you master its art and design in all its forms. Learn to create innovative and enticing textures with BRIK chocolate, while discovering the artistic potential of cacao. Immerse yourself in the creation of unique artisanal chocolates with flavor and color combinations thanks to the techniques of Juan Gutiérrez. Improve your 3D modeling skills by designing detailed animal figures with Marc Suárez, who will also teach you how to create edible sculptures that challenge creative boundaries.
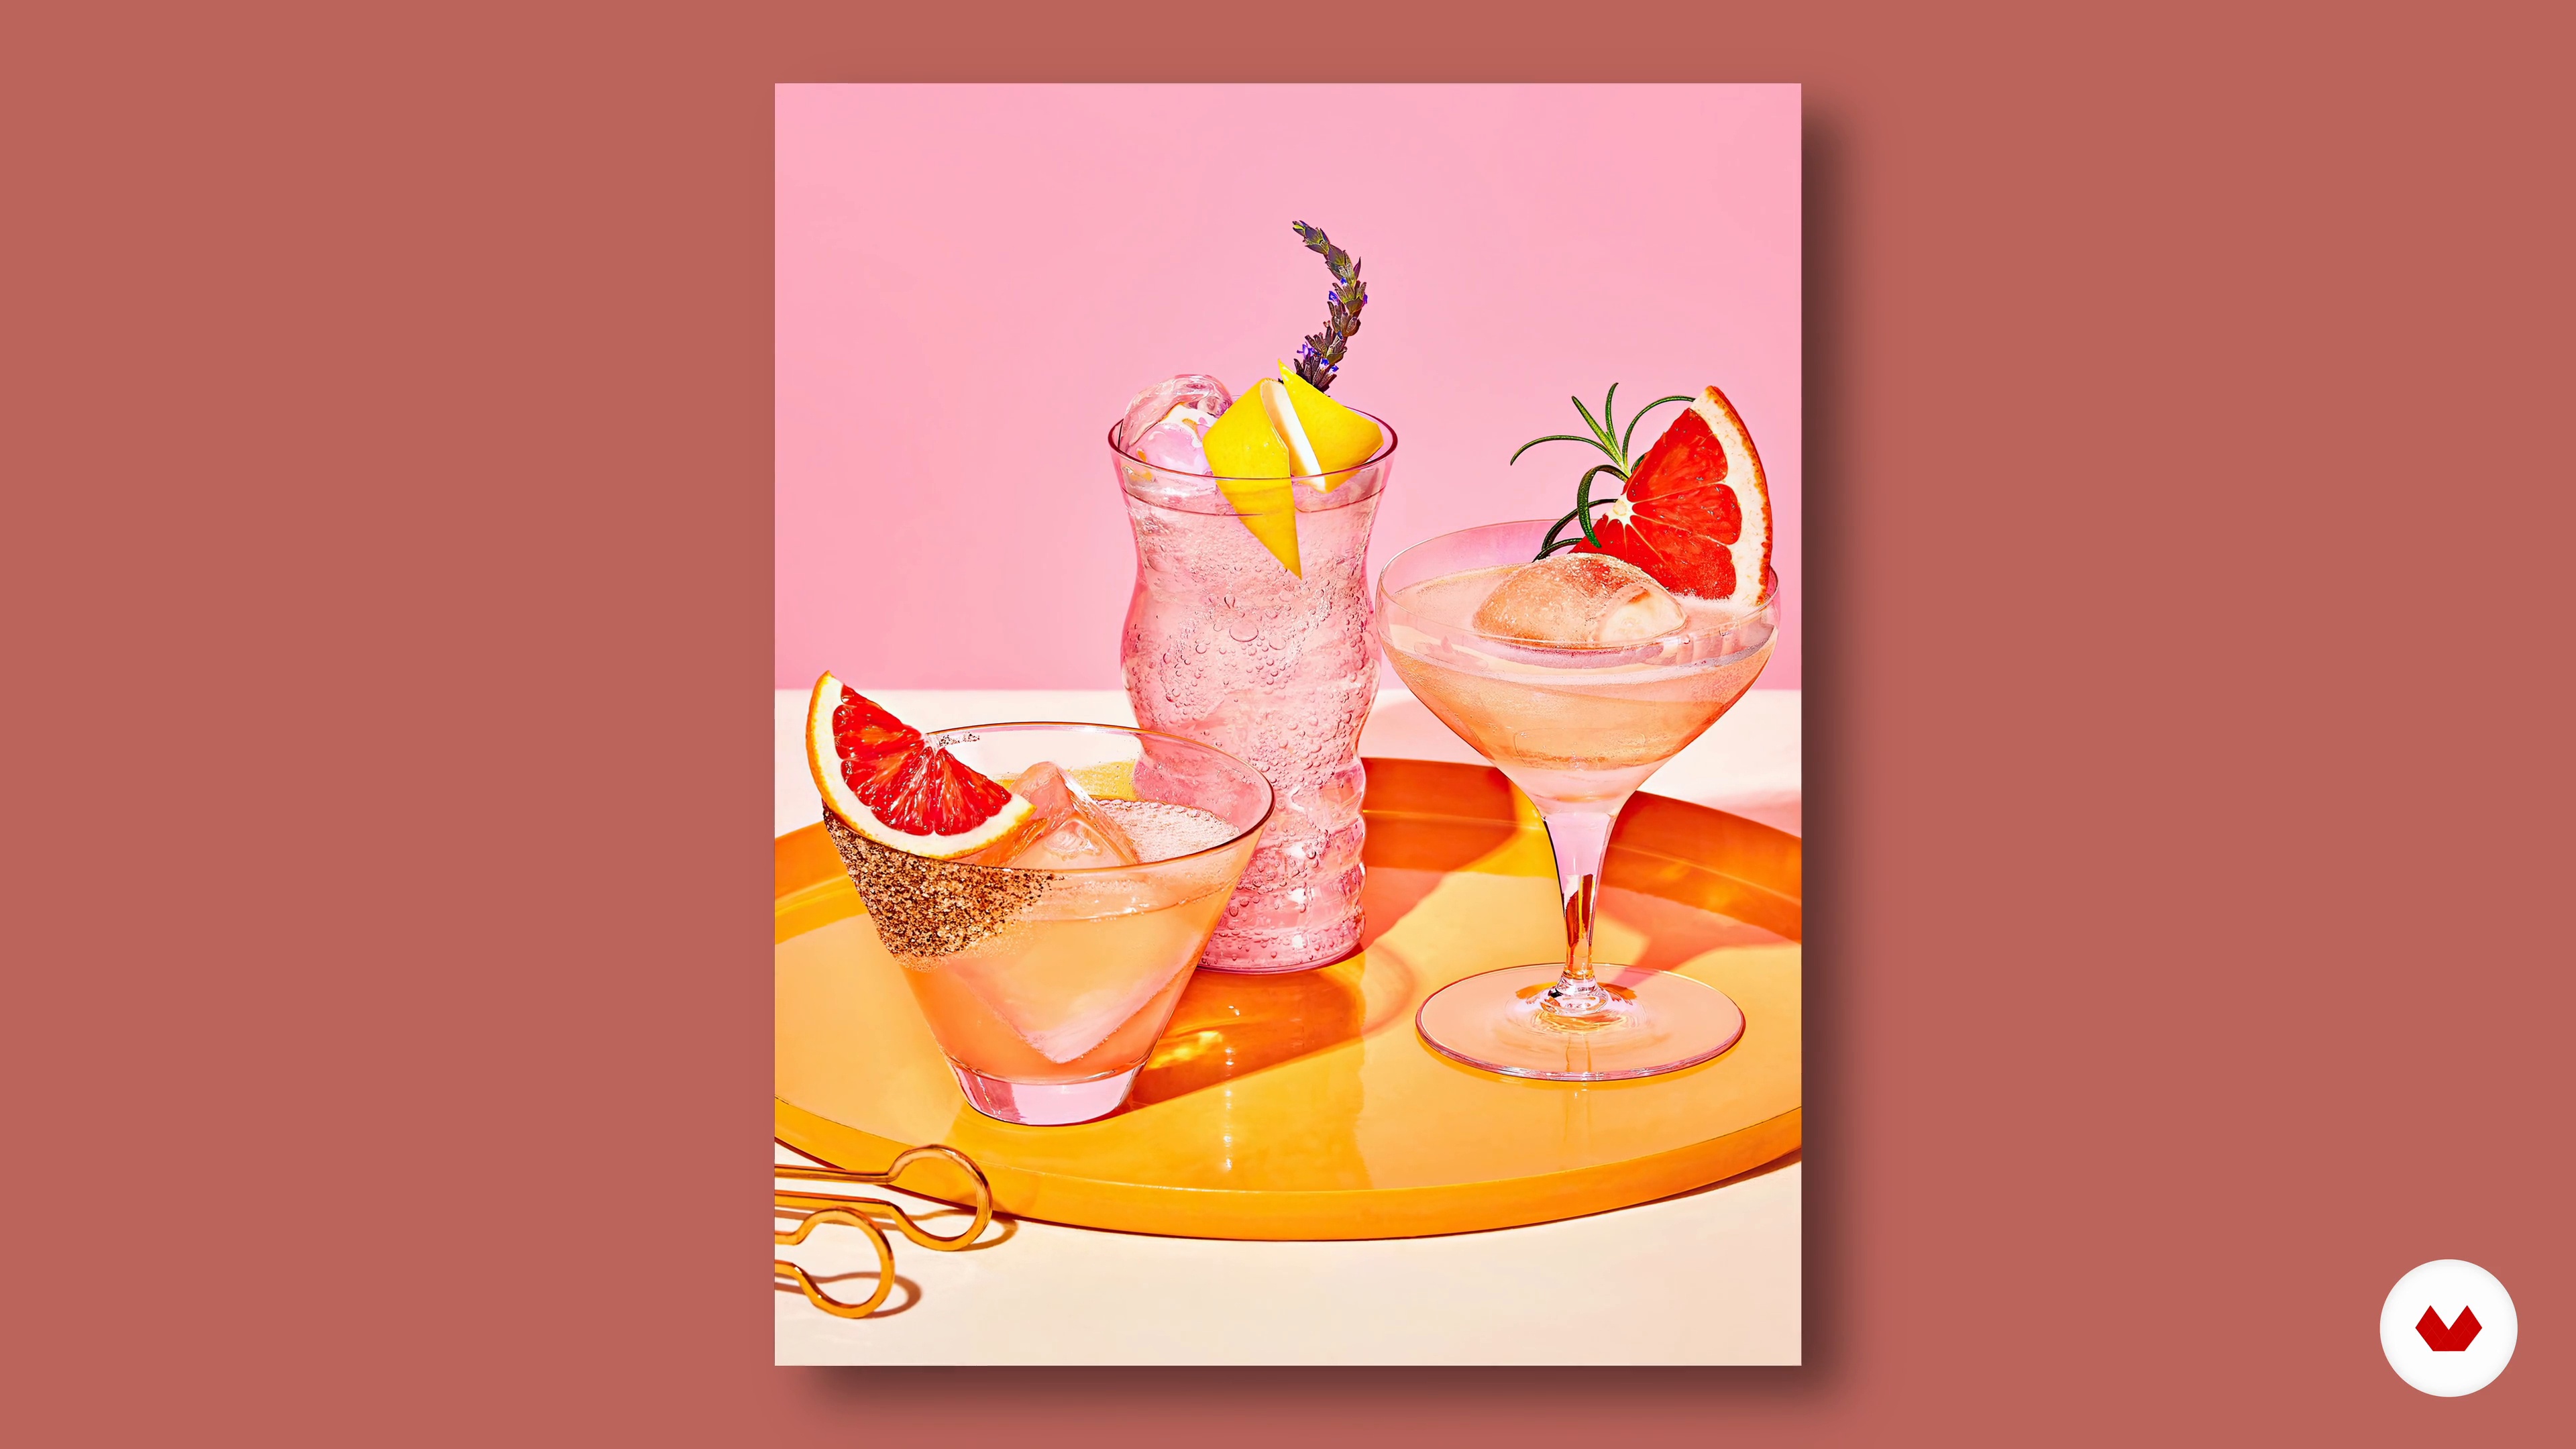
Develop a professional approach to presenting your culinary creations with Victoria Granof, an expert in creative direction and styling for food brands. This specialization gives you all the tools you need to build a stunning portfolio, from creating visually stunning textures to the commercial presentation of artistic products. Join this journey where chocolate becomes a means of artistic expression, taking your skills to new levels and opening doors to opportunities in artistic pastry and gourmet chocolate.
1Introduction
Chocolate tells stories that are born from the earth and unfold through memory, flavor, and craft. On this creative journey, you'll explore how an ancient ingredient becomes a canvas for emotion and nostalgia. Through careful composition and imperfect beauty, chocolate is transformed into a visual and sensorial language that connects and inspires.
1m
2Influences | BRIK chocolate
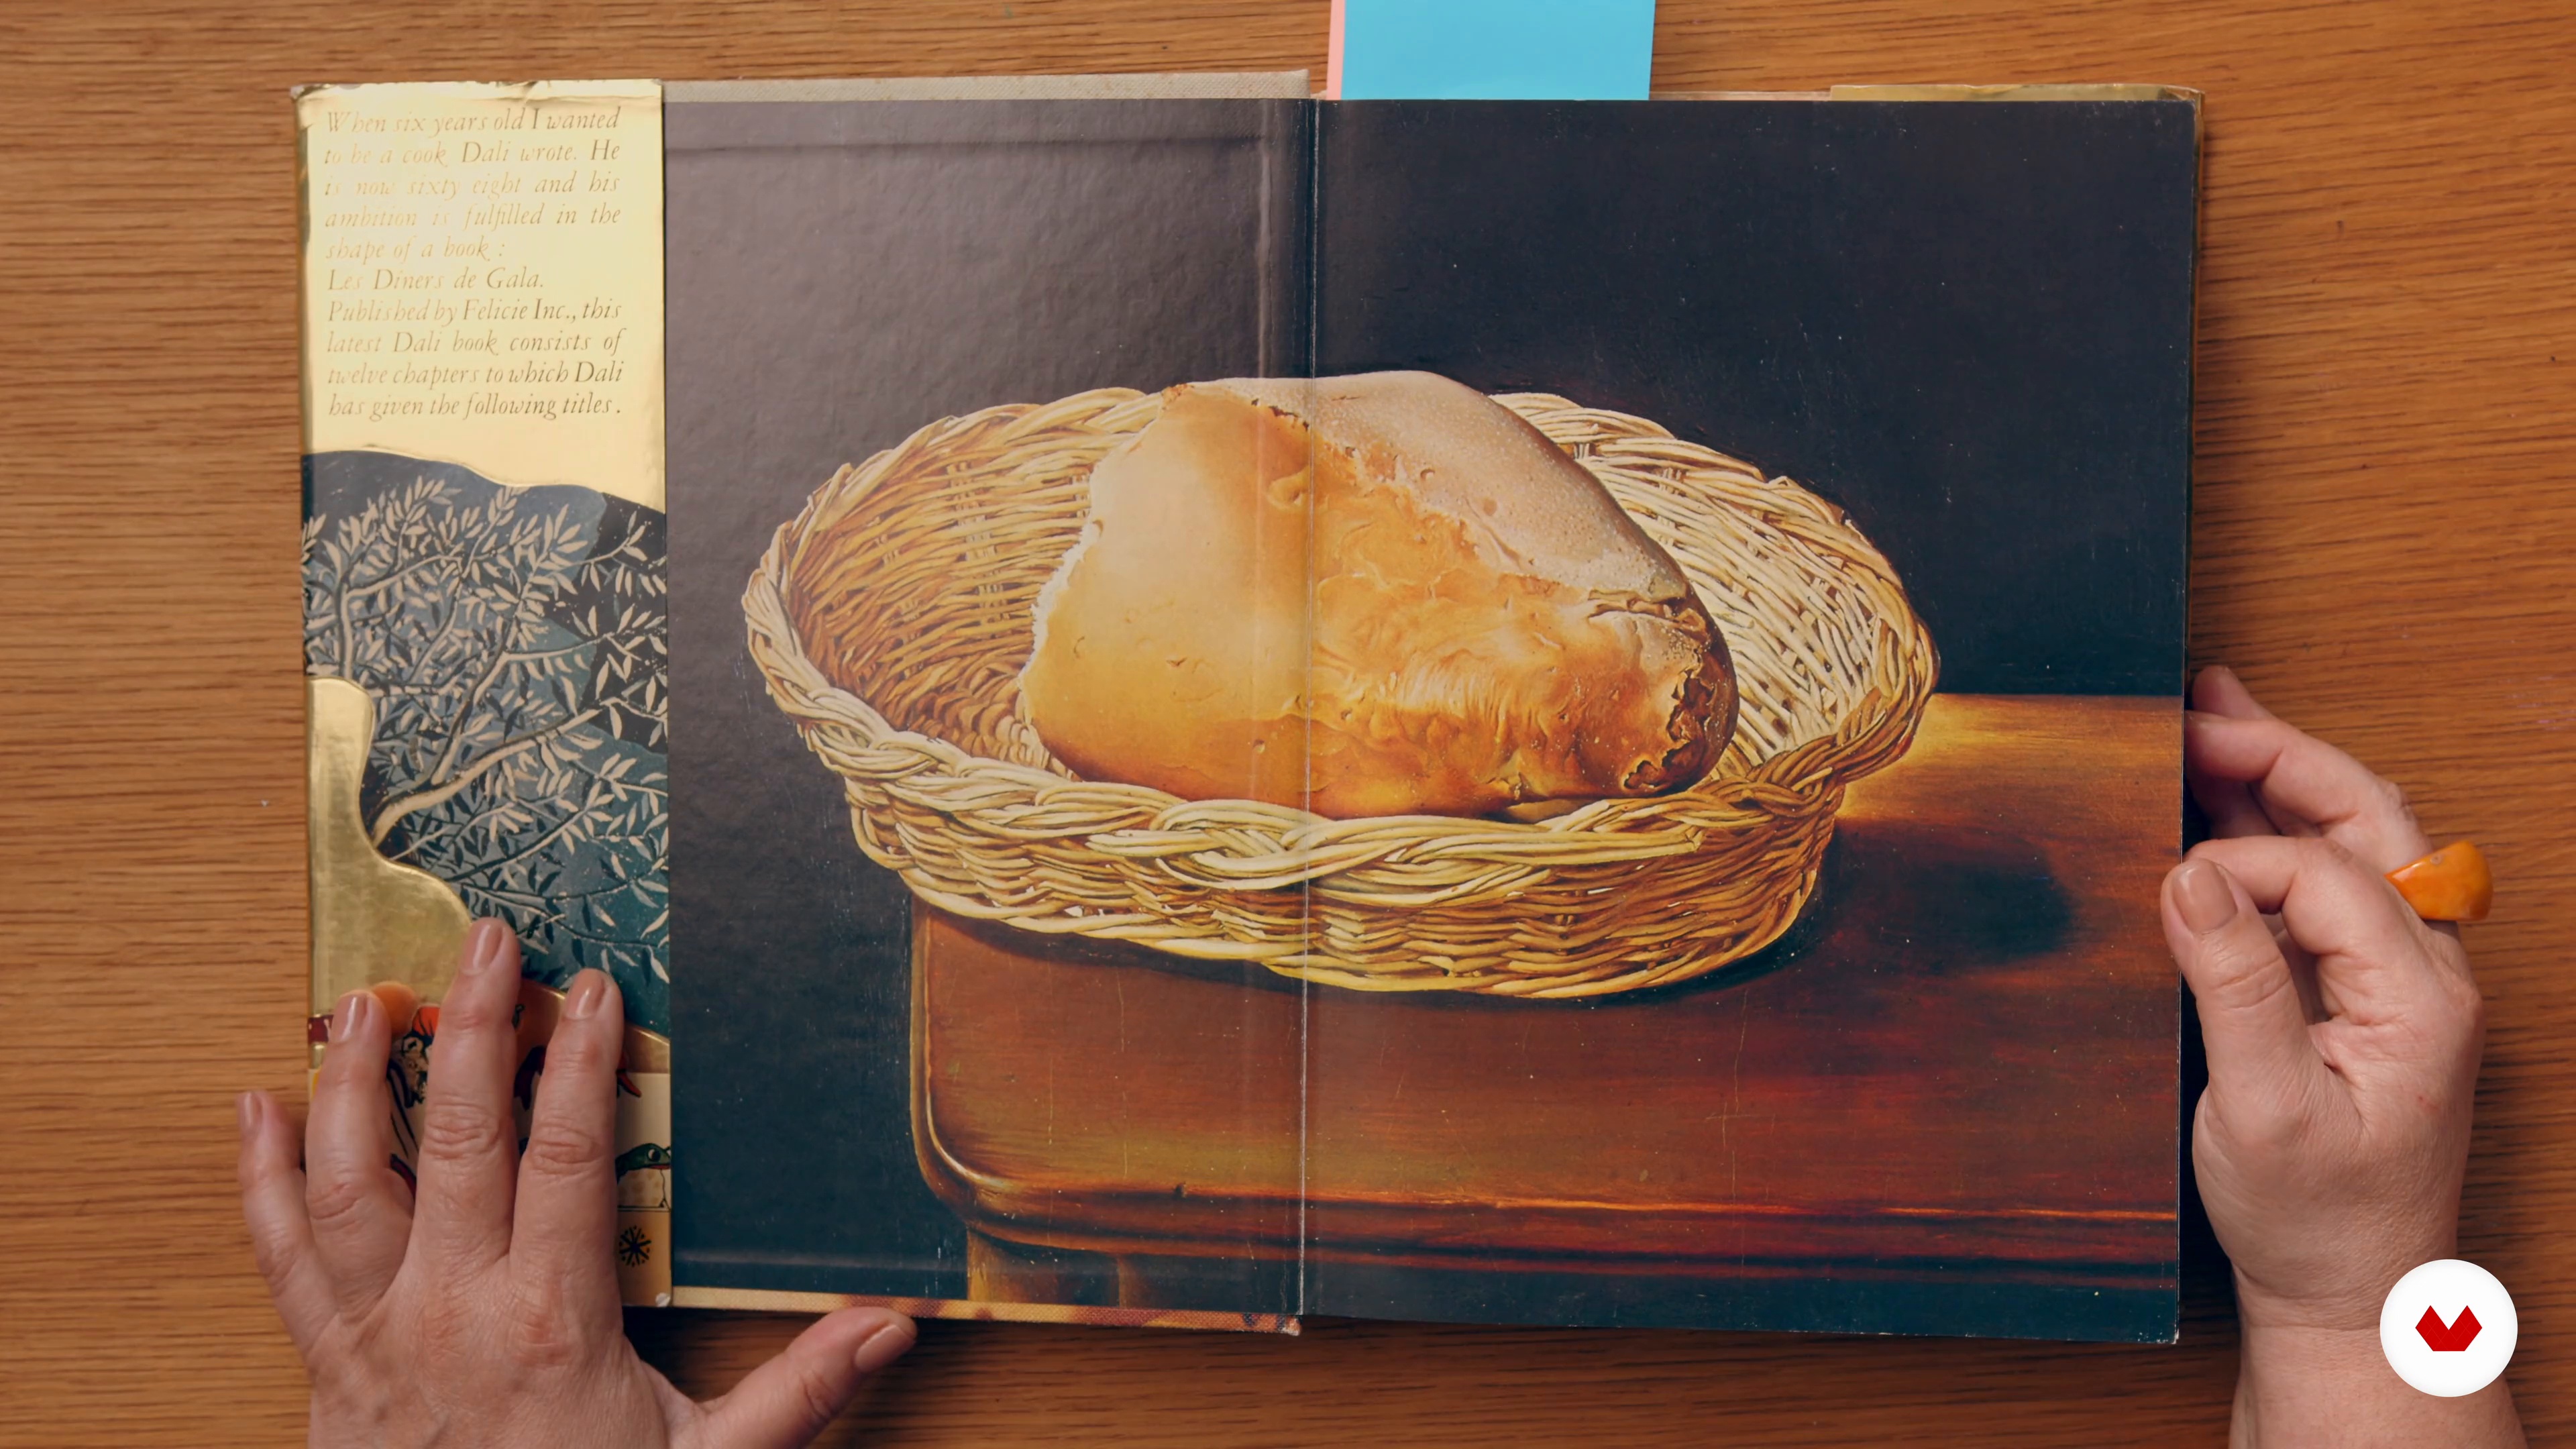
There were many influences and inspirations that led me to where I am today. In this lesson, I'd love to share some of them with you and hopefully give you some insight into how my creativity developed.
8m
3Influences | Juan Gutiérrez
I chose this path thanks to the influences and inspirations that have helped me explore who I am, allowing me to reach where I am in my career. In this lesson, I'll share who my influences have been and continue to be, giving you an idea of how my mind exploded and how it led me to develop my creativity.
3m
4Influences | Marc Suárez
Having inspirational role models is essential. In this lesson, I'll talk about some of the influences that inform my day-to-day work as a cake designer.
8m
5Influences | Marc Suárez
All artists have their role models. In this lesson, I want to share with you the artists who have influenced me throughout my career.
11m
6Influences | Victoria Granof
From collaborations to major artists, these are some of the people and their work that have influenced my vision and inspired my own work.
14m
3Introducing Materials and Setting Up Your Cooking Space
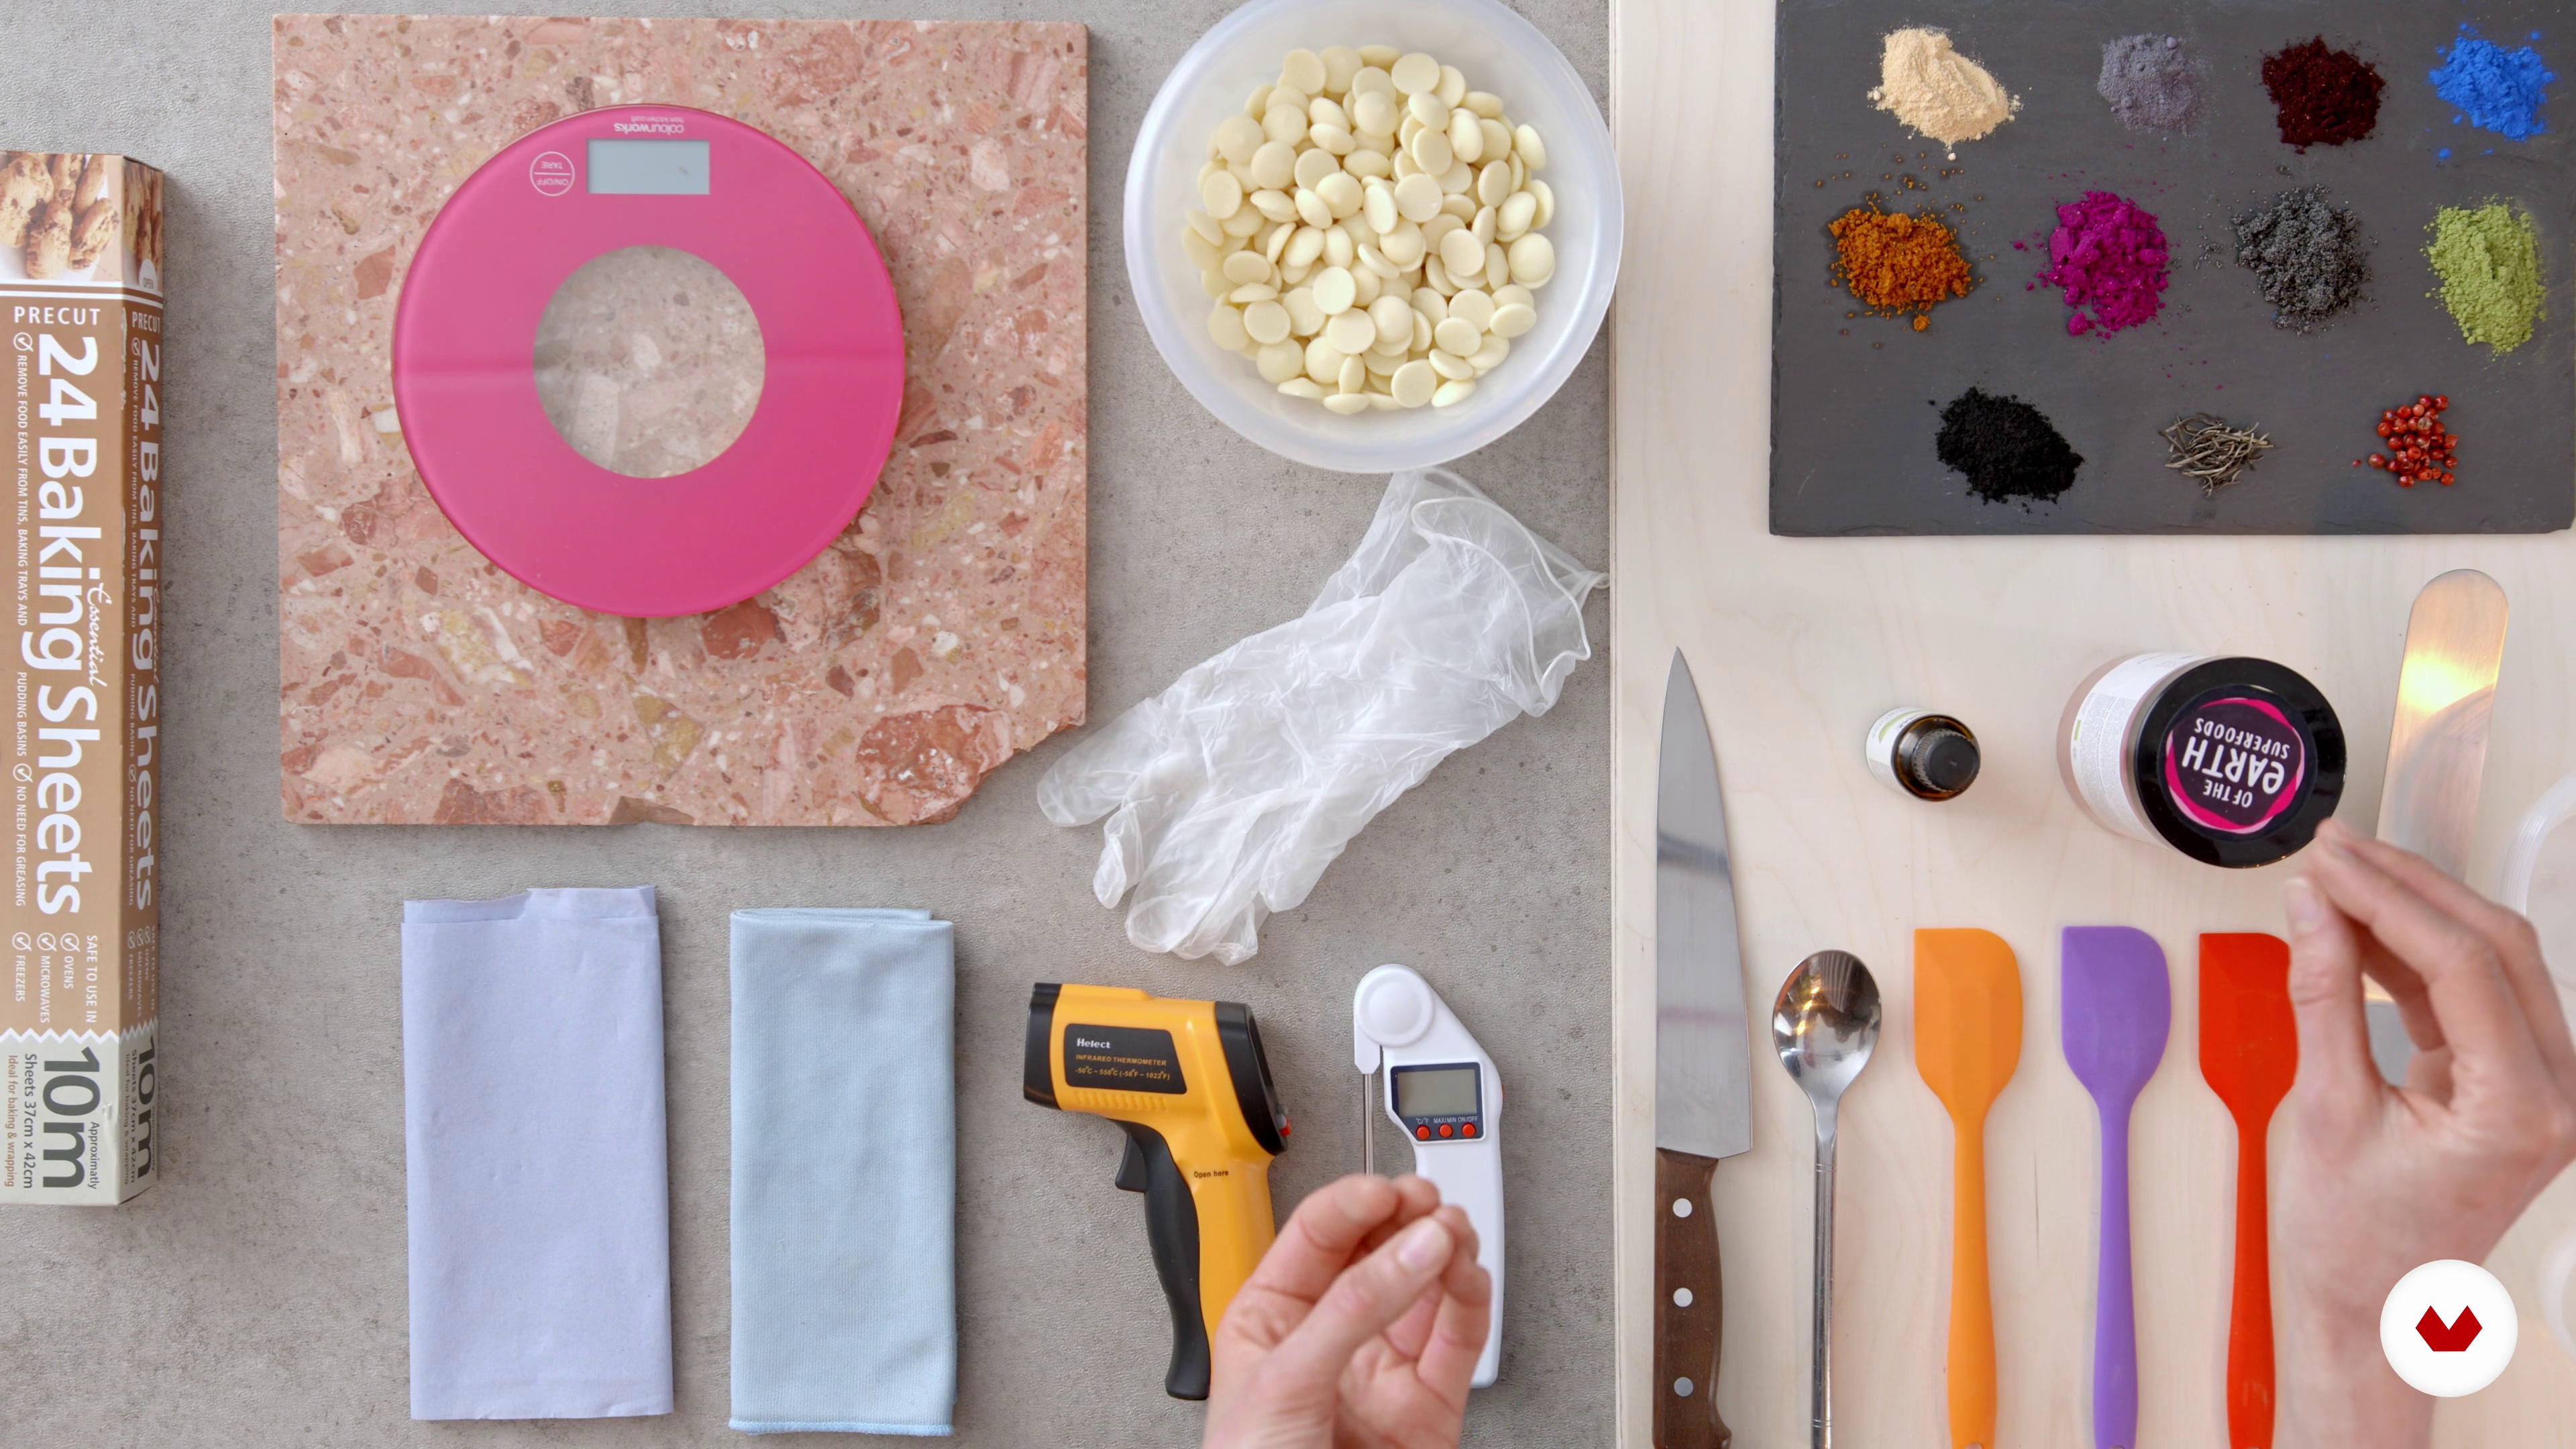
Before we can start creating, it's important to have a properly set up workspace and all the ingredients ready. In this lesson, I'll explain what you need to get started.
11m
4Making a Mold
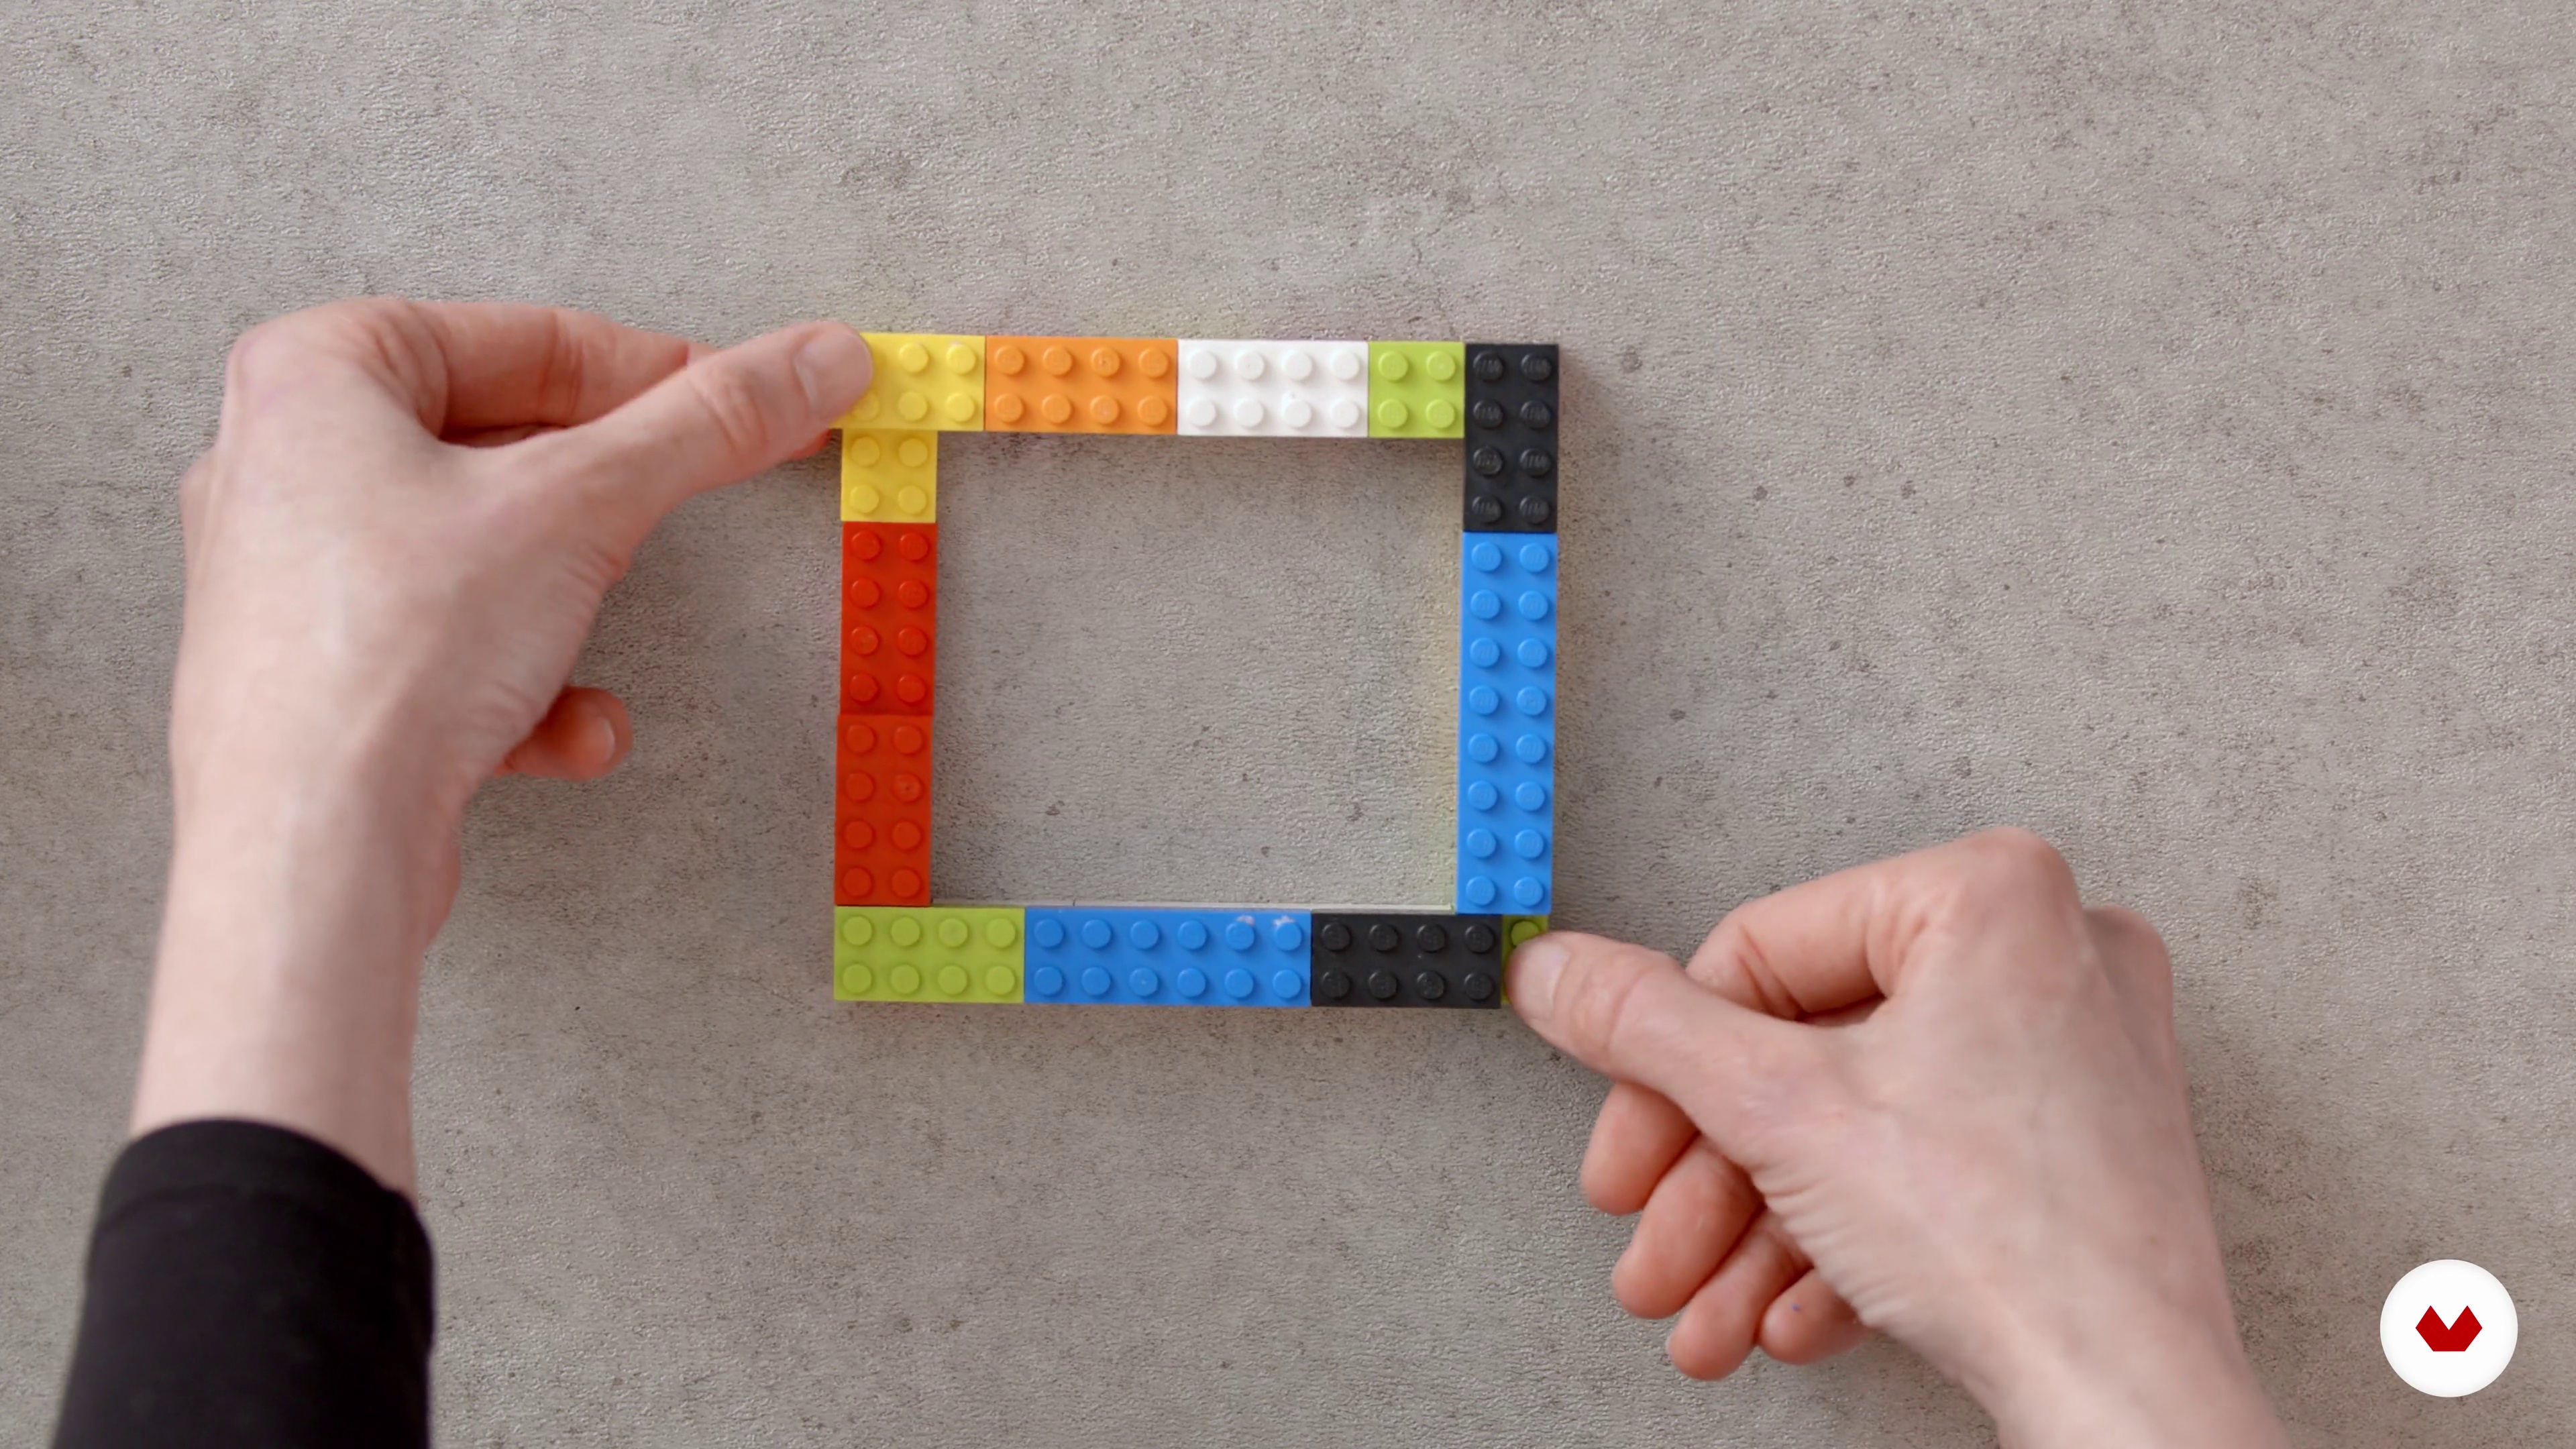
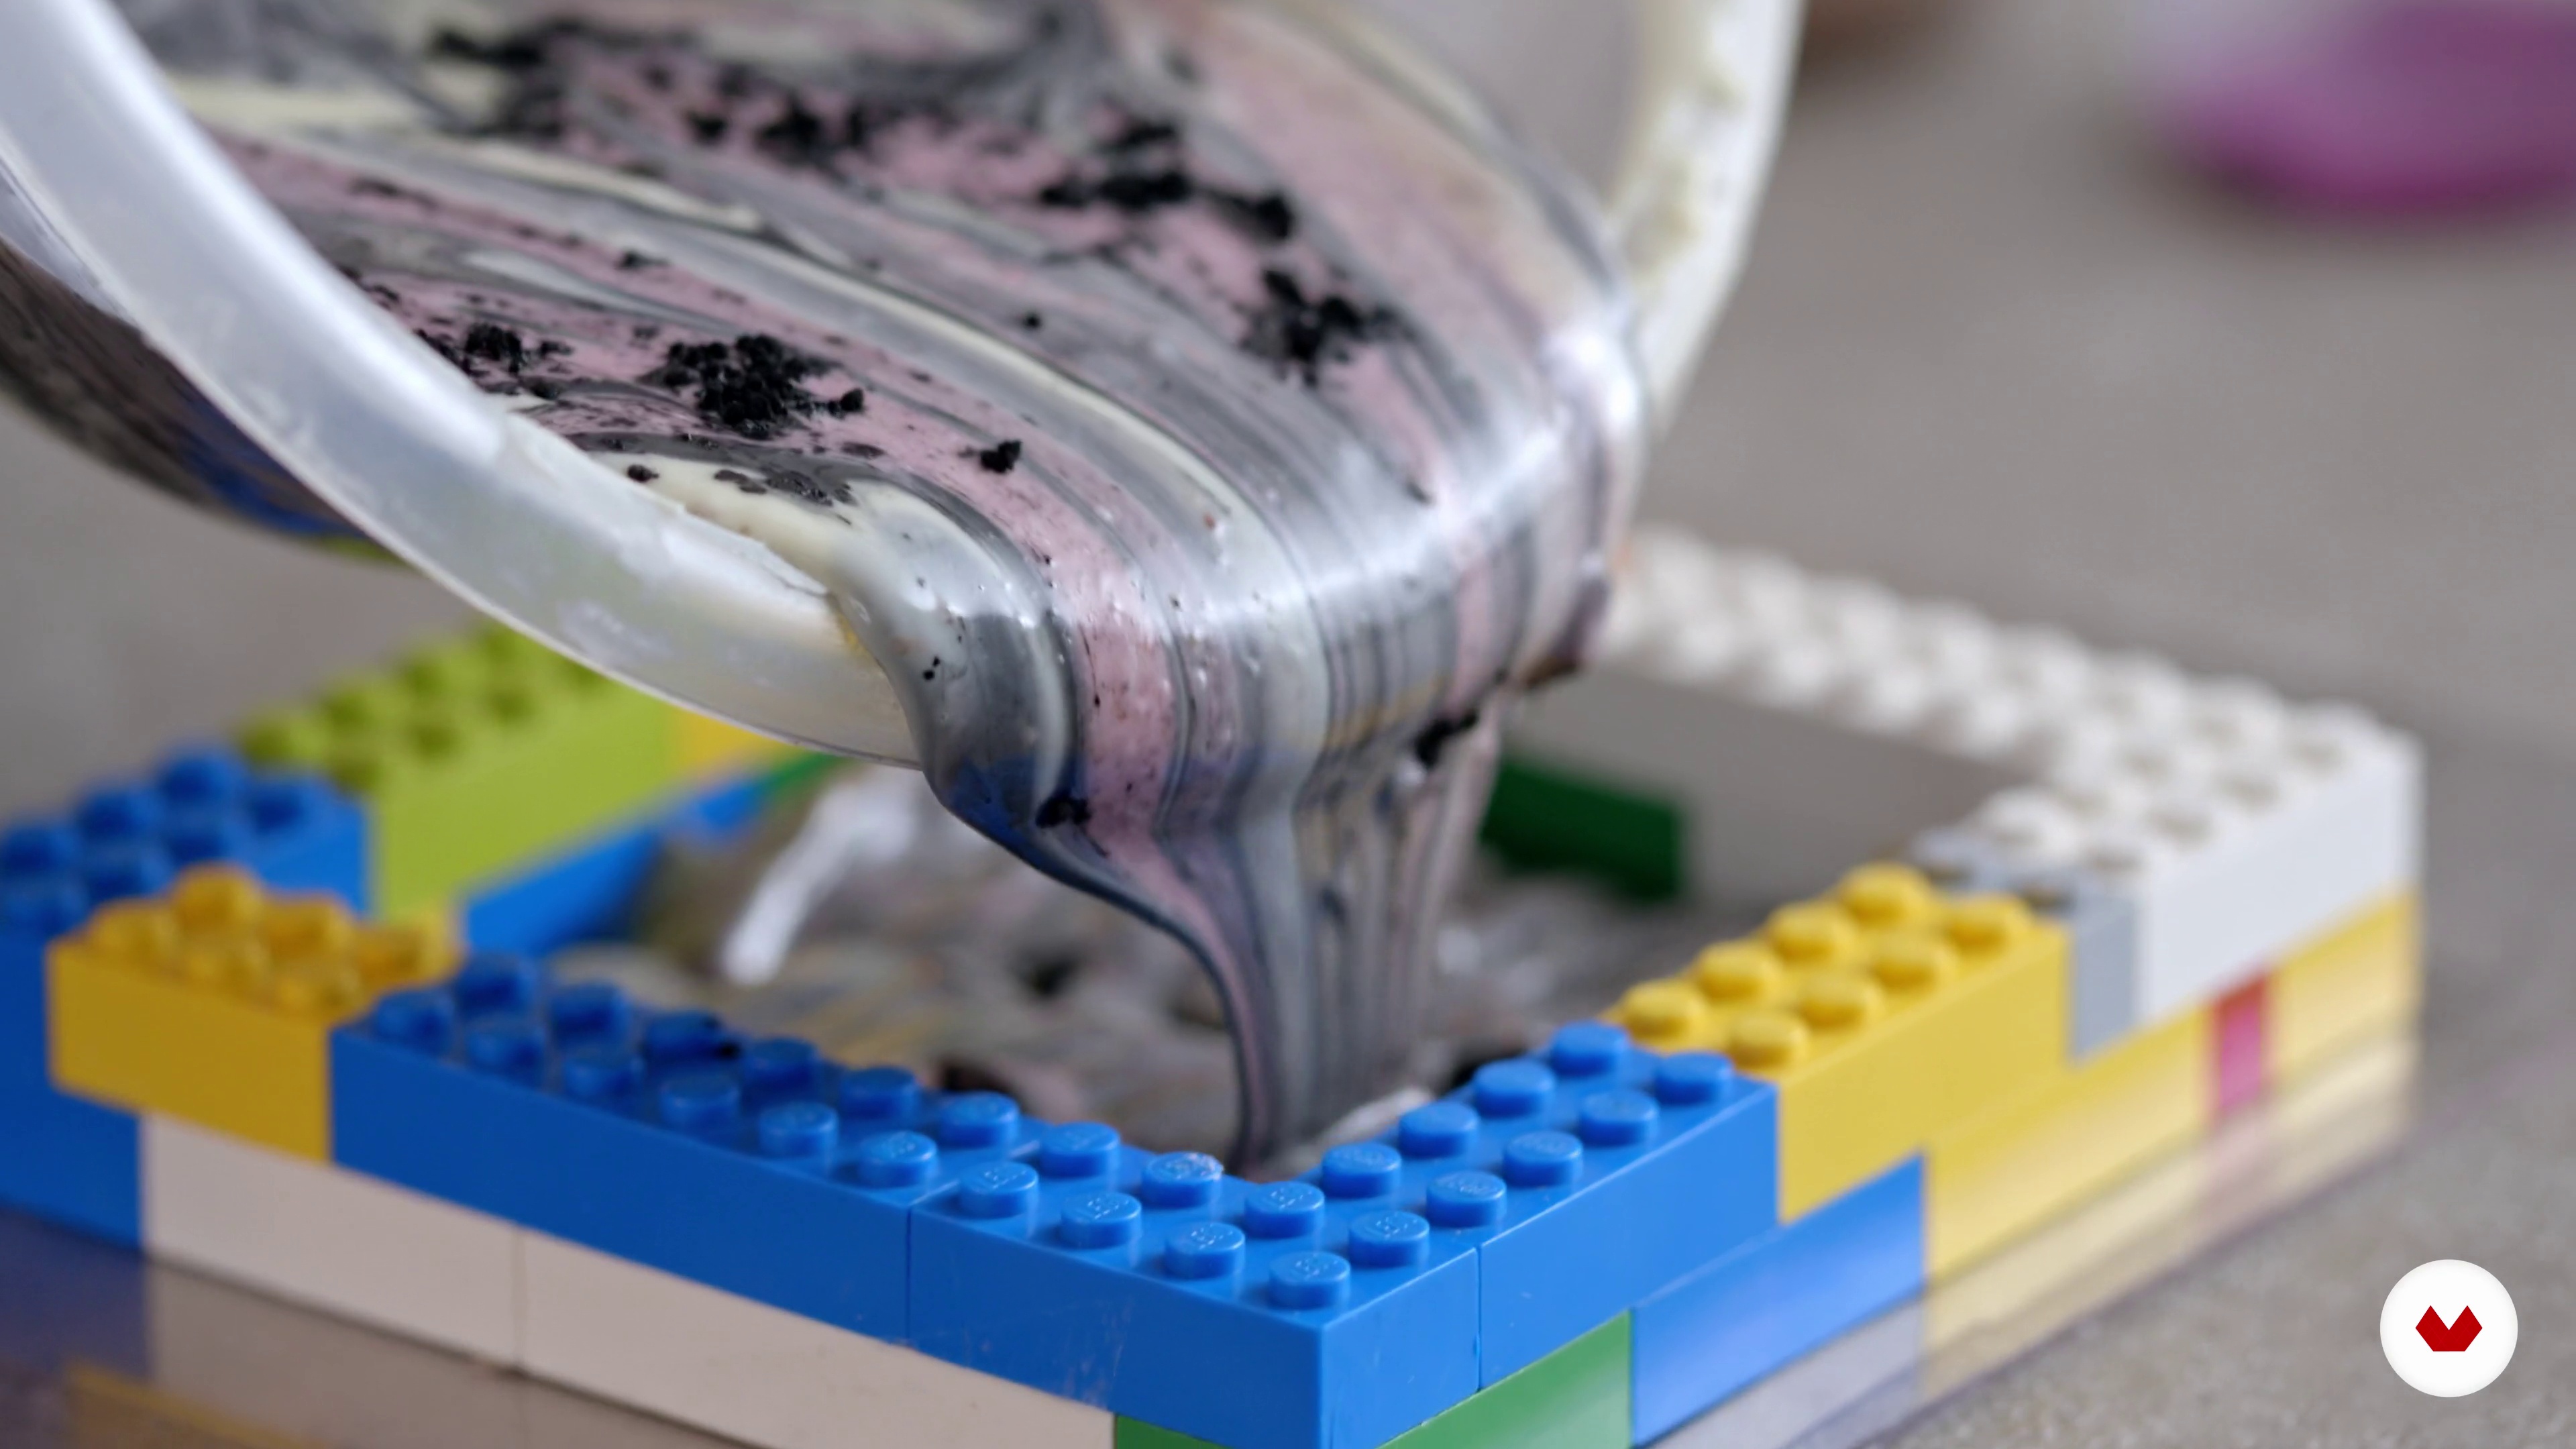
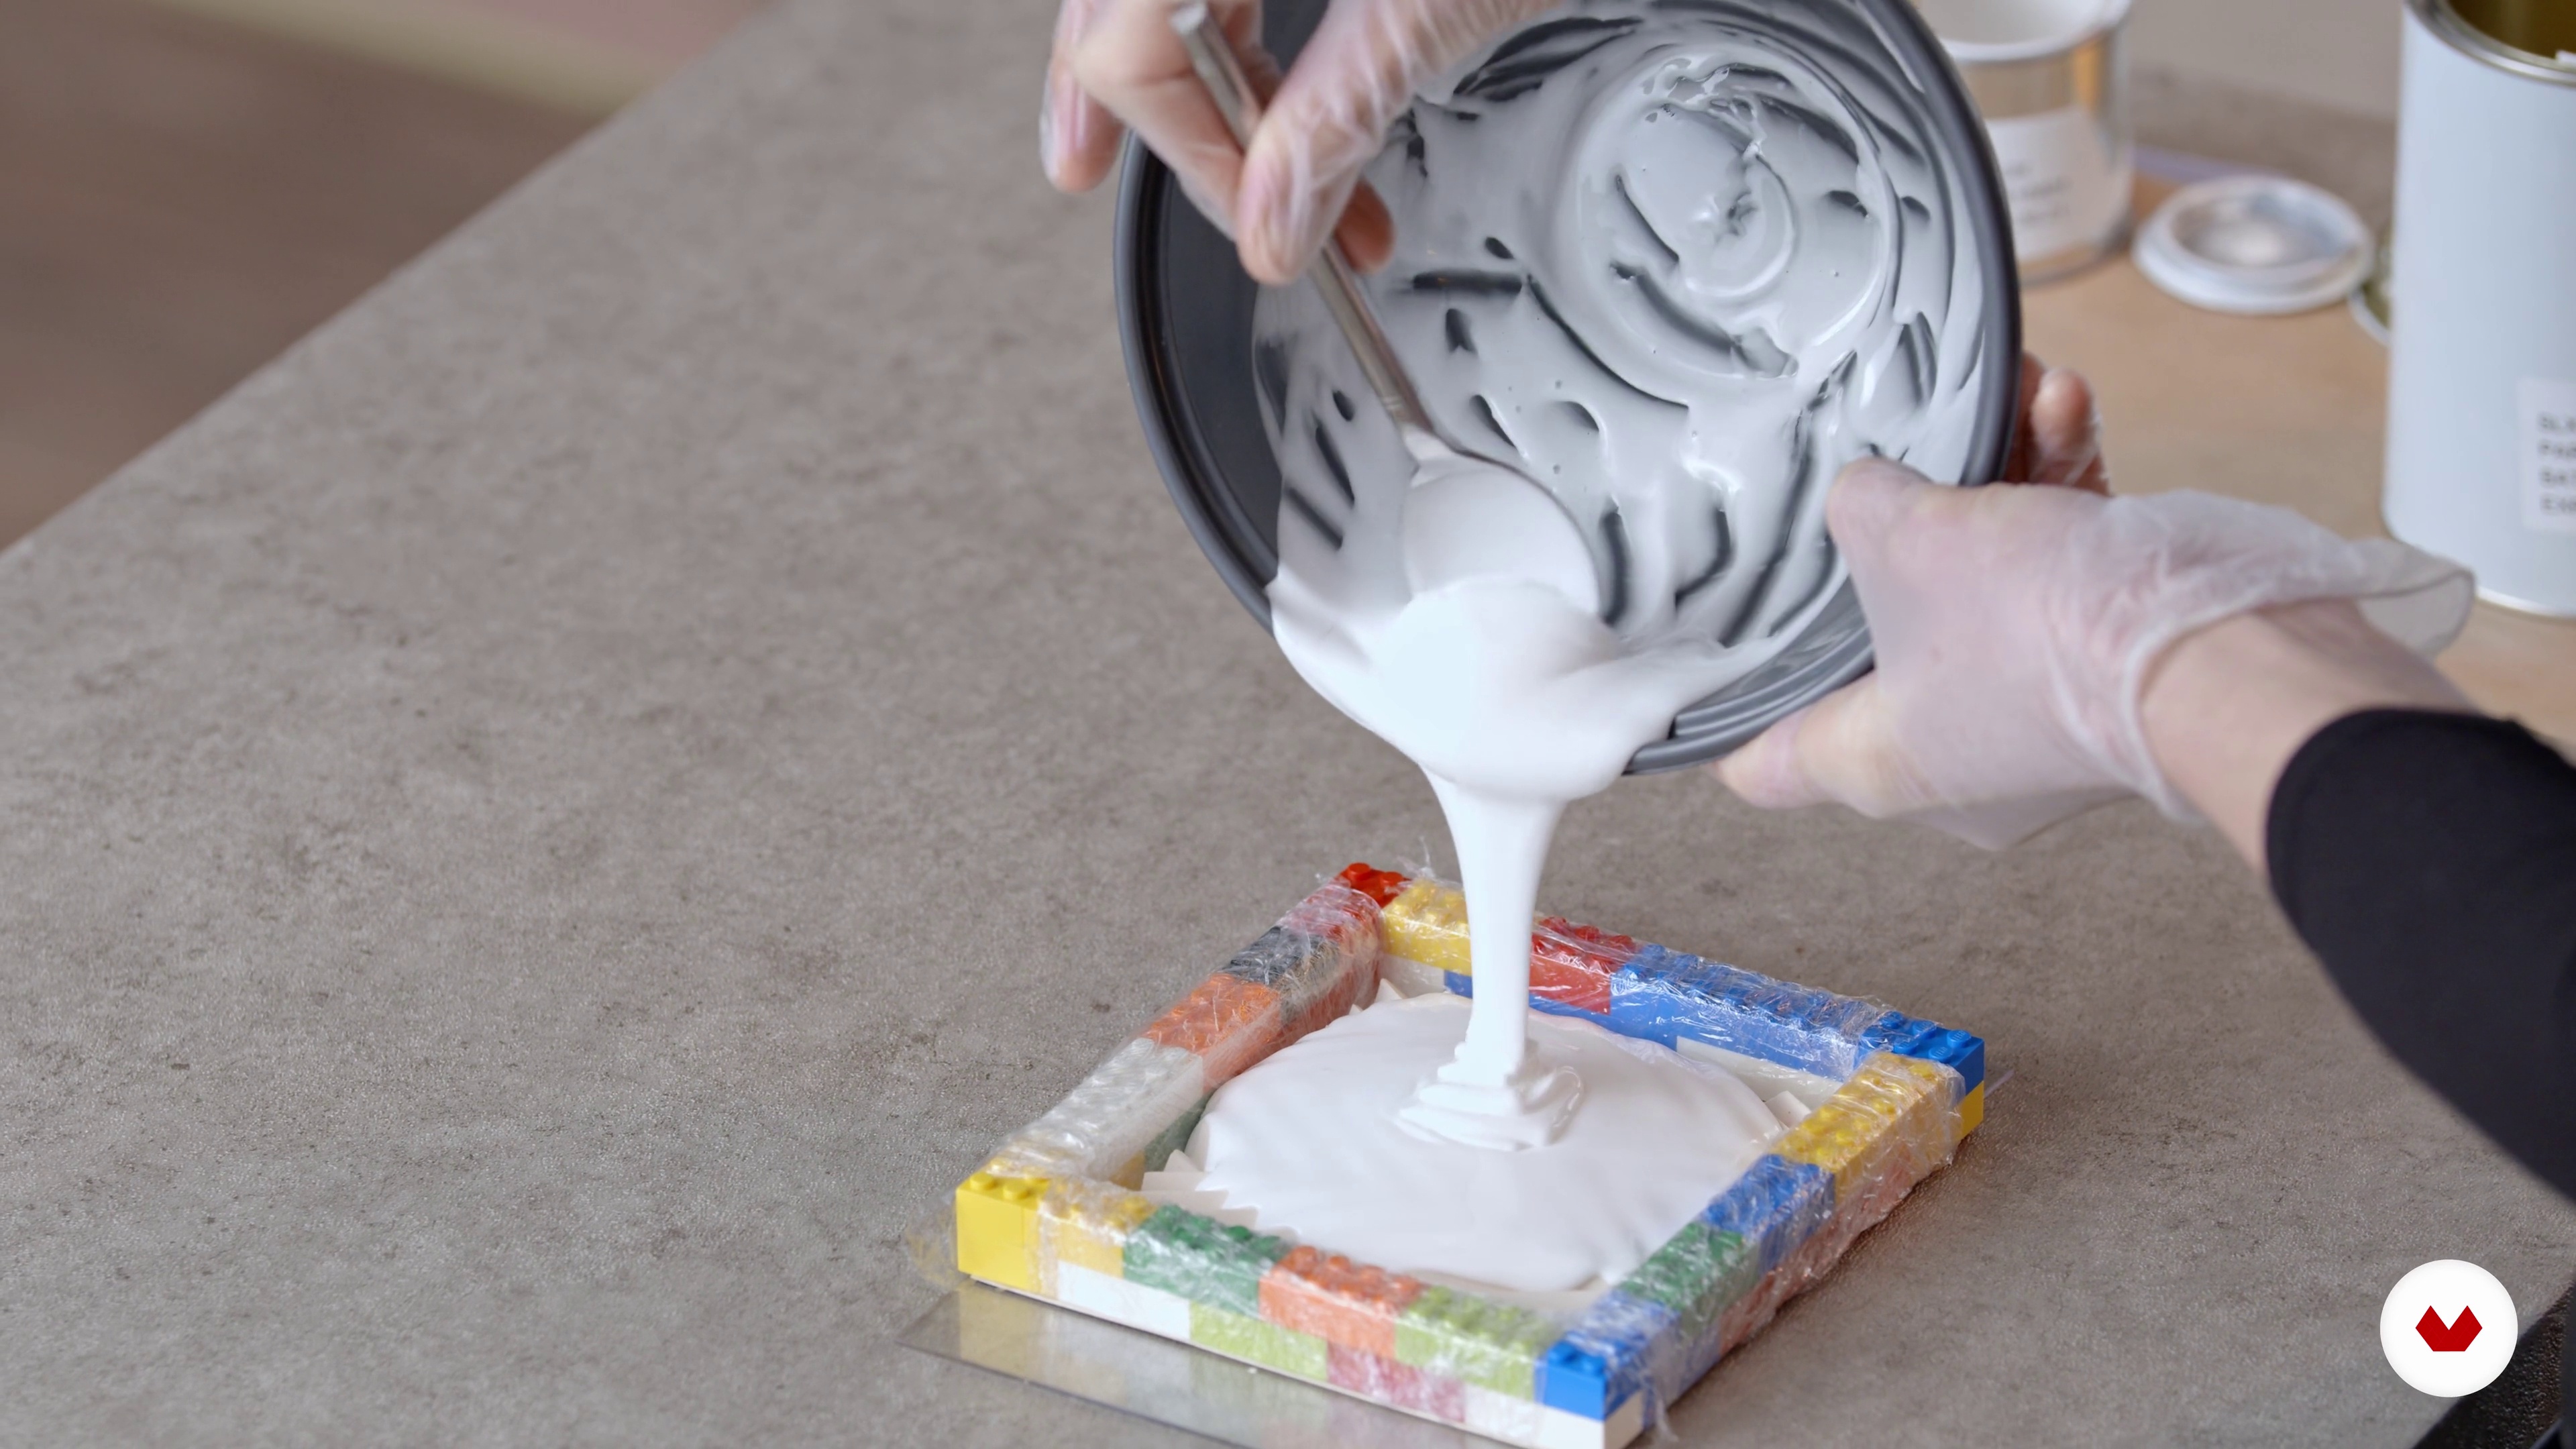
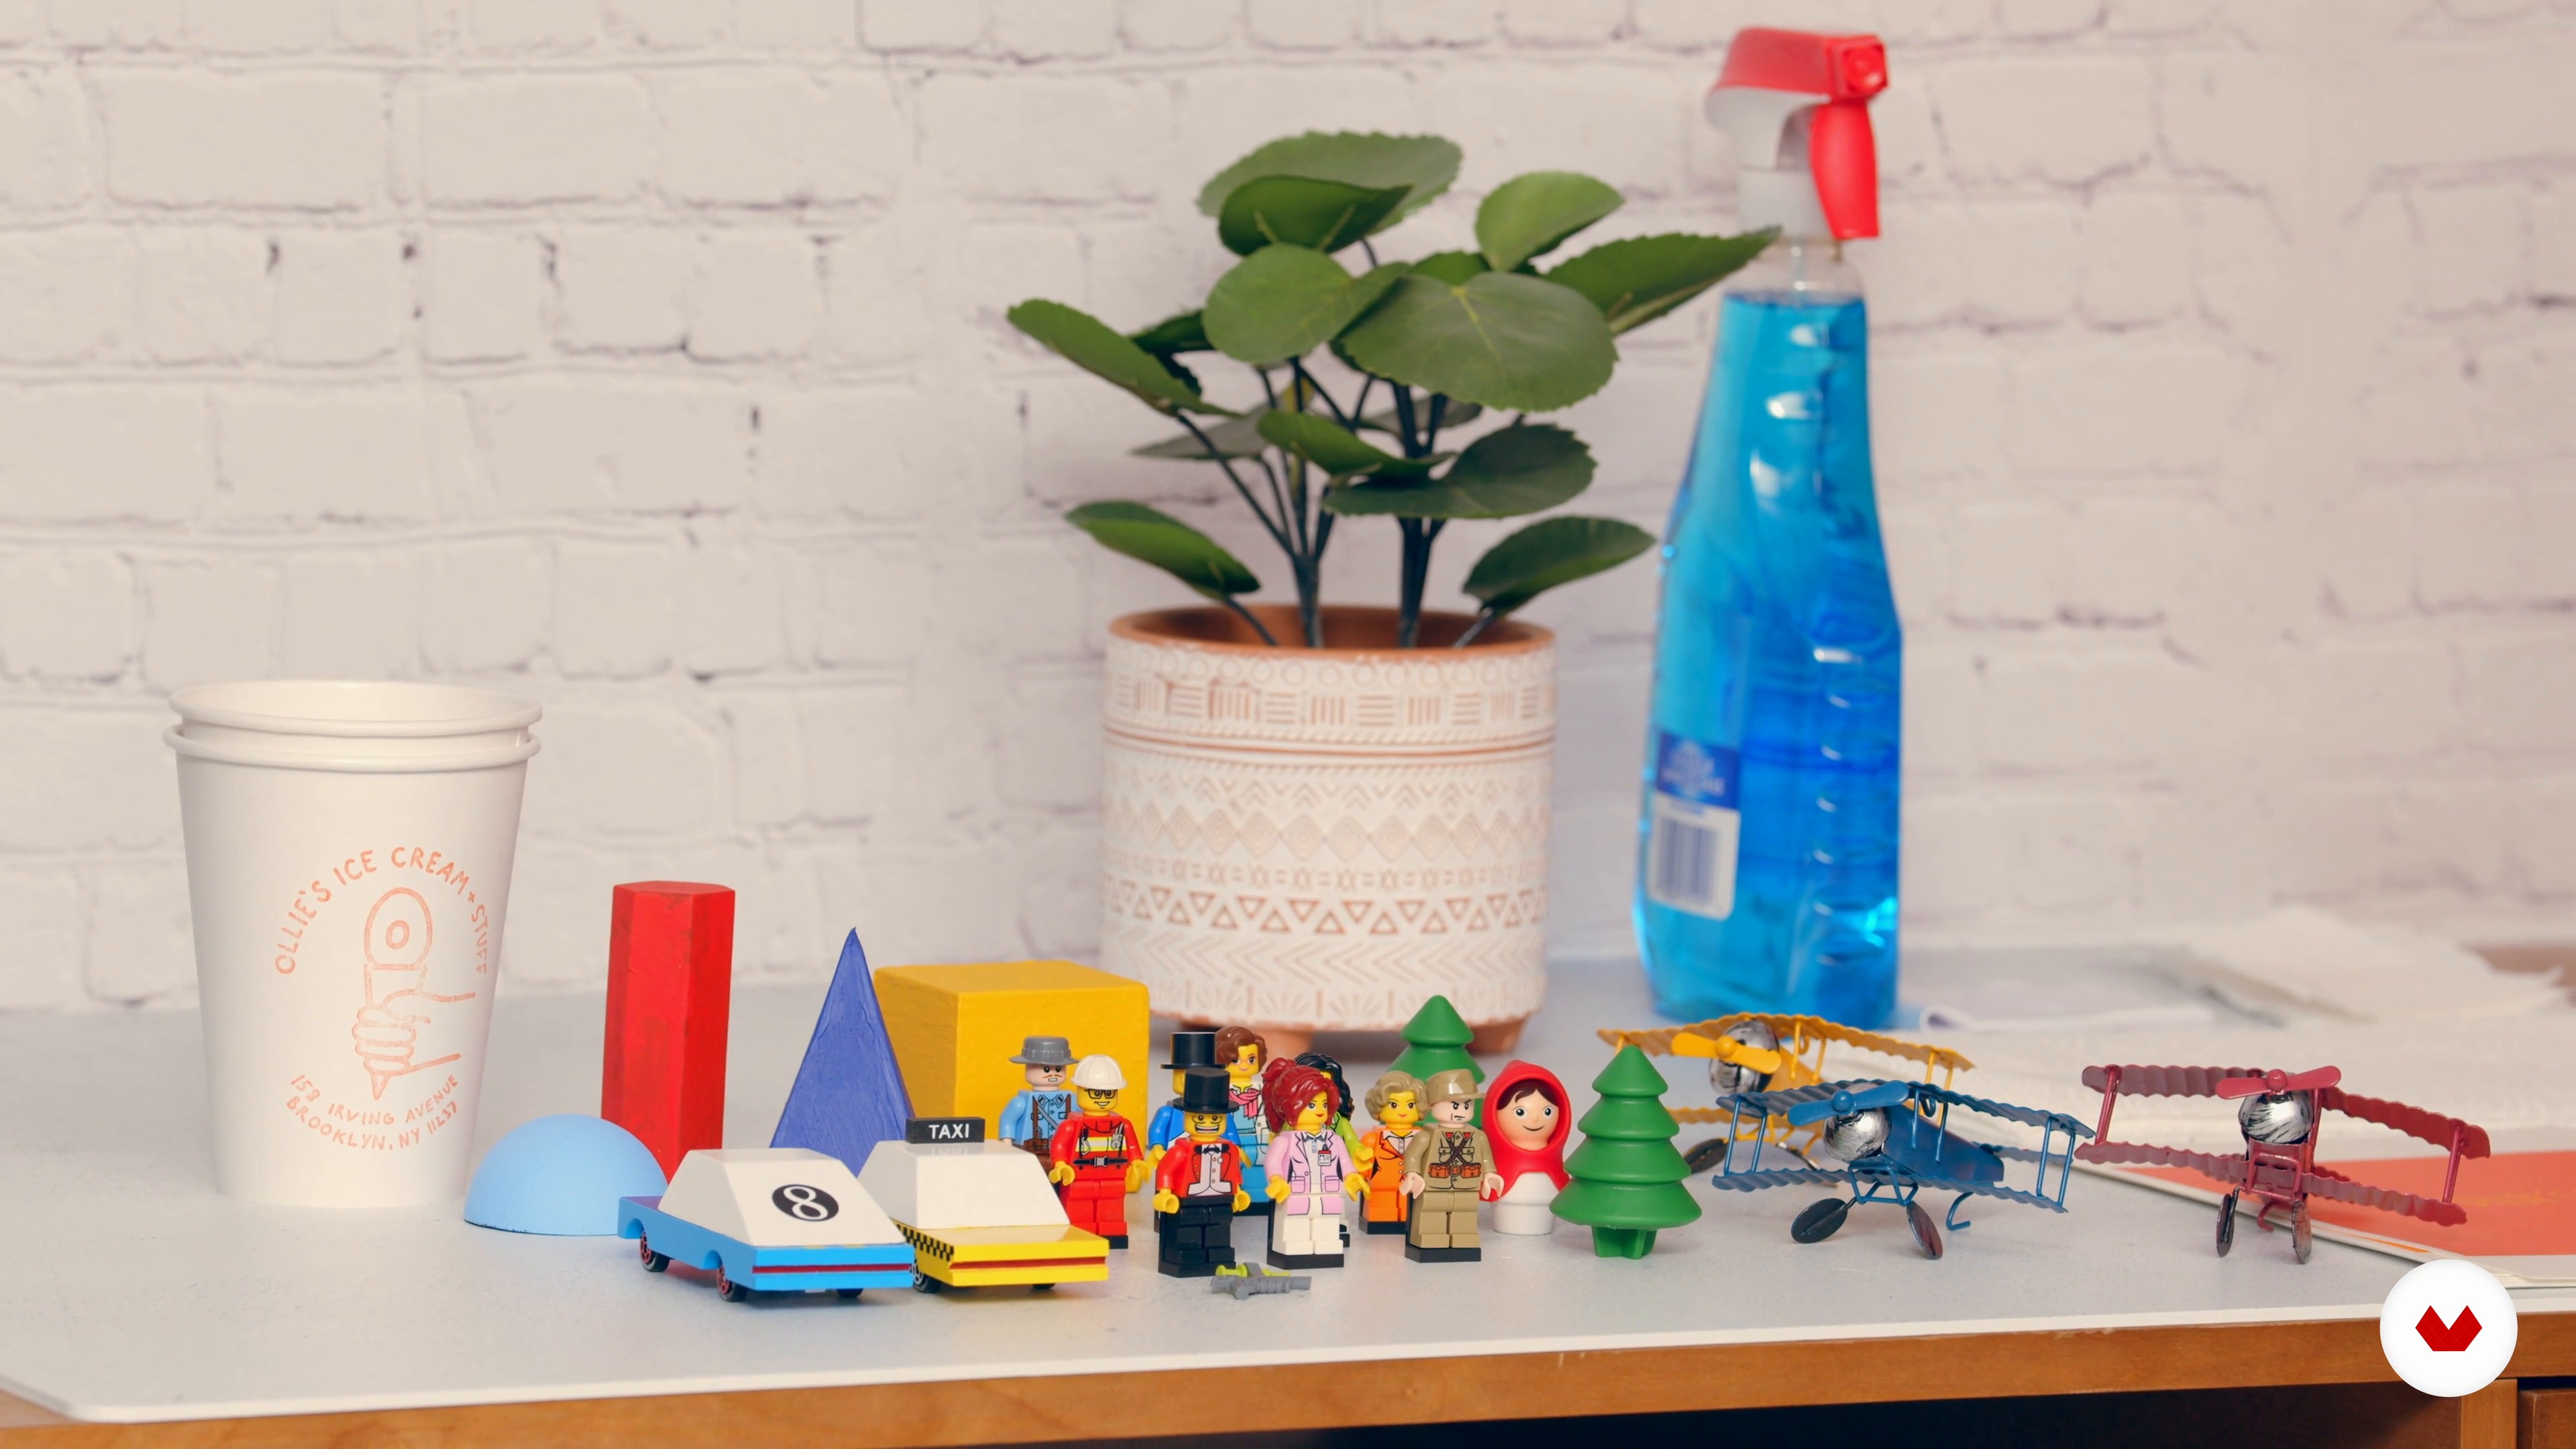
Here I'll show you how to prepare different shapes of molds for pouring chocolates. We'll use household materials and your children's Lego bricks, as they are excellent for creating molds.
15m
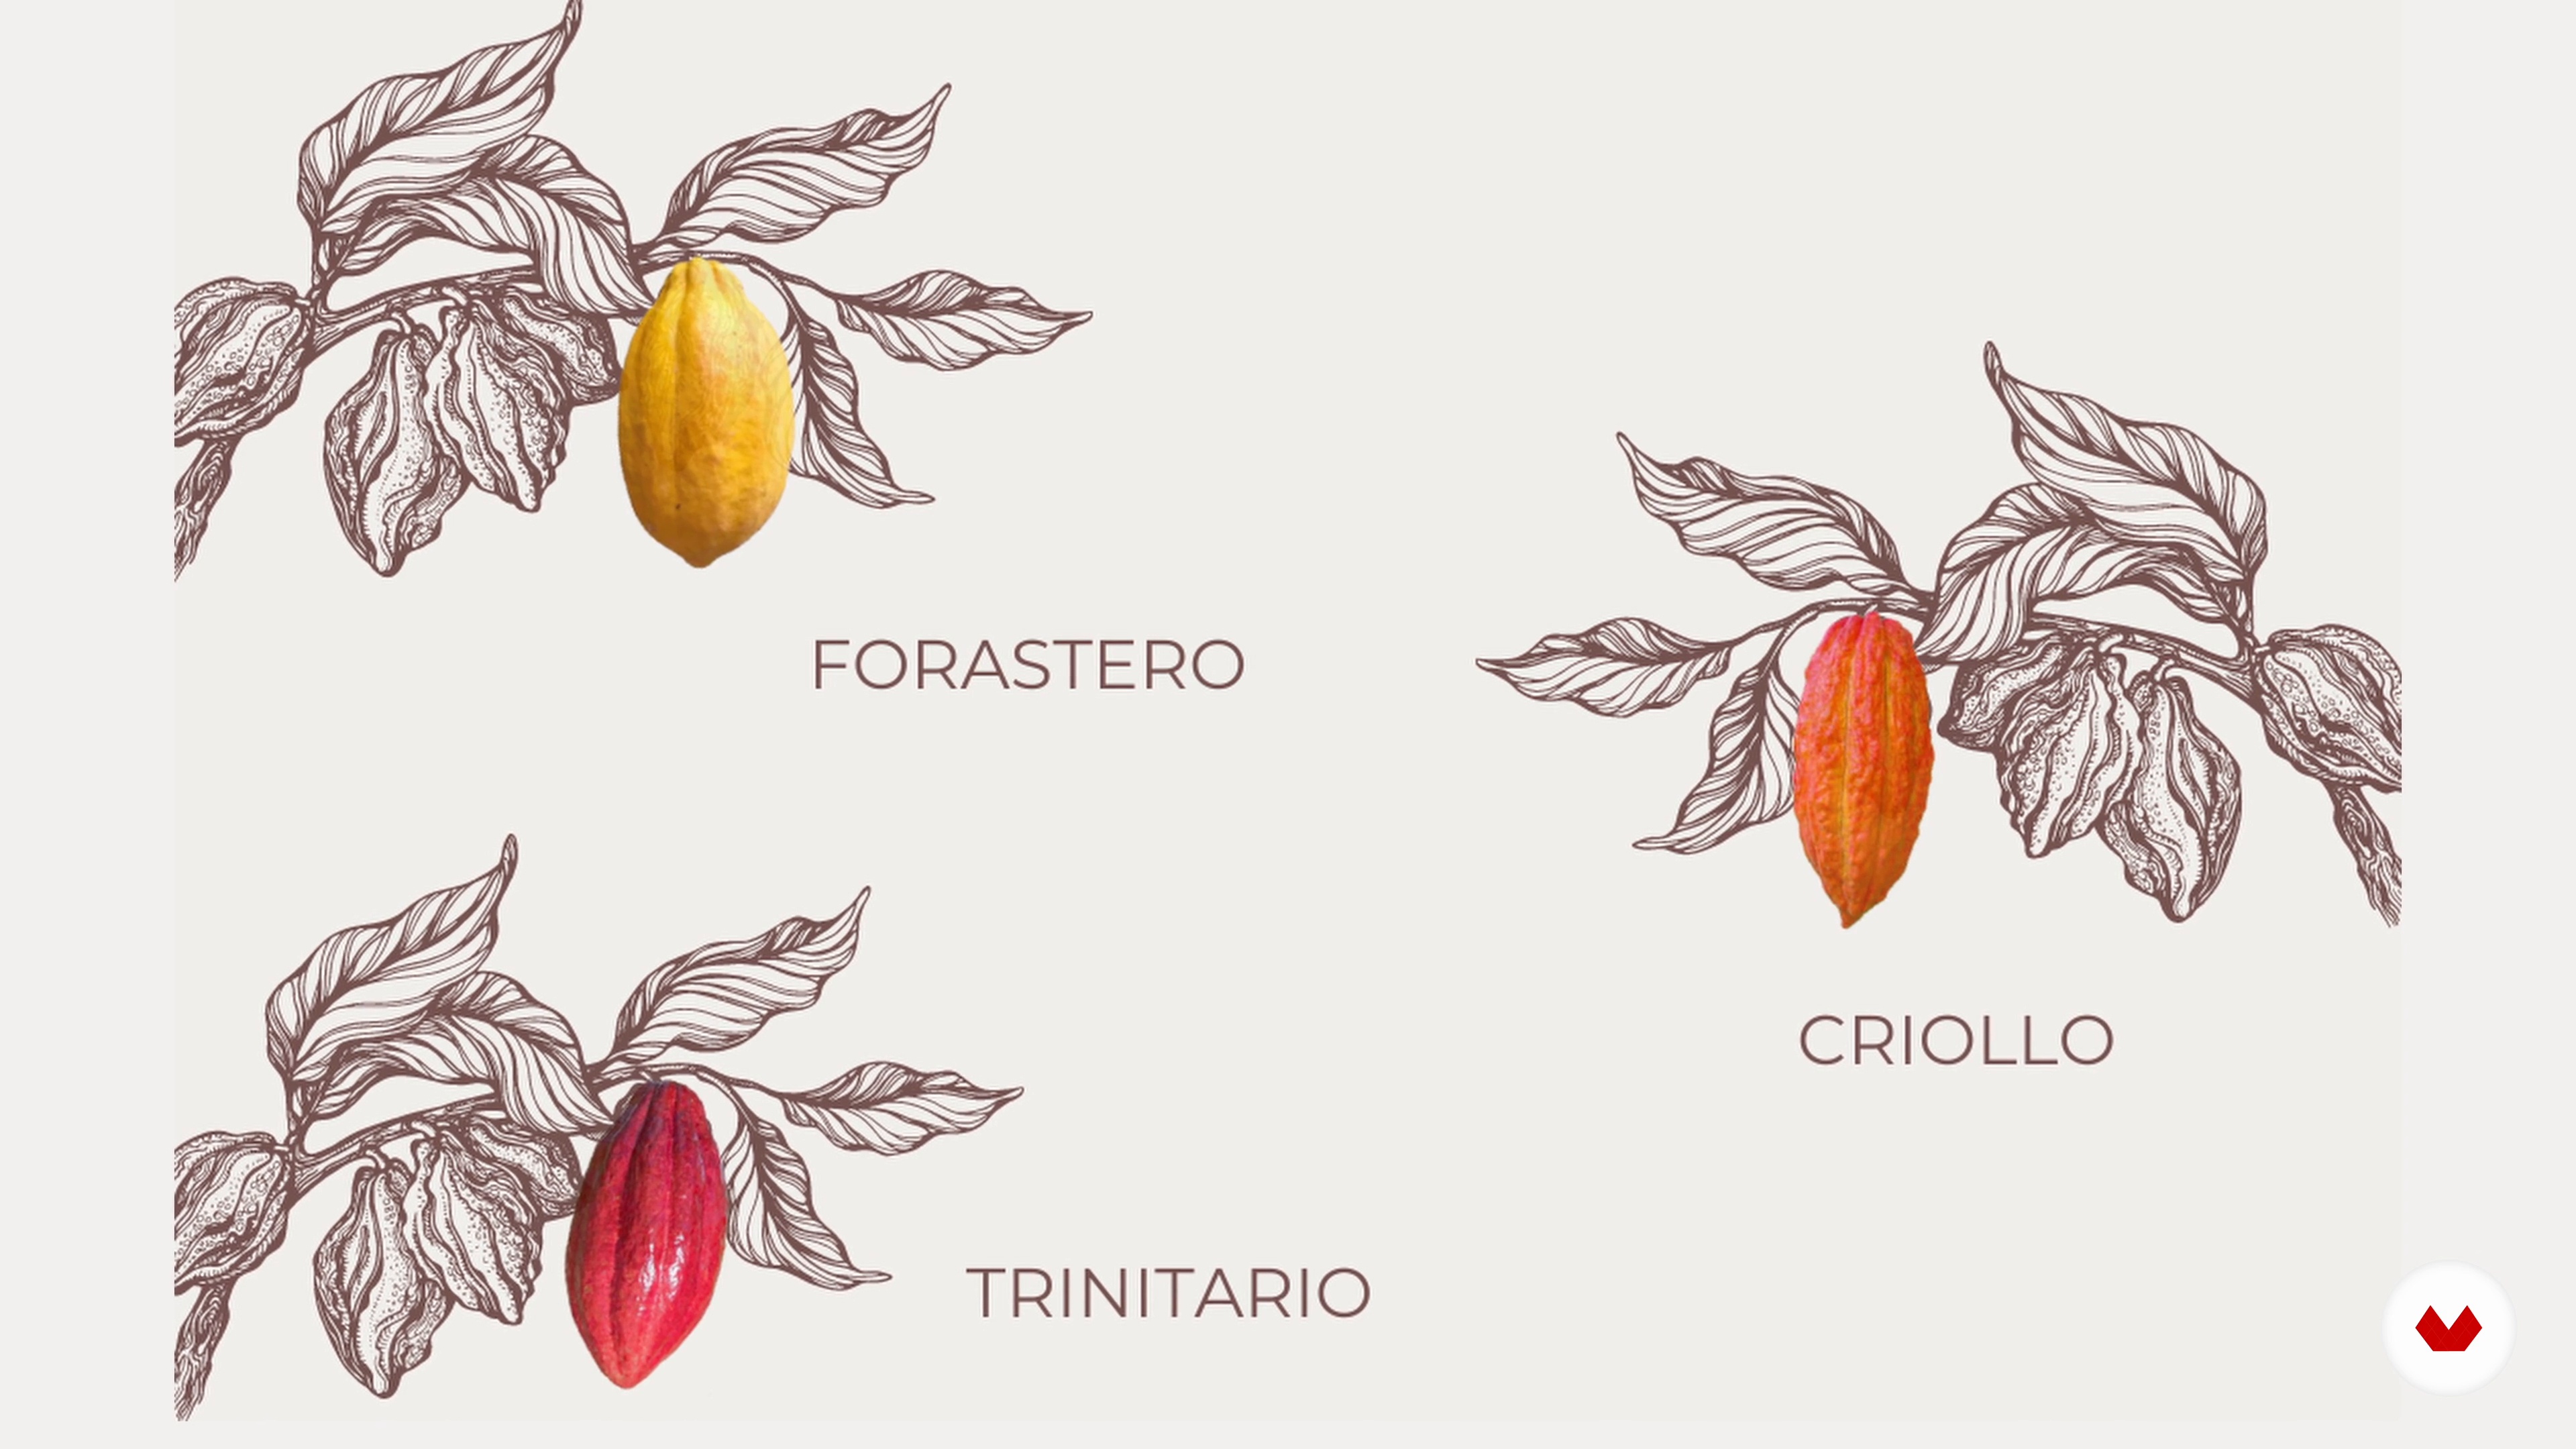
5Chocolate Basics: Knowing Our Main Ingredient and Tempering the Chocolate
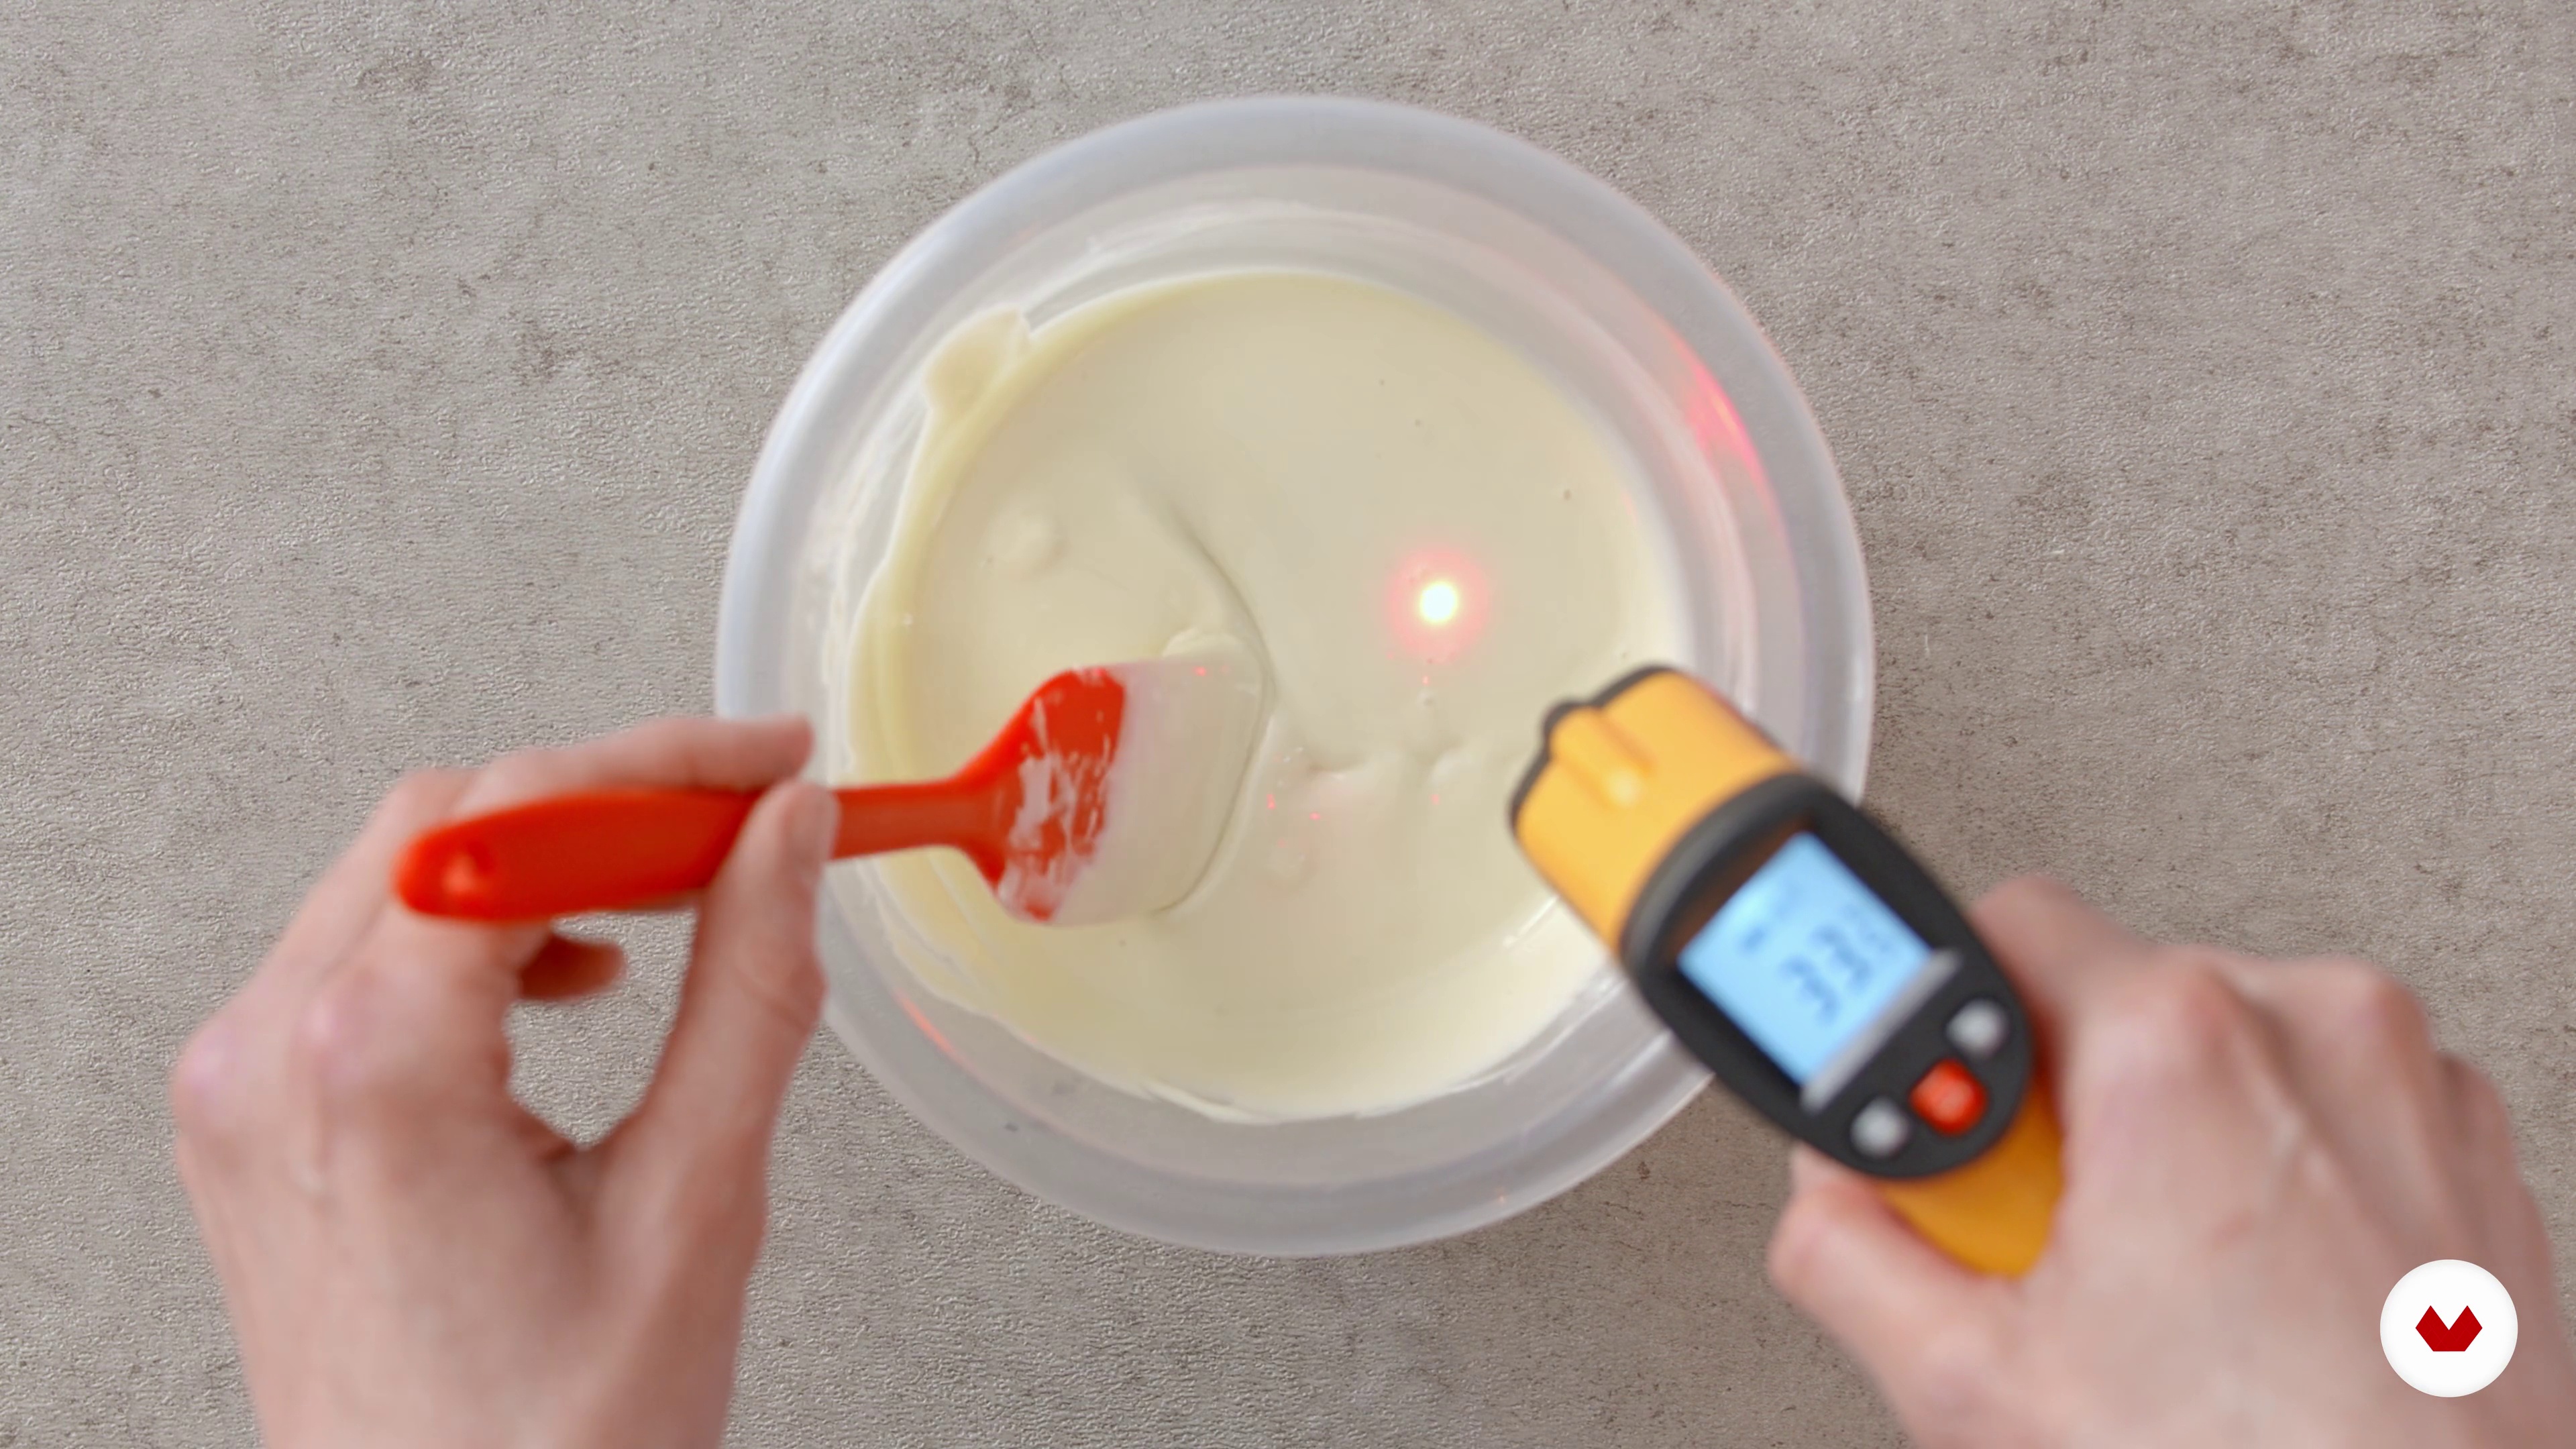
I'll show you how to temper chocolate, why it's important, what will happen if you don't temper chocolate properly, and why I think it's not necessarily a bad thing.
17m
6How to Mix Colours and Textures and Colour Palette Overview
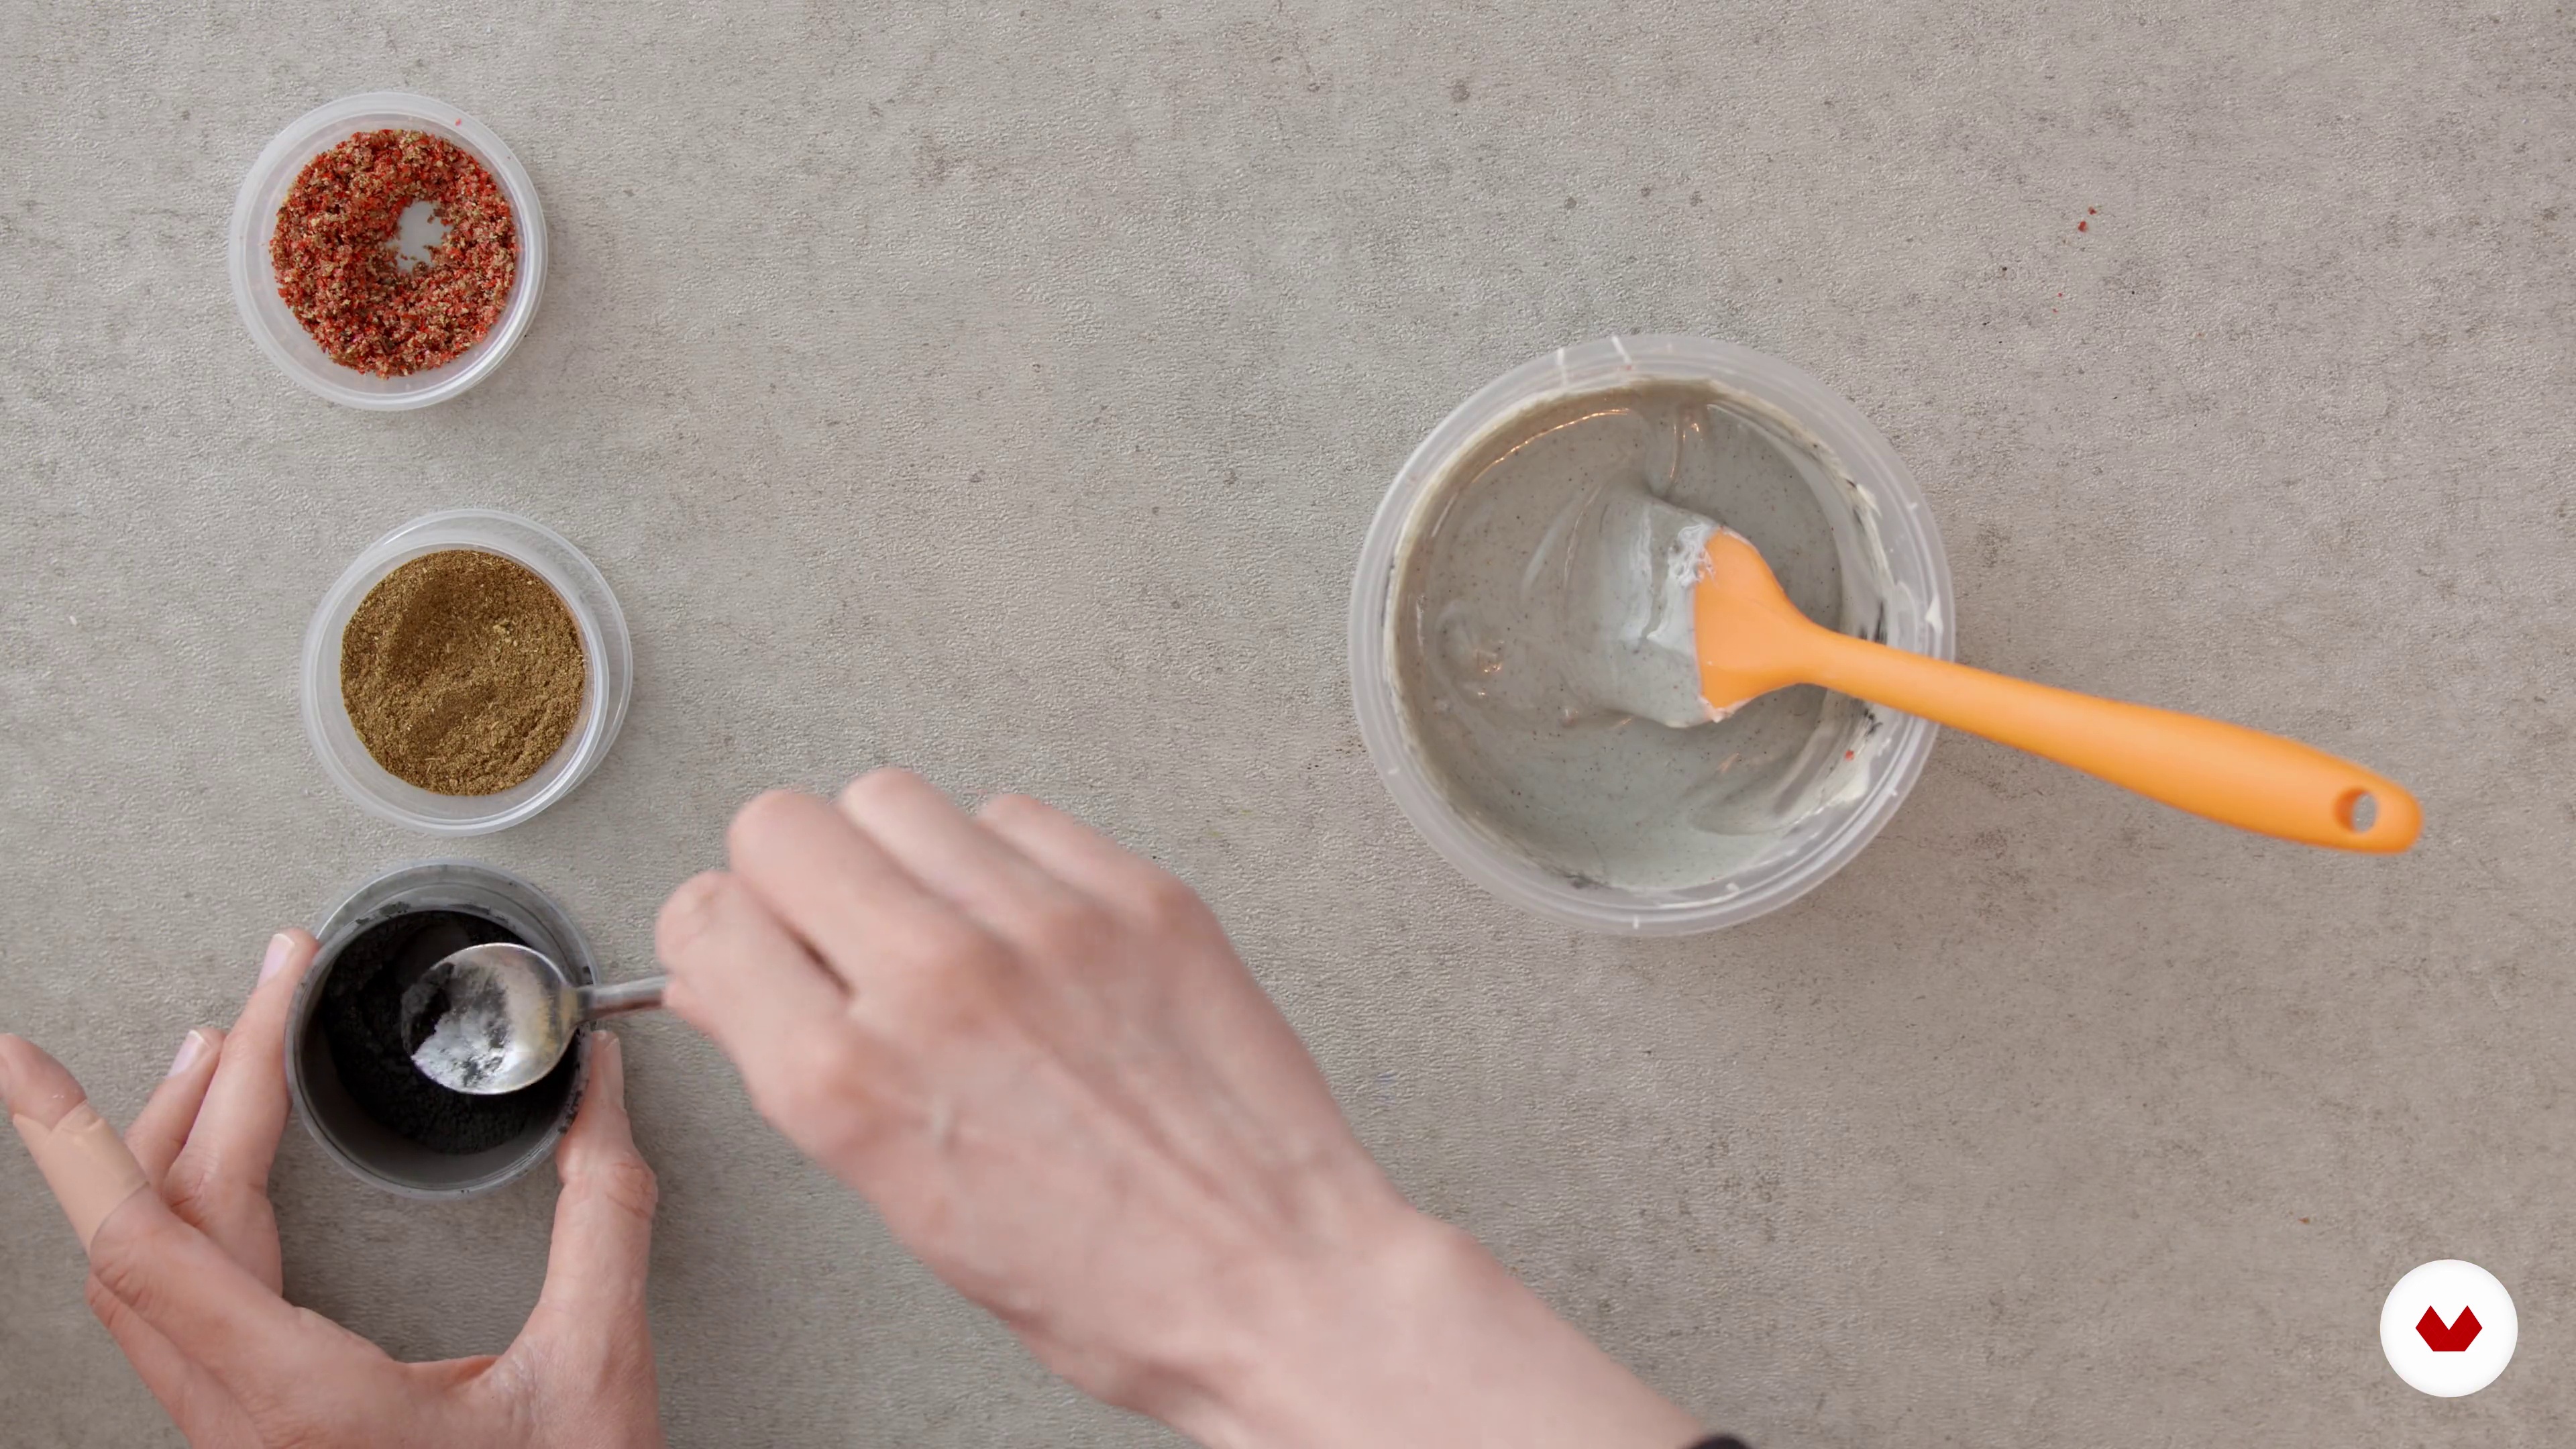
In this lesson, I'll explain how I approach color in my design. We'll also begin our first design: terrazzo.
20m
7Making a Terrazzo Design Slab
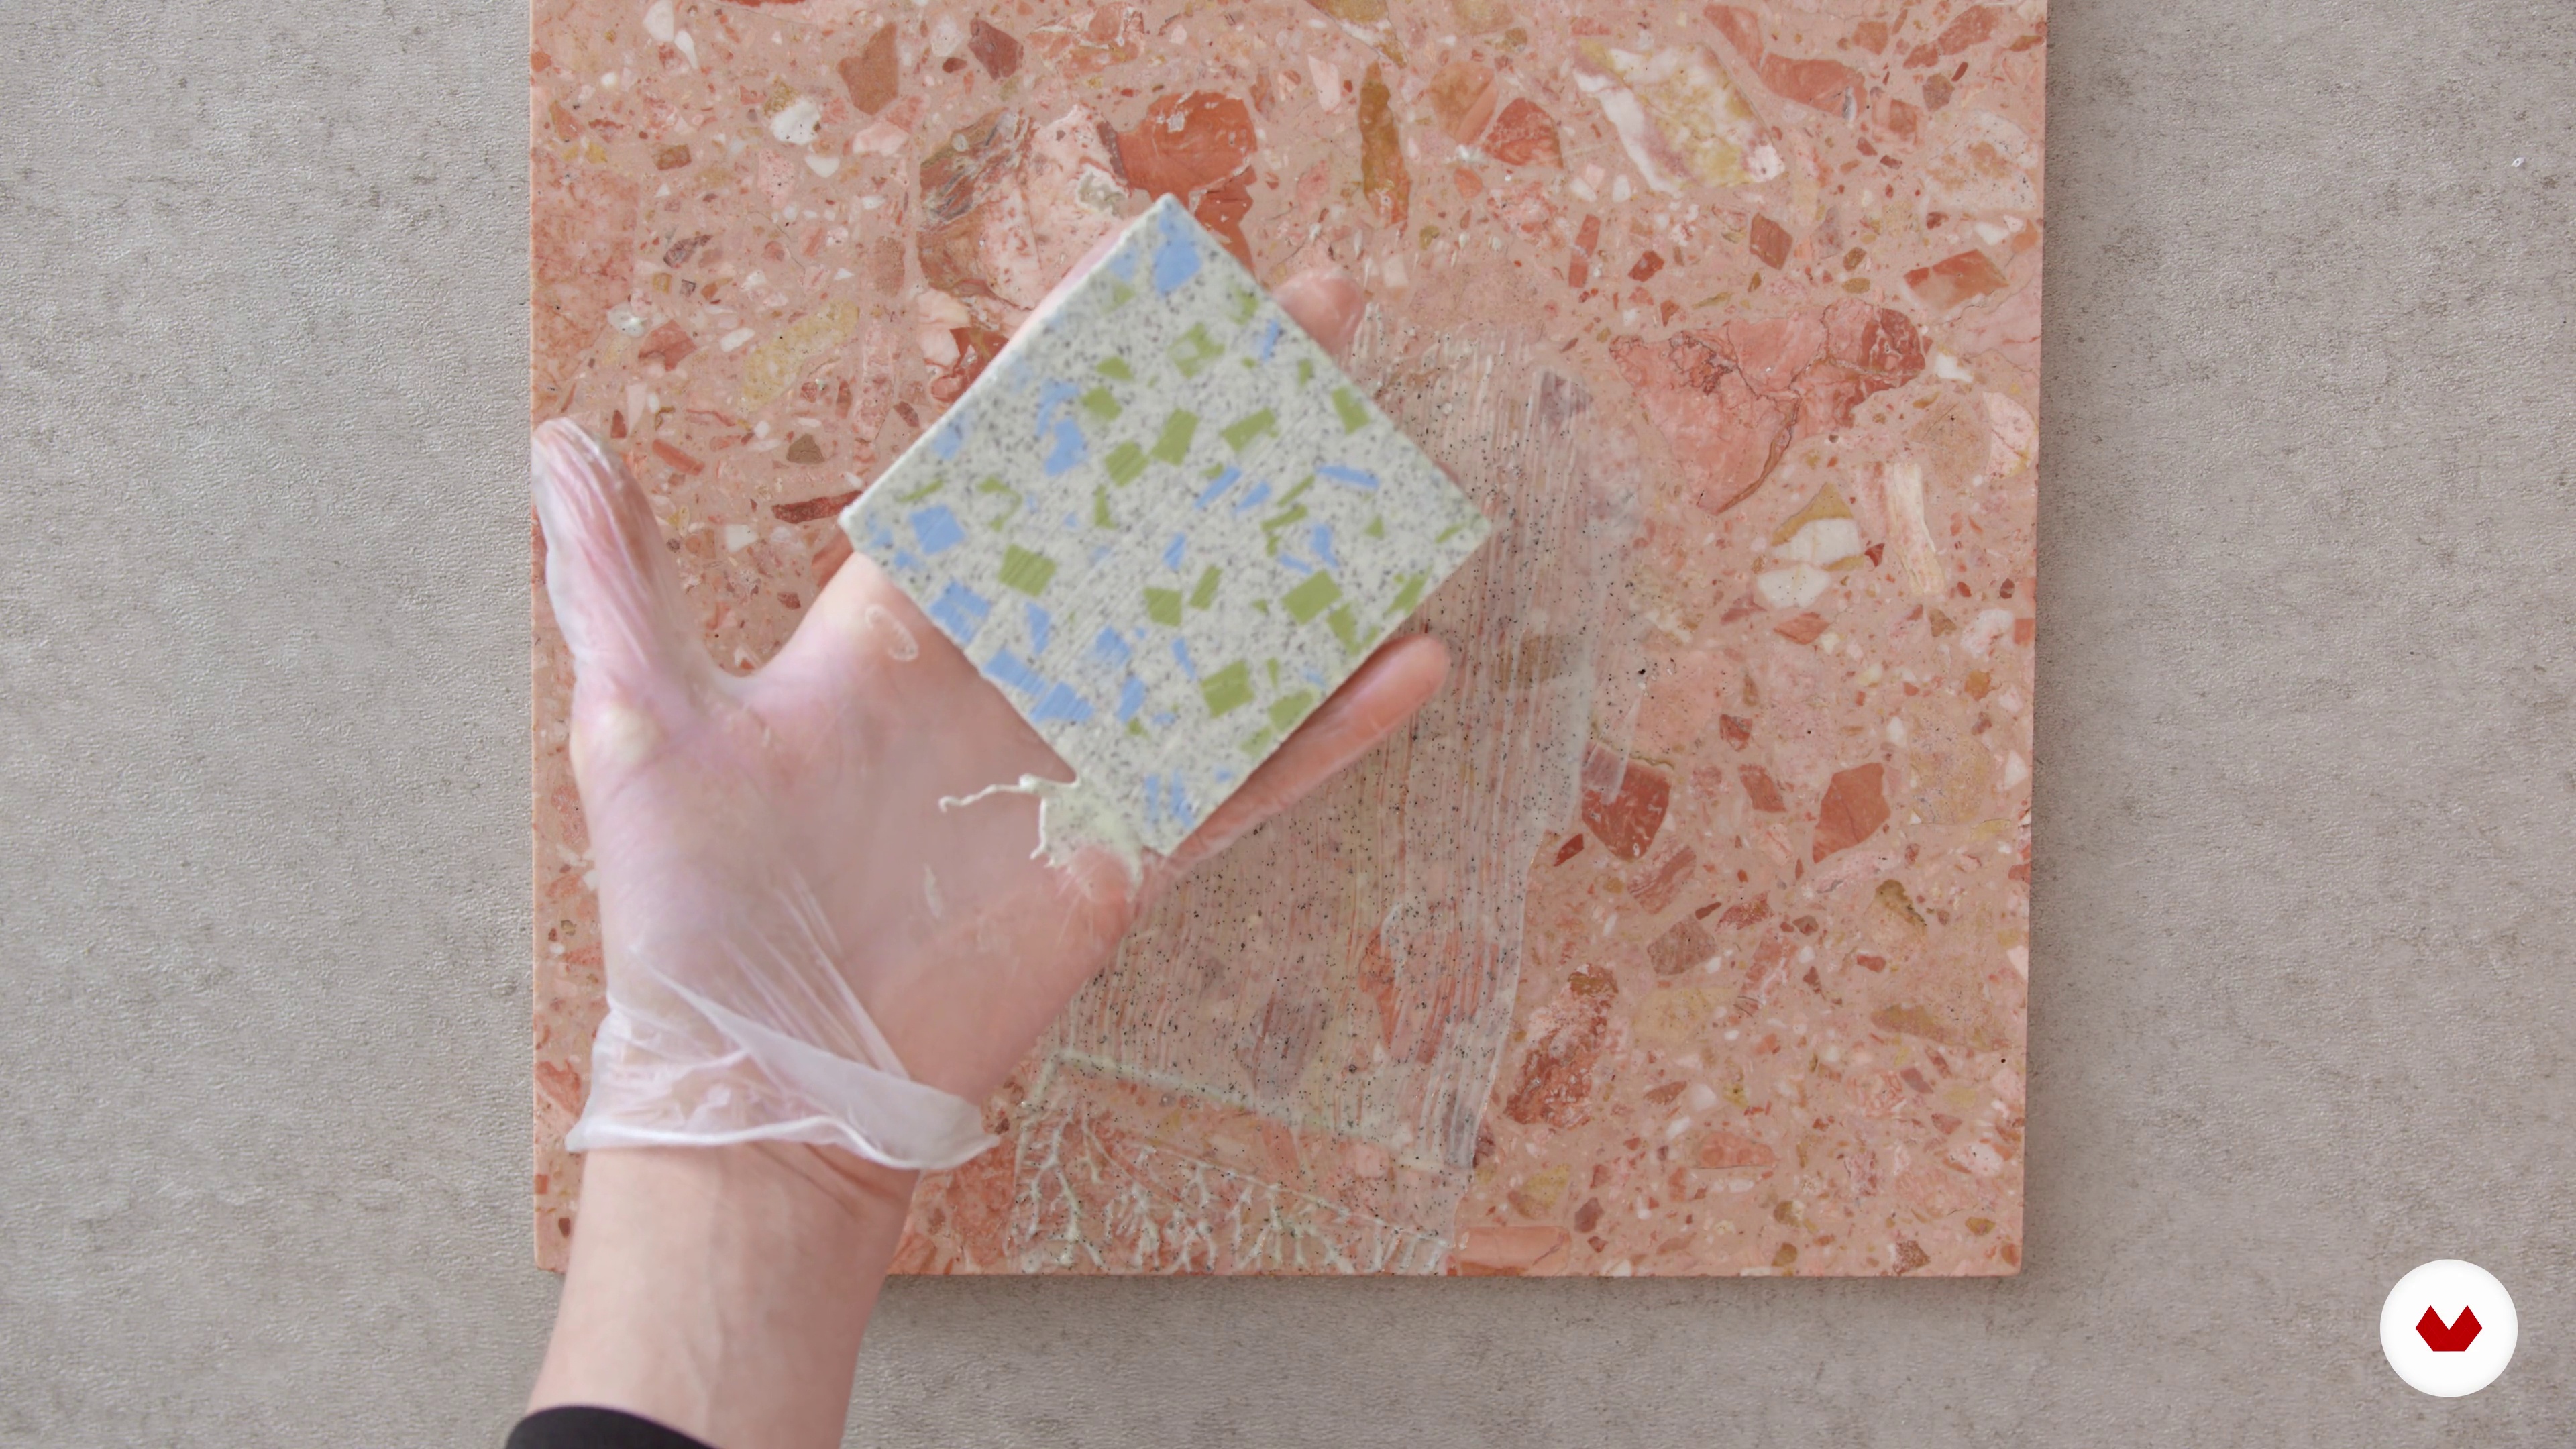
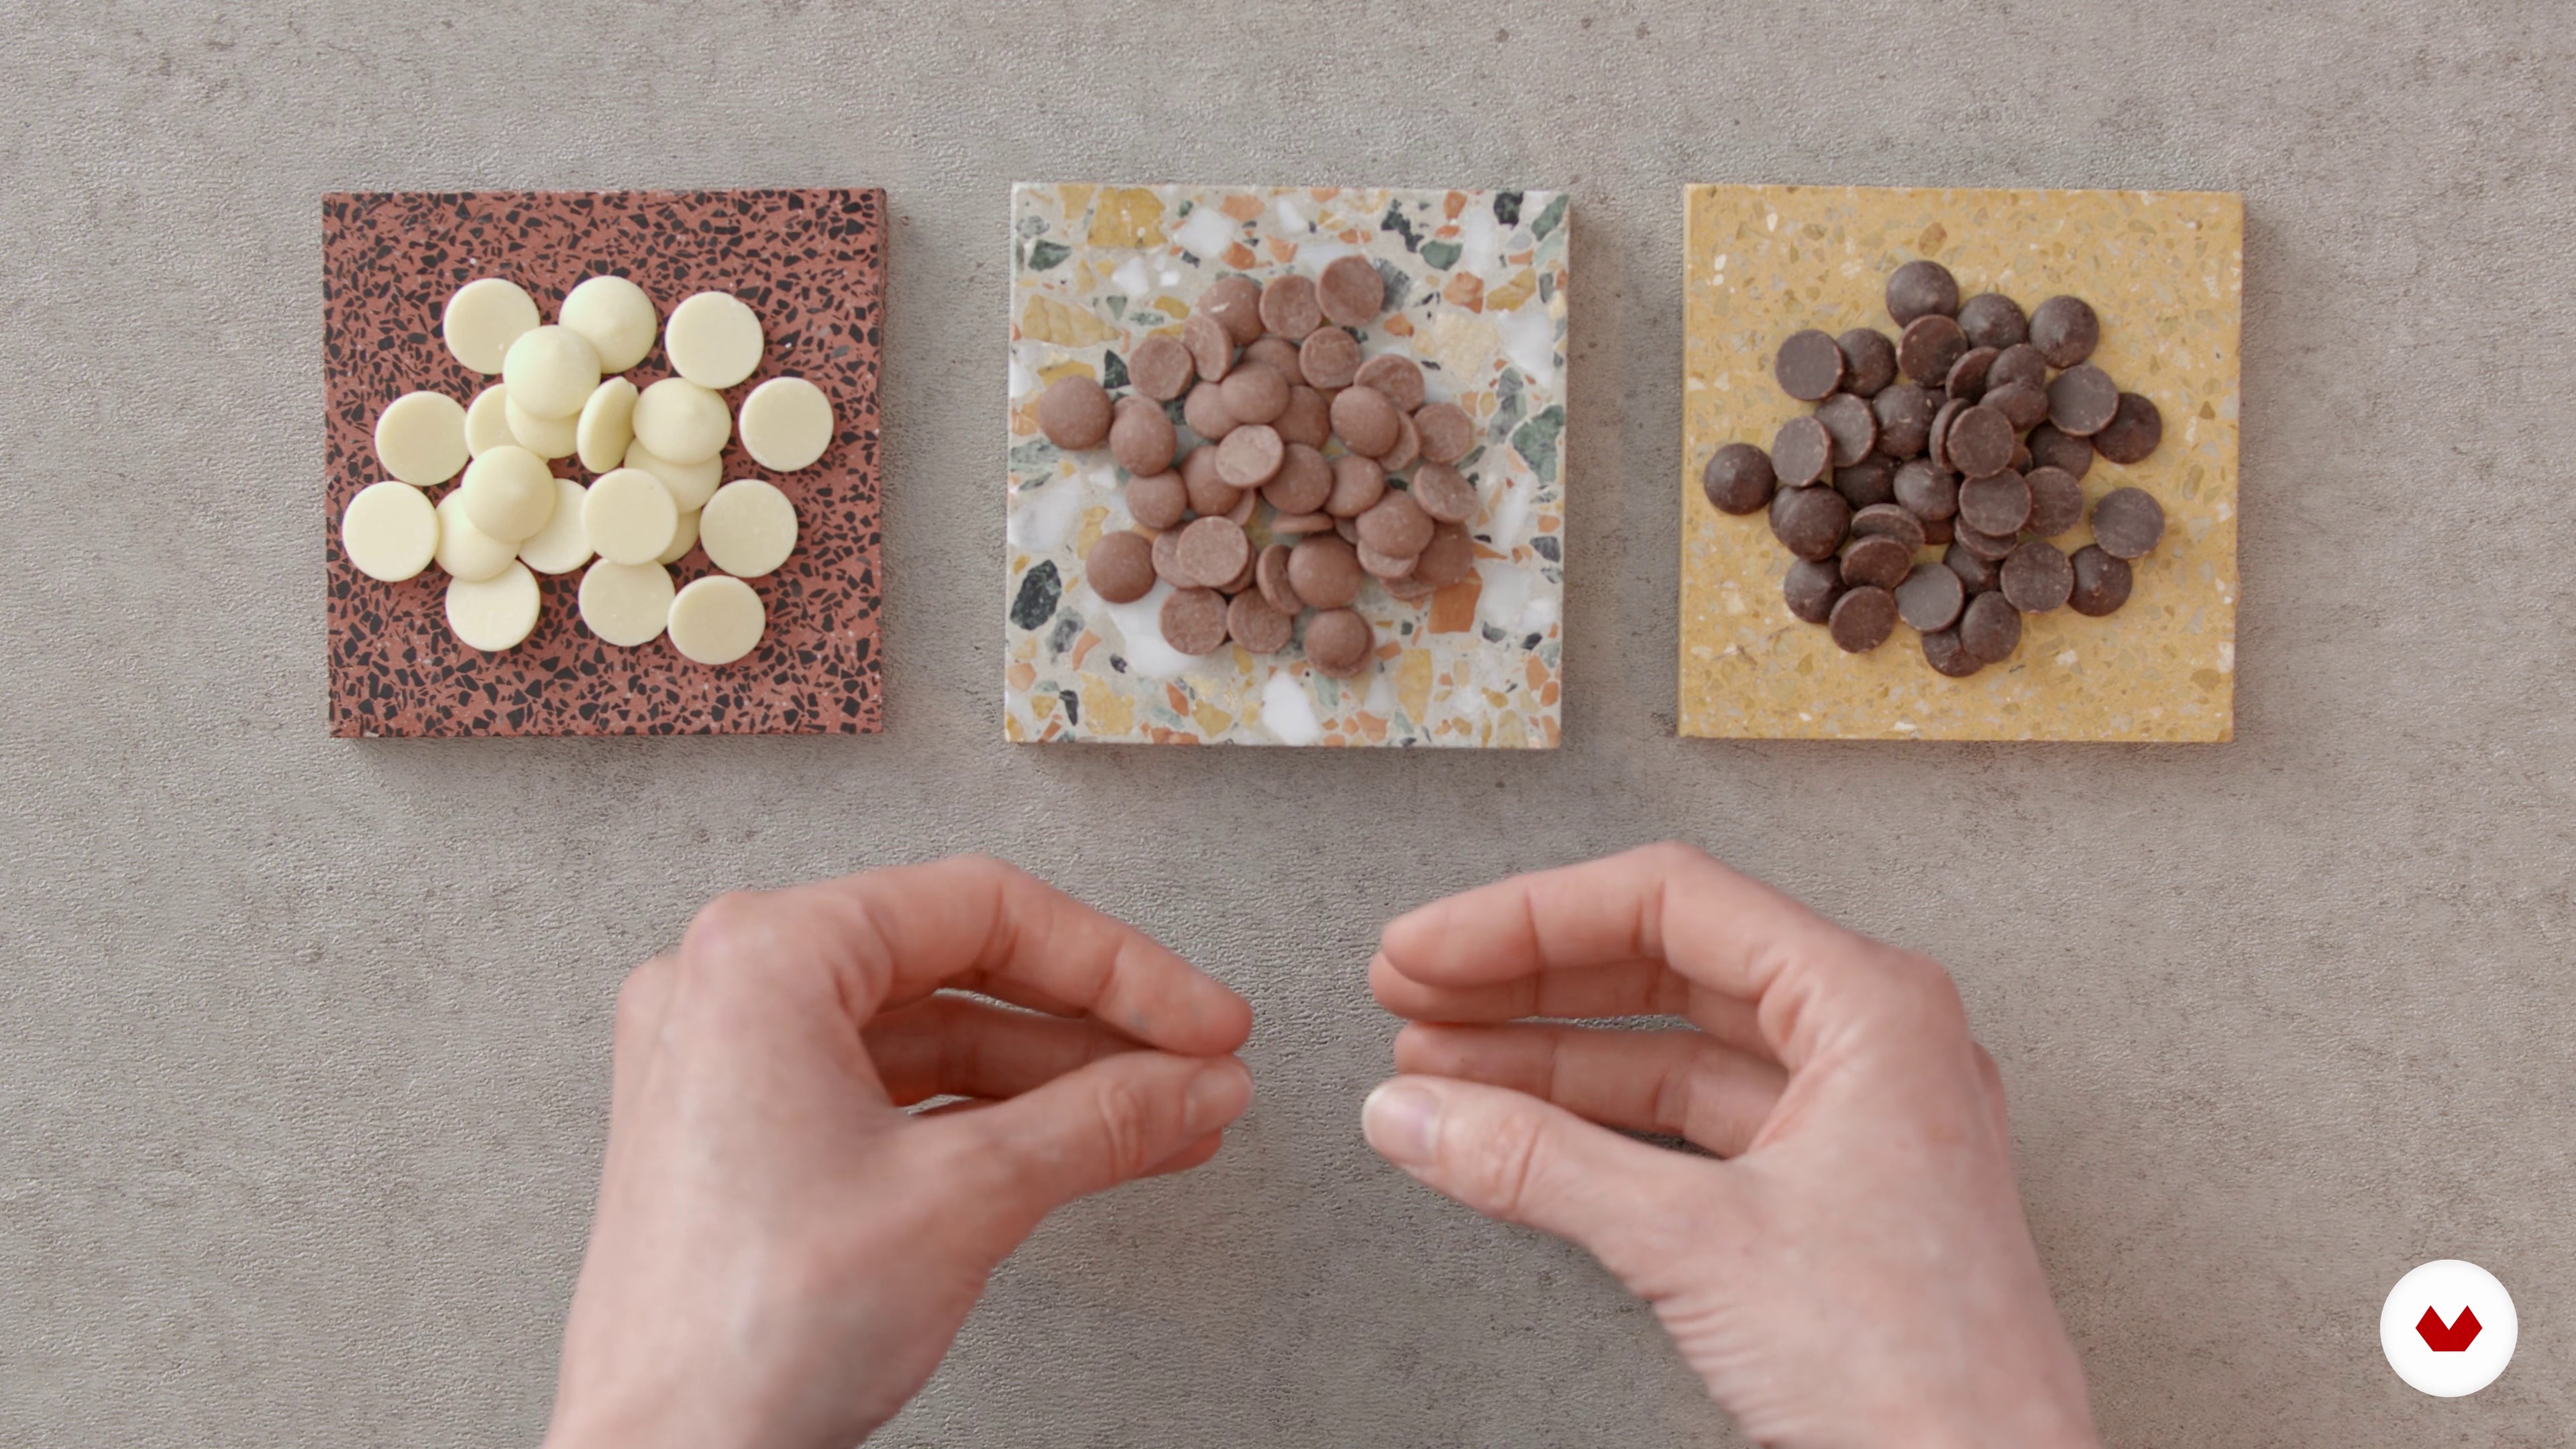
In this lesson we will use the color chips we created in our color lesson and begin making terrazzo.
13m
8Making a Concrete Design Slab
Here, I'll show you how to create several different concrete designs using white chocolate and charcoal. We'll also look at how different textures will change the way the same flavors are perceived. We'll use the exact same flavors as when we created our marble tile.
14m
9Making a Marble Design Slab
In this lesson, I'll show you how to create a beautiful marbled chocolate tile by mixing different colored chocolates together before carefully pouring them into our mold.
11m
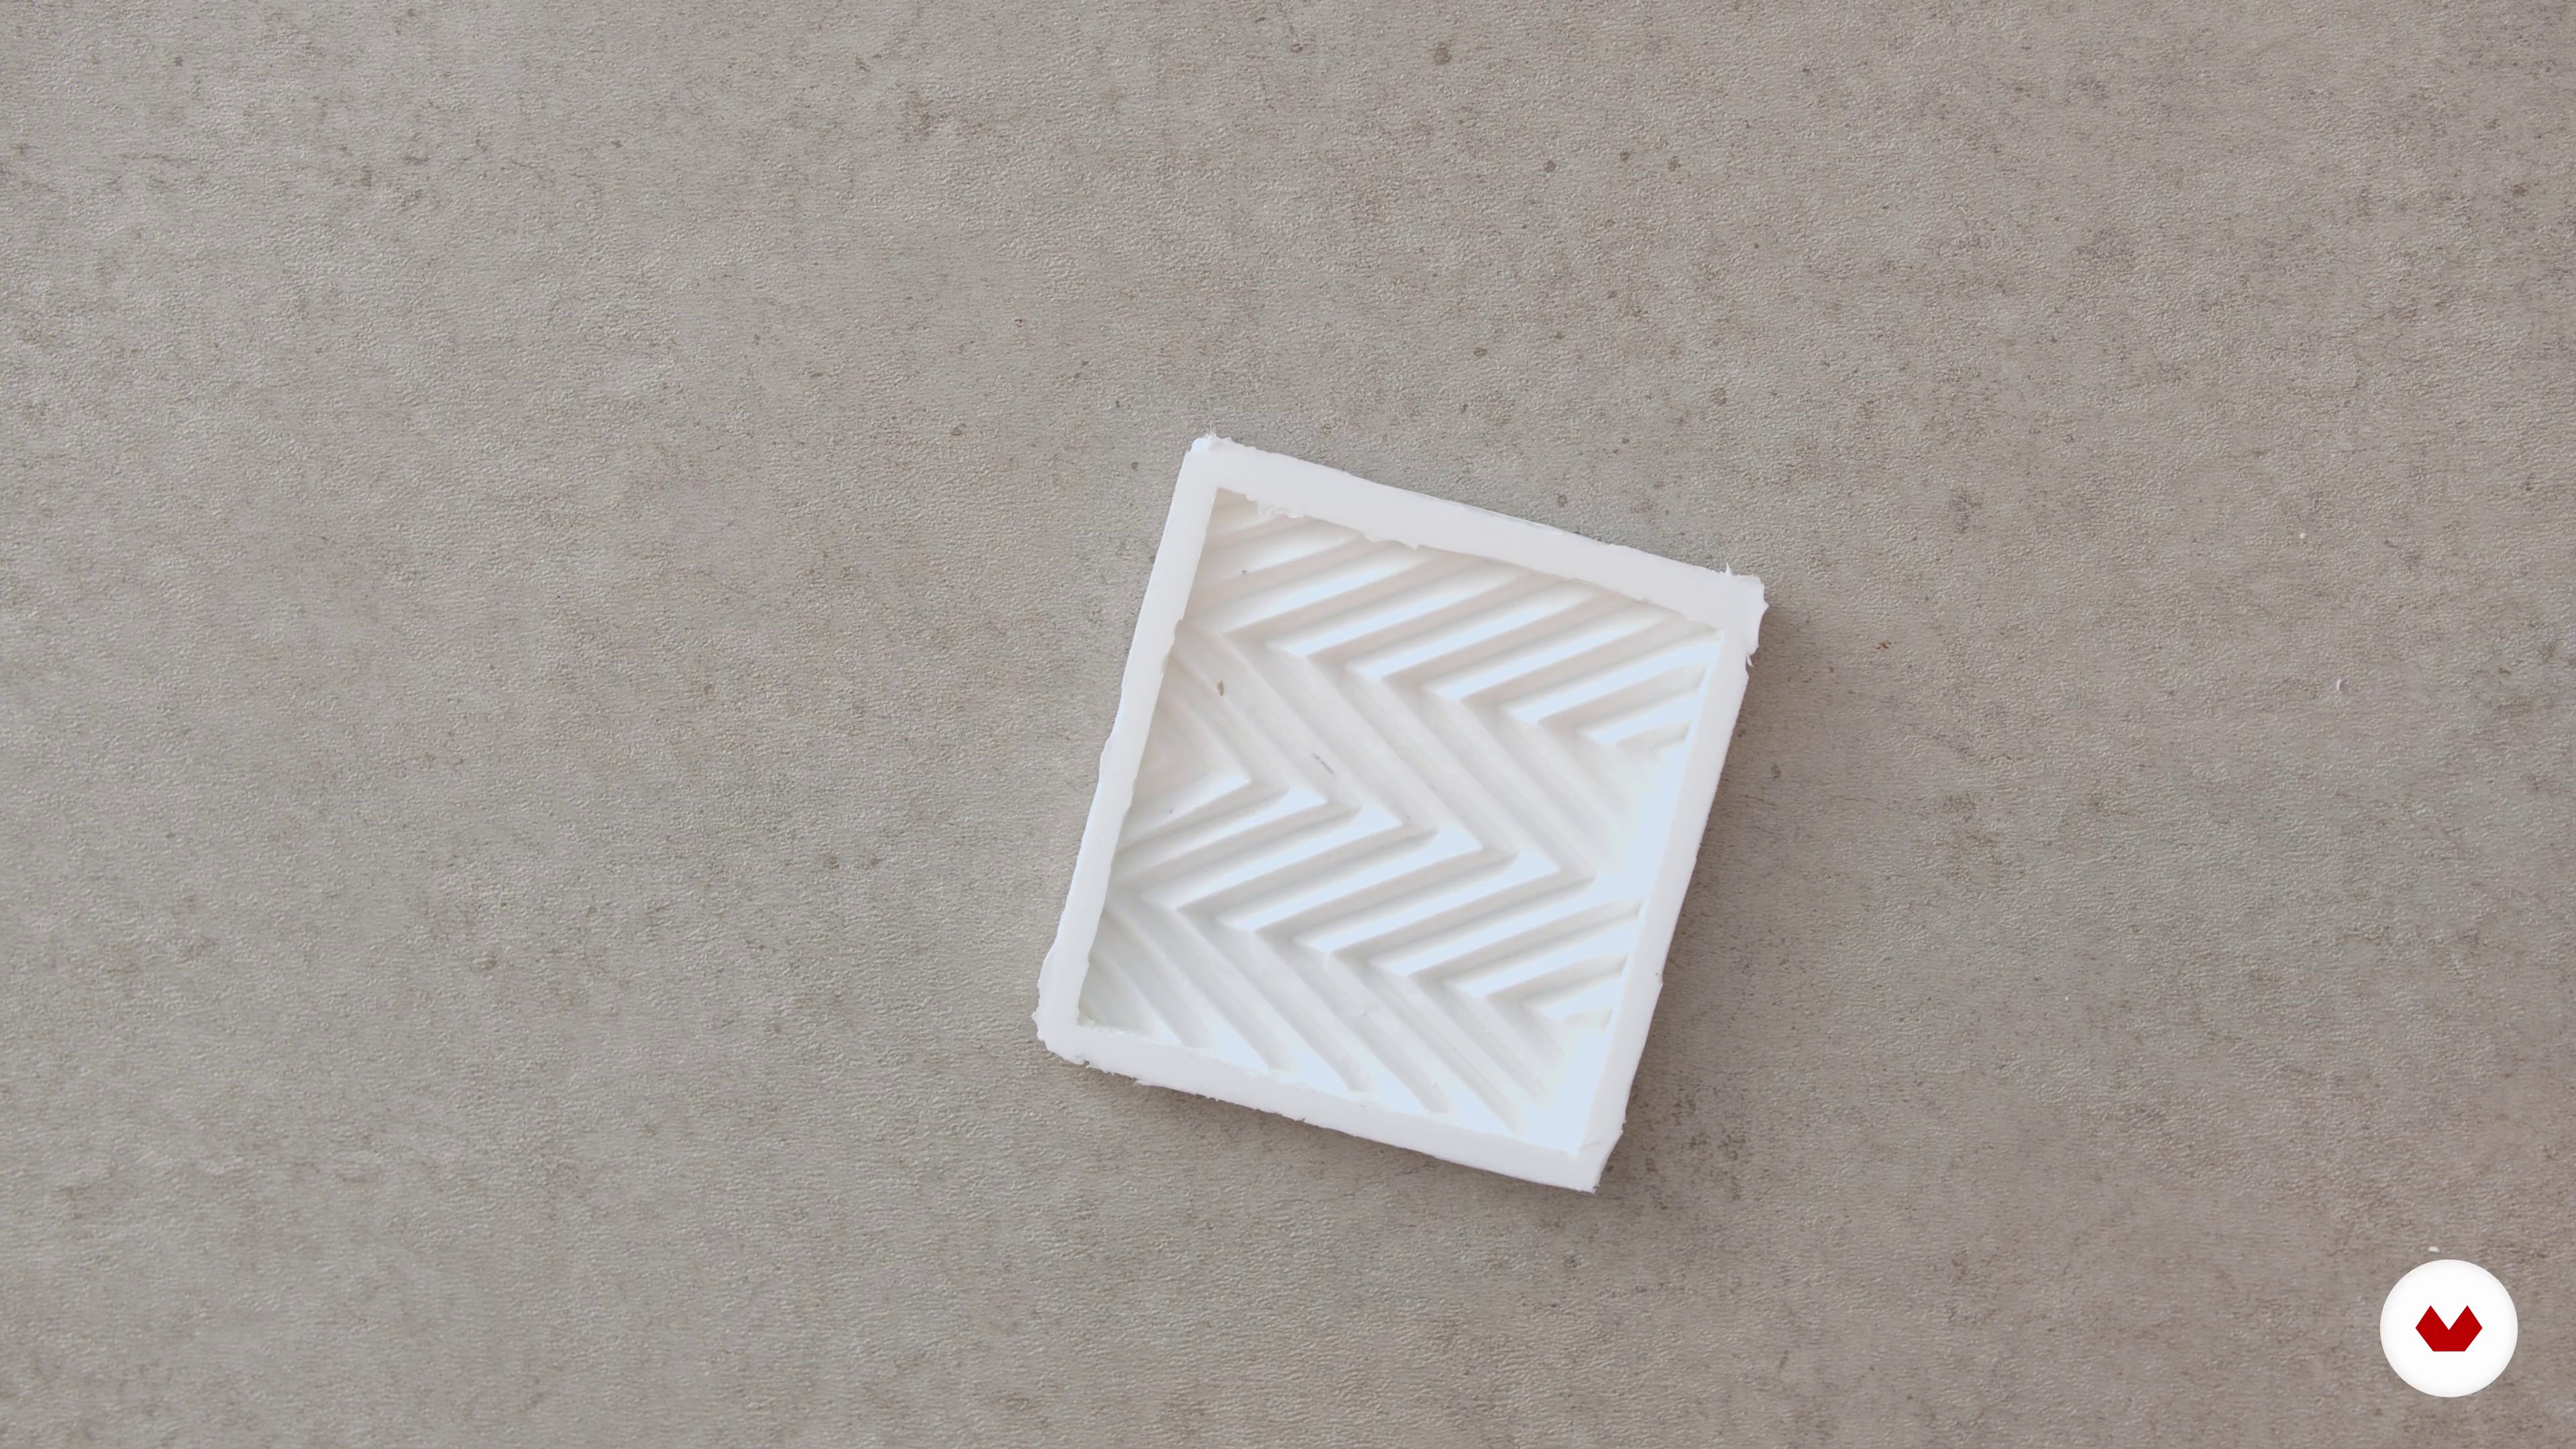
10How to Cast an Object in a Silicon Mold 1
In this lesson, I will show you how to start working with your chosen object and how to begin preparing and creating a mold around the object.
18m
11How to Cast an Object in a Silicon Mold 2
Now we'll complete our mold and learn how to work safely with silicone. We'll discover how to mix and pour it onto our chosen object, removing all air bubbles and imperfections.
8m
12How to Store, Transport and Package Your Work Sustainably
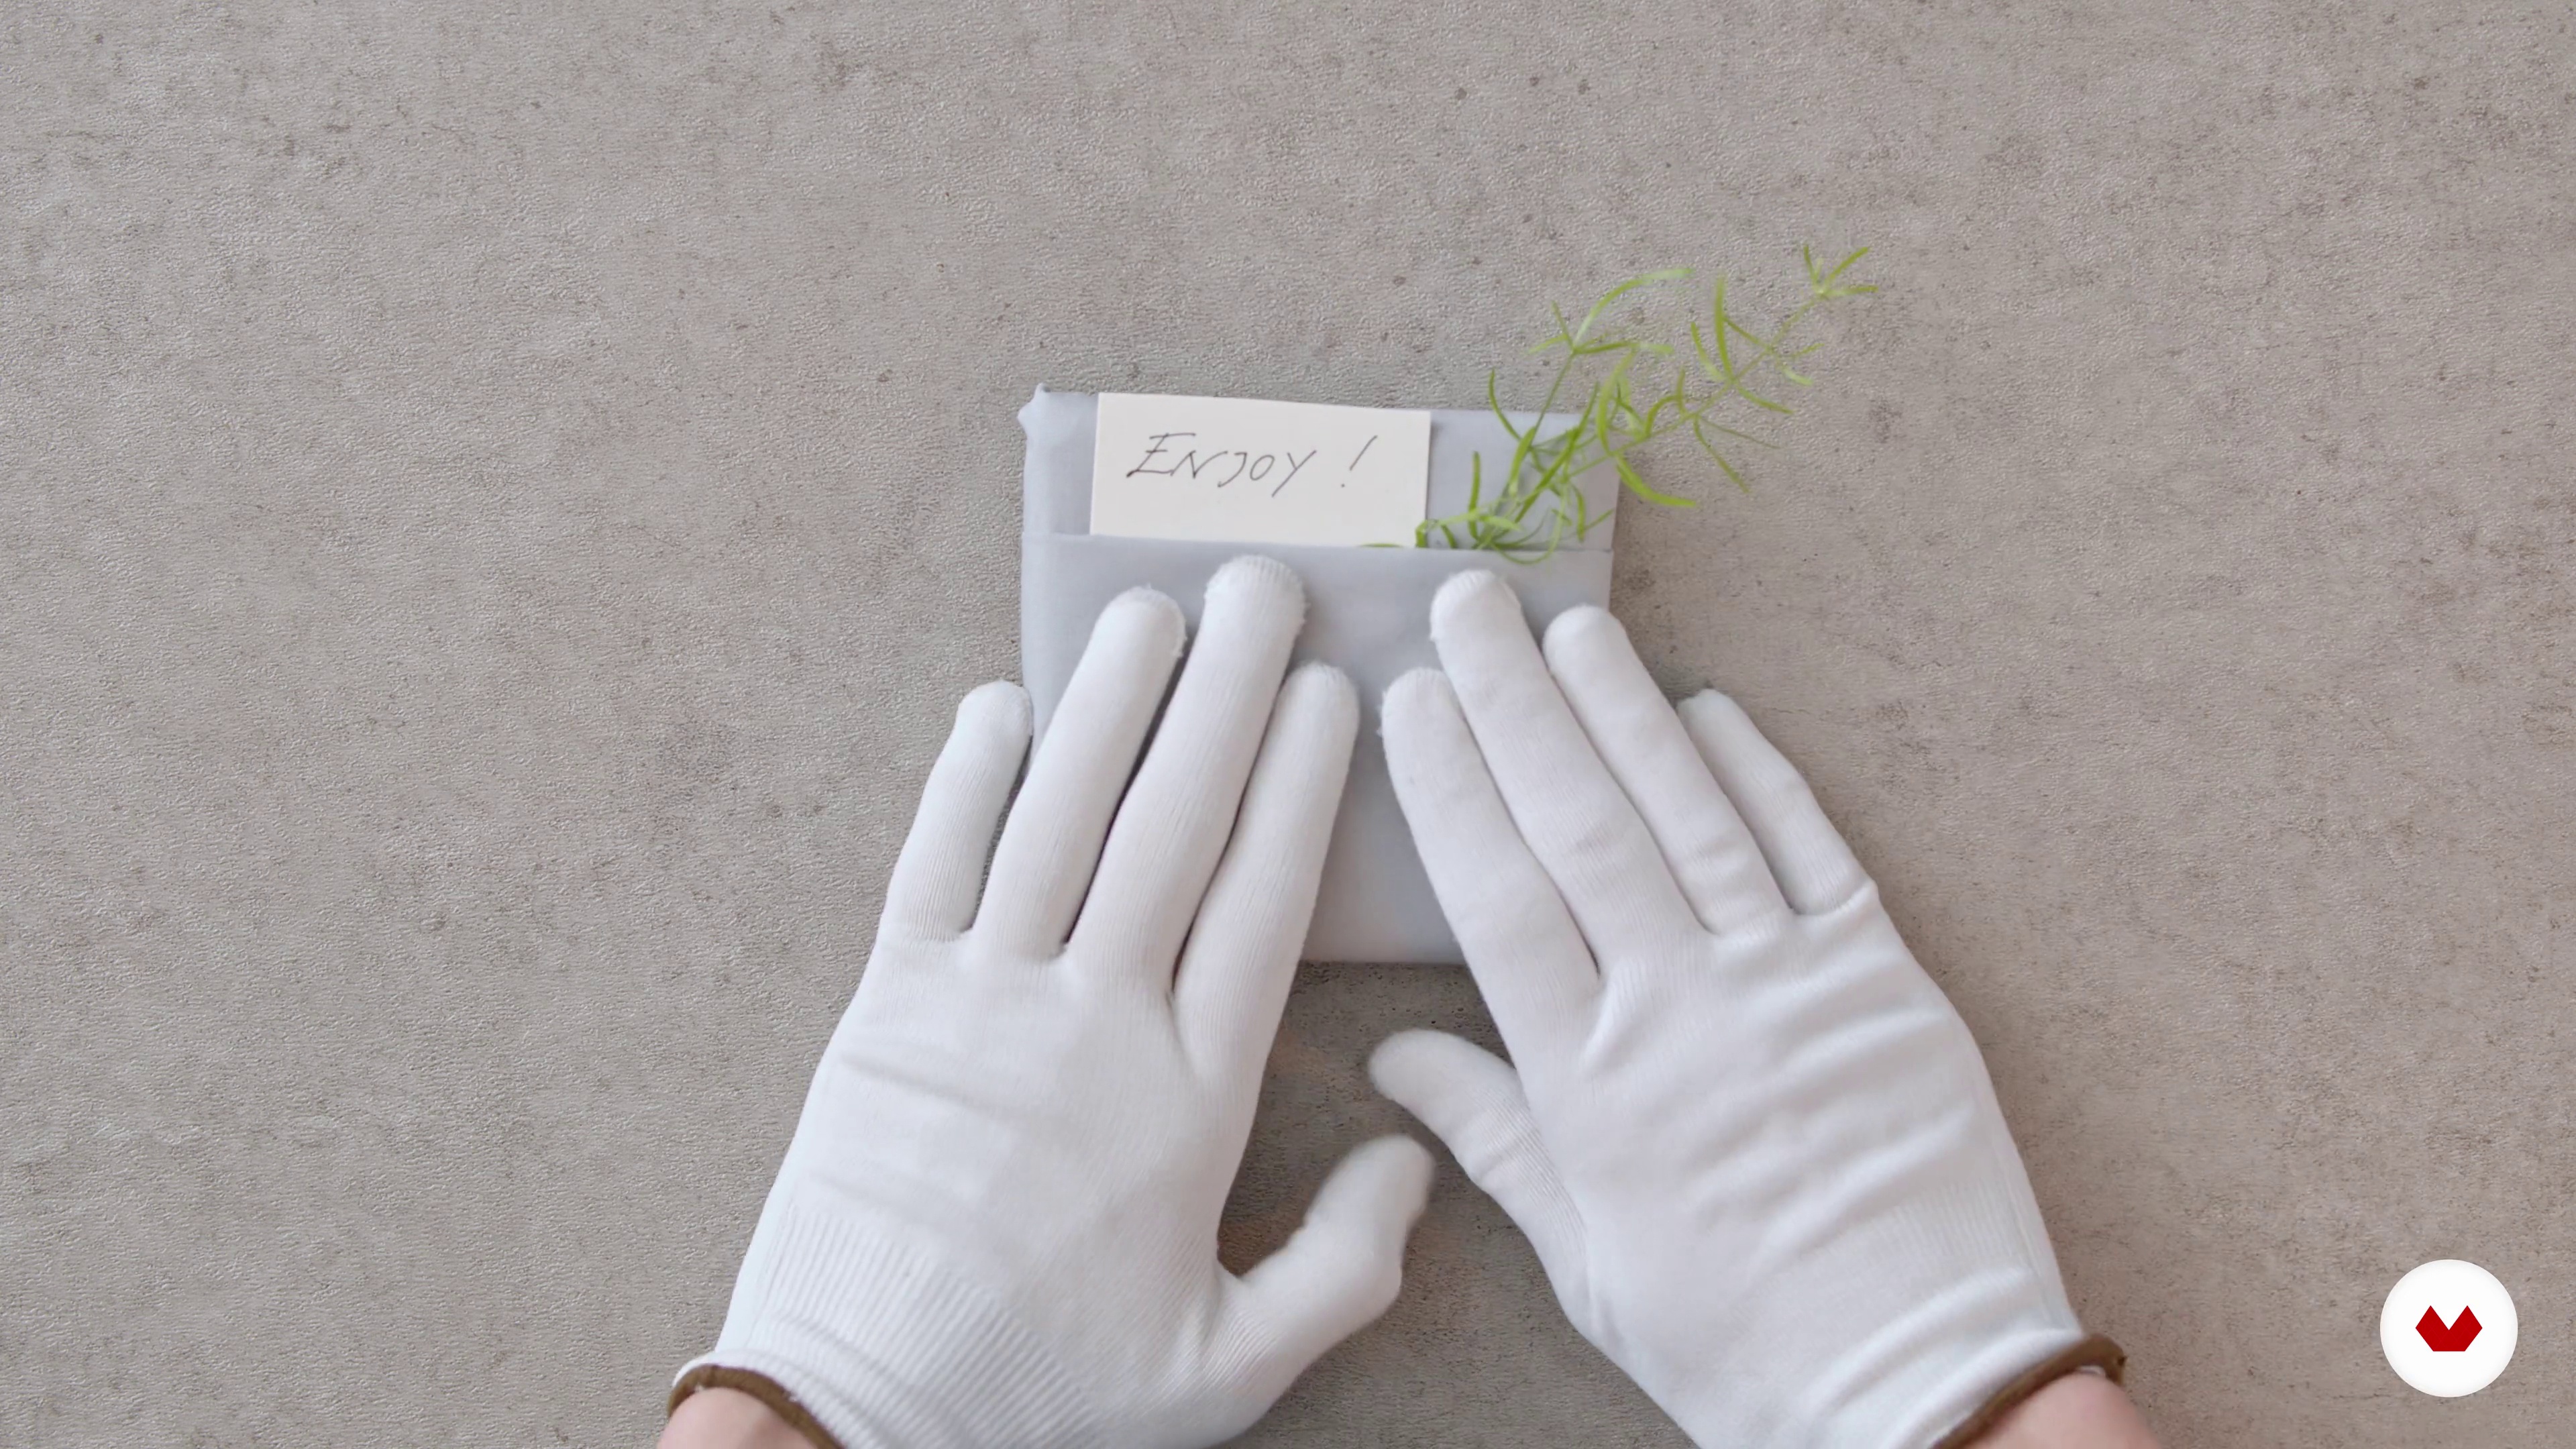
In this lesson, we'll look at what to consider once you've completed your chocolate. We'll discover different ways to present your work and the best way to store and transport it.
9m
13How to Pair and Taste Chocolate
There are many different ways to combine chocolate and enjoy its flavors. In this lesson, I'll recommend some pairings and how to consider different tastes and flavors.
5m
3Materials and work area
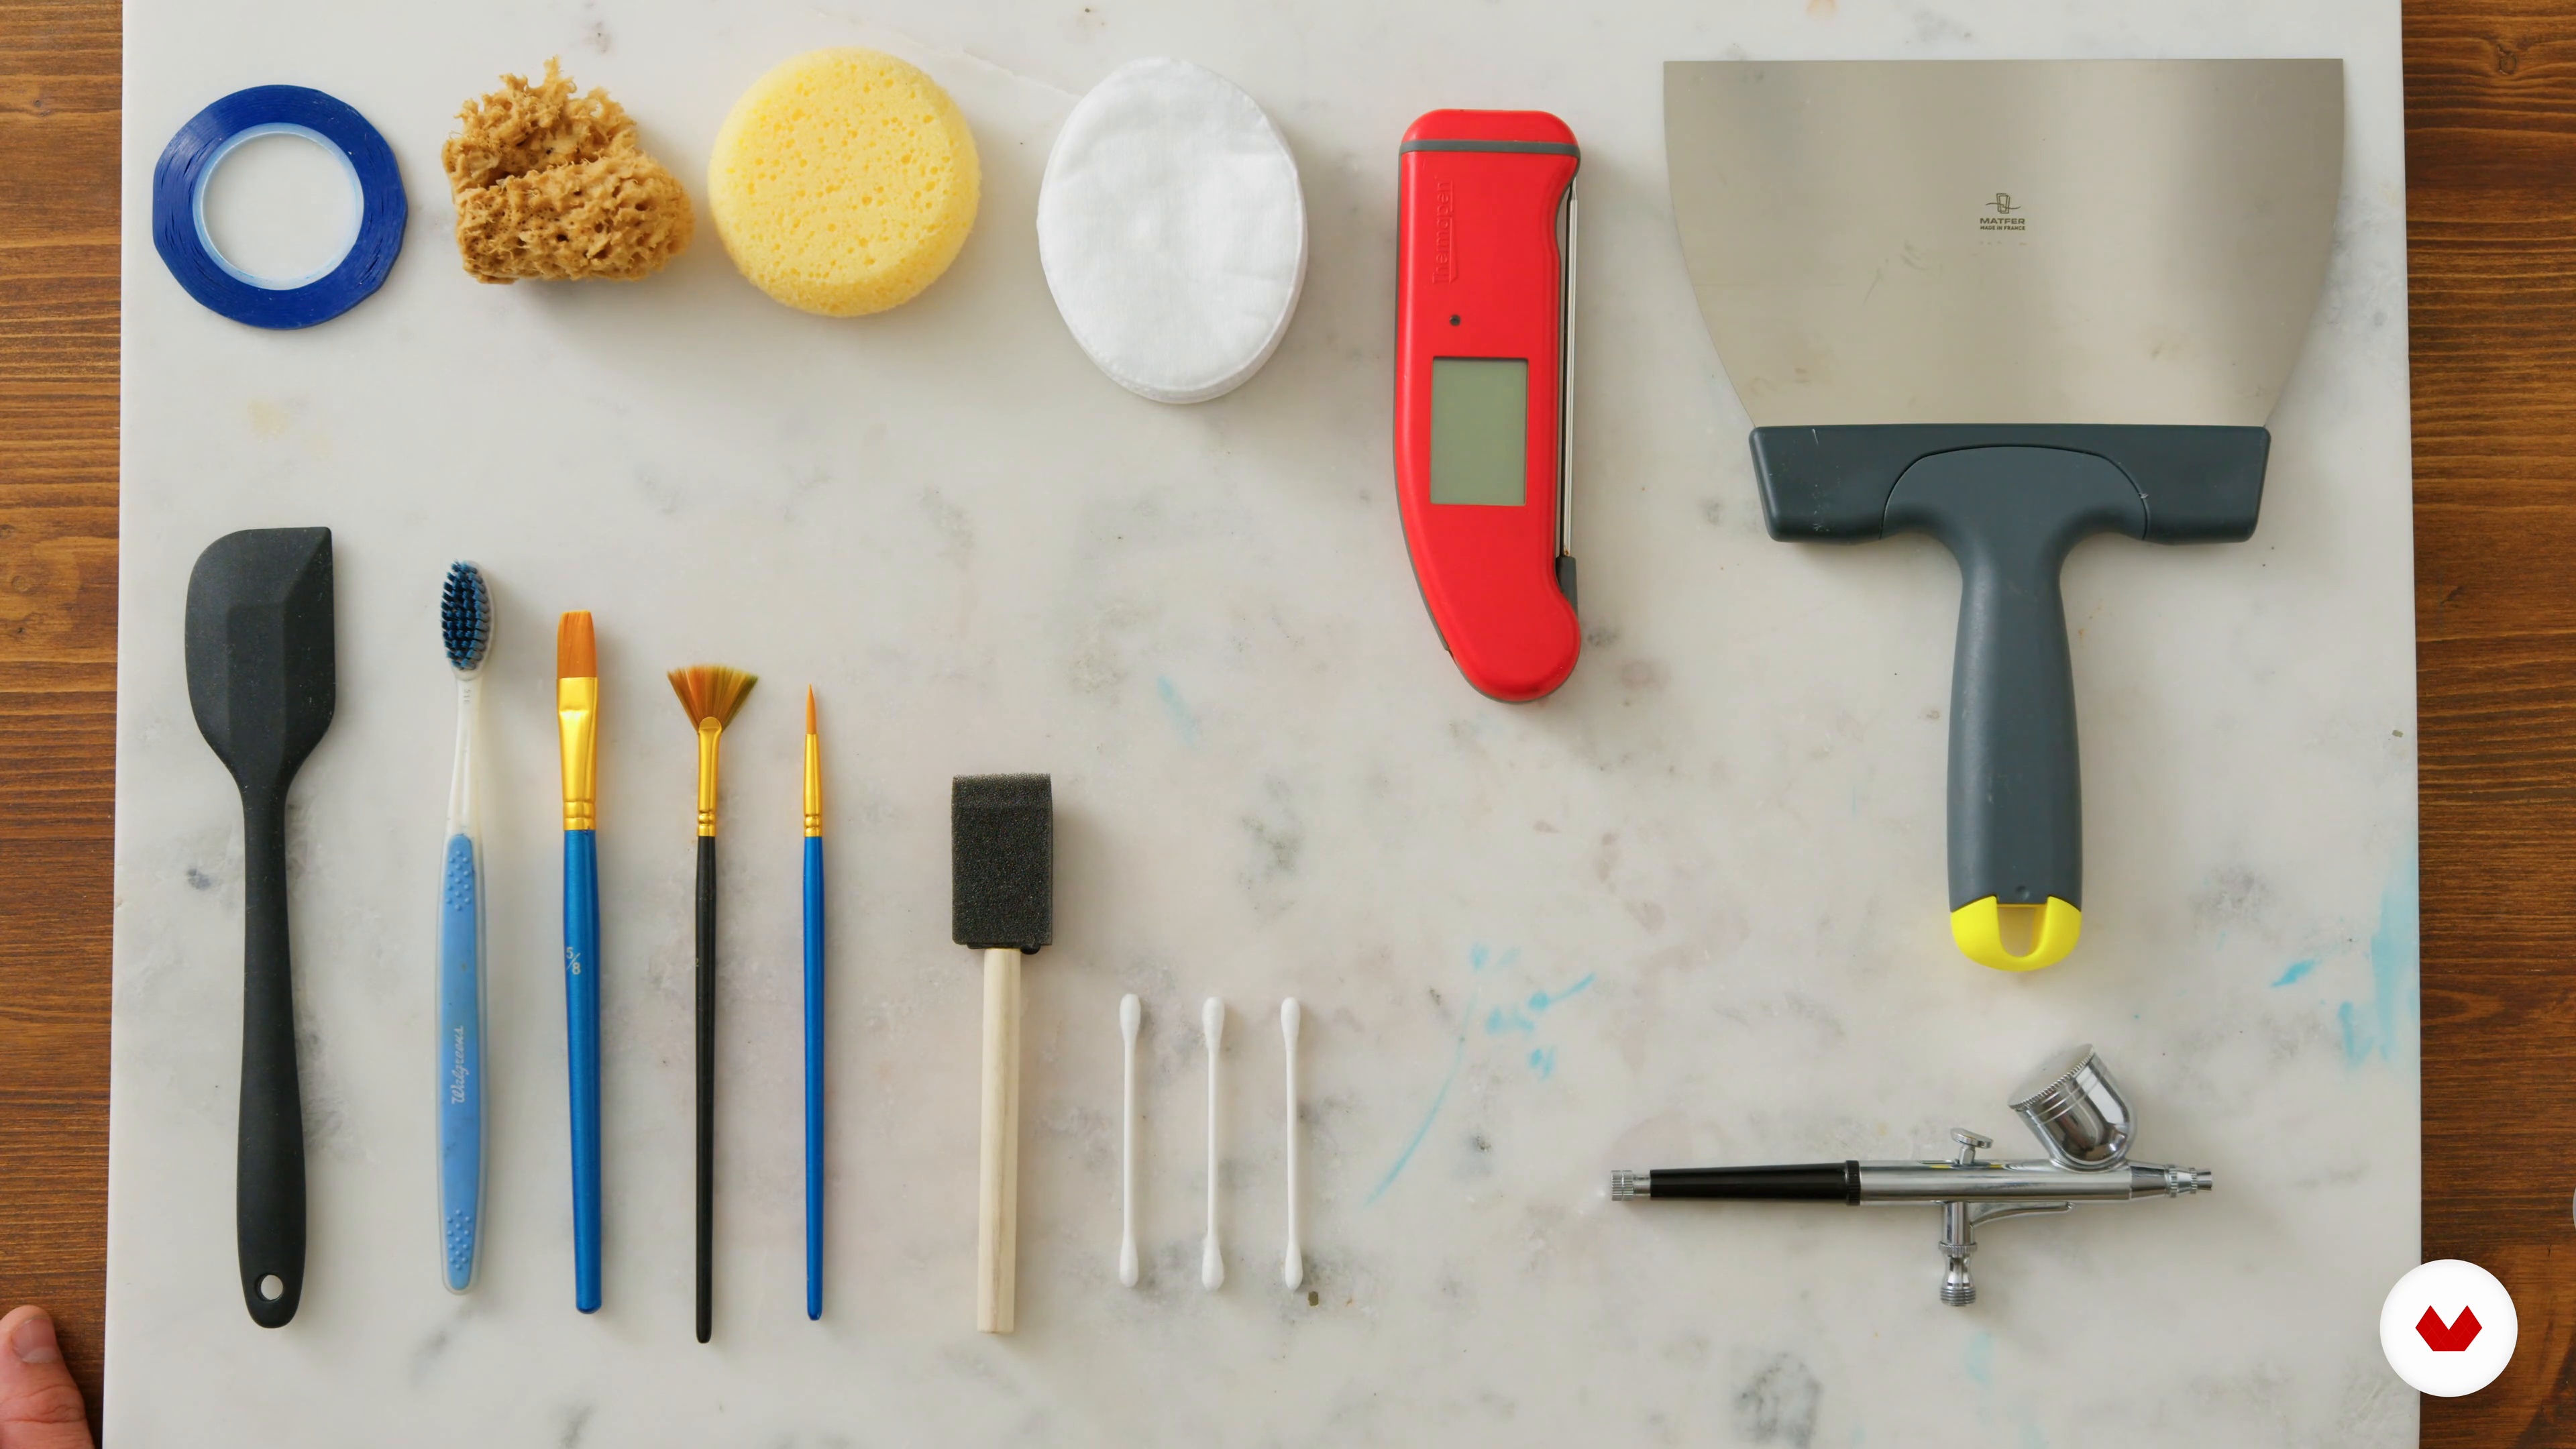
To begin, I'll talk to you about each of the equipment, materials, molds, and utensils. You'll learn the basic elements to consider regarding the work area, temperature, and humidity conditions. This is a very important point when creating quality products and will help you optimize time and resources when making chocolates.
6m
4The basics of chocolate
Next, you'll learn the basics of chocolate and its proper handling. I'll also teach you the reasons, the uses, and how of different chocolate melting techniques, and finally, how to temper it.
8m
5The color
One of the theories I use most when creating is the color theory applied to chocolate and cocoa butter, as it allows me to clearly understand the different points that affect a final product, such as: brightness, contrasts, shadows, lights, and thus create my own narratives through chocolate, which is why today I want to share it with you so you can begin to explore and create your own story.
5m
6The shine
It's time to talk about shine. I define it as beauty and technique. In this lesson, you'll learn the five steps you need to follow to achieve shine on your chocolates. Therefore, I'll also talk to you about the importance of molds, cleaning, and polishing. I'll also explain how working conditions and lighting affect the final product, along with other tips I'll share with you.
9m
7Using colors with cocoa butter
Finally, I'll show you how to start producing. You'll learn the differences between commercial cocoa butters to understand how they work with each type of chocolate, and thus be able to determine what to use each one for based on the final result you're looking for. The most important thing about this lesson is that you'll be able to create your own colors from cocoa butter—there's no excuse.
4m
8Create your chocolates with homemade tools: geometric shapes
In this lesson, I'll show you how to use household products or how to be inventive to create techniques and structures in chocolate making that are also unique and special. This lesson will be full of resourcefulness and creativity, as you'll use unusual materials like a straw and a toothbrush to create one-of-a-kind pieces. It's time to let your imagination run wild.
16m
9Create your chocolates with homemade tools: abstract shapes
It's time to use one of the best tools we have available: our hands. You'll also see how to use brushes to bring the canvas to life.
9m
10What is an airbrush?
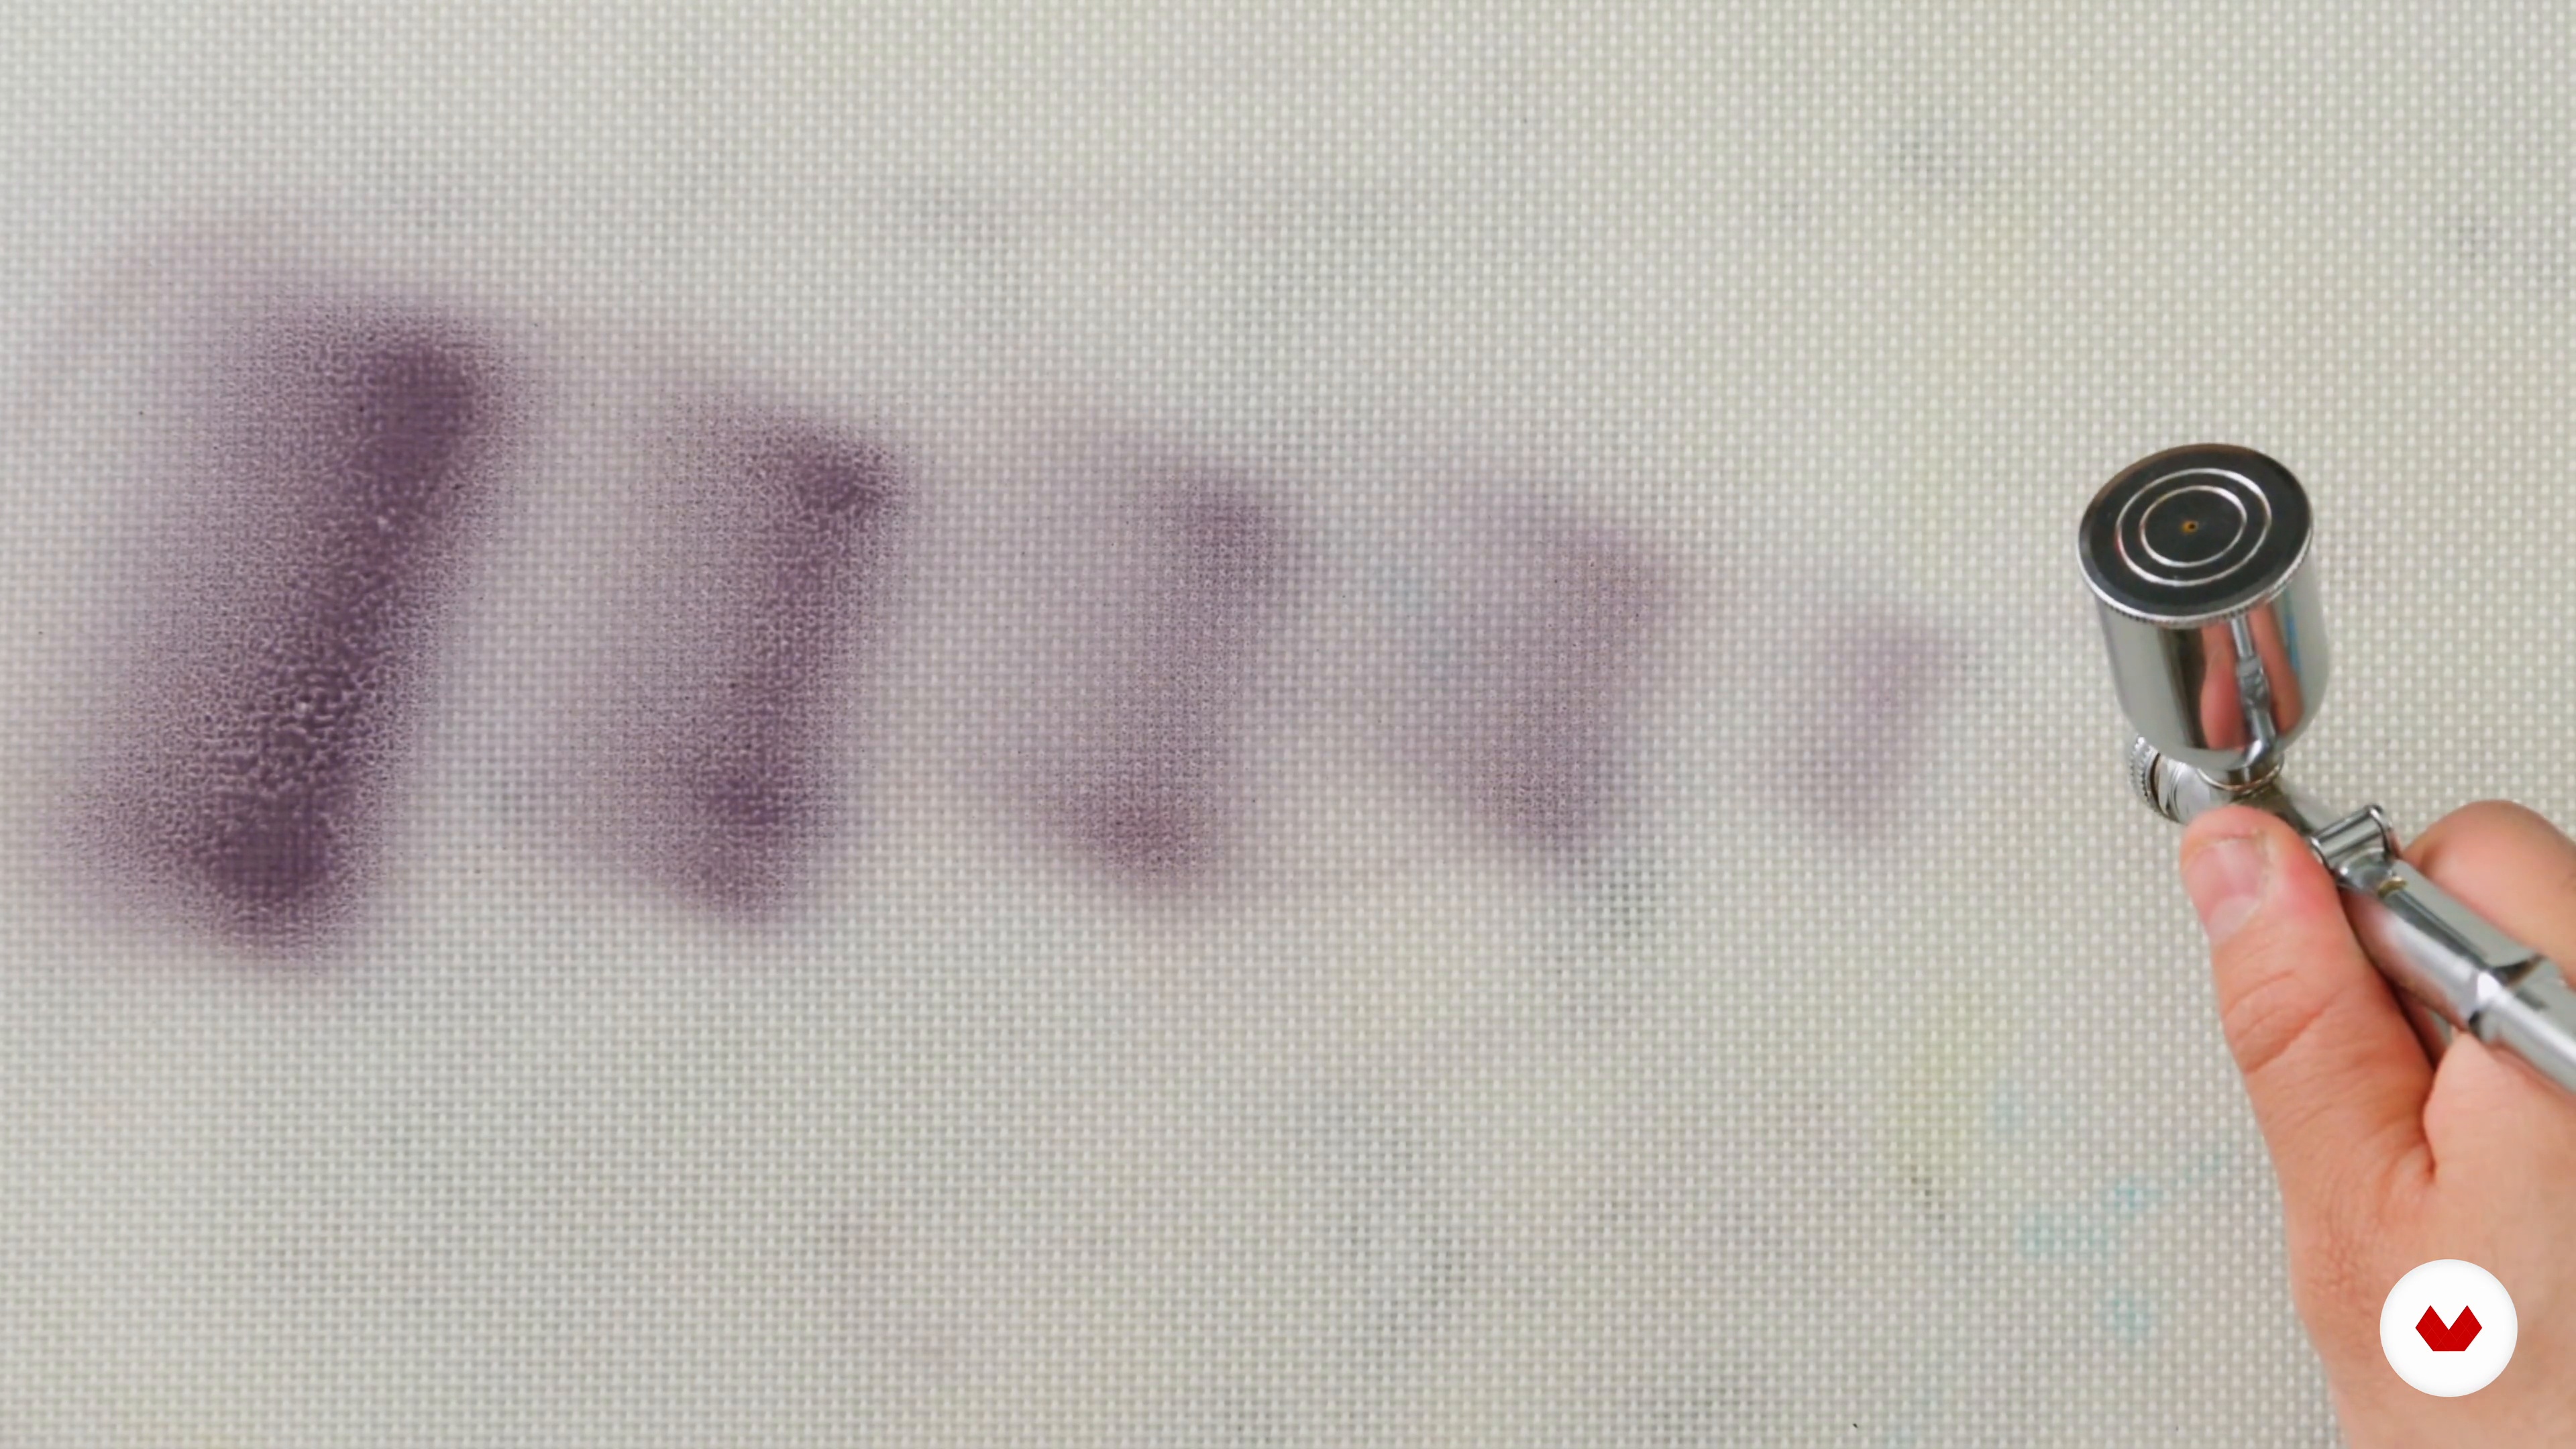
I'll talk about using the air machine. You'll also learn what types of needles and air volume you need when telling a story through chocolate and the colors you've created to create unique and creative pieces. Remember that if you don't have an airbrush, you can use the air to your advantage. To do this, I'll show you several alternatives.
8m
11The use of the airbrush
You'll see how to put into practice everything you learned in the previous lessons. I'll show you in detail how to use the airbrush, and you'll begin telling your own stories. During the lesson, I'll show you how to use three techniques: the trio, the puff effect, and the spiderweb.
18m
12Conservation
Have you ever wondered why sometimes when I work with chocolate it doesn't turn out like the pieces some people show on their social media? Well, that question will be answered in this lesson. Preservation is everything for our pieces. Here I'll talk about shelf life, fat bloom, and sugar bloom, determining factors when working with chocolate.
9m
13Storage and packaging
It's time to share my best tips with you! I'll give you some advice on how to store and package your product. It's important and crucial to the experience of those who consume these items.
5m
14Specials
We're about to close the course. In this lesson, I'll show you the advanced techniques that have led me to create my own pieces.
1m
3Introduction to chocolate modeling of toppers
Modeling chocolate is an ideal ingredient for modeling figures. In this lesson, I'll give you an introductory step-by-step guide that you'll follow throughout this course with me.
3m
4Materials
One of the keys to success is using the most appropriate materials for your work. Now I'm going to tell you all the materials involved in the process of creating a moldable chocolate topper.
10m
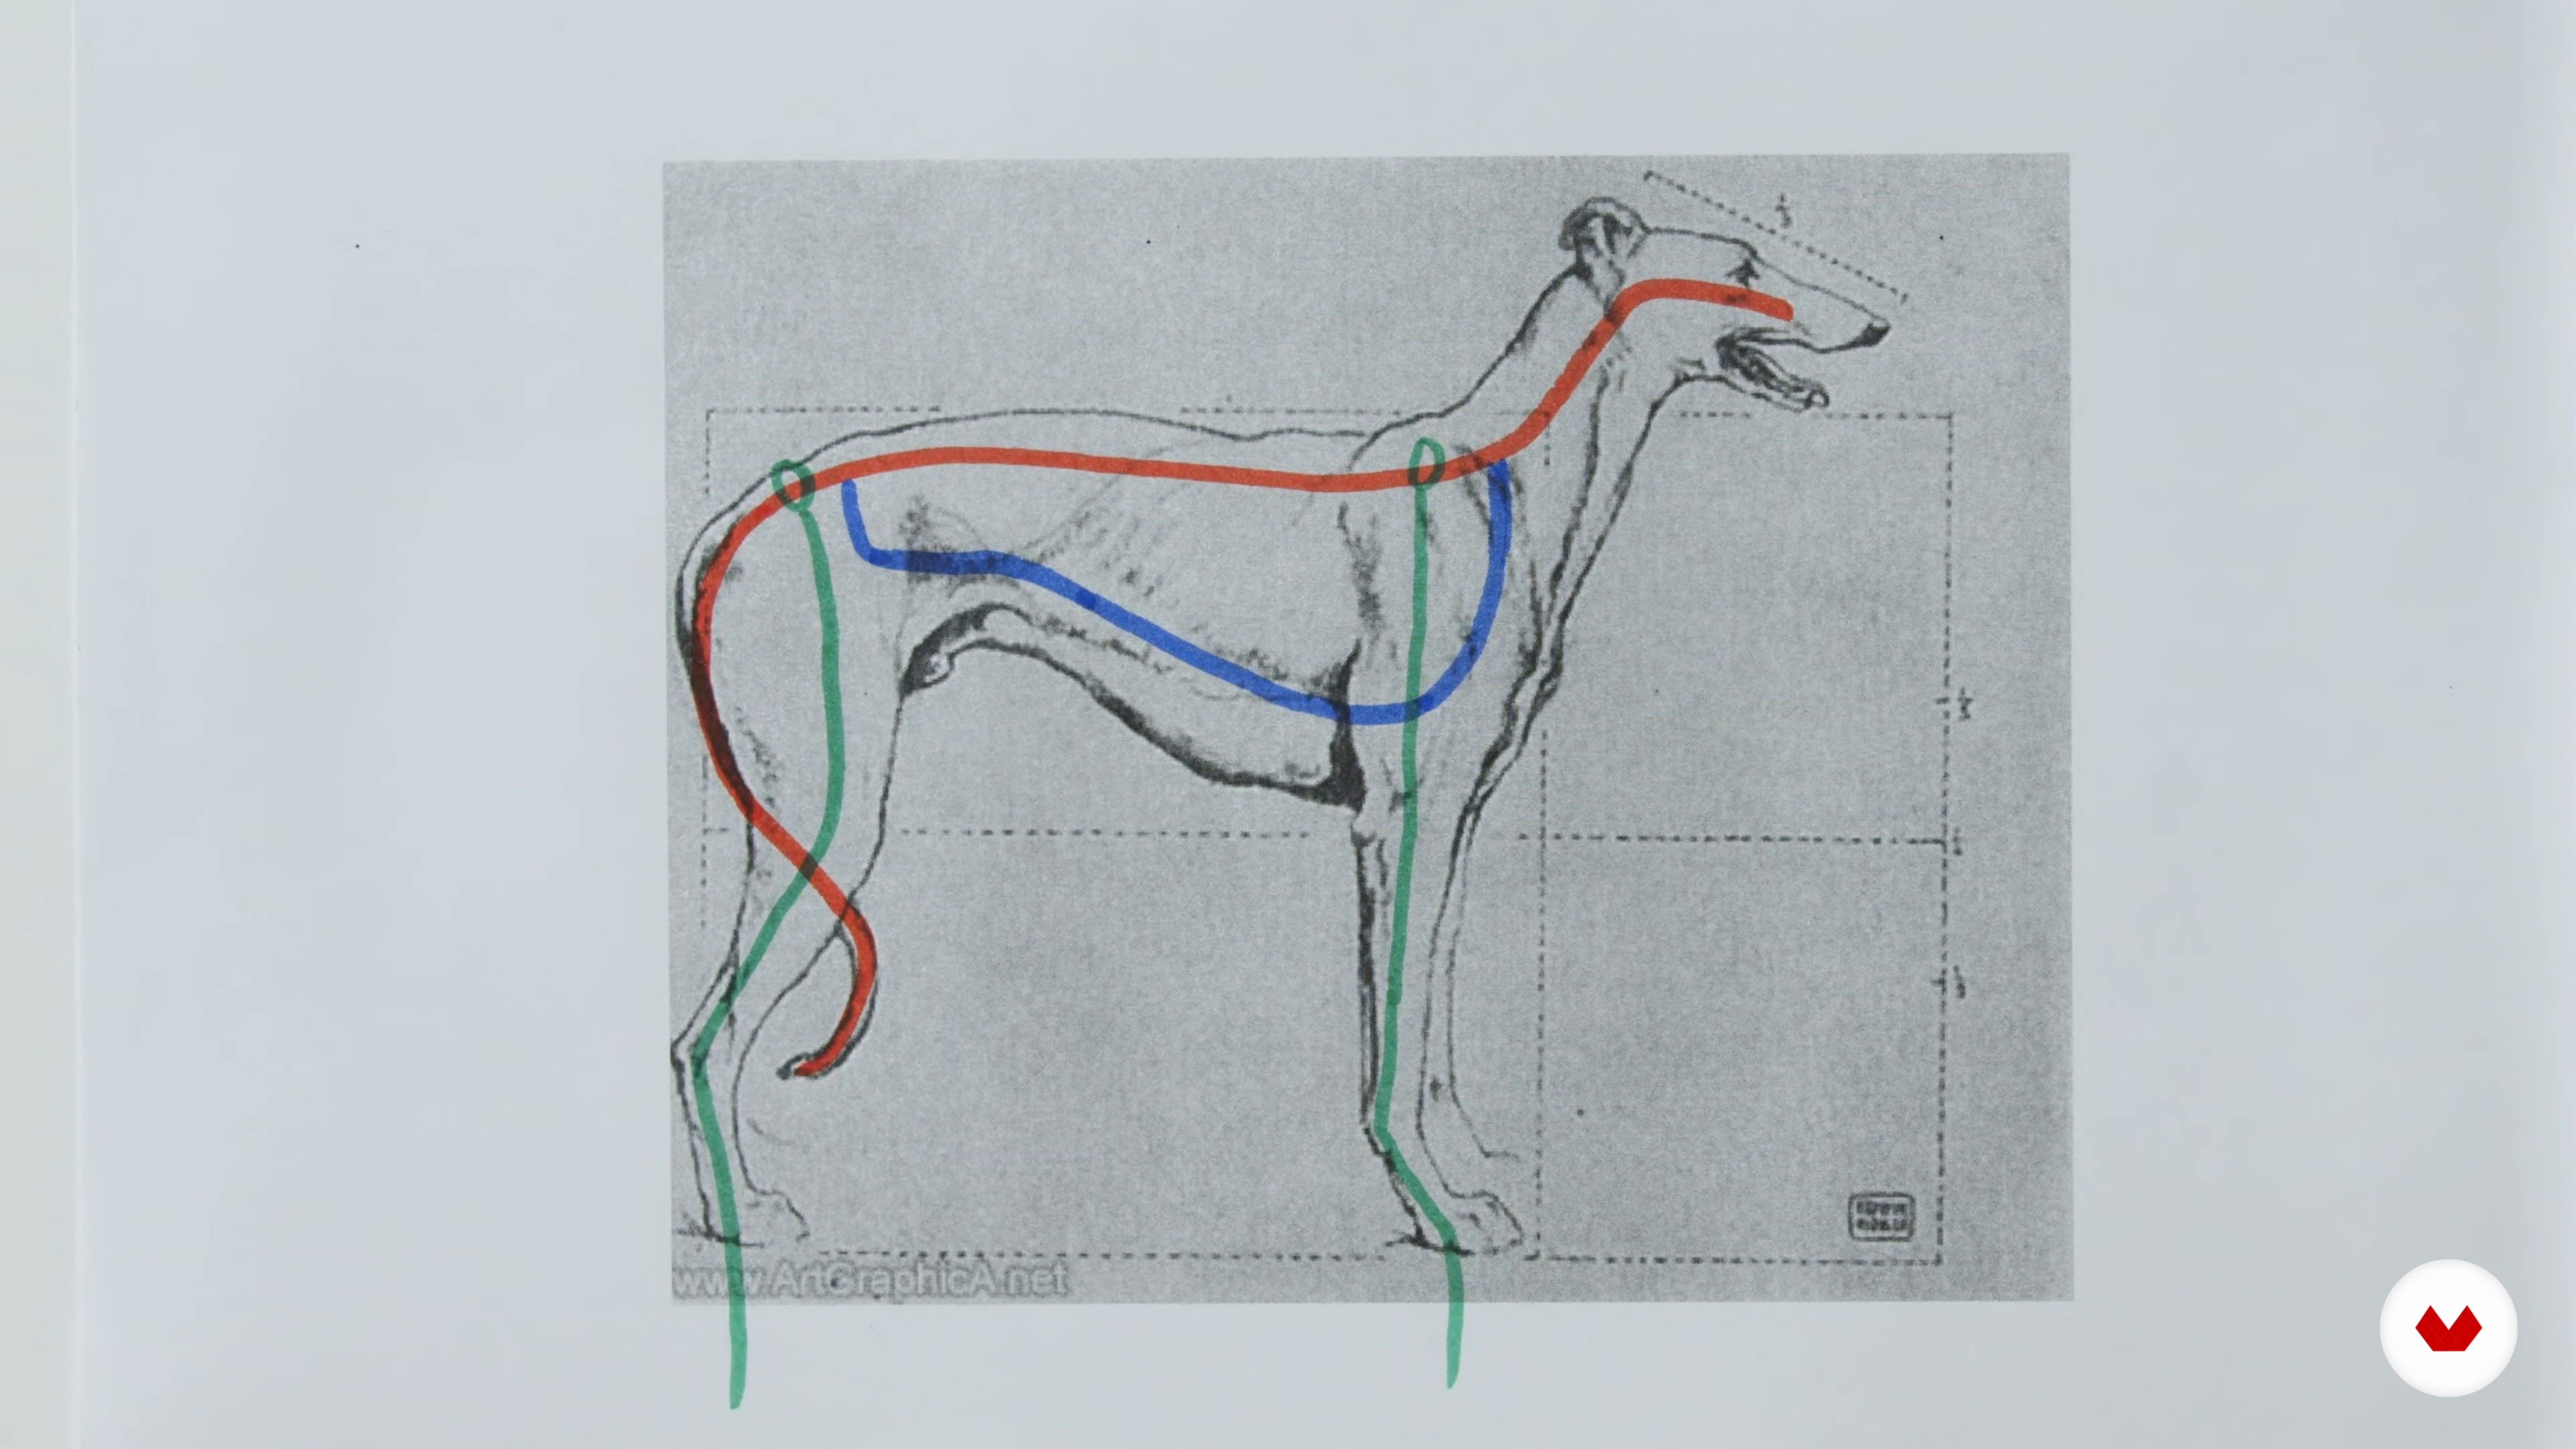
5Search for references and sketch
In order to develop a coherent, scaled project, it's necessary to go through the process of searching for references and inspiration. This will allow us to later create the sketch.
7m
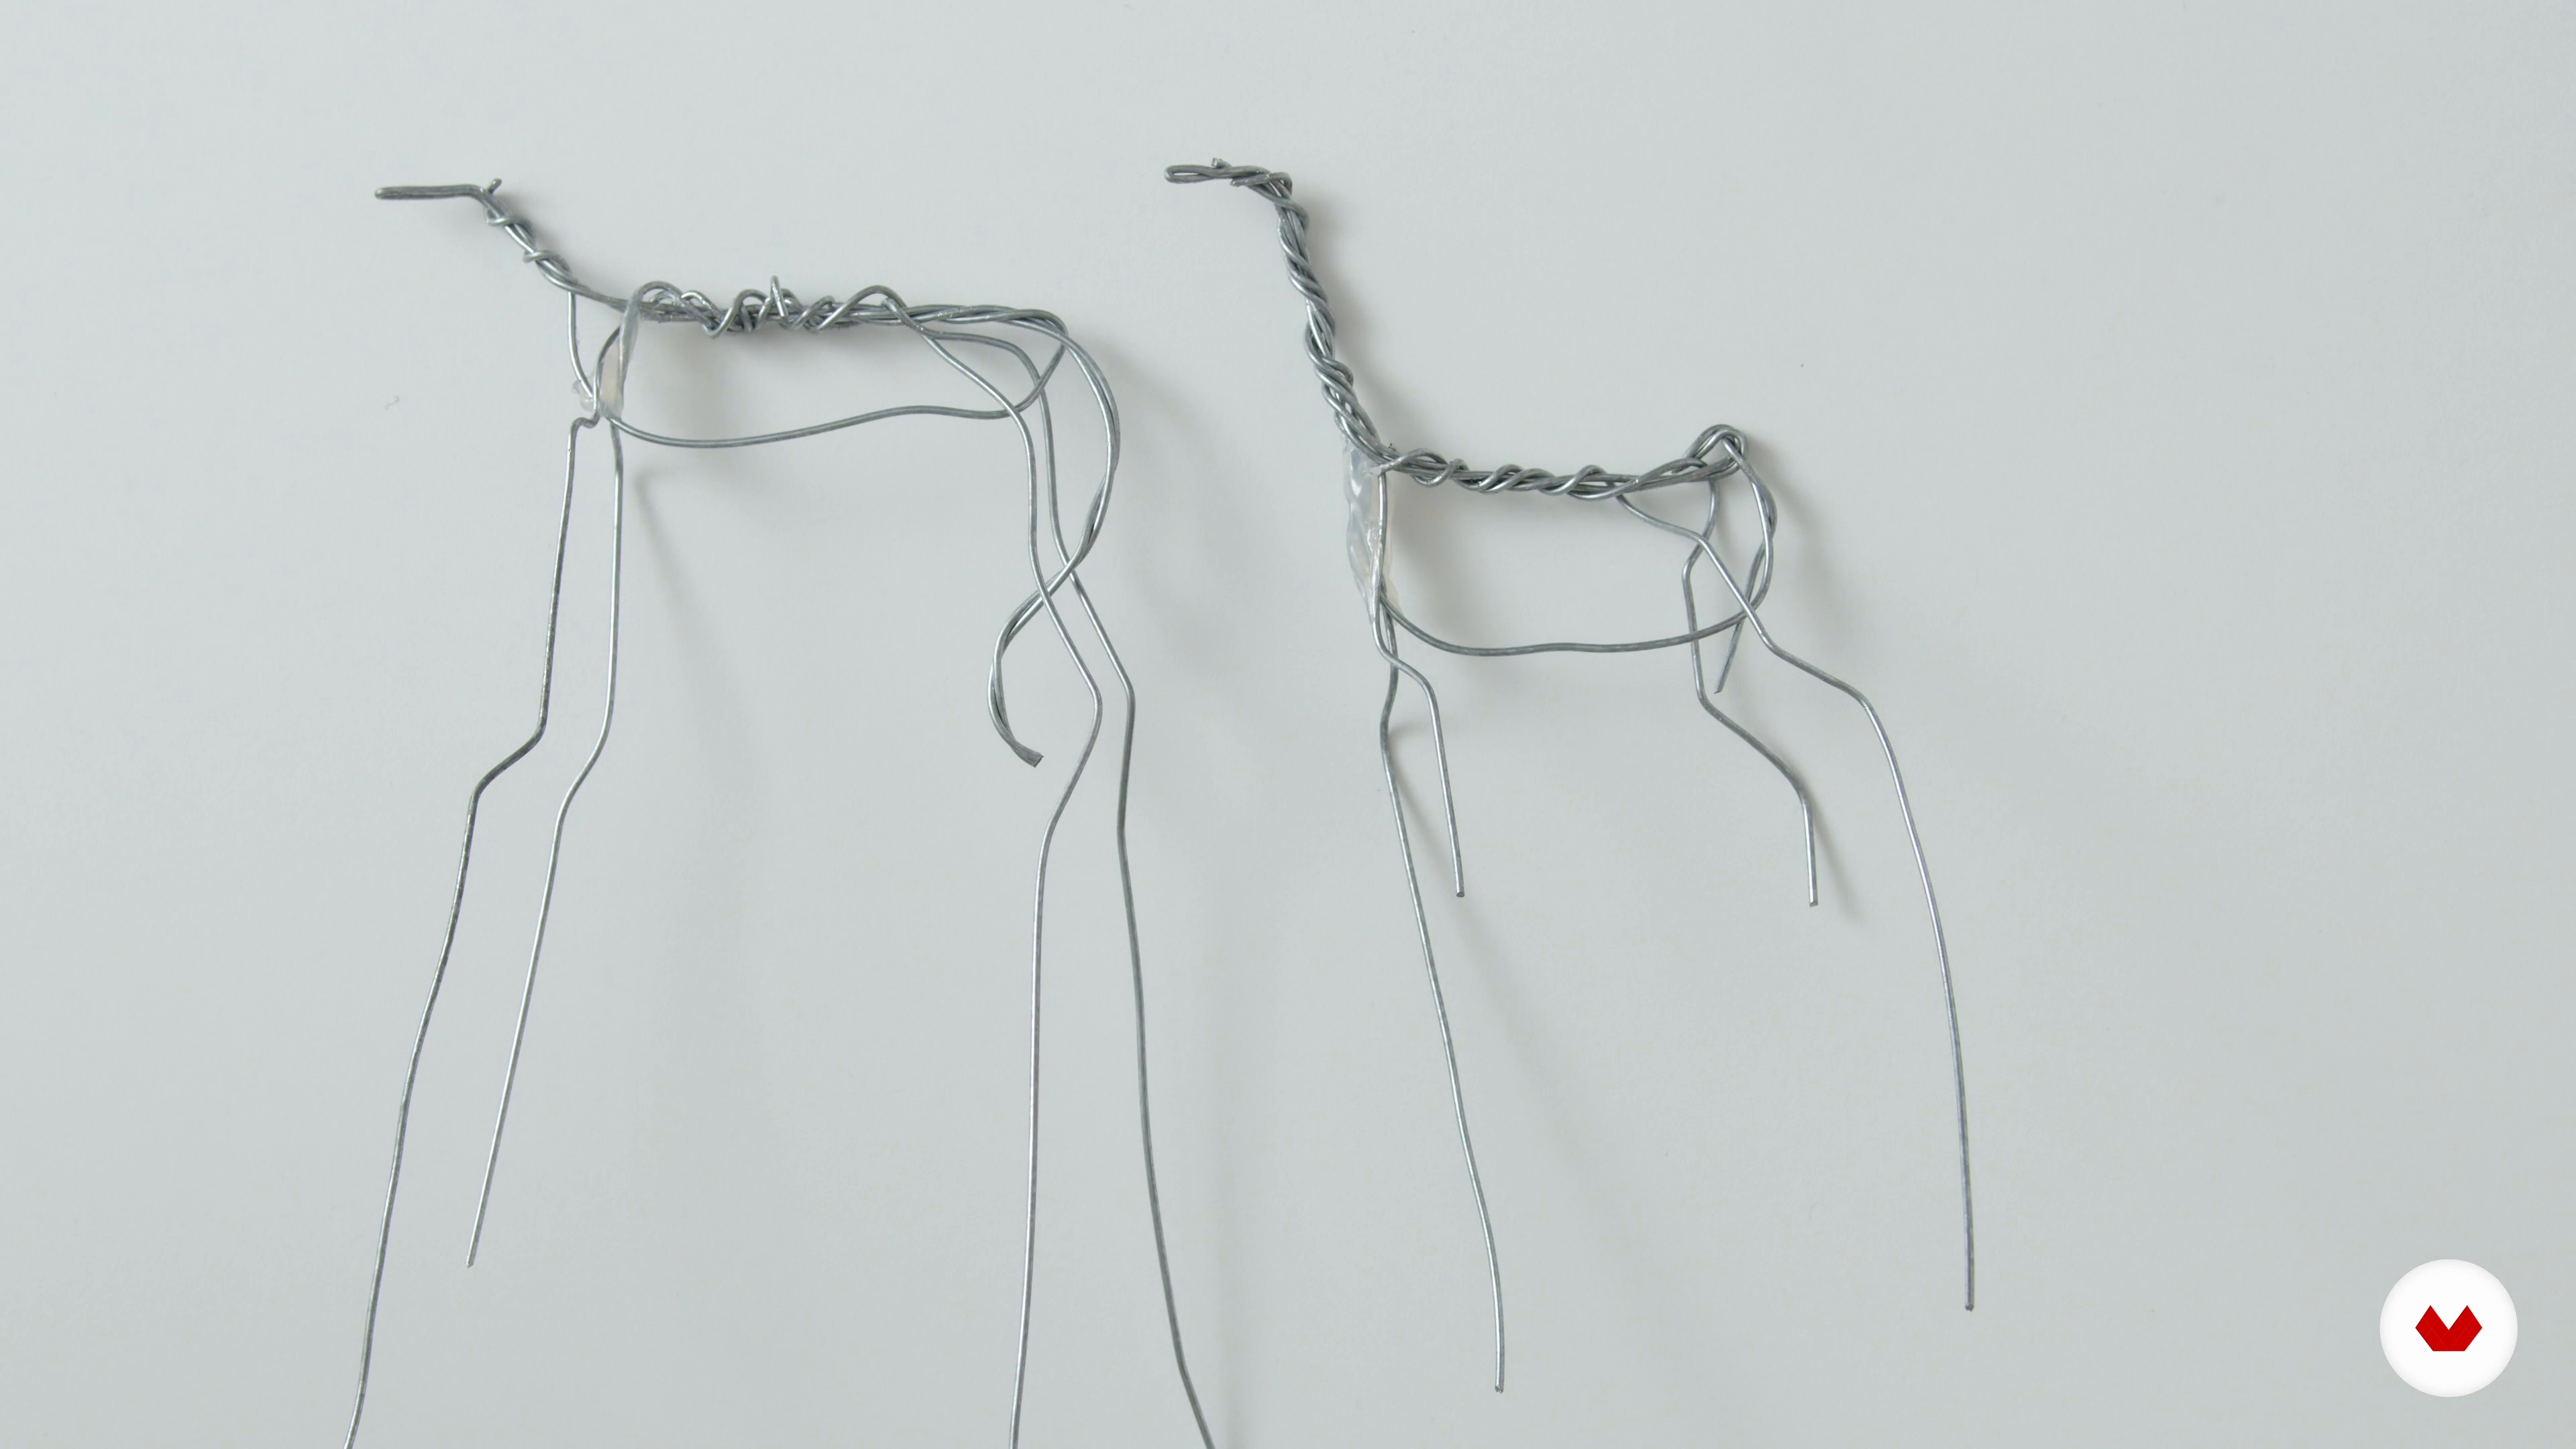
6Creating the structure with wire
Creating the topper's structure is one of the most important steps. In this lesson, you'll learn how to make structures for any animal without dying in the process.
15m
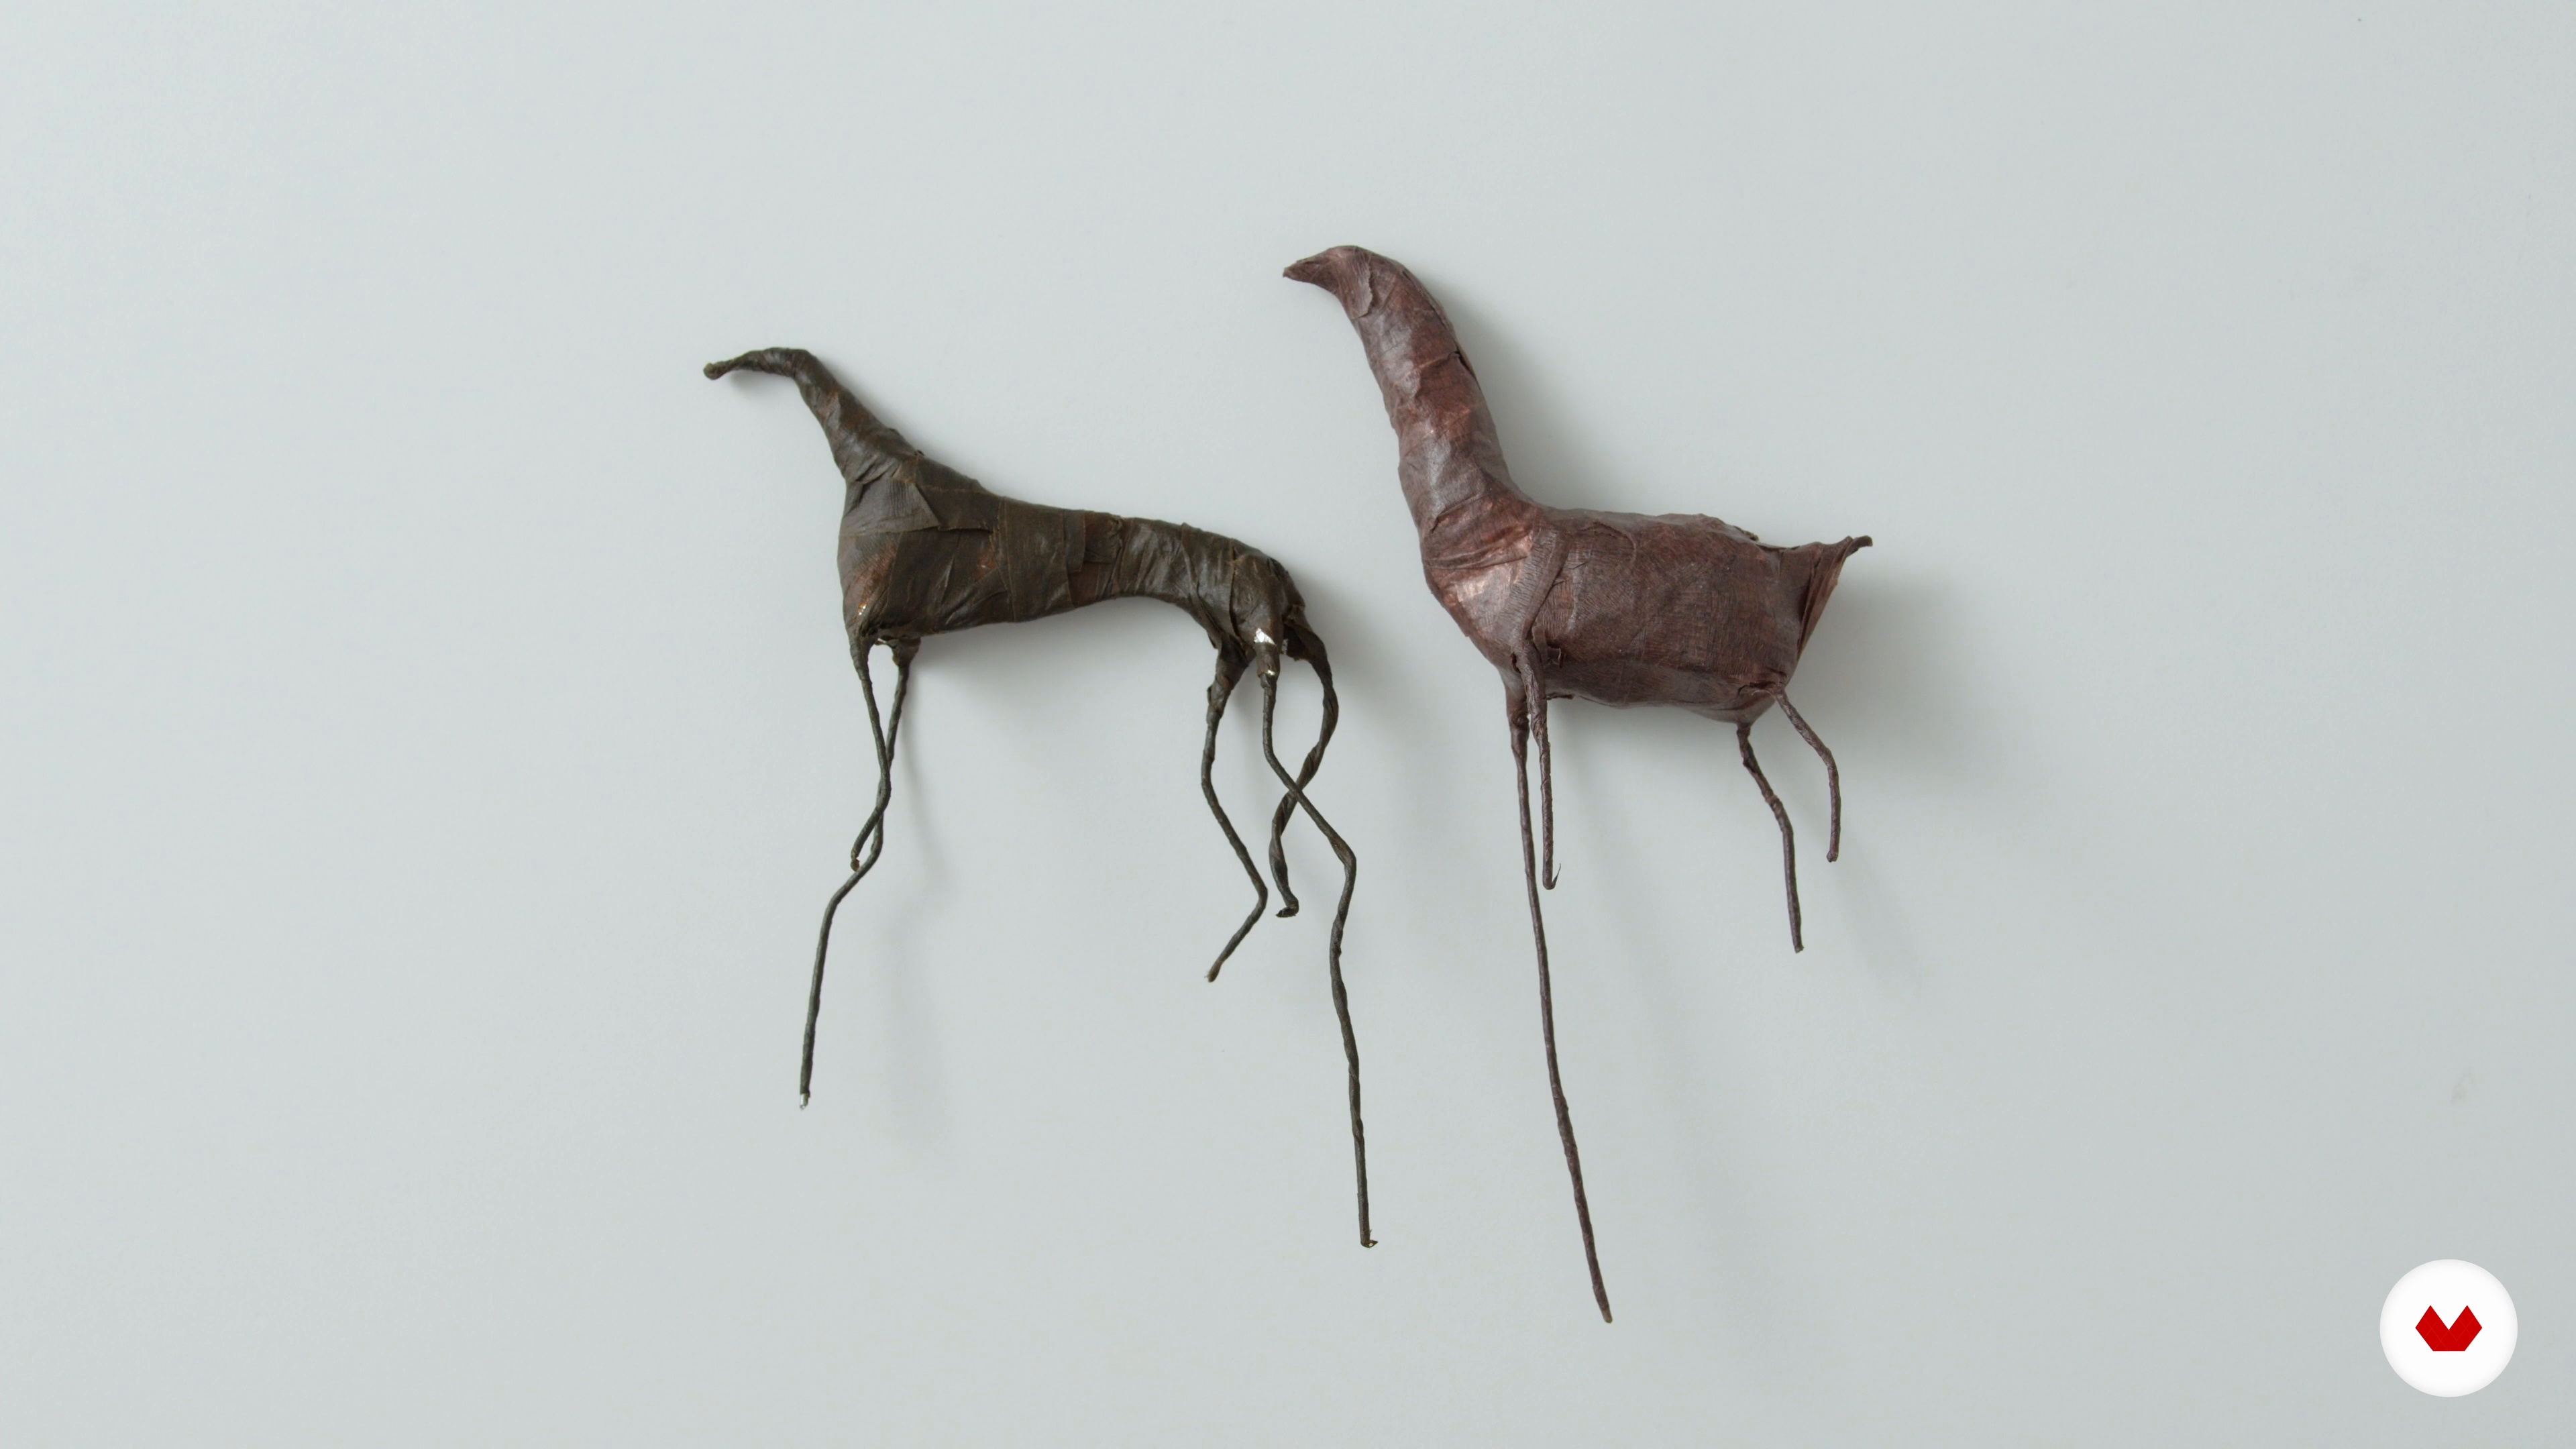
7How to give volume to the structure and insulate it
Before you begin modeling with chocolate, it's important to prepare the structure well so it adheres well. In this lesson, I'll explain how to do it correctly.
10m
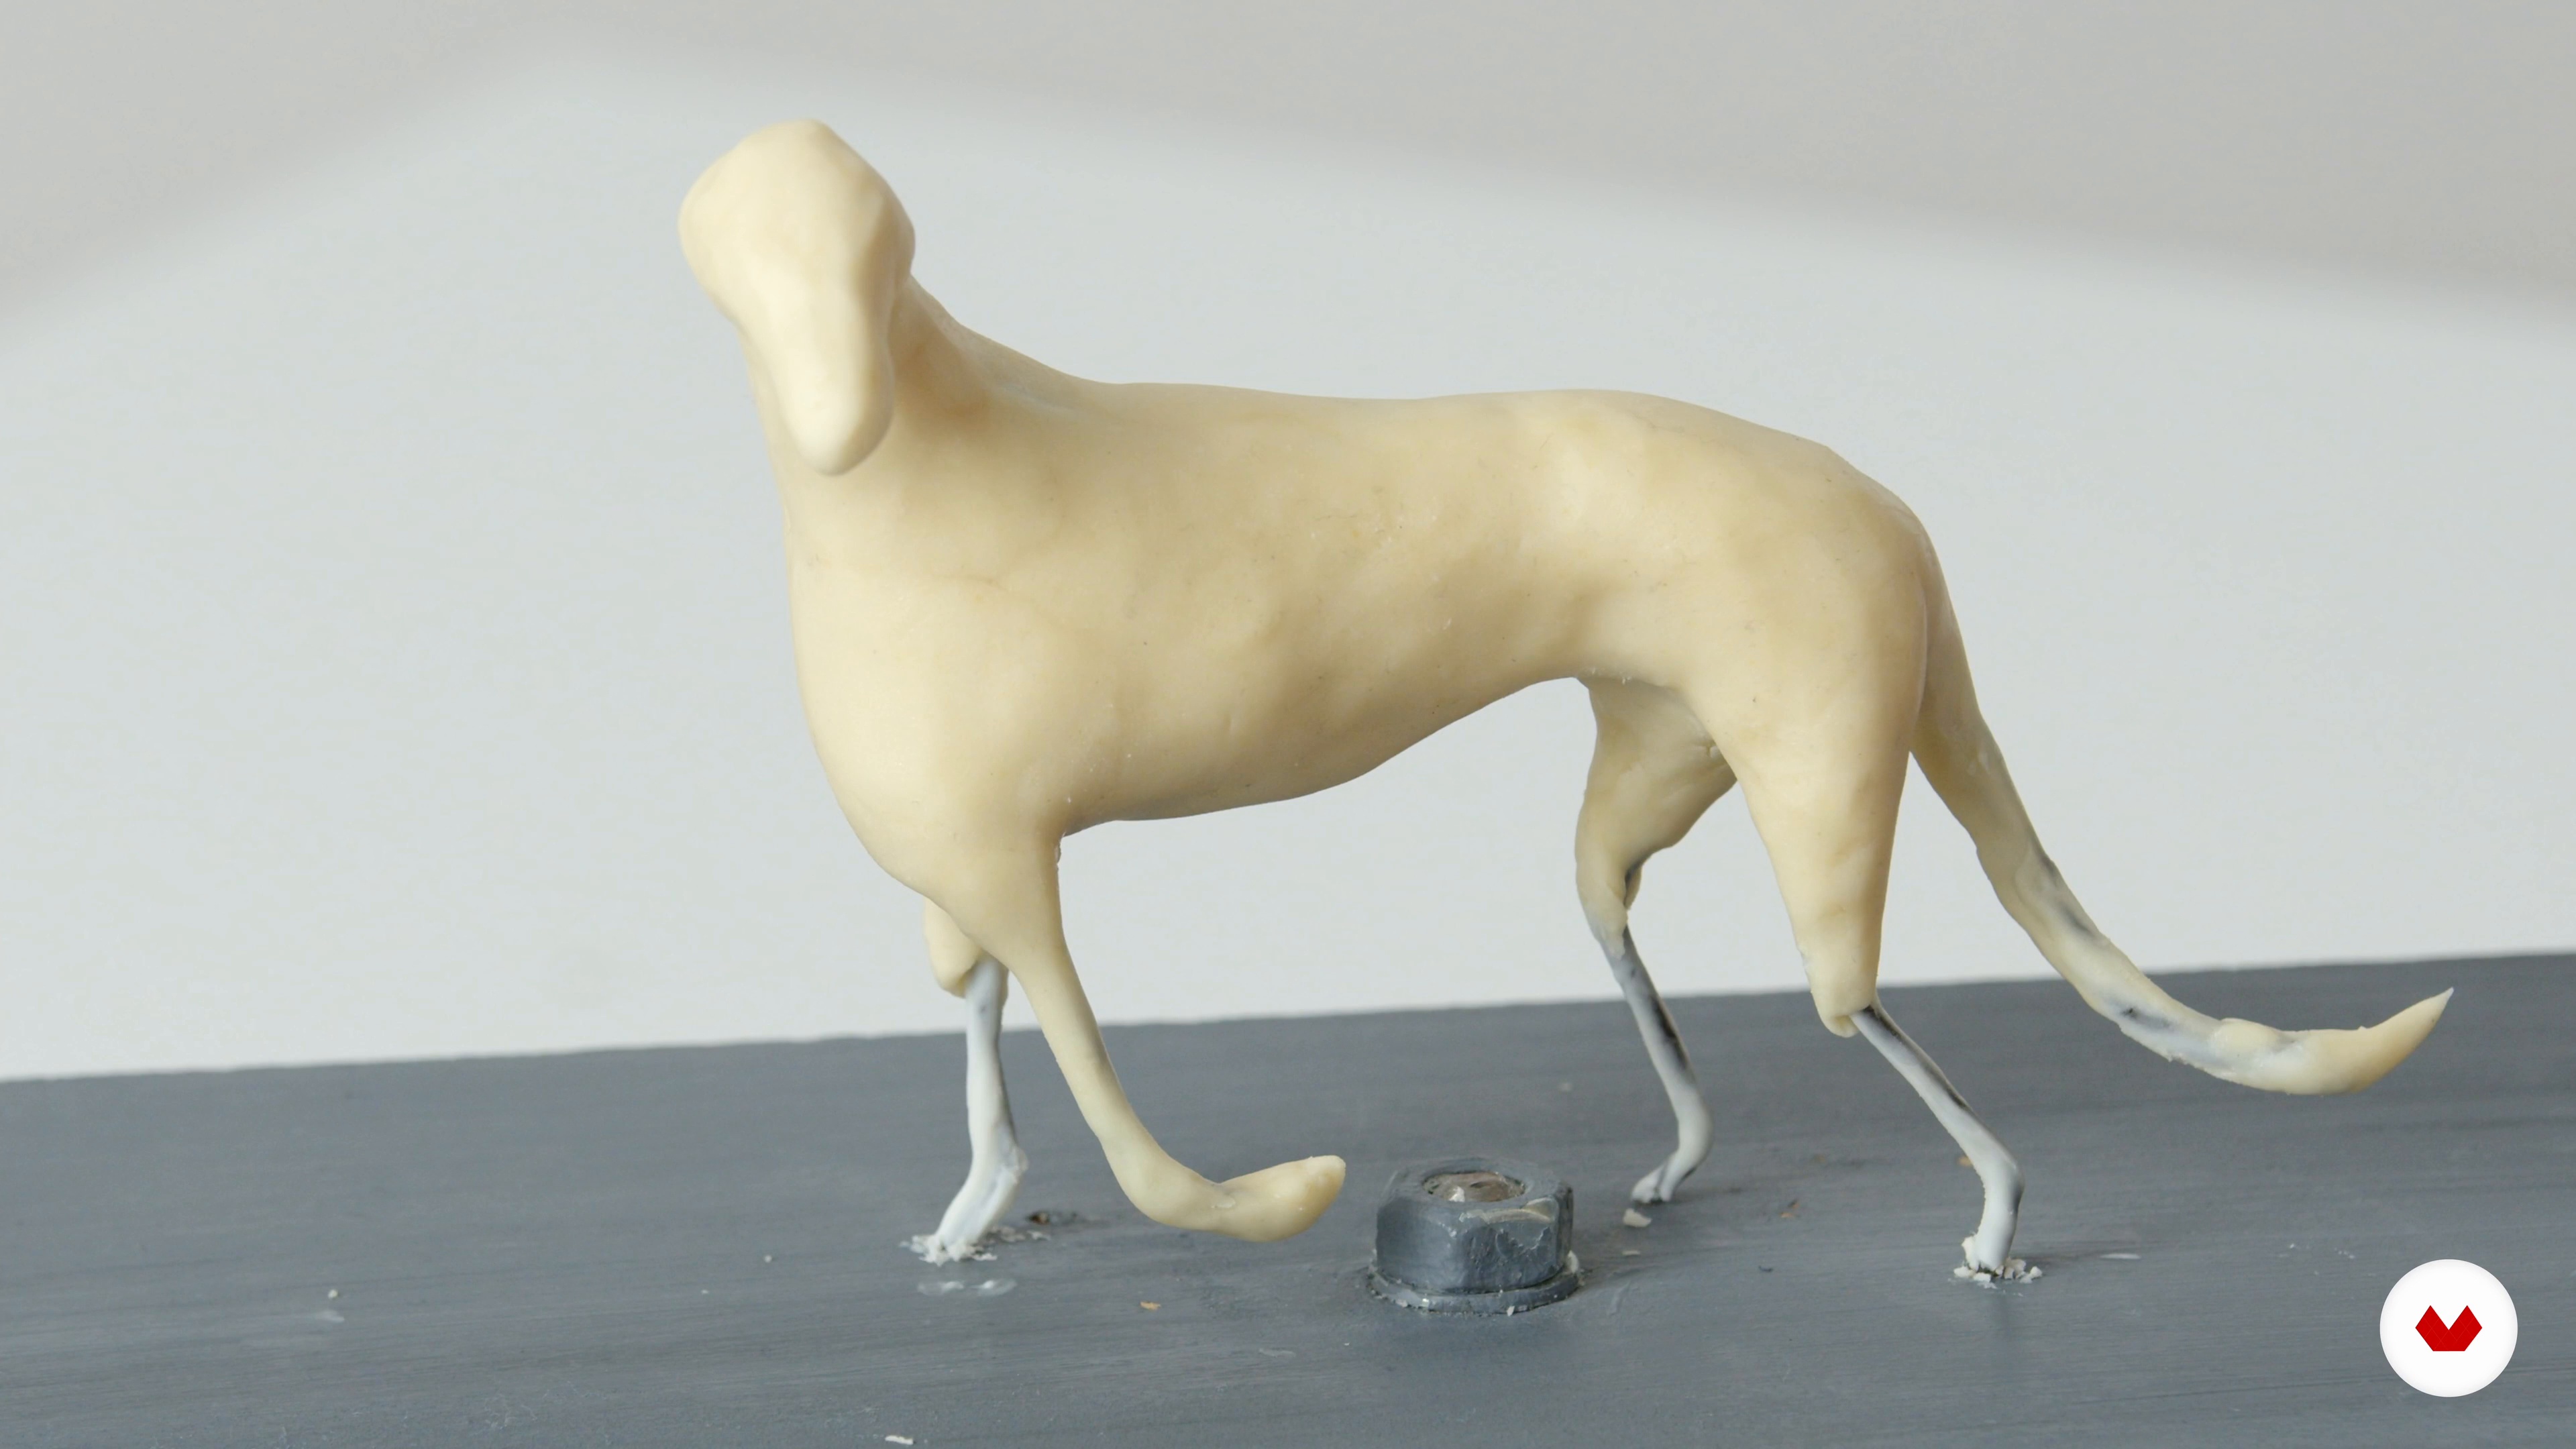
8Body modeling with chocolate 1
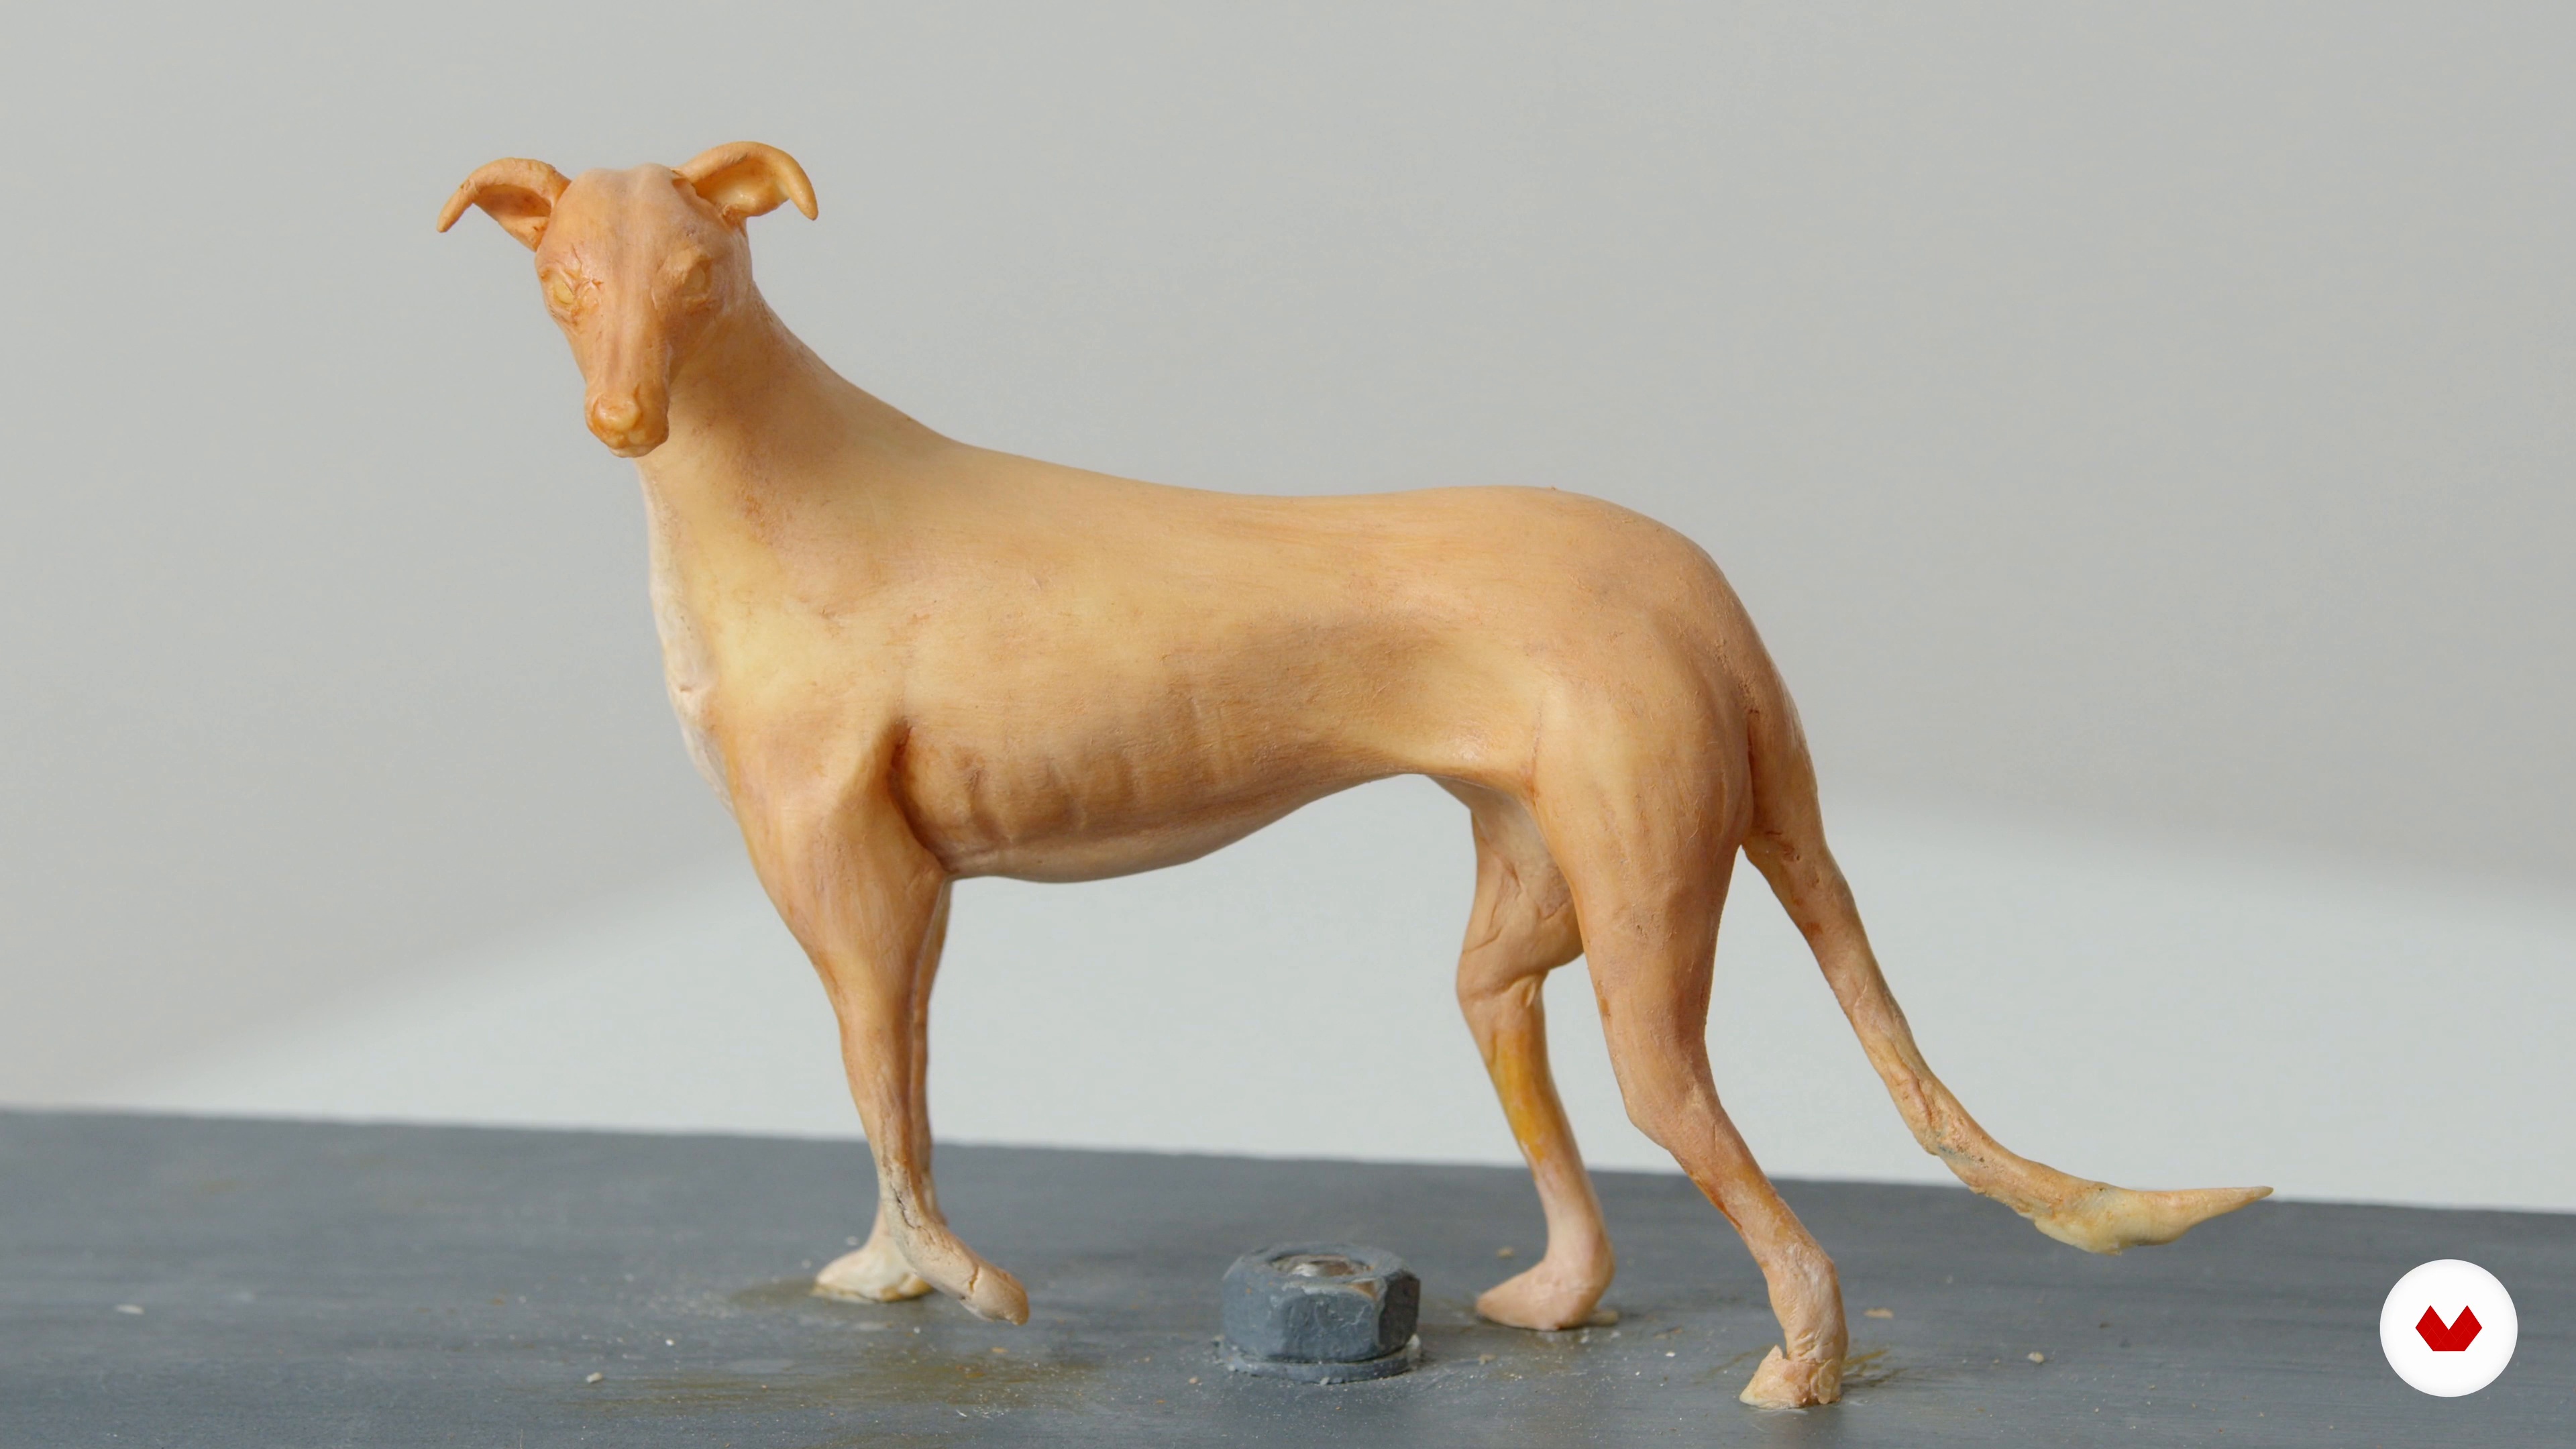
Starting to model is always a moment of fear. In this lesson, discover how to overcome your fear of the "blank canvas" by starting to model your topper.
16m
9Body modeling with chocolate 2
We continue modeling the body. Now I'm going to finish the legs and continue defining other details of the body.
13m
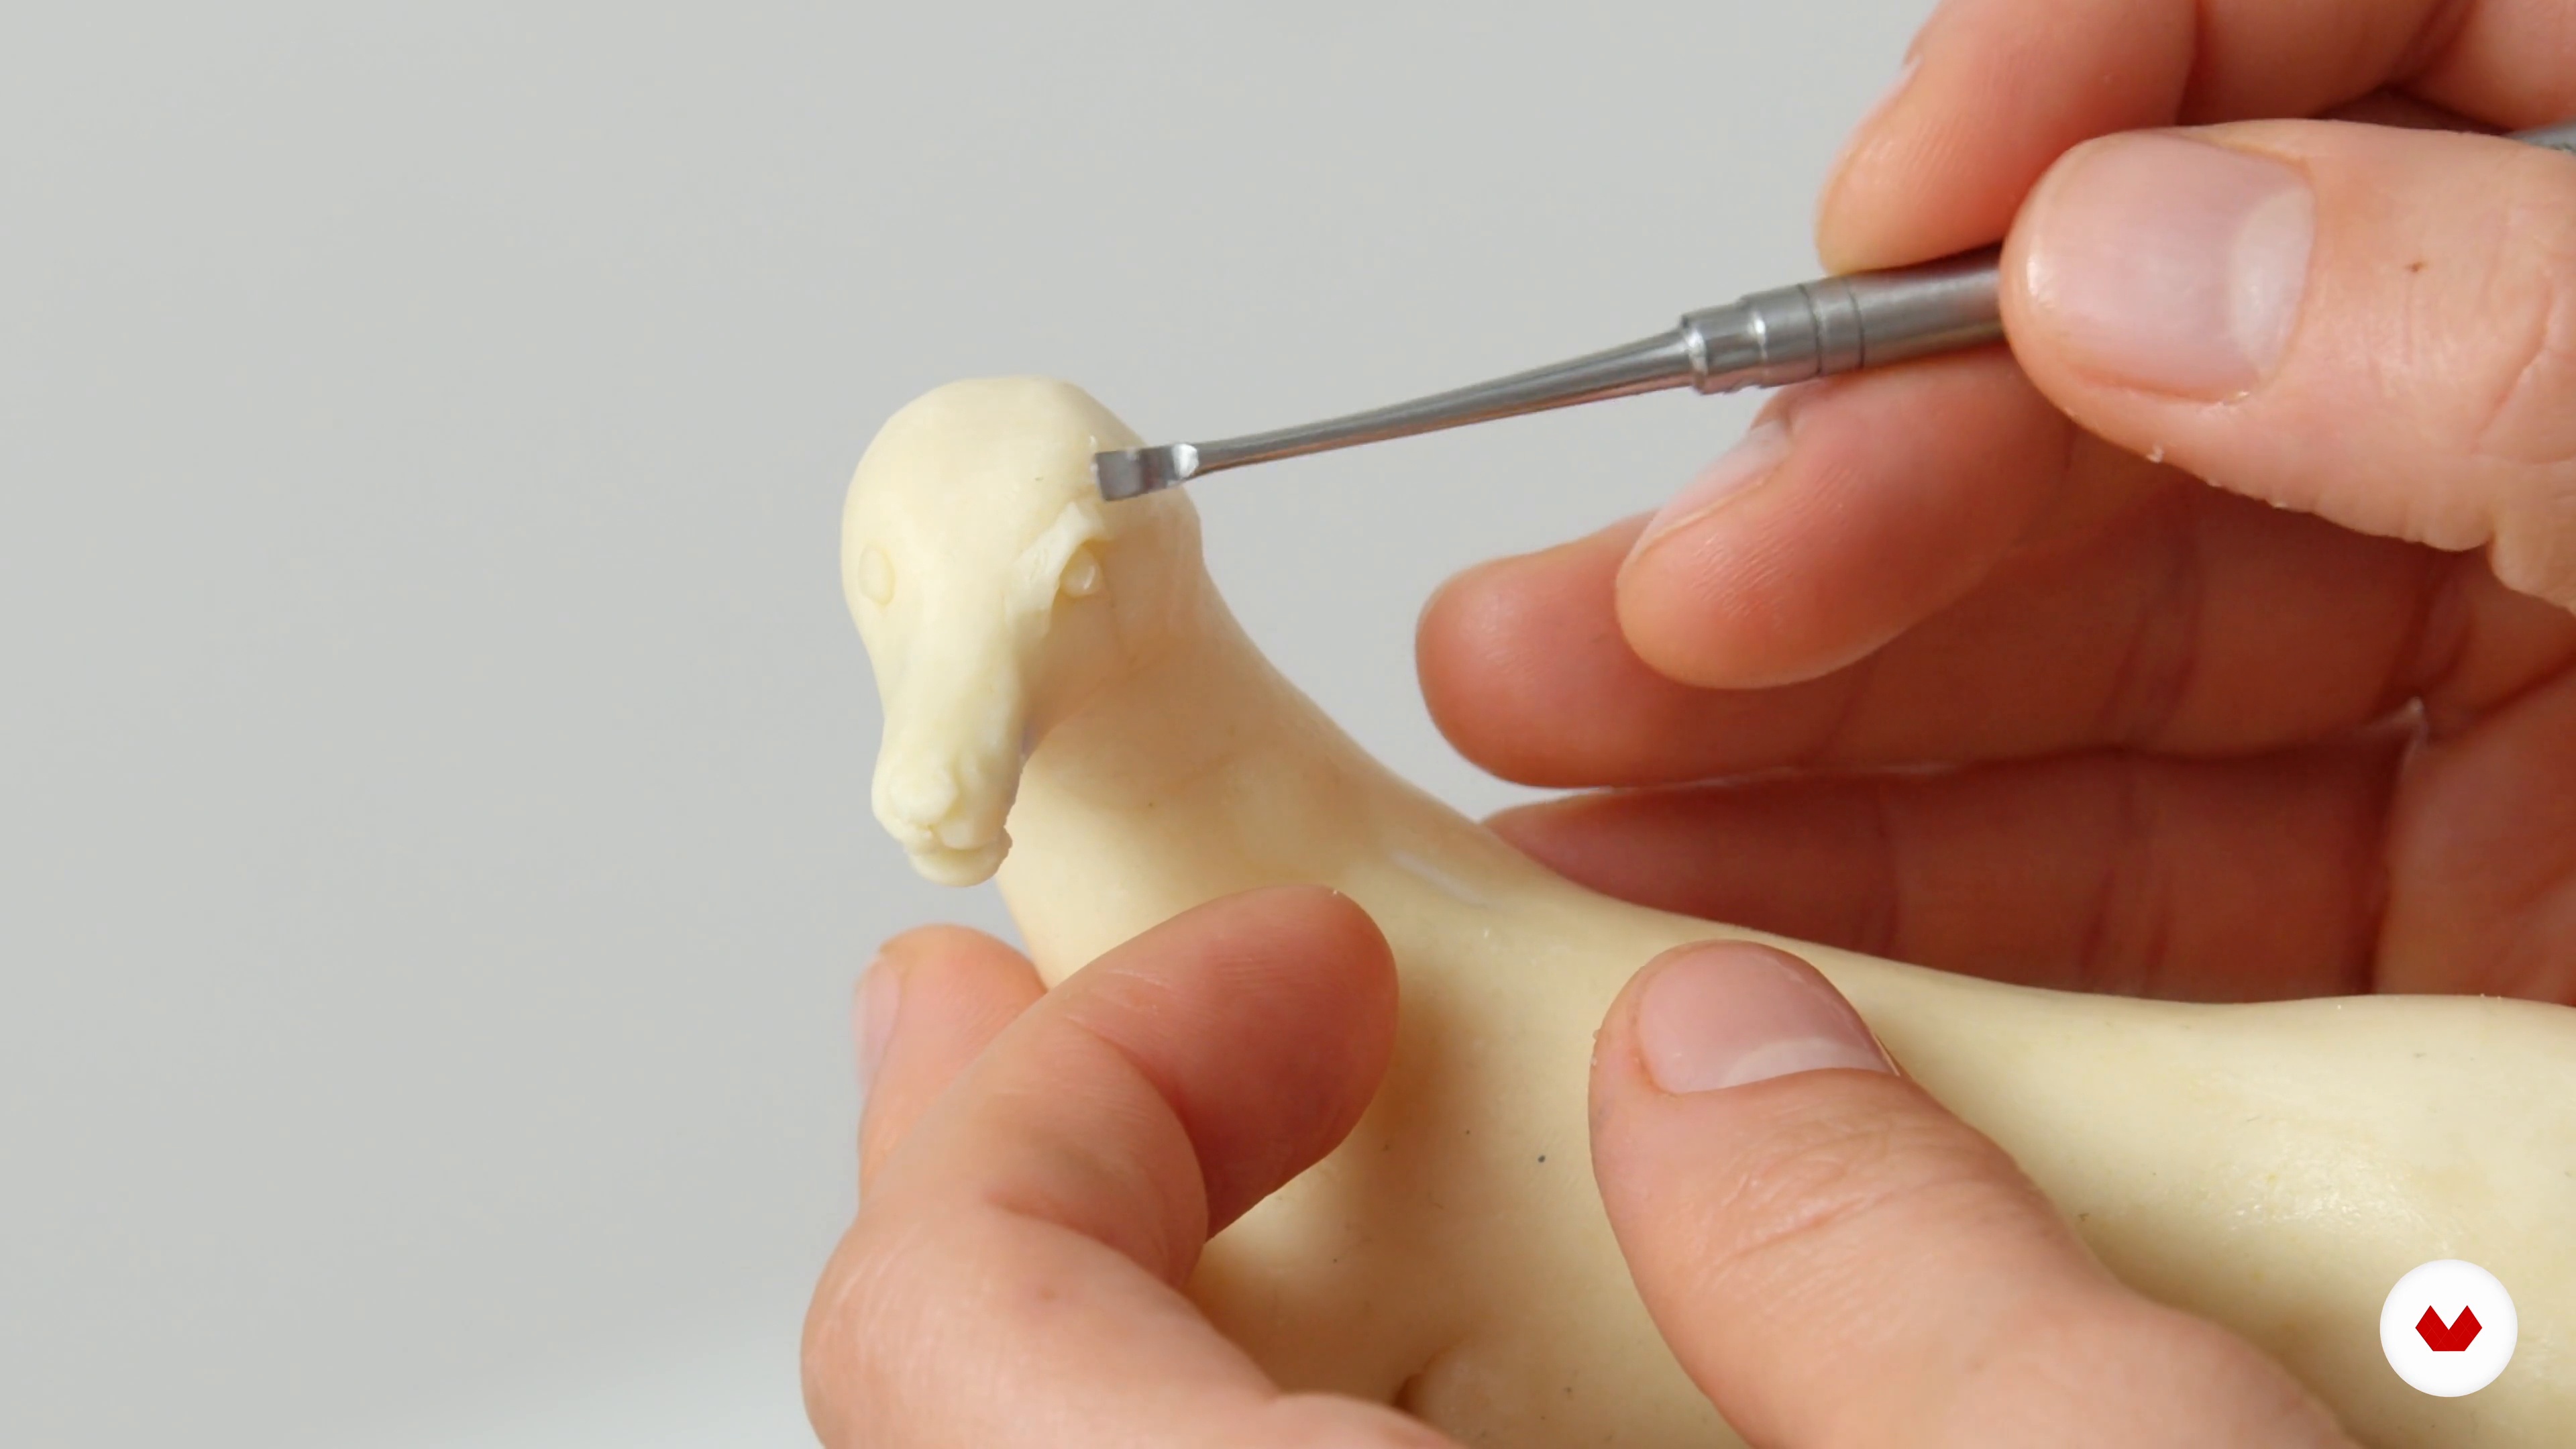
10Chocolate modeling of the head
Modeling the head is the final step to bring your topper to life. I'll explain how to shape the head and model all its details. Let's get started!
13m
11Giving a hyper-realistic touch
In this lesson, I'll explain step by step how to turn your topper into a hyper-realistic animal by adding details and textures.
13m
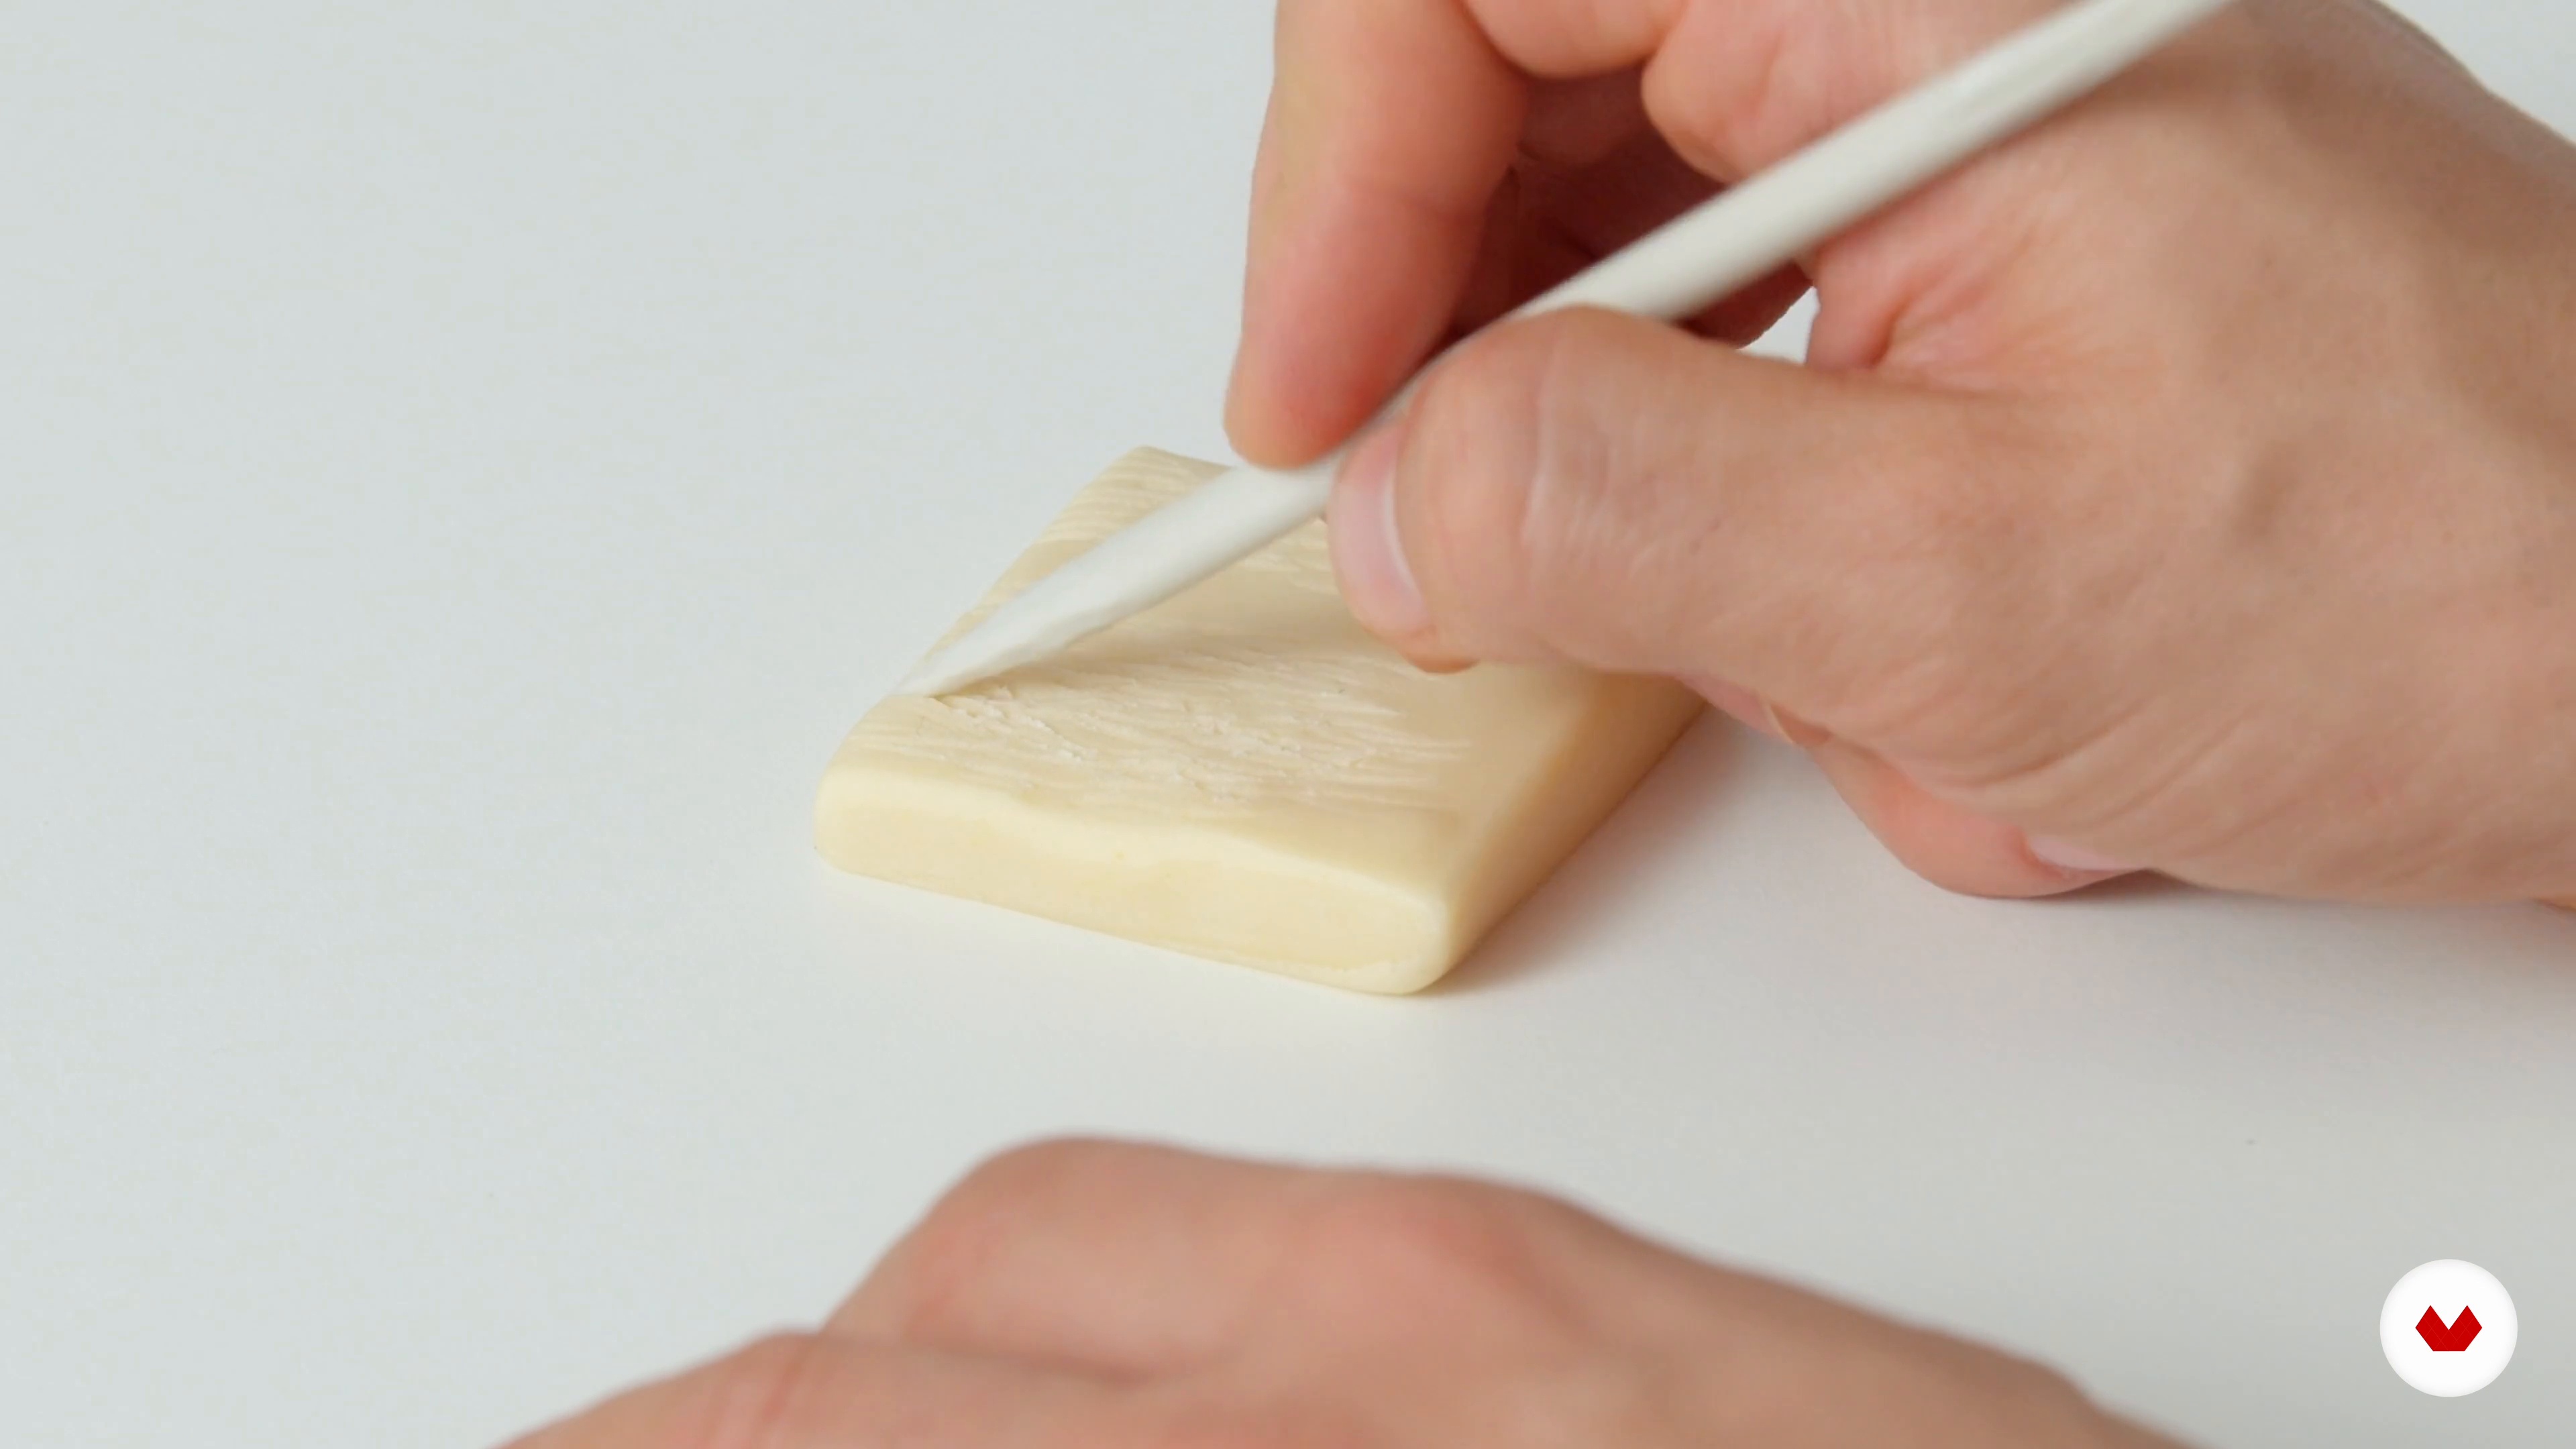
12Animal textures in chocolate 1
The animal world is very extensive, so in this lesson I'm going to explain how to create different fur and skin textures so you can model and texture any animal.
18m
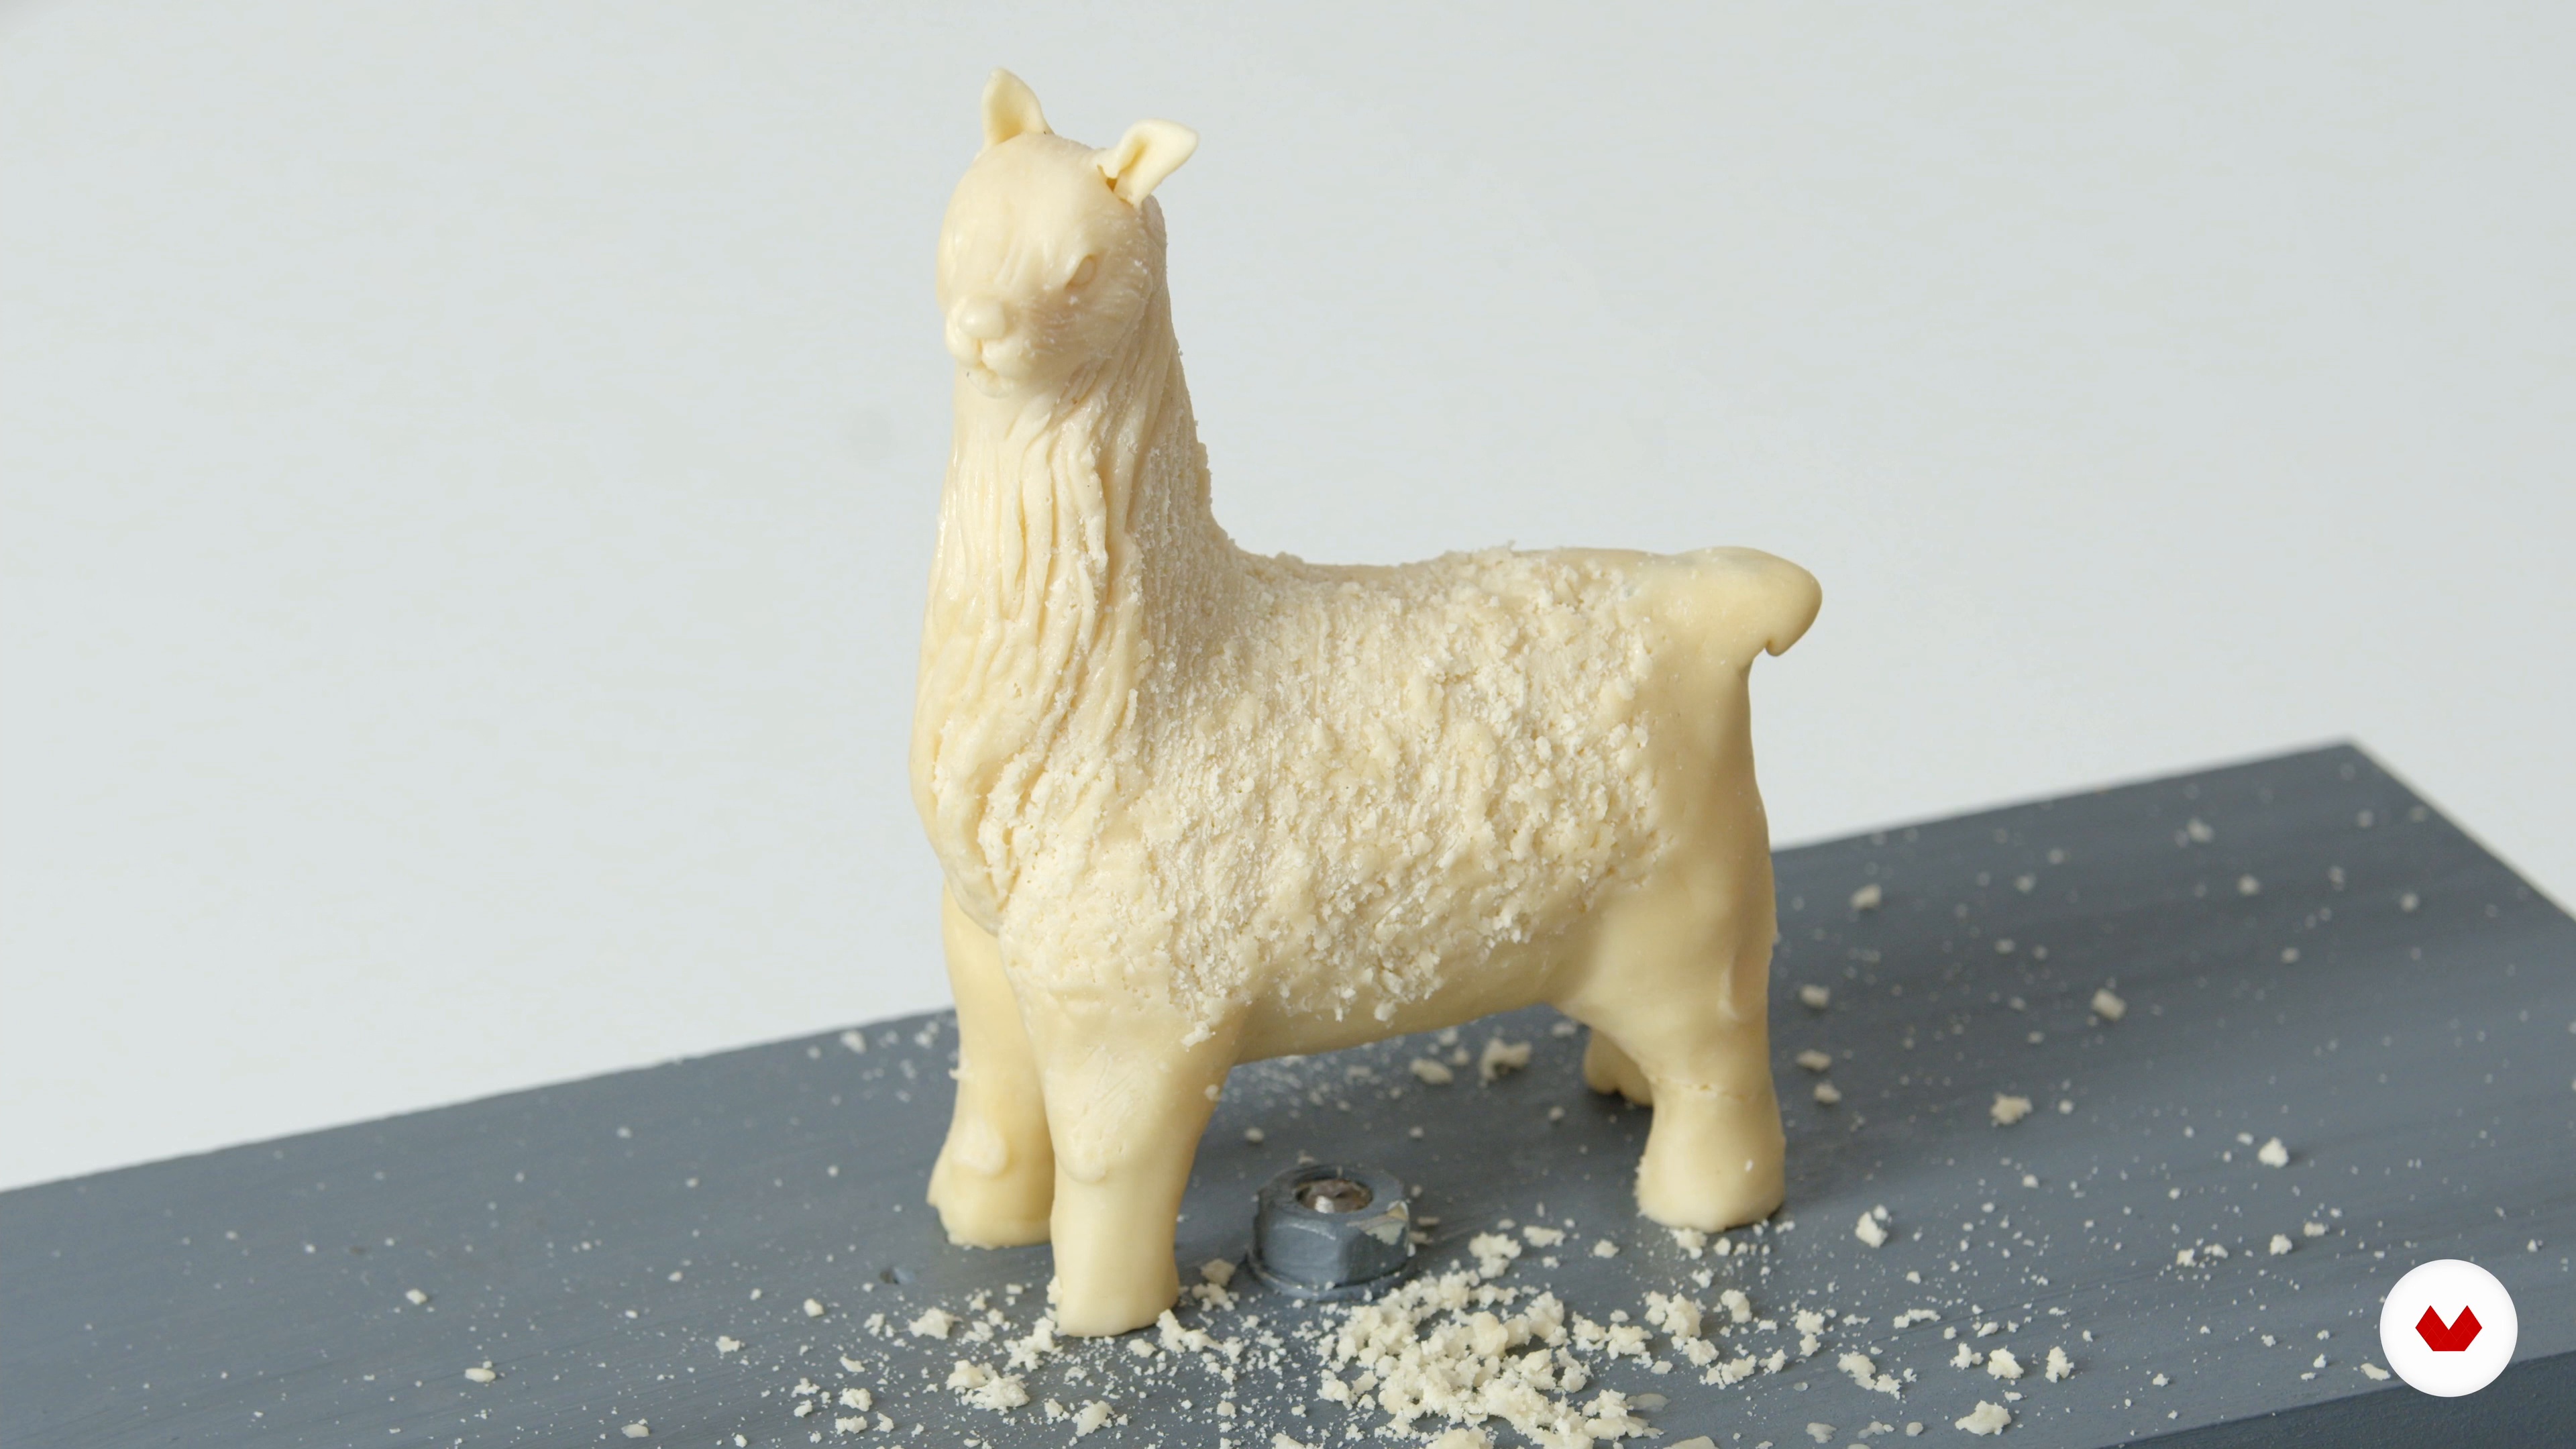
13Animal textures in chocolate 2
After showing you several ways to add textures, I'm now going to tell you how to apply them to an already modeled animal.
7m
14Coloring the moldable chocolate 1
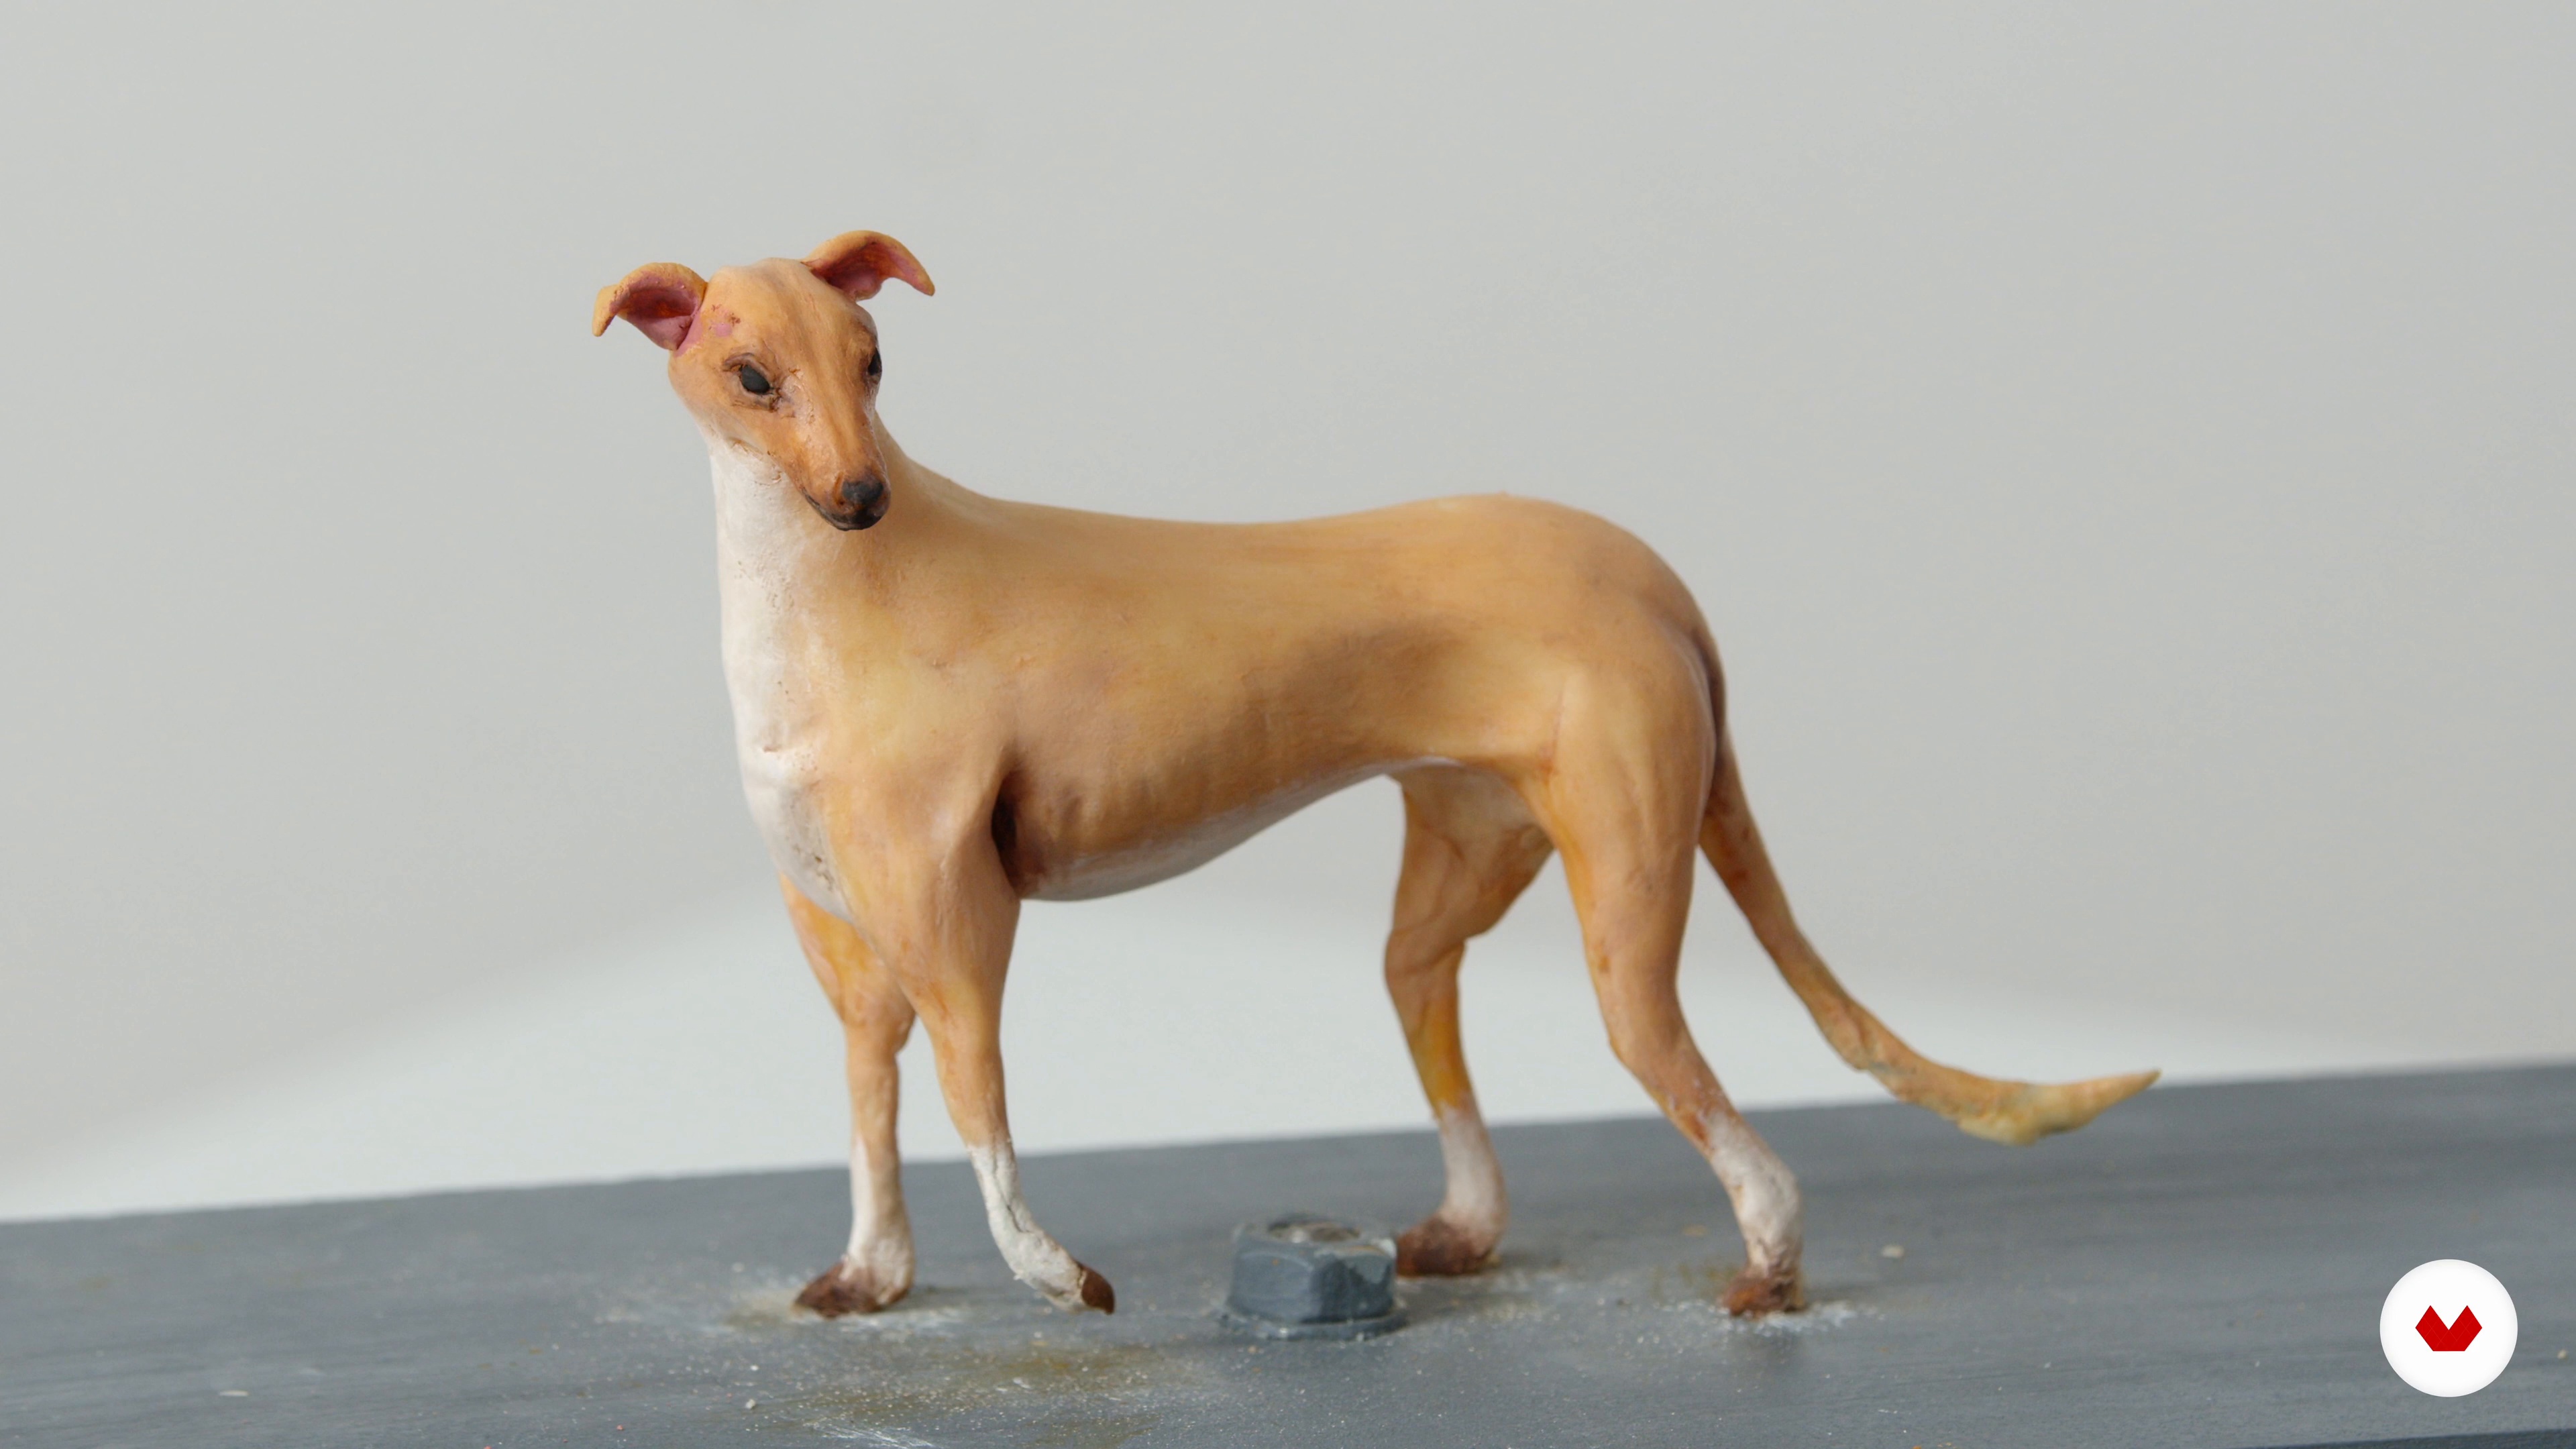
Coloring modeling chocolate transforms the topper into a lively object. In this lesson, I'll explain everything you need to consider when painting on modeling chocolate.
14m
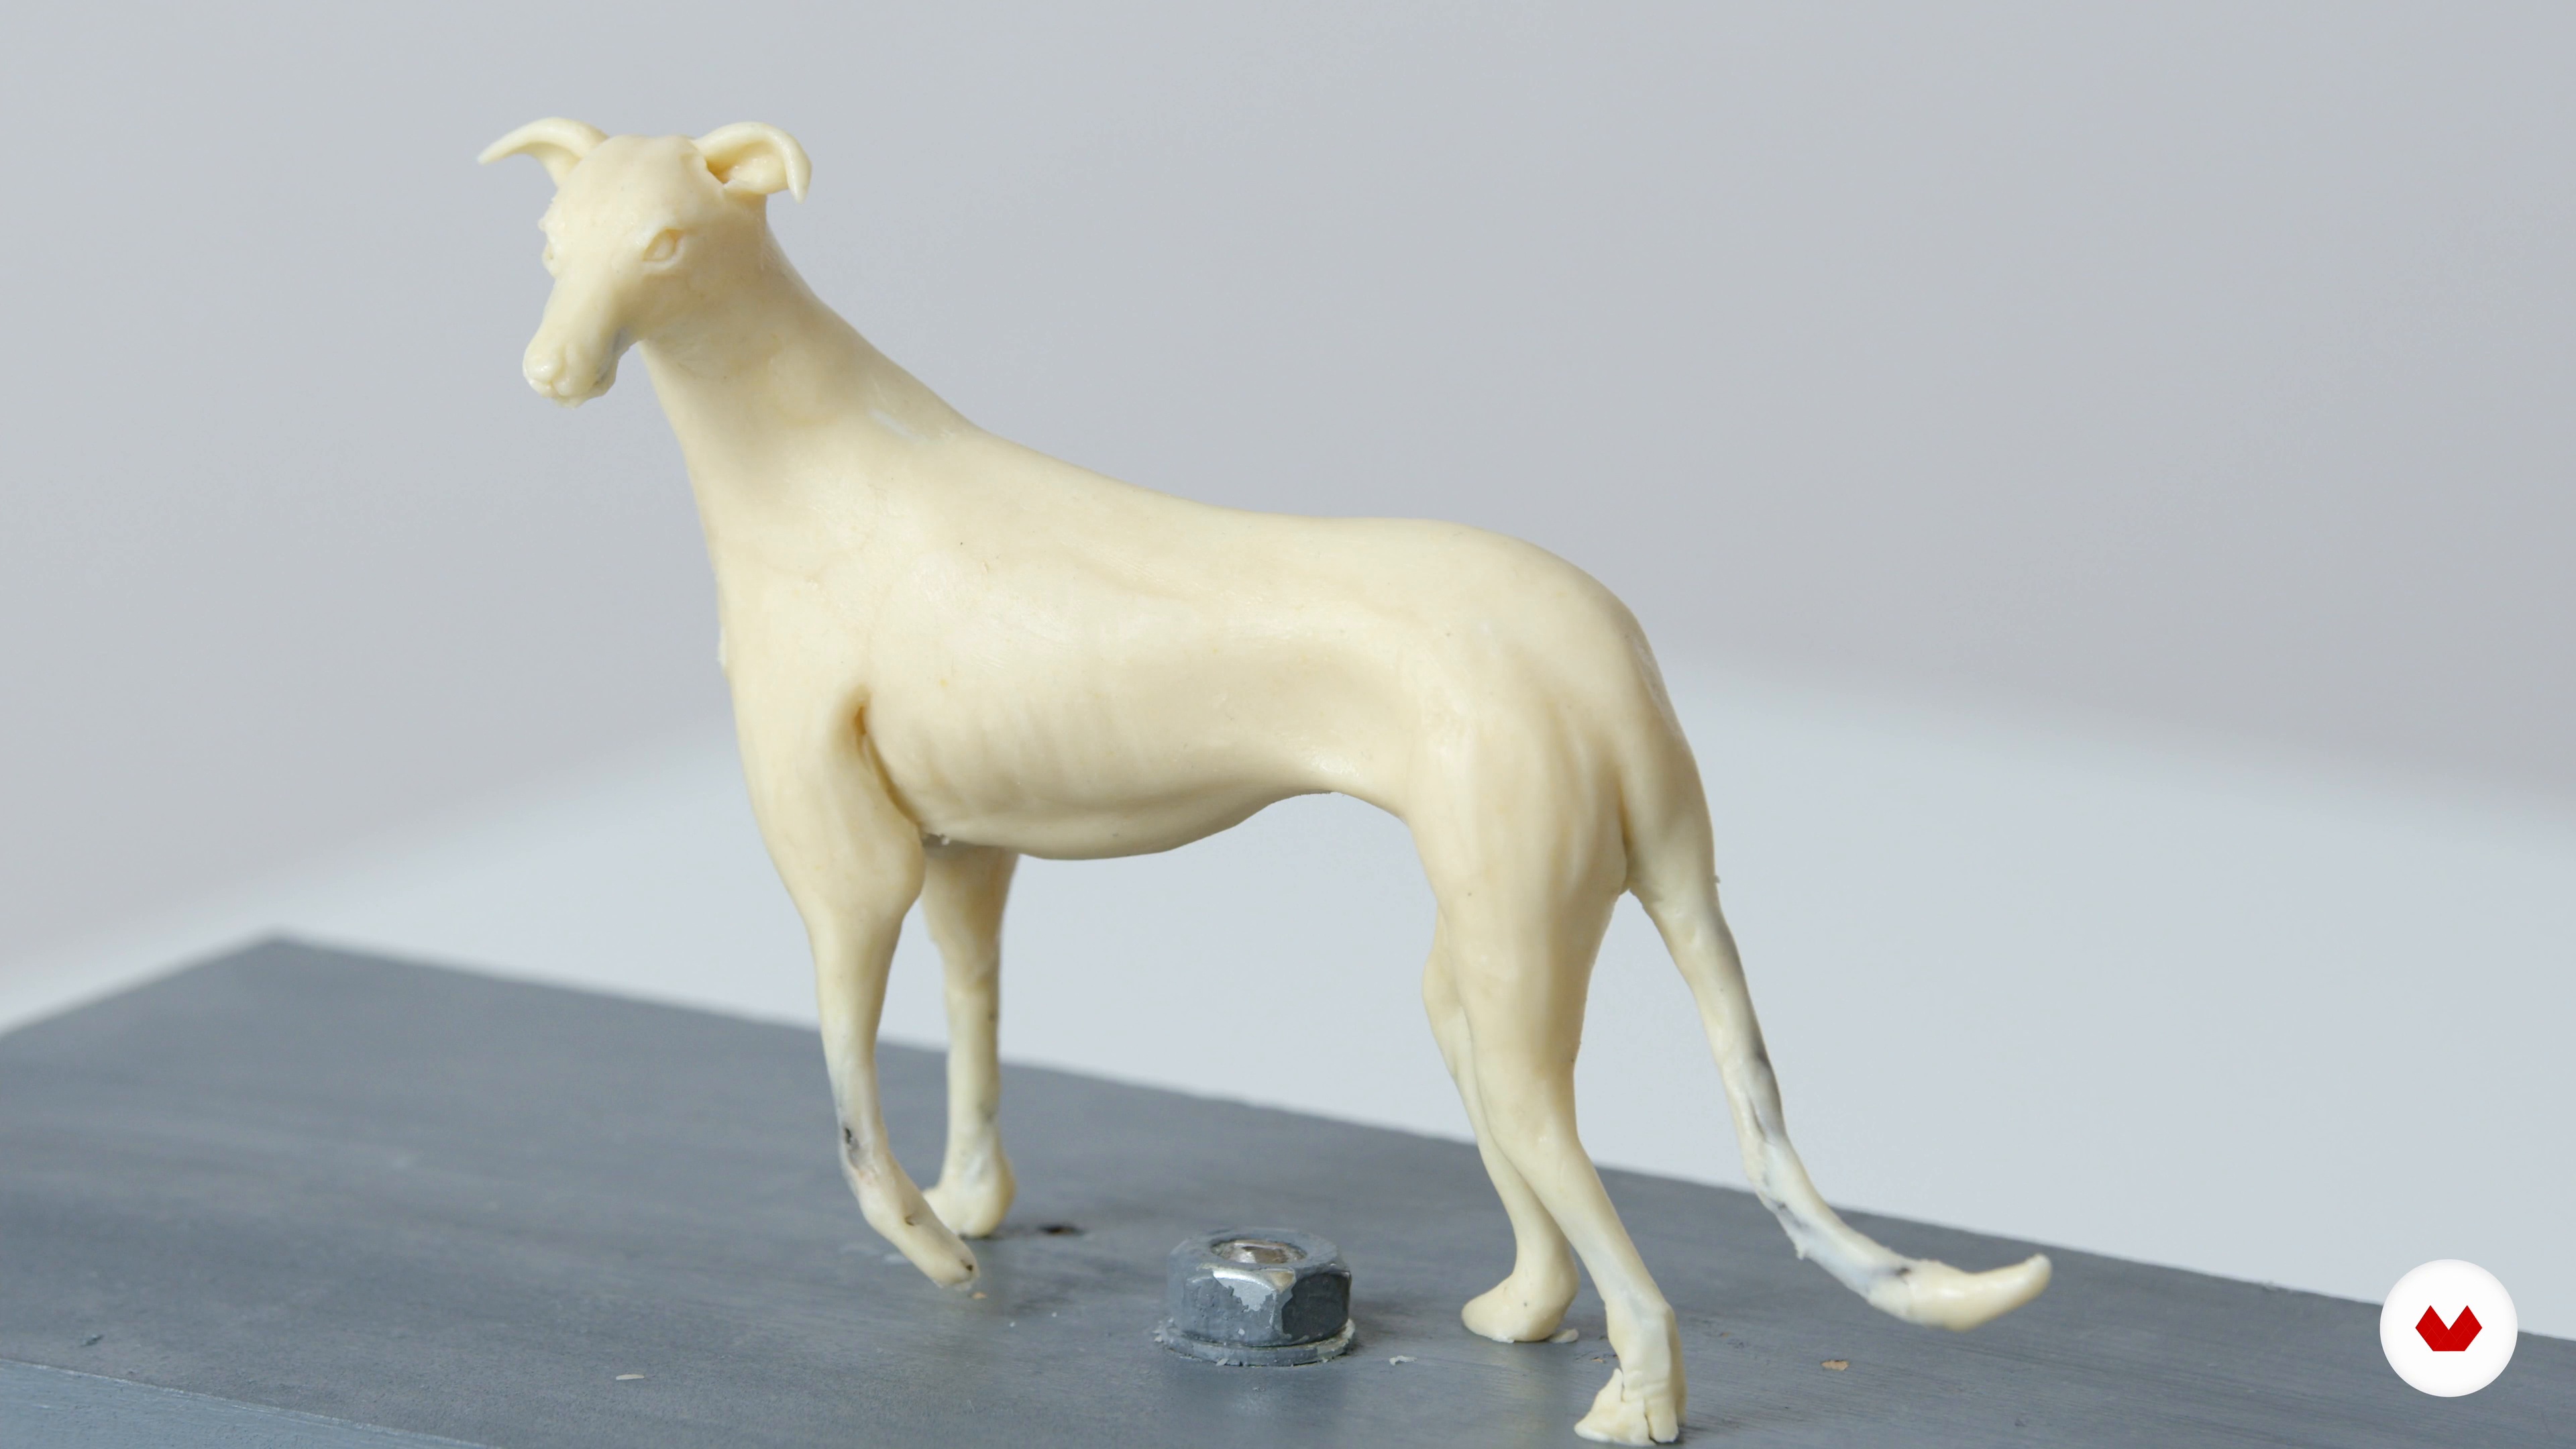
15Coloring the moldable chocolate 2
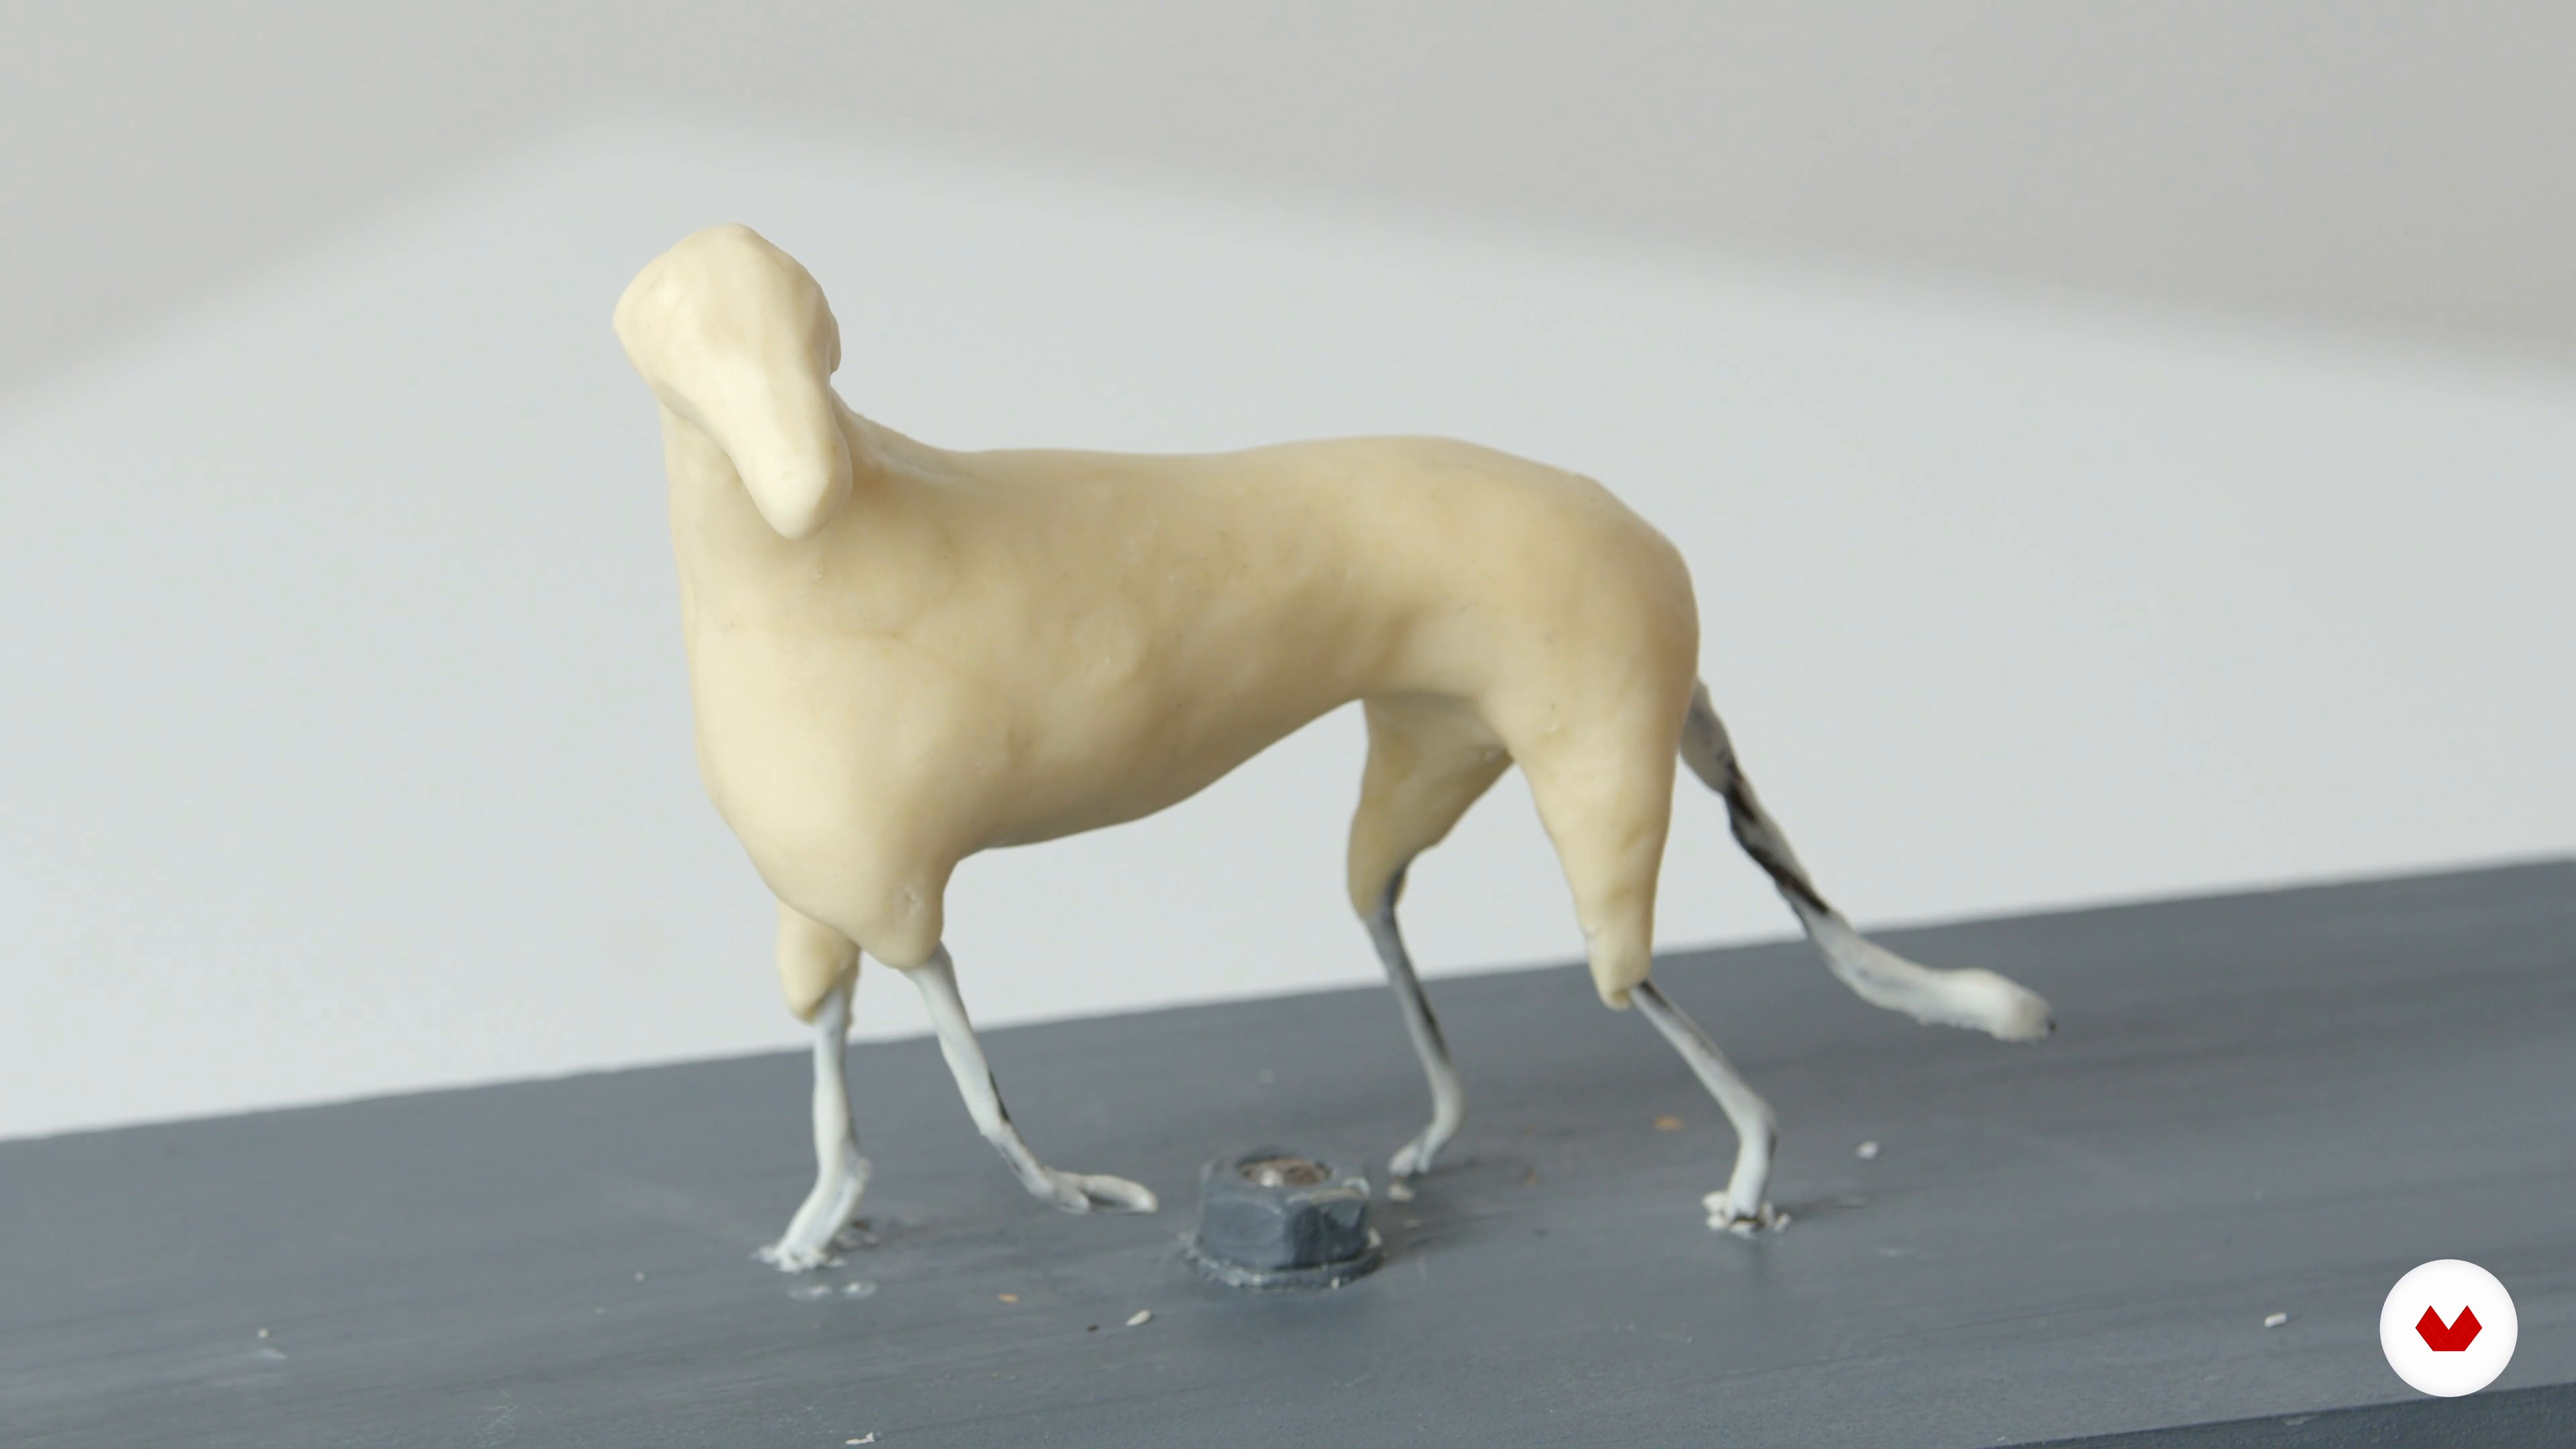
We continue applying color to the greyhound model, shading and adding detail to various areas of the body.
11m
16Final details
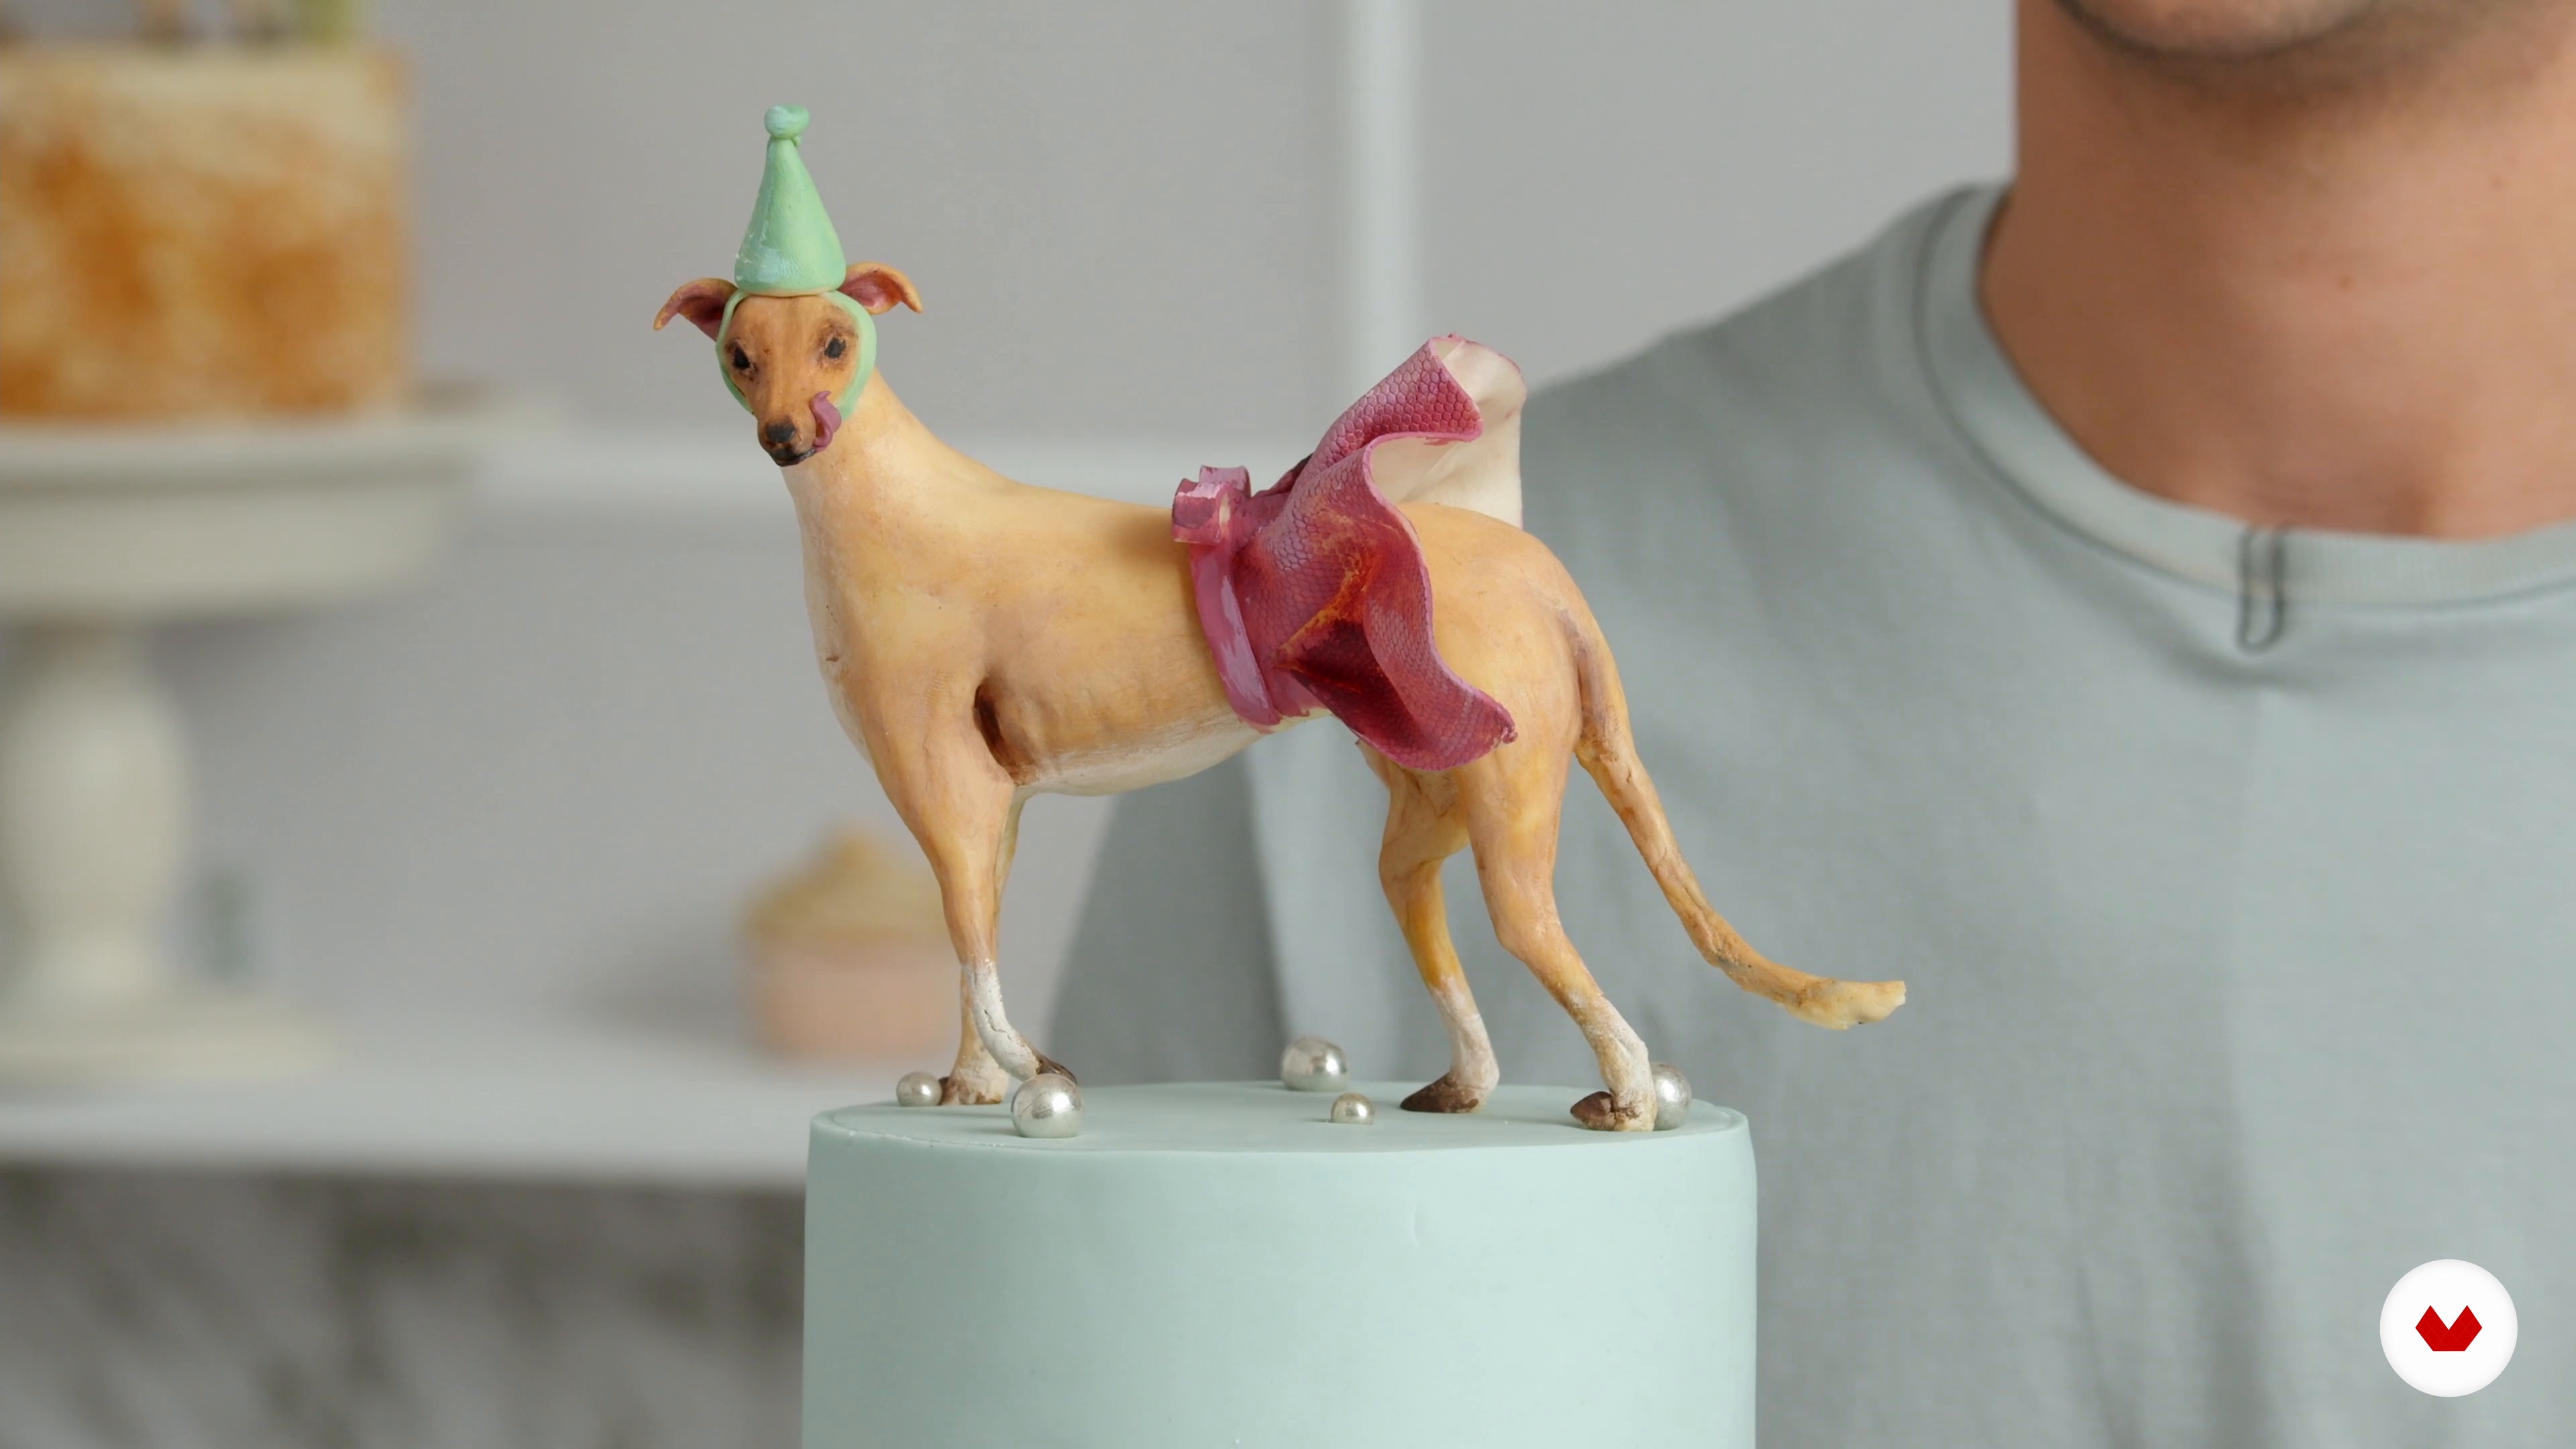
The final step to making your topper look amazing is placing it on a cake. I'll show you how to place it securely.
16m
4Feasible Cake Ideas
Before creating a carved cake, it's important to ask yourself if your idea is feasible with edible elements. In this lesson, I'll give you the keys to finding out. The fondant and sponge cakes will have to wait a little longer to get started. For this lesson, you'll only need a large piece of cardstock, a ruler, pencils, and markers to draw the structure.
4m
5Inspiration and Define Color Palette
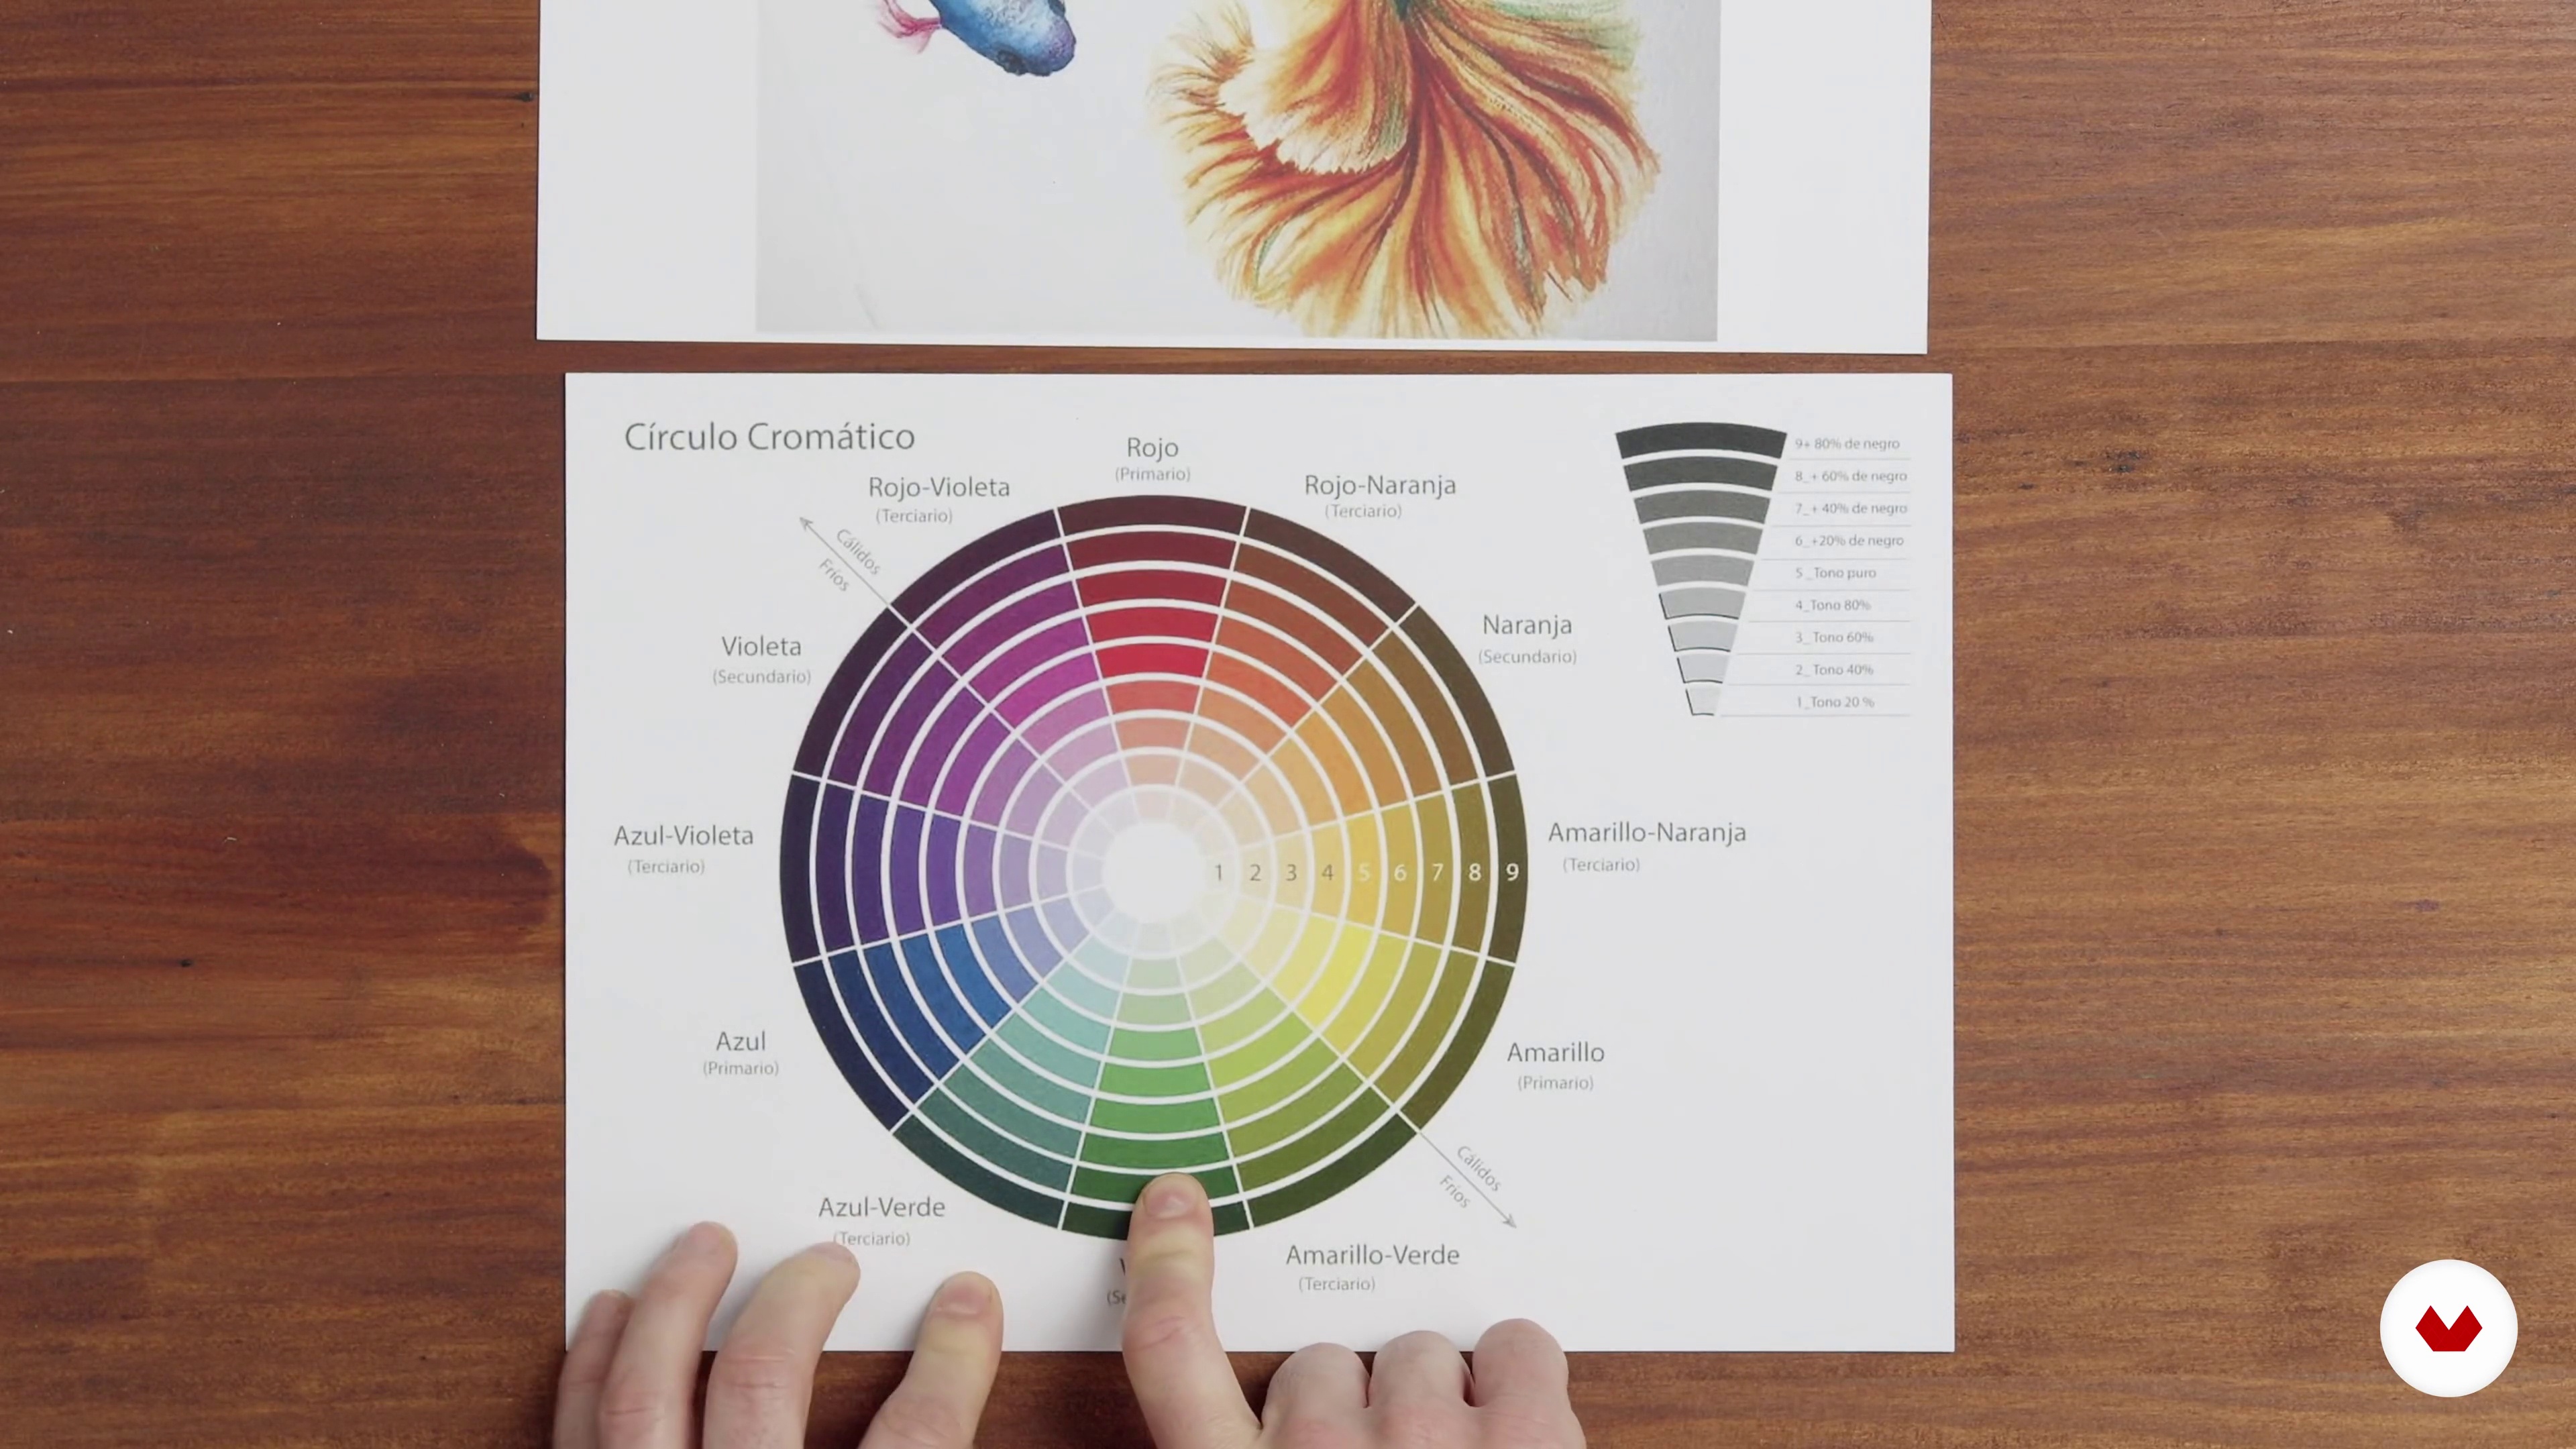
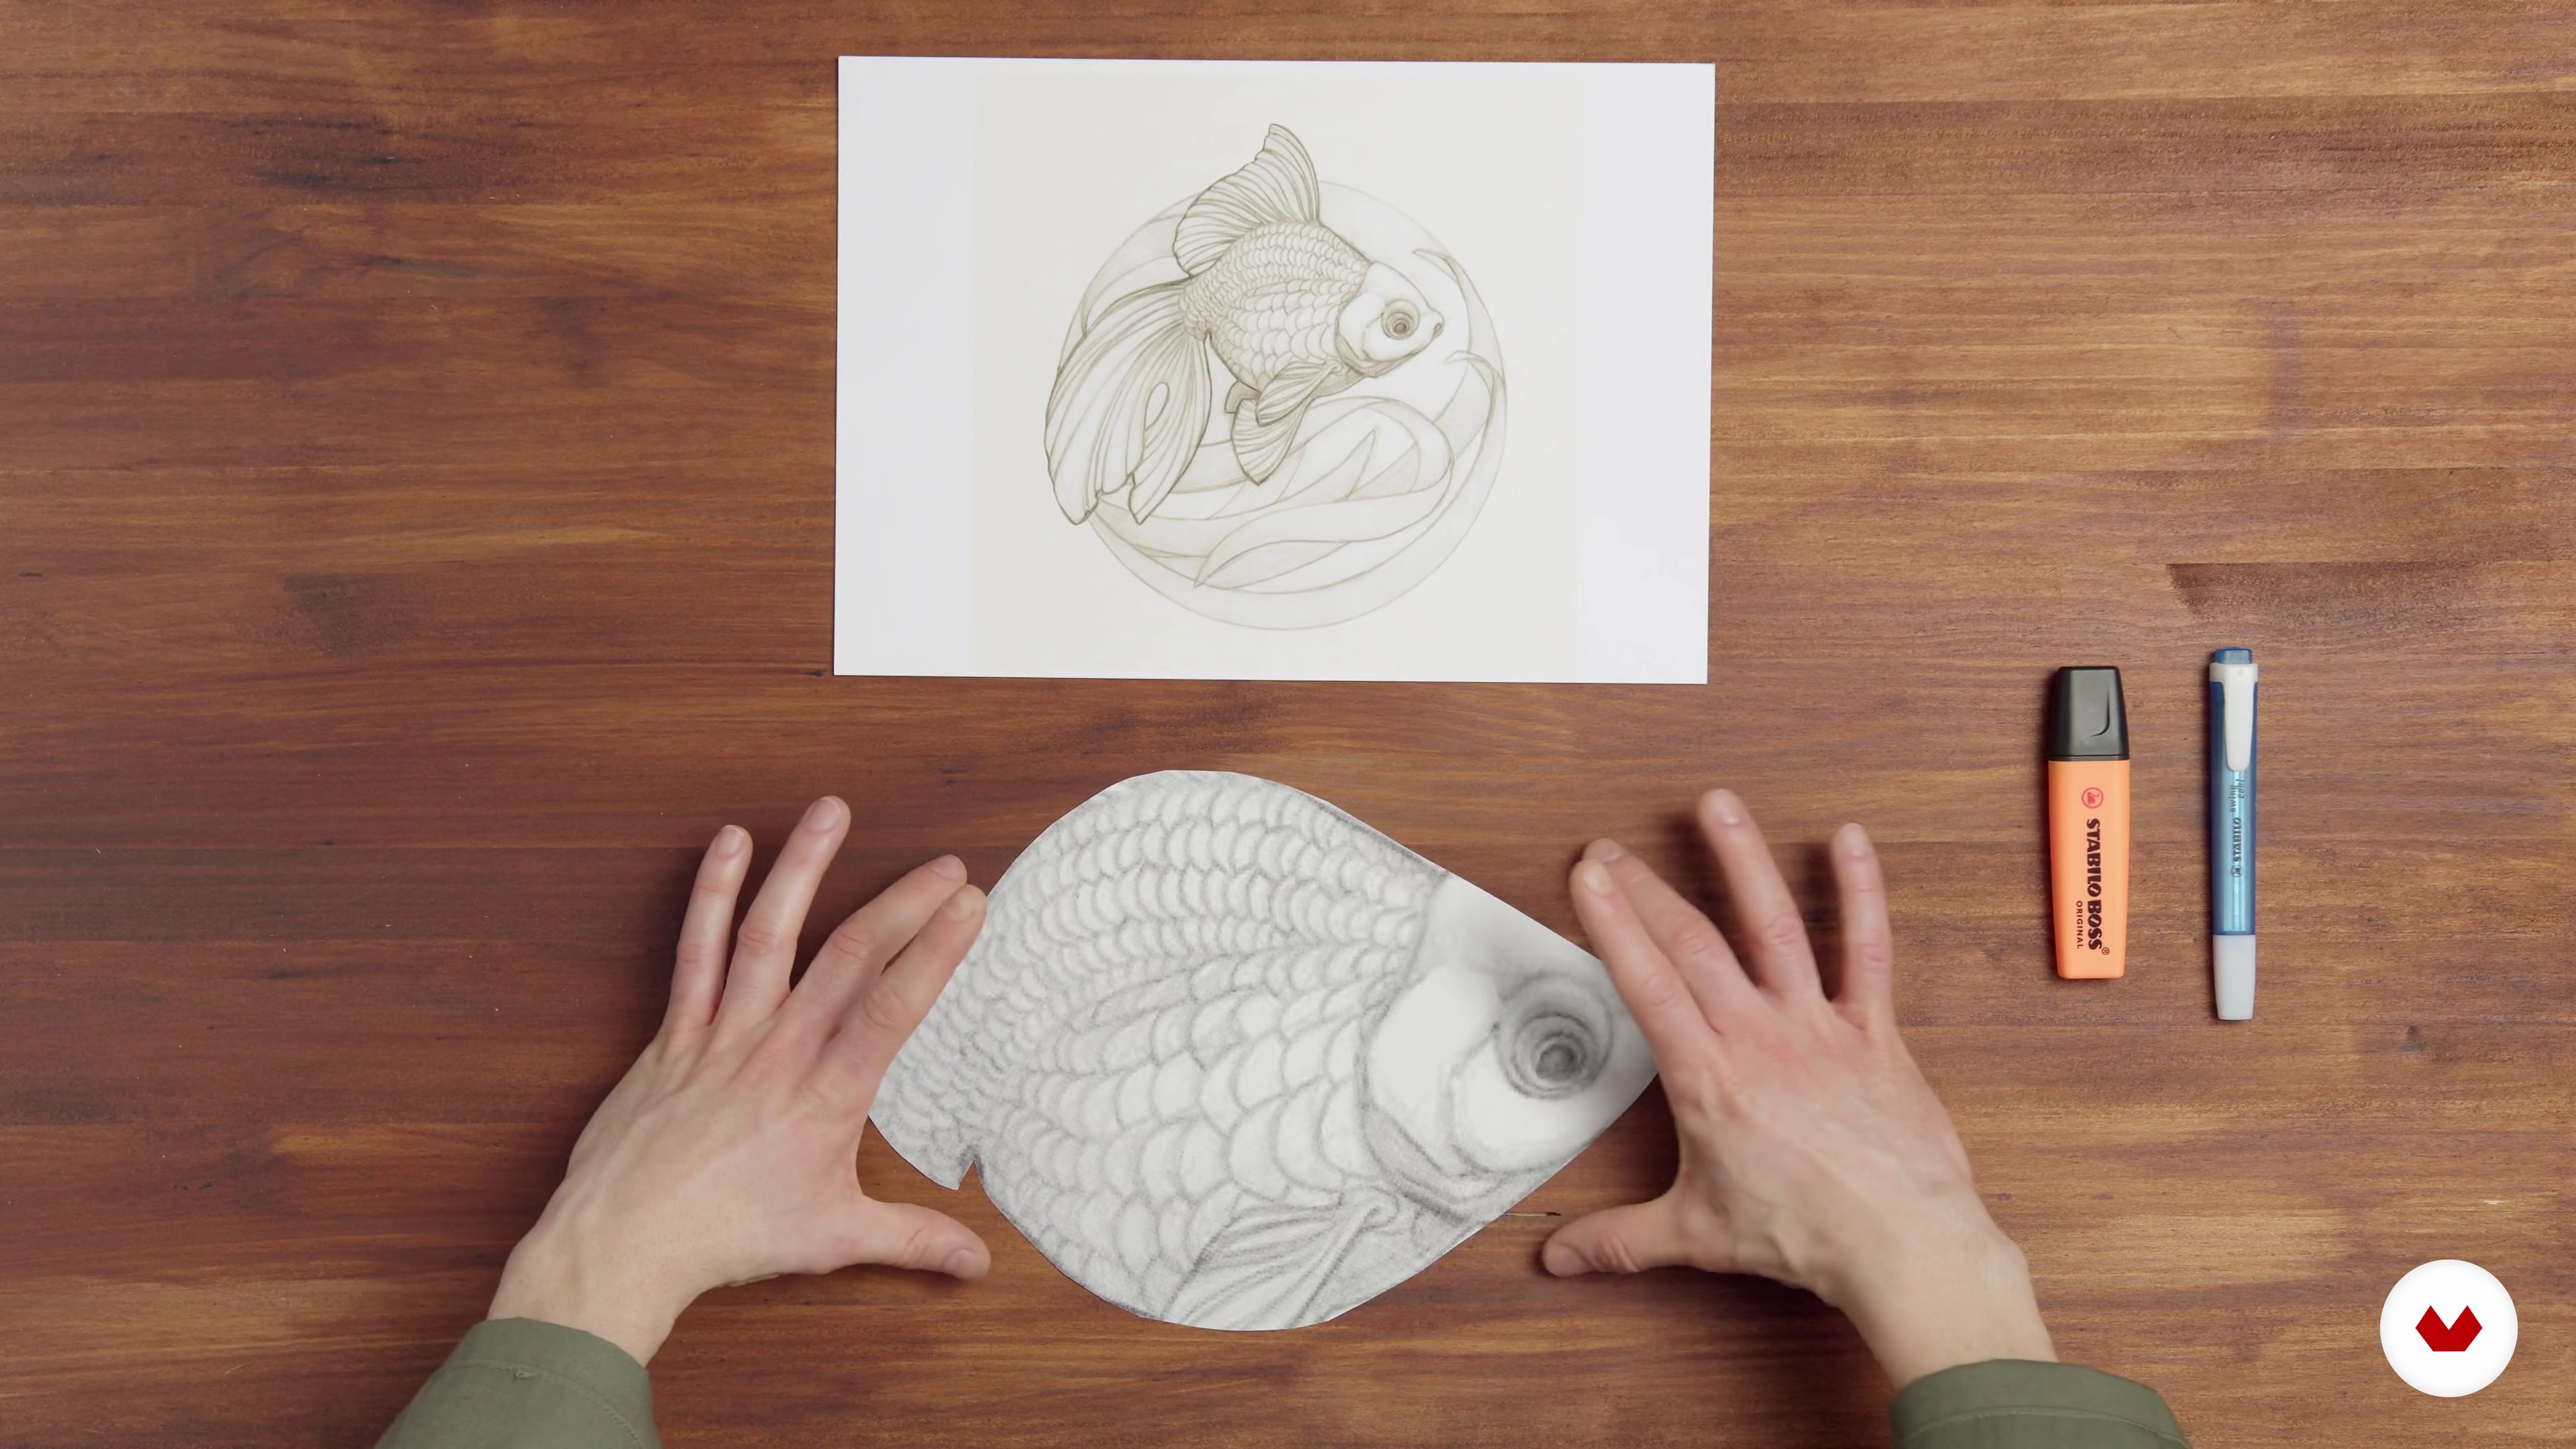
A creator looks for references to draw on during their creative process. In this lesson, I'll teach you how to find inspiration and define the colors for your sculpture.
8m
6Sketch and Structure 1
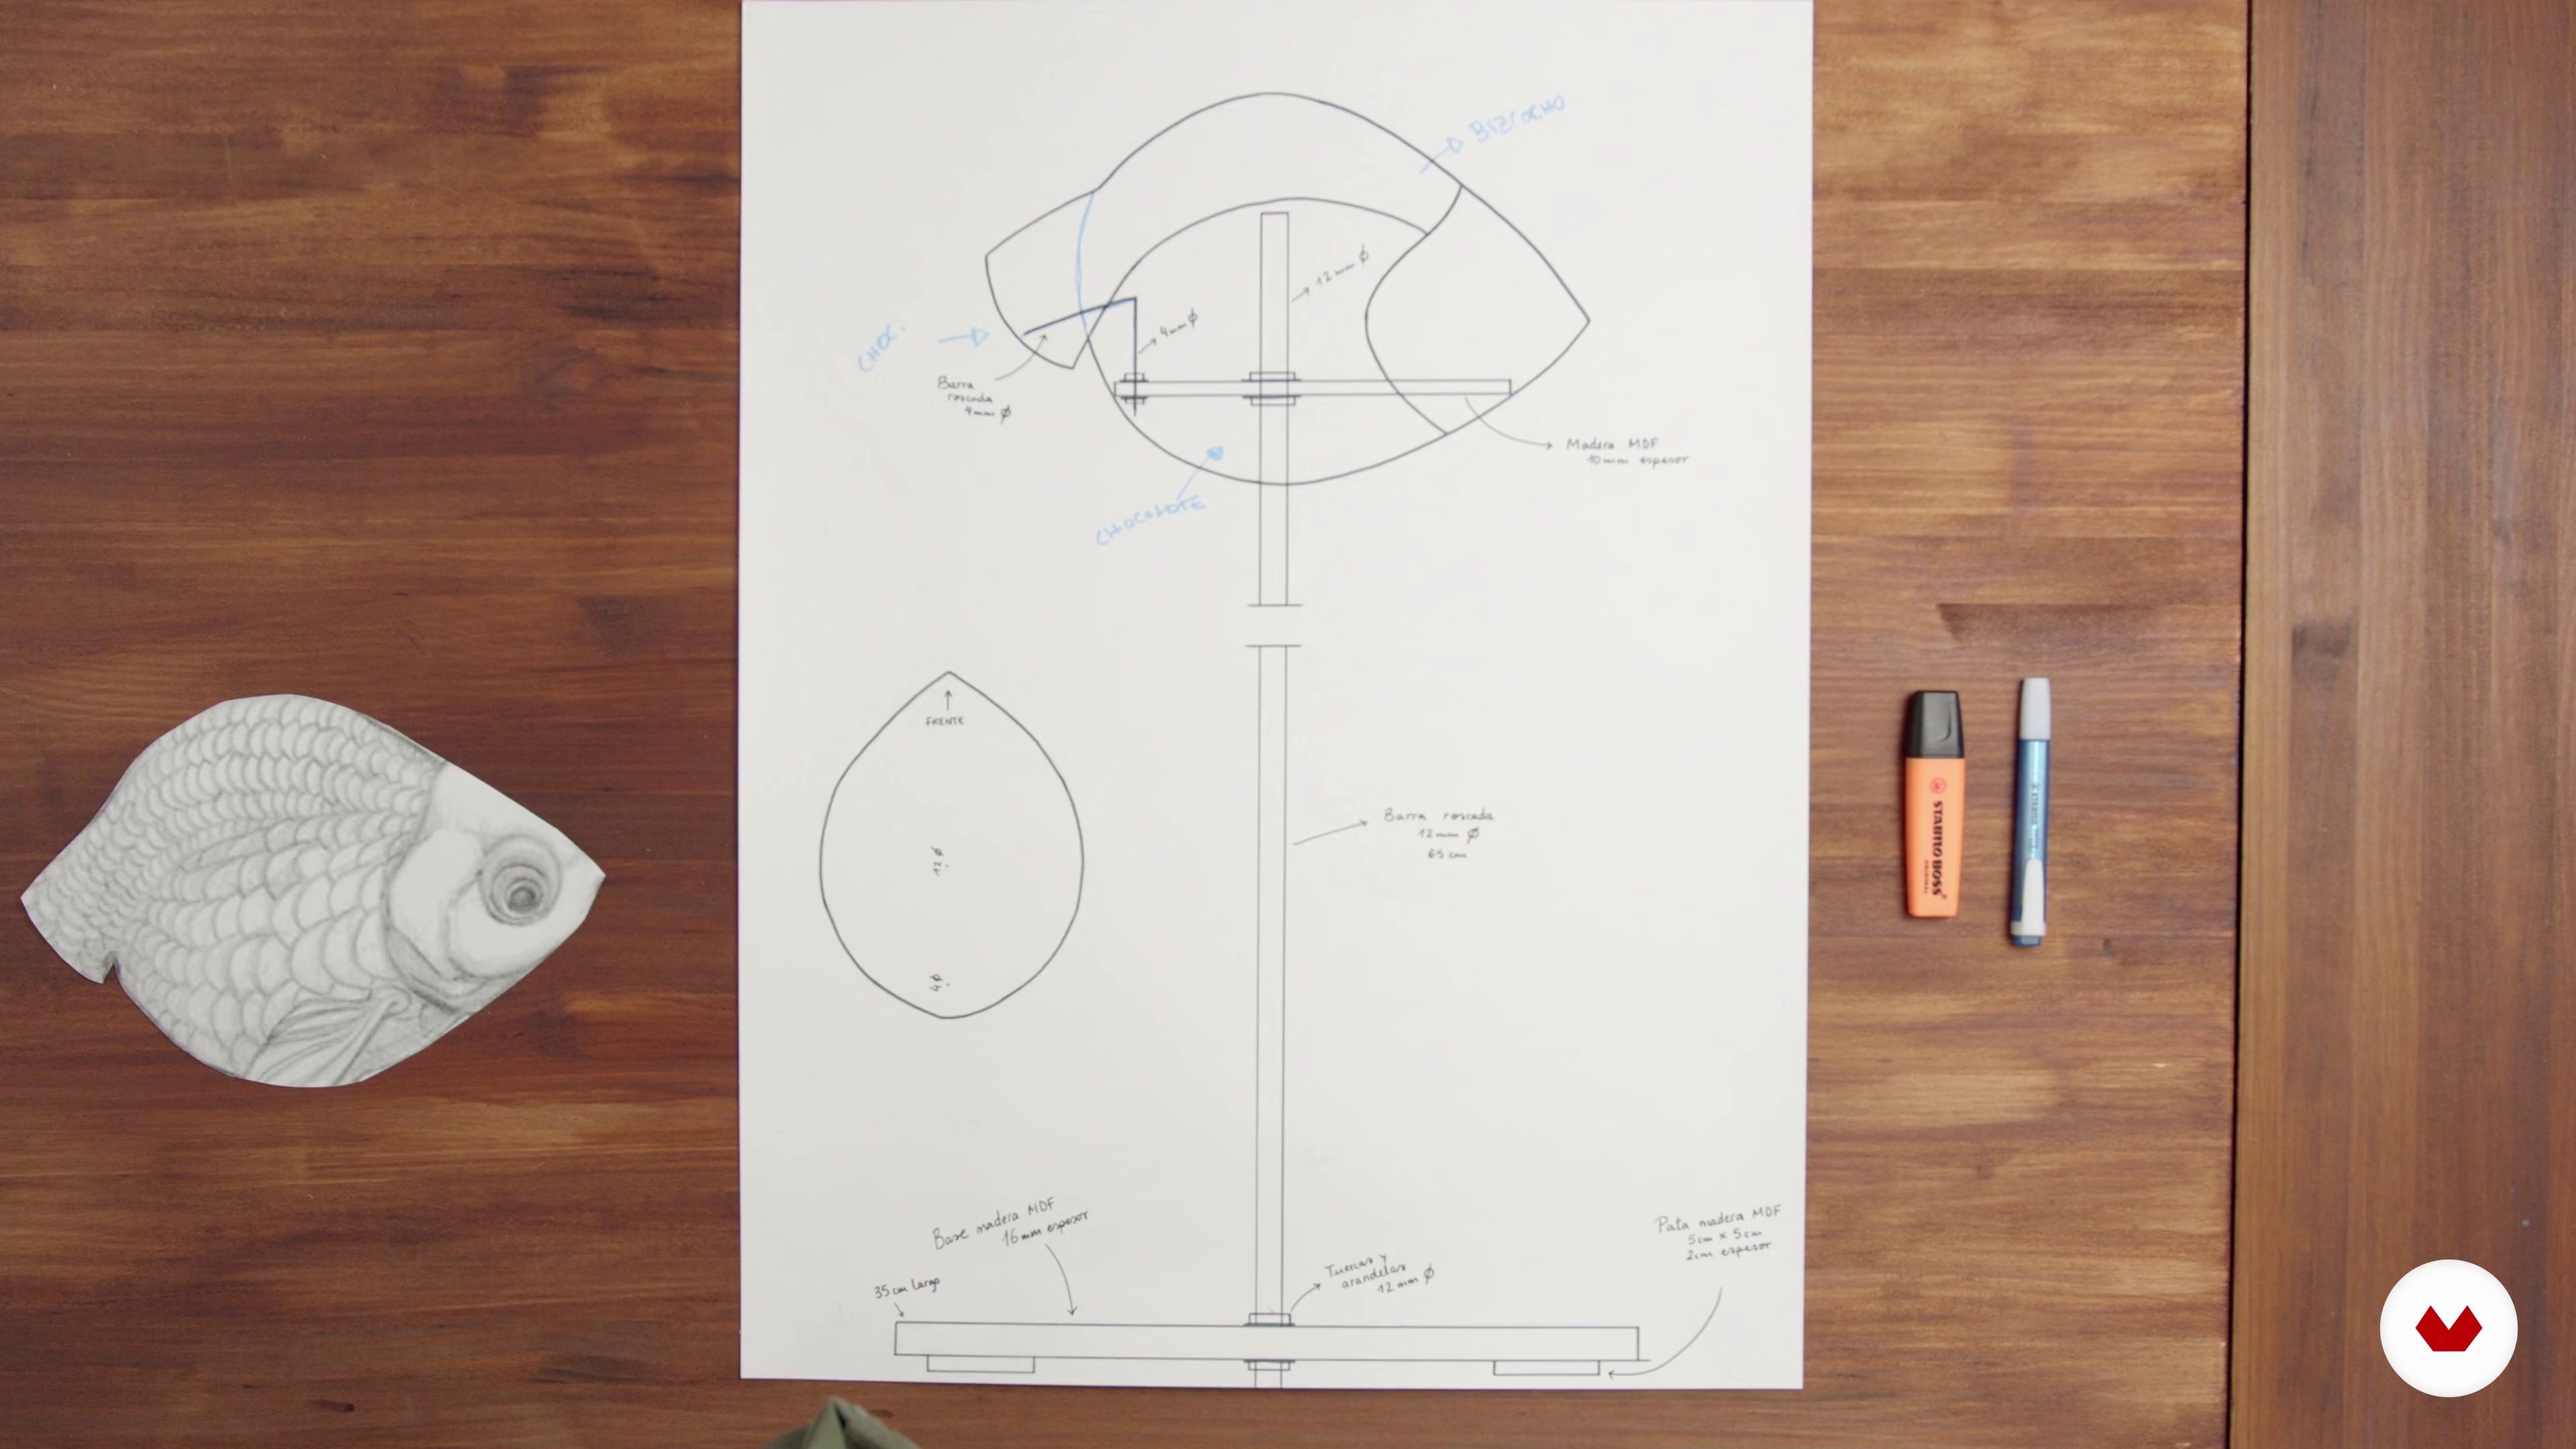
Drawing the outline and considering the cake's structure are the most important steps in preparation. In this lesson, you'll learn the keys to creating a solid structure for your cake.
16m
7Sketch and Structure 2
We continue to delve into the fundamental aspects of developing the sketch and structure of the cake.
7m
8Assemble and Isolate the Structure
In this lesson you will see how to correctly assemble the pieces of the structure and how to make it food safe.
10m
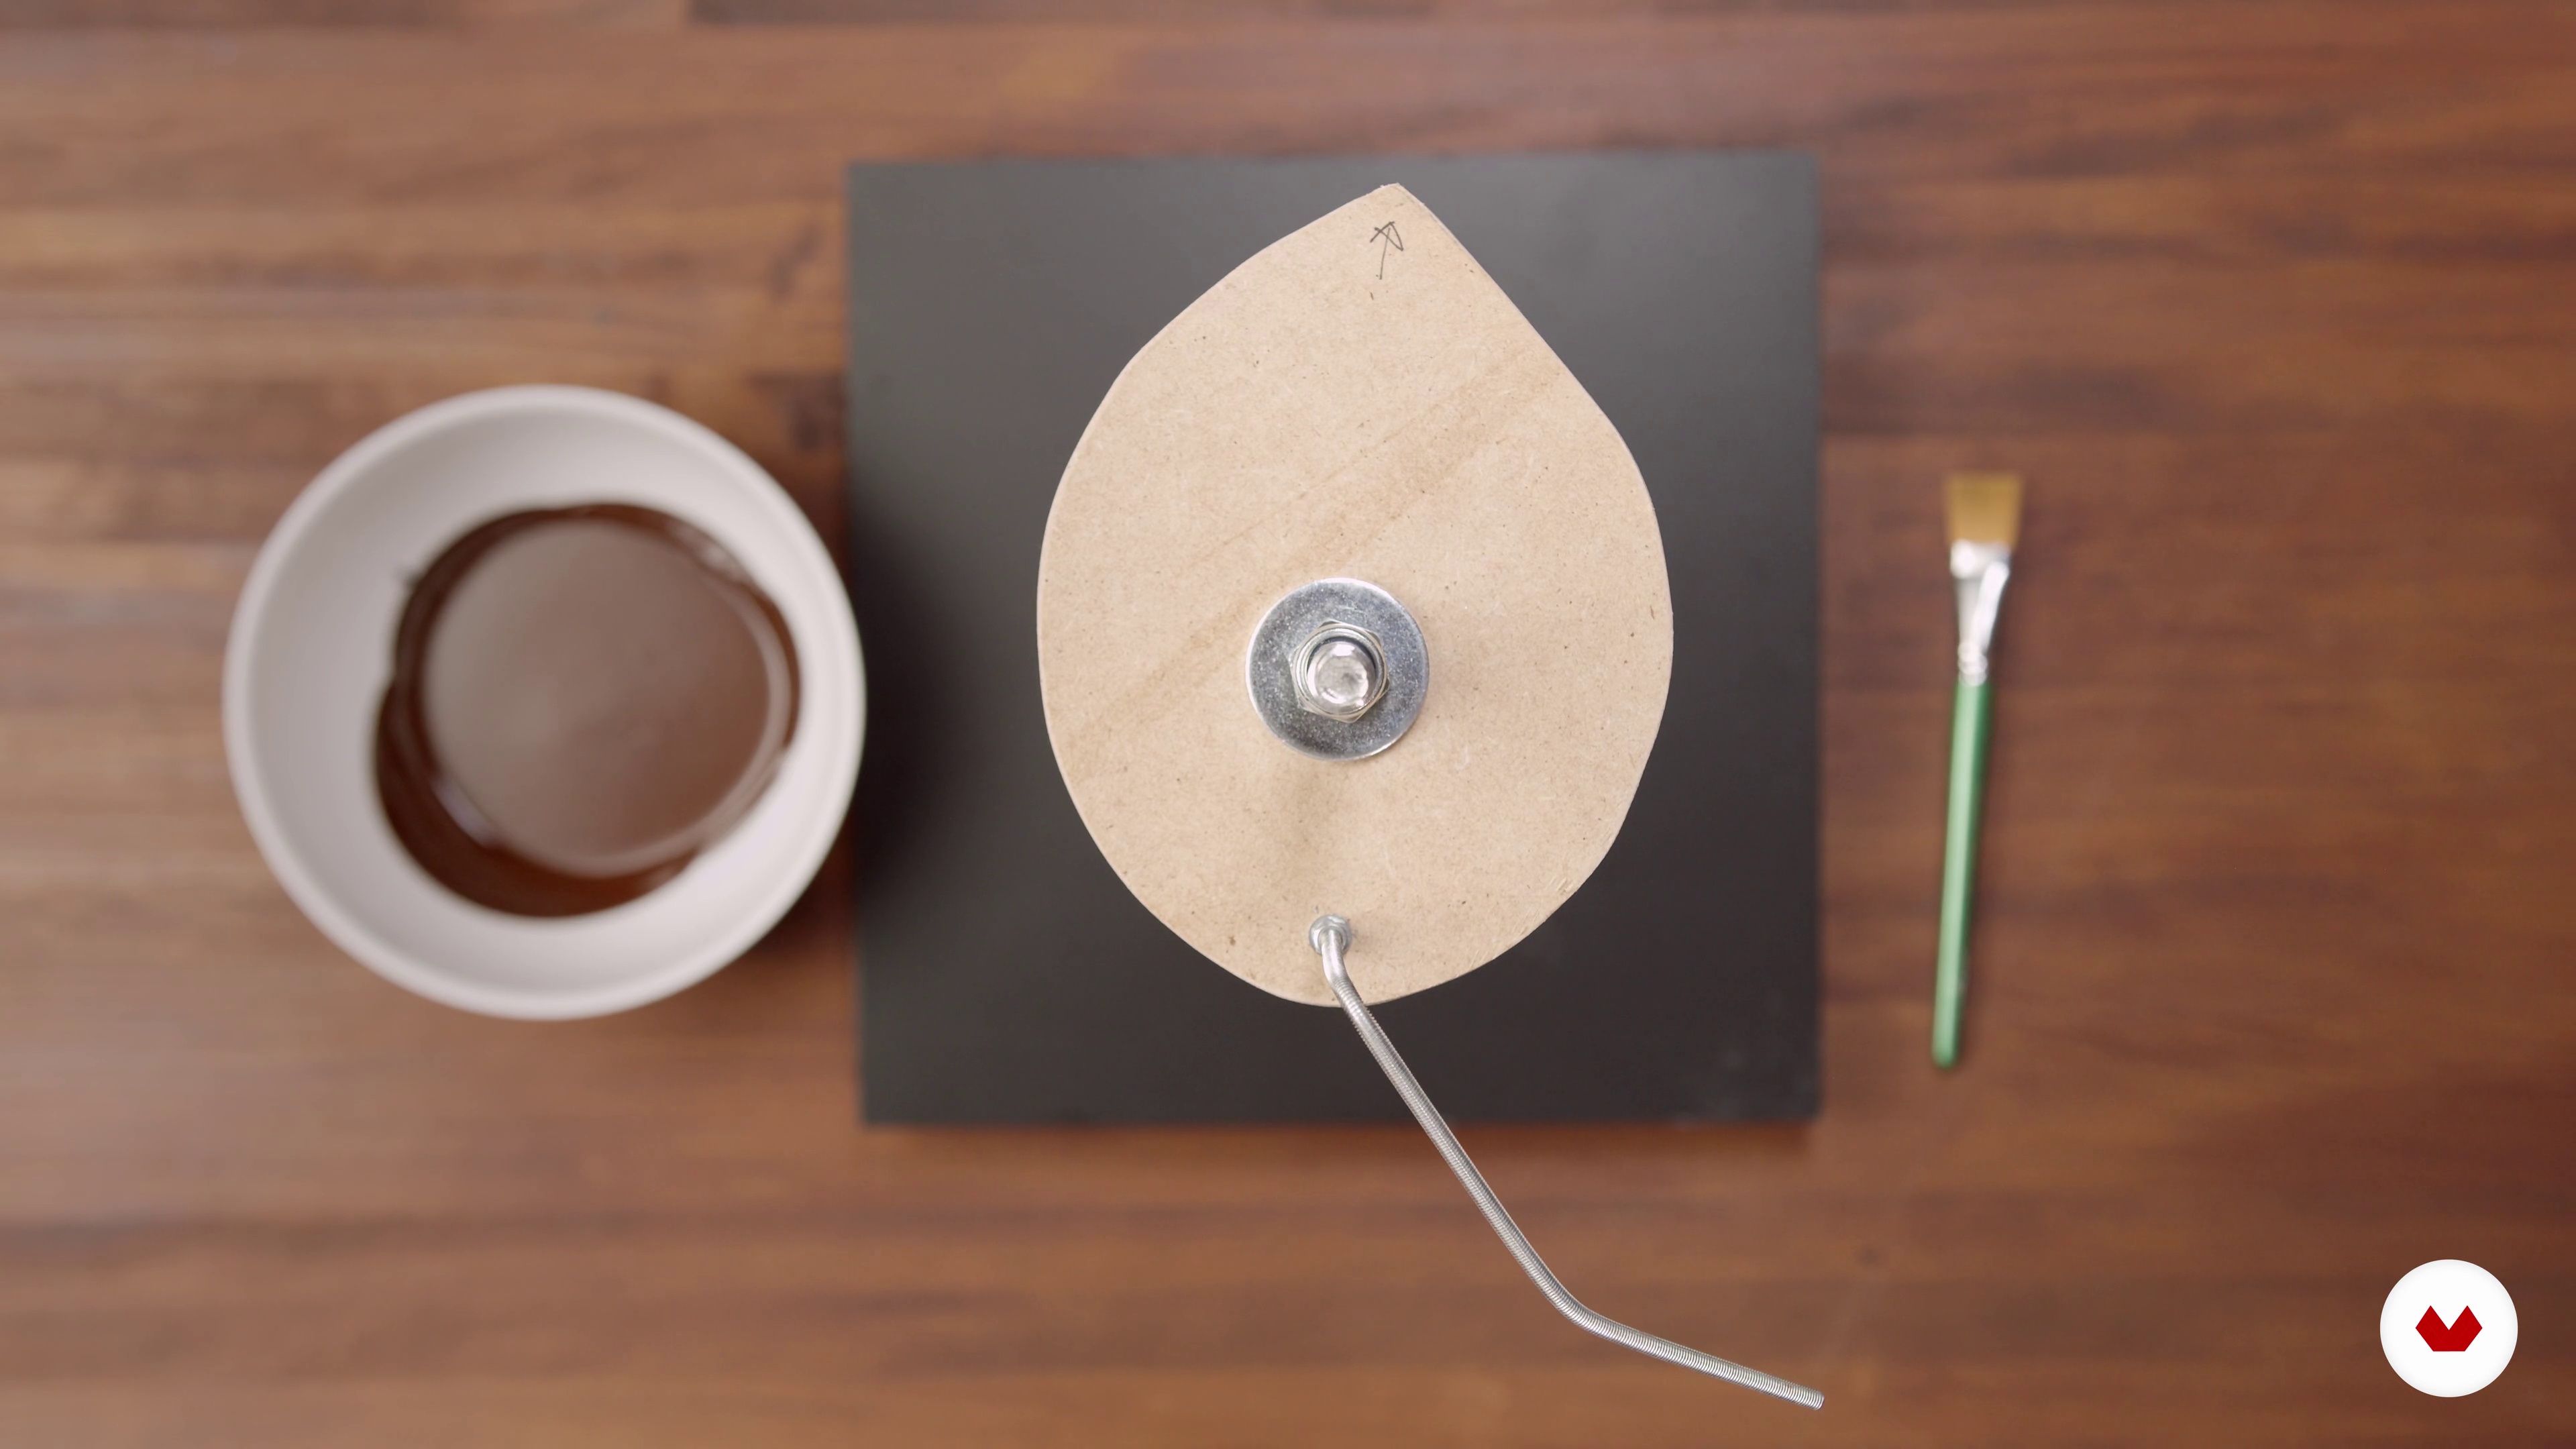
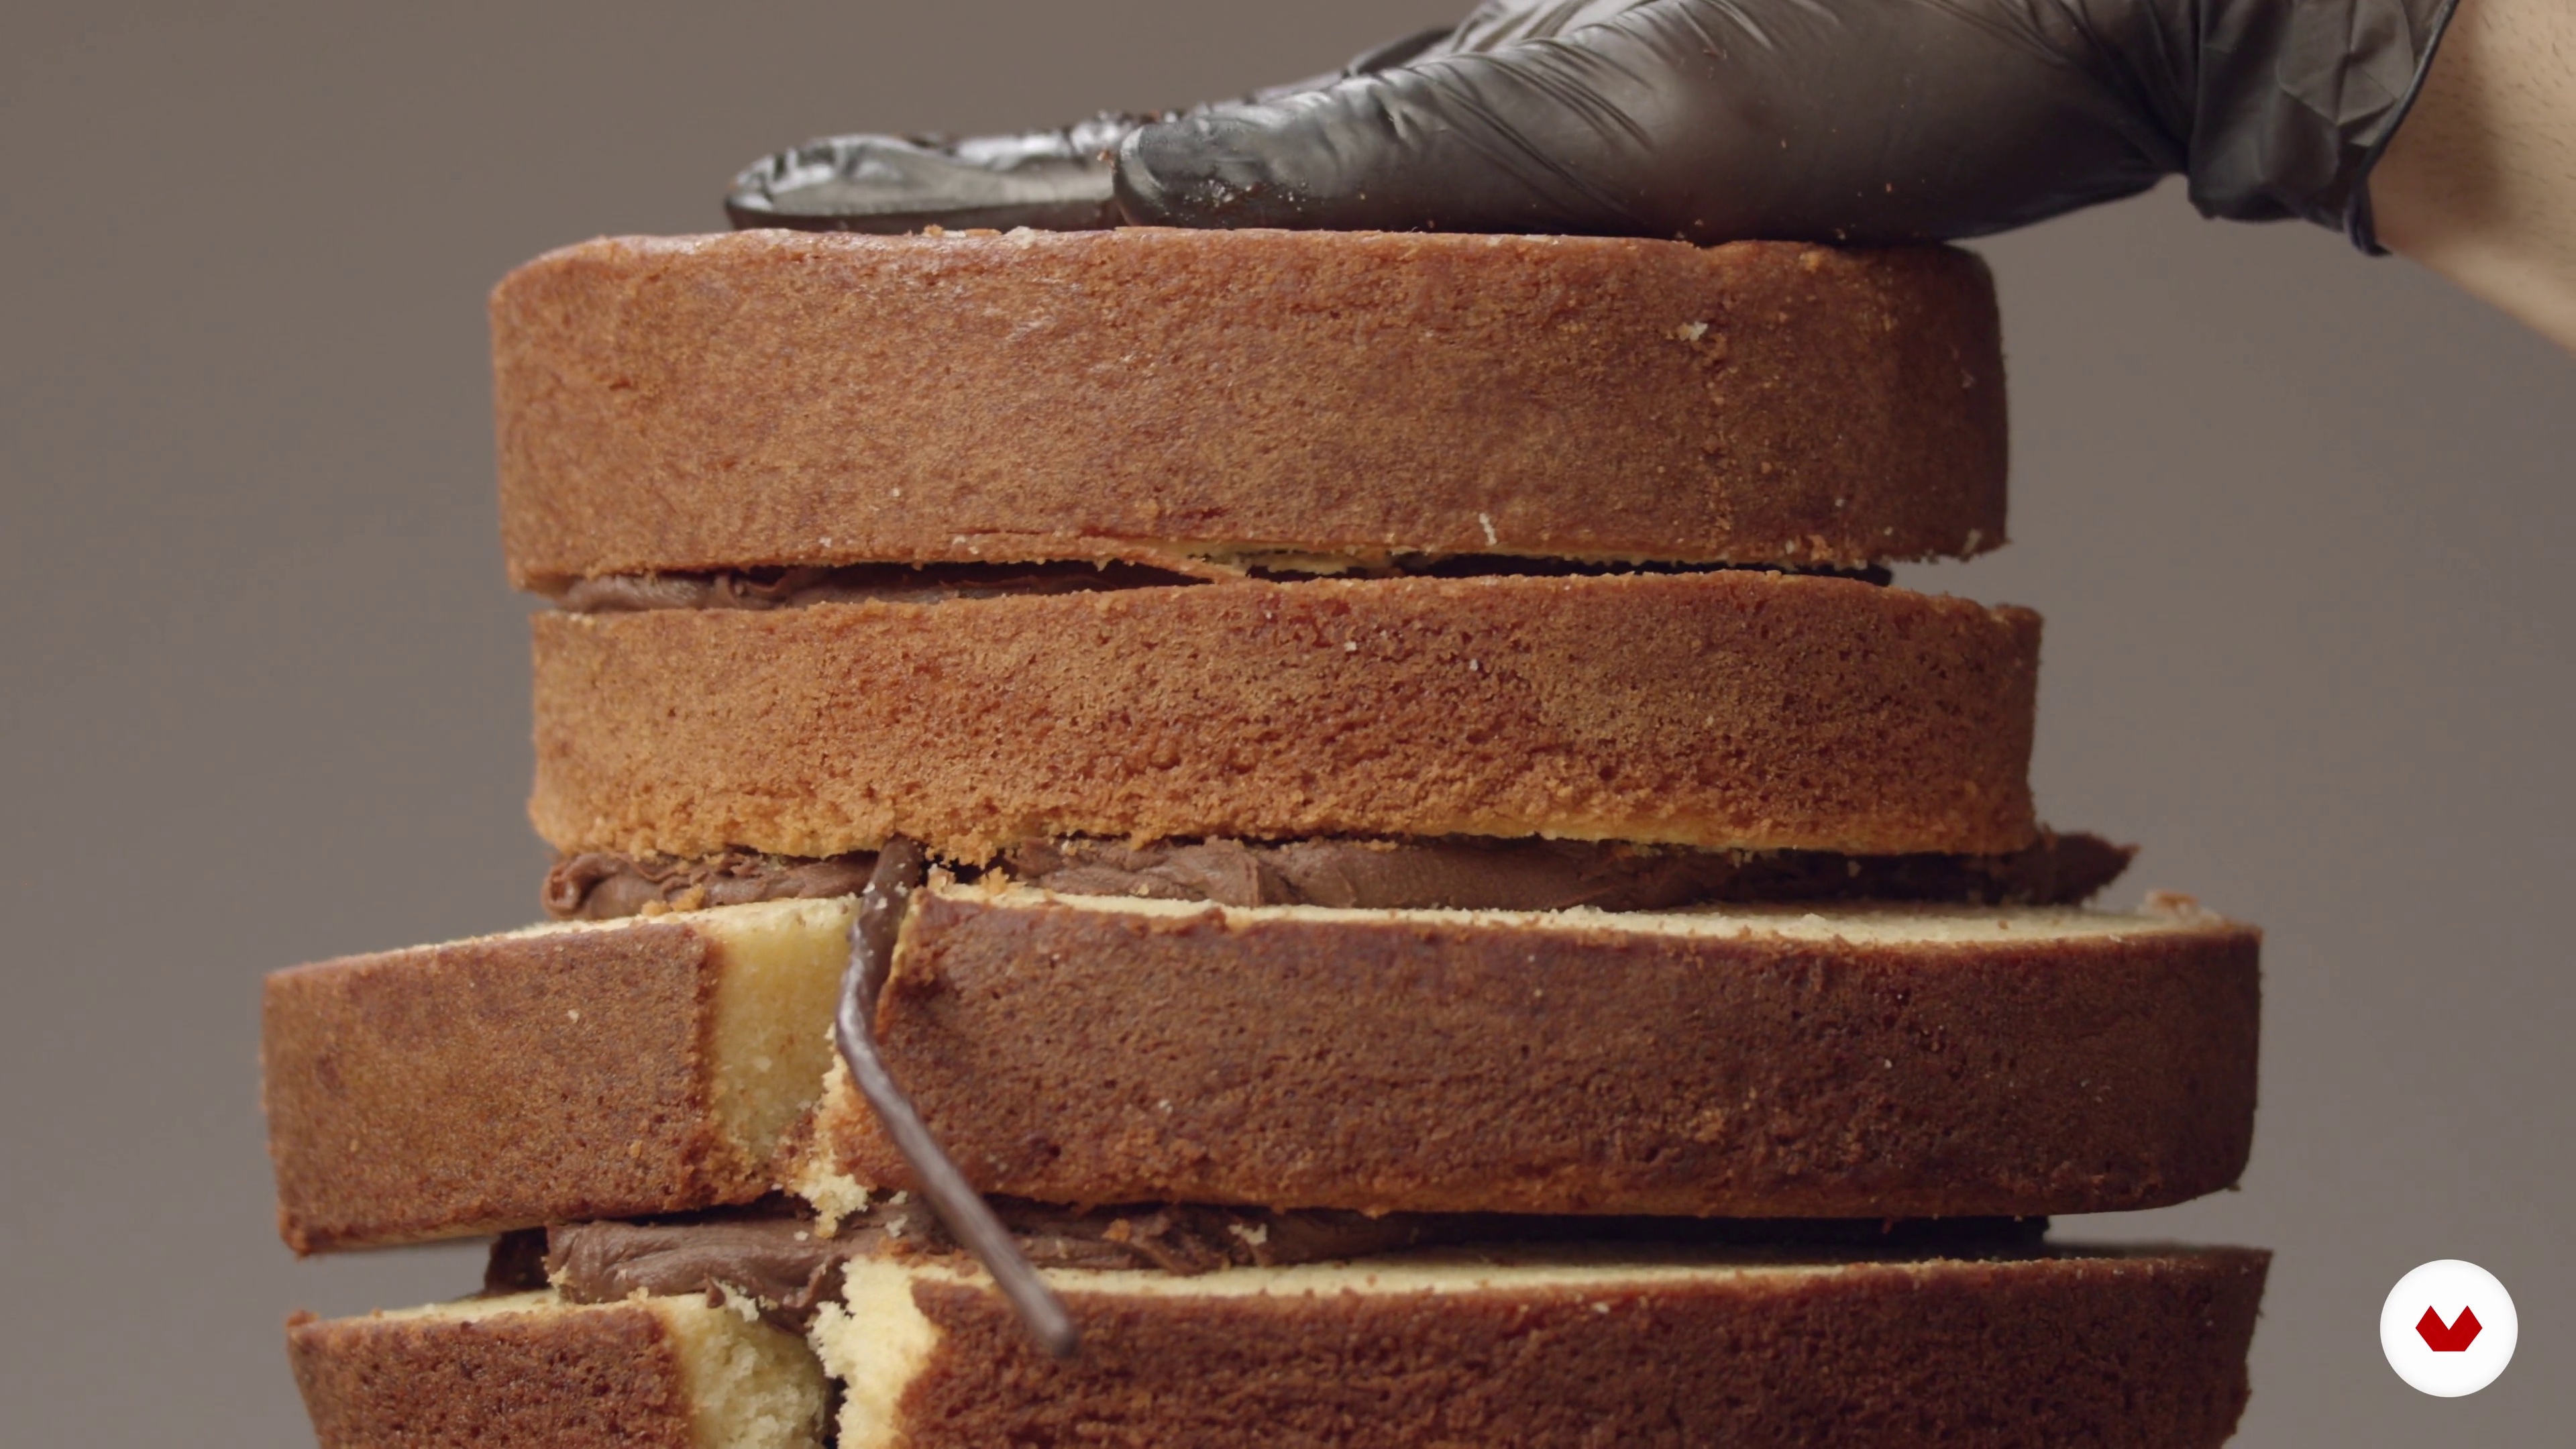
9Assembling the Cake
Now I'm going to show you the keys to a good cake and what ganache is. You'll learn how to correctly place the cakes and filling in a cake pan.
16m
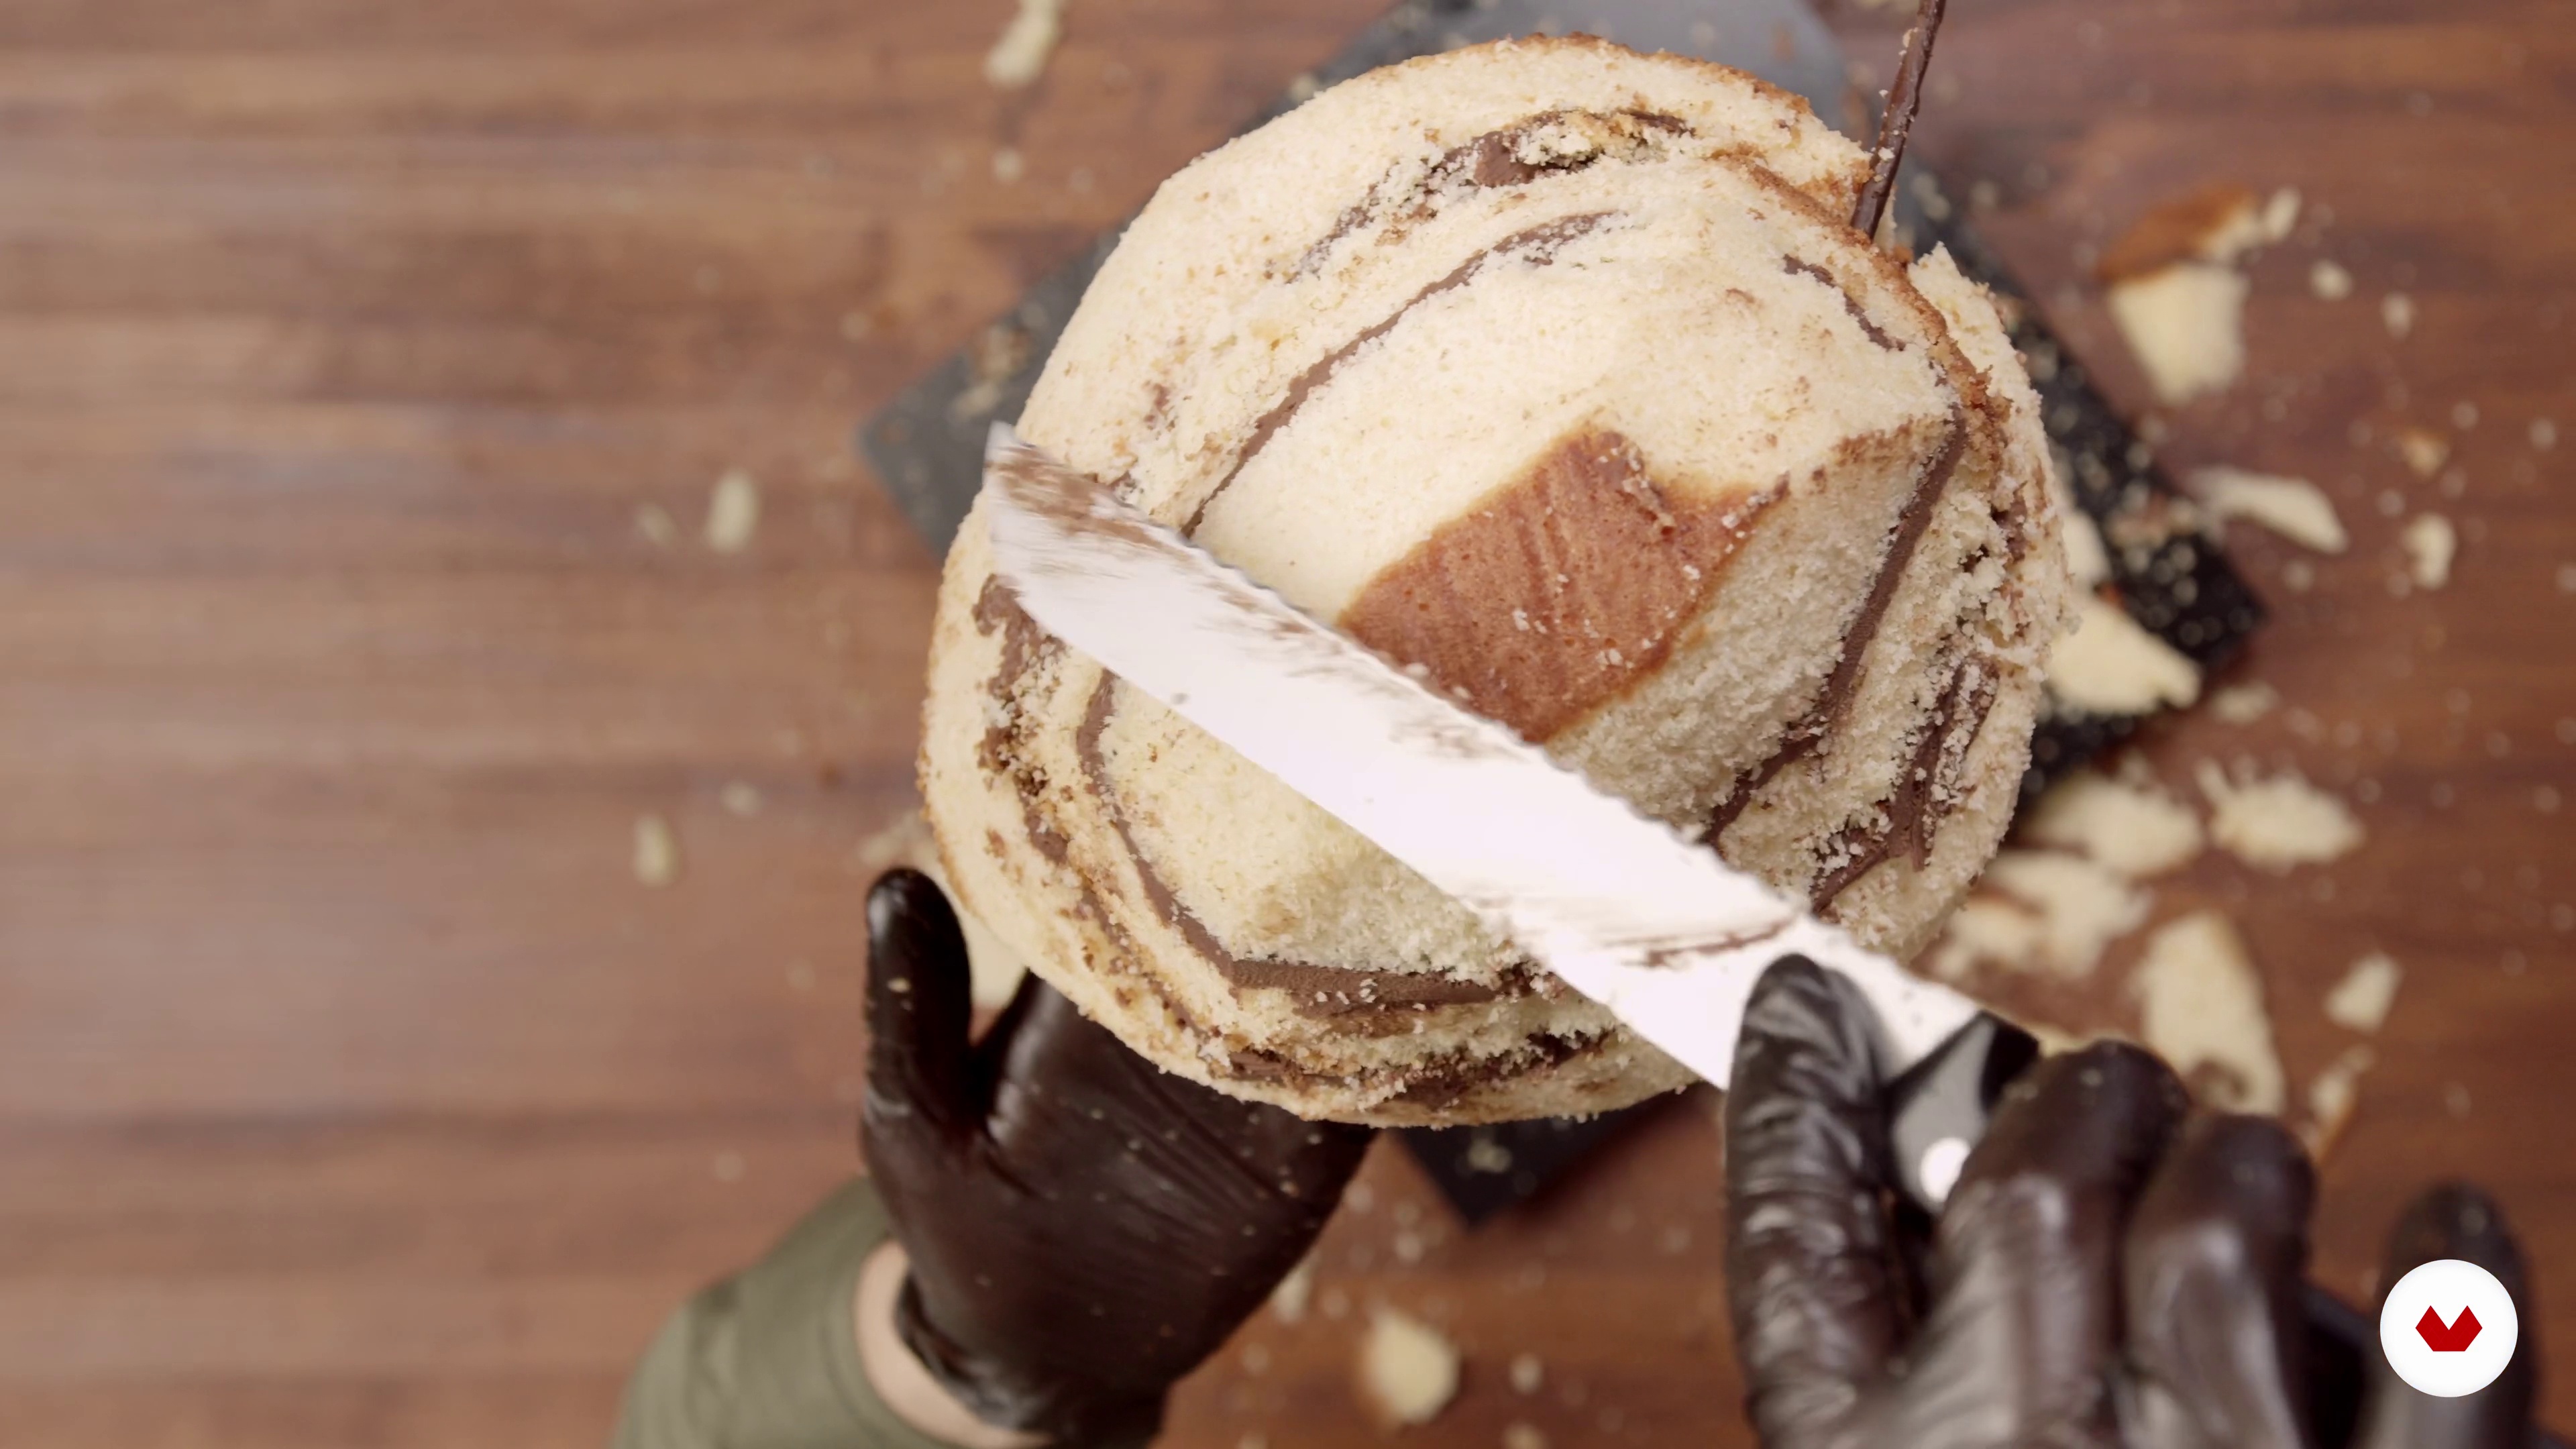
10Biscuit Carving
Carving cakes to achieve a specific shape is often a daunting step. In this lesson, I'll give you all the guidelines for learning how to carve cakes using templates and guides.
20m
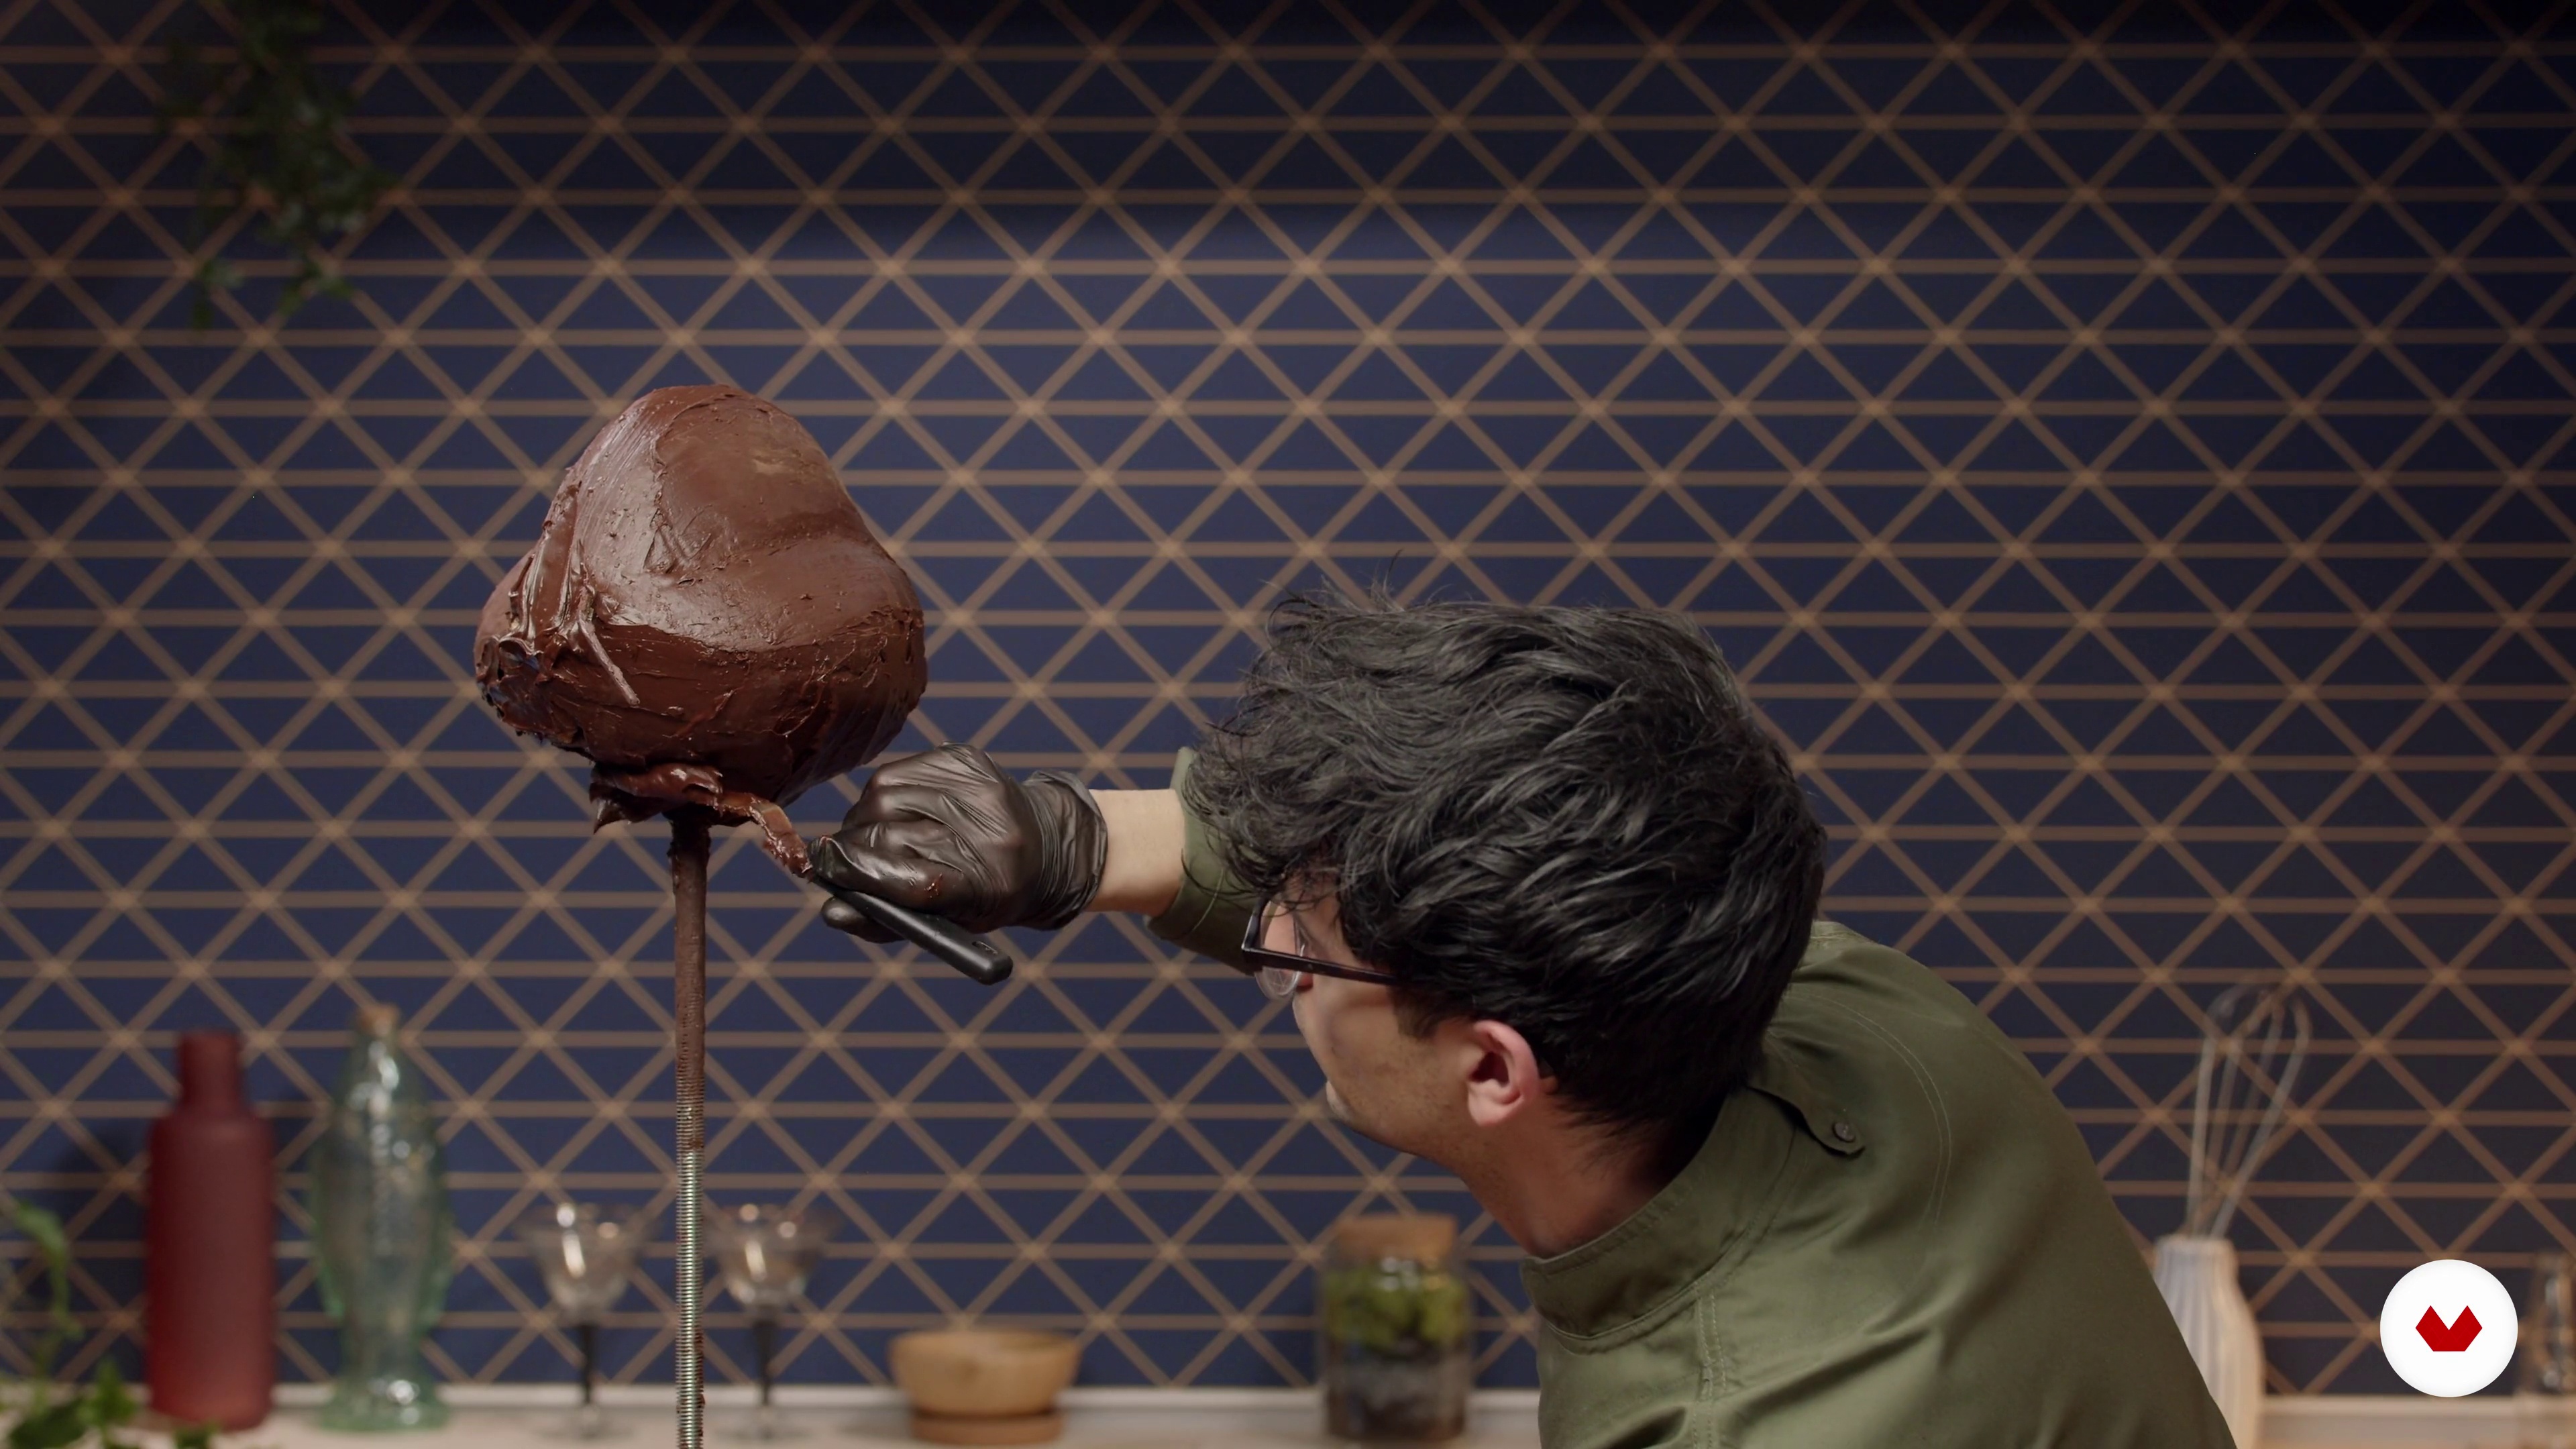
11Cover the Cake with Ganache 1
Next, I'll explain the importance of covering all your carved cakes with ganache. I'll show you what it's for, how to work with it, and what tools to use.
12m
12Cover the Cake with Ganache 2
After correcting and smoothing part of the belly, we continue covering the tail area.
16m
13Modeling the Head and Tail 1
In this lesson, you'll discover all the key elements for learning how to model with moldable chocolate. I'll also tell you which tools to use when.
18m
14Modeling the Head and Tail 2
We continue to model the fish's head little by little, paying attention to the details.
16m
15Modeling the Head and Tail 3
Now we are going to finish outlining the head and we will get to work on the tail of the fish.
13m
16Fondant and Details 1
Next, I'll show you how to work with fondant, rolling it out to cover the larger parts of the cake and modeling some details.
15m
17Fondant and Details 2
We continue working on the details and decorations.
17m
18Painting 1
Coloring your cake is the crucial step to bringing your sculpture to life. In this lesson, I'll teach you how to paint fondant and chocolate using only edible coloring.
14m
19Painting 2
We continue painting our sculpture, applying the edible coloring.
12m
20Make the Fins
Wafer paper is an edible material often used for cake details. In this lesson, you'll learn how to work with it and when to use it.
16m
21Cover the Rod and Finish the Base
The final details always count. Now I'll explain the final steps to make your creation look perfect.
5m
22Conservation and Transport
Edible materials often spoil over time. Below, you'll learn how to properly store your cake and how to transport it if necessary.
10m
3Elements and Principles of Design
Let's start by learning about the elements and principles of design. These are the tools and rules that will help you create compelling images. They are the foundation of every project I work on.
14m
4Every Picture Tells a Story
This lesson will teach you how to compose your photographs. You'll learn about the six fundamental compositions and the style aesthetics I regularly use.
9m
5Working with Camera Angles
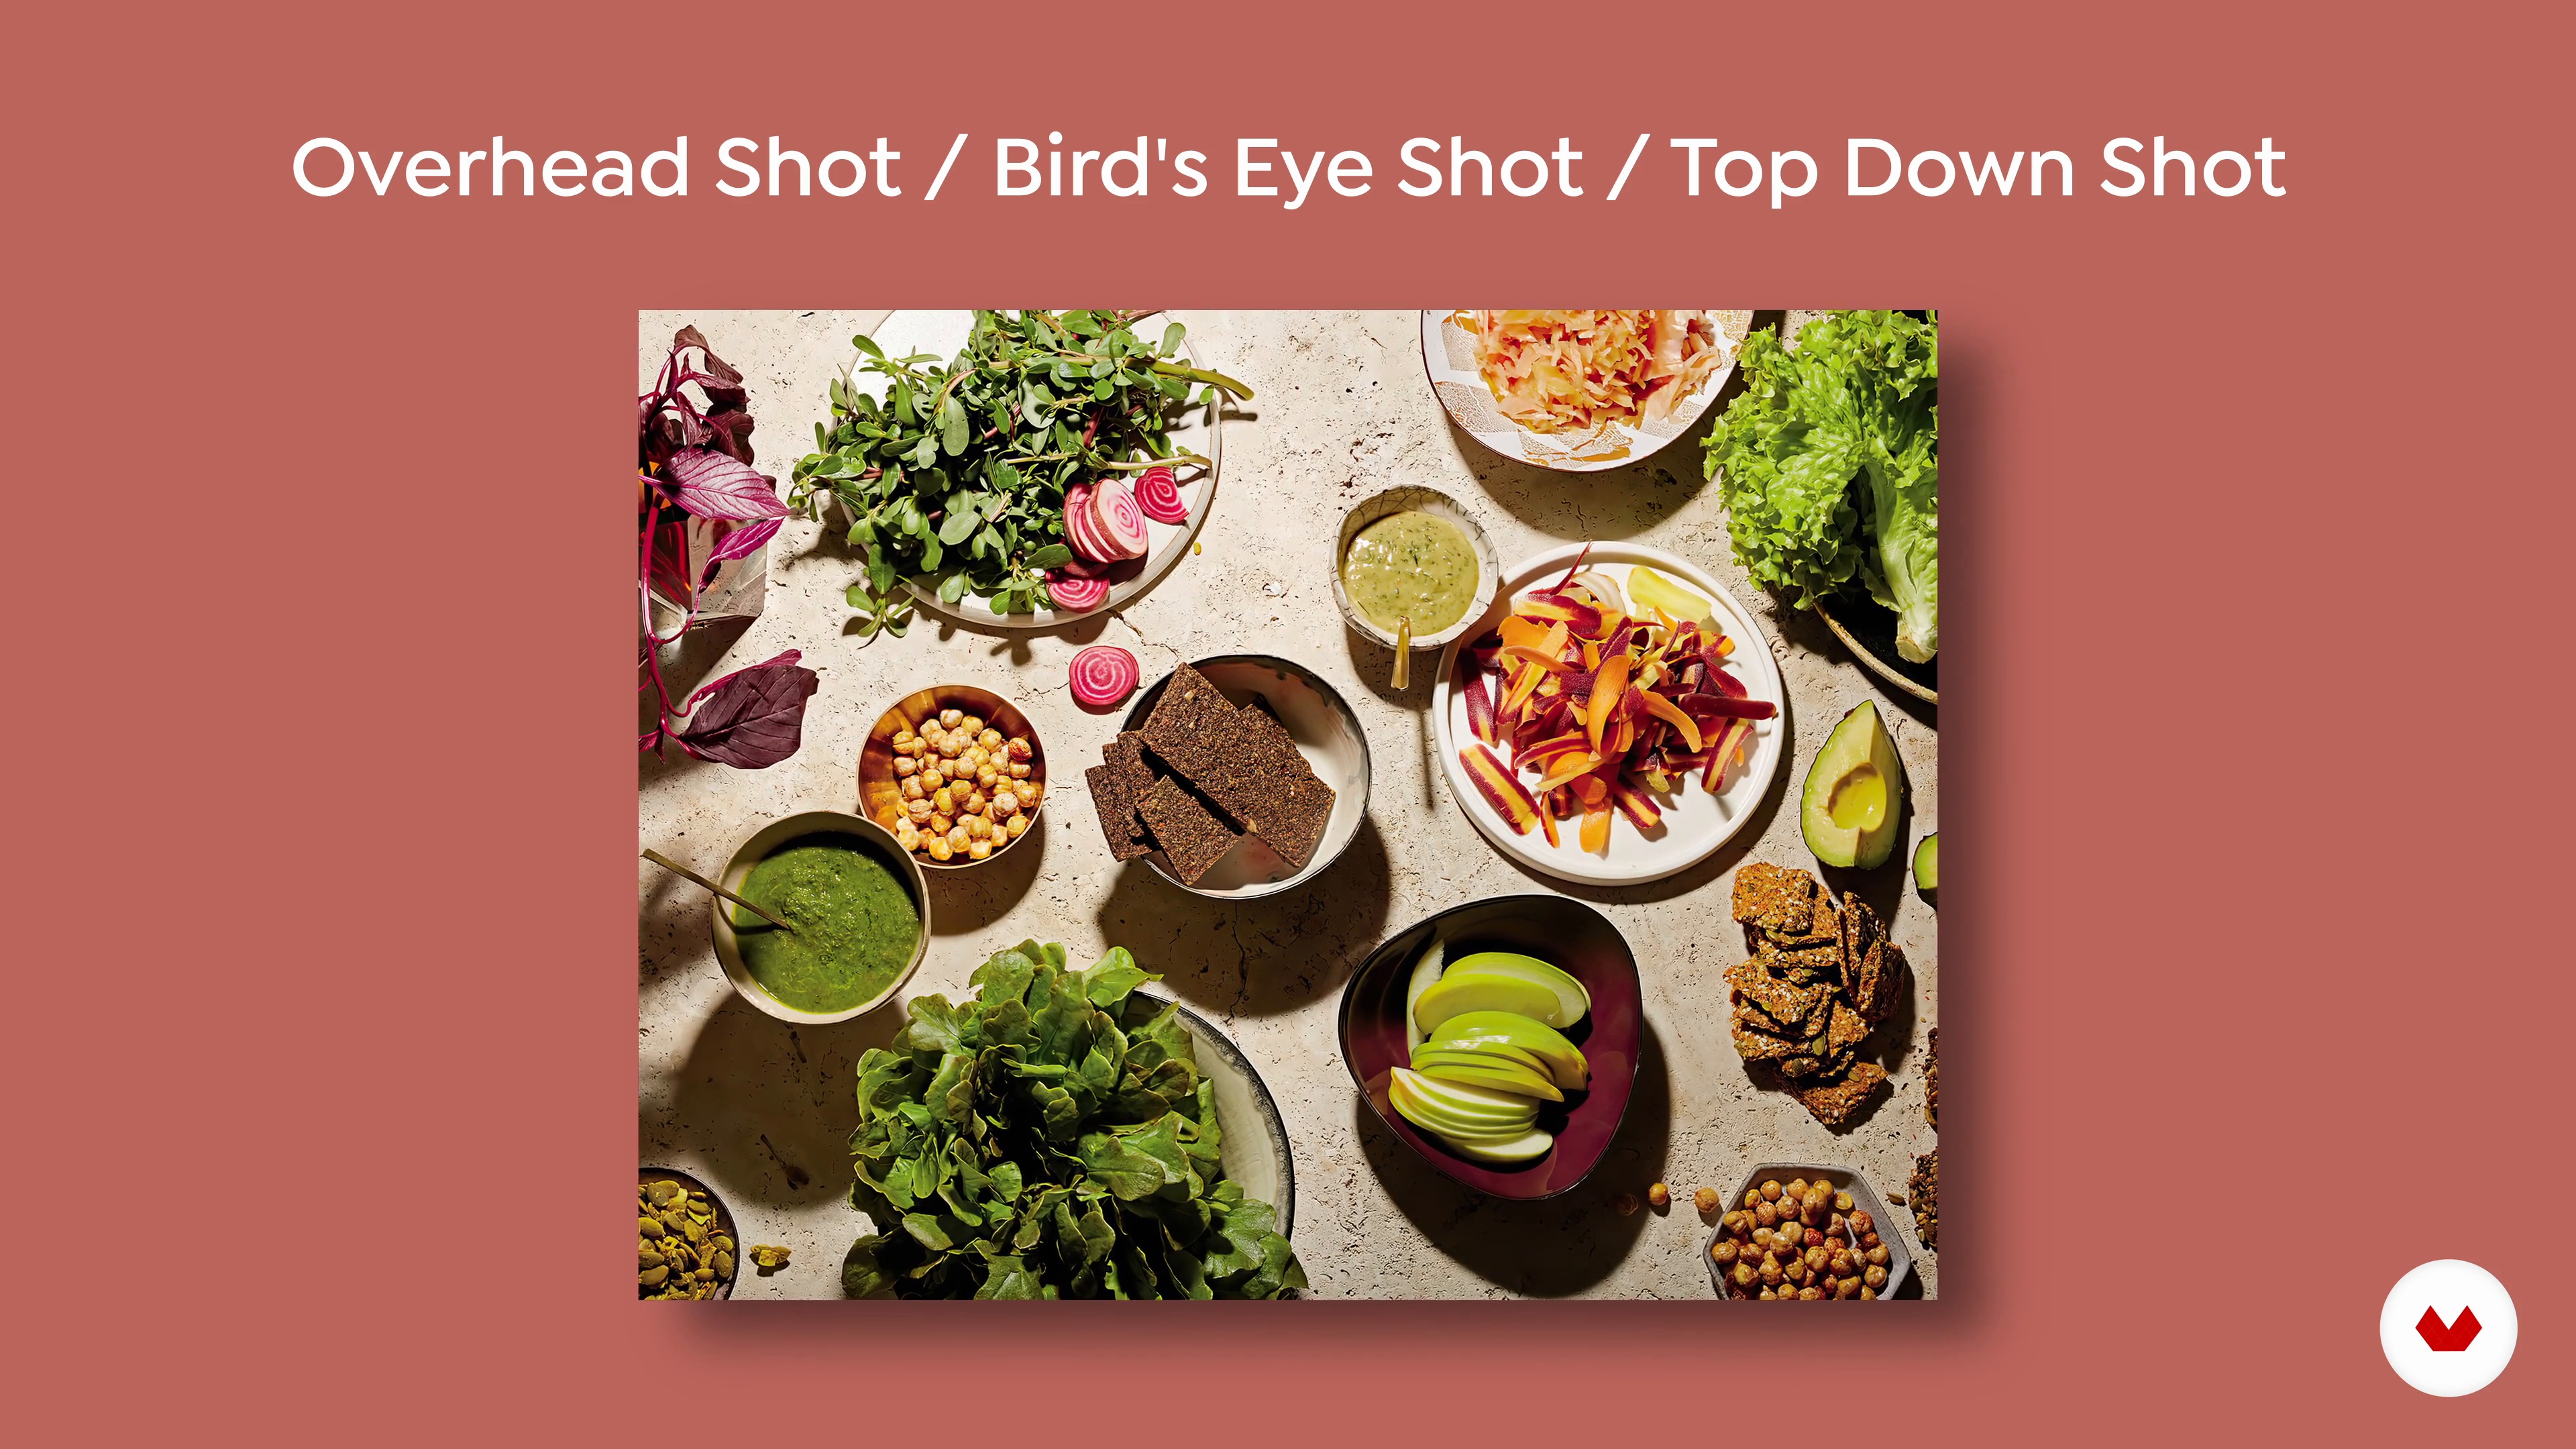
There are four fundamental camera angles in food photography. This lesson will teach you how to distinguish them and know when to use them.
3m
6The Power of Light
Light affects the mood of your images. It's important to understand light and how best to position any light source, even if you're not the one taking the photograph. Let me walk you through the basics of light and shadow.
4m
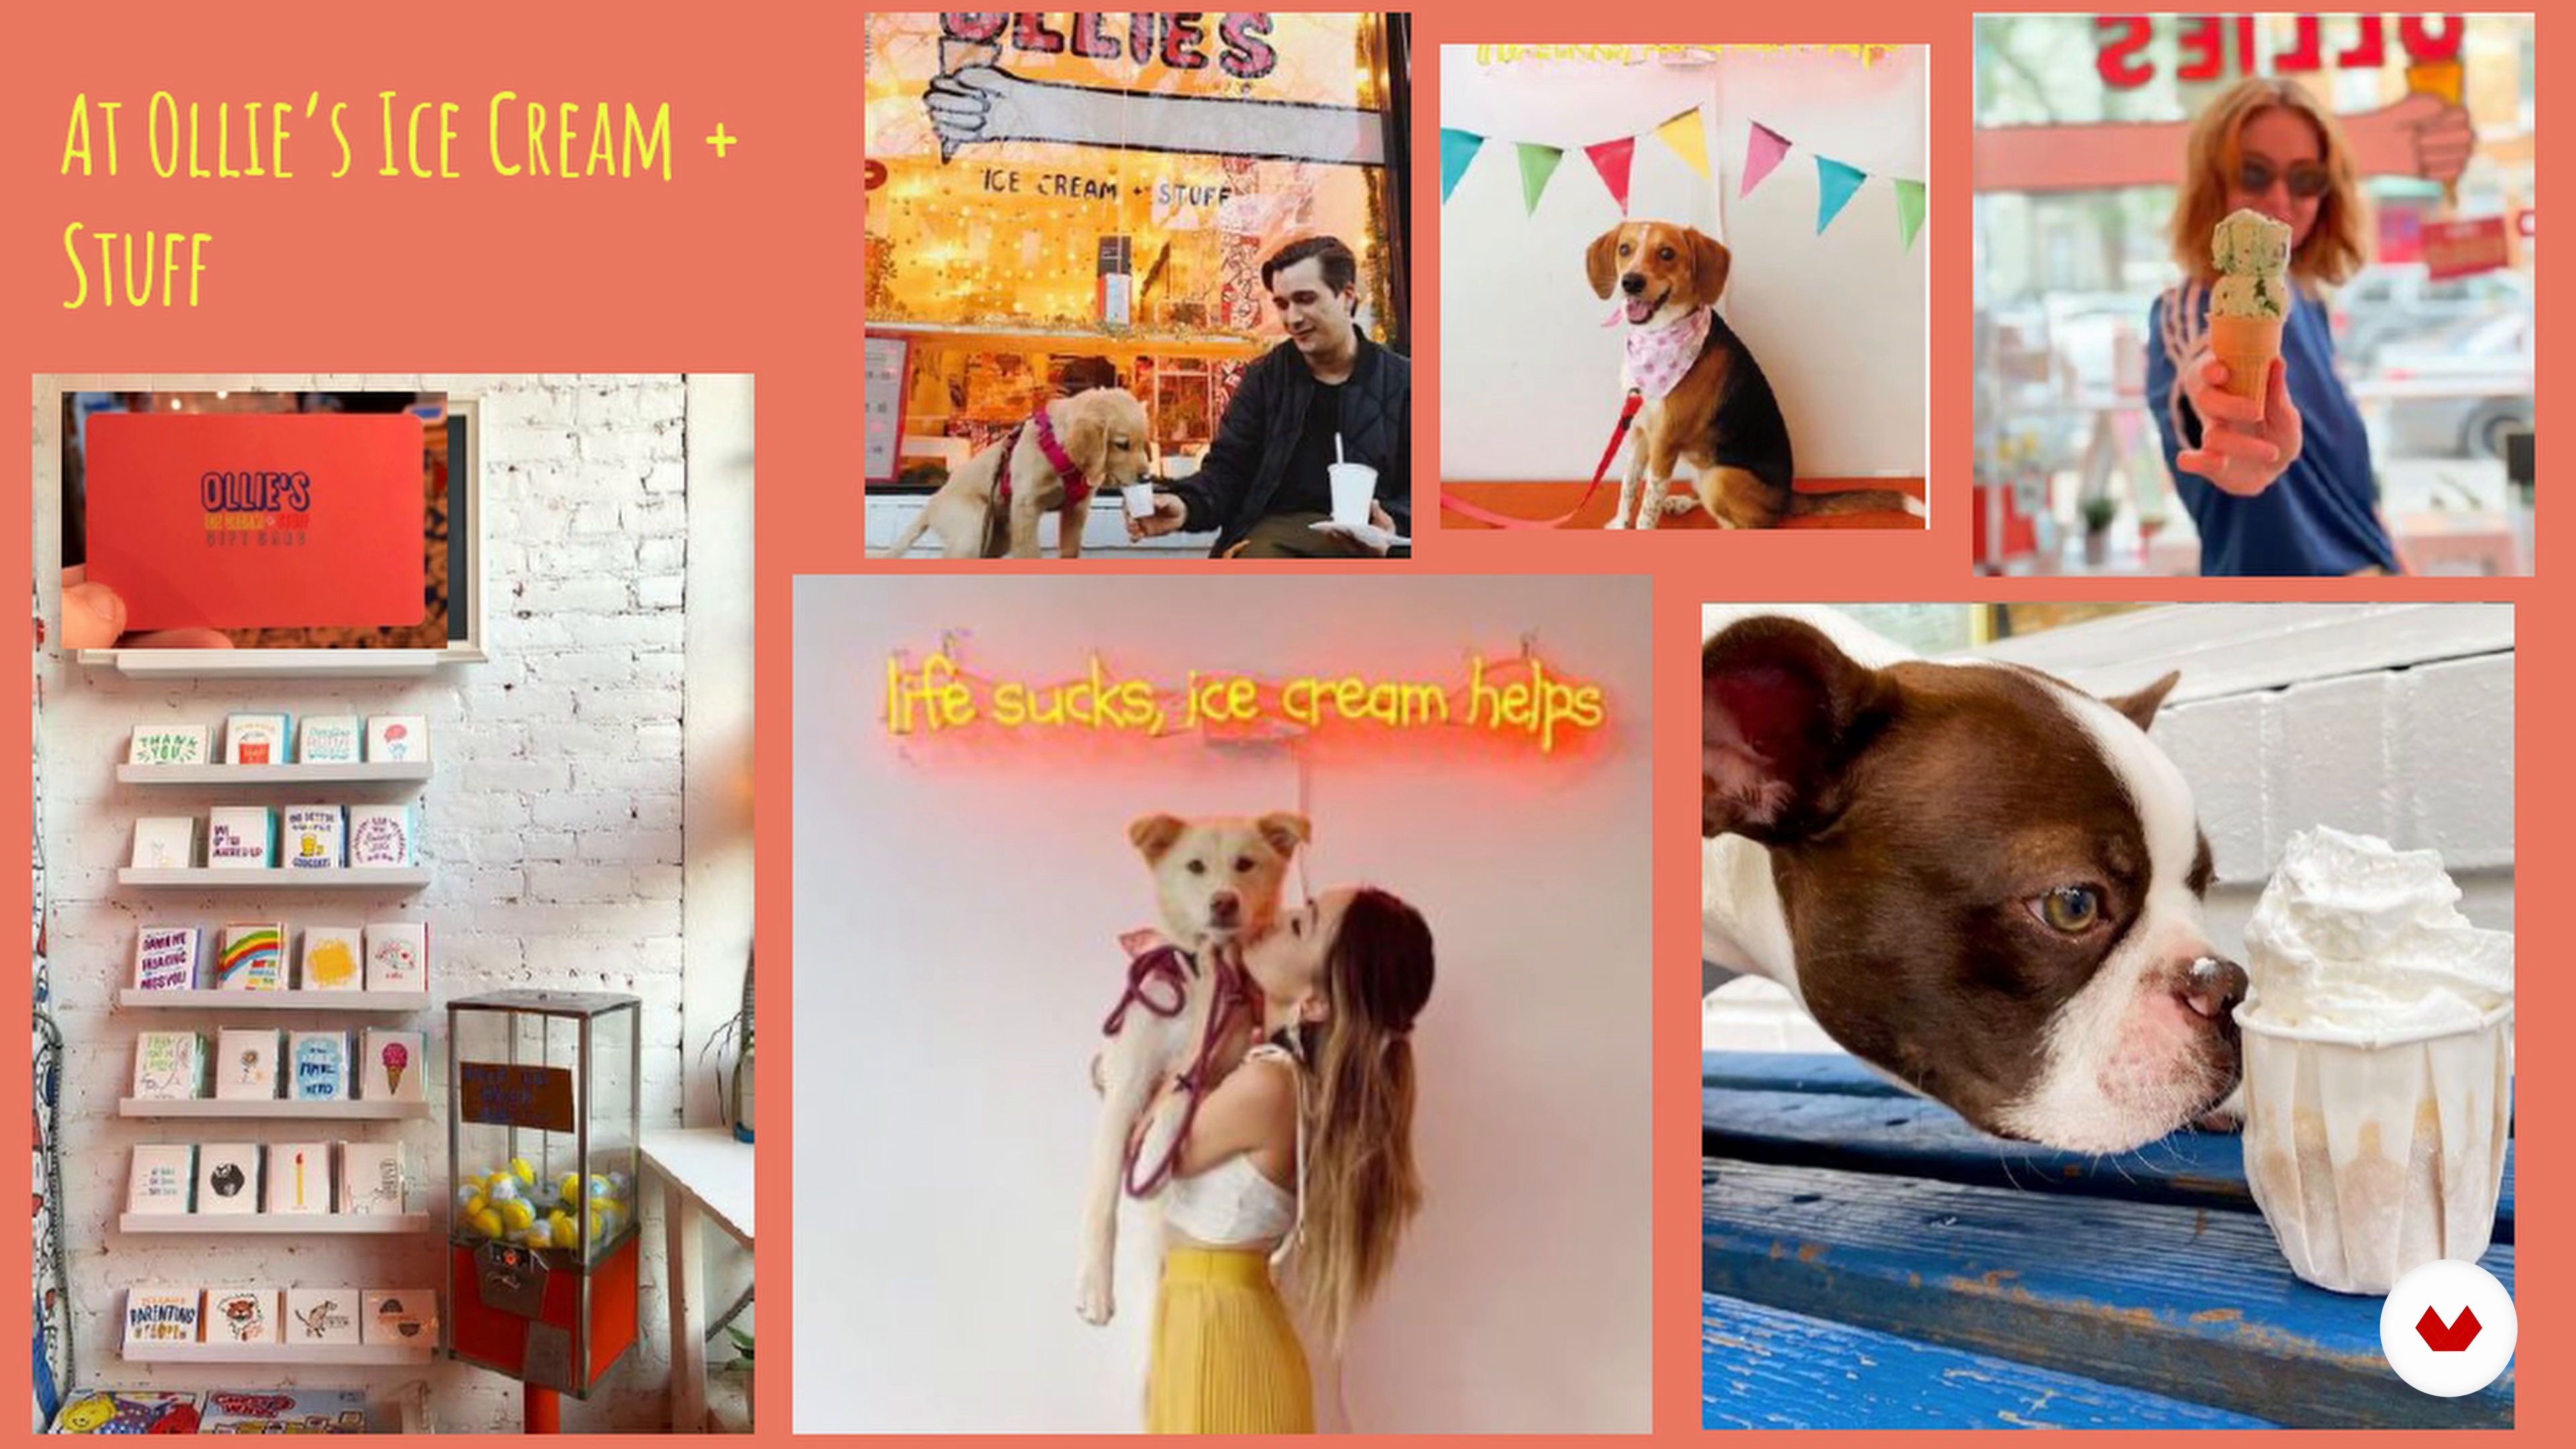
7The Narrative
To begin, I'll guide you through conceptualizing a story/narrative for your campaign. To do this, you'll need to consider your target audience and brand identity.
6m
8The Visual Identity
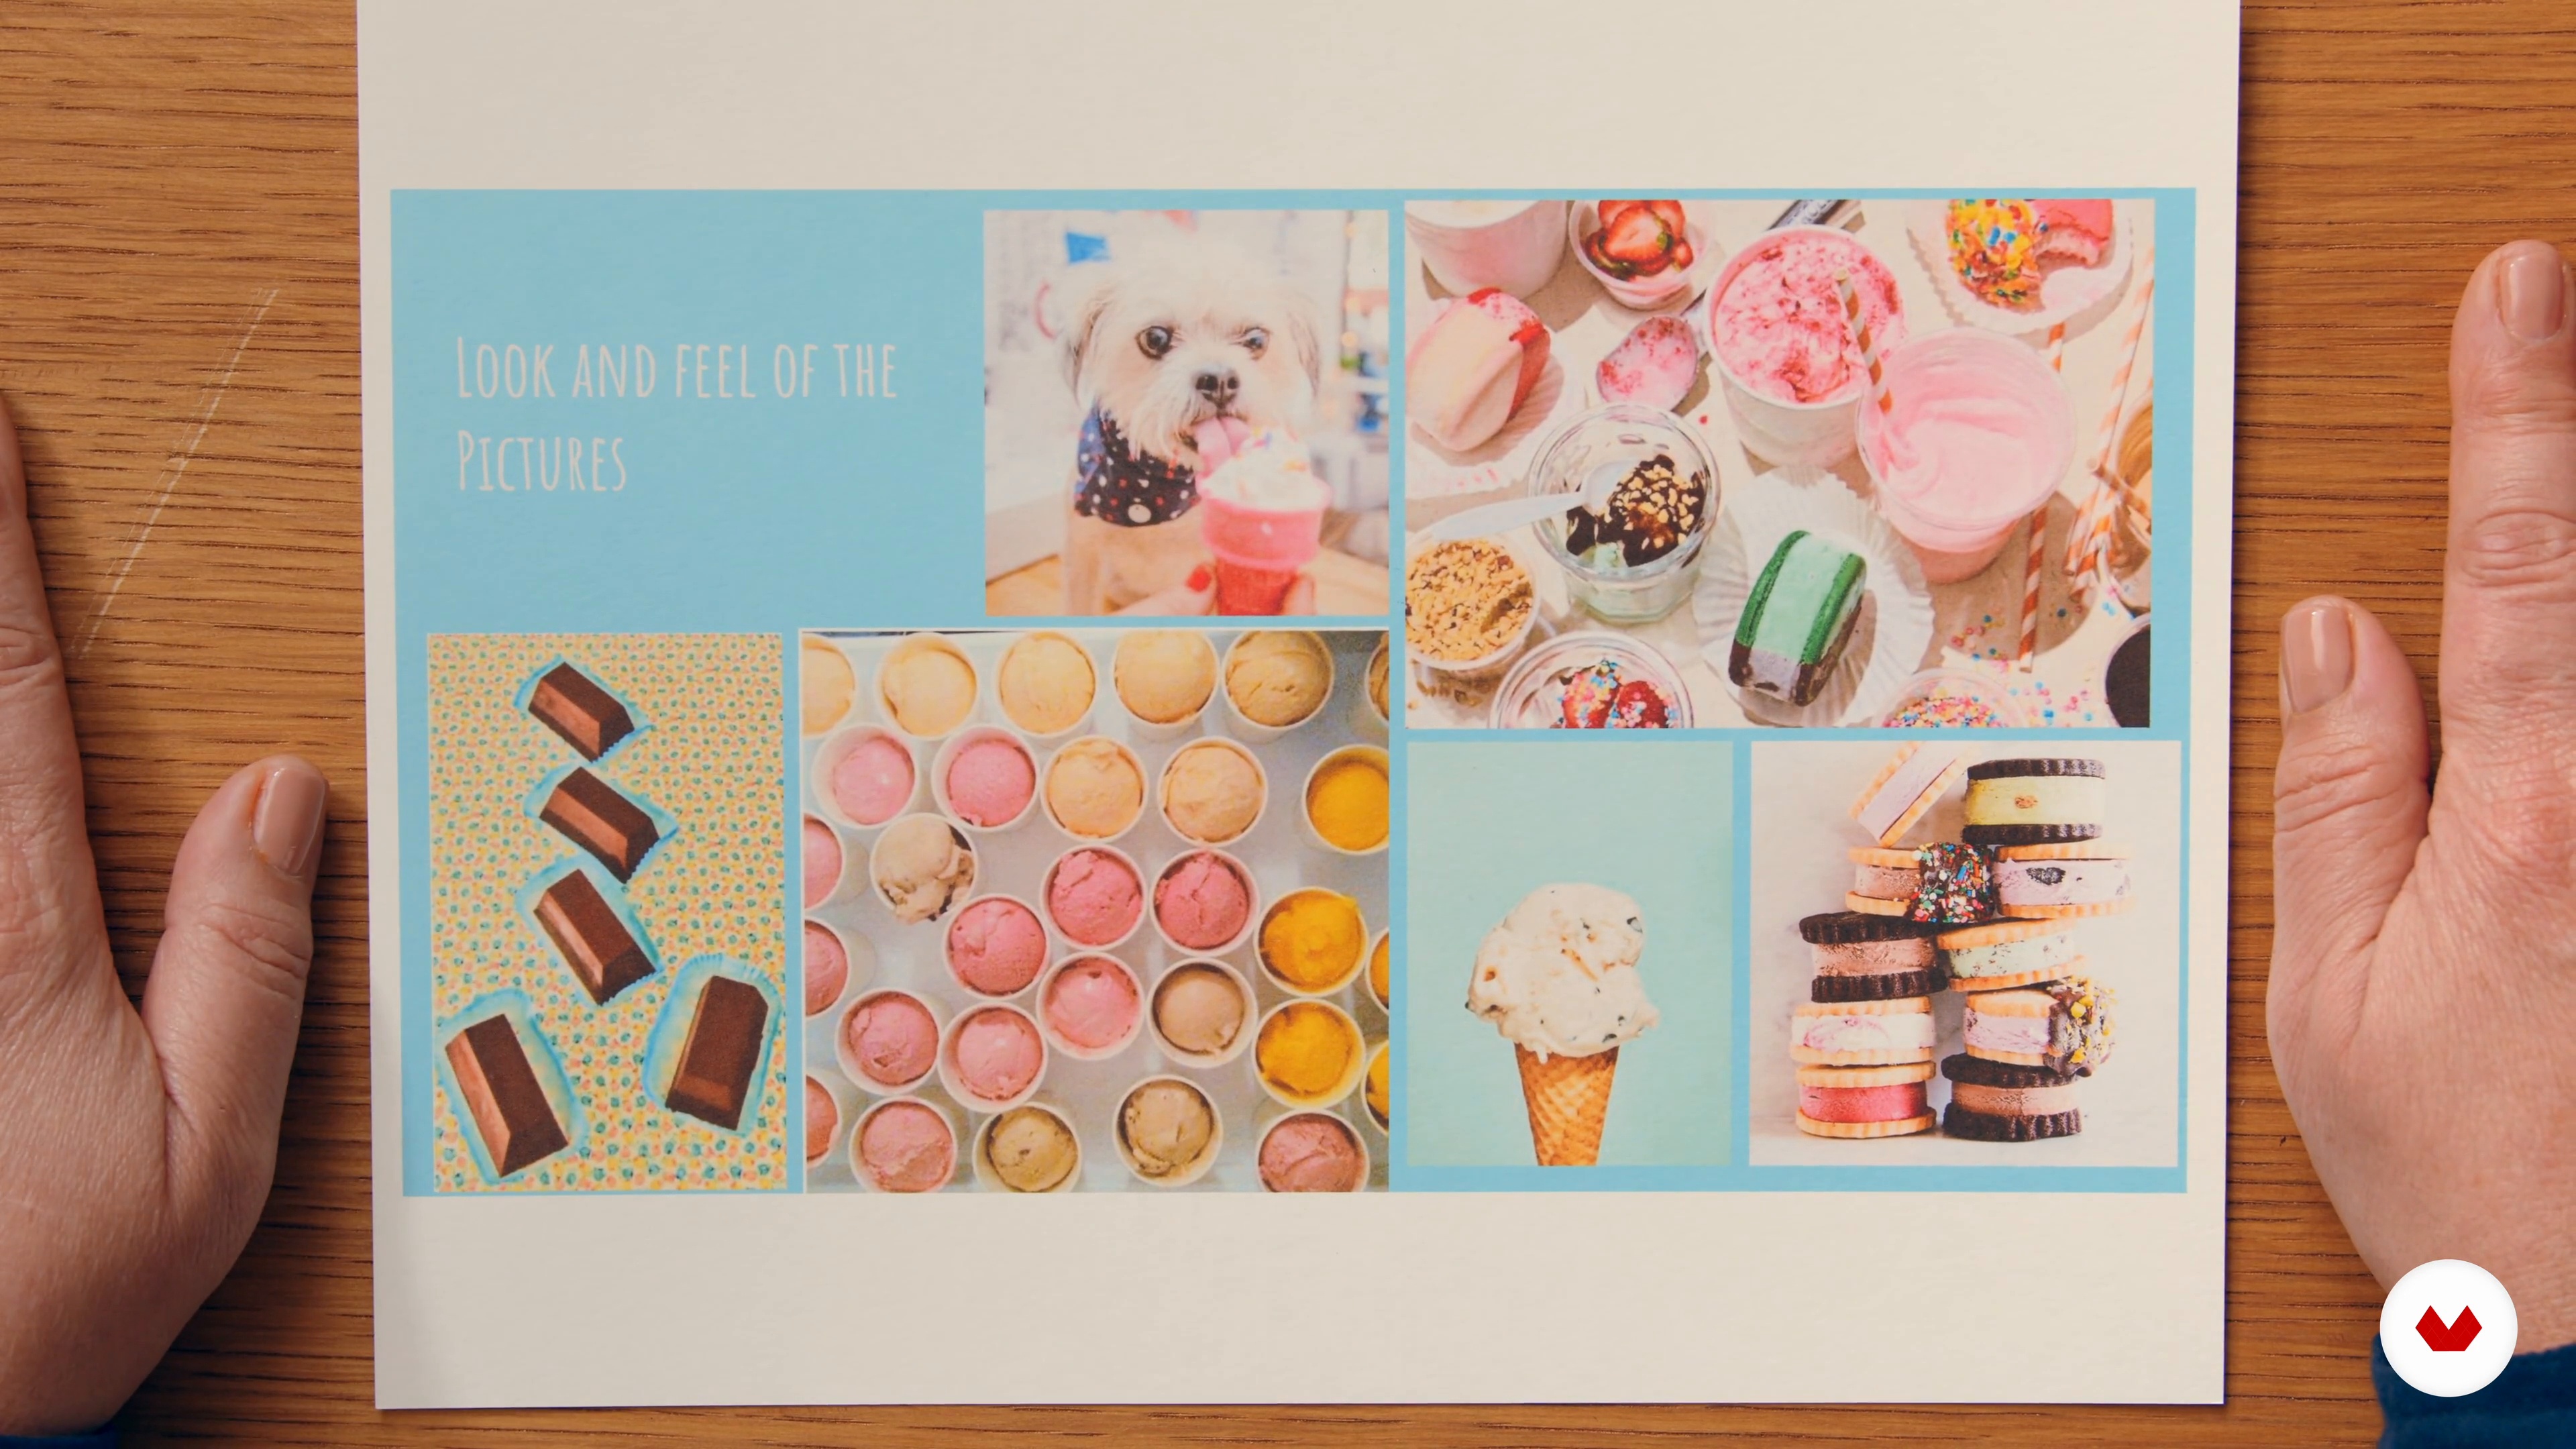
Now we'll look at how you can identify the overall look and feel of your campaign. This will involve defining the mood of your images, deciding on a color palette and photography style, and more.
5m
9The Mood Board and Brief
Whether you're presenting your ideas to a client or creating a reference for yourself and your team, creating a mood board for your visual references and a written brief outlining what you need to accomplish in your photoshoot will help meet everyone's expectations and help the session run smoothly.
4m
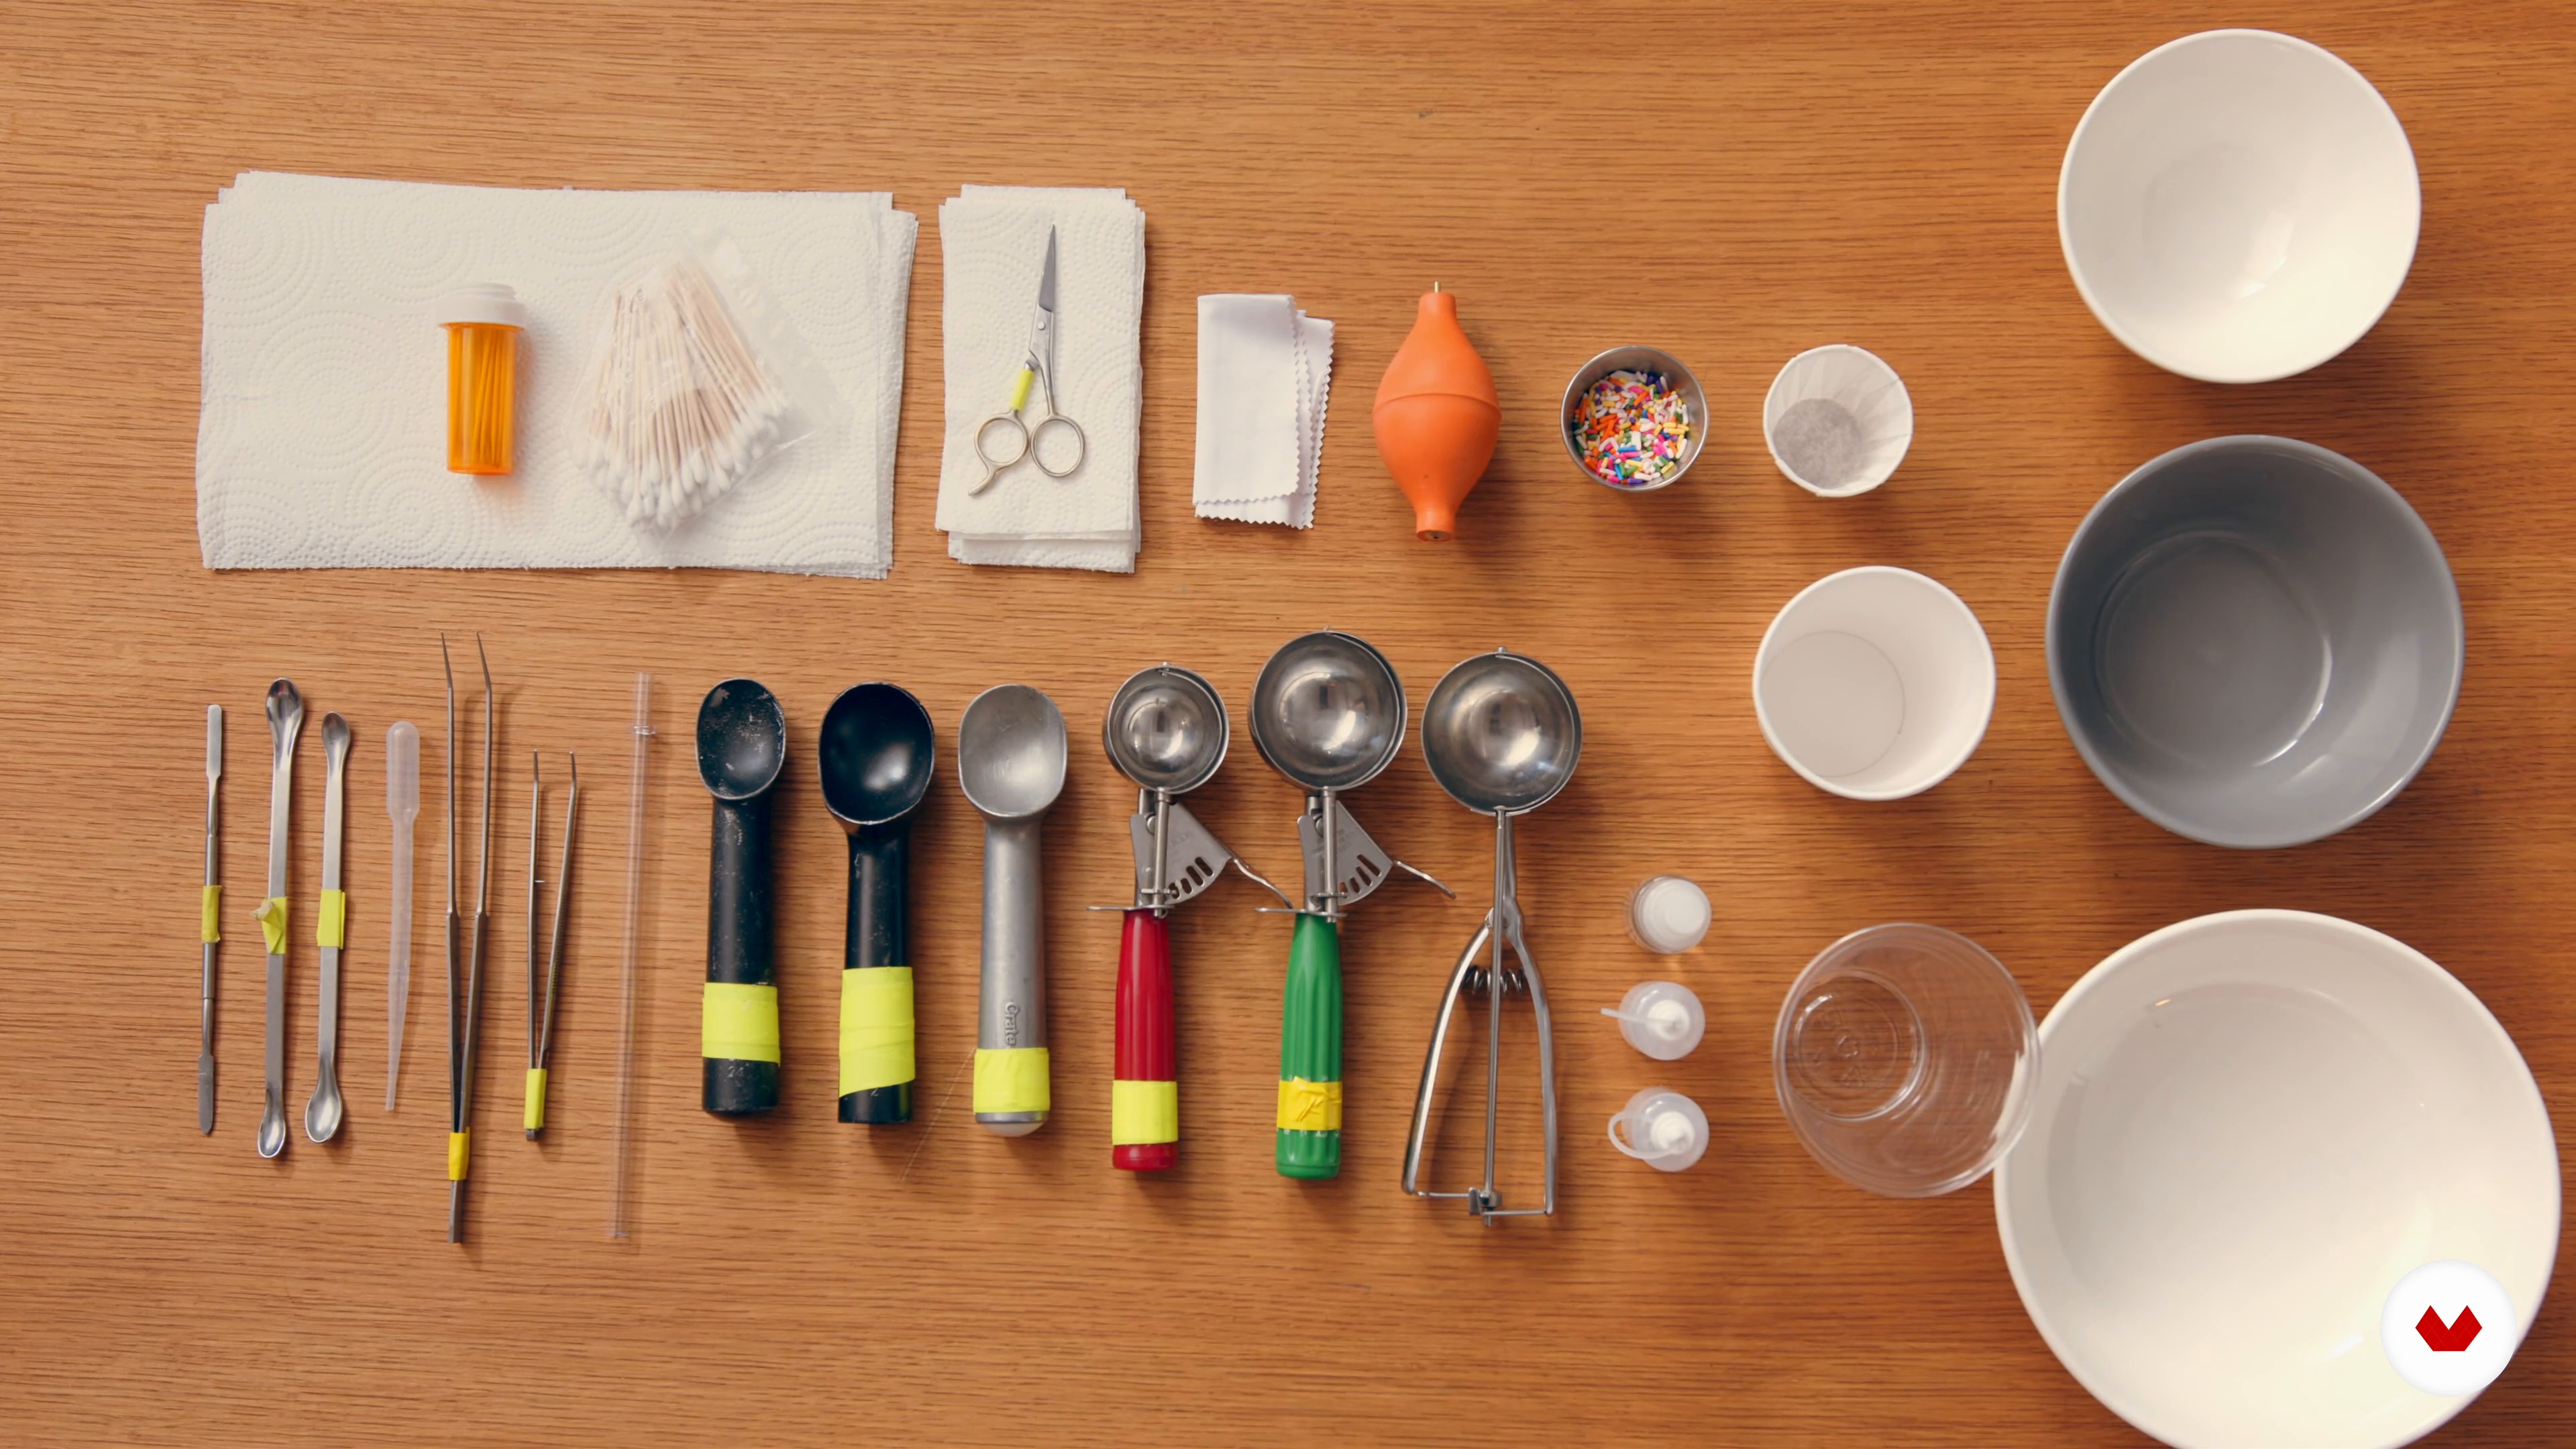
10The Kit
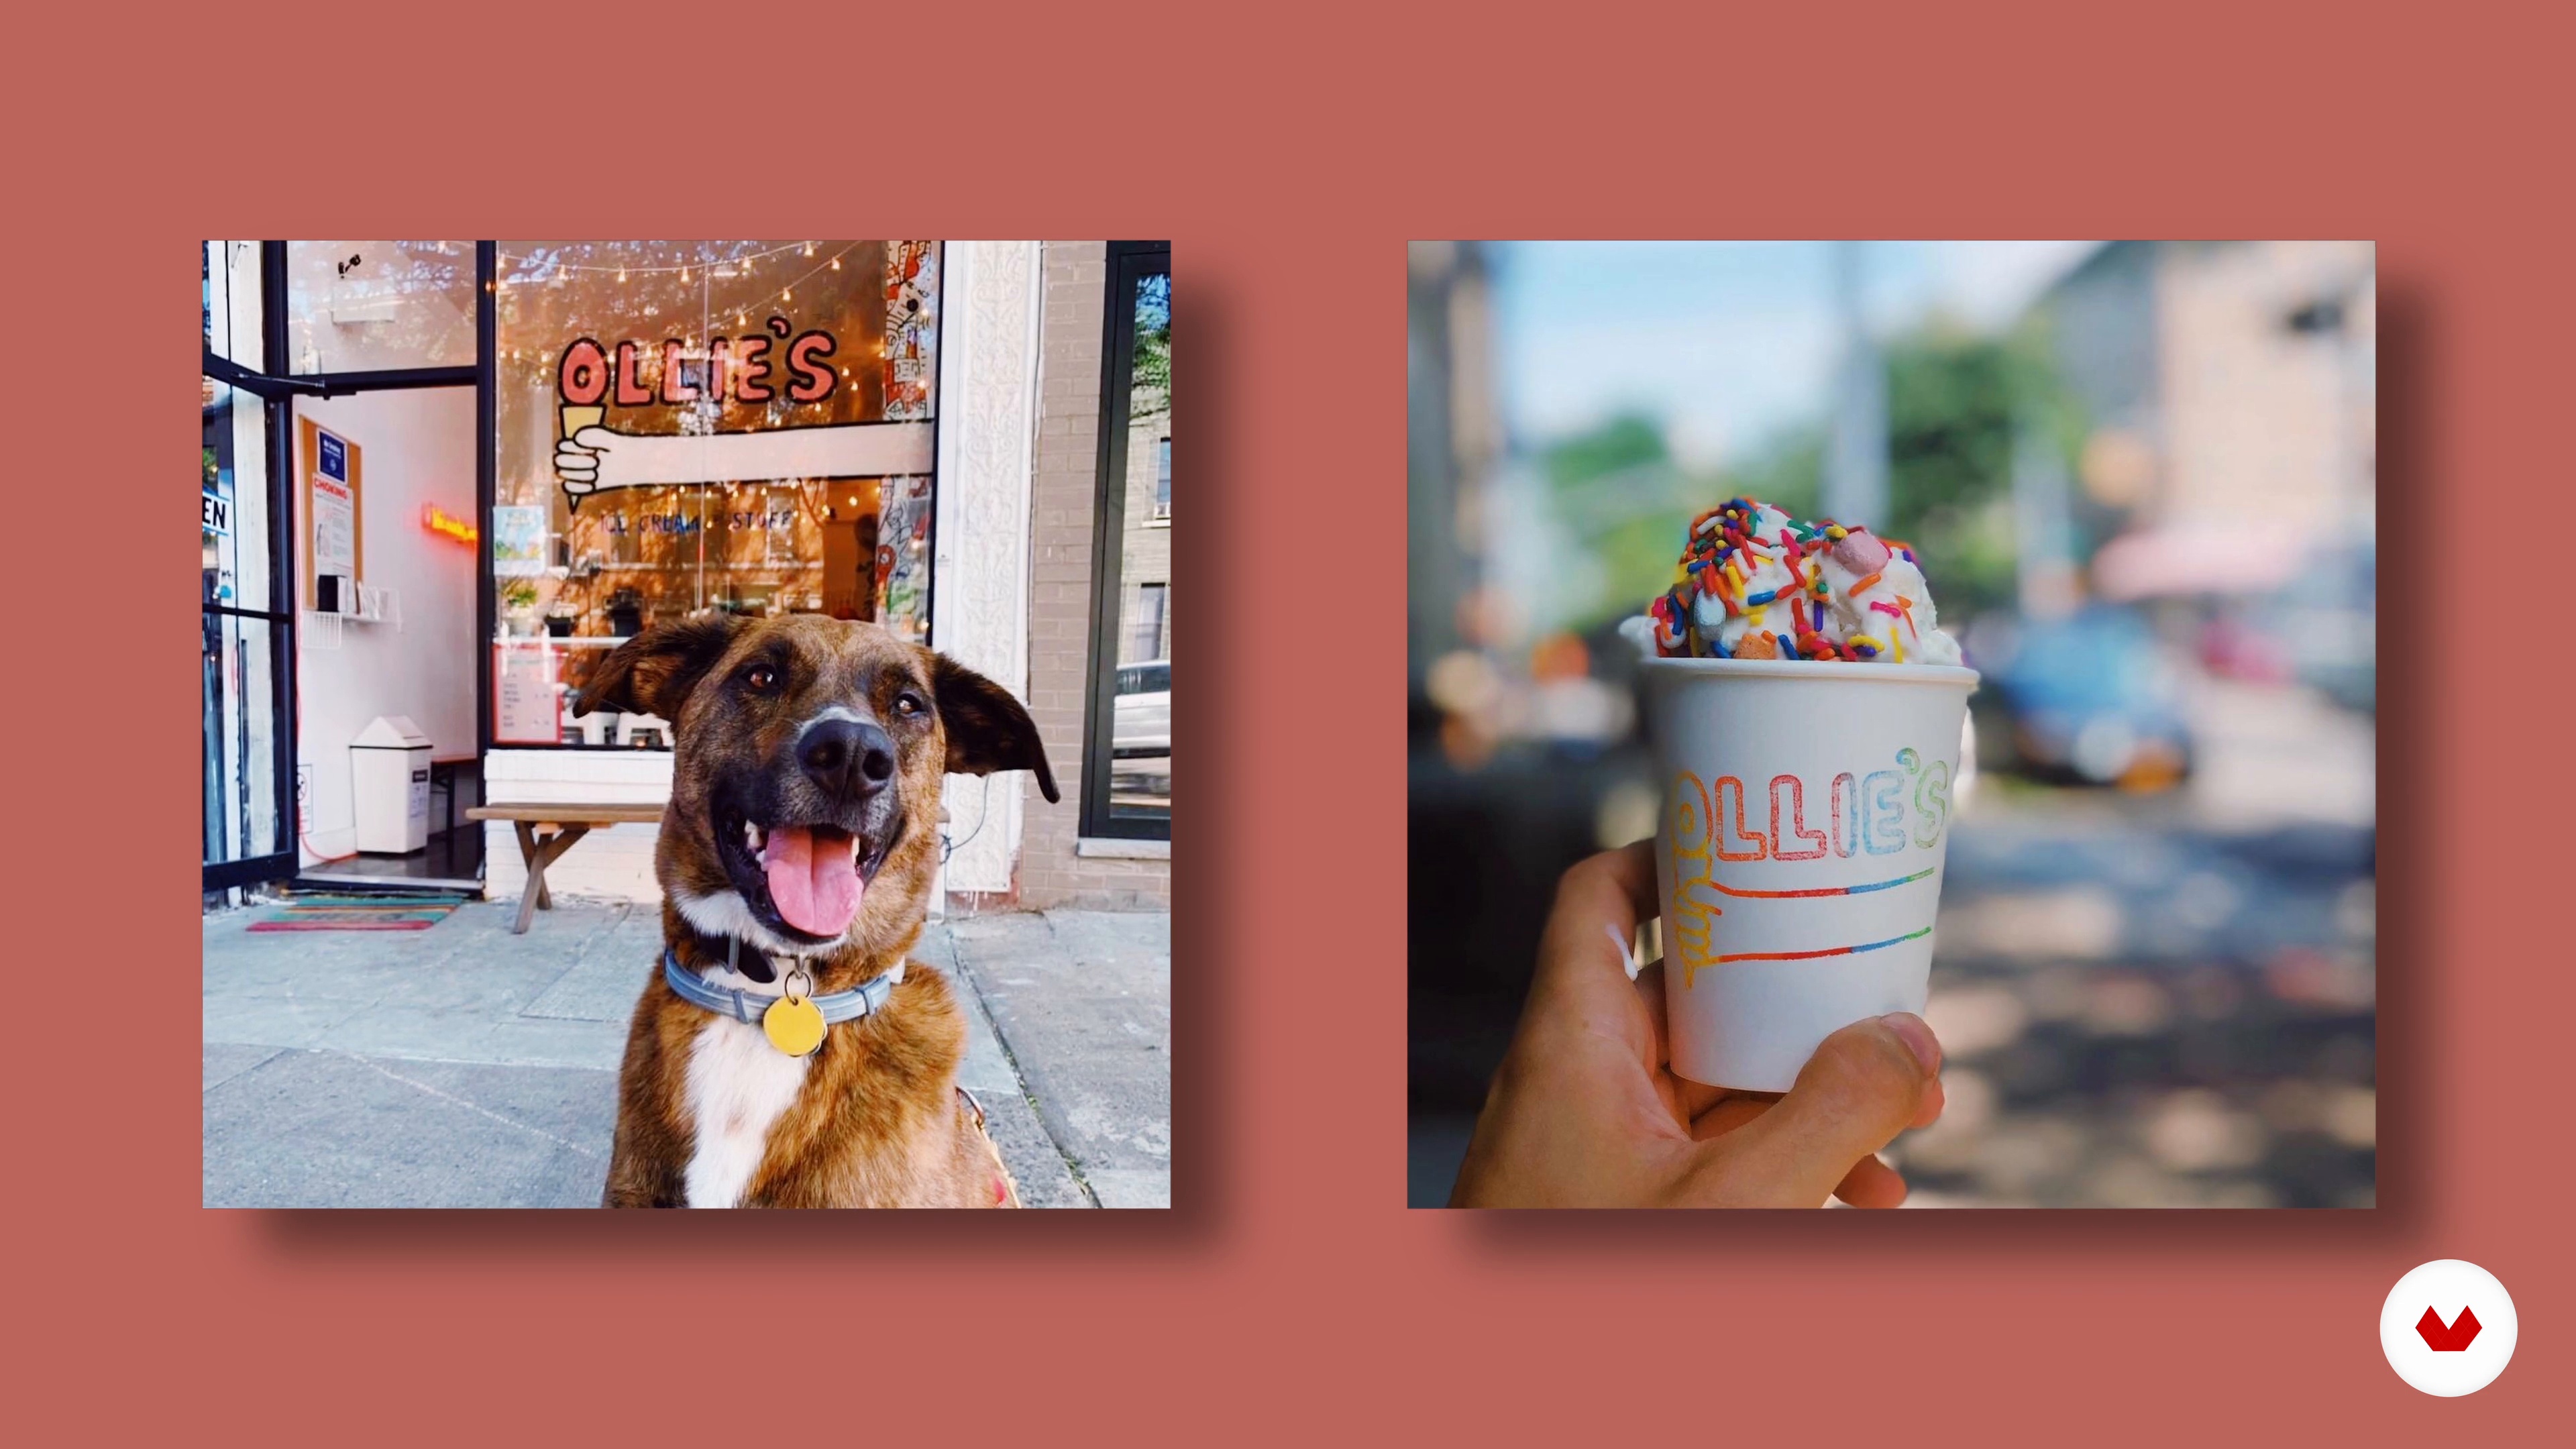
As a food photographer, you'll need to put together a complete food styling kit for your various projects. In this particular case, I'll show you the tools needed to style ice cream, which will be the centerpiece of my project.
3m
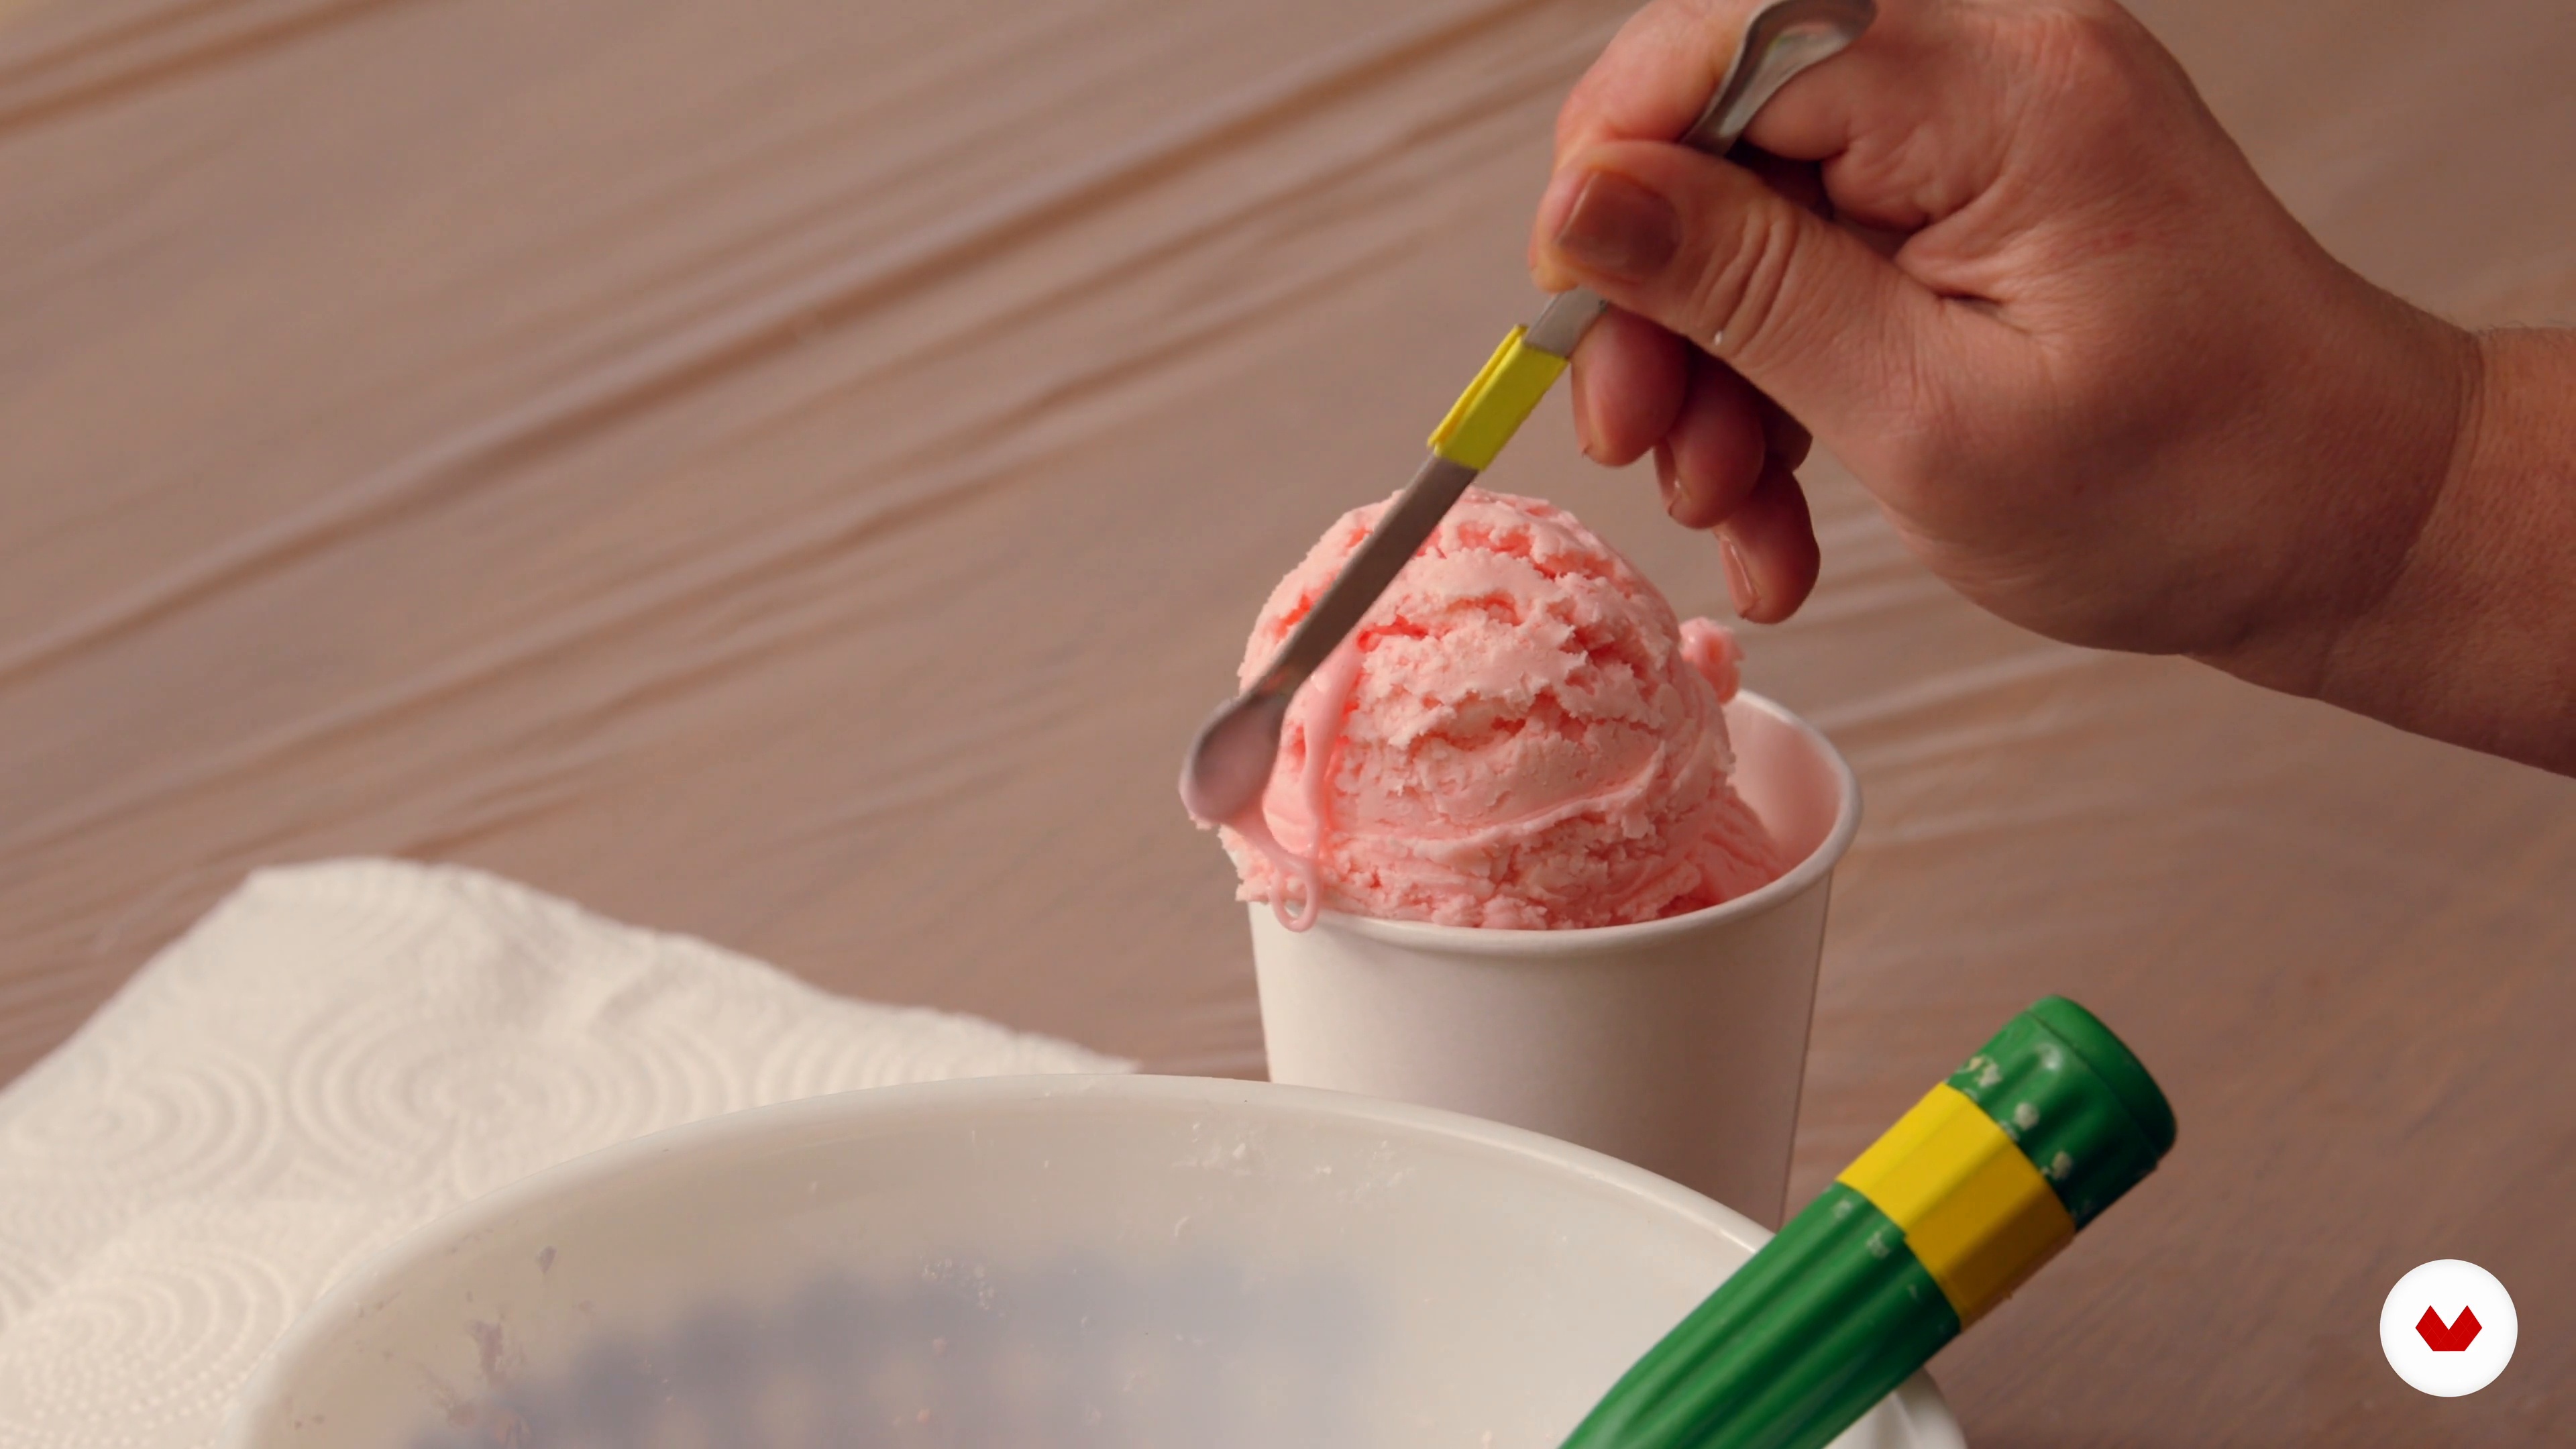
11Working with Ingredients
Finally, we'll start working with food. I'll show you how to make fake ice cream with powdered sugar, corn syrup, and shortening. This way, you'll begin to learn lots of tricks and tips on how to mix the ingredients you need to make everything look real.
8m
12Creating the Food
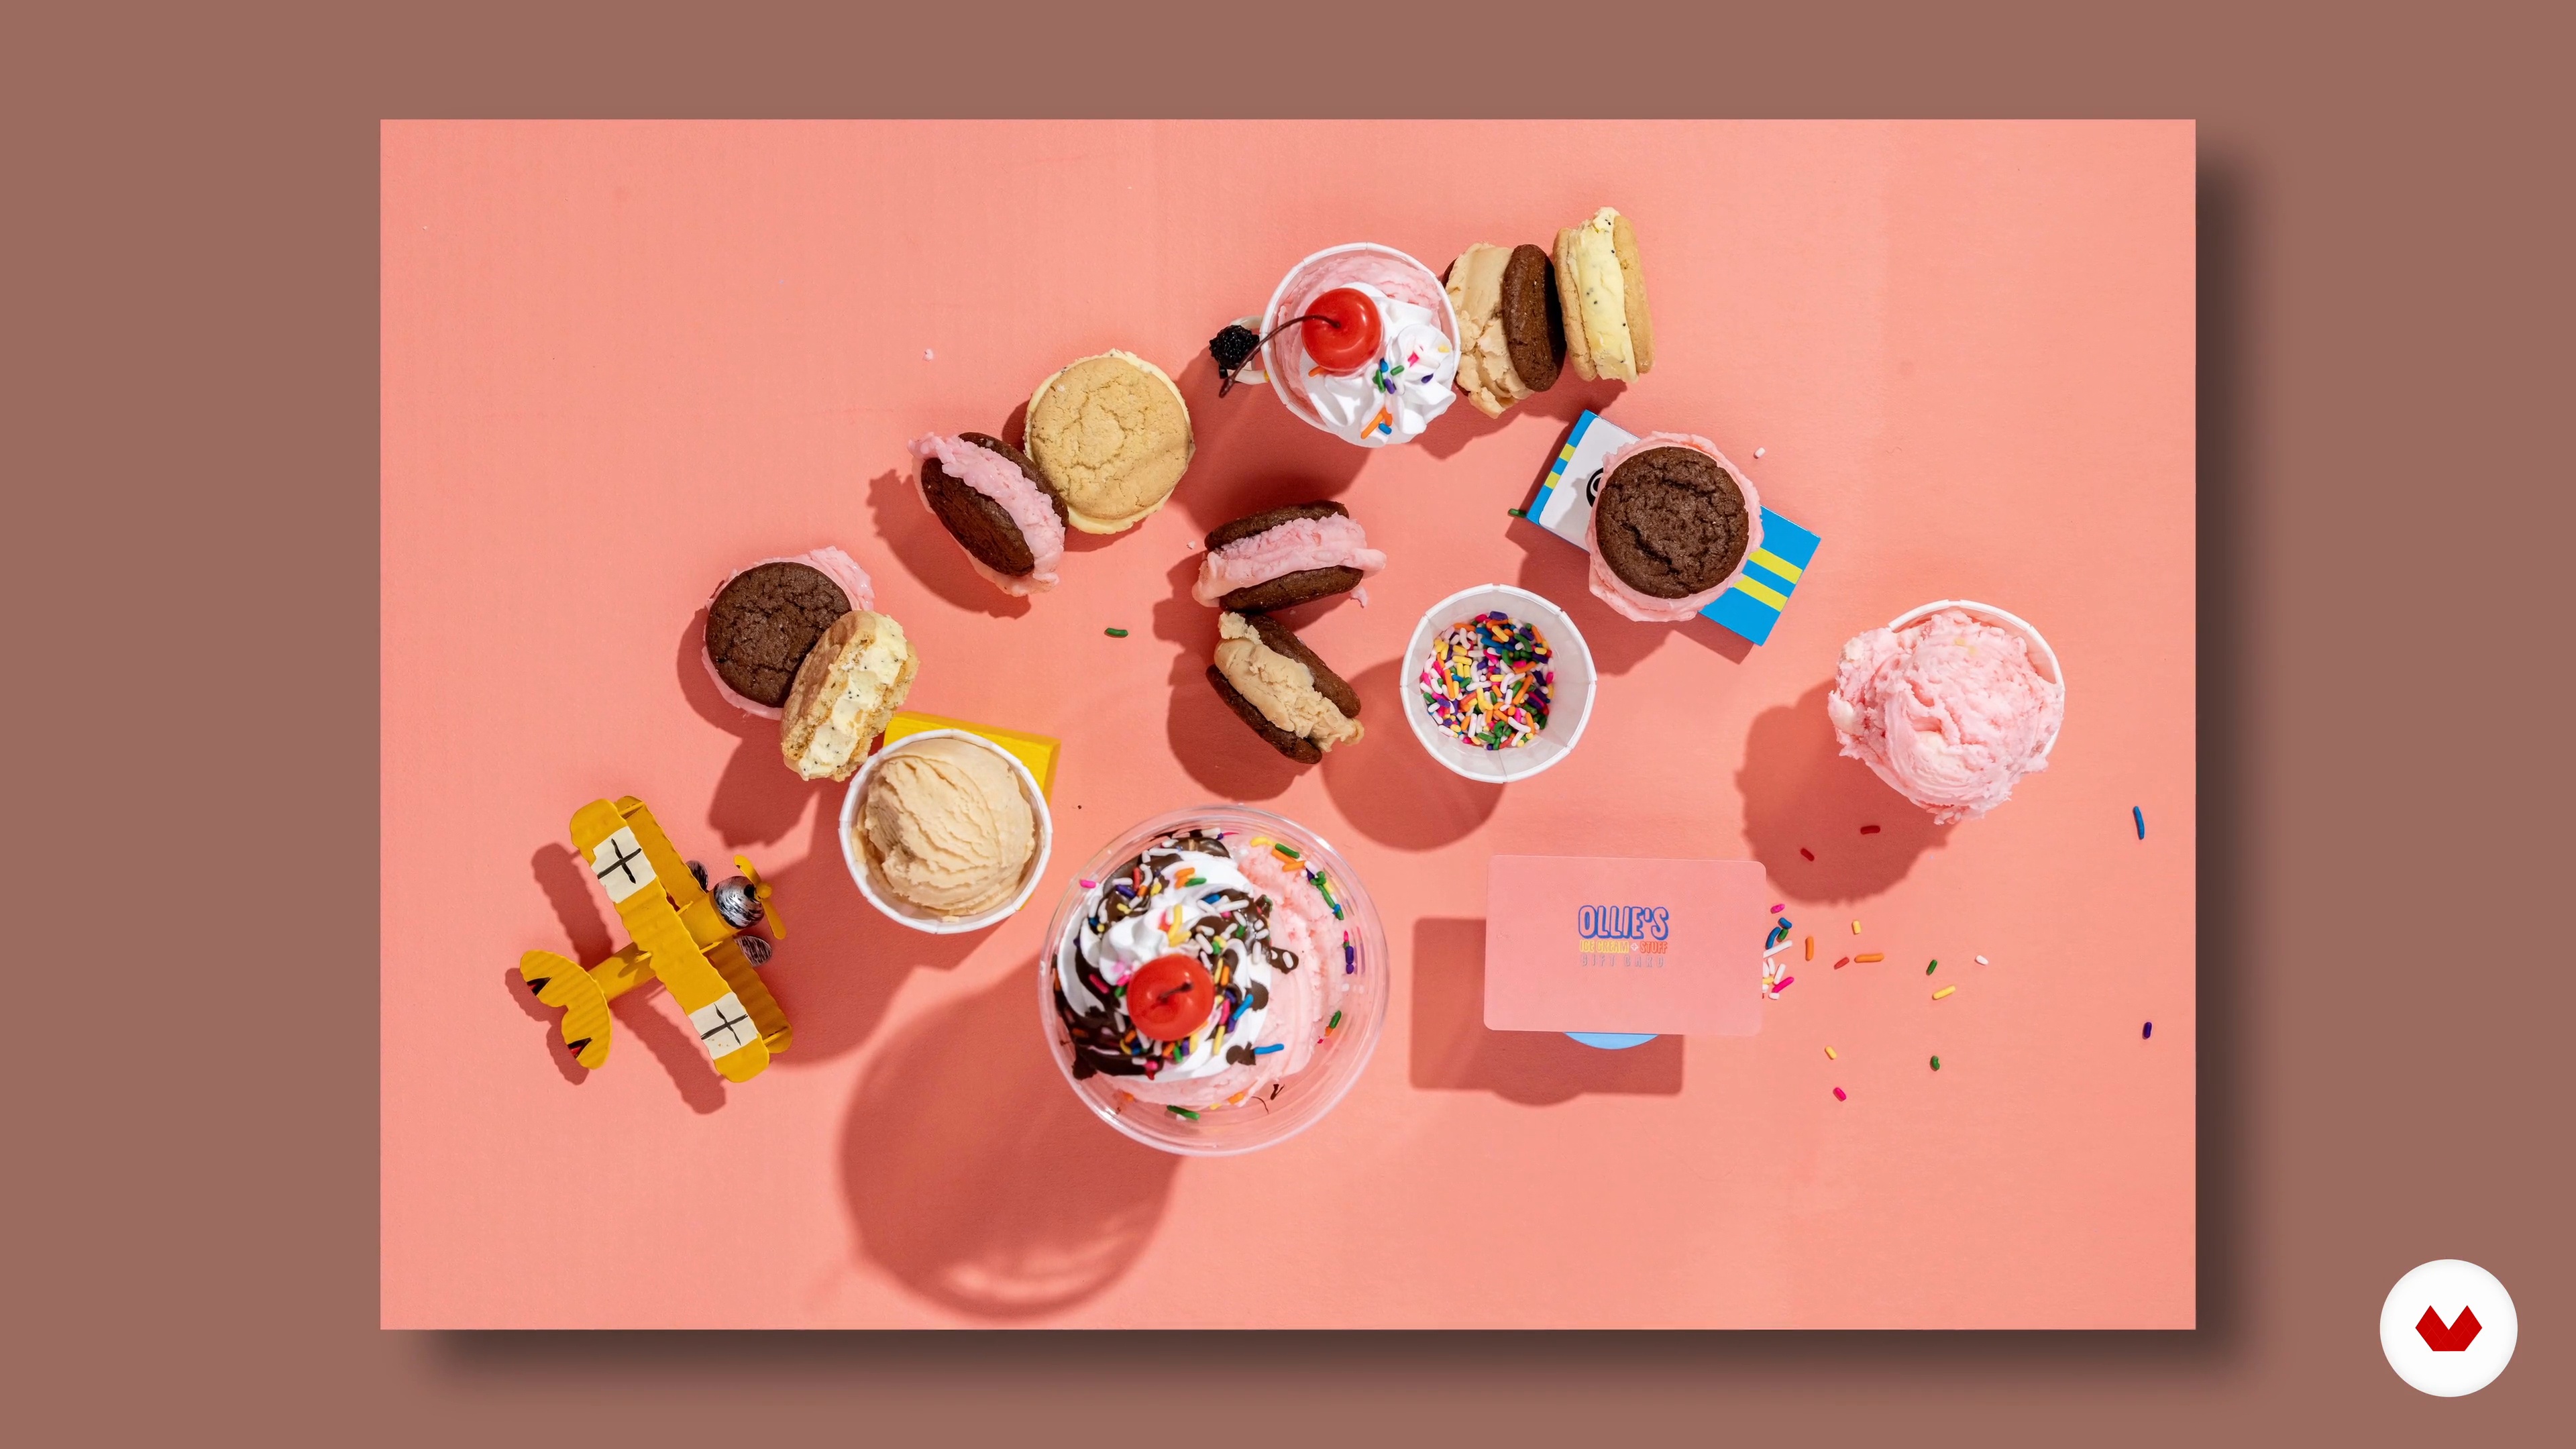
In this lesson, you'll learn how to create ice cream sundaes, sandwiches, and milkshakes. You'll see how to make everything look delicious and authentic.
5m
13Setting the Scene
Here you'll learn about set design and the different ways you can use props for your photoshoot. I'll give you some tips on how to set everything up so you can easily replicate it at home.
2m
14The Shoot!
In this lesson, we'll set up our shots, style them, and work with the photographer to capture the most compelling images possible. Along the way, we'll need to make sure we're following everything outlined in the brief.
13m
You'll develop a collection of artisanal chocolates with unique flavor combinations and visually striking designs, using texture techniques to create pieces that stand out for their creativity and visual appeal in the world of chocolate.
Chocolate lovers and design professionals alike seek to master the art of transforming cocoa into unique creations. Ideal for those who wish to explore innovative textures, surprising flavors, and advanced modeling techniques, taking their passion for chocolate to a professional artistic level.
No extensive prior knowledge is required, but basic food handling skills and adequate kitchen space are important. Common baking tools, quality chocolate, molds, spatulas, and measuring utensils are required.

Muy bueno
Perfect
Enjoy learning from home without a set schedule and with an easy-to-follow method. You set your own pace.
Learn valuable methods and techniques explained by top experts in the creative sector.
Each expert teaches what they do best, with clear guidelines, true passion, and professional insight in every lesson.
If you're a Plus member, get a custom certificate for every specialization course. Share it on your portfolio, social media, or wherever you like.
Videos of the highest quality, so you don't miss a single detail. With unlimited access, you can watch them as many times as you need to perfect your technique.
Ask questions, request feedback, or offer solutions. Share your learning experience with other students in the community who are as passionate about creativity as you are.
The community is home to millions of people from around the world who are curious and passionate about exploring and expressing their creativity.
Domestika curates its teacher roster and produces every course in-house to ensure a high-quality online learning experience.
This course is designed for intermediate learners with some chocolate-making experience. It covers advanced techniques like tempering, custom mold making, and marble or terrazzo effects, so basic chocolate handling skills are recommended.
You'll need basic chocolate-making tools, food-safe silicone, household items like Lego or cereal boxes for custom molds, natural color powders, an infrared thermometer, and standard kitchen utensils. A clean, organized workspace is also essential.
You'll learn how to create stone, marble, terrazzo, and concrete-inspired chocolate textures, make custom molds using everyday materials, apply natural colorants, temper chocolate, and troubleshoot common issues for stunning edible creations.
The course teaches step-by-step methods for building chocolate molds with Lego, cereal boxes, or cling film. You'll learn to assemble and seal enclosures, prepare surfaces, and ensure food safety throughout the process.
Yes, the course covers multiple tempering methods, including the seeding and microwave techniques, as well as how to test chocolate temper, use an infrared thermometer, and fix bloom or surface issues.
Absolutely. The course explores extracting and incorporating natural color powders and superfoods to achieve vibrant colors and unique flavors in your chocolate creations.
You'll master marble, granite, terrazzo, and concrete textures using chocolate, as well as create custom chips and gravel for decorative terrazzo effects in chocolate tiles and domes.