Specialization

Gouache Painting Specialization: Create Vibrant Artworks

Master gouache painting techniques to create expressive landscapes with vibrant colors, focusing on composition and color theory

Specialization · 8 modules

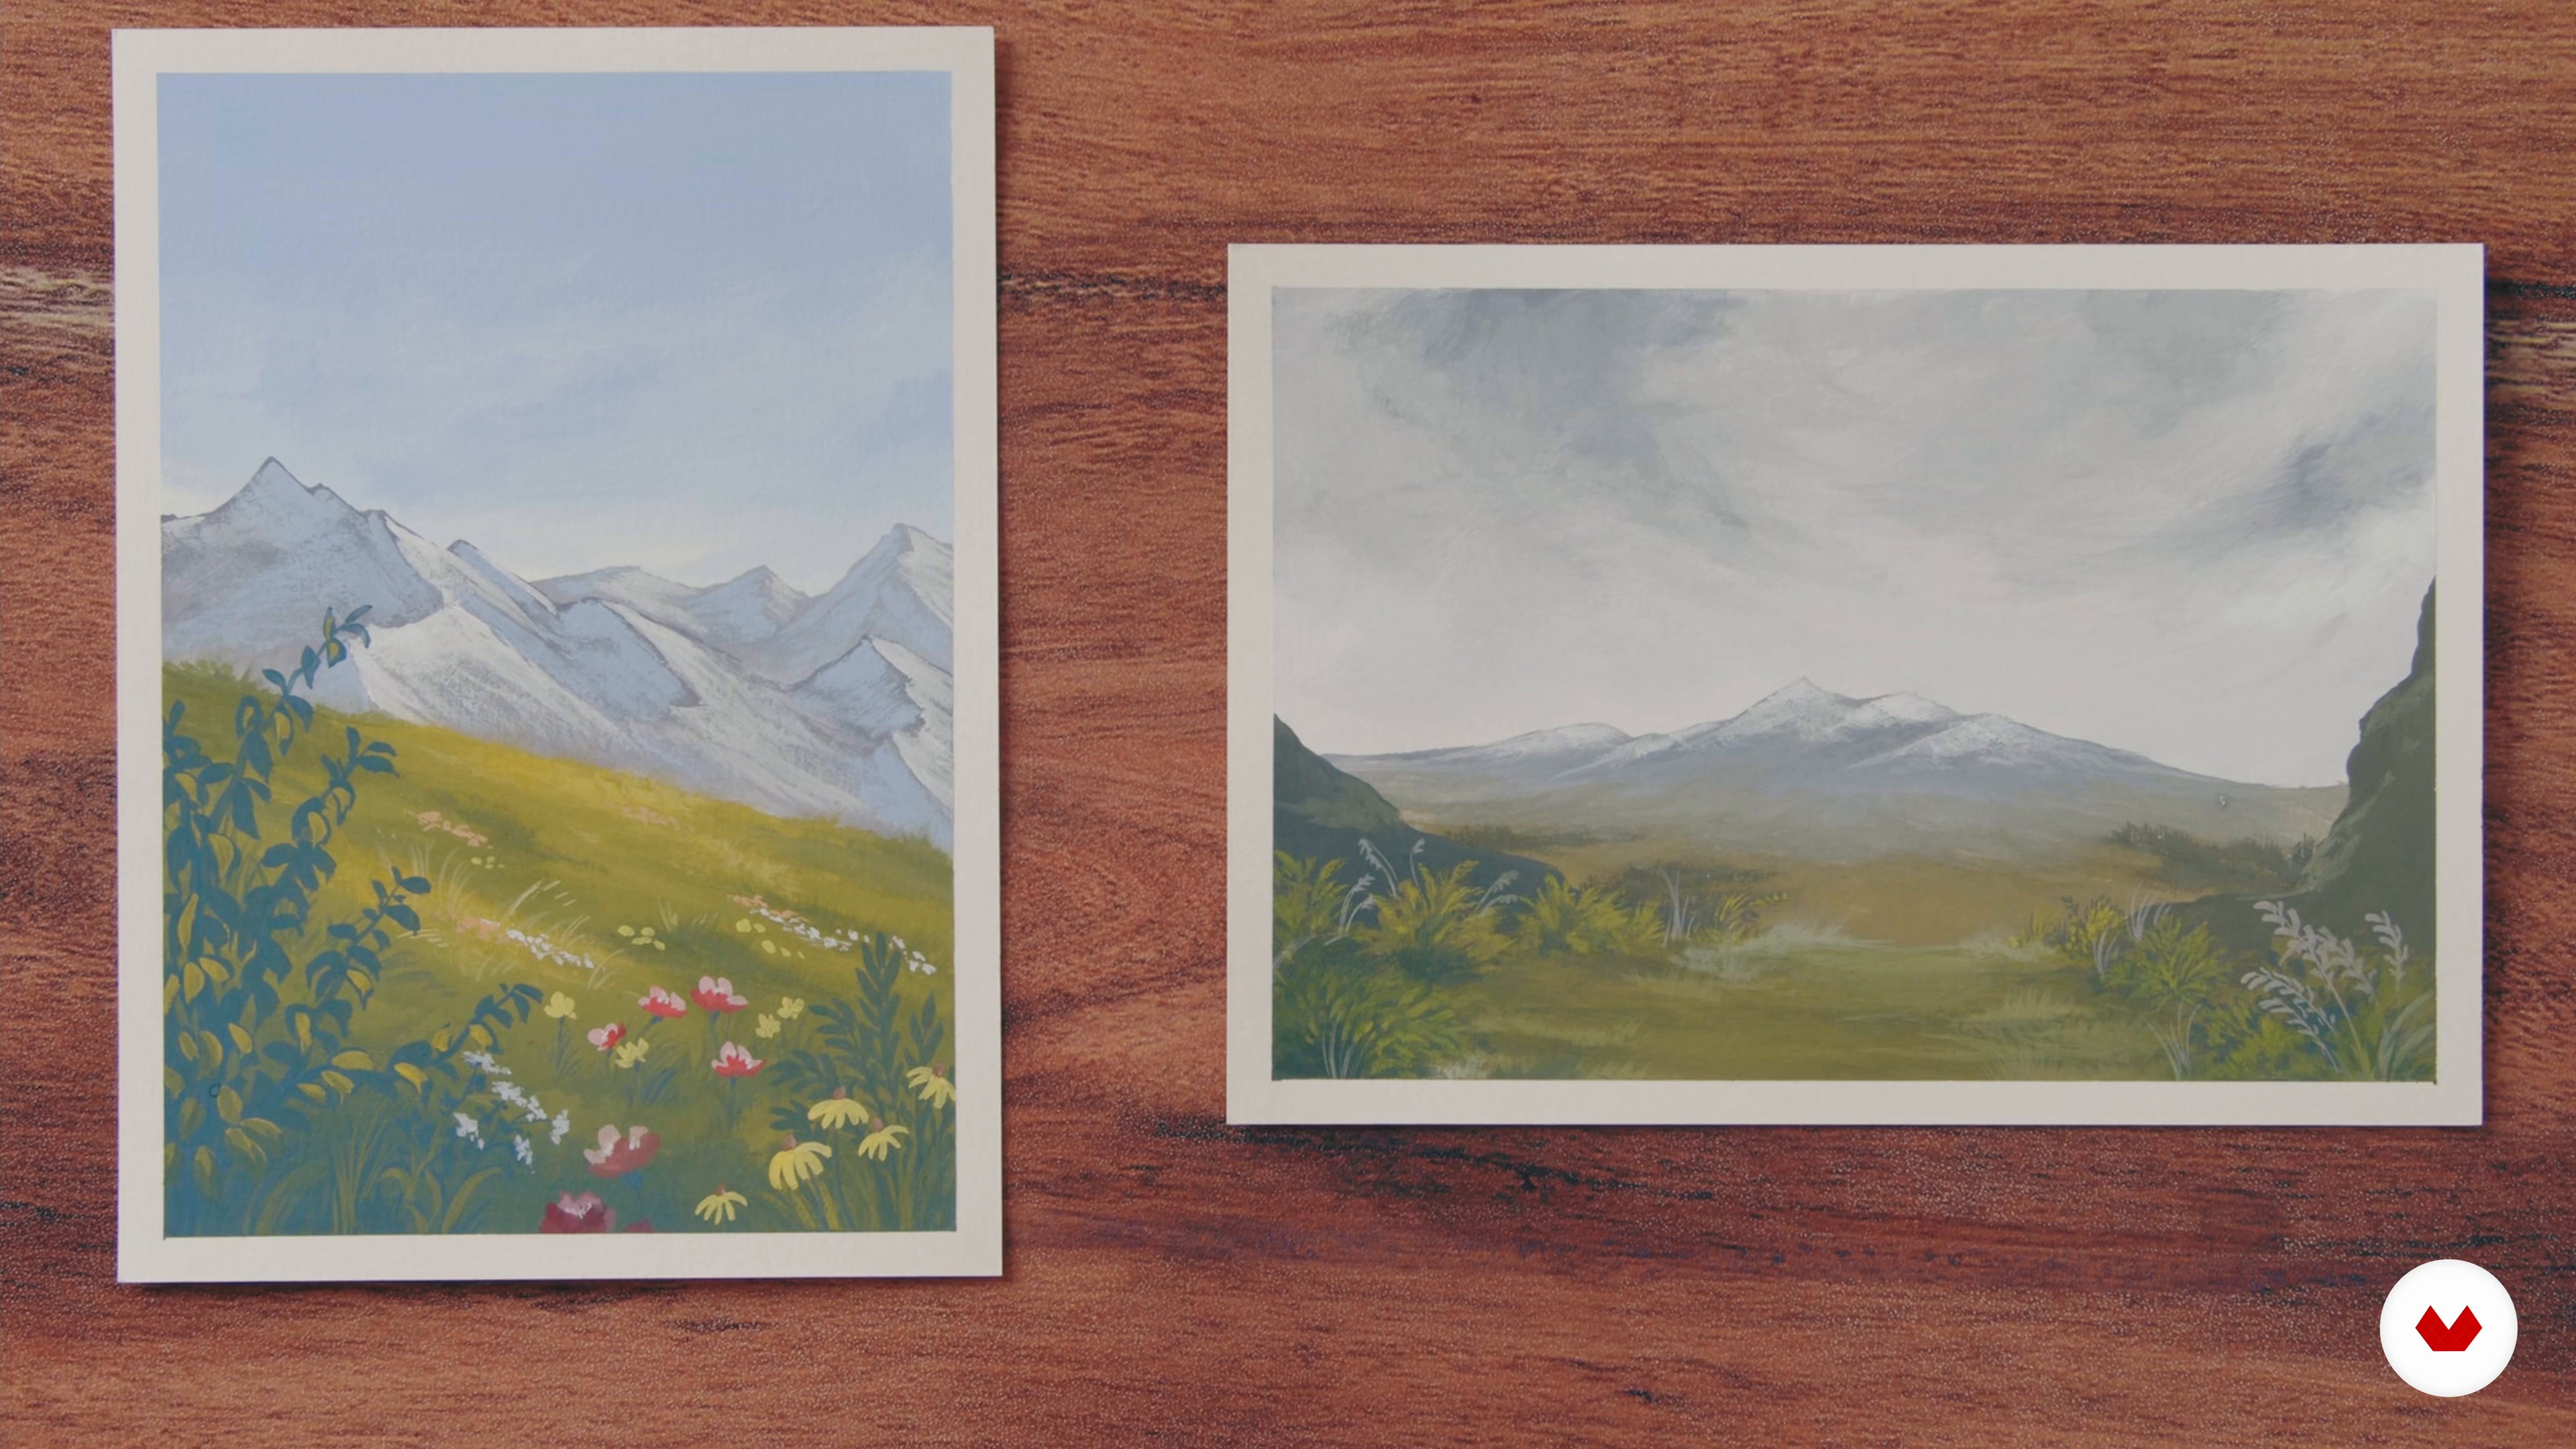
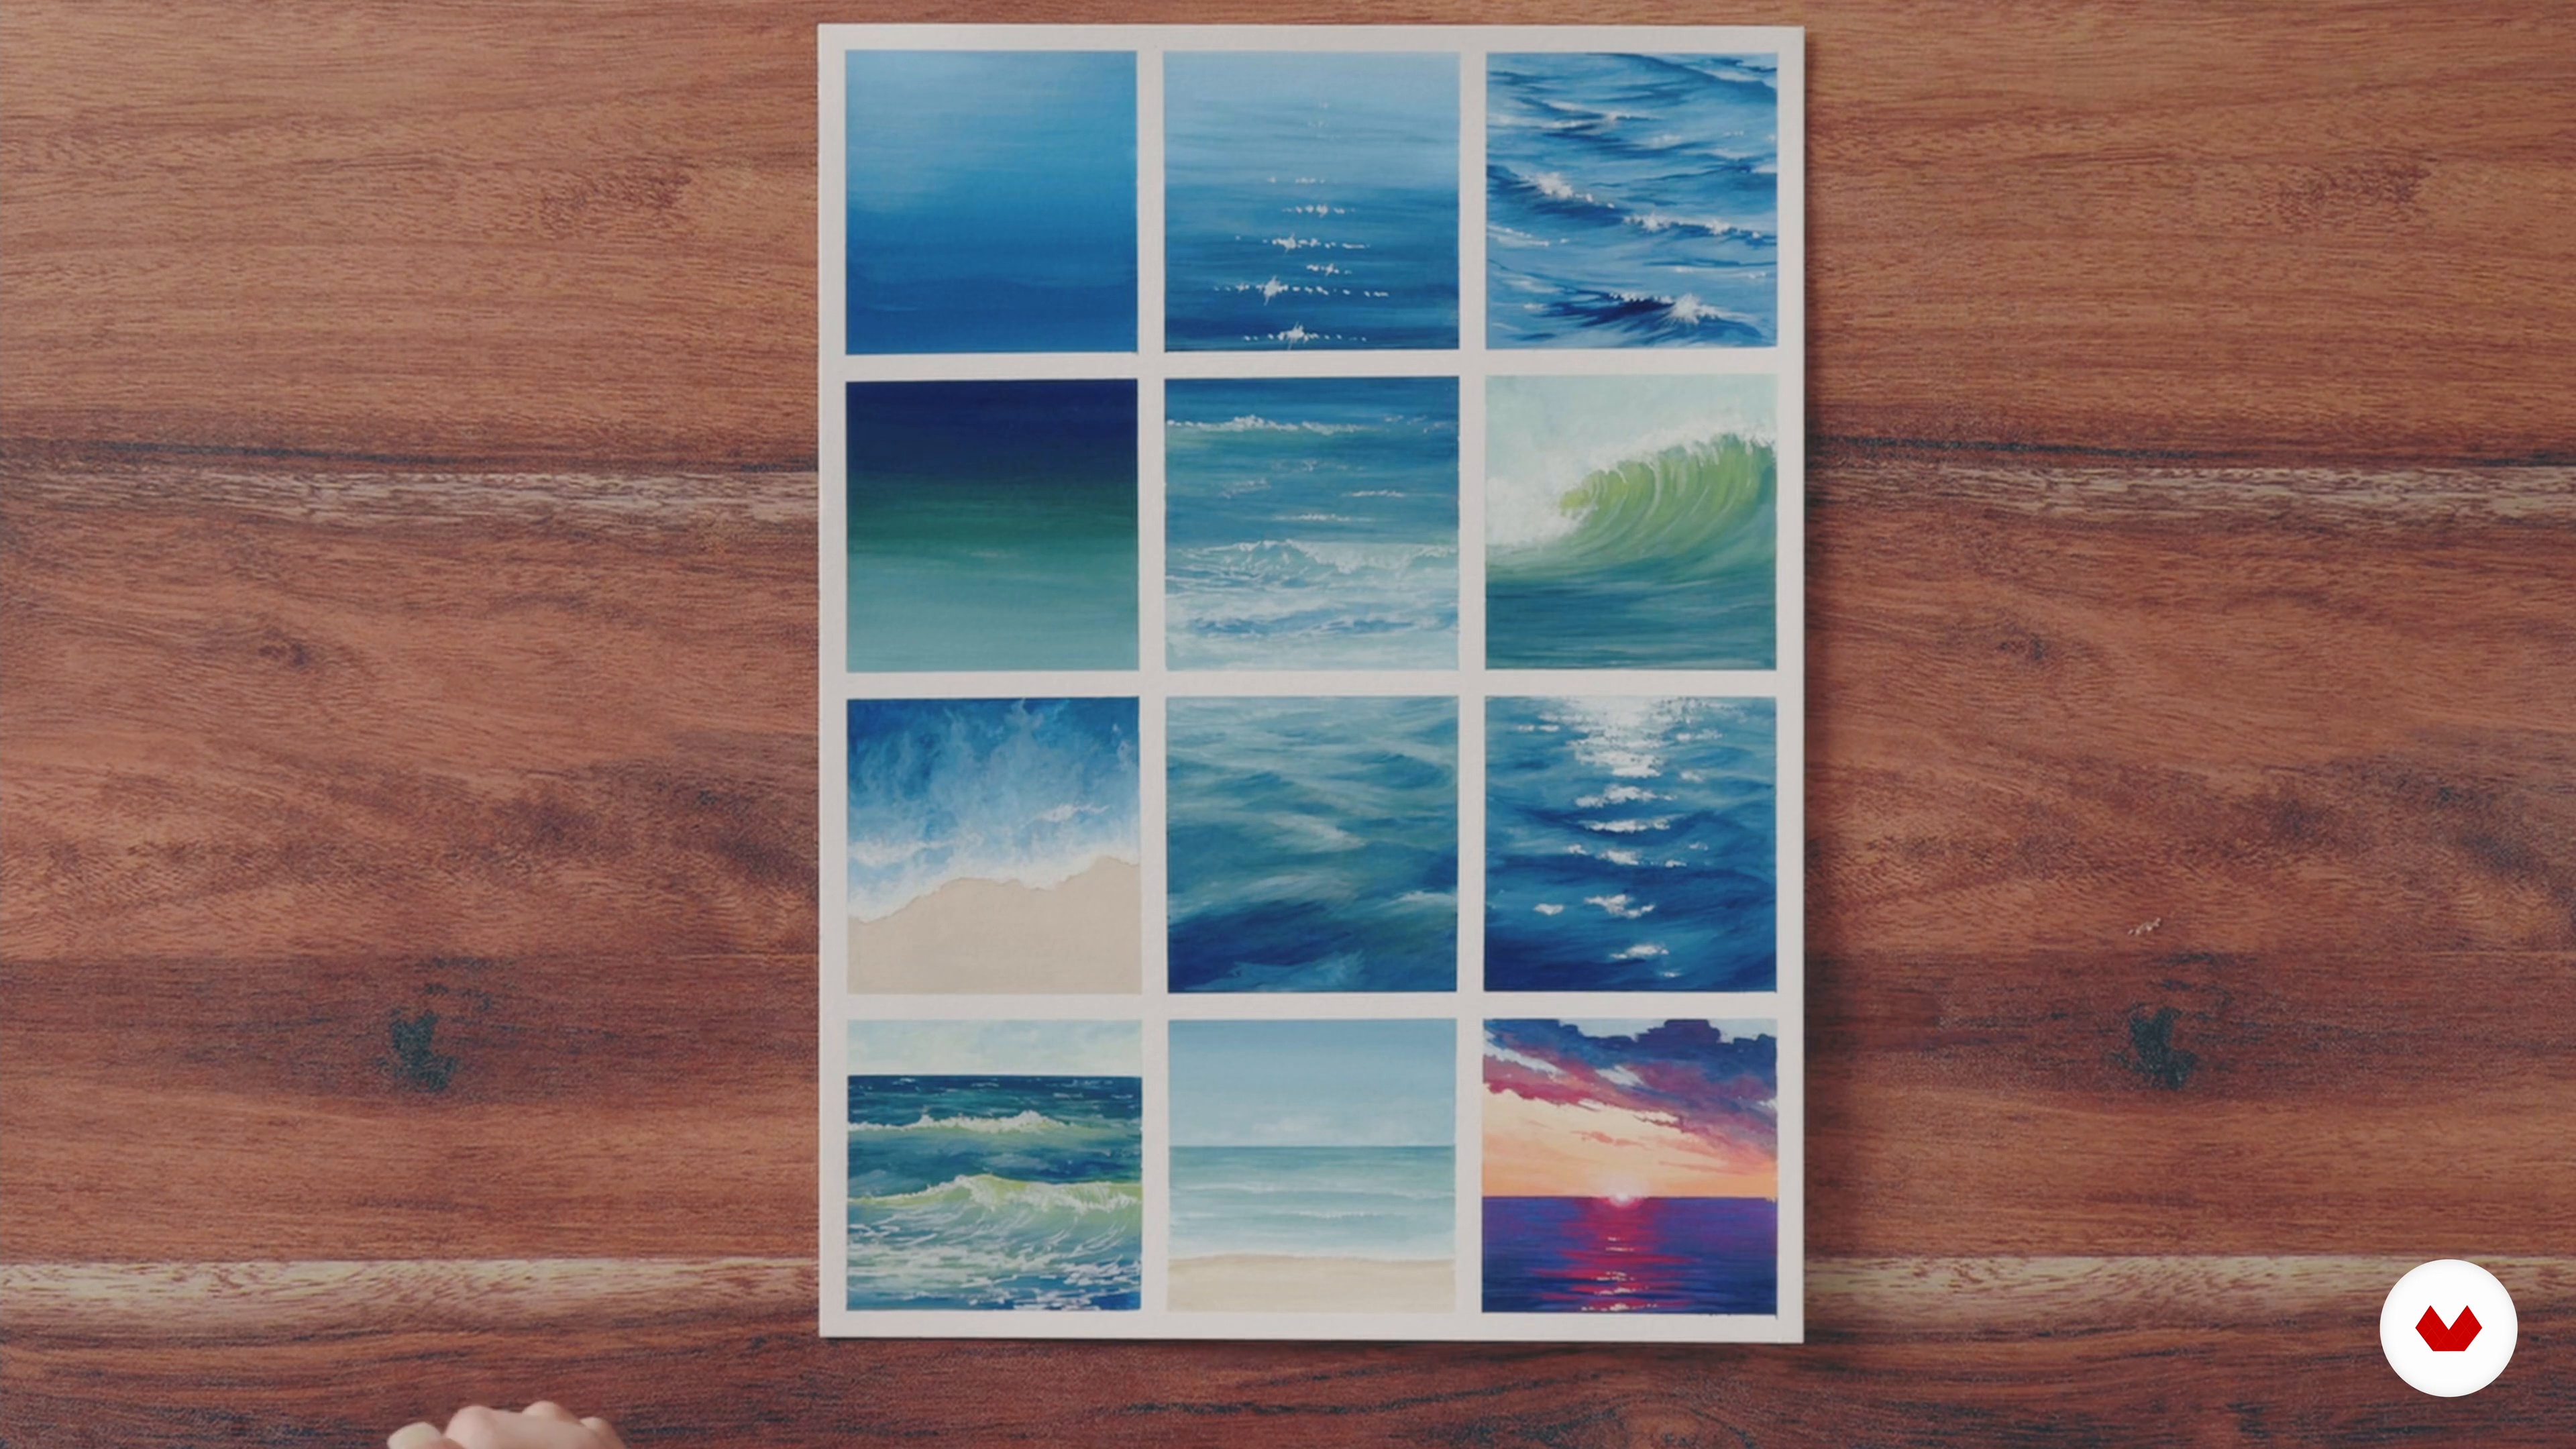
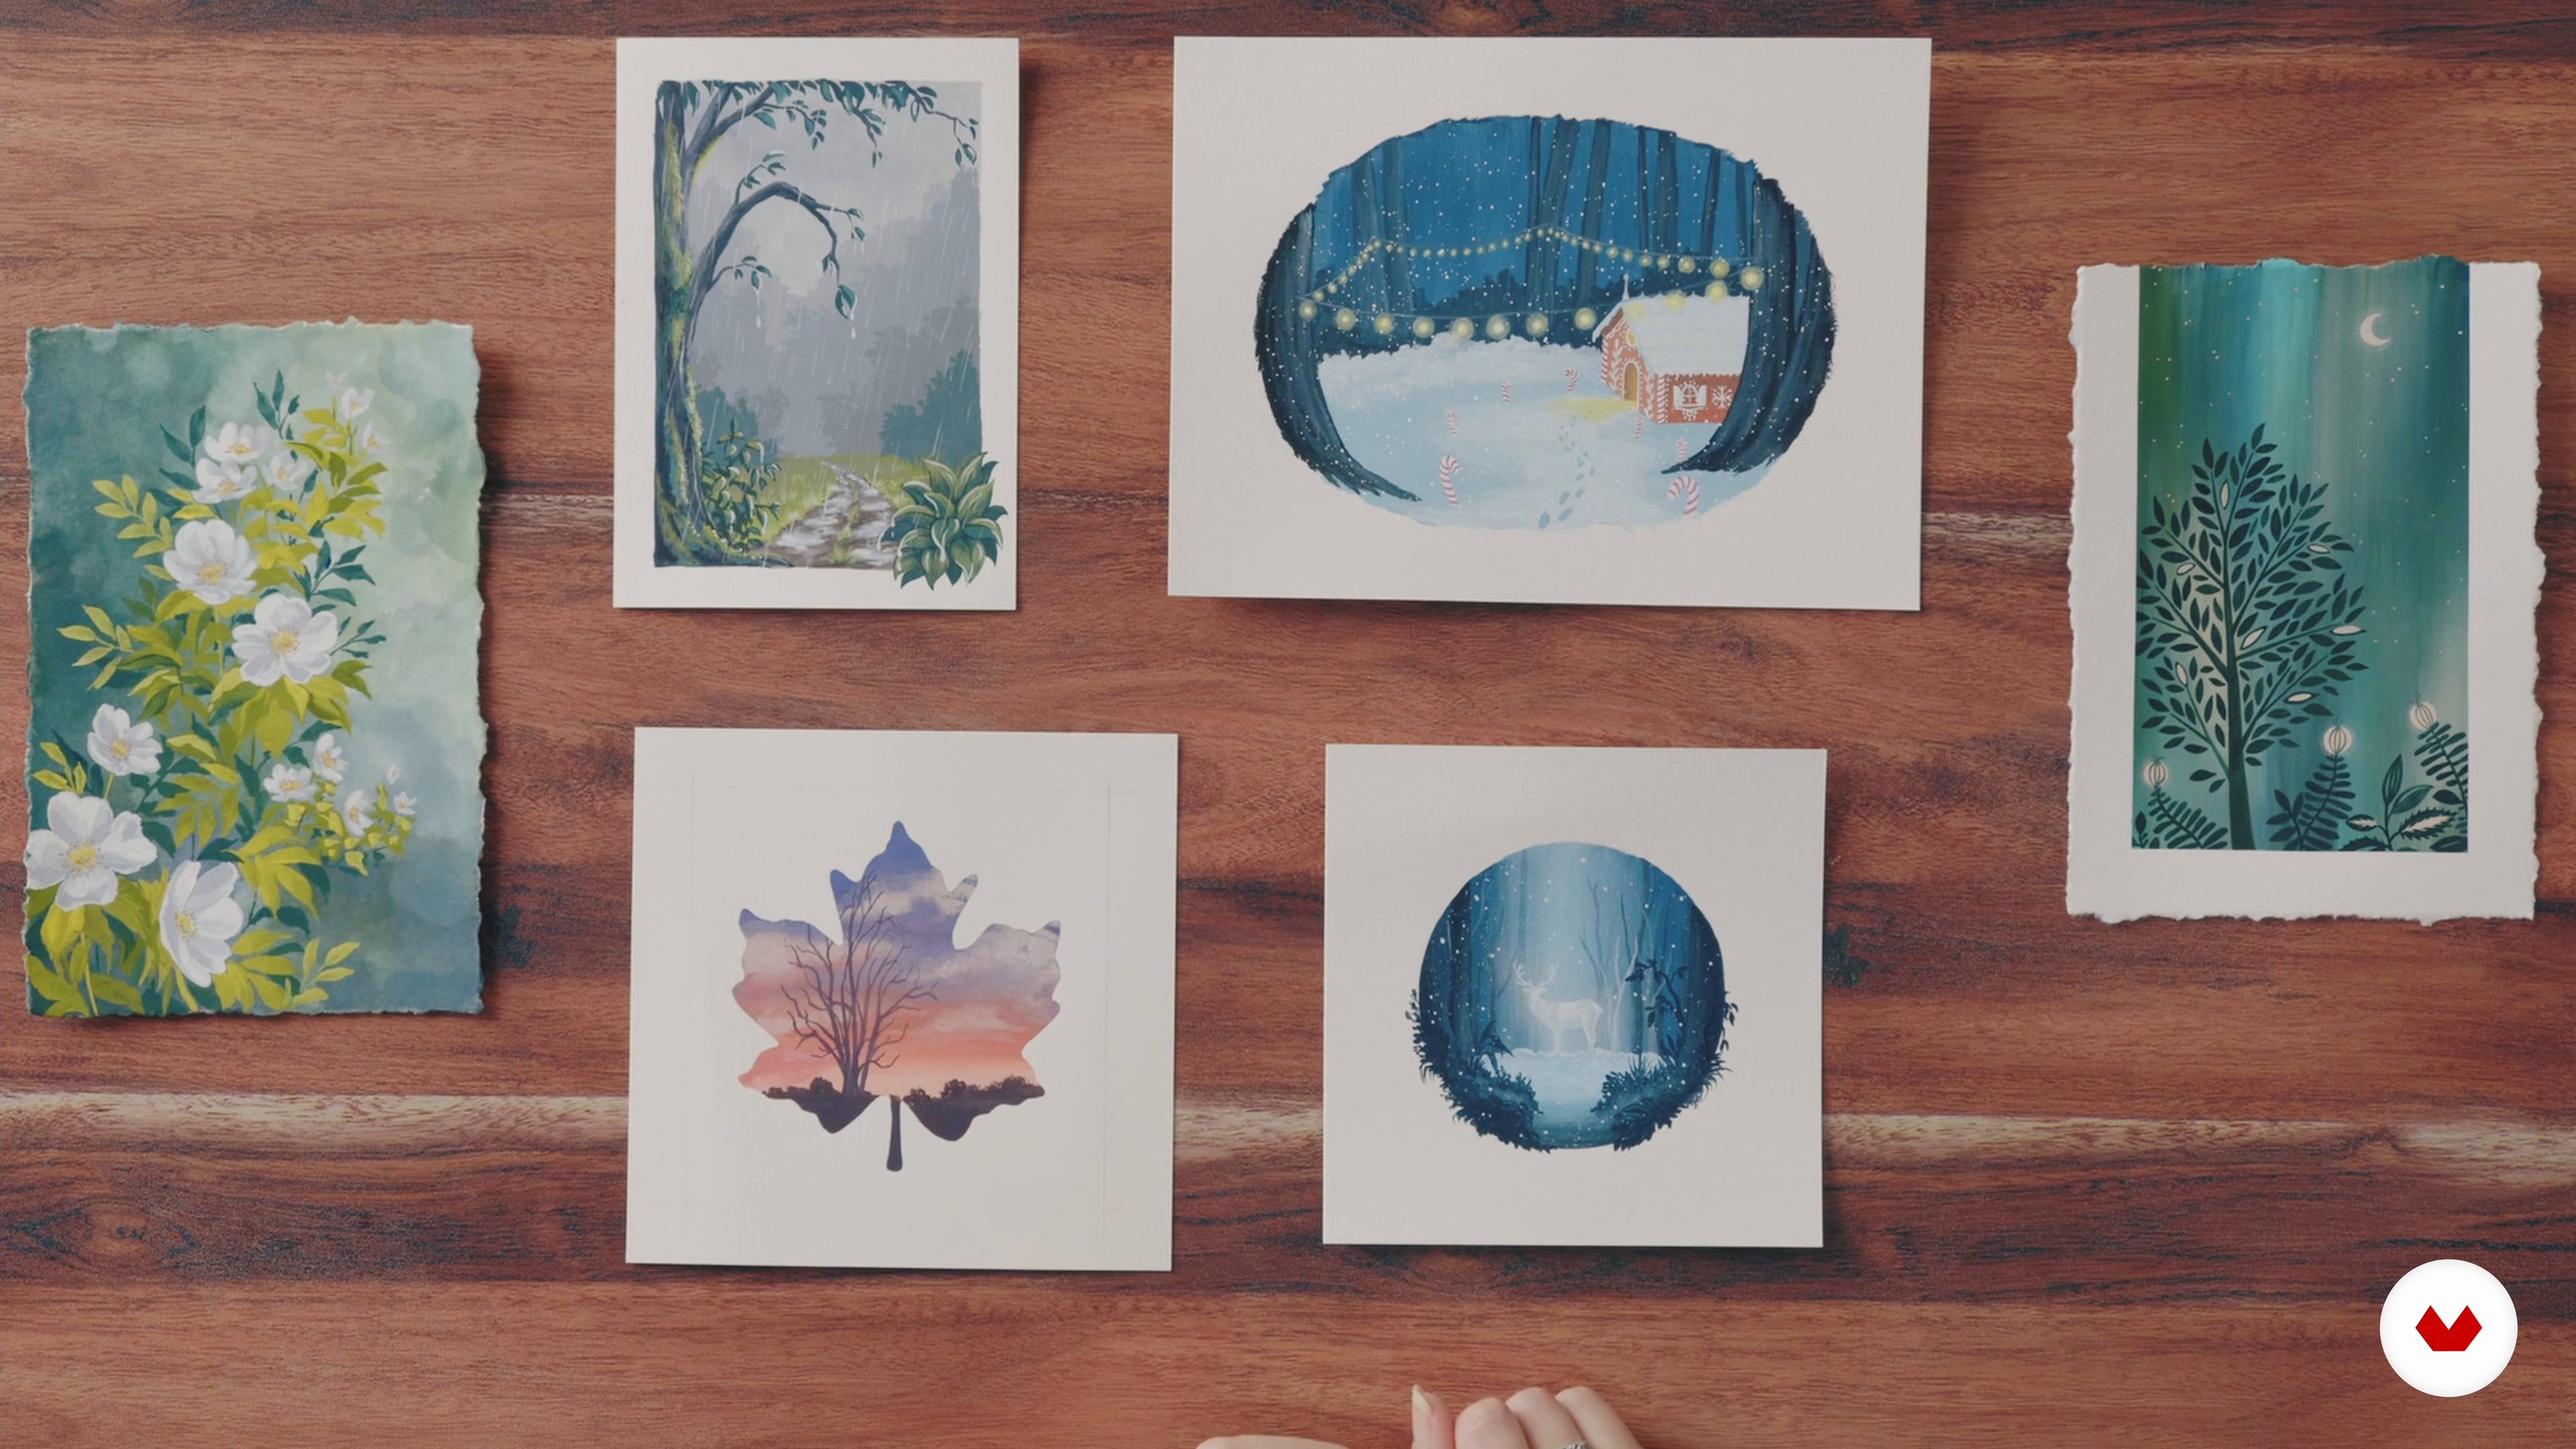
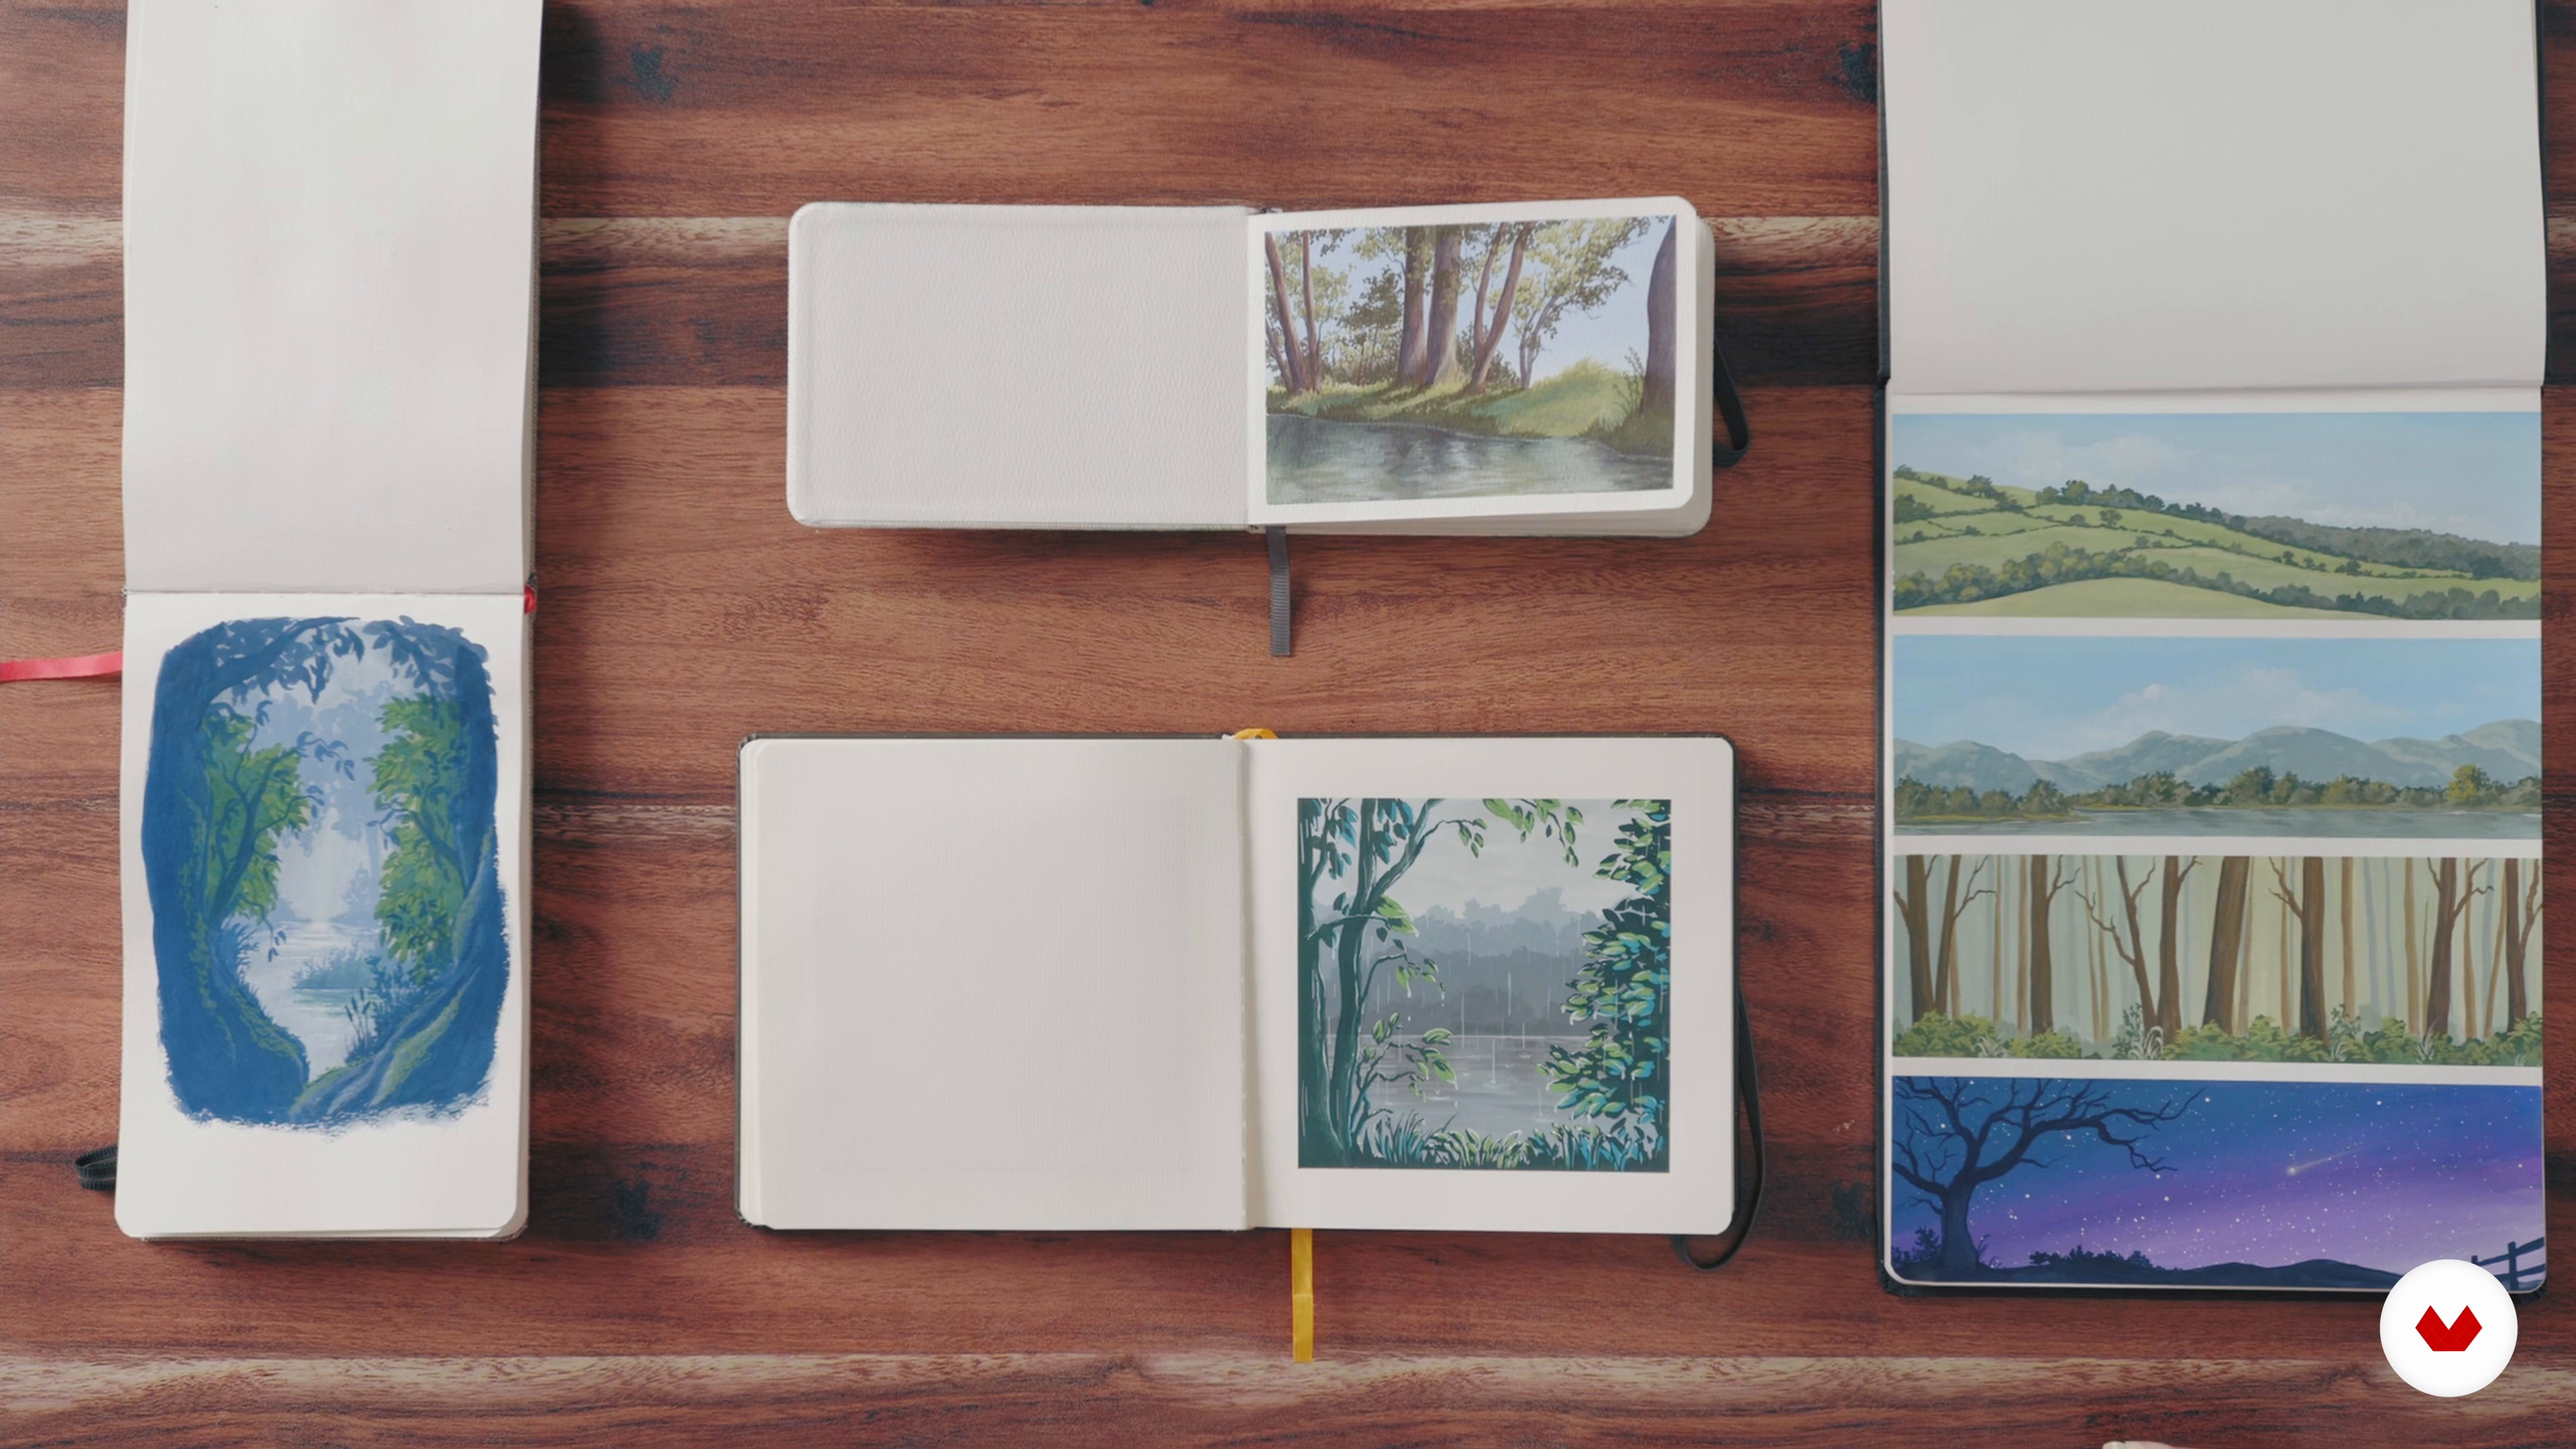
Embark on a creative journey through the world of gouache painting with talented artists including Maddy Bellwoar, Ruth Wilshaw, Mike Thomas, Tommy Kim, Vicki McGrath, Cécile Berrubé, and Don Kilpatrick III. This comprehensive course series offers a deep dive into the versatile medium of gouache, spanning landscape painting, urban illustration, and atmospheric compositions. Each teacher brings their unique perspective and expertise to guide you in mastering techniques such as wet-on-wet, opaque layering, dry-brushing, and more. You'll explore color theory, composition, texturing, and the transformation of everyday scenes into vibrant works of art.

Whether you're capturing the energy of urban environments, painting magical landscapes, or creating expressive still-life pieces, this course series provides the tools and inspiration to elevate your artistic skills. Through engaging lessons and practical projects, you'll gain the confidence to express your creativity and develop your personal style. With the guidance of these experienced artists, discover the joy of gouache painting and unlock endless possibilities in your artistic endeavors. This series is designed to inspire and nurture your passion for art, offering a rich, inspiring experience for artists of all levels.

Read more ↓

What will you learn in this specialization?

A total of 8 modules and 110 lessons
A total of 18h 30m of vídeo lessons
Taught by 7 selected expert teachers
image
1
Introduction
Explore gouache's rich potential—from delicate washes to bold textures. You’ll learn how its reworkable nature supports both realism and expressive styles, empowering you to experiment freely with vibrant colors and layered finishes.
1m
image
2
Influences / Vicki McGrath
I love to paint subjects that make the viewer smile, perhaps capturing a pleasant memory from the past that brings happiness when viewed. Let me show you the artists that have impacted and influenced my current artistic style.
2m
image
3
Influences / Cécile Berrubé
In this lesson, I'll talk about the artists who inspire me and my work, stretching all the way back to my childhood. Hopefully, you'll feel inspired too!
4m
image
4
Influences / Madeleine Bellwoar
I now wish to share with you some of my artistic influences. These have had a big impact on my art style and development.
3m
image
5
Influences / Ruth Wilshaw
In this lesson, I’ll share my major influences and the life experiences that inspire my artwork.
7m
image
6
Influences / Mike Thomas
In this lesson, I’ll share my major influences and the life experiences that inspire my artwork.
3m
image
7
Influences / Don Kilpatrick
Having influences is hugely important to your creative journey and will even shape your personal aesthetic. In this lesson, I will share a few of my inspirations and explain how they've molded my approach.
2m
image
8
My Favorite Artists / Tommy Kim
Influences are very important in modeling the artist (and person) you will become. Here I will share my favorite artists and what I learned from them.
4m
image
3
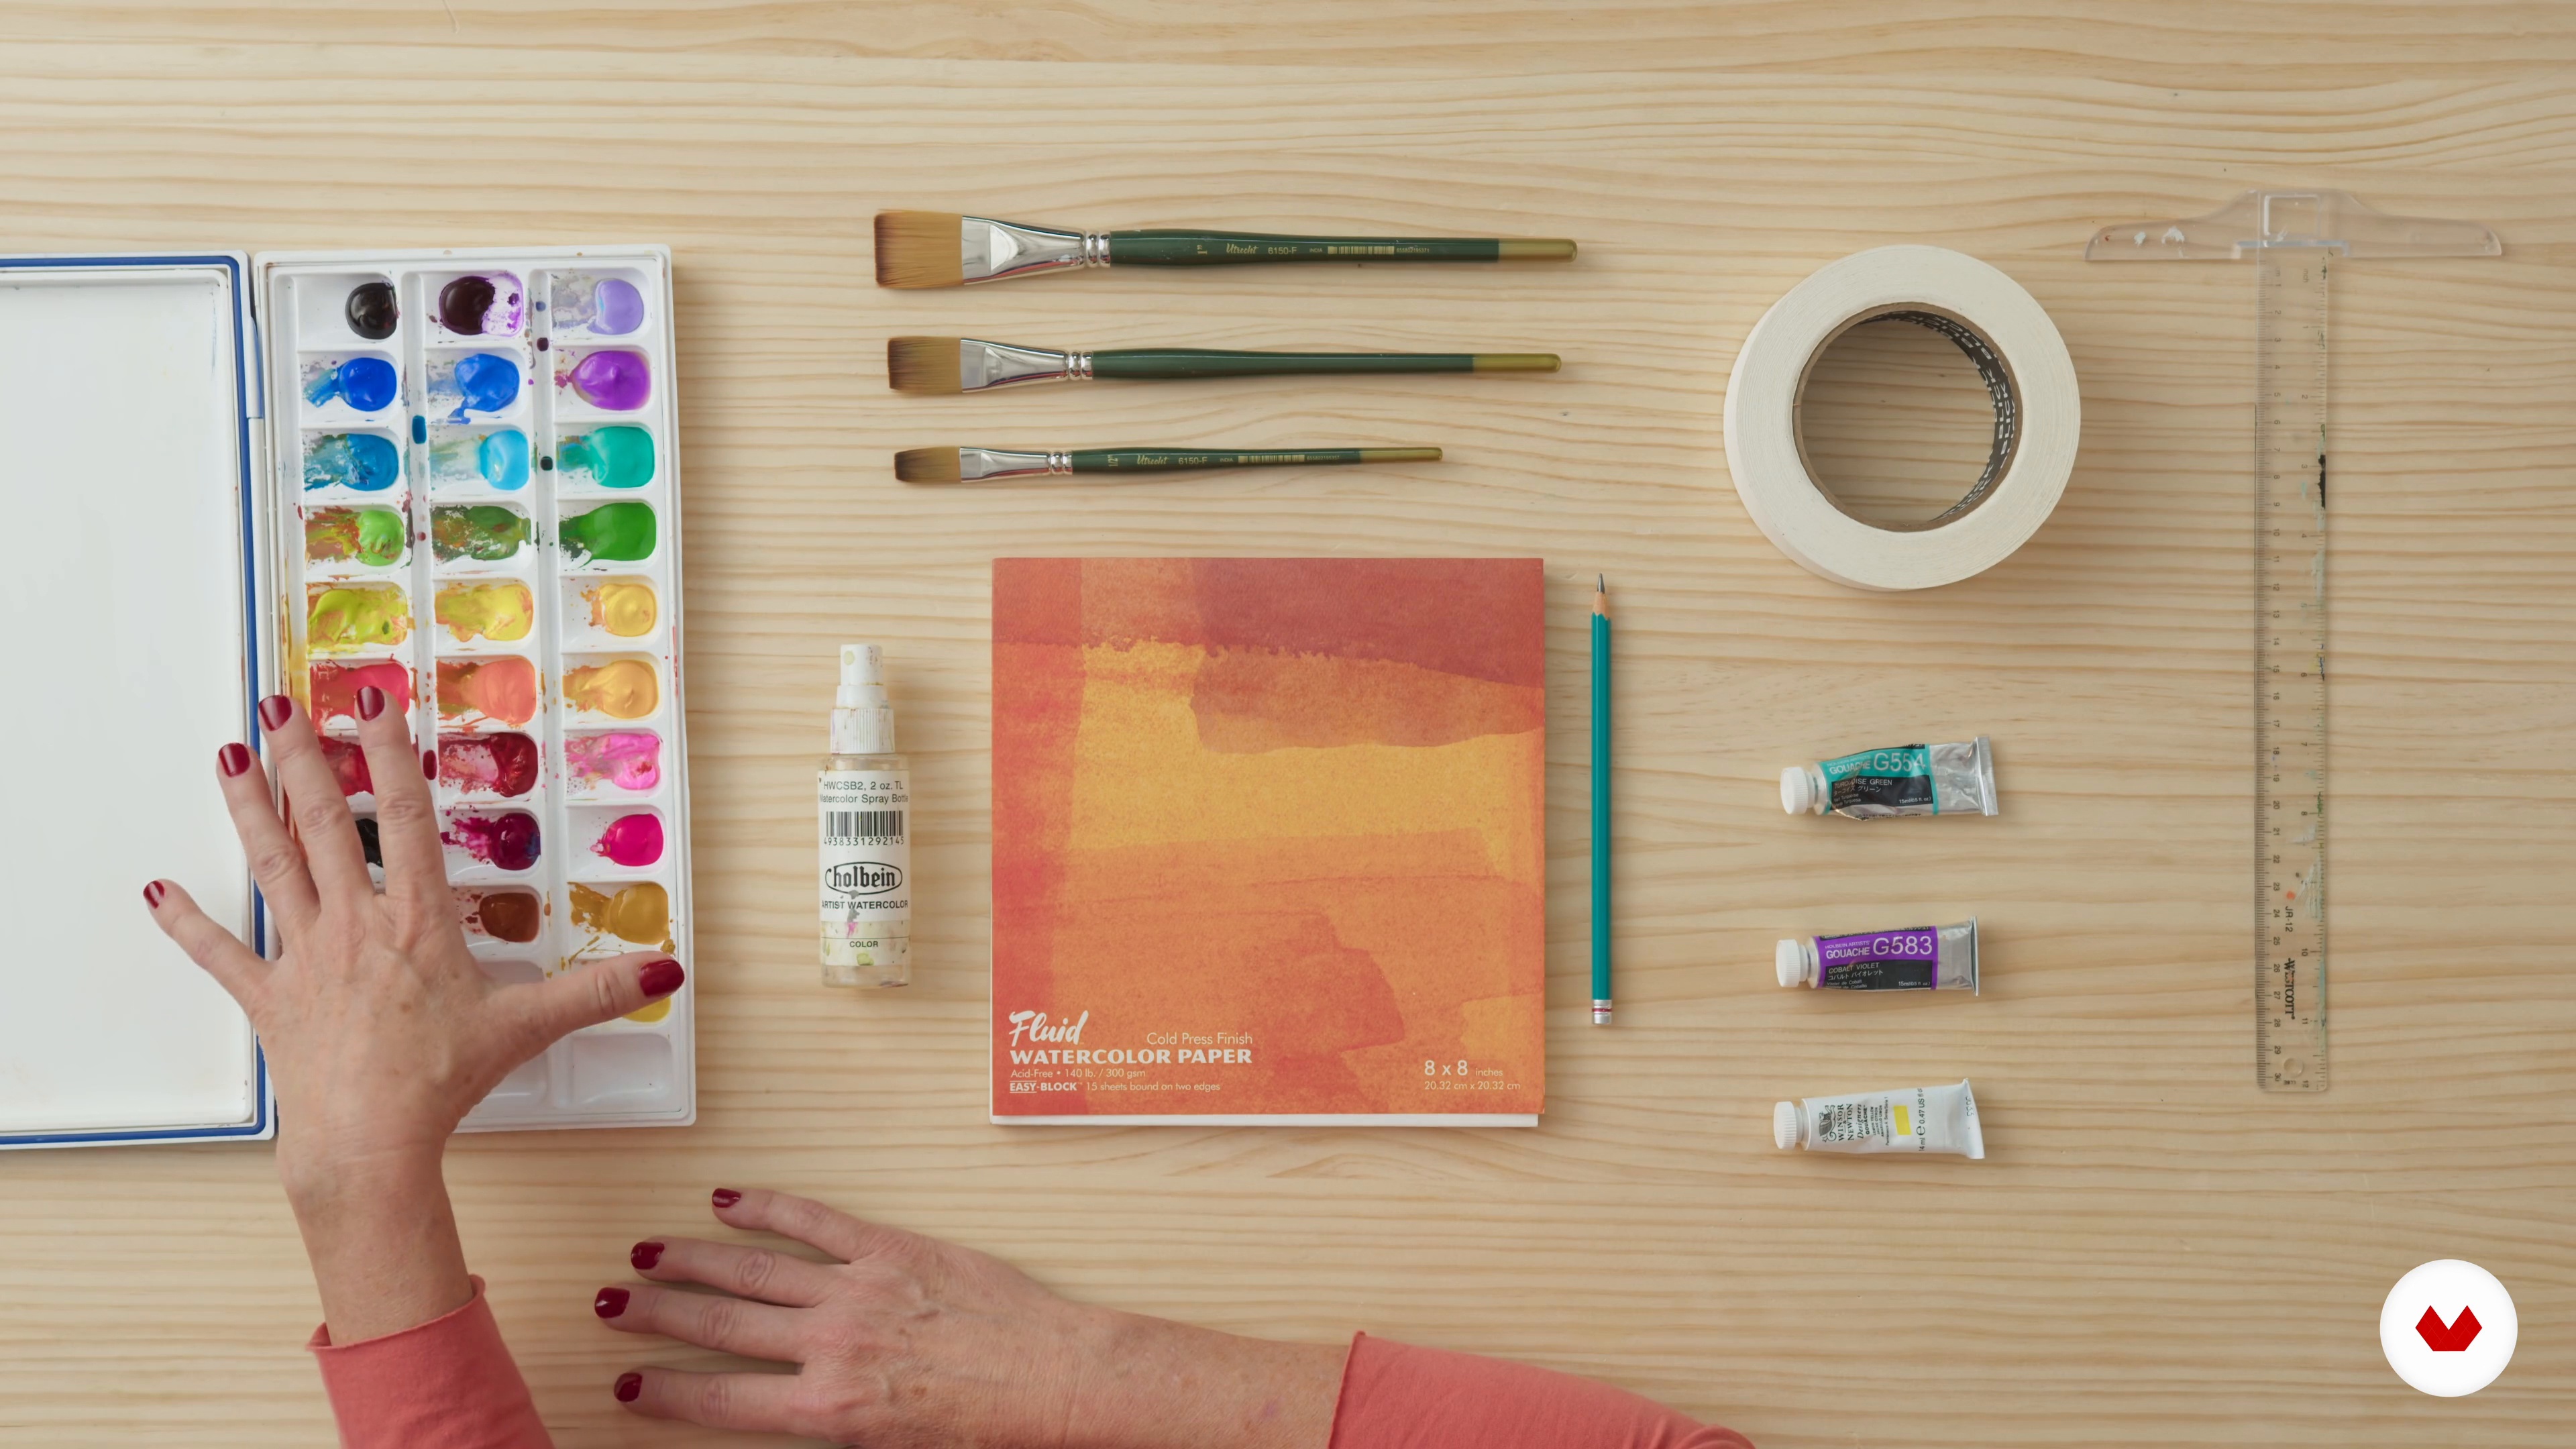
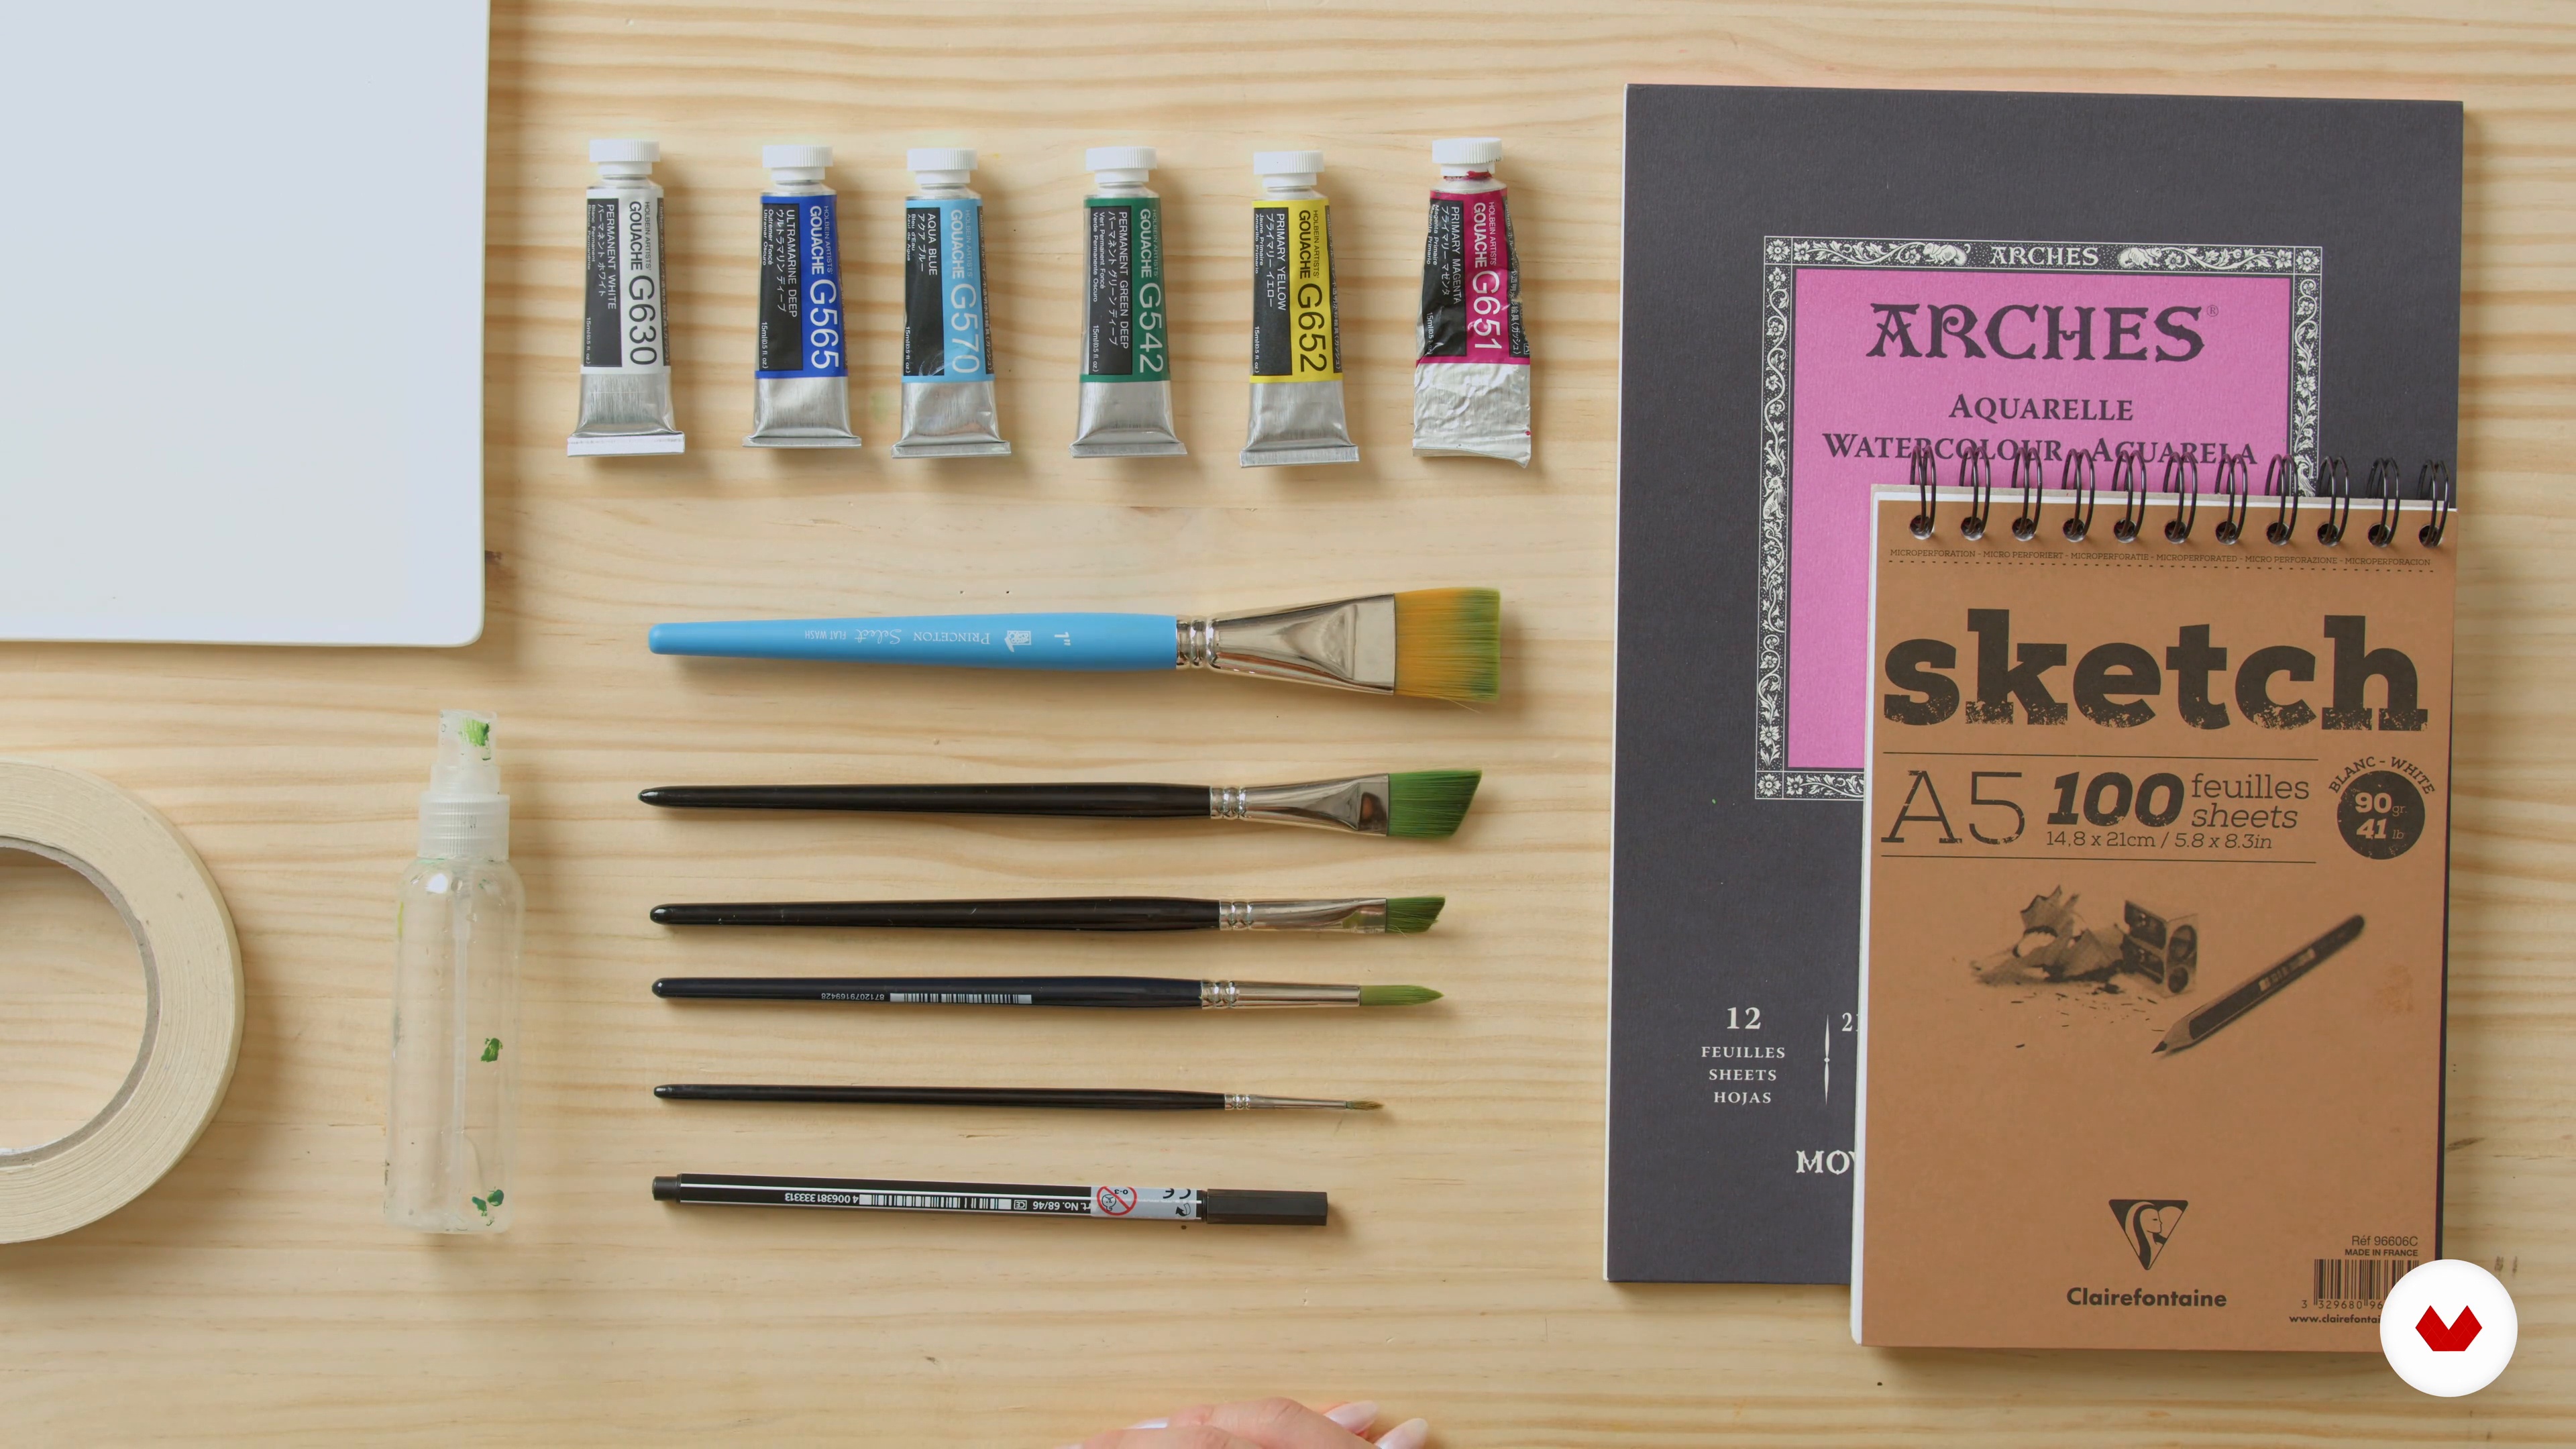
Presenting the Materials
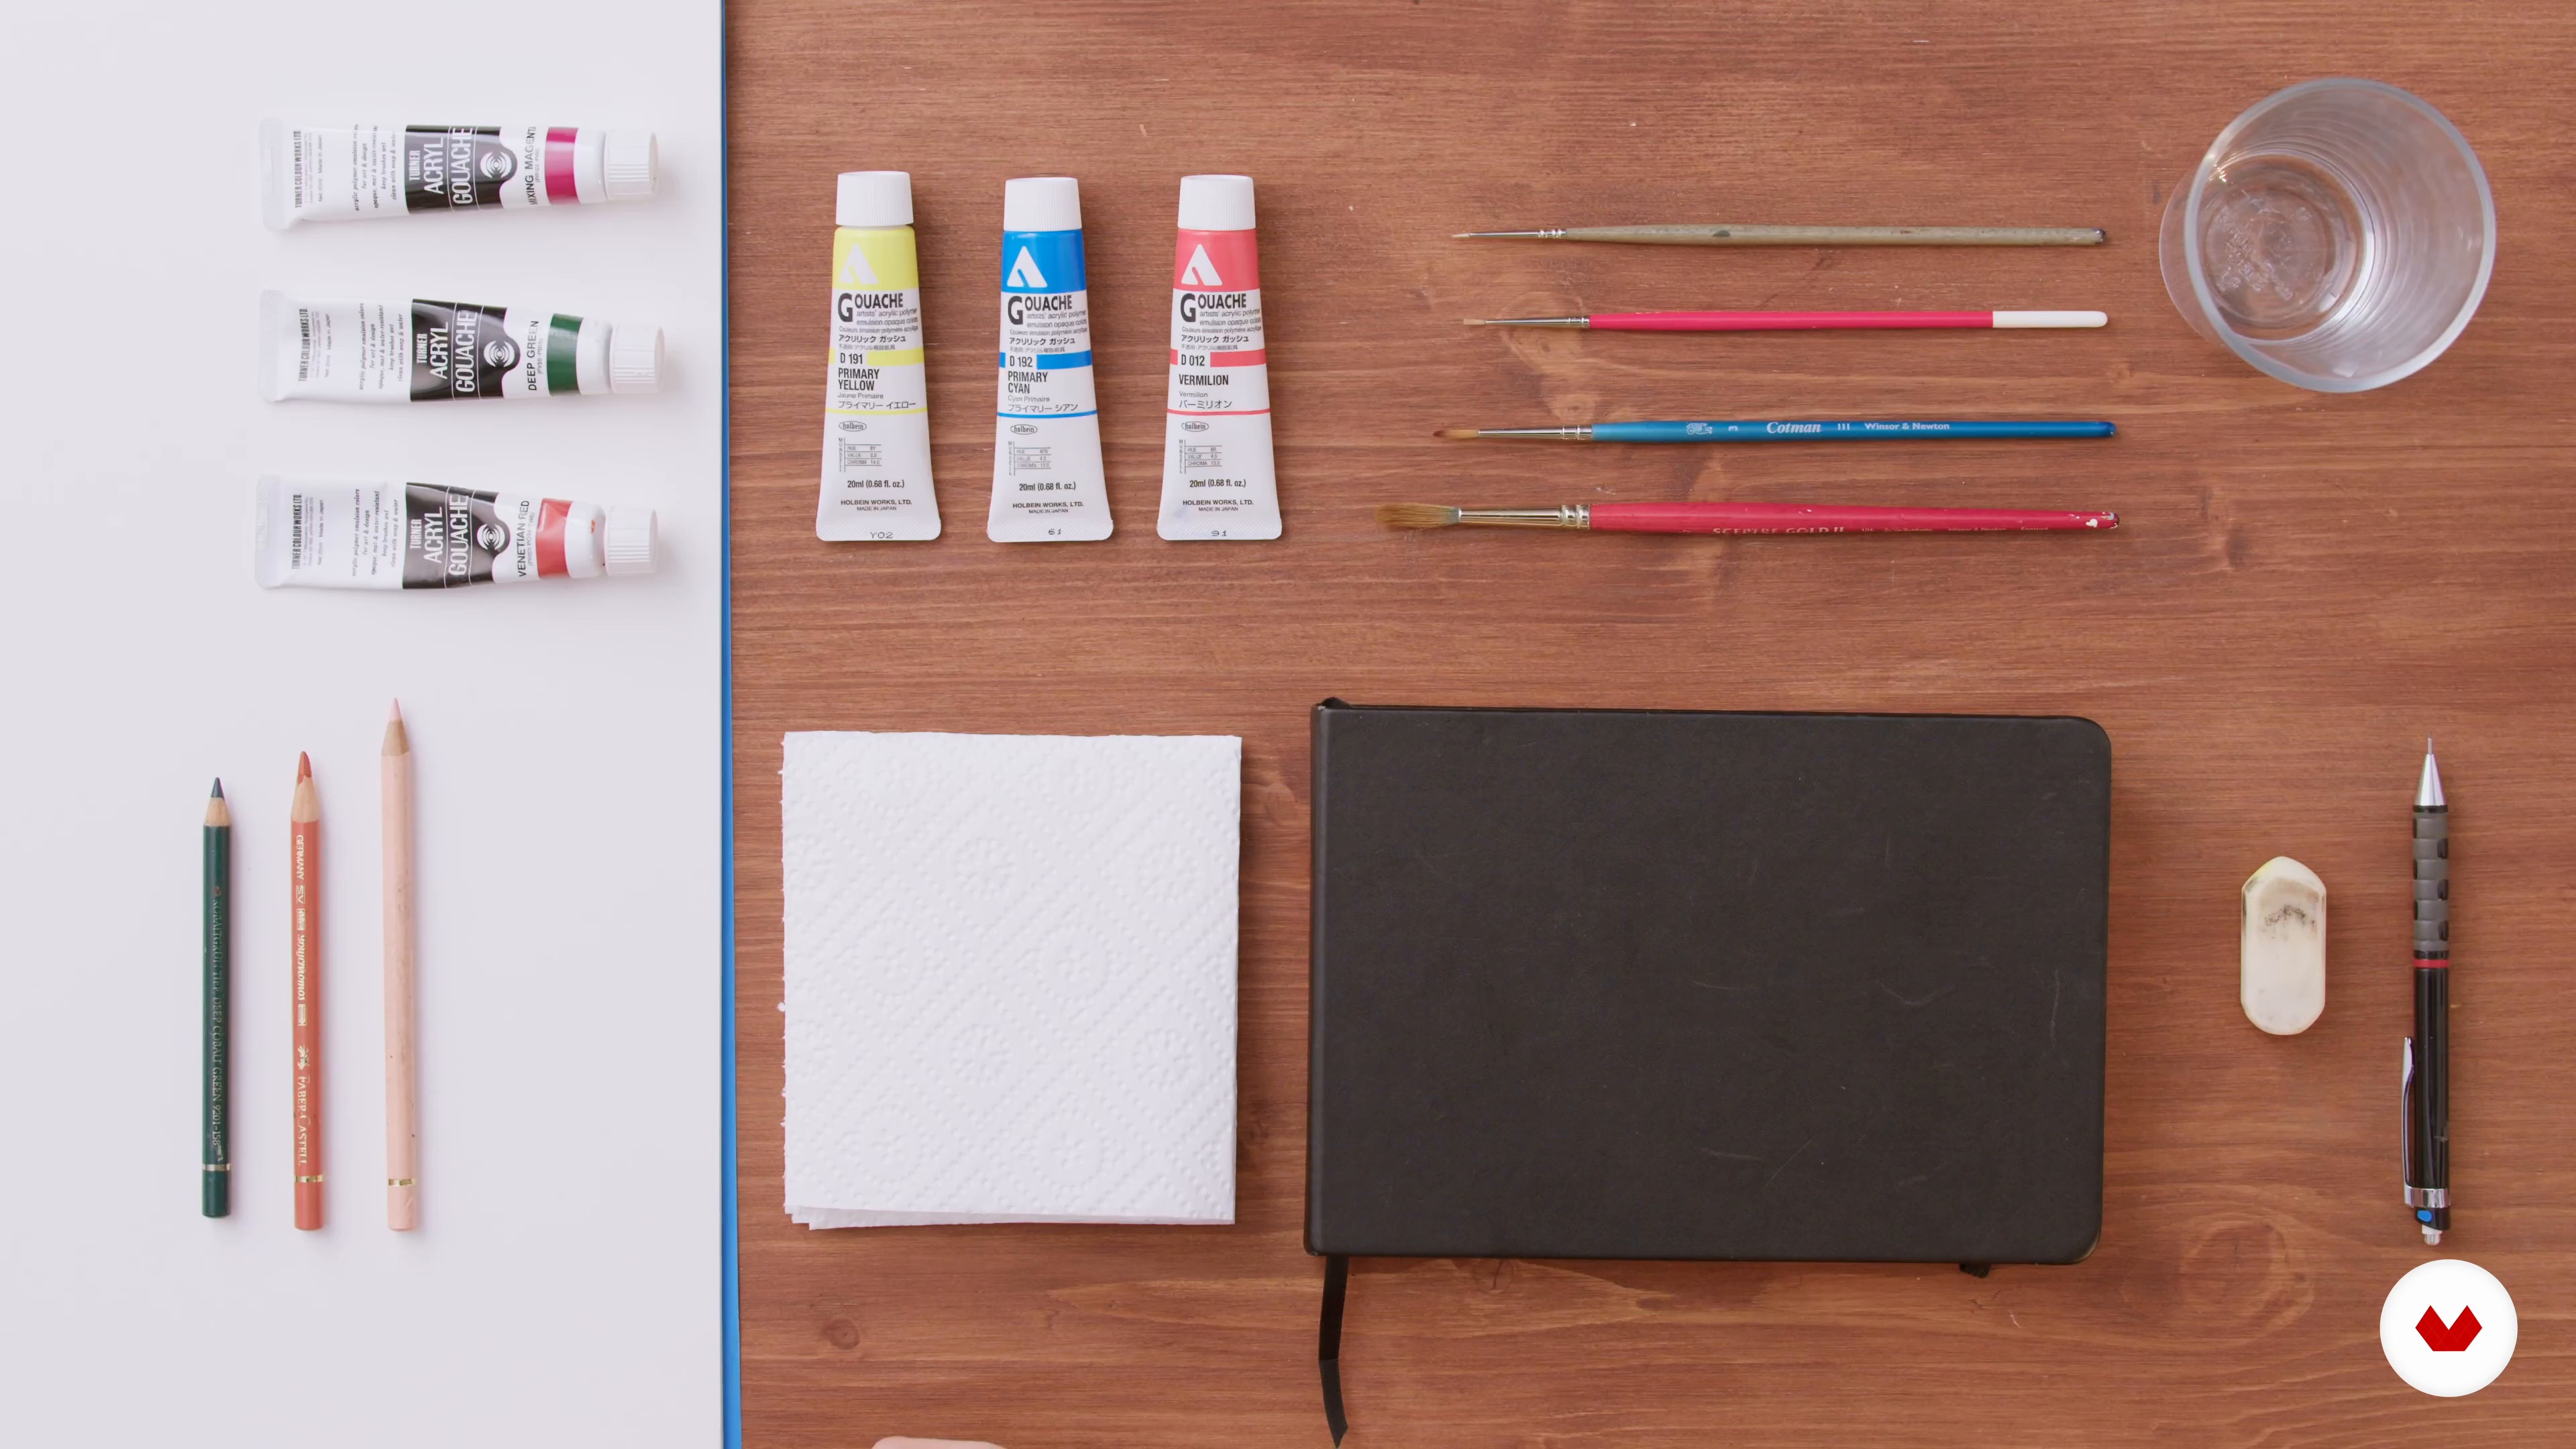
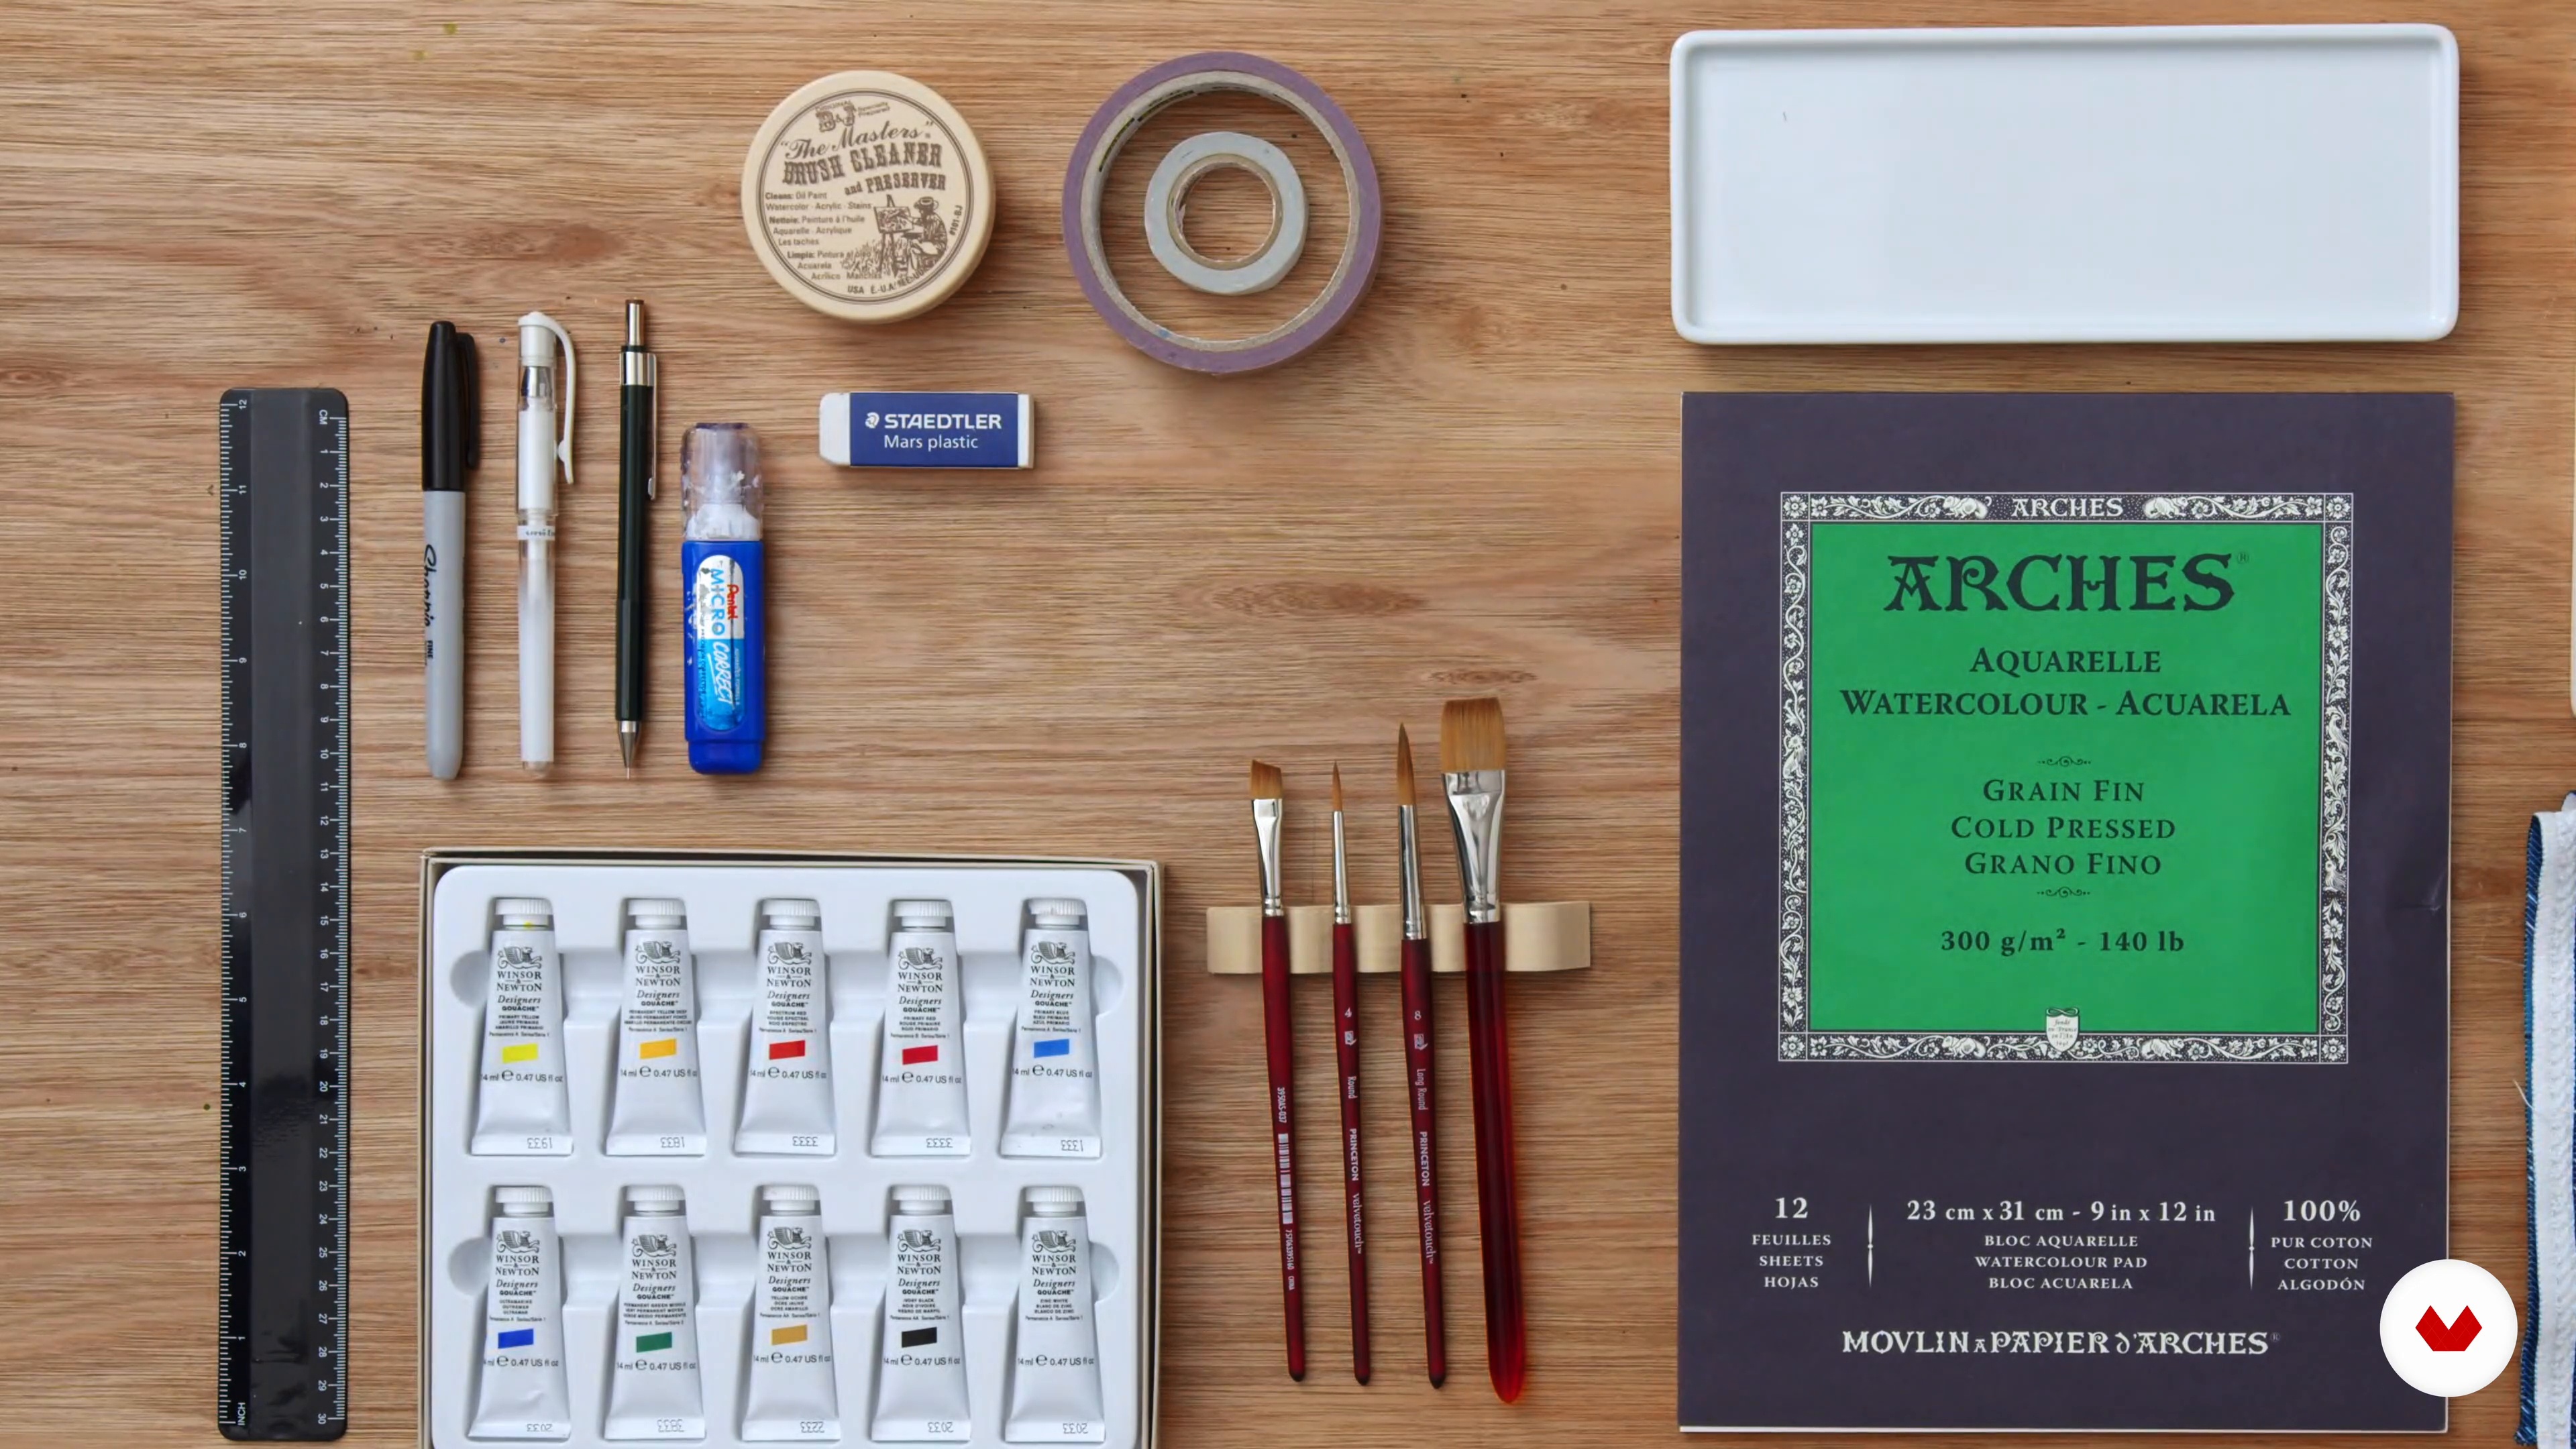
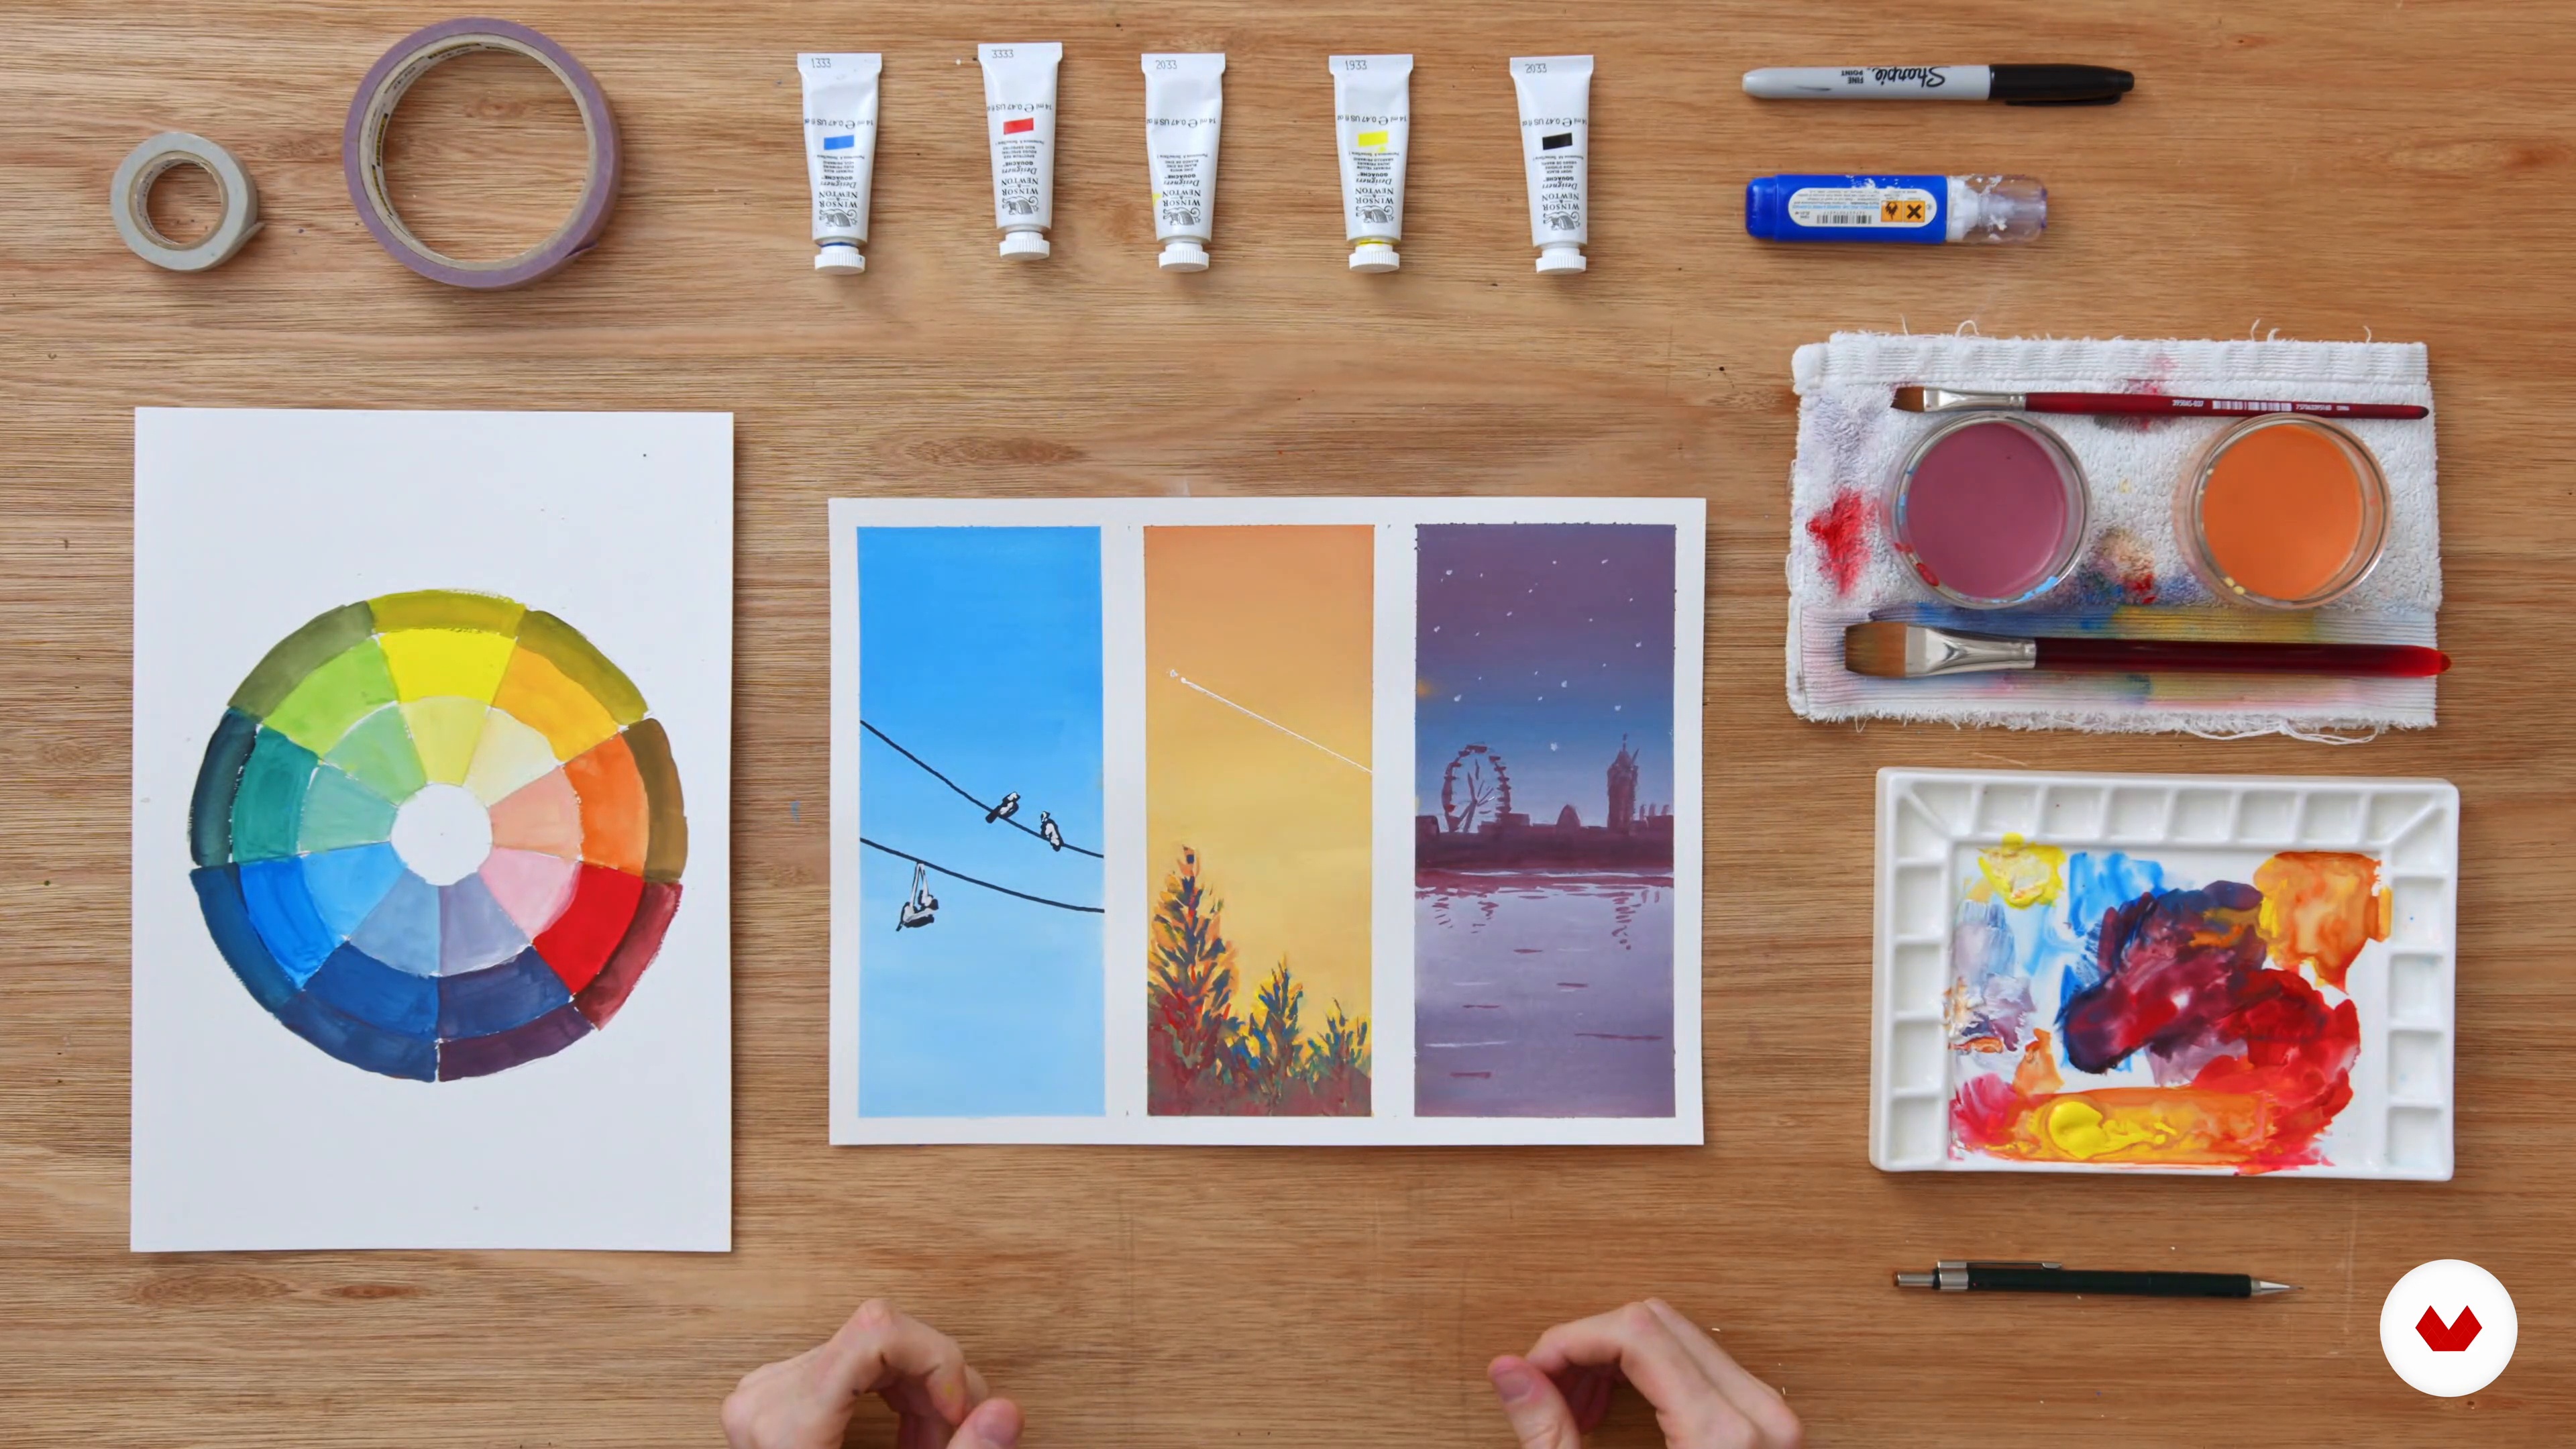
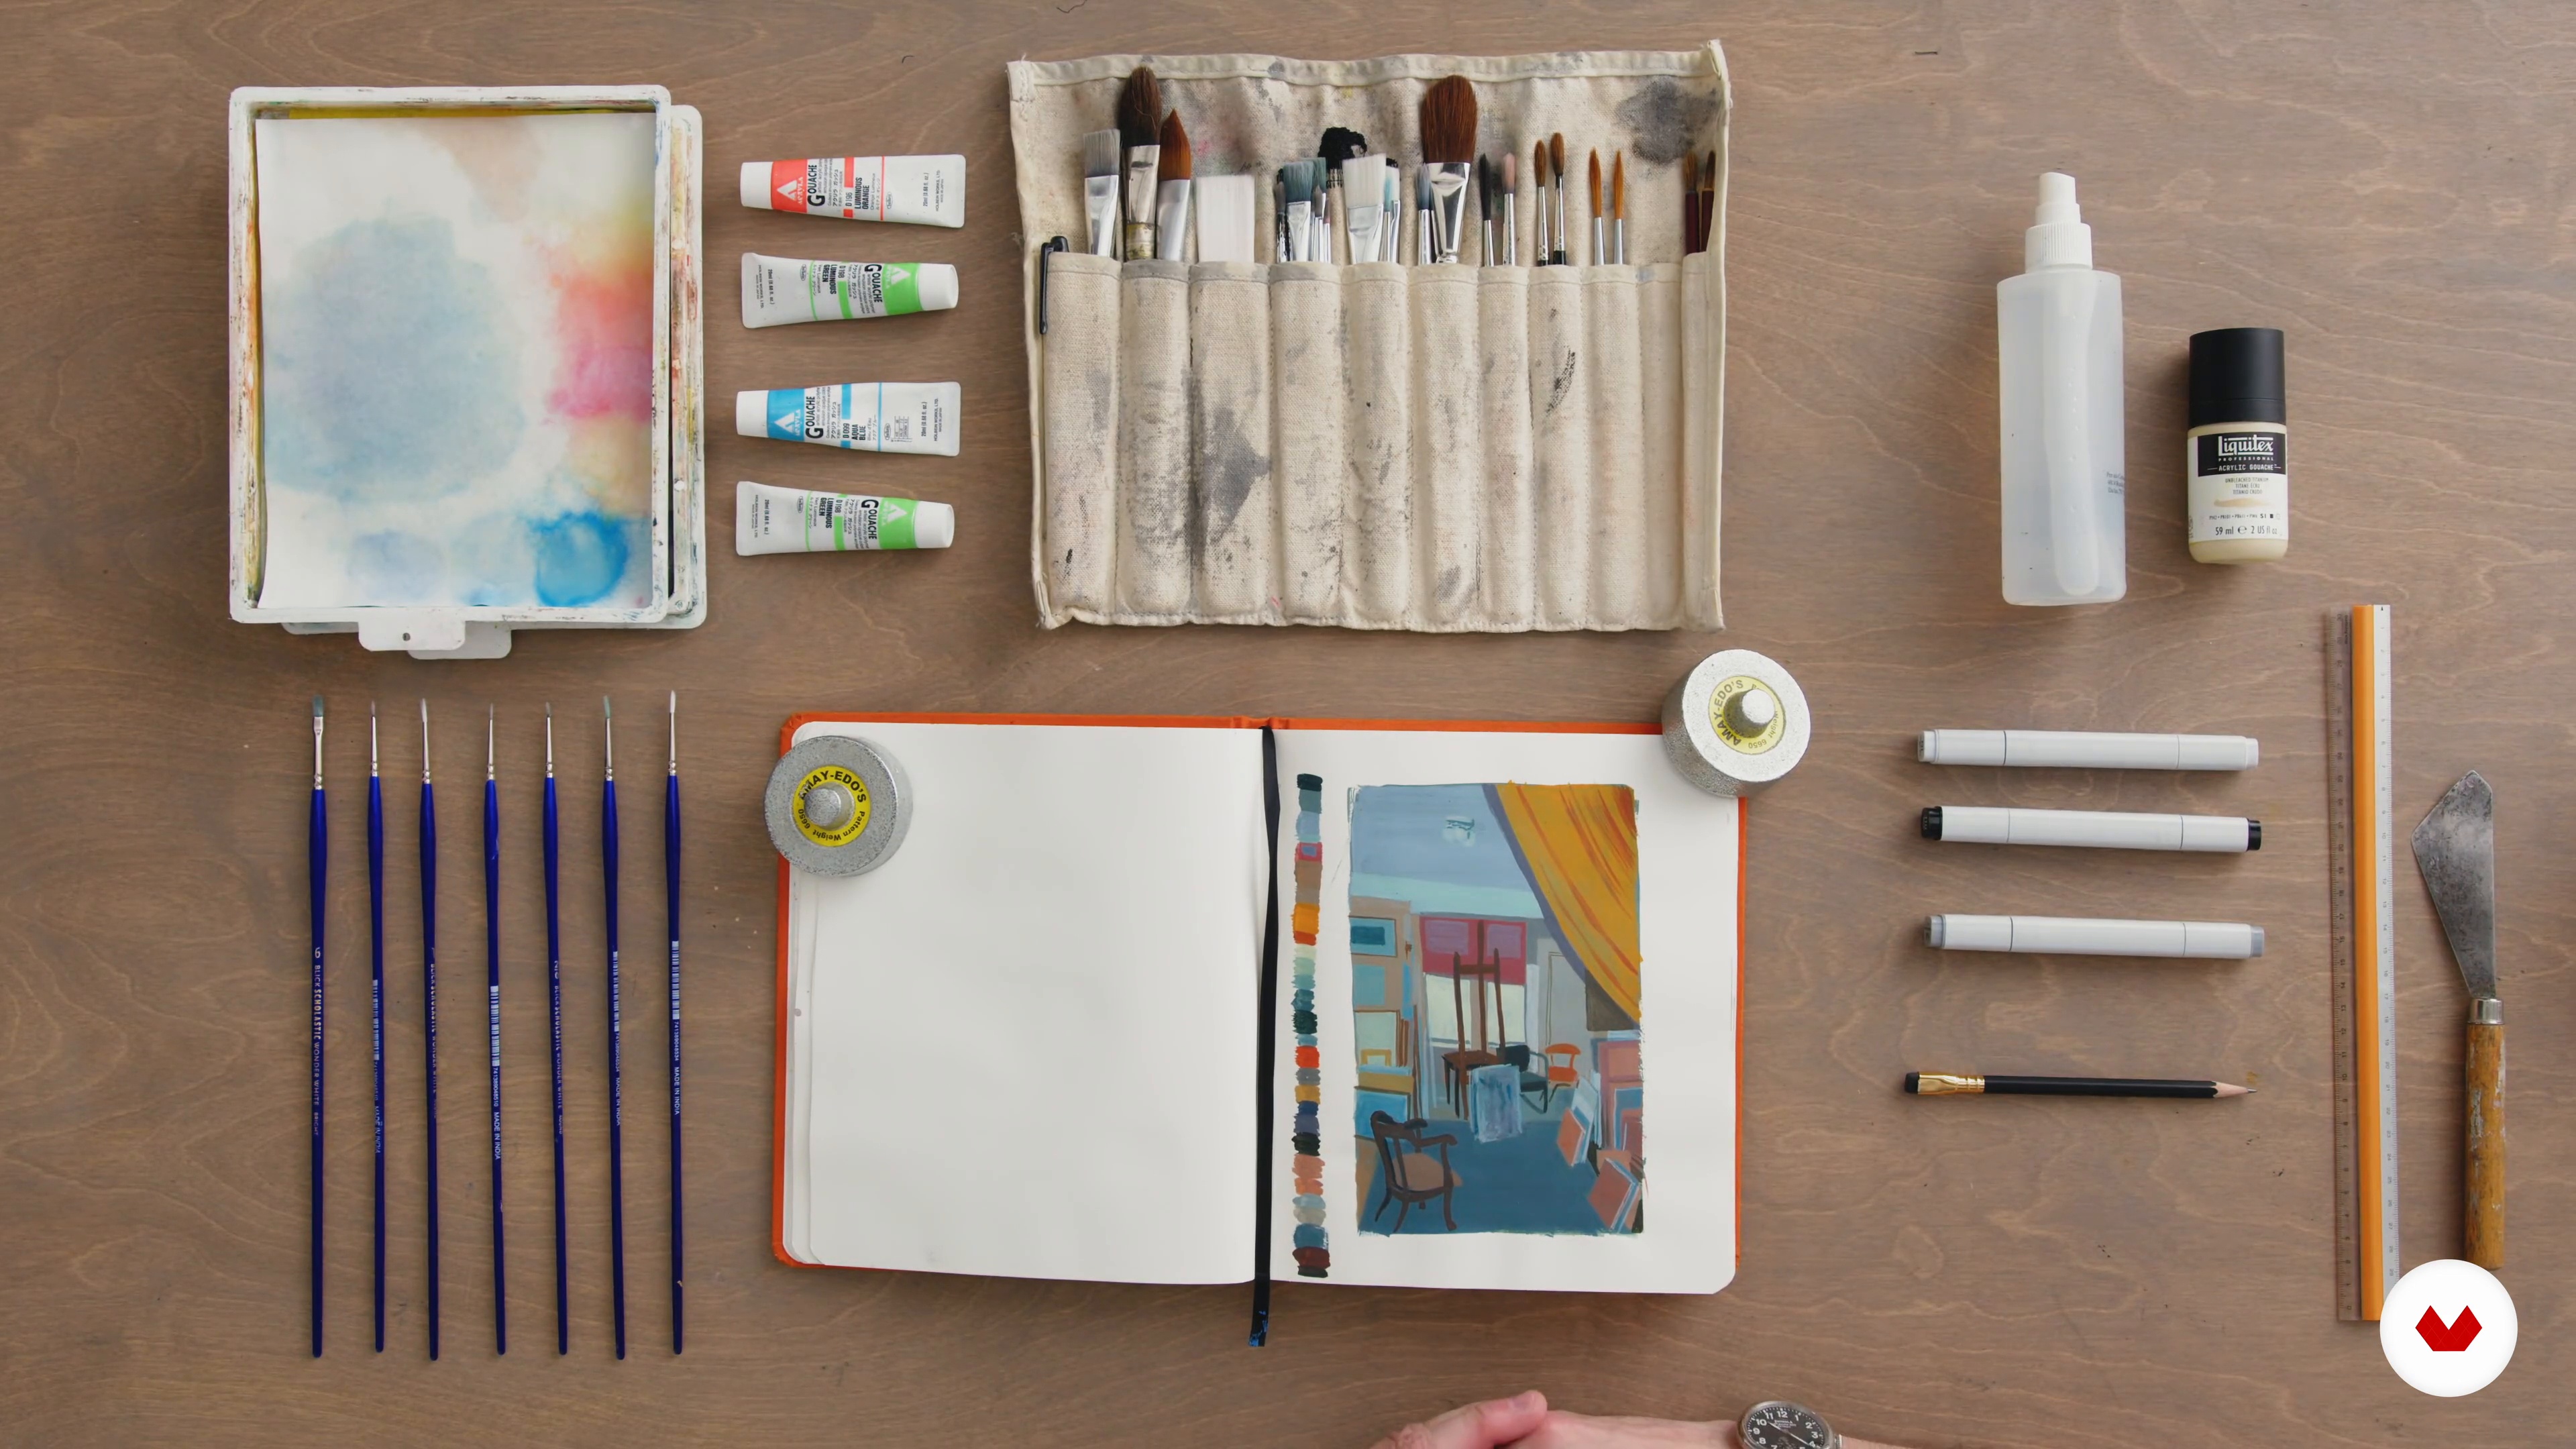
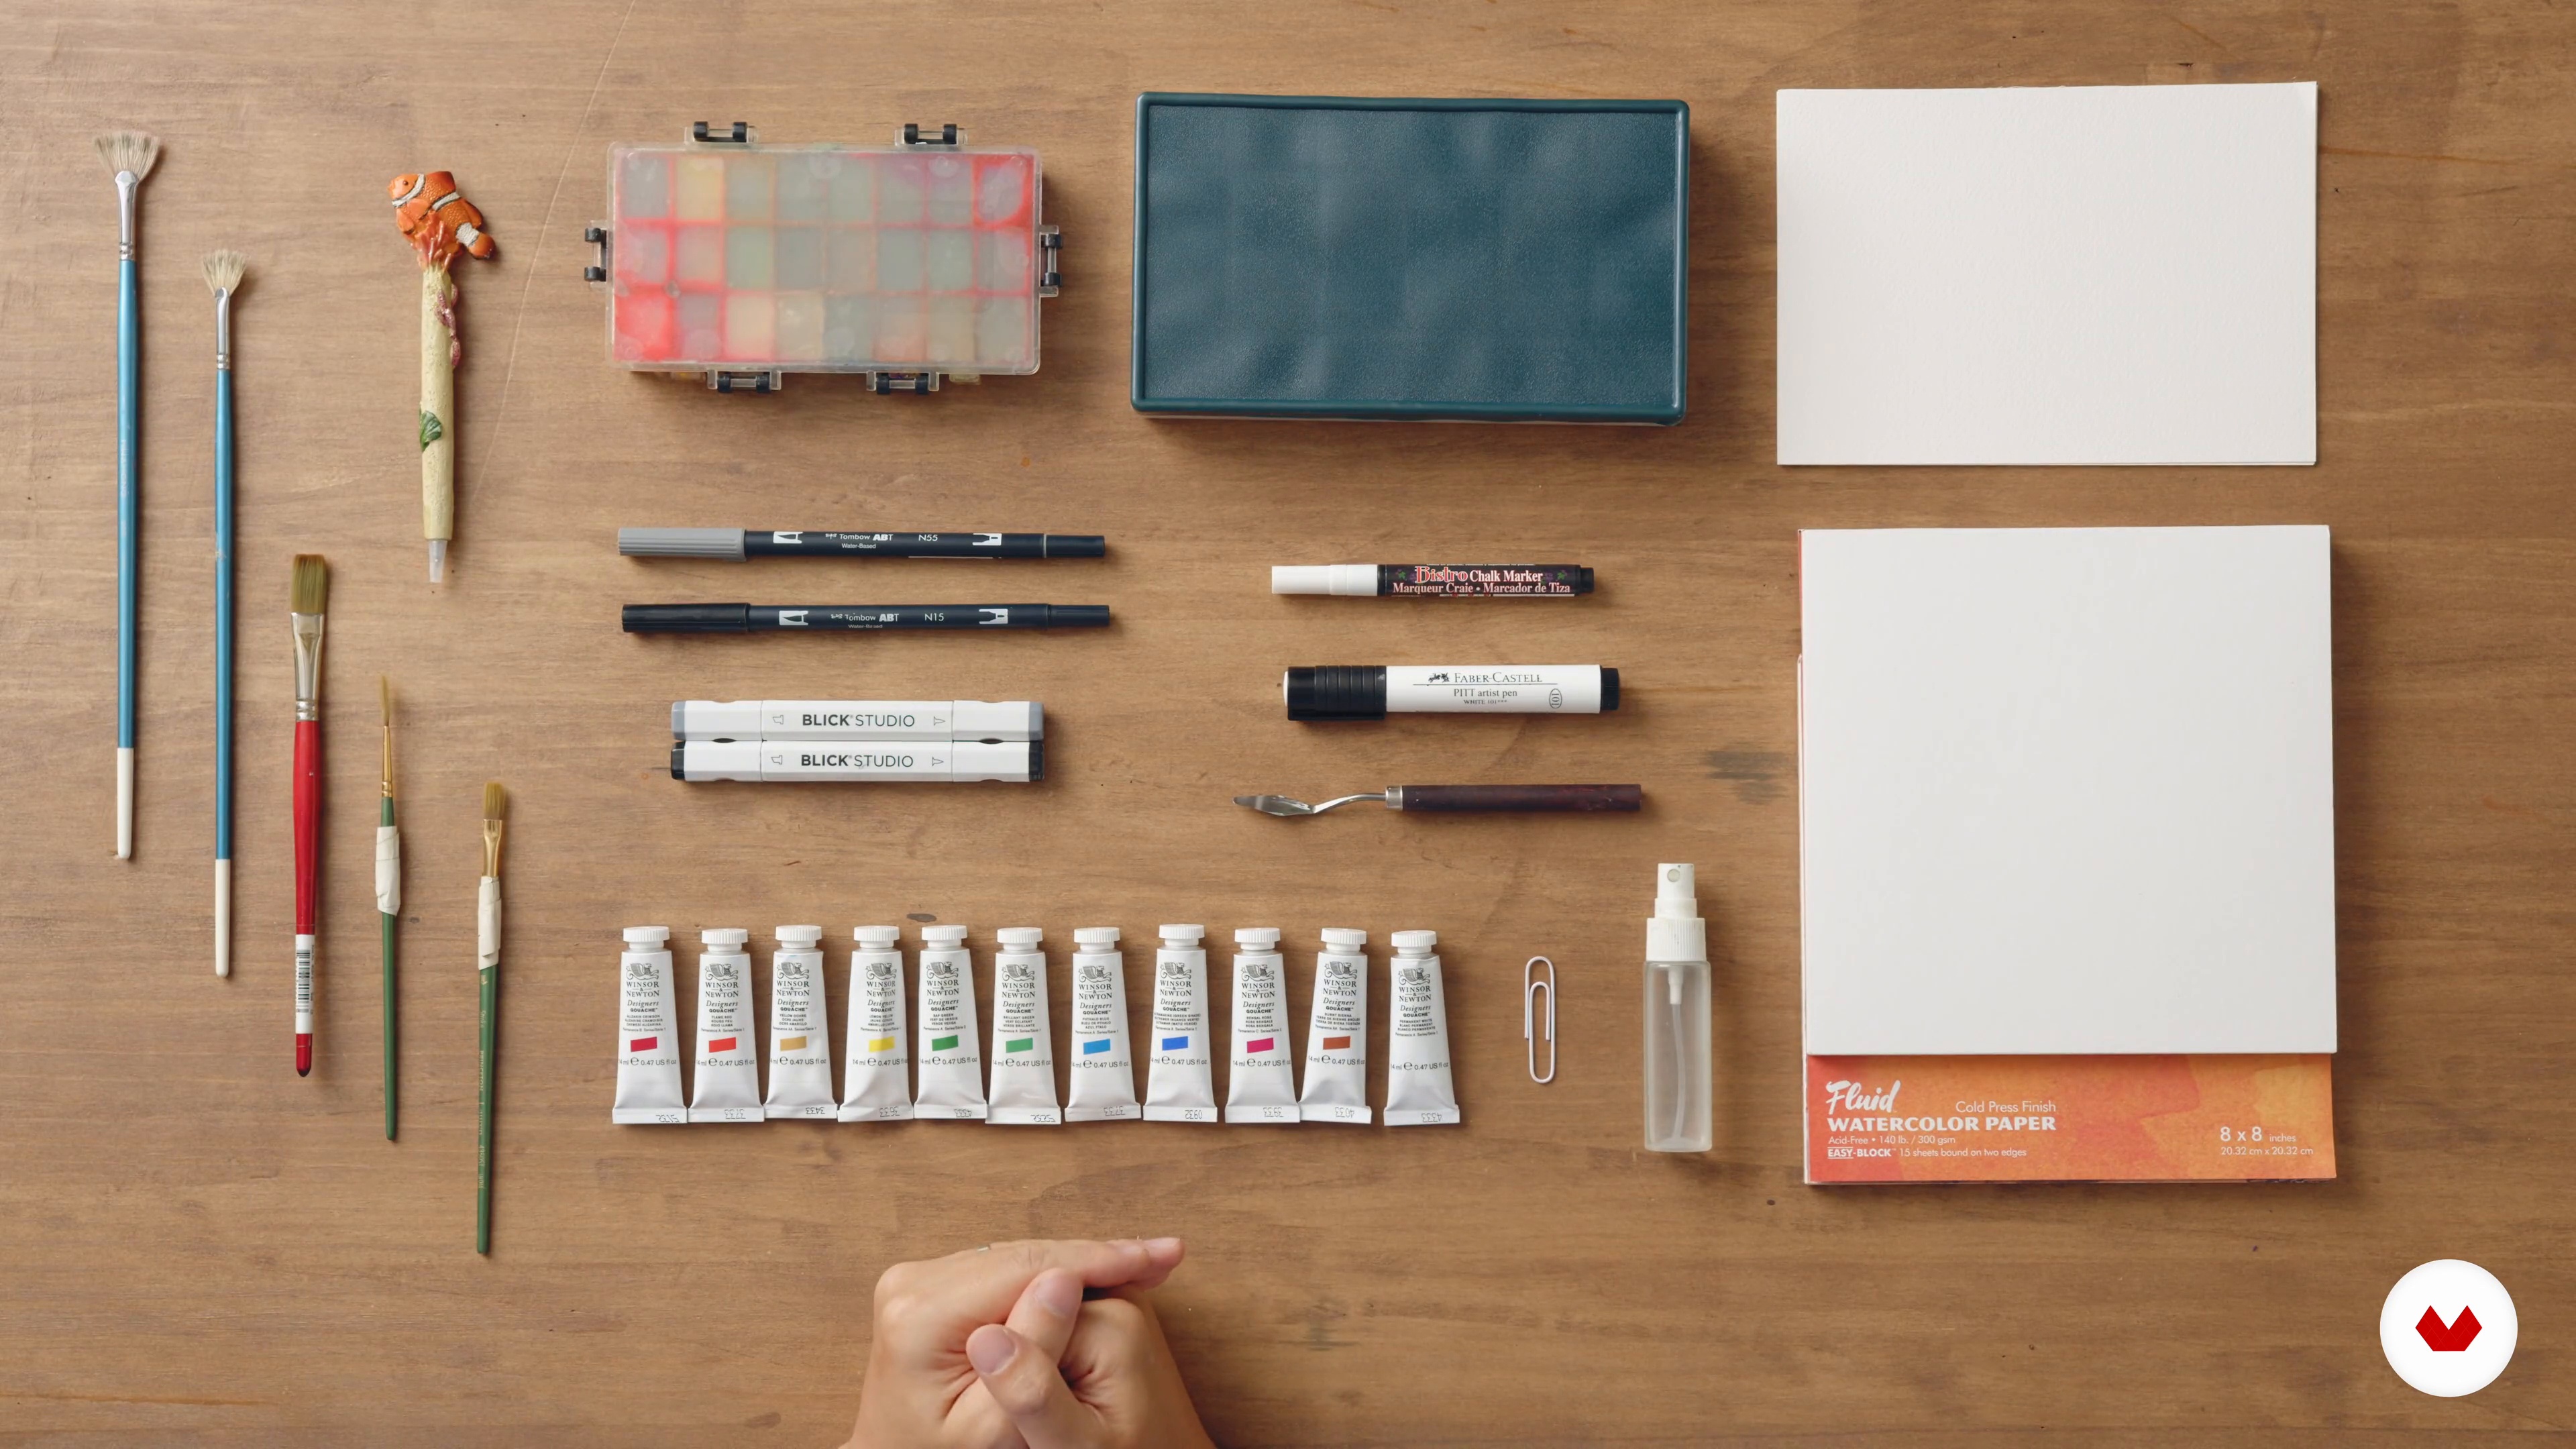
Let's start with the essentials. I will show you the materials and tools needed to paint the project for this course.
2m
image
4
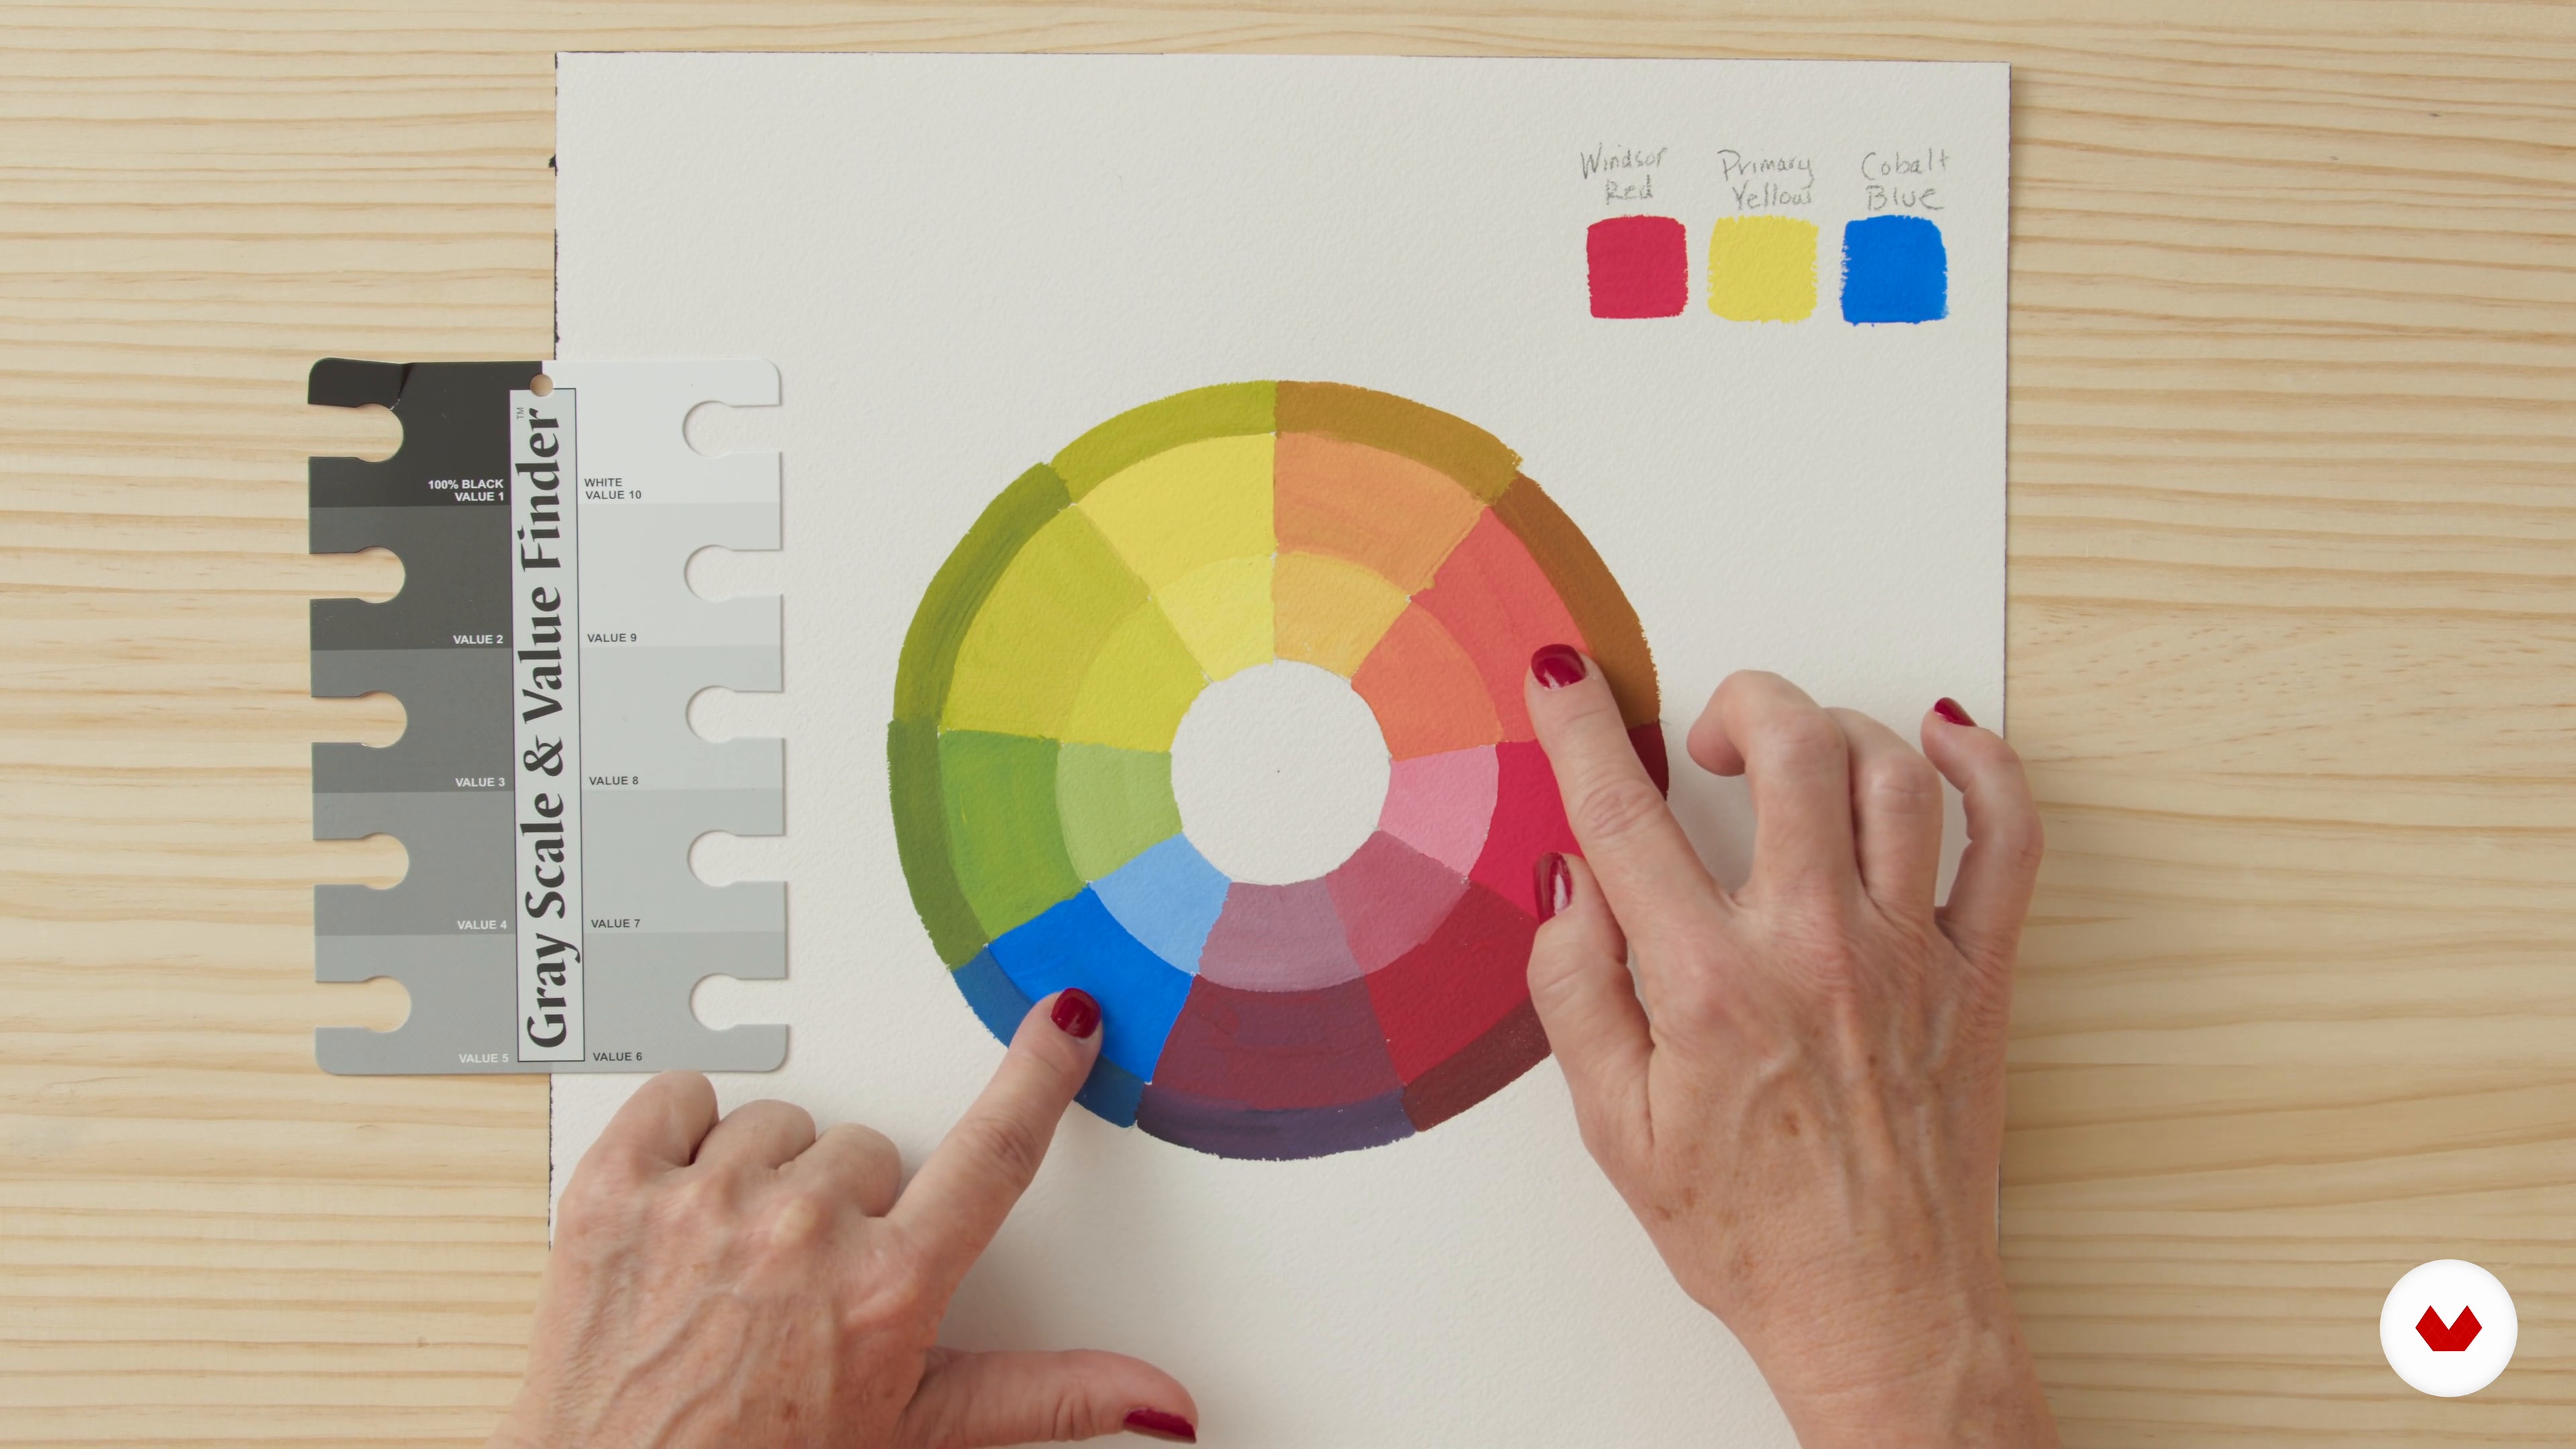
Color Theory and Value
In this lesson, you will learn about color theory and how it can impact the overall mood of a painting. I will also talk about the importance of a range of values in a painting.
4m
image
5
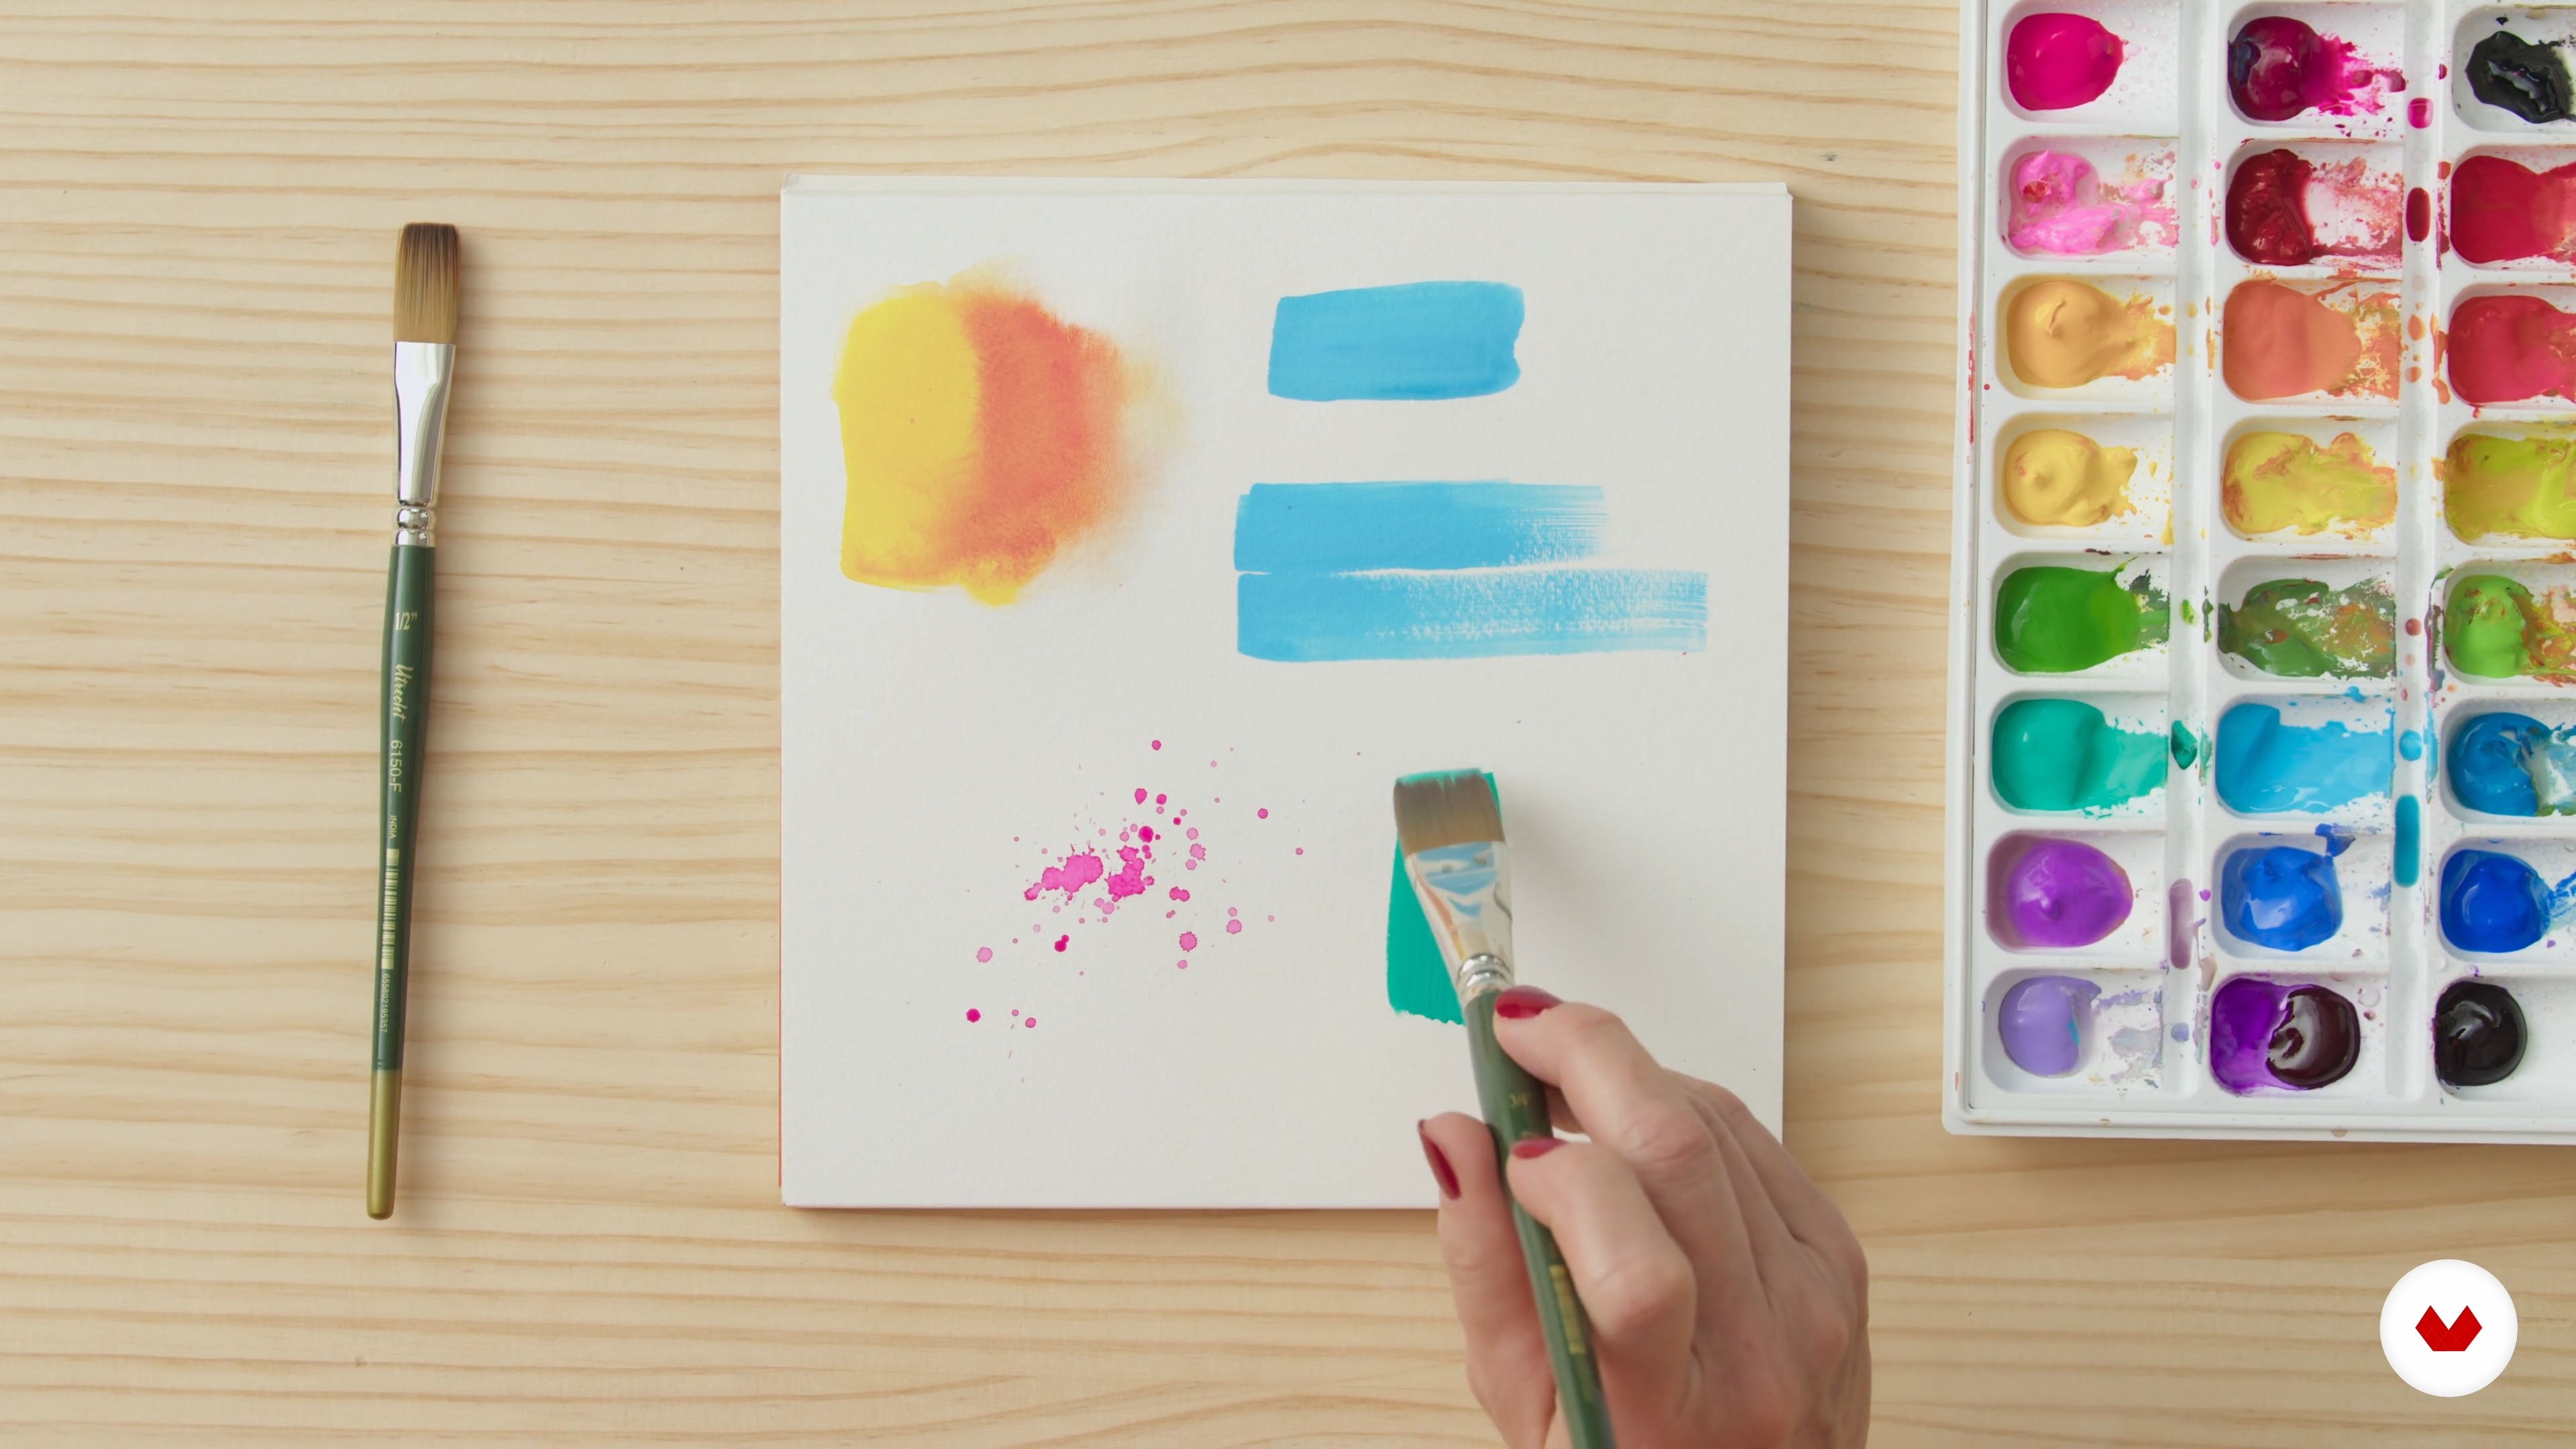
The Properties of Gouache
Now, I will explain the unique properties of gouache and show you how versatile and forgiving it is. I will also show you how to properly care for and store your gouache paints.
5m
image
6
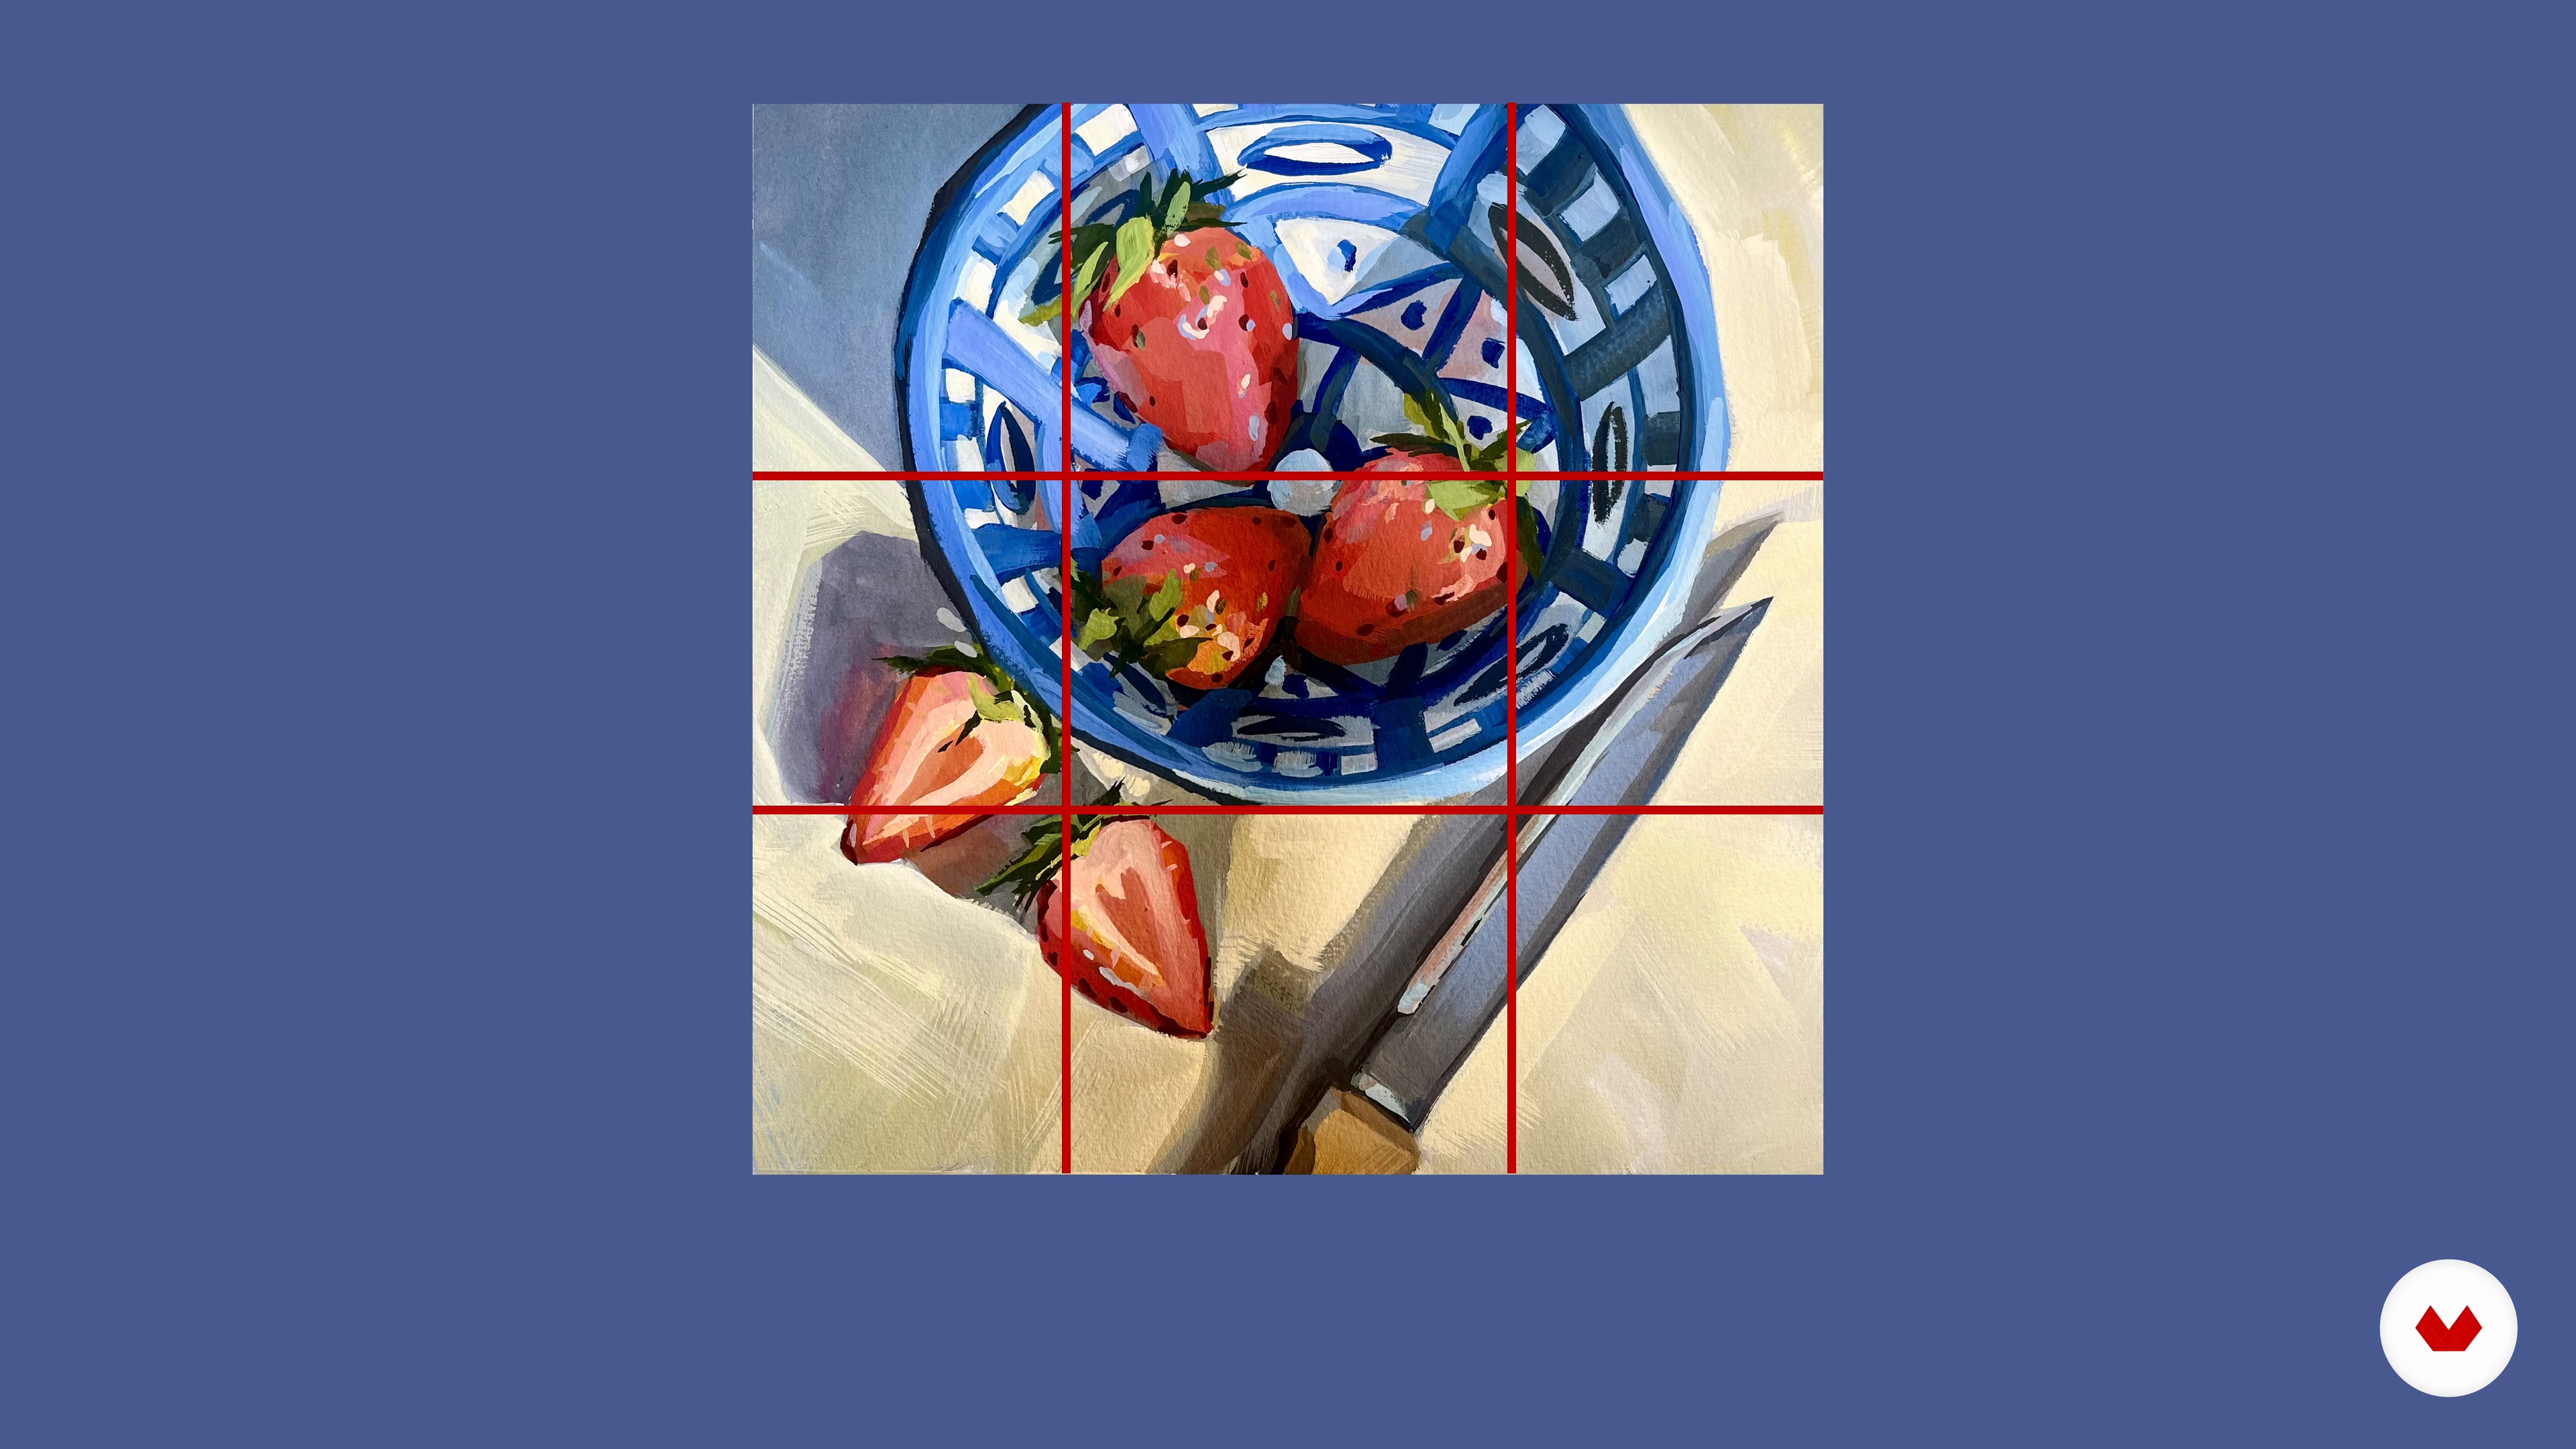
Choosing the Subject and Composition
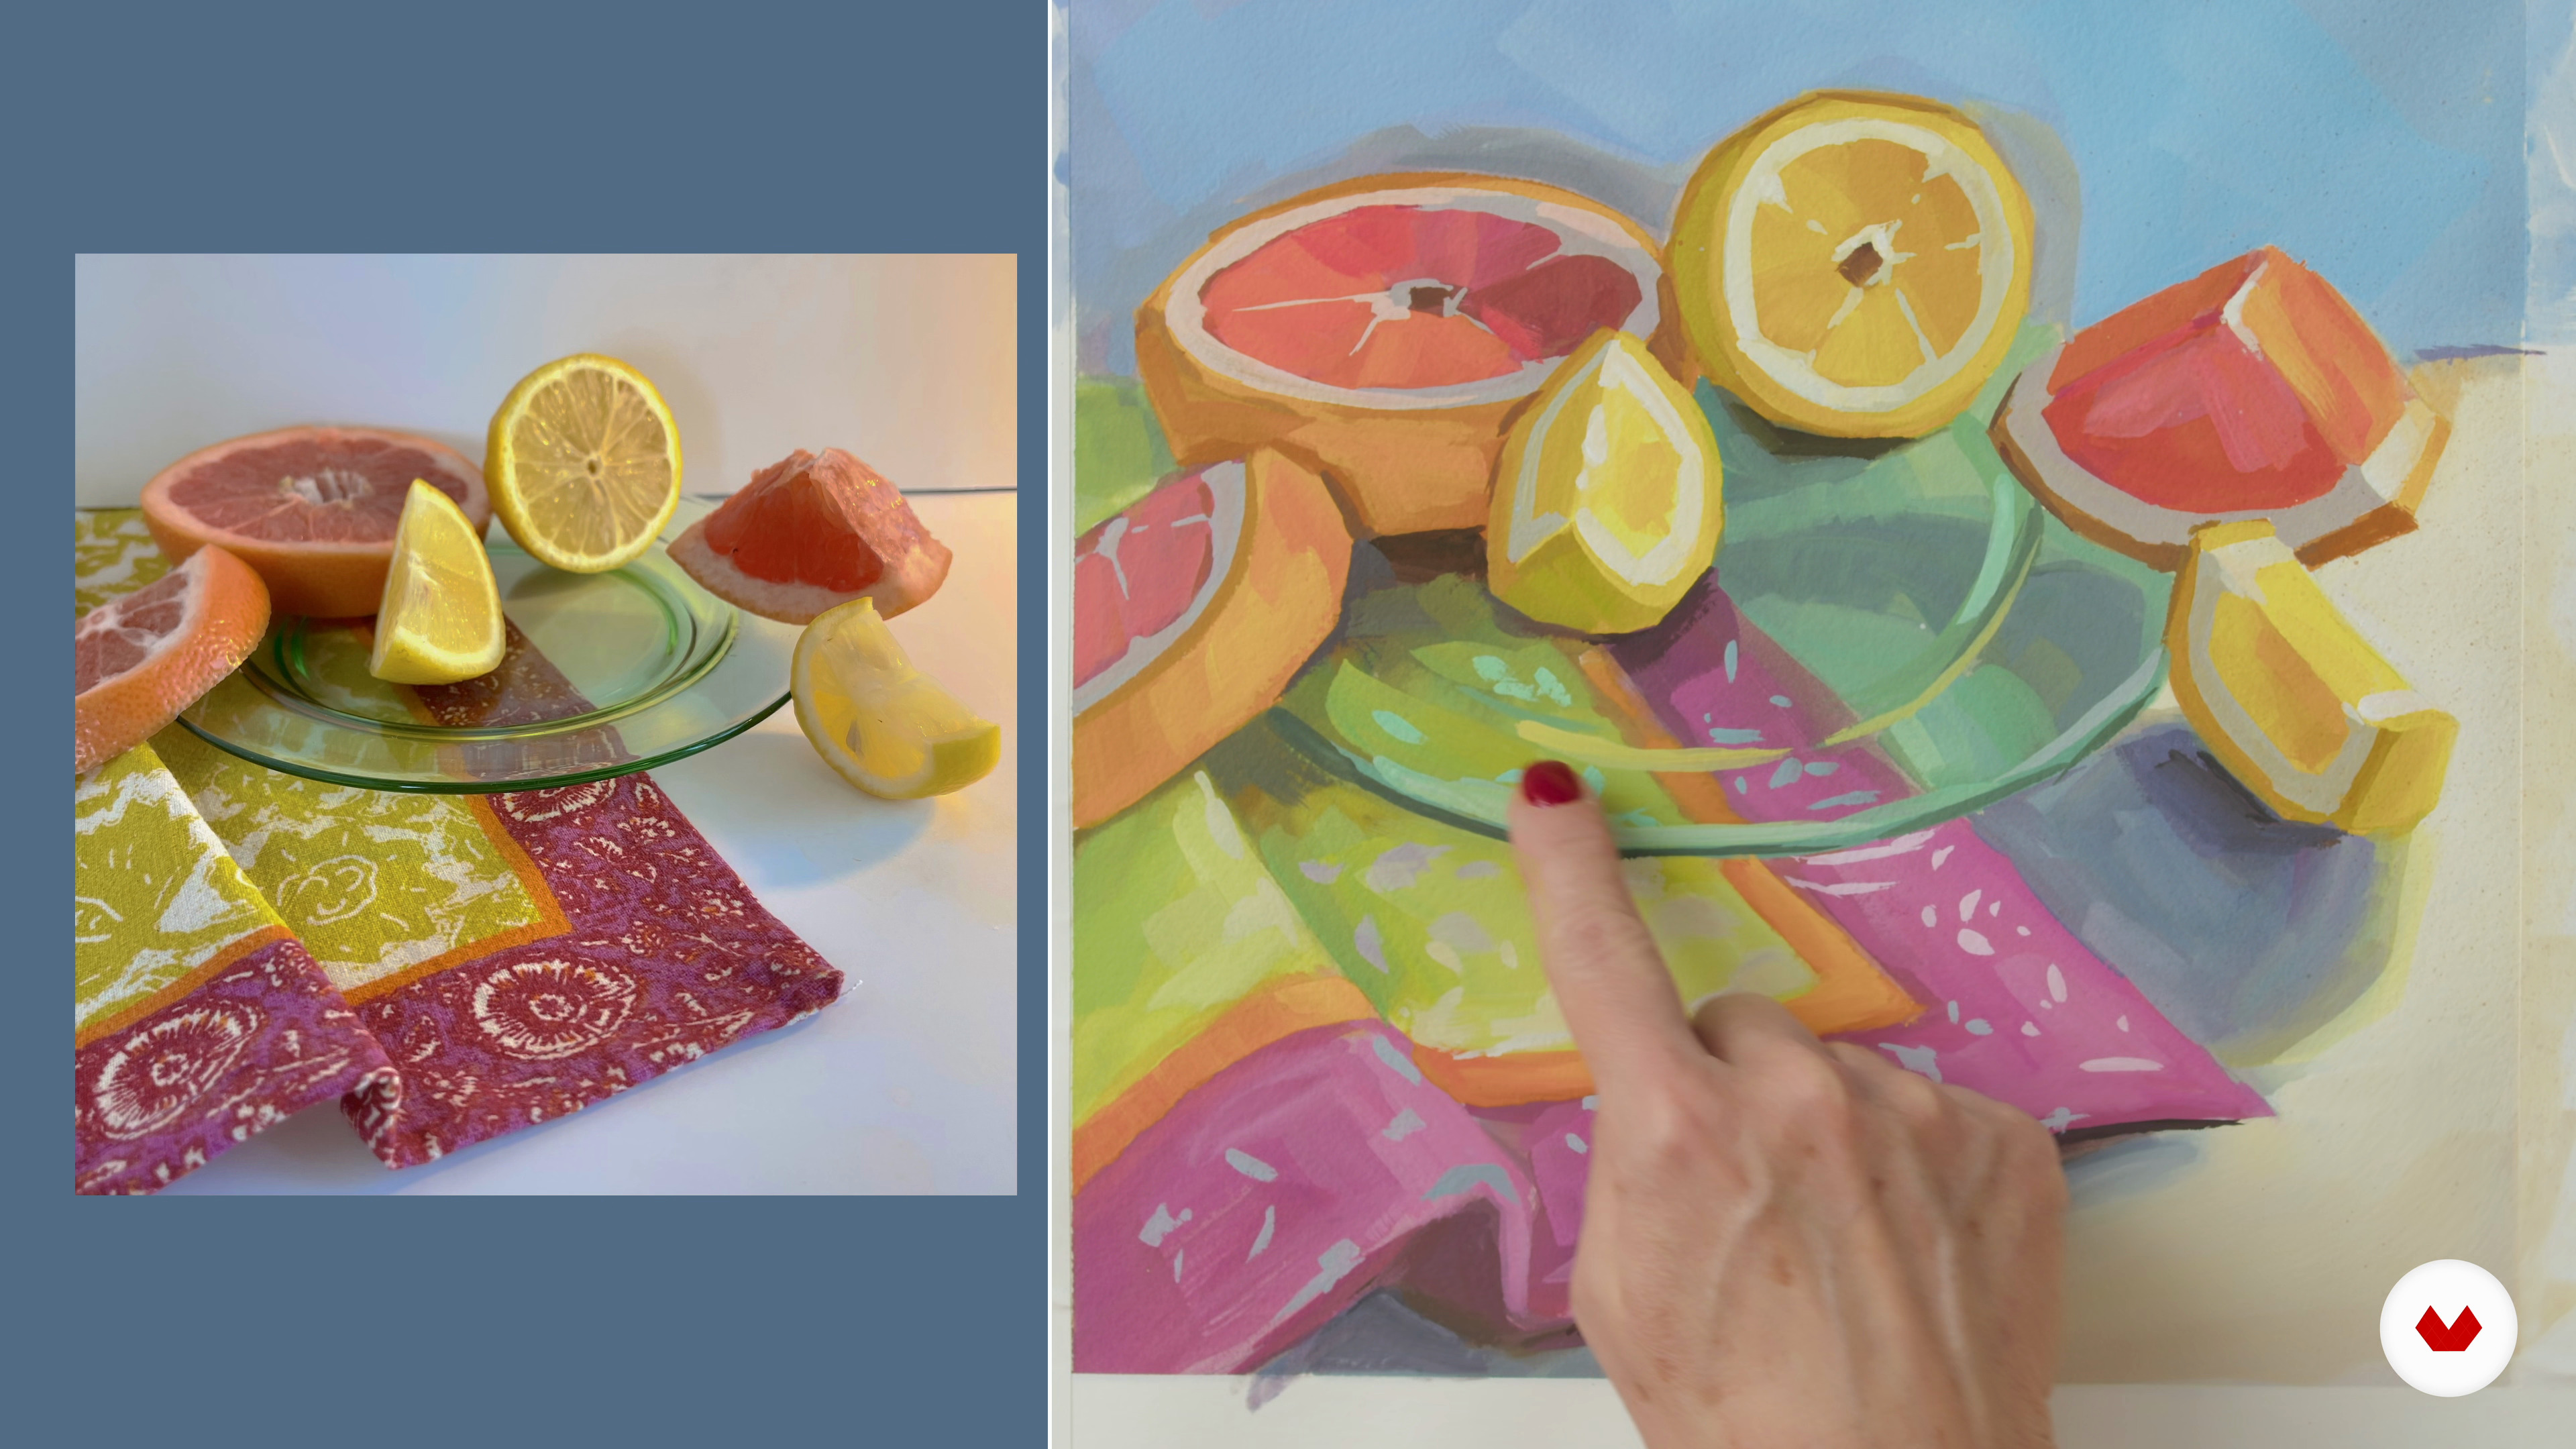
In this lesson, I will show you how to choose your subject and create a dynamic composition for your still life painting.
3m
image
7
Taping the Paper and Sketching the Composition
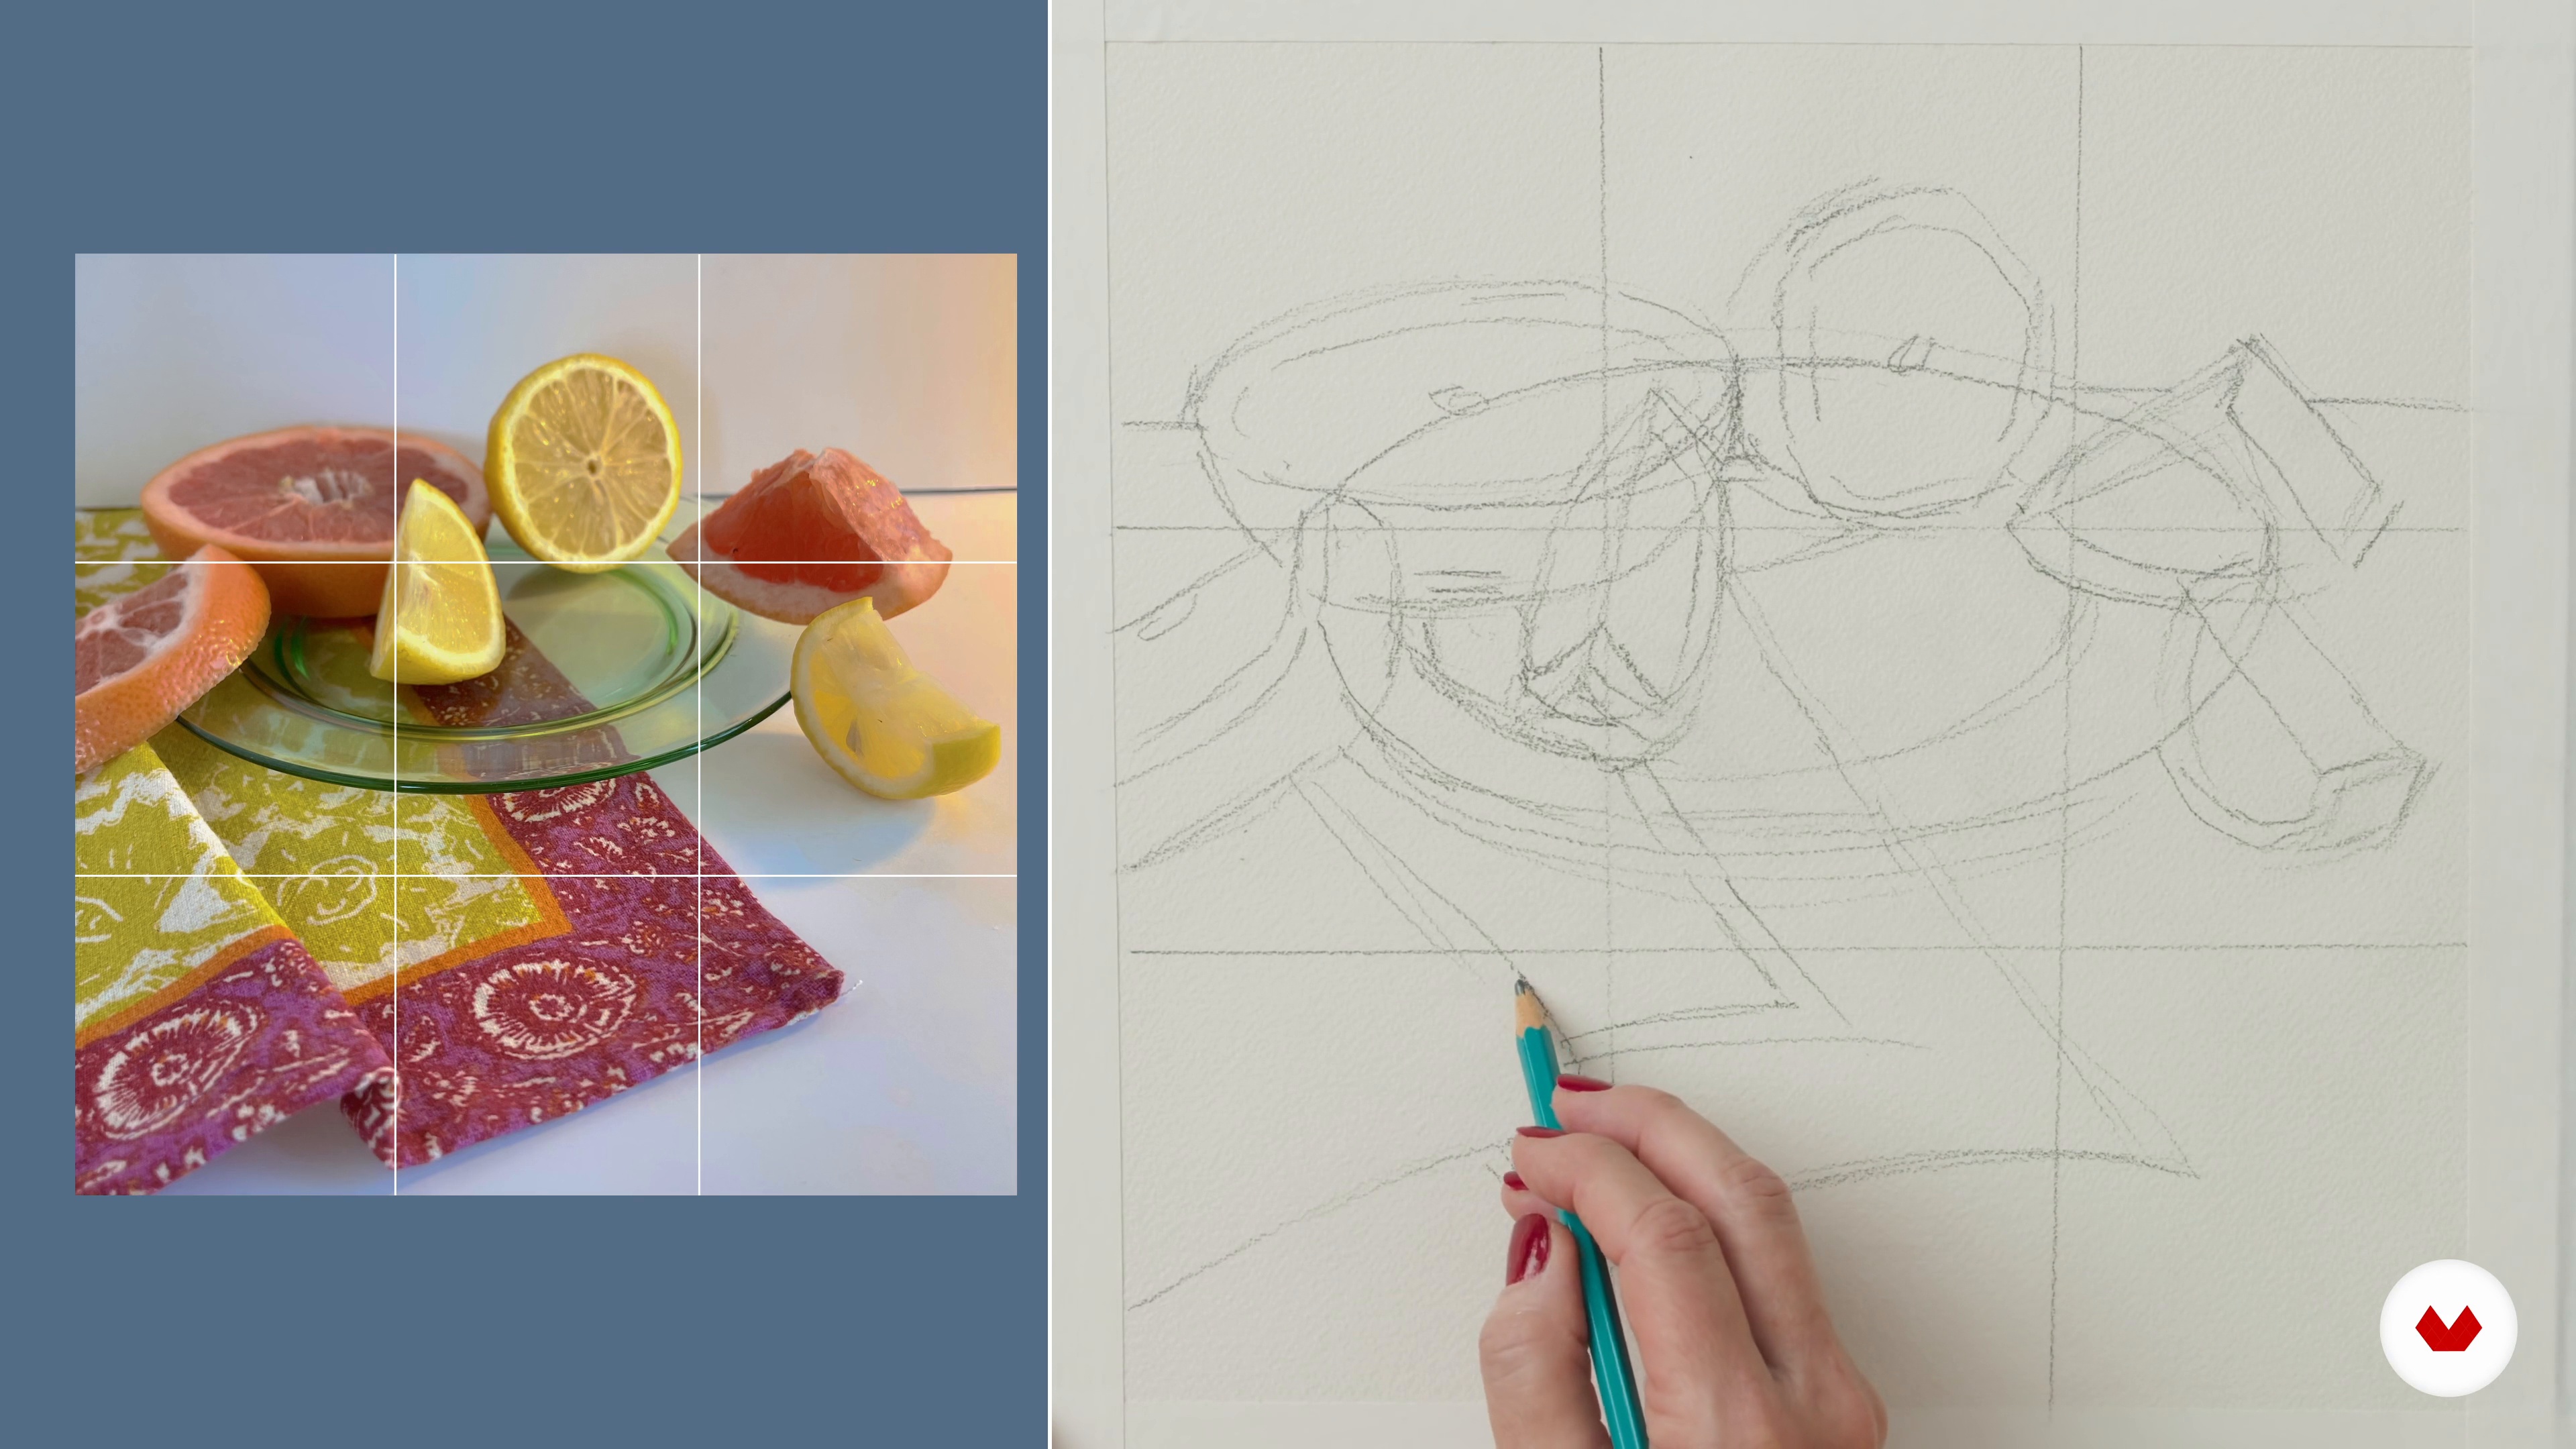
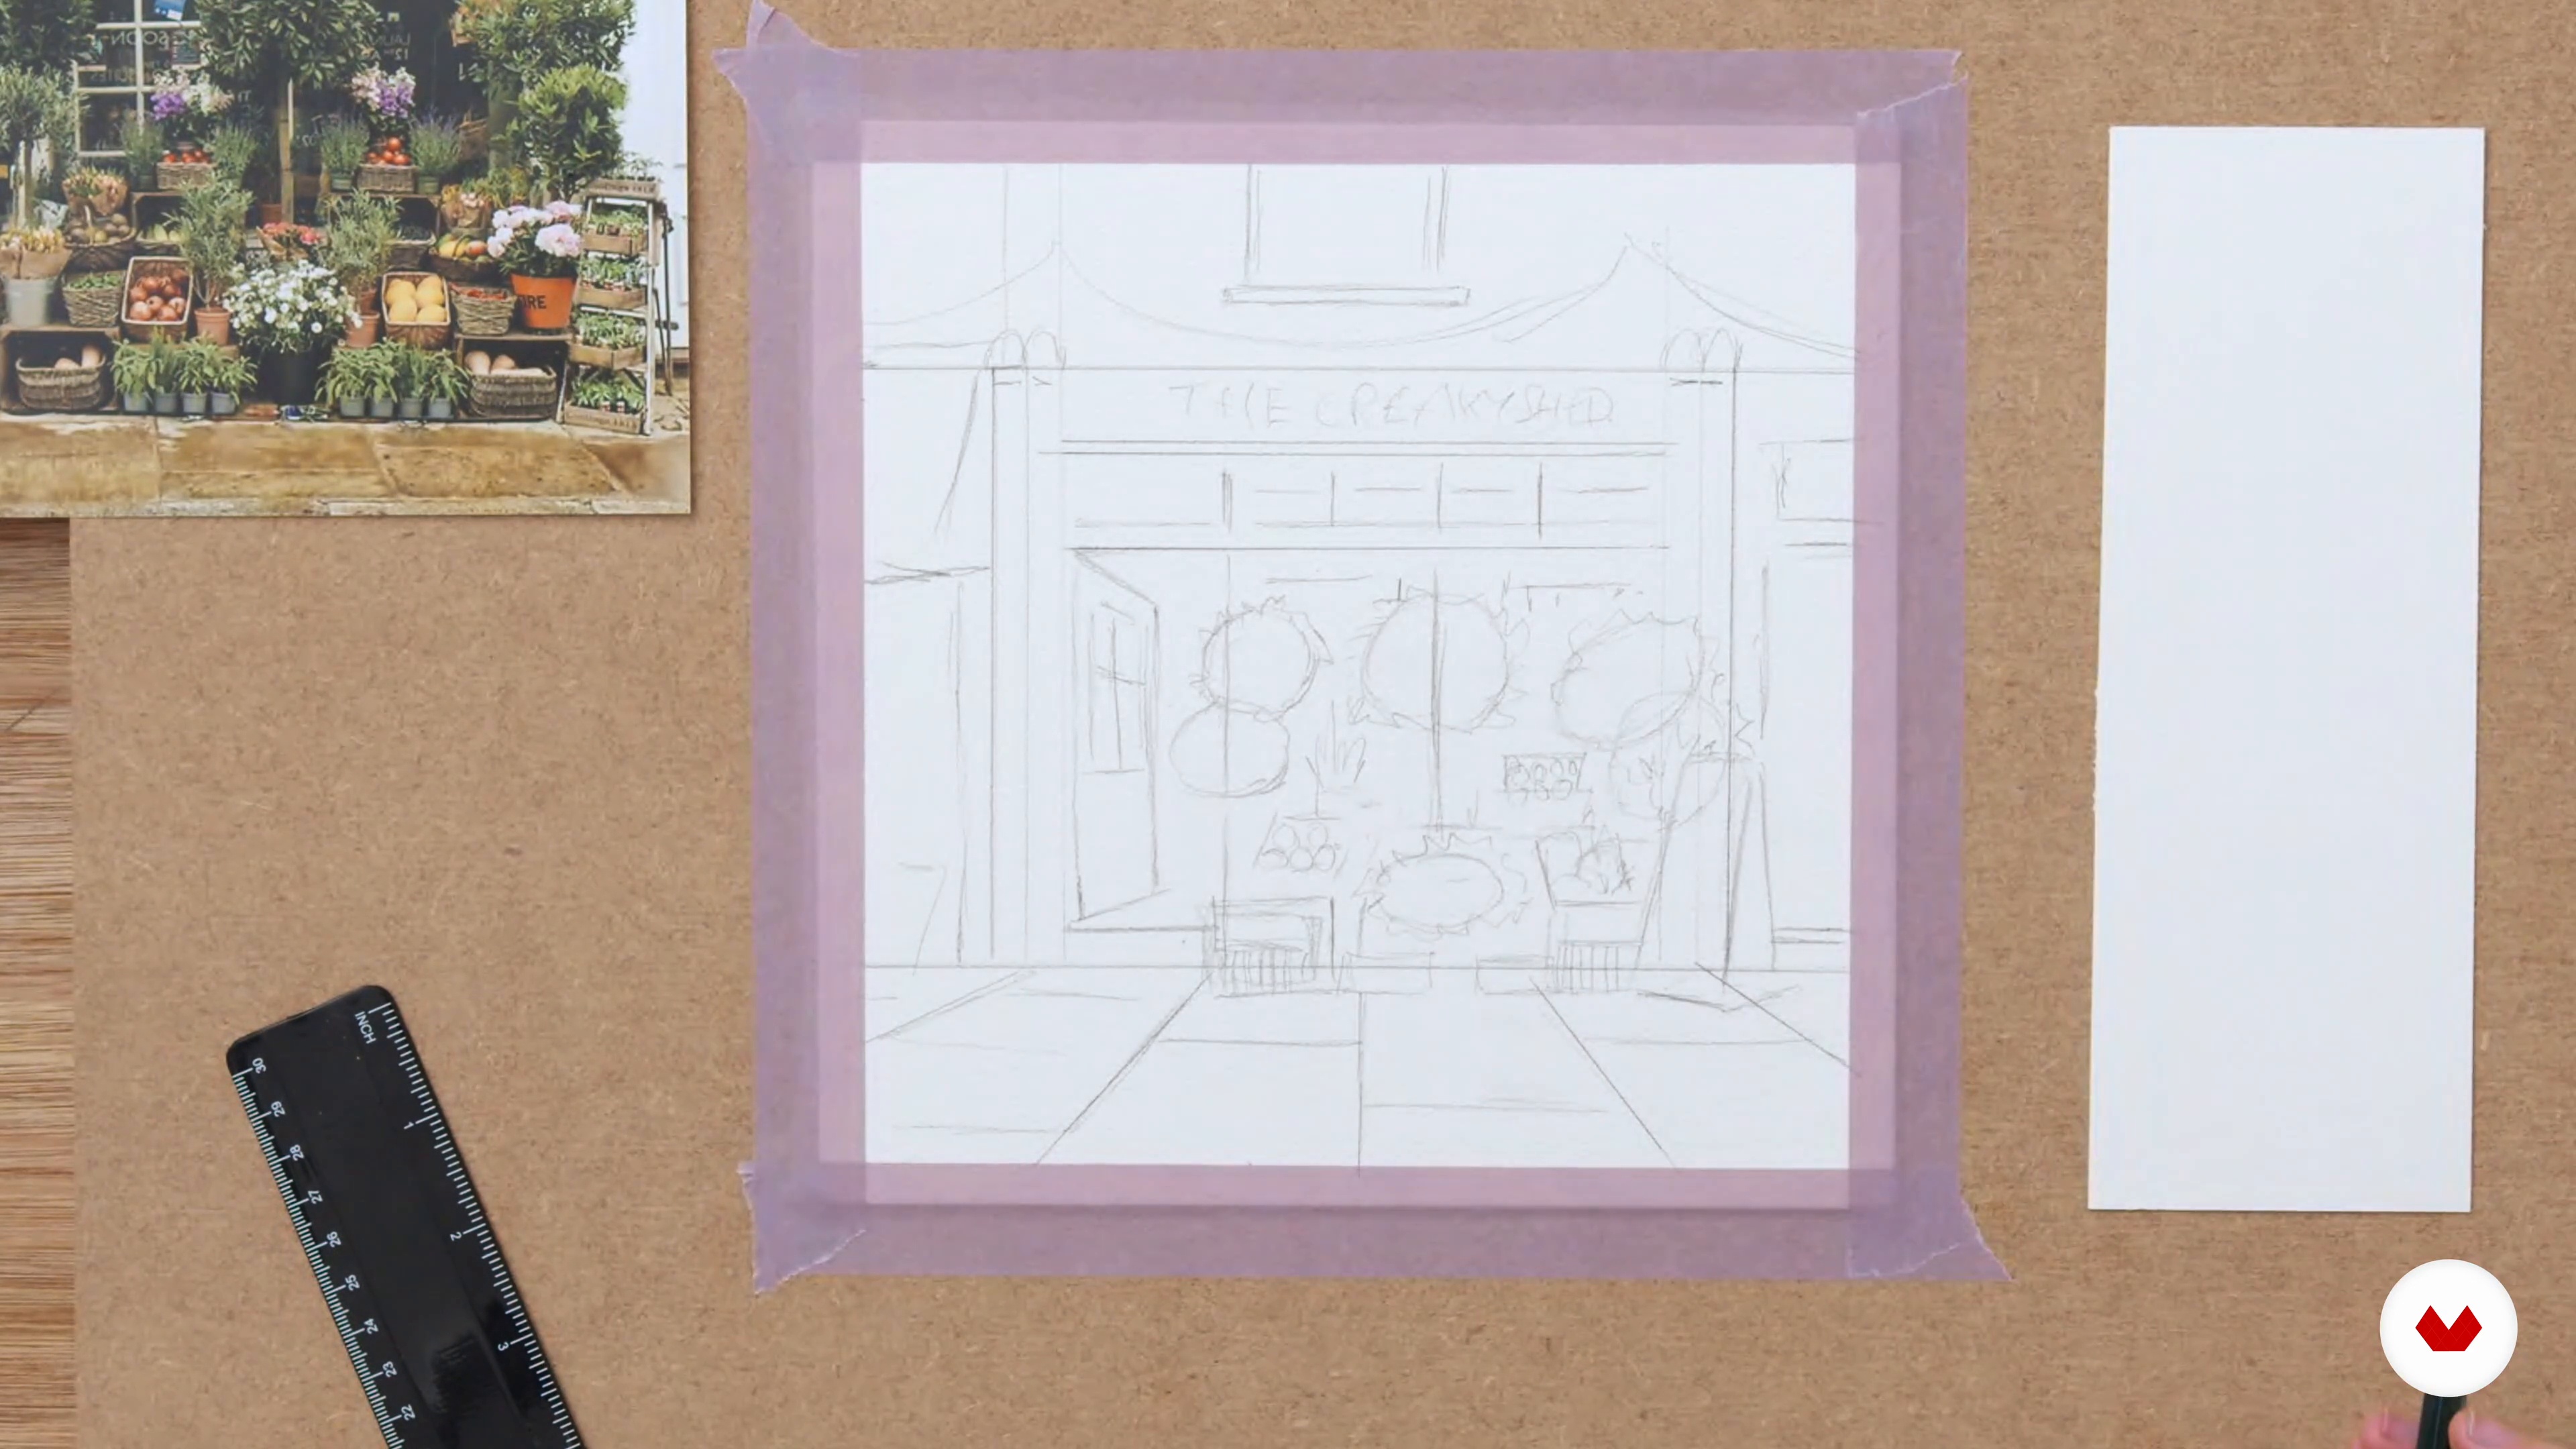
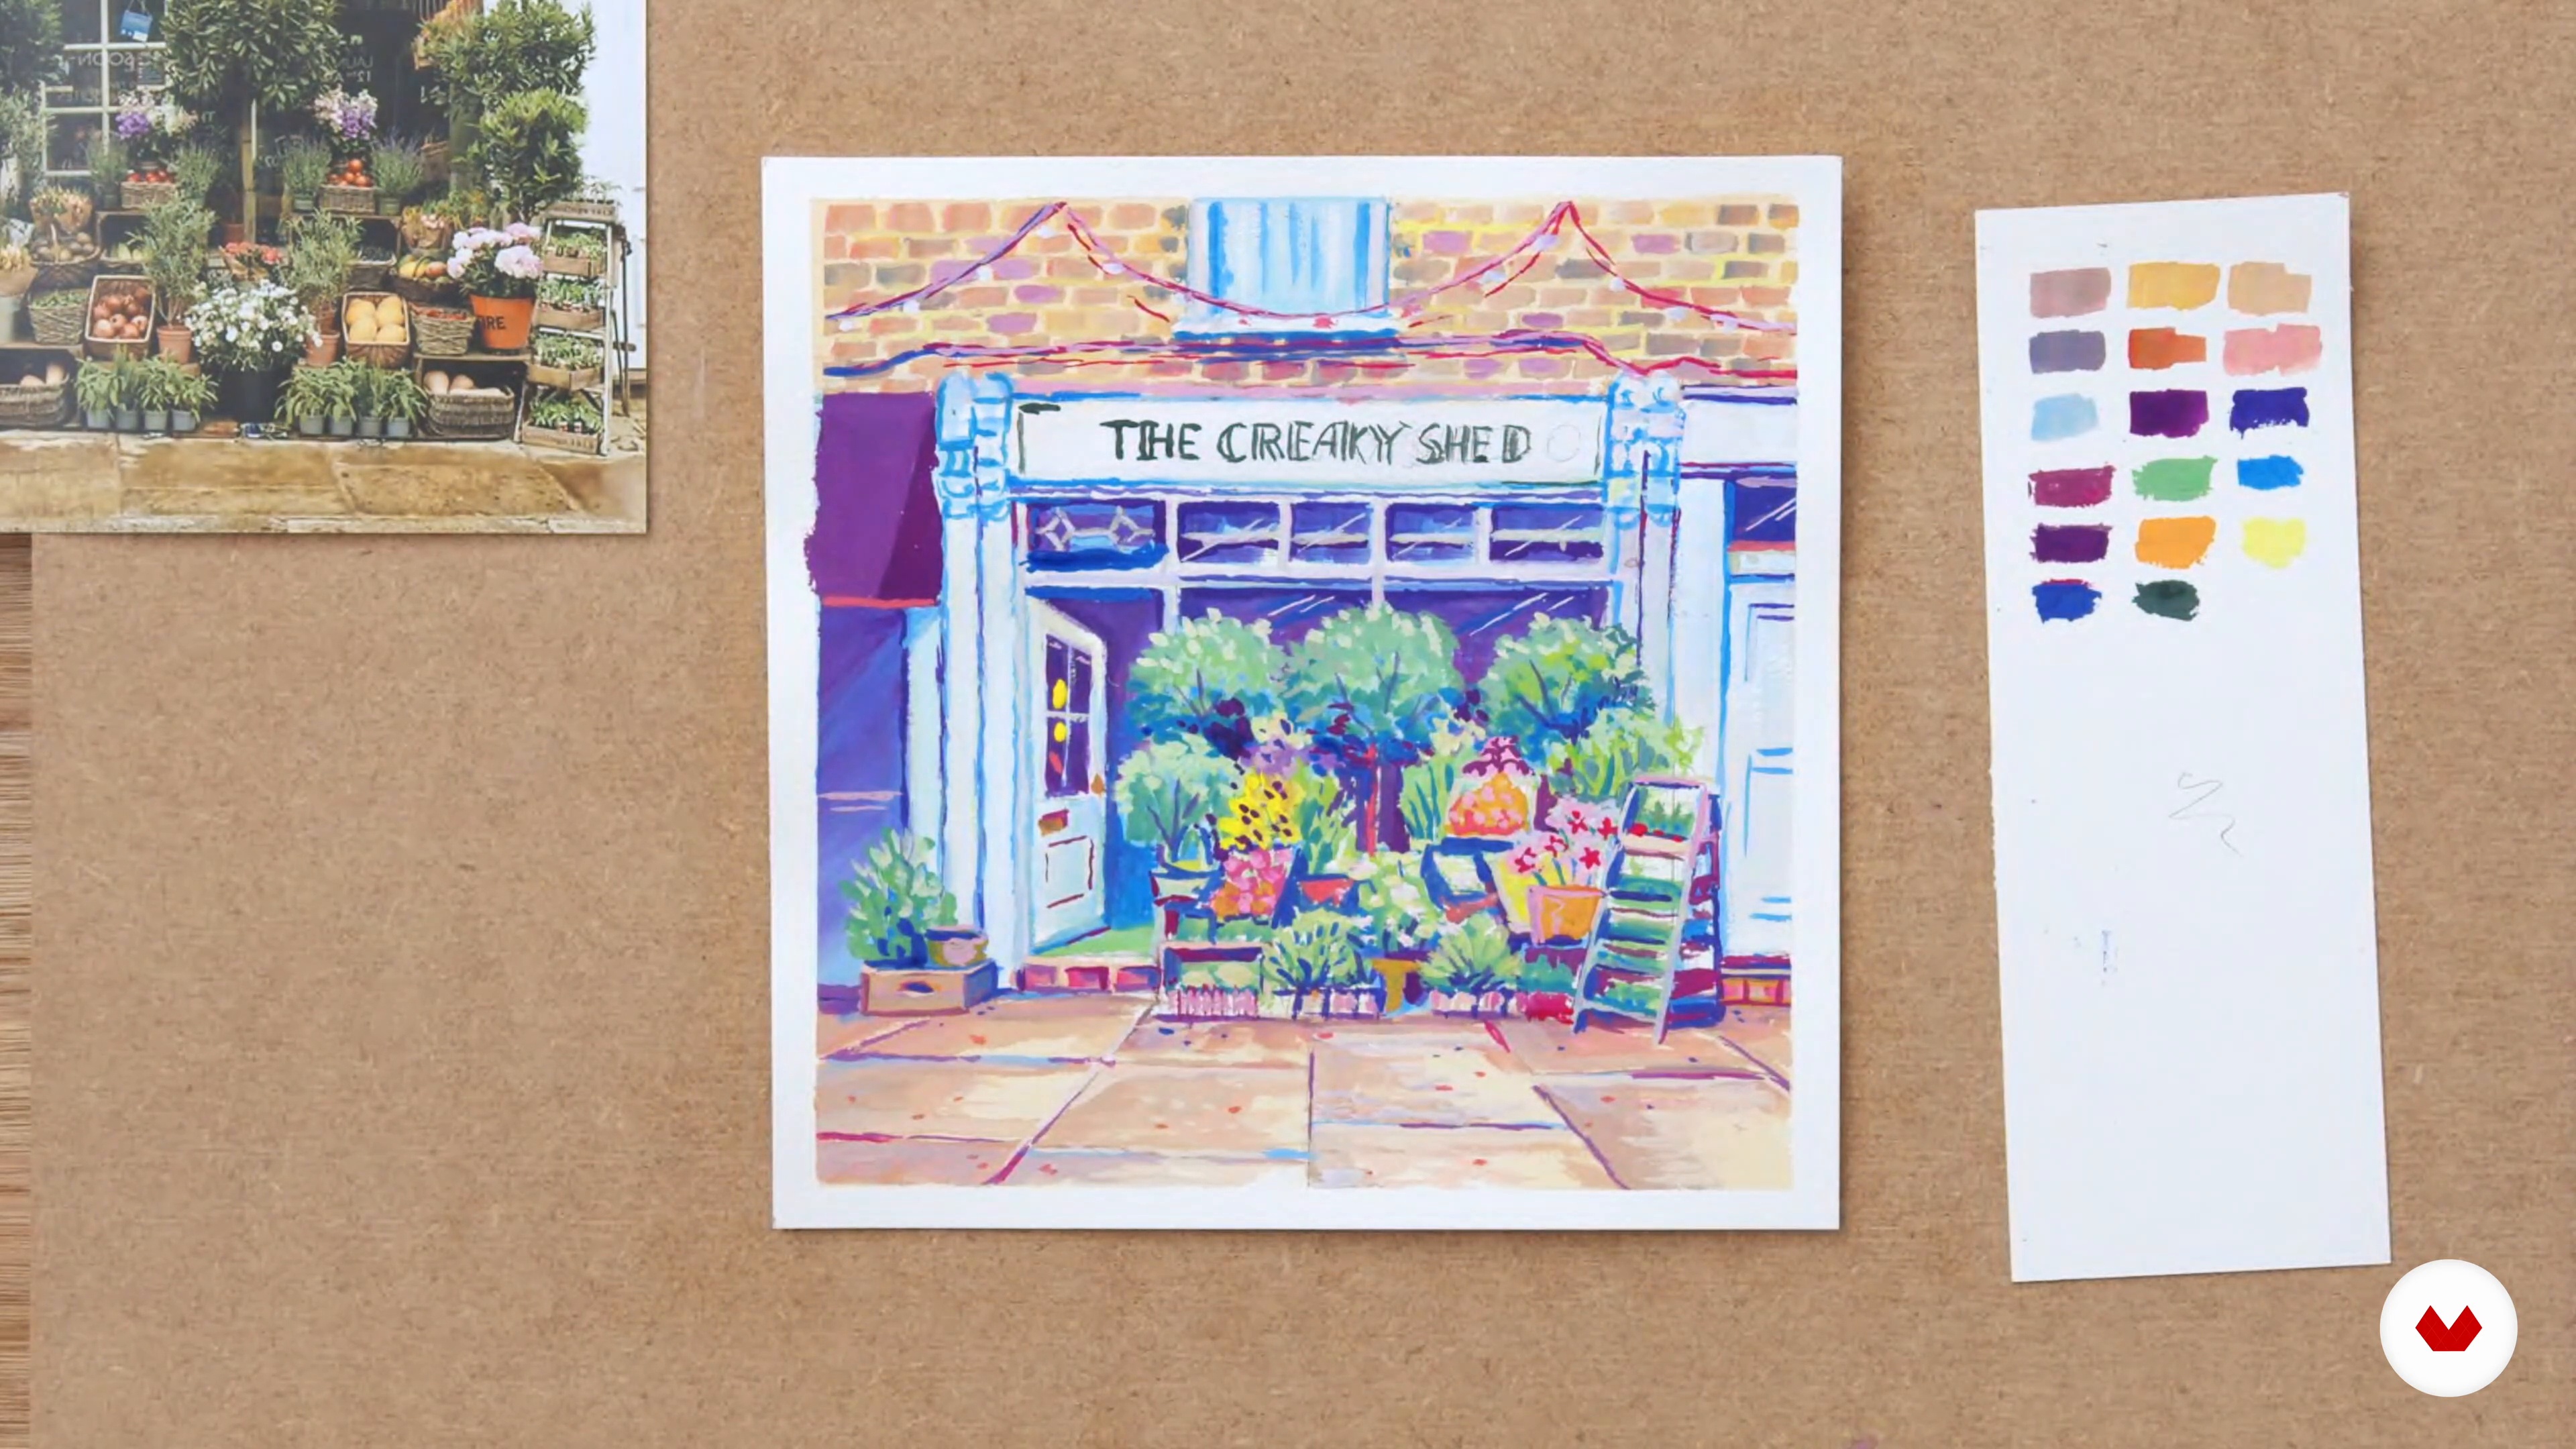
Next, I will show you how I tape my paper and explain why it's helpful. I will then grid out the paper, which helps place the elements and draw them in the correct size, and create a simple sketch for painting.
6m
image
8
Applying the First Wash 1
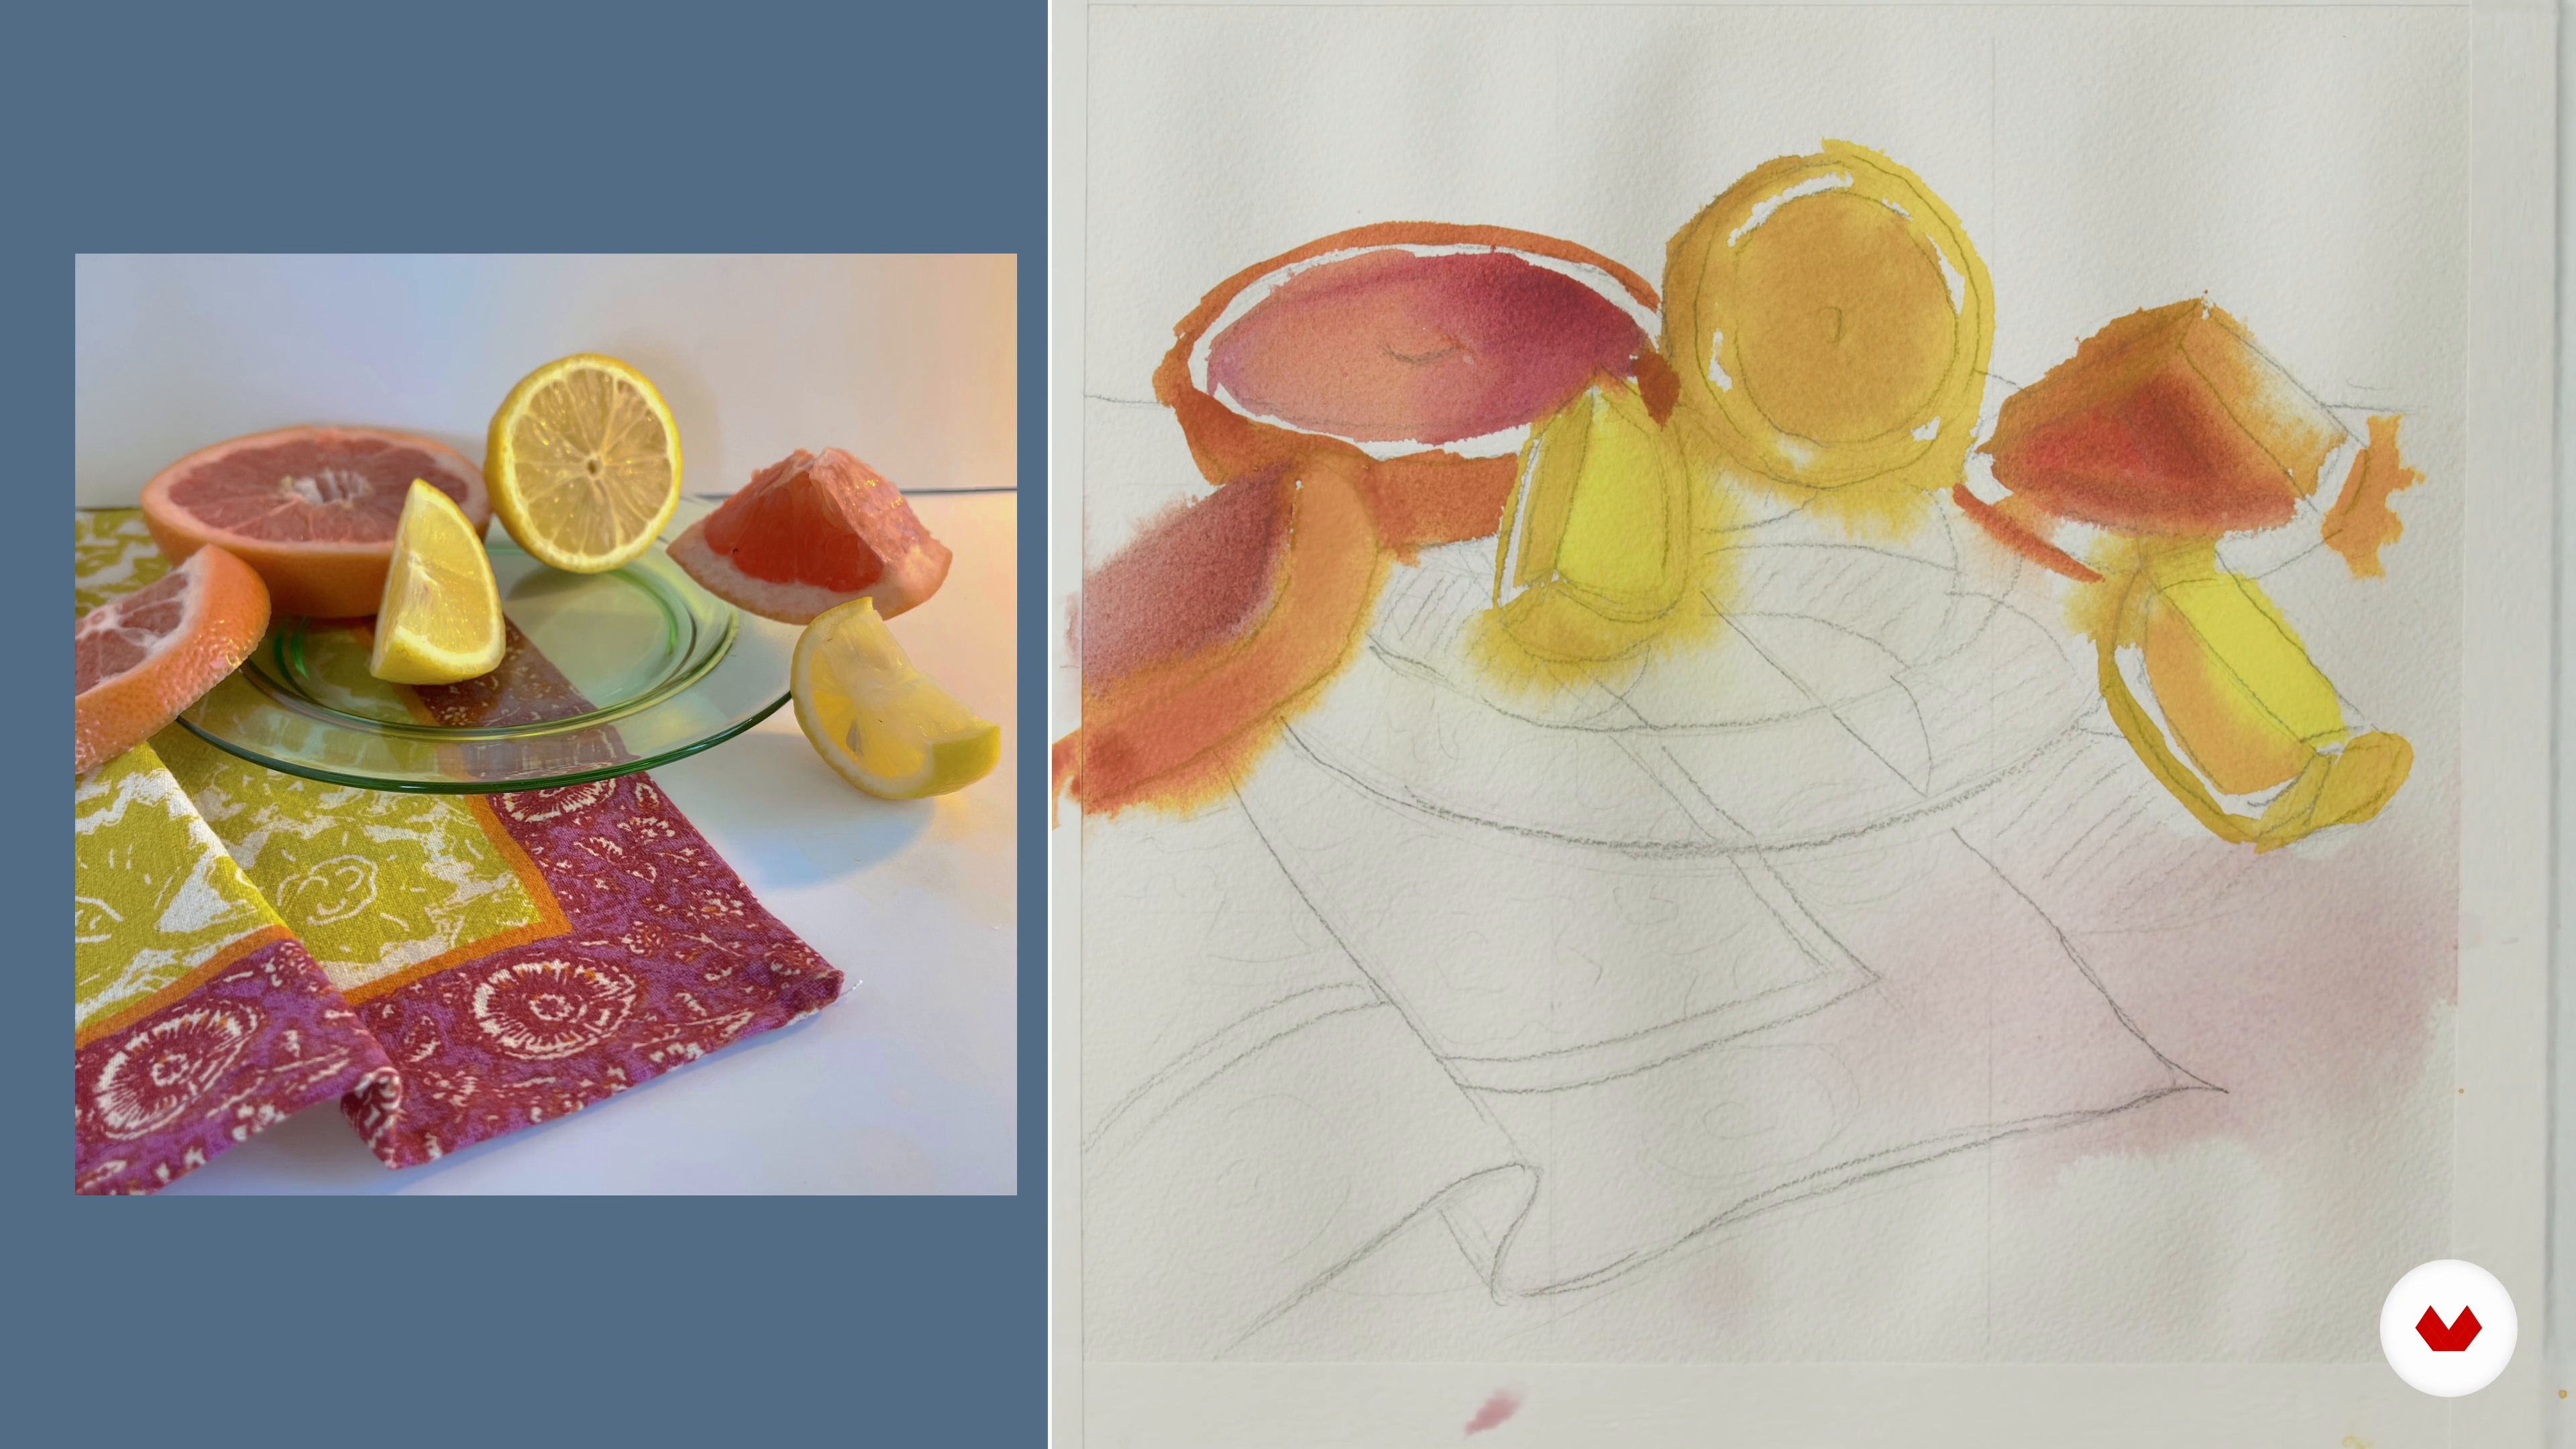
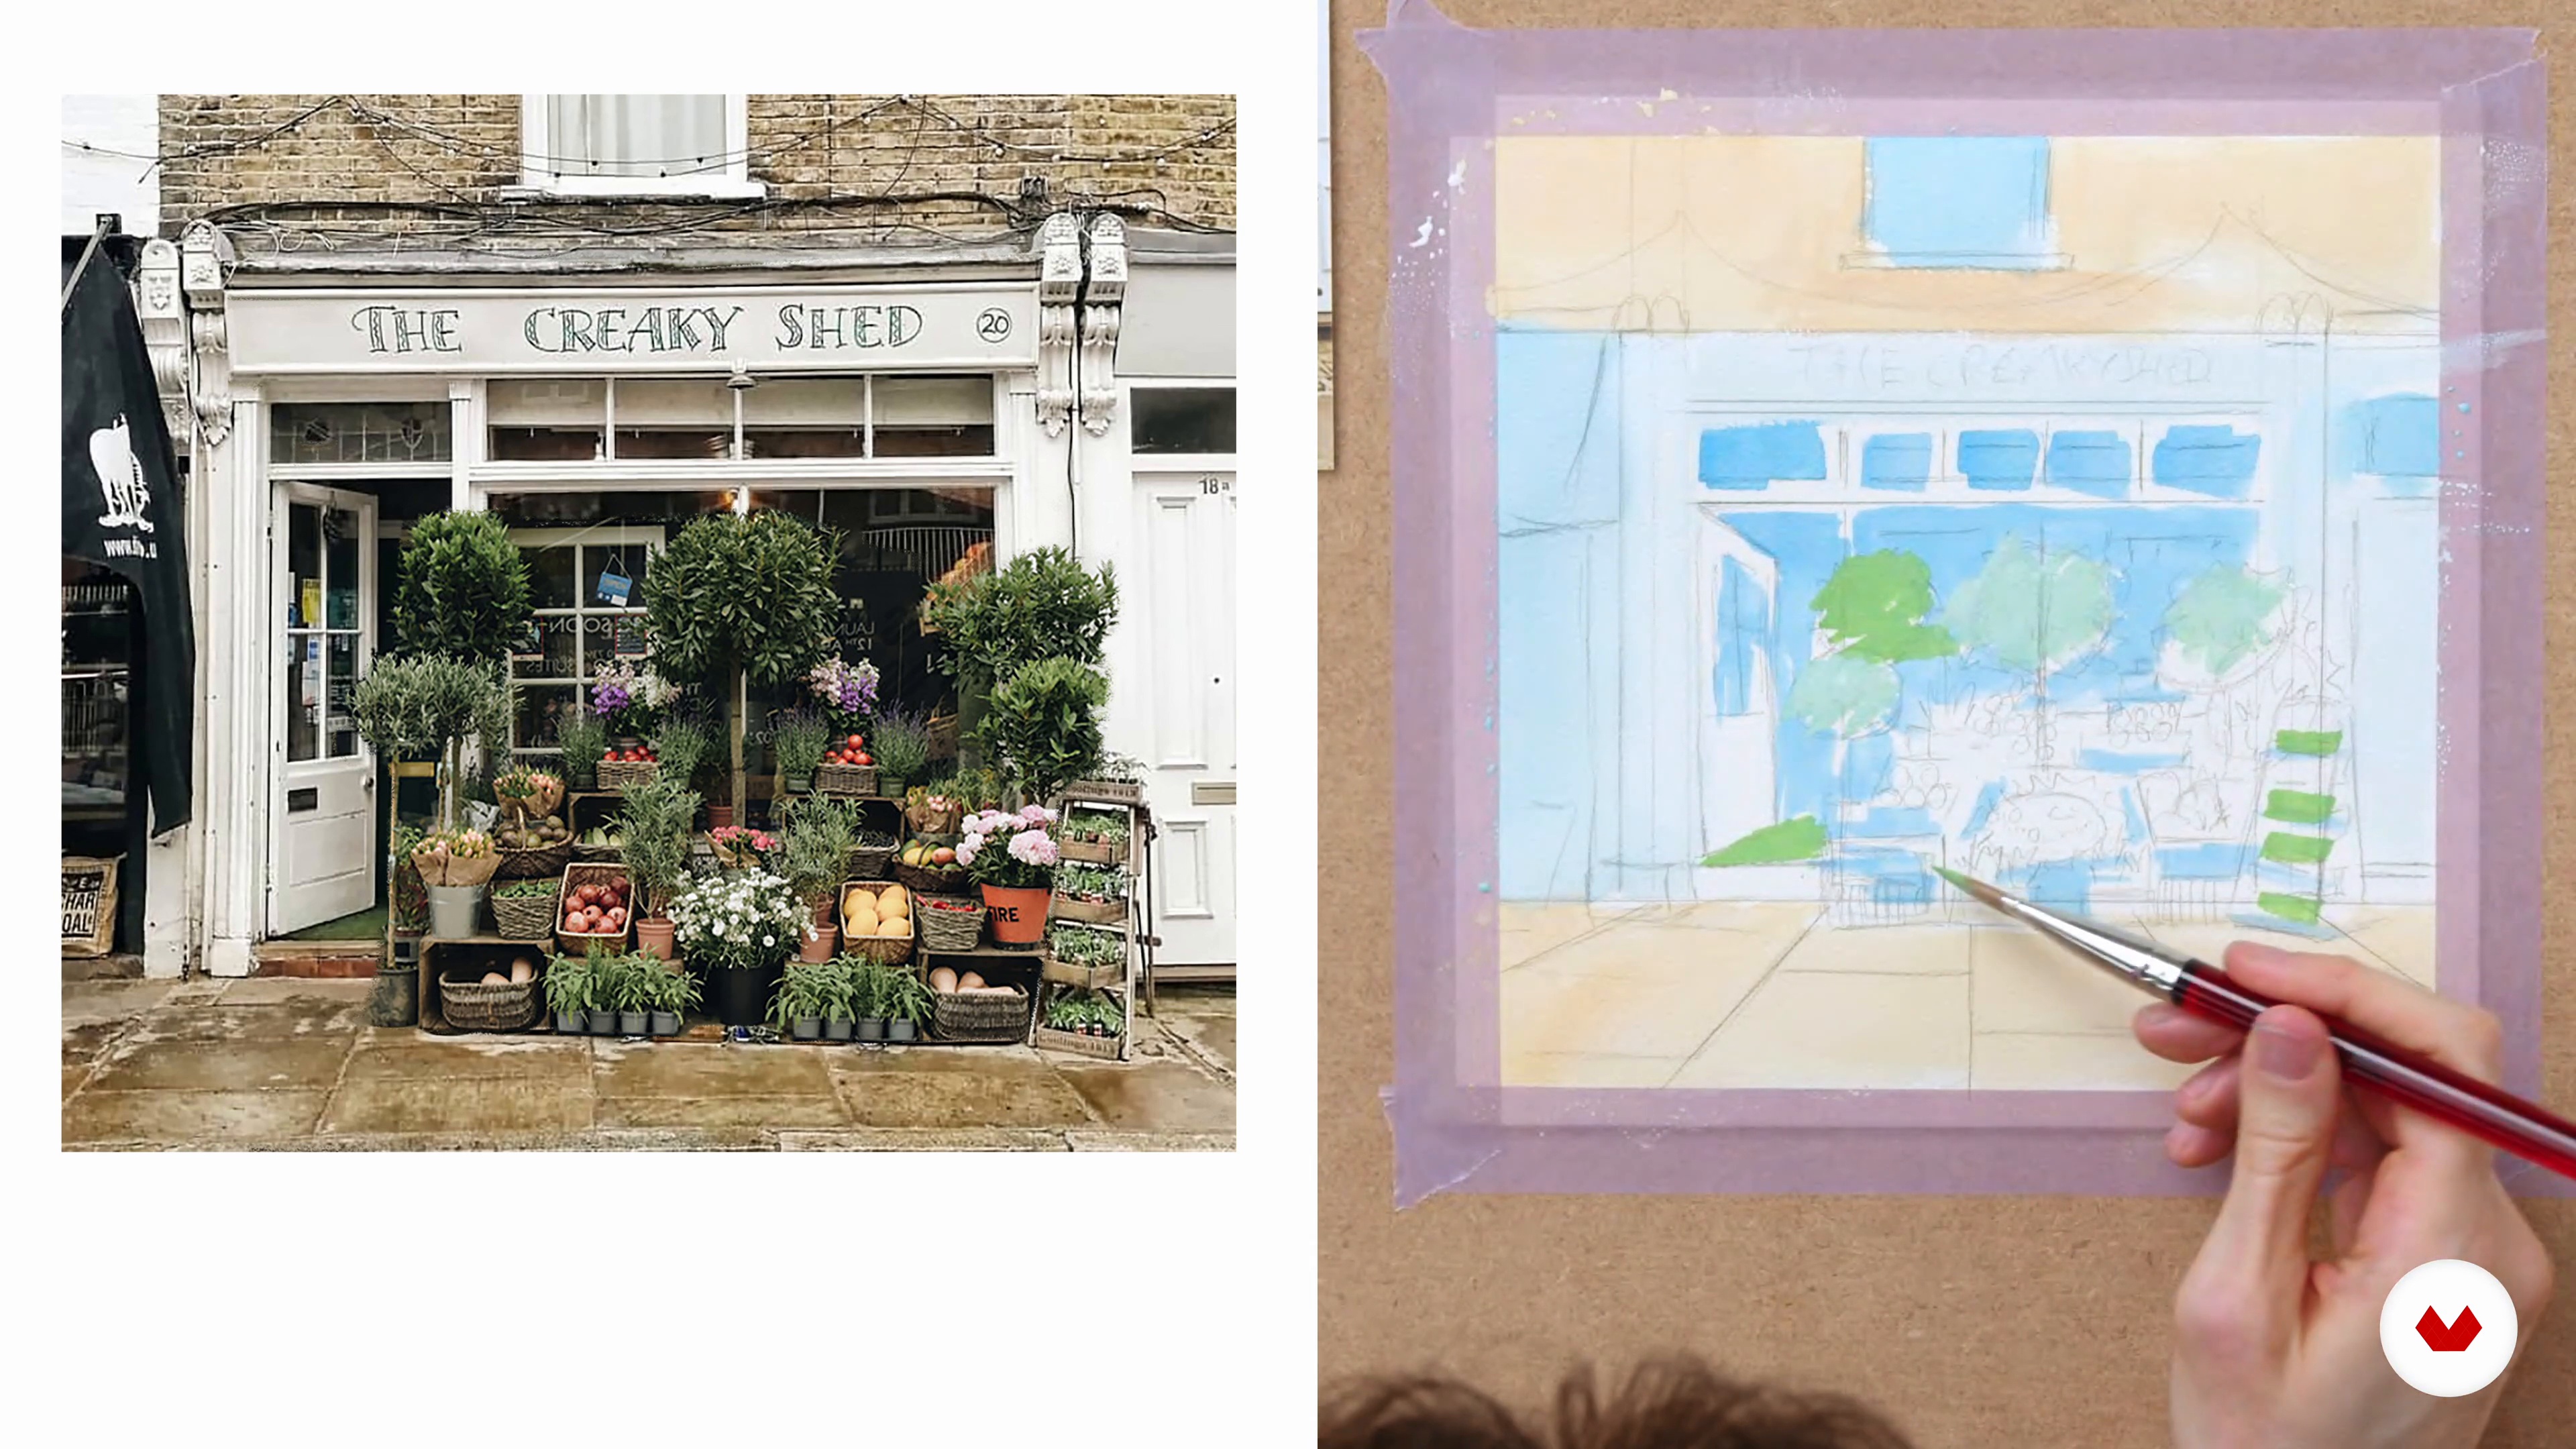
In this lesson, you will learn how to apply the first wash. We will use a watery consistency of paint and a wet-on-wet approach. I like to use this technique as it helps look for the largest blocks of color and value and gets a good base.
16m
image
9
Applying the First Wash 2
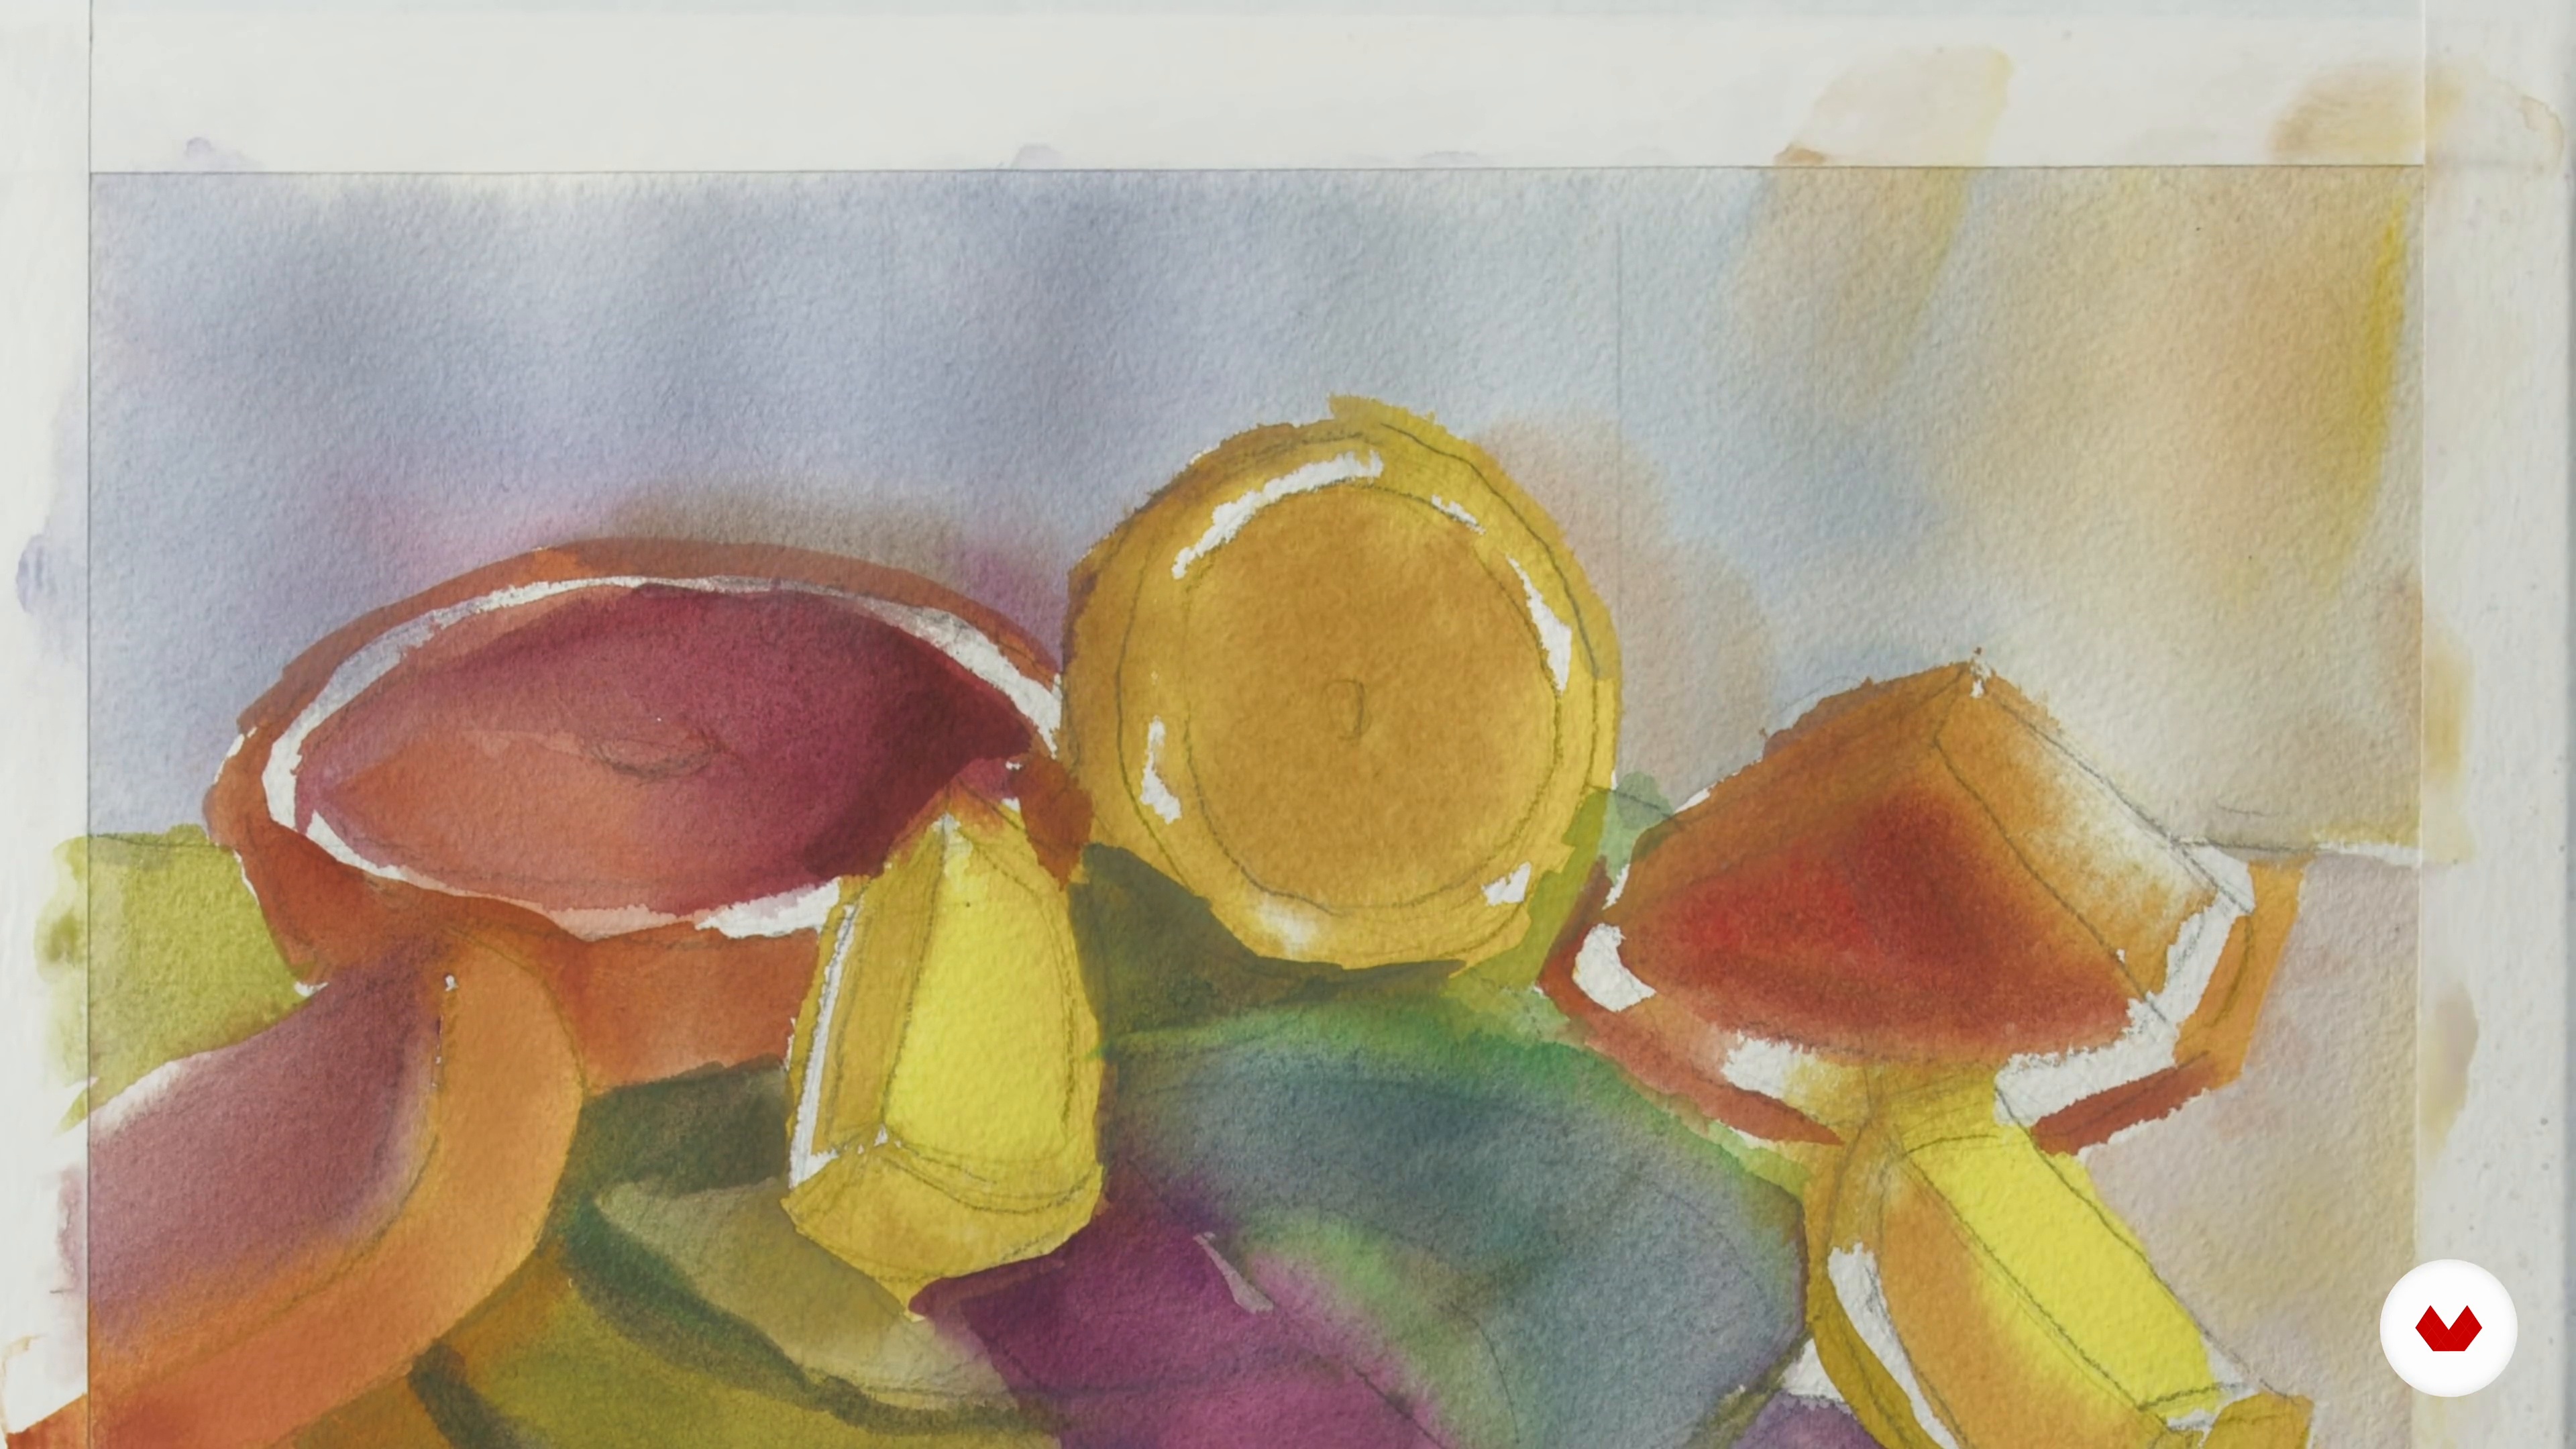
The idea is to paint each object and the background using a general color and value. In this process, you will see how I work with the lightest lights to show the highlights of the objects, the shadows, and the effect of transparency.
20m
image
10
Painting Each of the Objects and Shadows 1
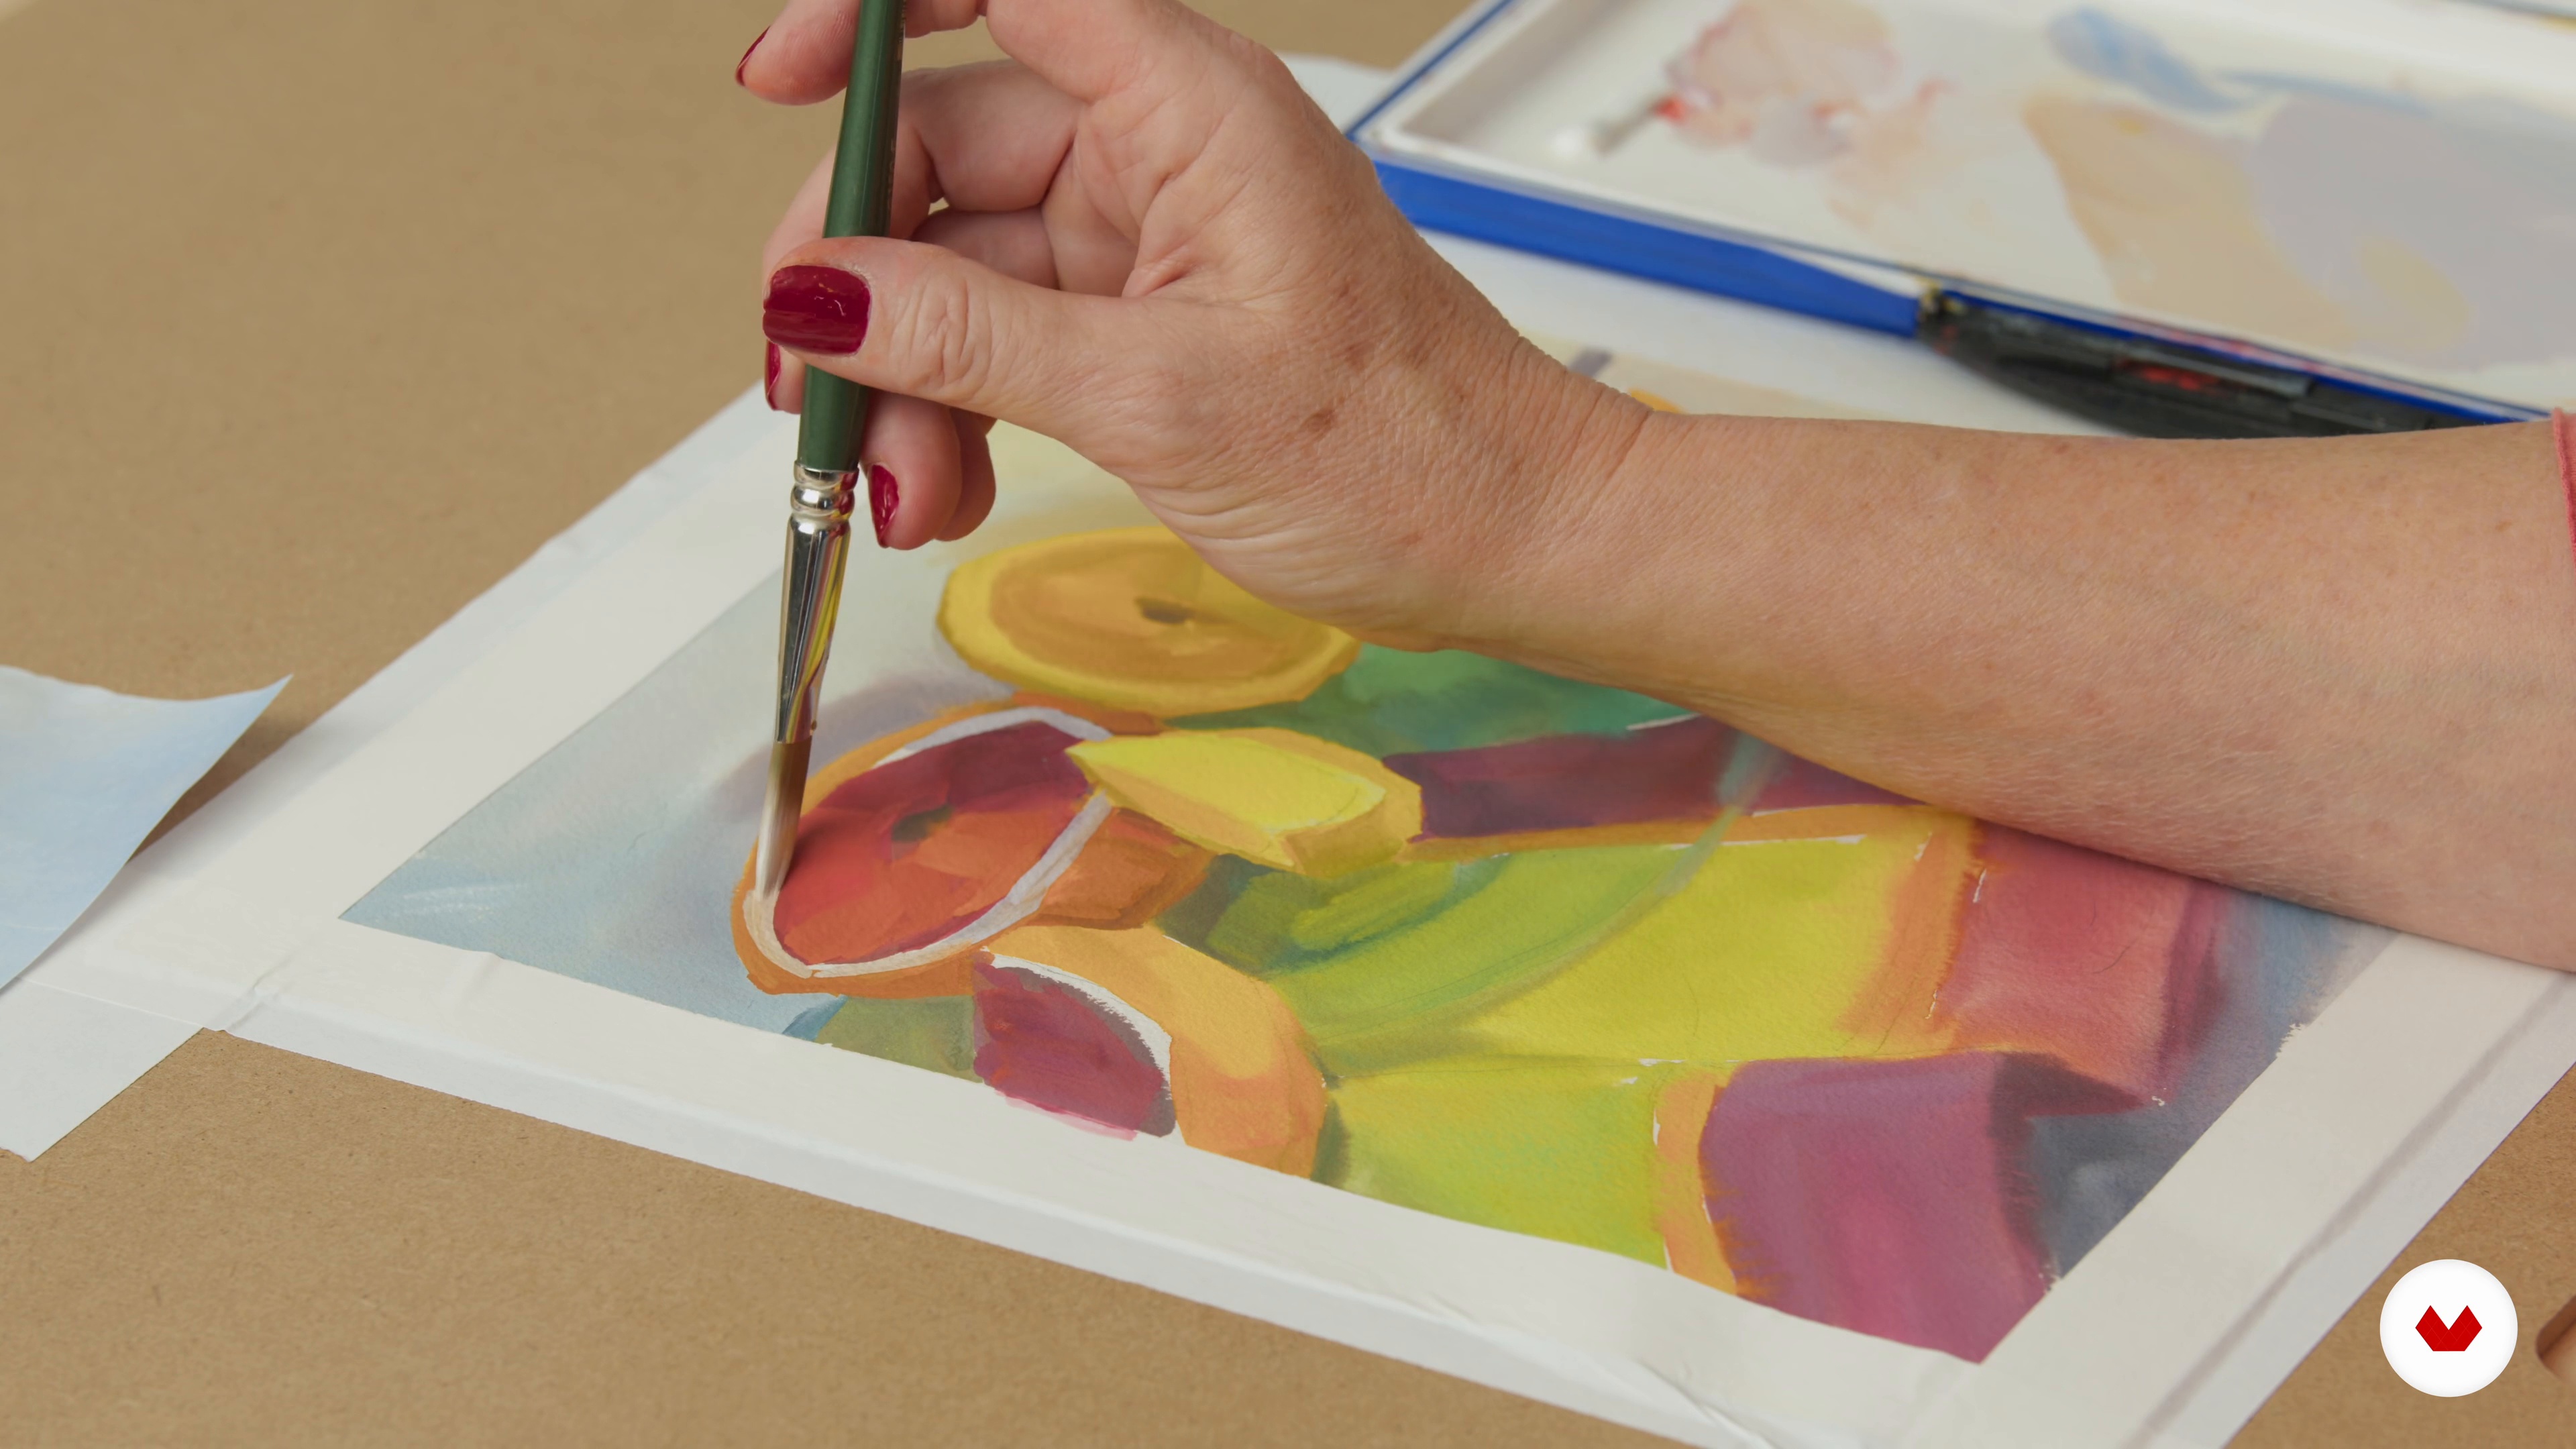
In this lesson, I will show you how I approach painting the objects in the composition with blocks of color and how I choose shadow colors and reflected light.
14m
image
11
Painting Each of the Objects and Shadows 2
Remember, at this stage, we use a thicker, creamier consistency paint and look for more accurate values in the shadows. You don't have to be overly concerned with painting outside the lines at this point; you can use the negative shape of the background to shape the objects.
12m
image
12
Painting Each of the Objects and Shadows 3
You will see that I'm not going for an exact representation. I will not try to portray the exact colors, but rather the way I want the piece to look, especially focusing on creating a balance between cooler and warmer colors.
16m
image
13
The Background
In this lesson, I will show you how I paint the background, using a variety of colors and values and "cutting into" the objects using negative shapes.
12m
image
14
The Final Layer 1
Now, I will show you how I approach the finishing touches of a painting. This is when I use the whitest whites for highlights and the darkest darks if the values are looking flat.
17m
image
15
The Final Layer 2
I recommend not overworking the finishing touches! I will explain how to decide when a painting is "finished" and you will also see how to remove the tape.
10m
image
16
Framing, Protecting, and Photographing Your Artwork for Printing
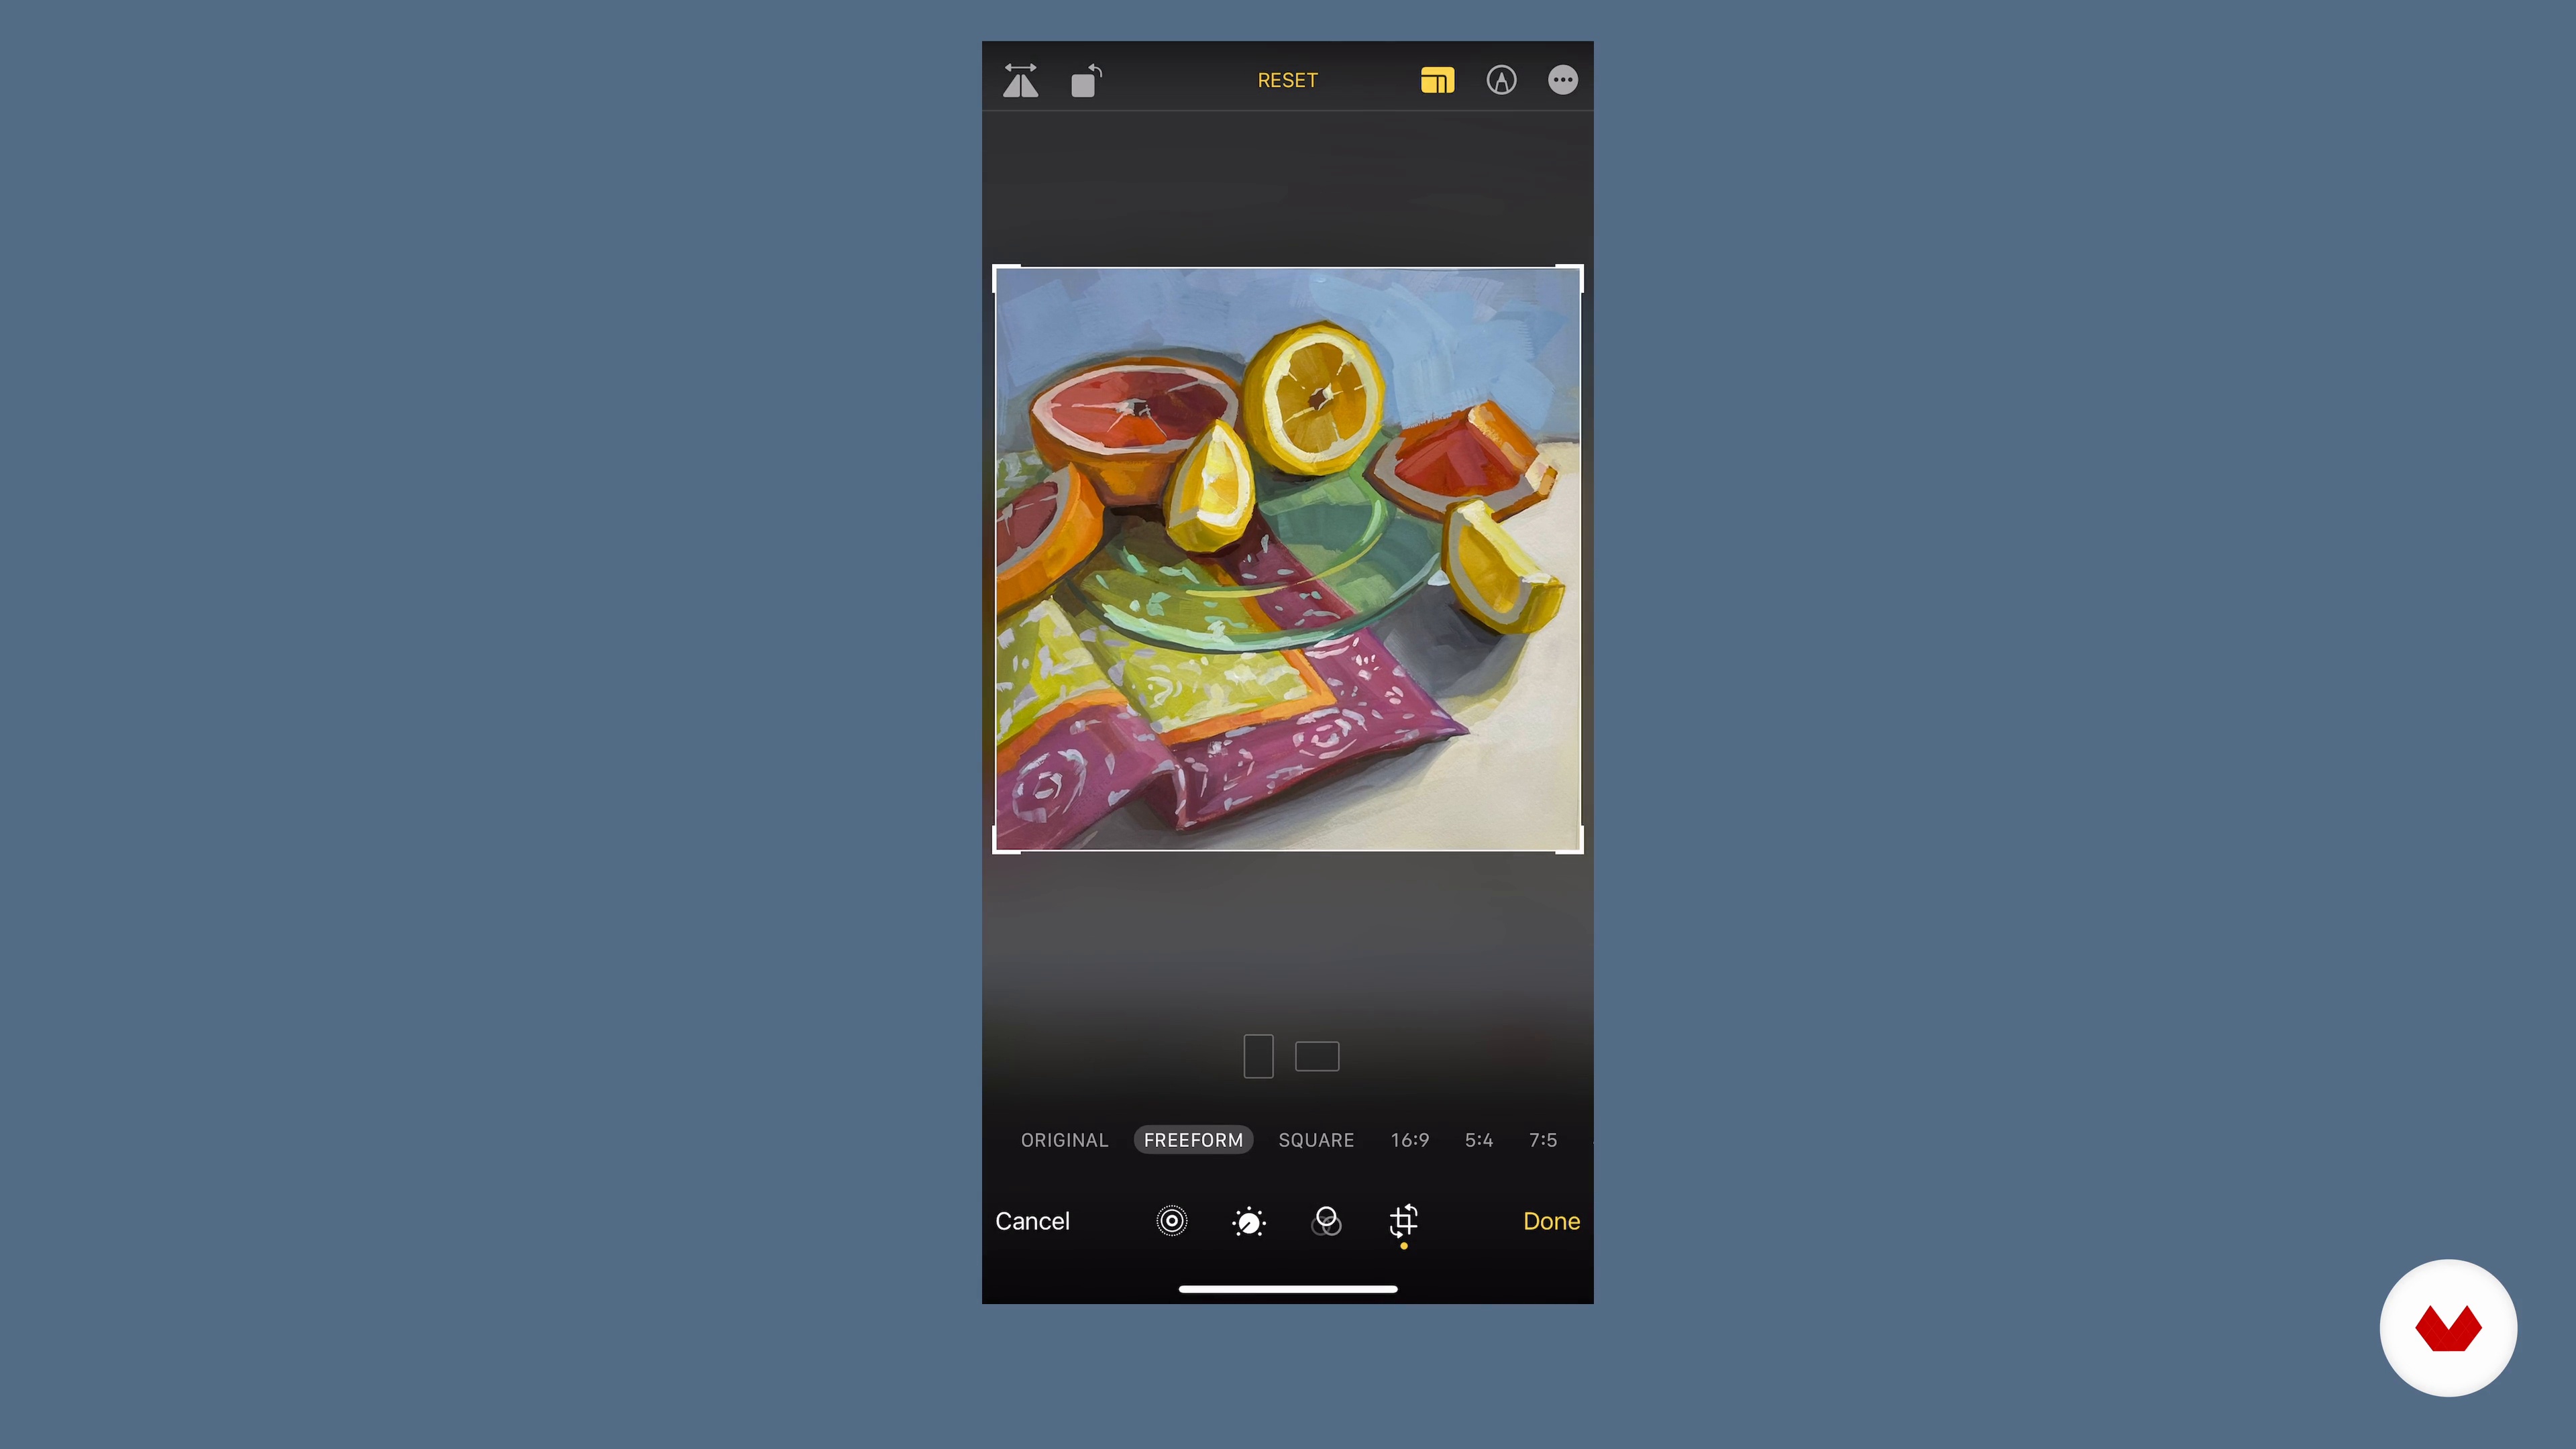
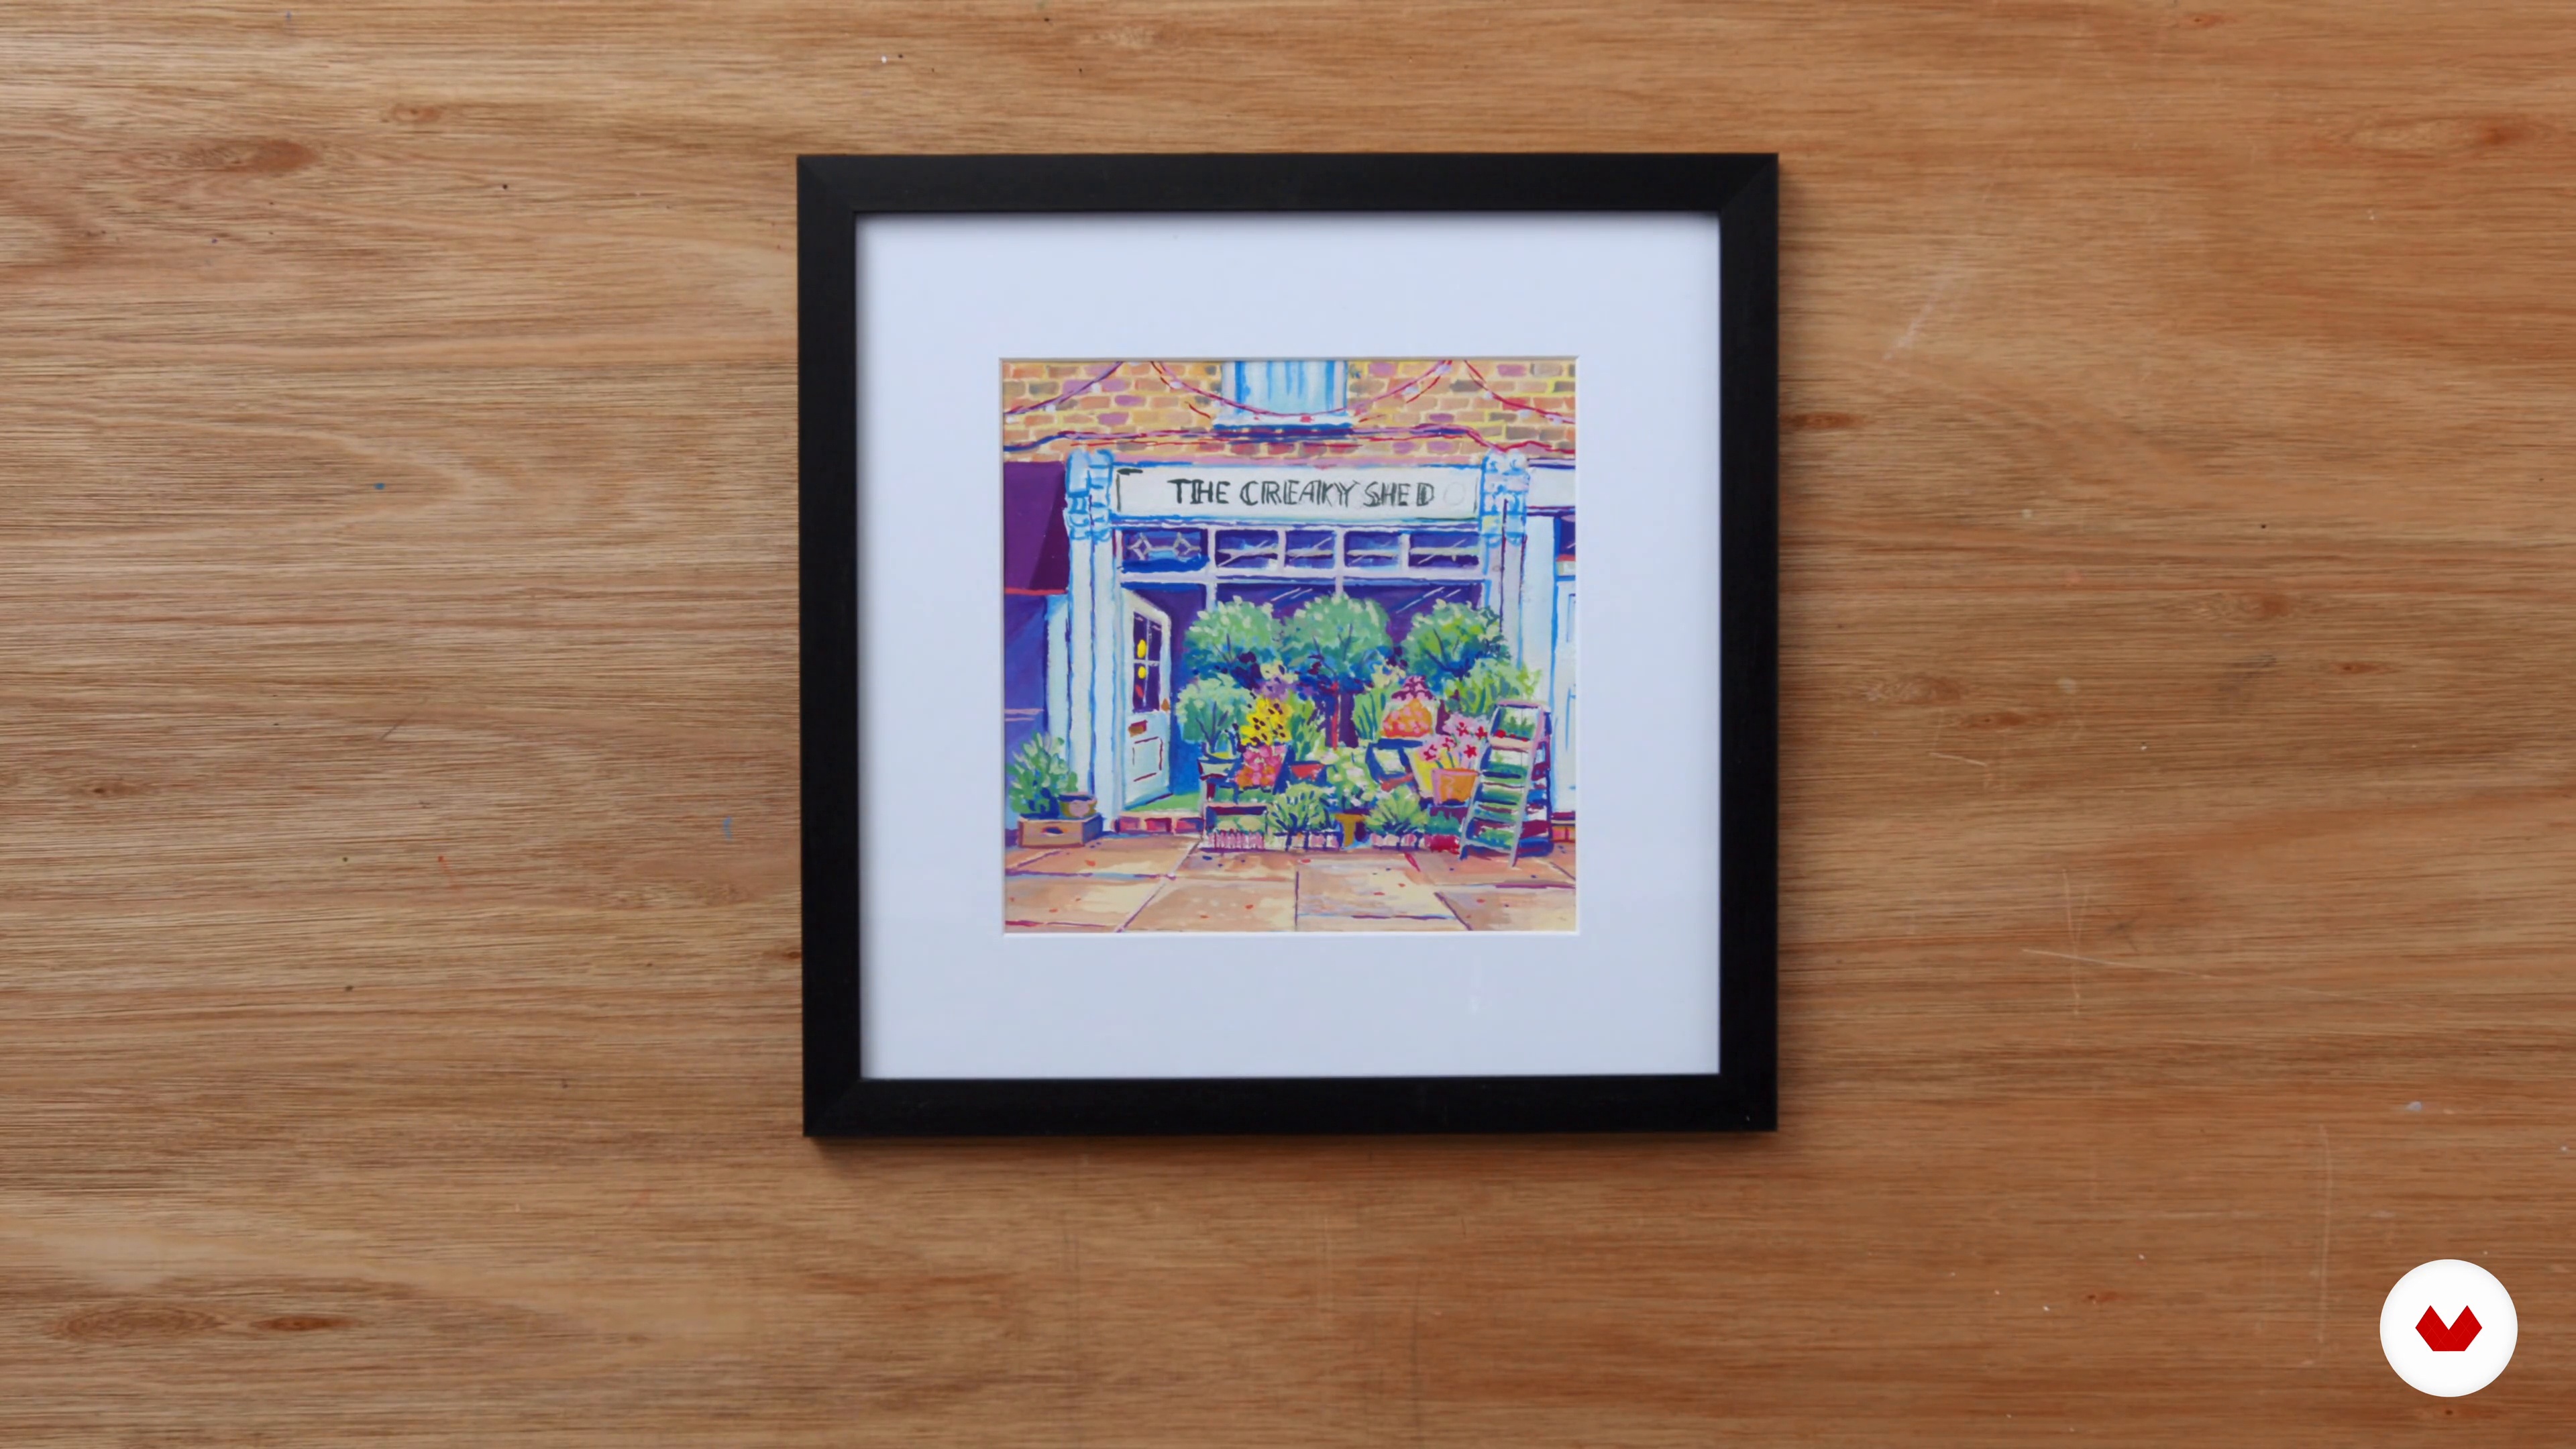
In this lesson, I will show you how I frame and protect my paintings. You will also see my process of photographing my artwork for printing.
6m
image
17
Sharing Your Art on Social Media
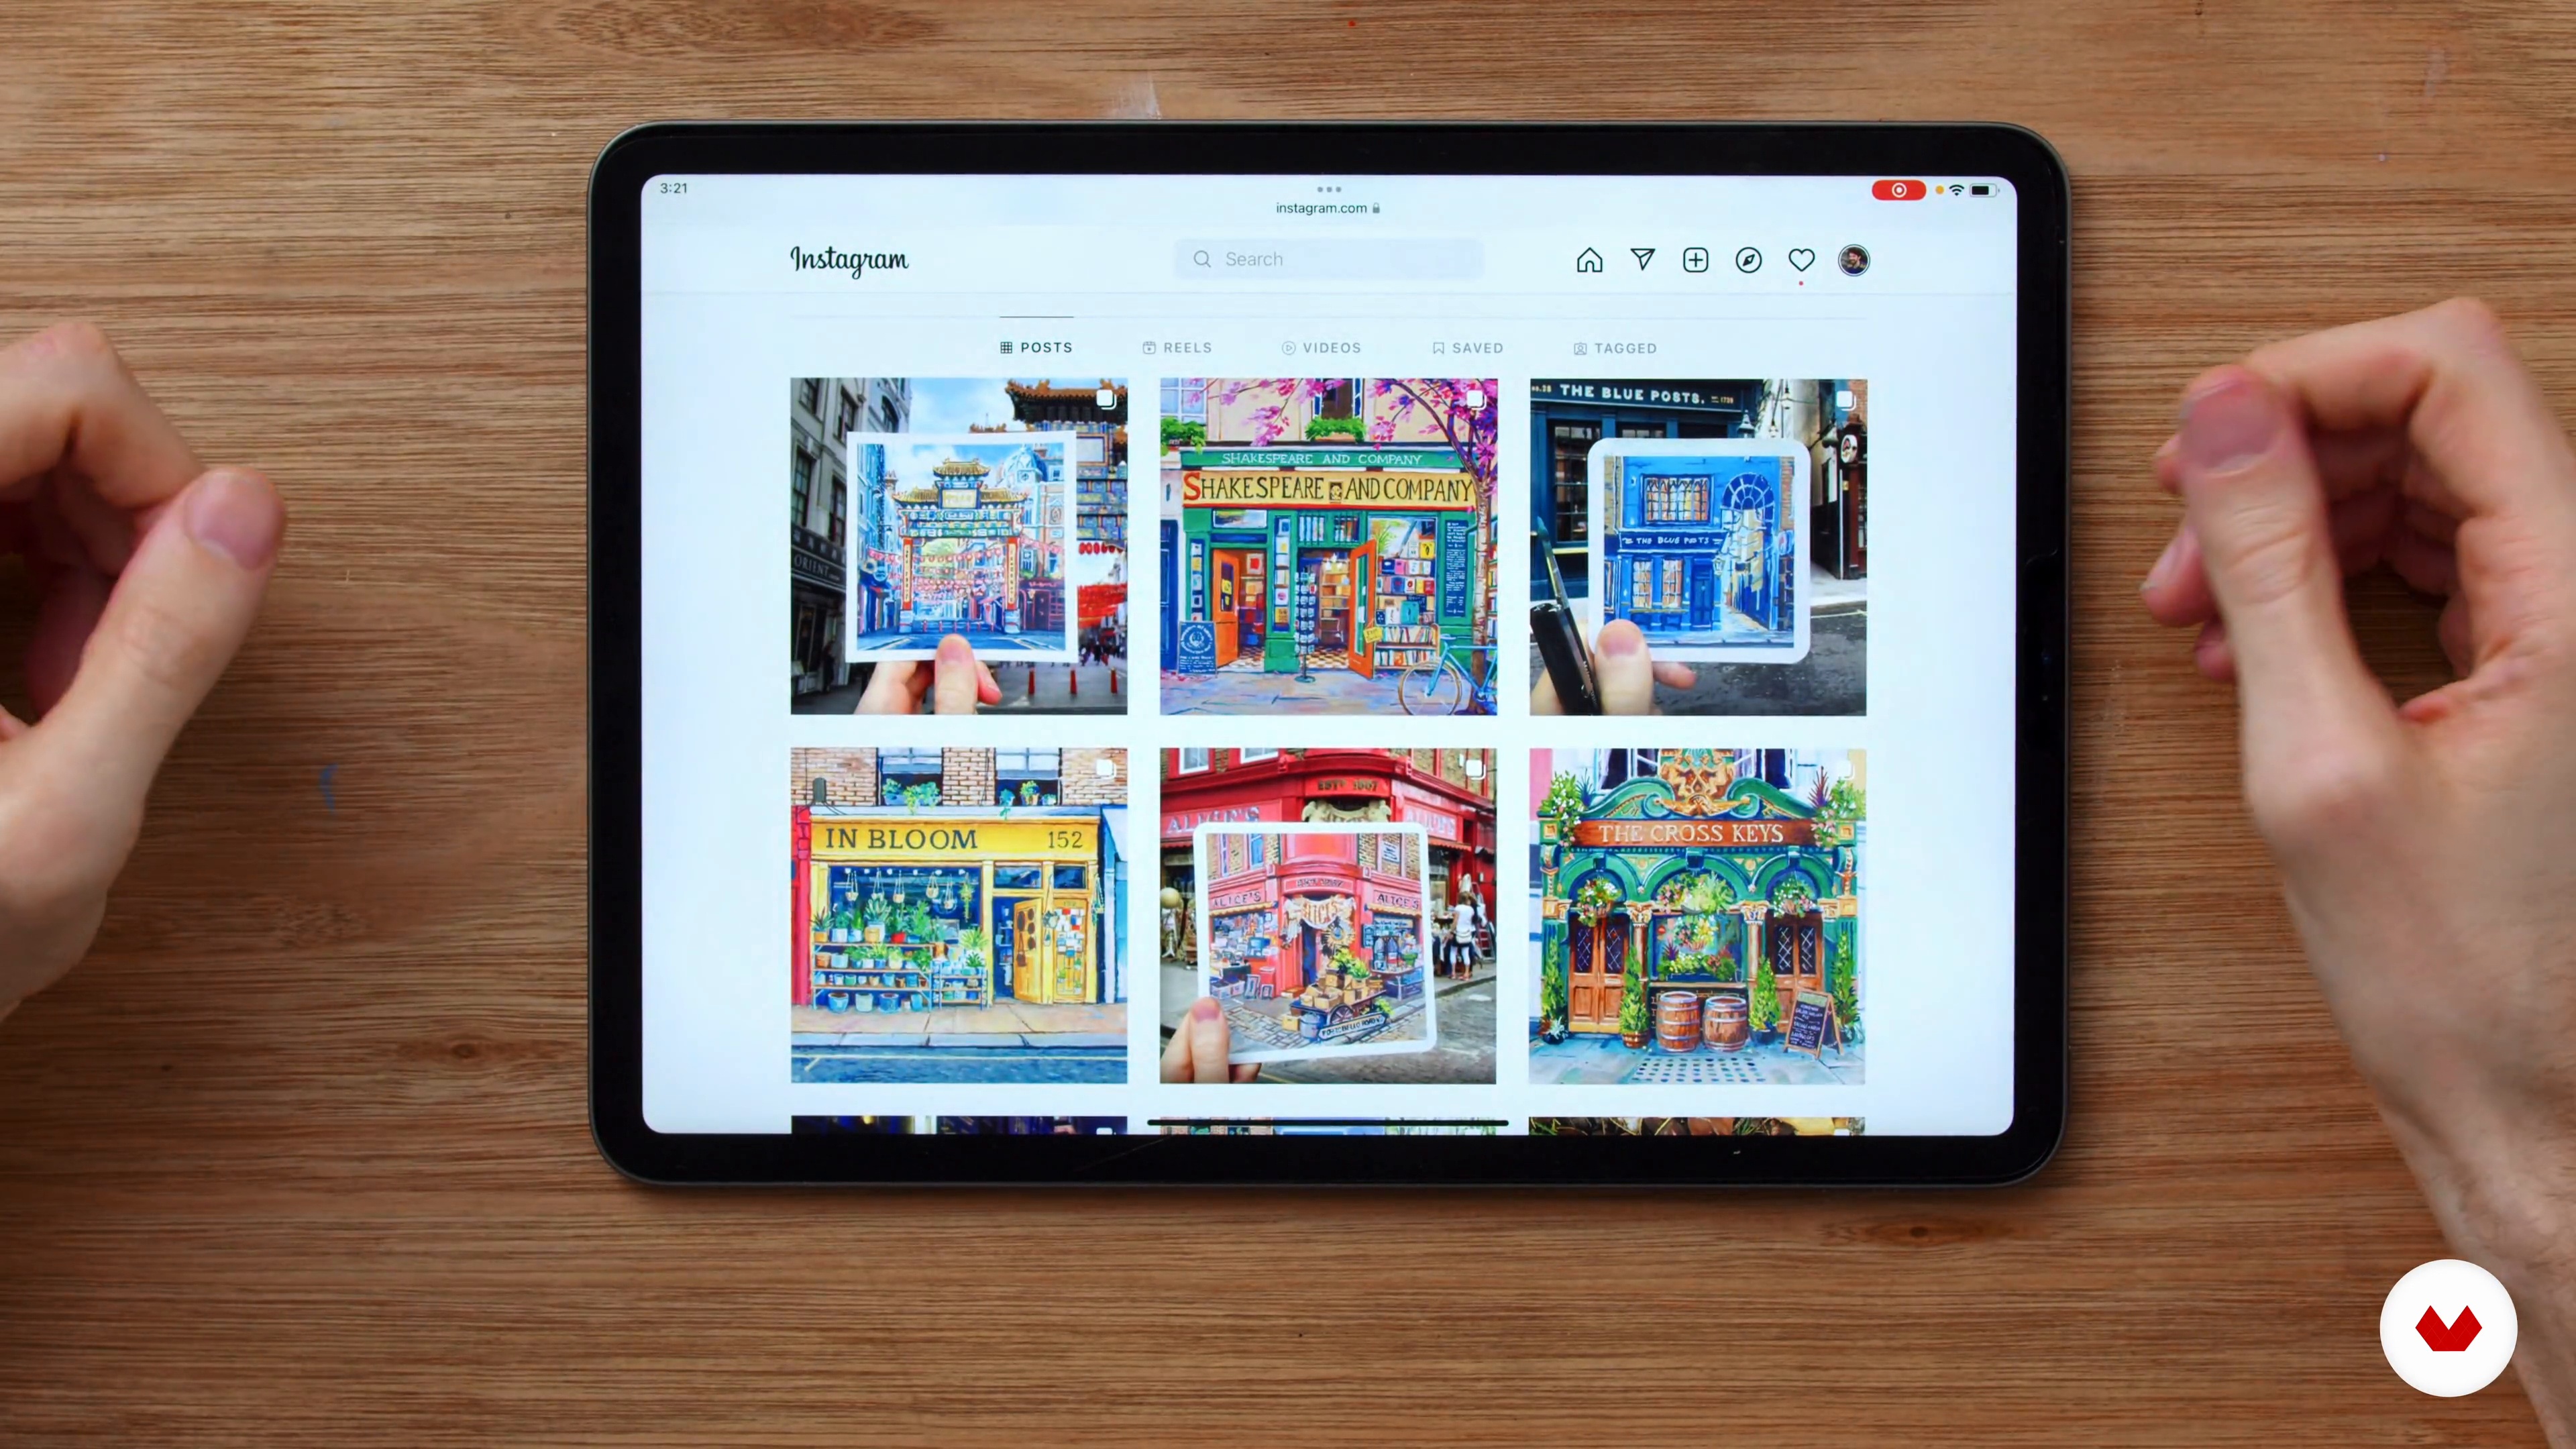
Sharing your work and being engaged in the art community are important. Let me explain my process of sharing my artwork on social media and give you a few tips.
4m
image
1
The Materials
In this lesson, I'll talk about all the materials required for this course and cover the differences between standard gouache and acrylic gouache.
4m
image
2
Getting Acquainted
Let's get familiar with the basics! To establish solid foundations, I will introduce you to the techniques required to create different textures and explain how to work with layers.
19m
image
3
Understanding the Color Theory
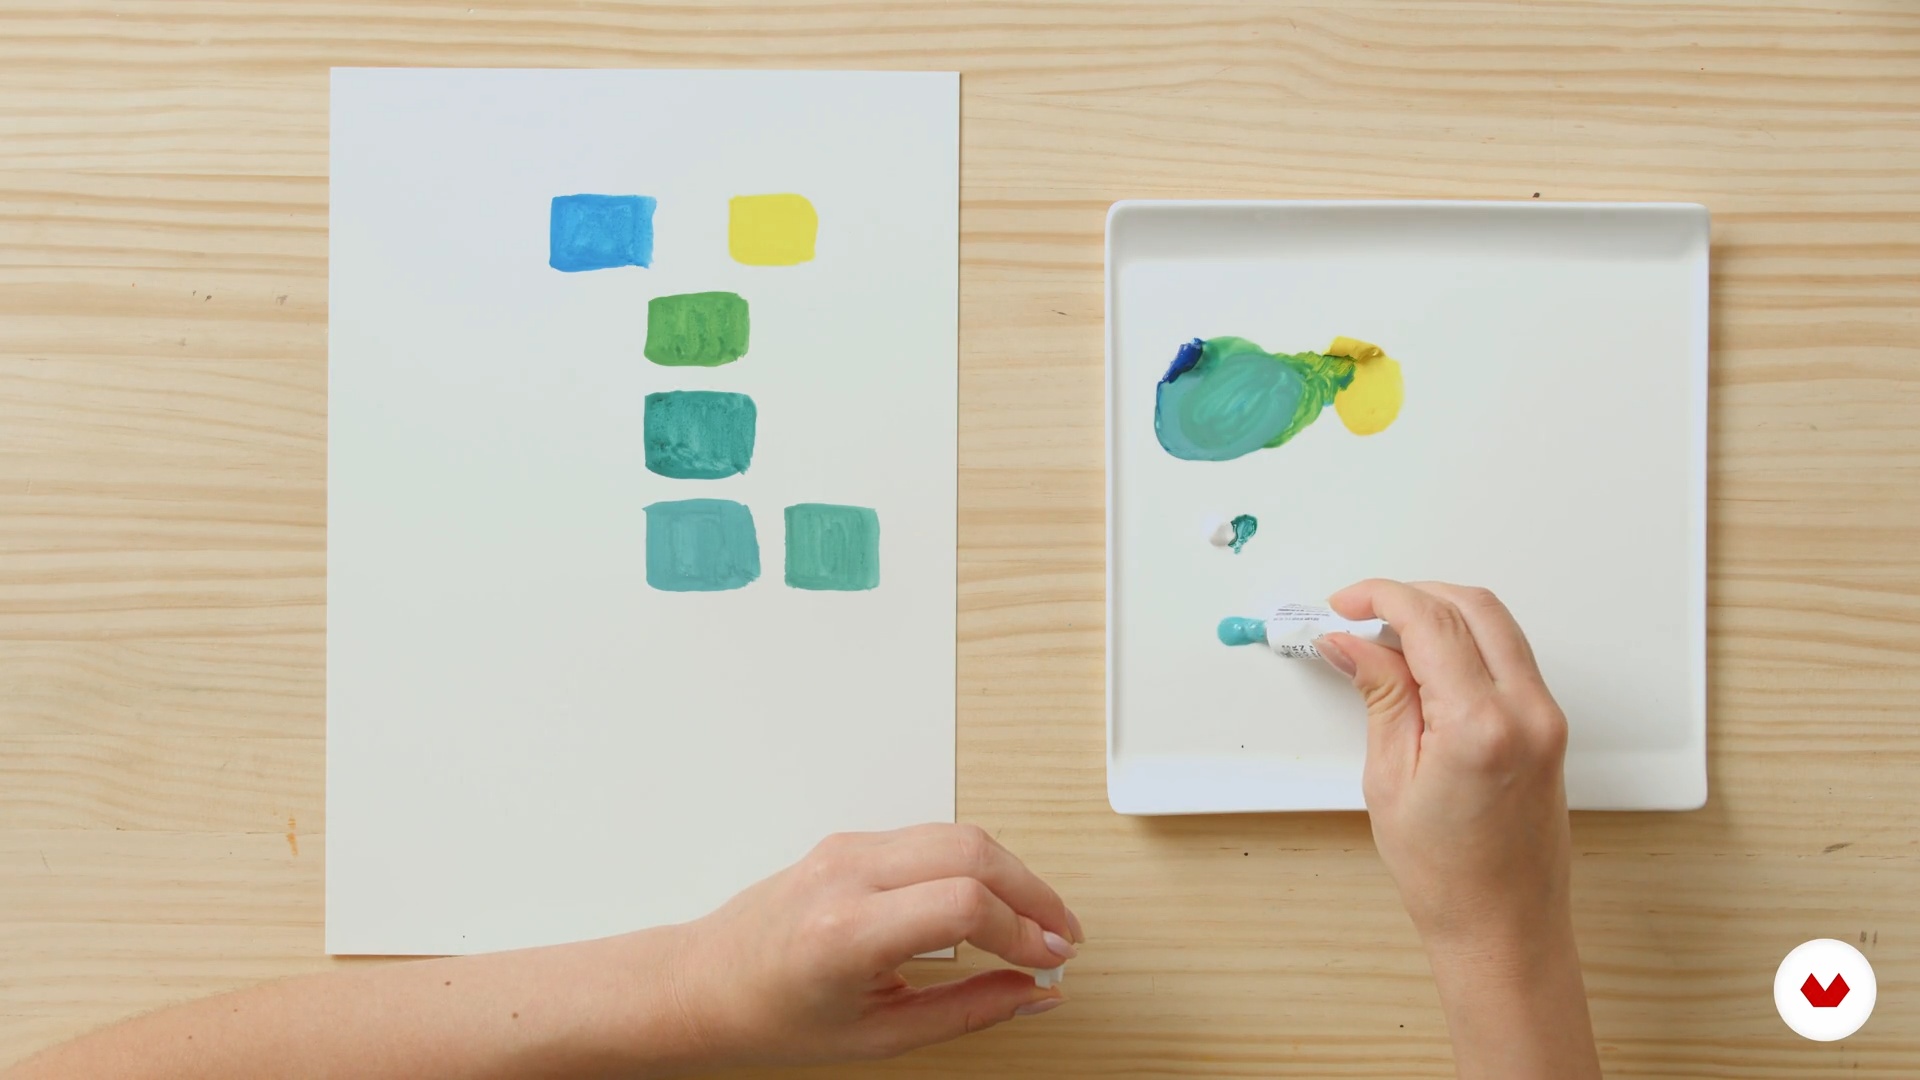
In this lesson, you will learn how colors work, along with how to combine them and create a palette that is pleasing to the eye.
3m
image
4
Making Mood Boards
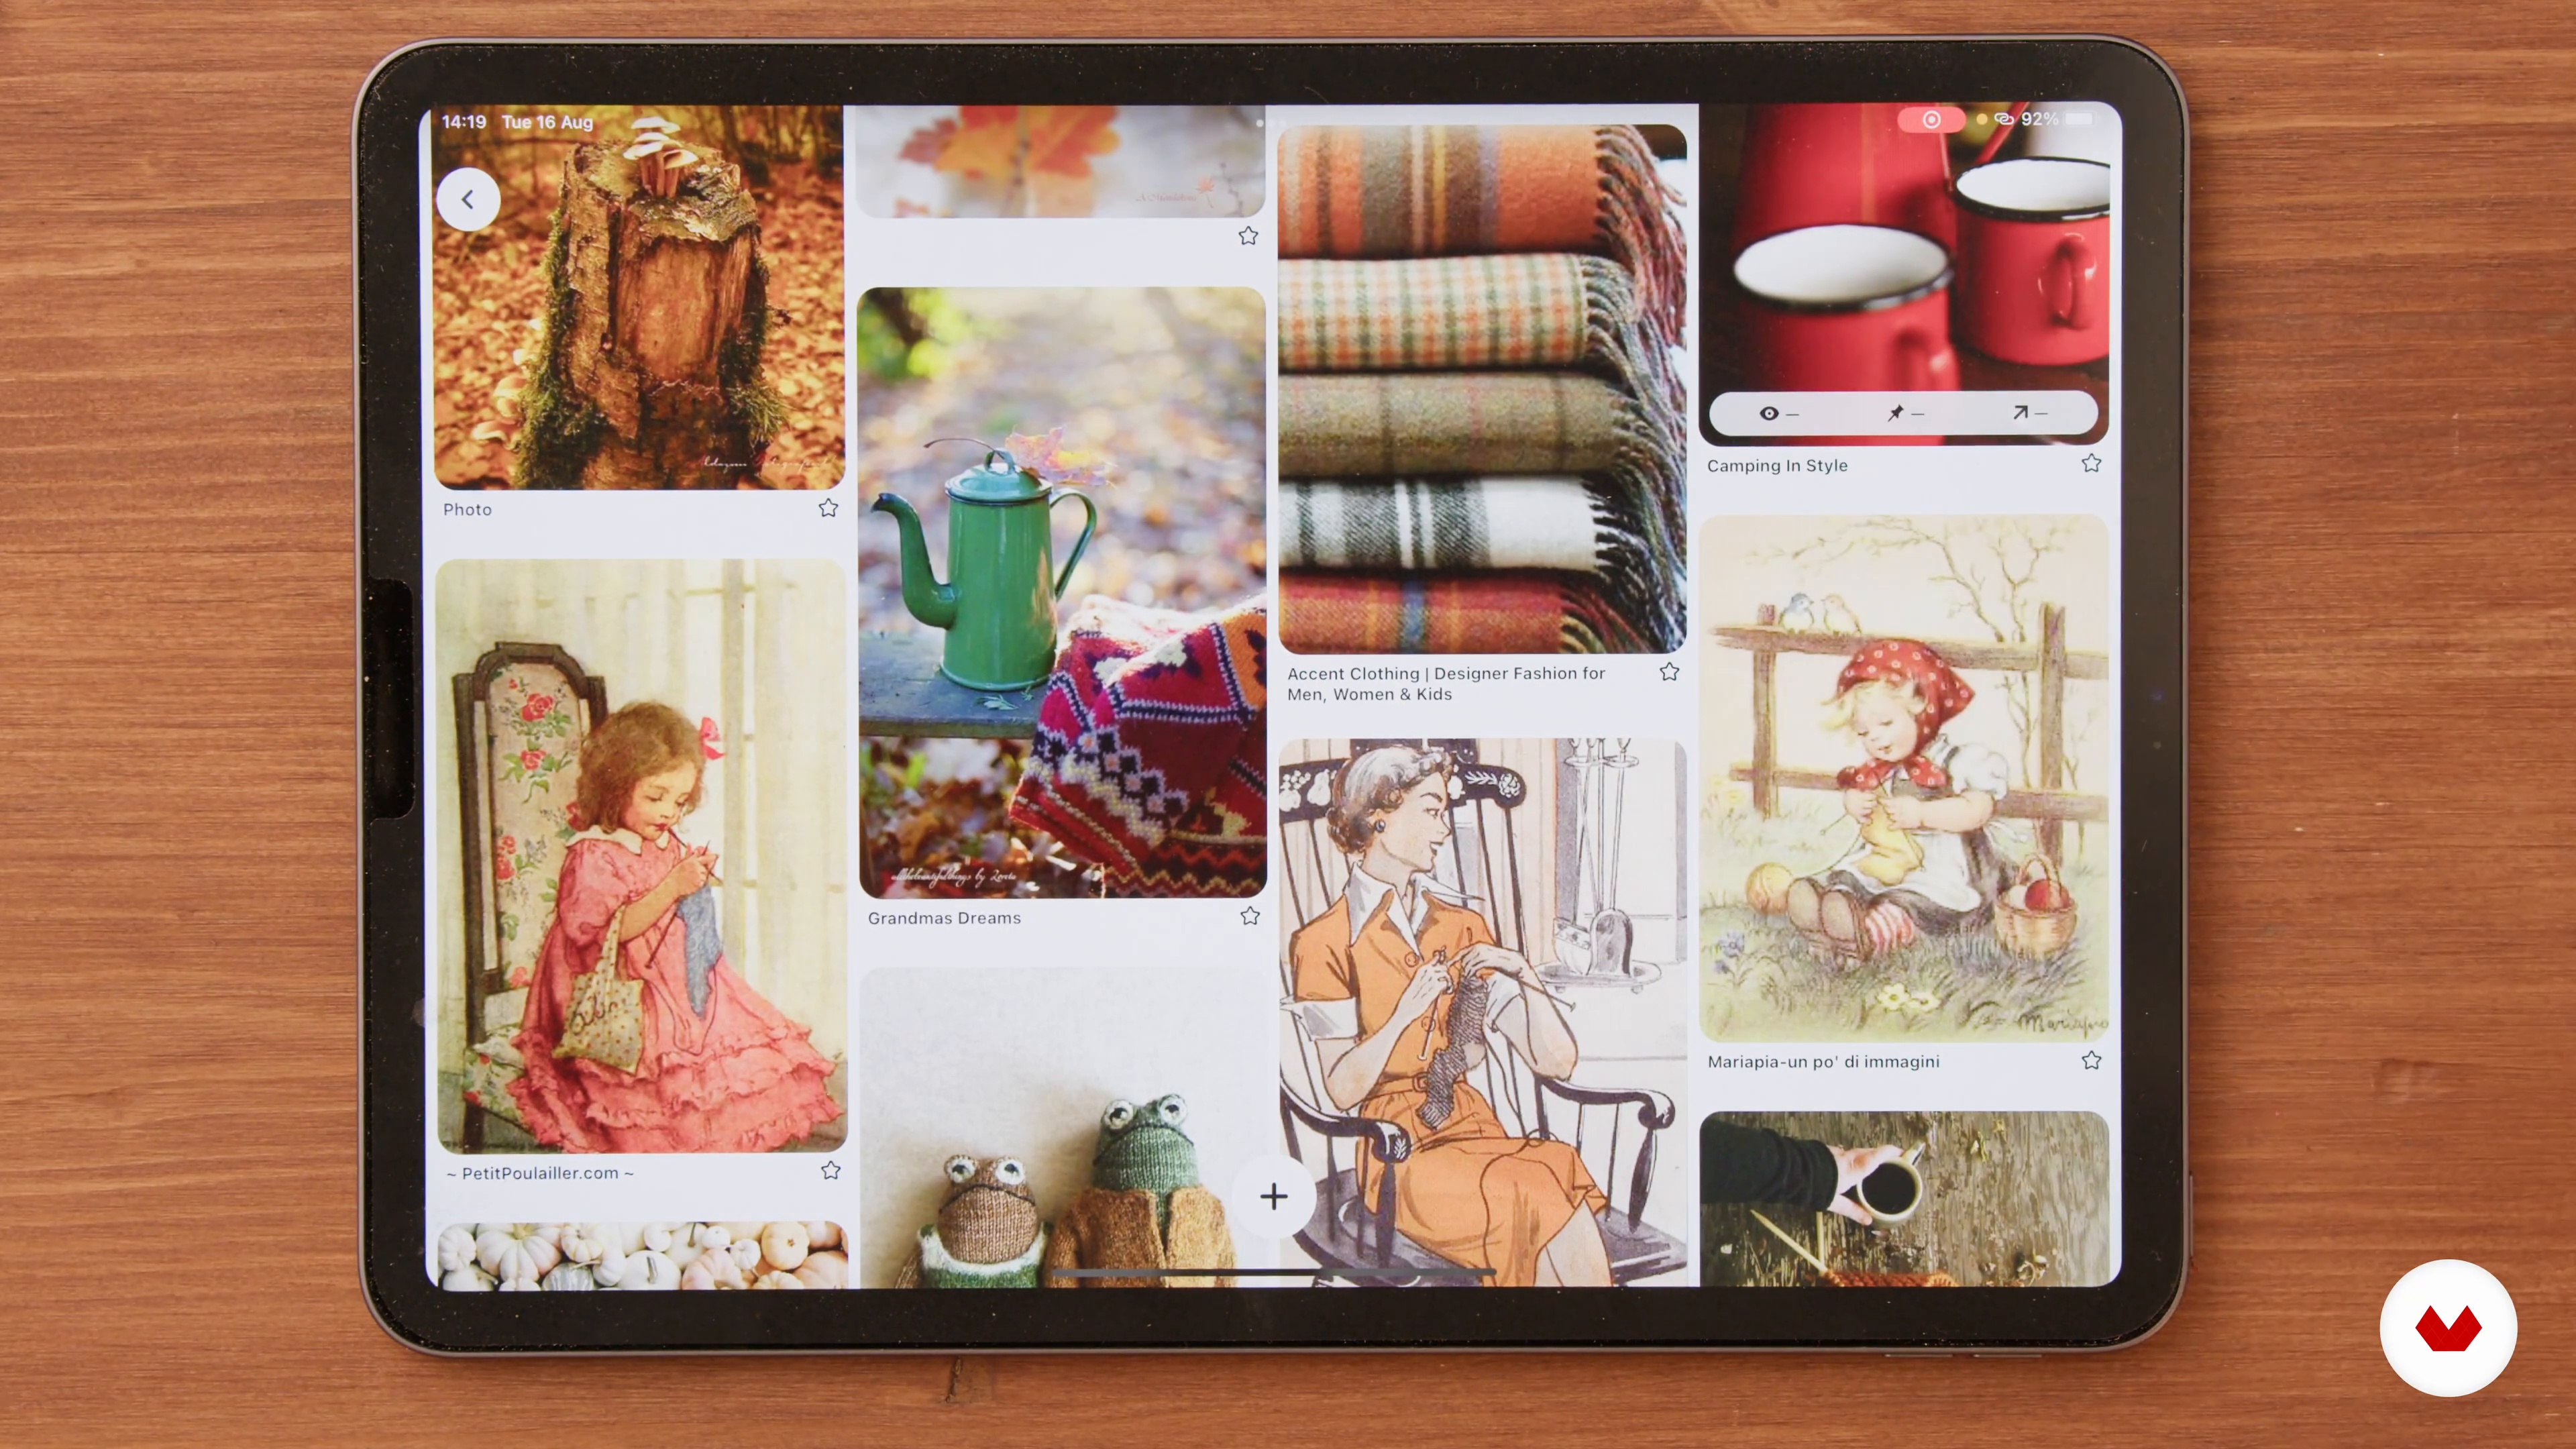
To conclude this unit, you will see how to make a mood board and find inspiration on Pinterest. This is an important step in any project, as it will dictate the creative direction you follow throughout.
4m
image
5
Sketching a Study Page
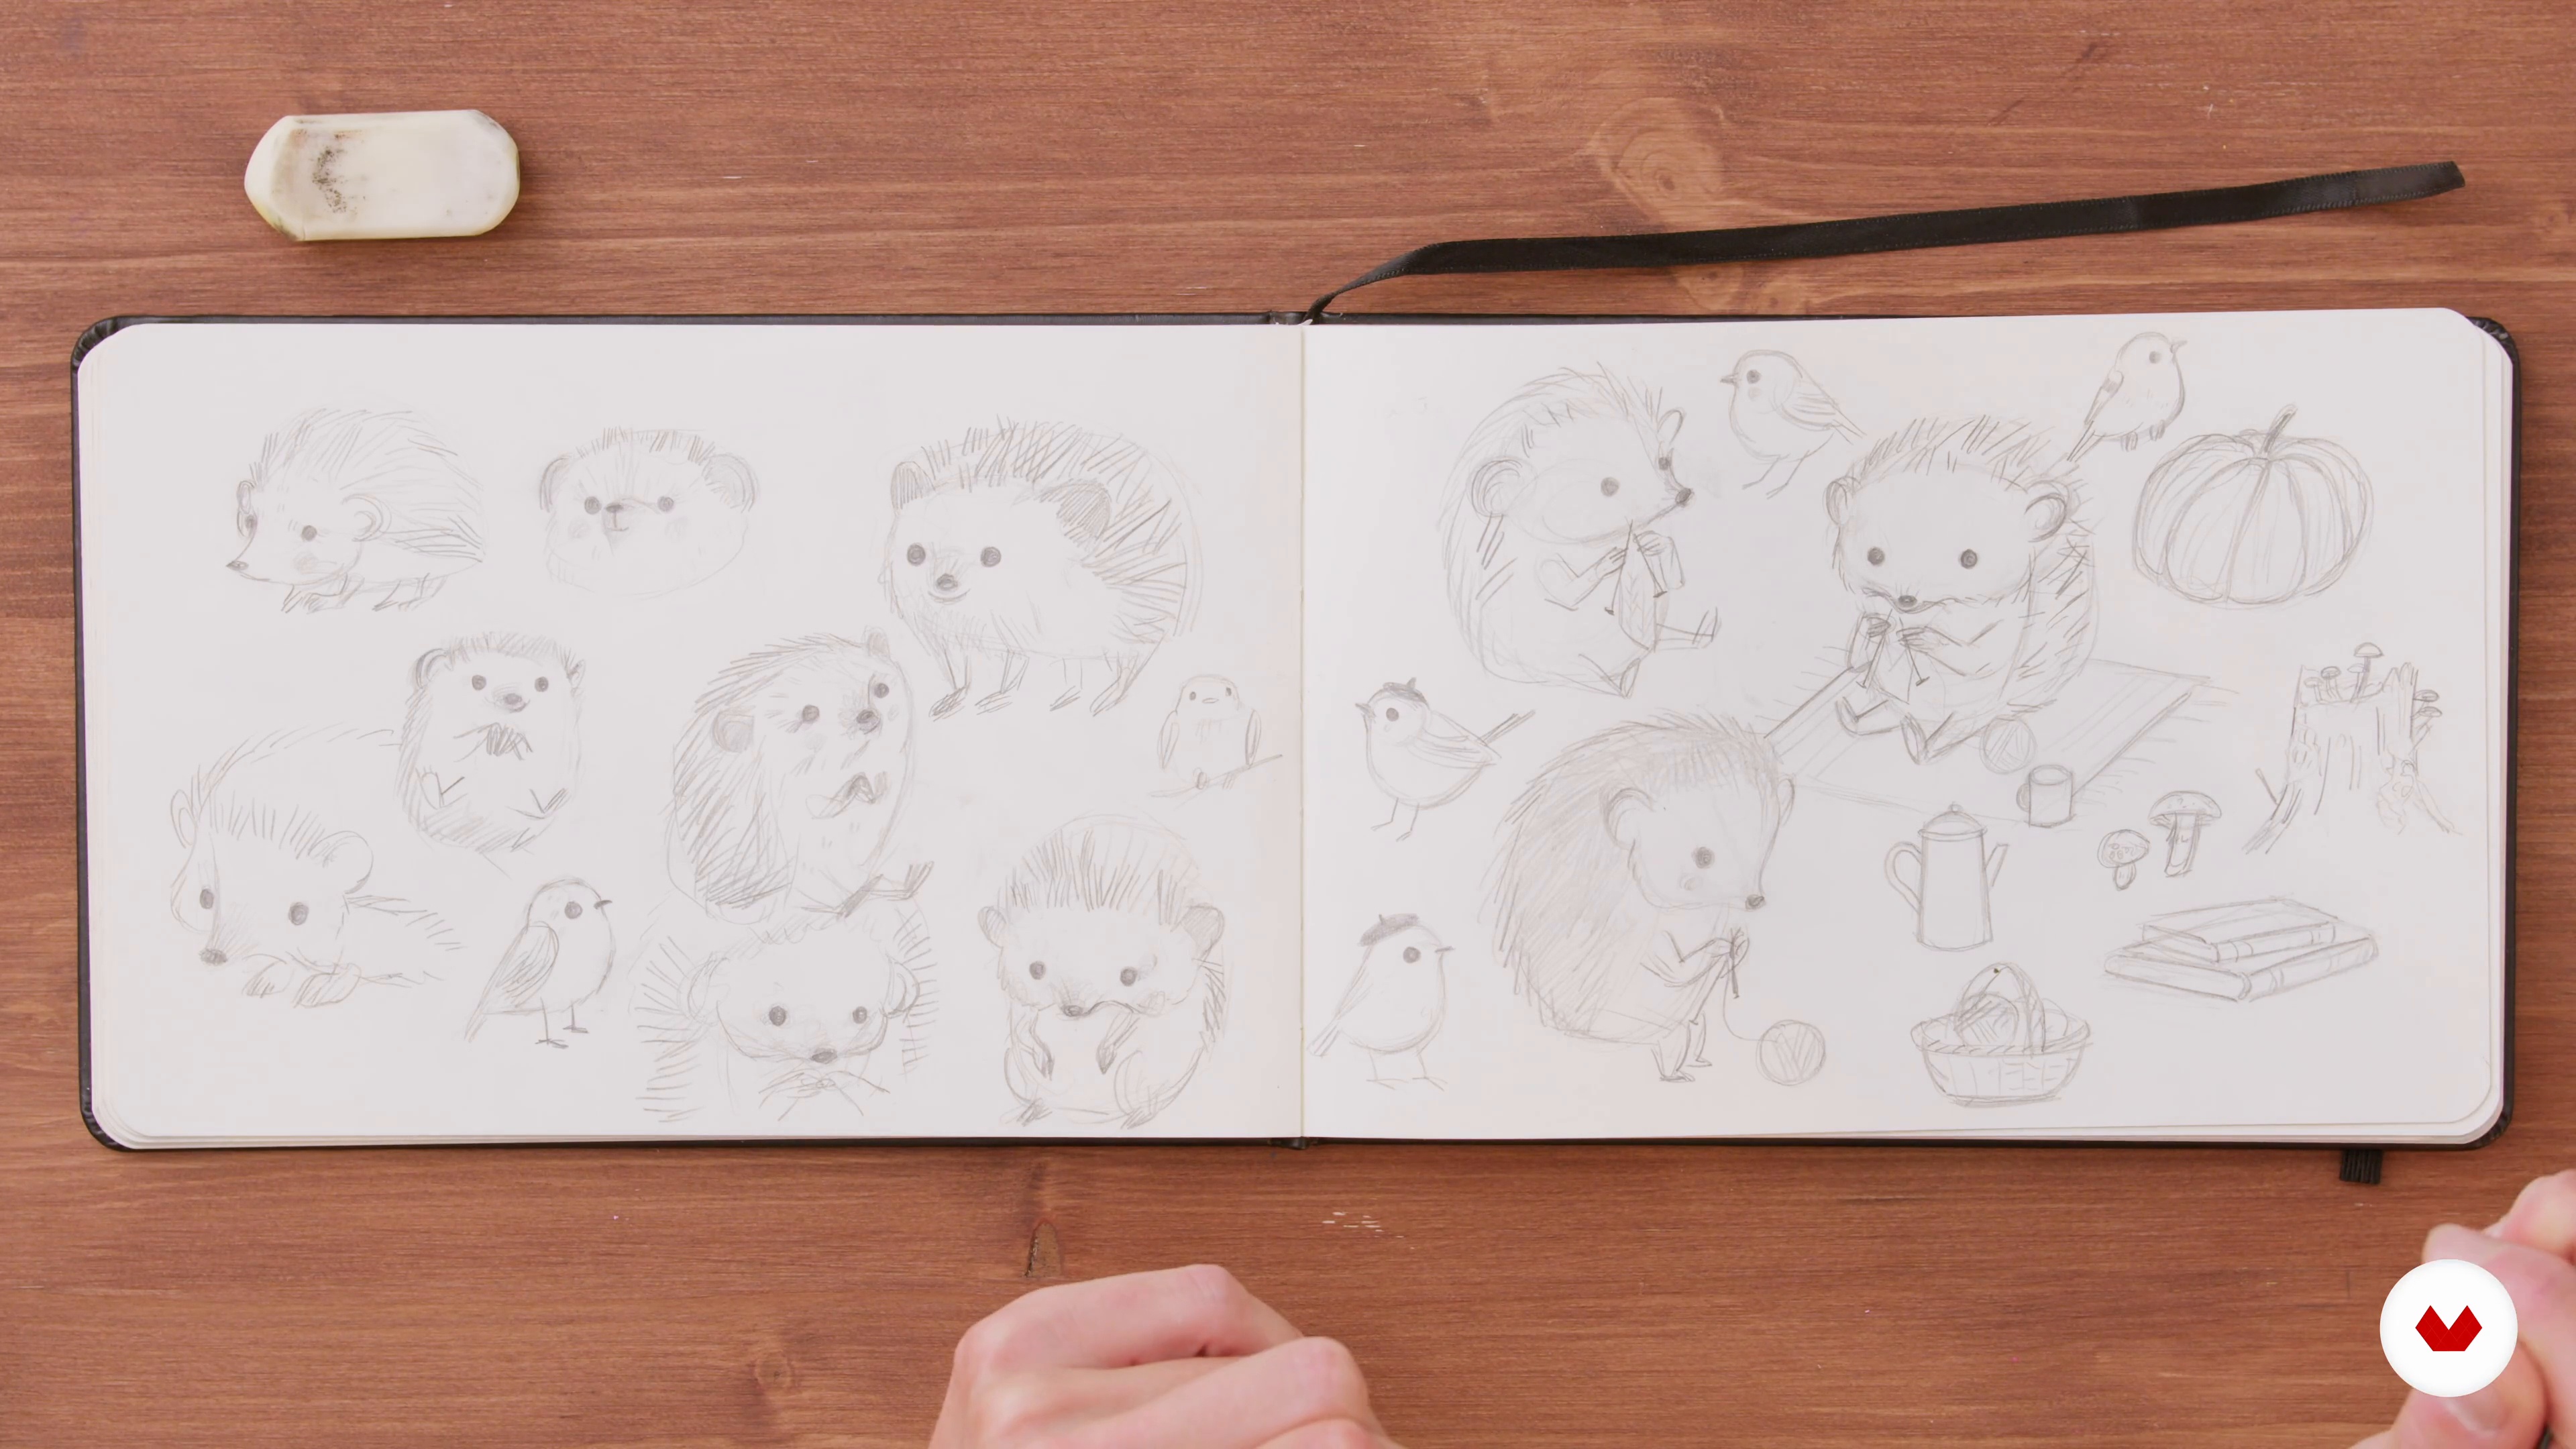
In this lesson, you'll learn how to make a study page in your sketchbook and turn any animal into a cute character. I'll teach you how to adopt a relaxed approach to see where your imagination takes you.
5m
image
6
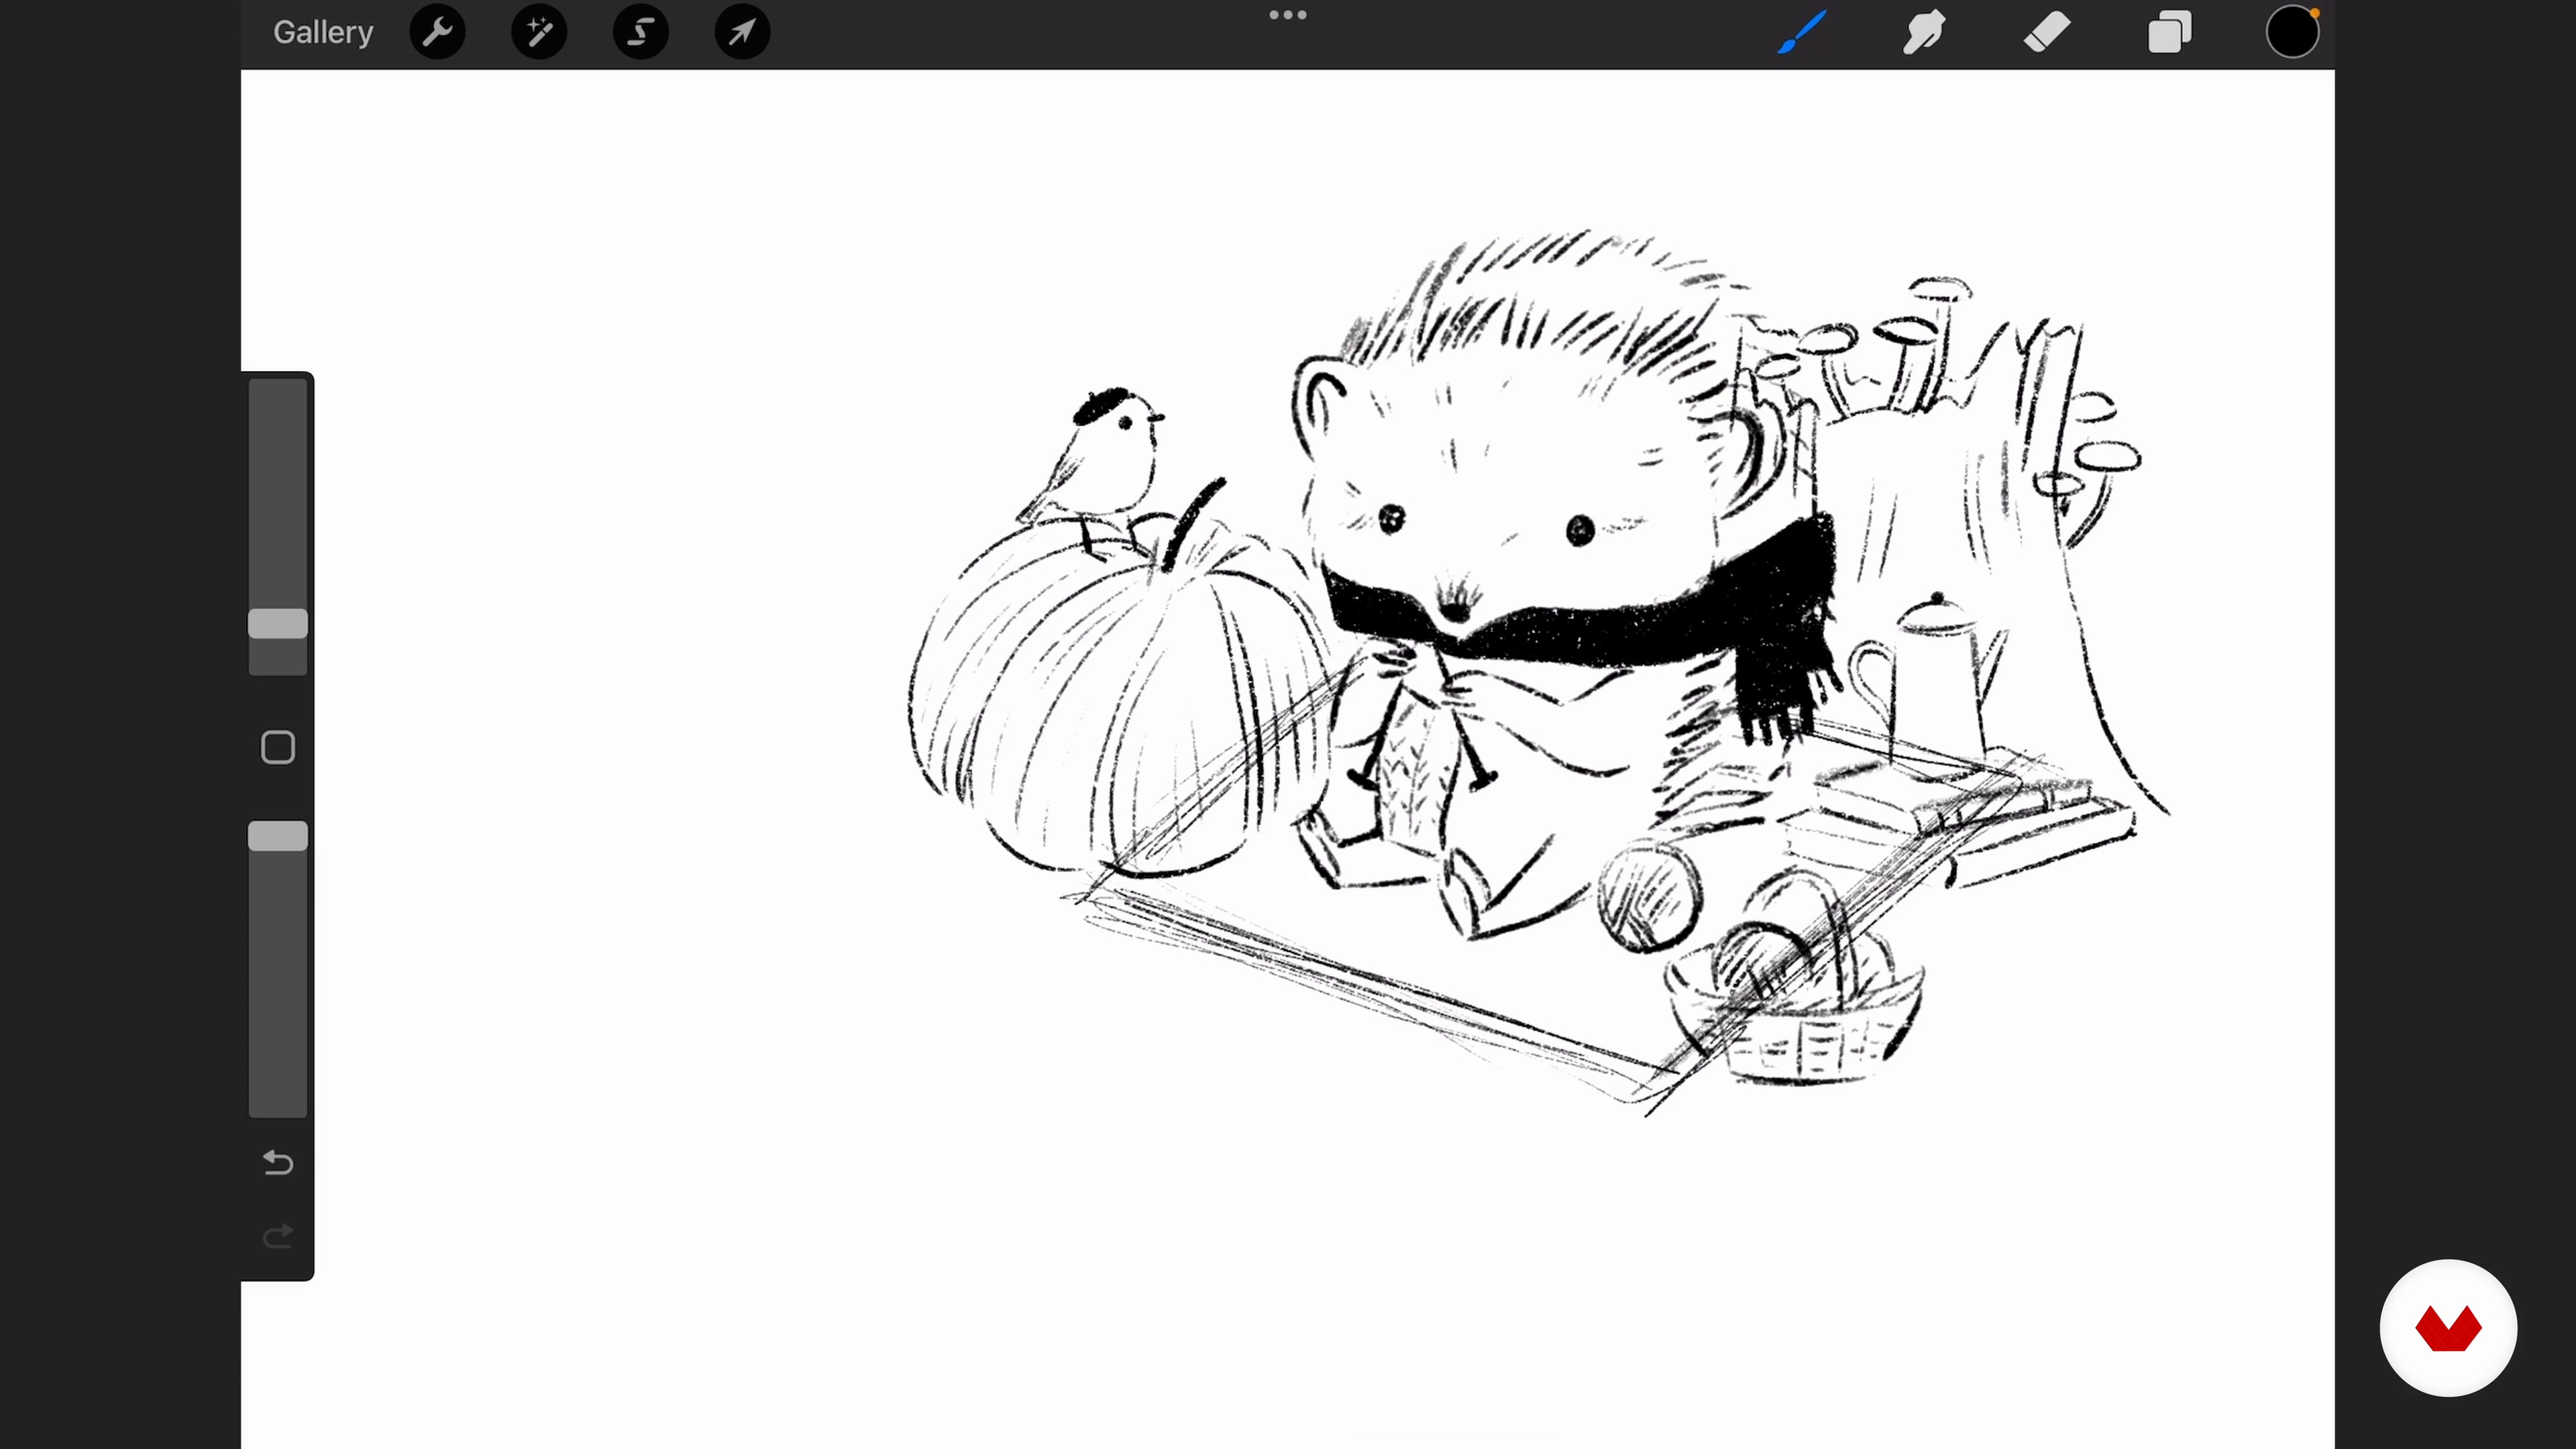
Digitalizing and Organizing the Scene
With the rough sketches complete, it's time to scan the drawings into your preferred software and finish working on the final sketch digitally.
15m
image
7
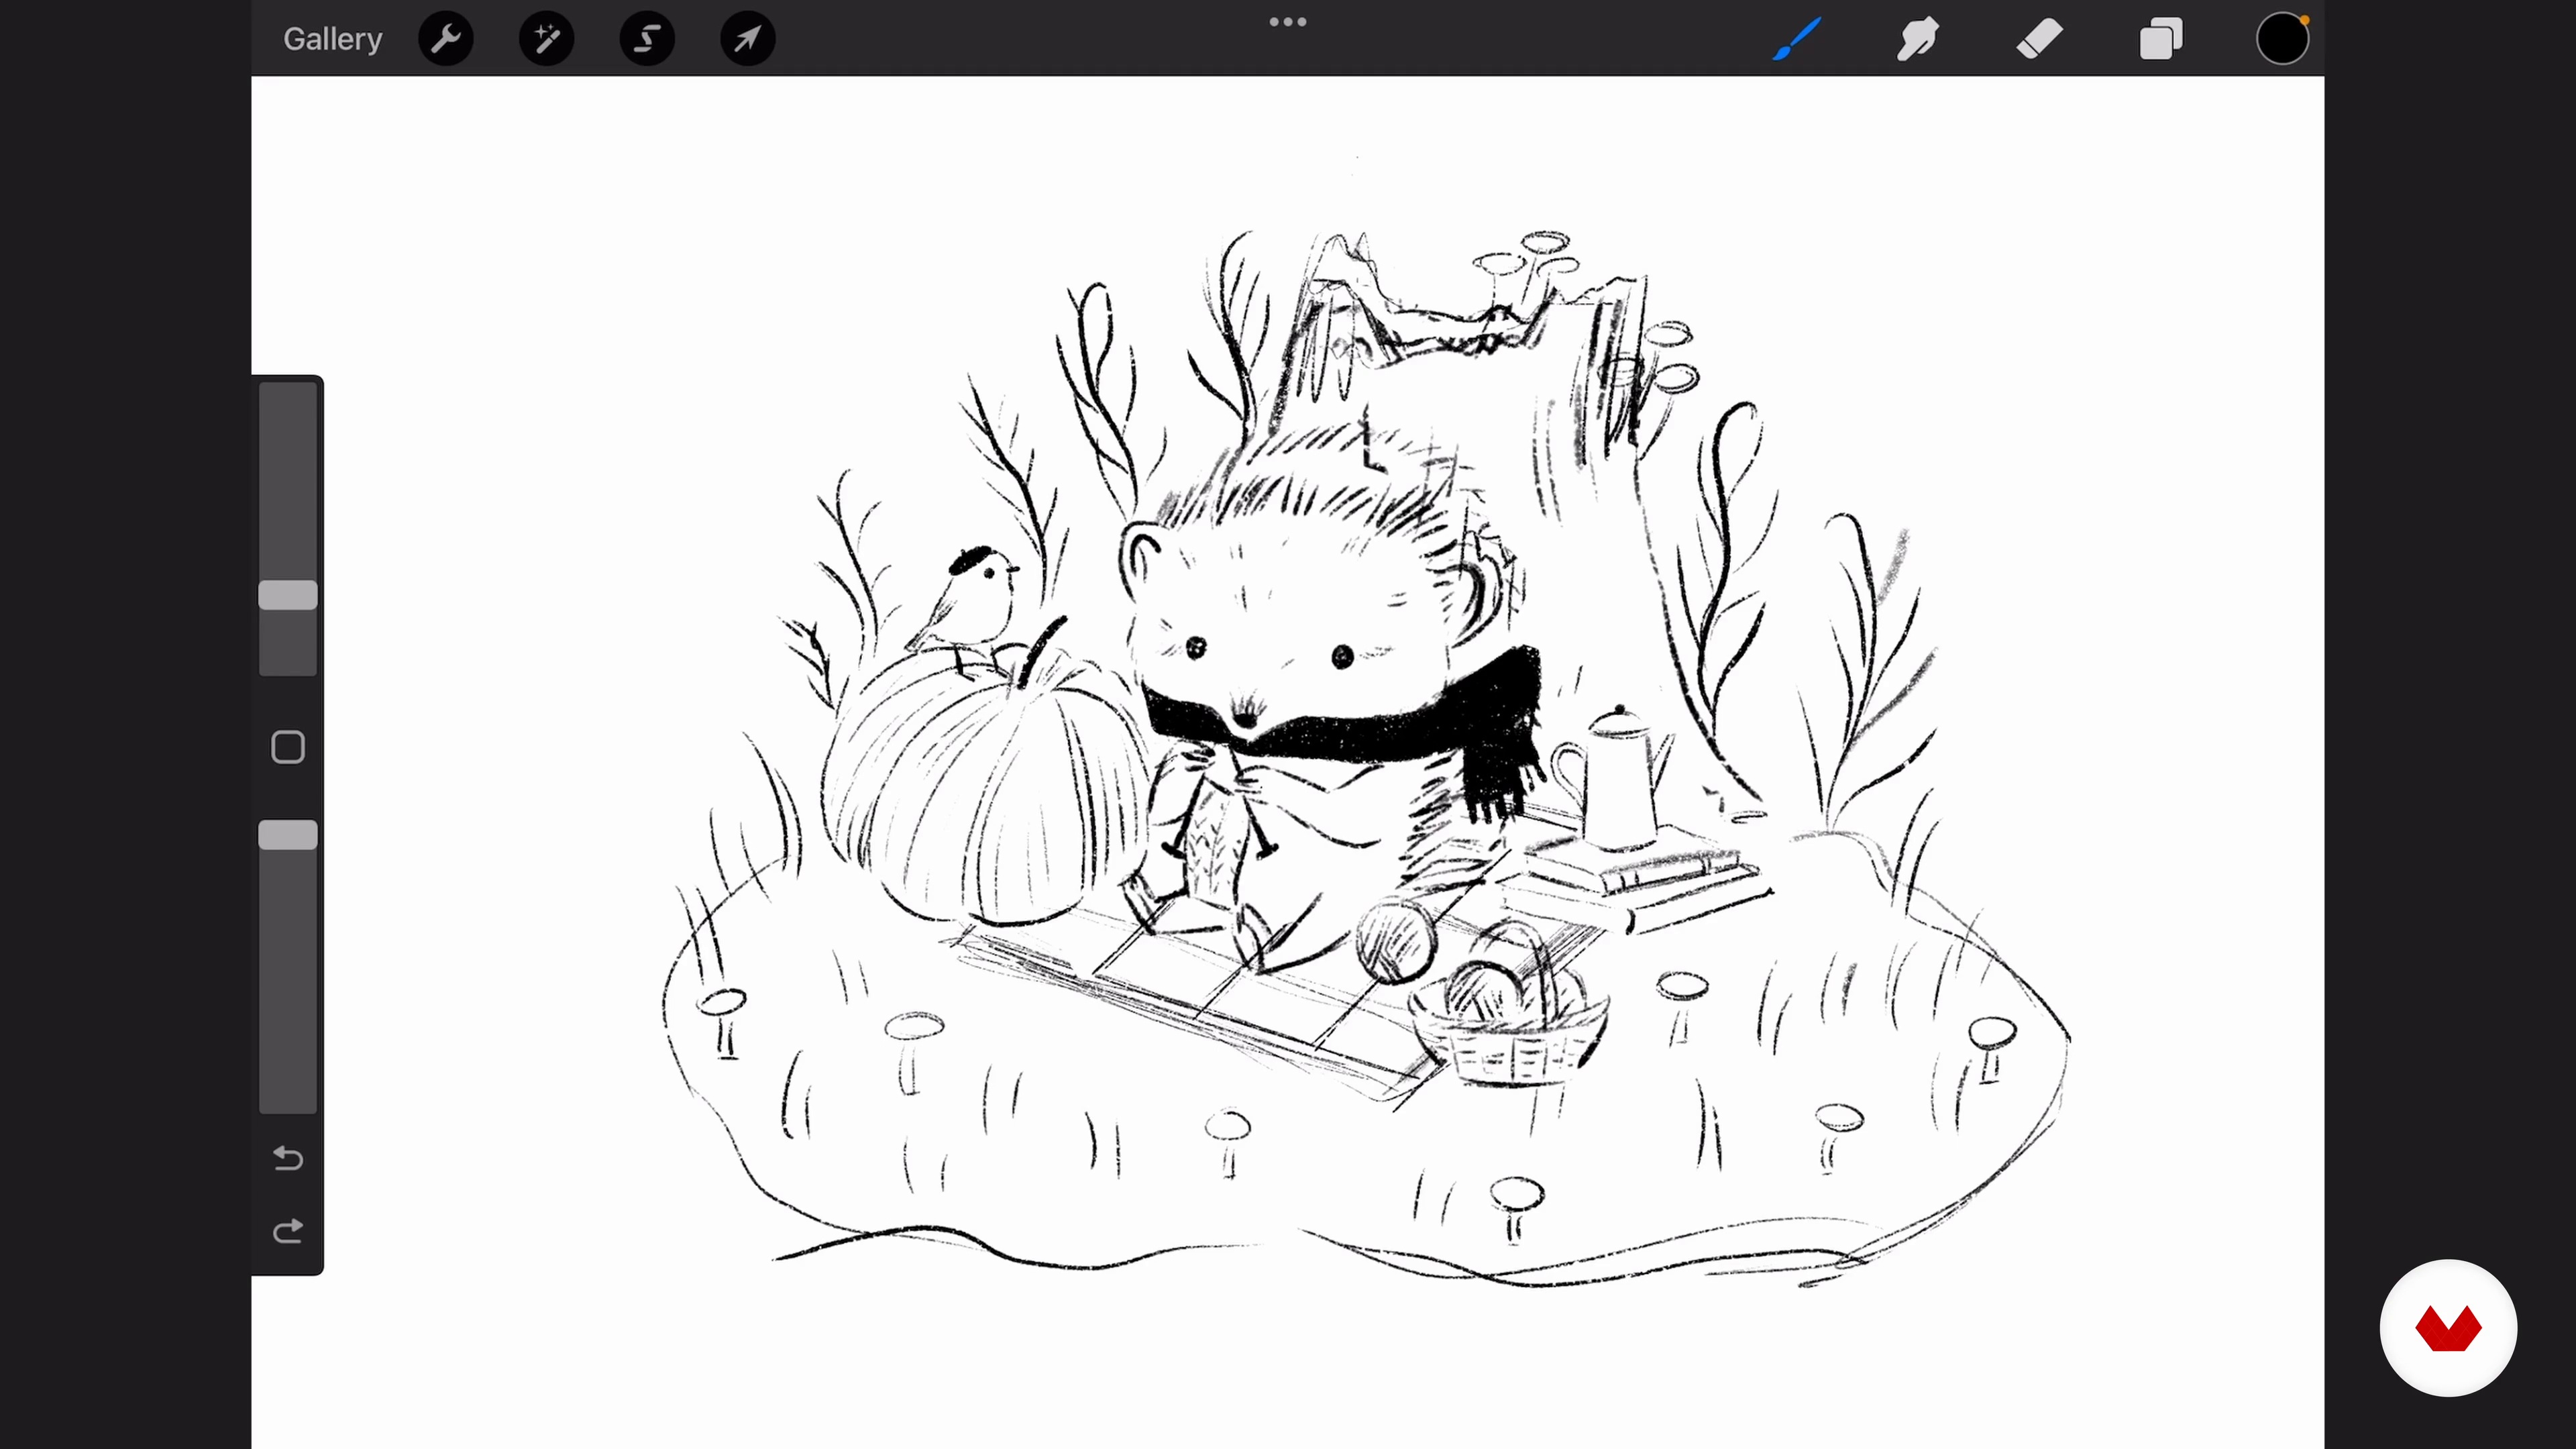
Developing the Background
In this lesson, I will teach you how to frame the scene by creating a suitable background. These secondary elements can be used to give more depth to your scene. I will incorporate mushrooms, some ferns, and grass with flowers.
4m
image
8
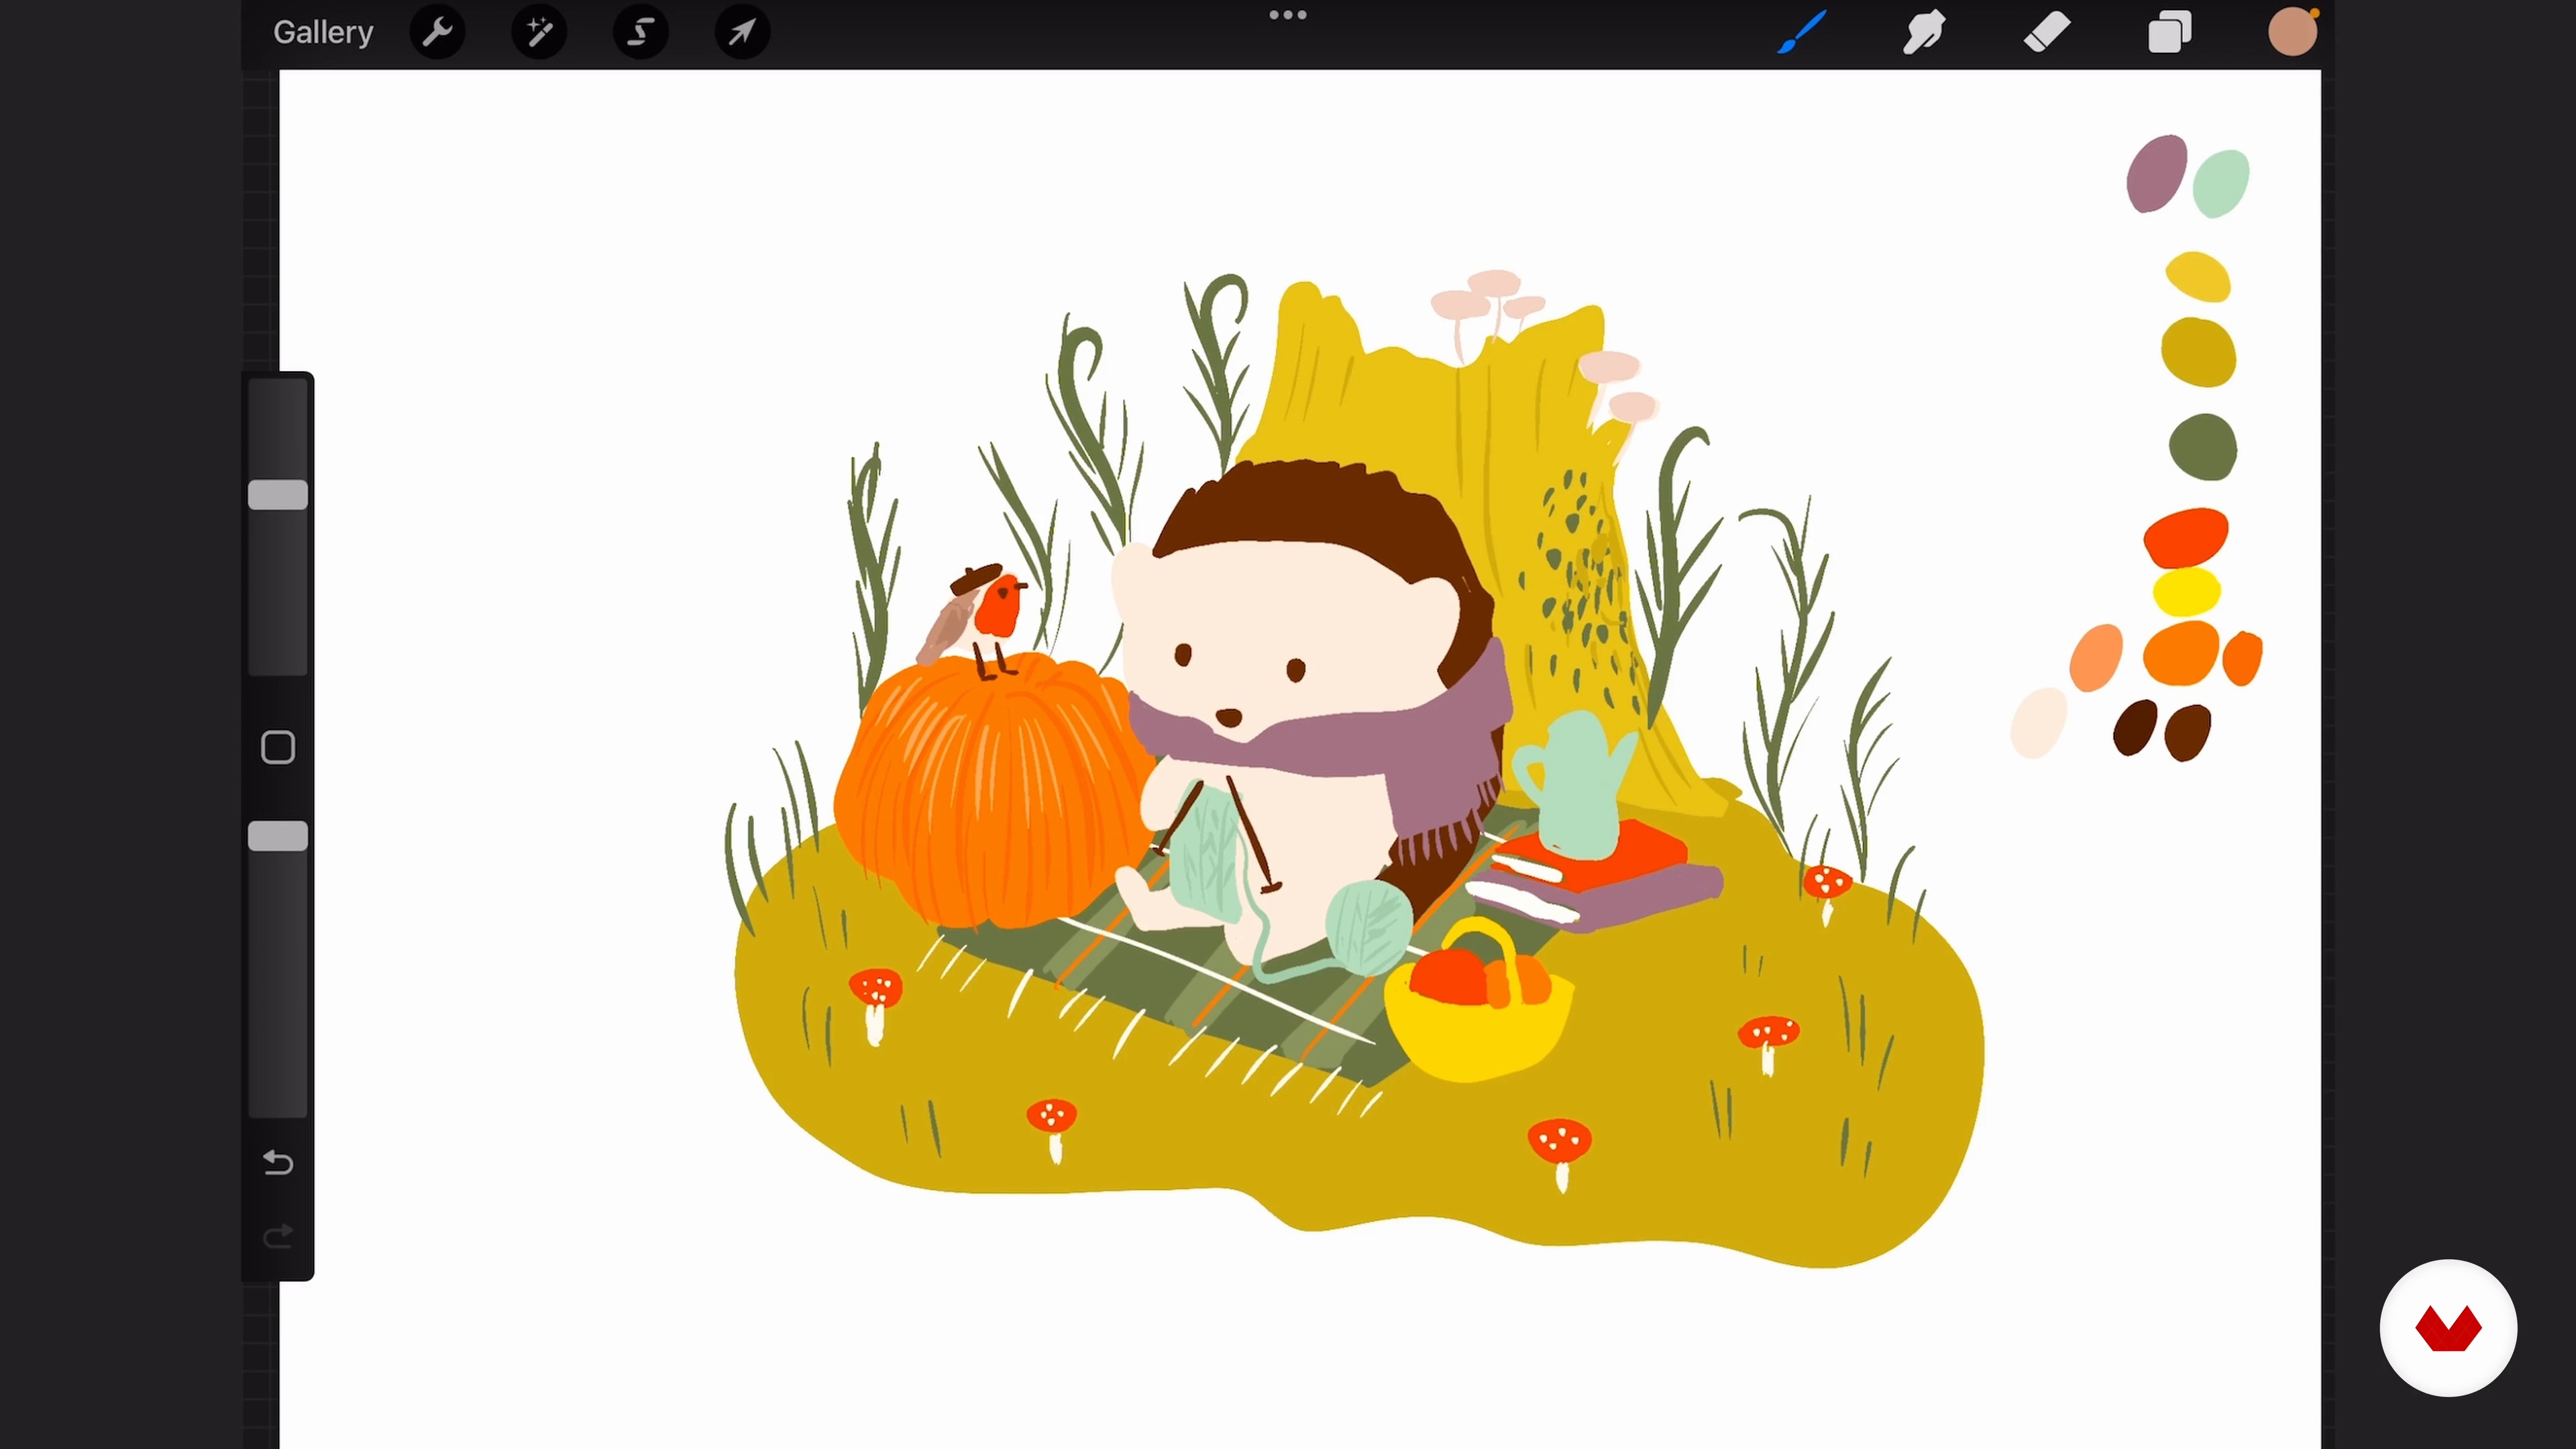
Choosing a Color Palette
It's time to apply the theory you learned in the previous unit to create an inspiring color palette! I will show you how to draw on color theory and your mood board to do this.
16m
image
9
Tracing
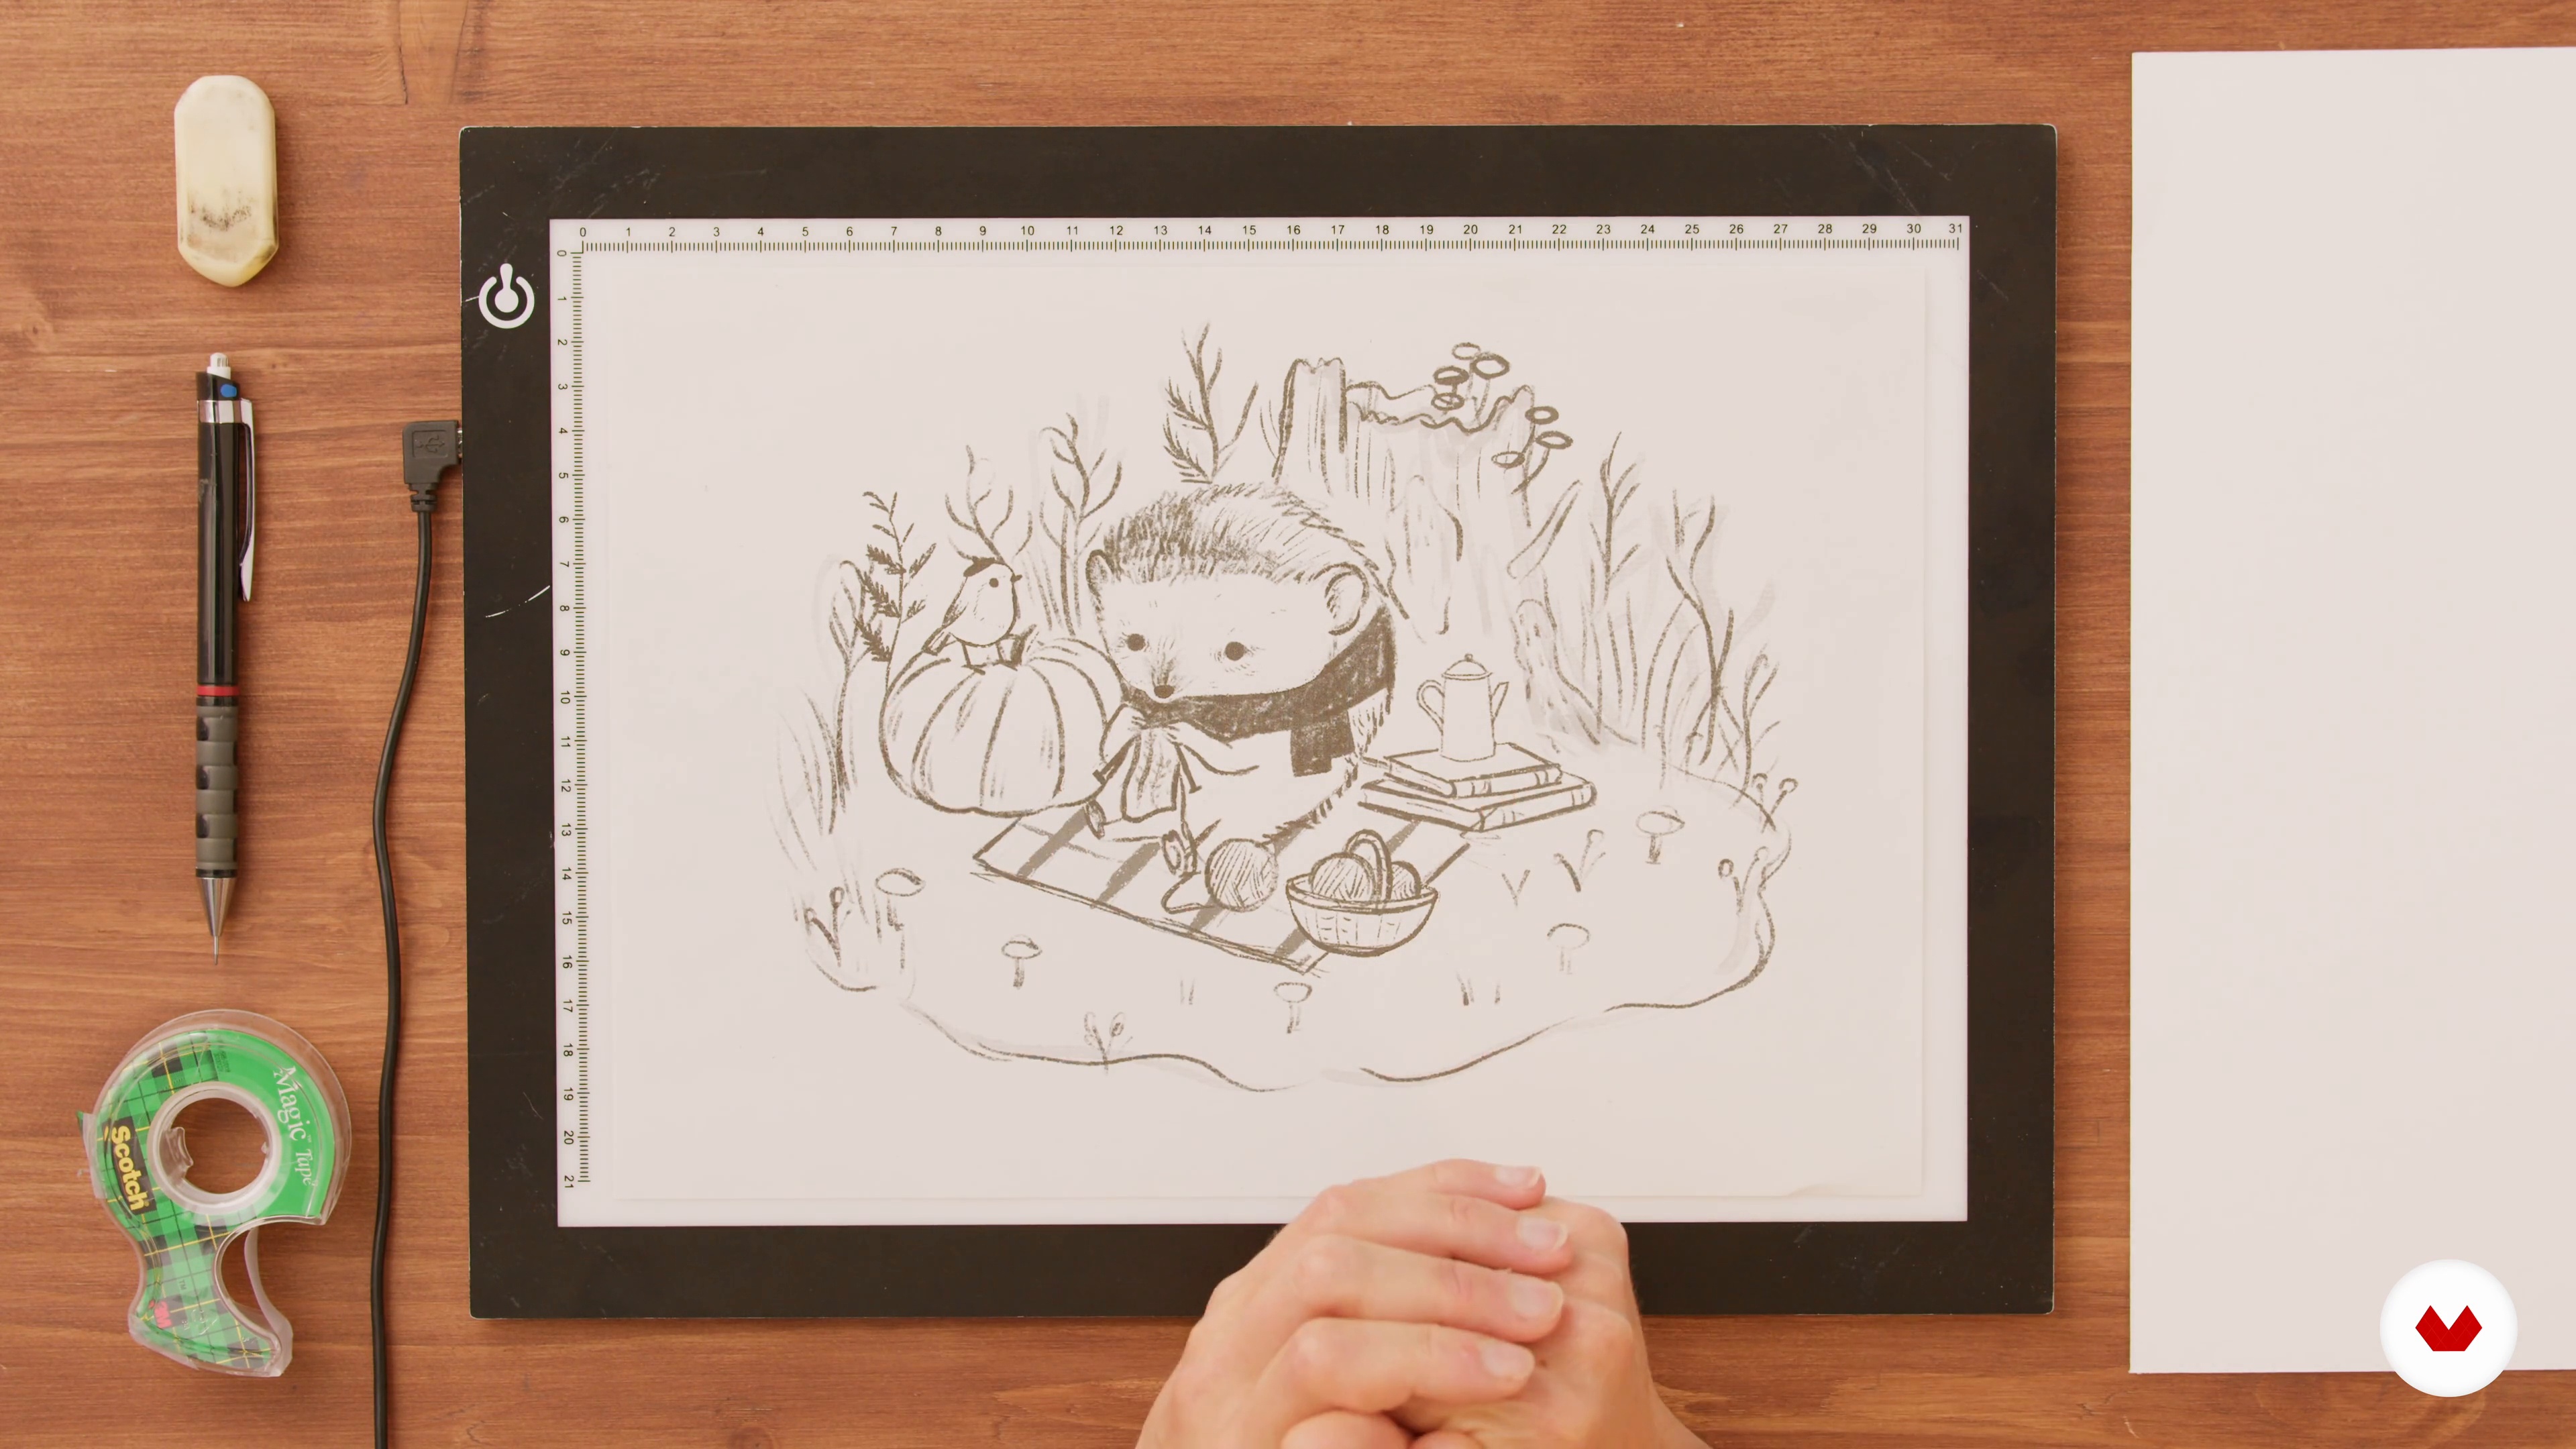
In this lesson, you'll learn how to trace your illustration onto watercolor paper. This will be the skeleton sketch that guides you through the rest of the creative process.
4m
image
10
Preparing the Colors
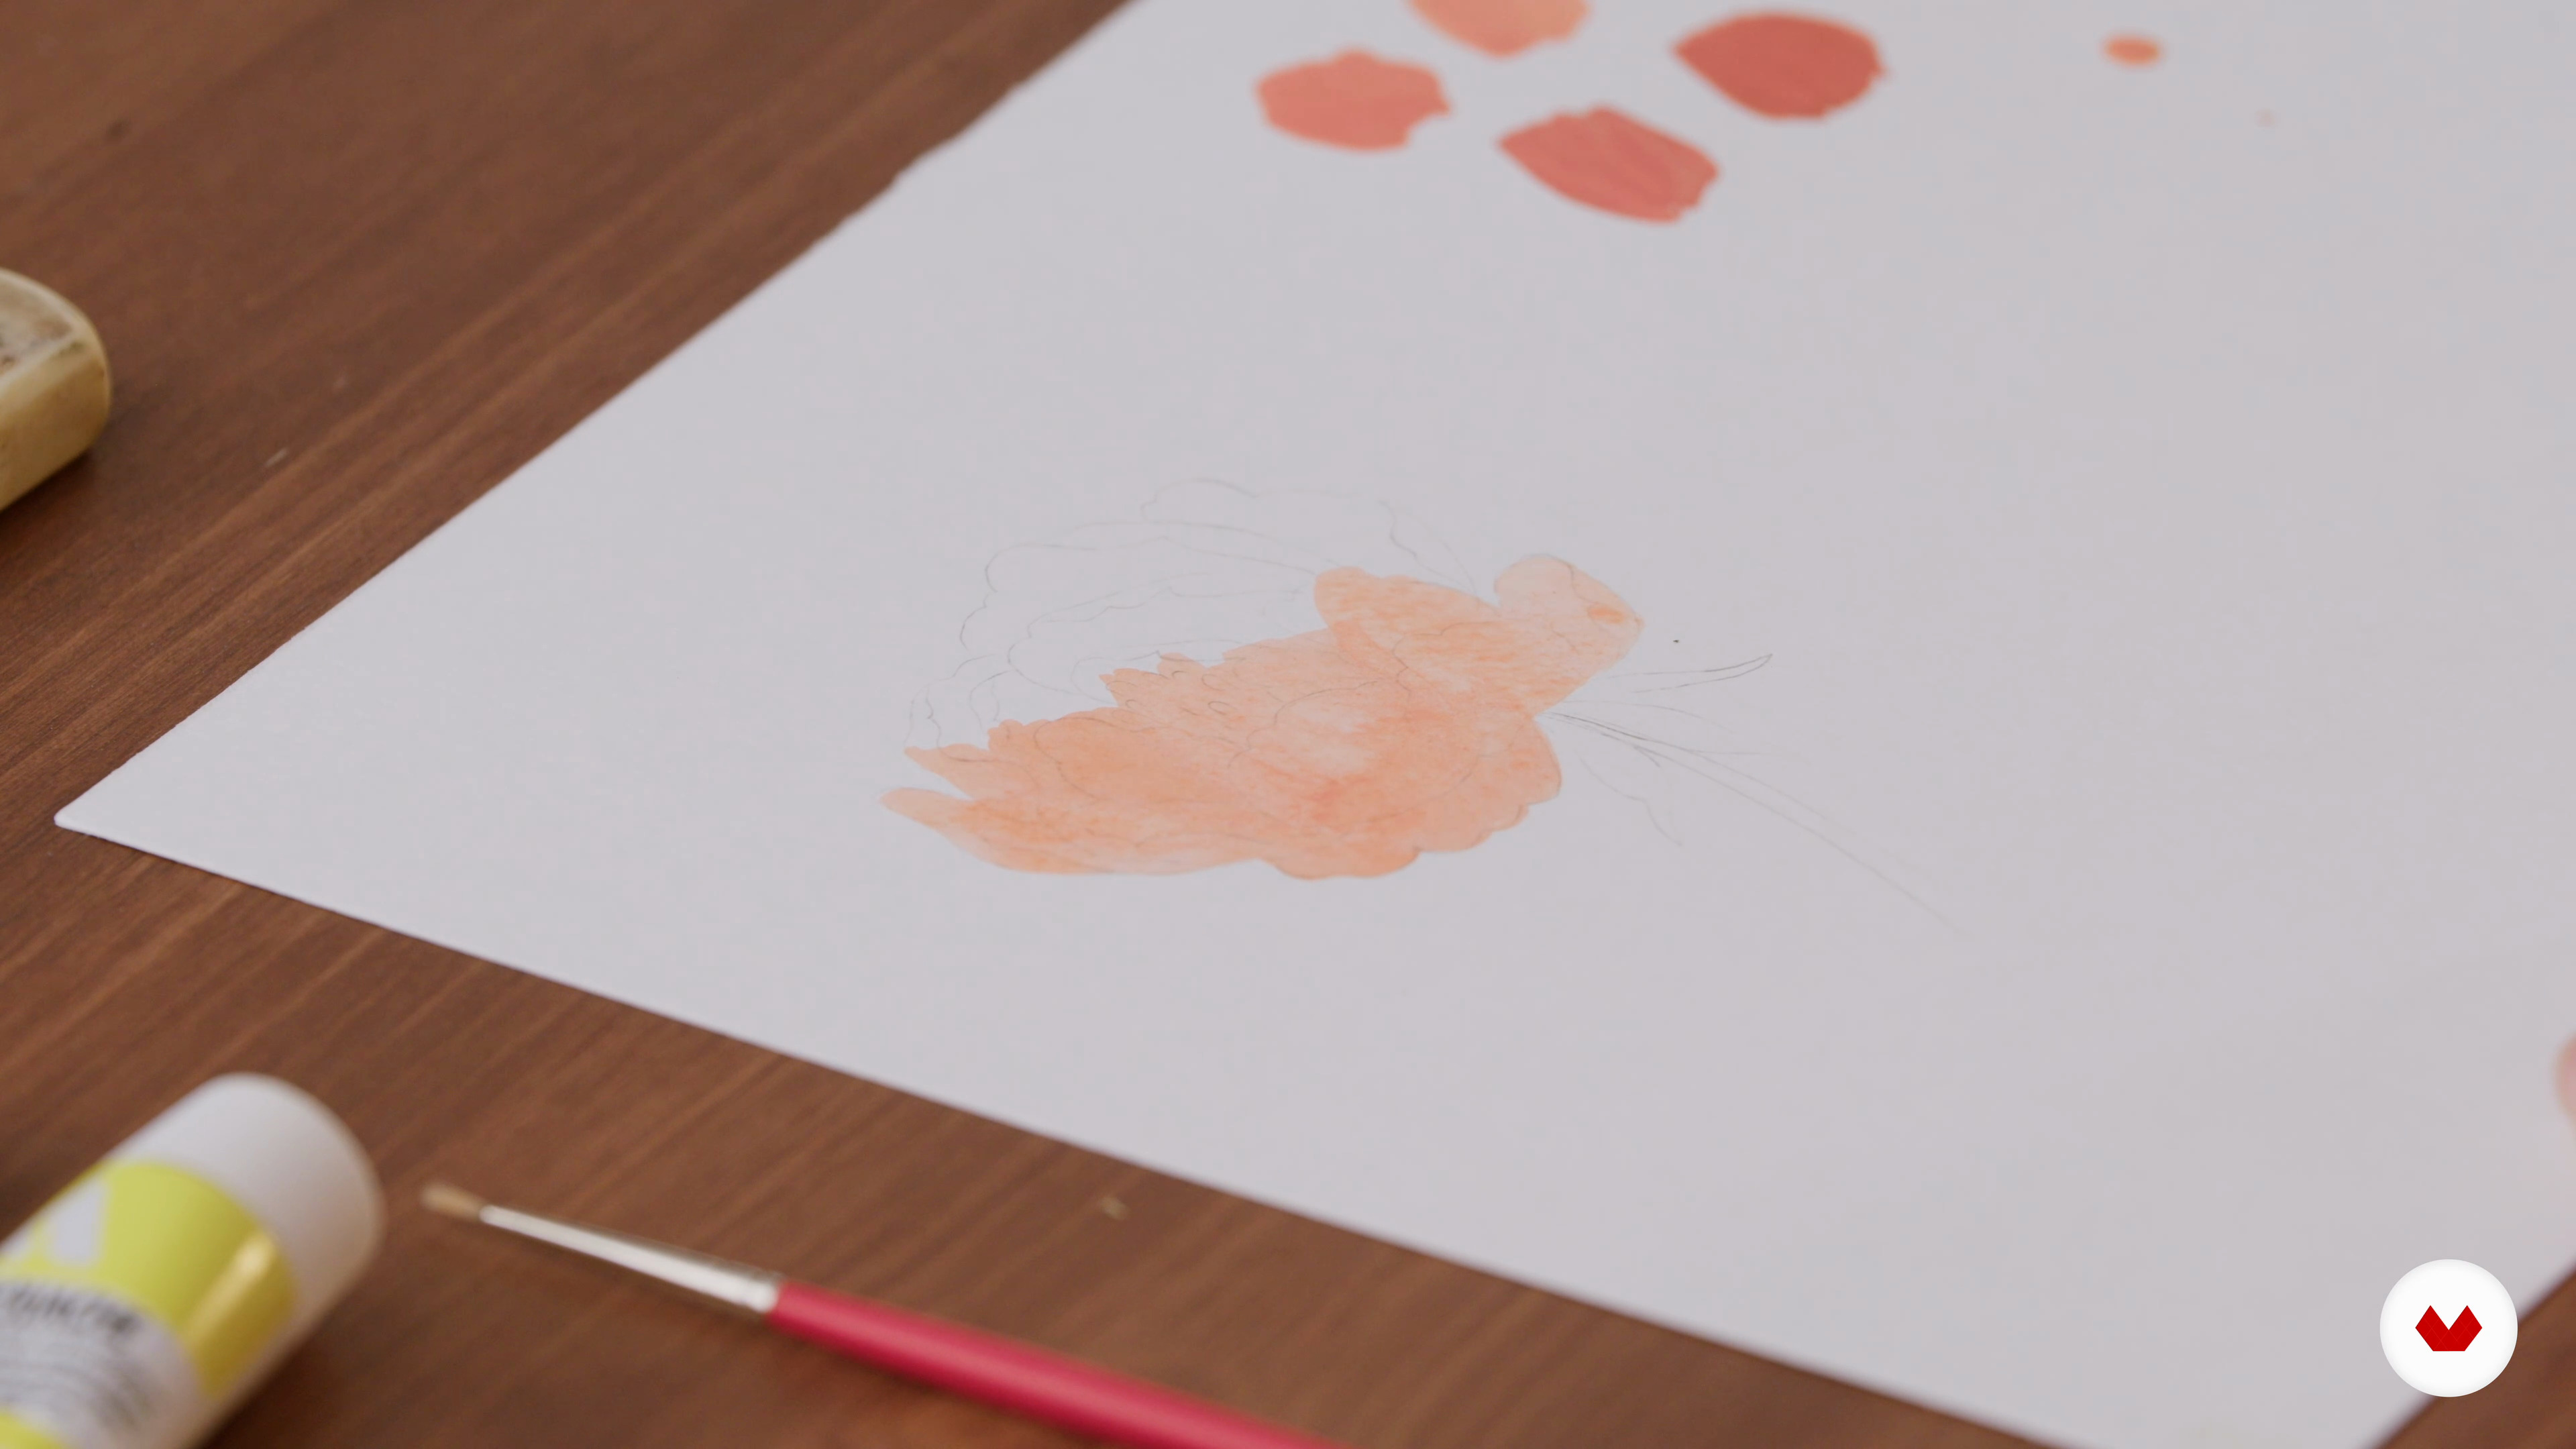
Let's now prepare the colors for the final illustration! Using your selected color palette as a reference, I will show you how – with patience and care – you can achieve the desired tones.
11m
image
11
Layering the Background
It's time to get your colors onto the page! In this lesson, I will demonstrate how to paint the first layer of the background: all the natural elements that surround your character(s).
8m
image
12
Layering the Characters
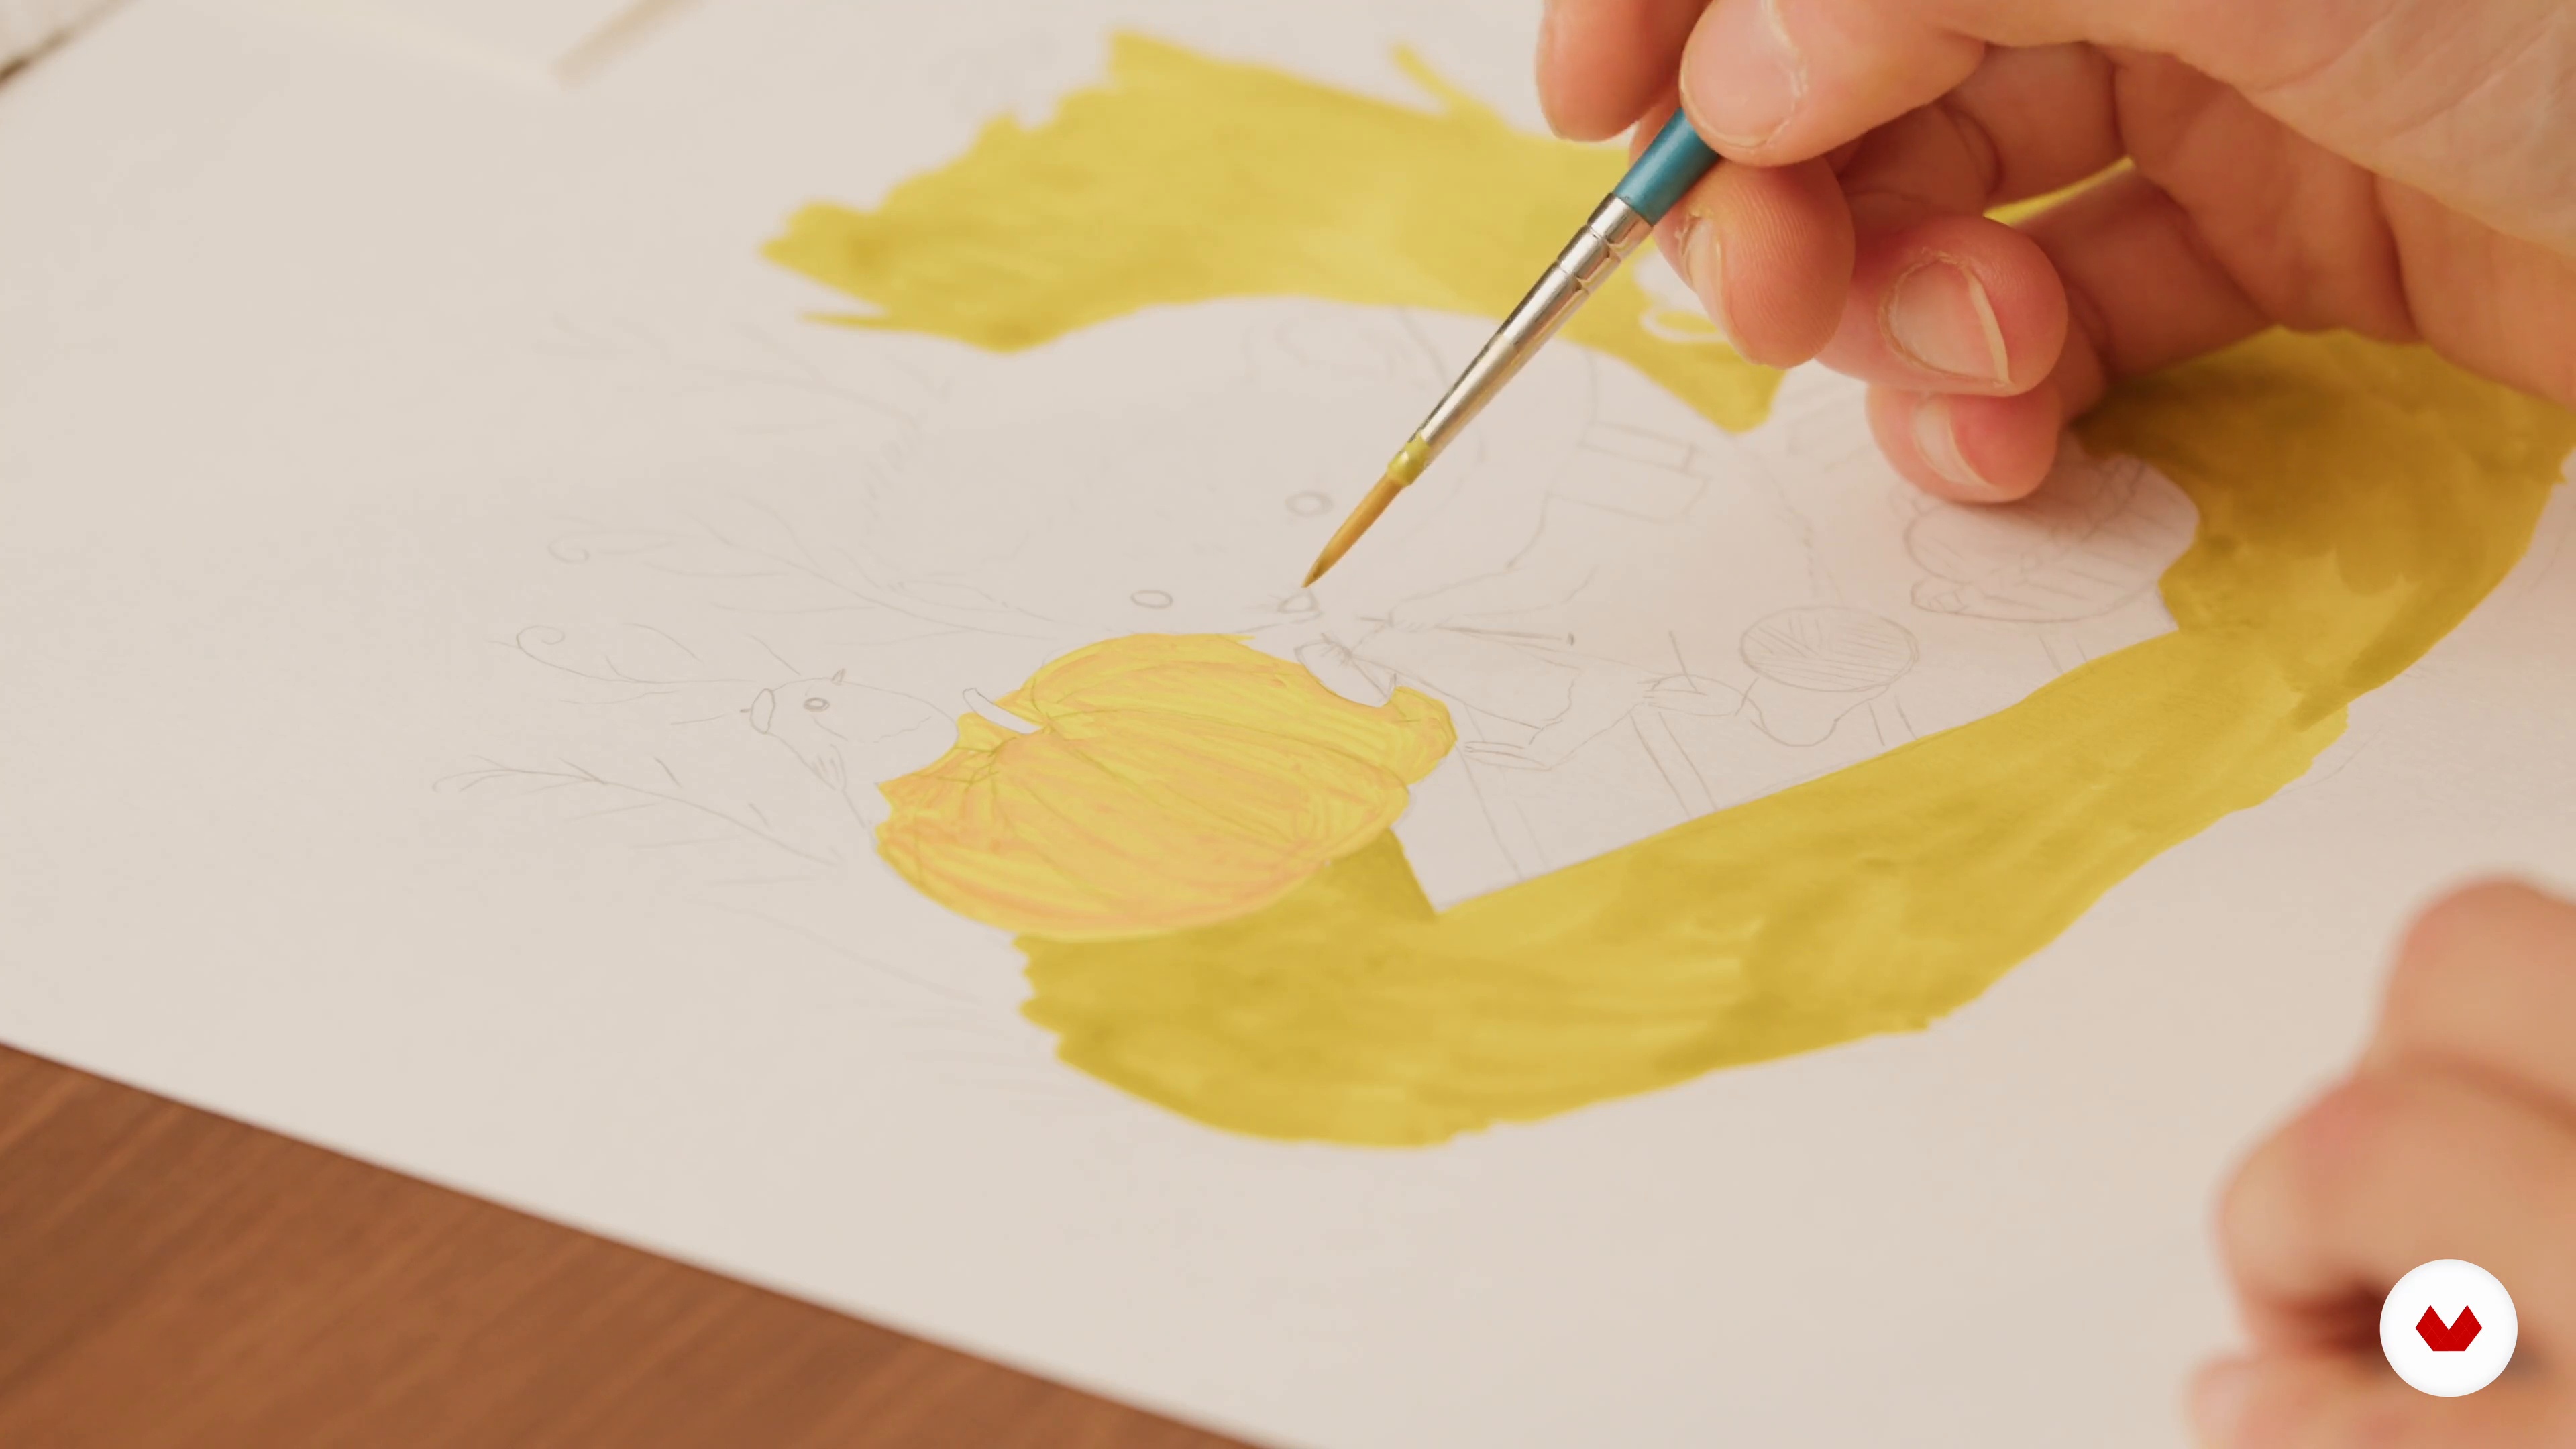
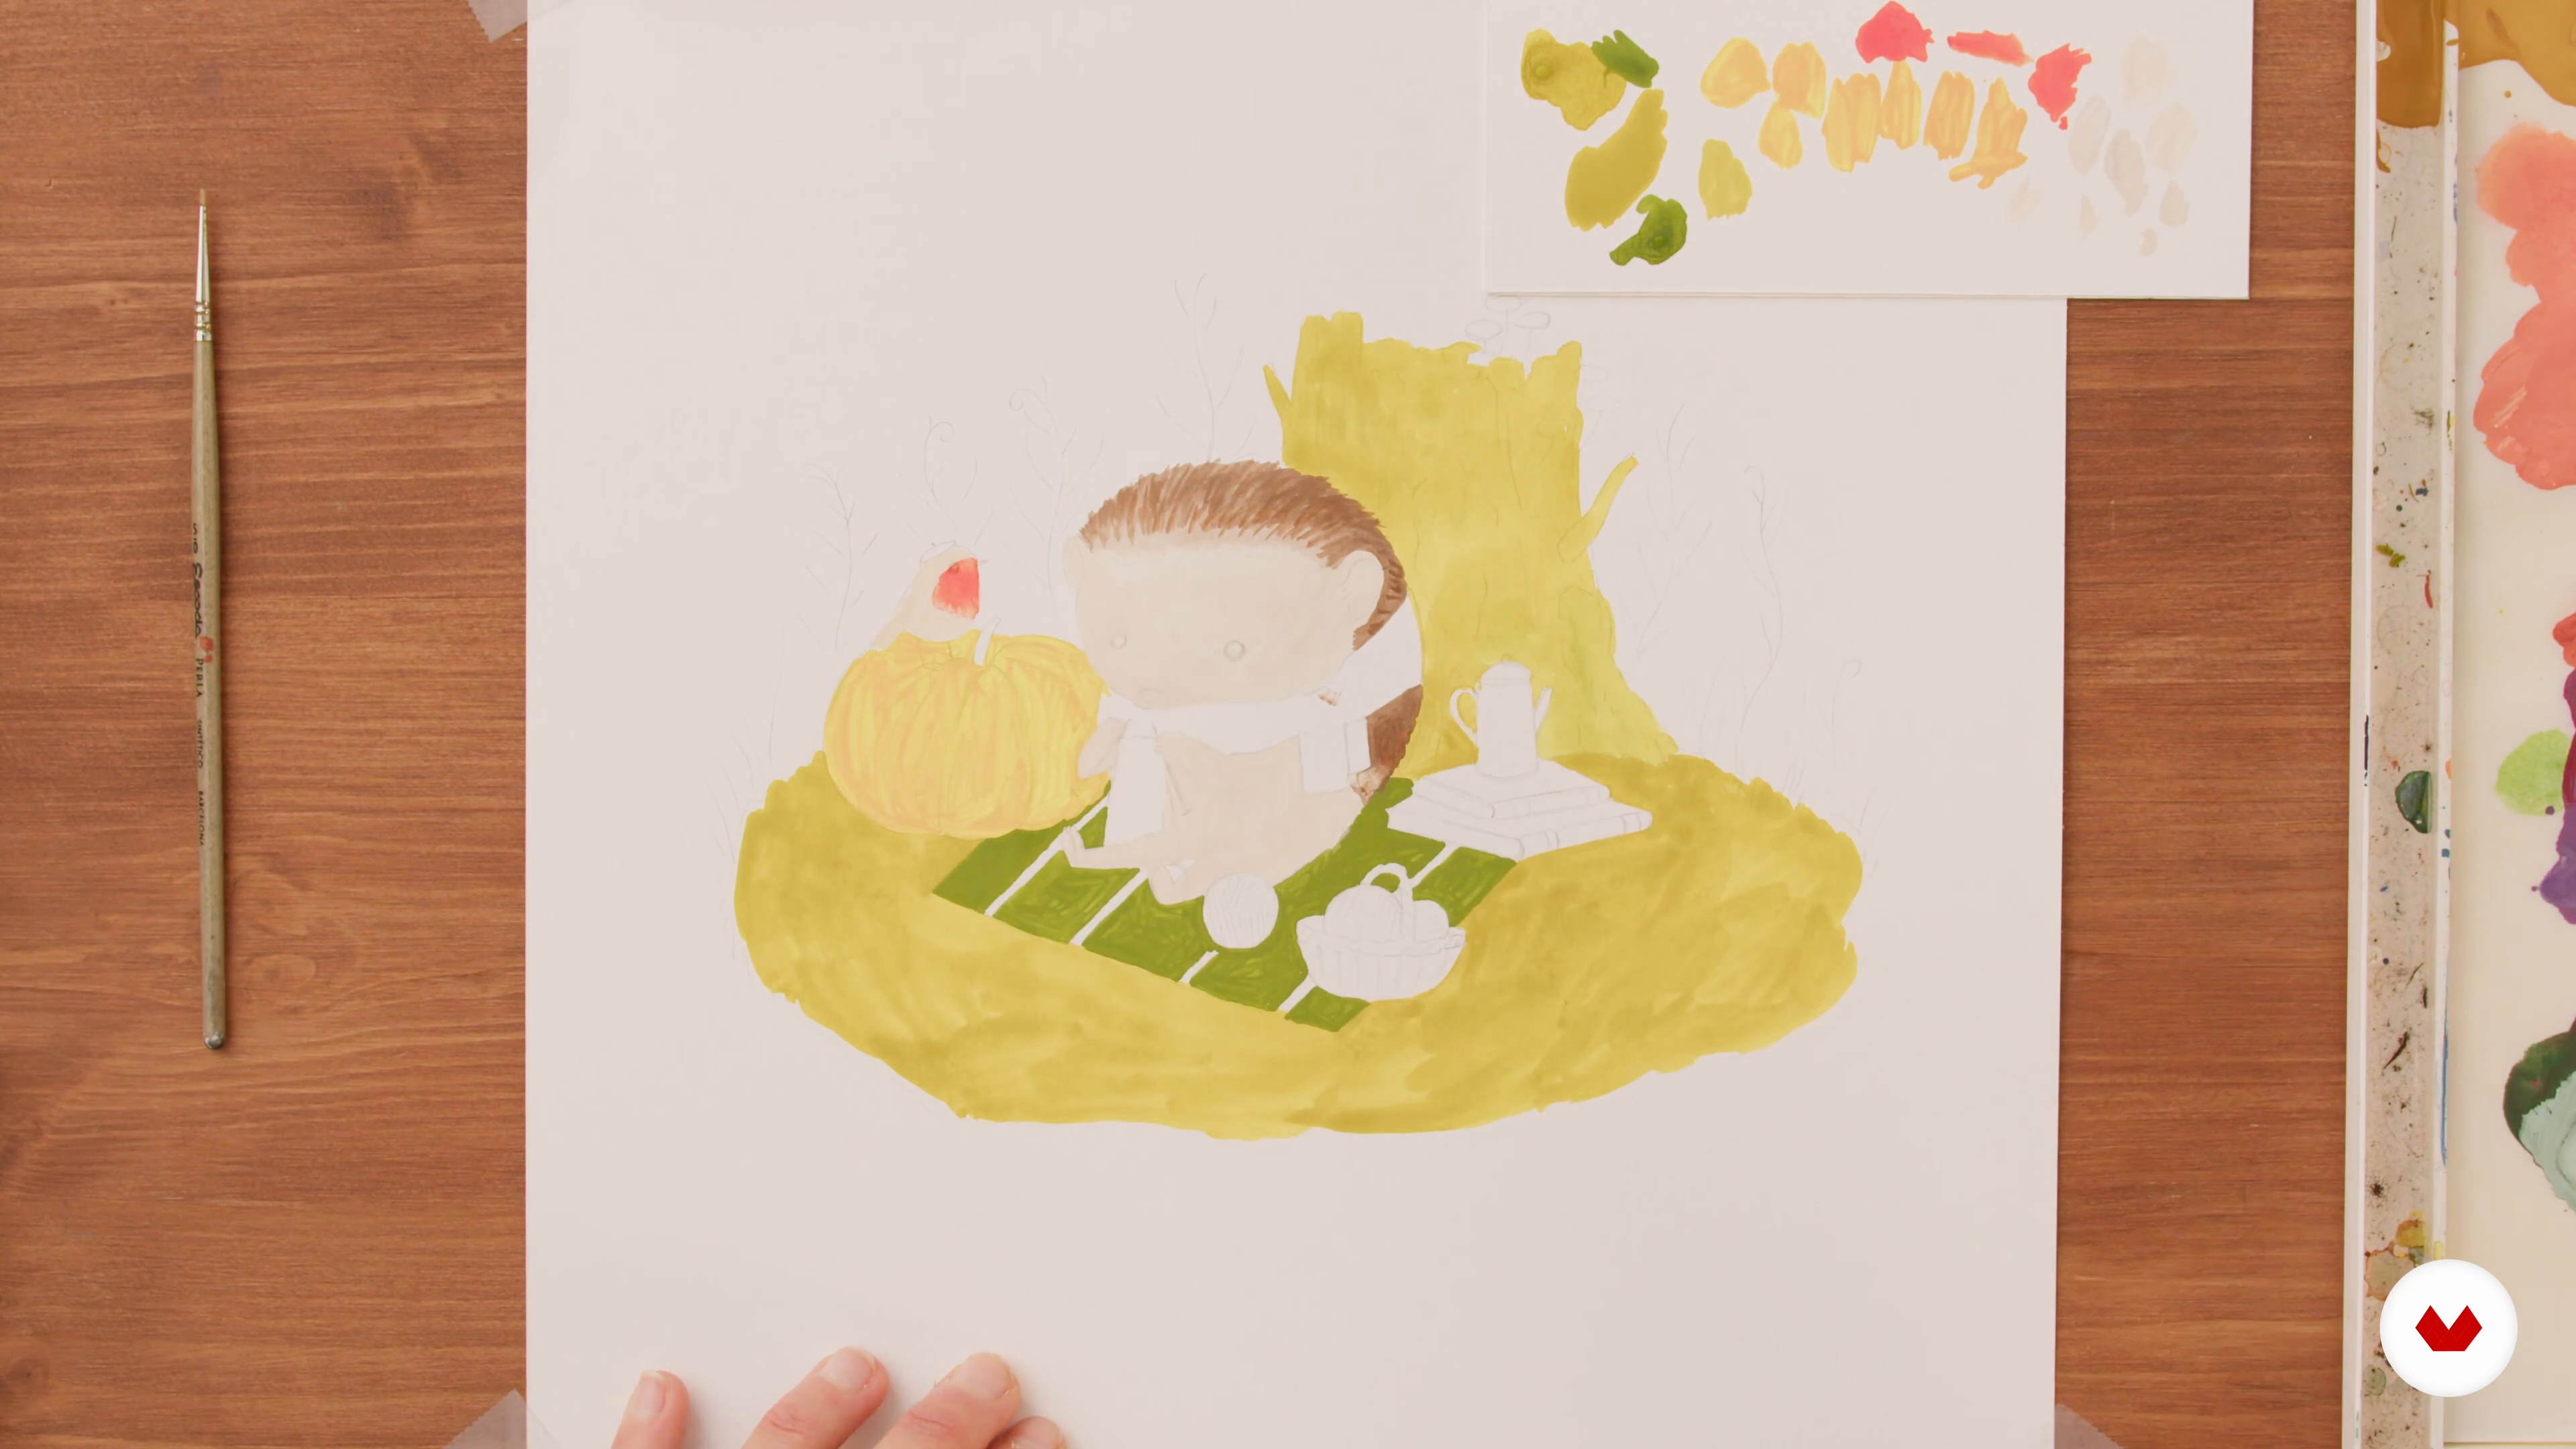
Once the background is complete, the next step is to paint the first layer of the character(s). You will see how I disperse the base colors and maintain a nice gradient to create a realistic-looking hedgehog.
5m
image
13
Finishing the Background
In this lesson, we will revisit the background. I will show you how to keep progressing with your illustration by working on the natural elements and creating even more layers.
16m
image
14
Finishing the Characters
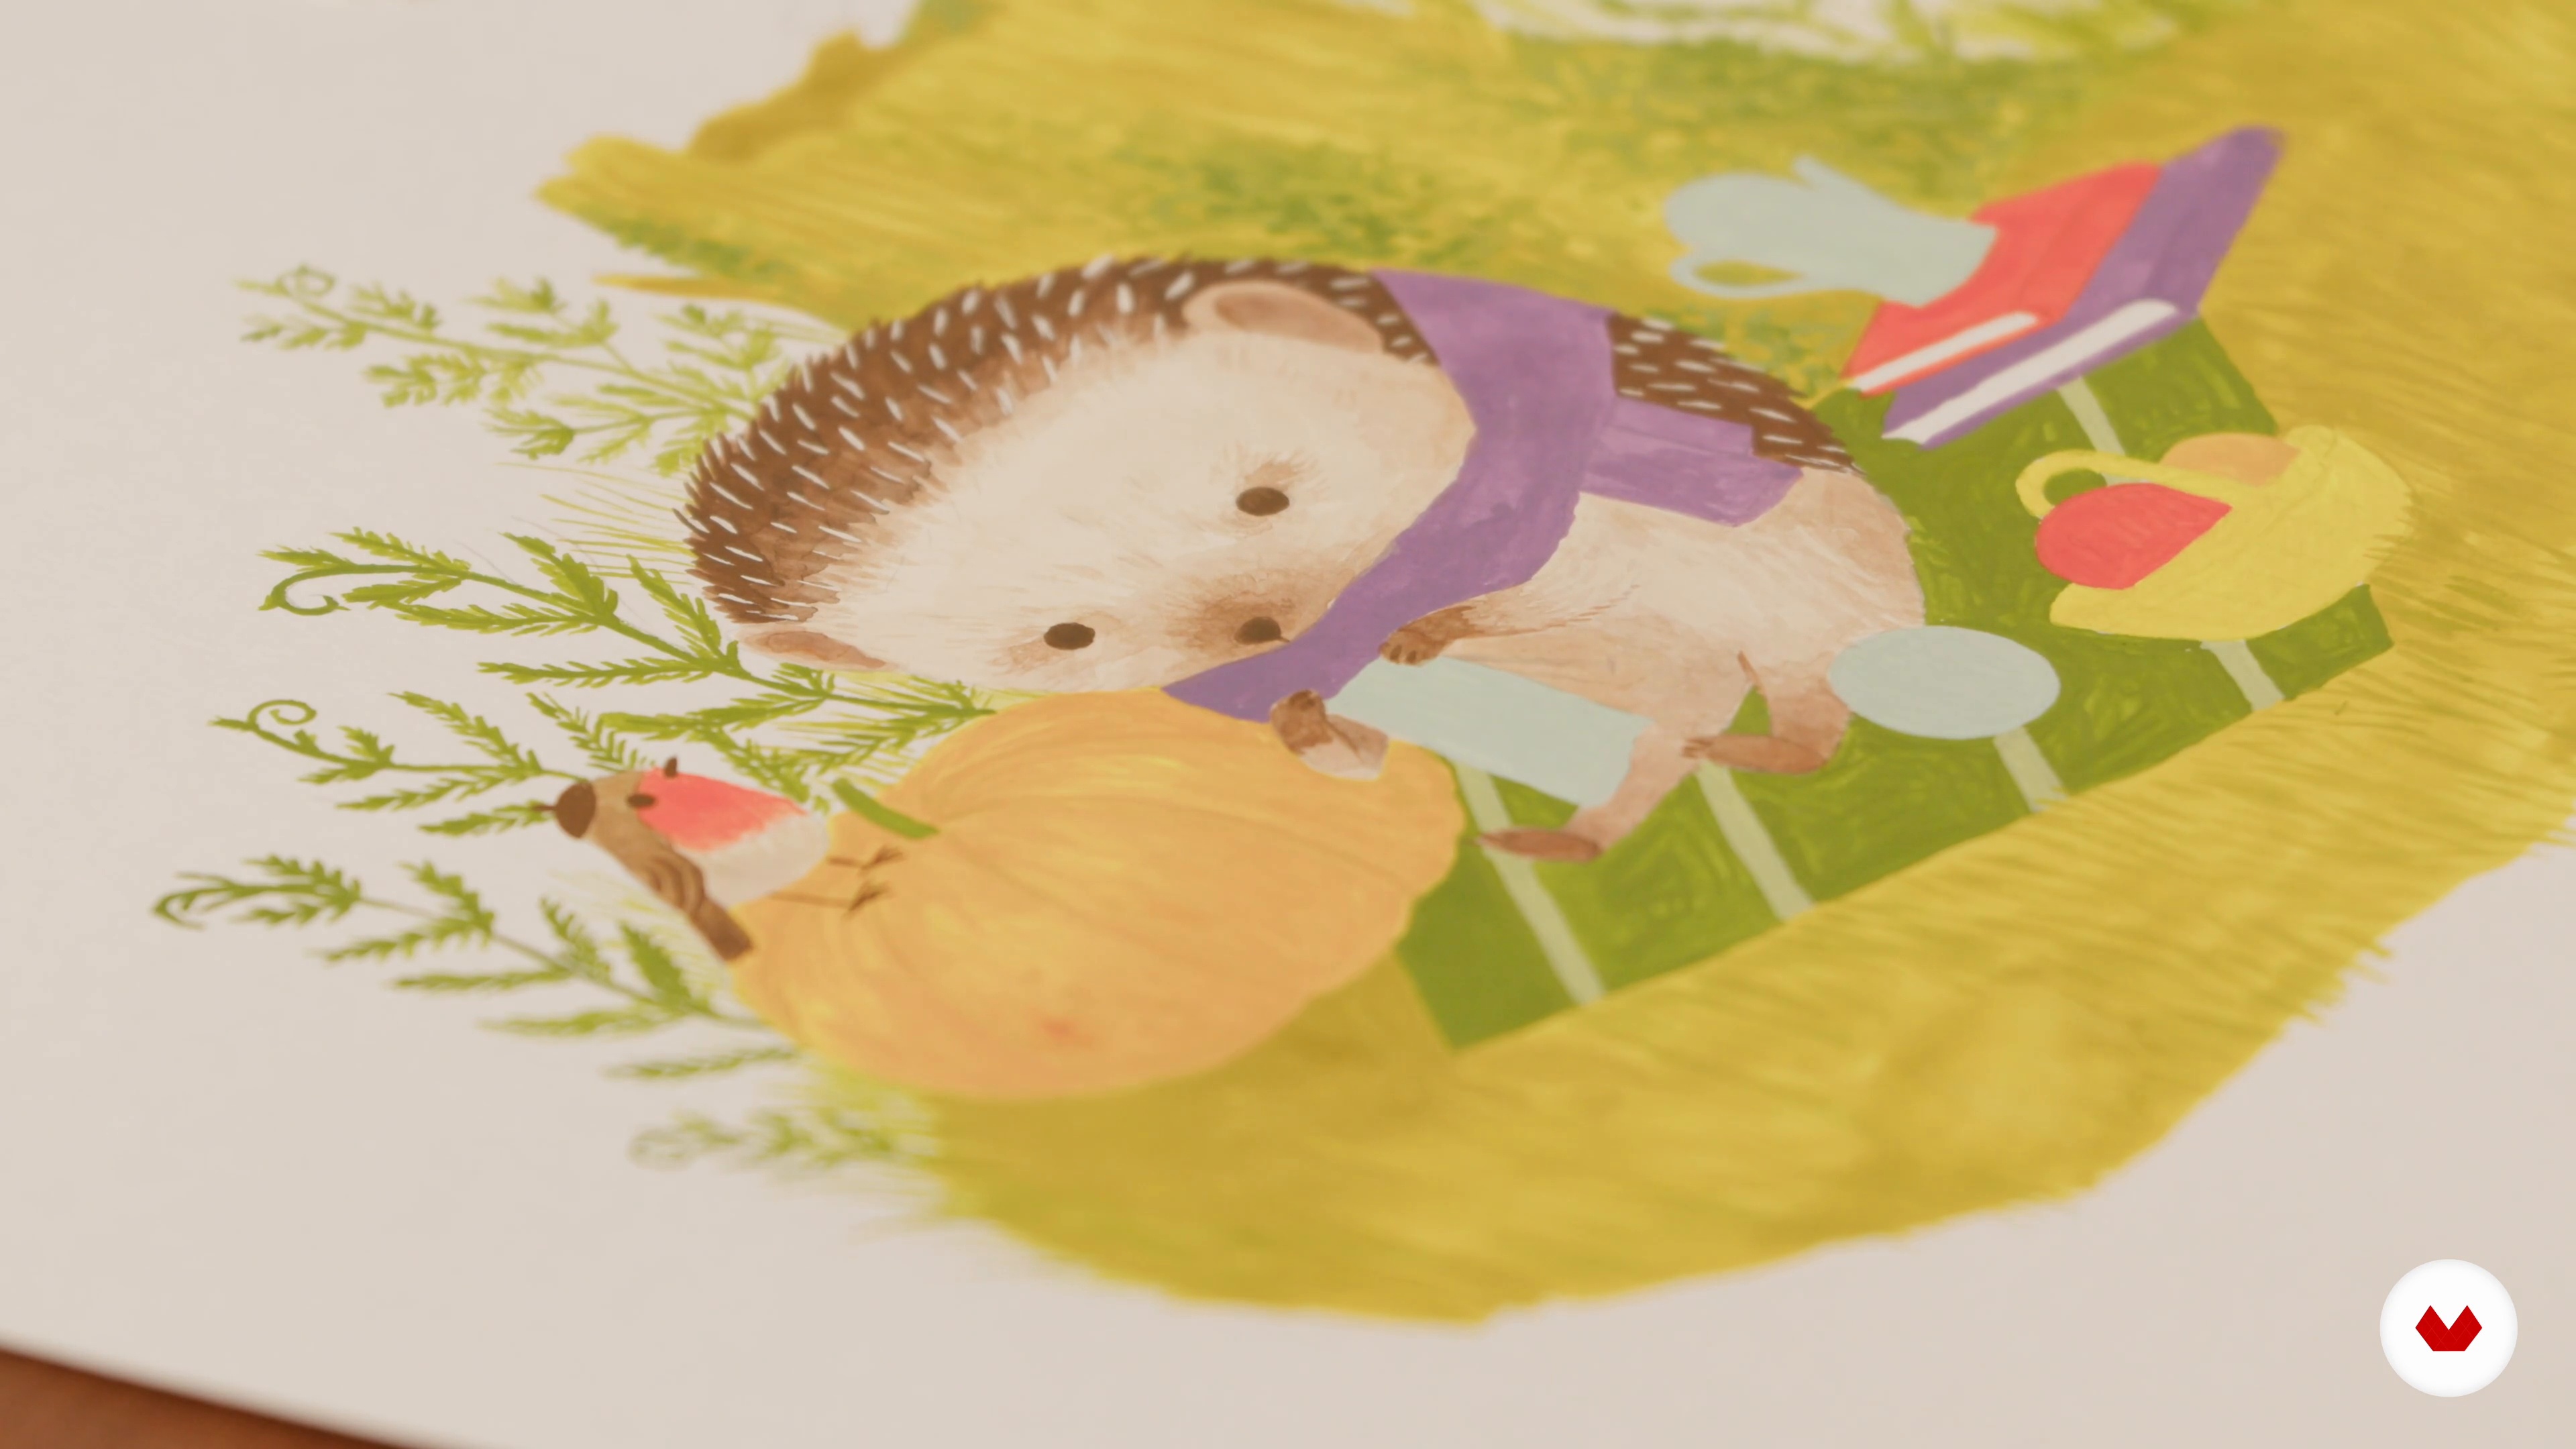
With the background firmly taking shape, let's keep working on our characters. I will show you how to add more layers, giving the illustration more depth.
18m
image
15
Finishing the Last Details
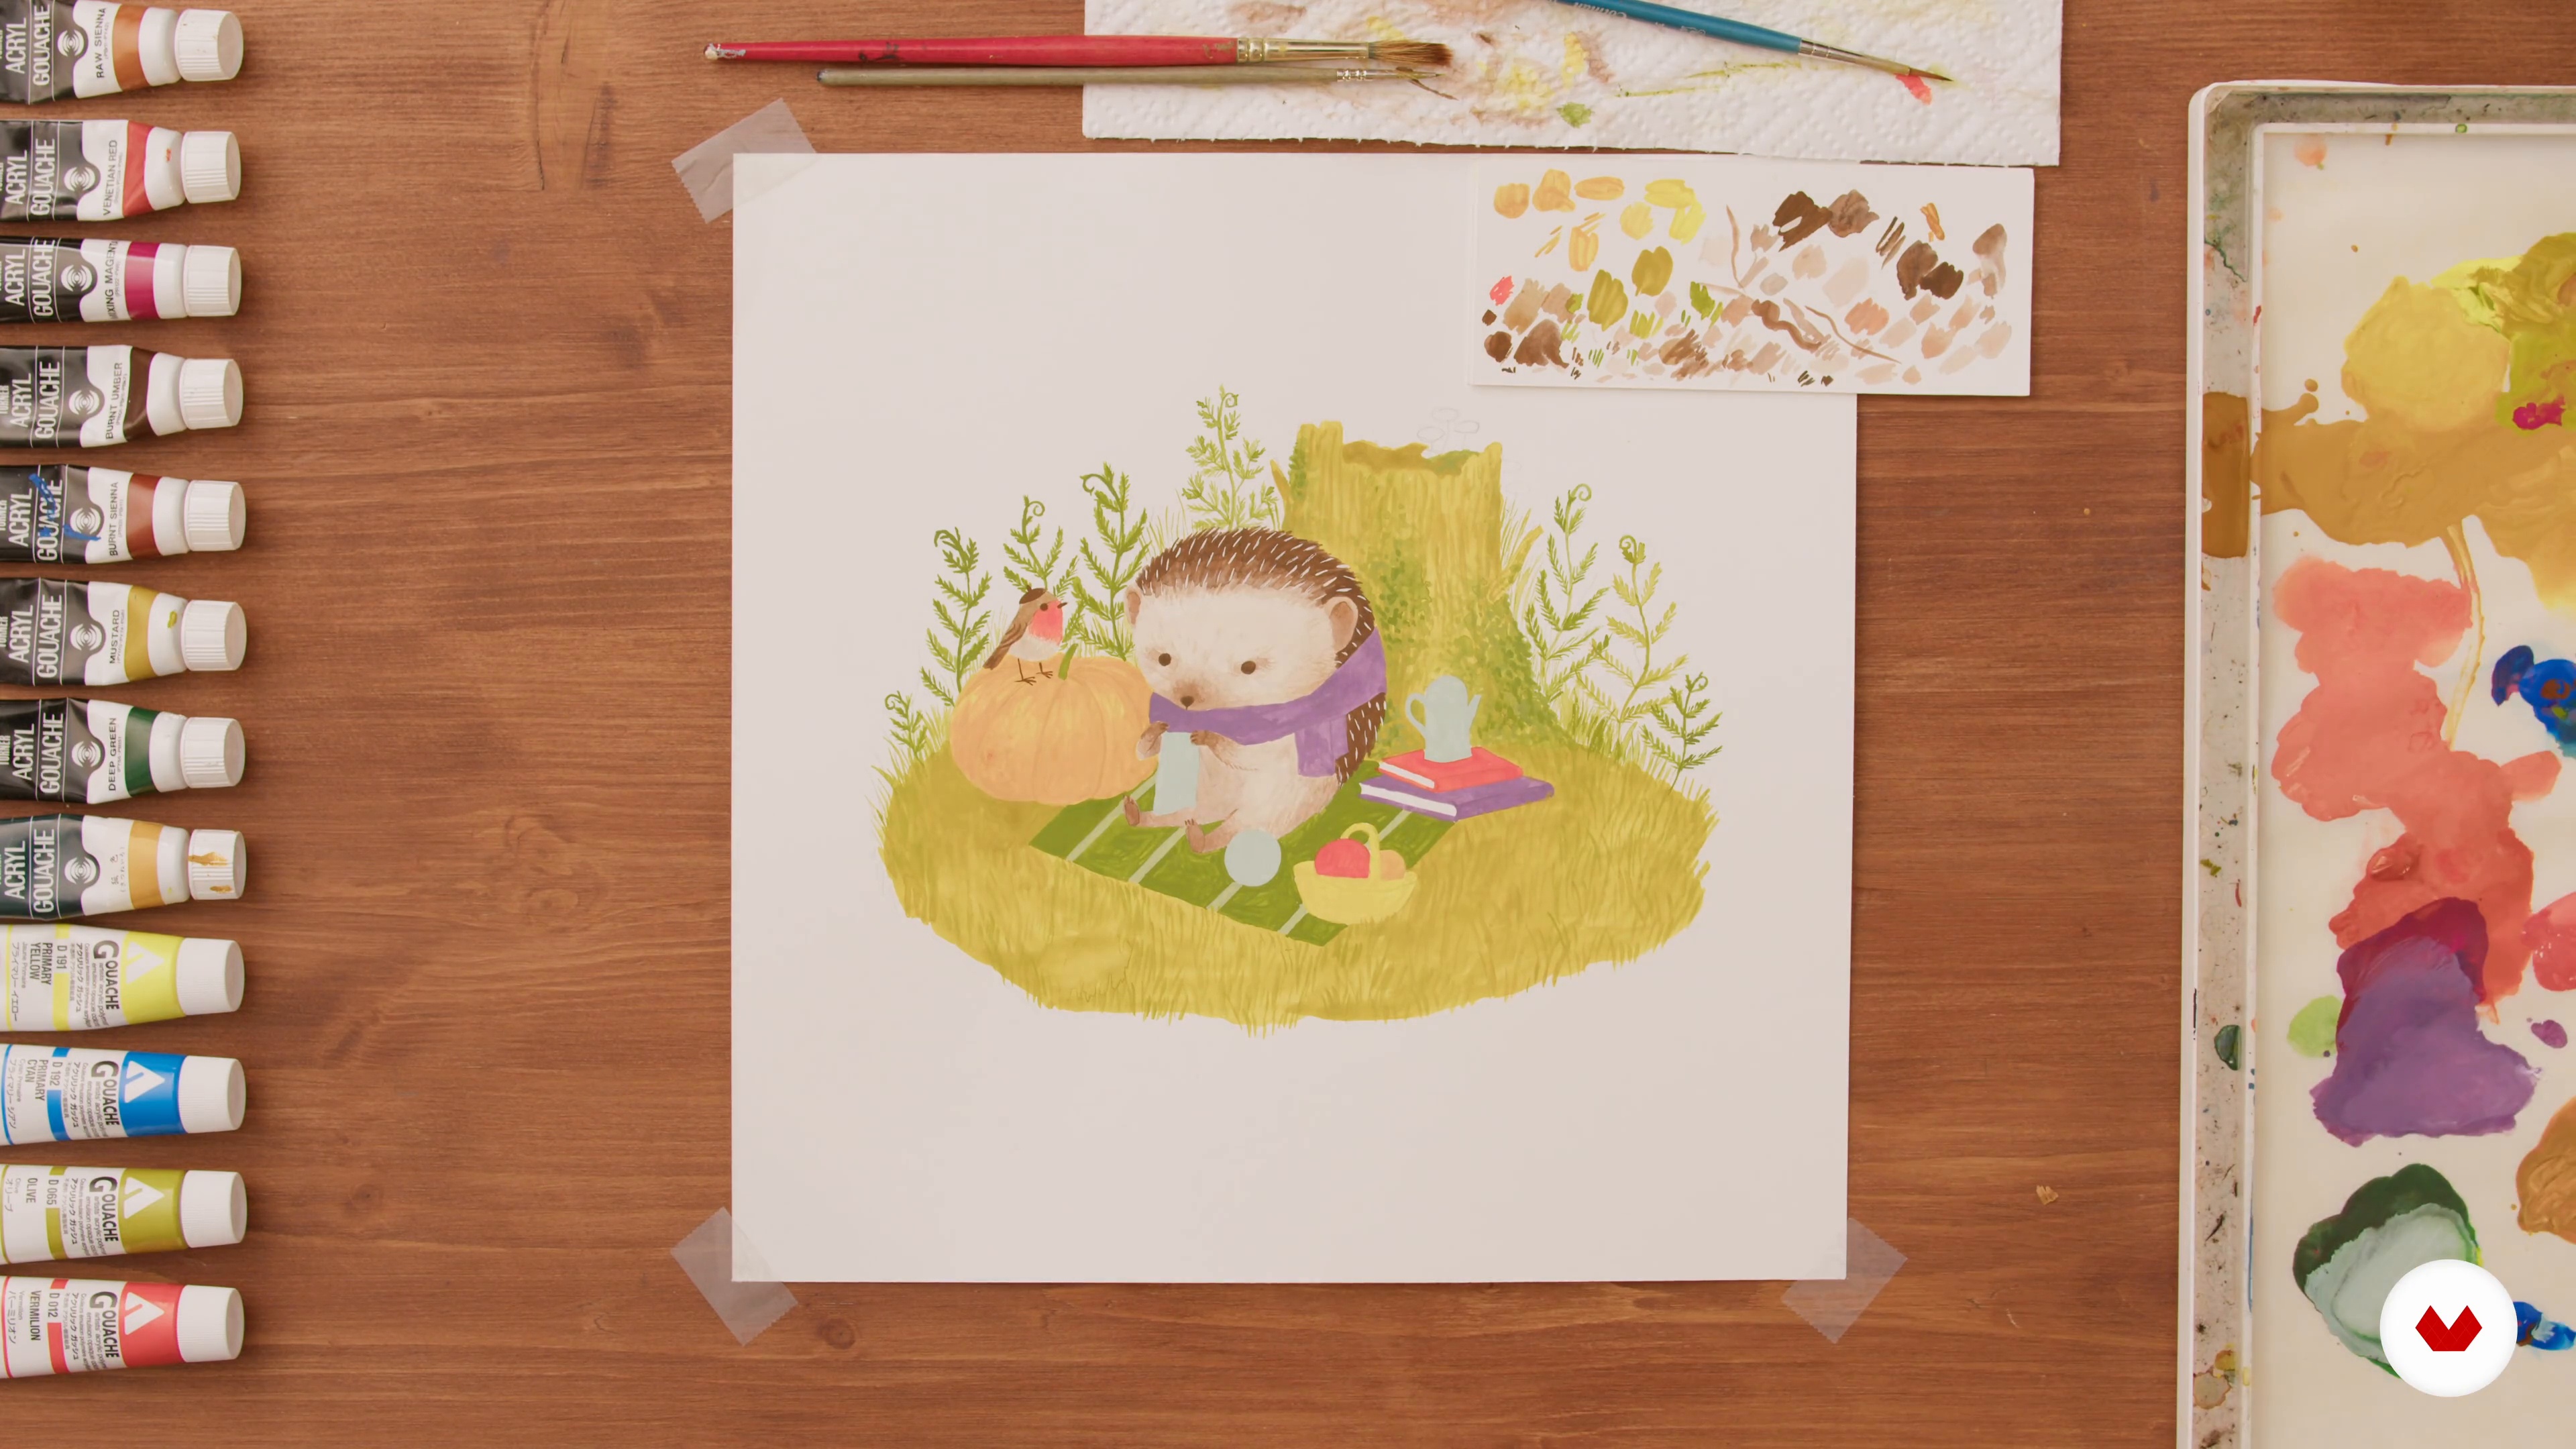
Well done! You've nearly reached the end of the creative process. To bring your illustration to a strong finish, I will show you how to home in on all the last little details.
16m
image
16
Photographing Your Artwork
In this lesson, you'll see how to take appealing pictures of your artwork ready to post on social media. This is a great way to build an online portfolio and connect with potential clients!
5m
image
17
Sharing Your Artwork
Where is best to share your artwork? In this lesson, I will give an overview of some potential sites to develop your portfolio of work.
5m
image
18
Selling Your Artwork
Are you interested in turning your hobby into a career? If so, watch this lesson! Here I cover how to make products from your artwork and where to sell them.
4m
image
1
Gathering Materials
We will start by familiarizing ourselves with all the materials we will need for painting. I will share with you some of my personal favorite tools, which help make the painting process easier and more enjoyable.
4m
image
2
Getting Familiar with the Gouache Medium 1
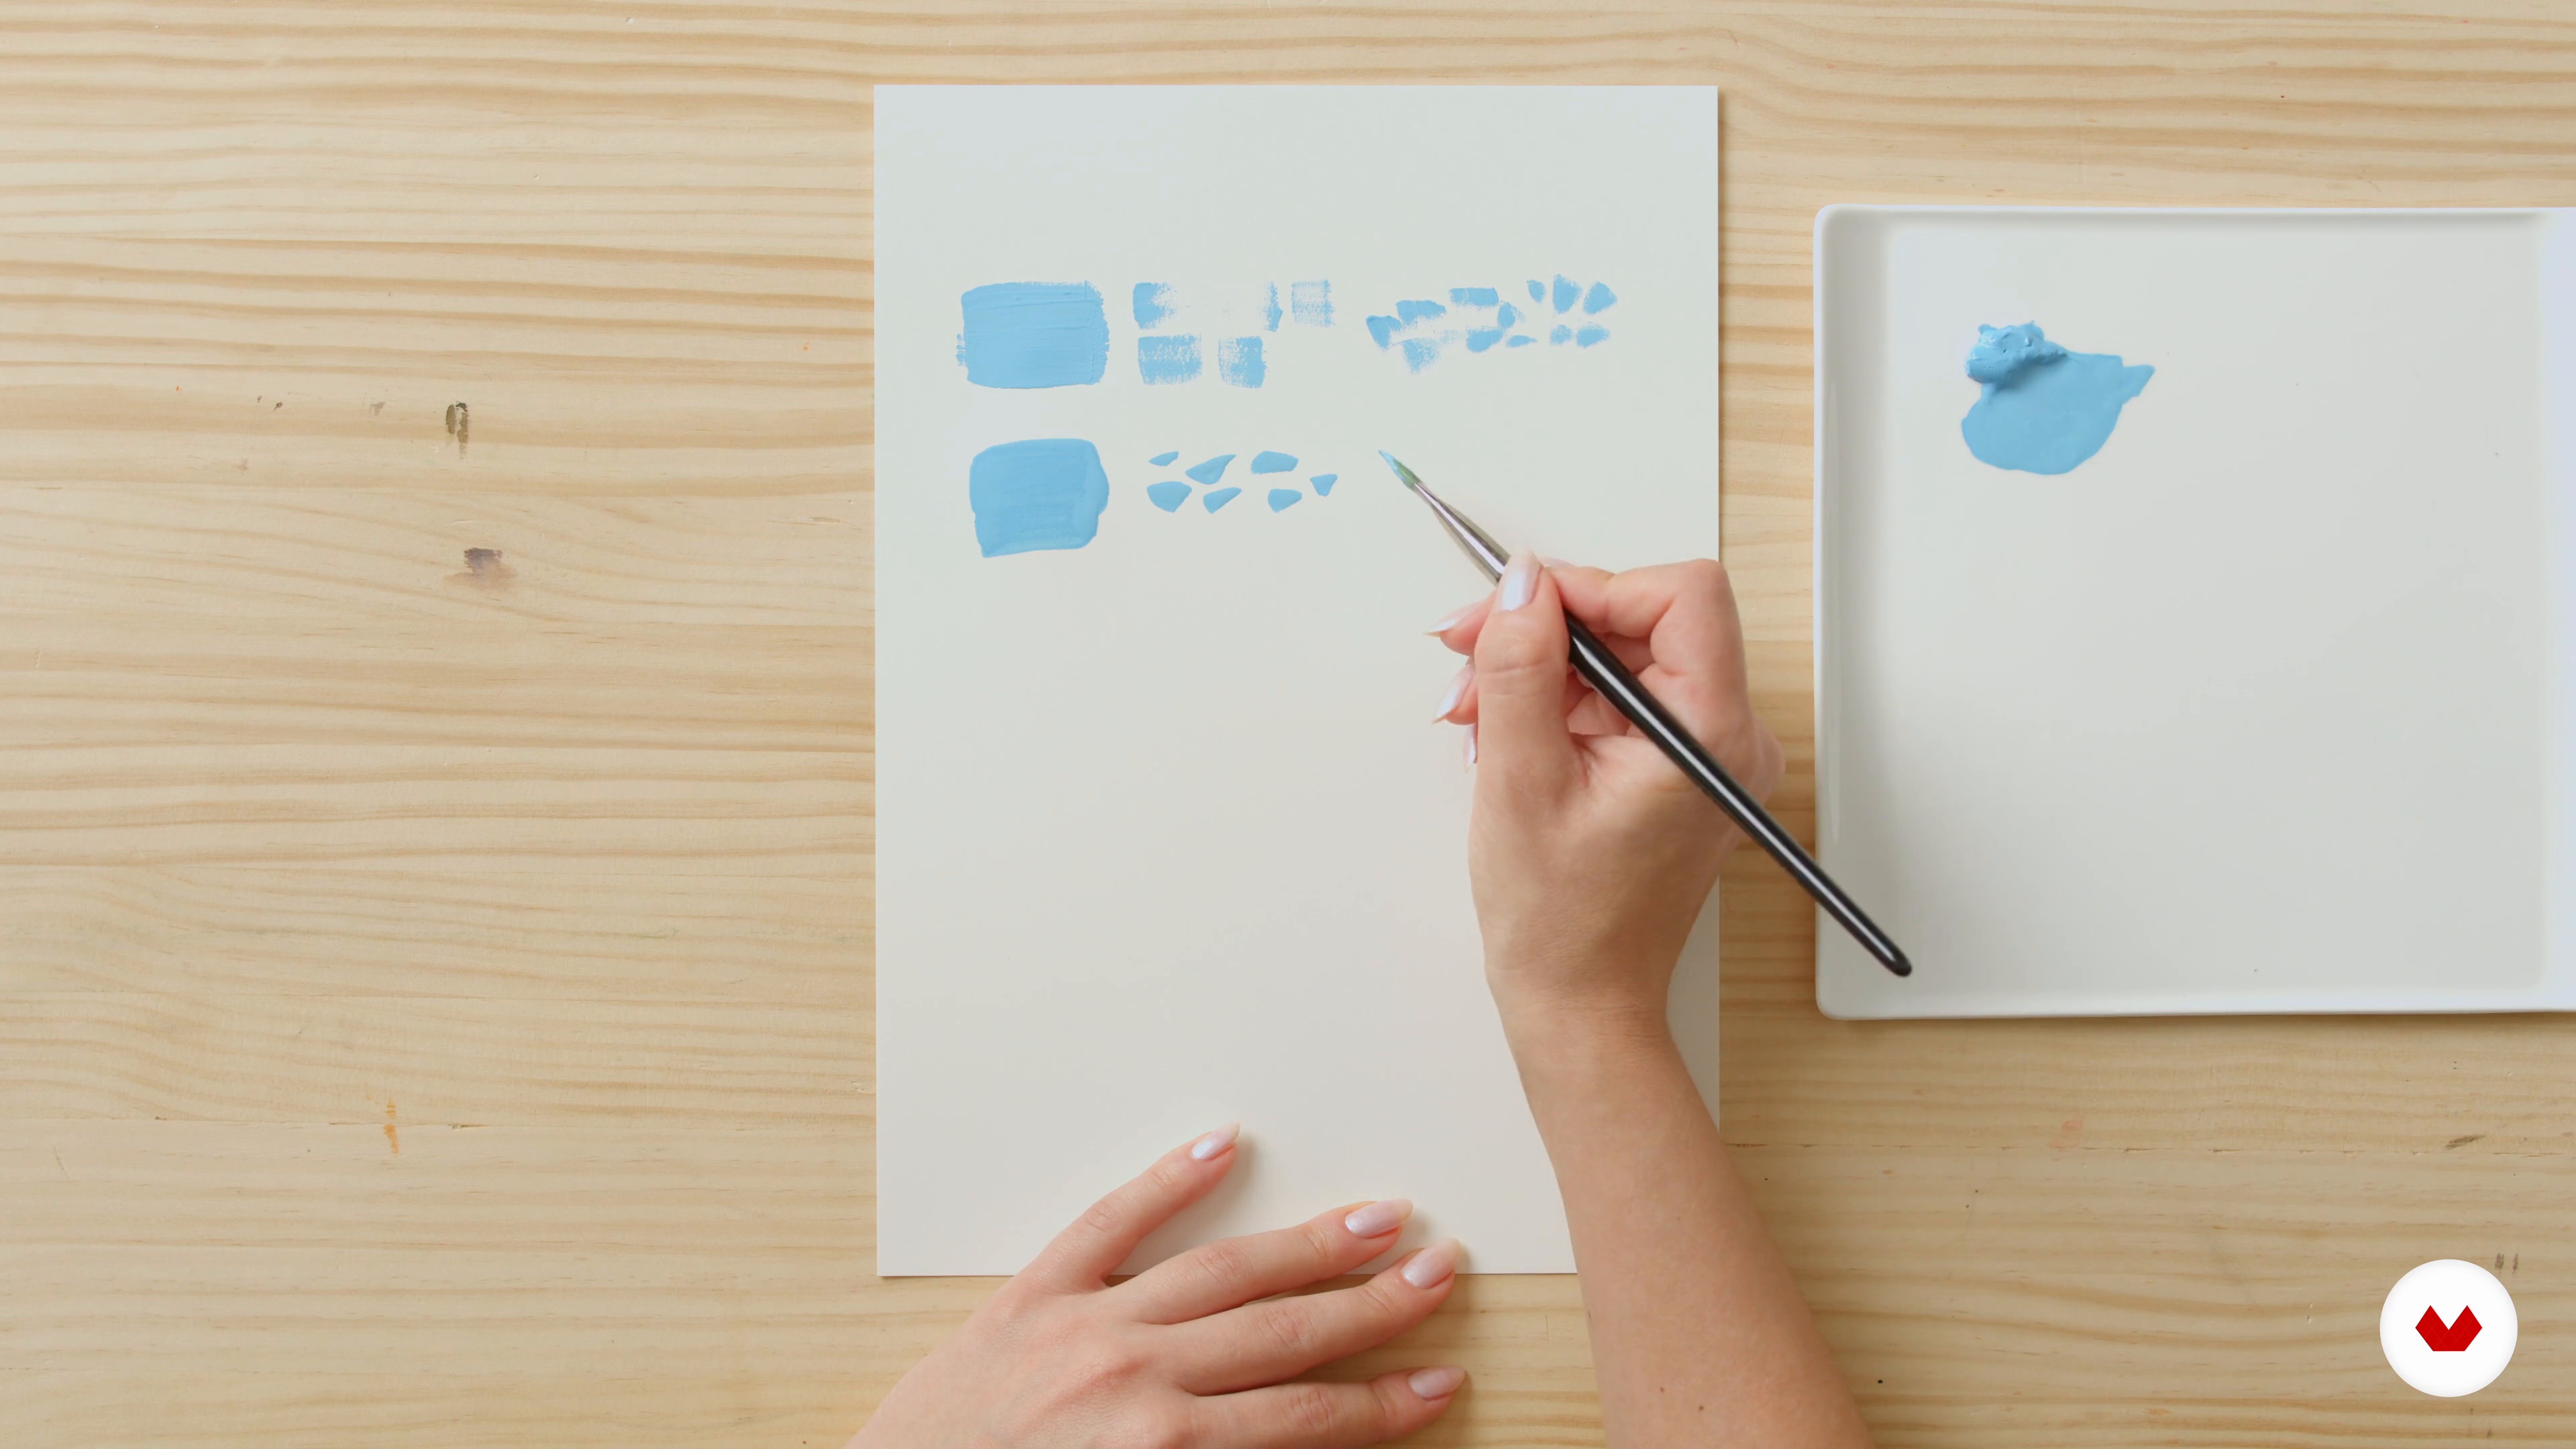
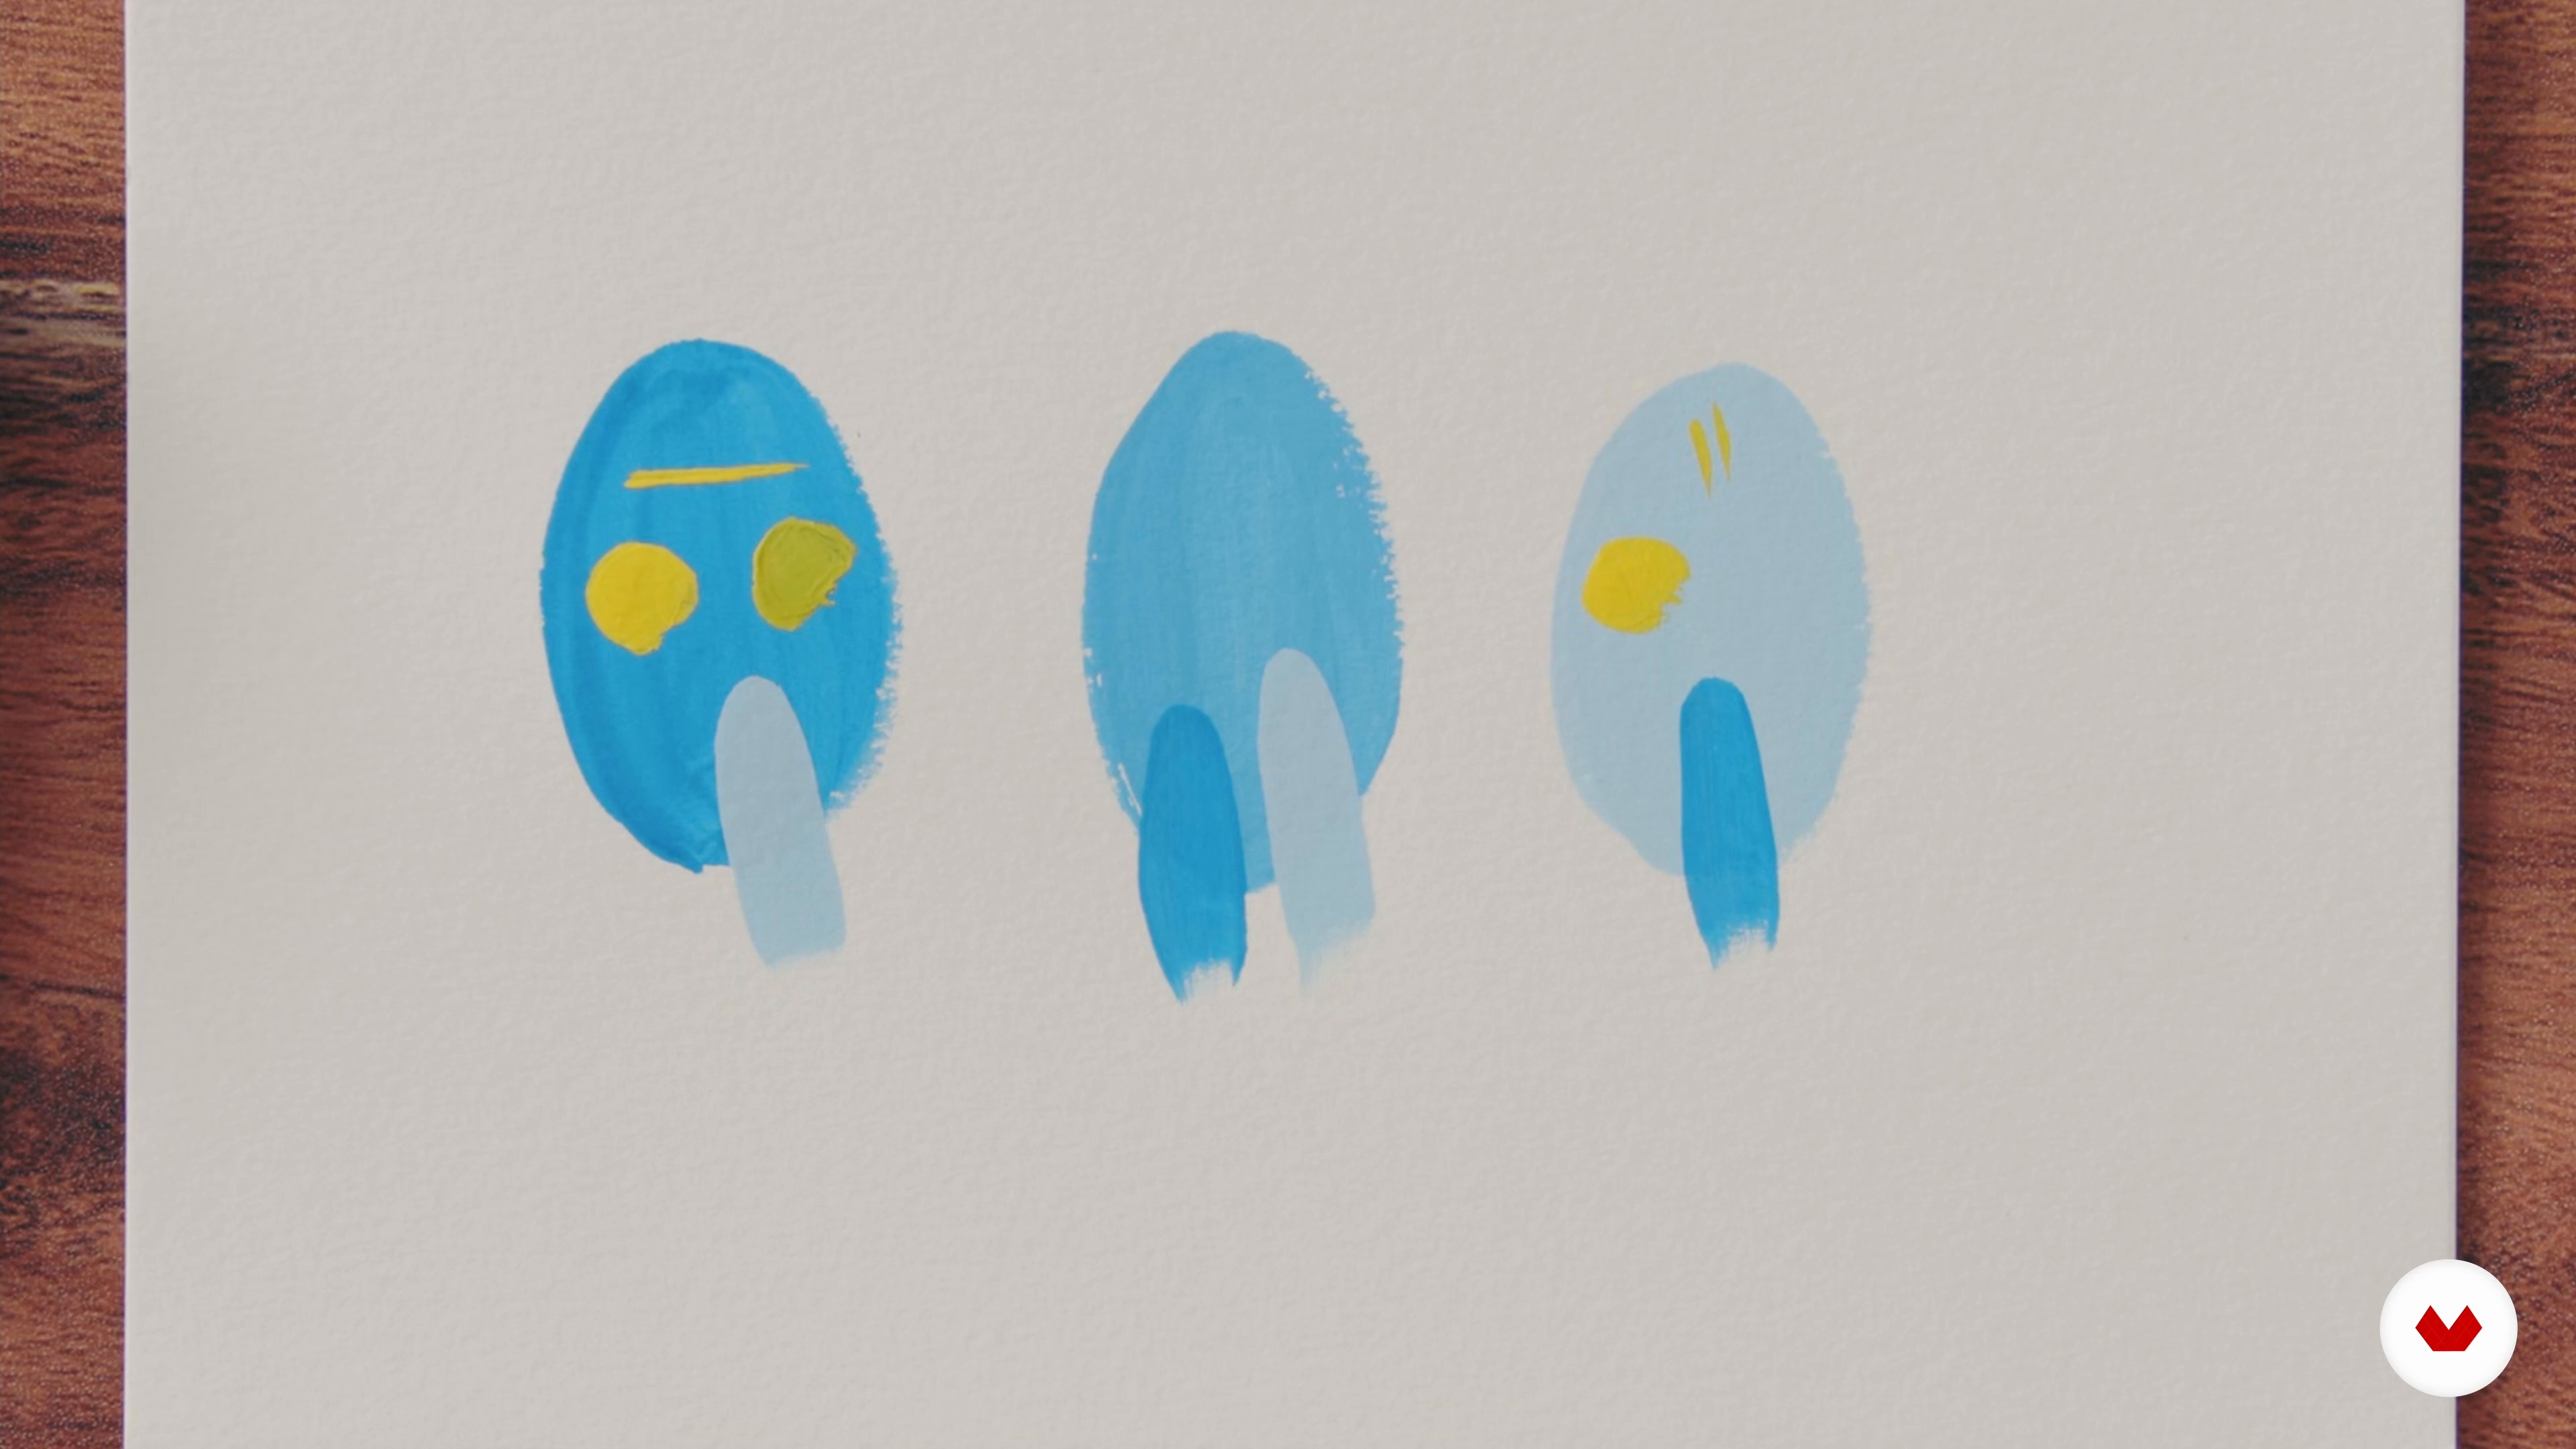
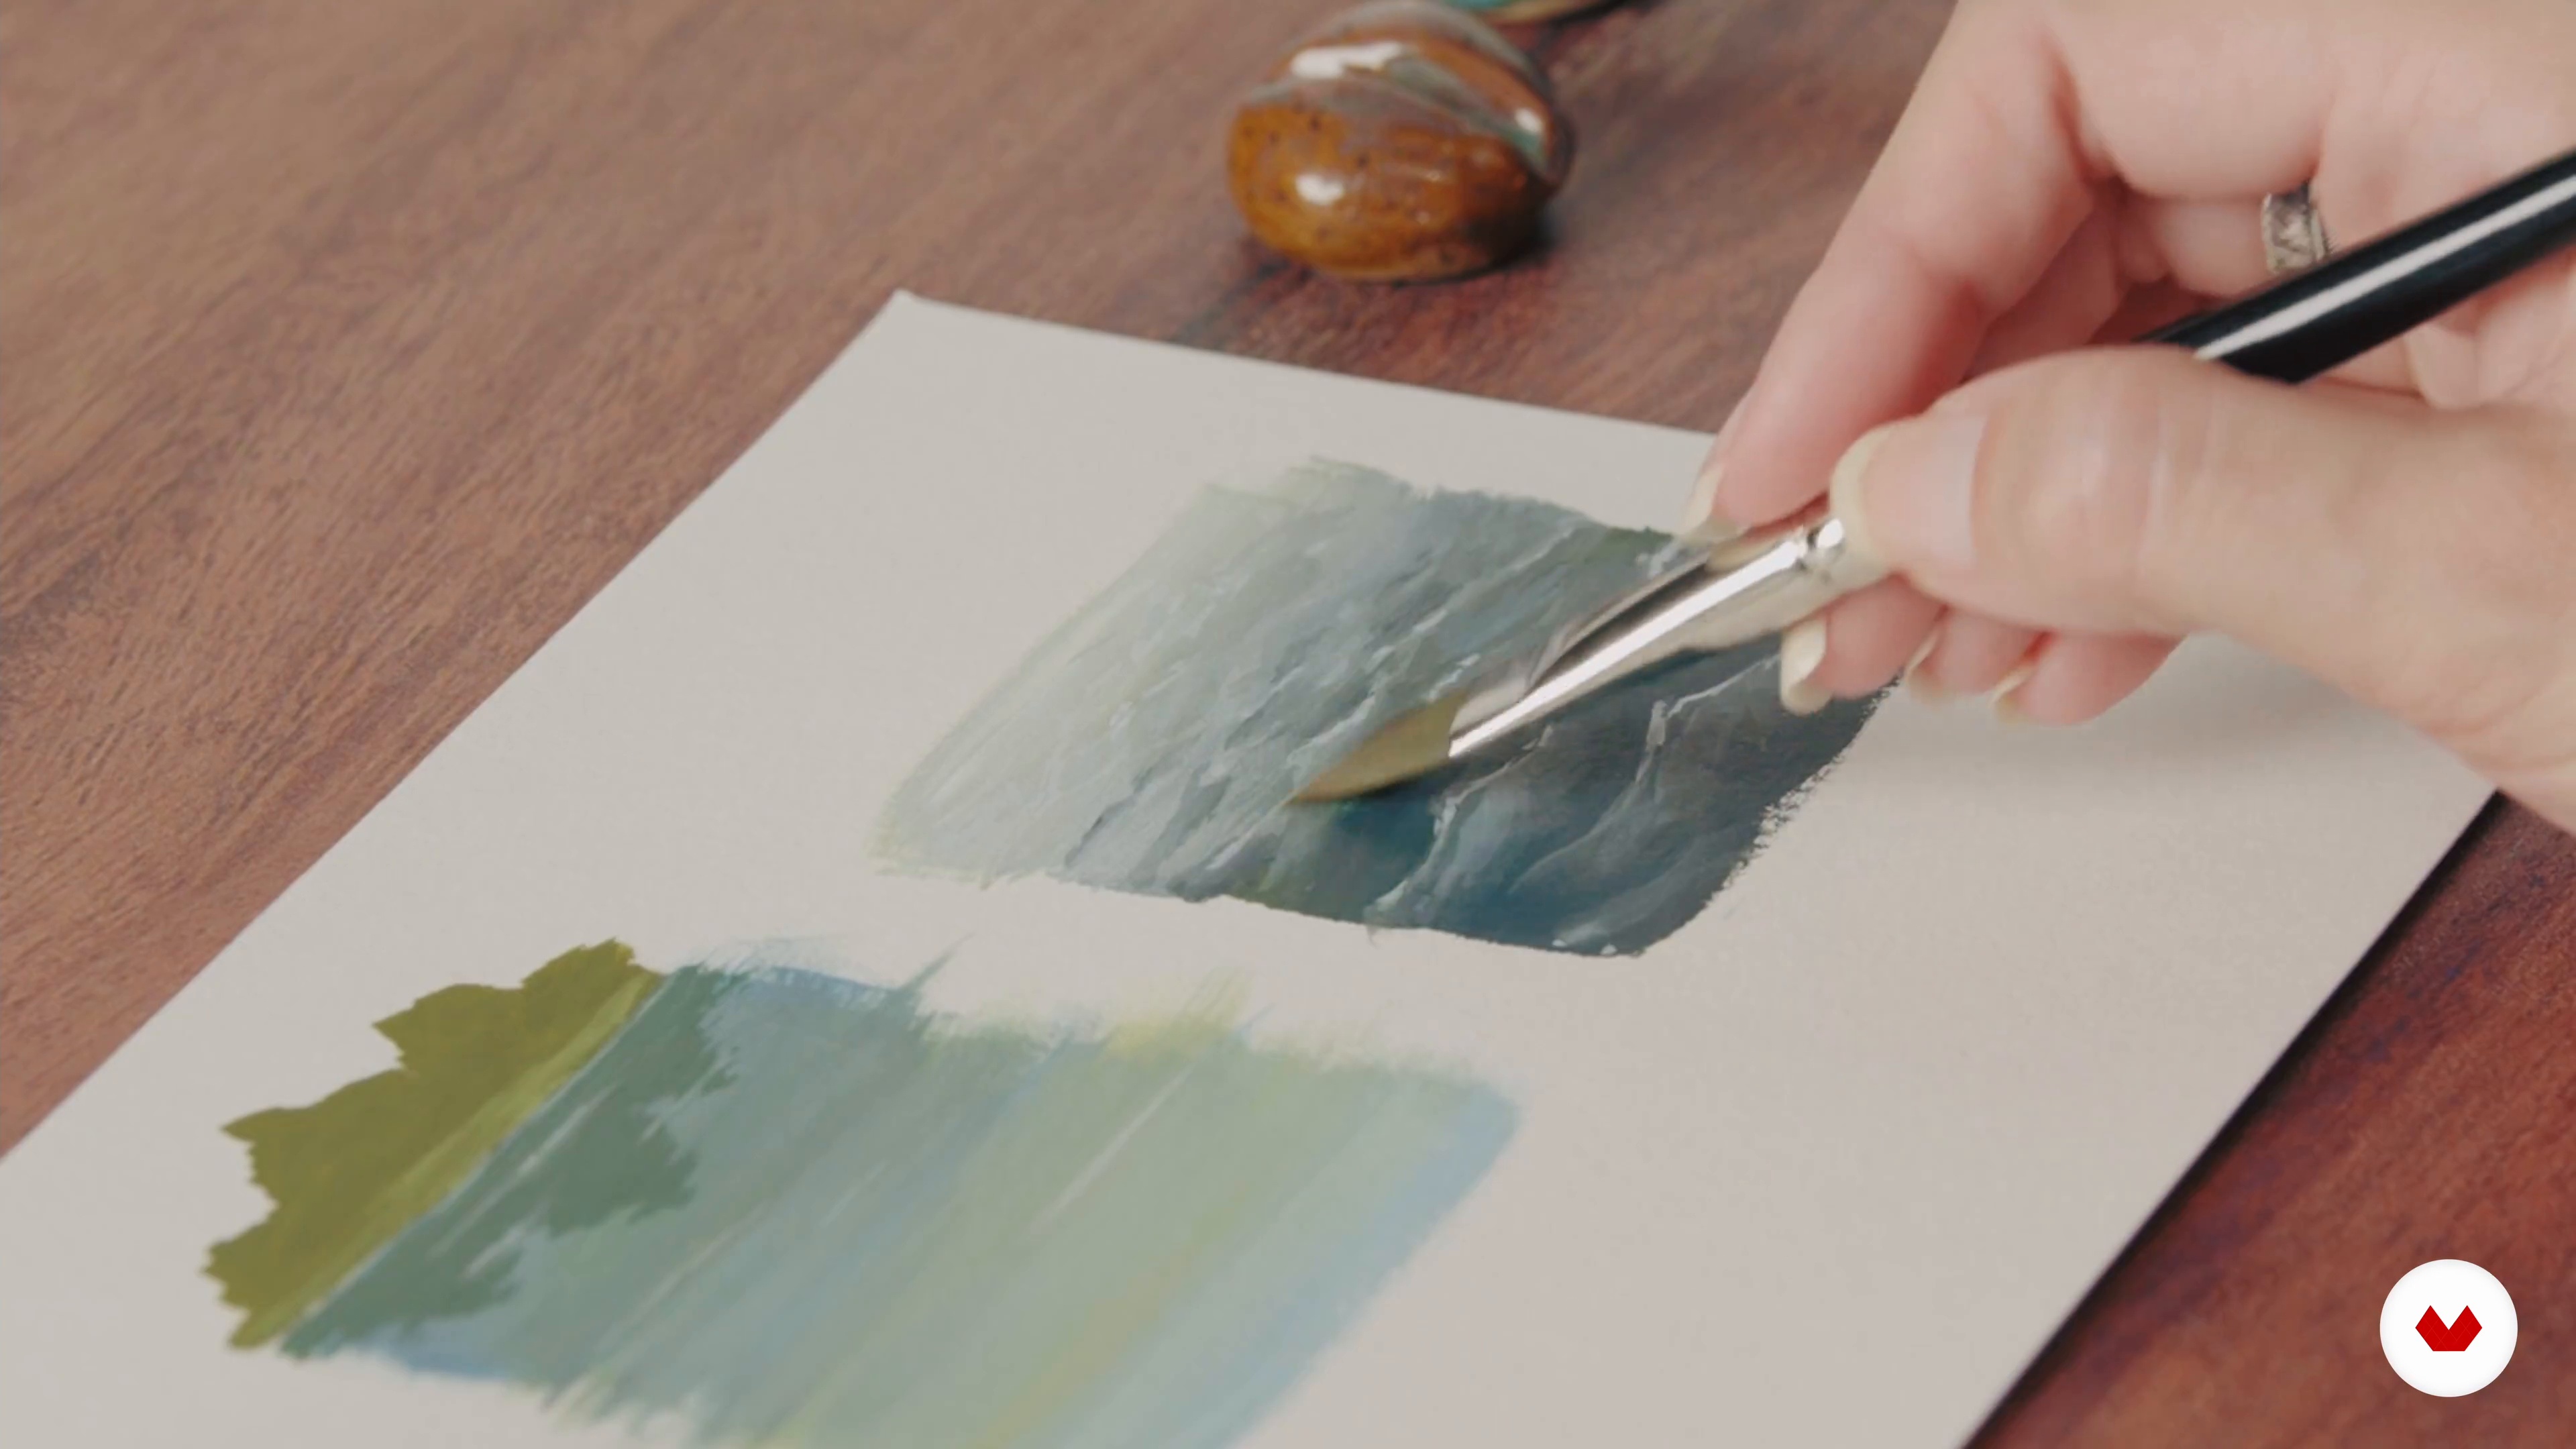
Gouache is an amazingly versatile medium! From transparent watercolor-like effects to completely opaque painting and dry-brushing, gouache really can do it all. In this lesson, we will explore the many different ways you can use gouache to paint and how to achieve effects by using different amounts of water in your paint mixture.
13m
image
3
Getting Familiar with the Gouache Medium 2
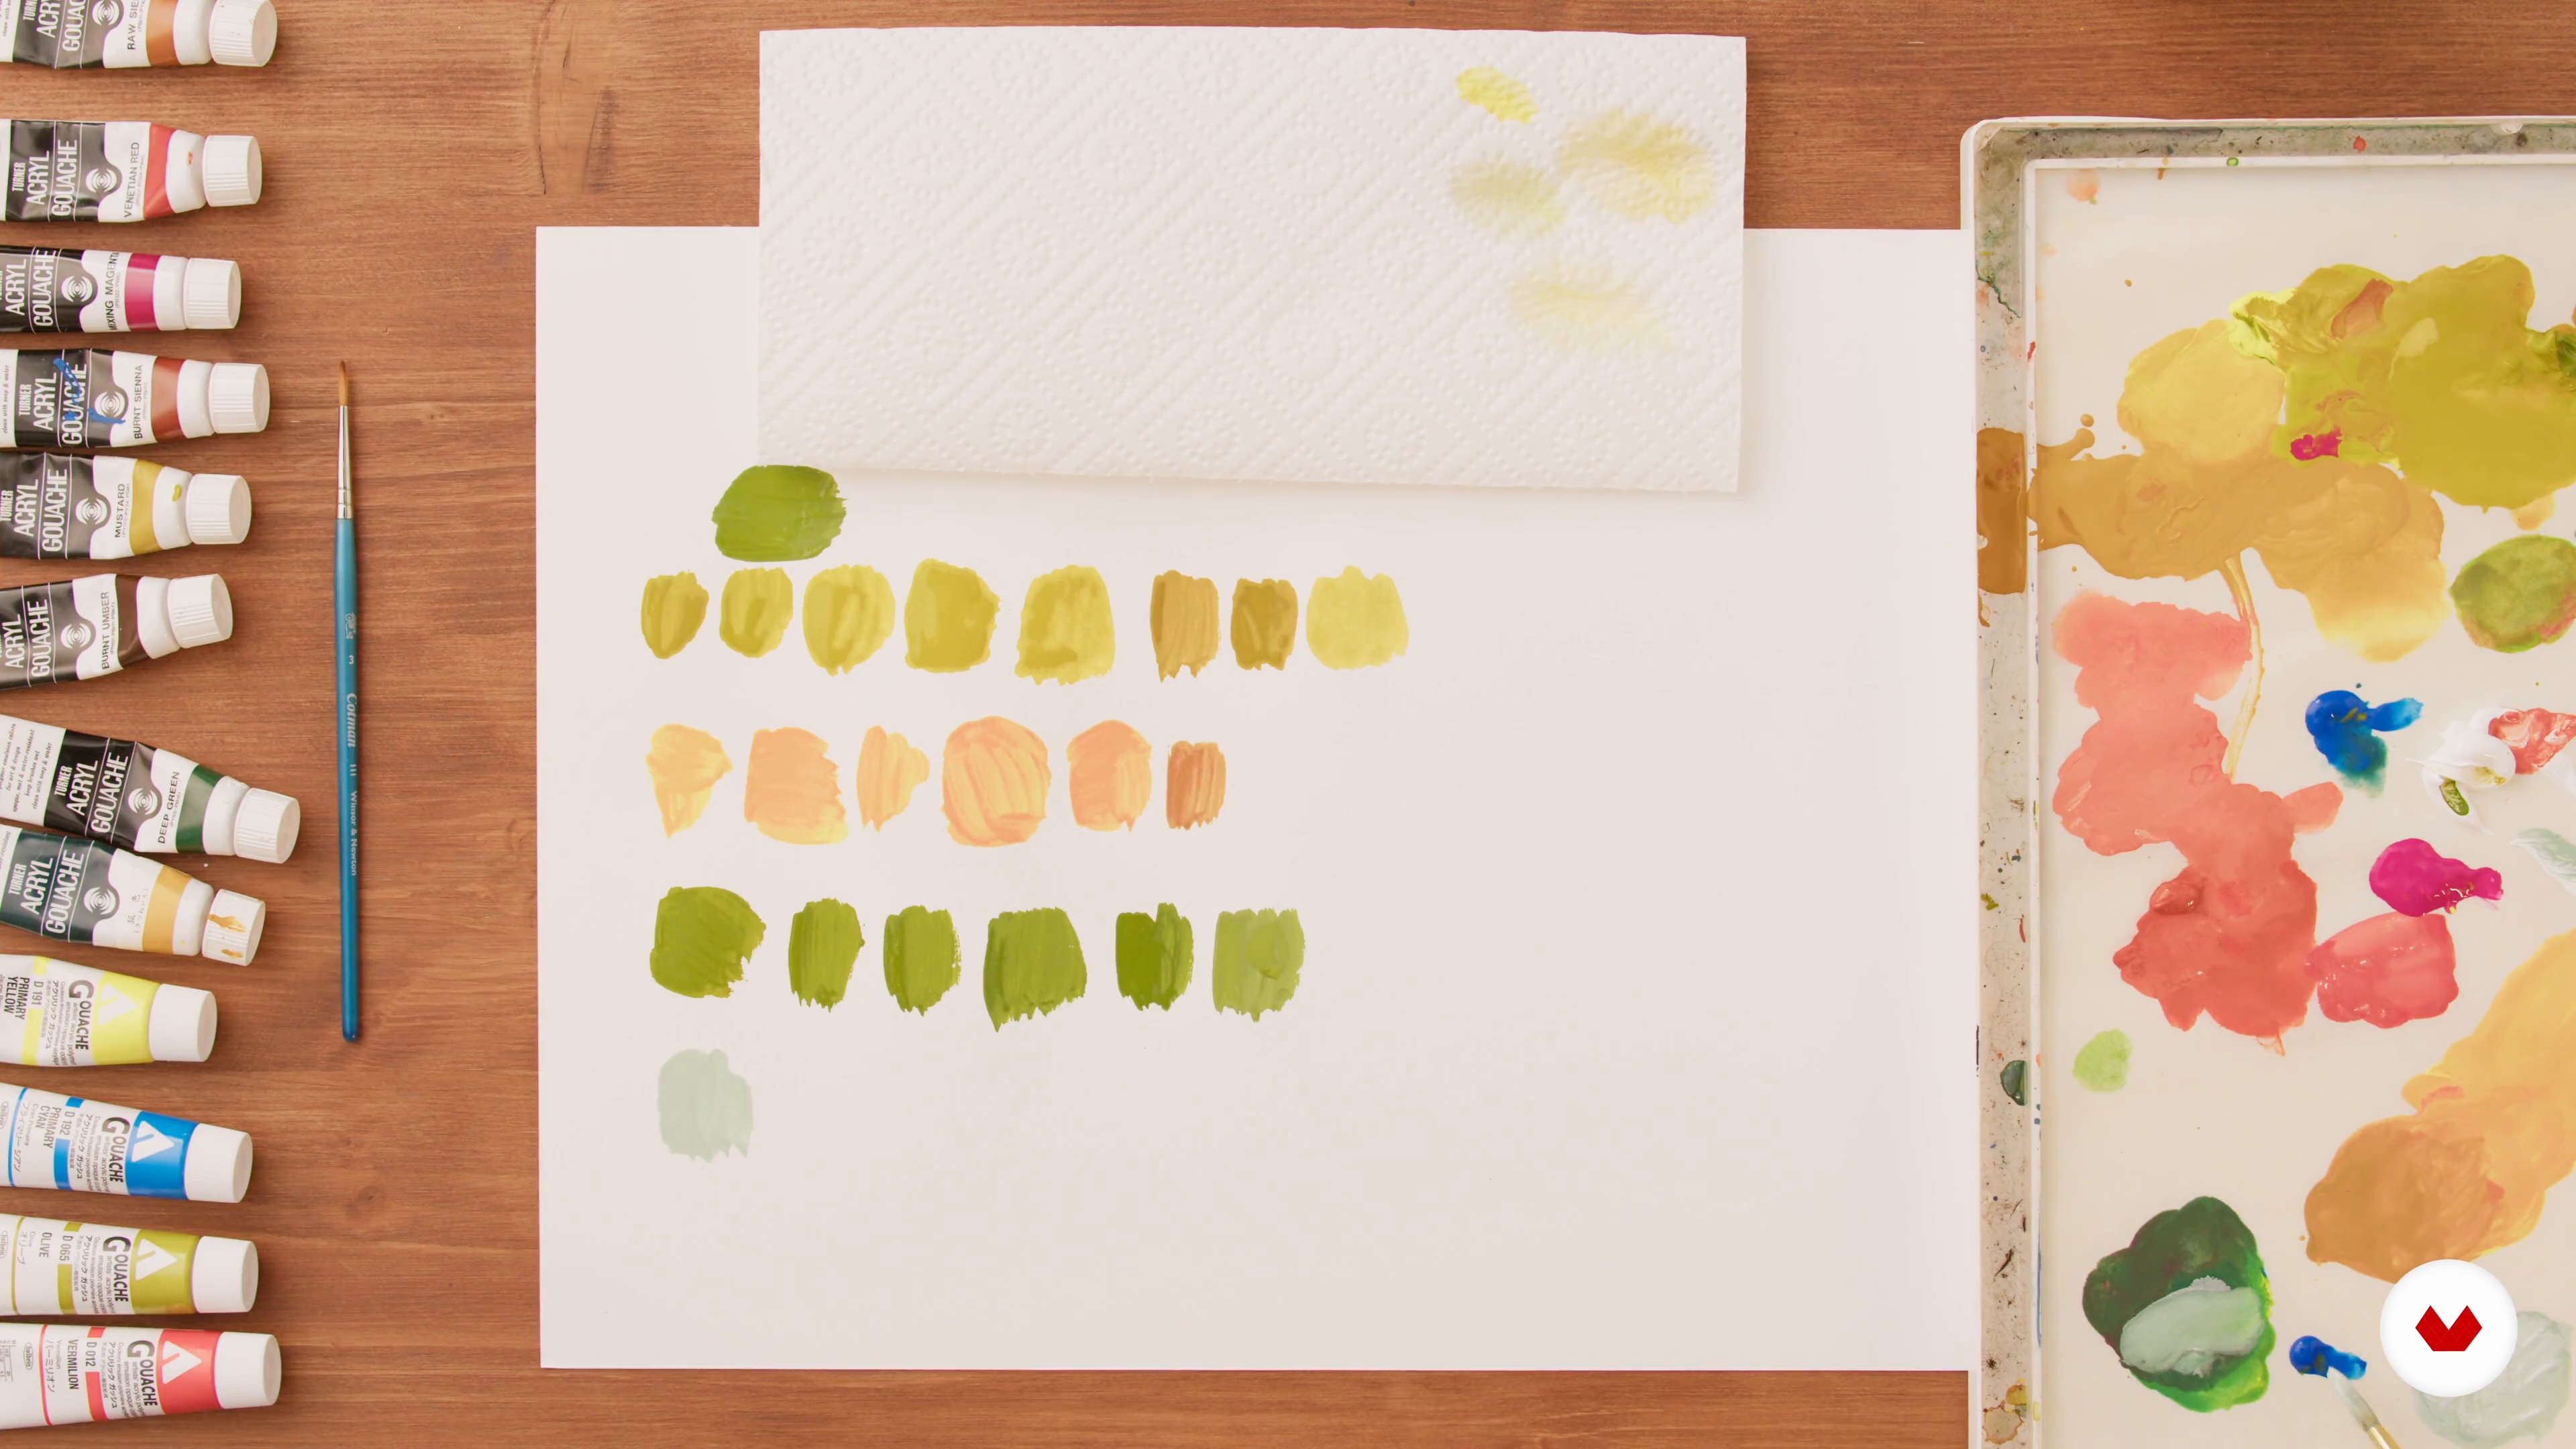
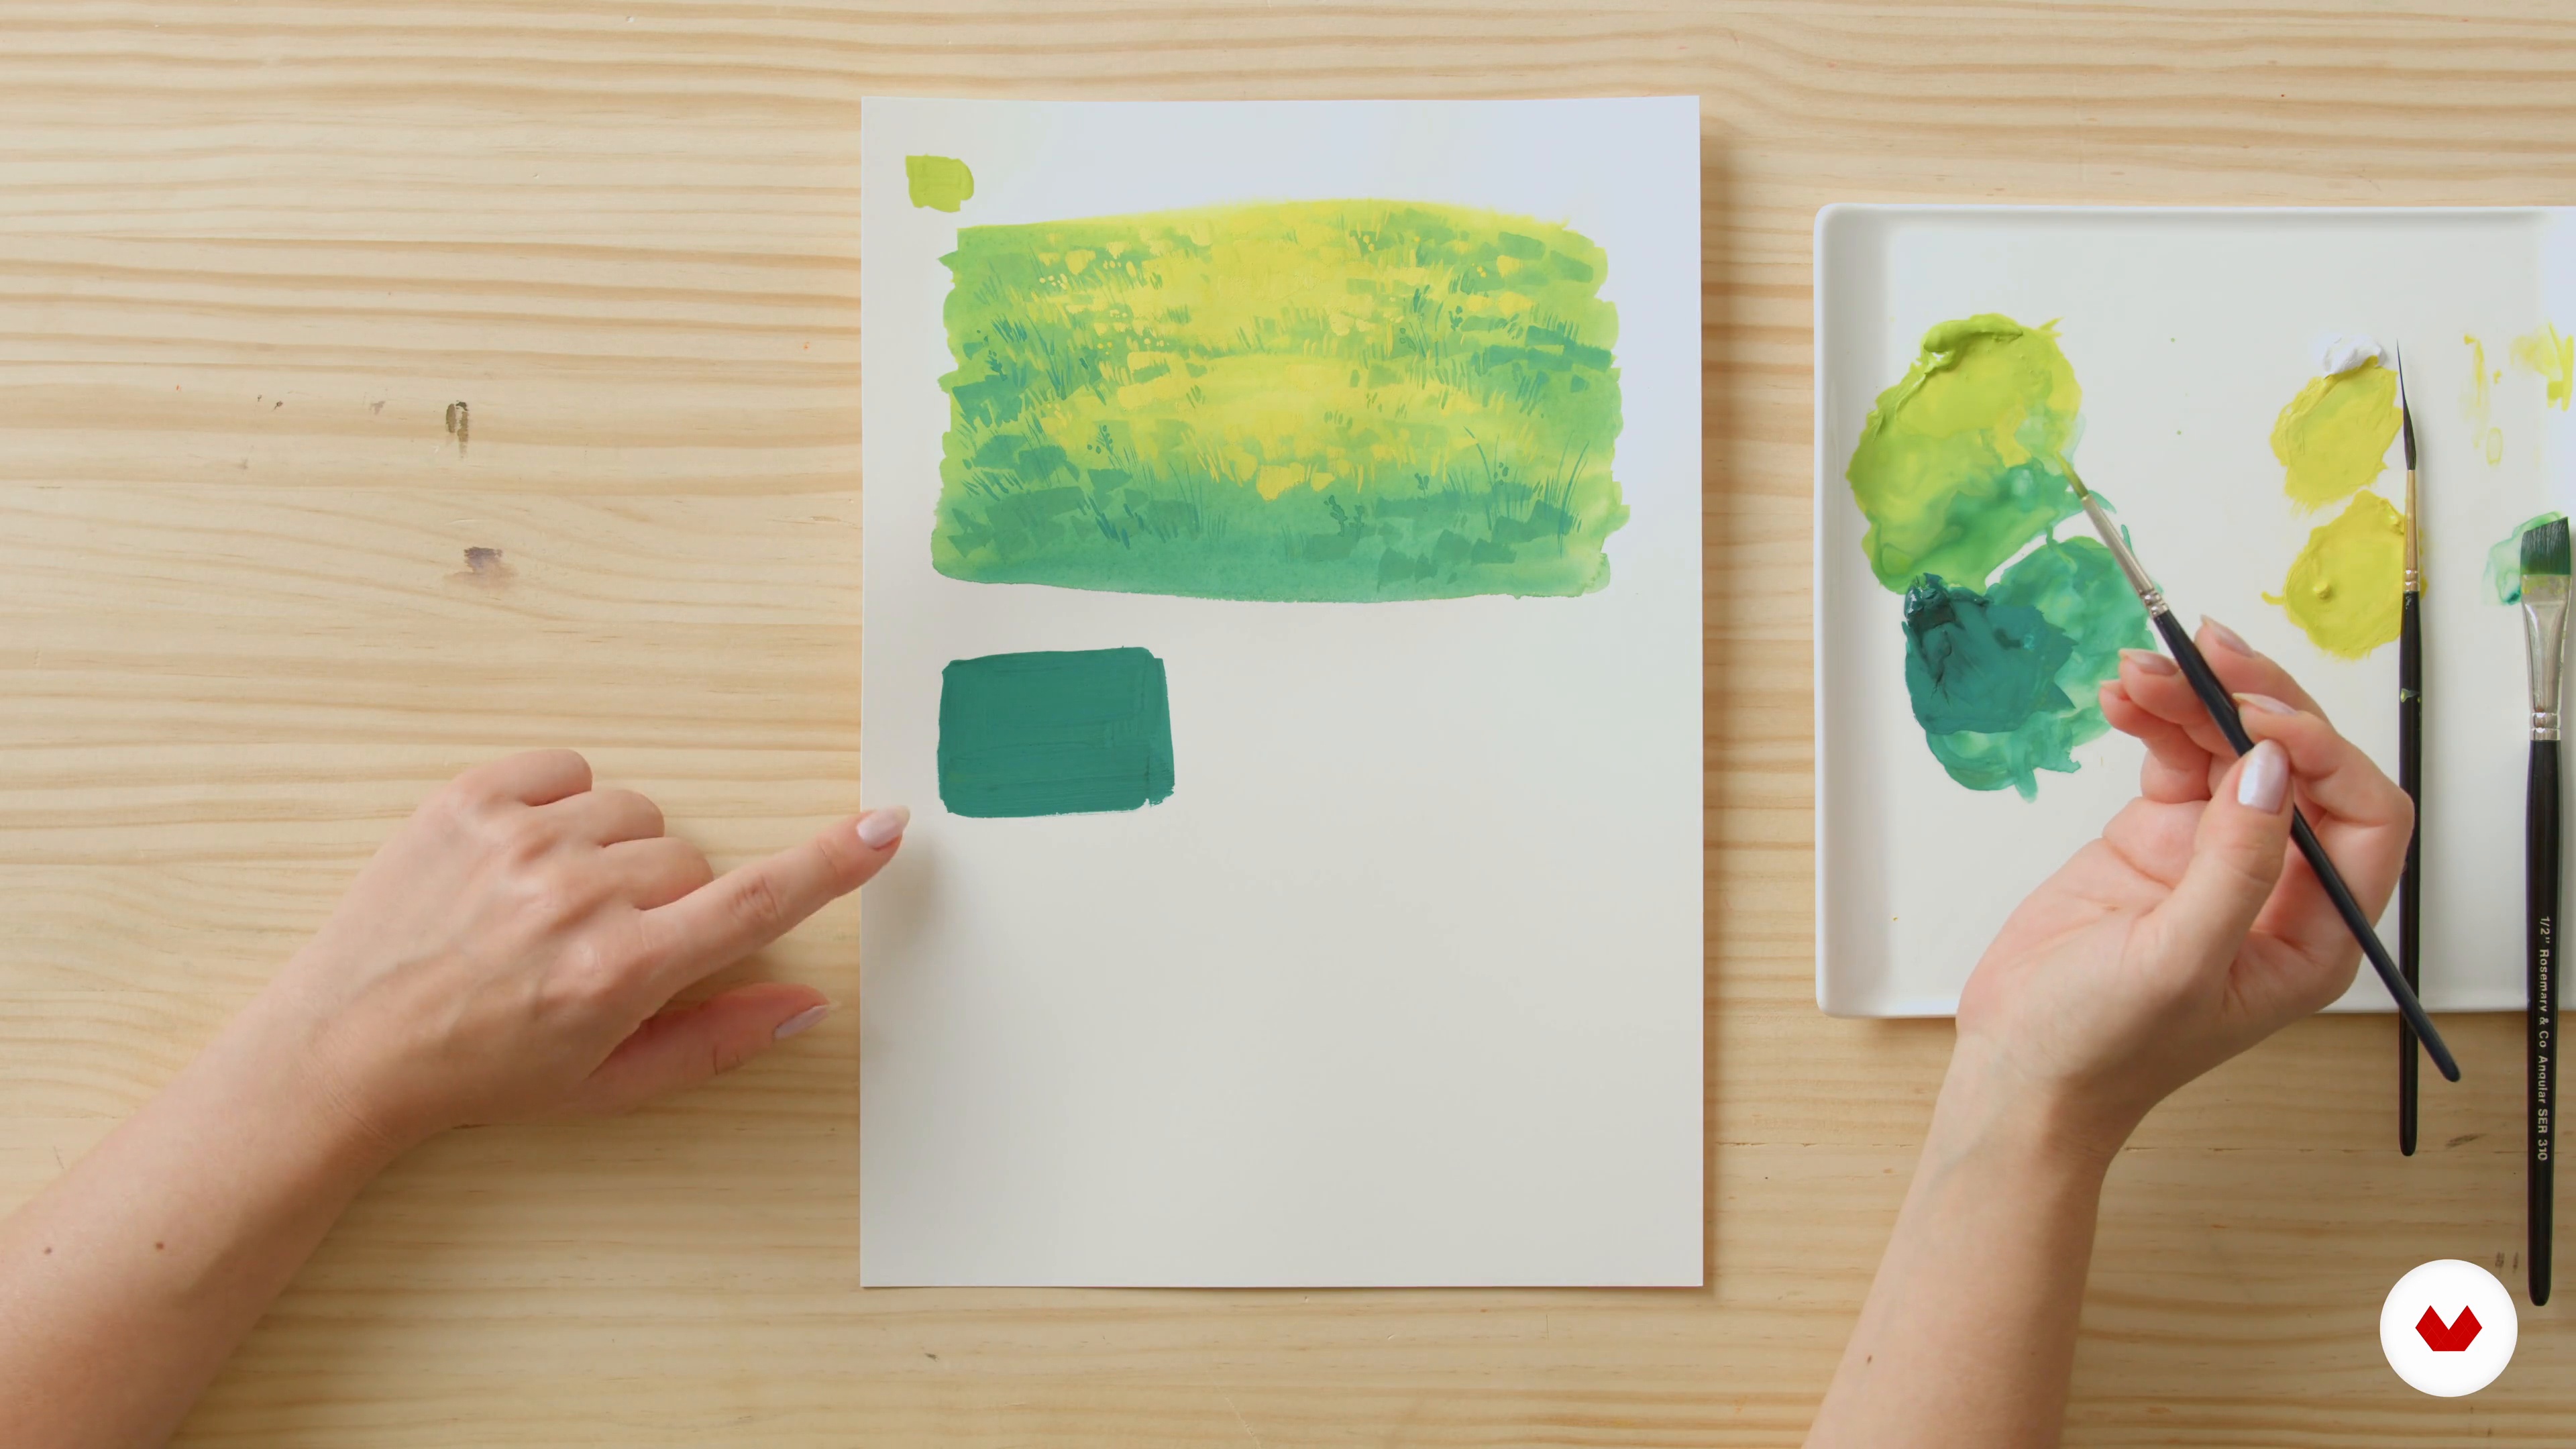
The small gradient of the yellow and green grass I am painting is a good way to demonstrate the wet-in-wet blend effect. I will also share some dos and don'ts concerning layering and talk about the lightfastness of paints. Finally, I will show you how I make swatches to get familiar with the colors available in your palette.
14m
image
4
Color and Value: Experimenting with Colors
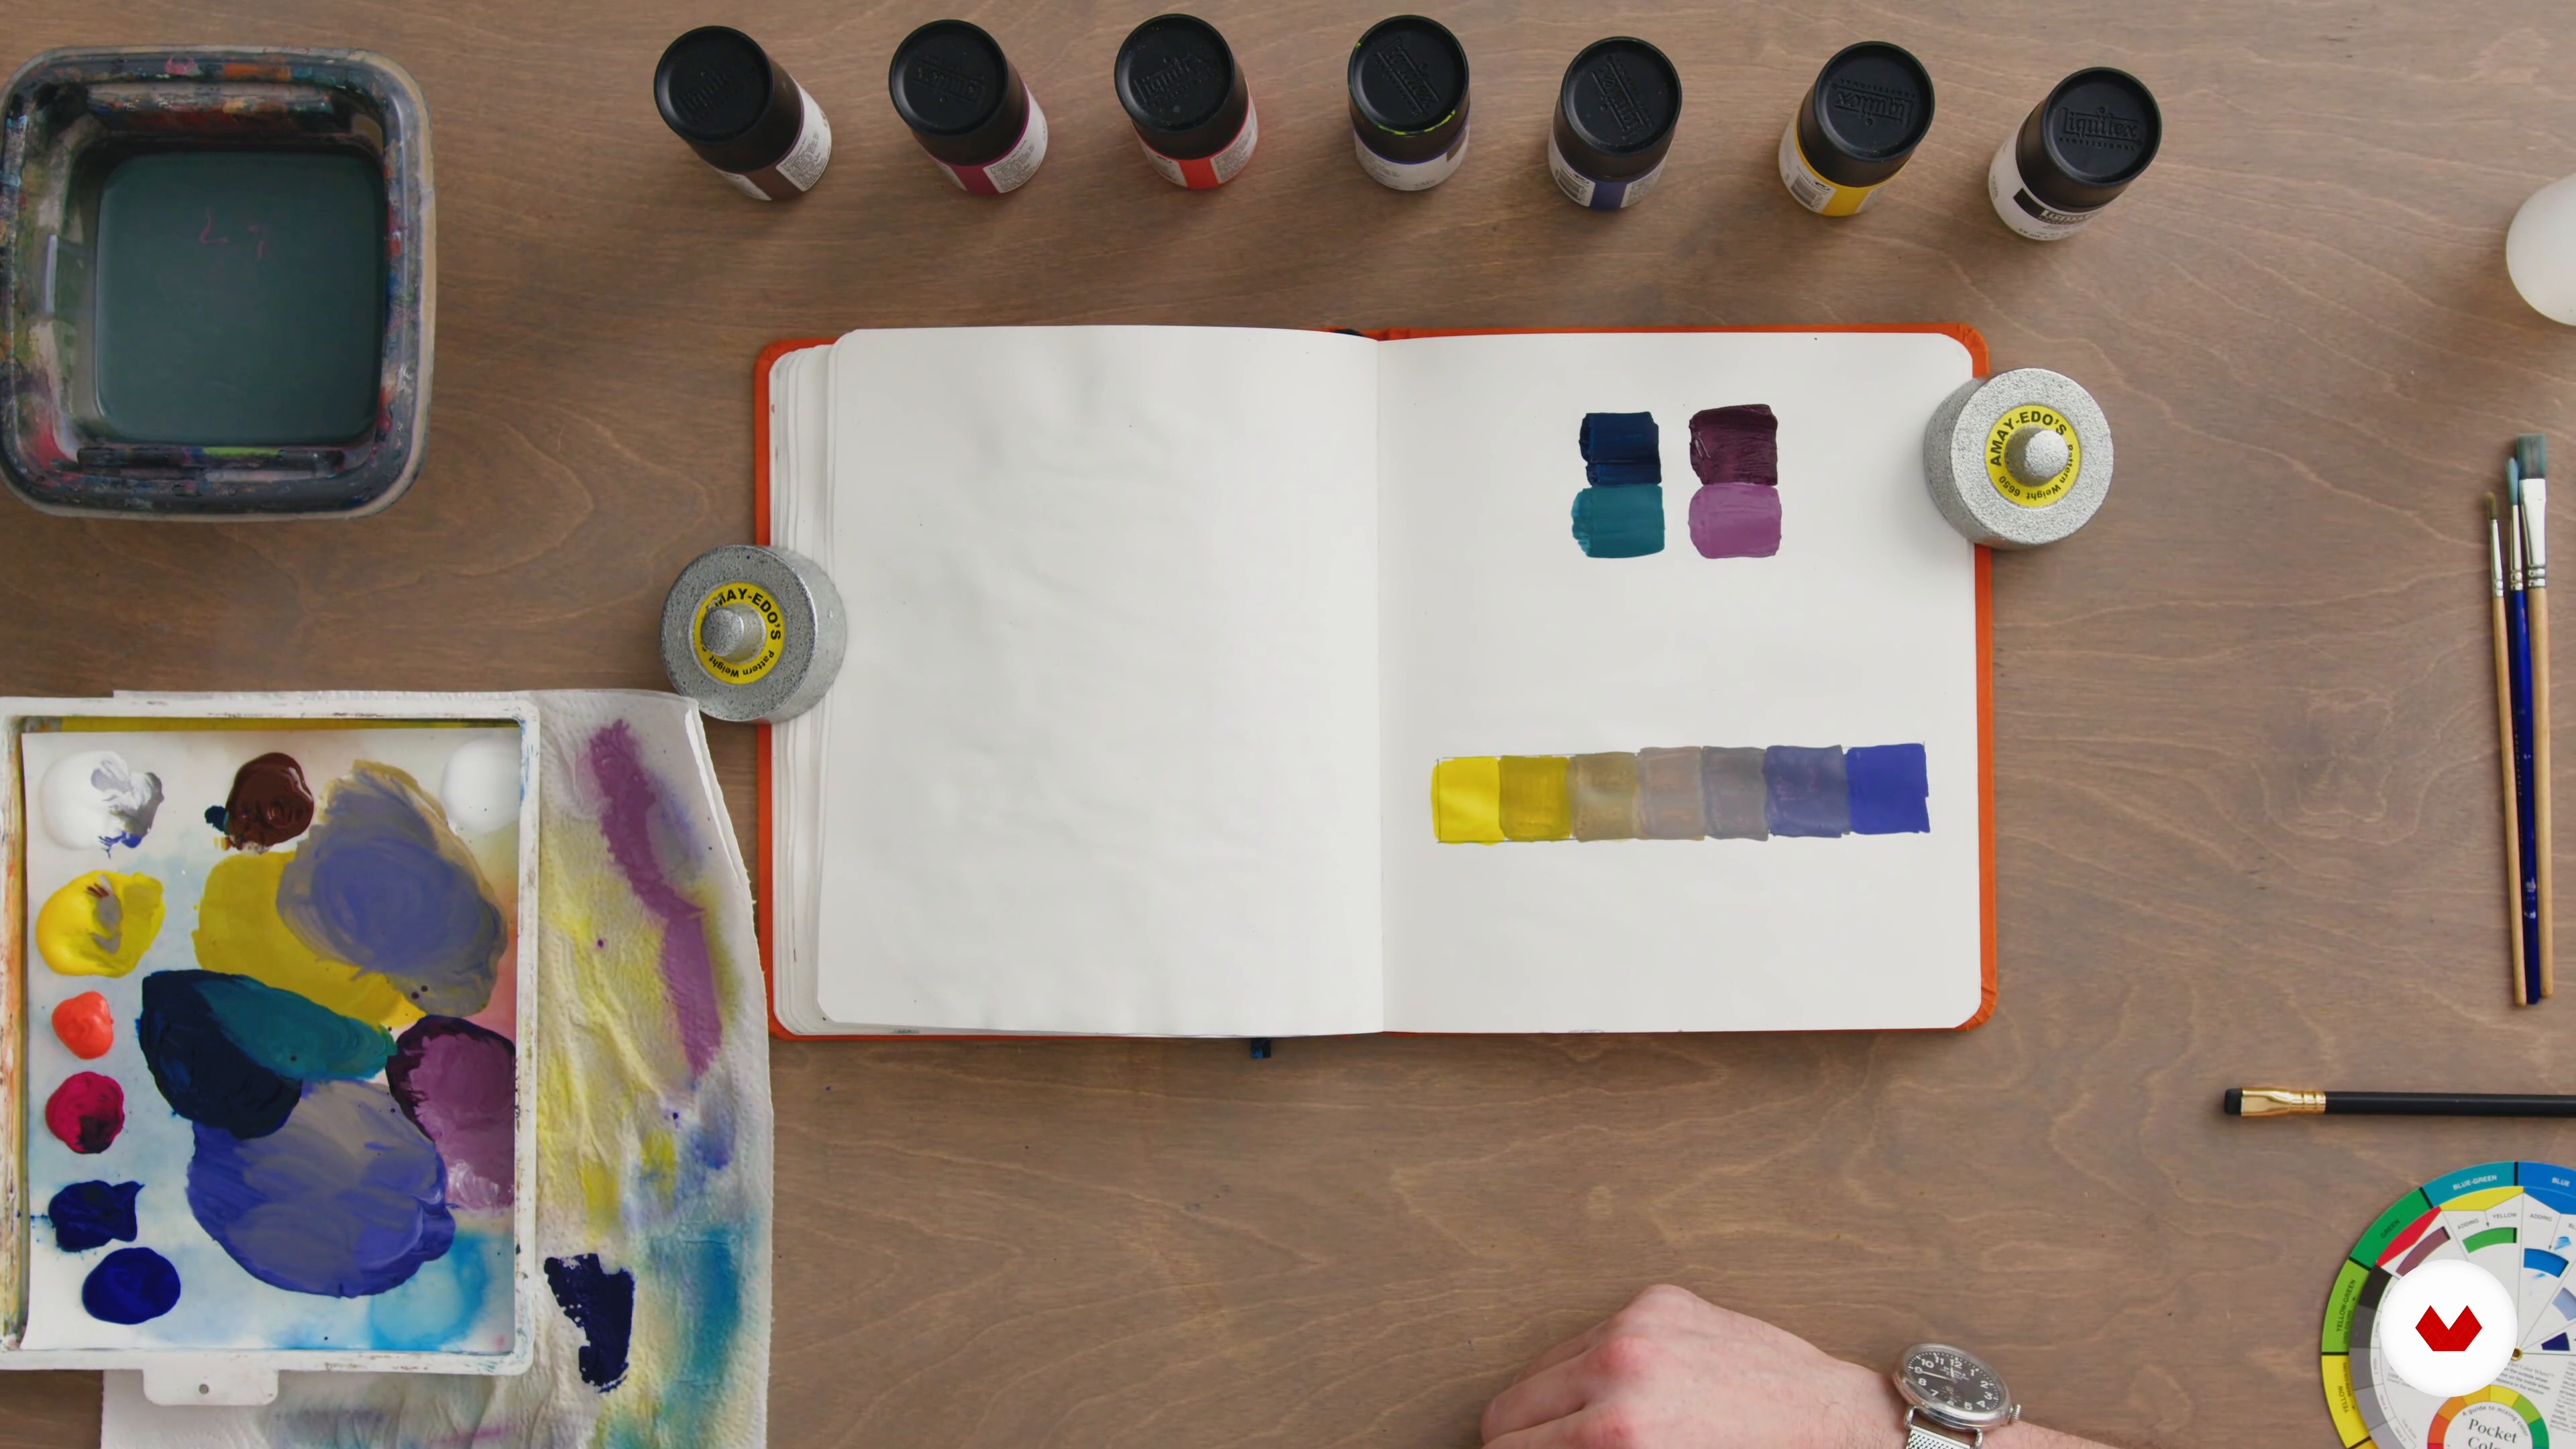
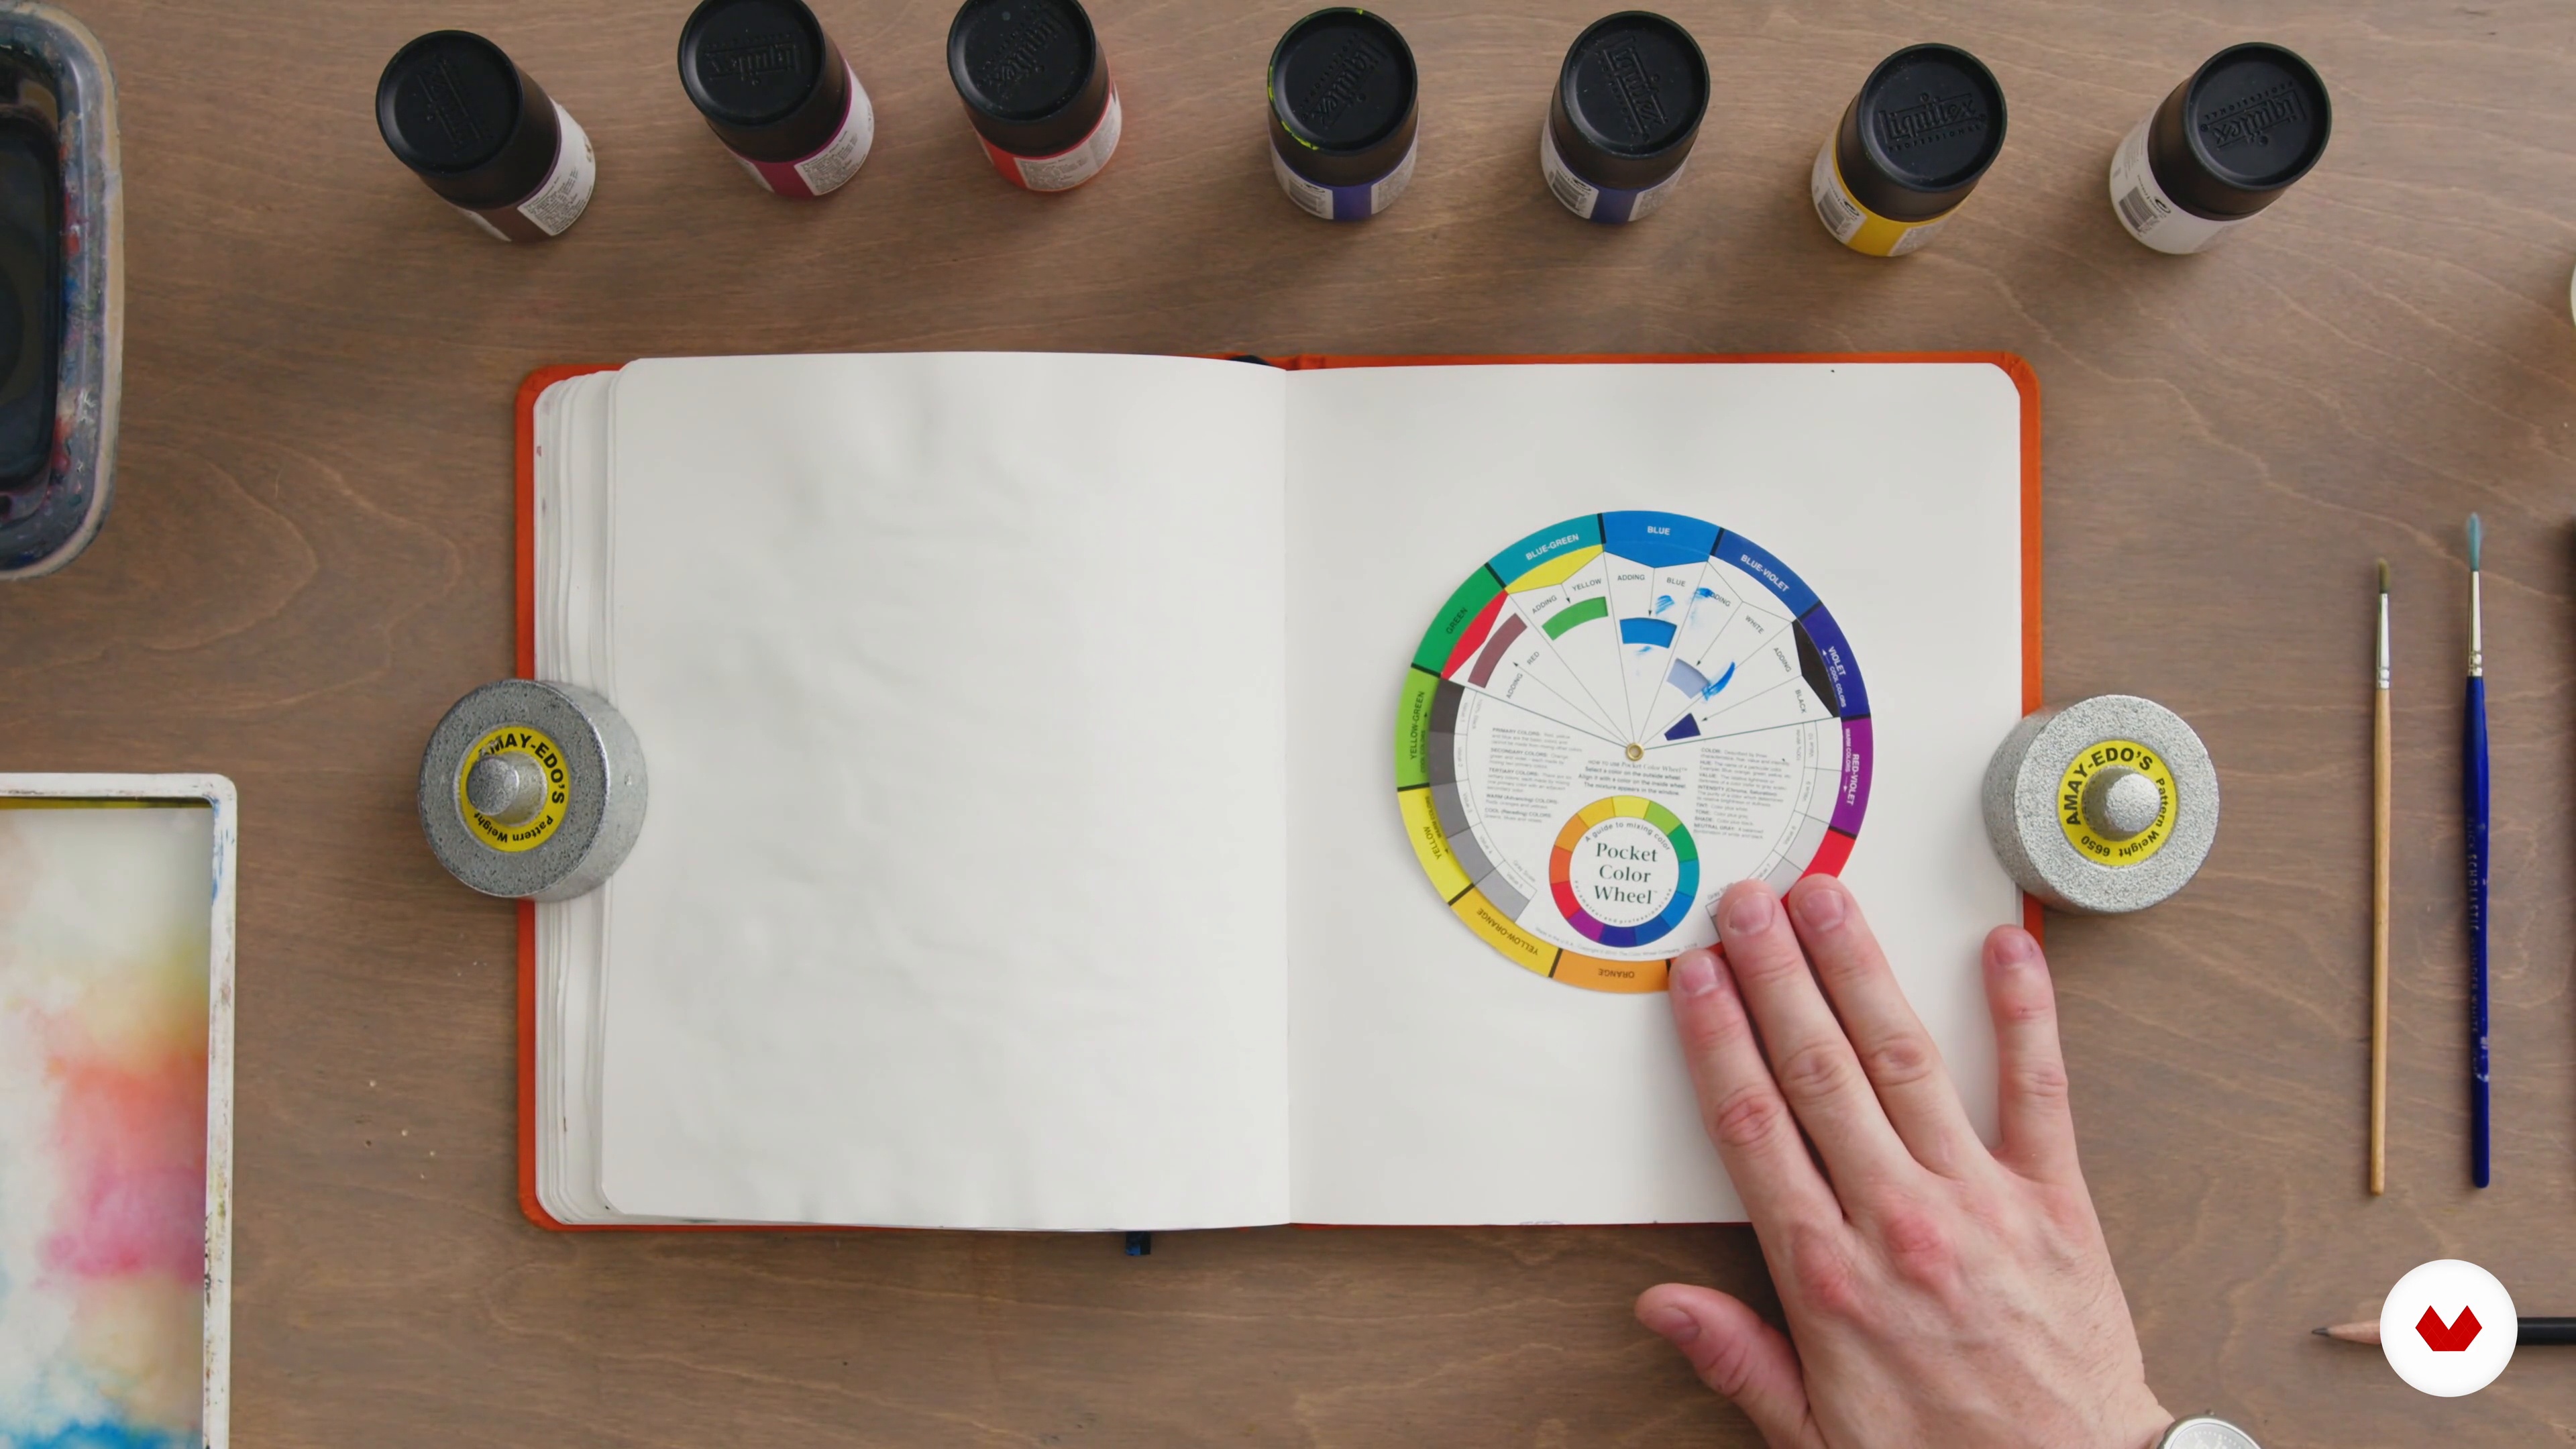
I will now discuss the fundamental topics of color and value and how they are connected. Hue, value, and saturation are all aspects that make up what we think of as “color”. I will explain how to use these to show depth and distance, as well as to convey a mood or sense of atmosphere, and you will see some beautiful examples of these effects for inspiration. I will also introduce you to the color wheel to understand cool and warm colors and get a sense of how primary colors can be used to create secondary and tertiary colors. We will look at an example of color mixing, and I will show you the Pocket Color Wheel: a useful tool to help you obtain different color mixtures.
8m
image
5
Composition and Point of View
What makes a strong composition and how do you achieve this in your artwork? Here I will talk about compositional elements, and we'll look at examples of effective compositions. I will explain how you can alter or change elements from your reference photo to strengthen the composition for use in your painting. Let’s challenge ourselves to be creative and explore new and interesting points of view!
2m
image
6
Techniques for Painting Nature 1
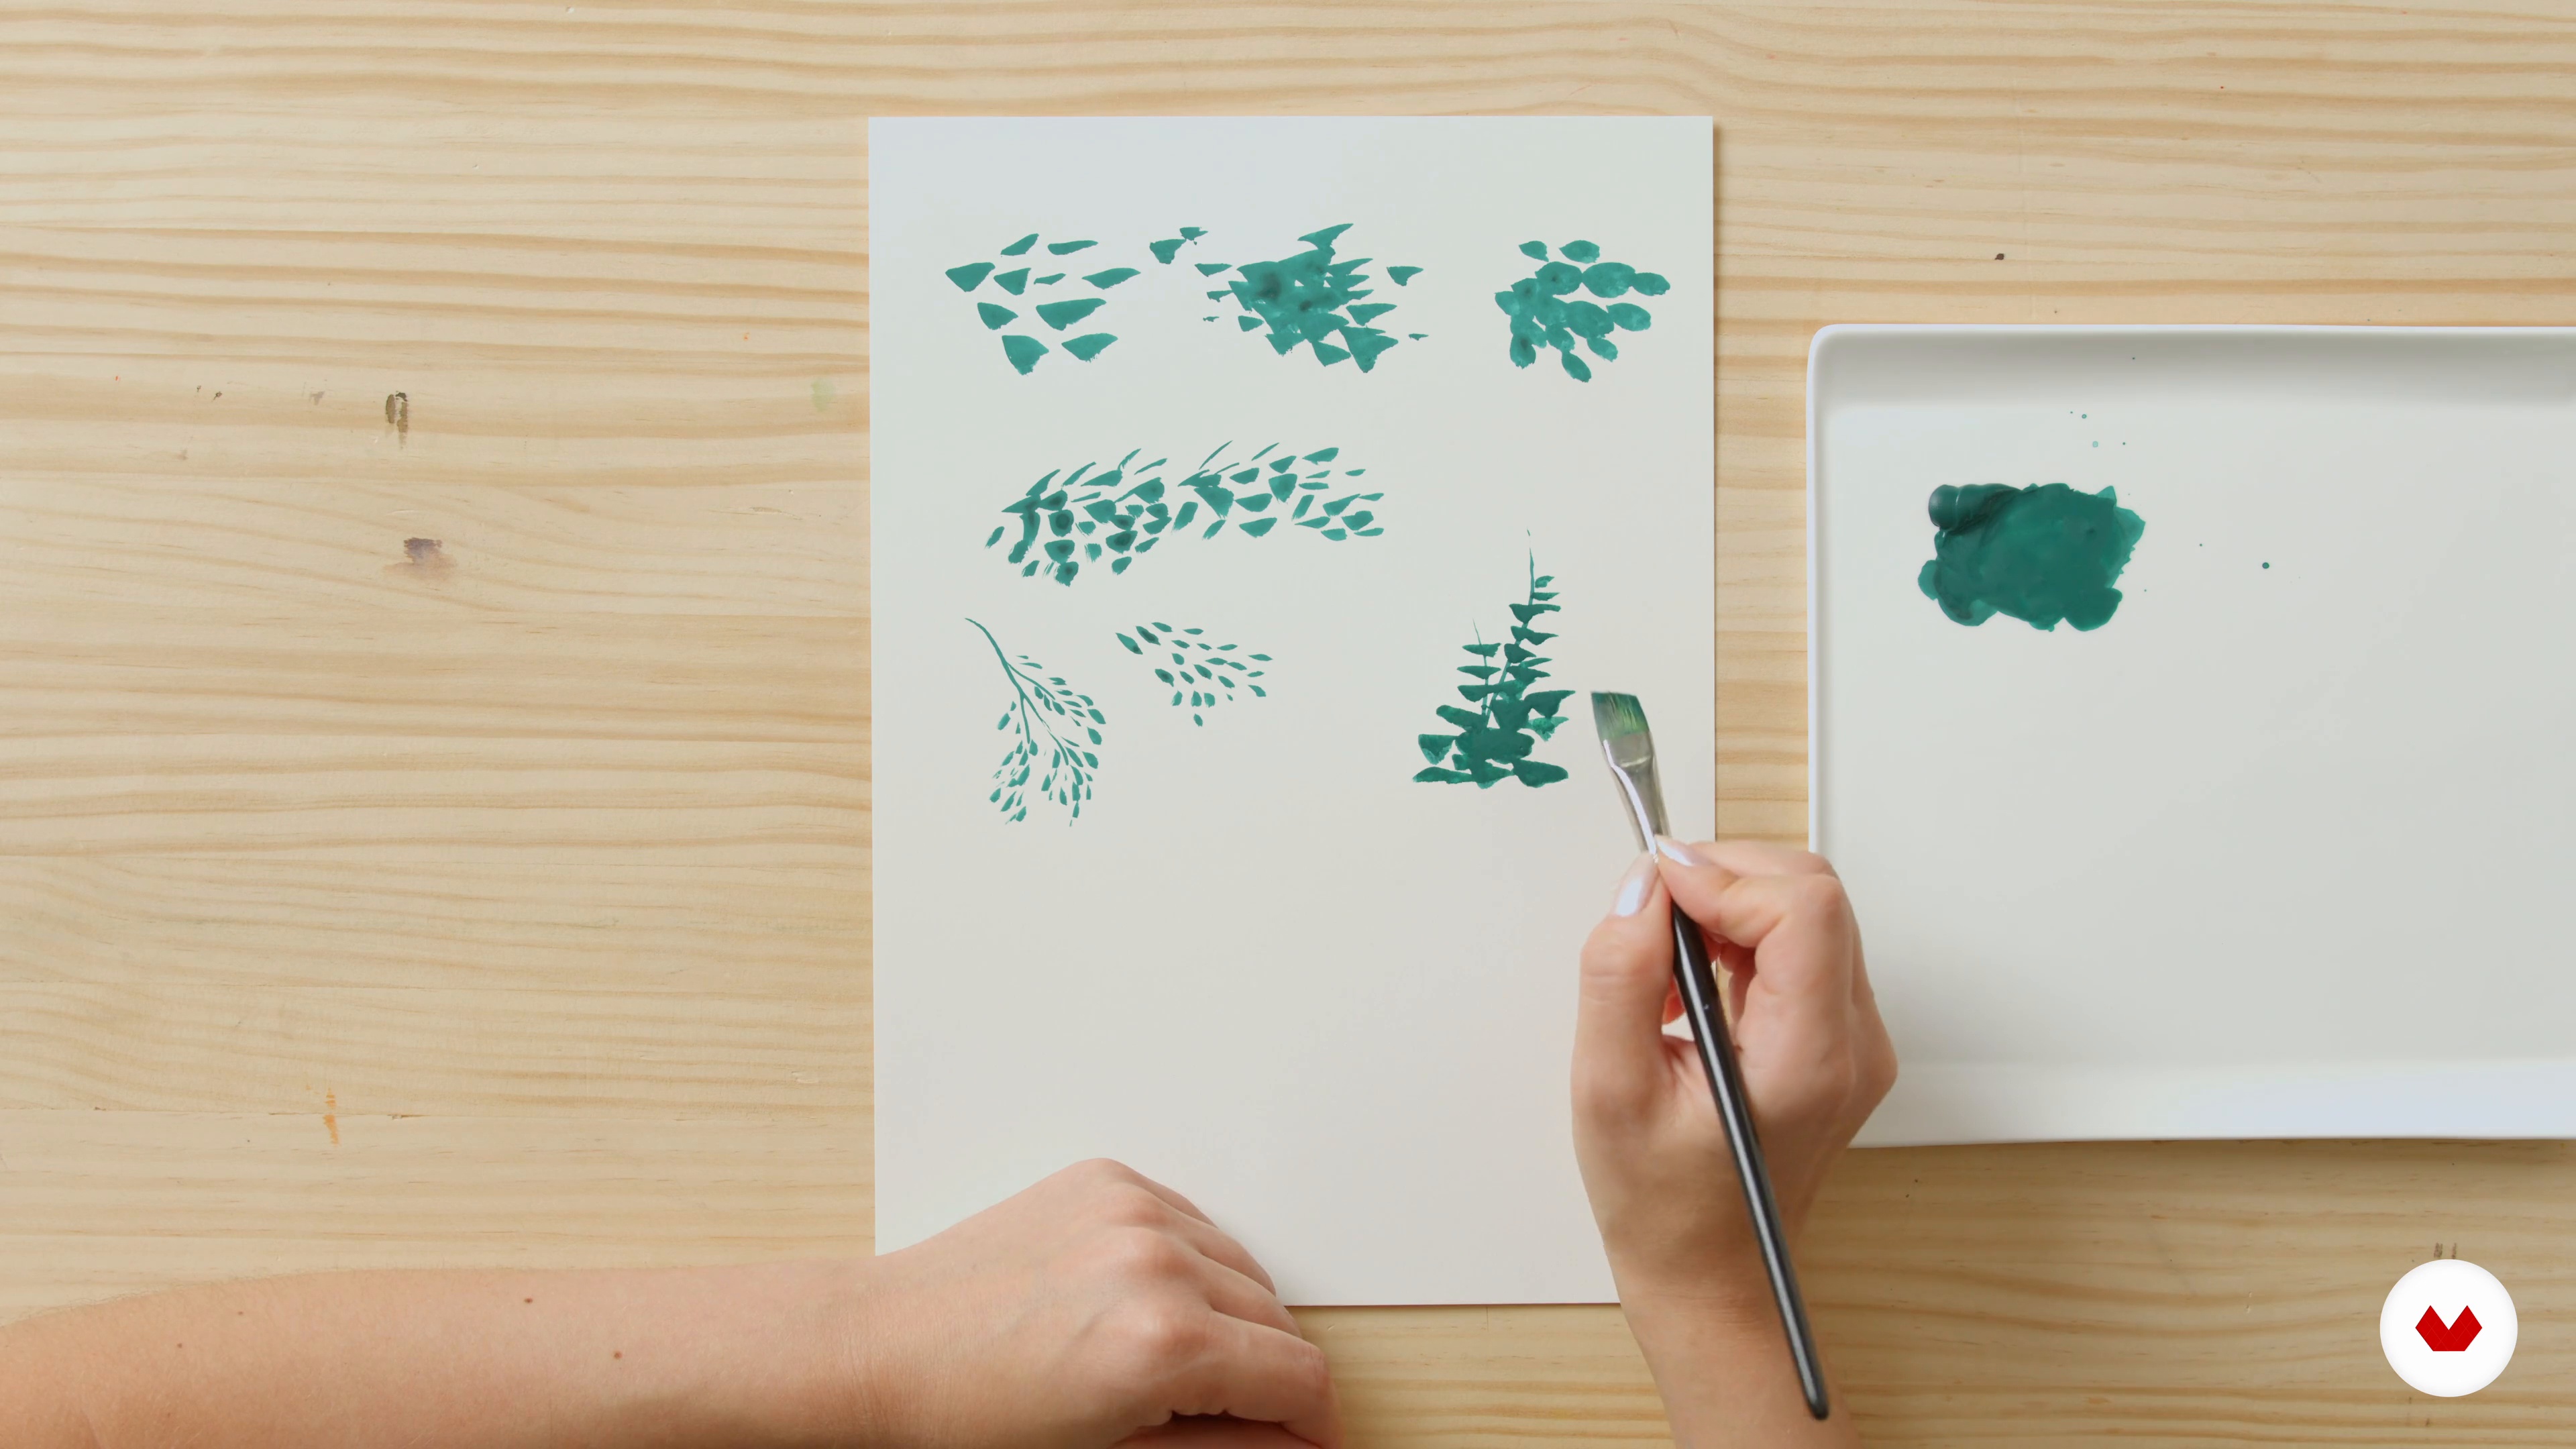
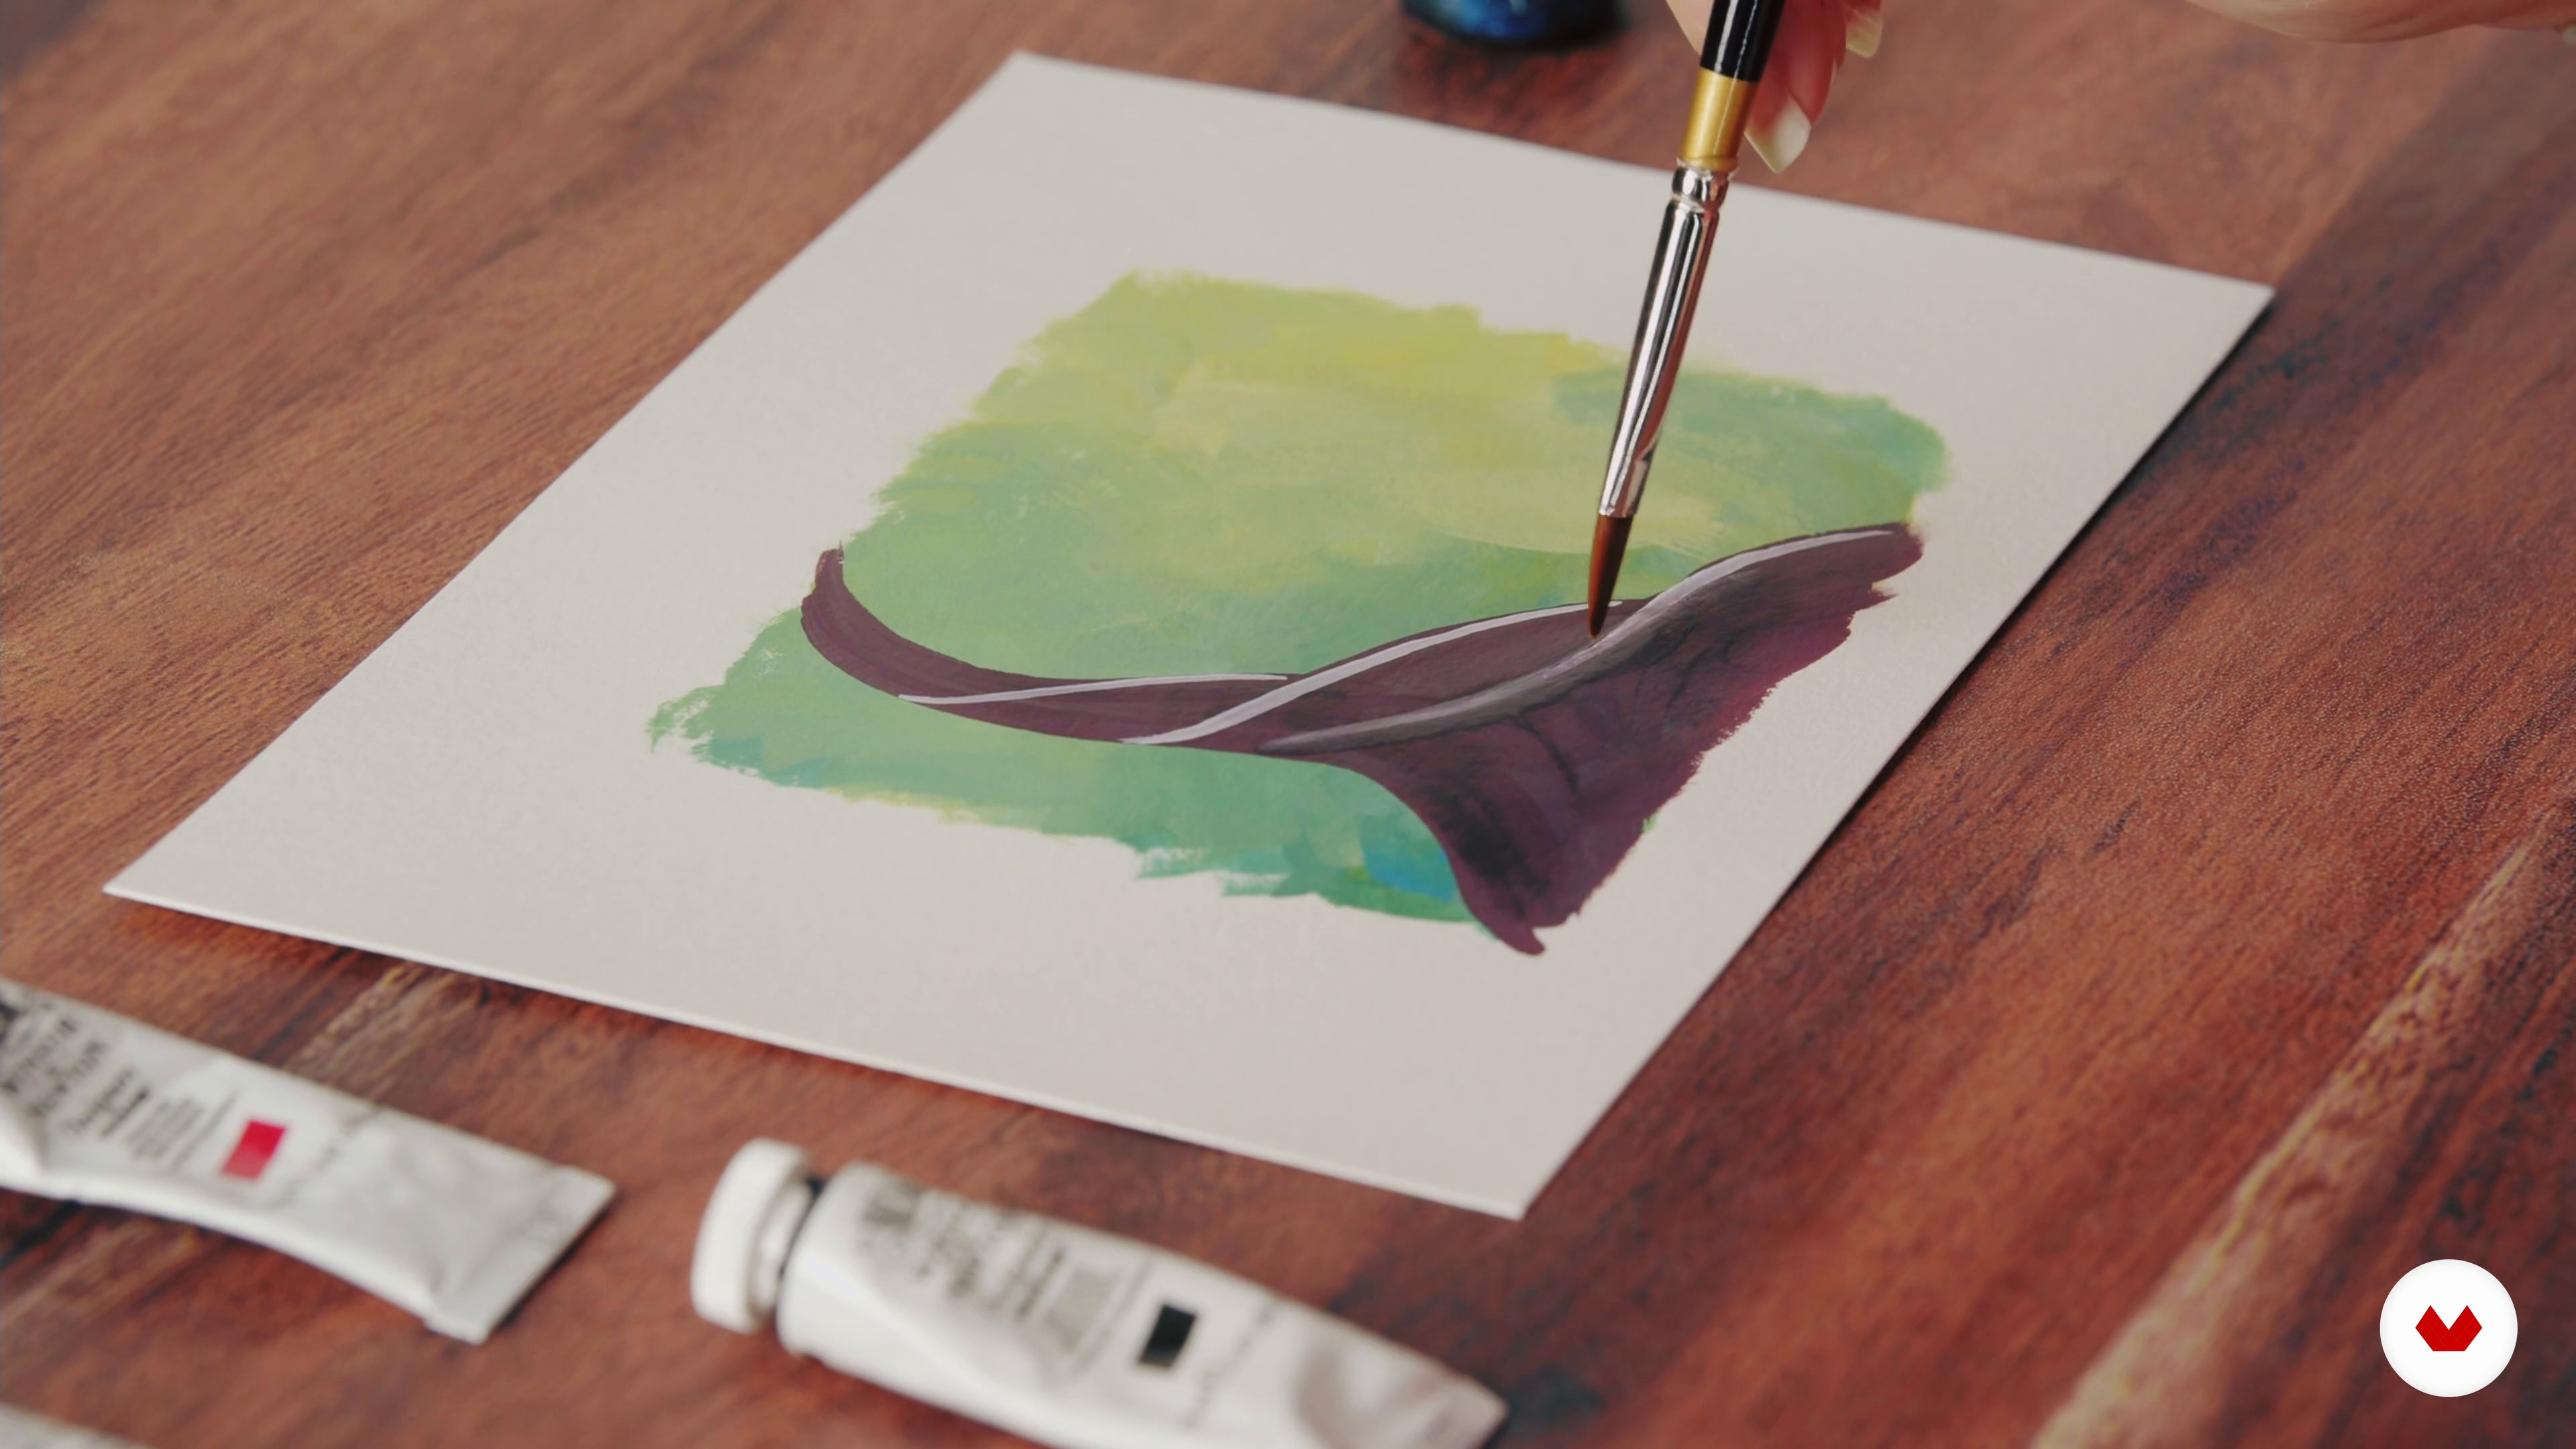
In this lesson, I will teach you techniques that will empower you to create lush nature and landscape scenes. First, I will dive into one of my favorite topics, foliage painting! I will discuss ways to simplify the complicated and detailed foliage we see in our reference images. Then, I will go on to explain how you can use different brushes and mark-making techniques to paint plants and groups of leaves with a natural effect.
12m
image
7
Techniques for Painting Nature 2
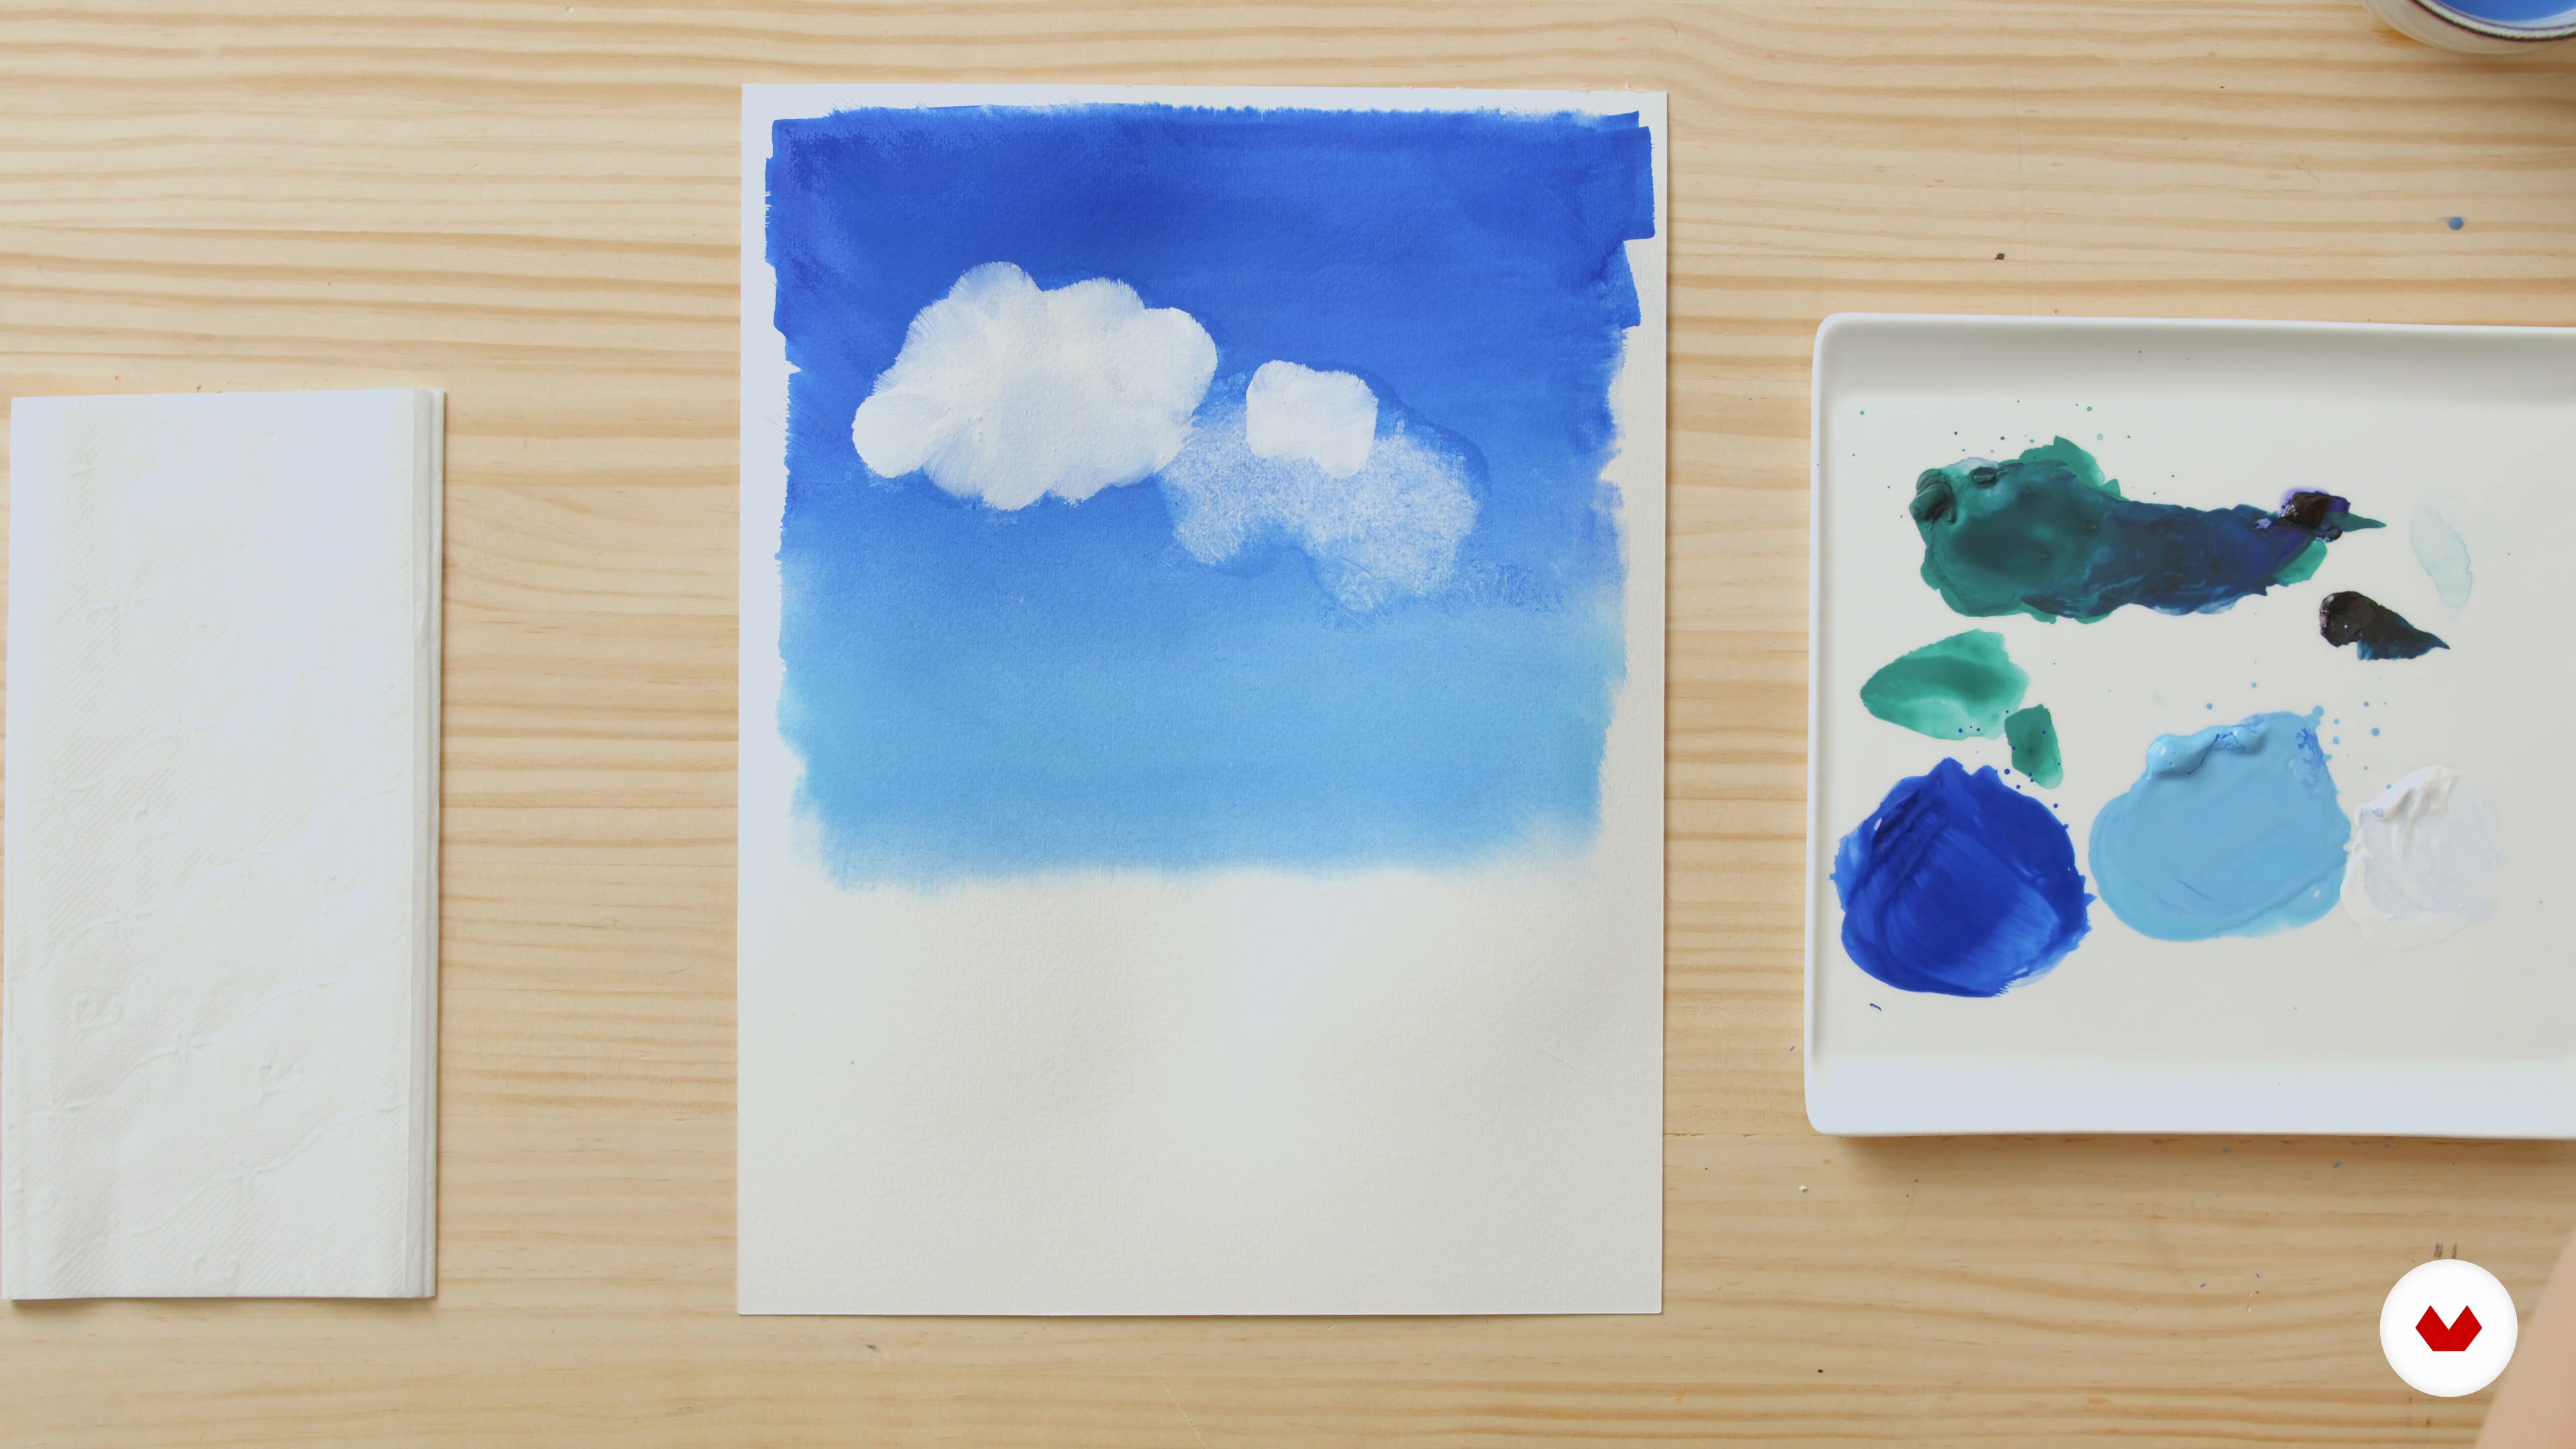
I will now give volume to my painting by adding shadows and using negative space. I will also show you some fun ways for painting beautiful skies and clouds with a wet-on-wet technique and a lifting technique.
12m
image
8
Finding and Organizing the Reference
I will start by sharing tips and recommendations on how to take great reference photos to help you set up a successful painting. I recommend creating a folder on your computer for reference photos. I like to create a new folder every year where I save photos of my adventures in nature throughout the year. I always create an additional folder with my top favorite images. There, I put the best photos, the ones I am most excited to paint. That way, when I feel inspired to paint, I have some beautiful reference options ready and waiting for me to use.
1m
image
9
Planning the Painting and Preparing to Begin
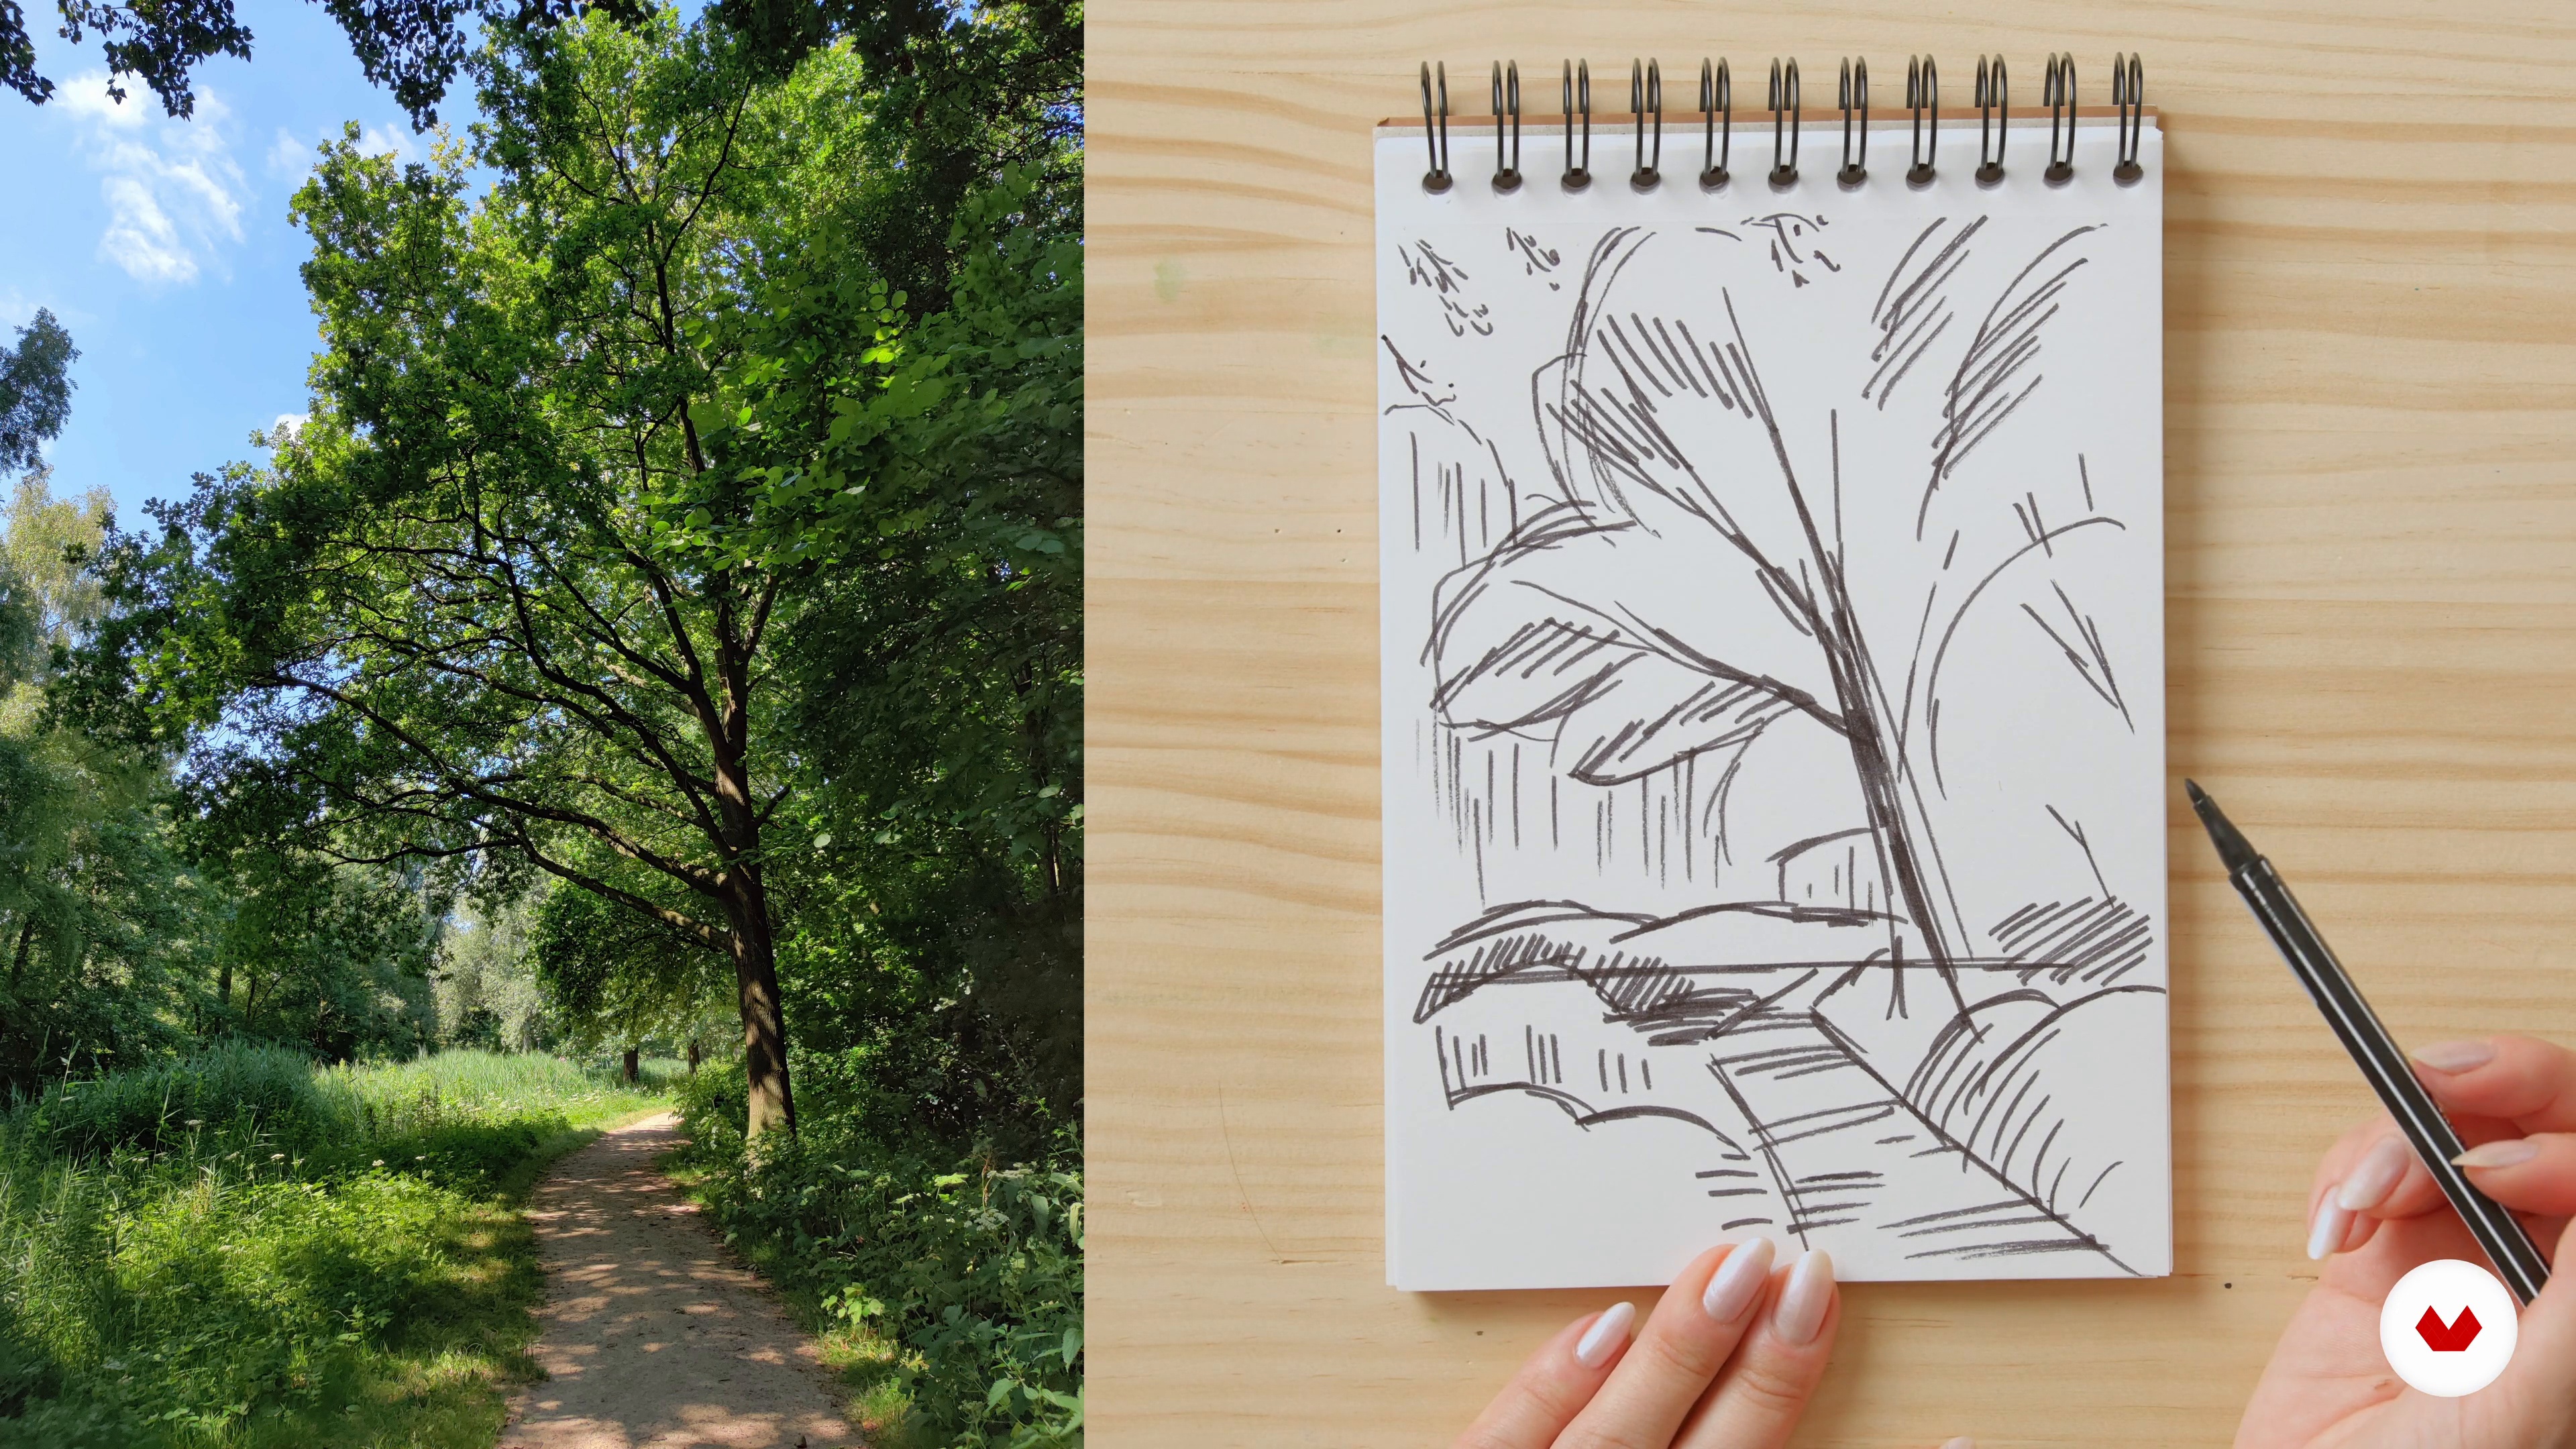
I will now teach you how to plan and prepare for the painting process. Then, I will show you my sketching process and talk through my thoughts as I consider how to simplify the shapes in my reference image. I like to make my sketch on a separate piece of paper. I do this because the gouache is often opaque enough to completely cover my sketch after the first layer of paint and then I can no longer see the sketch. If I make my sketch on a separate sheet of paper, then I can keep it close by and reference it throughout the painting process.
8m
image
10
Blocking in the Basic Background
We've reached the very first stage of the painting process: the background layer. I will show you how I go from a blank sheet of paper to having all the basic shapes blocked in. For this first step, I normally use my largest brushes. This helps me focus on the big shapes in my composition and prevents me from becoming tempted to paint tiny details too soon. I usually begin with a wet-in-wet technique for the early layers of the painting process. This lets me create soft blends as seen in the gradient of the sky. I always make sure that the white paper is completely covered and all basic shapes are blocked in before moving on to the next layer of paint and the details. For this project, I’ve chosen to work with a watercolor sketchbook. I enjoy using these books because I can fill them with paintings of beautiful places I’ve been to and save them as keepsakes to look back on the memories. You are welcome to paint in a watercolor book too, or work on a loose sheet of watercolor paper, whatever you prefer!
8m
image
11
Defining Subjects and Values 1
Now that the background and basic shapes have been blocked in, I will move on to the main body of the painting process. In this phase, I will add more definition and volume to the subjects in the scene. Objects will also begin to look more three-dimensional as I paint in darker and lighter values. They will start to become more recognizable as I layer and add details. Usually, during this stage of the process, I gradually shift from larger to medium-sized brushes and then finally on to smaller brushes.
19m
image
12
Defining Subjects and Values 2
I have been focusing on the shadows but I will now start paying attention to the lighter areas I see in the photo. As I paint, I will be looking closely at my reference image and painting to see if I am illustrating the lighting effectively. I will look at where the darkest and lightest areas are in the reference and compare that to my painting to see how things are matching up. I will make changes and adjustments if needed. It is very normal for me to go back and forth between painting darker and lighter values in this phase until I am satisfied with how things look.
11m
image
13
Details, Texture, and Finishing Touches
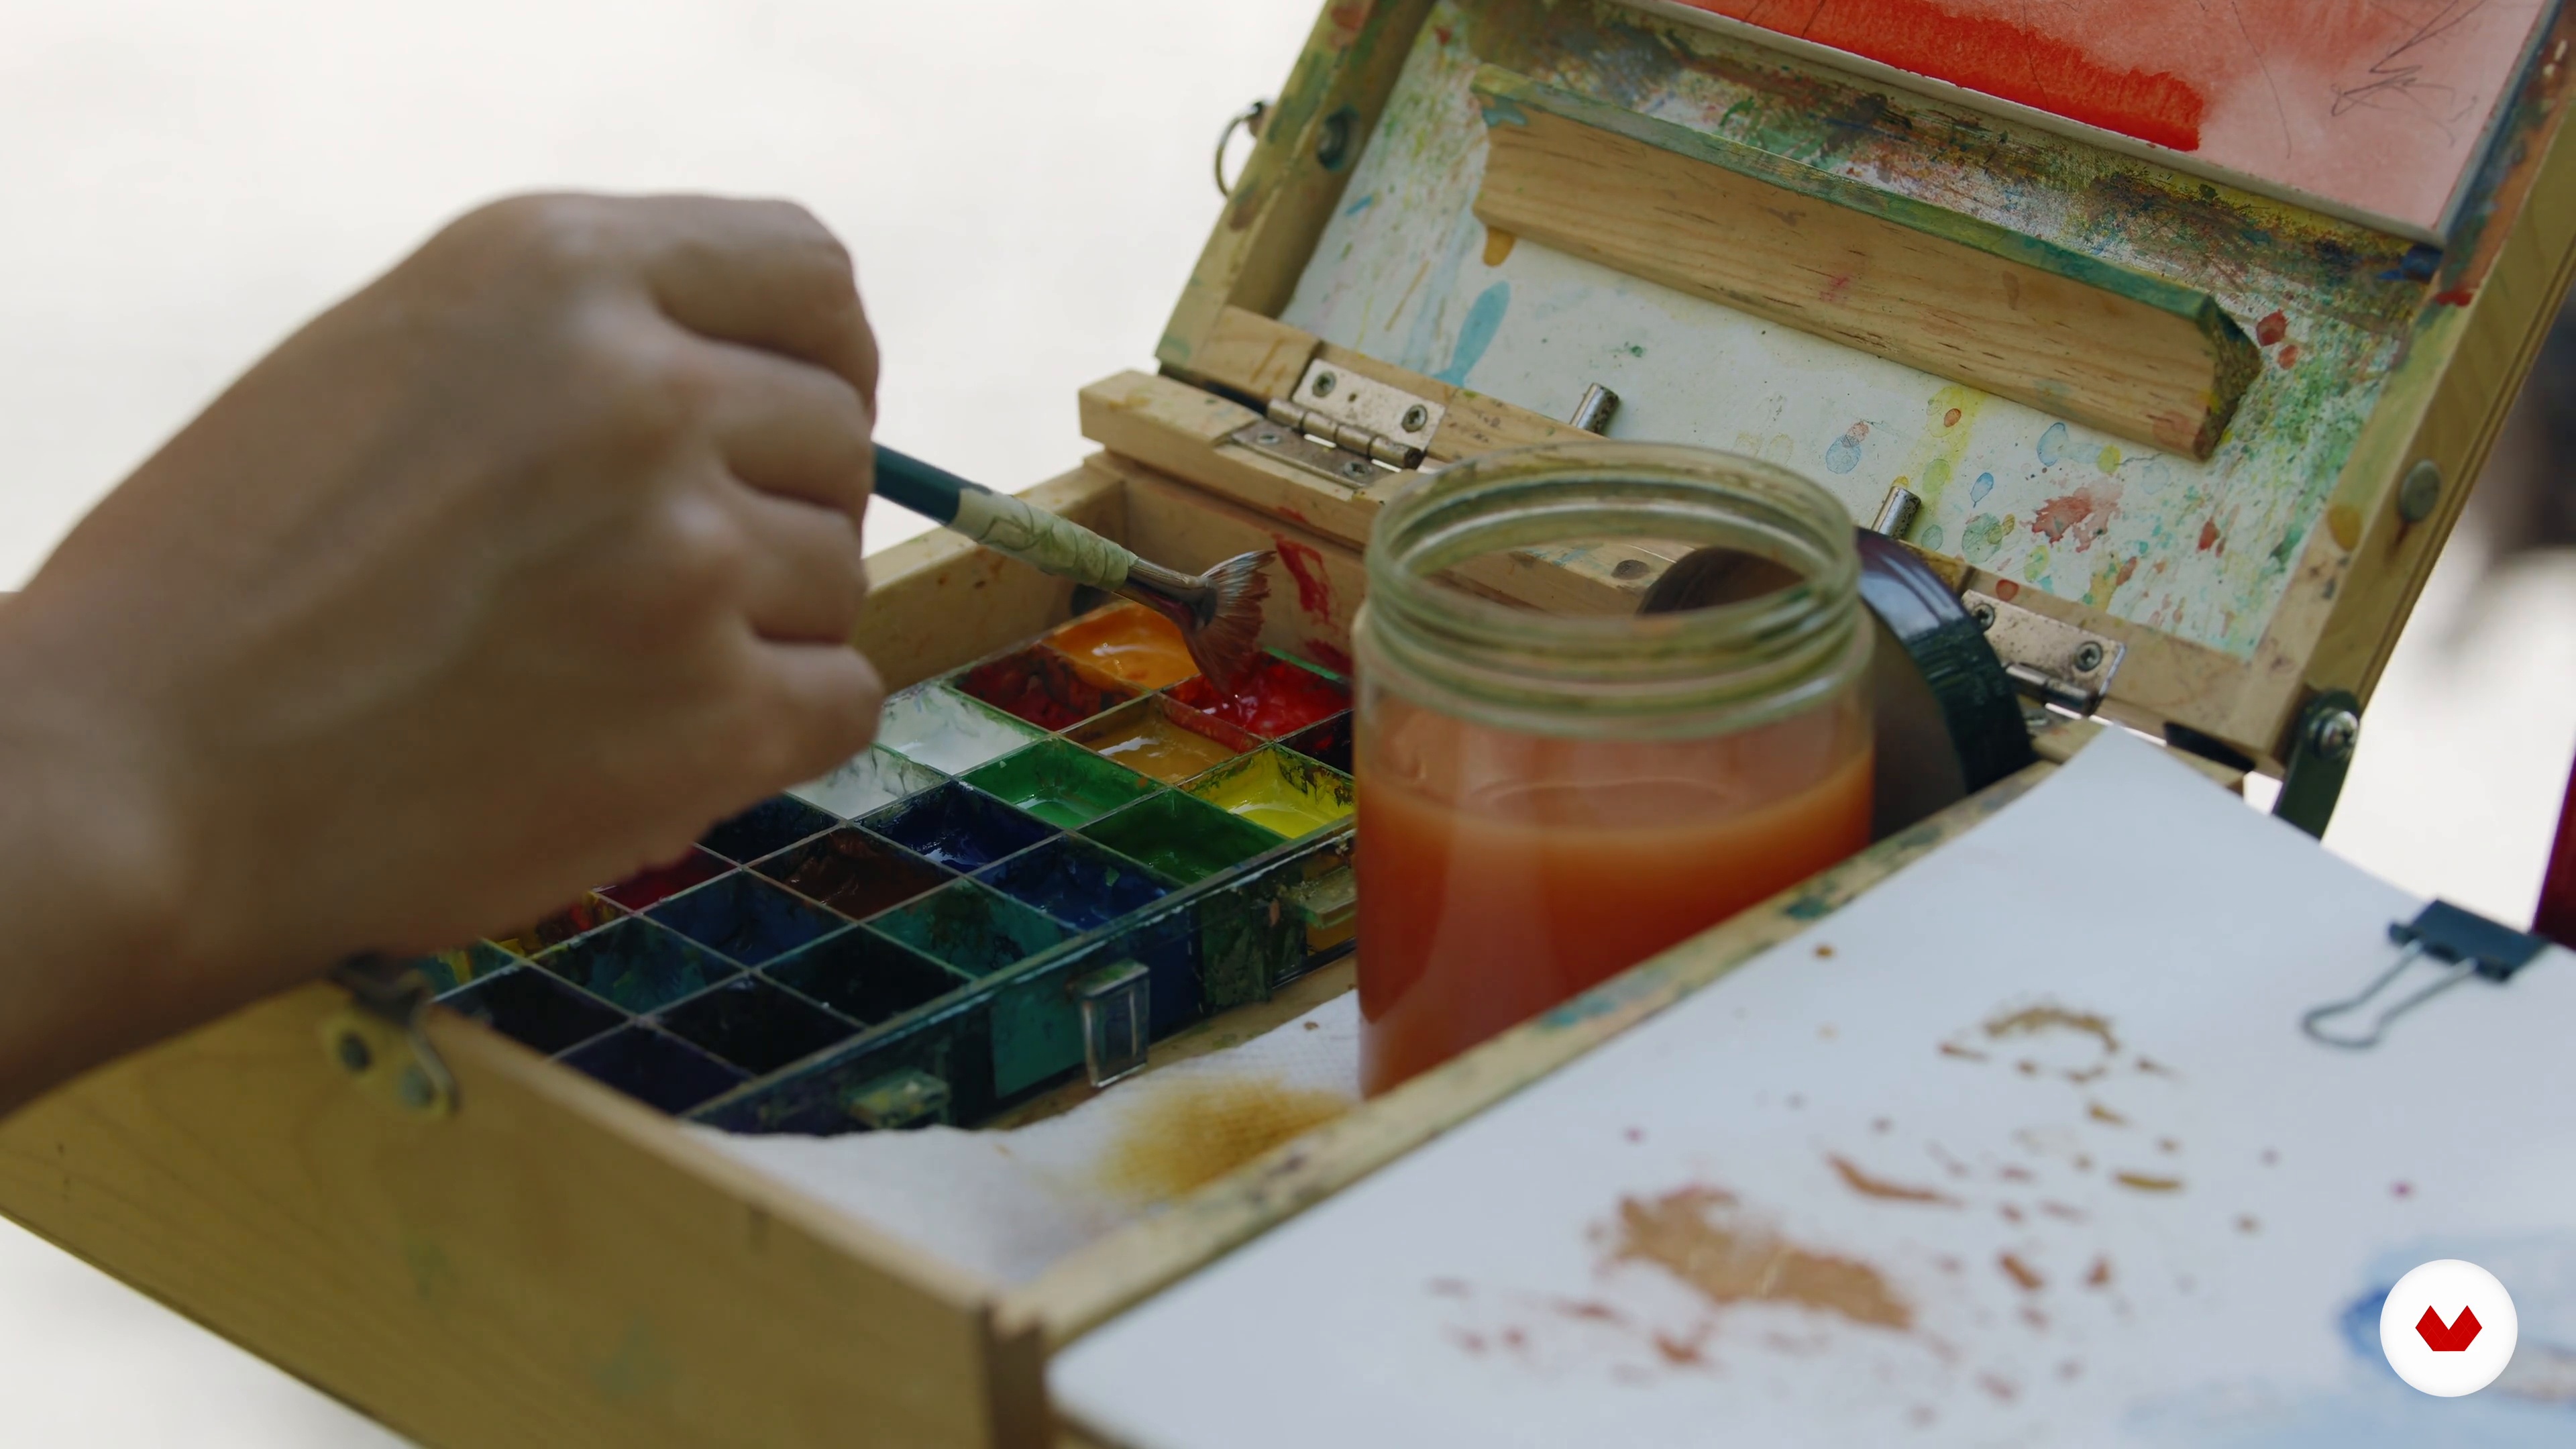
We have reached the final stage of the painting process! In this part, I will use my smallest-size brushes to add the final layer of details, highlights, and textures. This is a good time to check in with the focal point in the painting. Is it engaging the viewer, or is something else capturing the attention? If you are unsure, you can always take a break from your work and return to it with a fresh perspective. Then, you can make adjustments as needed to make sure you are happy with the final results of the painting.
10m
image
14
Staging and Photographing Art for Social Media
I will start by explaining how I stage and photograph my artwork for social media. You will need to consider composition and arrange objects to make an interesting photo and showcase your painting. In this way, the photograph of your painting becomes a new artwork in itself!
2m
image
15
Furthering Your Painting Skills
In this lesson, I will share some exercises that you can use to continue to improve your painting skills and your understanding of fundamentals. These exercises are good practice for artists of all skill levels, and they can continue to be valuable to you throughout your art journey or career!
3m
image
3
About Gouache
Let me first talk about some of the unique qualities of gouache, how it might be different from other mediums that you may have tried, and why it’s so perfectly suited for painting landscapes.
5m
image
4
Materials
In this lesson, we’ll go over the materials you’ll need for this course: gouache paints, brushes, watercolour paper, and more.
3m
image
5
Consistency
Let me now show you the four basic consistencies that we might want to mix our paint to, plus the best uses for each specific consistency.
10m
image
6
Layering
In this lesson, I’ll show you how to layer gouache successfully. I'll also talk about some of the things to be mindful of to avoid frustration.
8m
image
7
Blending 1
Let us now go over different ways to blend with gouache and how each technique is suited for painting landscapes.
14m
image
8
Blending 2
Let's continue to practice our blending techniques. As you can see, blending is a lot about adjusting the lights and darks until you're completely happy with your painting.
13m
image
9
Landscape Basics 1
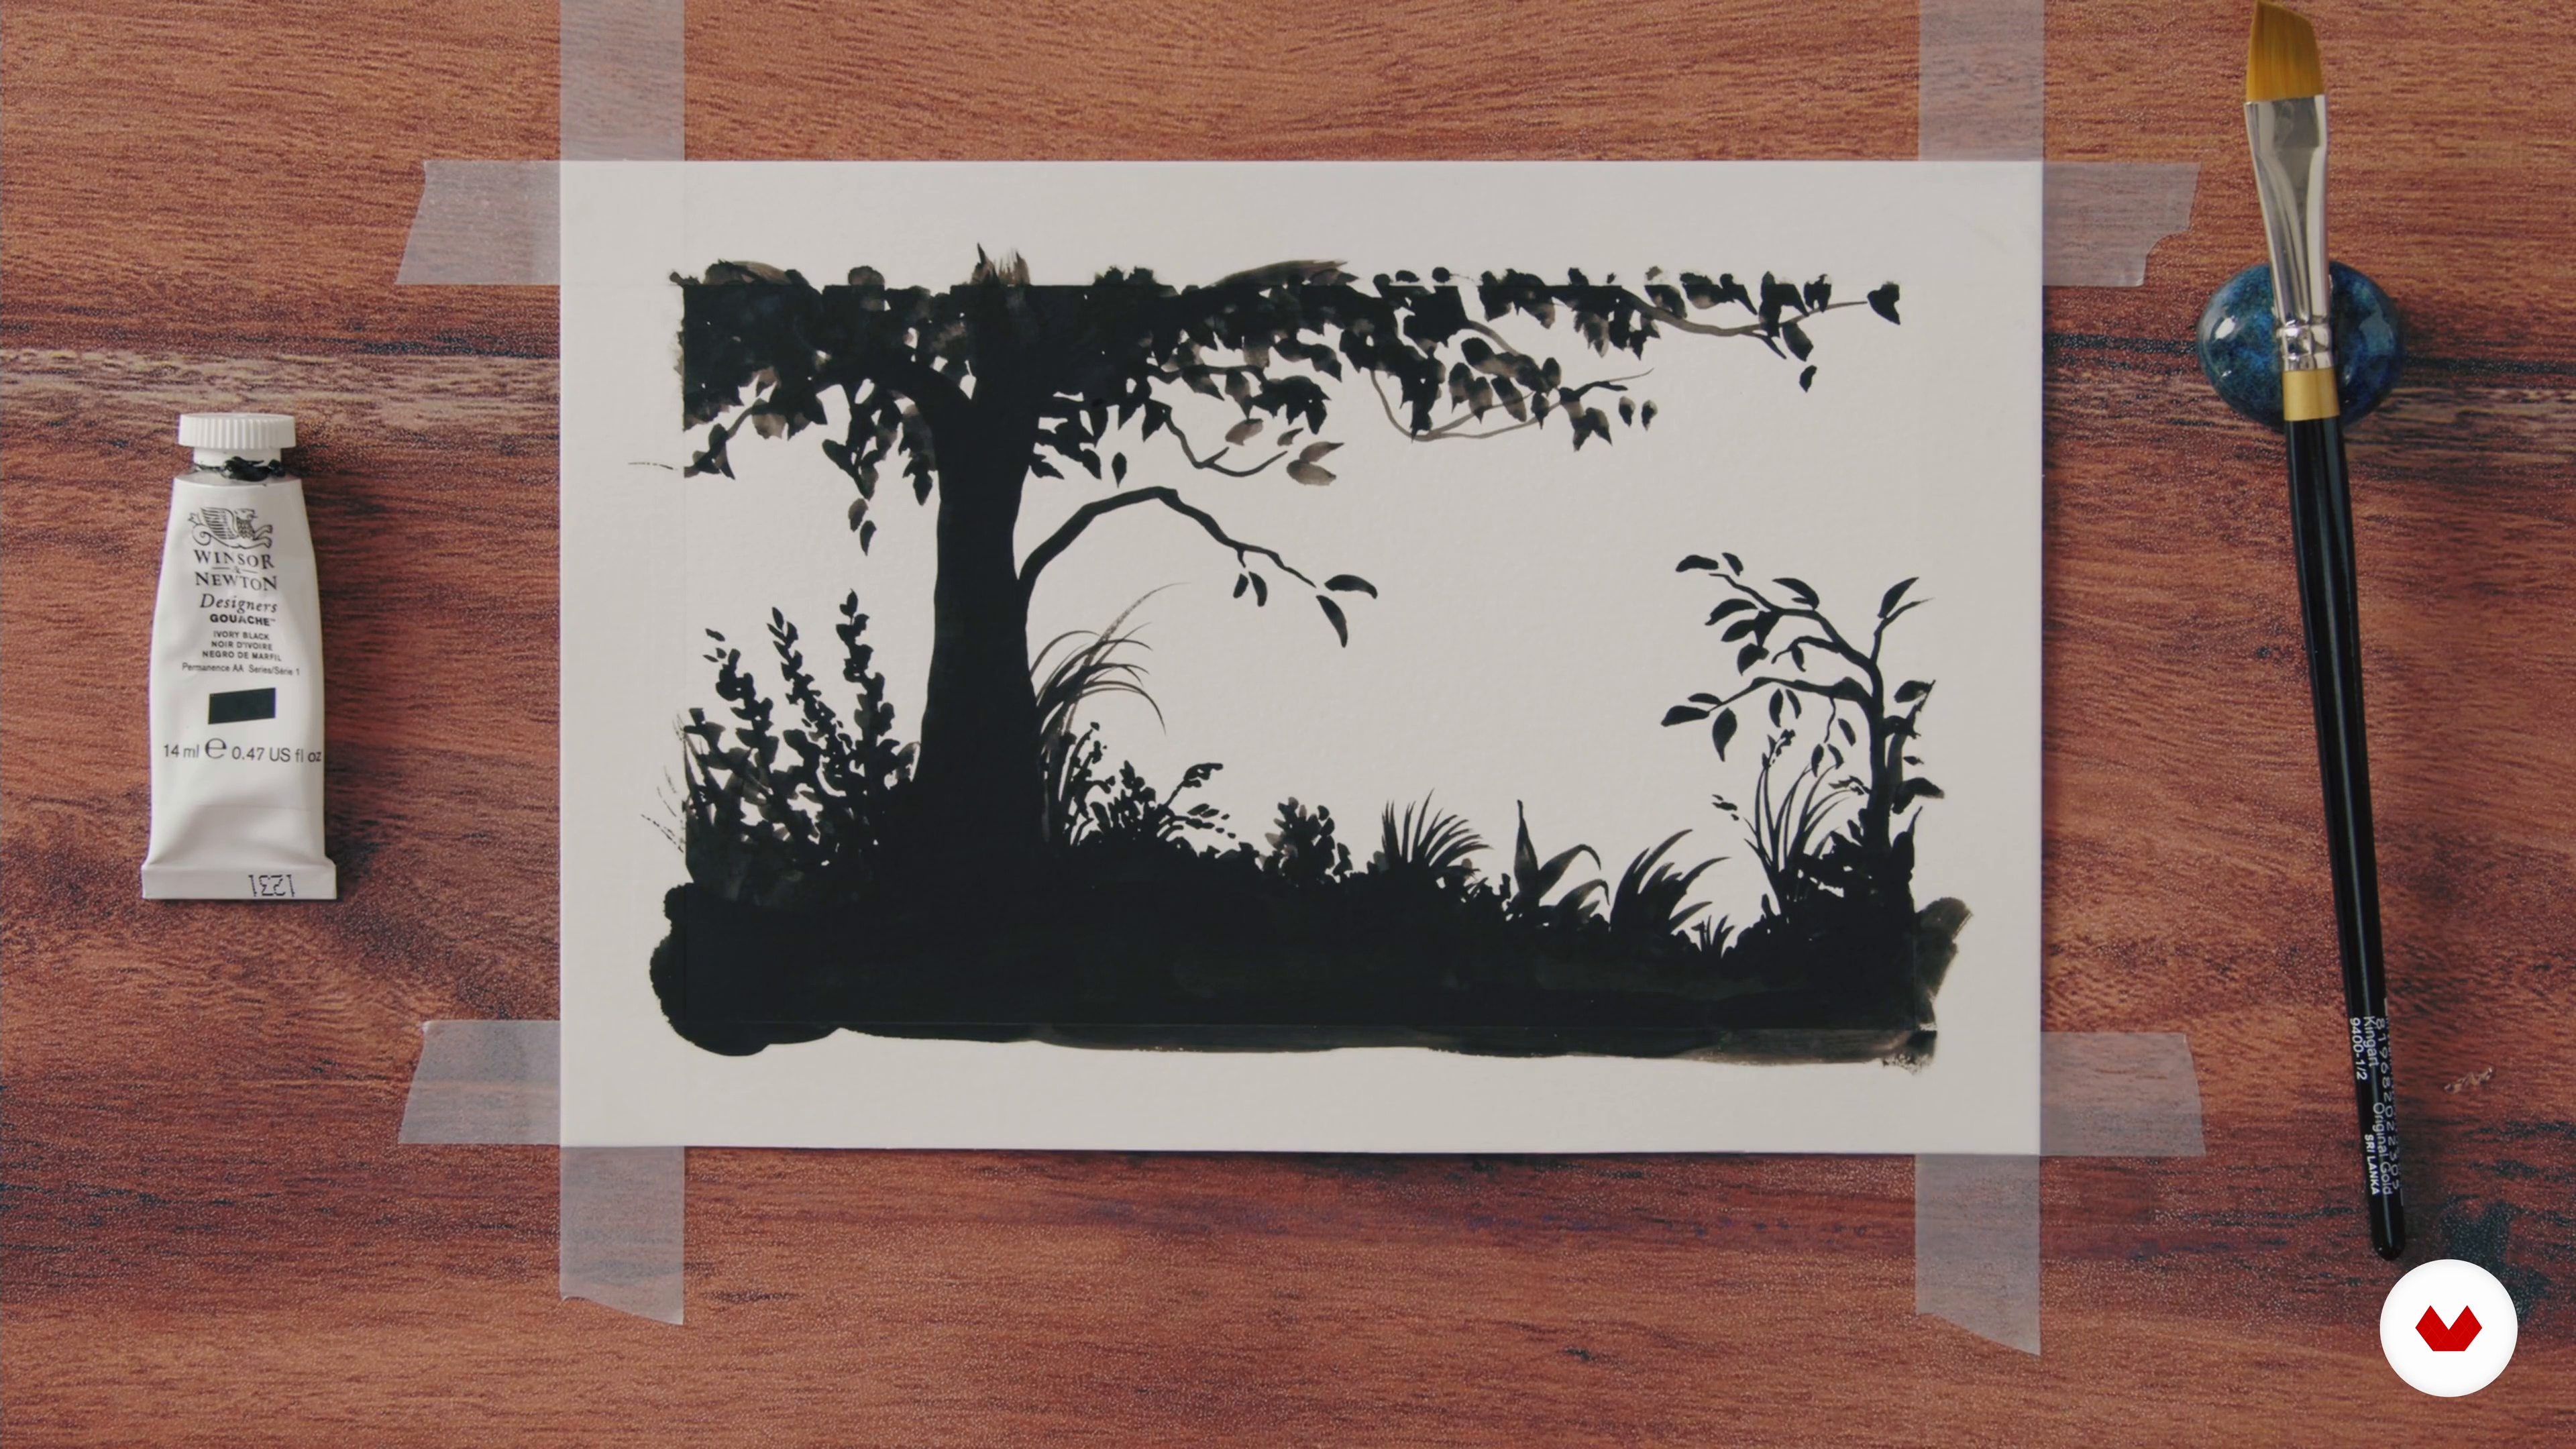
In this lesson, you’ll learn how to paint some common landscape elements. I'll also teach you how valuable silhouettes can be when simplifying complex scenes.
20m
image
10
Landscape Basics 2
Let's try to paint a sky with clouds. You don't have to be careful when adding the clouds―instead, kind of 'scrub' them on to get a light finish with soft edges.
20m
image
11
Landscape Basics 3
Now we will have a go at grass. Using rough brushstrokes, you will add depth and texture to your grass landscape. Then we will try to paint some water.
19m
image
12
Landscape Basics 4
Let's continue to practice painting water. We will add the shoreline as well as the reflections that it creates. Don't be scared to try out textures and waves as well―whenever you're not happy with how your water looks, you can always smooth it out again.
19m
image
13
Being Inspired
Now we’ll take a look at how to draw inspiration from nature. We’ll look at how to find suitable reference photos and examine different photographs before exploring how the colours and atmosphere affect the mood of the landscape.
10m
image
14
The Shape of the Painting
In this lesson, we’ll look at the ways in which we can choose to finish the edge of our paintings and how this affects the feel of the finished piece.
3m
image
15
Turning an Idea into a Plan
Now you’ll learn how to create a step-by-step plan for your painting. I'll also give you the information you'll need to consider before picking up your paints.
9m
image
16
Starting with Colour
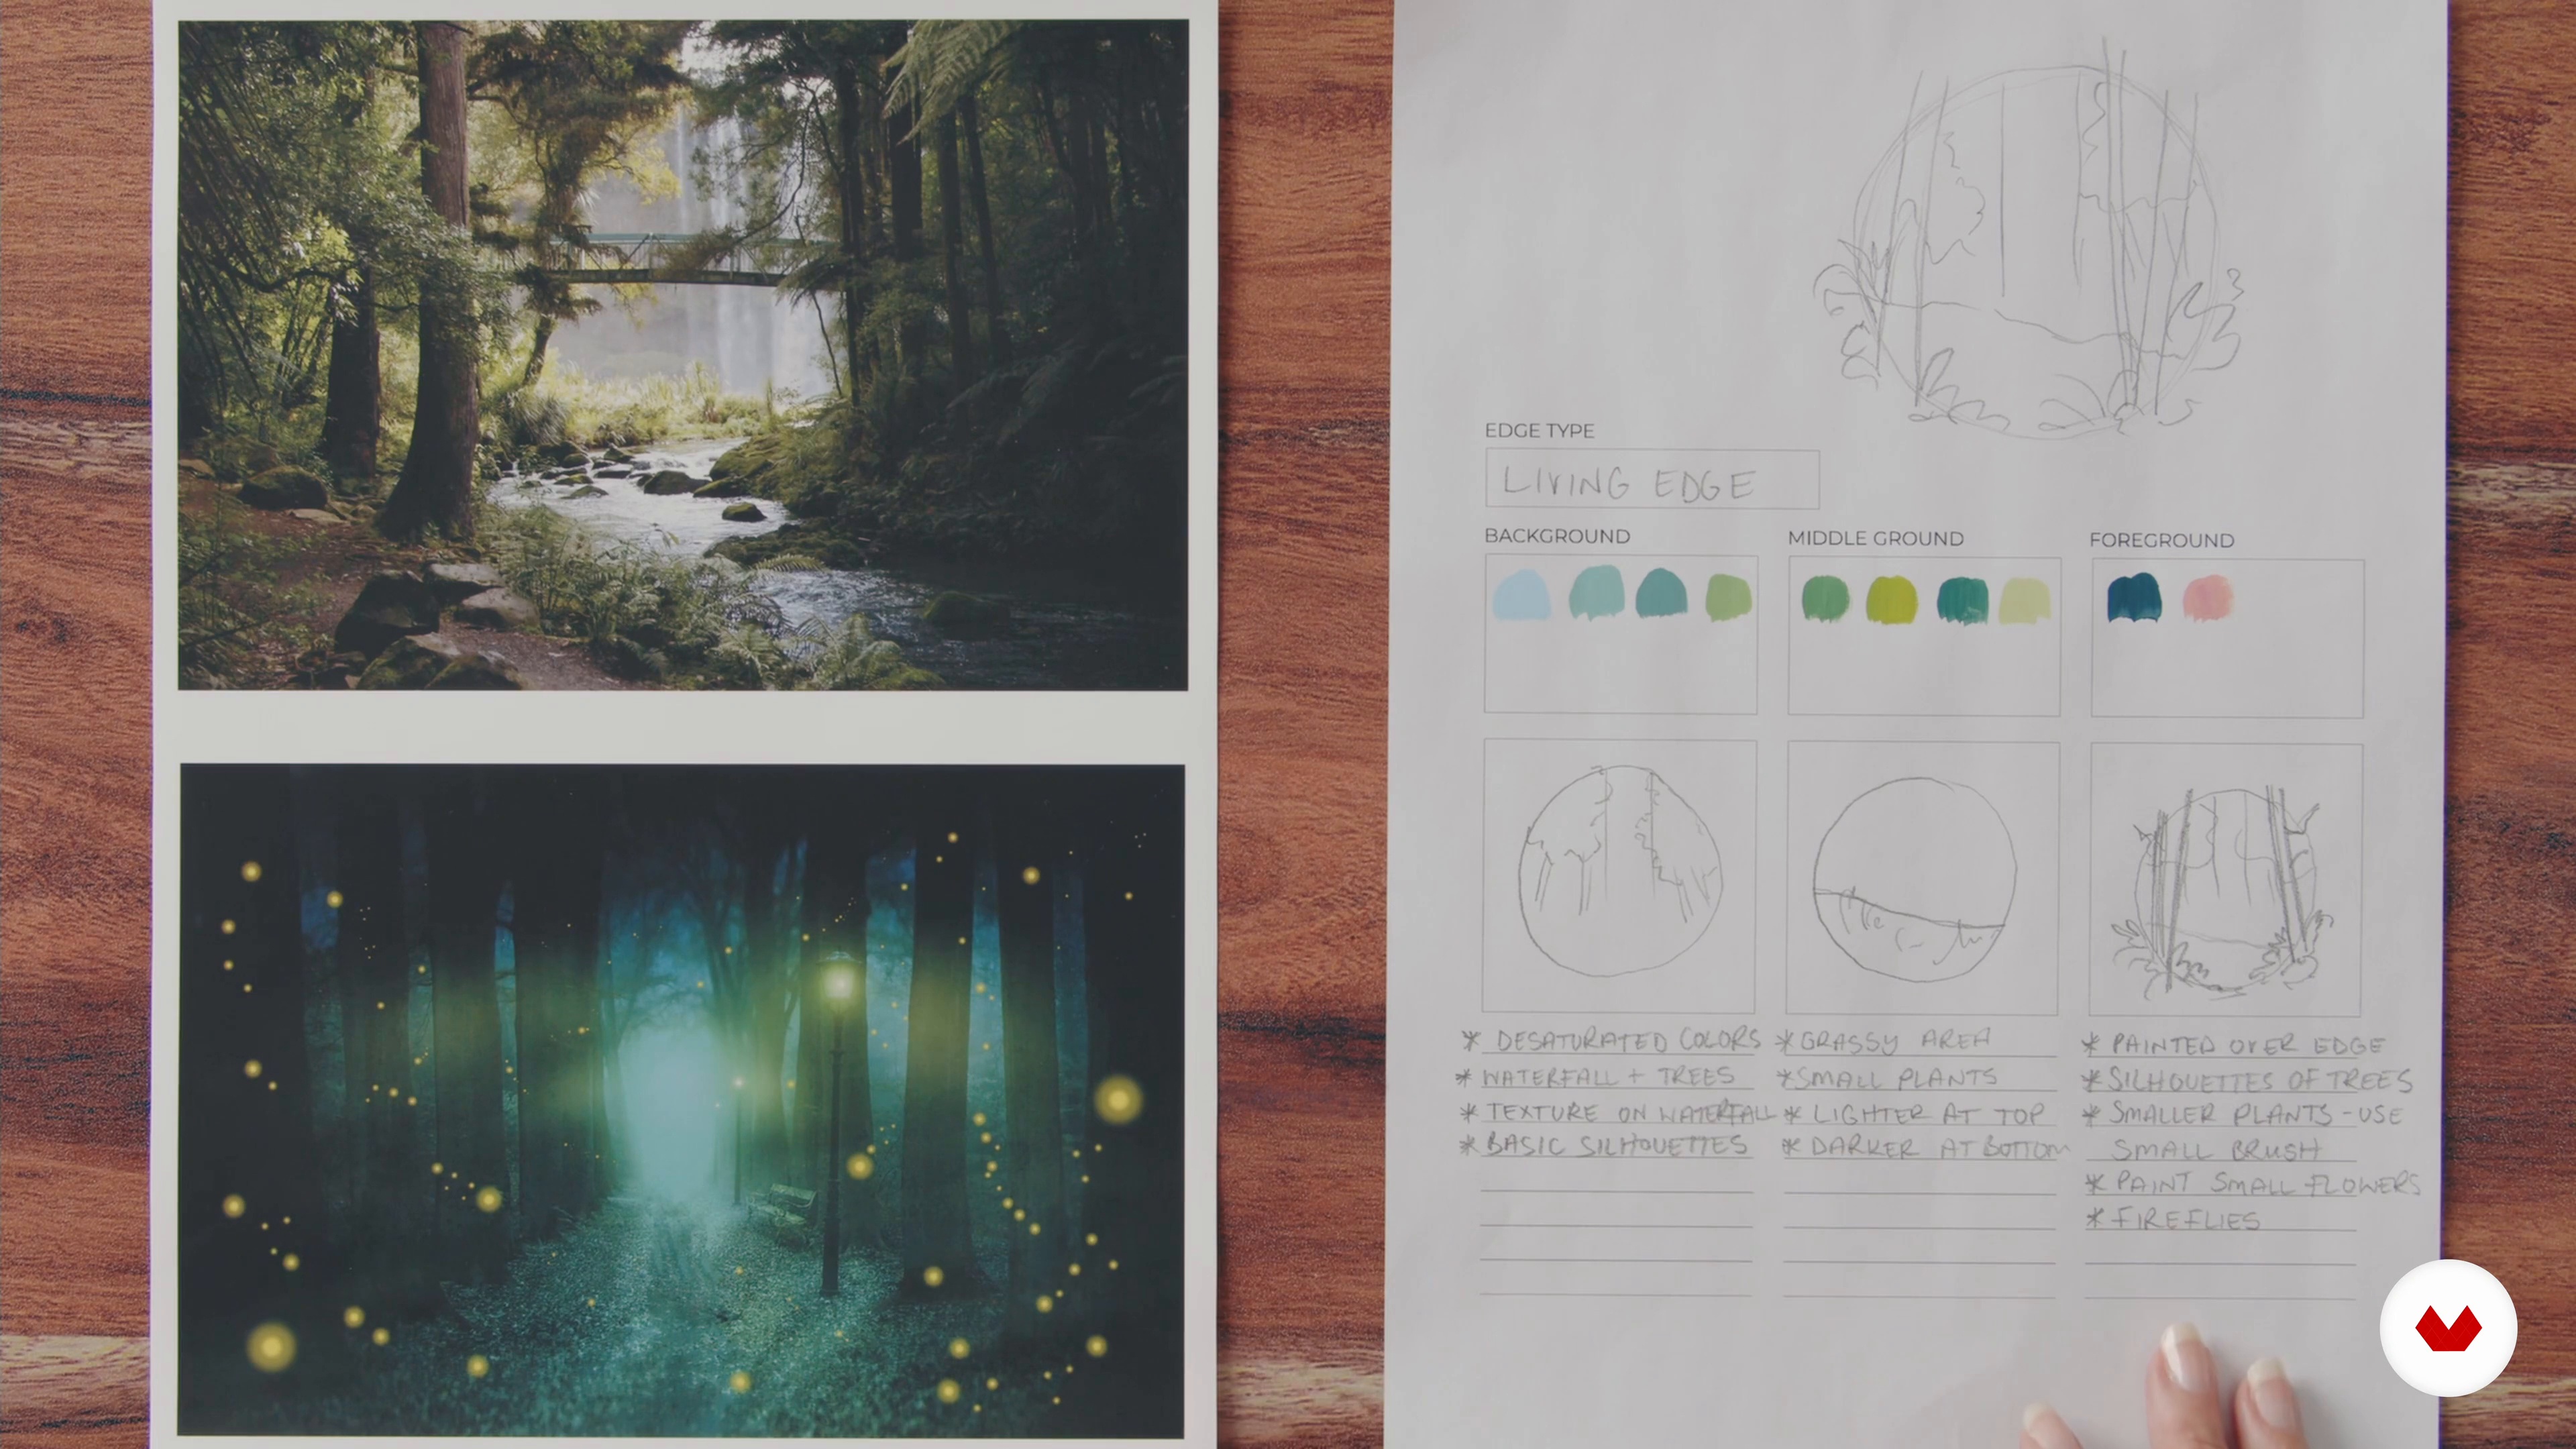
In the first step, we'll take a reference photo and adjust its colours to capture the mood we want to show.
12m
image
17
Layers and Sketching
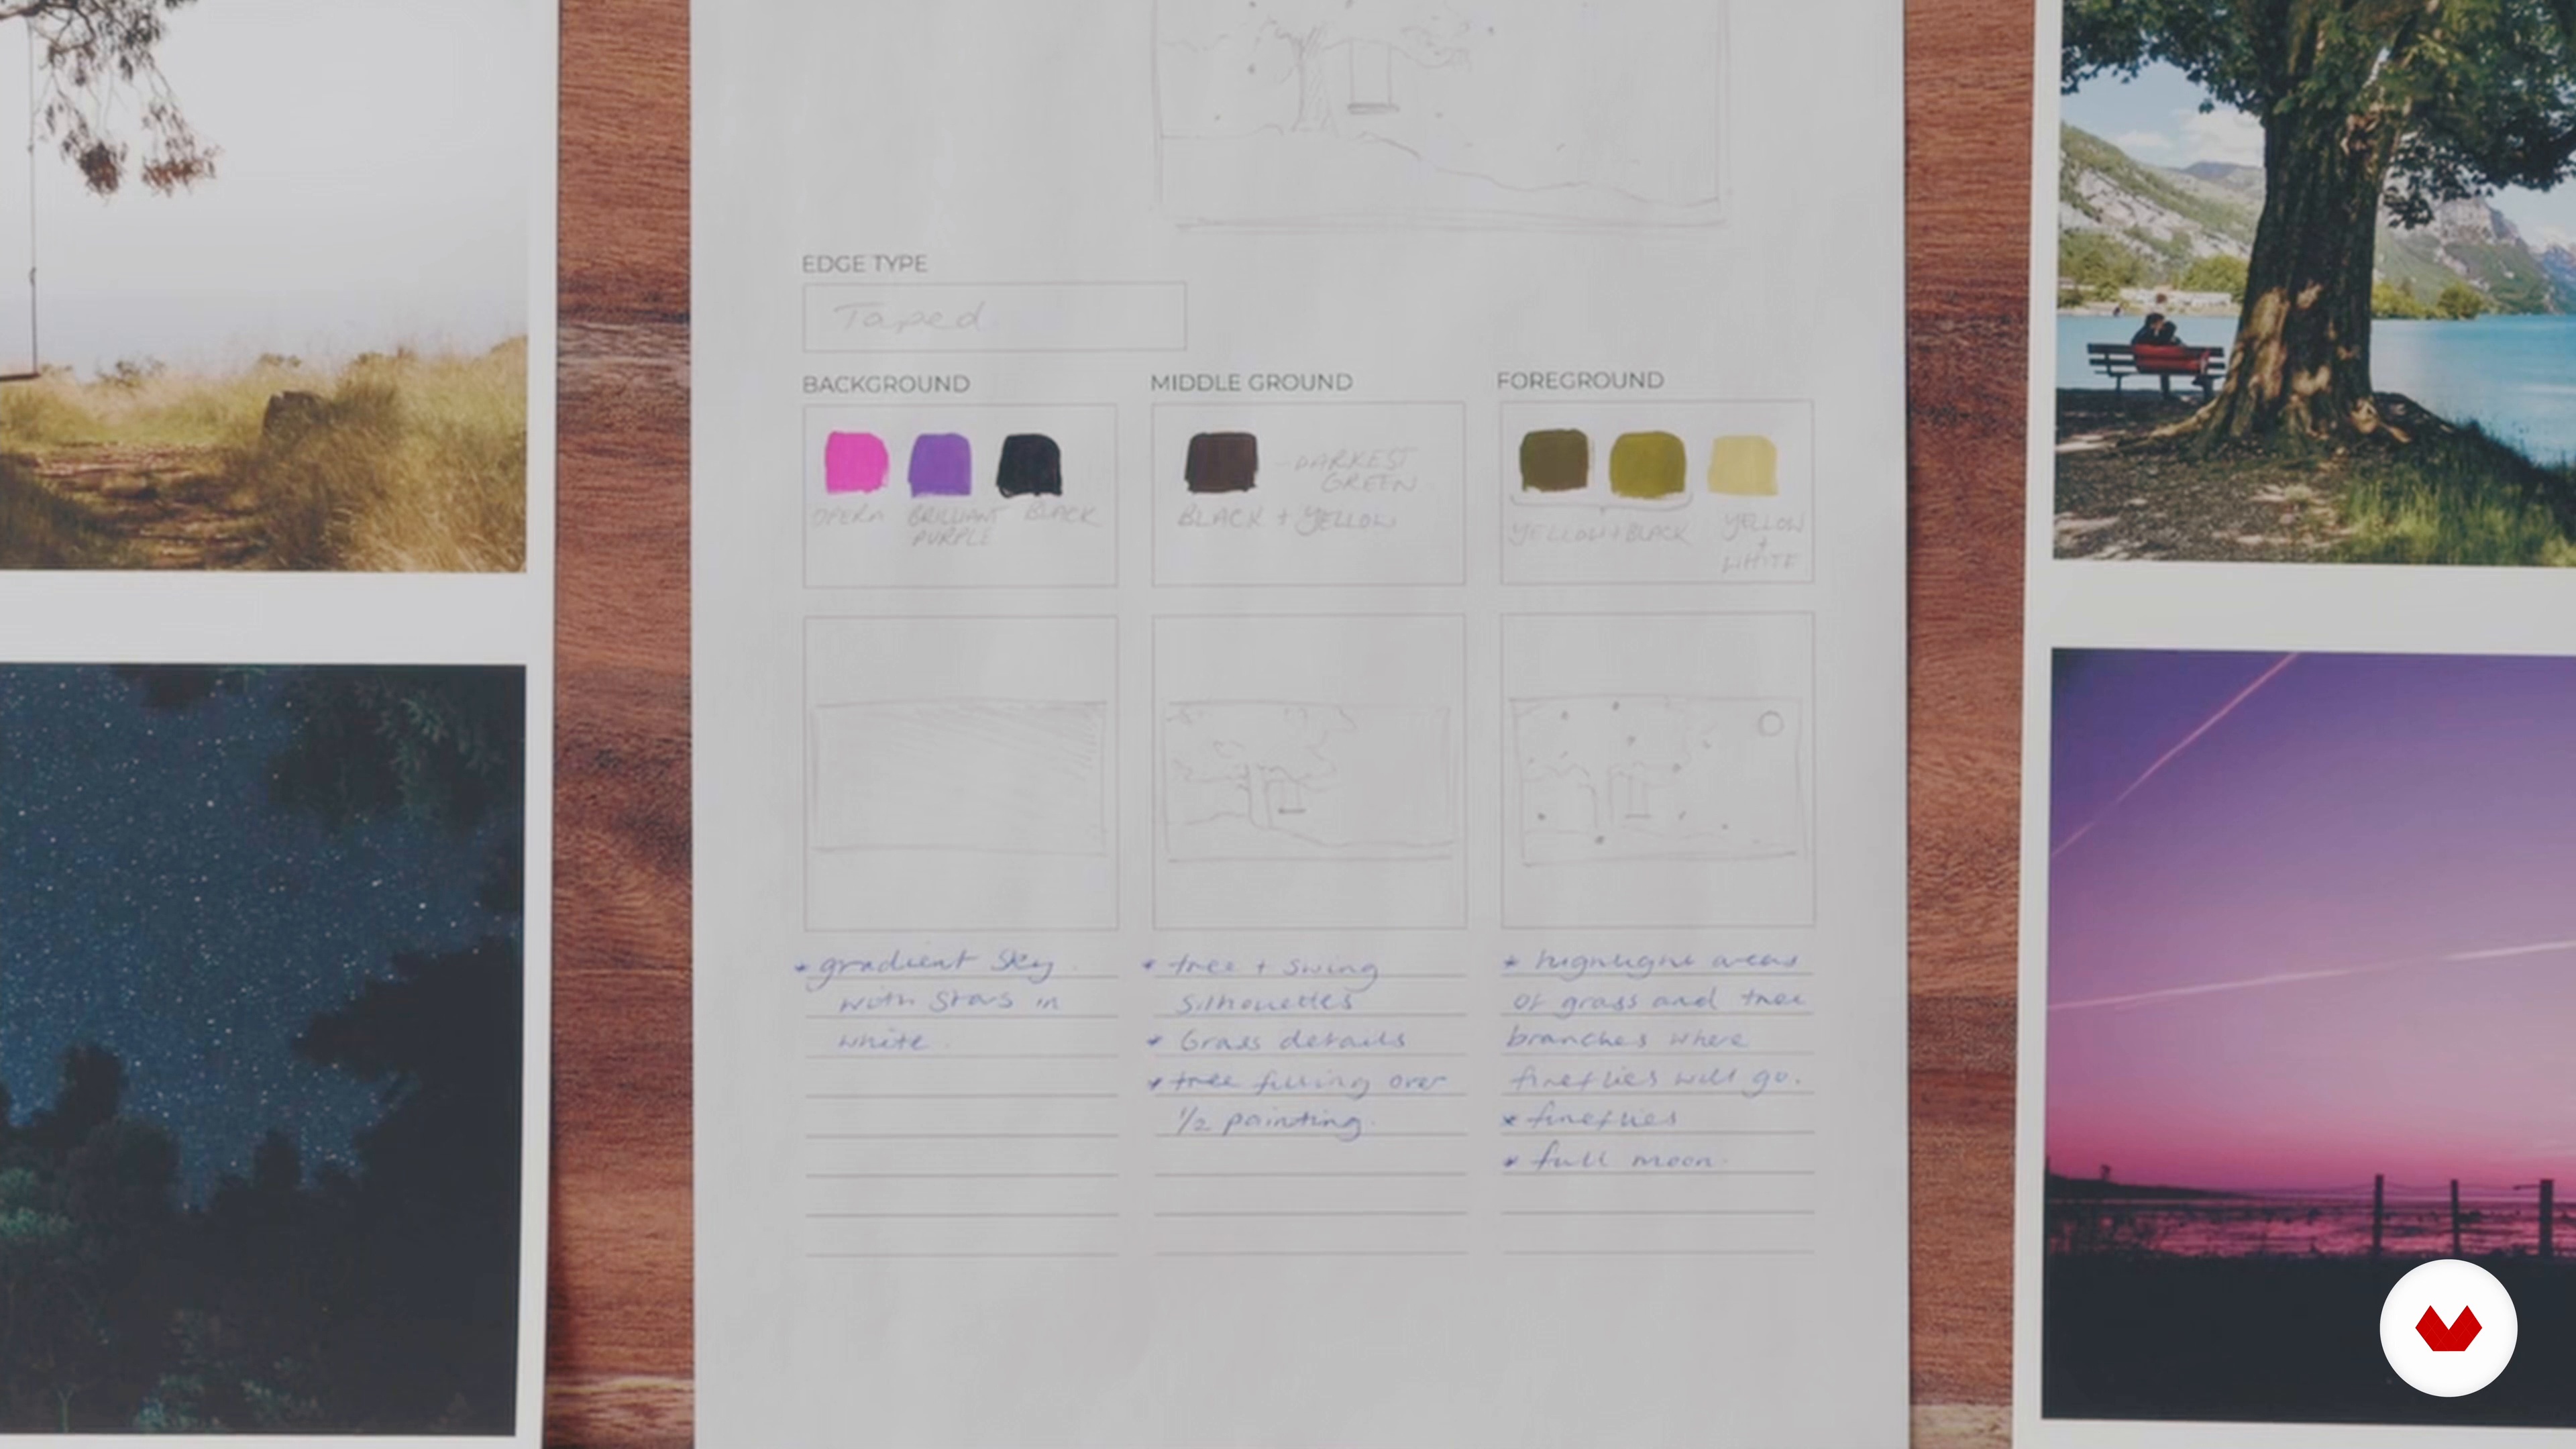
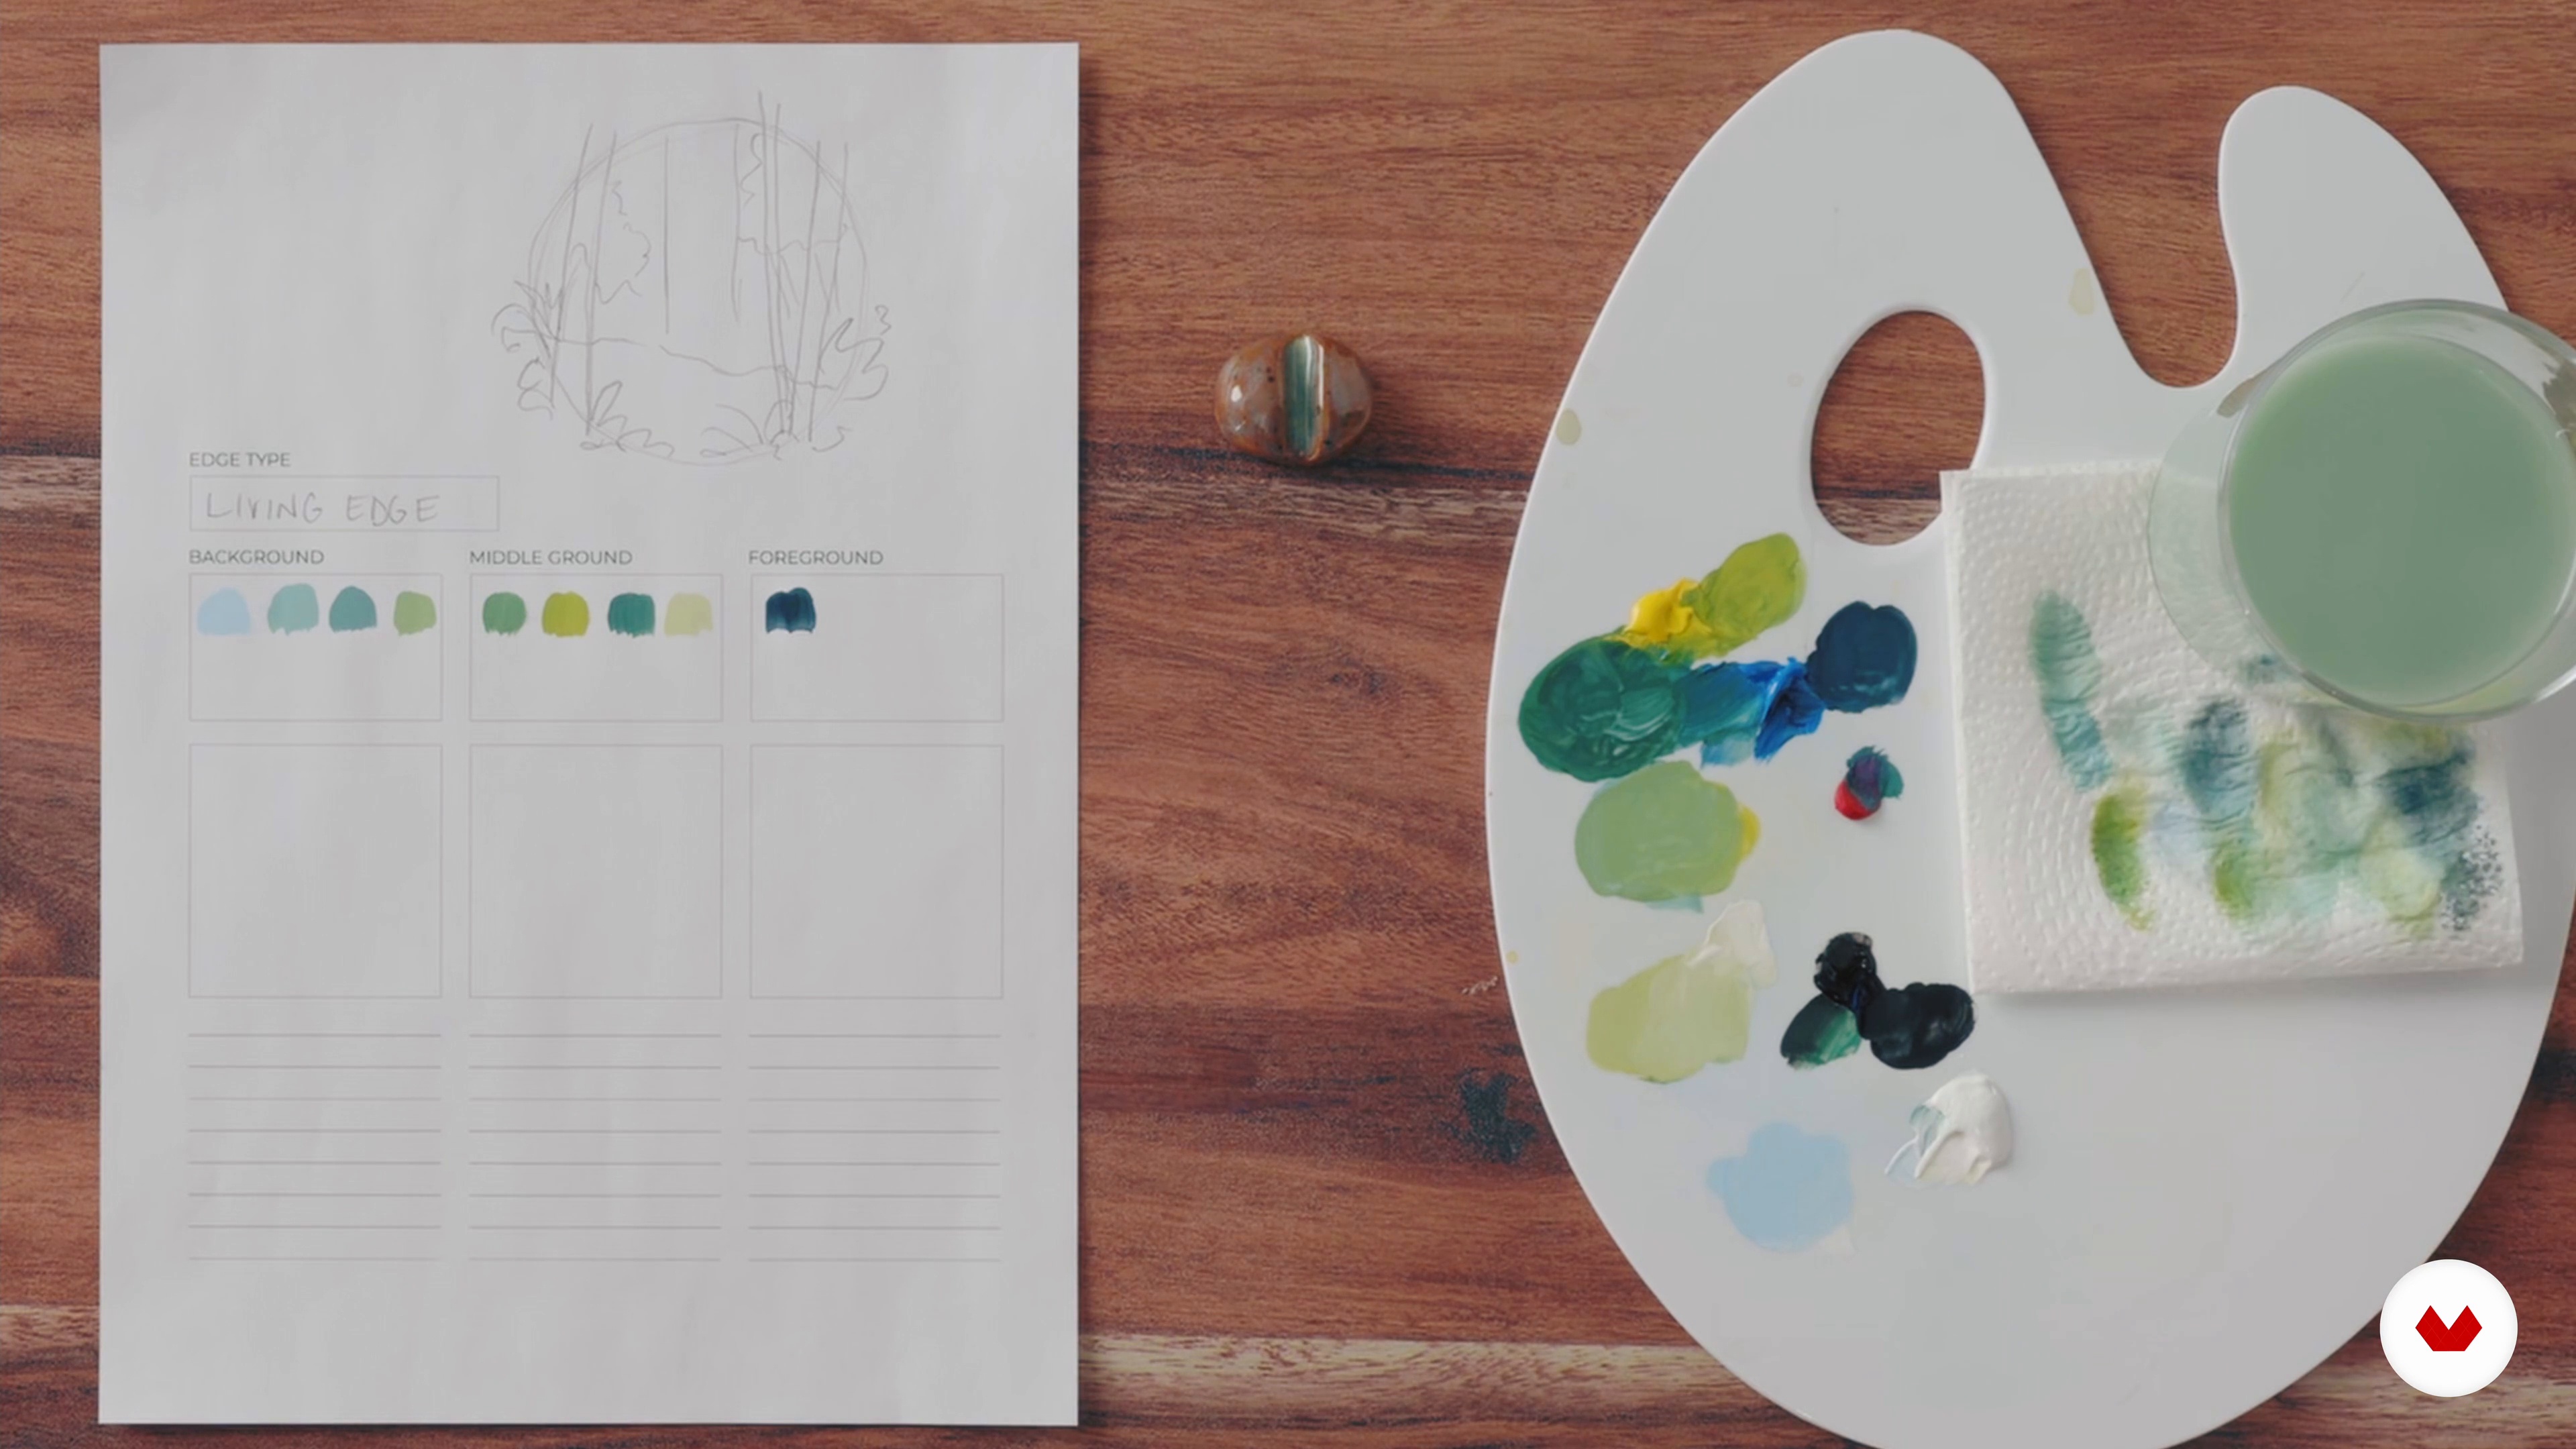
In the second step, we'll break down the painting into layers and sketch out our plan.
8m
image
18
The First Layer or Background
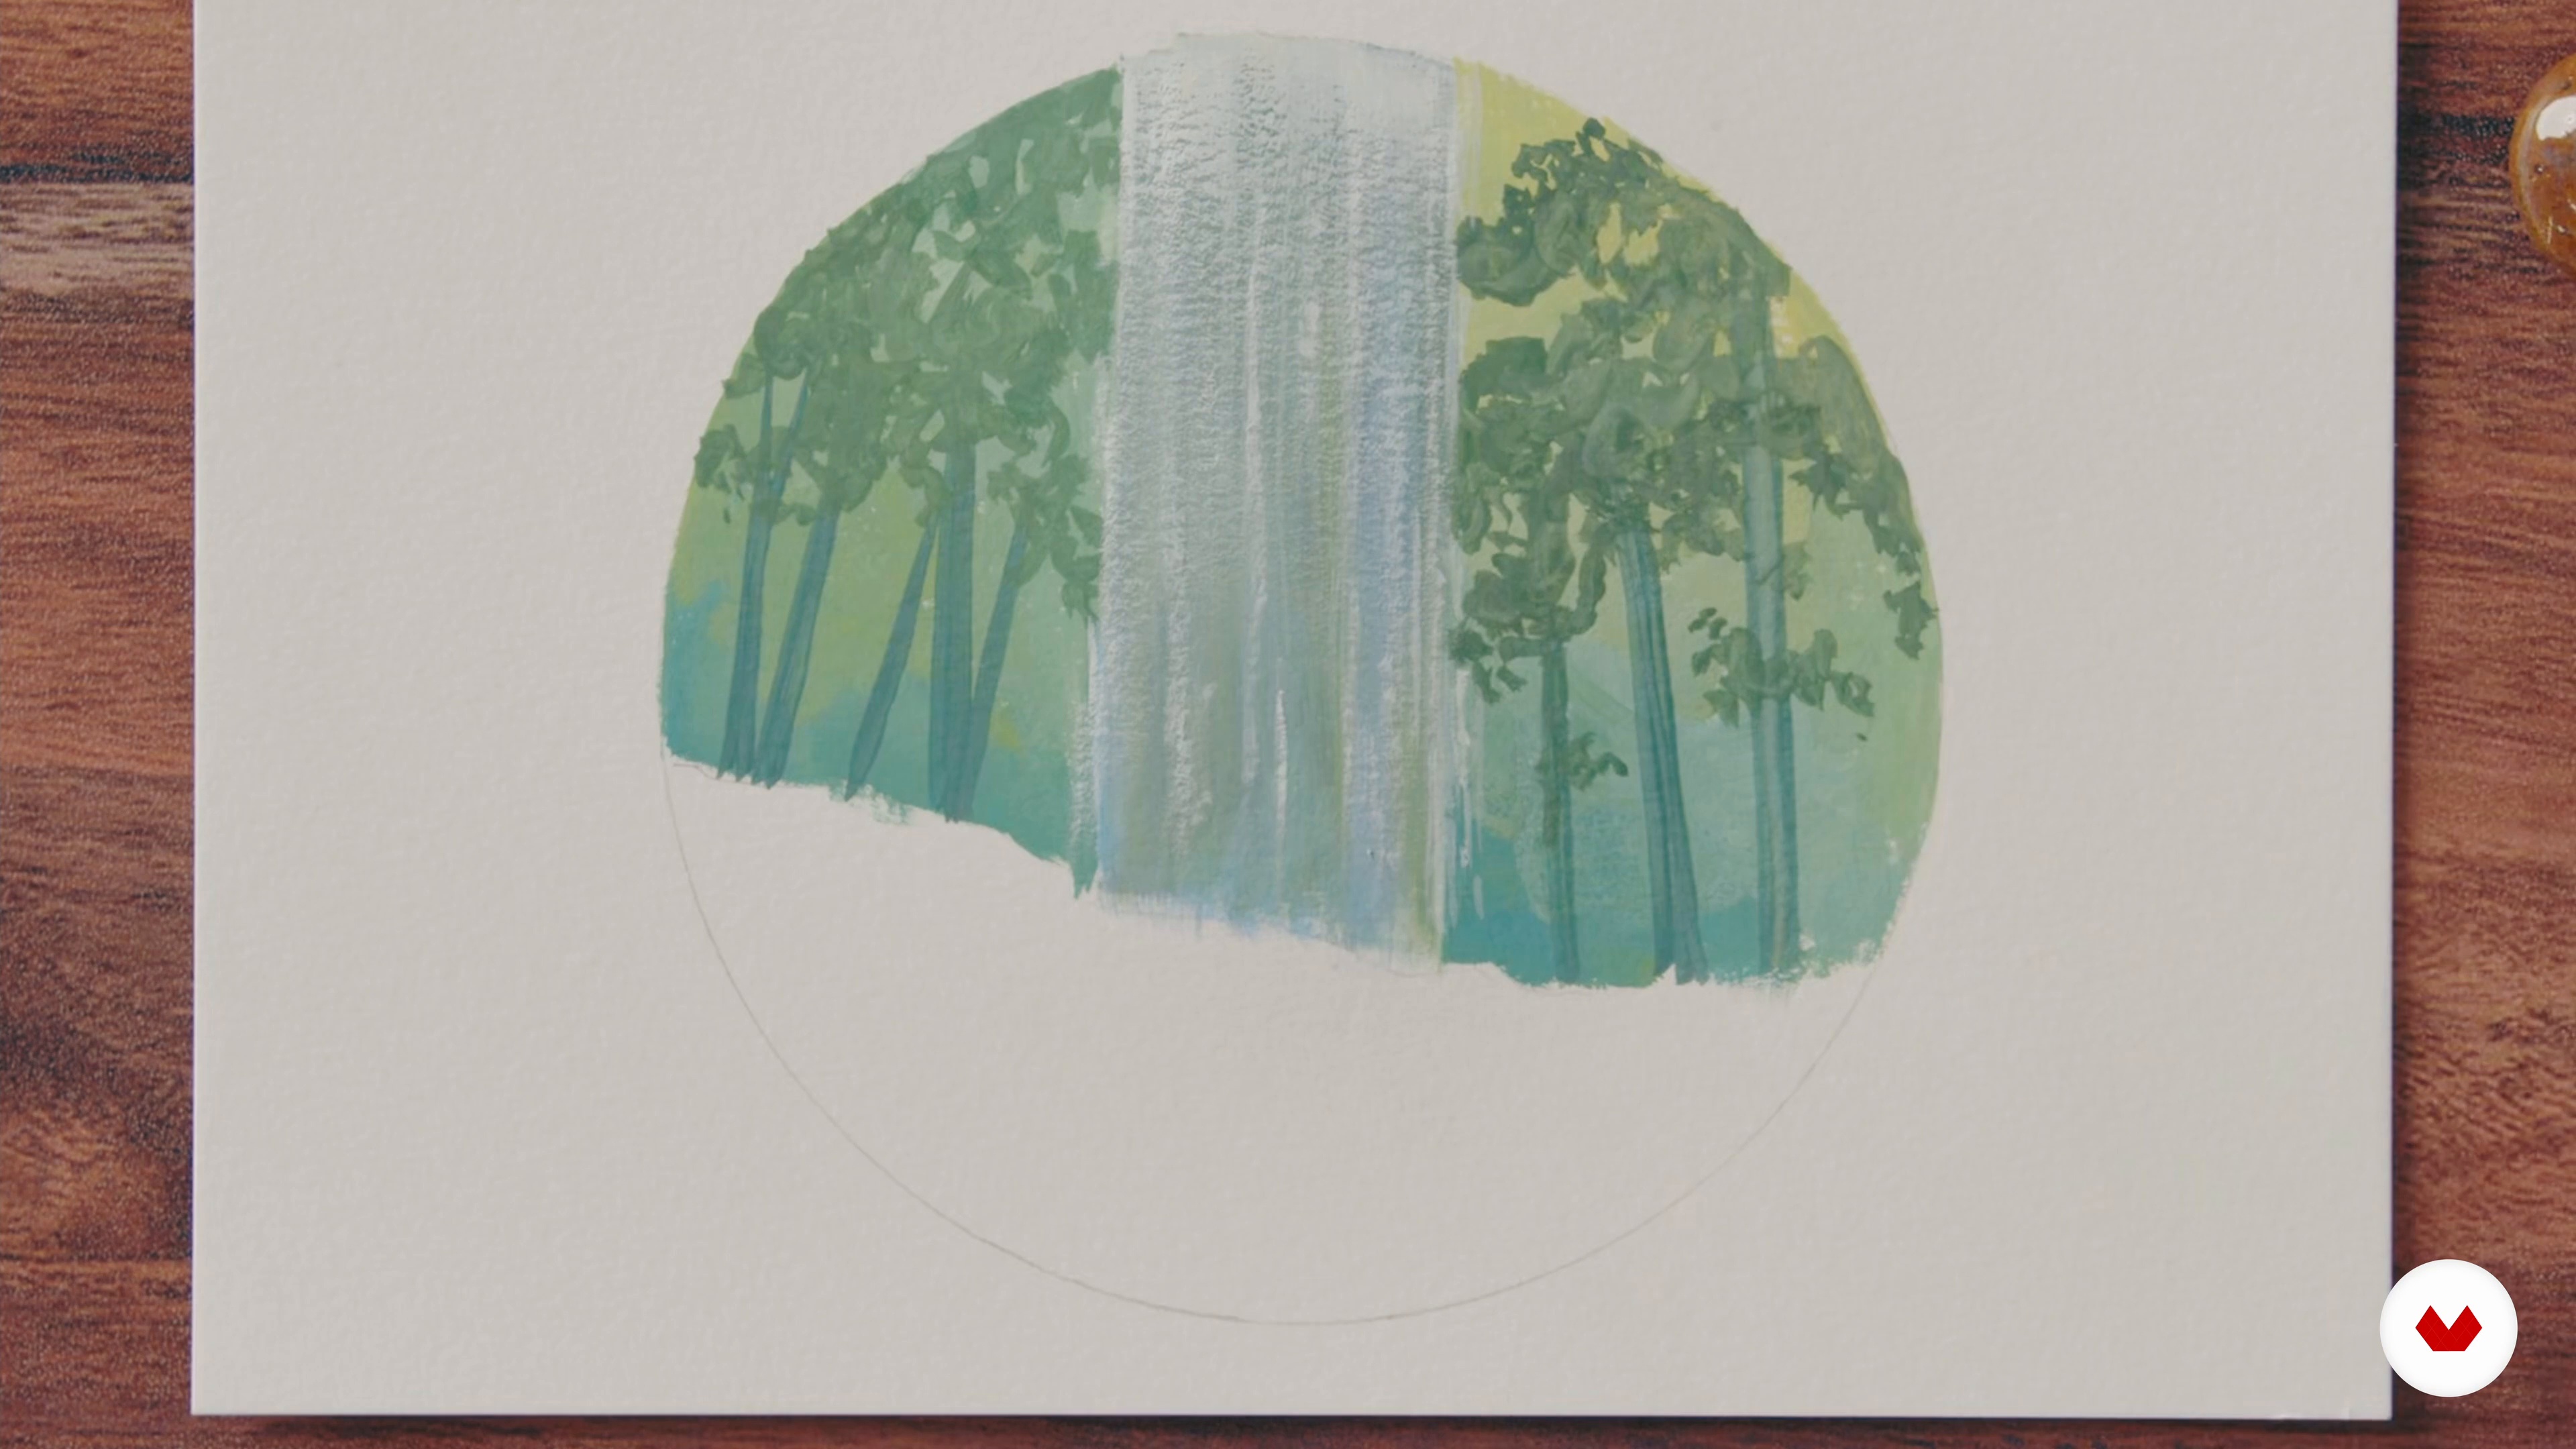
In the third step, we'll begin by painting the first layer as our background. We'll use the techniques described in the previous lessons to paint the waterfall and the details of the trees.
19m
image
19
The Middle Ground
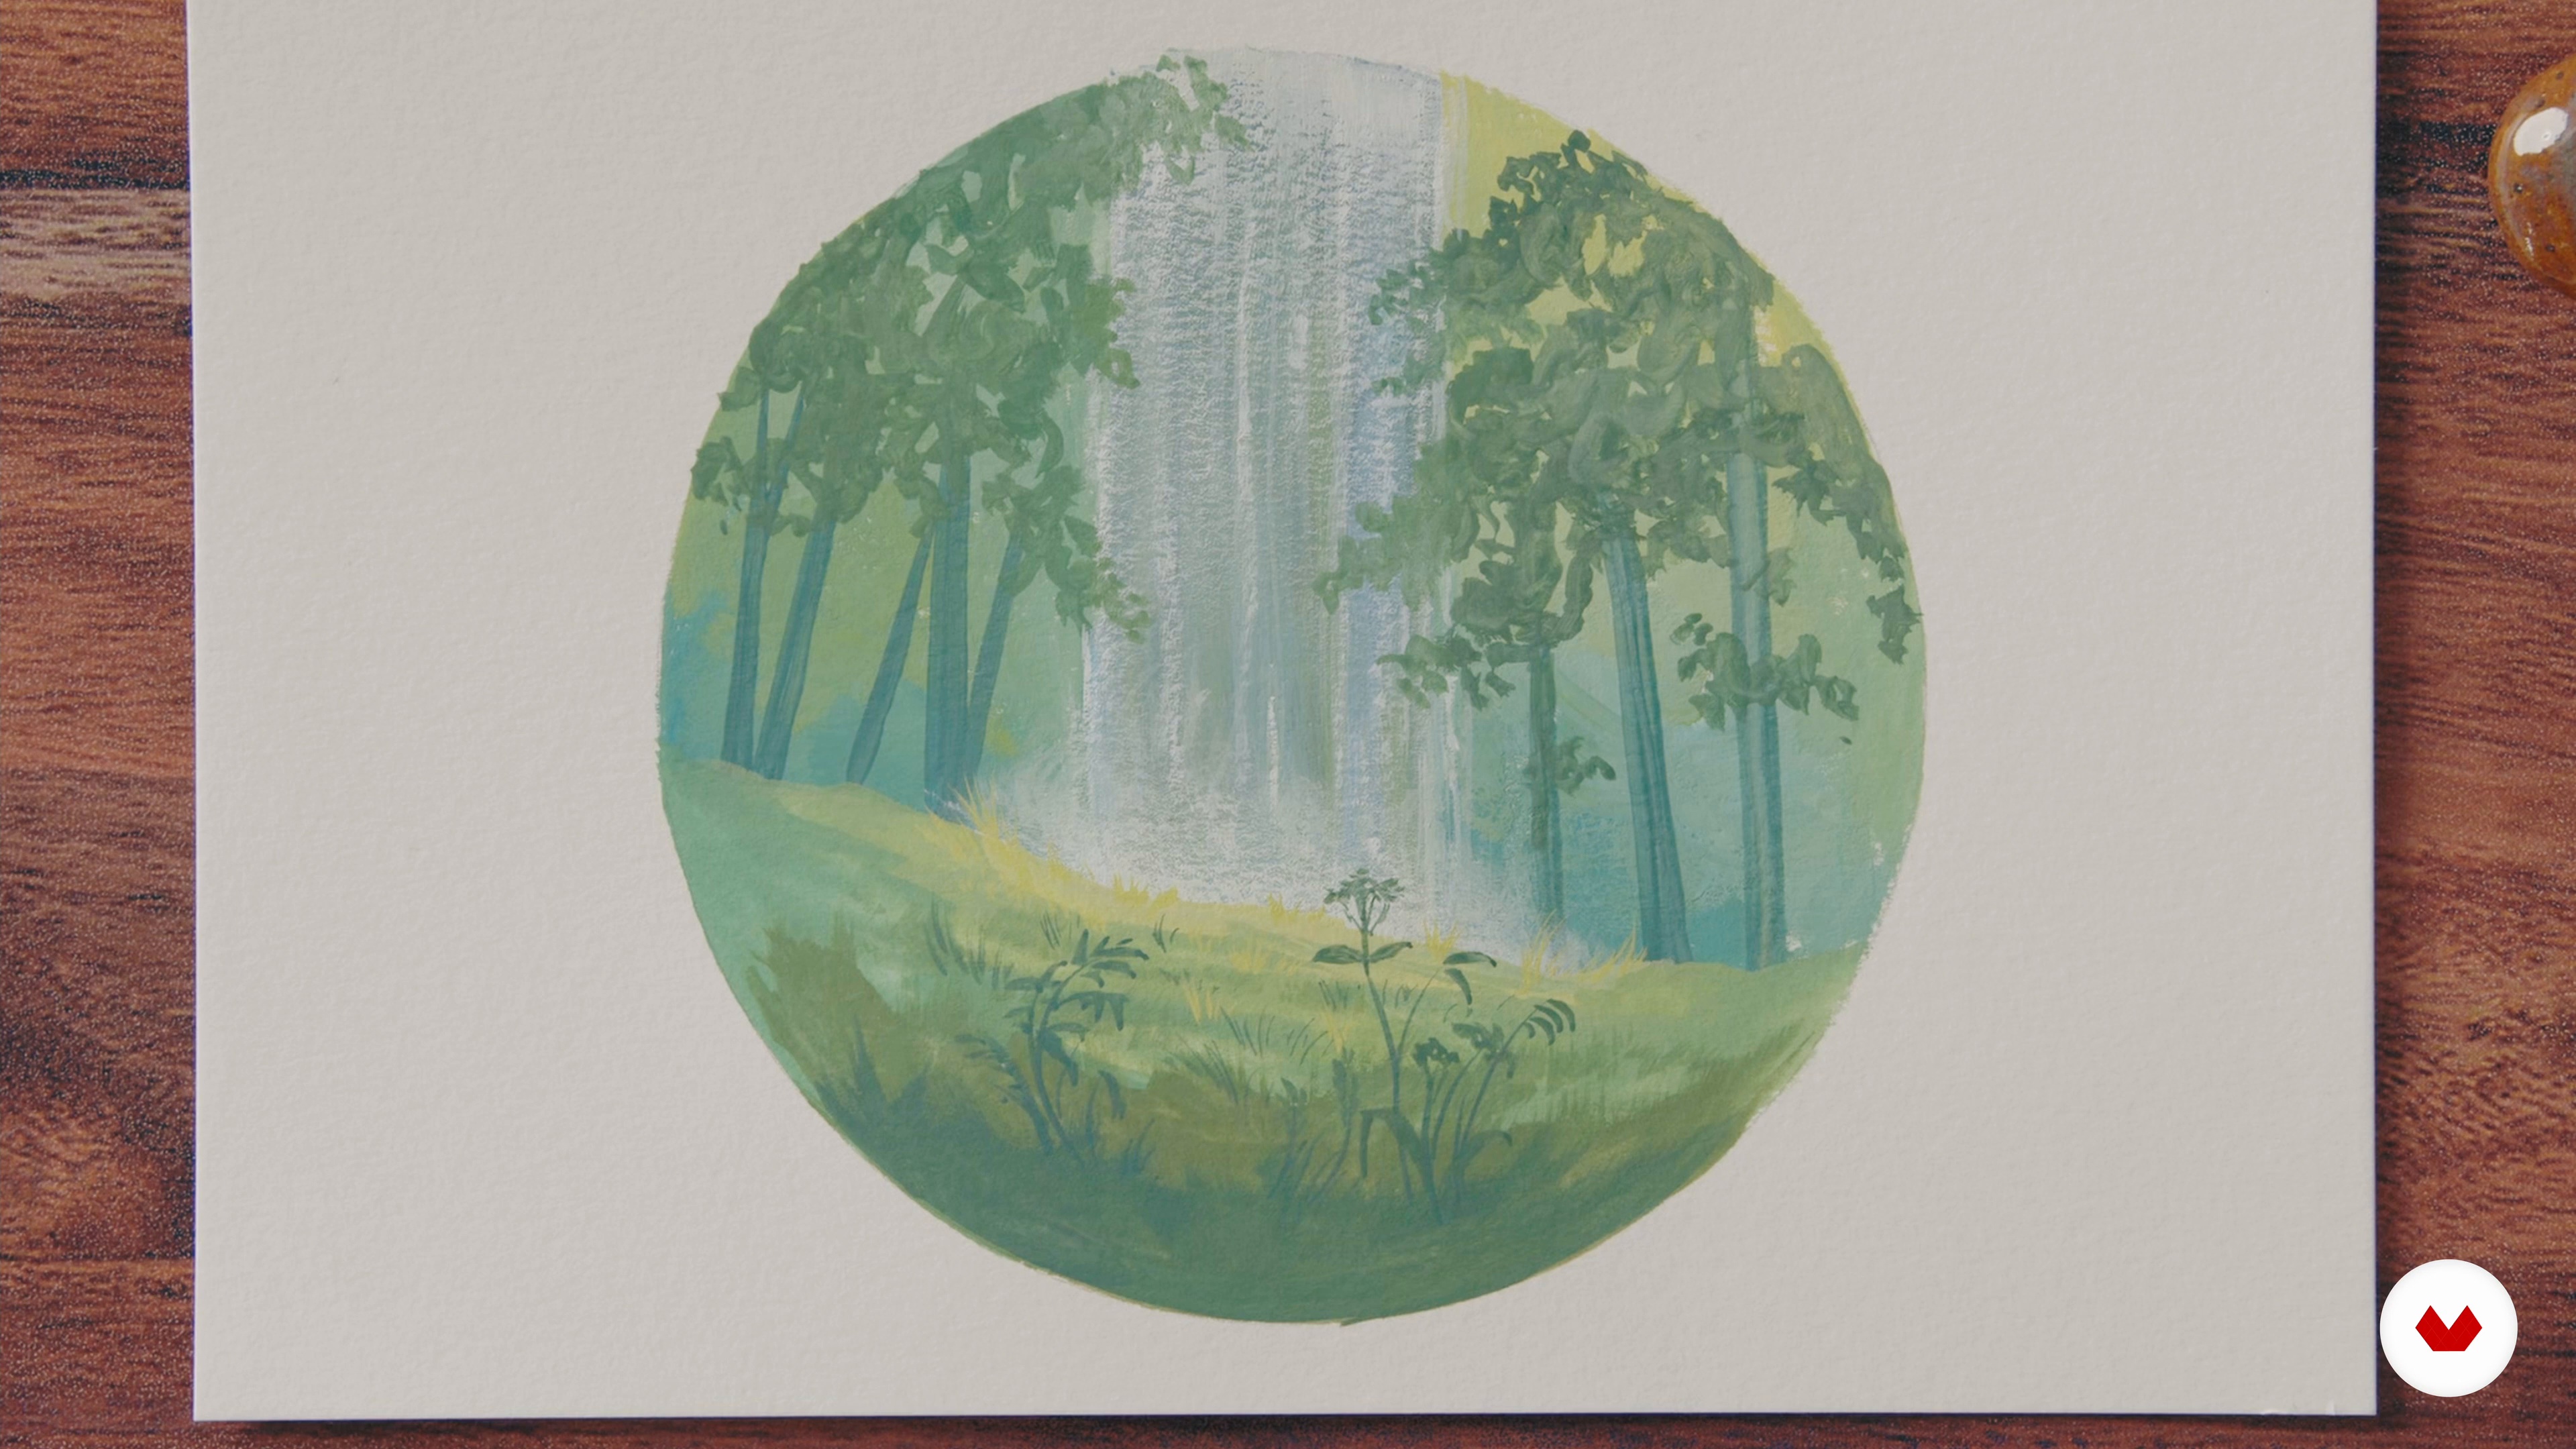
In the fourth step, we'll paint our middle ground. This is the most detailed part where we want the viewer to be focused on. We'll start by painting a grassy area covered in wildflowers, using brush textures to make this area as lively and detailed as possible.
10m
image
20
The Foreground
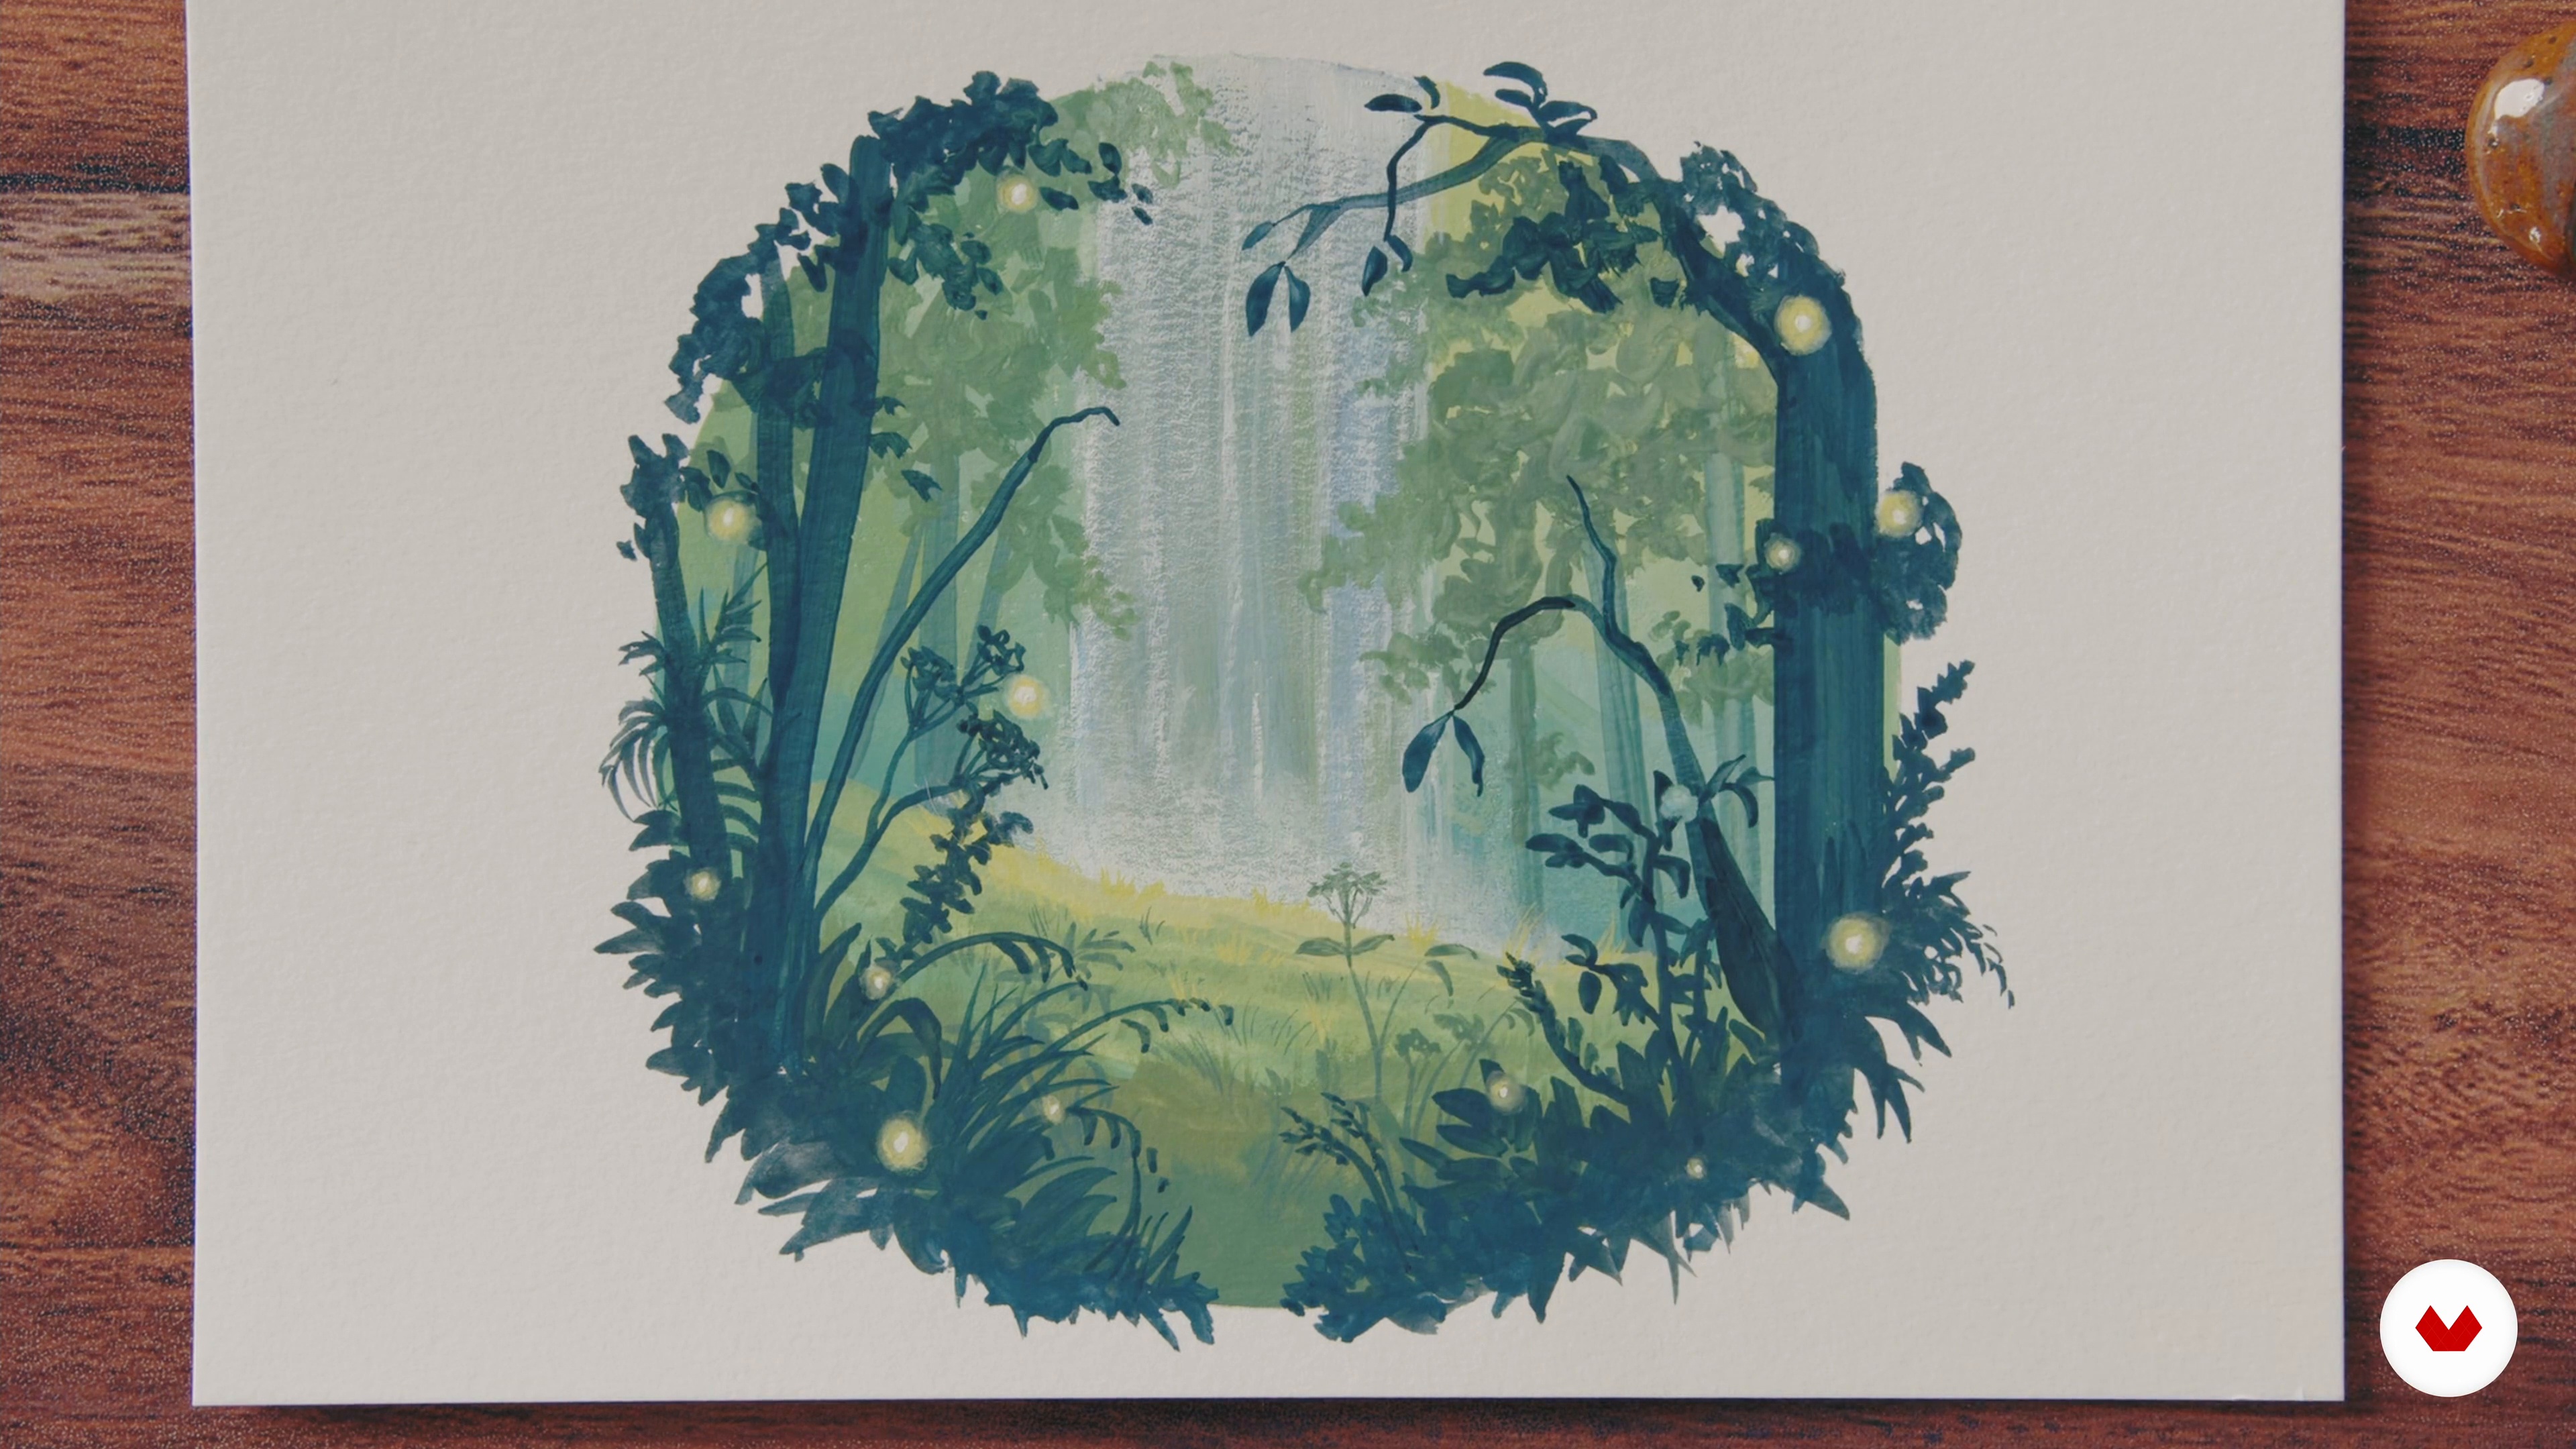
In the fifth step, we'll paint the foreground which will mostly consist of silhouettes that frame the scene to create dimension. We’ll also add some little firefly details.
17m
image
21
Texture Studies
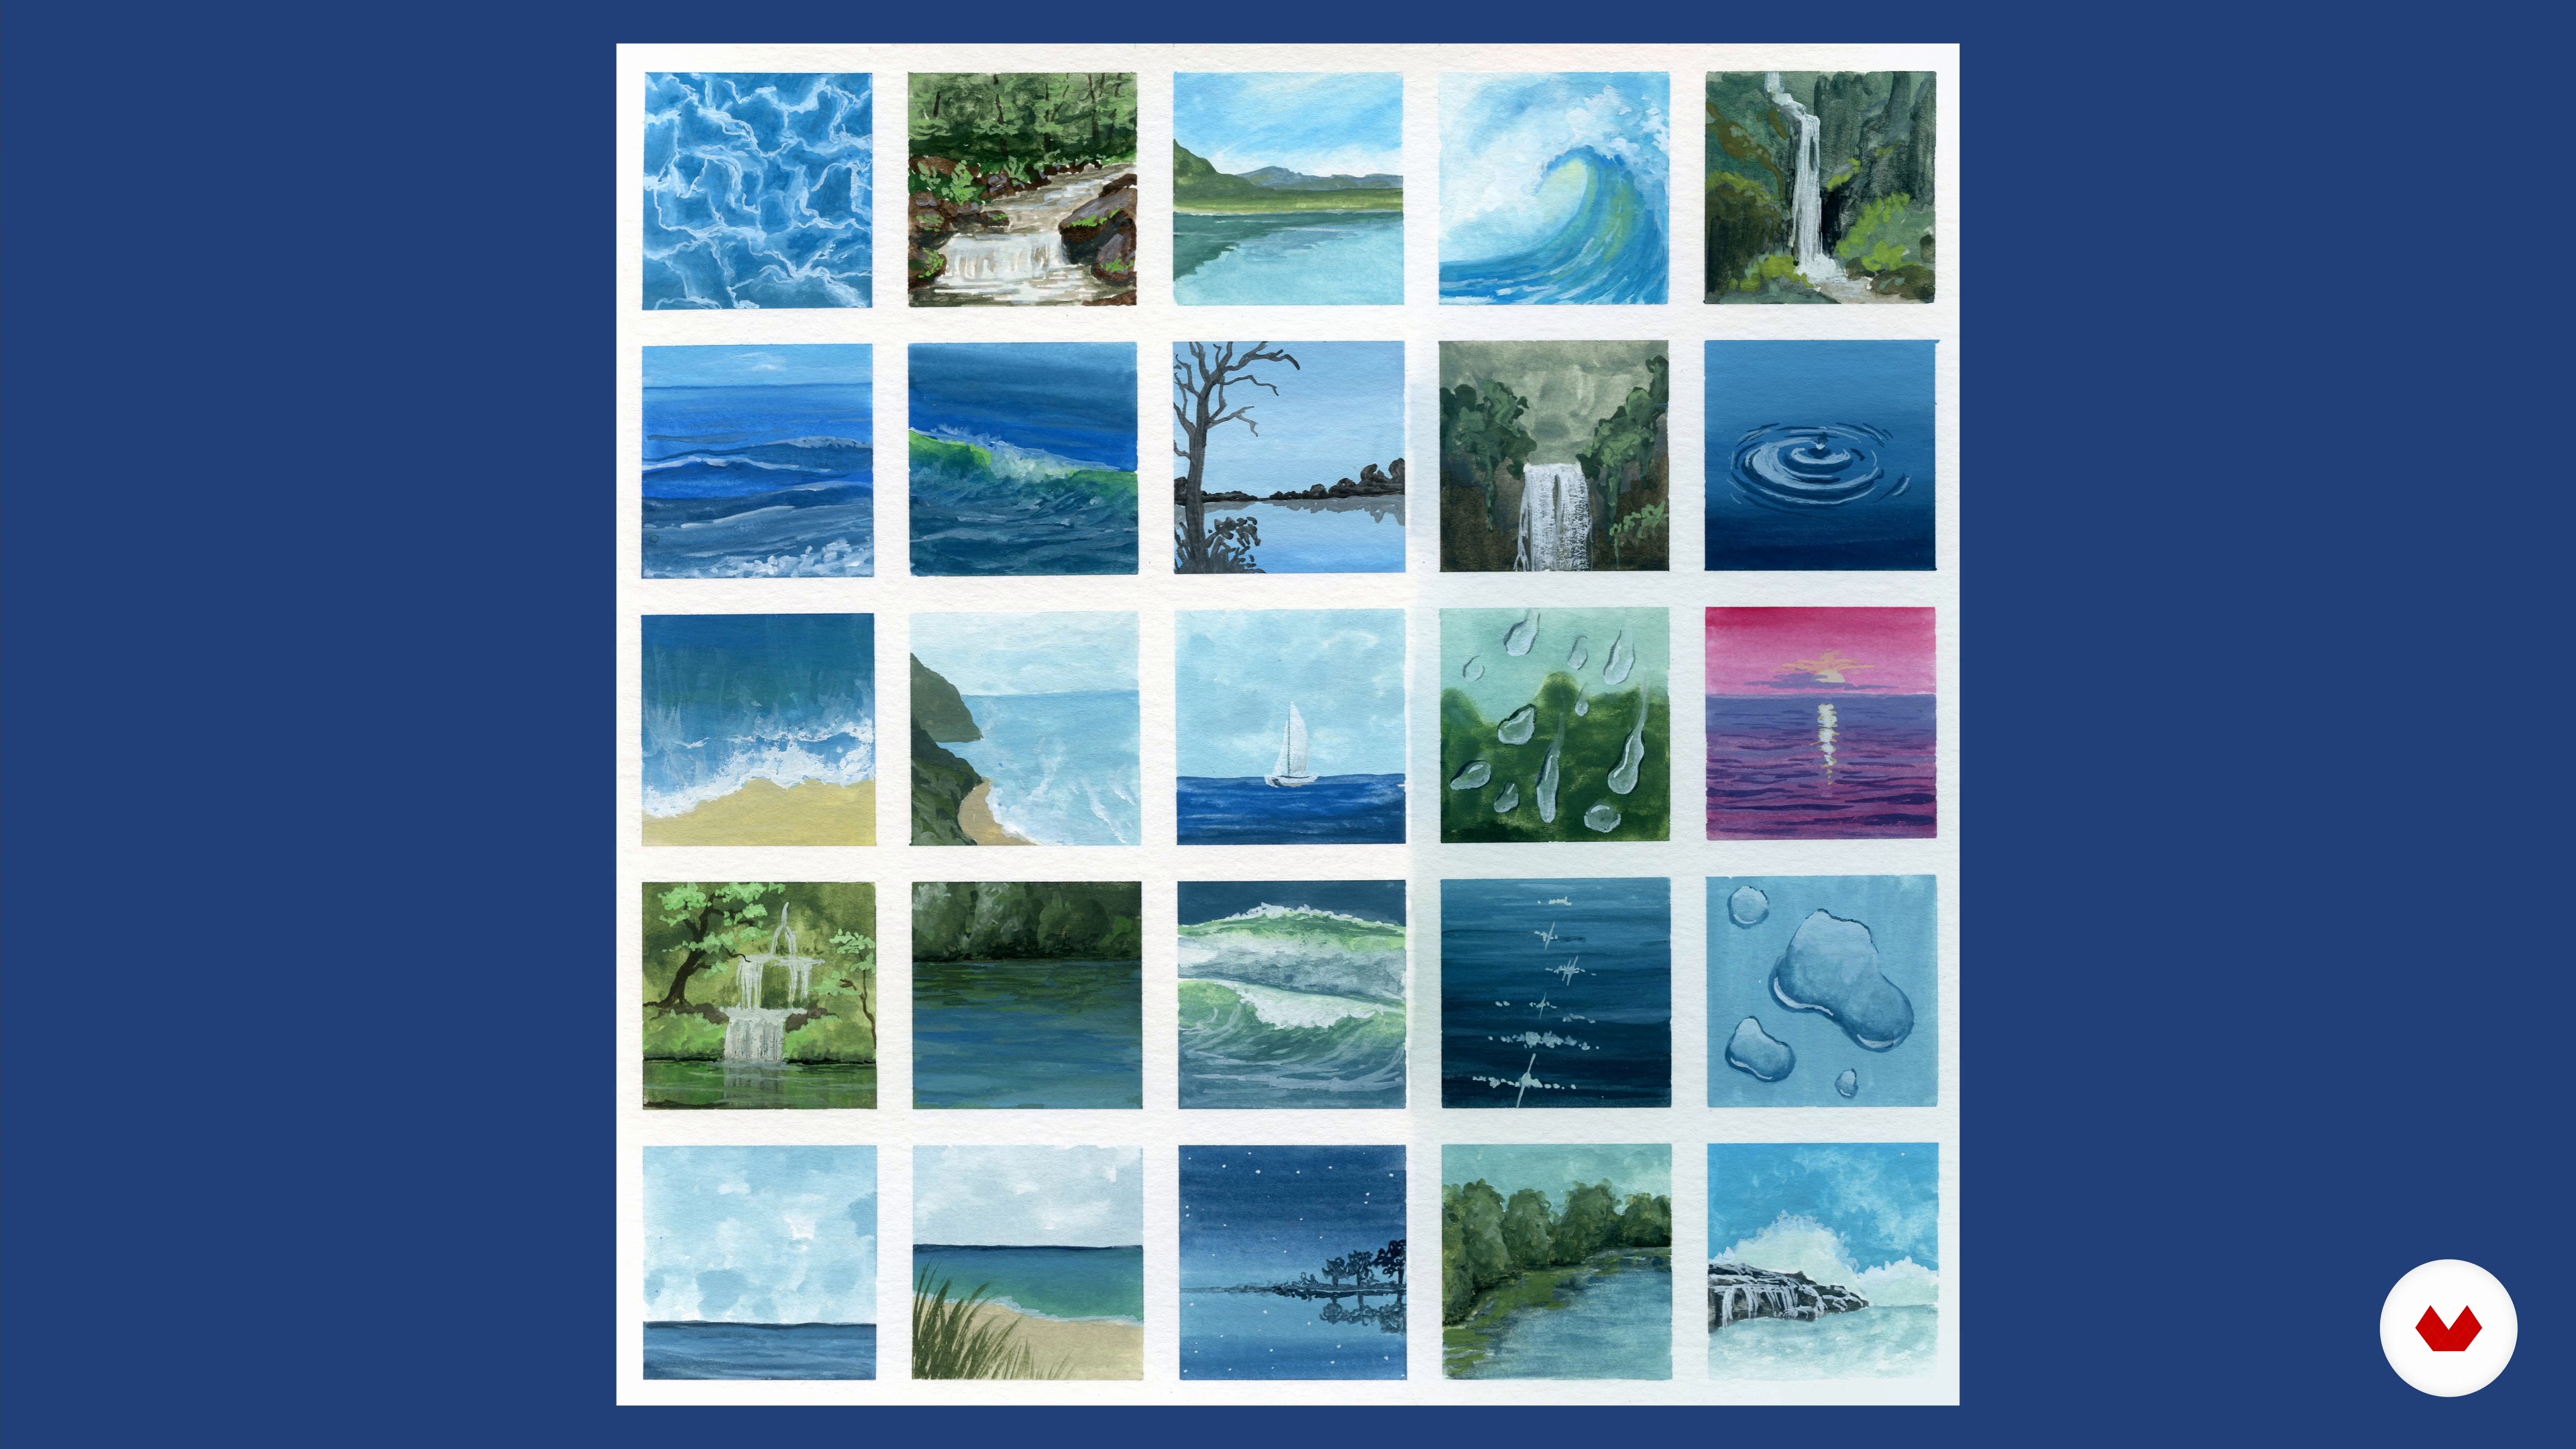
Let me walk you through some of my examples for themed texture studies, as well as my methods and reasons to do them.
5m
image
22
Staying Inspired and Sharing Your Work
In this lesson, I’ll share my advice on how to stay inspired and excited about painting. I'll also tell you about the creative online community that has helped me before showing you my method to share photos, reels, and videos of my work on Instagram.
10m
image
3
About Gouache and Materials
I'll talk about some of the unique qualities of gouache, how it might be different from other mediums you may have tried, and why it’s so ideally suited for painting urban and rural landscapes.
1m
image
4
The Theory of Colour
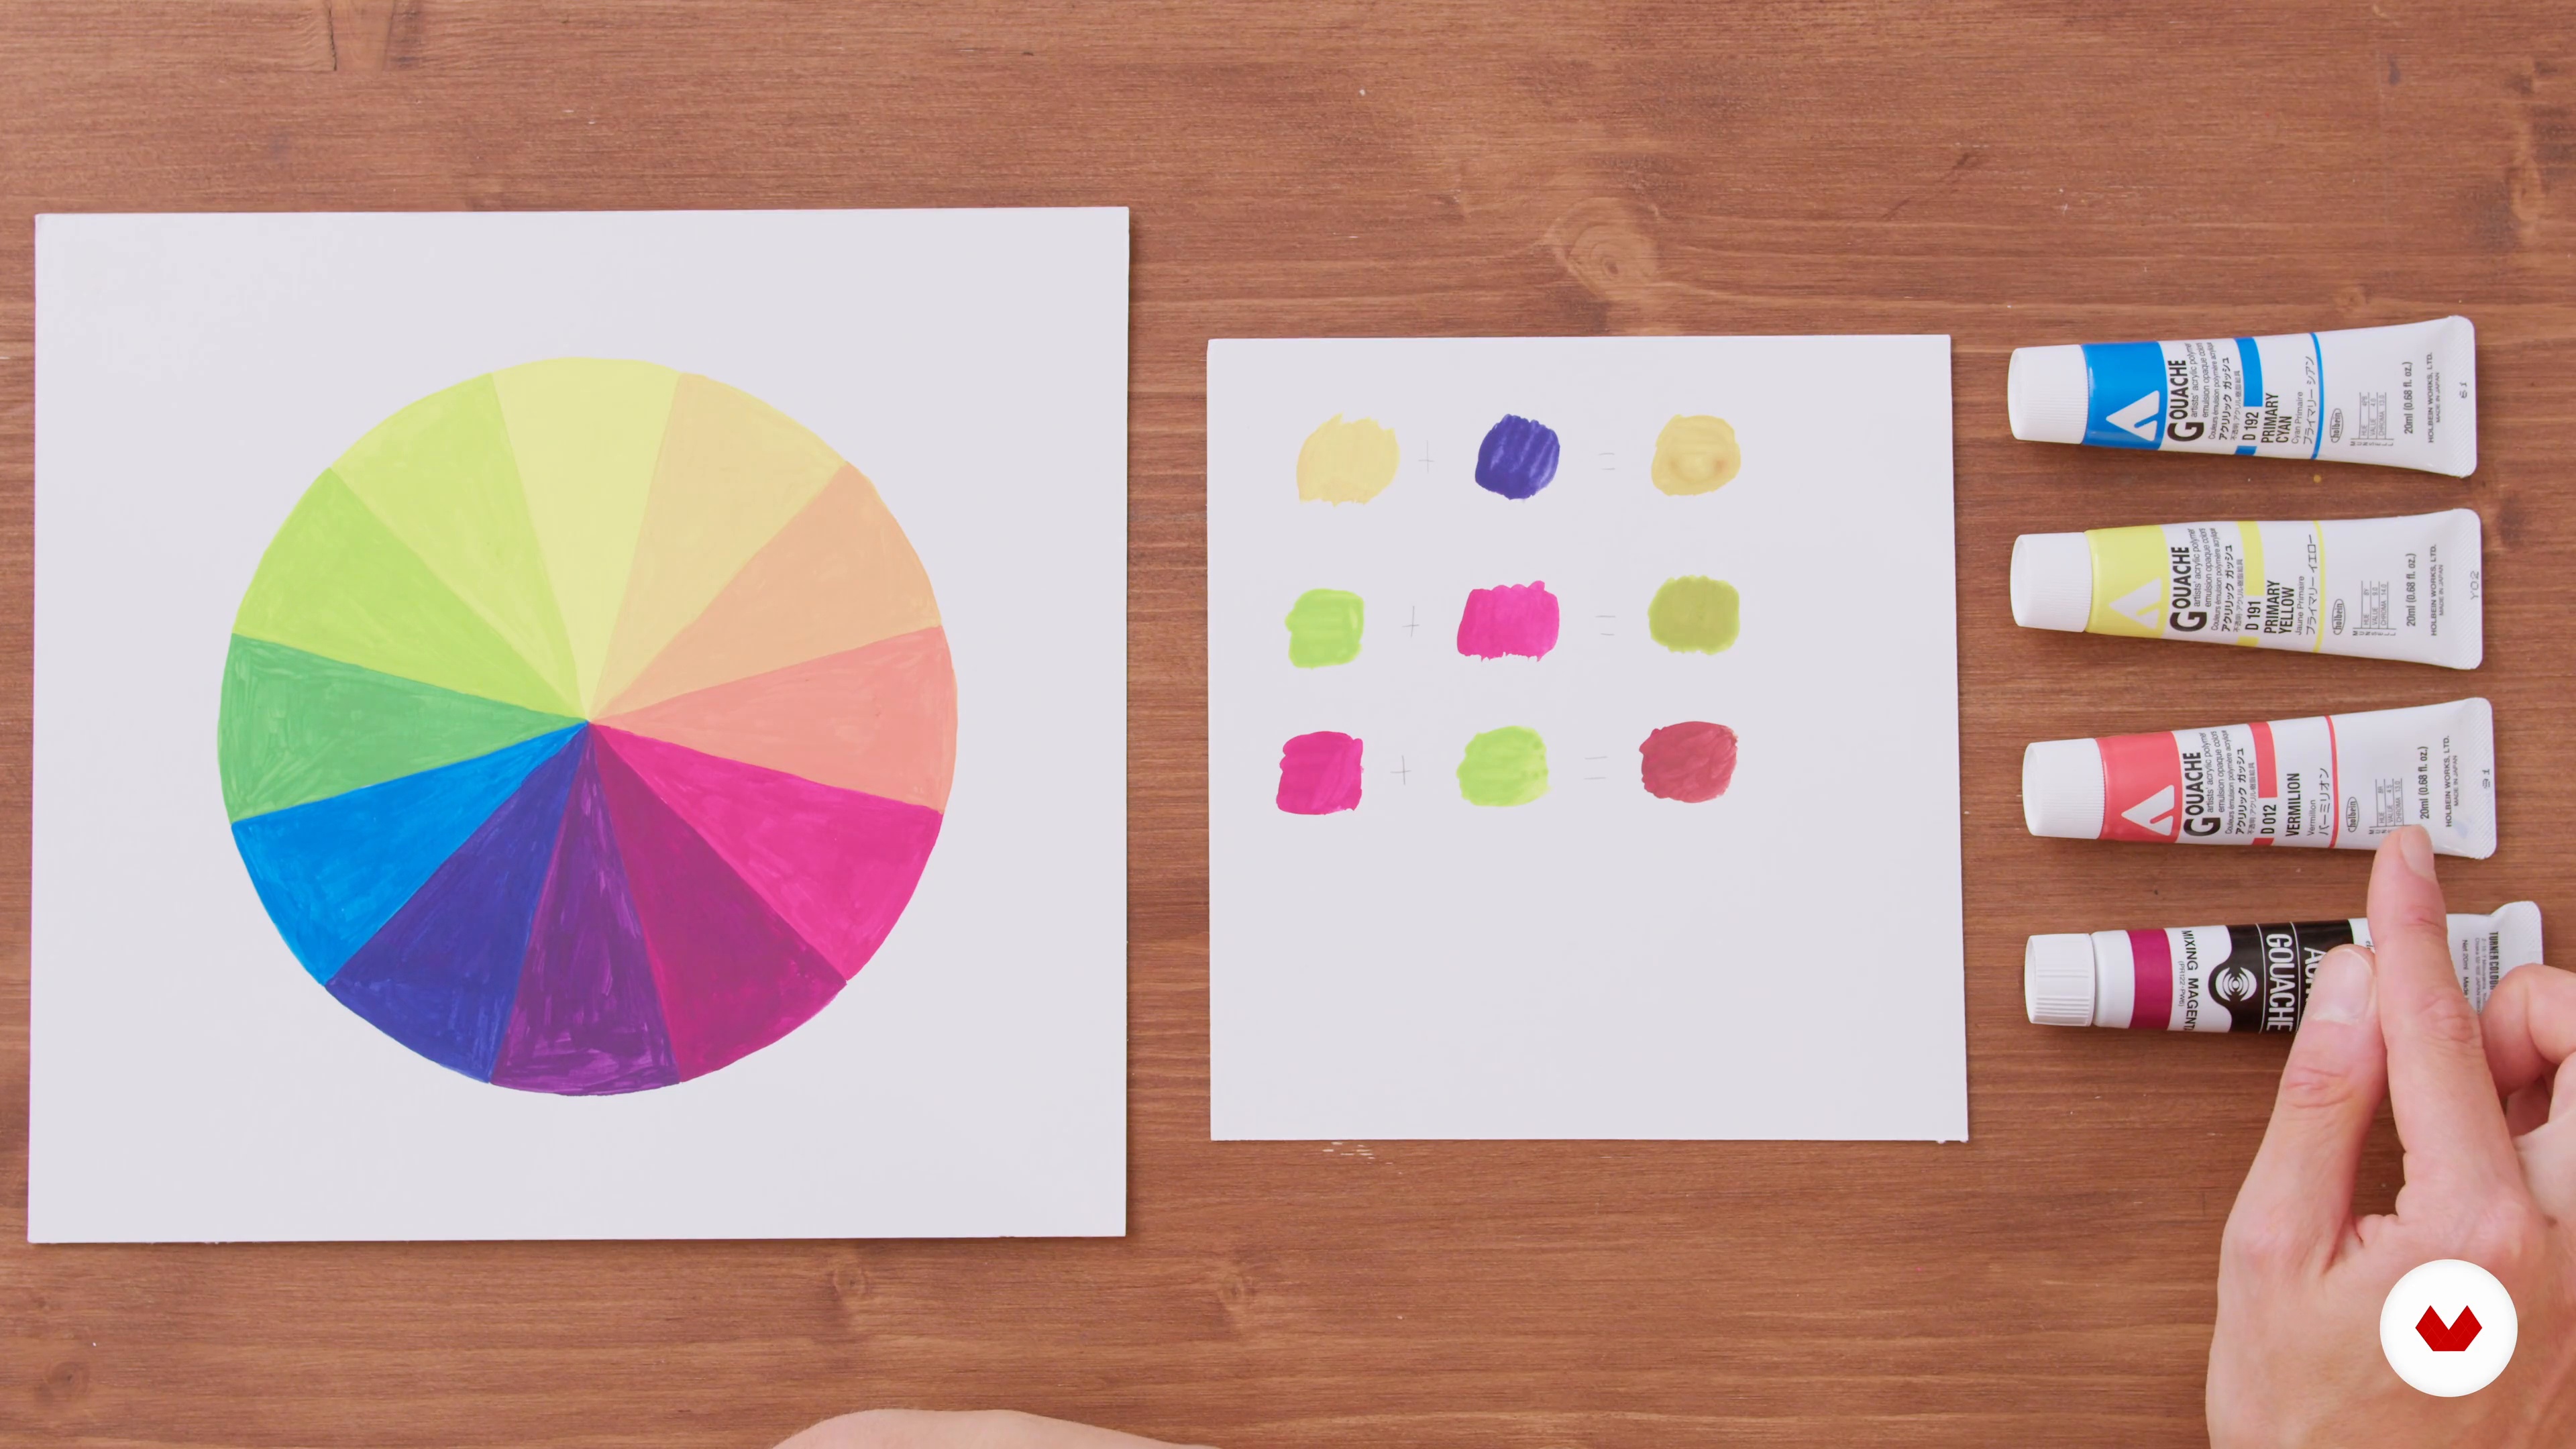
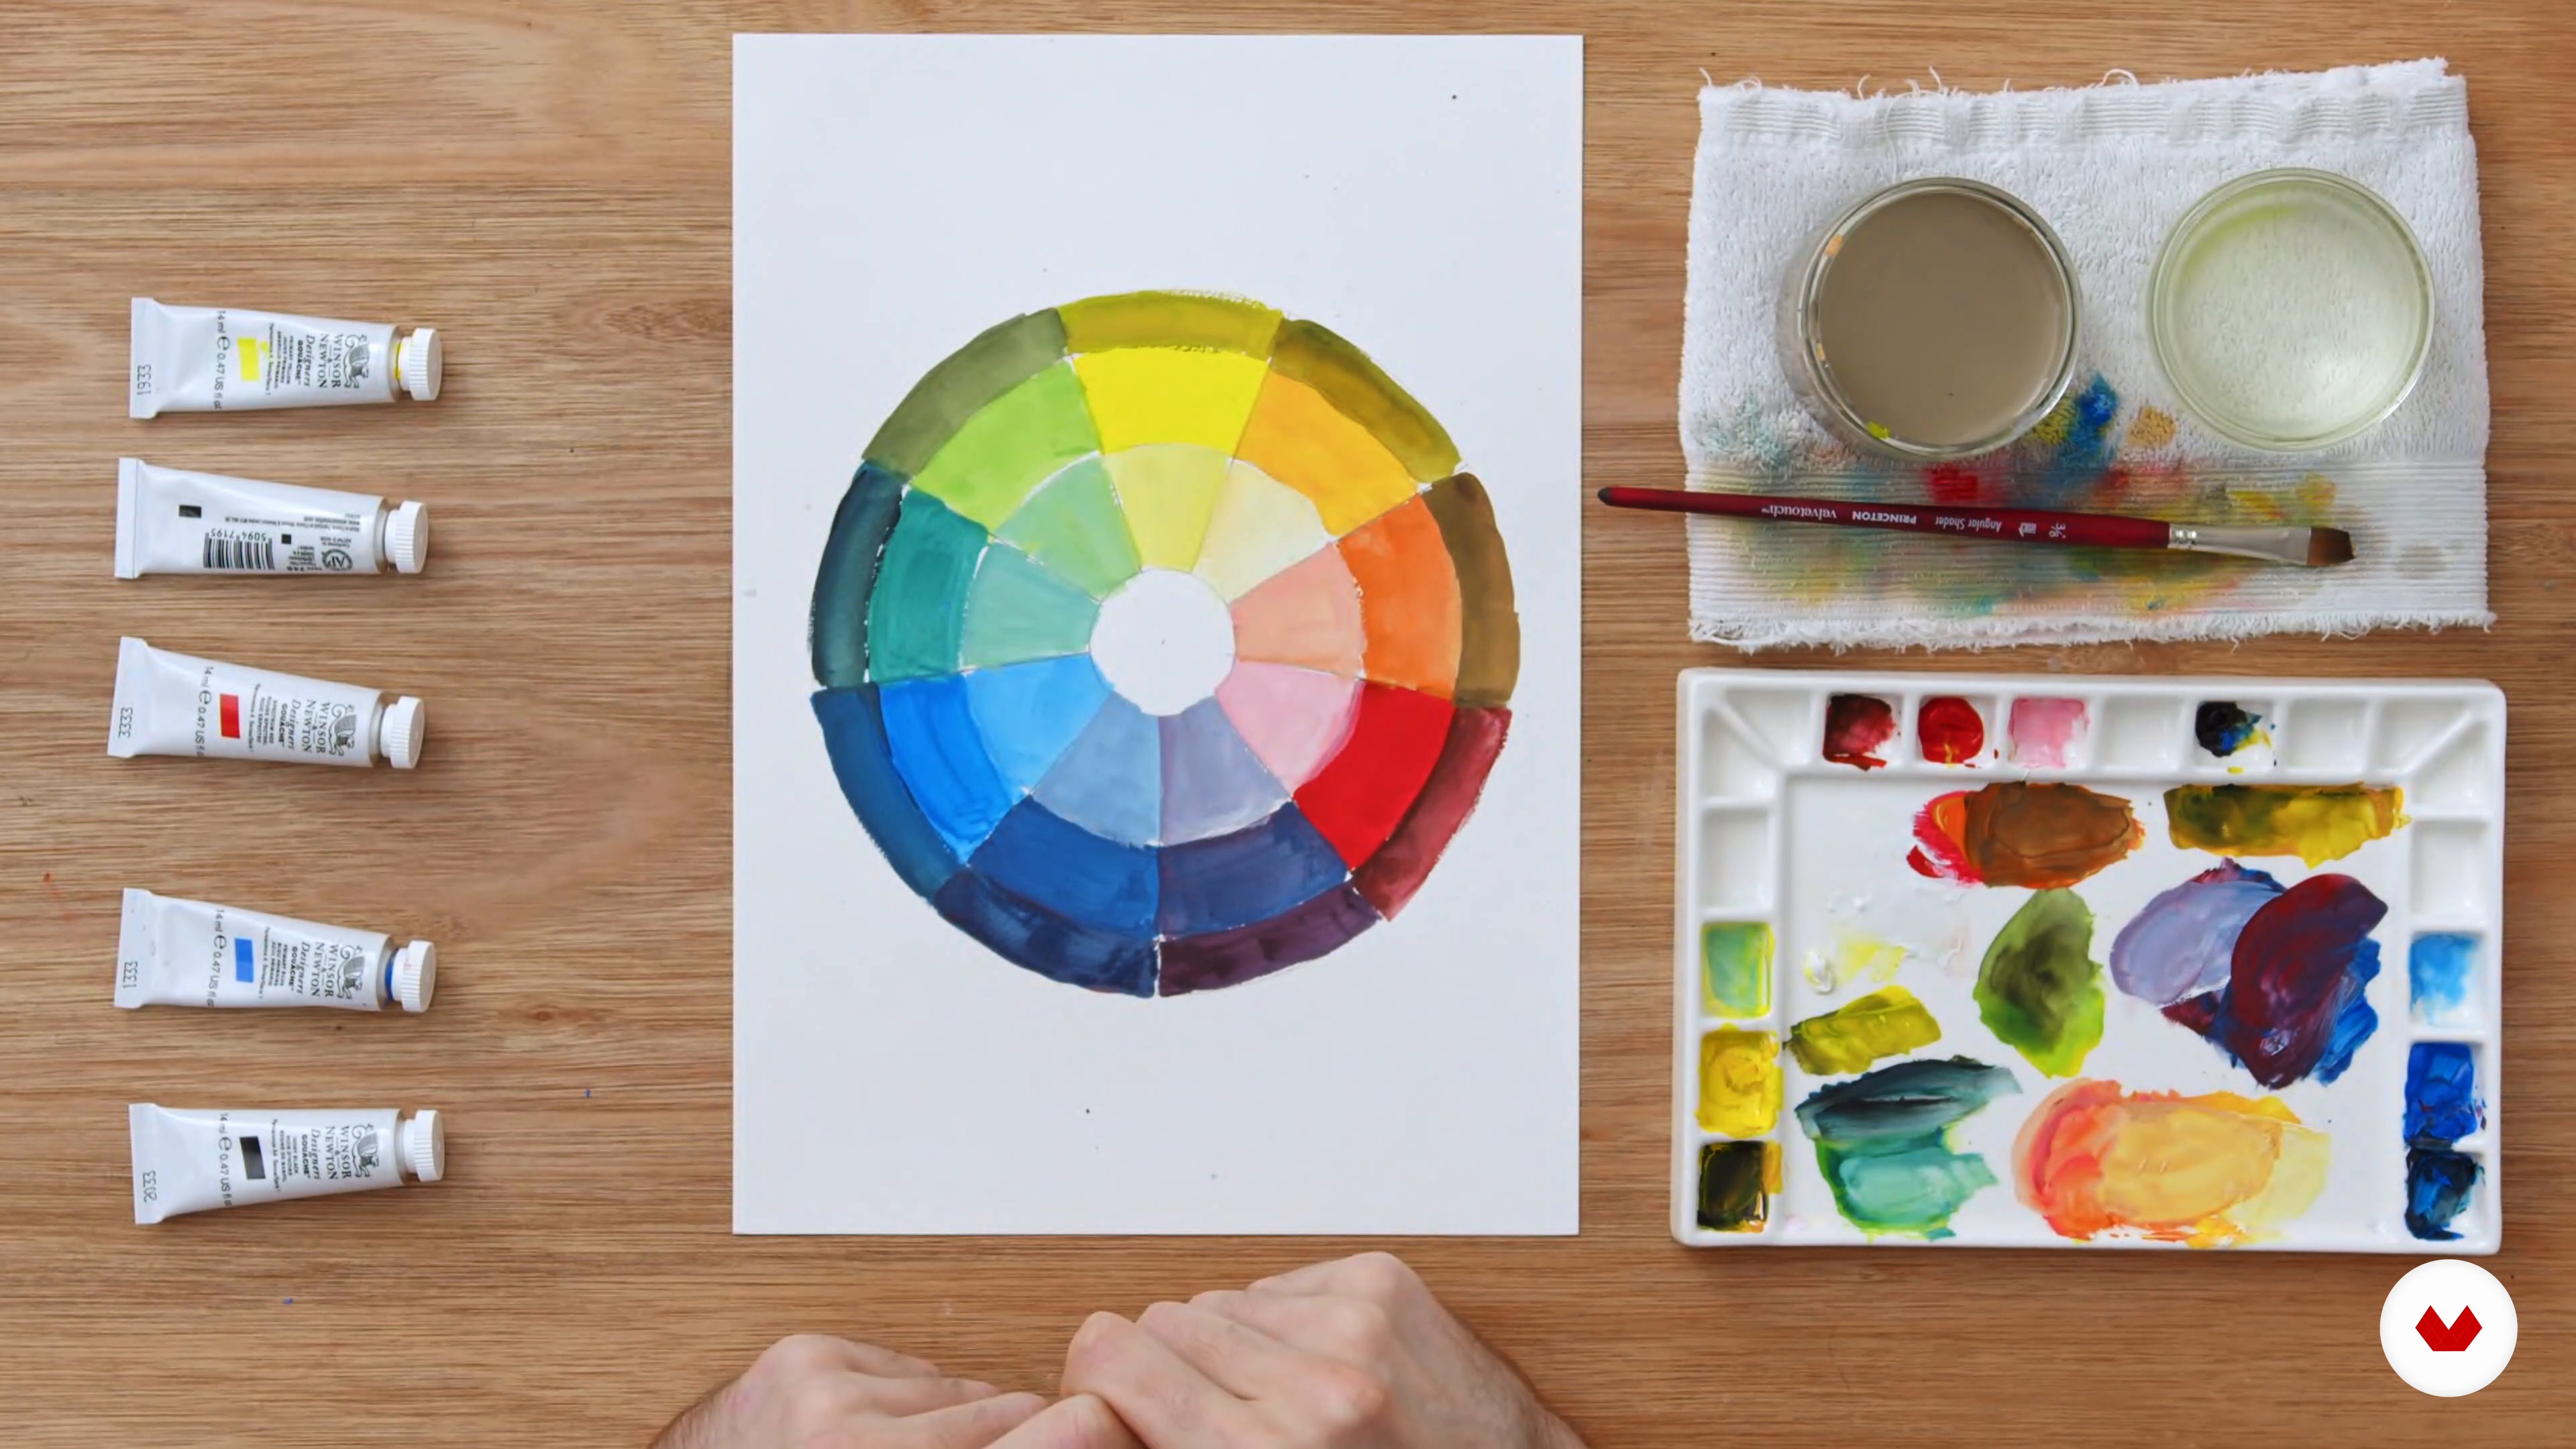
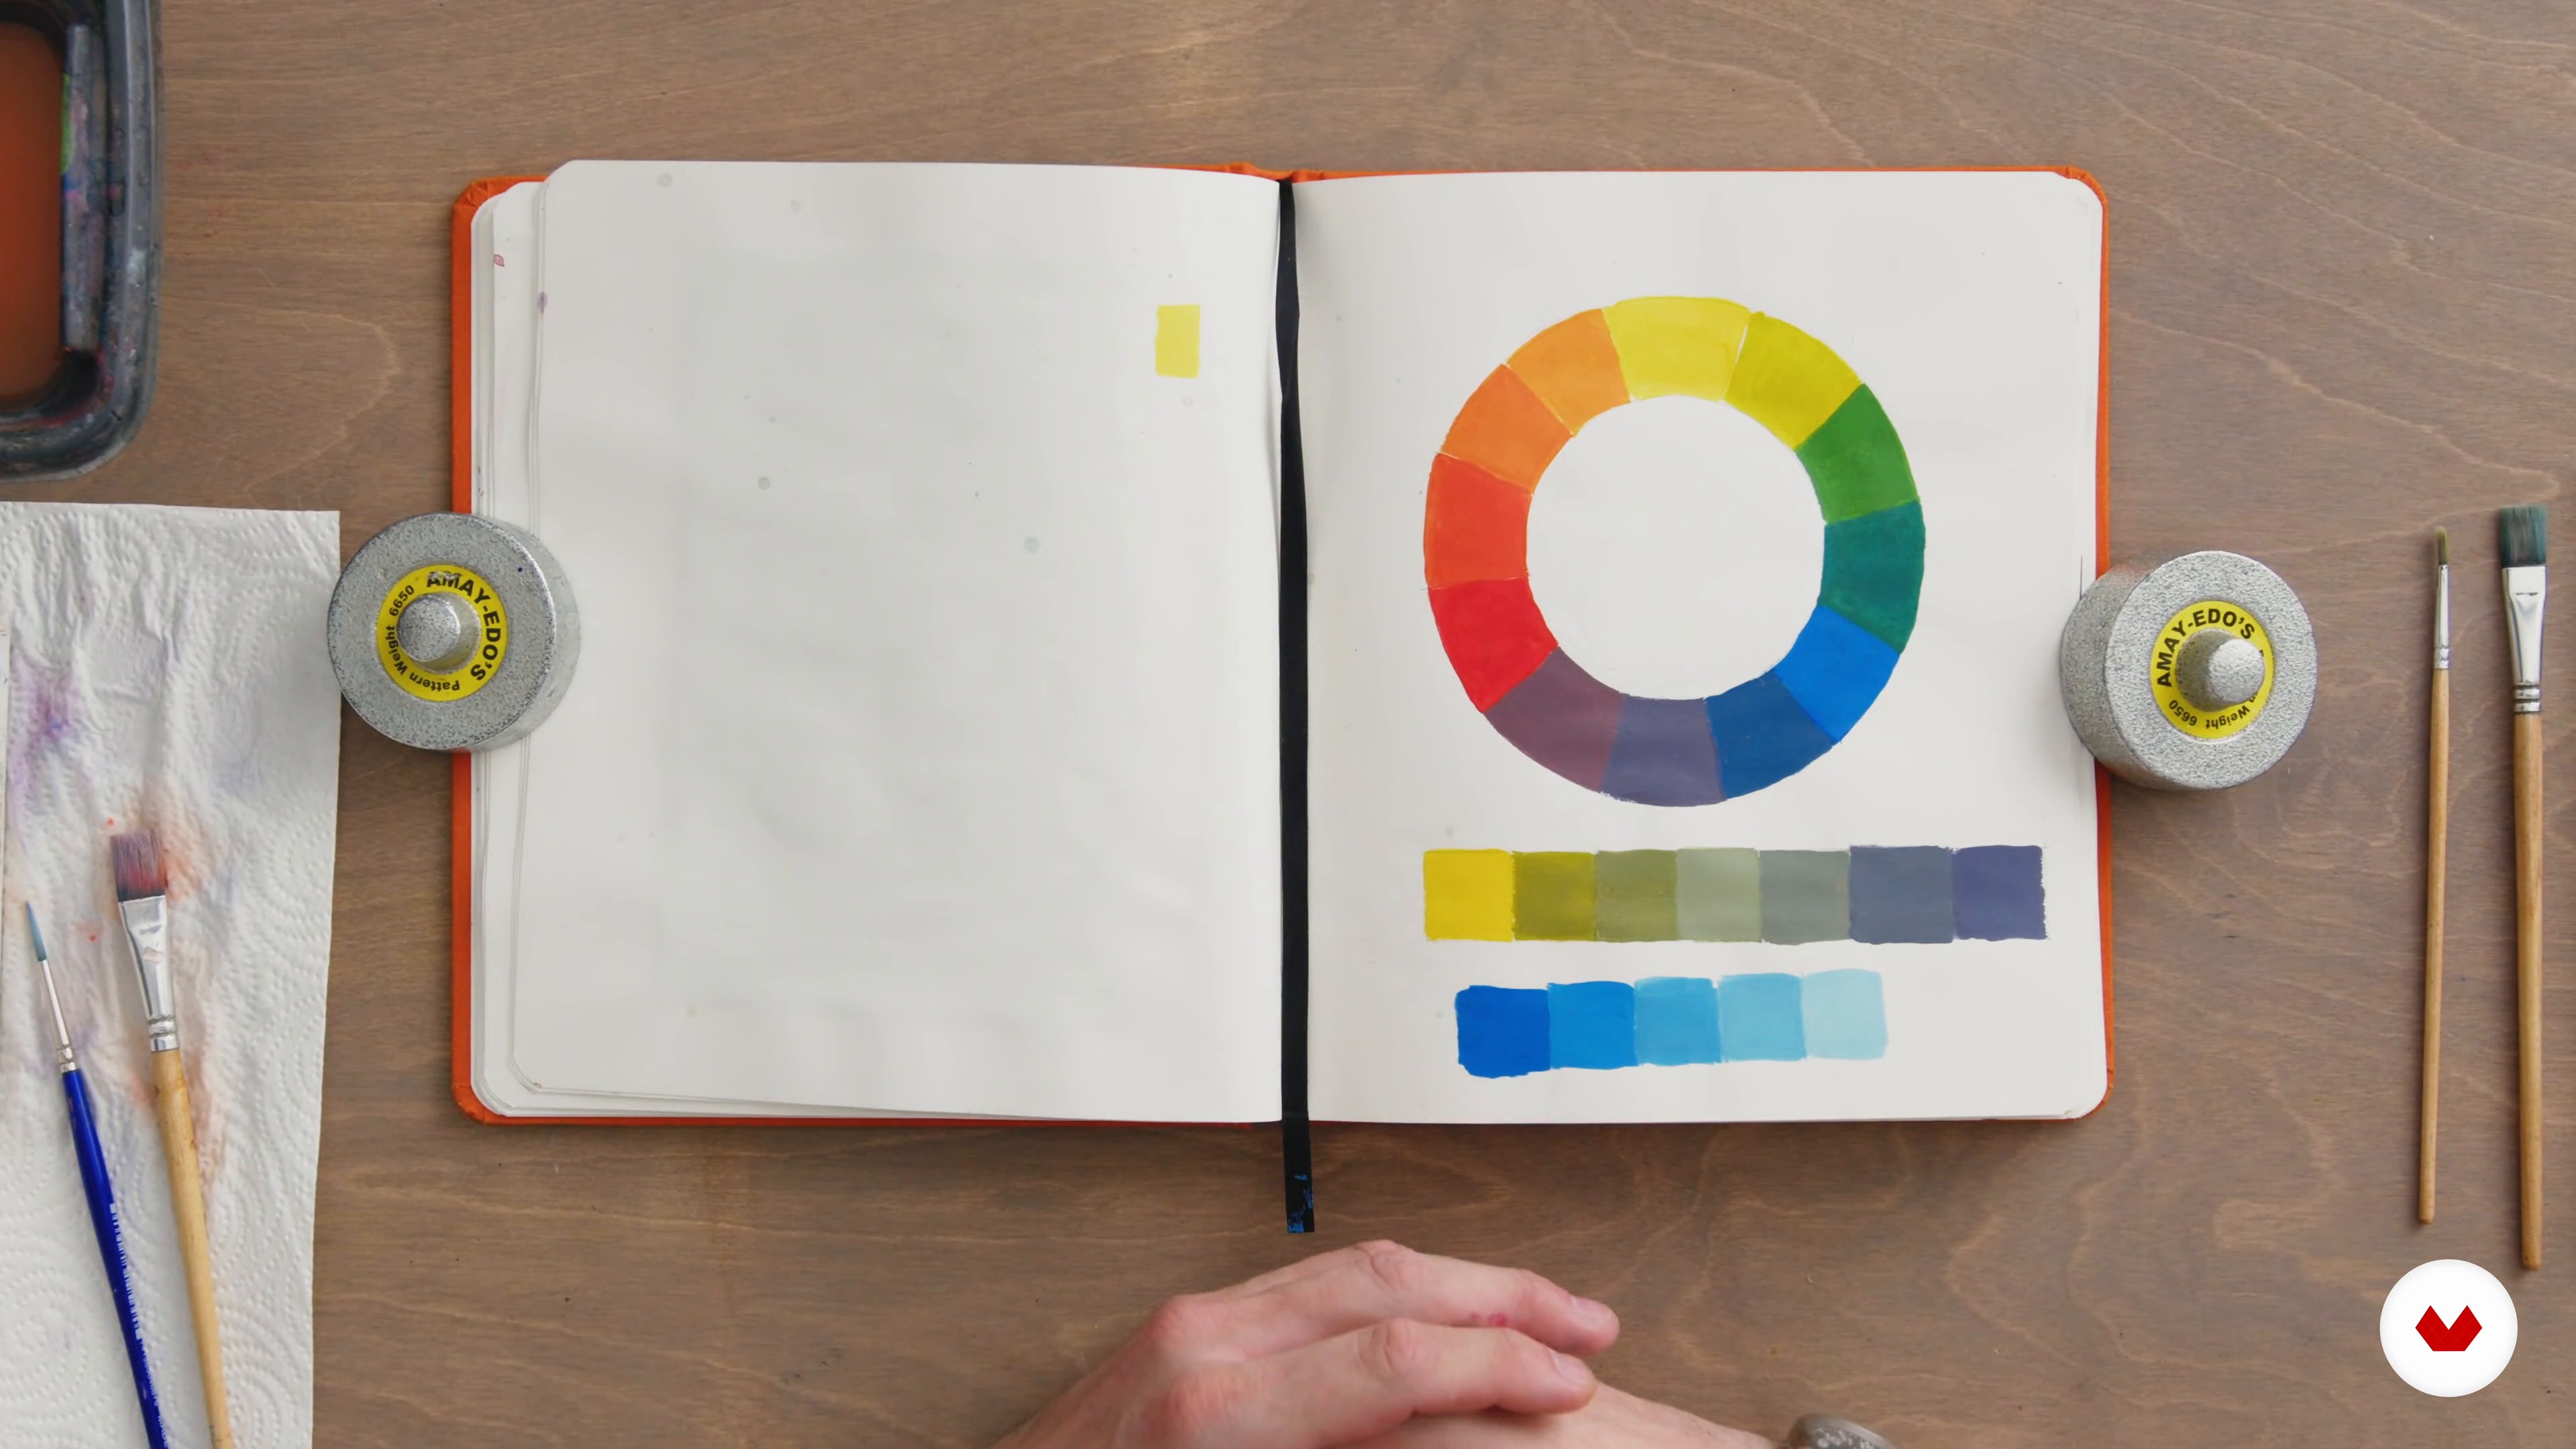
I will explain the fundamental concepts of colour, such as colour systems, primary, secondary and tertiary colours. I'll create a small chromatic circle (or colour wheel) that will serve as a reference for your work and teach you to define each colour properly. You will also see the correct placement of the colours in the palette.
20m
image
5
Skies and Landscapes Basics 1
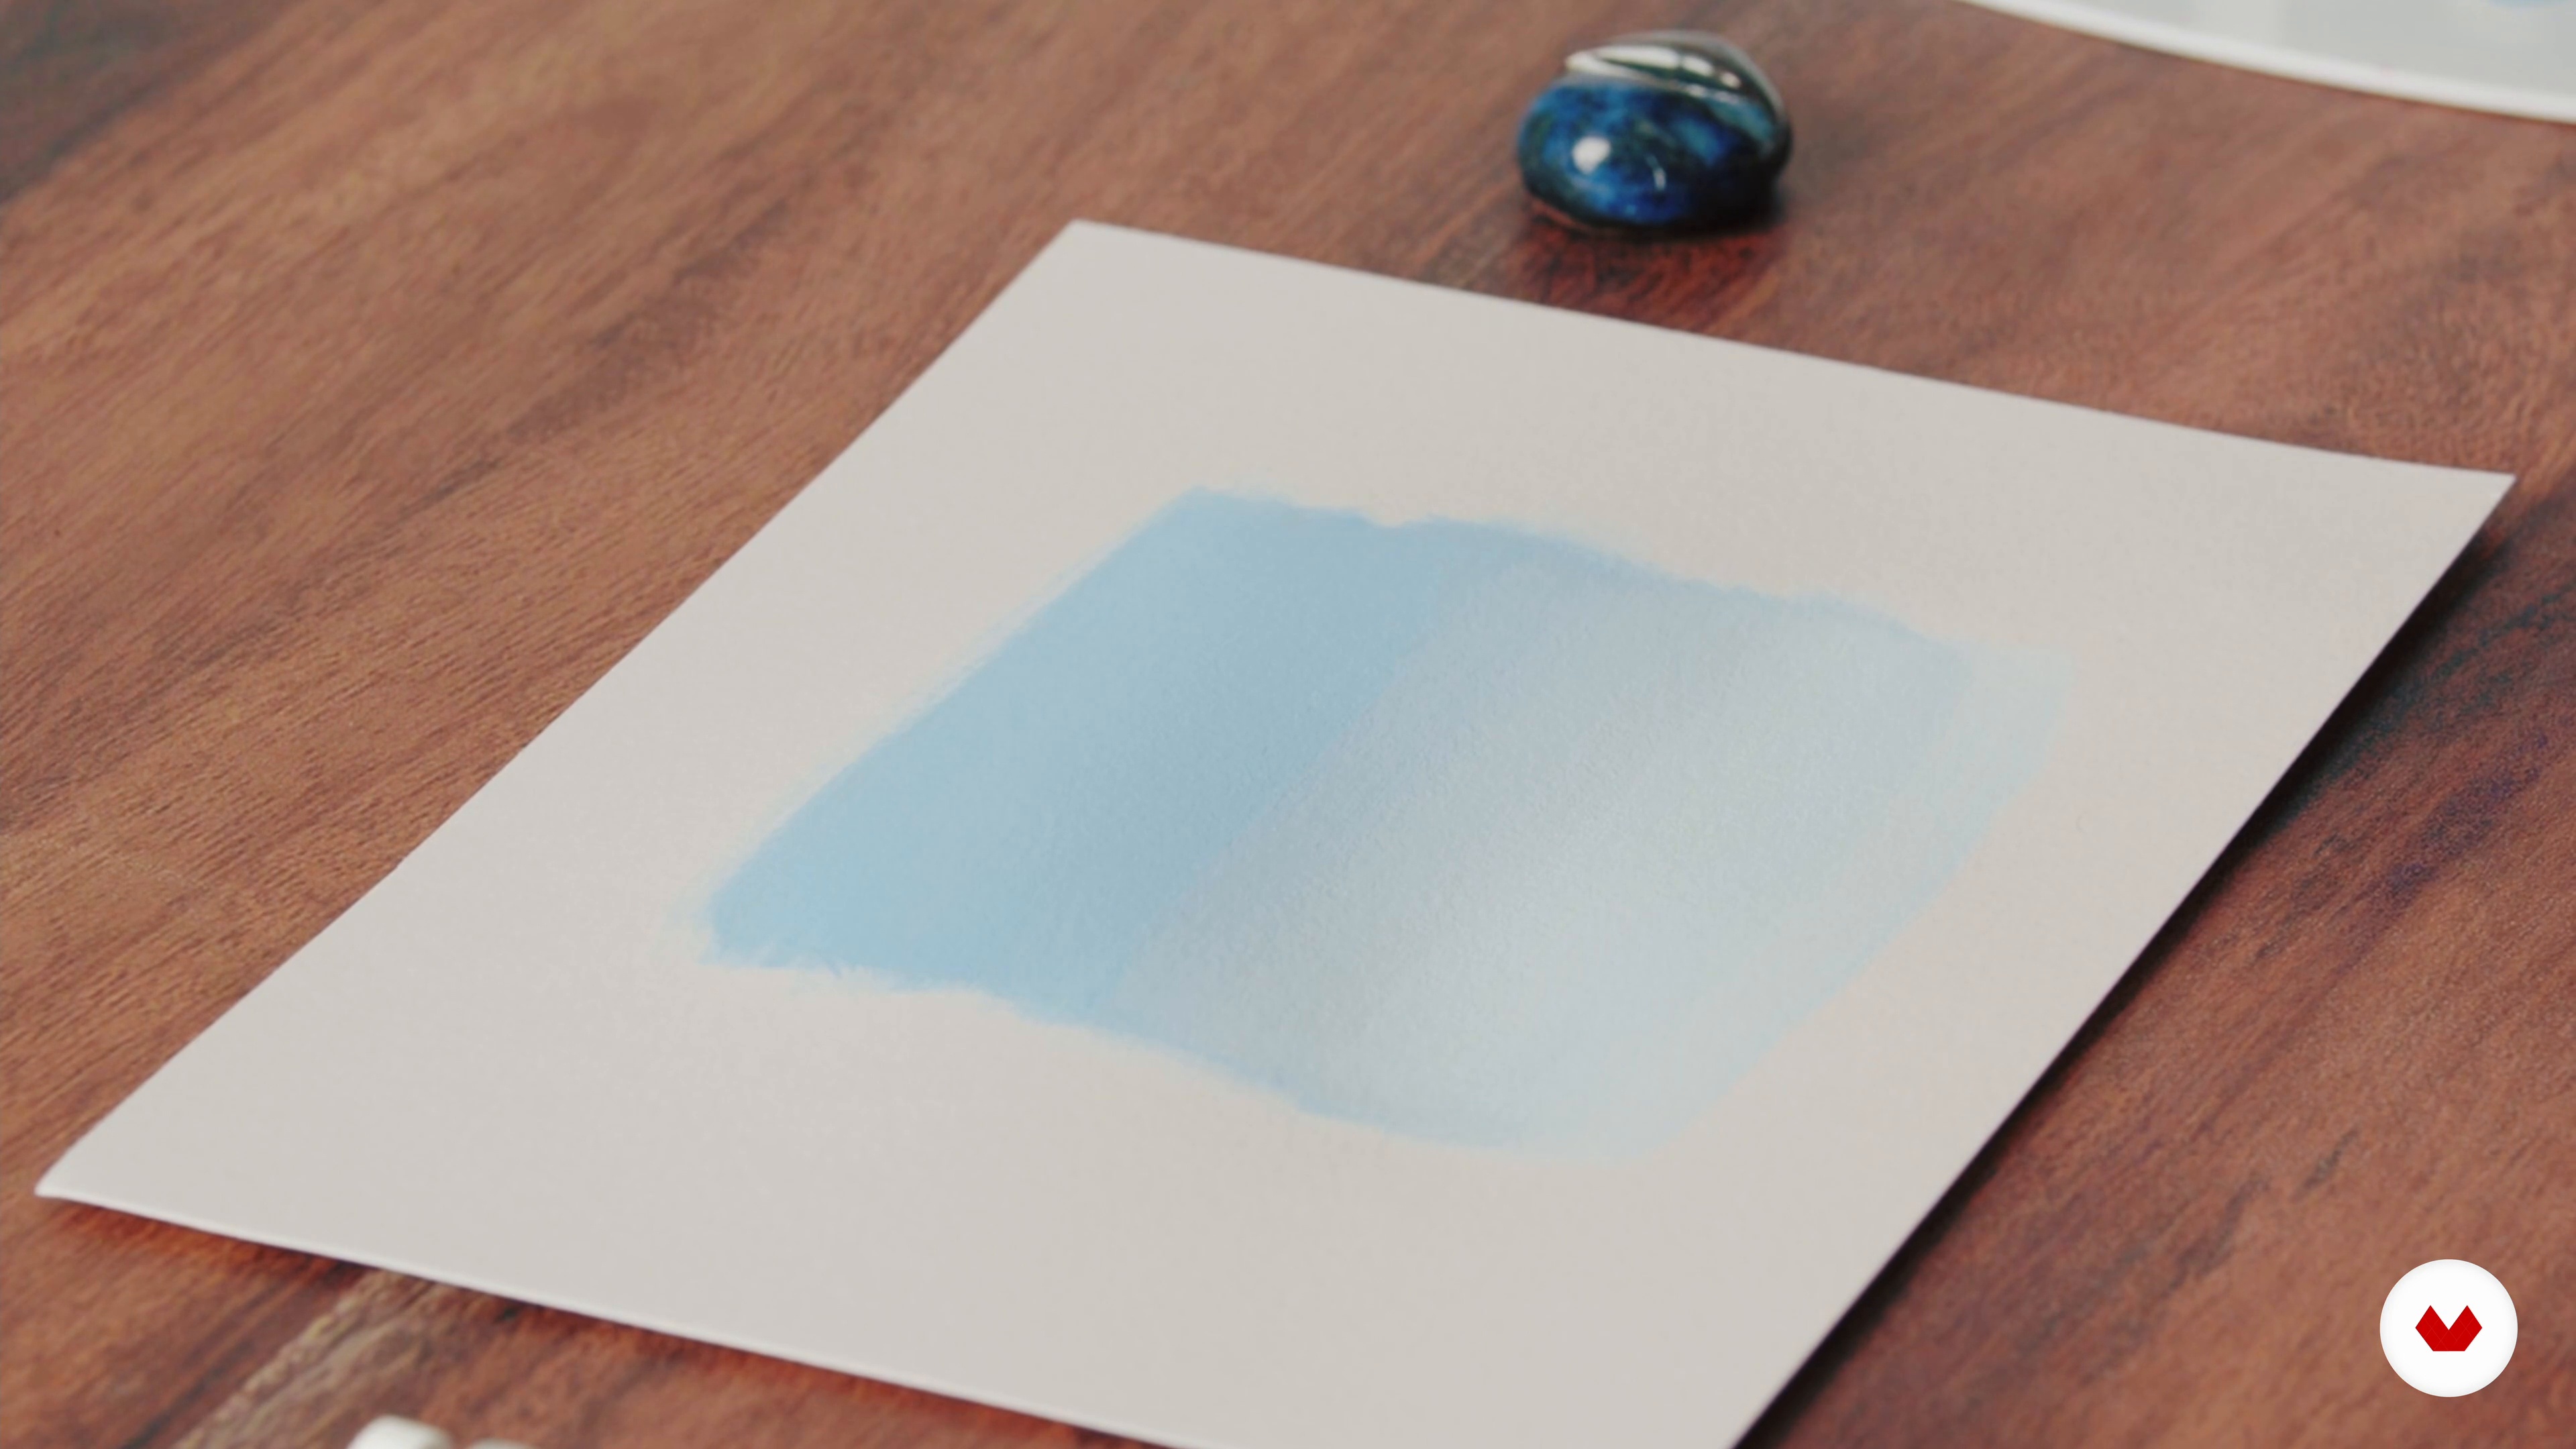
Now I’m going to show you one of my favourite things about gouache: these wonderful, clean, and smooth gradients you can create. It’s perfect for skies, water and clean surfaces. Besides, I’m also going to teach you how to layer your paint to build simple scenes. During this first part of the lesson, I’ll show you how to blend gouache successfully. I'll also talk about some of the things to be mindful of to avoid frustration.
11m
image
6
Skies and Landscapes Basics 2
In this second part of the lesson, you’ll learn how to paint some common landscape elements. I'll also teach you how valuable silhouettes can be when simplifying complex scenes.
10m
image
7
Choosing the Reference
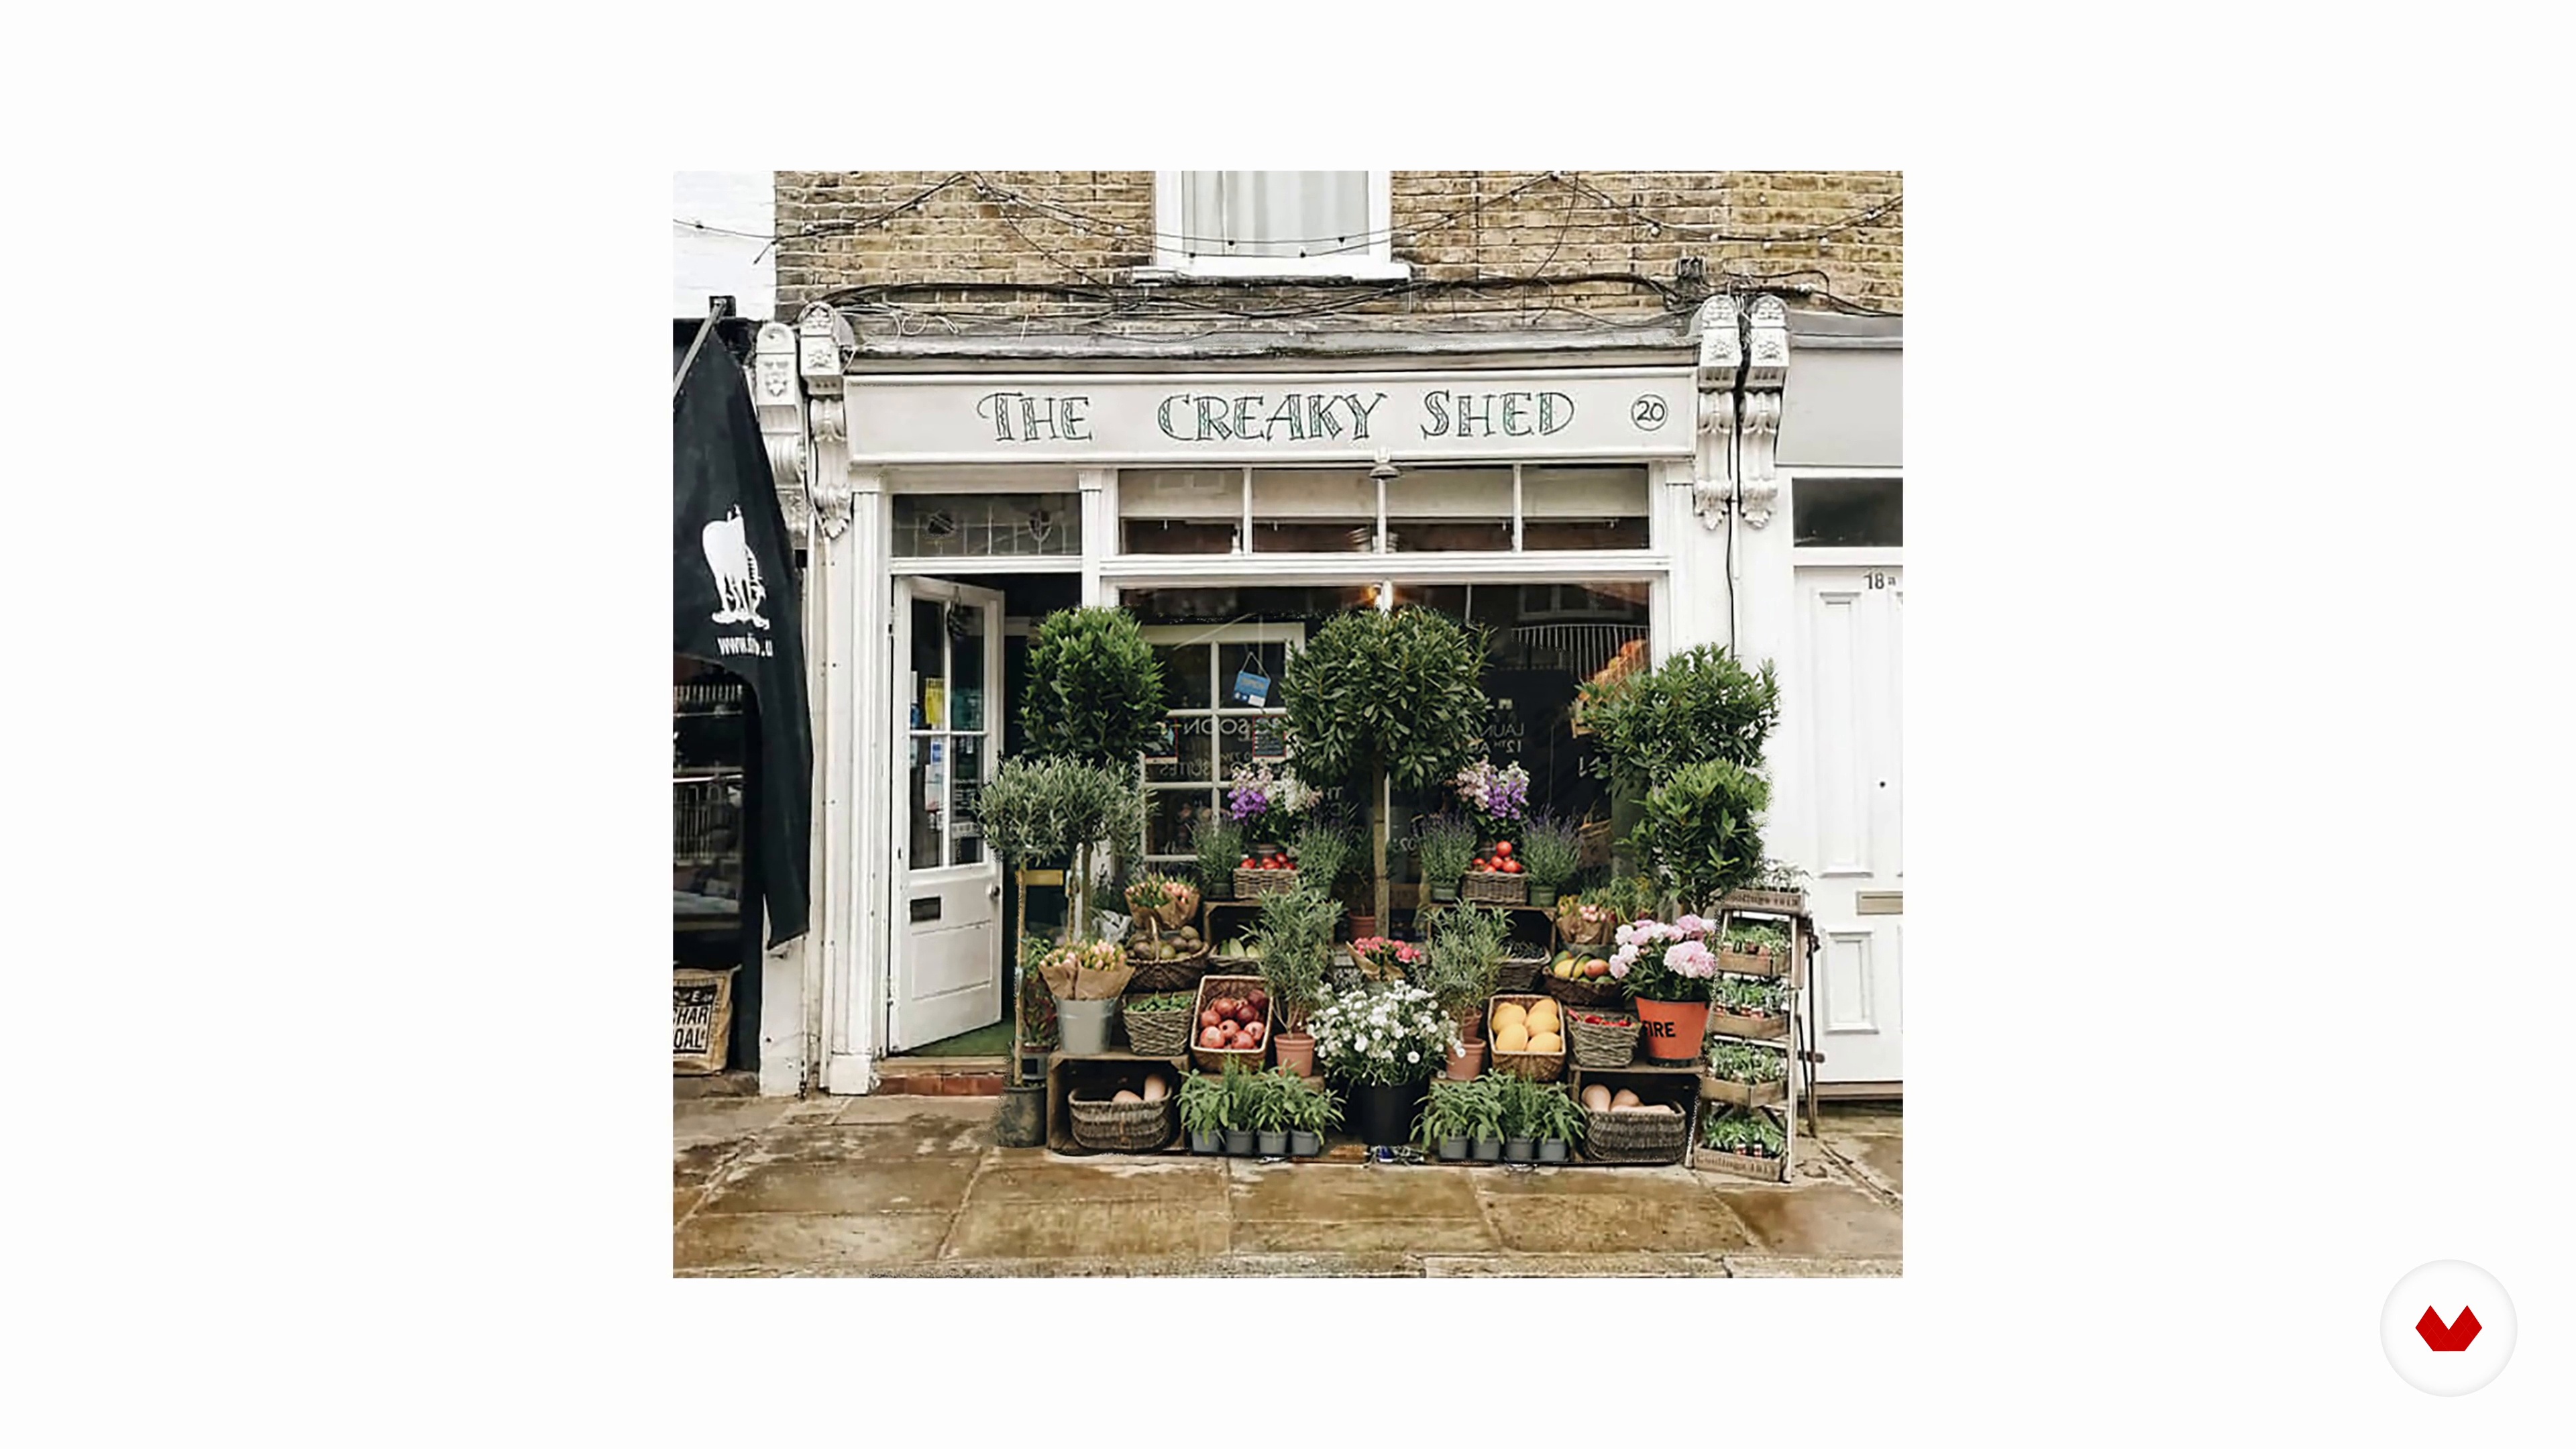
In the first step, you'll take a reference photo and break it down into the simple shapes and forms you want to show.
2m
image
8
The Sketch
Now you'll learn to divide the painting the painting into layers and sketch out your plan. In this stage, you'll create the framework for your artwork to hang on. It’s always better to make changes rather than struggle to fix them later!
8m
image
9
Blocking In with Colour
Next, I'll teach you how to begin by painting the first layer as your background. You'll use the techniques described in the previous lessons to paint the background and the details of the building.
7m
image
10
The Texture 1
This is where you’ll build the texture and direct what you want the viewer to focus on by building the frame and the details to sit upon
17m
image
11
The Texture 2
During this second part of the lesson, I'll continue showing you how to manipulate your brushes to create textures in a dynamic and natural way.
16m
image
12
Adding Details 1
Now that the interior is set up, let’s focus on the details that catch your attention and include them in your artwork to create life, depth, details, and humour to make the most of your artwork and bring it to life!
16m
image
13
Adding Details 2
You'll learn to embellish and exaggerate the elements in your painting to make them as interesting as possible. Besides, this process will help you find your own artistic style!
15m
image
14
Adding Details 3
The very last thing I do is to add the text. I always save this for last because it is the final element to bring all the work together! Therefore, here I'll share the tricks I use to work on the last details.
13m
image
15
Framing Options
Congratulations! Now that you have completed your artwork, in this lesson, I'll talk about how to preserve and frame your artwork
2m
image
16
Sharing Your Artwork
Once you've completed your artwork, photographing it properly is the next step. I’ll share some tips and tricks to take your artwork into the world! Besides, I'll give you an insight into being a professional artist.
6m
image
1
Materials and Workspace
In this lesson, I will cover the materials and supplies you will need to get your course project started. You will learn how to set up an effective workspace ready to start painting.
4m
image
2
The Basic Color Wheel 1
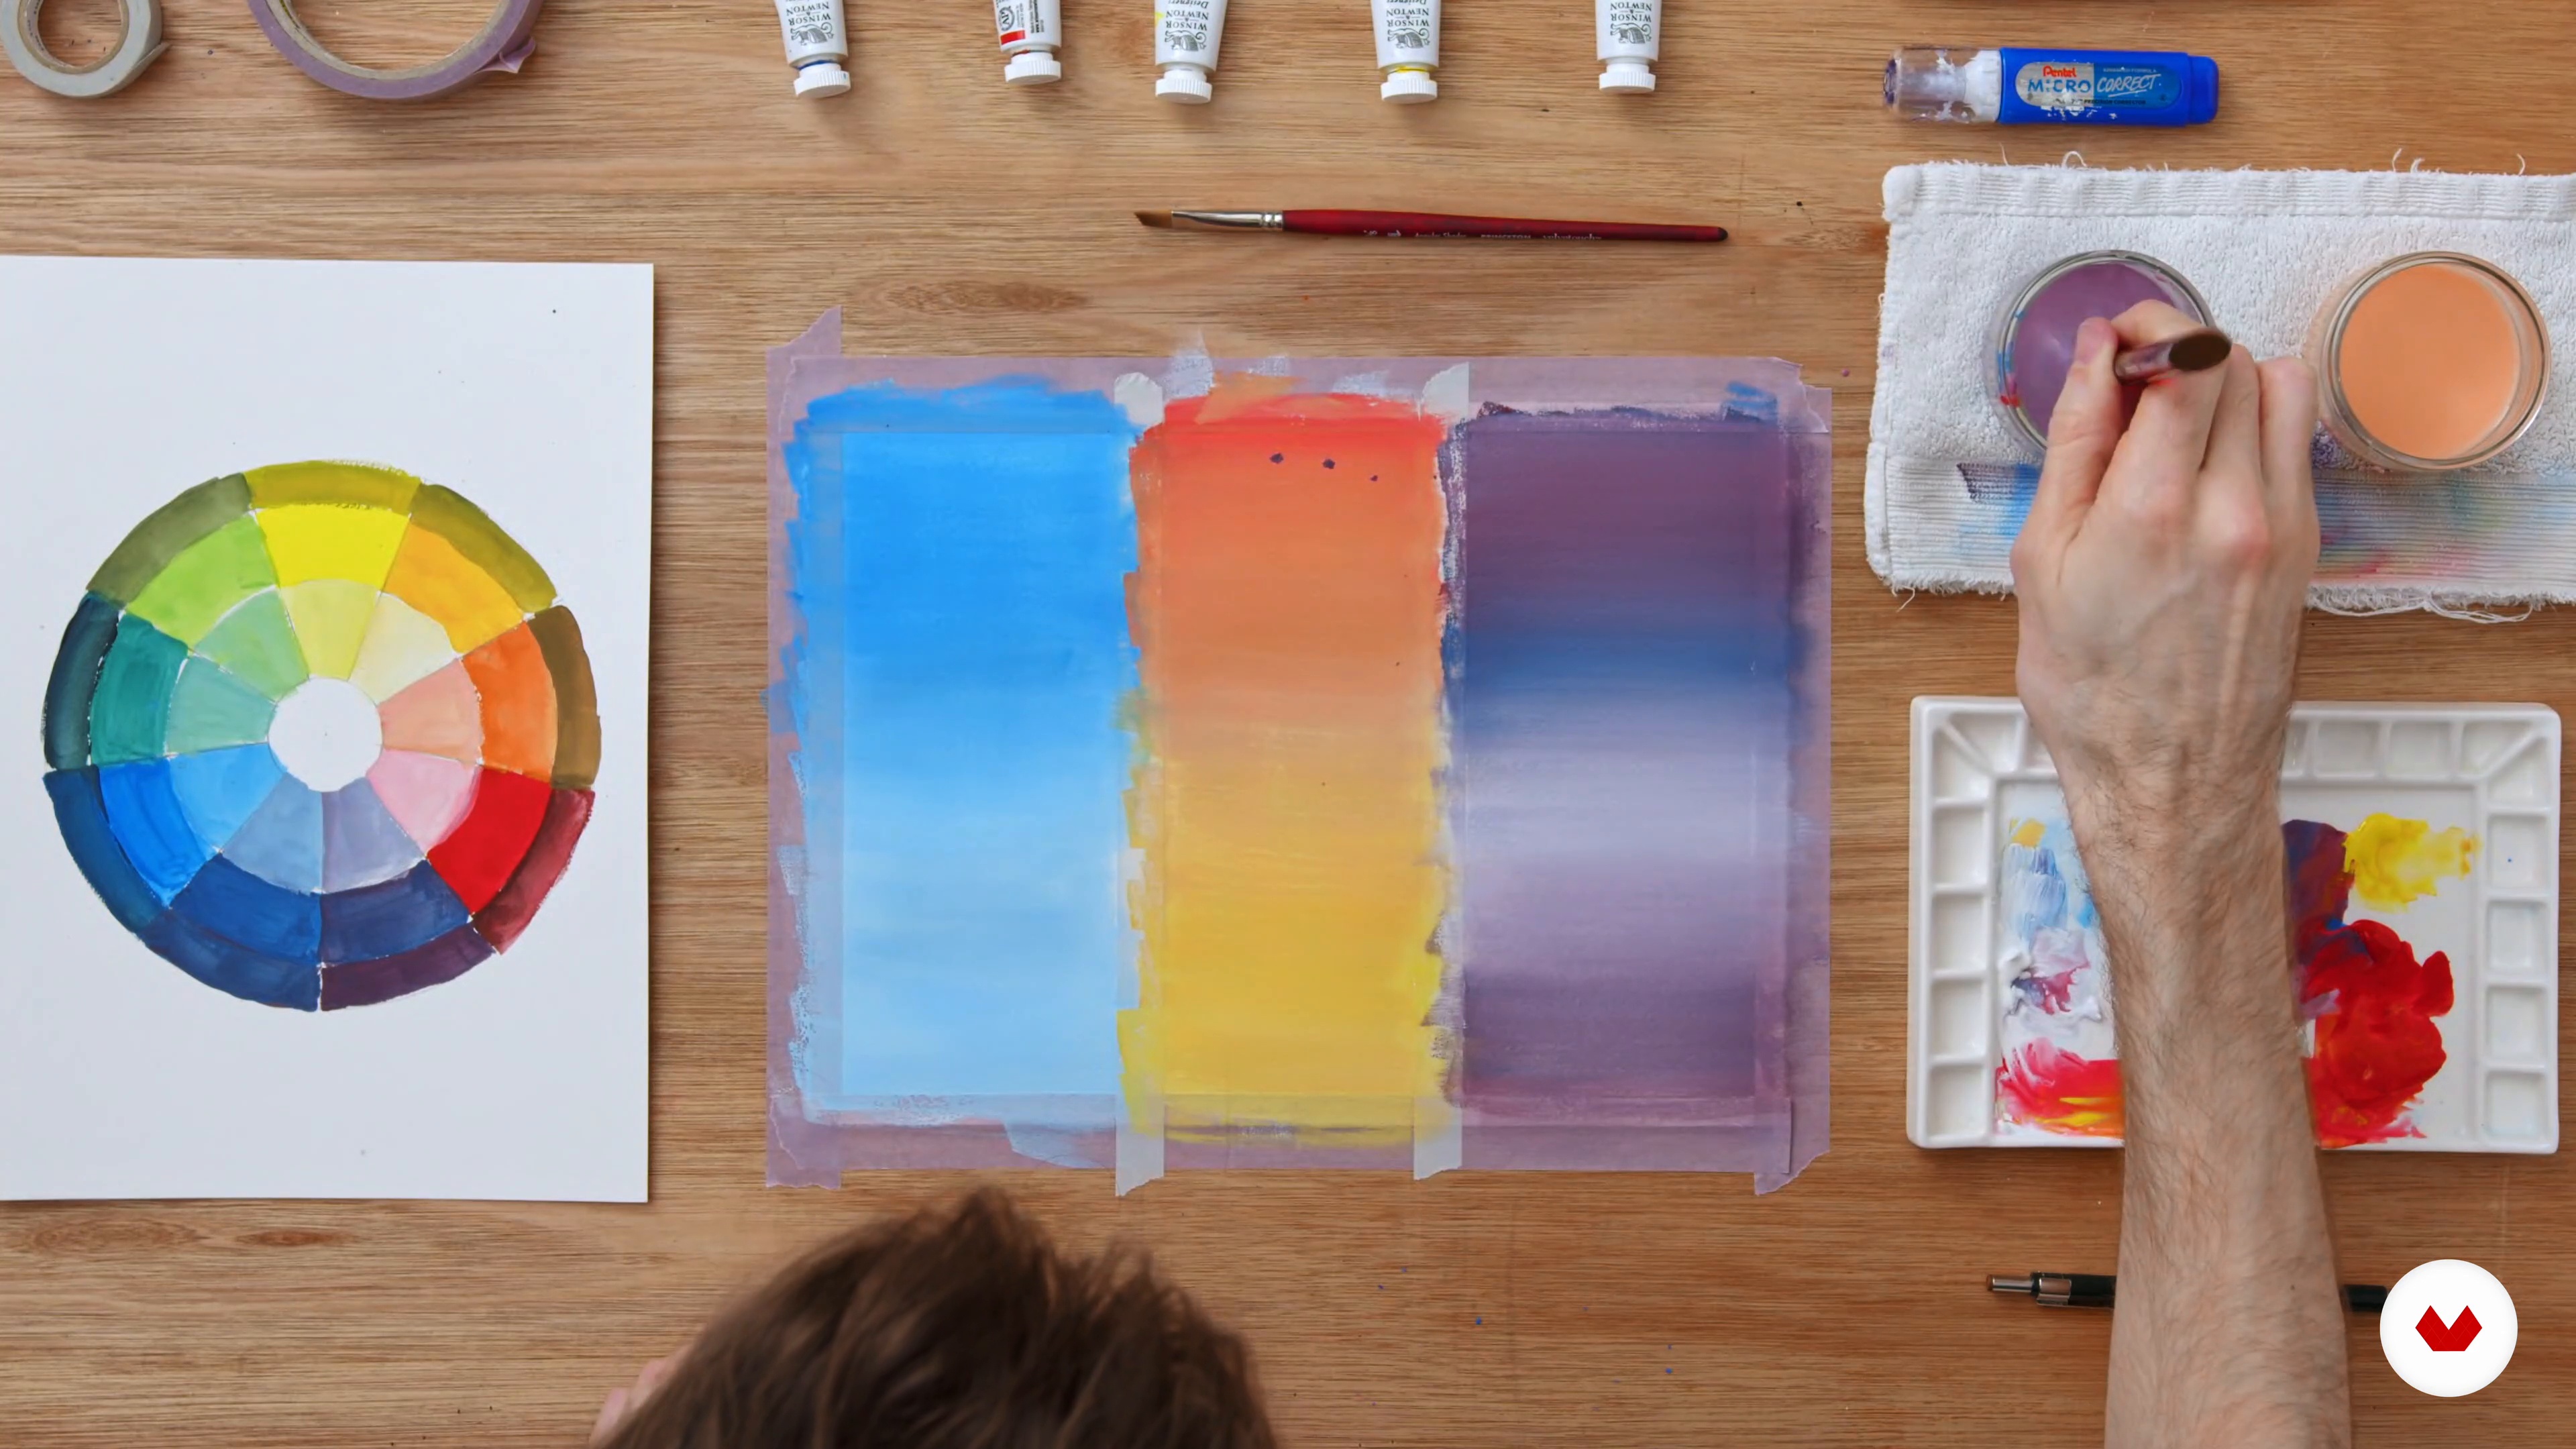
Next, I will give an overview of the basic color wheel and mix each of the colors on it—you will see how the traditional primaries of red, blue, and yellow aren't necessarily set in stone. I will then discuss various related terms such as chroma, split complementaries, triads, and tetrads. Once we've covered the foundations, you will create complementary color strips. I will teach you how to effectively apply the concept of local color as well as the colors that surround it.
17m
image
3
The Basic Color Wheel 2
In the second part of this lesson, I will continue to develop my color strip, moving from yellow to blue. After, you will learn how to make a cool and warm mixture of black.
13m
image
4
Color Relativity
Colors in the natural world interact and relate to each other in different ways. In this lesson, I will explain this further, touching on how lighting conditions also come into play. After, I will explain the concept of local color—which is the color that we understand an object to be—and discuss how, more often than not, the color that is used to paint with is almost always different.
6m
image
5
Inspiration, Reference on Location, and Composition
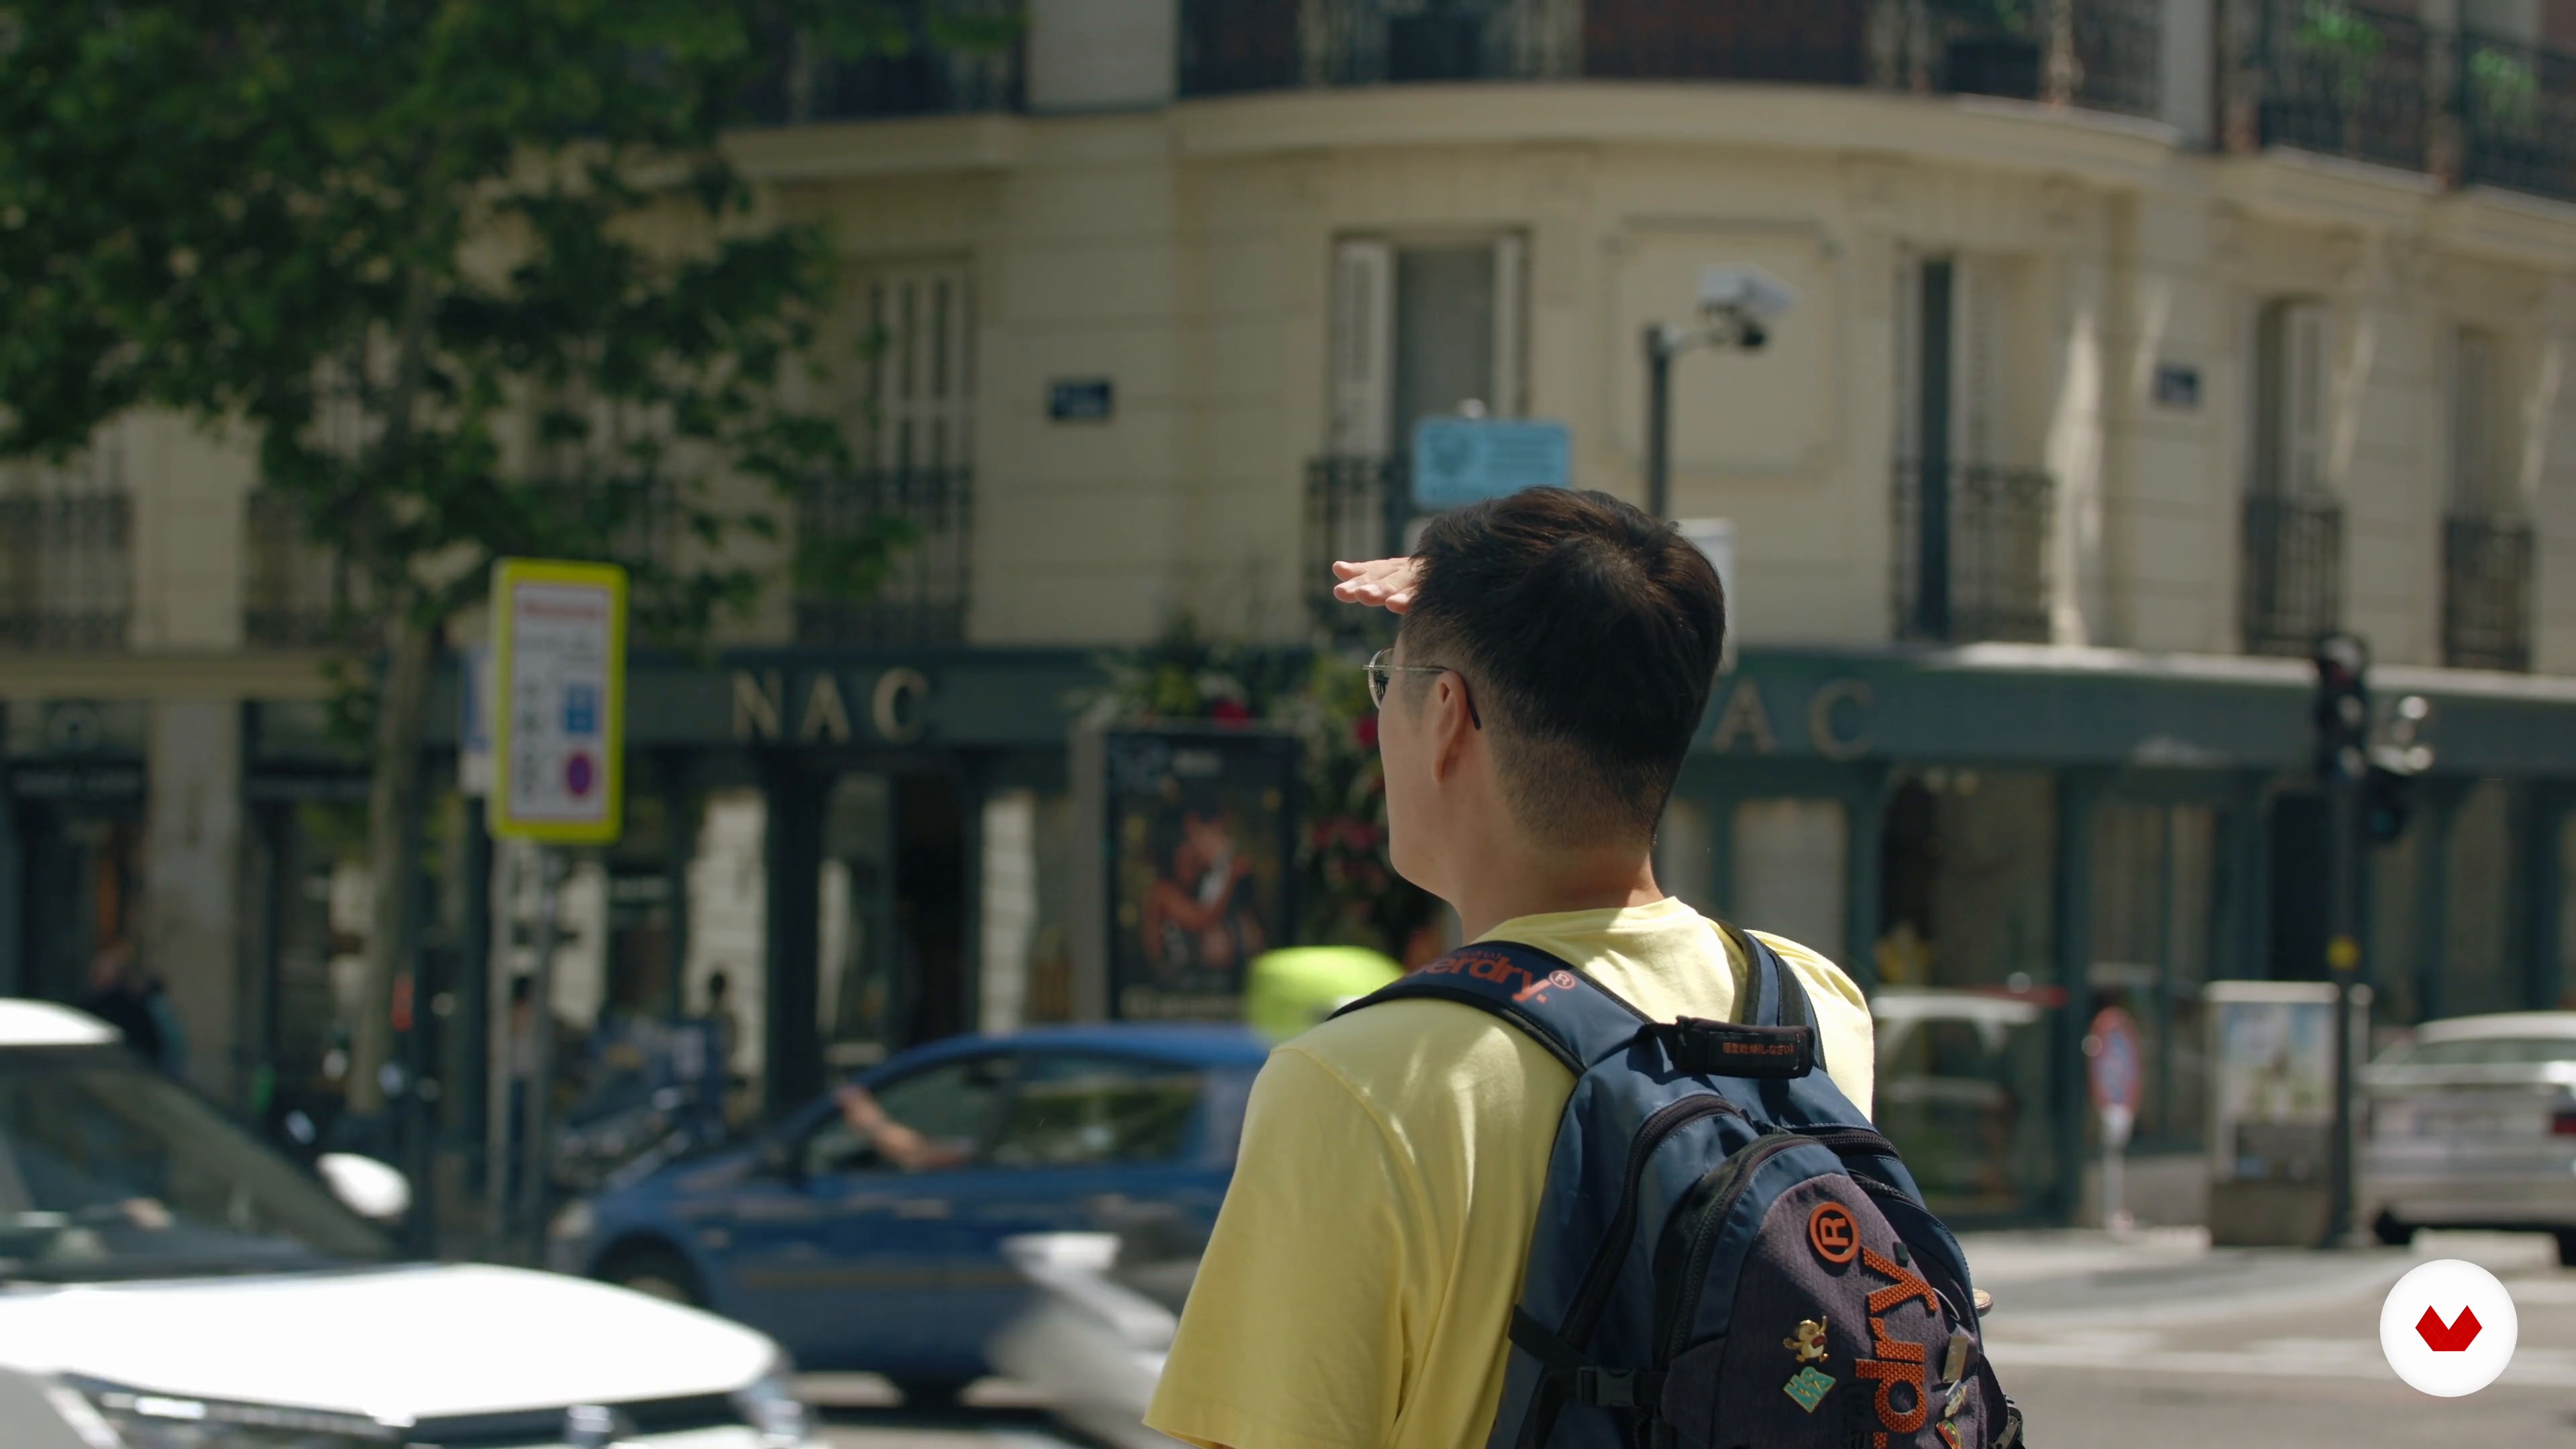
In this lesson, you will learn the basics of how to get the best photos from the tools you already have. I will show you how I use my smartphone discreetly in order to capture authentic moments that I use for my paintings.
4m
image
6
Photo Selection and Thumbnails
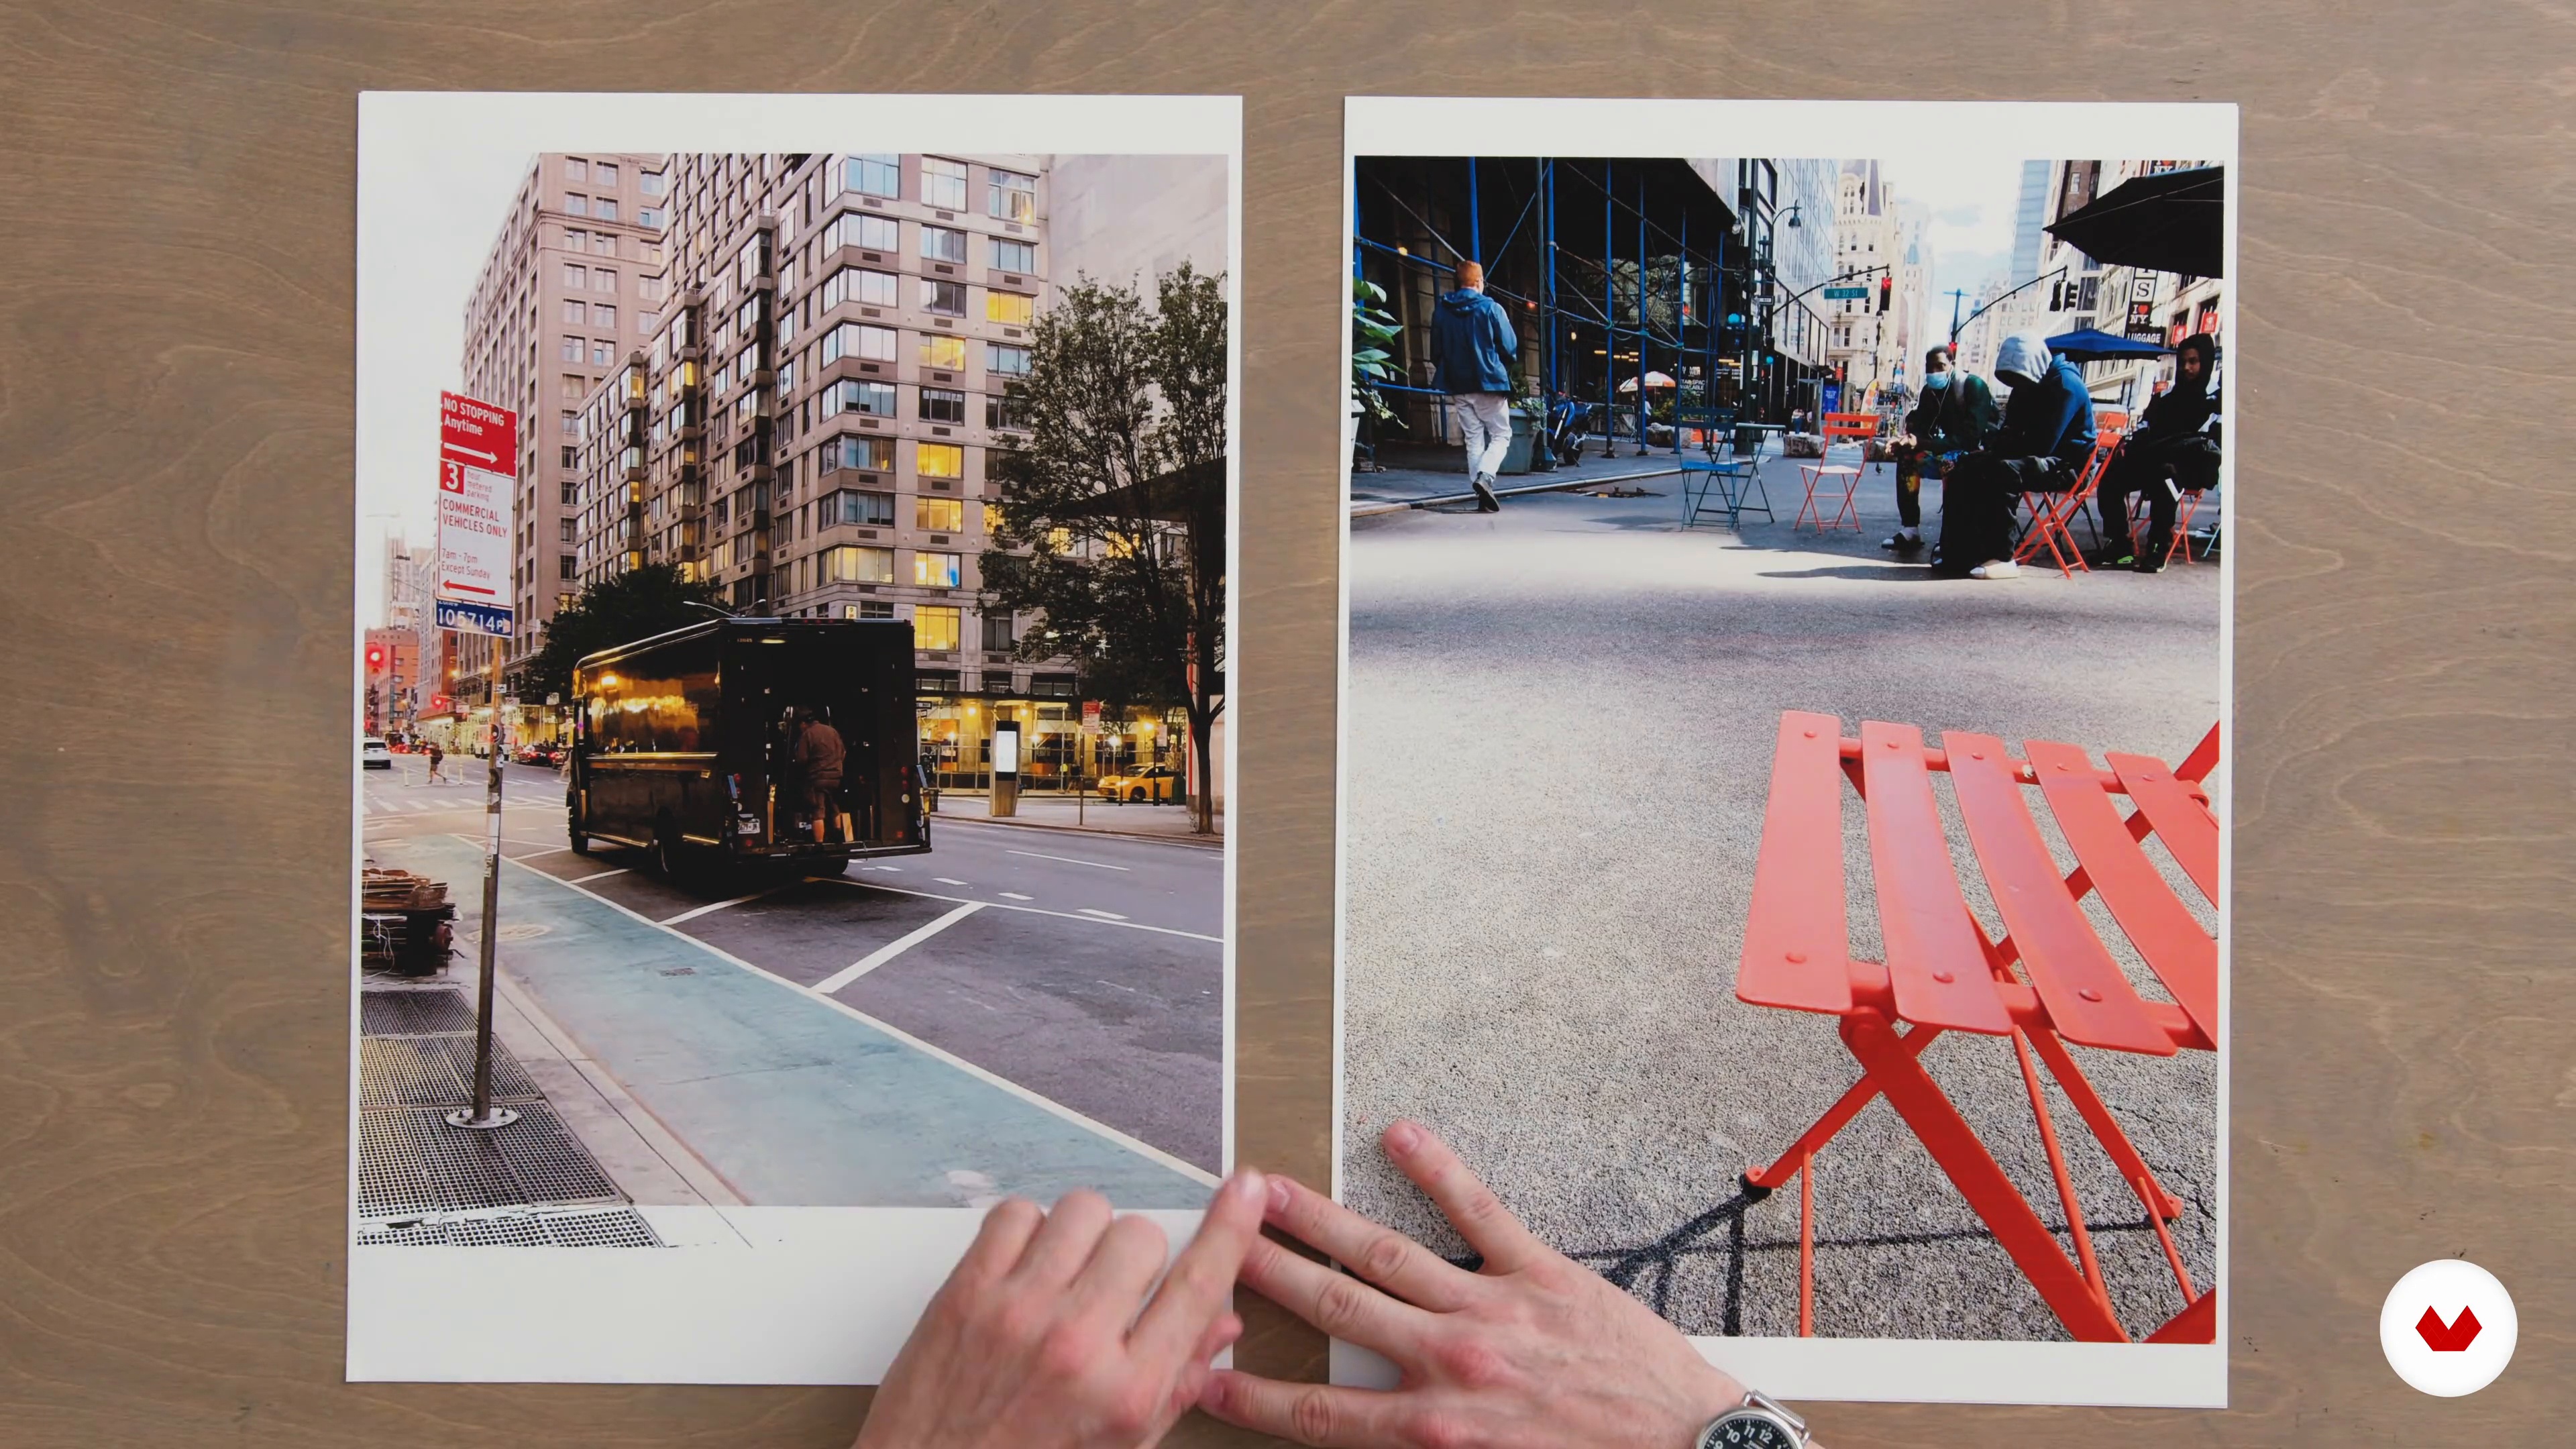
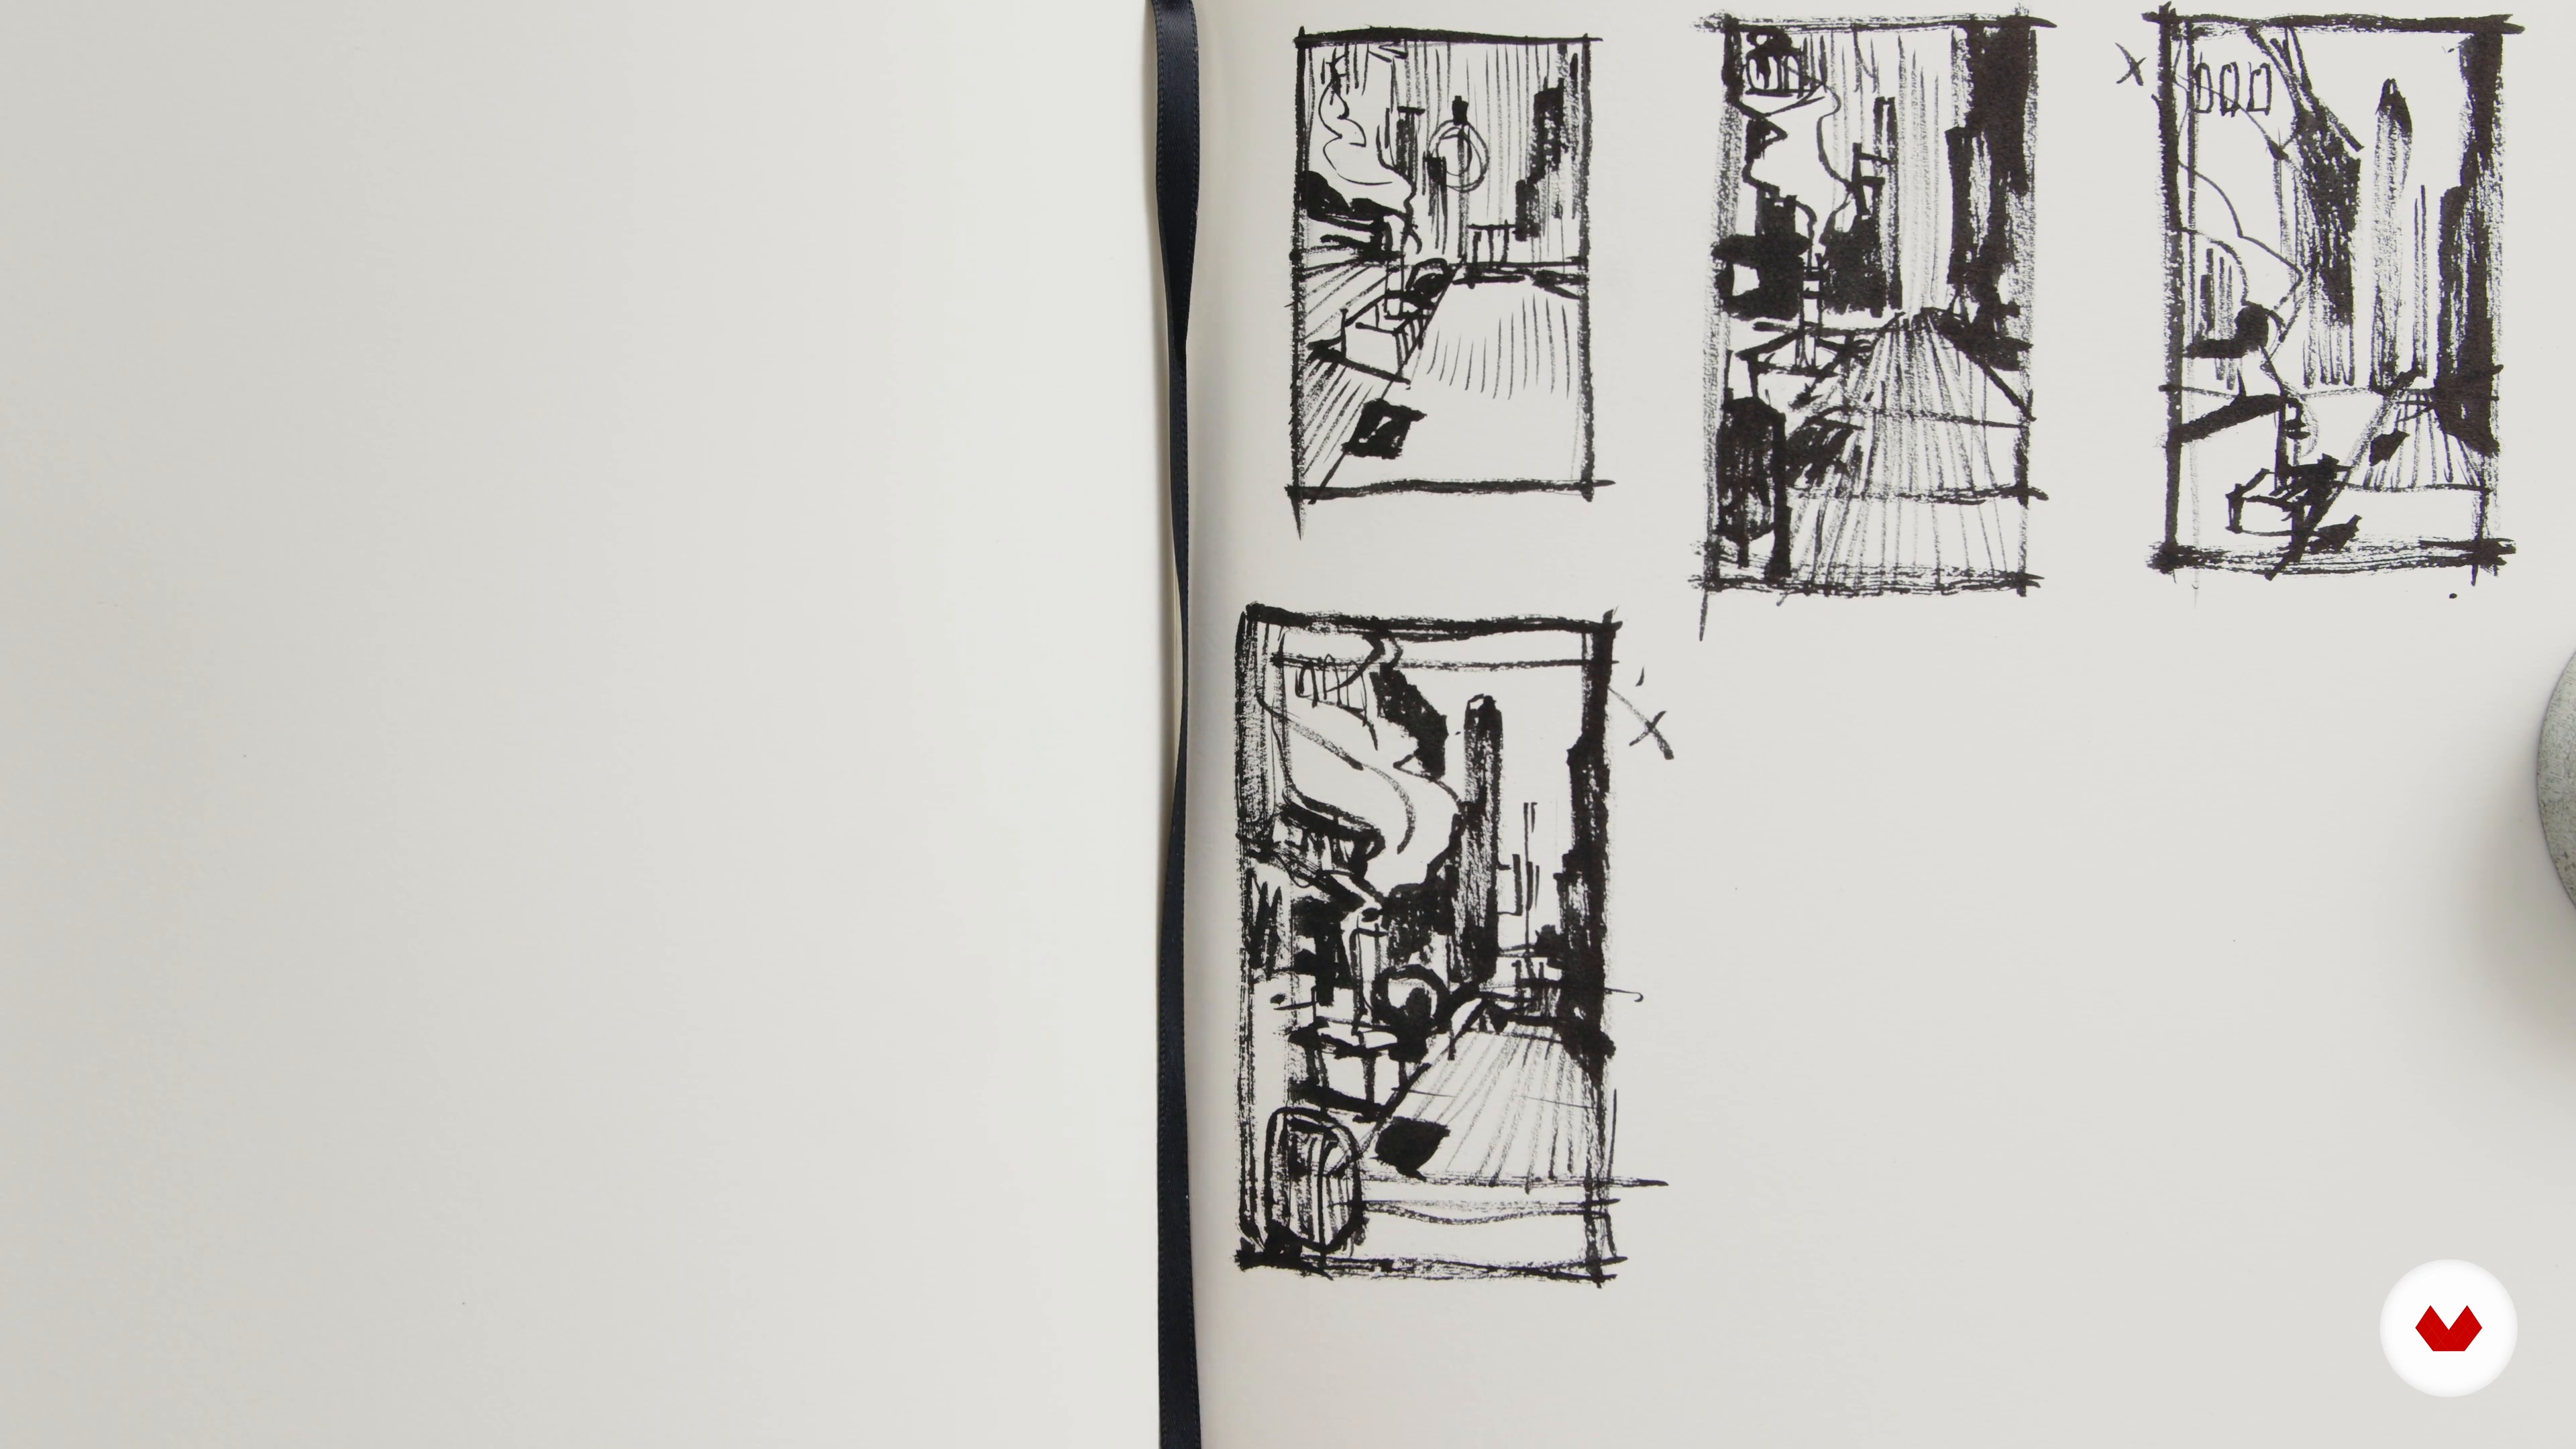
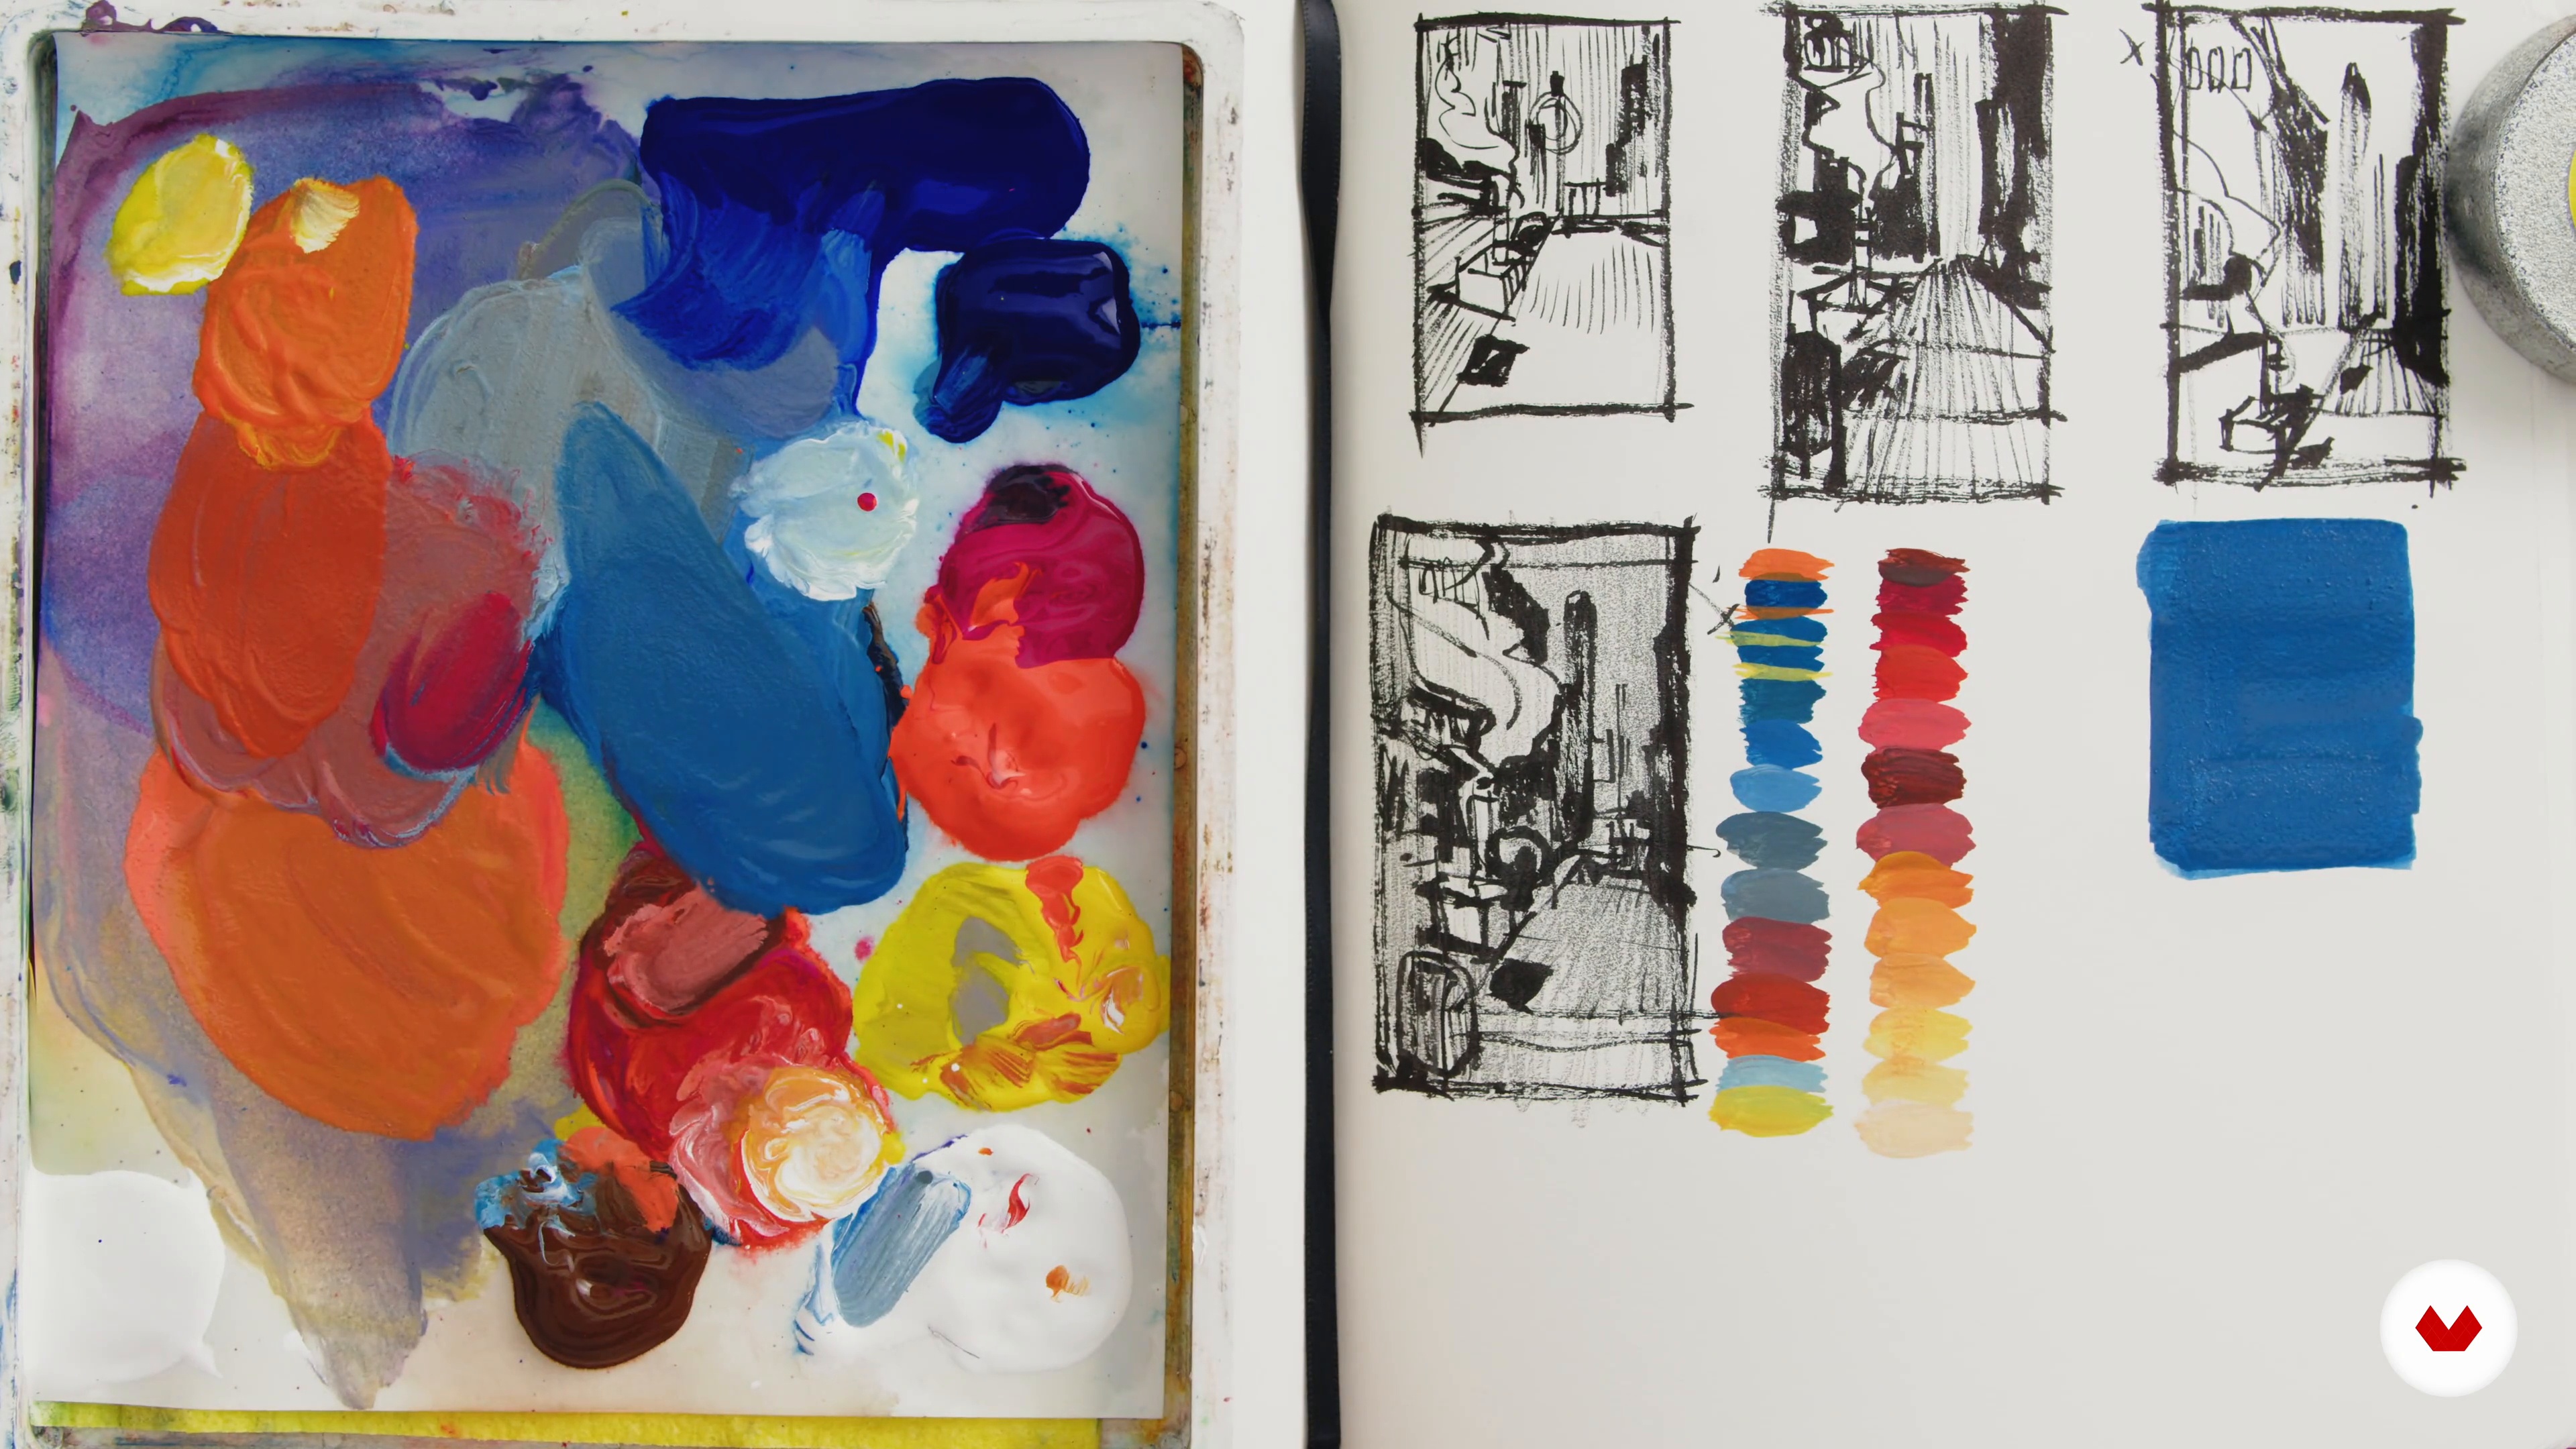
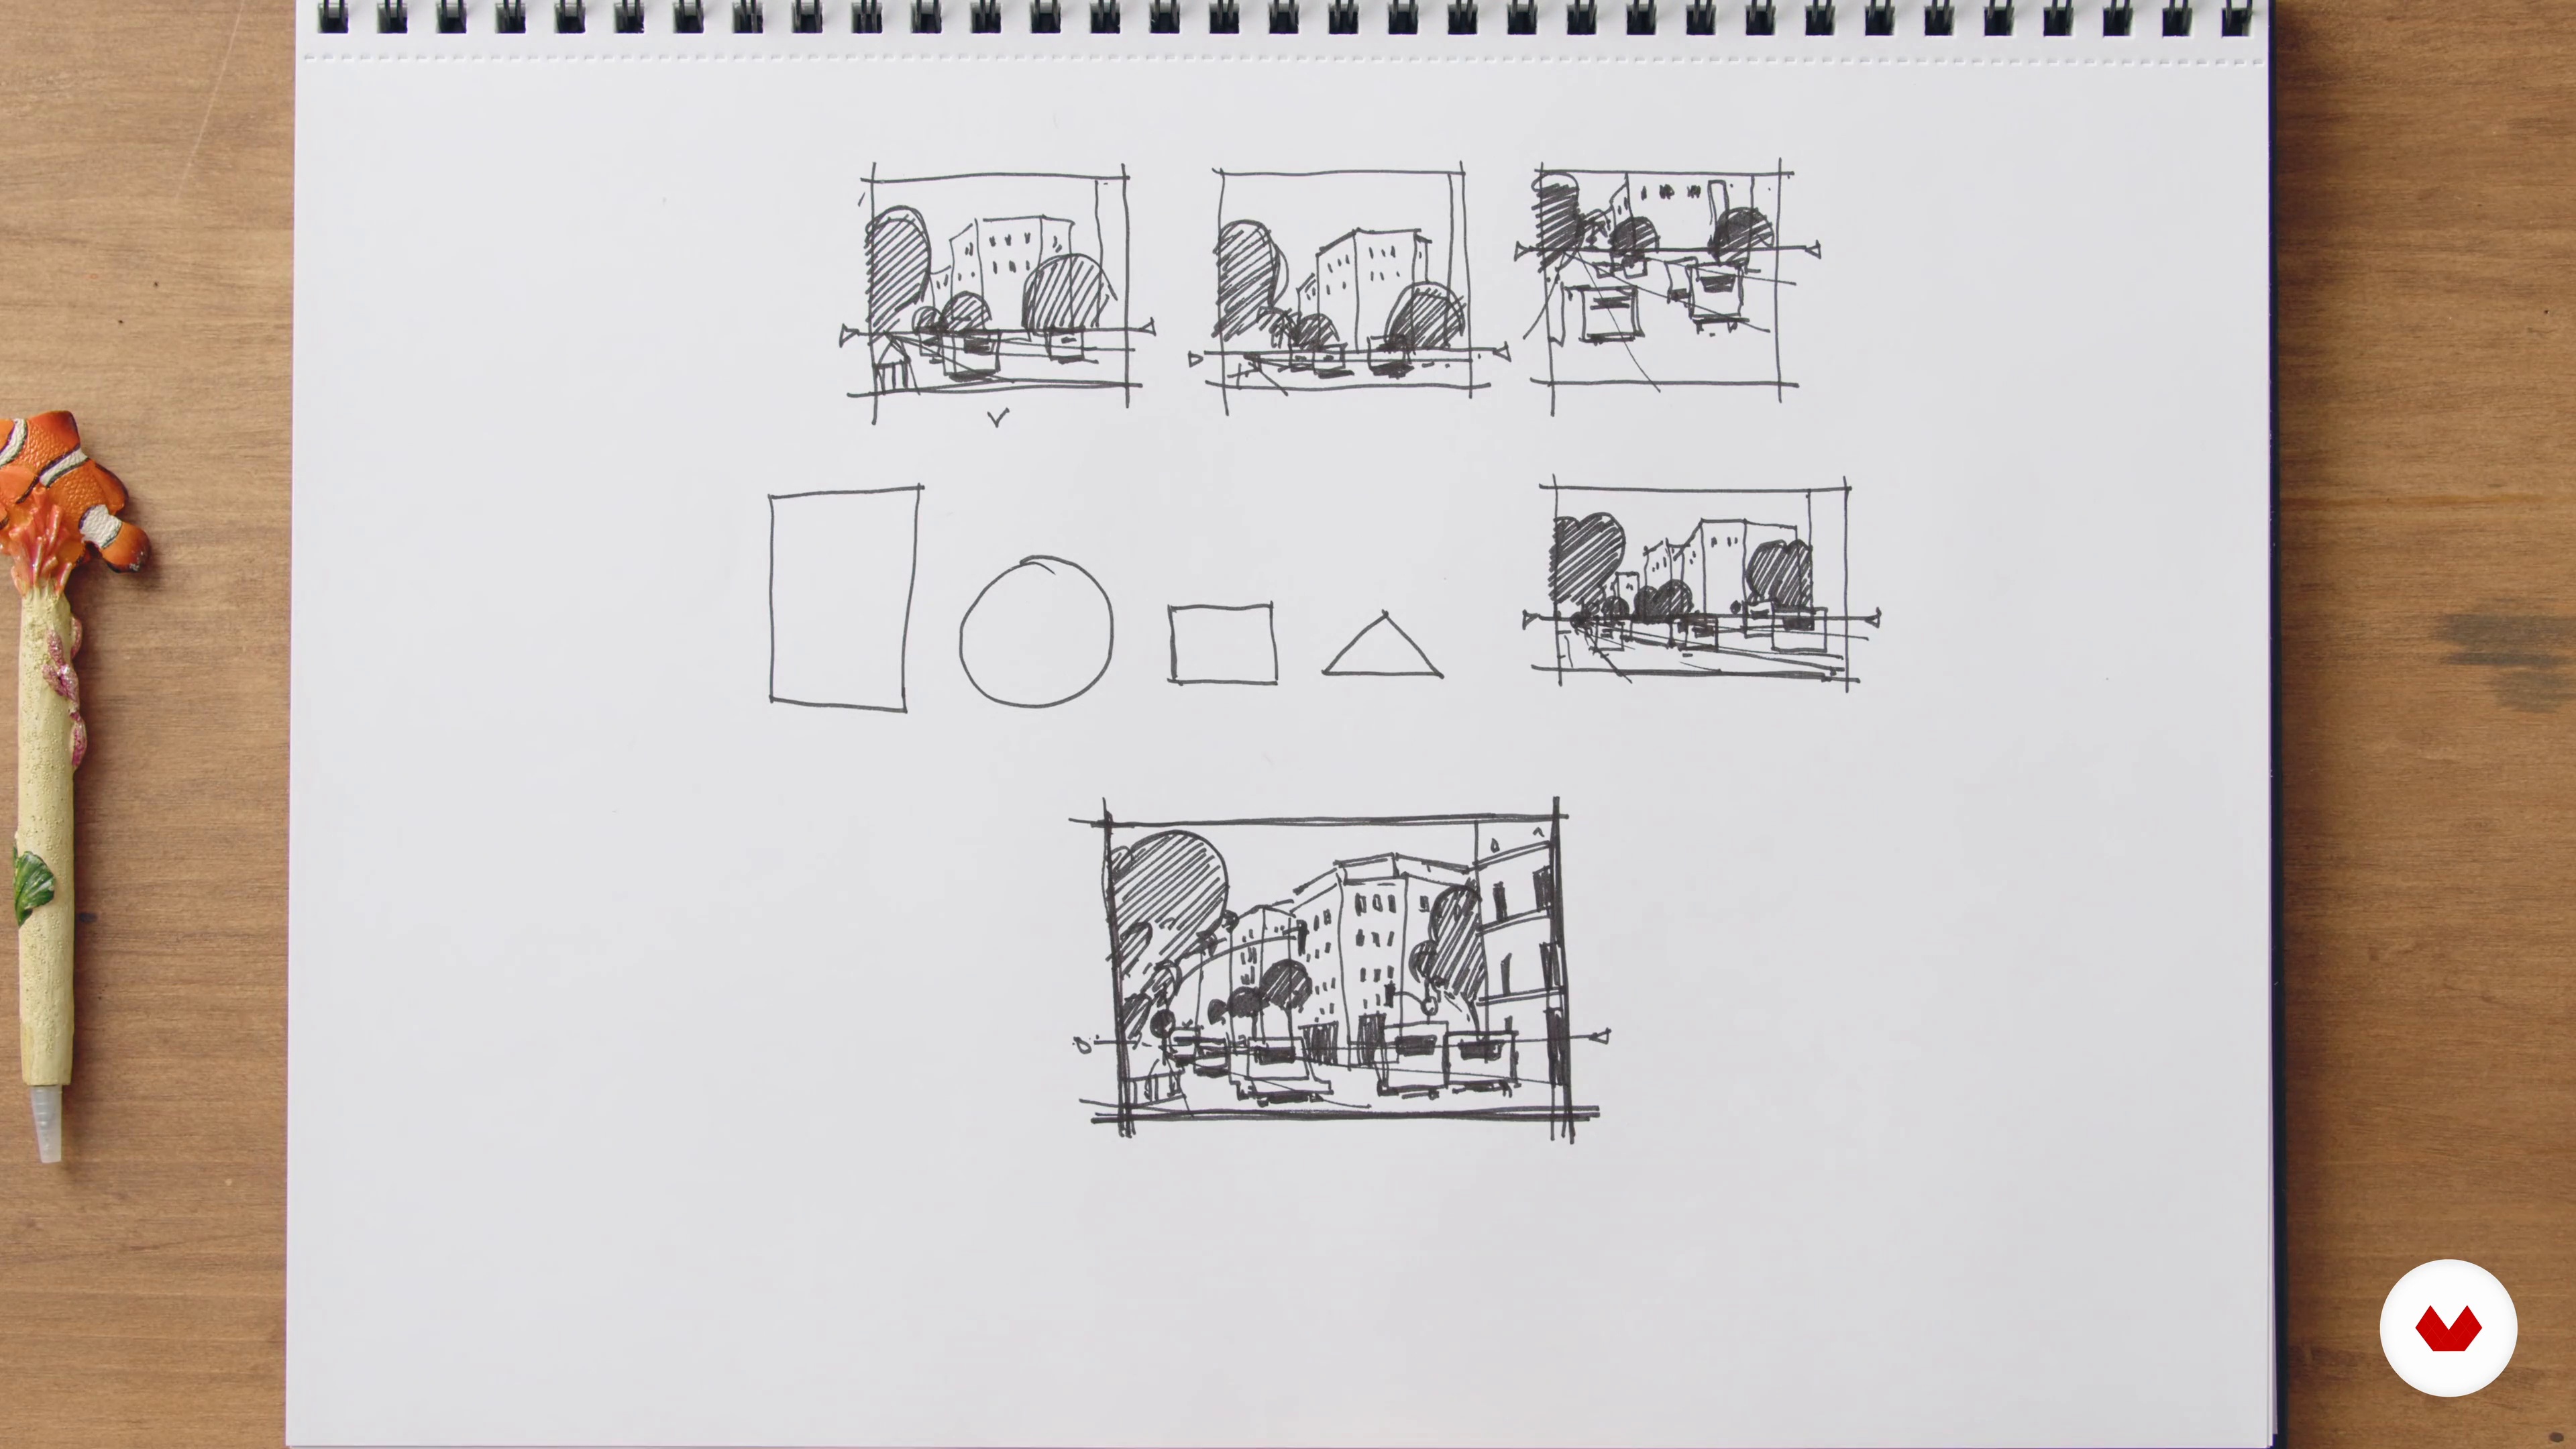
Next, you will choose and print out the photo (or photos) to use for your course project. To help you define the qualities that determine a strong reference photo, I will talk you through four of my own selected photos. Above all, I suggest you select the images that inspire you and kindle a desire to paint an illustration that captures those moments. Once you've selected your reference photos, the next step is to sketch out some thumbnails. I will demonstrate how I approach this process. This exercise will help you to clarify the key details before you paint.
12m
image
7
Value Grouping and Limited Color Palettes
This lesson will cover value grouping, color relativity, and limited color palettes. I will share with you how to create a variety of moods for your paintings by utilizing limited color palettes. To assist you, you will learn how to create a color key for your piece. I will explore this process in more detail by demonstrating two different color palettes in order to highlight how each color scheme can convey various feelings or moods.
9m
image
8
Color Studies
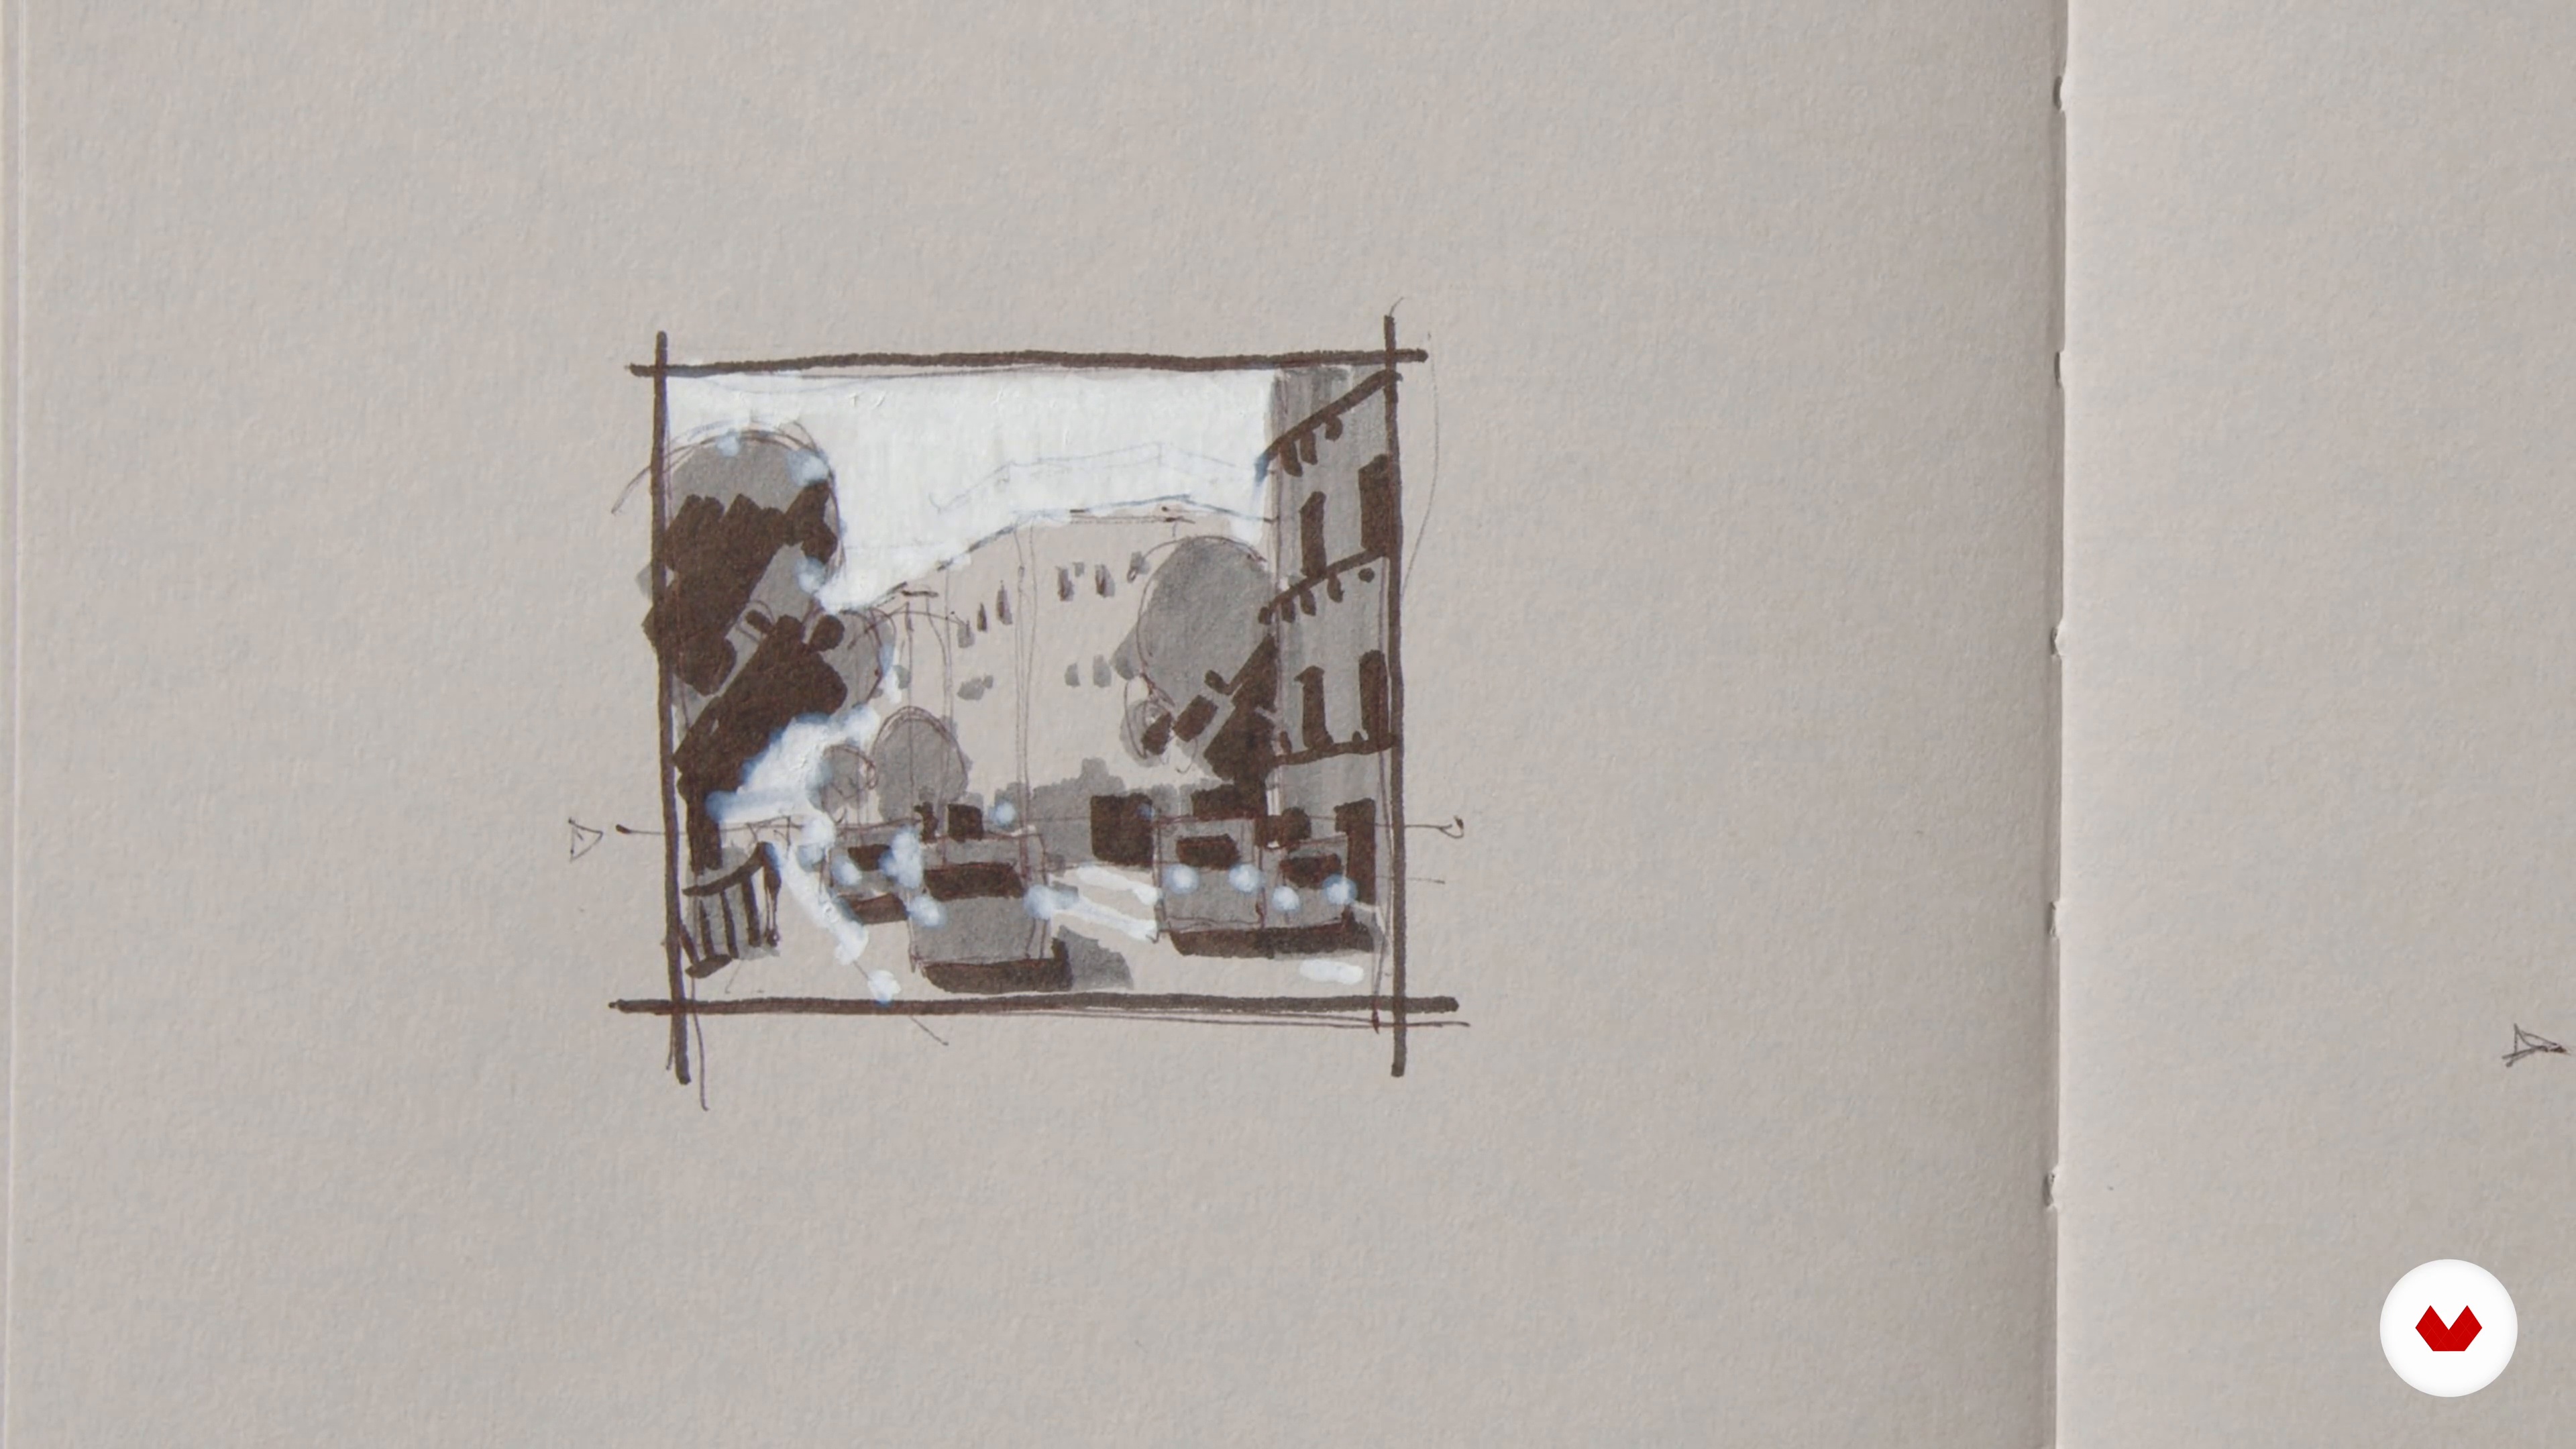
To conclude this unit, you will create a variety of value drawings and choose your color scheme for the course project. This process will ensure that your final composition is harmonized in terms of lines, color, shade, and light. To guide you, I will use the two color palettes I created in the previous lesson to develop color studies for my own project. The aim of this step is to pinpoint which color dynamics you want to use.
14m
image
9
Painting the Project 1
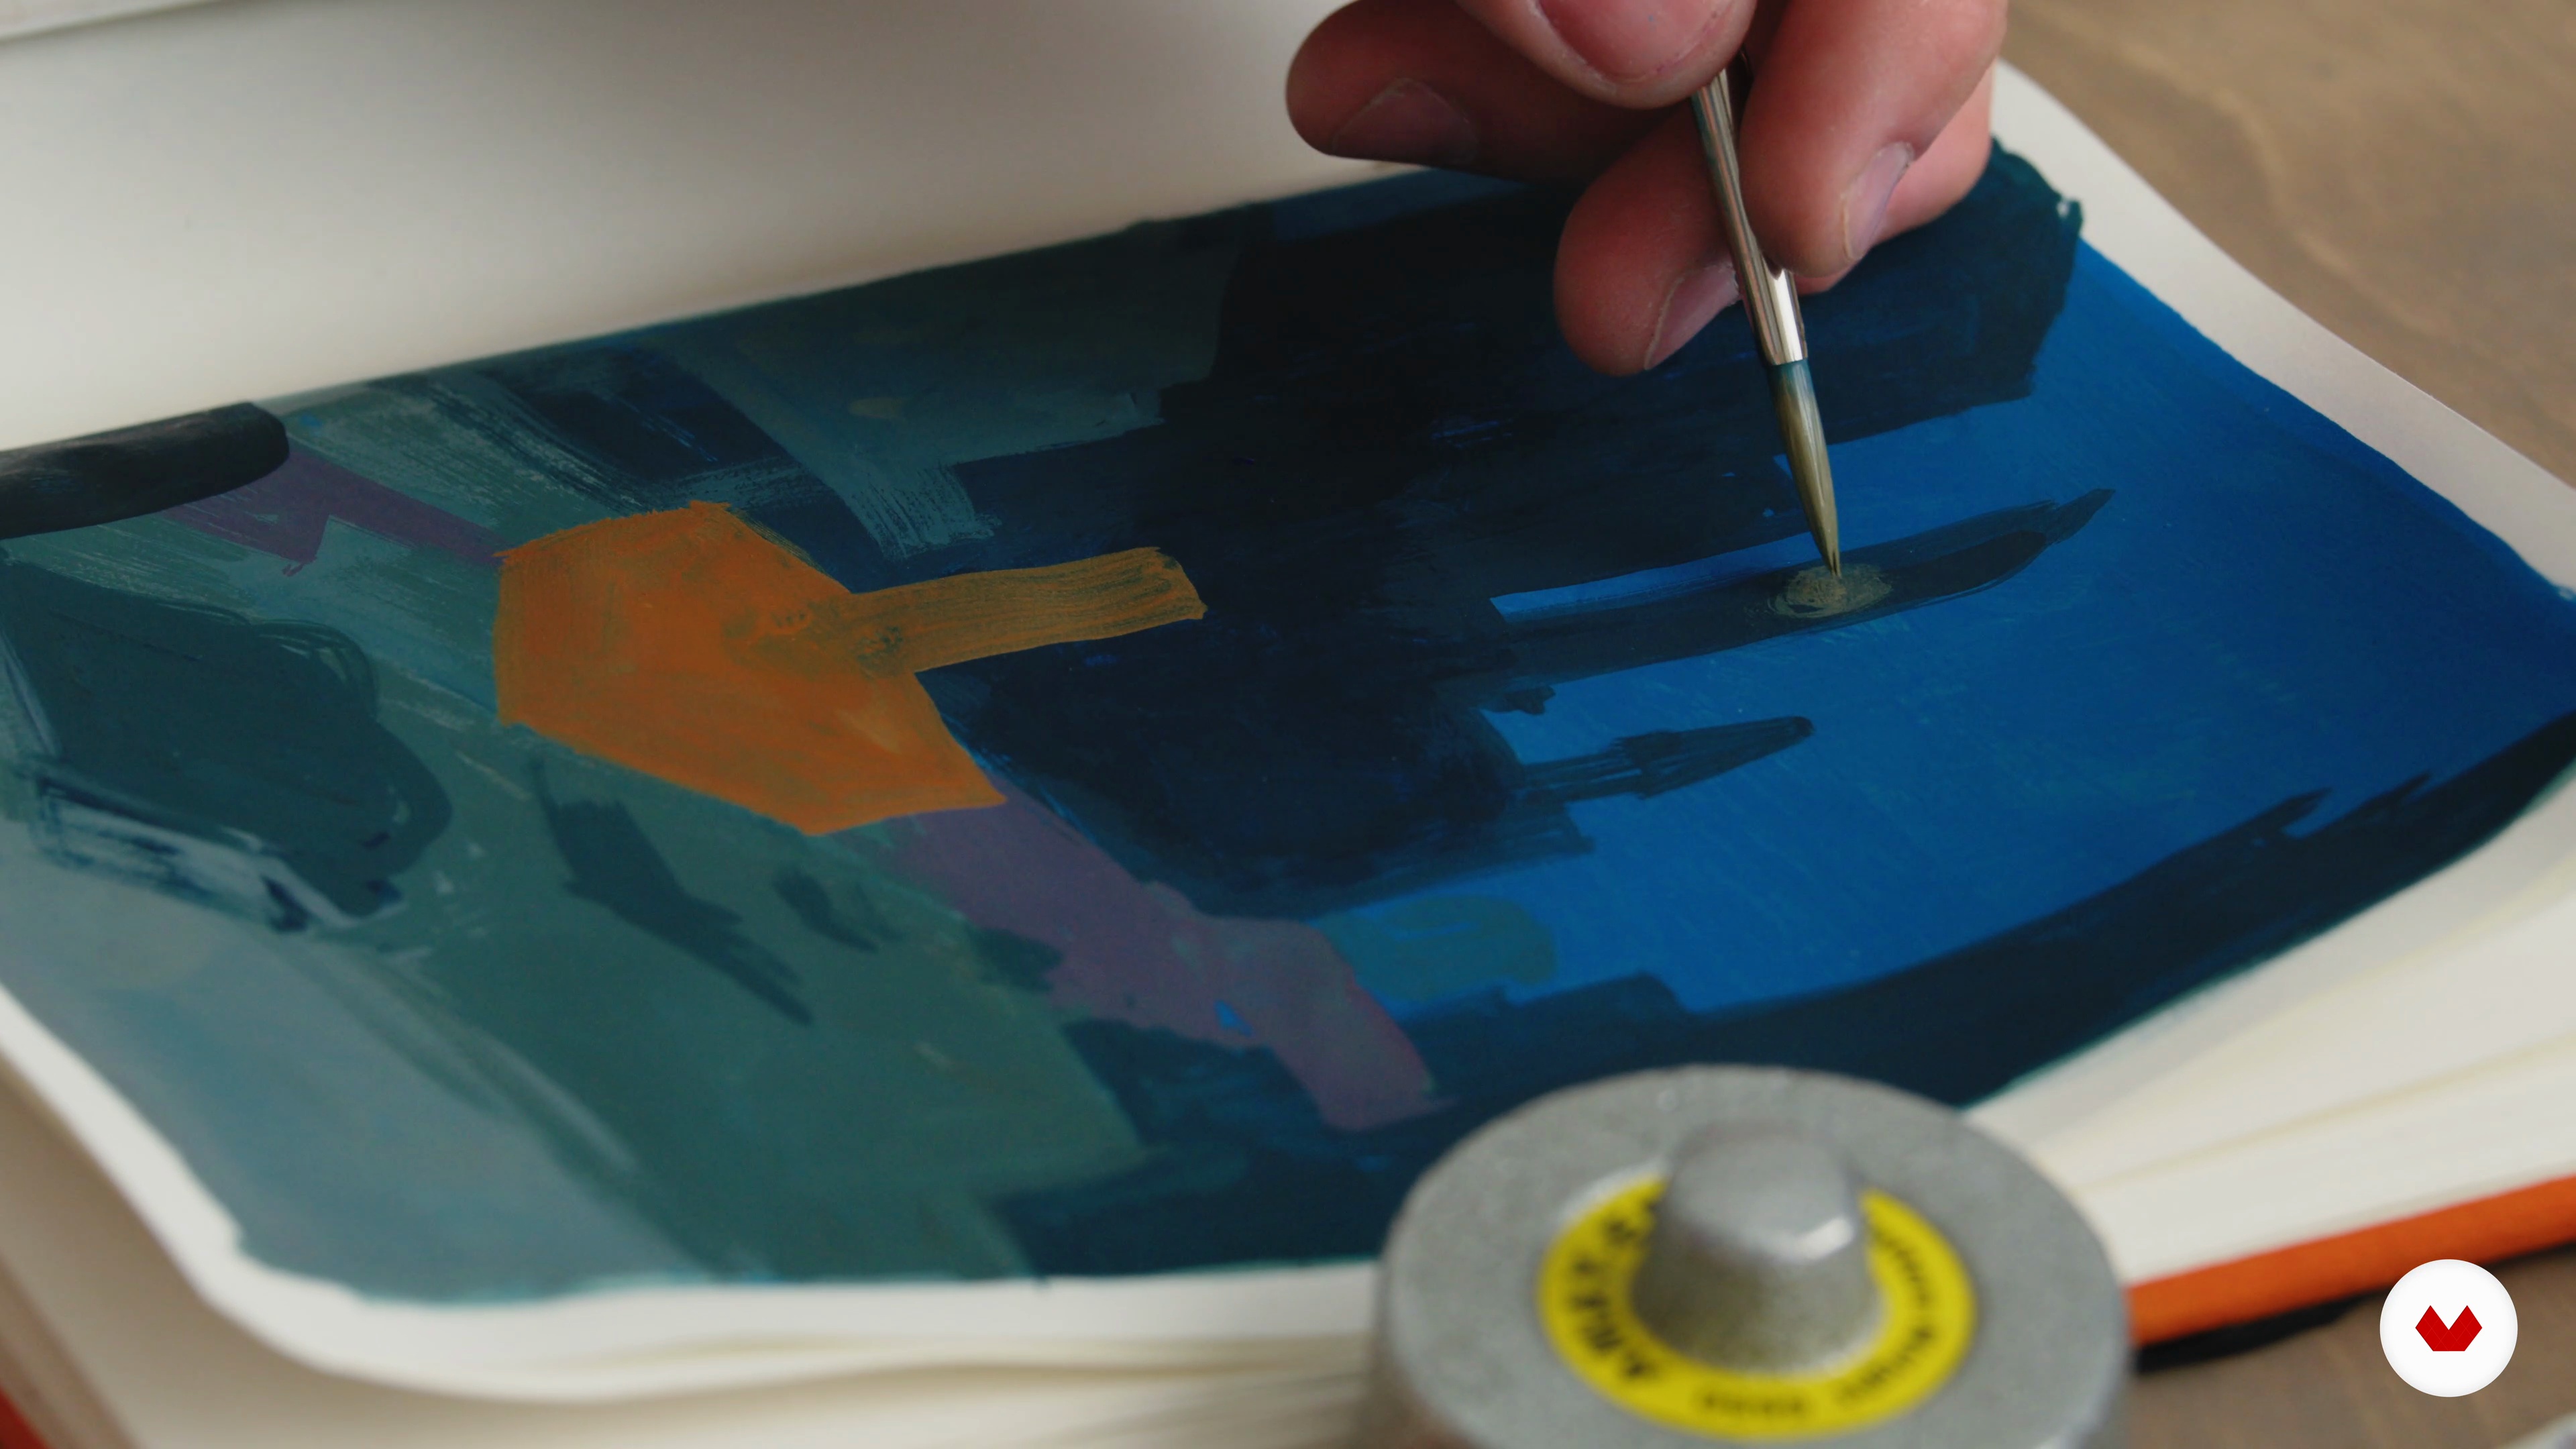
Now that you've chosen a color scheme from your practice color studies and have a clear idea of your composition, the time has finally come to paint your course project! This process will begin by establishing the underpainting based on the reference photo. I will show you how to block in the main colors and shapes of the composition, before progressing to the details. At this stage, it's important to view the painting in an abstract light—focusing on aspects such as shape language, shape design, the relationship of smaller objects to larger objects, as well as value construction.
20m
image
10
Painting the Project 2
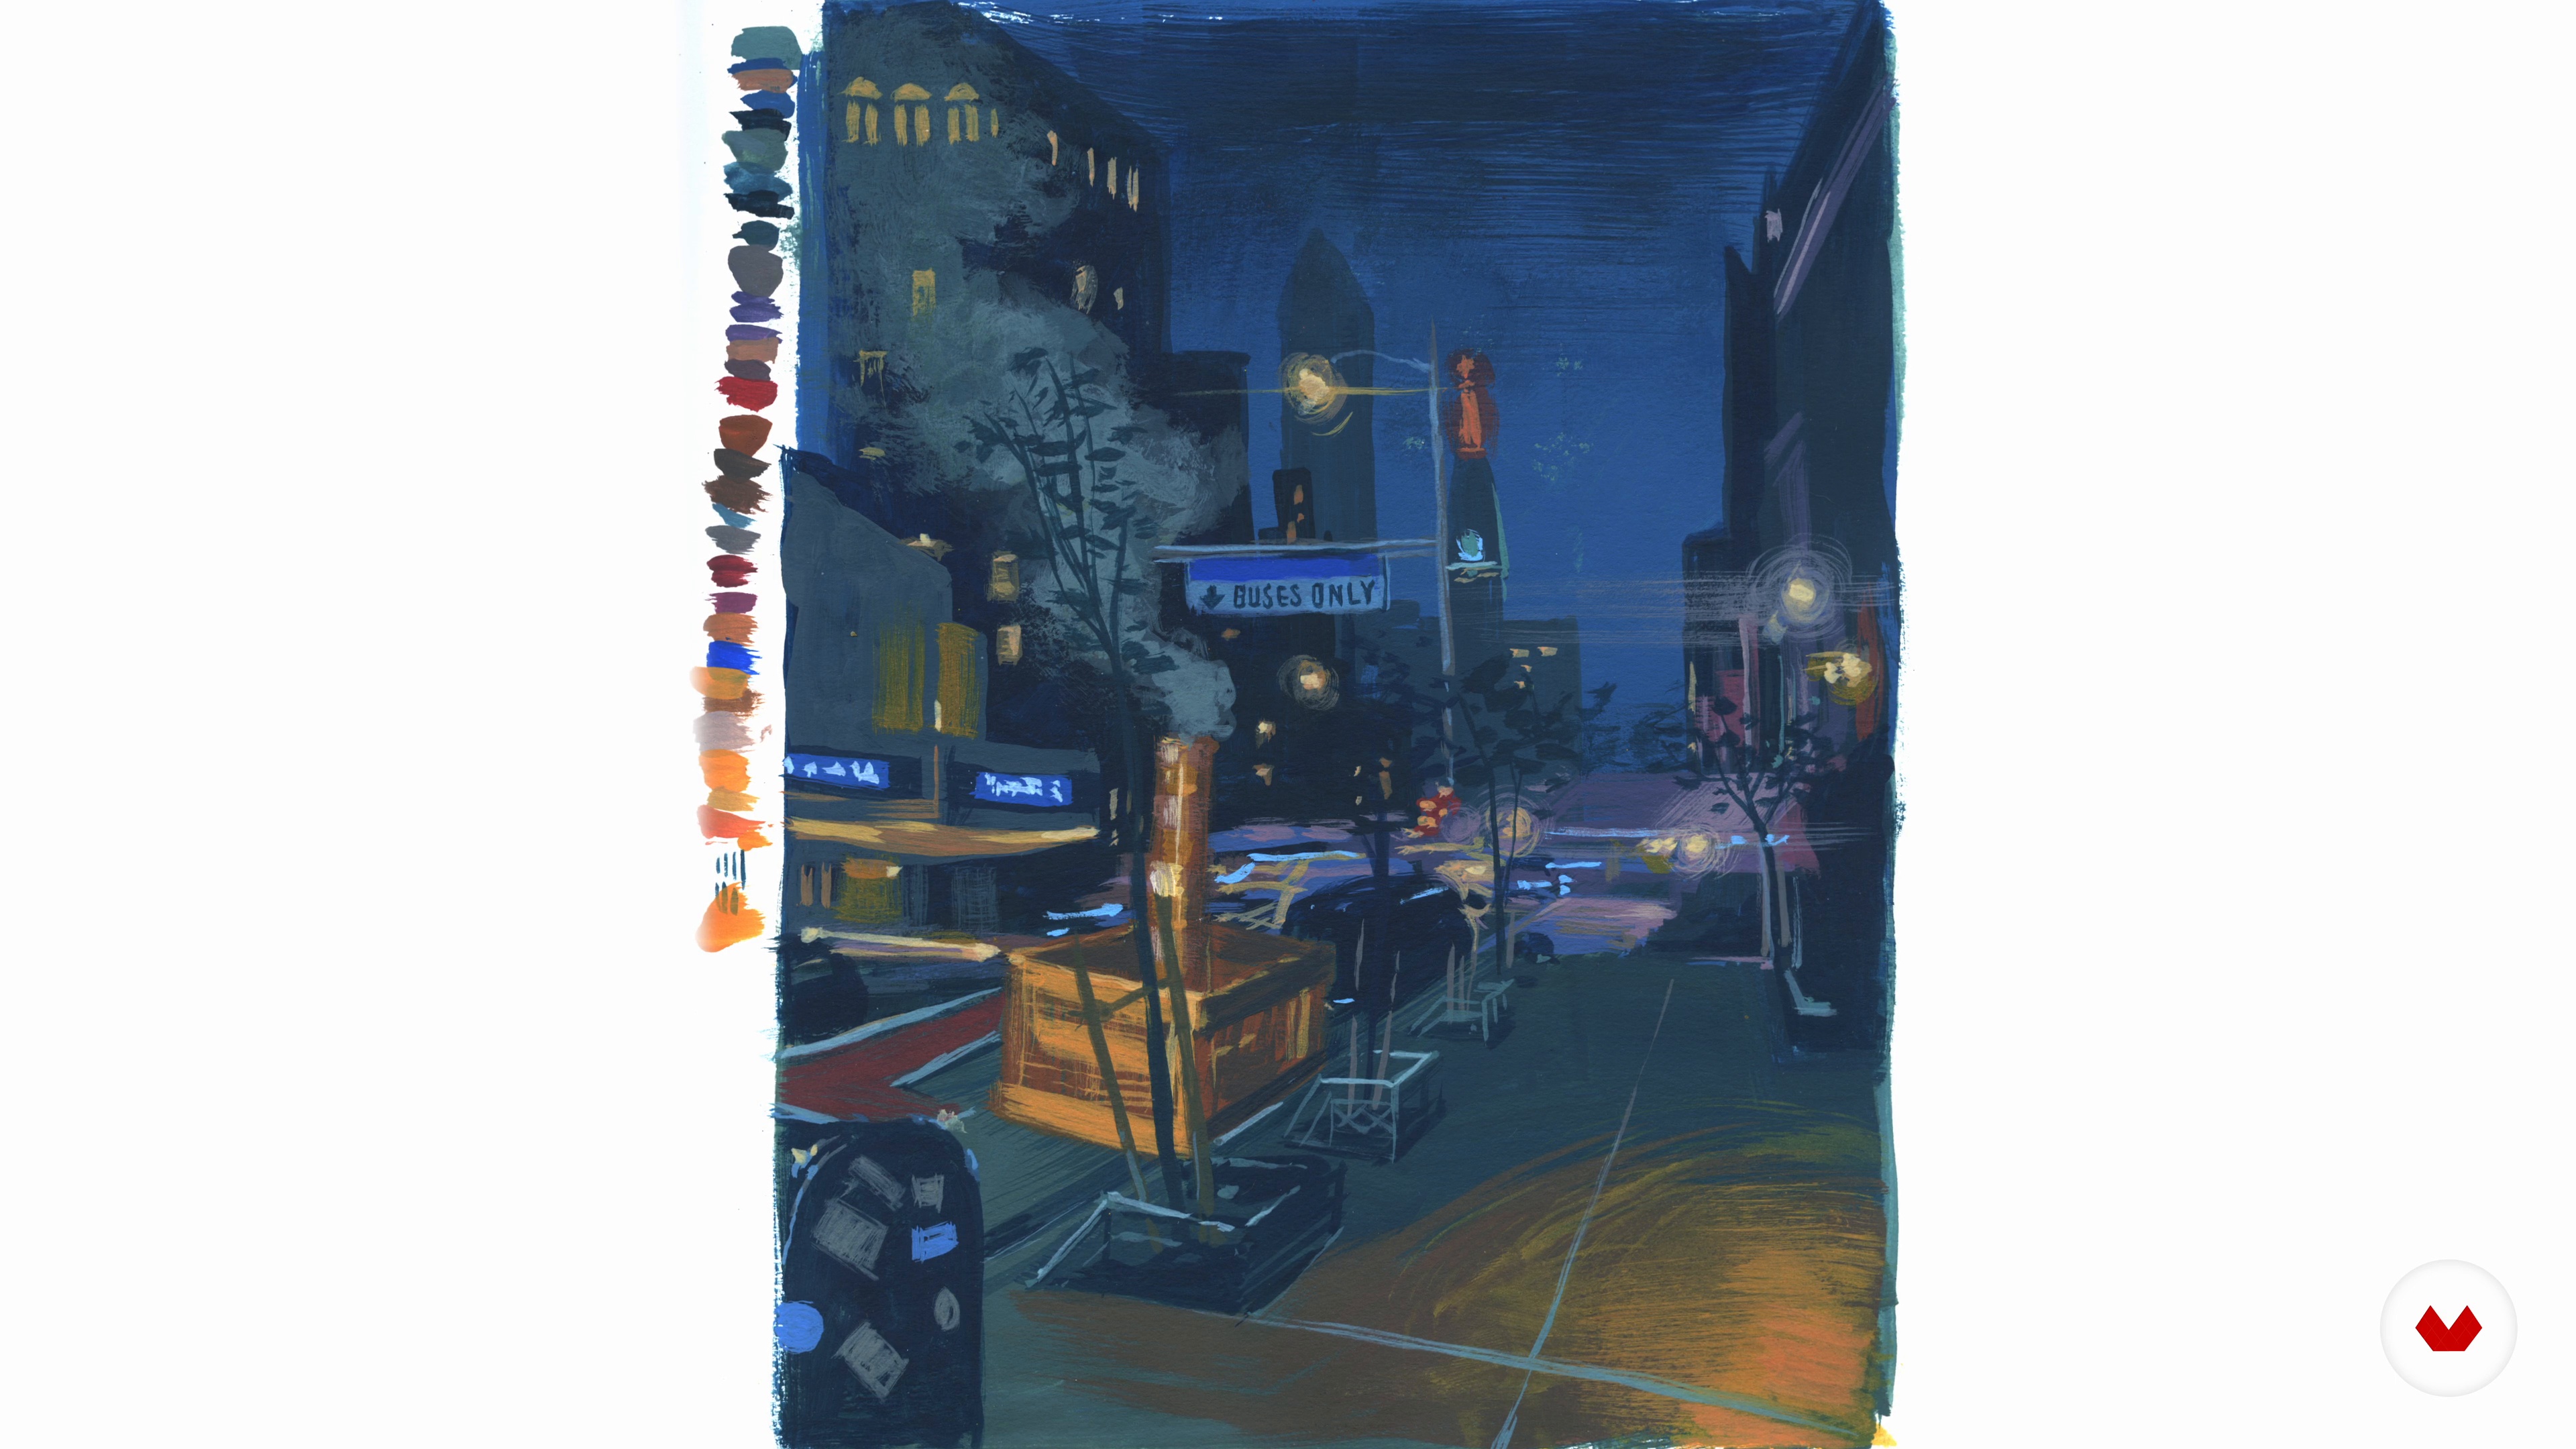
Here, I will continue to adjust the values of my painting to refine how they relate to each other. This experimentation is important to maintain throughout the painting process, even when rendering in the smaller details. Once I'm happy with the piece, the next step is to digitize it!
14m
image
11
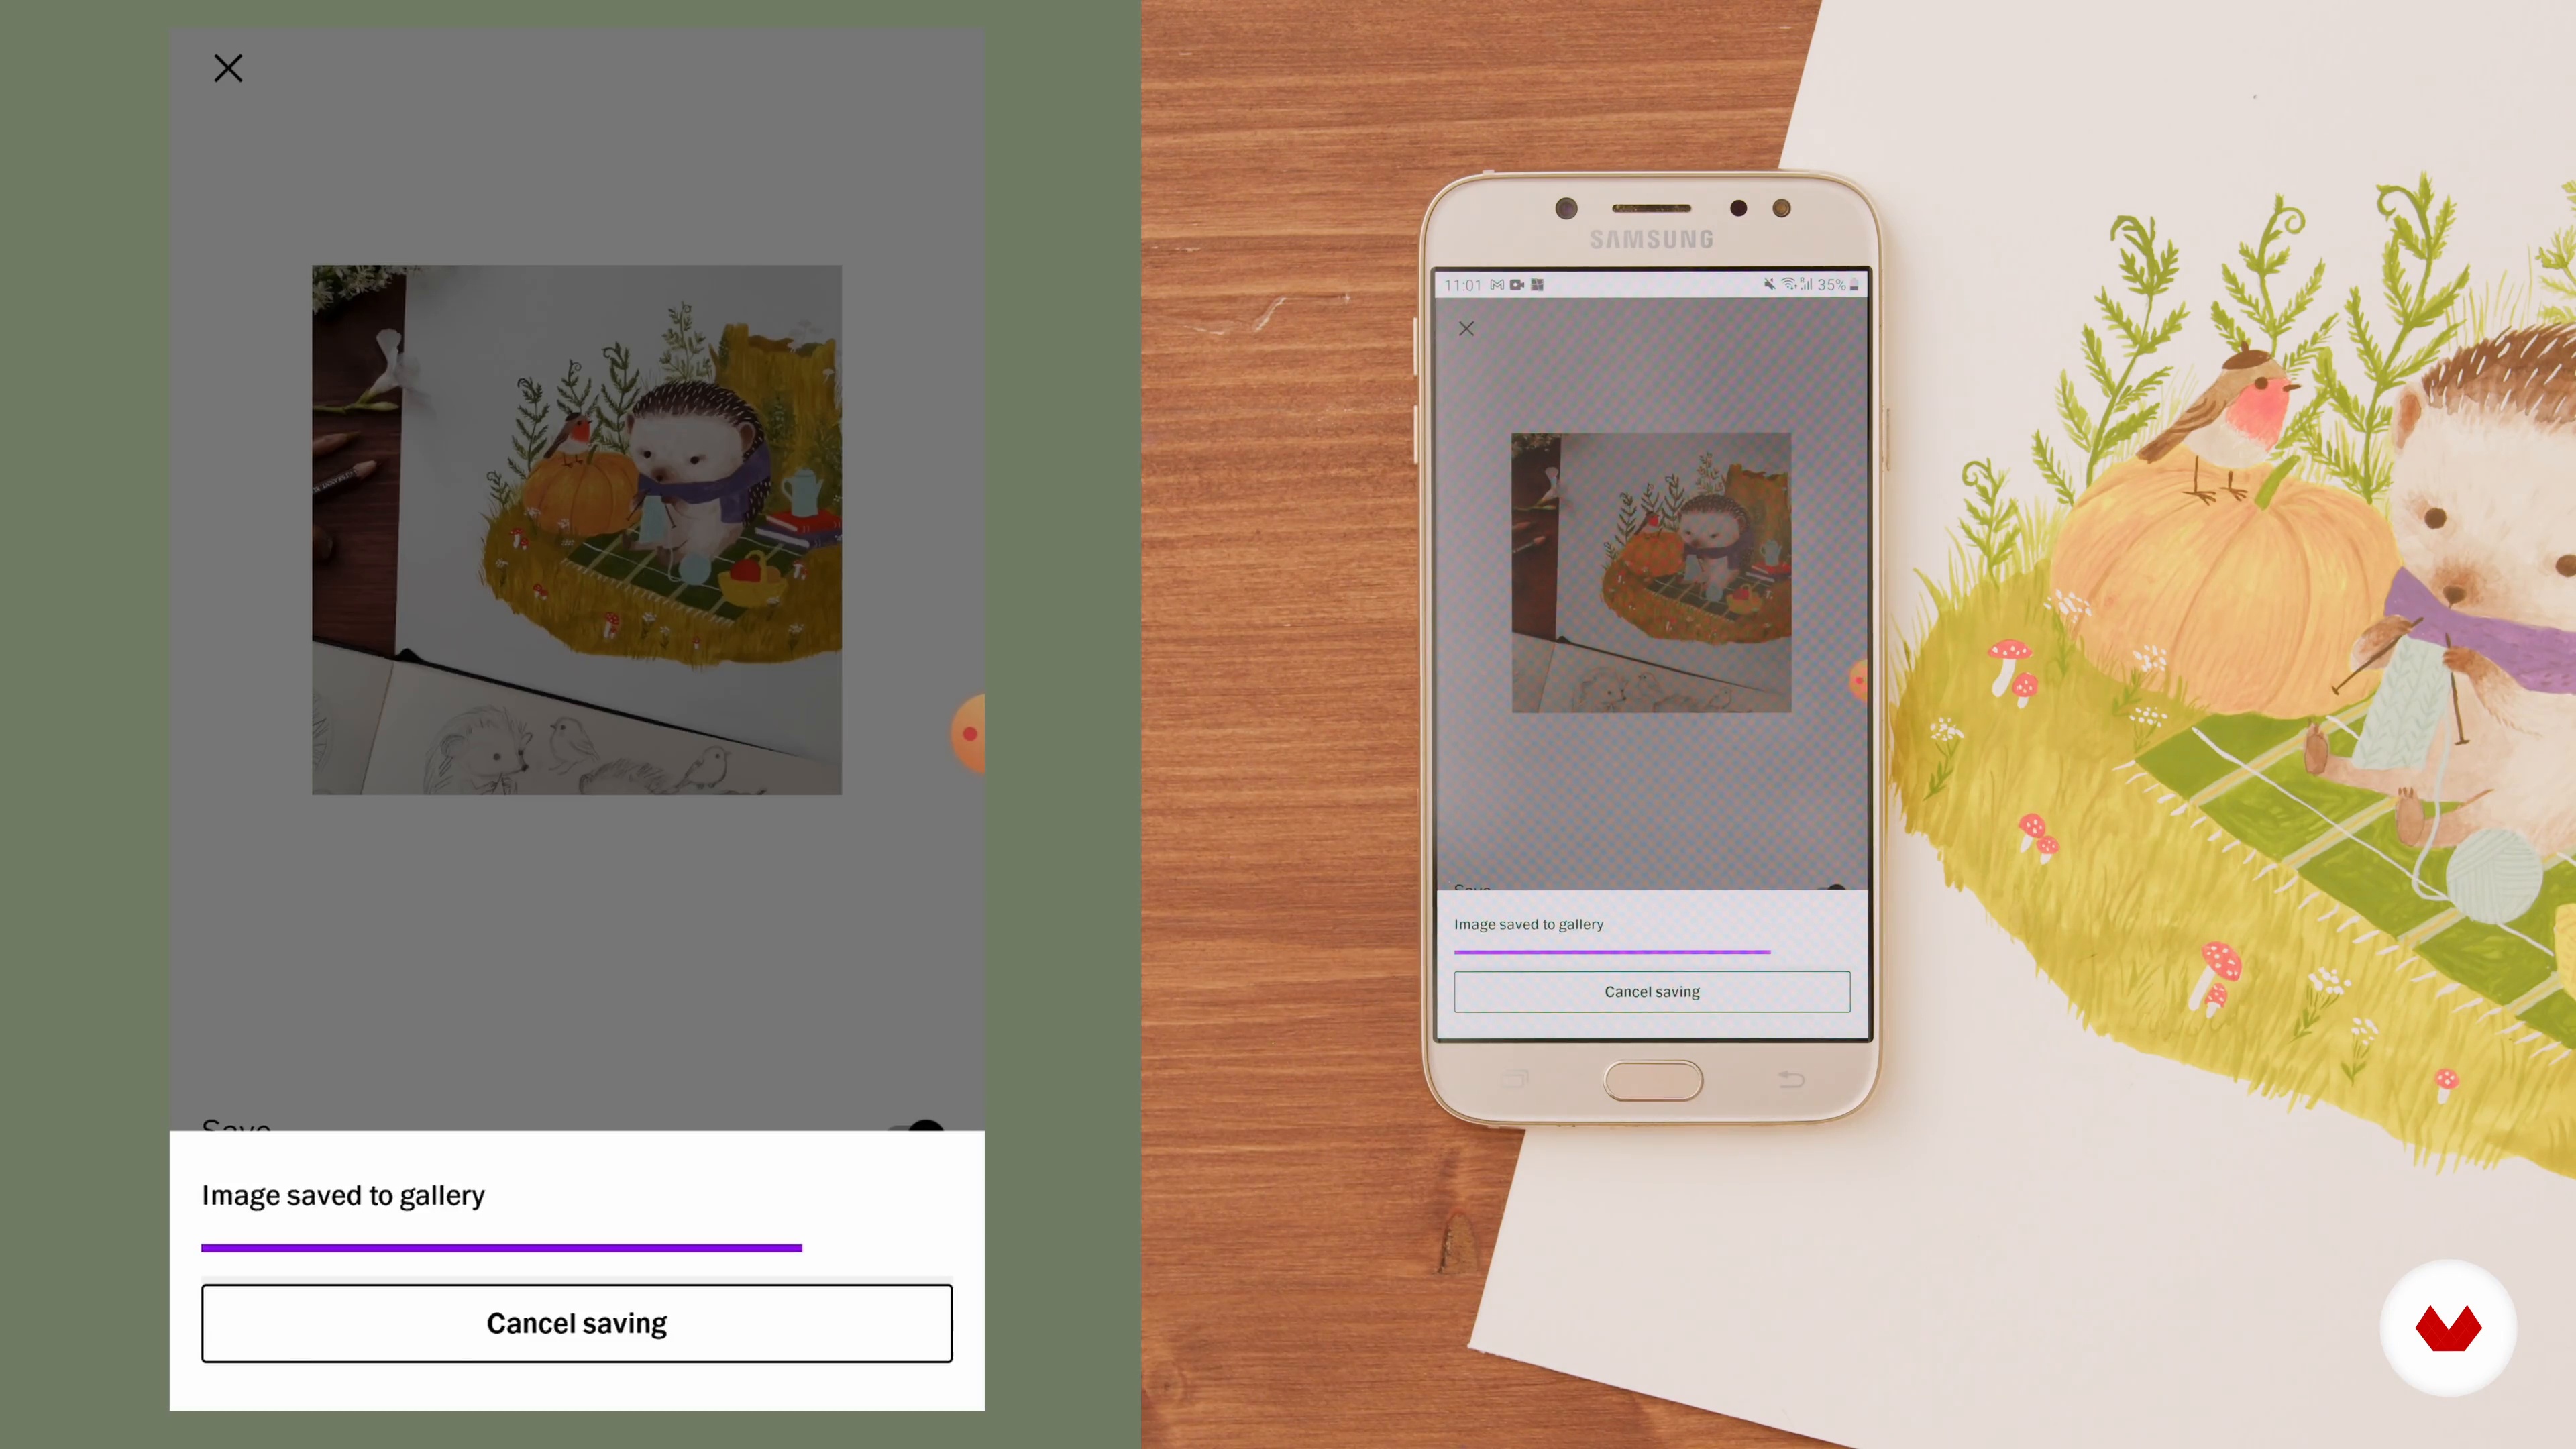
Scanning, Digitizing, and Sharing on Social Media
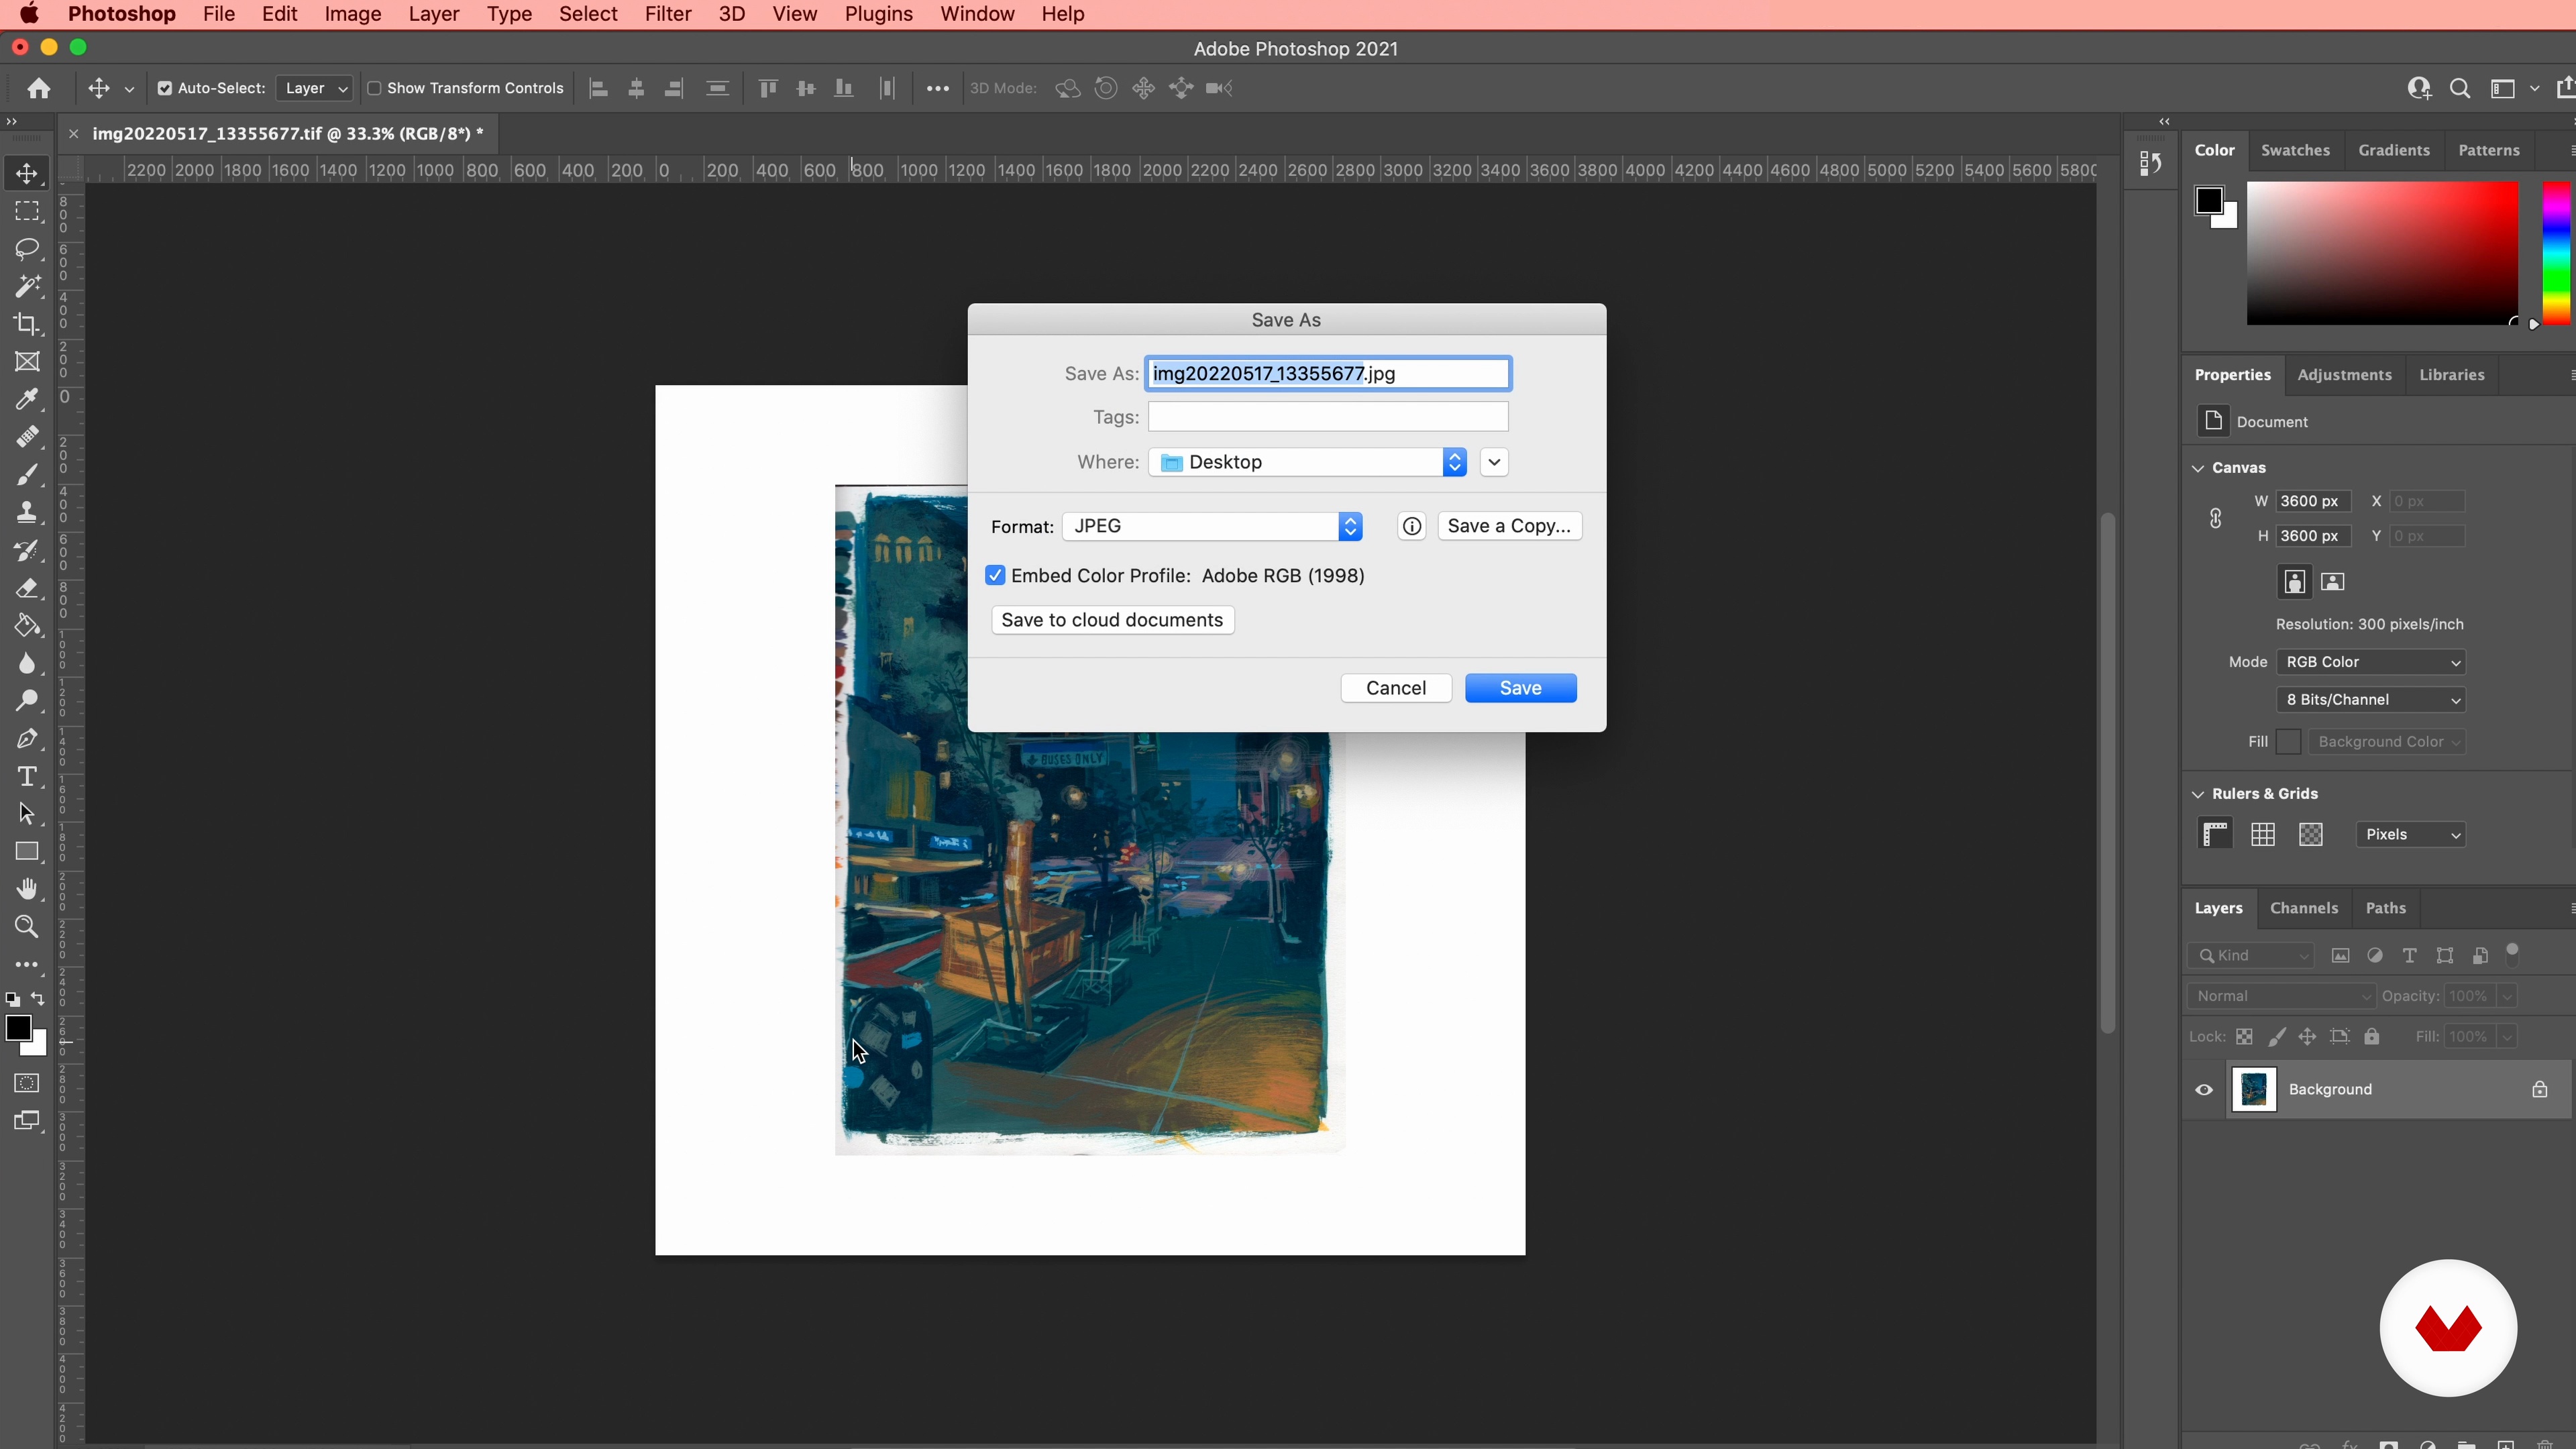
In this lesson, I will demonstrate how to digitize the illustration and add the final details in Adobe Photoshop. Then, I will show you how I share my work on social media.
12m
image
1
The Gouache Medium: Starting Out
Let's get started! First, I will talk about what the course project entails and outline the materials you will need. Then, I will give a demonstration of how gouache reacts to different types of papers.
12m
image
2
Finding Inspiration
Next, I will talk about how to seek out and find inspiration for your art.
3m
image
3
How to Sketch the Scene
Now that you know how to search for inspiration and gather reference photos, I will show you how I start sketching out the scene and share what goes on in my head when composing the scene.
13m
image
4
The Values
In this lesson, I will explore how to make the scene readable with no more than four values. Simplicity is key!
20m
image
5
Understanding Color
Let's dive into the world of color! I will show you how I approach colors with a number of exercises. You will see how this changes according to the mood I want to create.
7m
image
6
Starting to Paint
In this lesson, I will tell you how I plan out my creative process. With my guidance, you will apply the principles you've learned so far to work through your painting step by step. As long as you remember the fundamentals—positioning the horizon line, establishing the big shapes of your scene, and considering how these shapes interact—the details will emerge with time.
10m
image
7
Painting the Medium Shapes
In this lesson, I will show you how to paint the medium shapes to add some detail to the scene.
11m
image
8
The Finer Details
In this lesson, I will show you how to enhance your painting's level of detail.
8m
image
9
Plein Air Painting
Before saying goodbye, I will share my outdoor setup. This way, you can start to think about how to do this yourself and move forward with your artistic journey—exploring the joys of plein air painting!
2m
  • 252 students
  • 110 lessons (18h 30m)
  • 101 additional resources (43 files)
  • Online and at your own pace
  • Audio: English, Spanish
  • English · Spanish · Portuguese · German · French · Italian · Polish · Dutch
  • Level: Beginner
  • Unlimited access forever

What is this course's project?
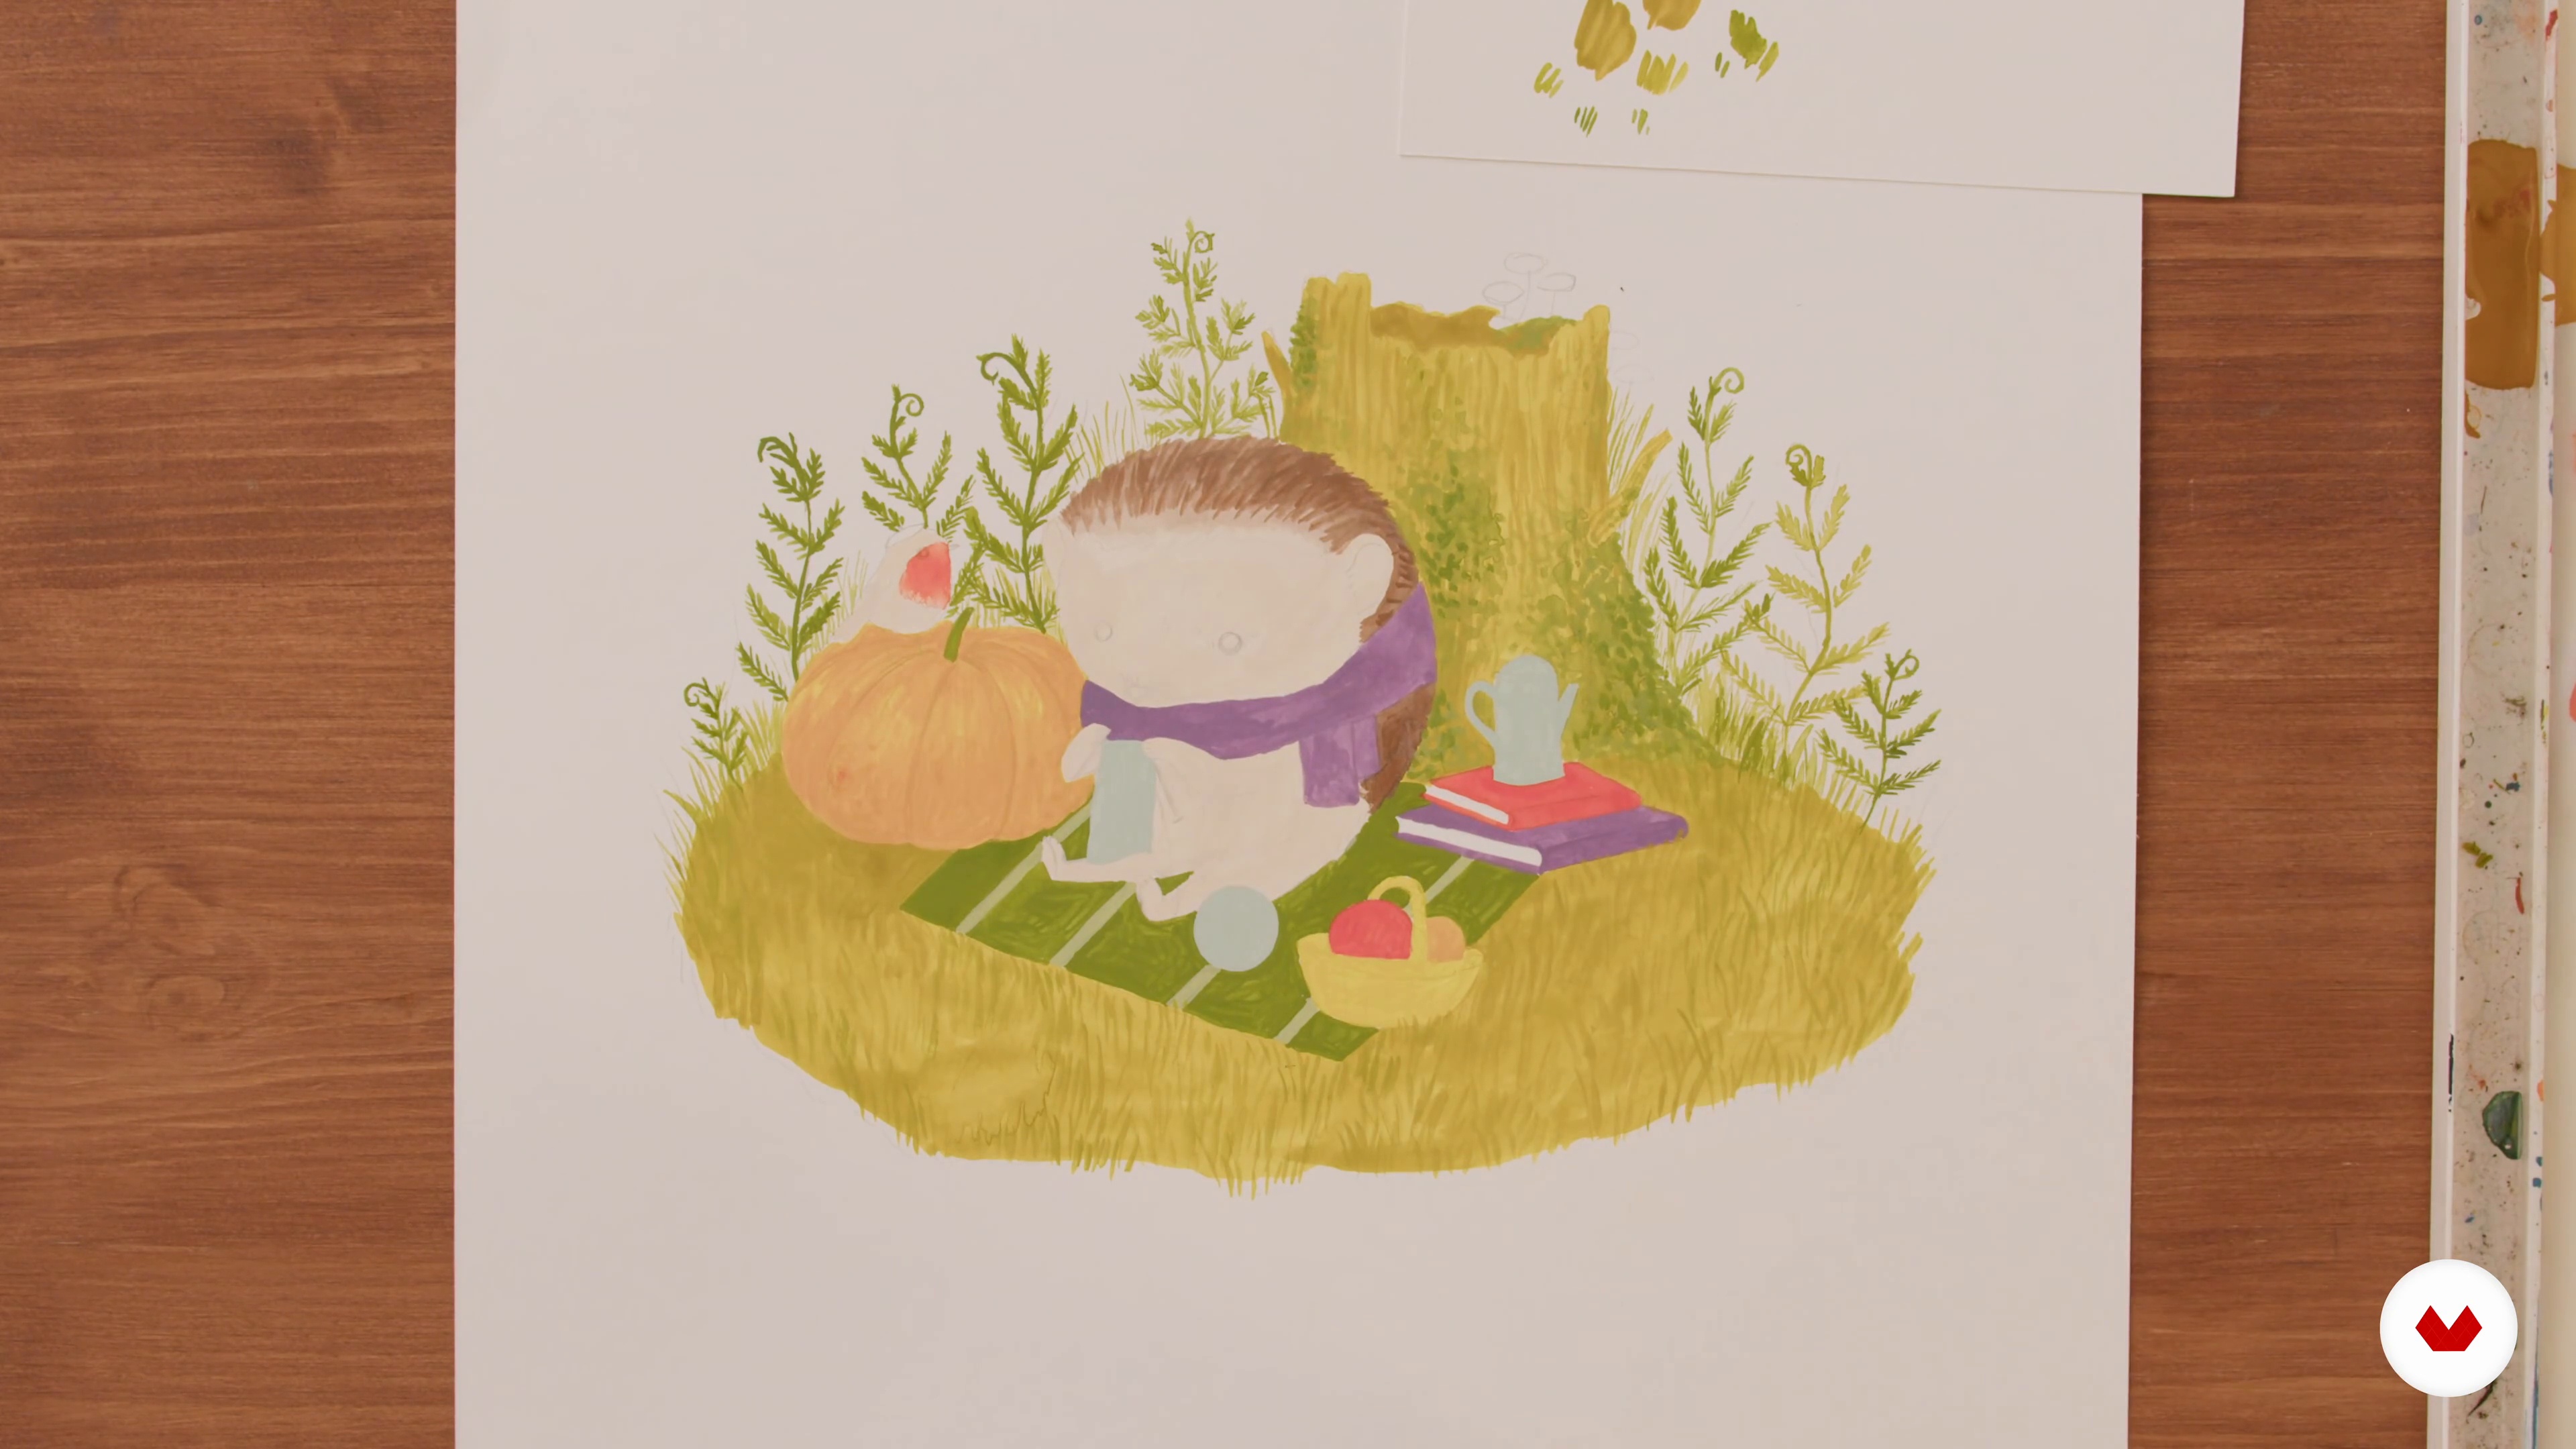
The course project involves illustrating a landscape from a photo reference using gouache. Students will apply techniques like wet-on-wet, opaque layering, and dry-brushing, enhancing their skills in color theory and composition to create expressive, captivating illustrations.

Who is this specialization for?
Artists and hobbyists eager to explore gouache painting techniques will find this course enriching. It suits beginners seeking to develop foundational skills and those looking to refine their craft by experimenting with vibrant colors, atmospheric landscapes, and urban scenes.

Requirements and materials

No extensive prior knowledge is needed. Basic necessities include gouache paints, brushes, a palette, and sketching materials. A smartphone or camera is helpful for capturing reference images. Enjoy exploring the vibrant world of gouache and let creativity flow.

Select to get to know your teachers in this specialization course
Read more ↓

What to expect from this specialization course

  • Learn at your own pace

    Enjoy learning from home without a set schedule and with an easy-to-follow method. You set your own pace.

  • Learn from the best professionals

    Learn valuable methods and techniques explained by top experts in the creative sector.

  • Meet expert teachers

    Each expert teaches what they do best, with clear guidelines, true passion, and professional insight in every lesson.

  • Certificates
    Plus

    If you're a Plus member, get a custom certificate for every specialization course. Share it on your portfolio, social media, or wherever you like.

  • Get front-row seats

    Videos of the highest quality, so you don't miss a single detail. With unlimited access, you can watch them as many times as you need to perfect your technique.

  • Share knowledge and ideas

    Ask questions, request feedback, or offer solutions. Share your learning experience with other students in the community who are as passionate about creativity as you are.

  • Connect with a global creative community

    The community is home to millions of people from around the world who are curious and passionate about exploring and expressing their creativity.

  • Watch professionally produced courses

    Domestika curates its teacher roster and produces every course in-house to ensure a high-quality online learning experience.


FAQs

Domestika's specialization courses are online classes that provide you with the tools and skills you need to complete a specific project. Every step of the project combines video lessons with complementary instructional material, so you can learn by doing. Domestika's specializations also allow you to share your own projects with other students, creating a dynamic course community.

All specialization courses are 100% online, so once they're published, specialization courses start and finish whenever you want. You set the pace of the class. You can go back to review what interests you most and skip what you already know, ask questions, answer questions, share your projects, and more.

The specialization courses are divided into different modules. Each one includes lessons, informational text, tasks, and practice exercises to help you carry out your project step by step, with additional complementary resources and downloads. You'll also have access to an exclusive forum where you can interact with other students, as well as share your work and your final project, creating a community around the specialization course.

You can redeem the specialization course you received by accessing the redeeming page and entering your gift code.

If you're a Plus member, when you complete a course you've purchased, you'll instantly get your personalized certificate. You can see all your certificates in the Certificates section of your profile. You can download your certificates as PDFs and share the link online. Learn more about certificates.
Gouache Painting Specialization: Create Vibrant Artworks. Illustration course by Domestika

Gouache Painting Specialization: Create Vibrant Artworks

A specialization by multiple teachers
Specialization Course. Berkeley, United States.
Joined April 2002
  • 252 students