Specialization

Specialization in Hand-Drawn to Digital Branding Design

Master hand-drawn to digital branding with unique logo design techniques for creating memorable brand identities

Specialization · 6 modules

Explore the journey from hand-drawn sketches to digital branding mastery with expert guidance from Jon Contino, Aron Leah, Sagi Haviv, Alex Aperios, and Steve Wolf. This comprehensive specialization invites you to discover the art of creating unique and memorable logos that resonate emotionally with audiences. Delve into techniques that blend traditional craftsmanship with modern technology, learning to craft logos that are more than mere visuals—they're powerful storytelling tools filled with purpose and meaning.

Harness the power of design to transform ideas into professional brand identities. Develop skills ranging from manual sketching to advanced vectorization, minimalist design, and complete identity systems. Engage in a structured creative process that emphasizes simplicity, expressiveness, and commercial viability. By the end, you'll have the tools to create timeless logos that communicate effectively and leave a lasting impression. Whether you're refining your artistic style or enhancing your technical expertise, this specialization equips you with the knowledge to elevate your branding projects to new heights.

Read more ↓

What will you learn in this specialization?
A total of 6 modules and 66 lessons
A total of 10h 32m of vídeo lessons
Taught by 5 selected expert teachers
image
3
Keep It Raw
Don’t be afraid to let your ideas loose. There are no bad ideas at this stage of the process.
11m
image
4
Market Research
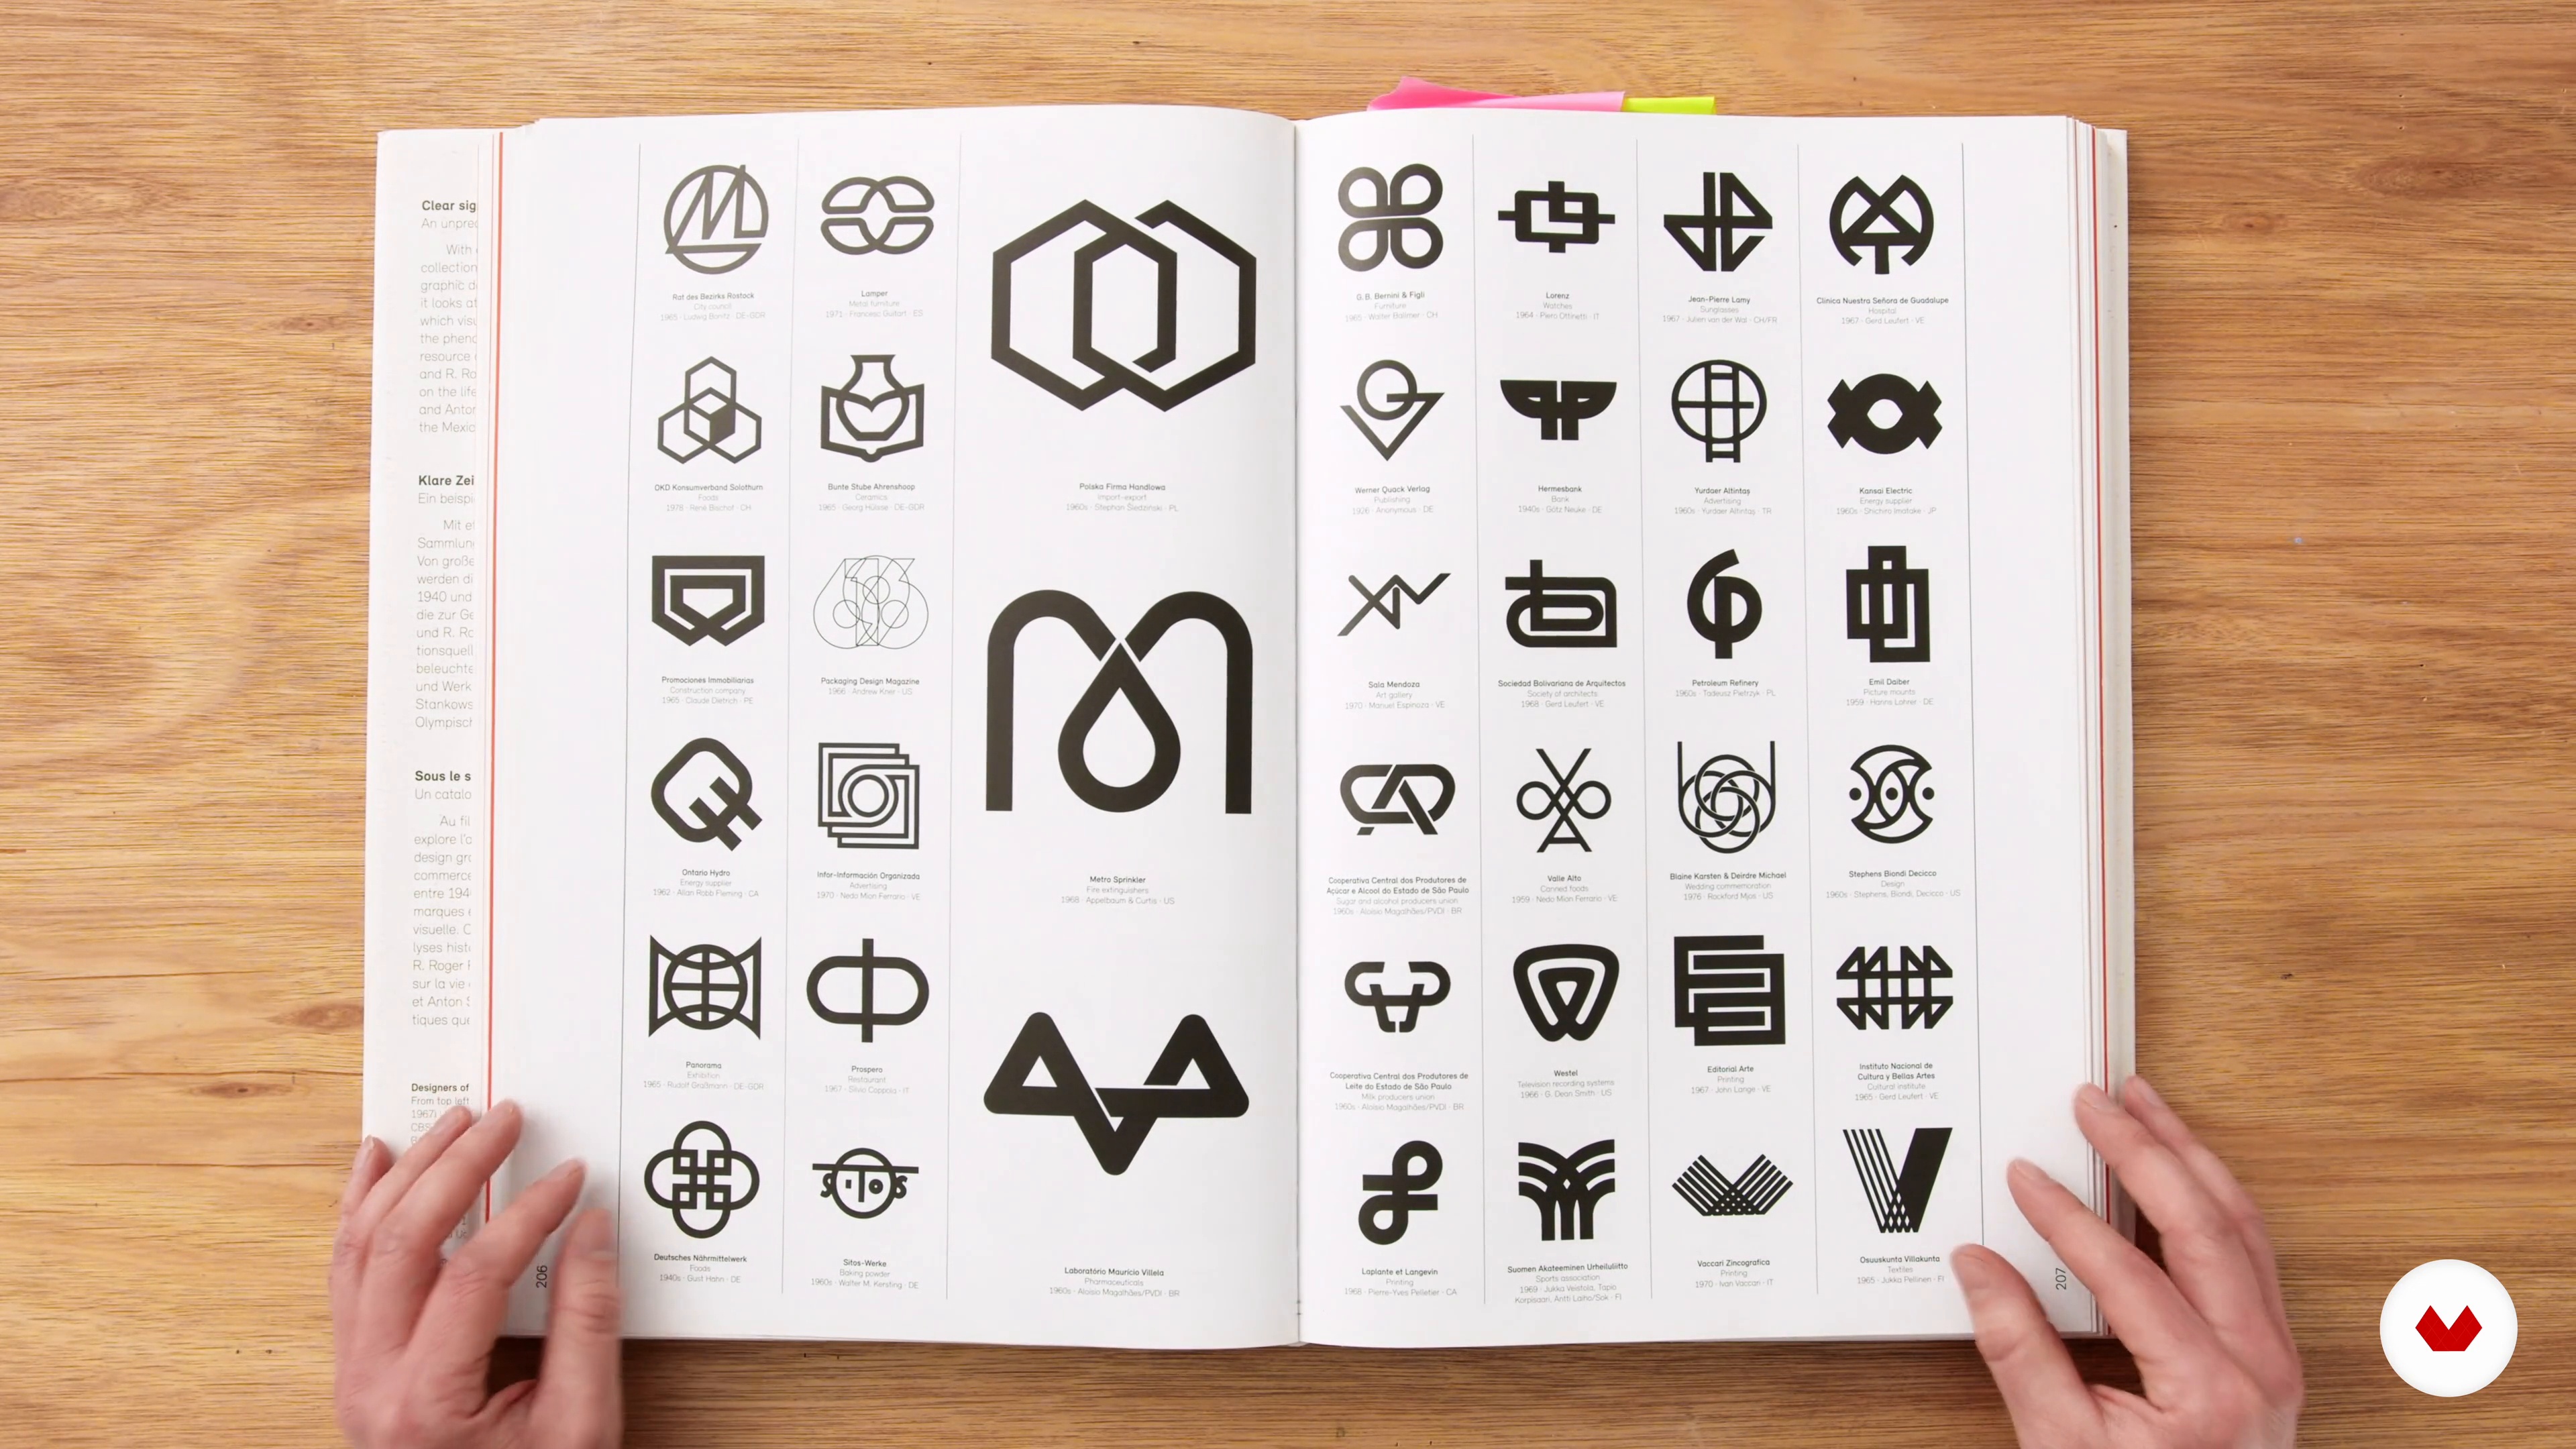
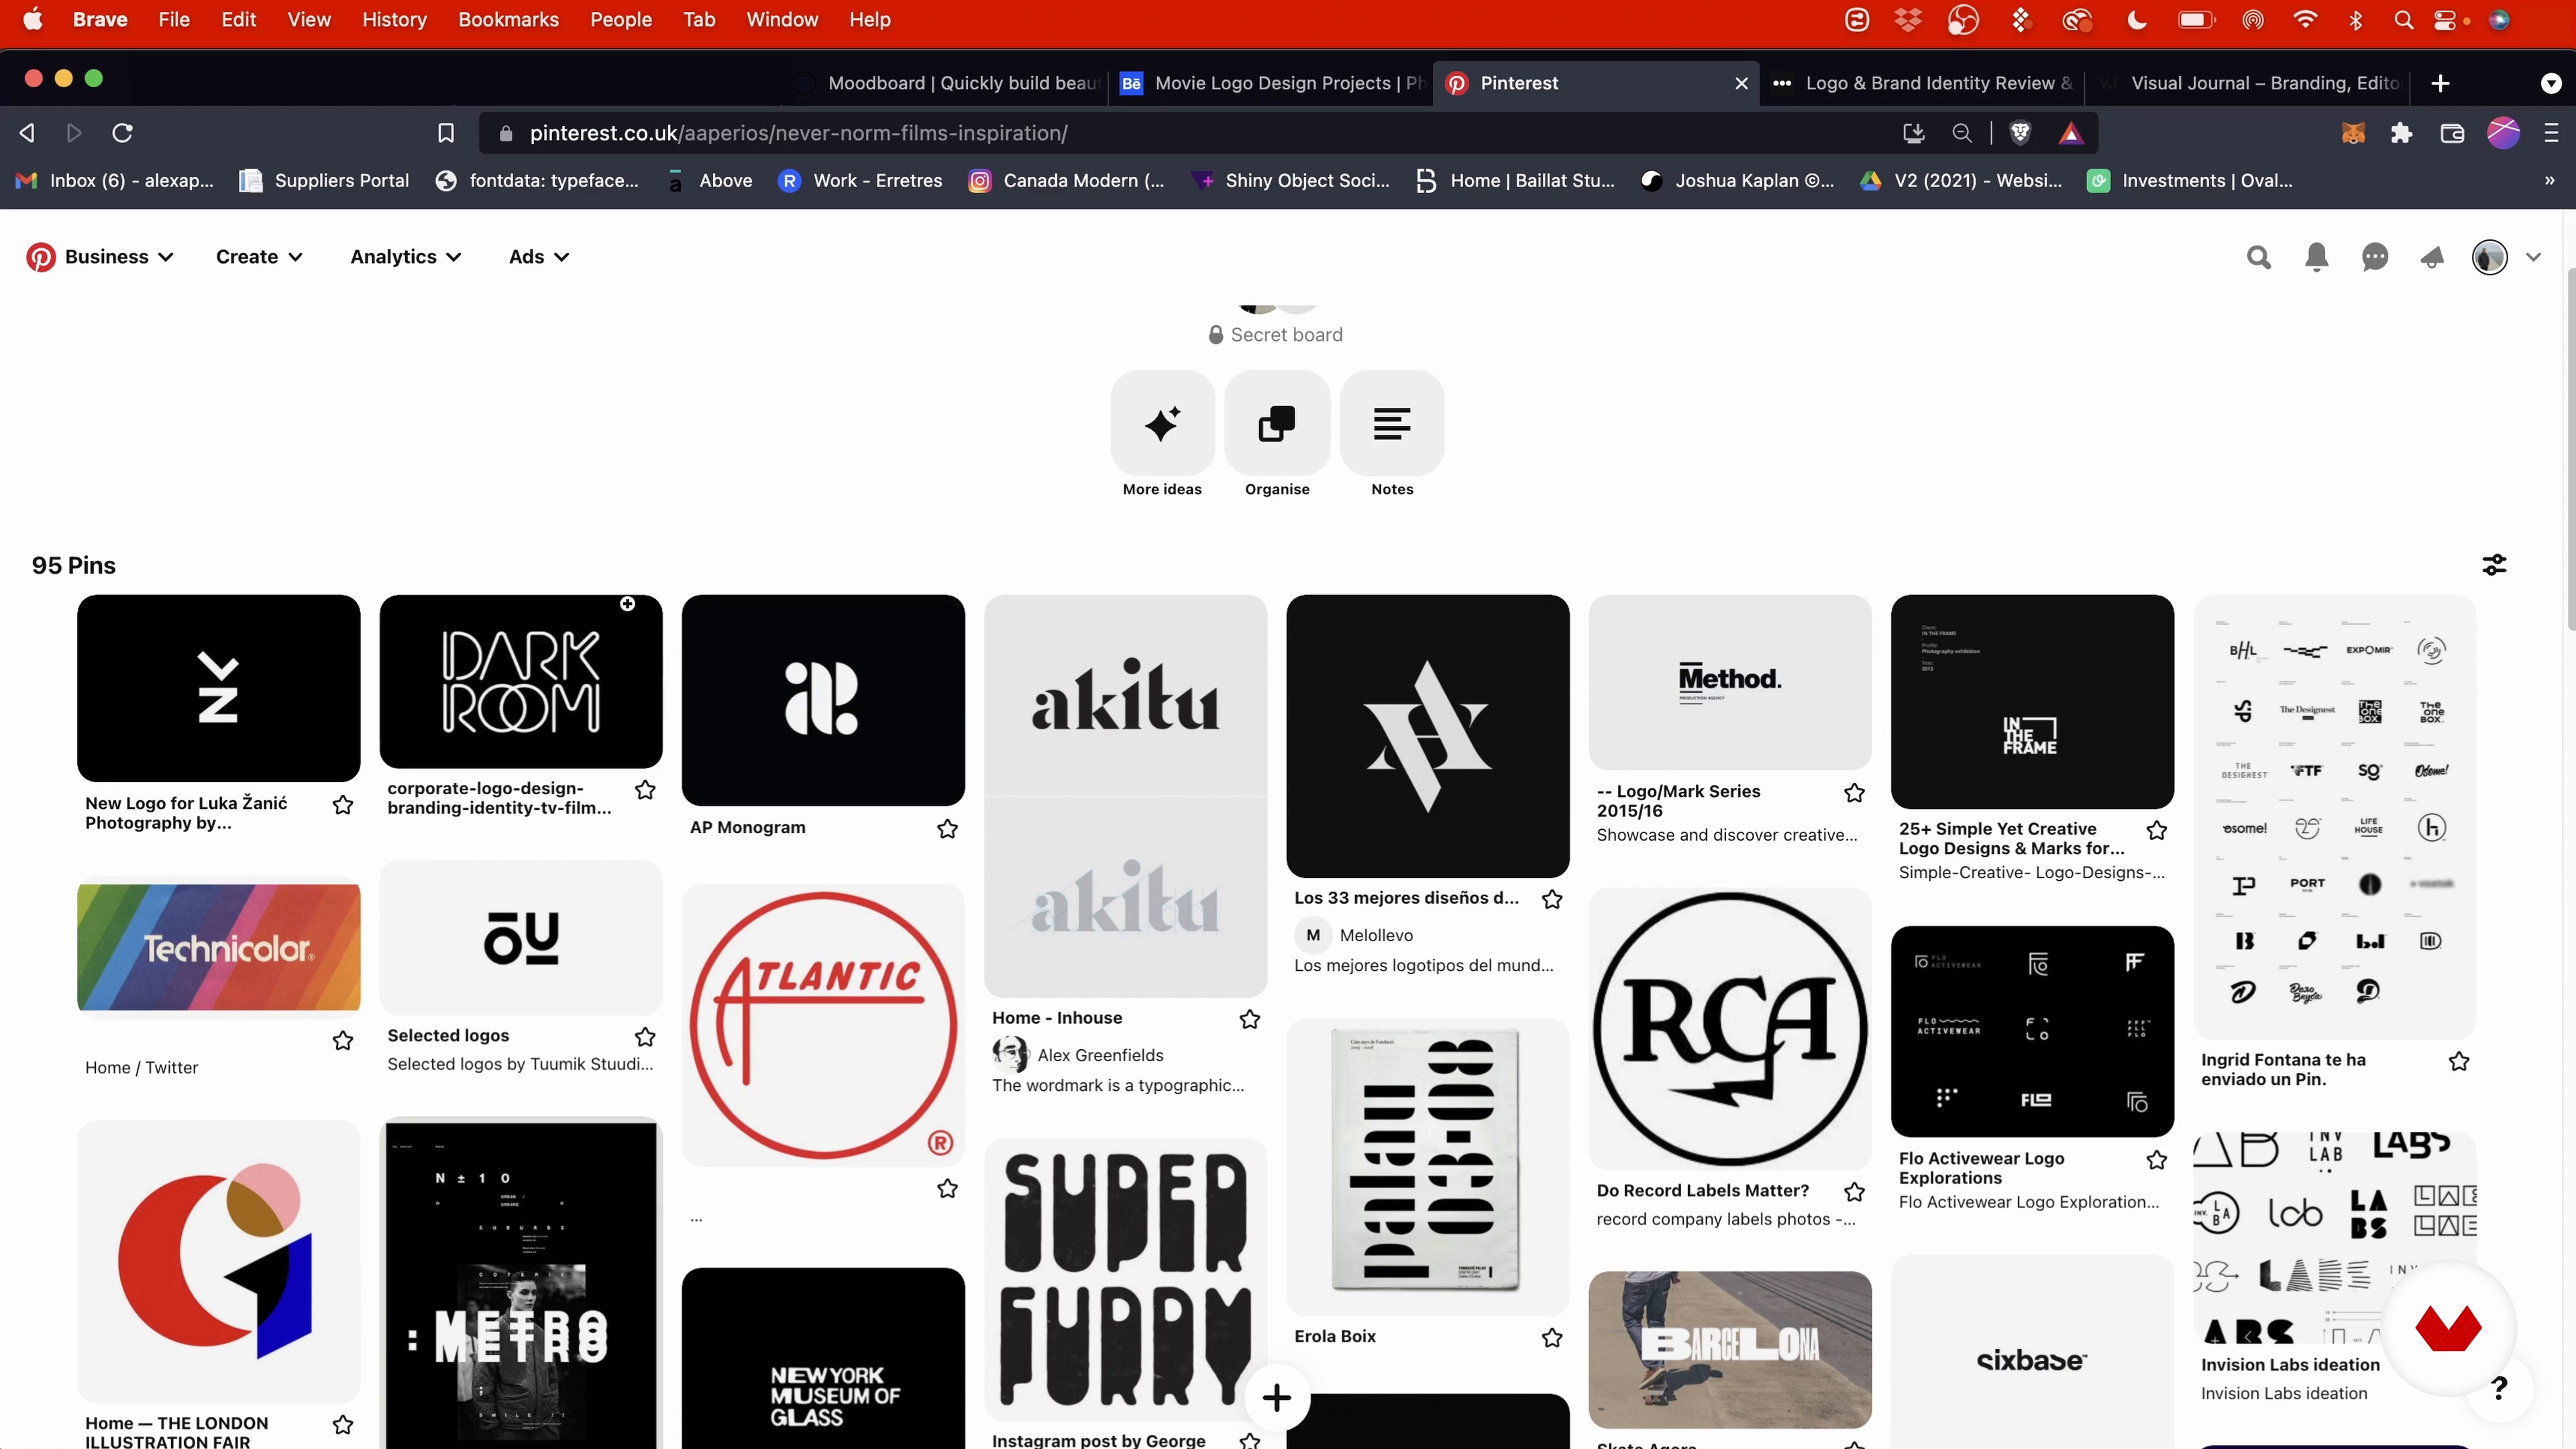
Once you’ve got your raw ideas on paper, it’s time to start doing some research to see what else is out there.
6m
image
5
Mood Boards
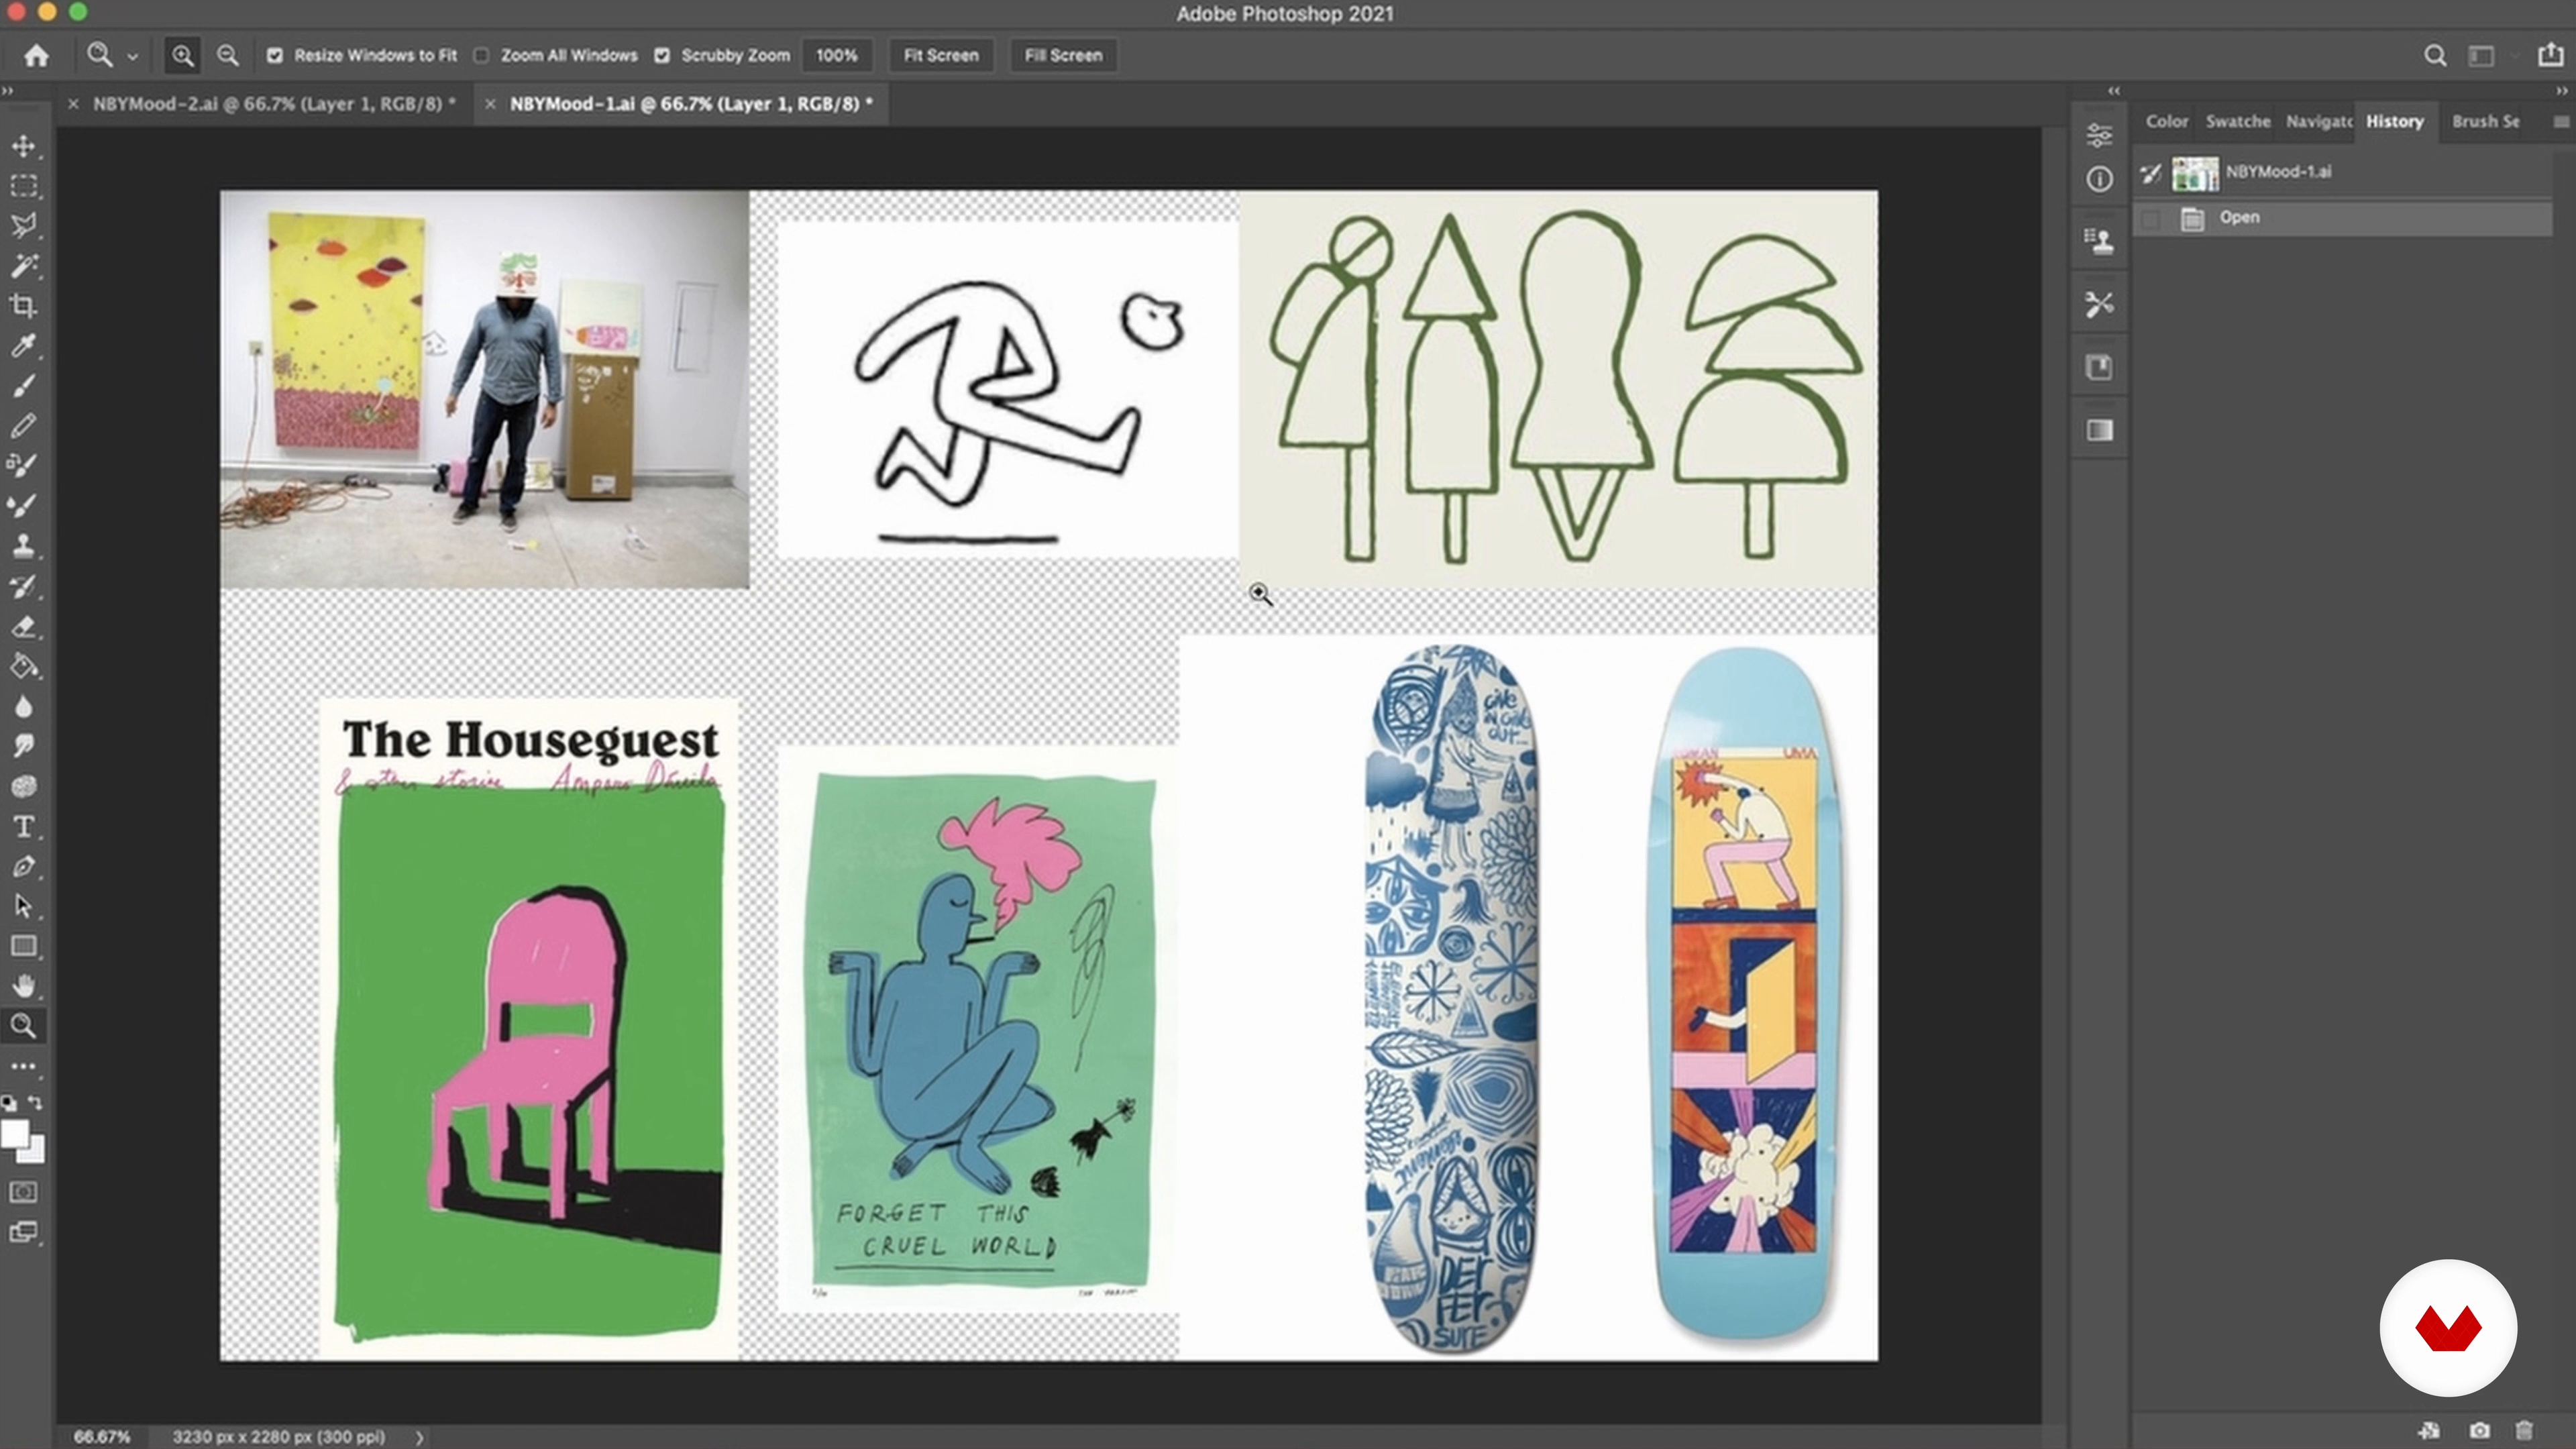
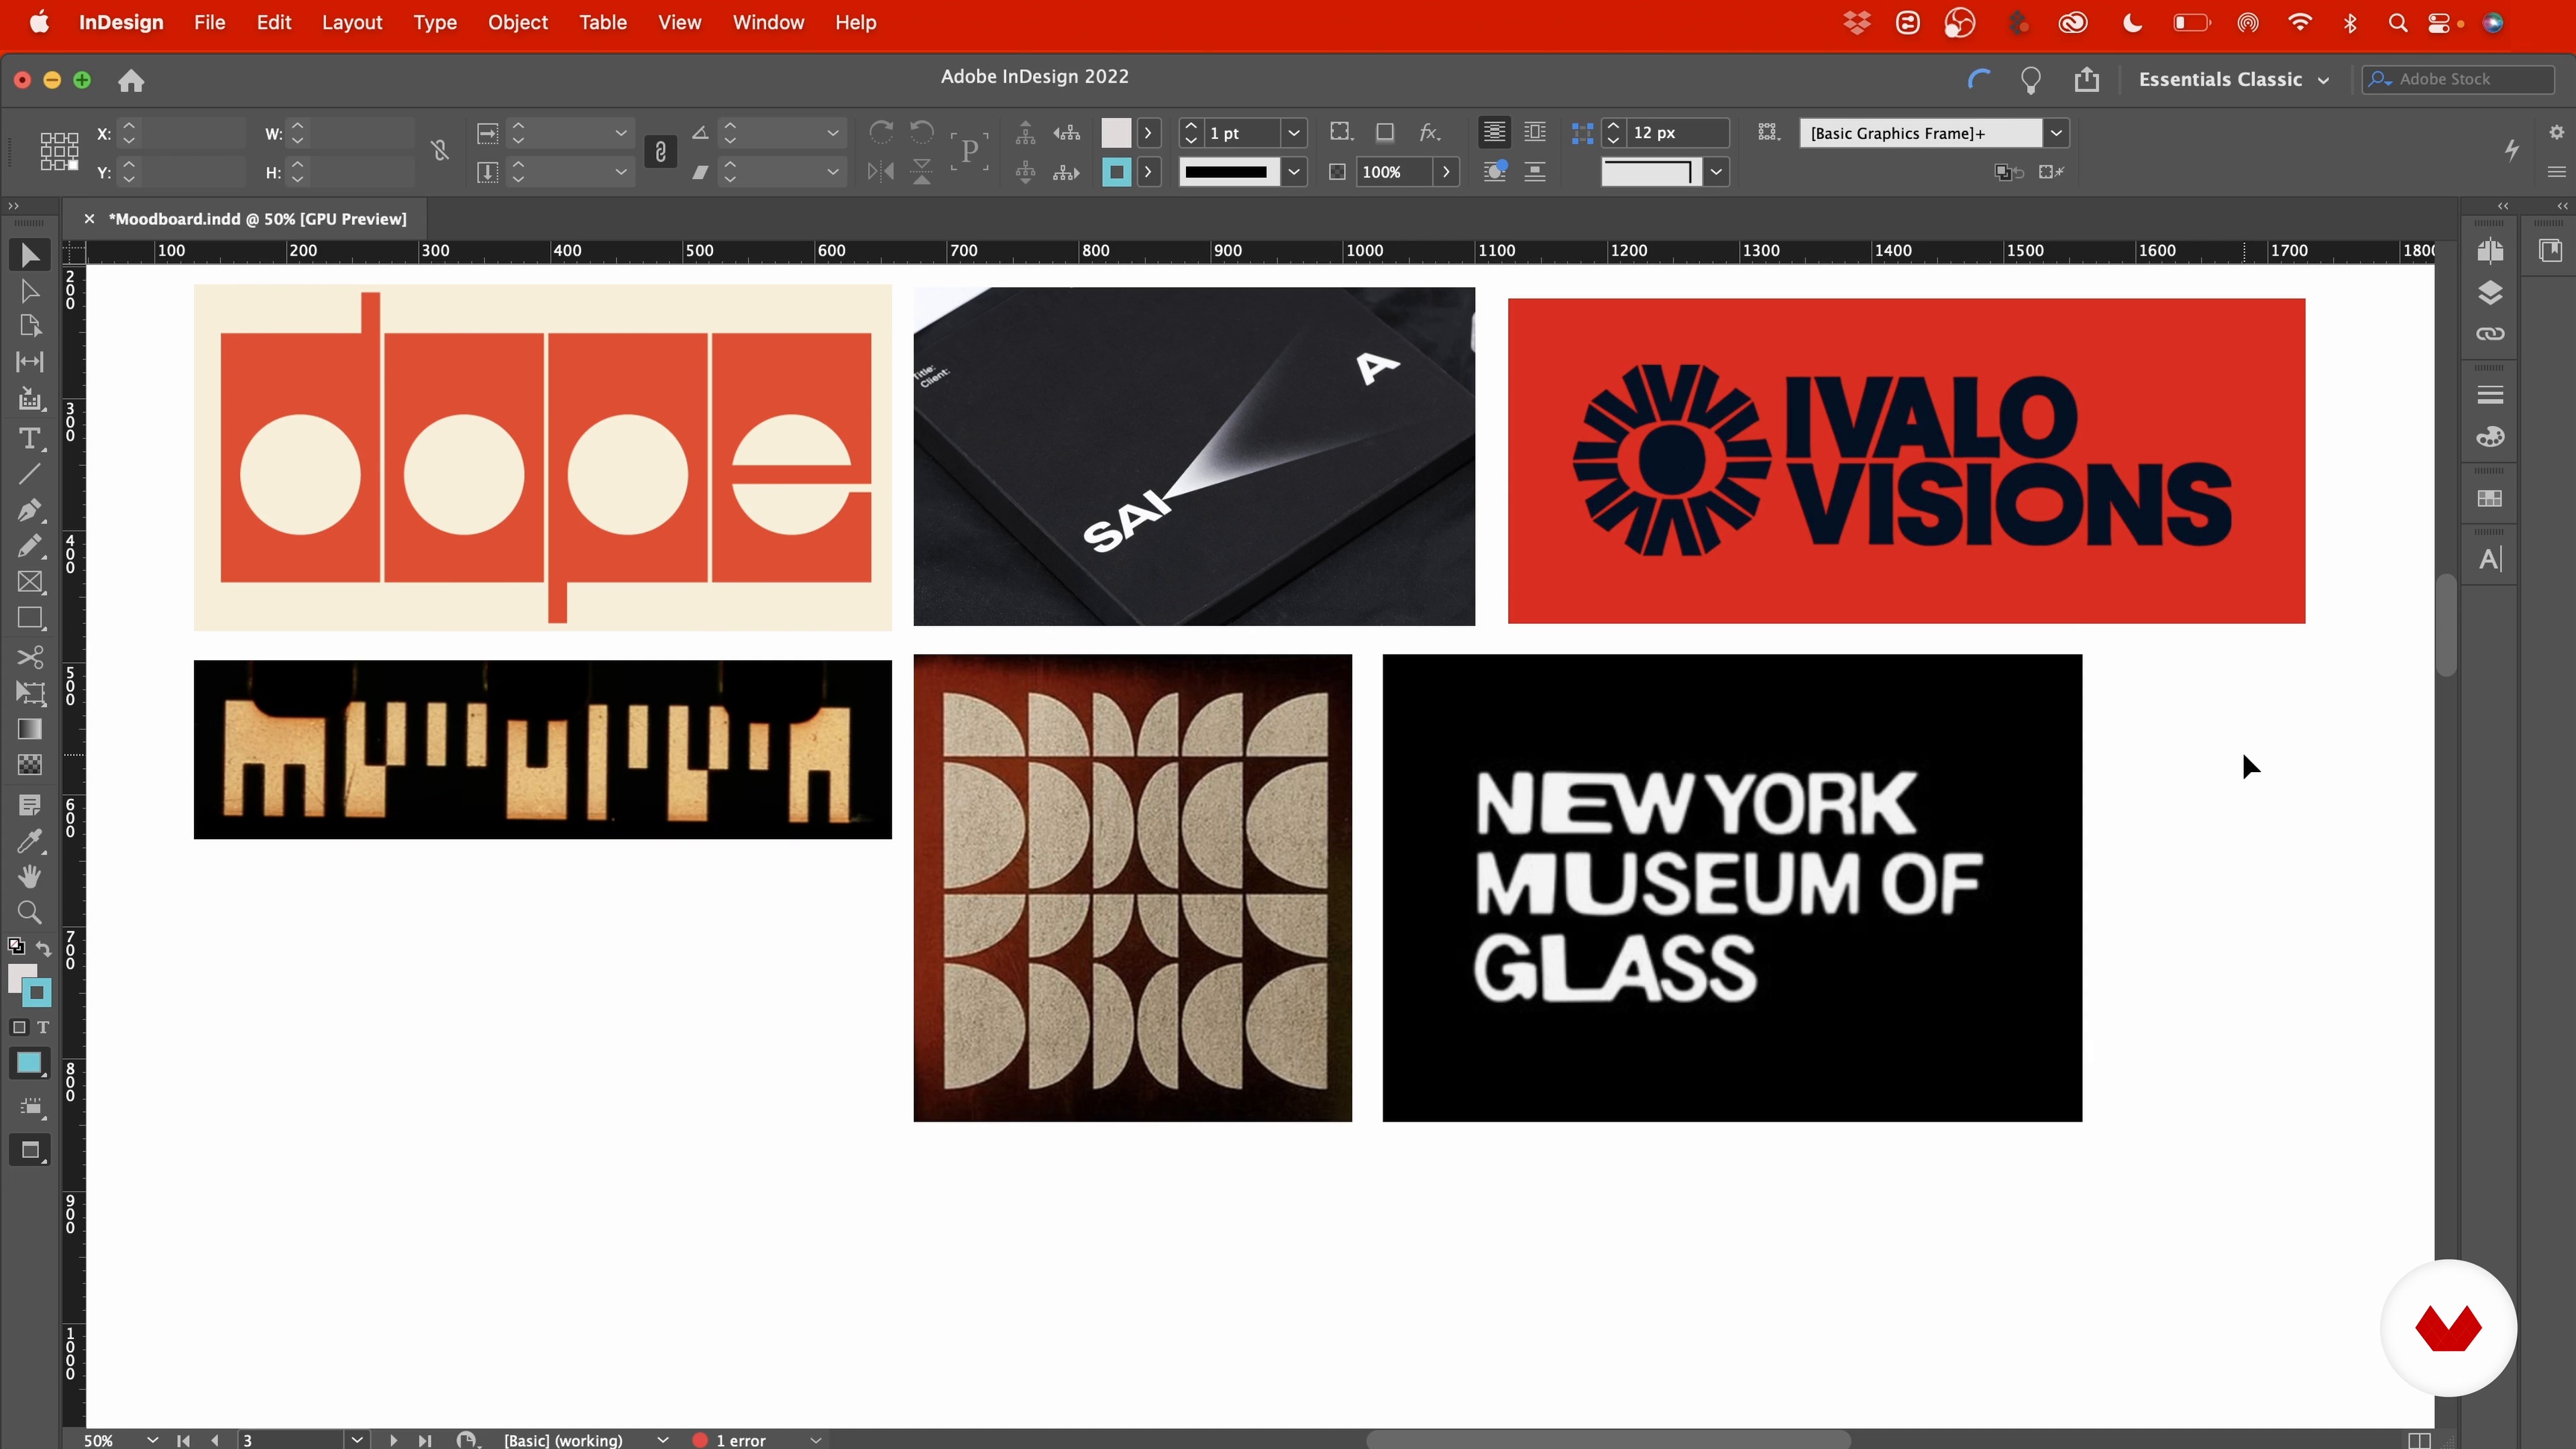
Now that you have a better understanding of where you need to be, it’s time to get serious about fleshing out your project.
12m
image
6
Develop Your Thumbnails
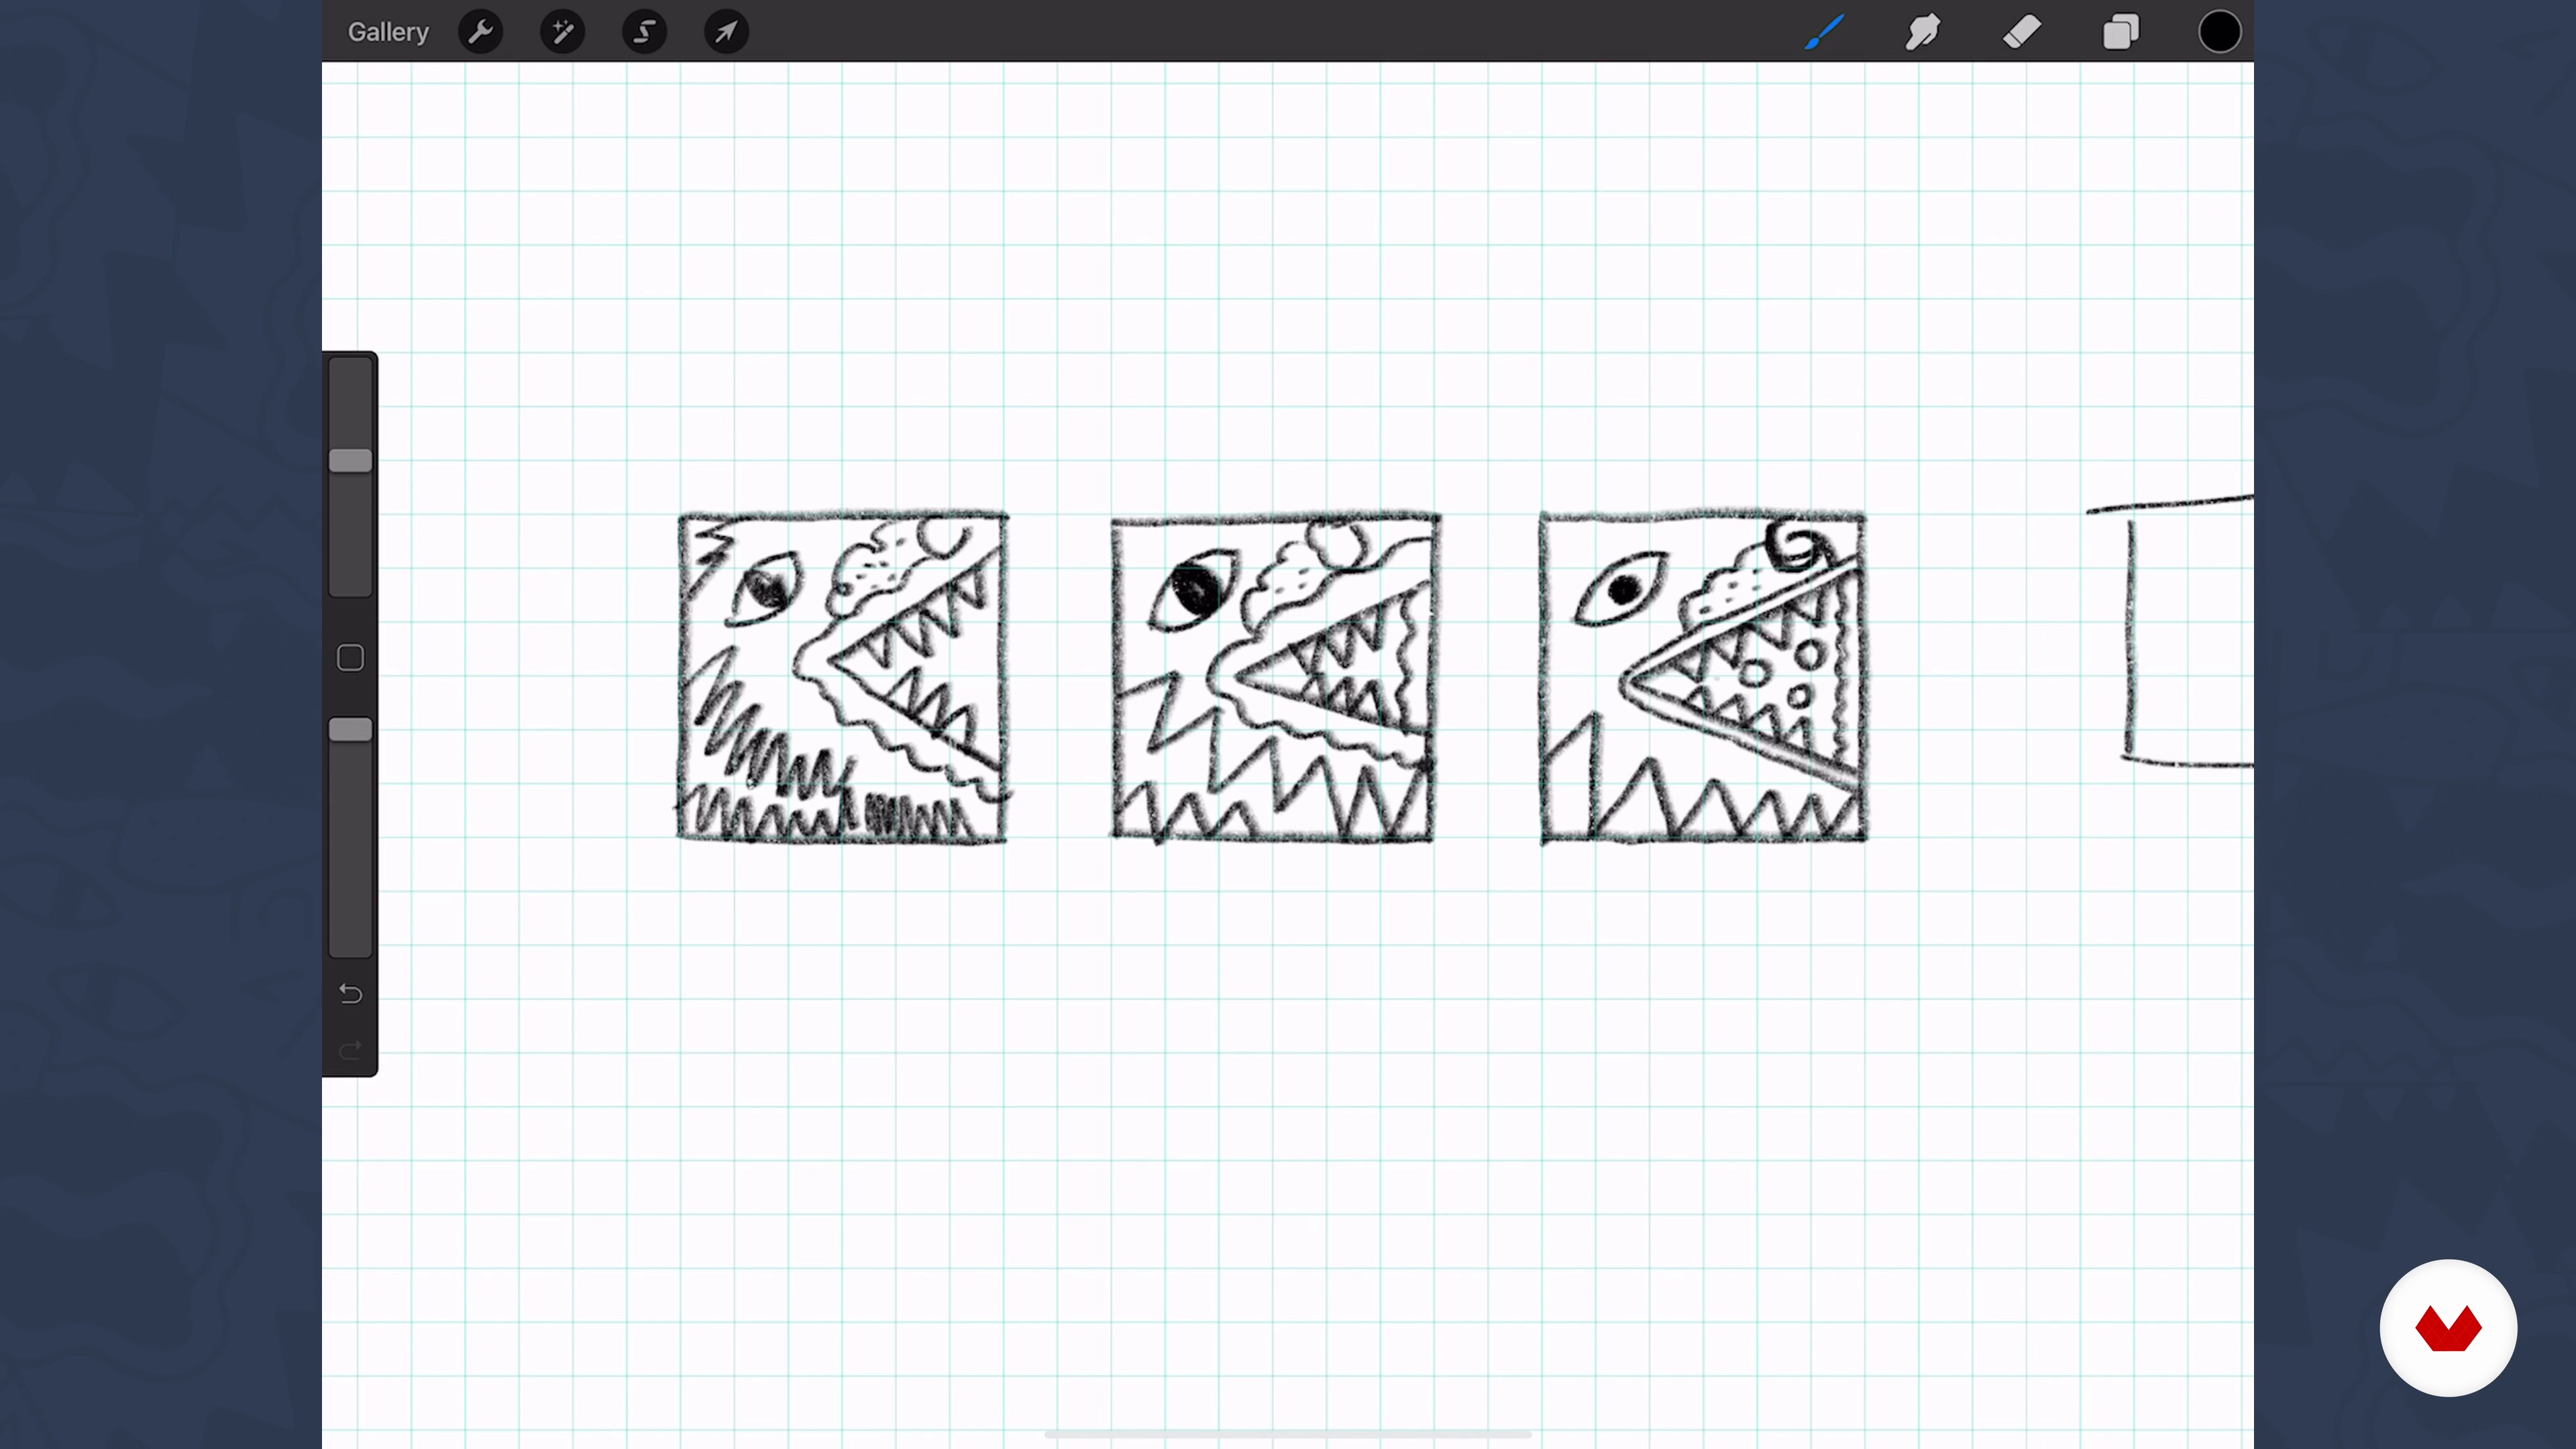
Pick a handful of your favorite or most effective thumbnails and start expanding on them.
10m
image
7
Self-Editing
Analyze your drawings as you’re making them—Self-edit, combine ideas where possible, eliminate bad ideas, figure out if anything can be made better, use your imagination!
6m
image
8
Clean and Ink
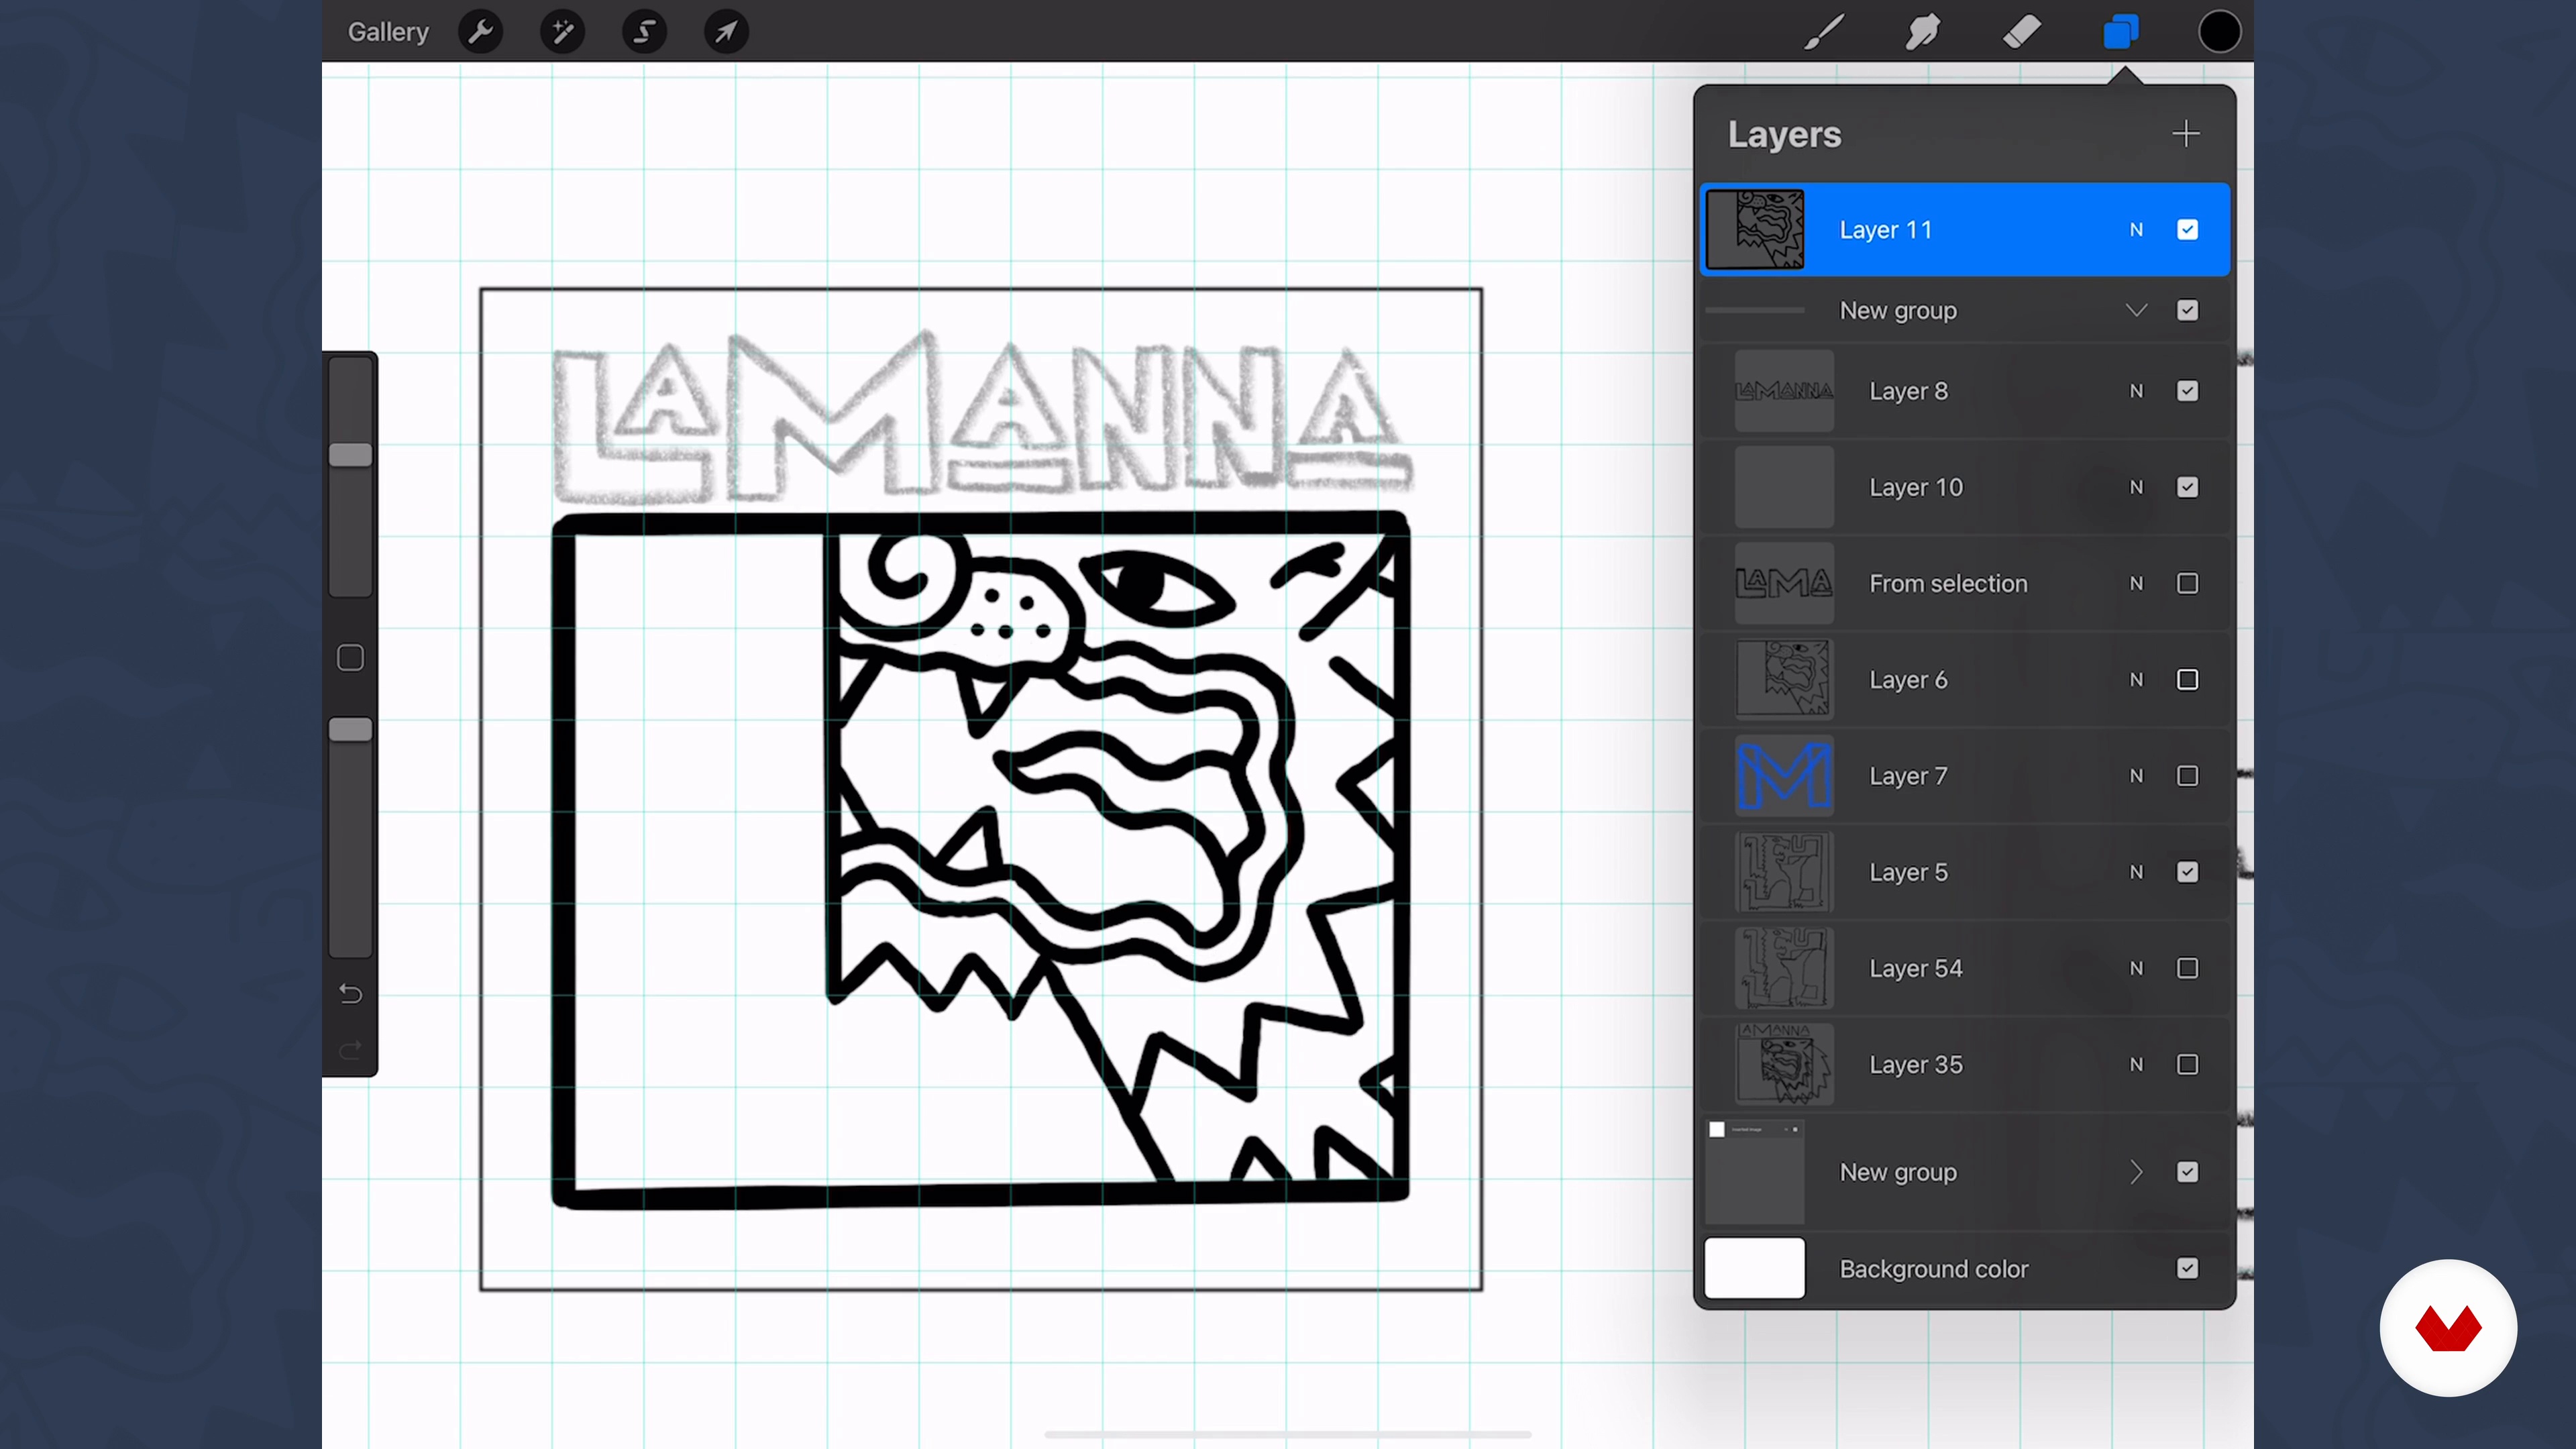
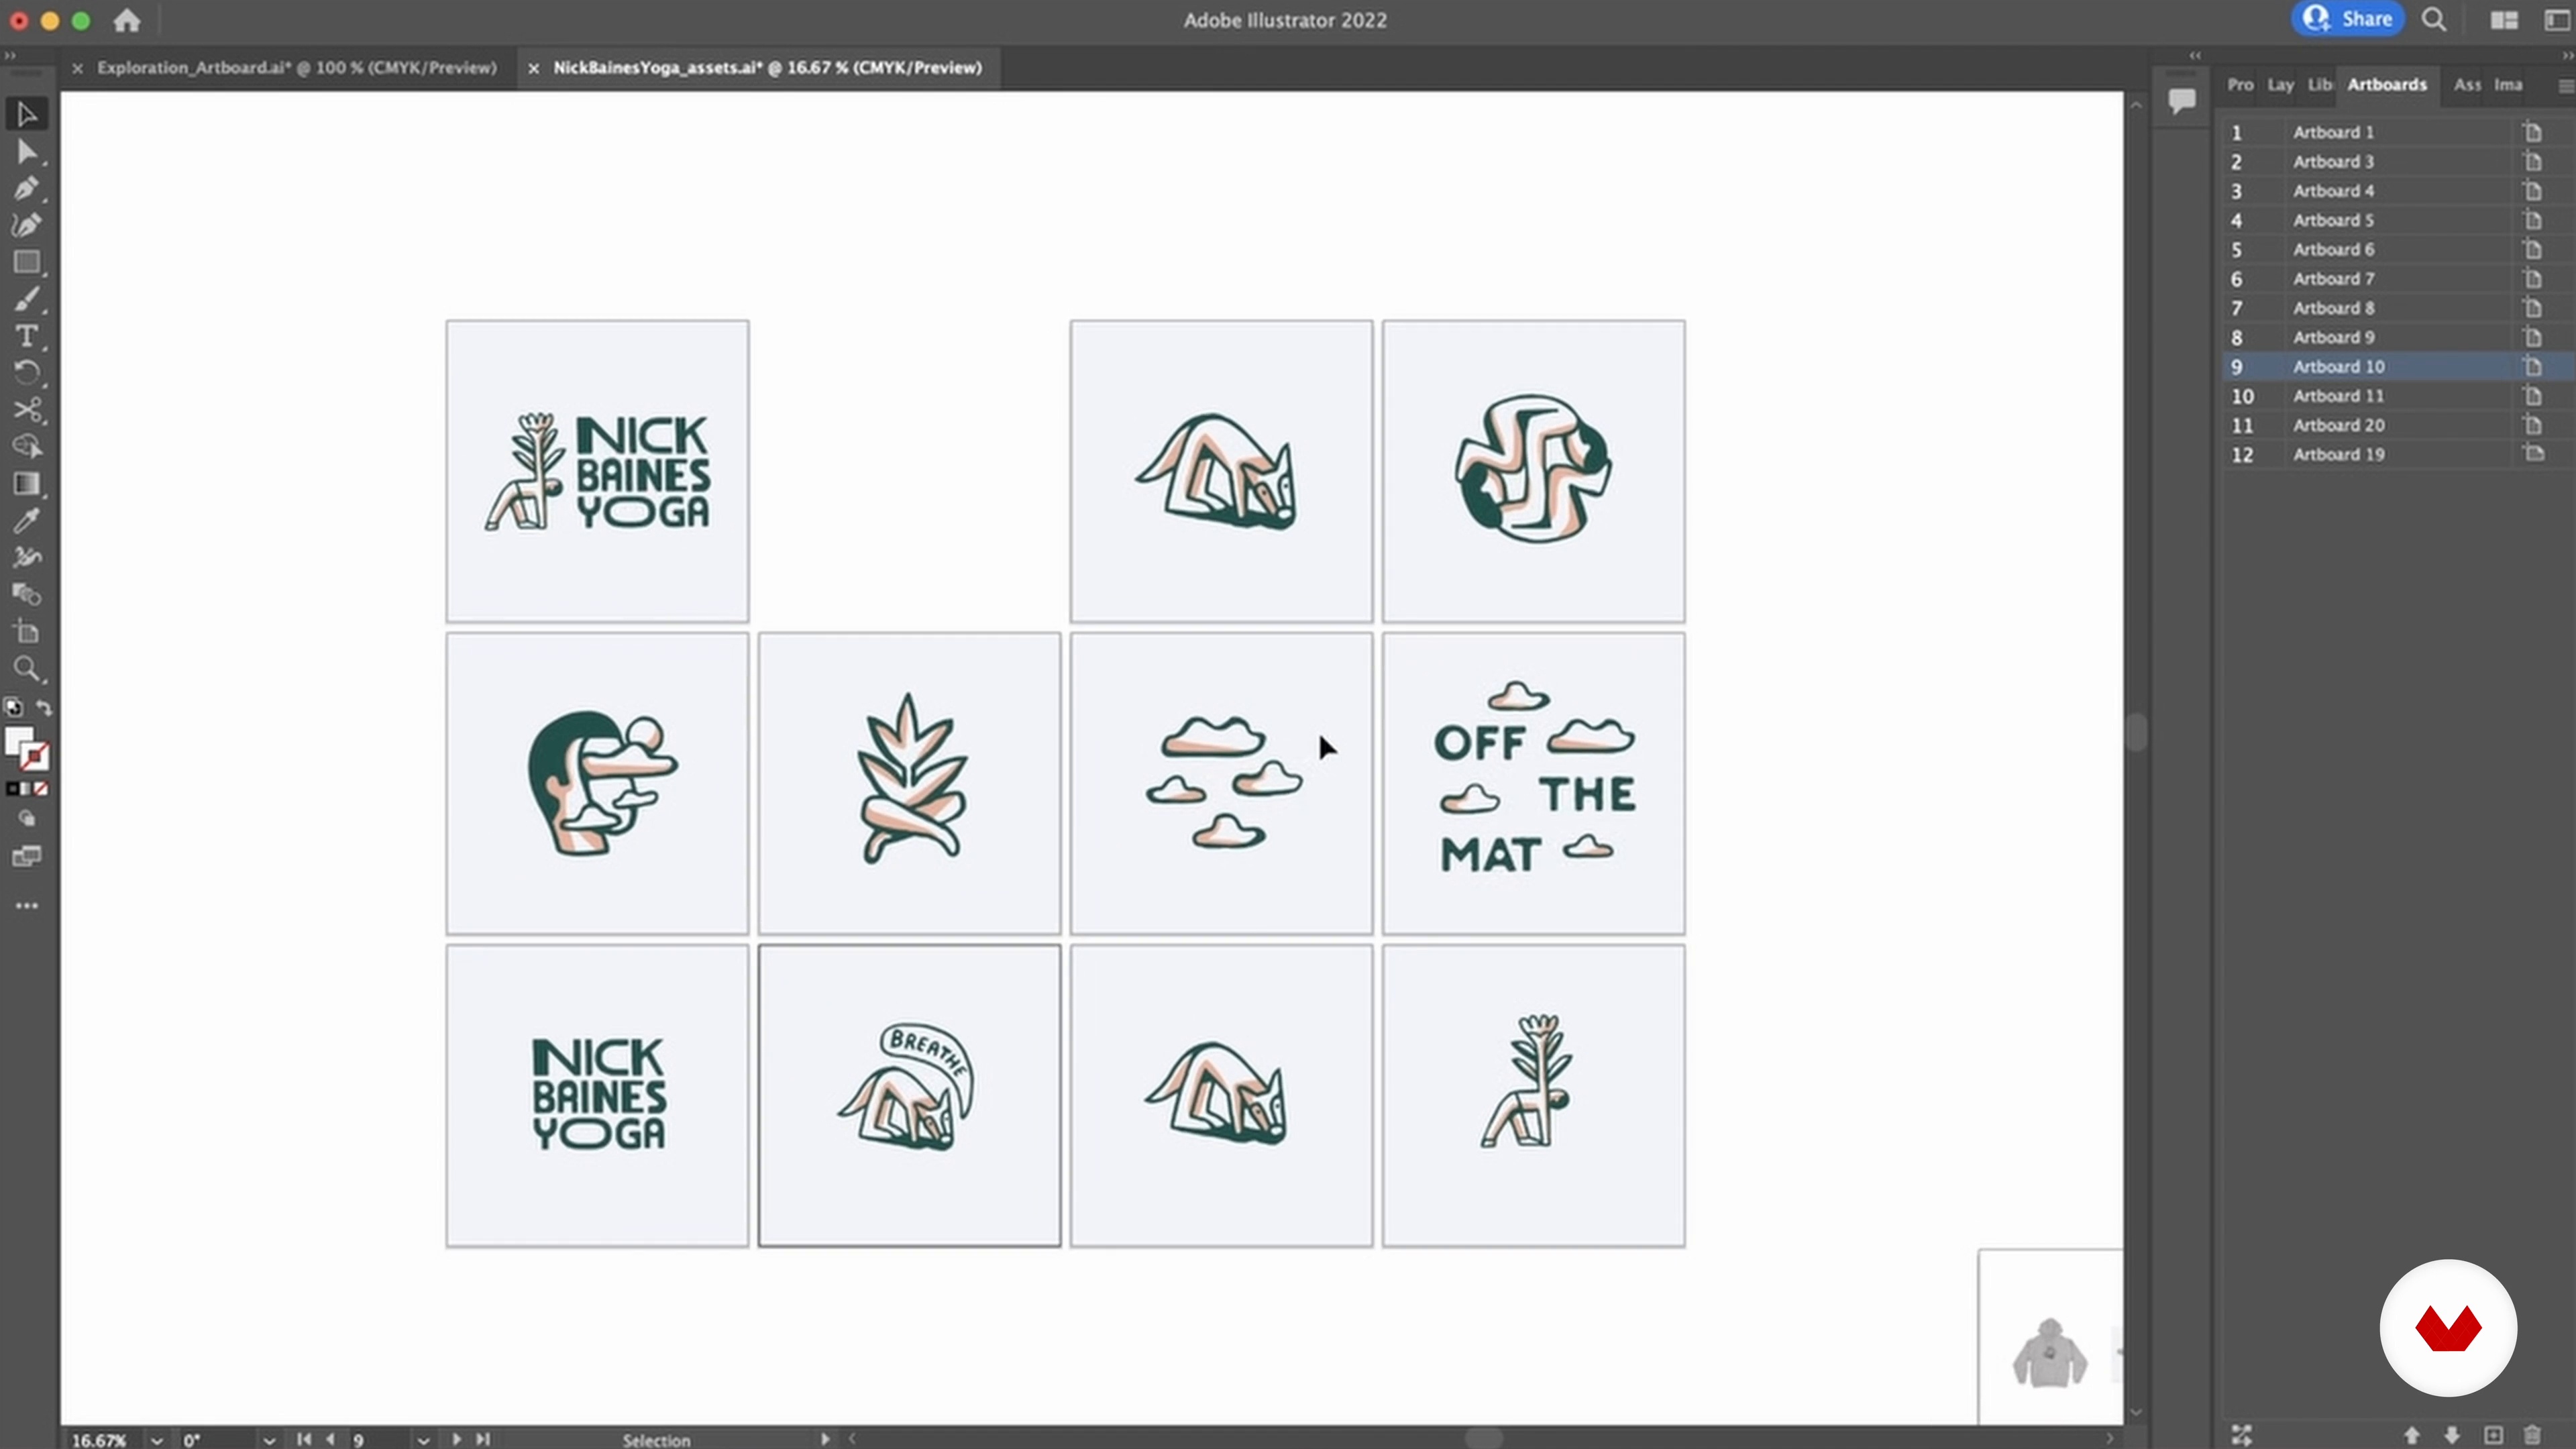
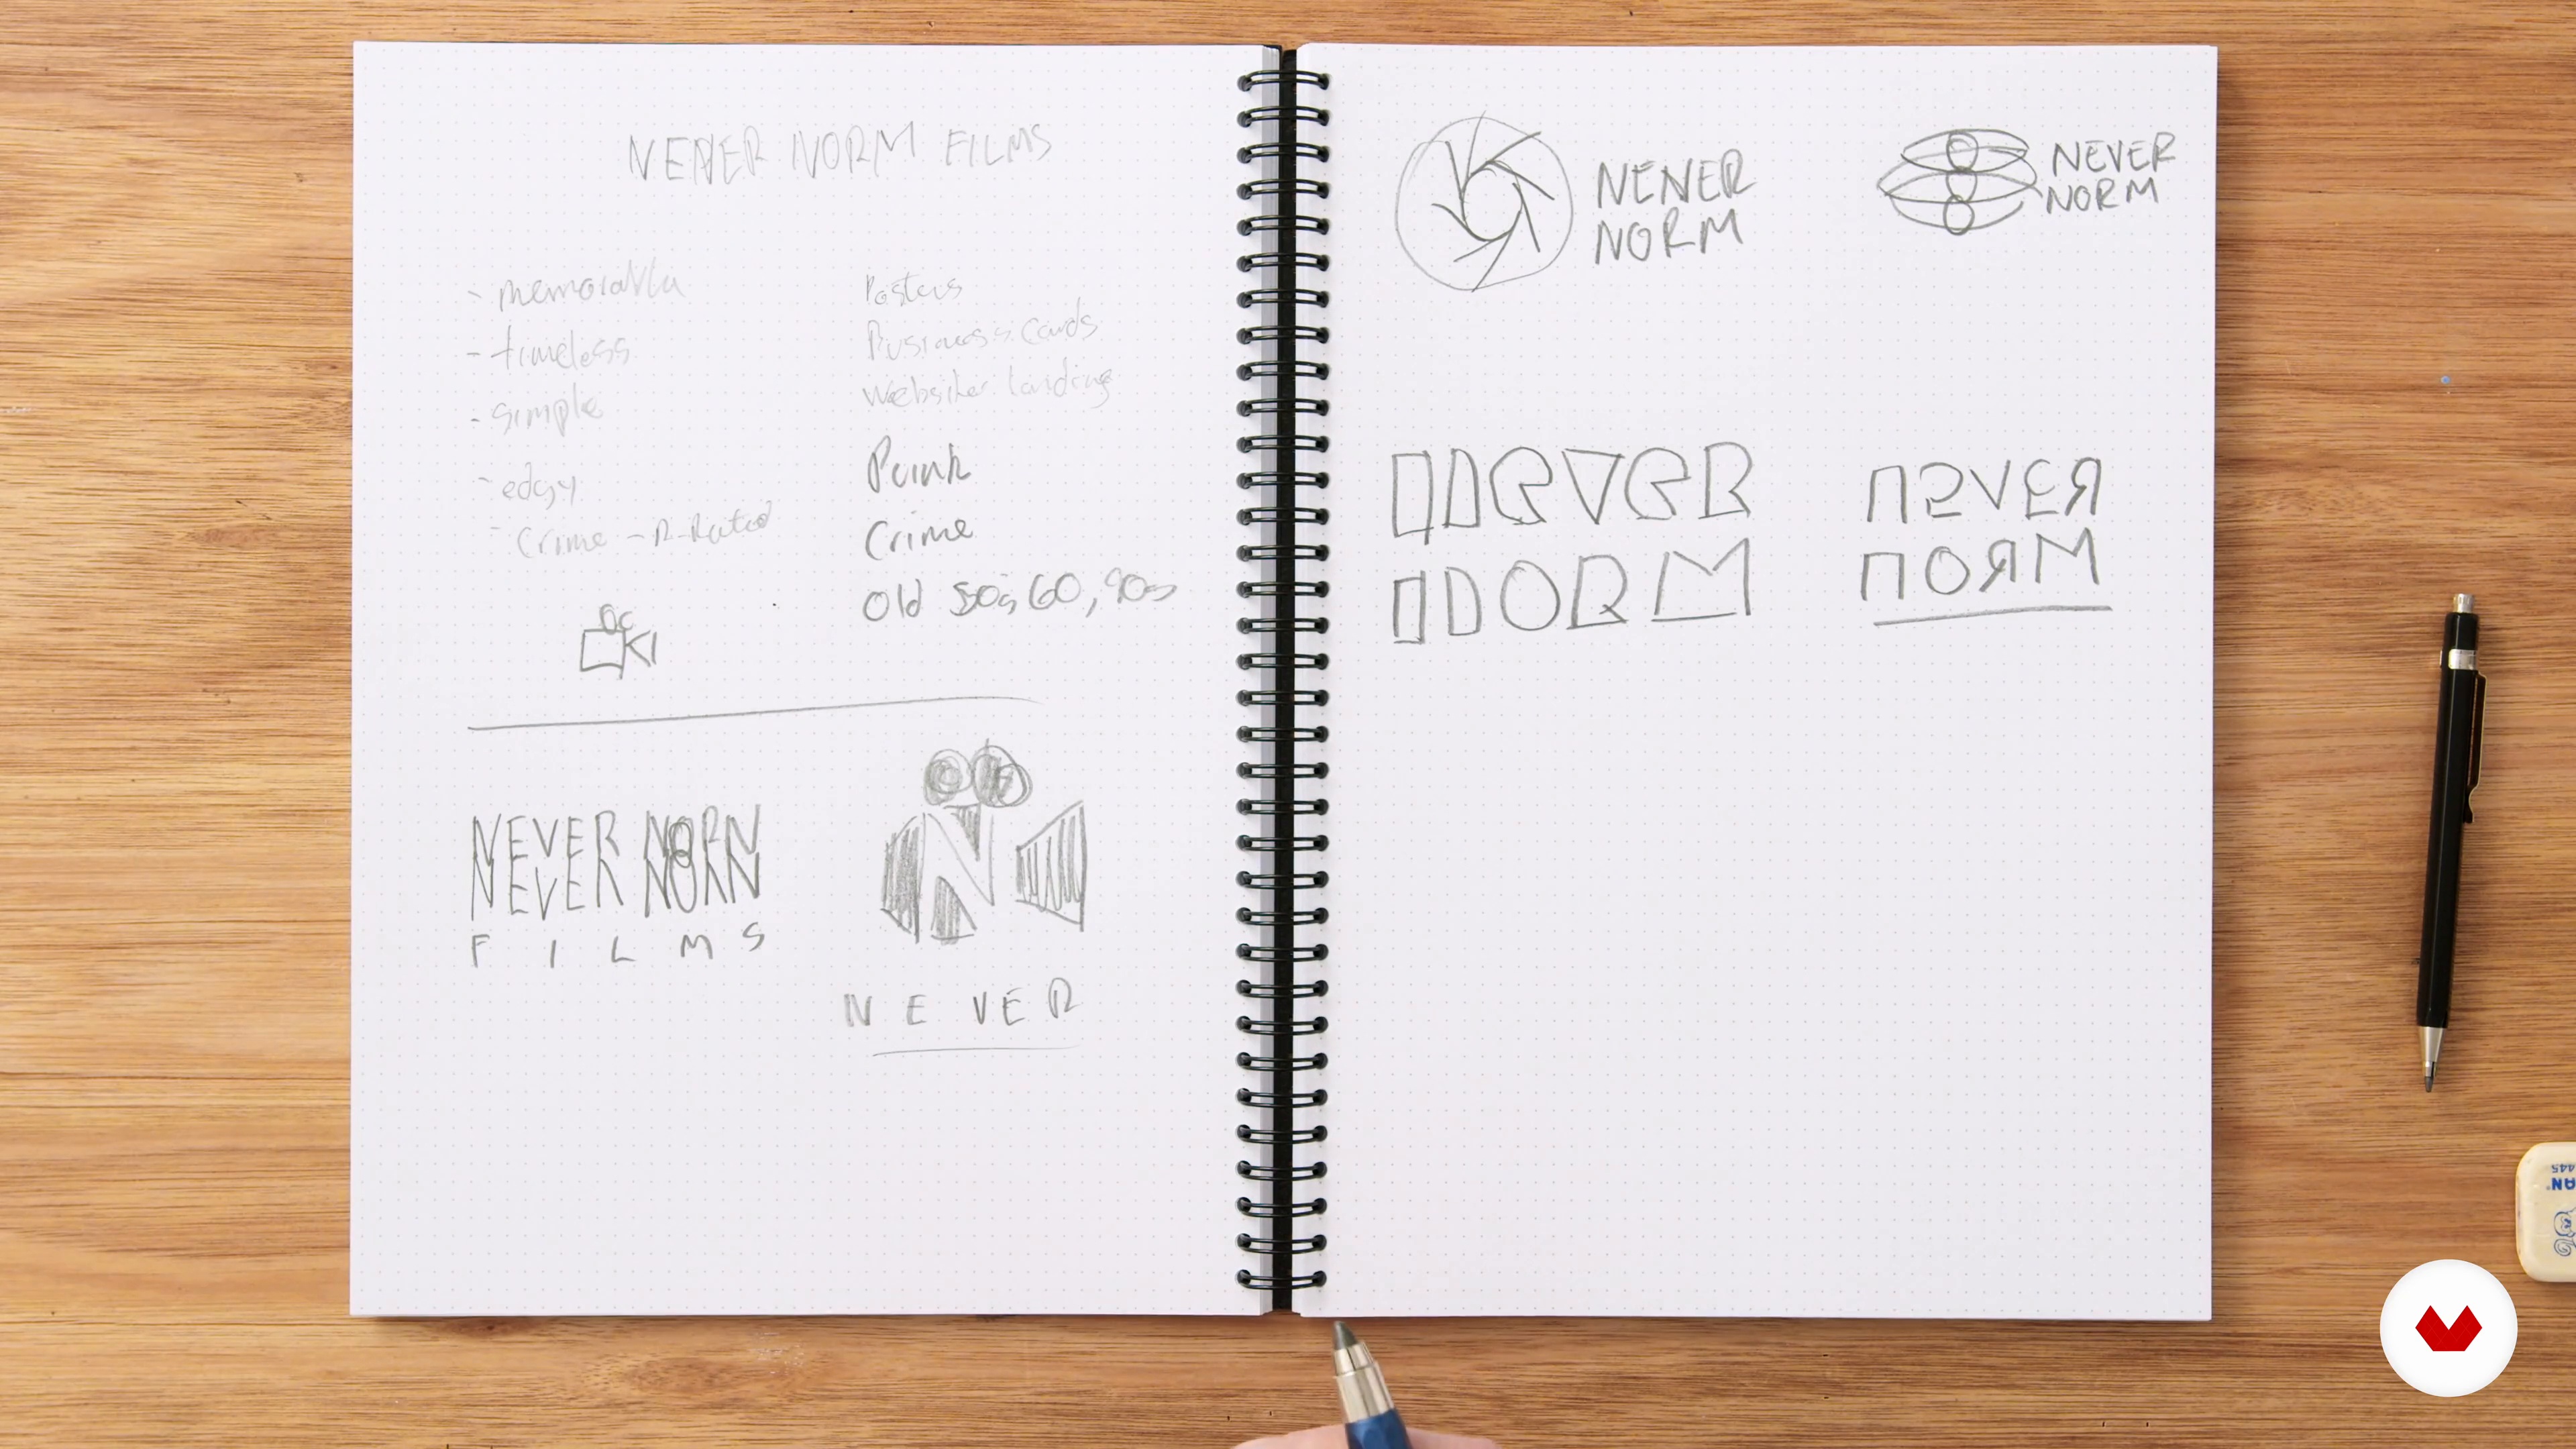
INK!!! Pick your top final drawings and ink them up. This is the point where you will get them ready to be brought into the computer for digitizing.
16m
image
9
Import Your Drawings
Import your drawings into Photoshop either by scanning or by PSD export in an app like Procreate.
3m
image
10
Creating Vectors
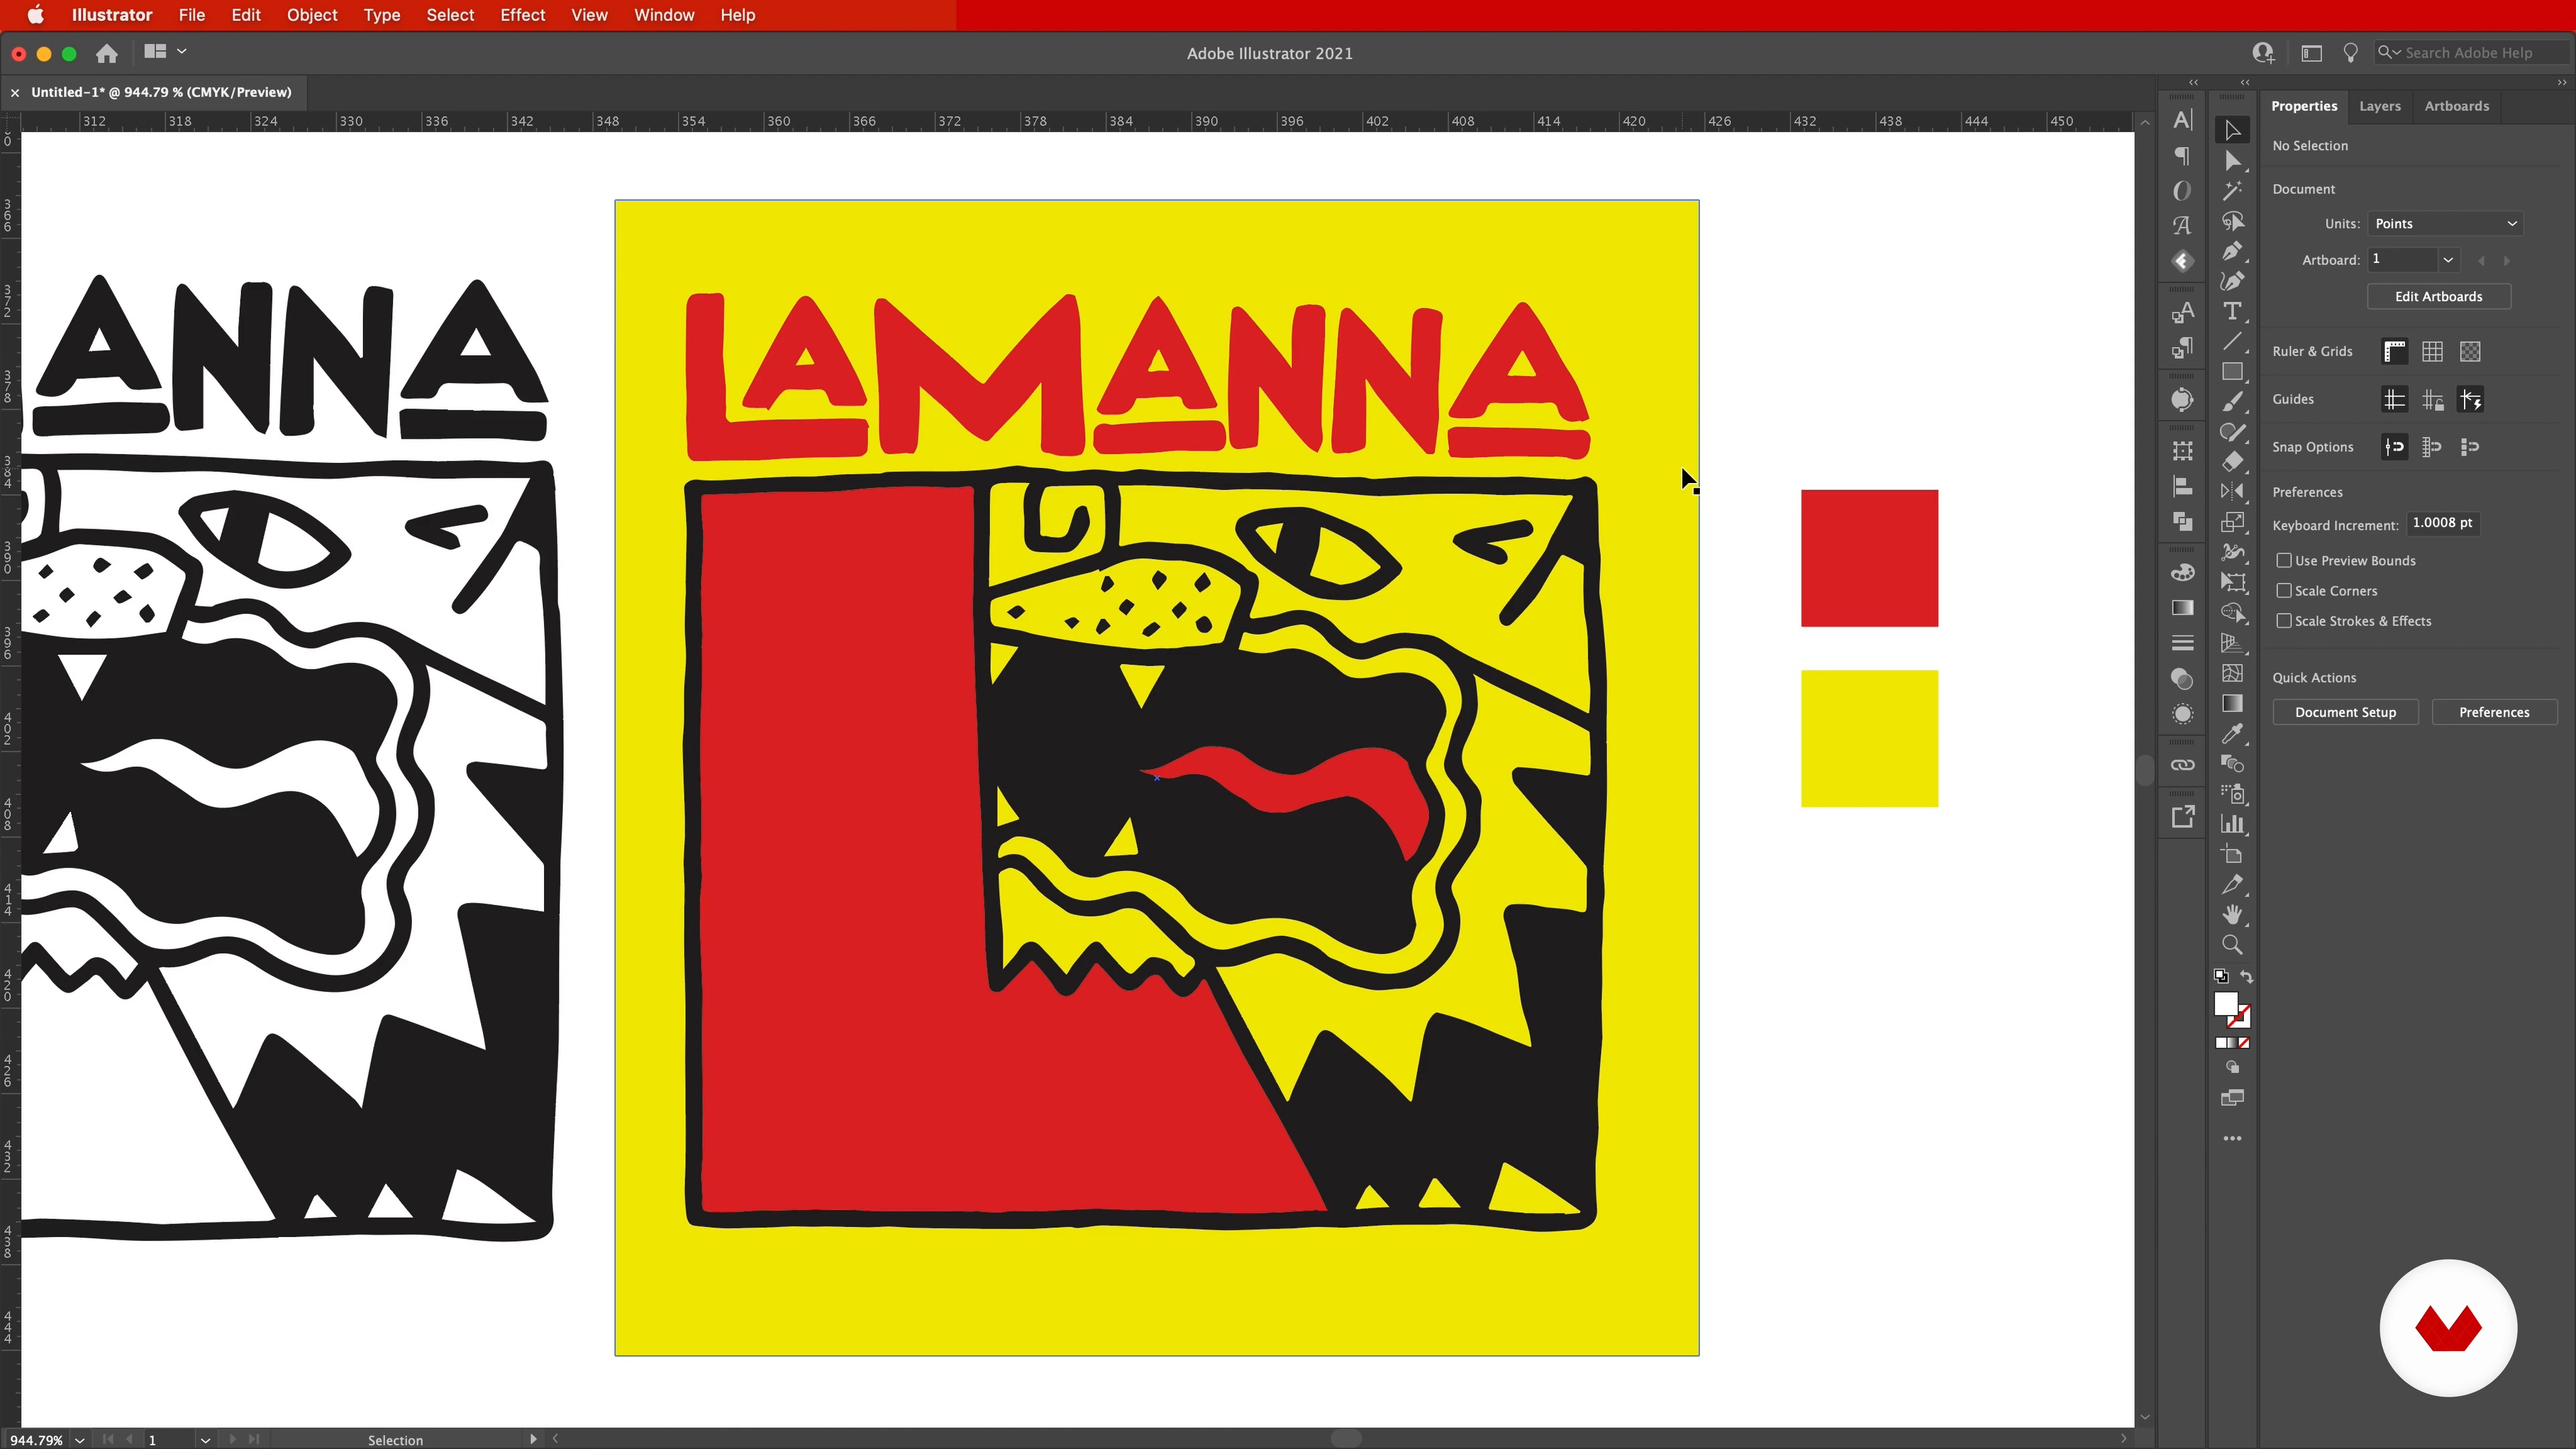
Make any final cleanups that you might want to do before vectorizing. Then, bring your favorite drawings into Illustrator to vectorize them and trace them.
9m
image
11
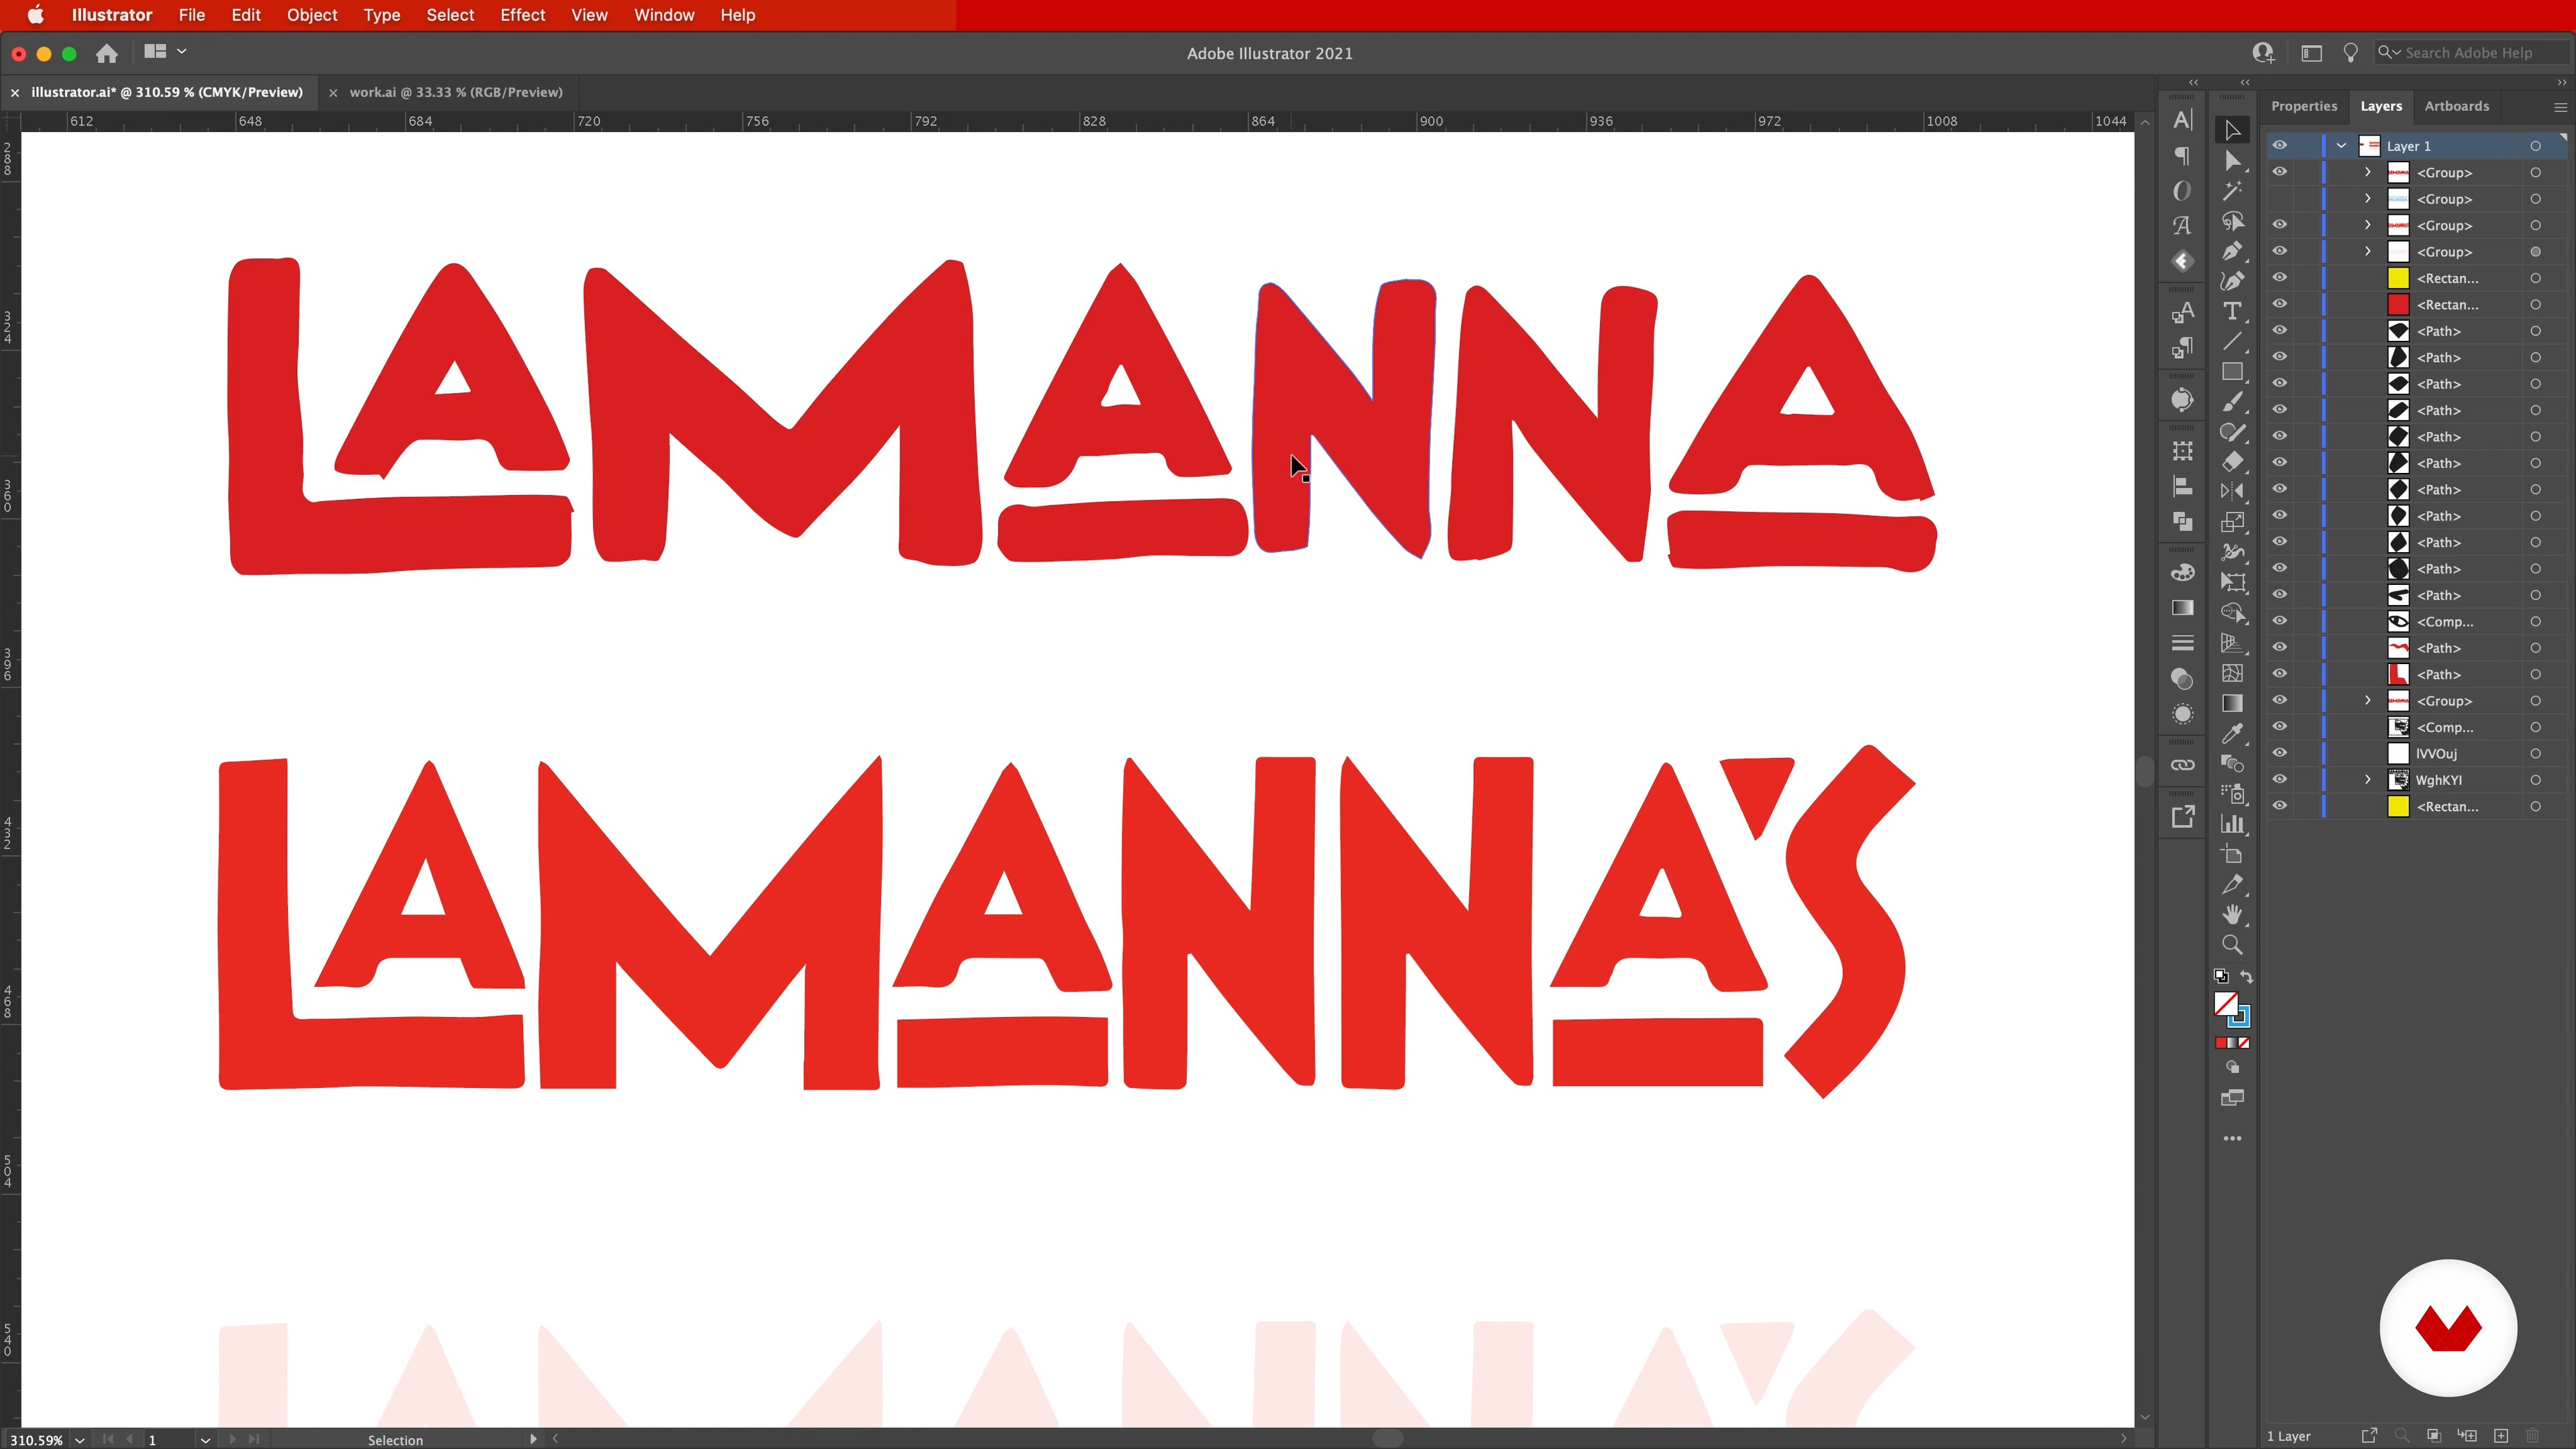
Adjust Spacing
Adjust the spacing of your newly vectorized logo to make sure it’s just right.
13m
image
12
Finally, Color!
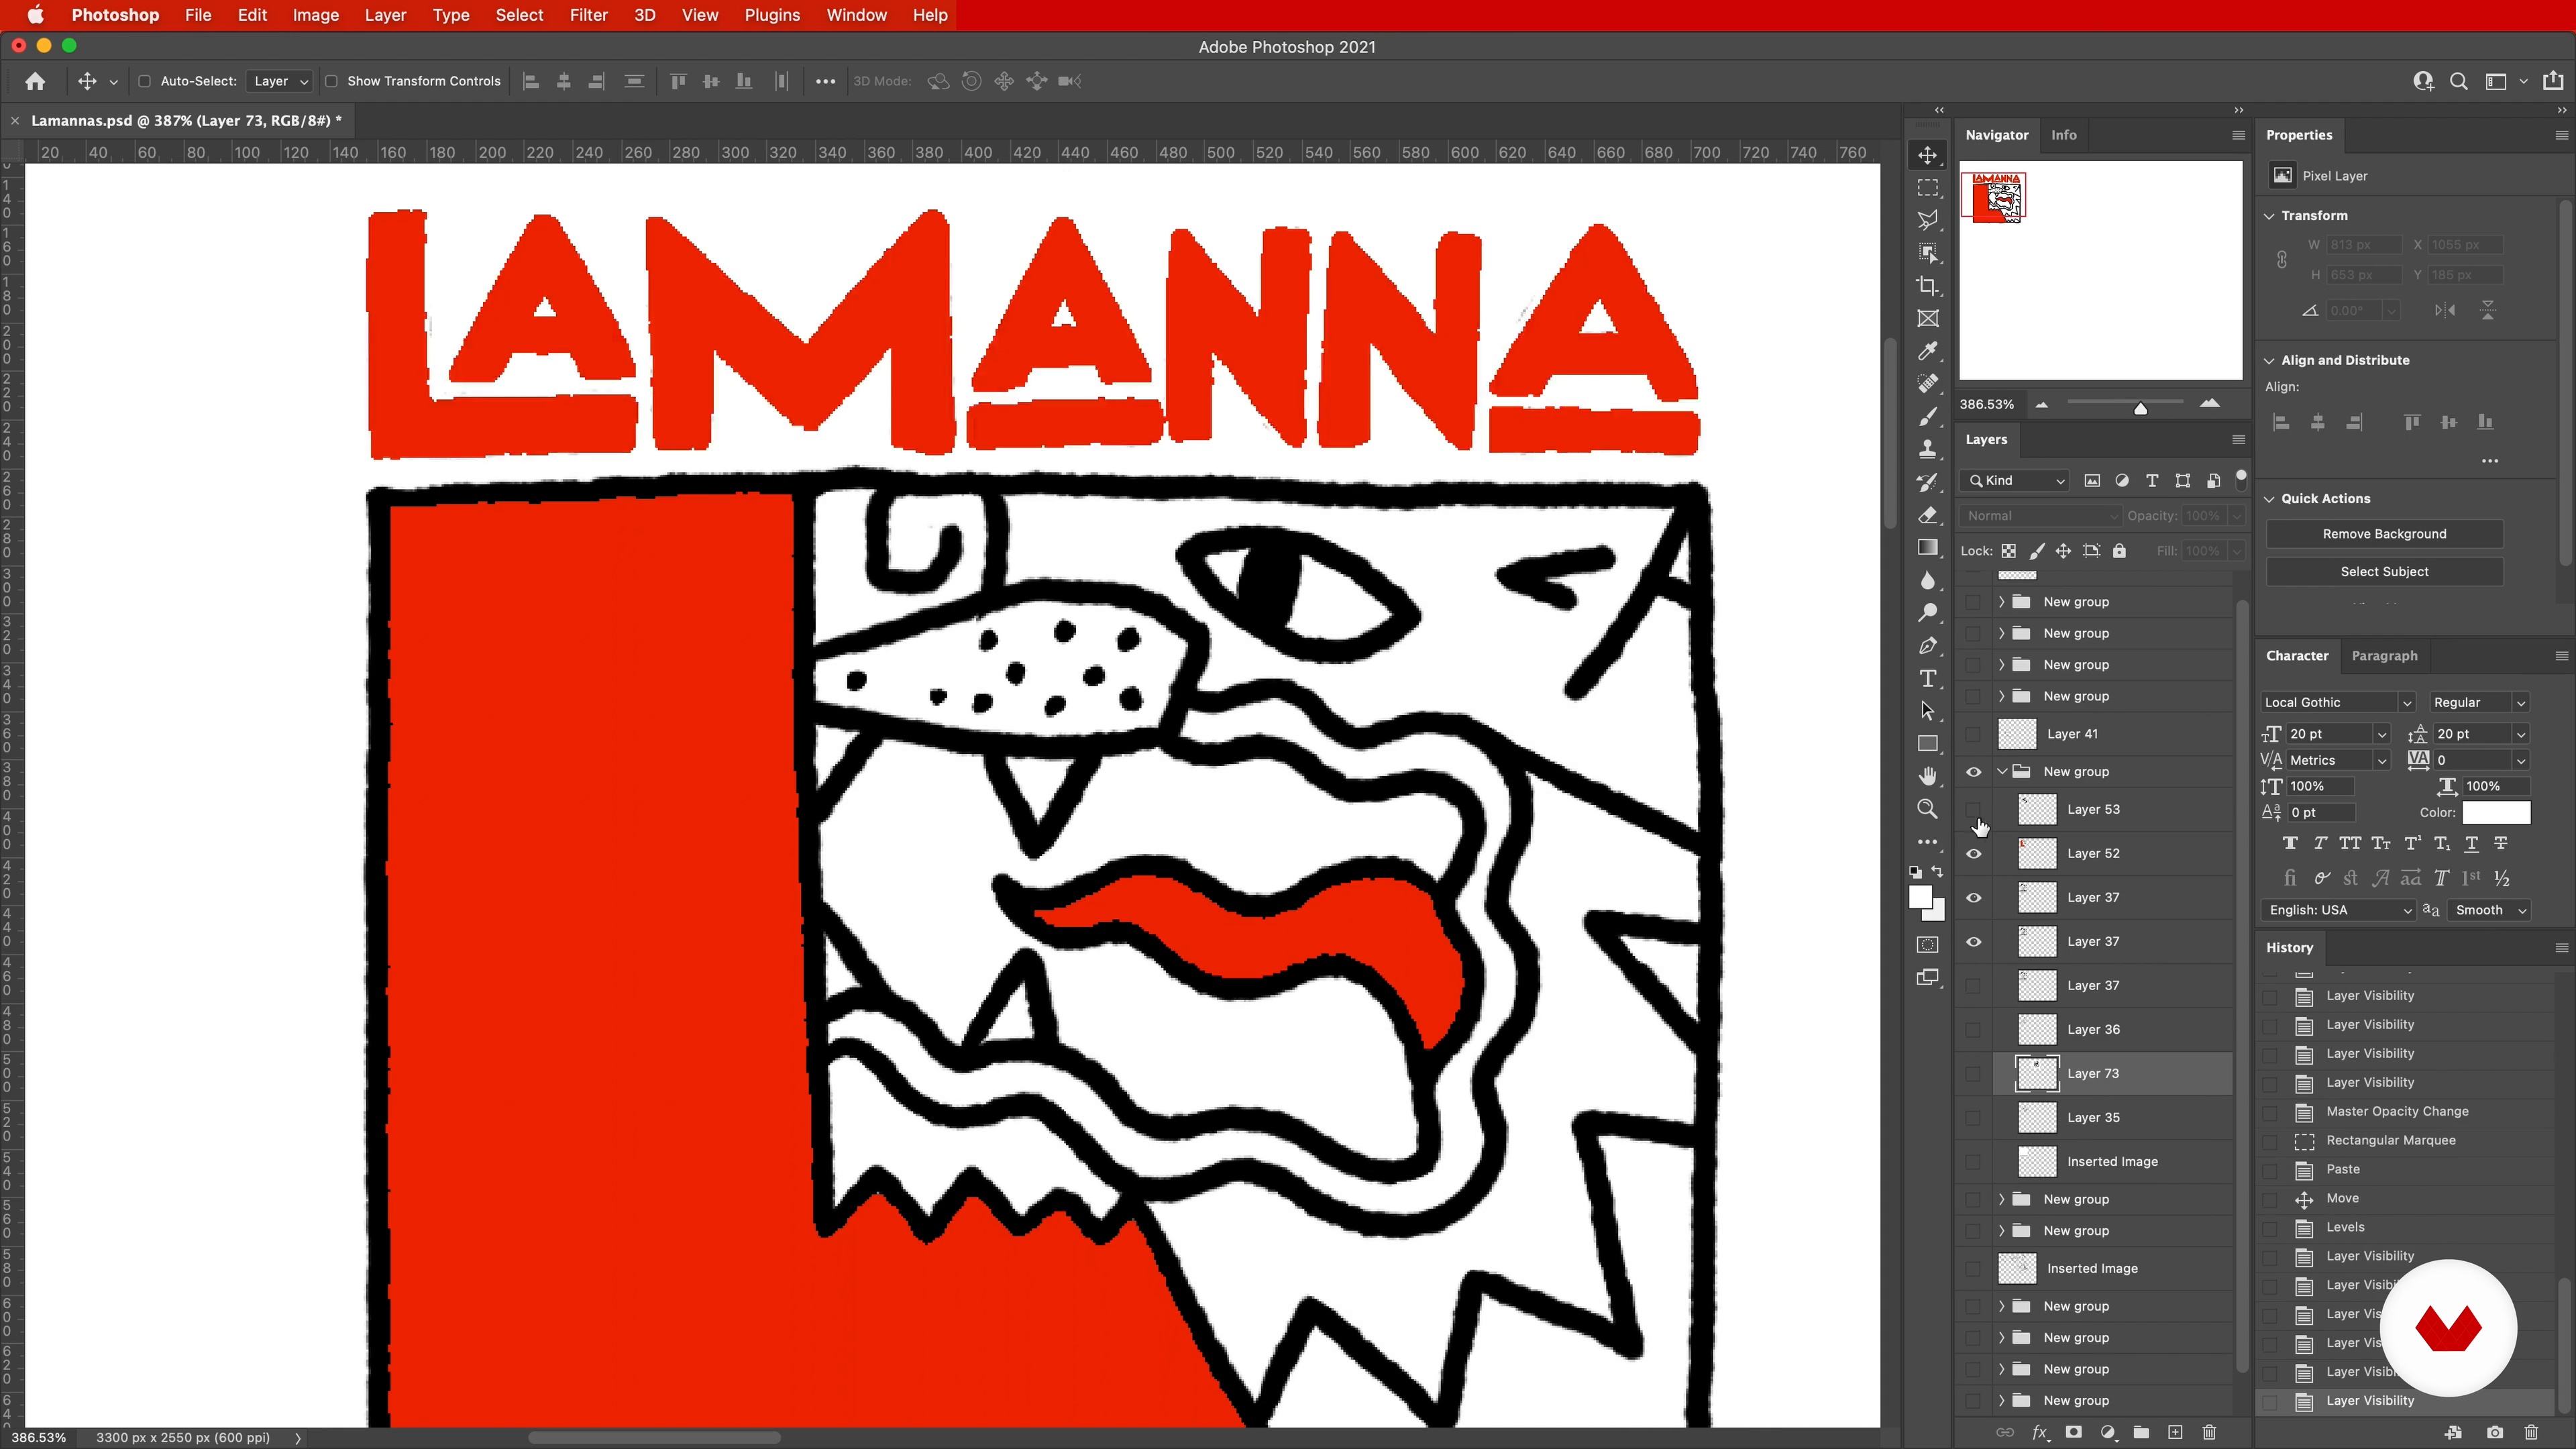
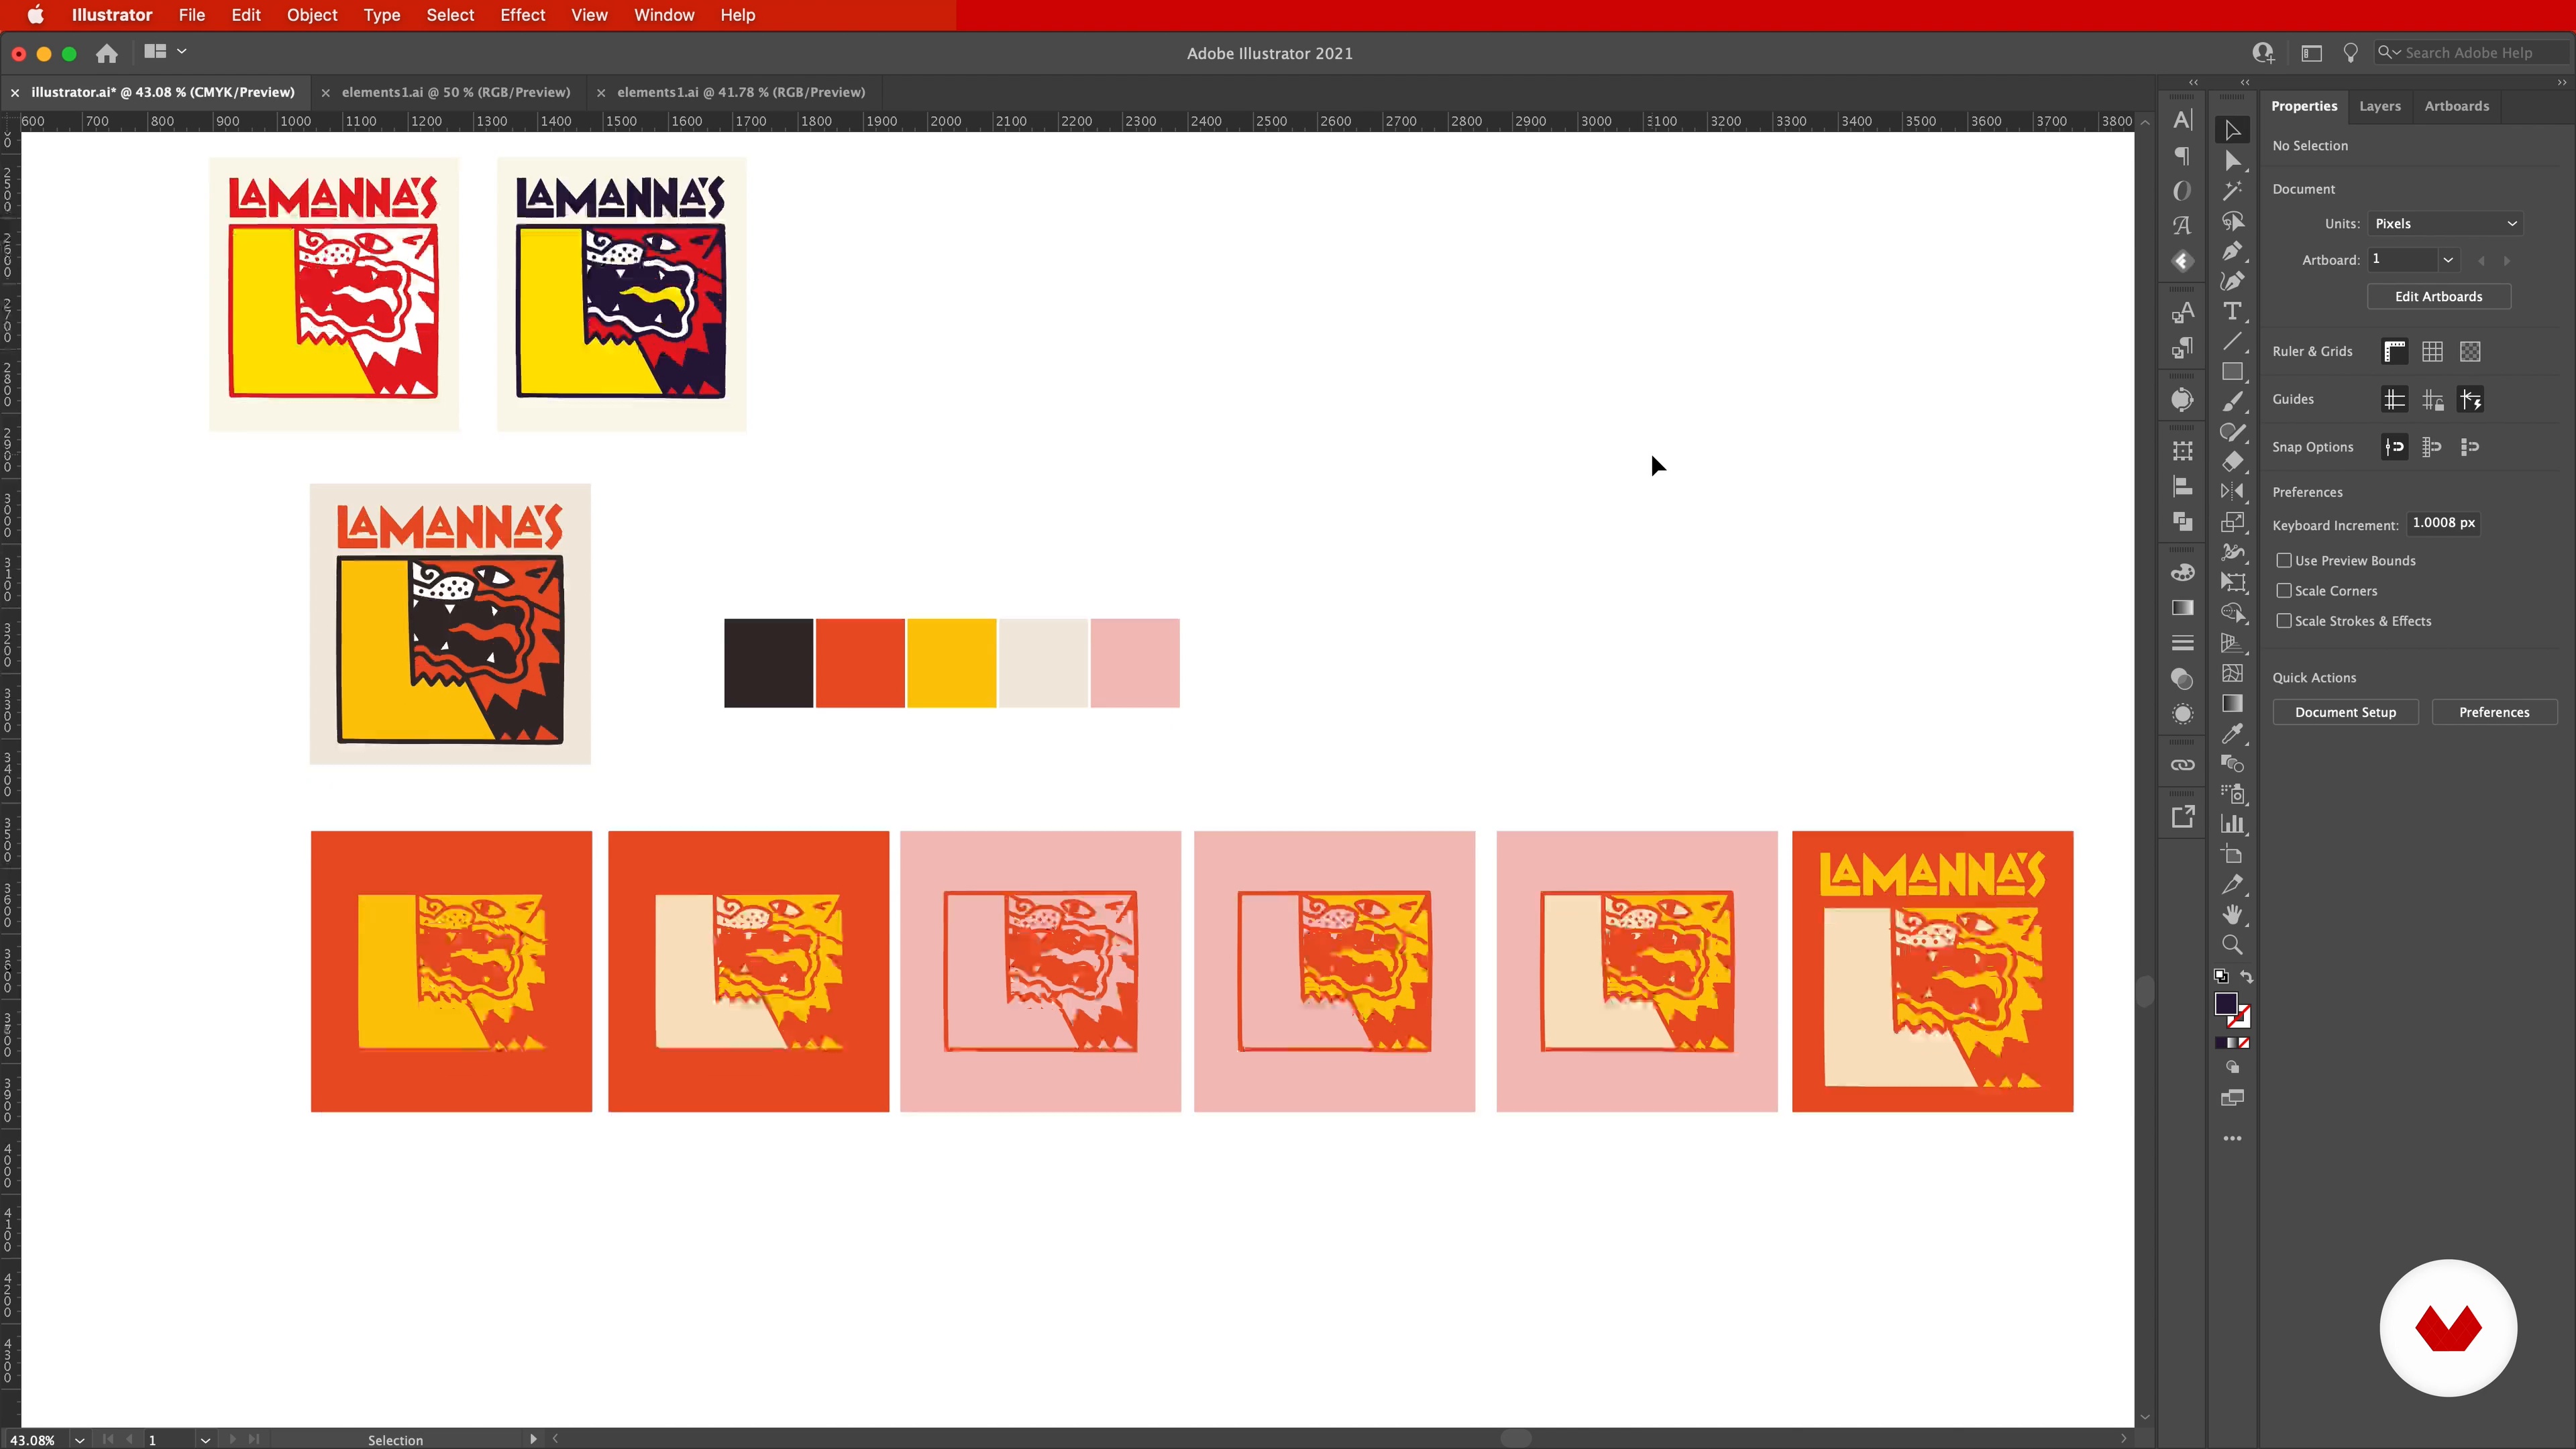
Experiment with color and decide on what seems like the best color combination for your logo and your upcoming brand.
13m
image
13
Sample Your Brand
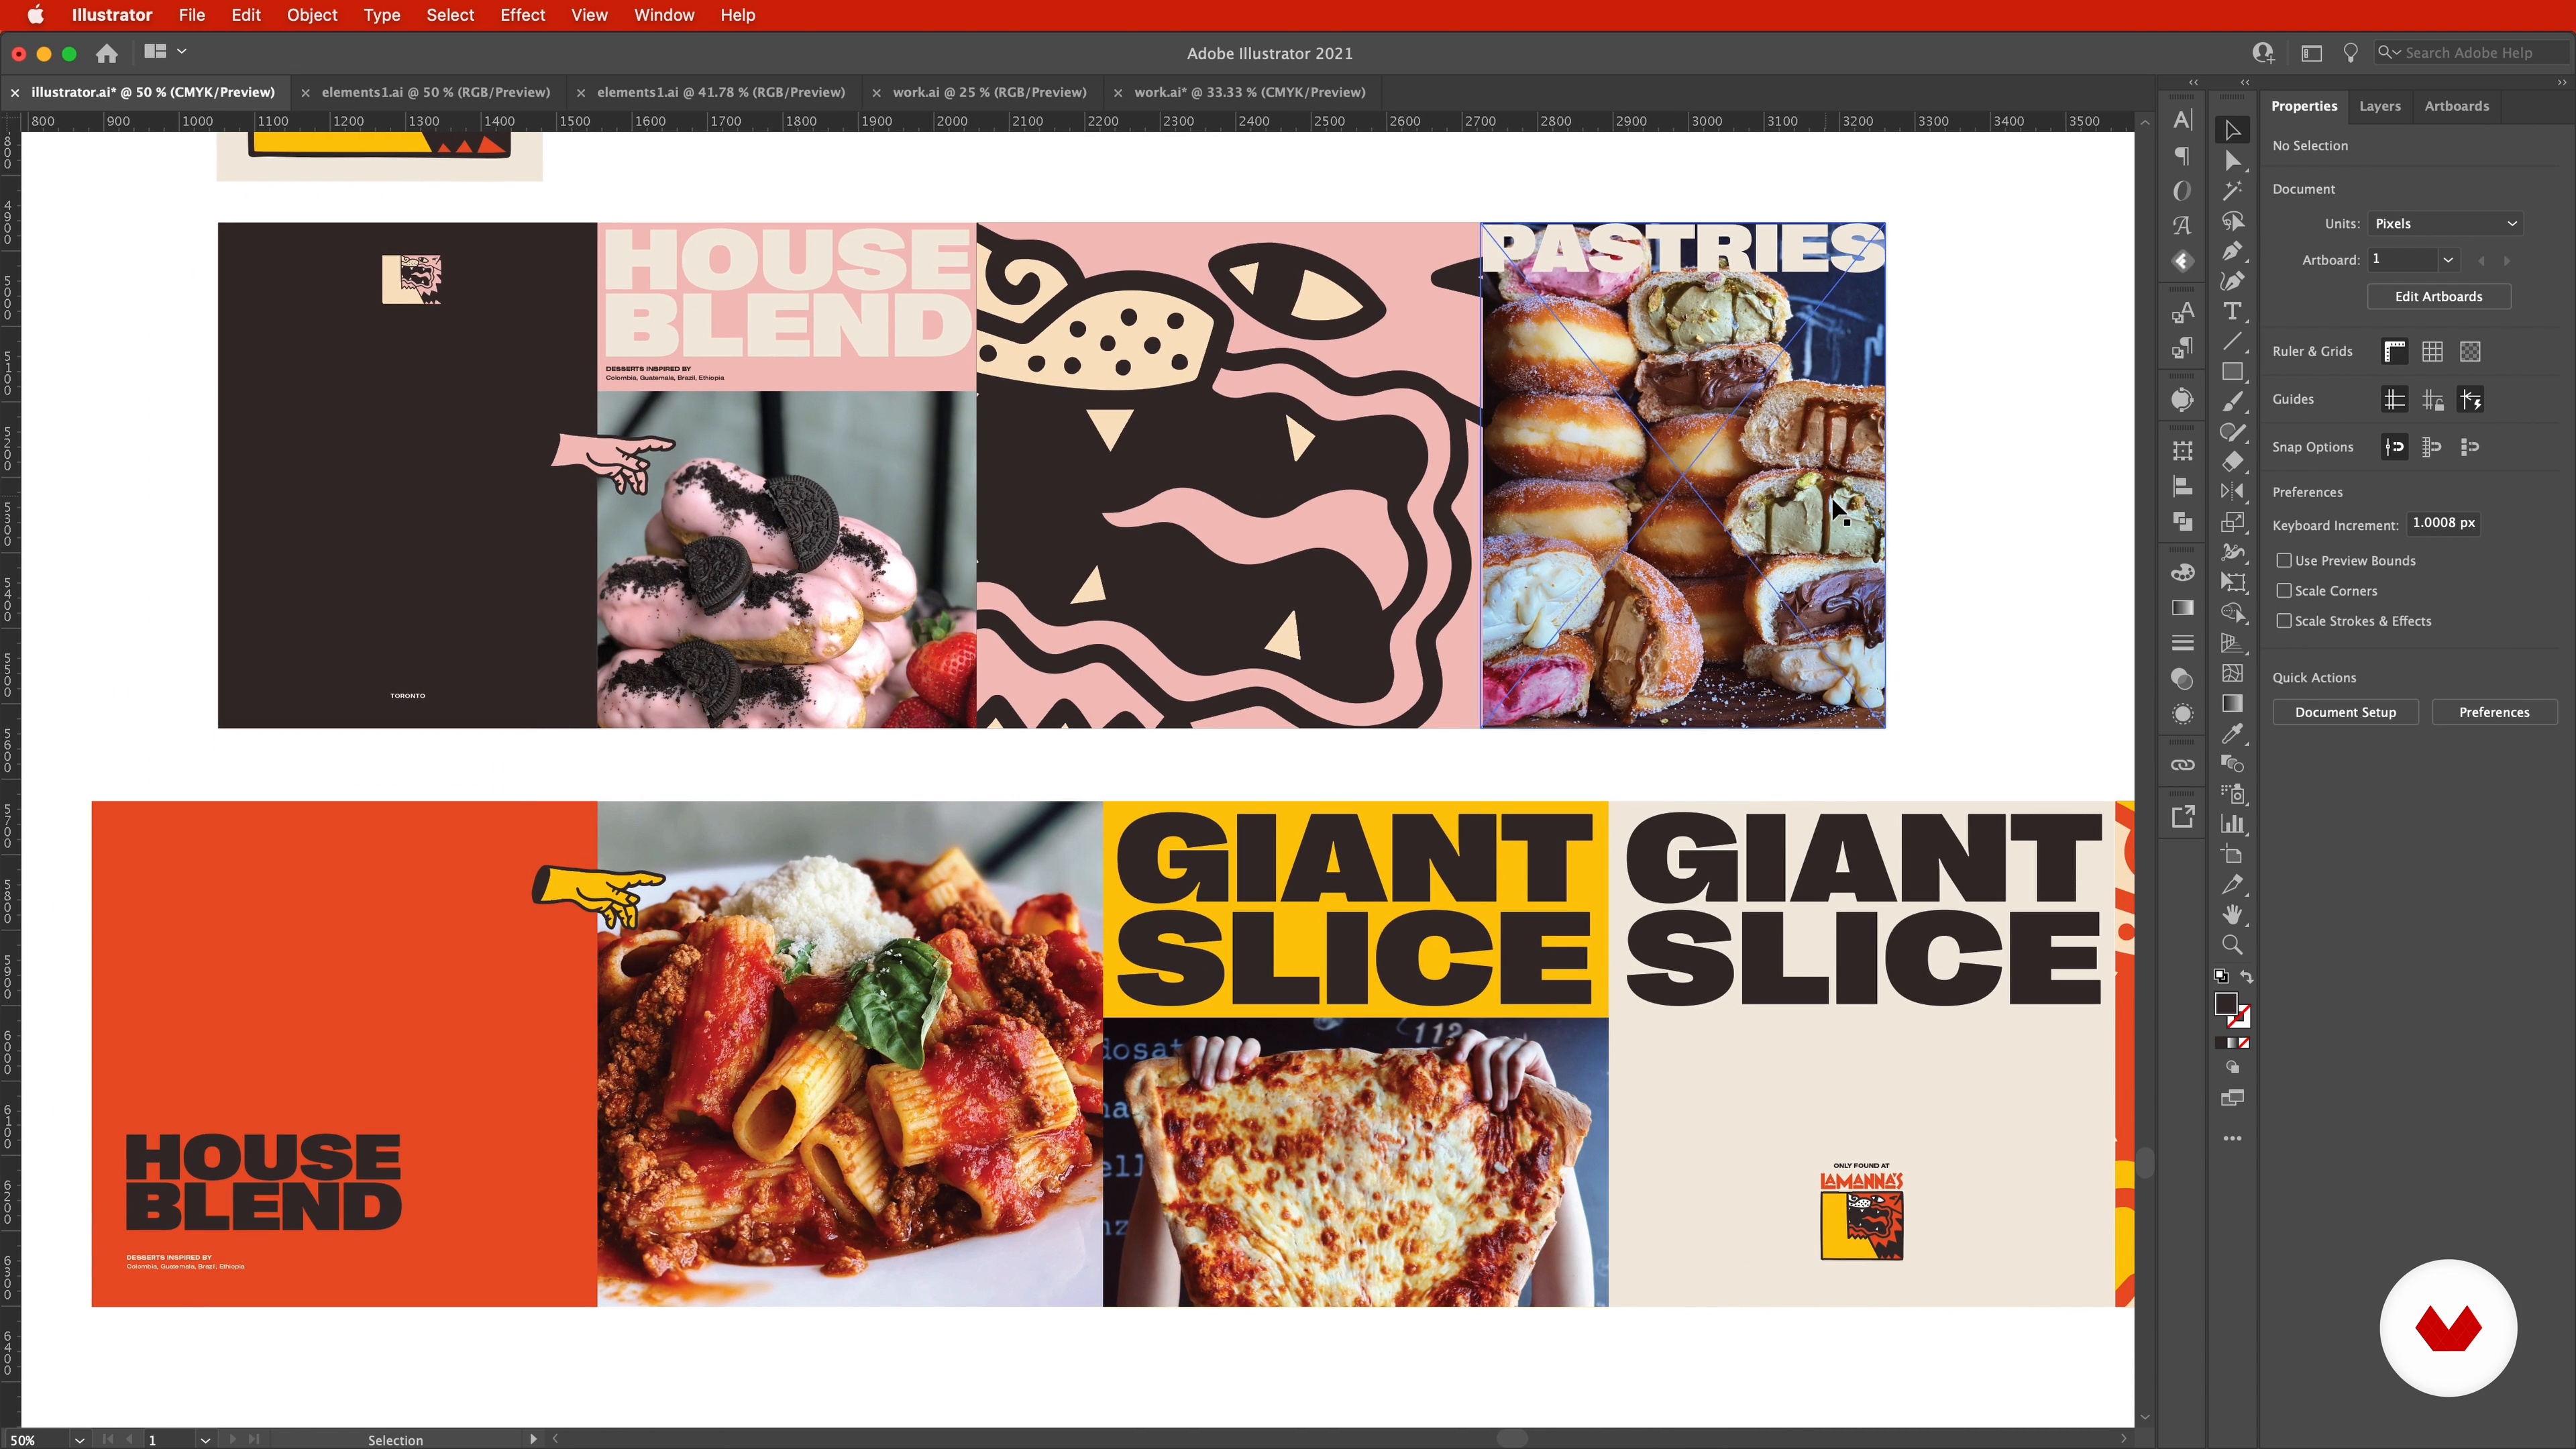
Start pulling in photography, textures, etc to figure out how the brand looks in real-life scenarios to test out how it works as a real brand.
9m
image
14
Adding Elements
Add additional elements to your logo to help create the brand identity and decide if you want to add additional elements like illustrations, icons, patterns, or anything else that will extend the visual language of your brand.
7m
image
15
Mock-ups
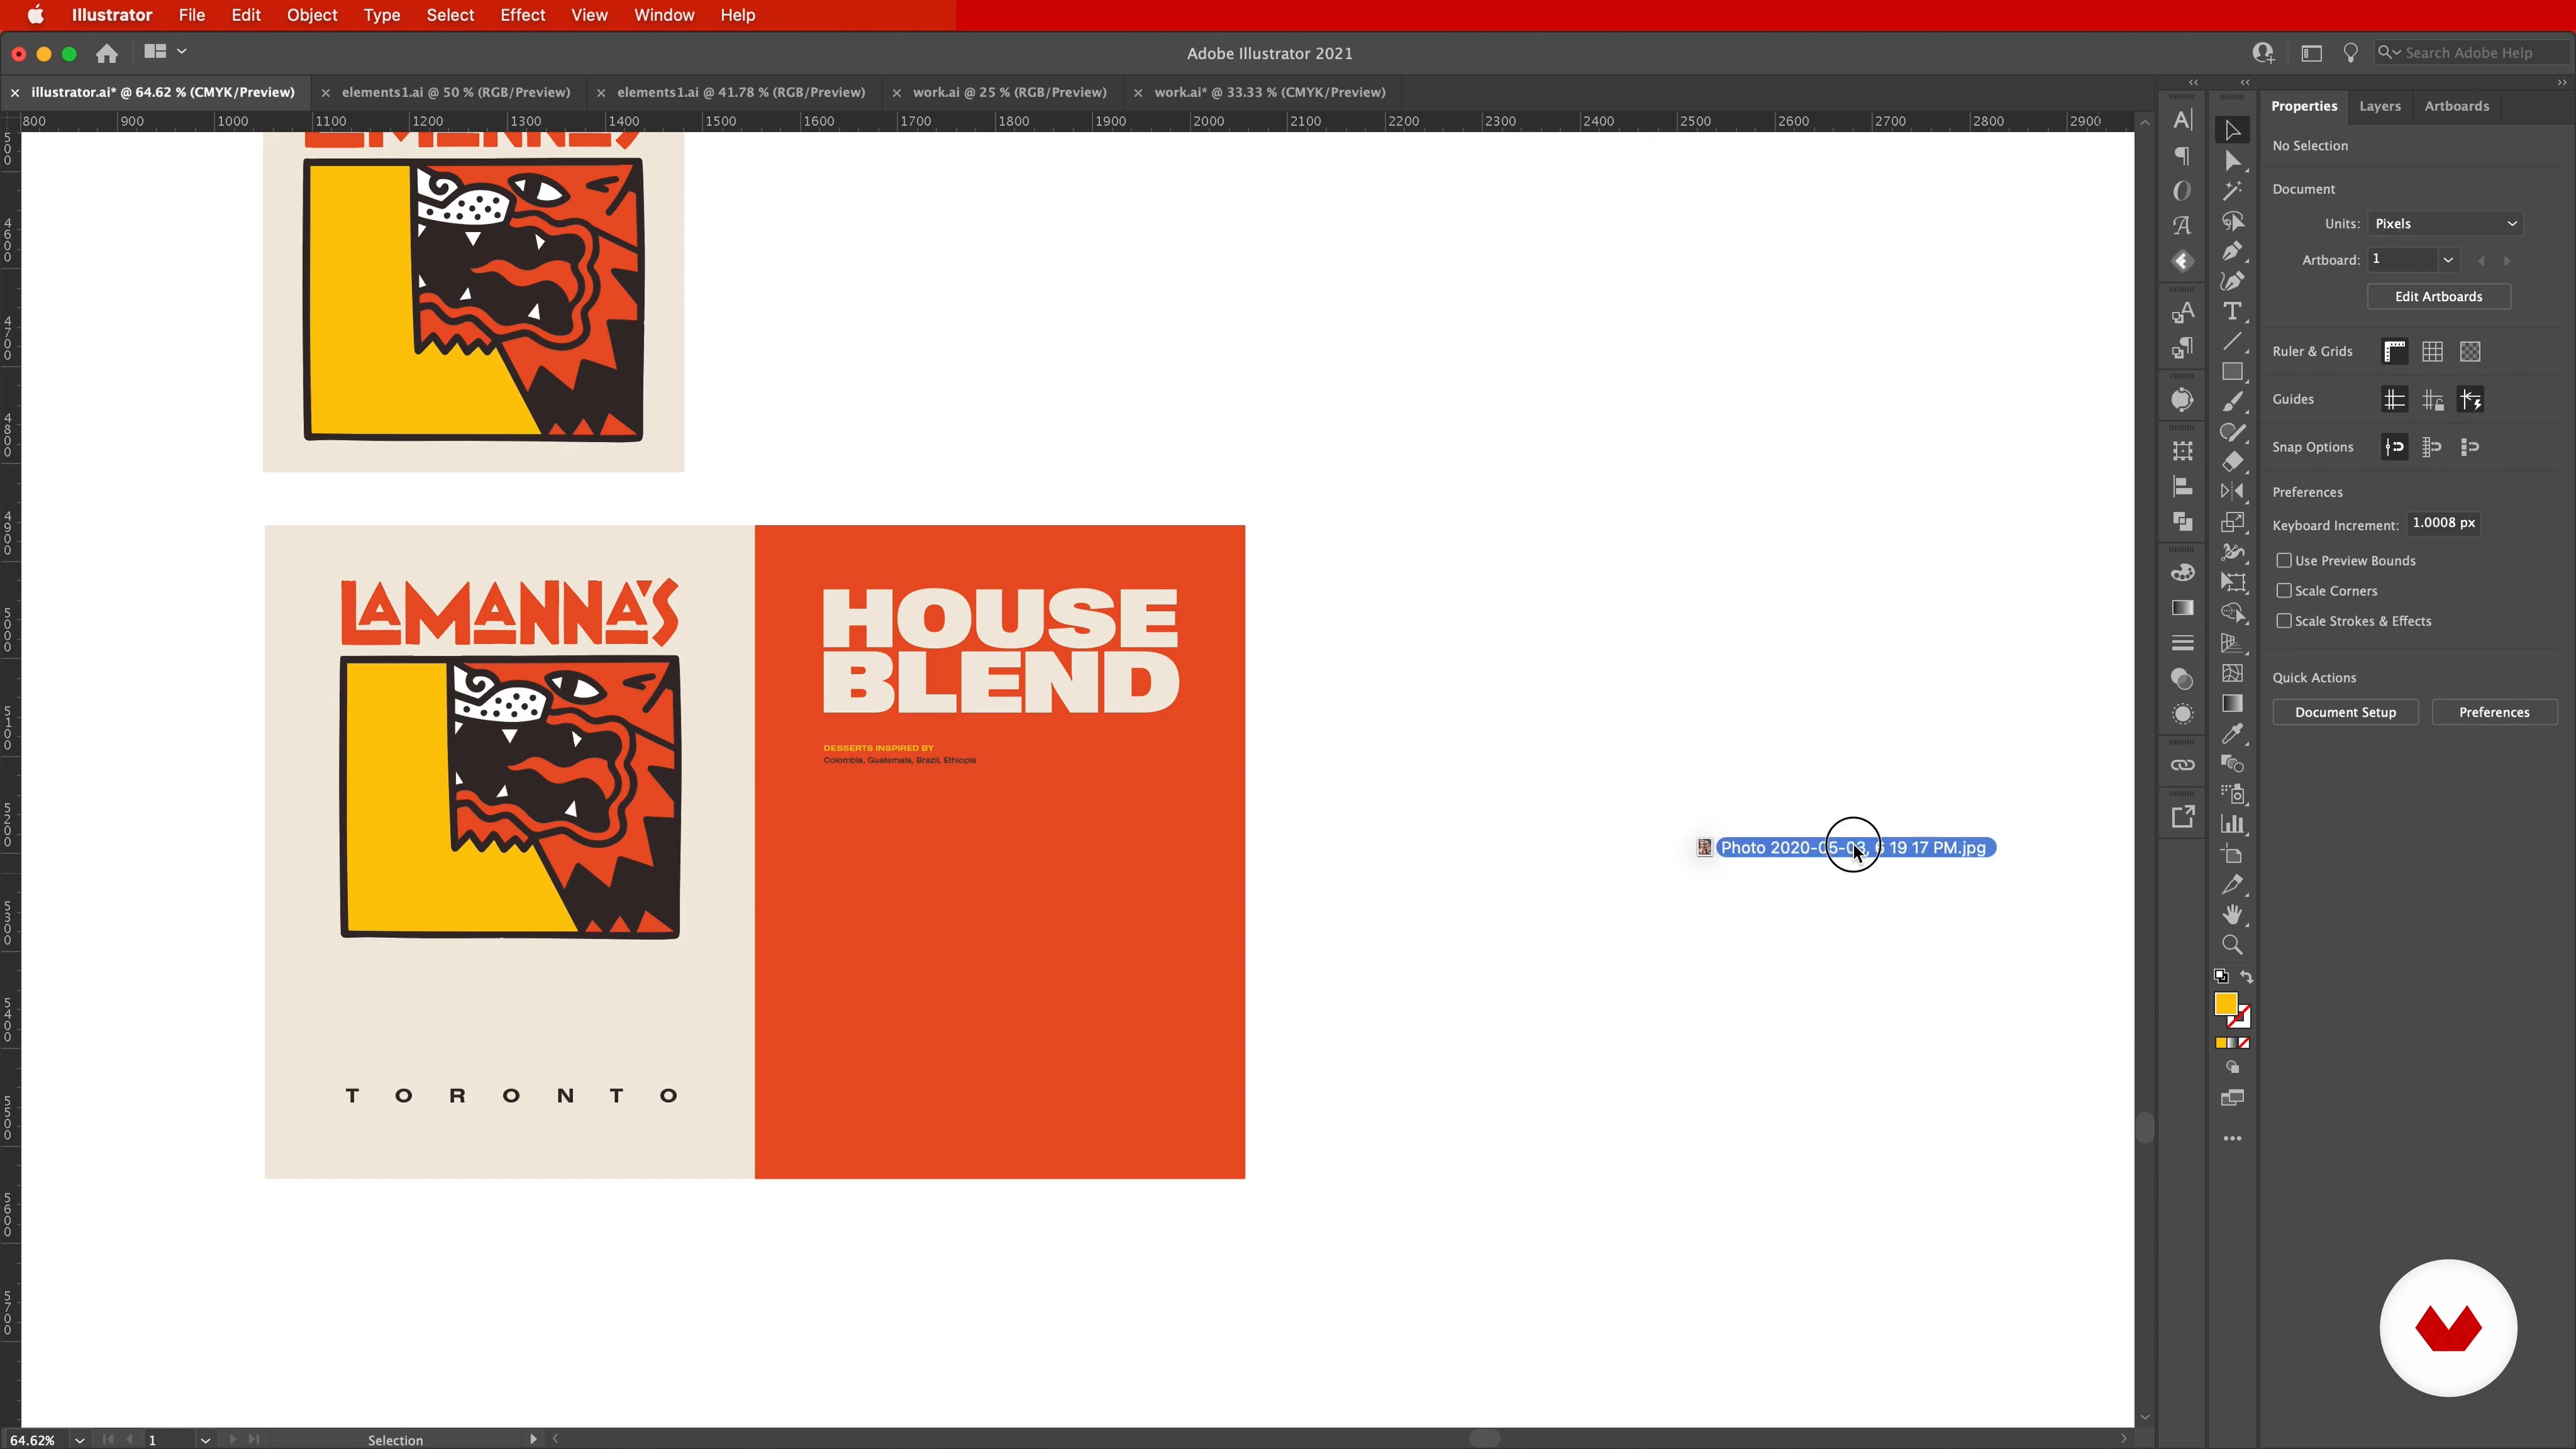
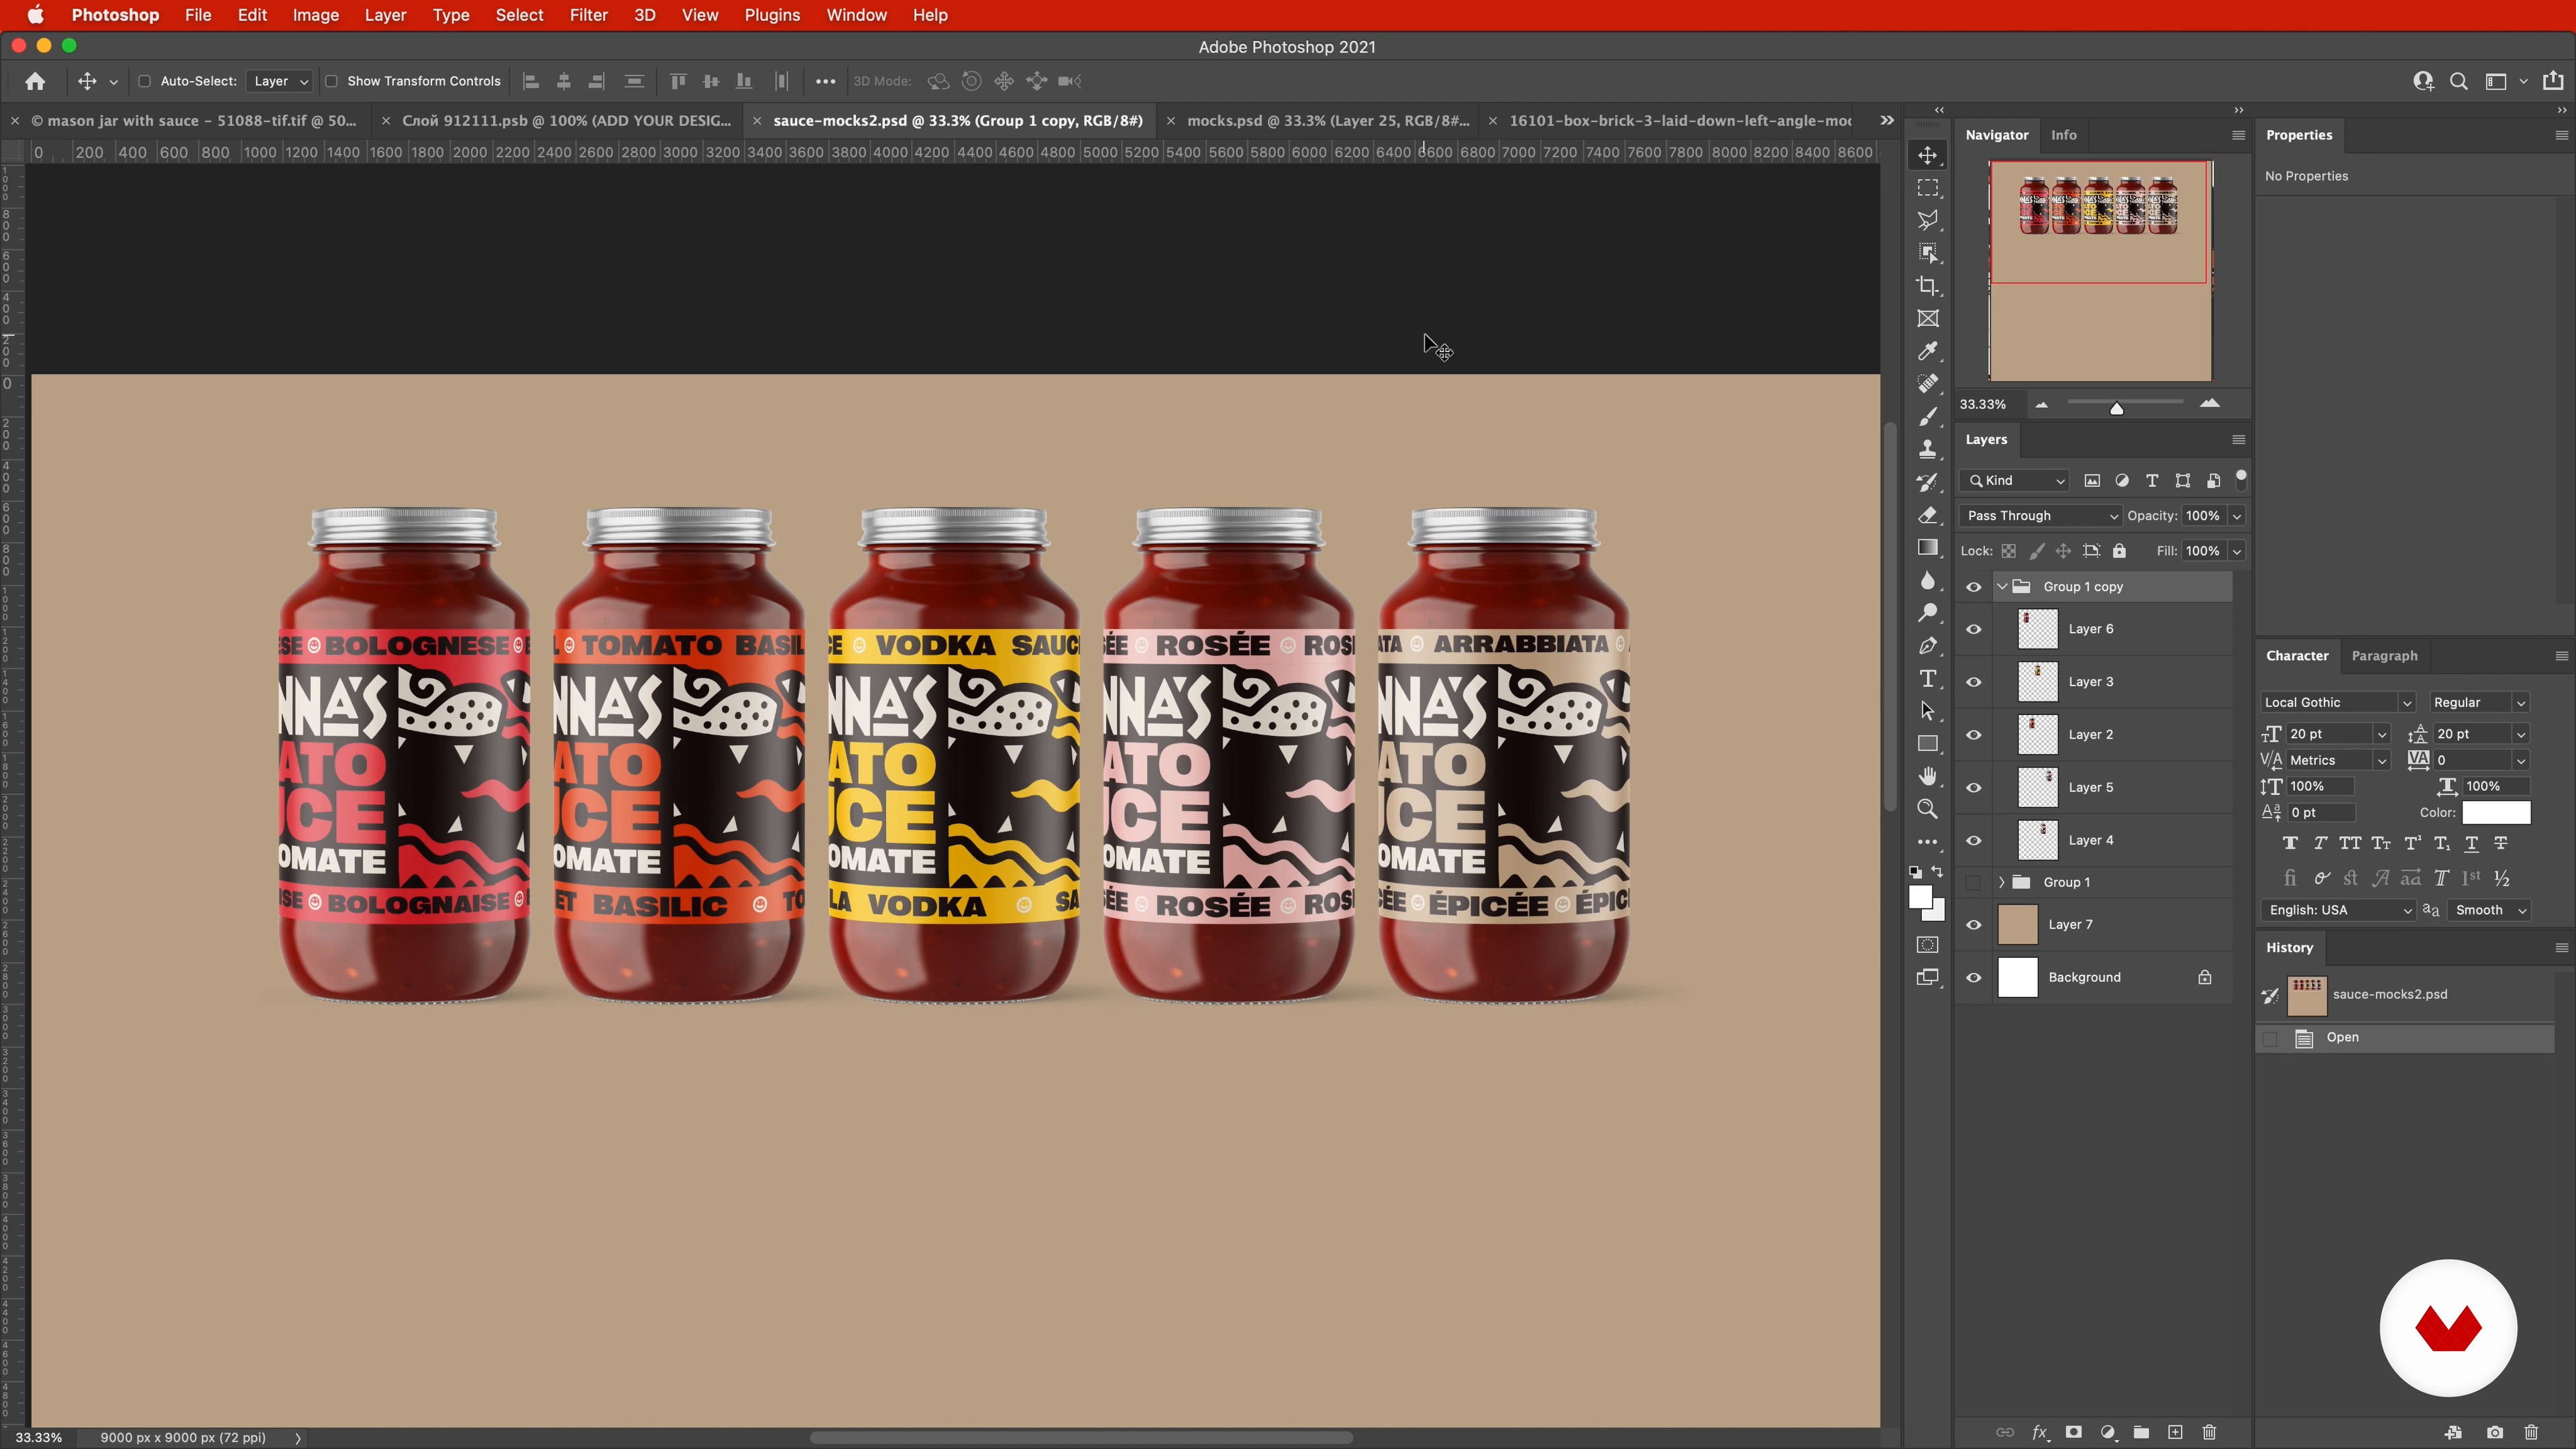
Apply your visual elements to various items to display the strengths and weaknesses of the brand.
6m
image
16
Brand Guideline System
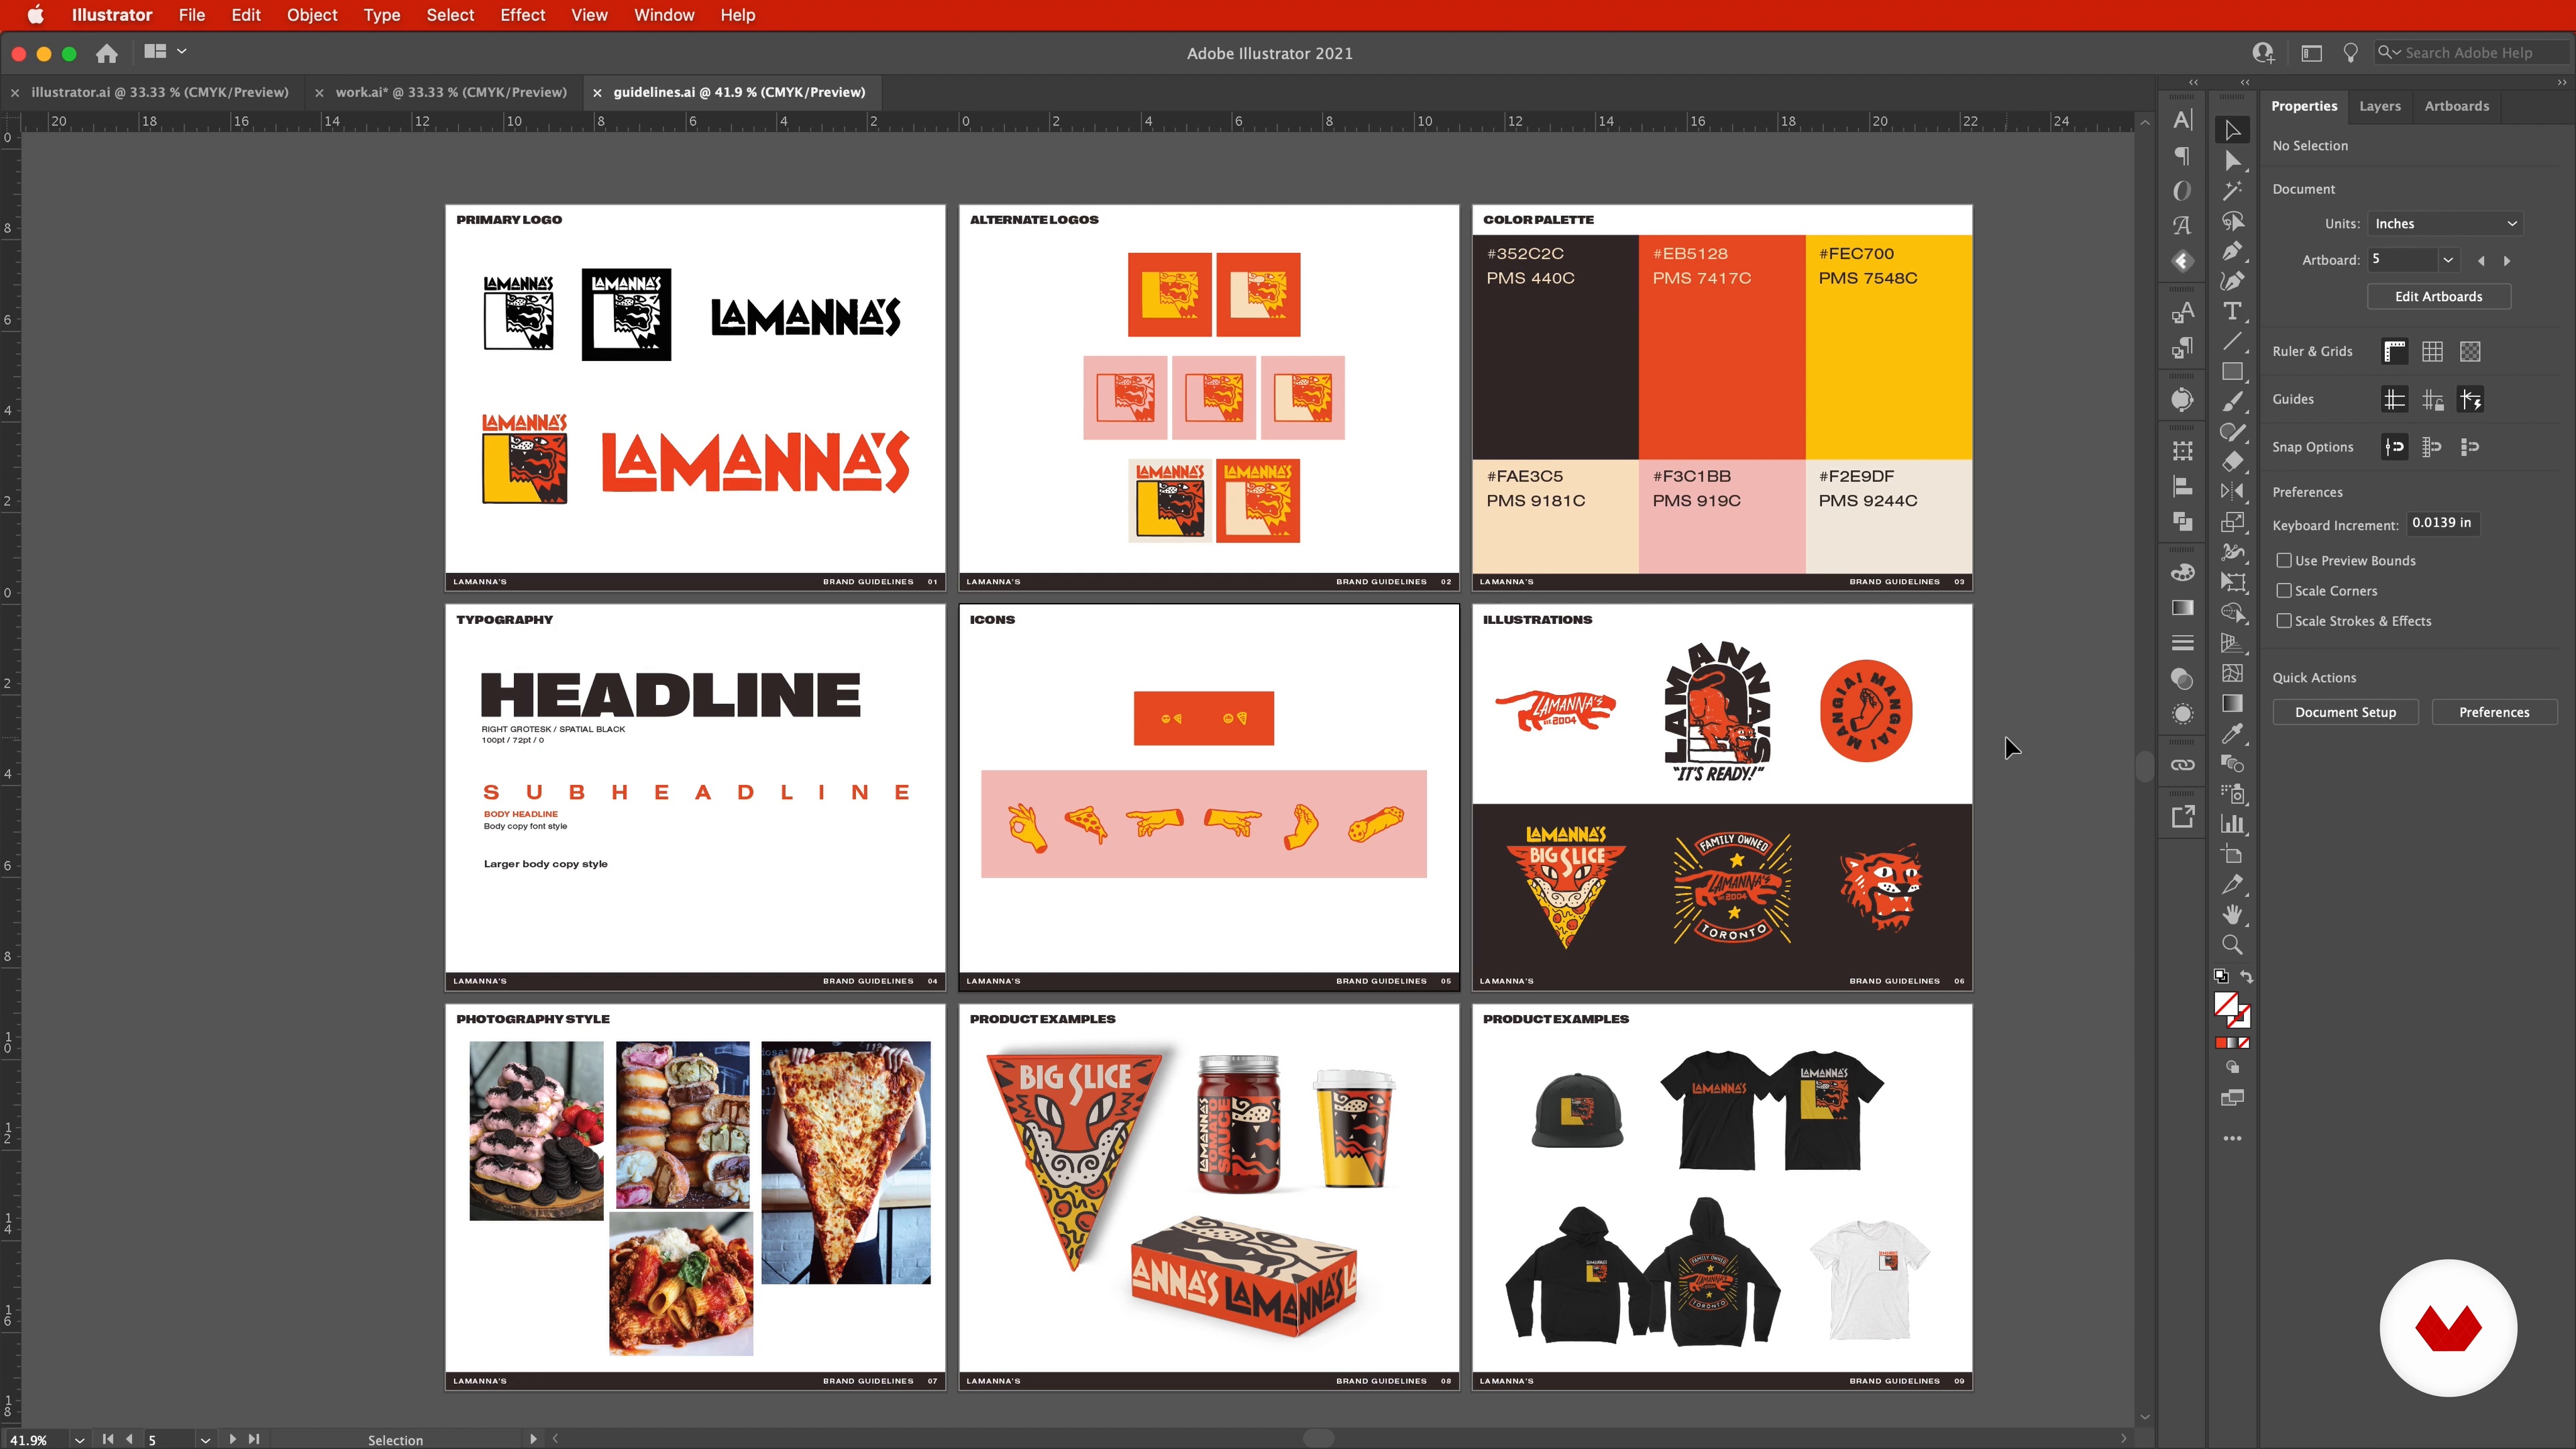
Now that you’ve developed a robust visual language for your brand identity, it’s time to compile them into a handy reference guide to make sure you’re using everything correctly.
14m
image
3
Illustrative Logo Design
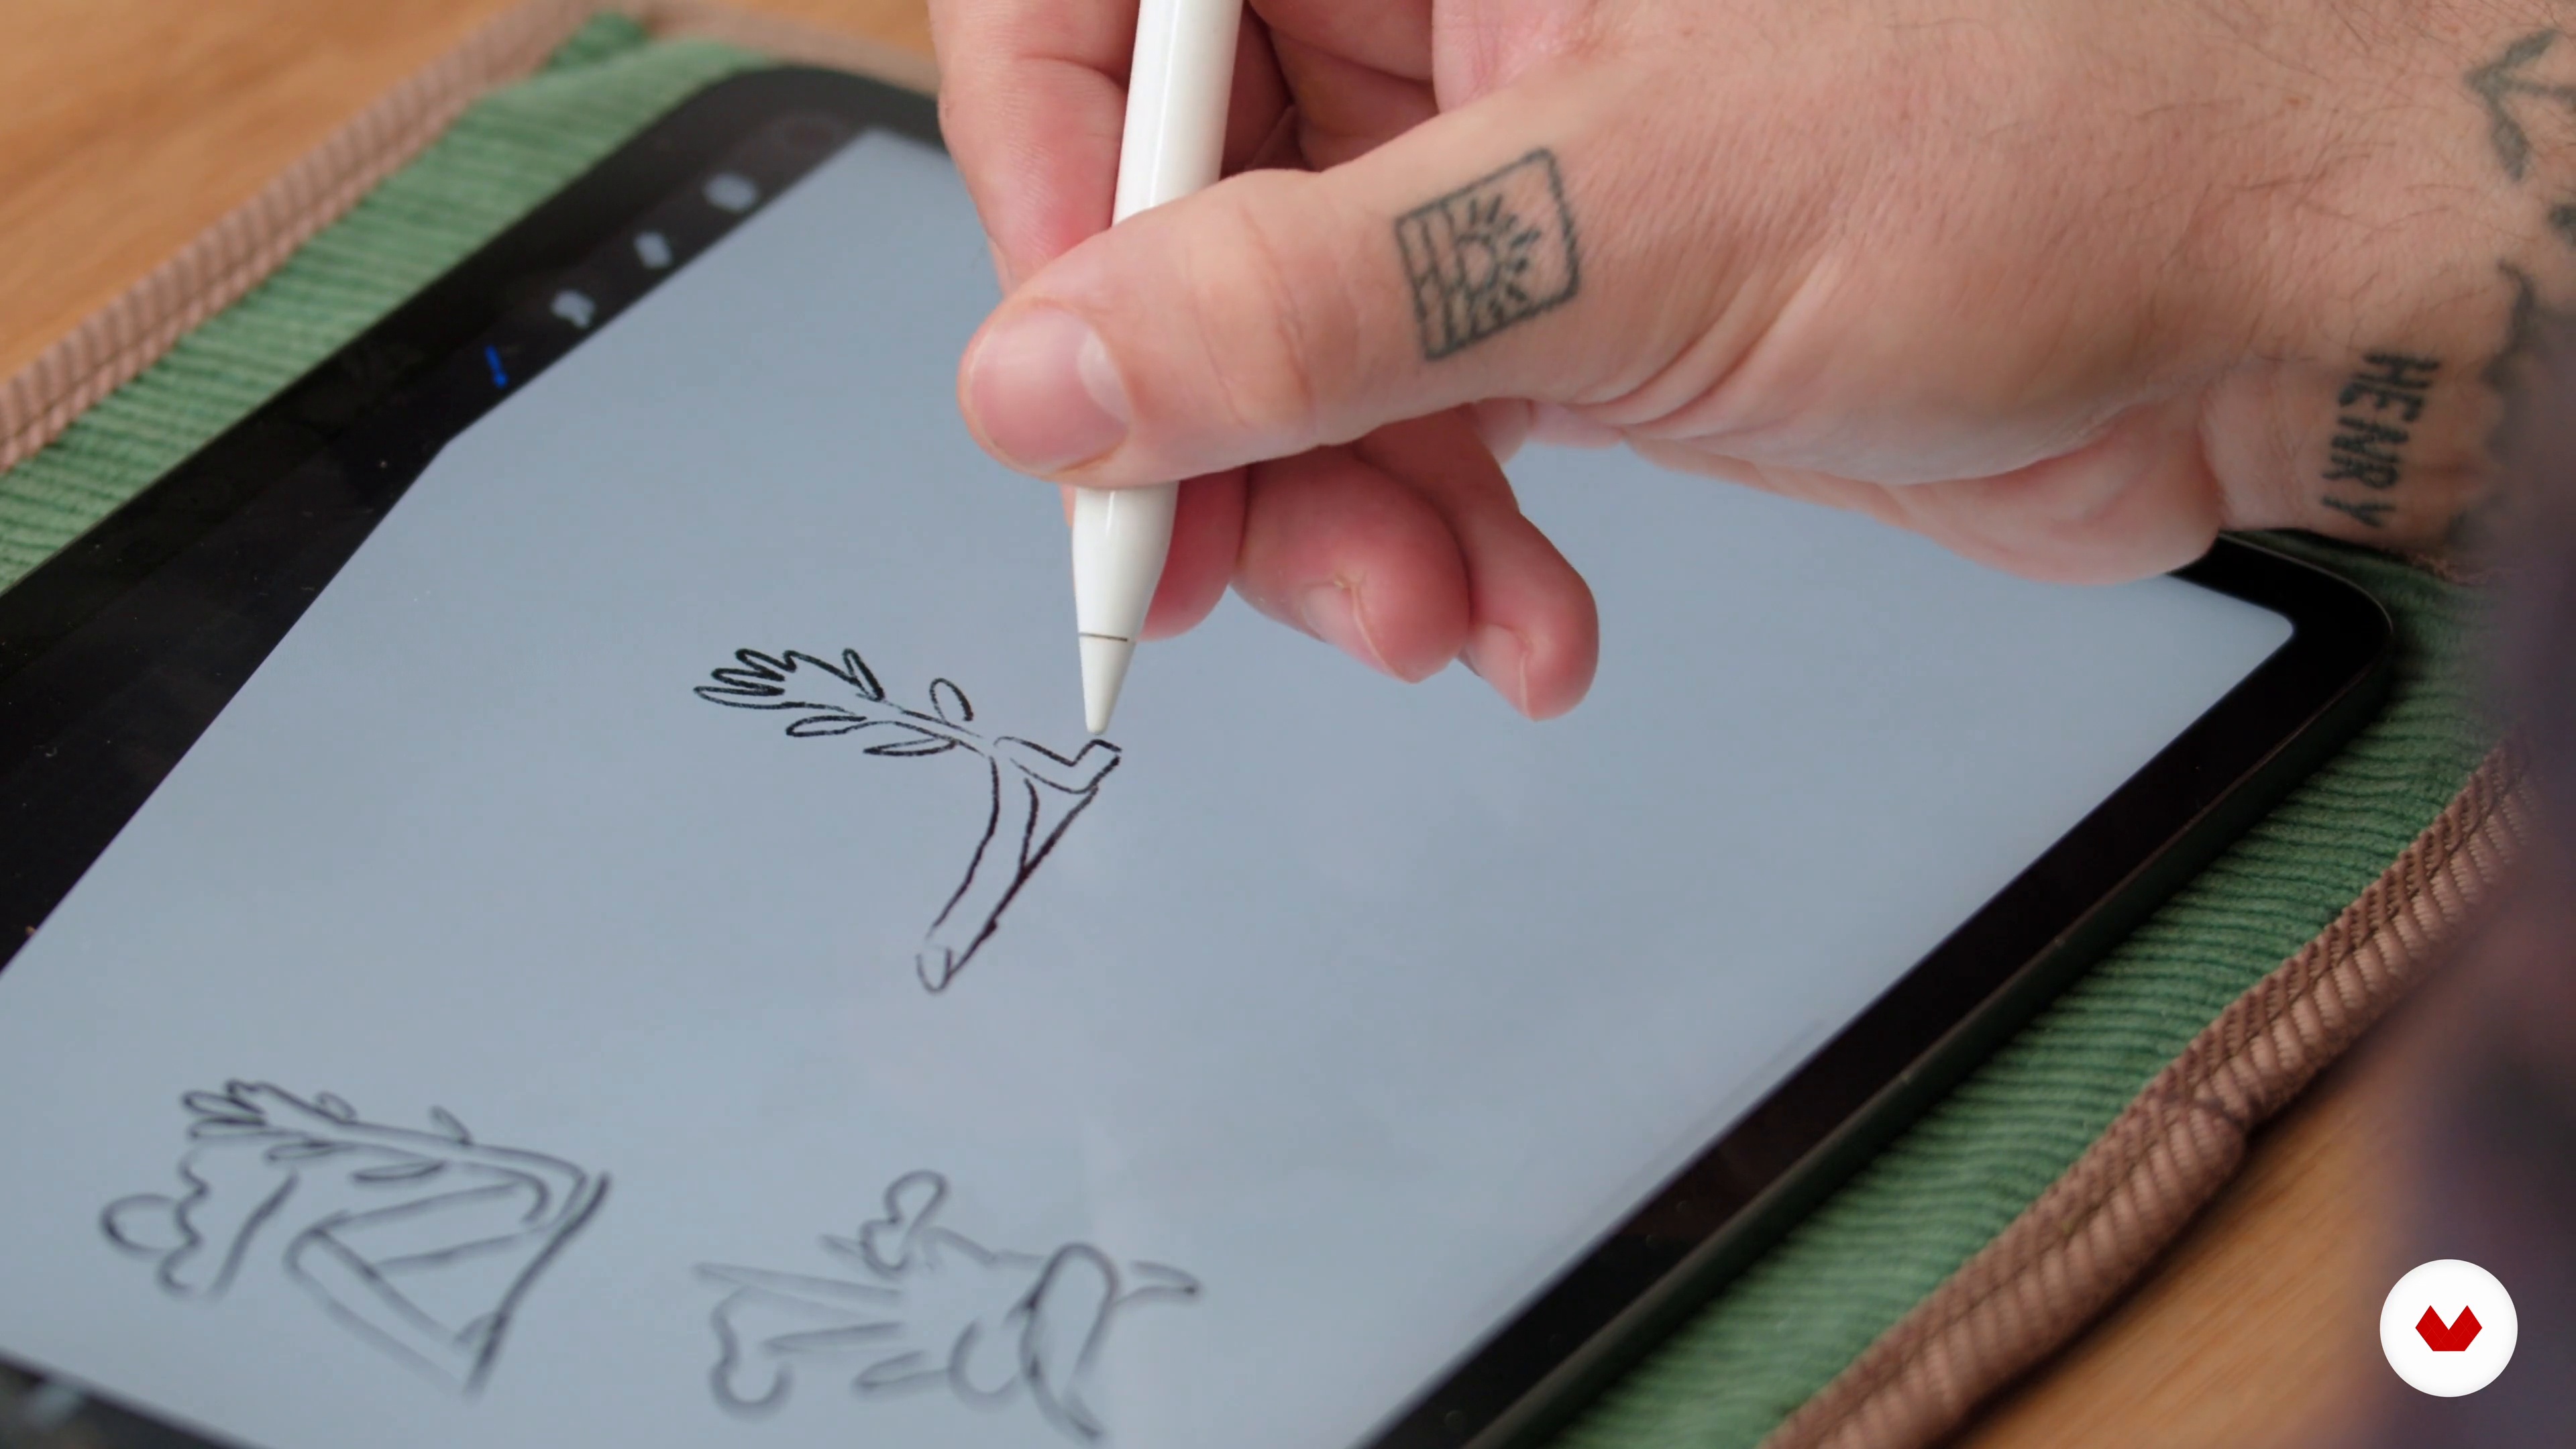
In this lesson, I'll explain what I feel makes a good illustrative logo. I’ll talk about finding connections between line work and typography and how using specific creative methods can create a vibe.
5m
image
4
Warm-up Exercise
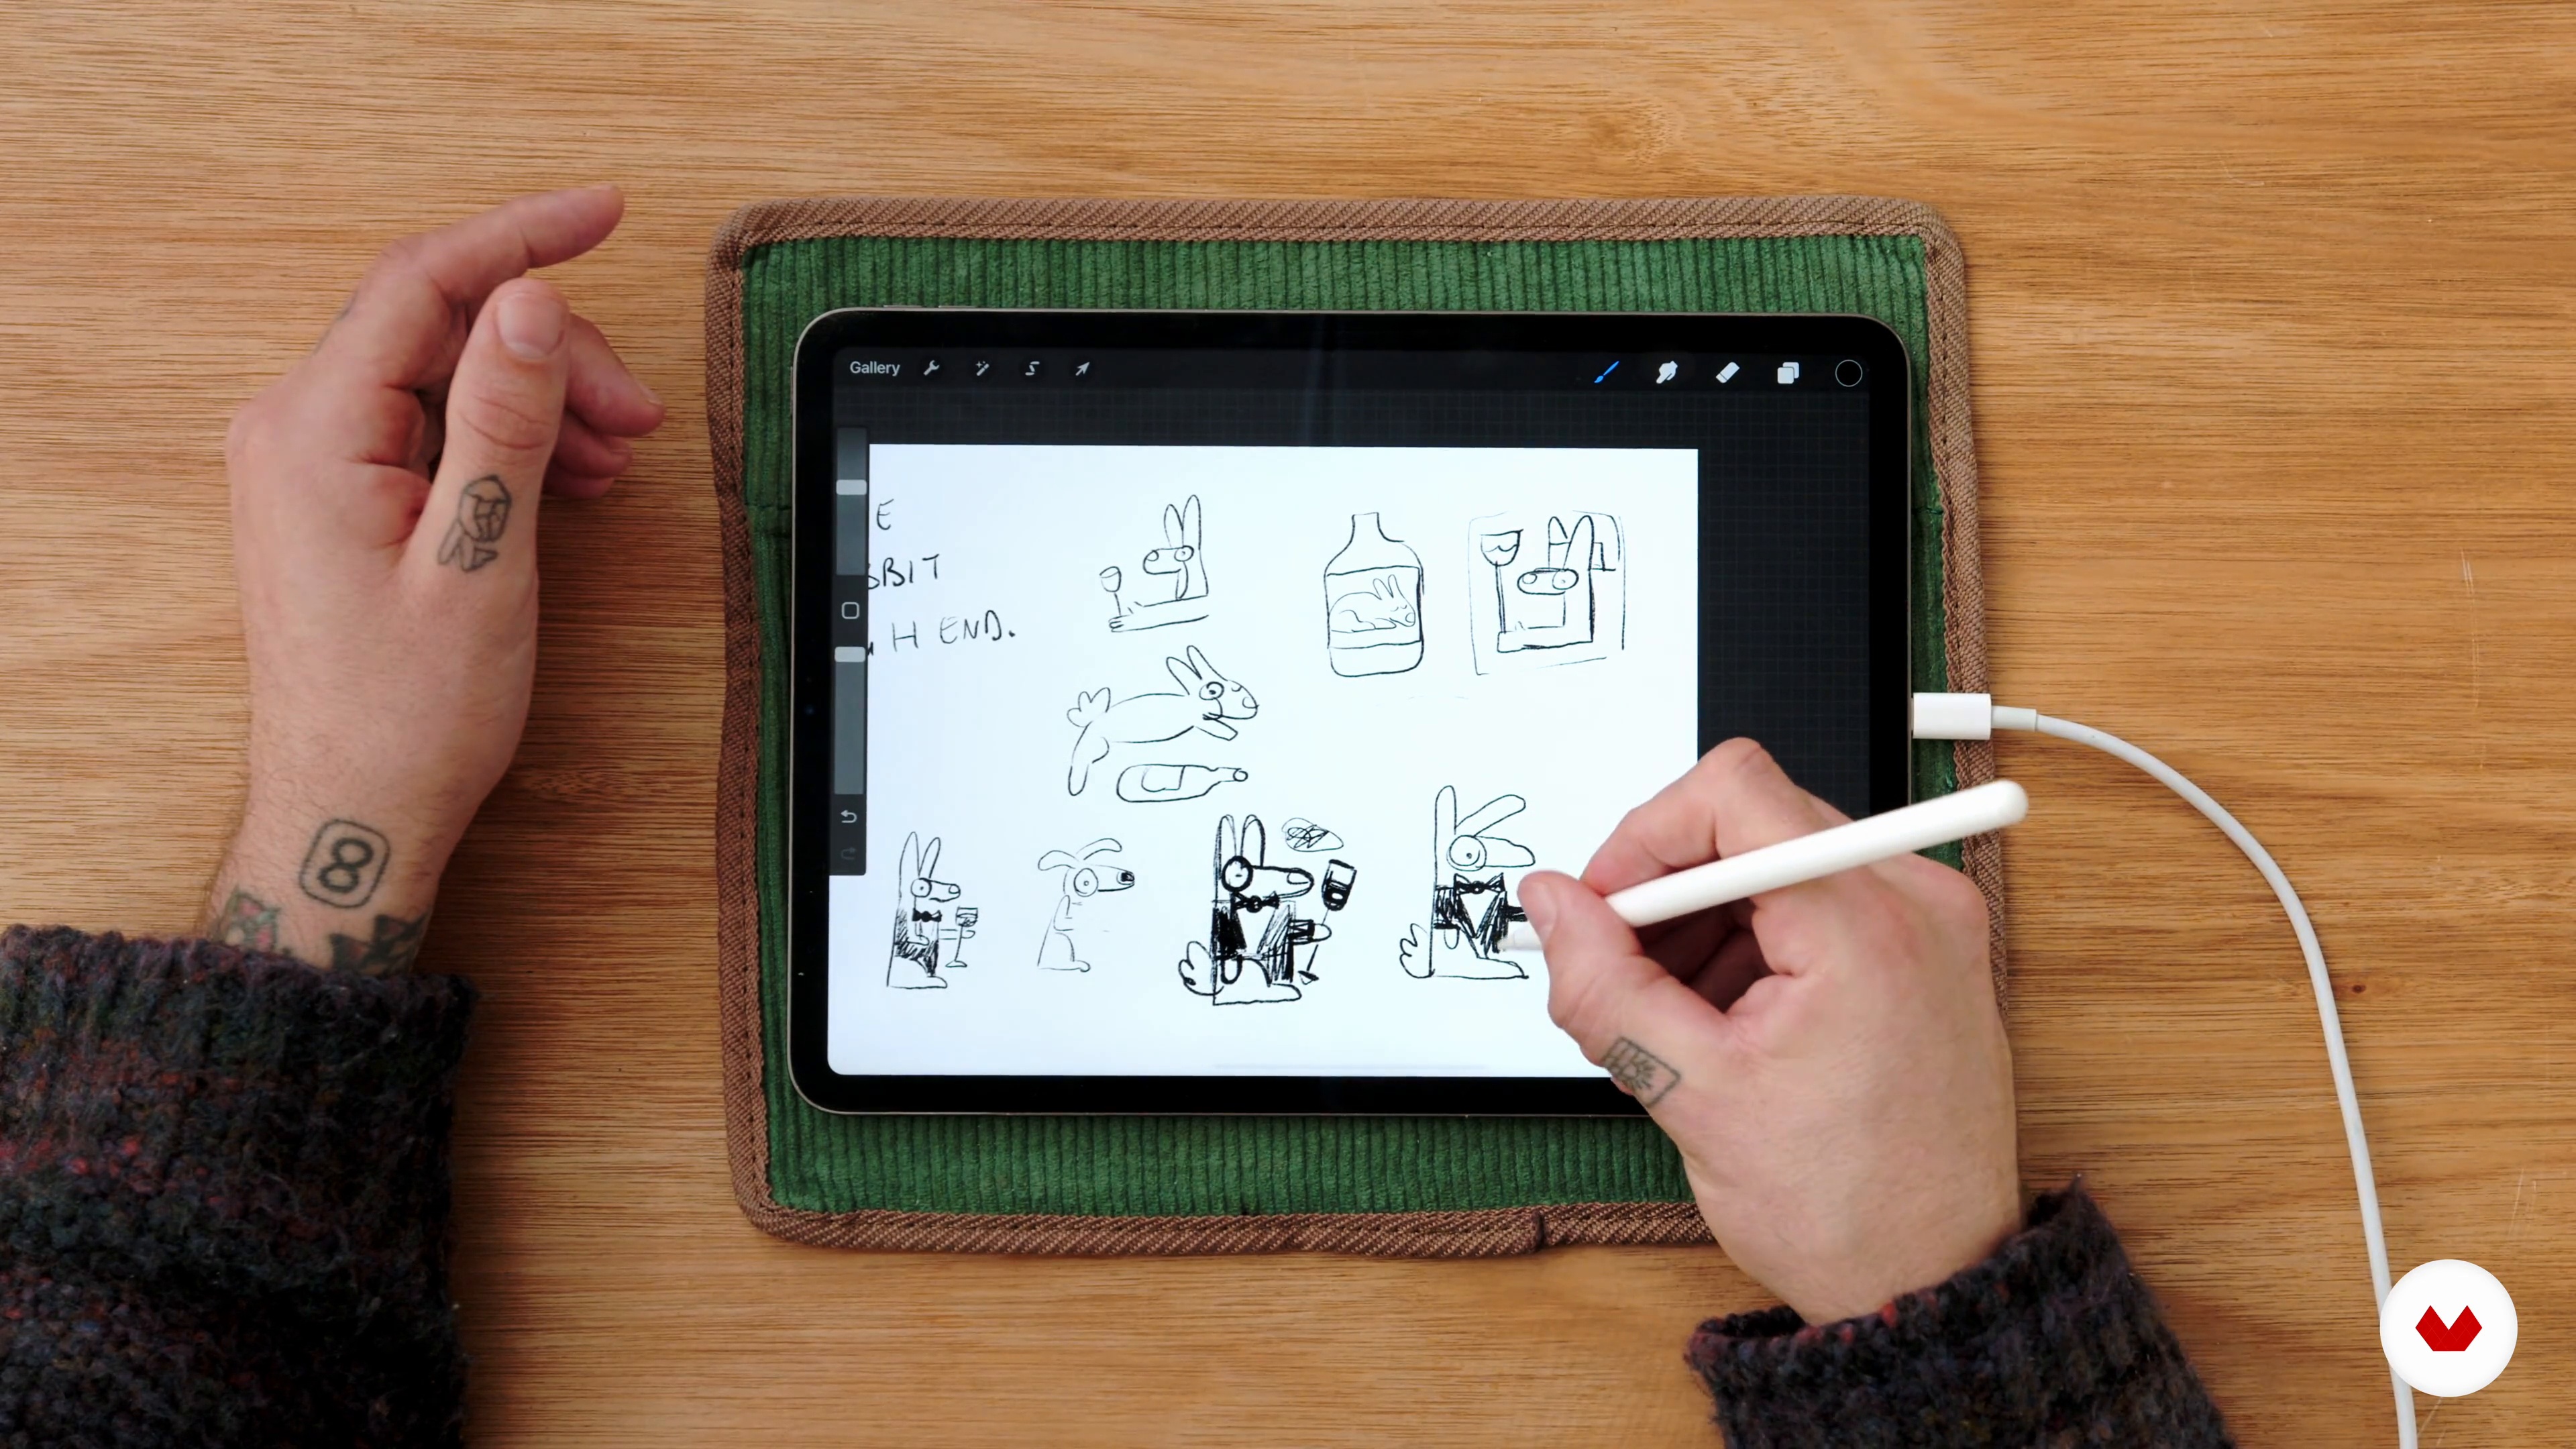
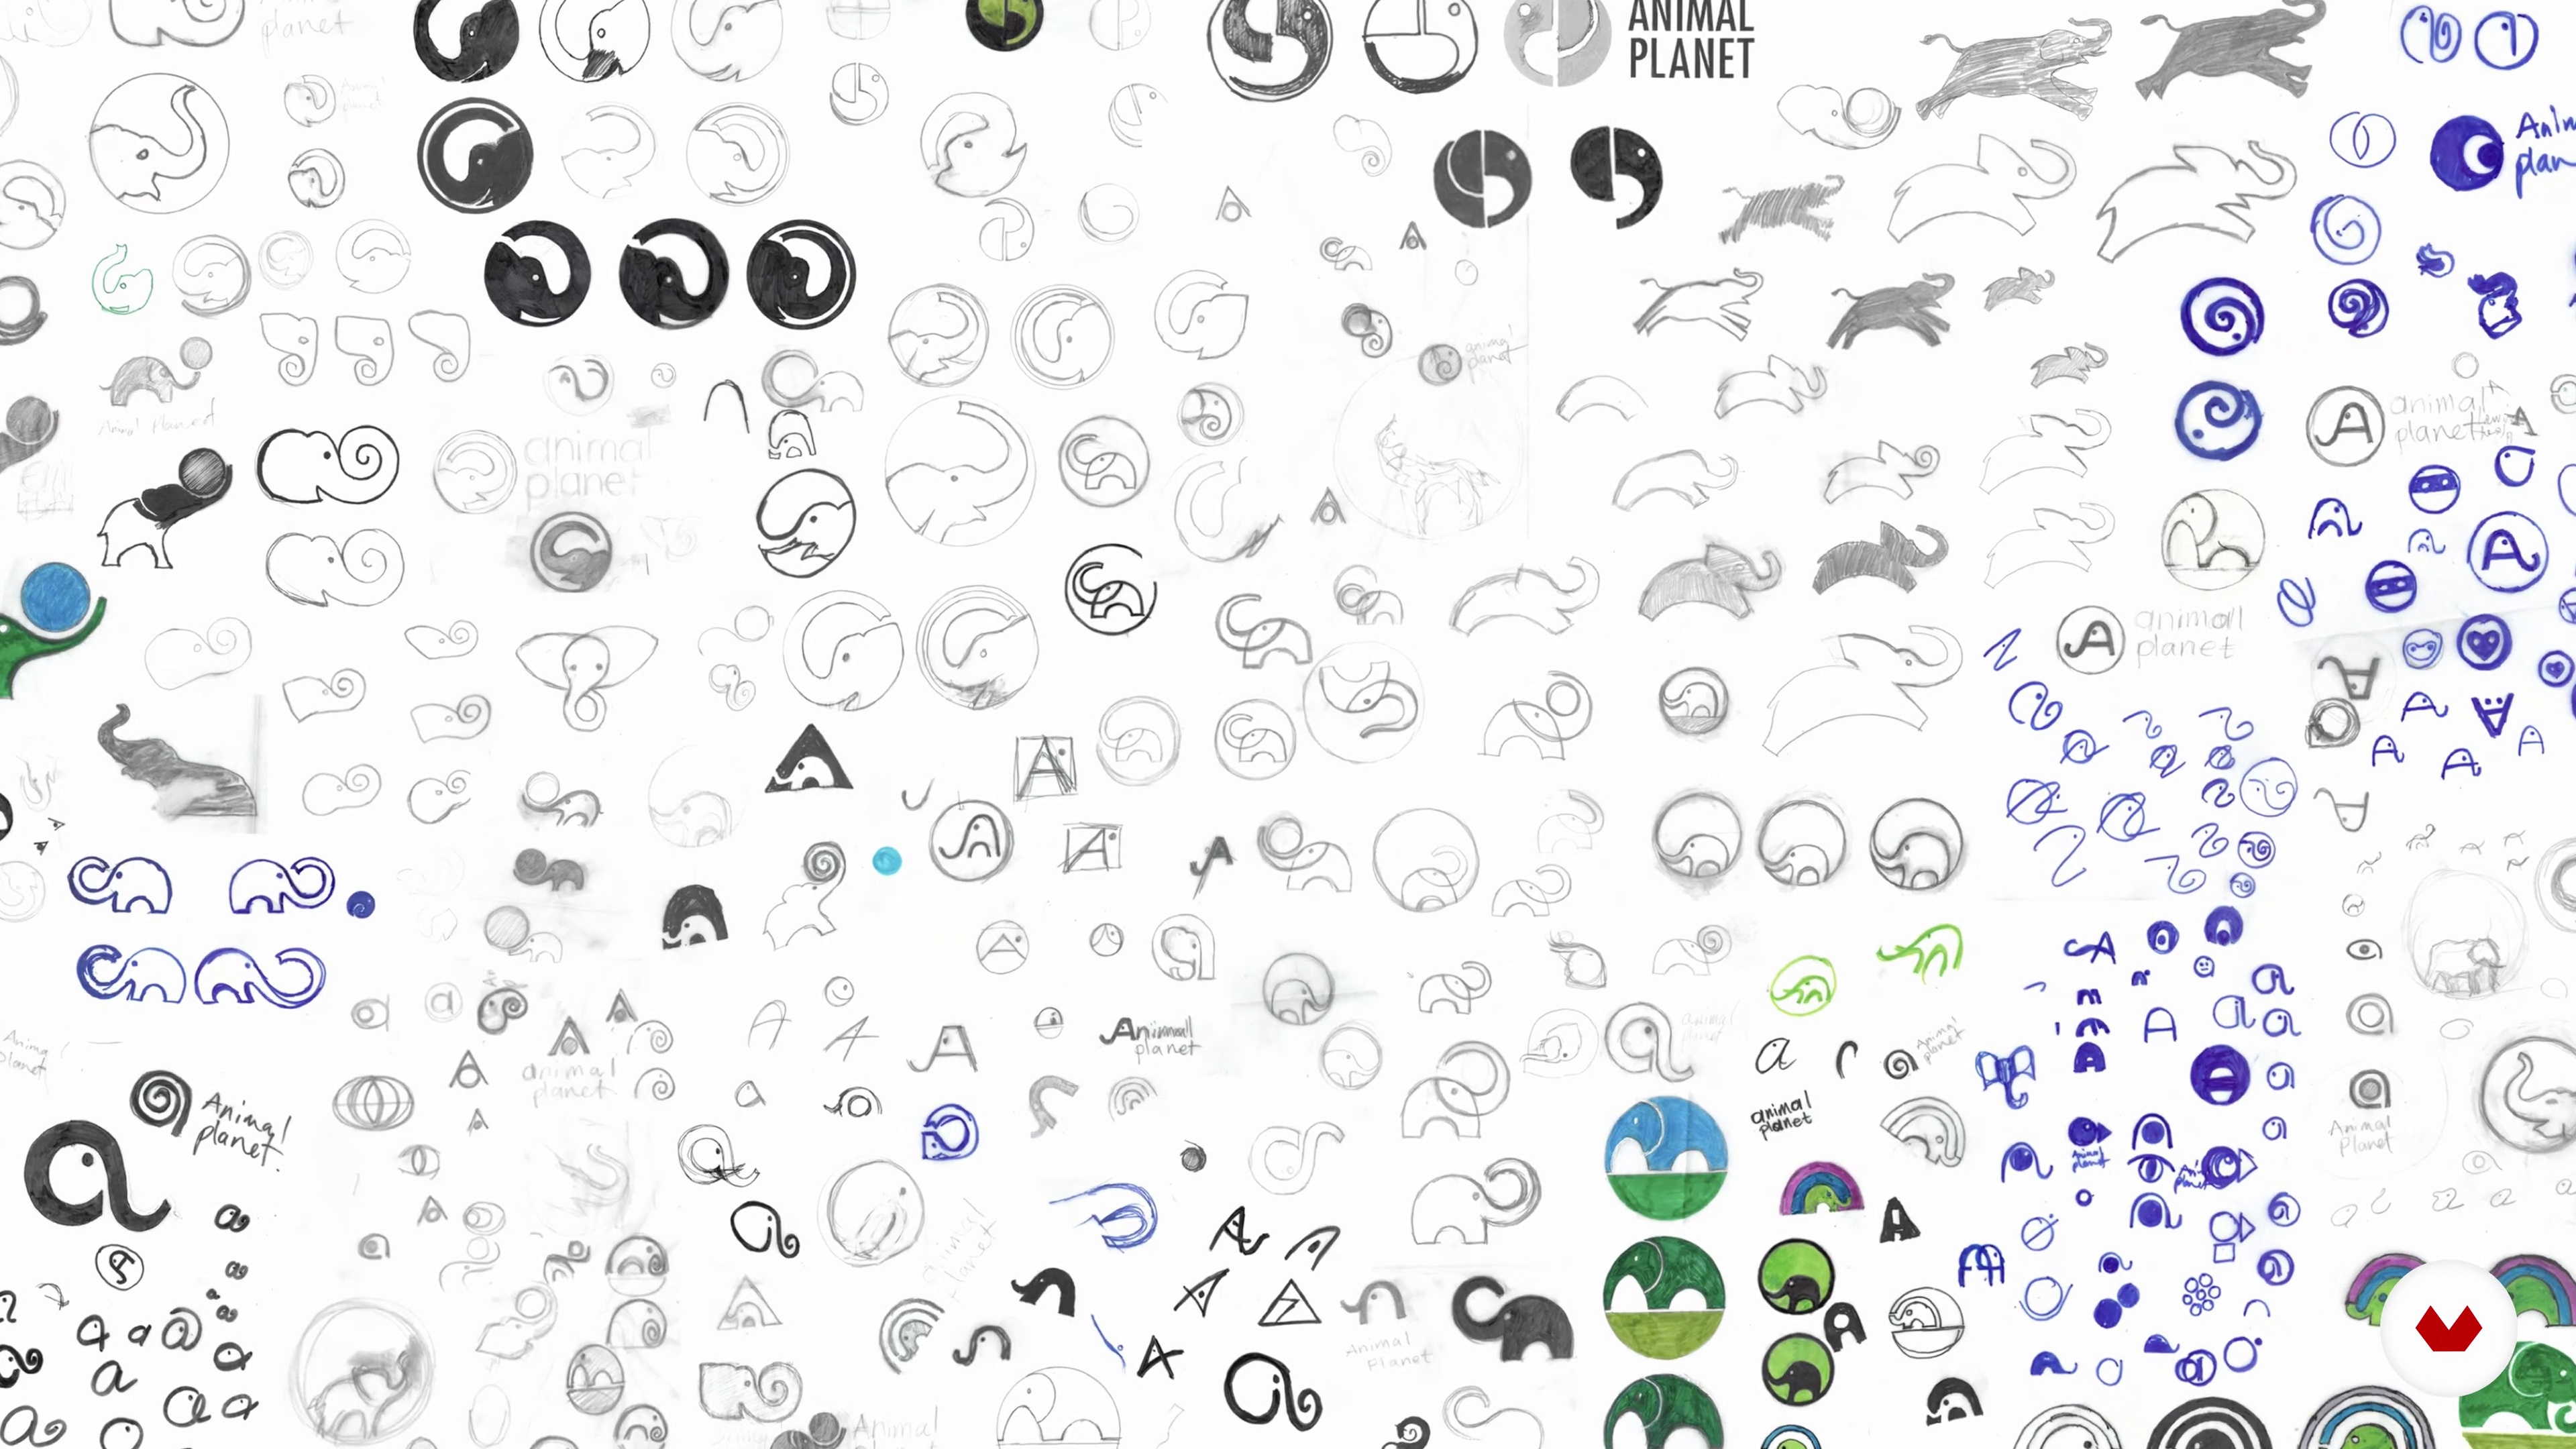
We'll now start working on a warm-up exercise to help with the process of developing an idea. We’ll focus on iteration and find different ways to combine and communicate ideas.
13m
image
5
Asking the Right Questions
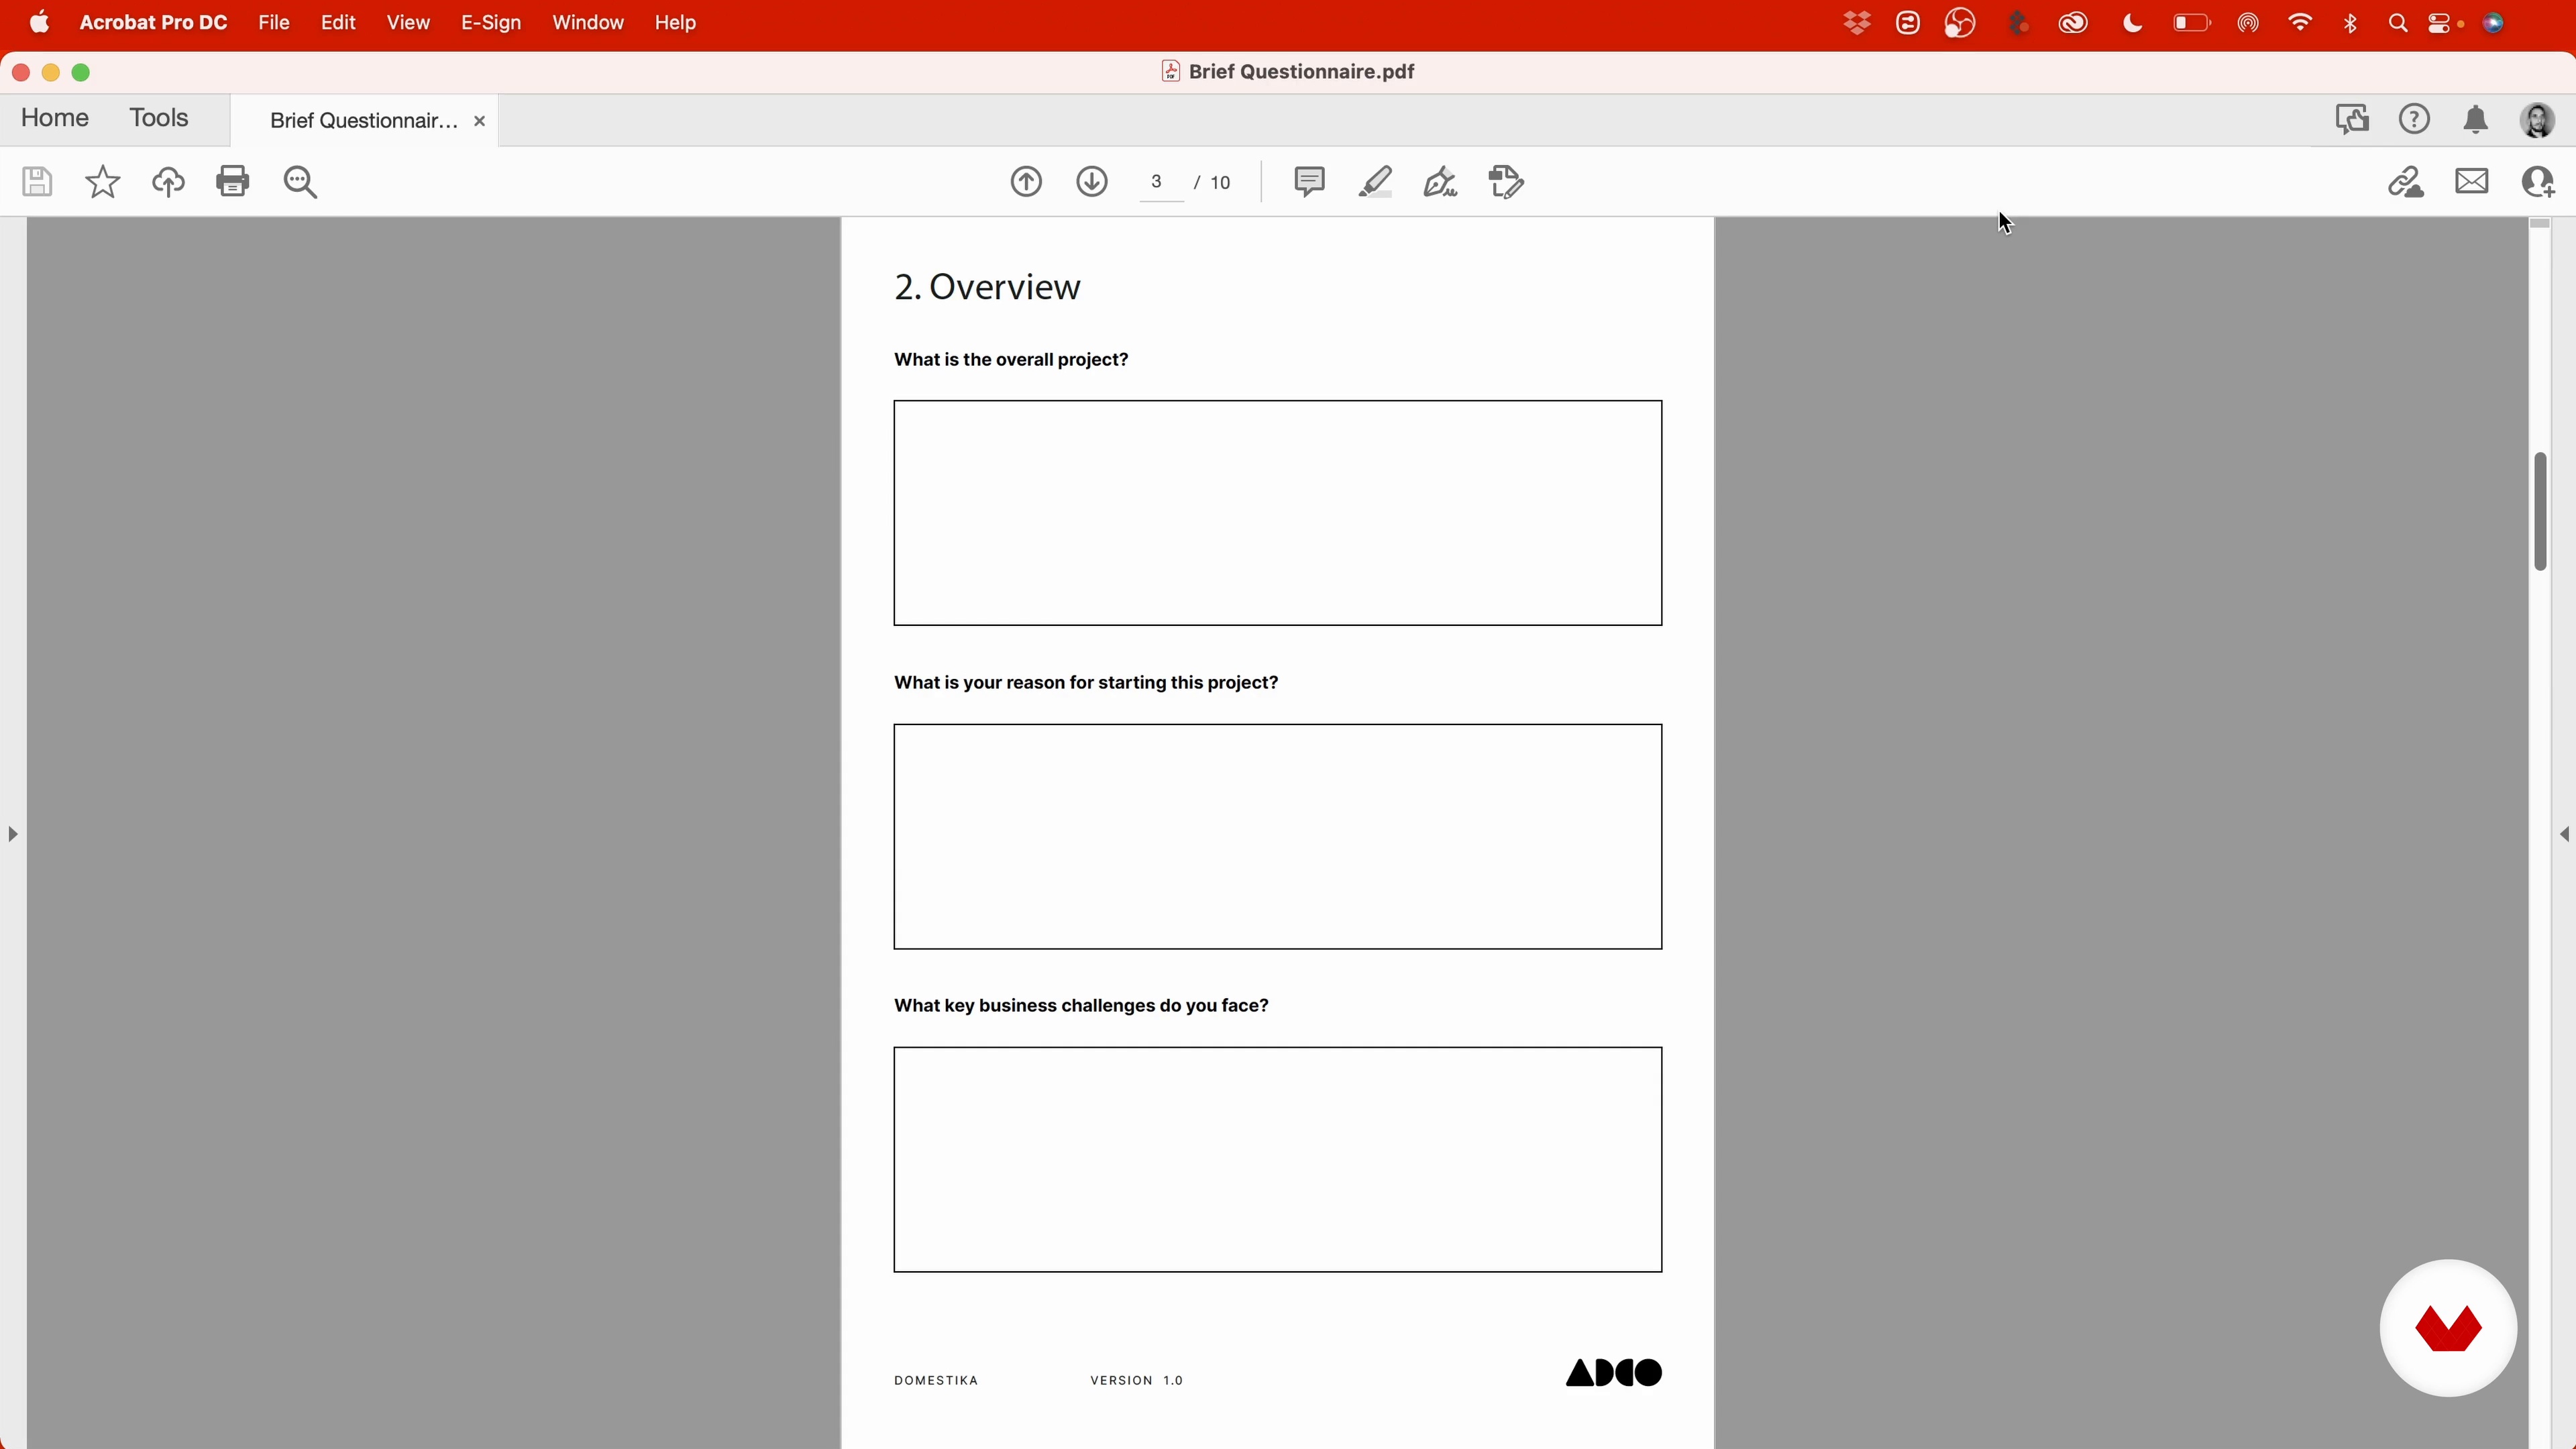
Here is where I'll start working on my project. You'll see how I use a questionnaire to gather the right information from the client. This step is an important part of the process as the information you'll gather will help you create the right logo for your client.
8m
image
6
Word Mapping
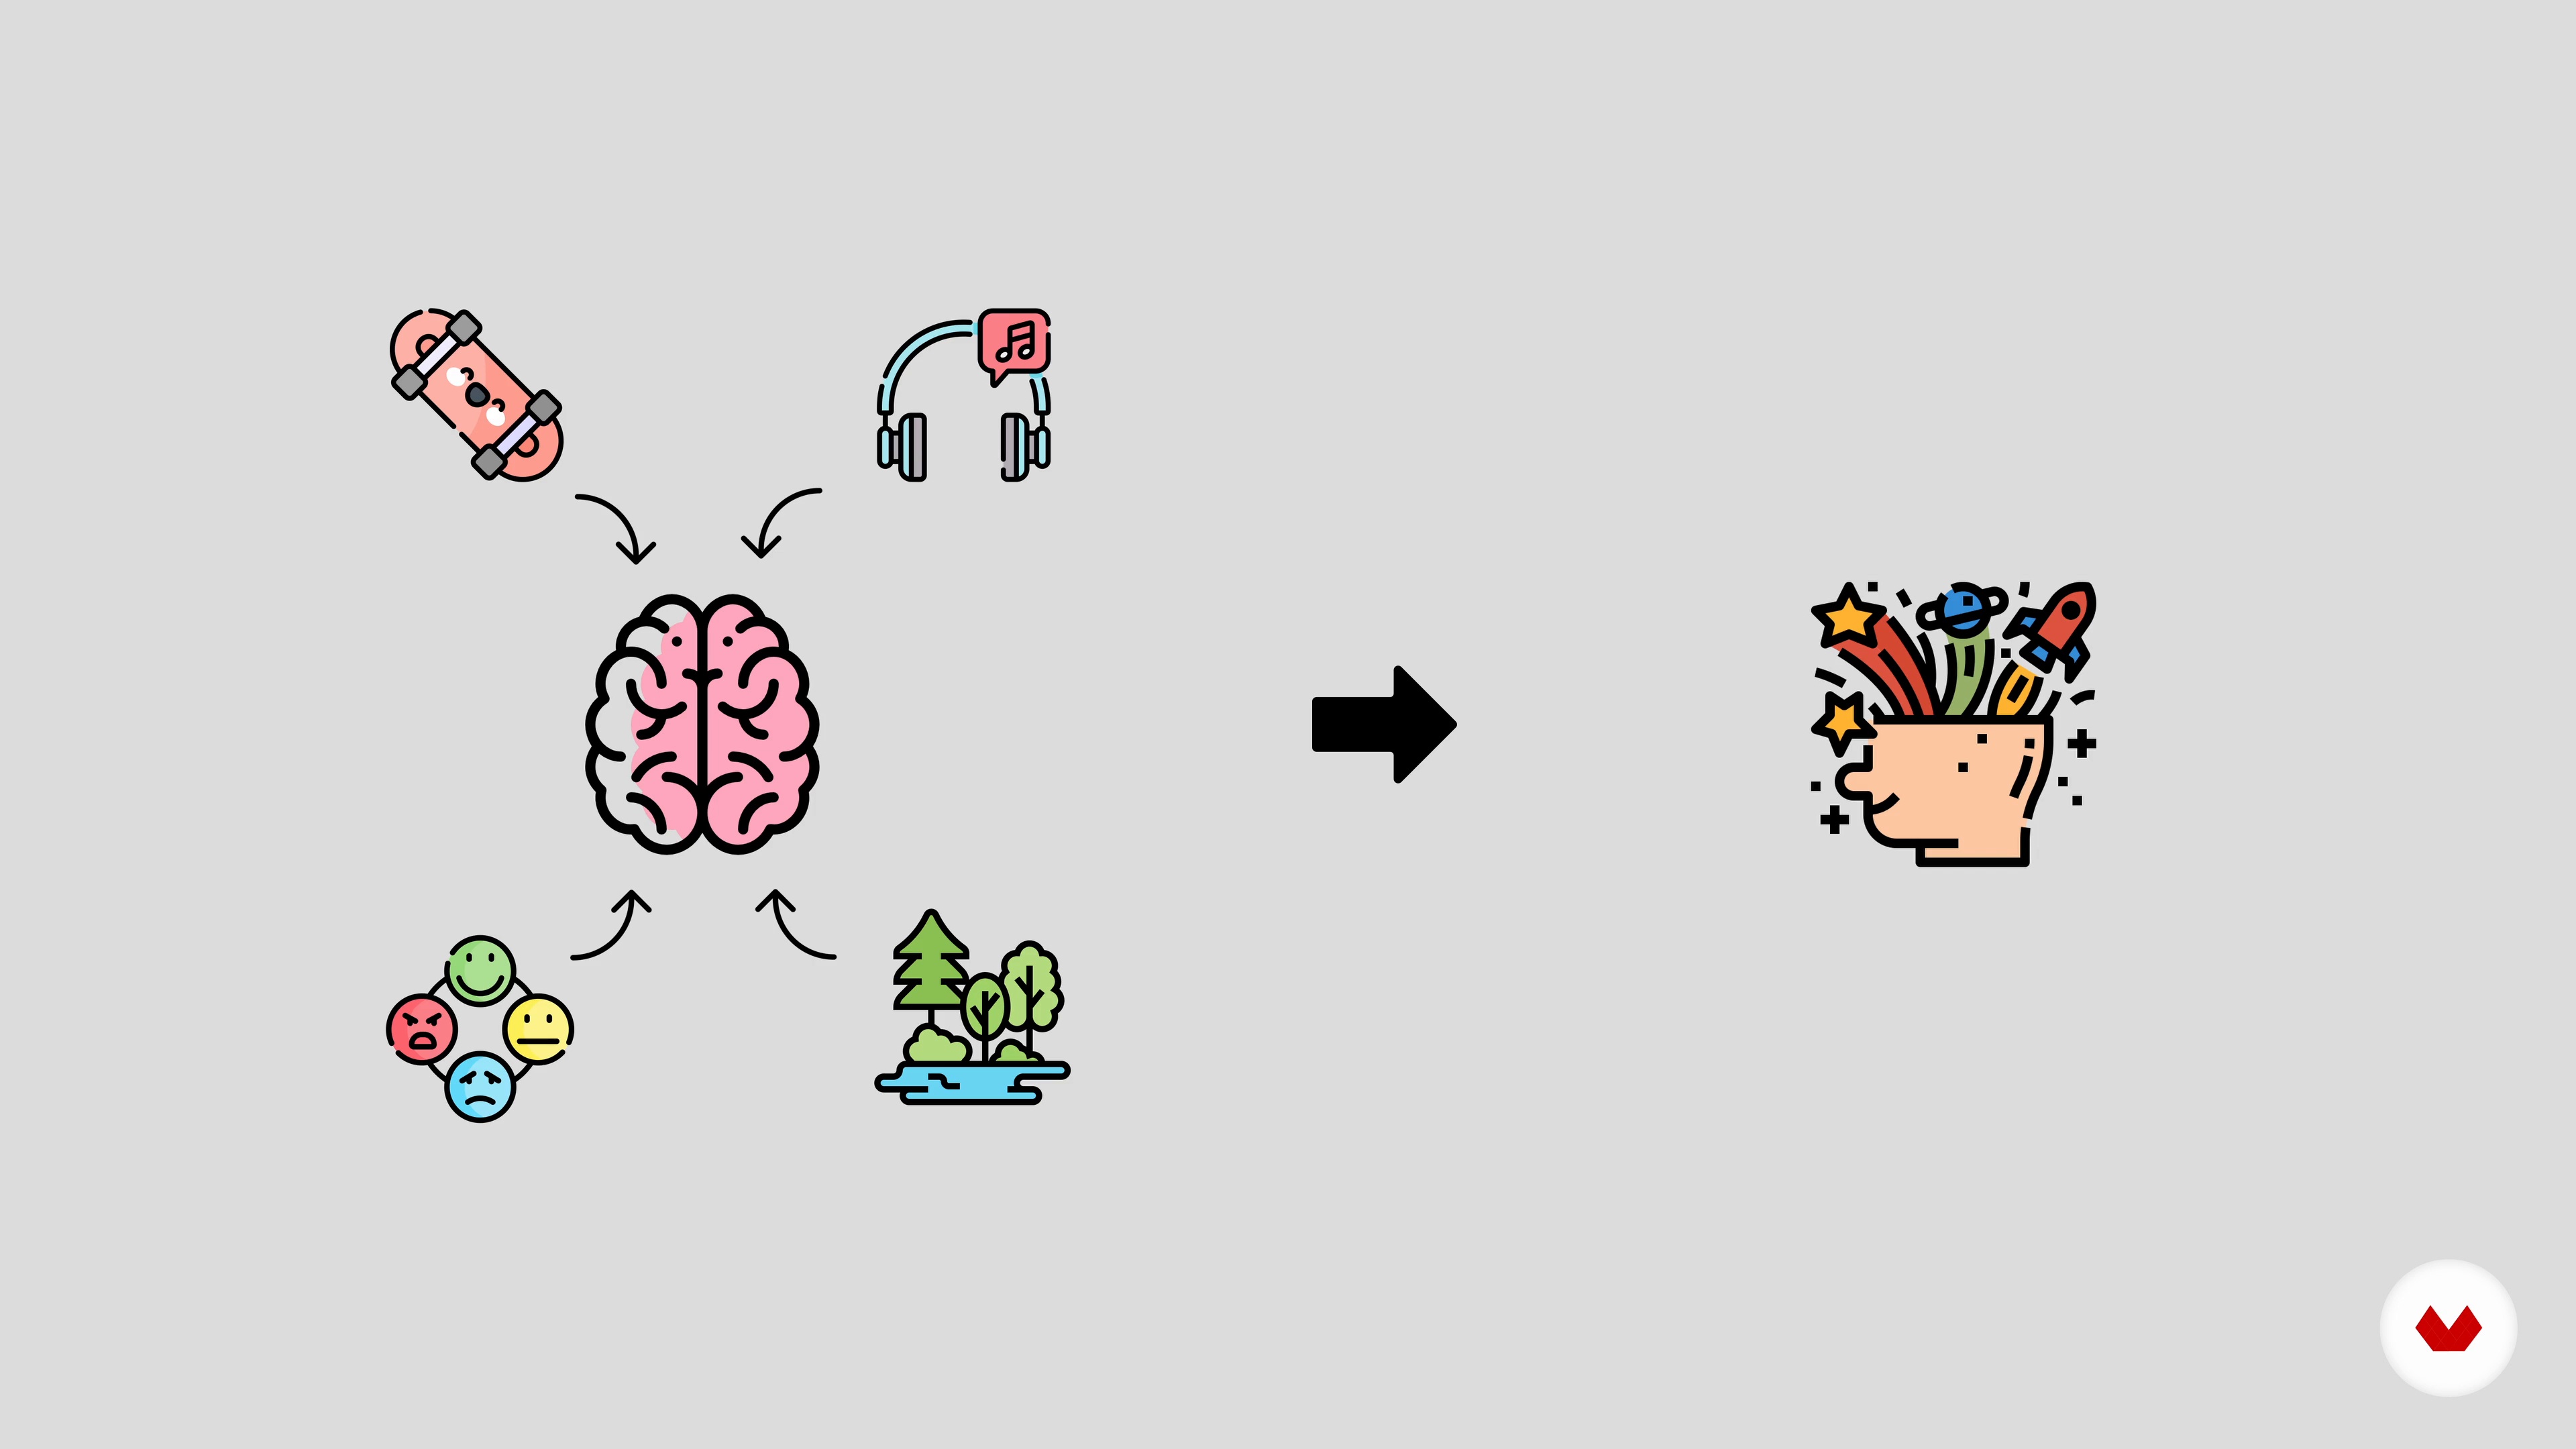
Now that I've gathered enough information from talking with Nick, I'll start mind mapping these ideas so as to further develop the concept. You'll see how this exercise can help you find new adjectives and take you in the right direction for the design of the logo.
4m
image
7
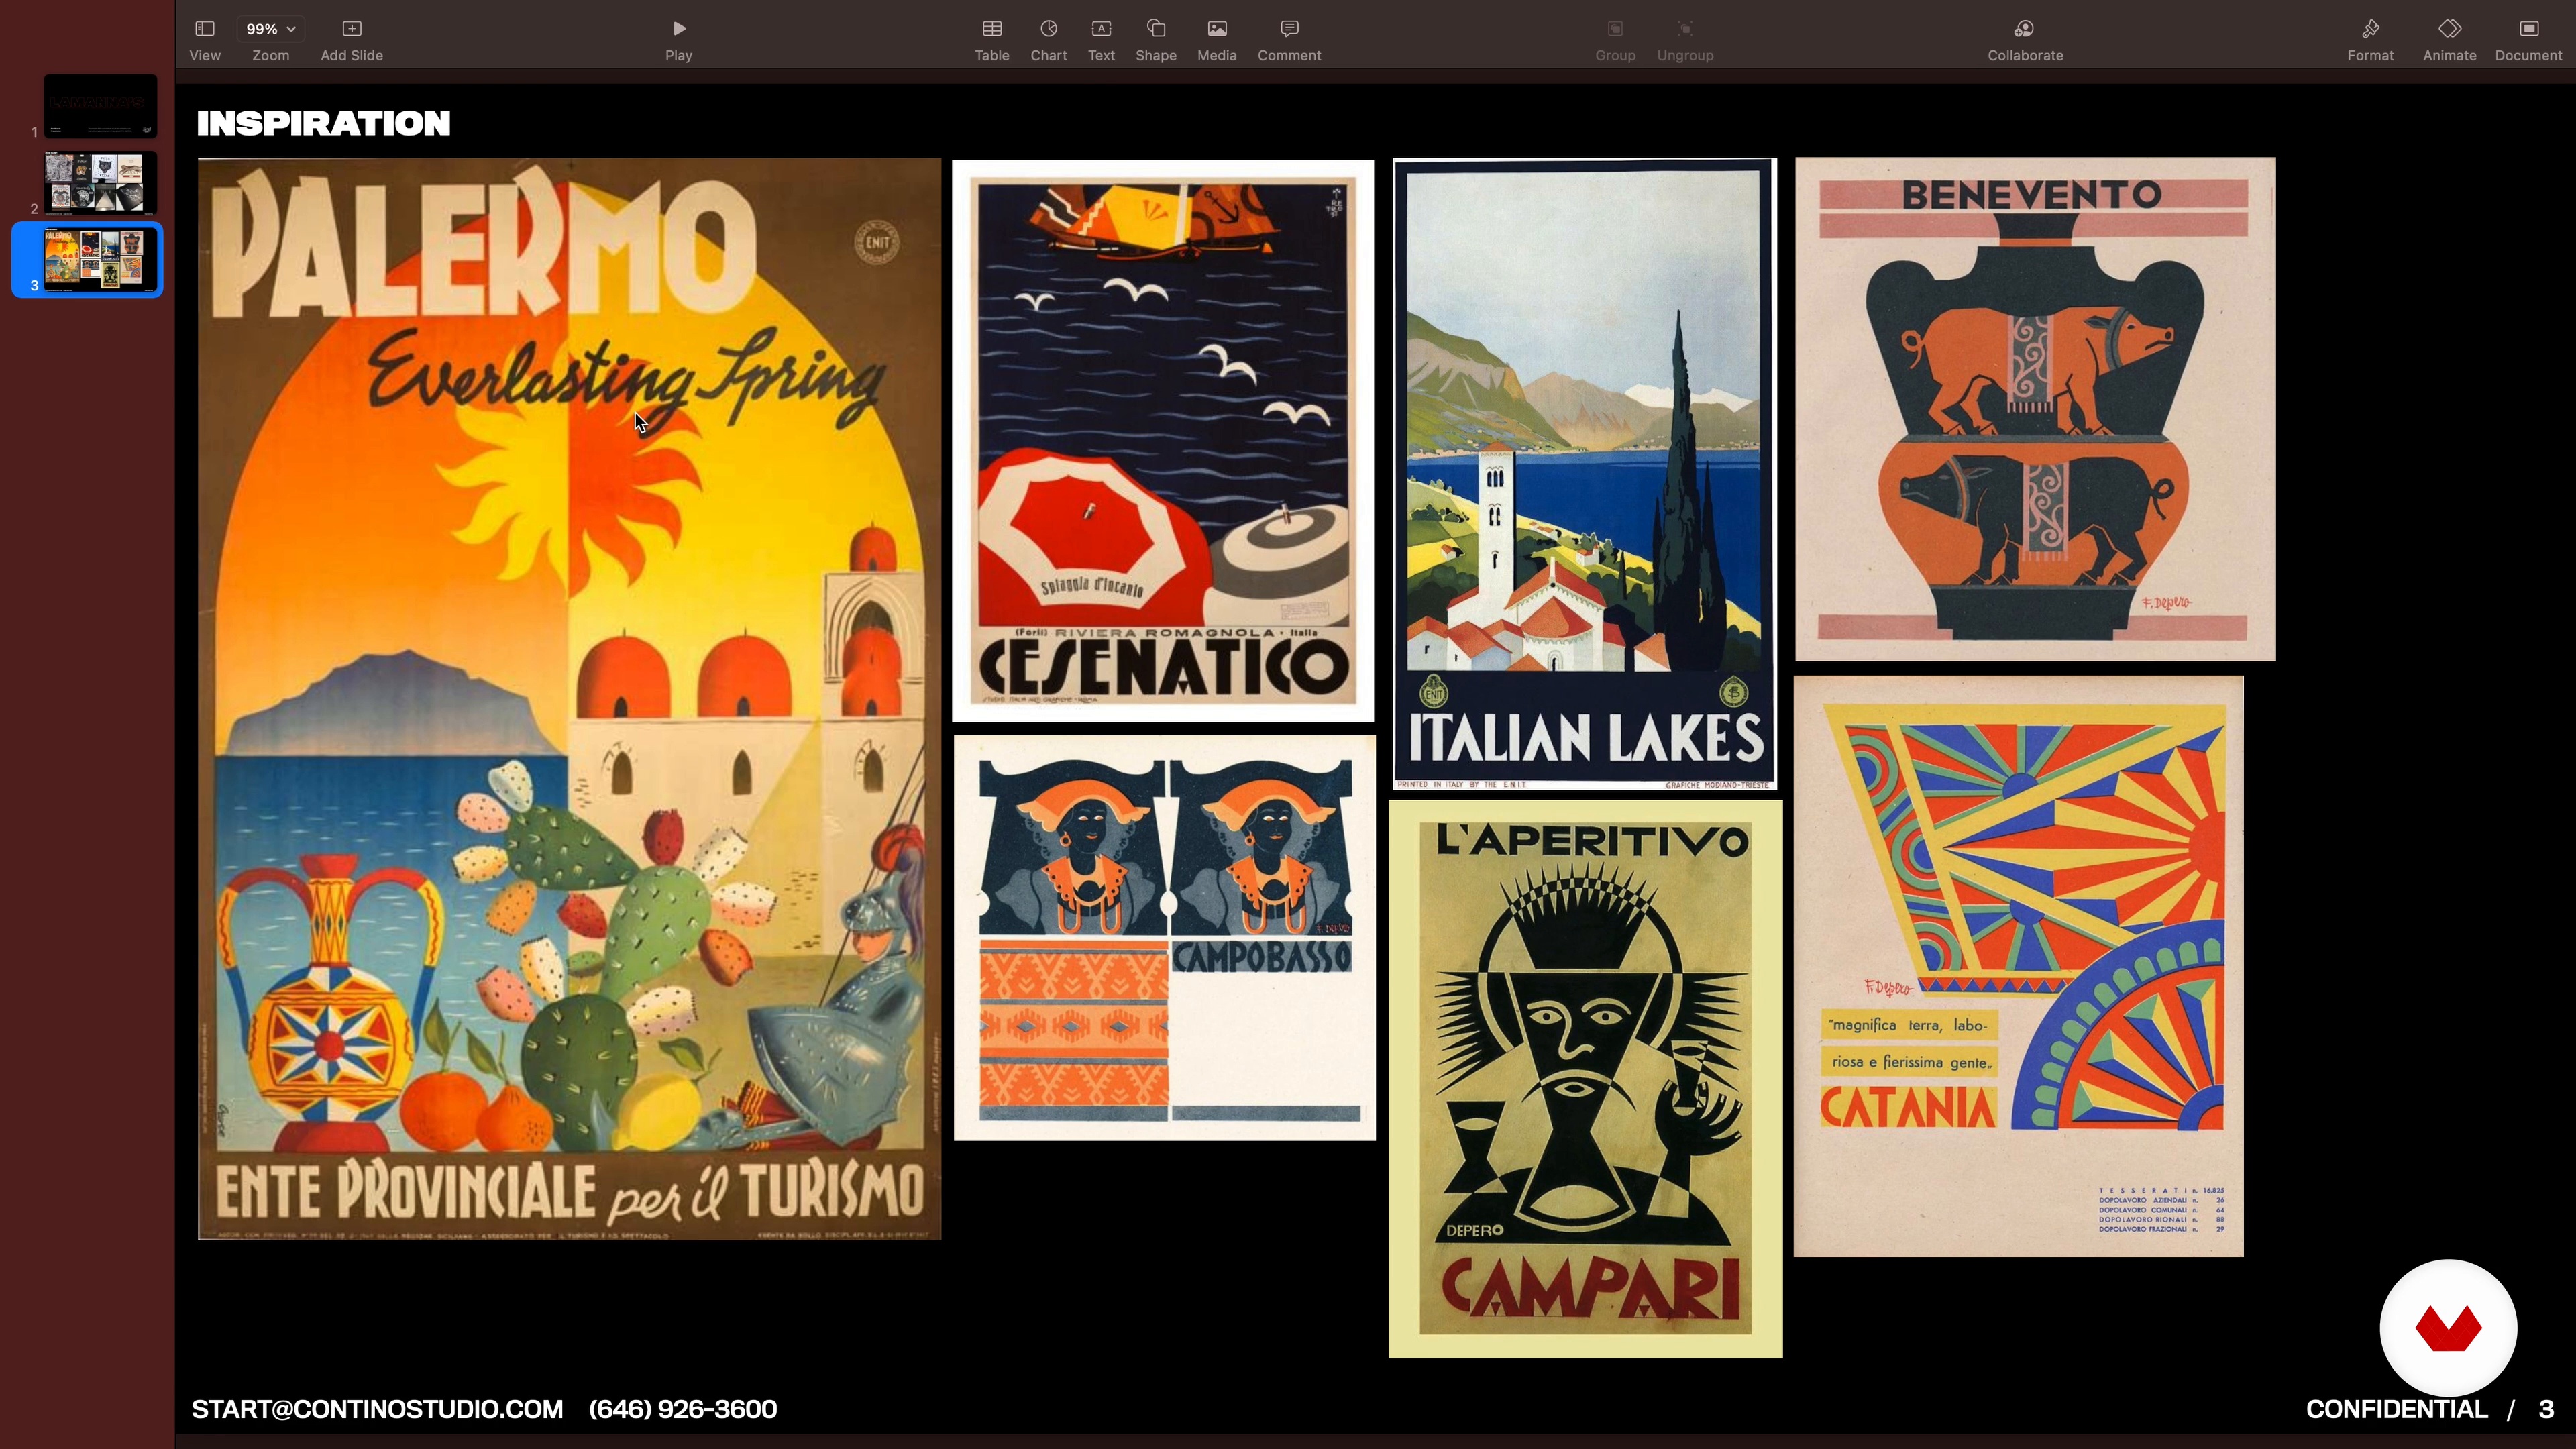
Mood Board
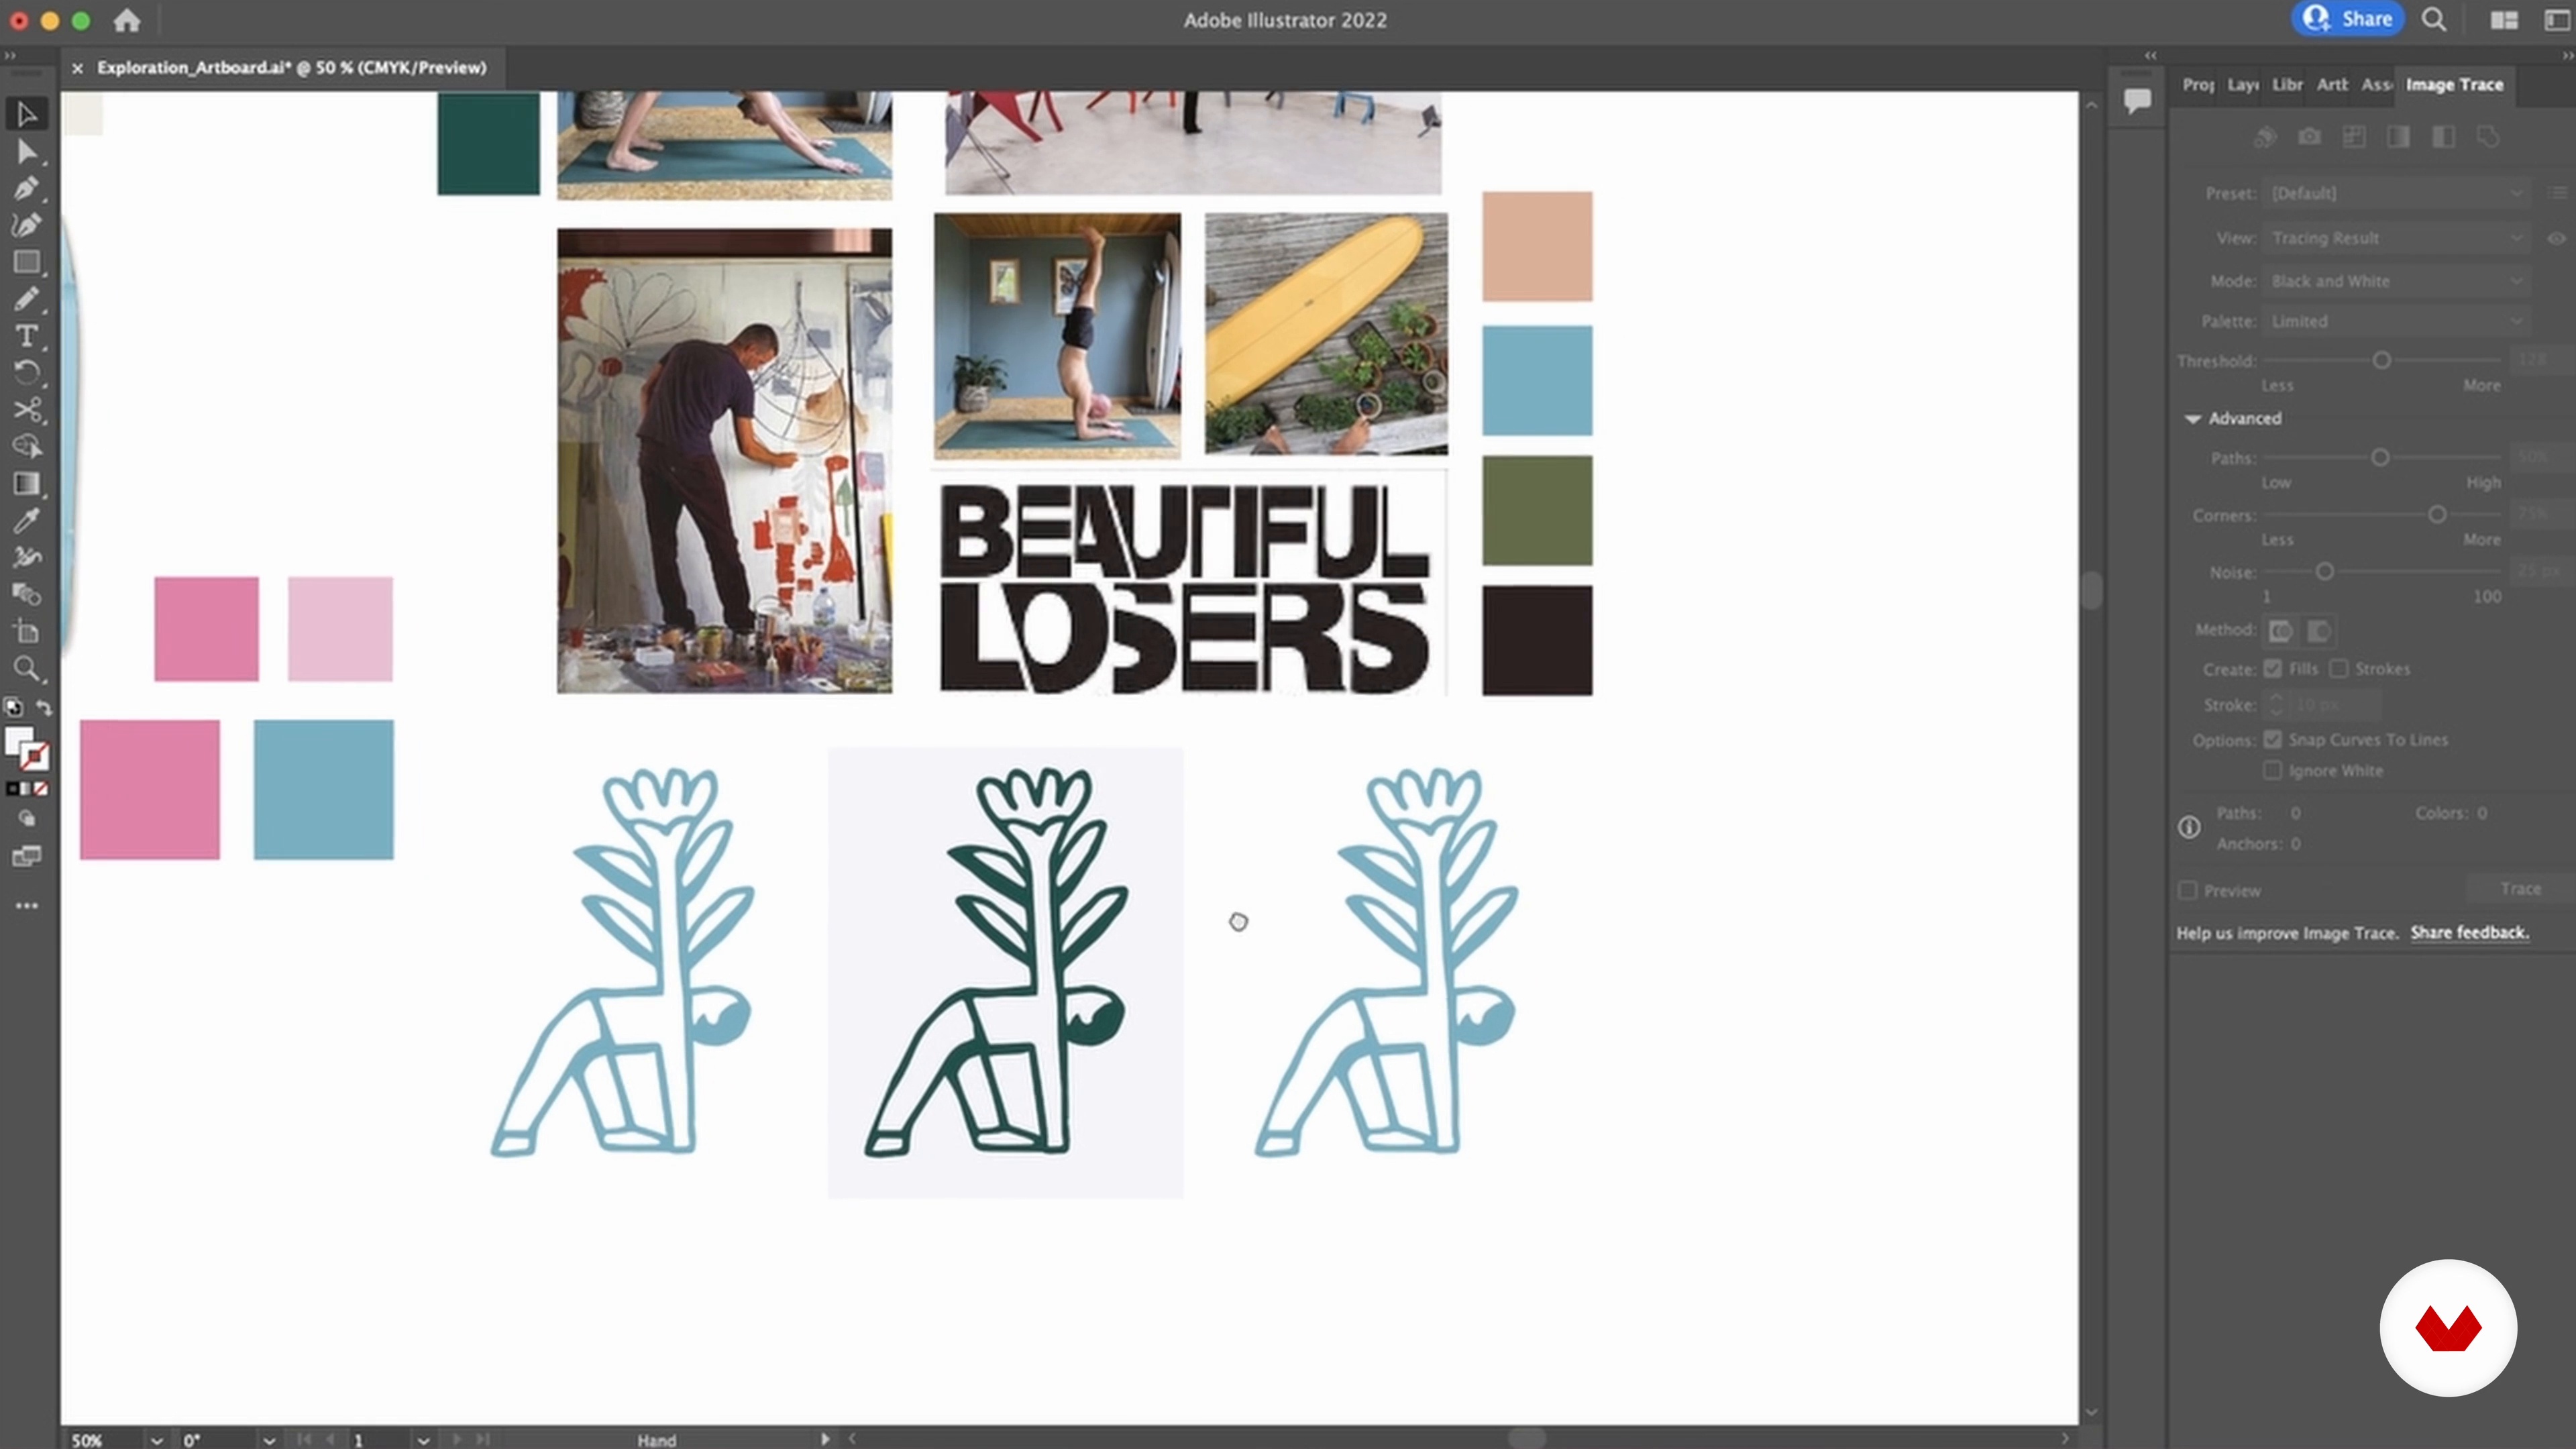
The last stage in my research process is to create a mood board using the information gathered from the client and the mind map I've just created. The idea here is to find images that find a good representation of the message and the emotion that we’re trying to convey.
3m
image
8
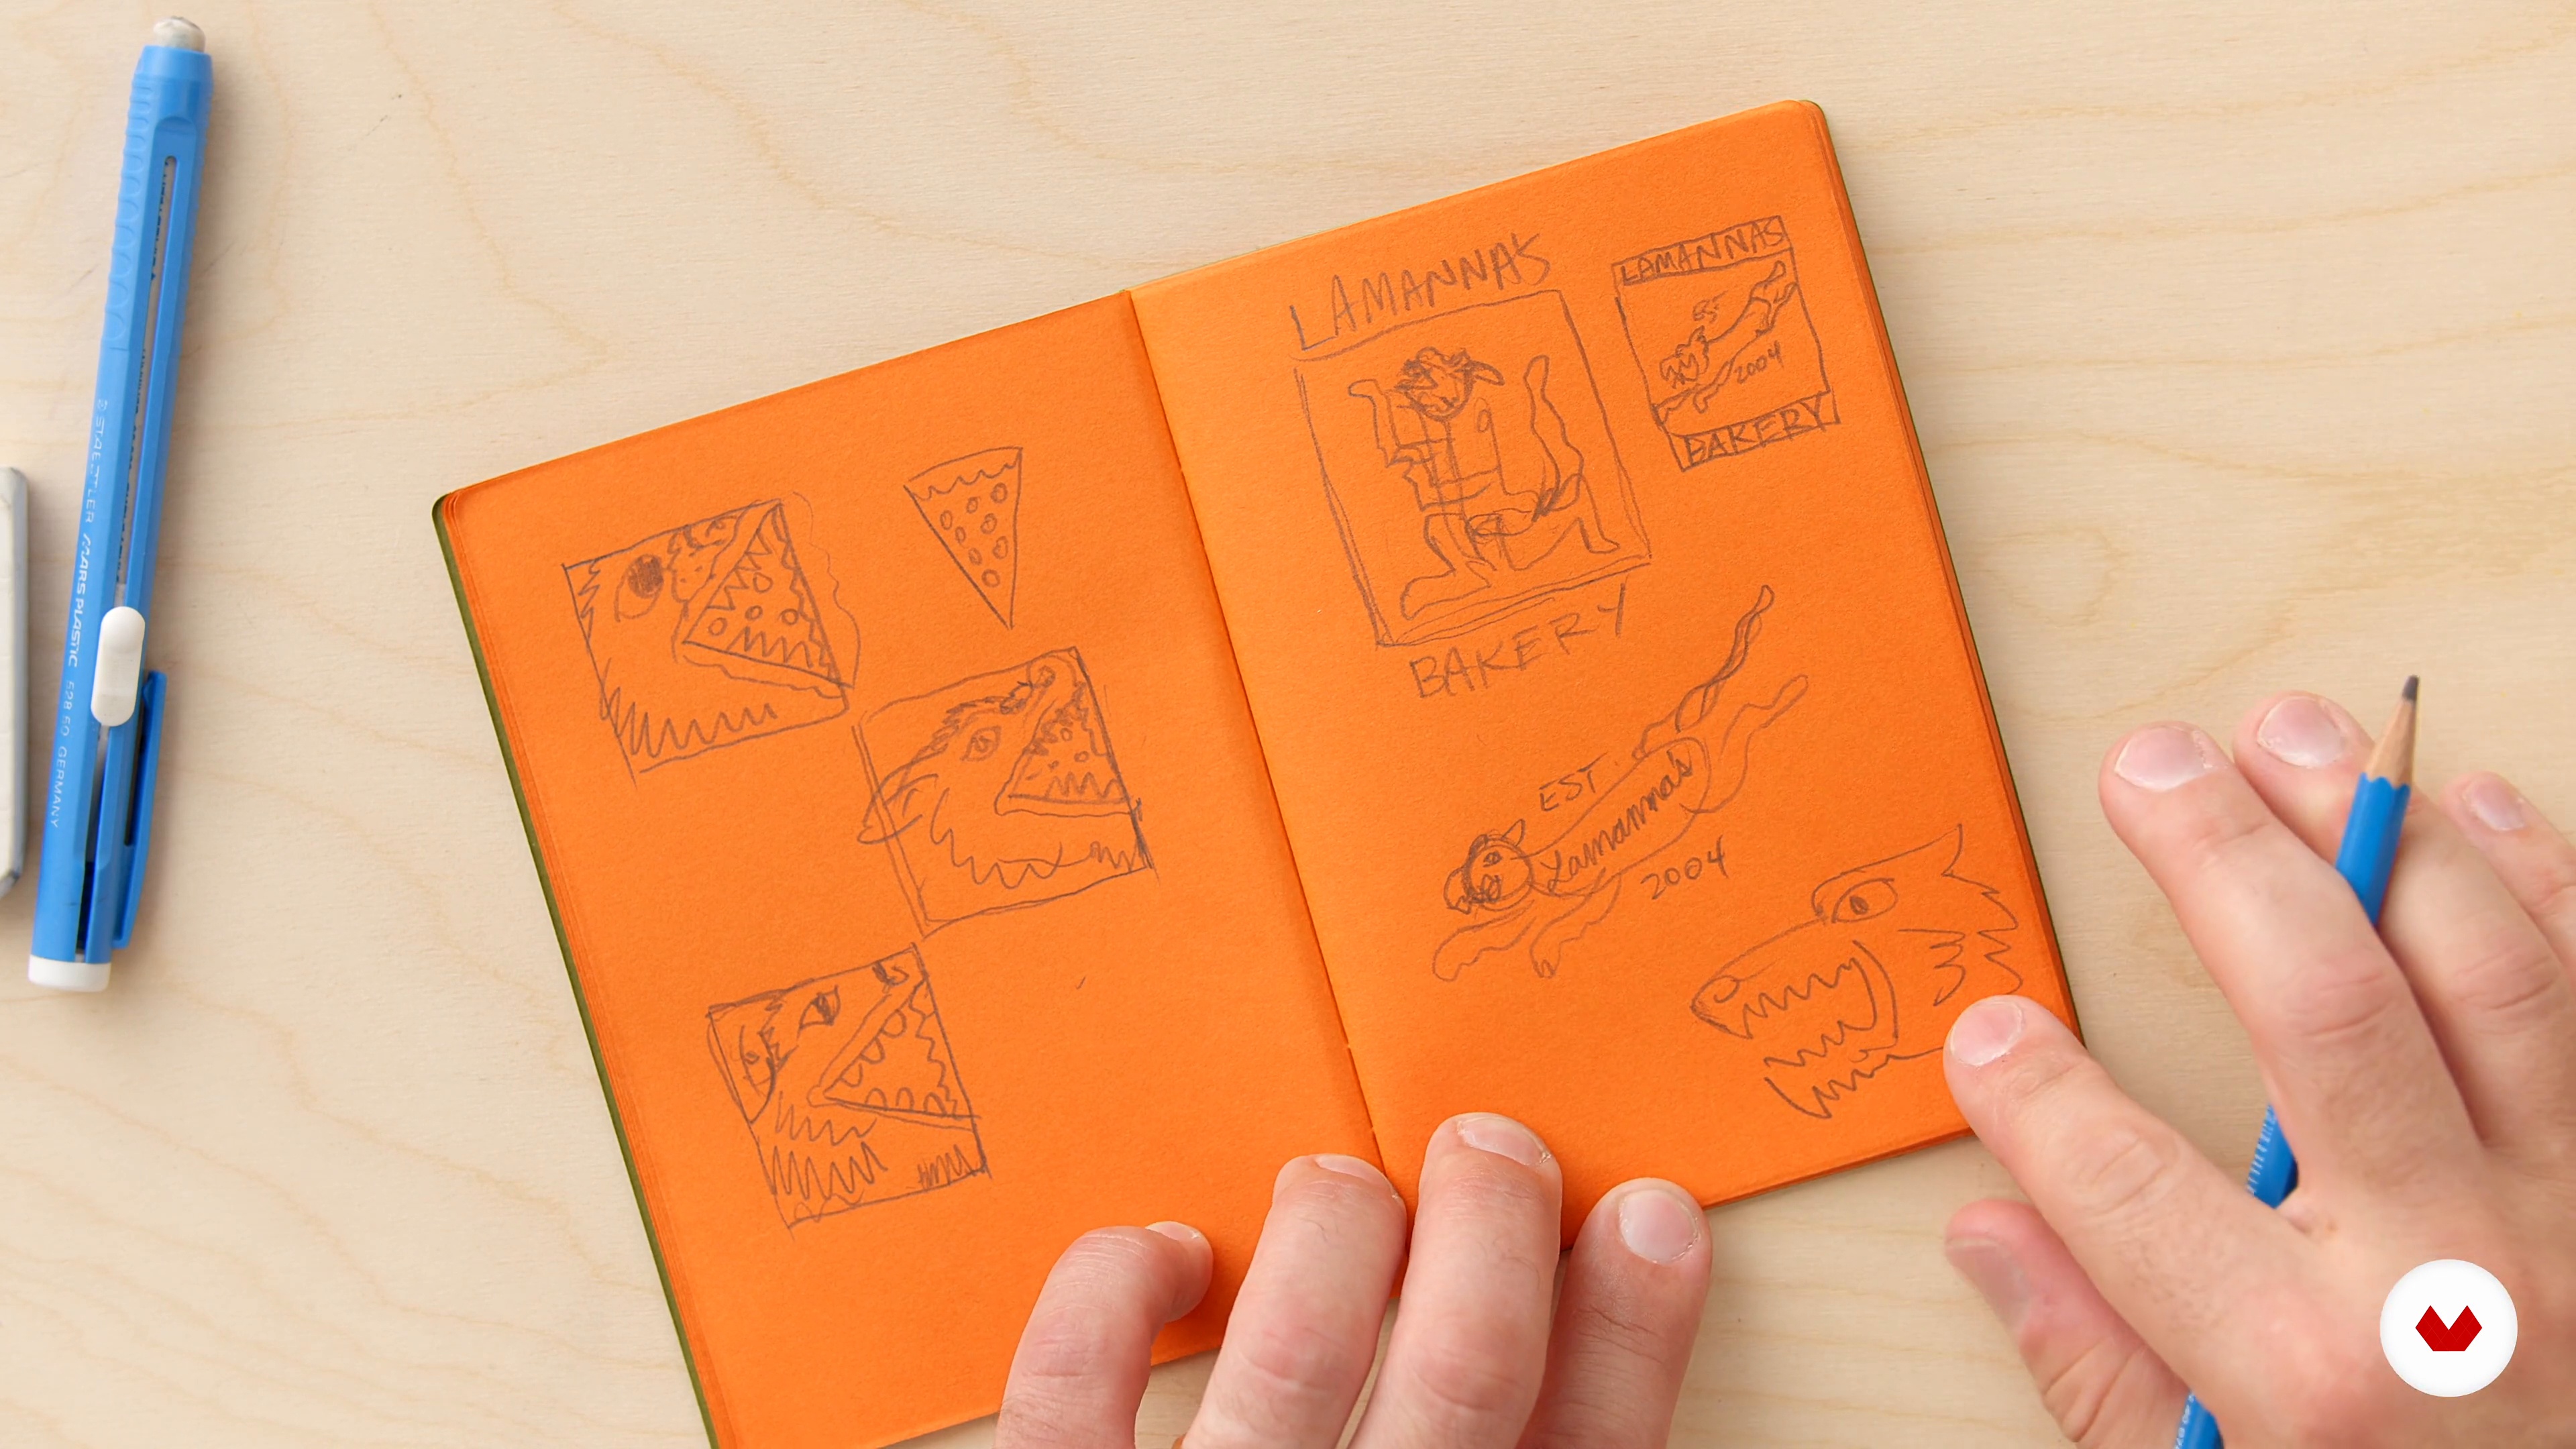
Loose Sketches
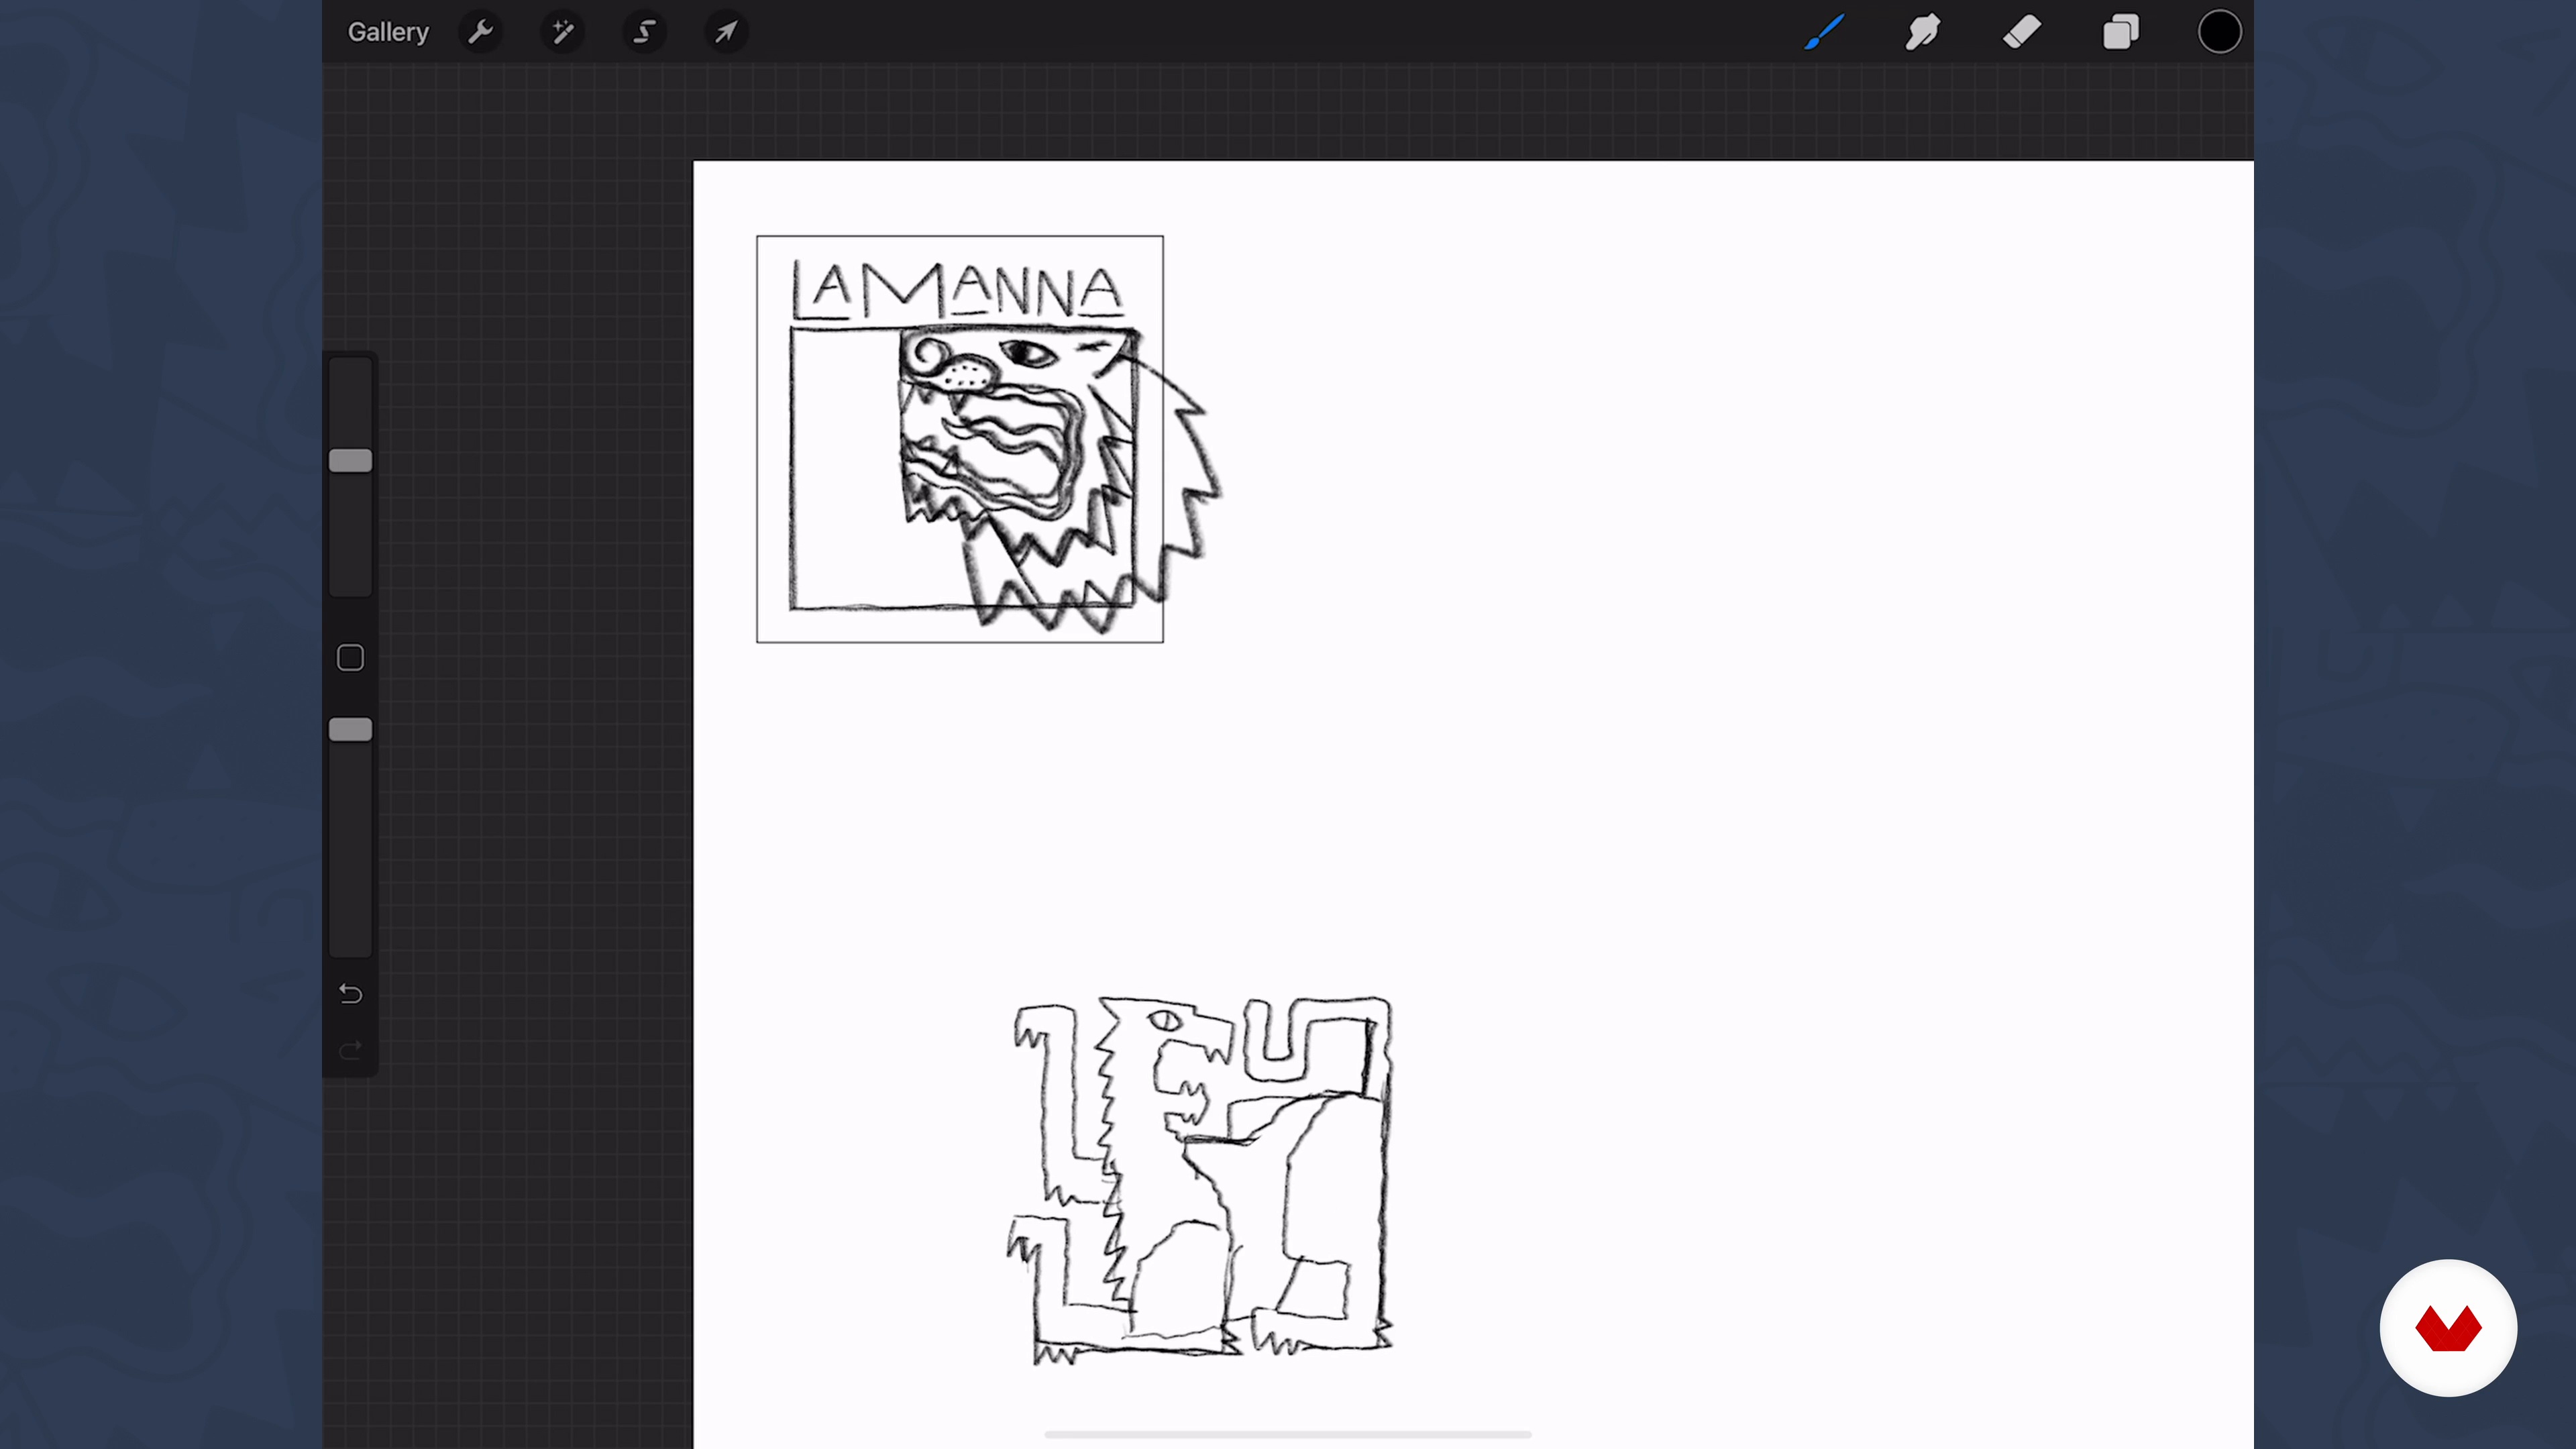
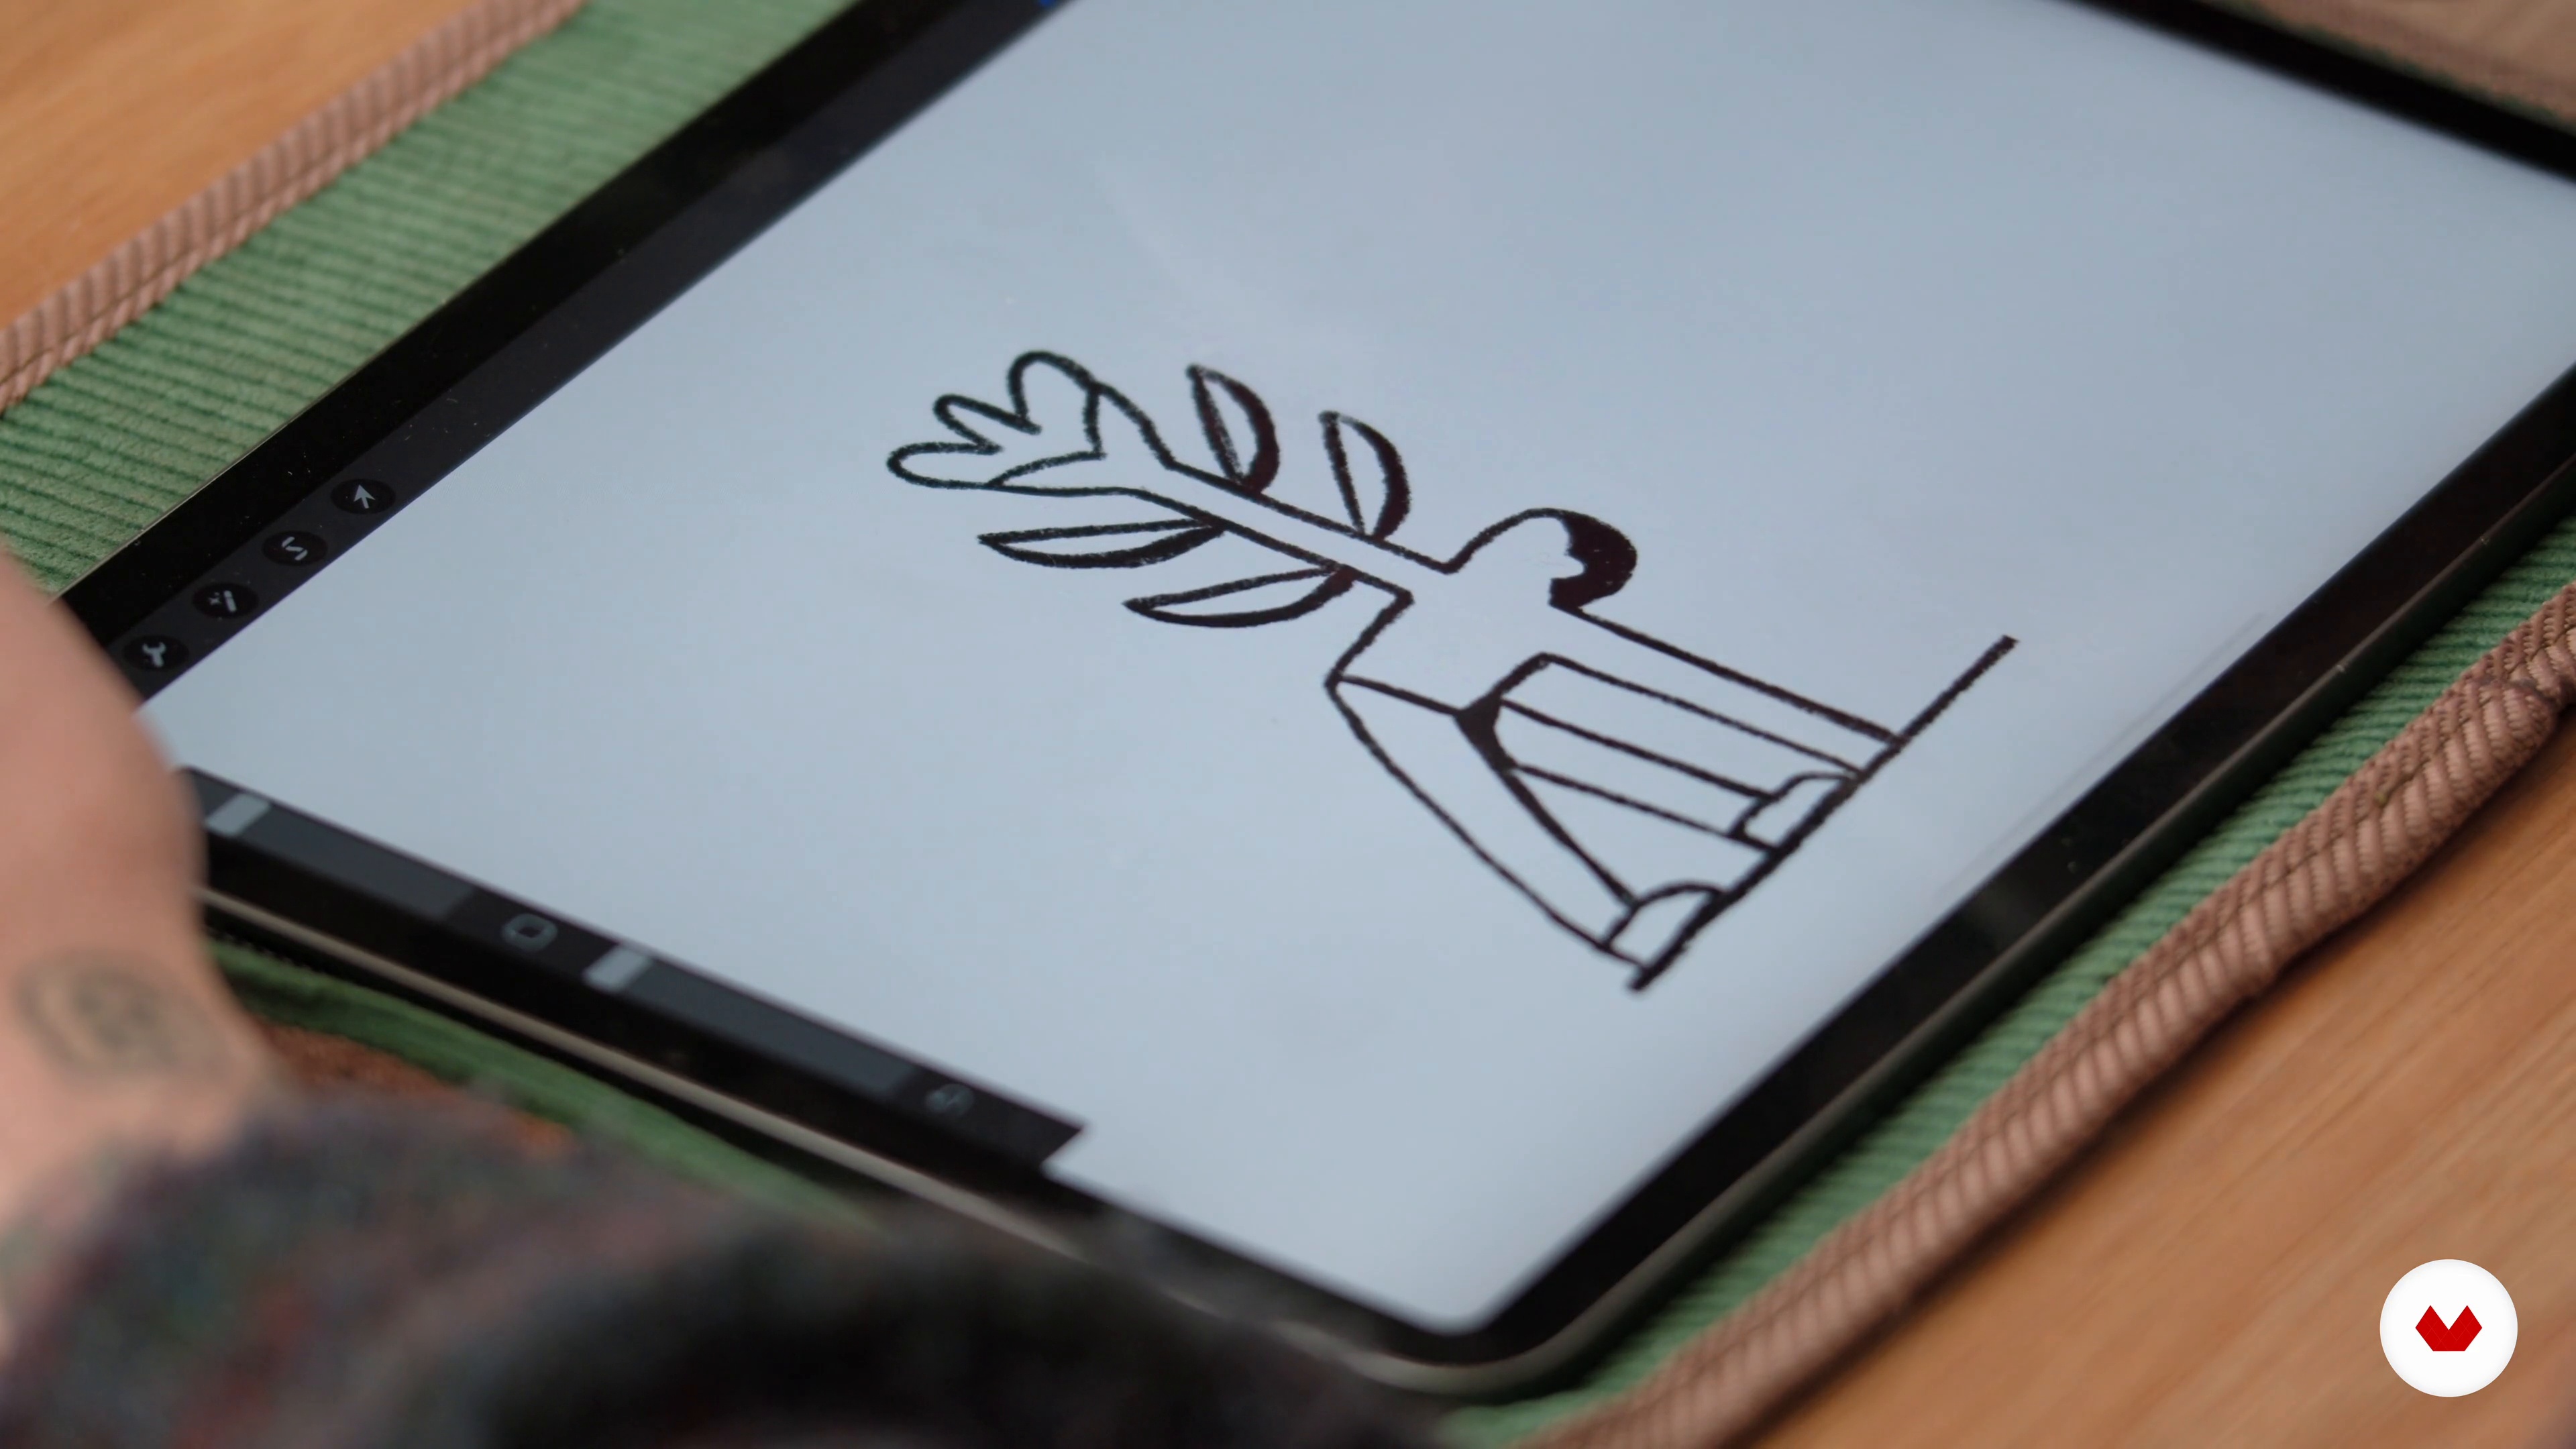
The first step is to start sketching out ideas for the logo. How do you combine ideas from your mood board and take into account the information the client has given you? You'll see here how I go about doing this. The important thing to remember is that this should be a fun process!
18m
image
9
Refining Ideas
Based on the sketches I made, I'll choose the one I think suits the project best and start refining it. When doing this, it's important to remember all the keywords and adjectives gathered earlier. This will inform the visual aesthetic and tone of the design.
10m
image
10
Vectorising the Sketch
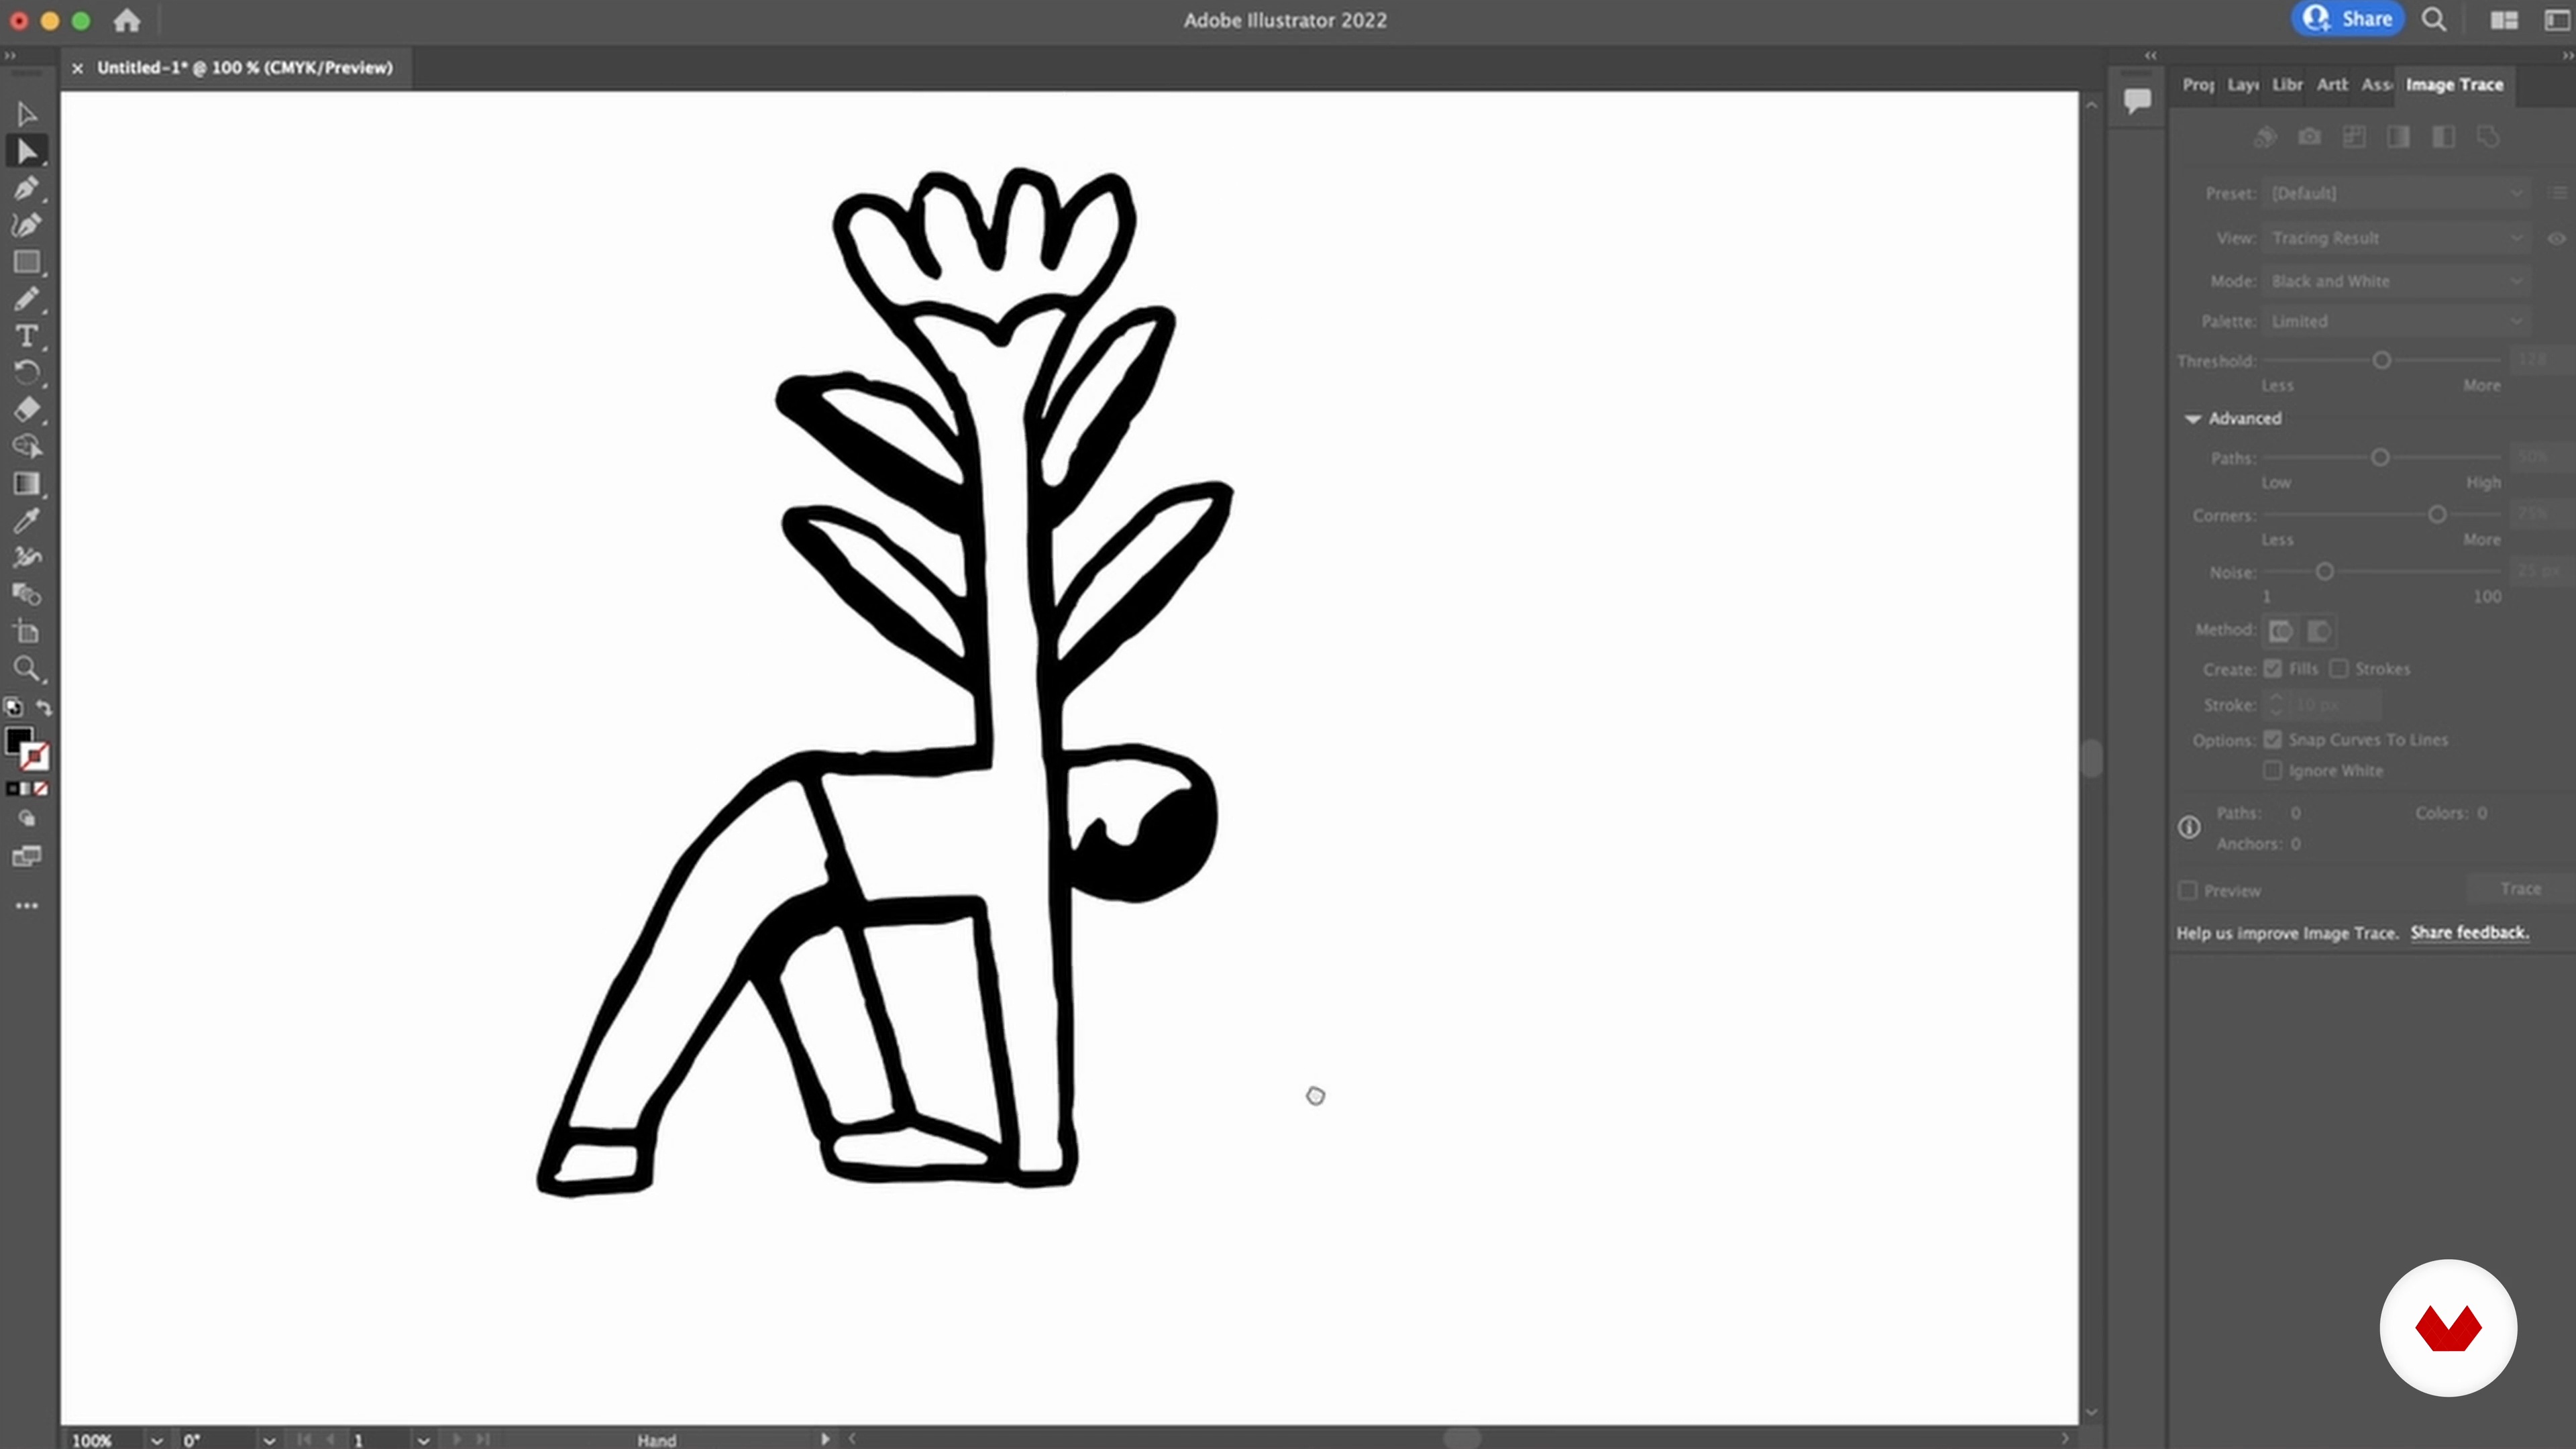
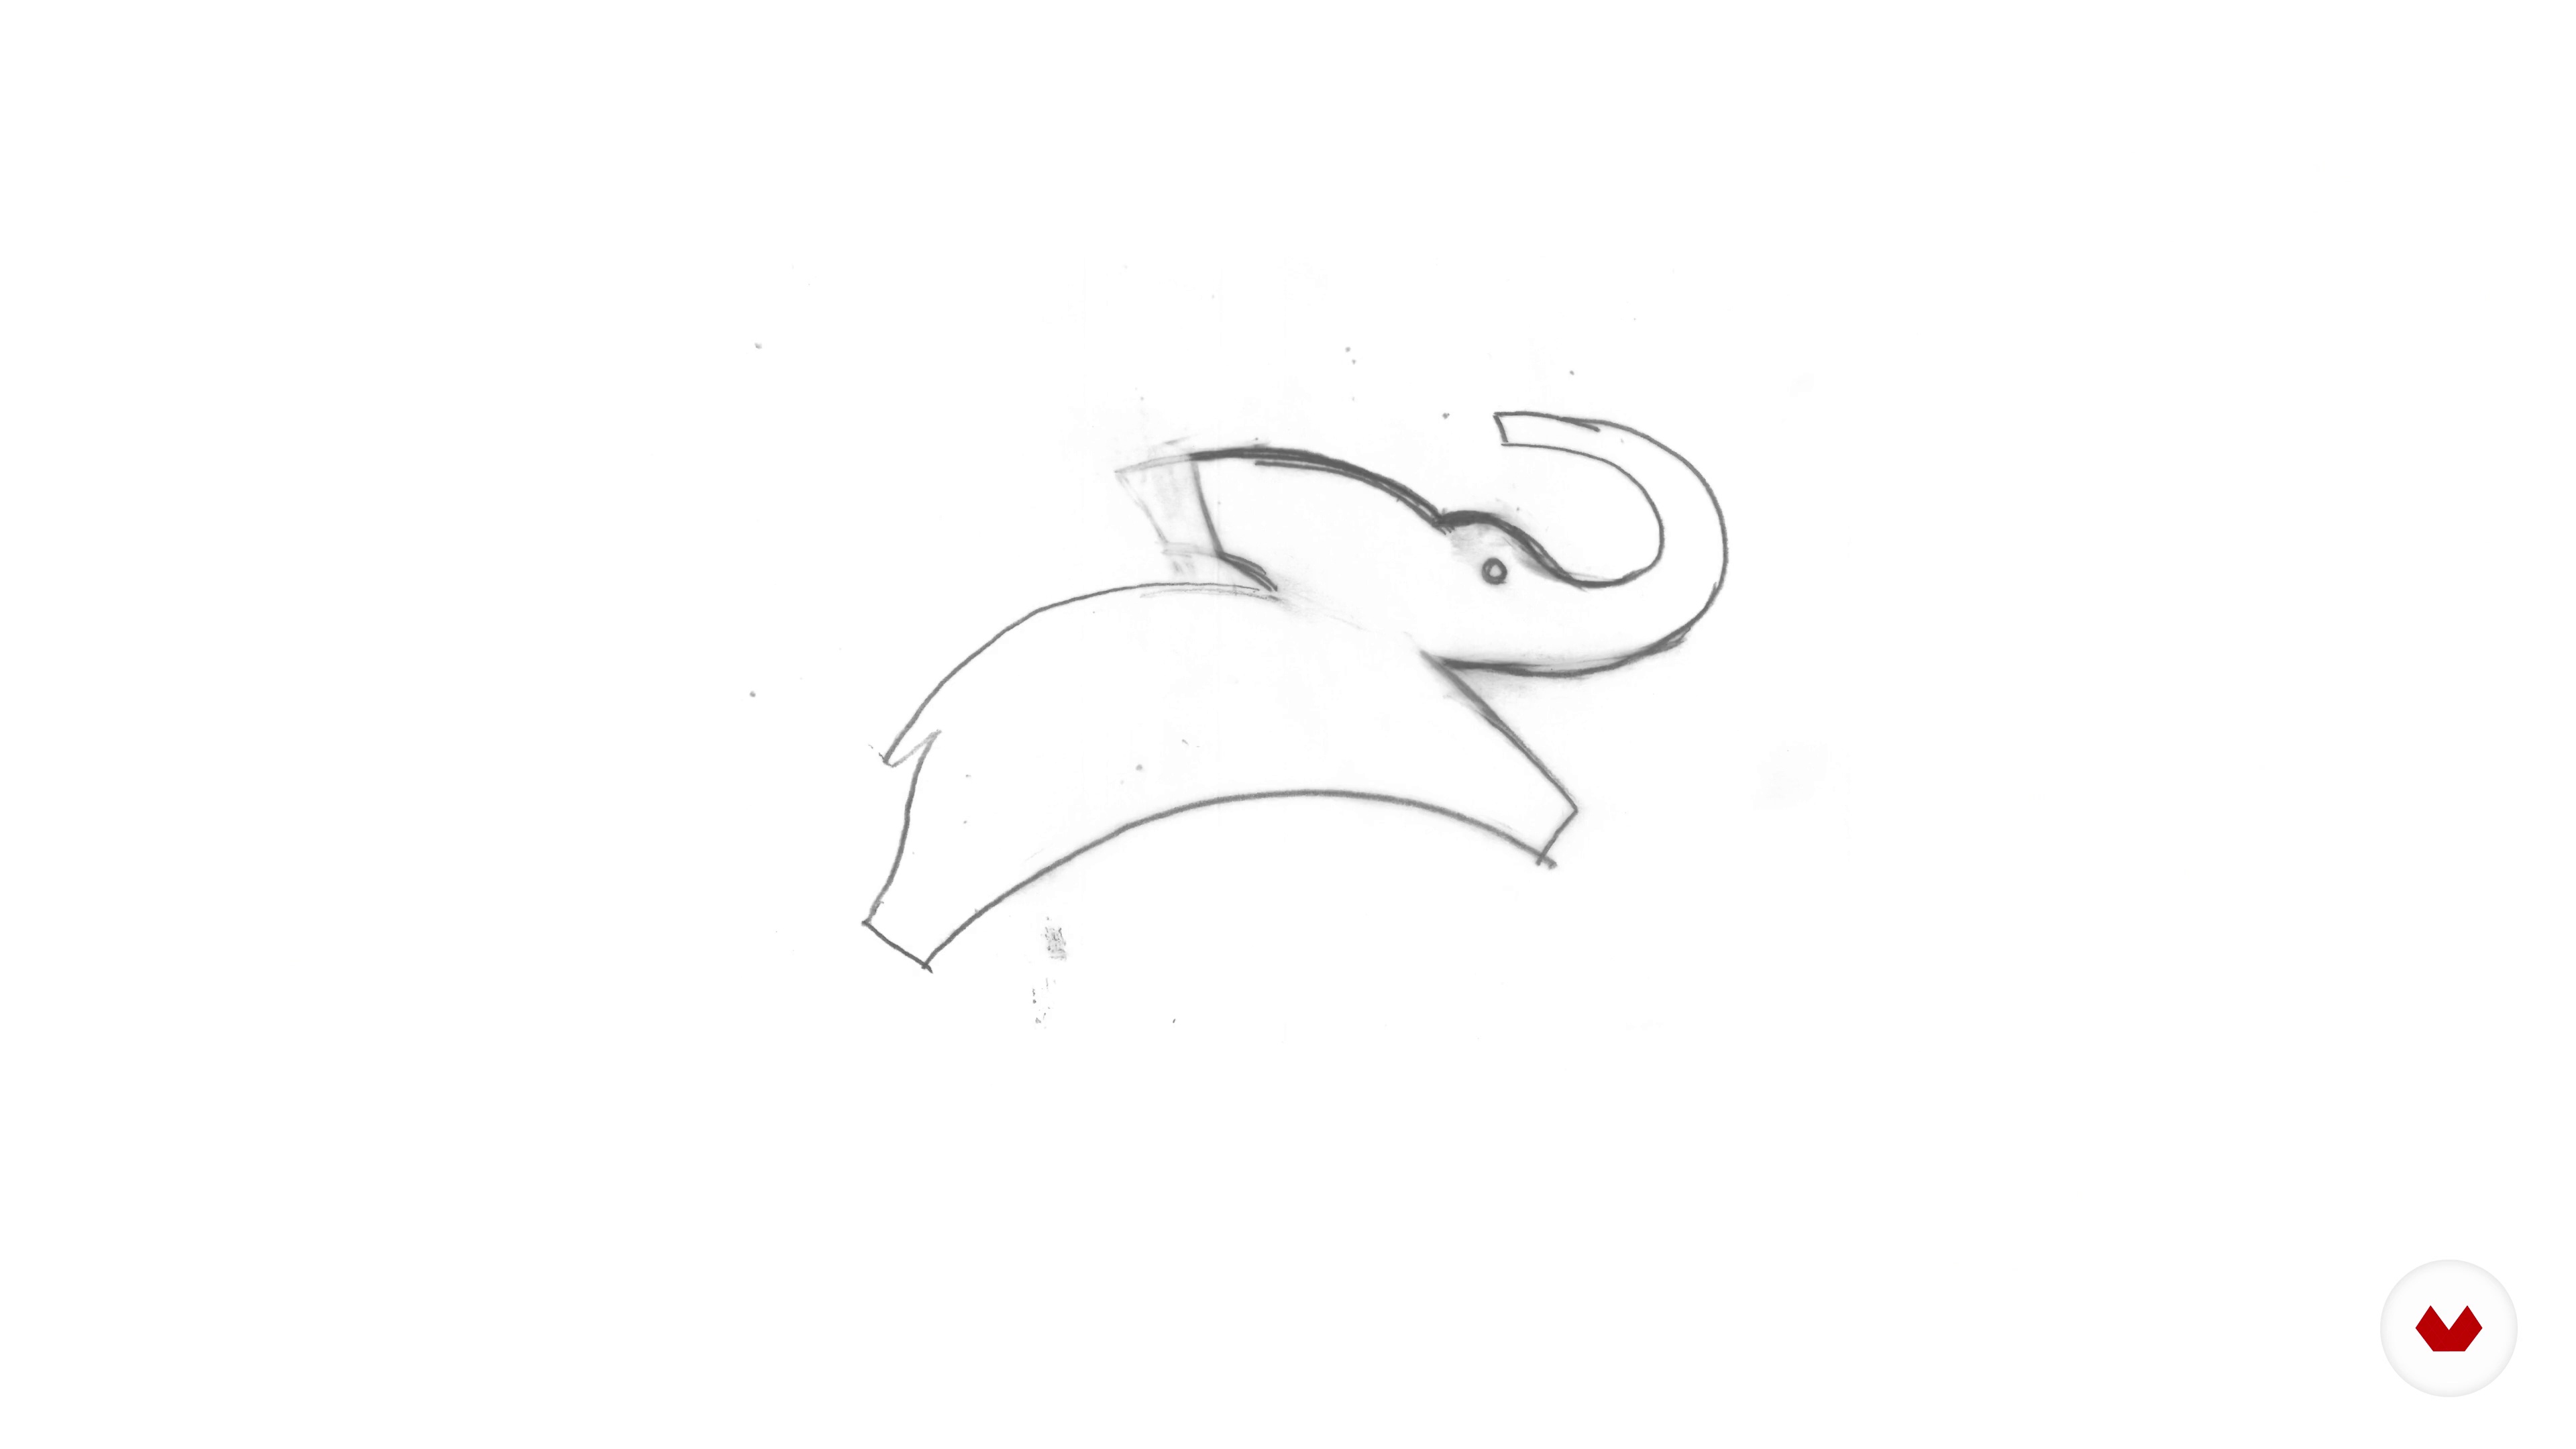
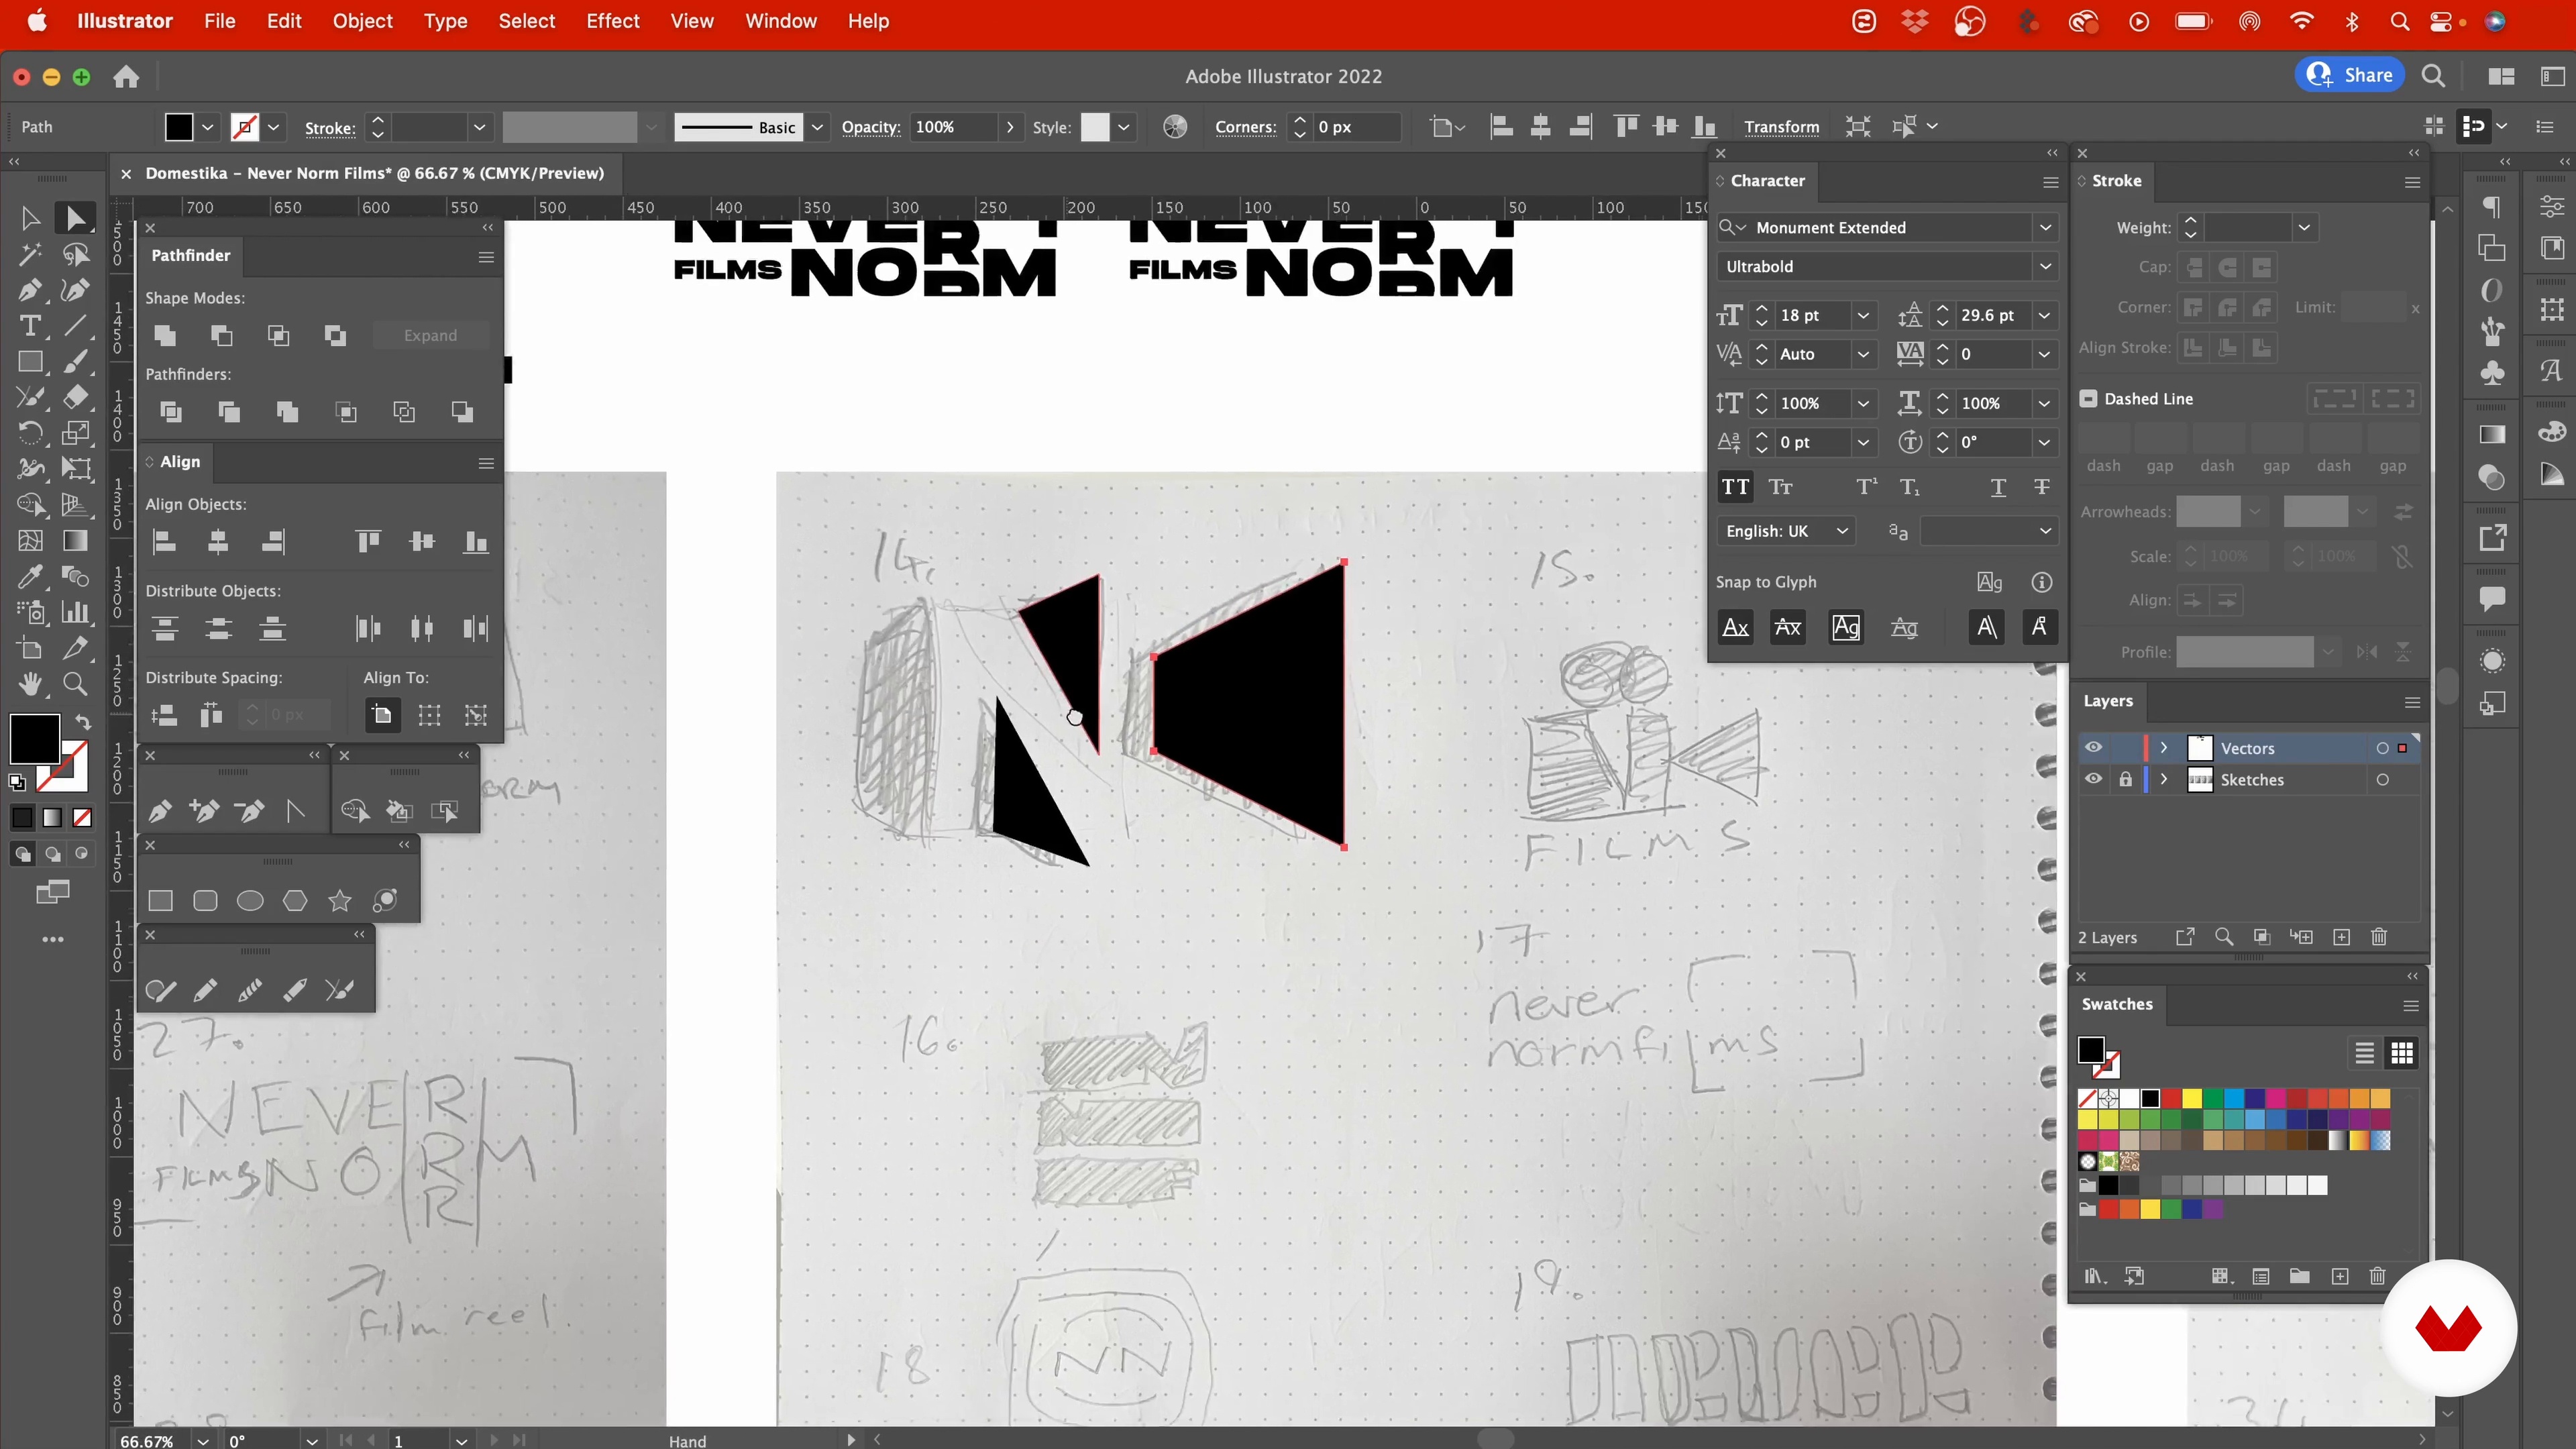
Here you'll see how I transfer the sketch into Adobe Illustrator and digitise it using the ‘Image Trace Tool’. Vector-based images are quite useful files to share with a client because they can be scaled to any size and retain the same quality.
3m
image
11
Colour and Typography
The last step in the design process is to lay out the logo alongside the typography and chosen colour. I'll explain how you can find the right colour and create a visual connection between the illustration and the typography.
10m
image
12
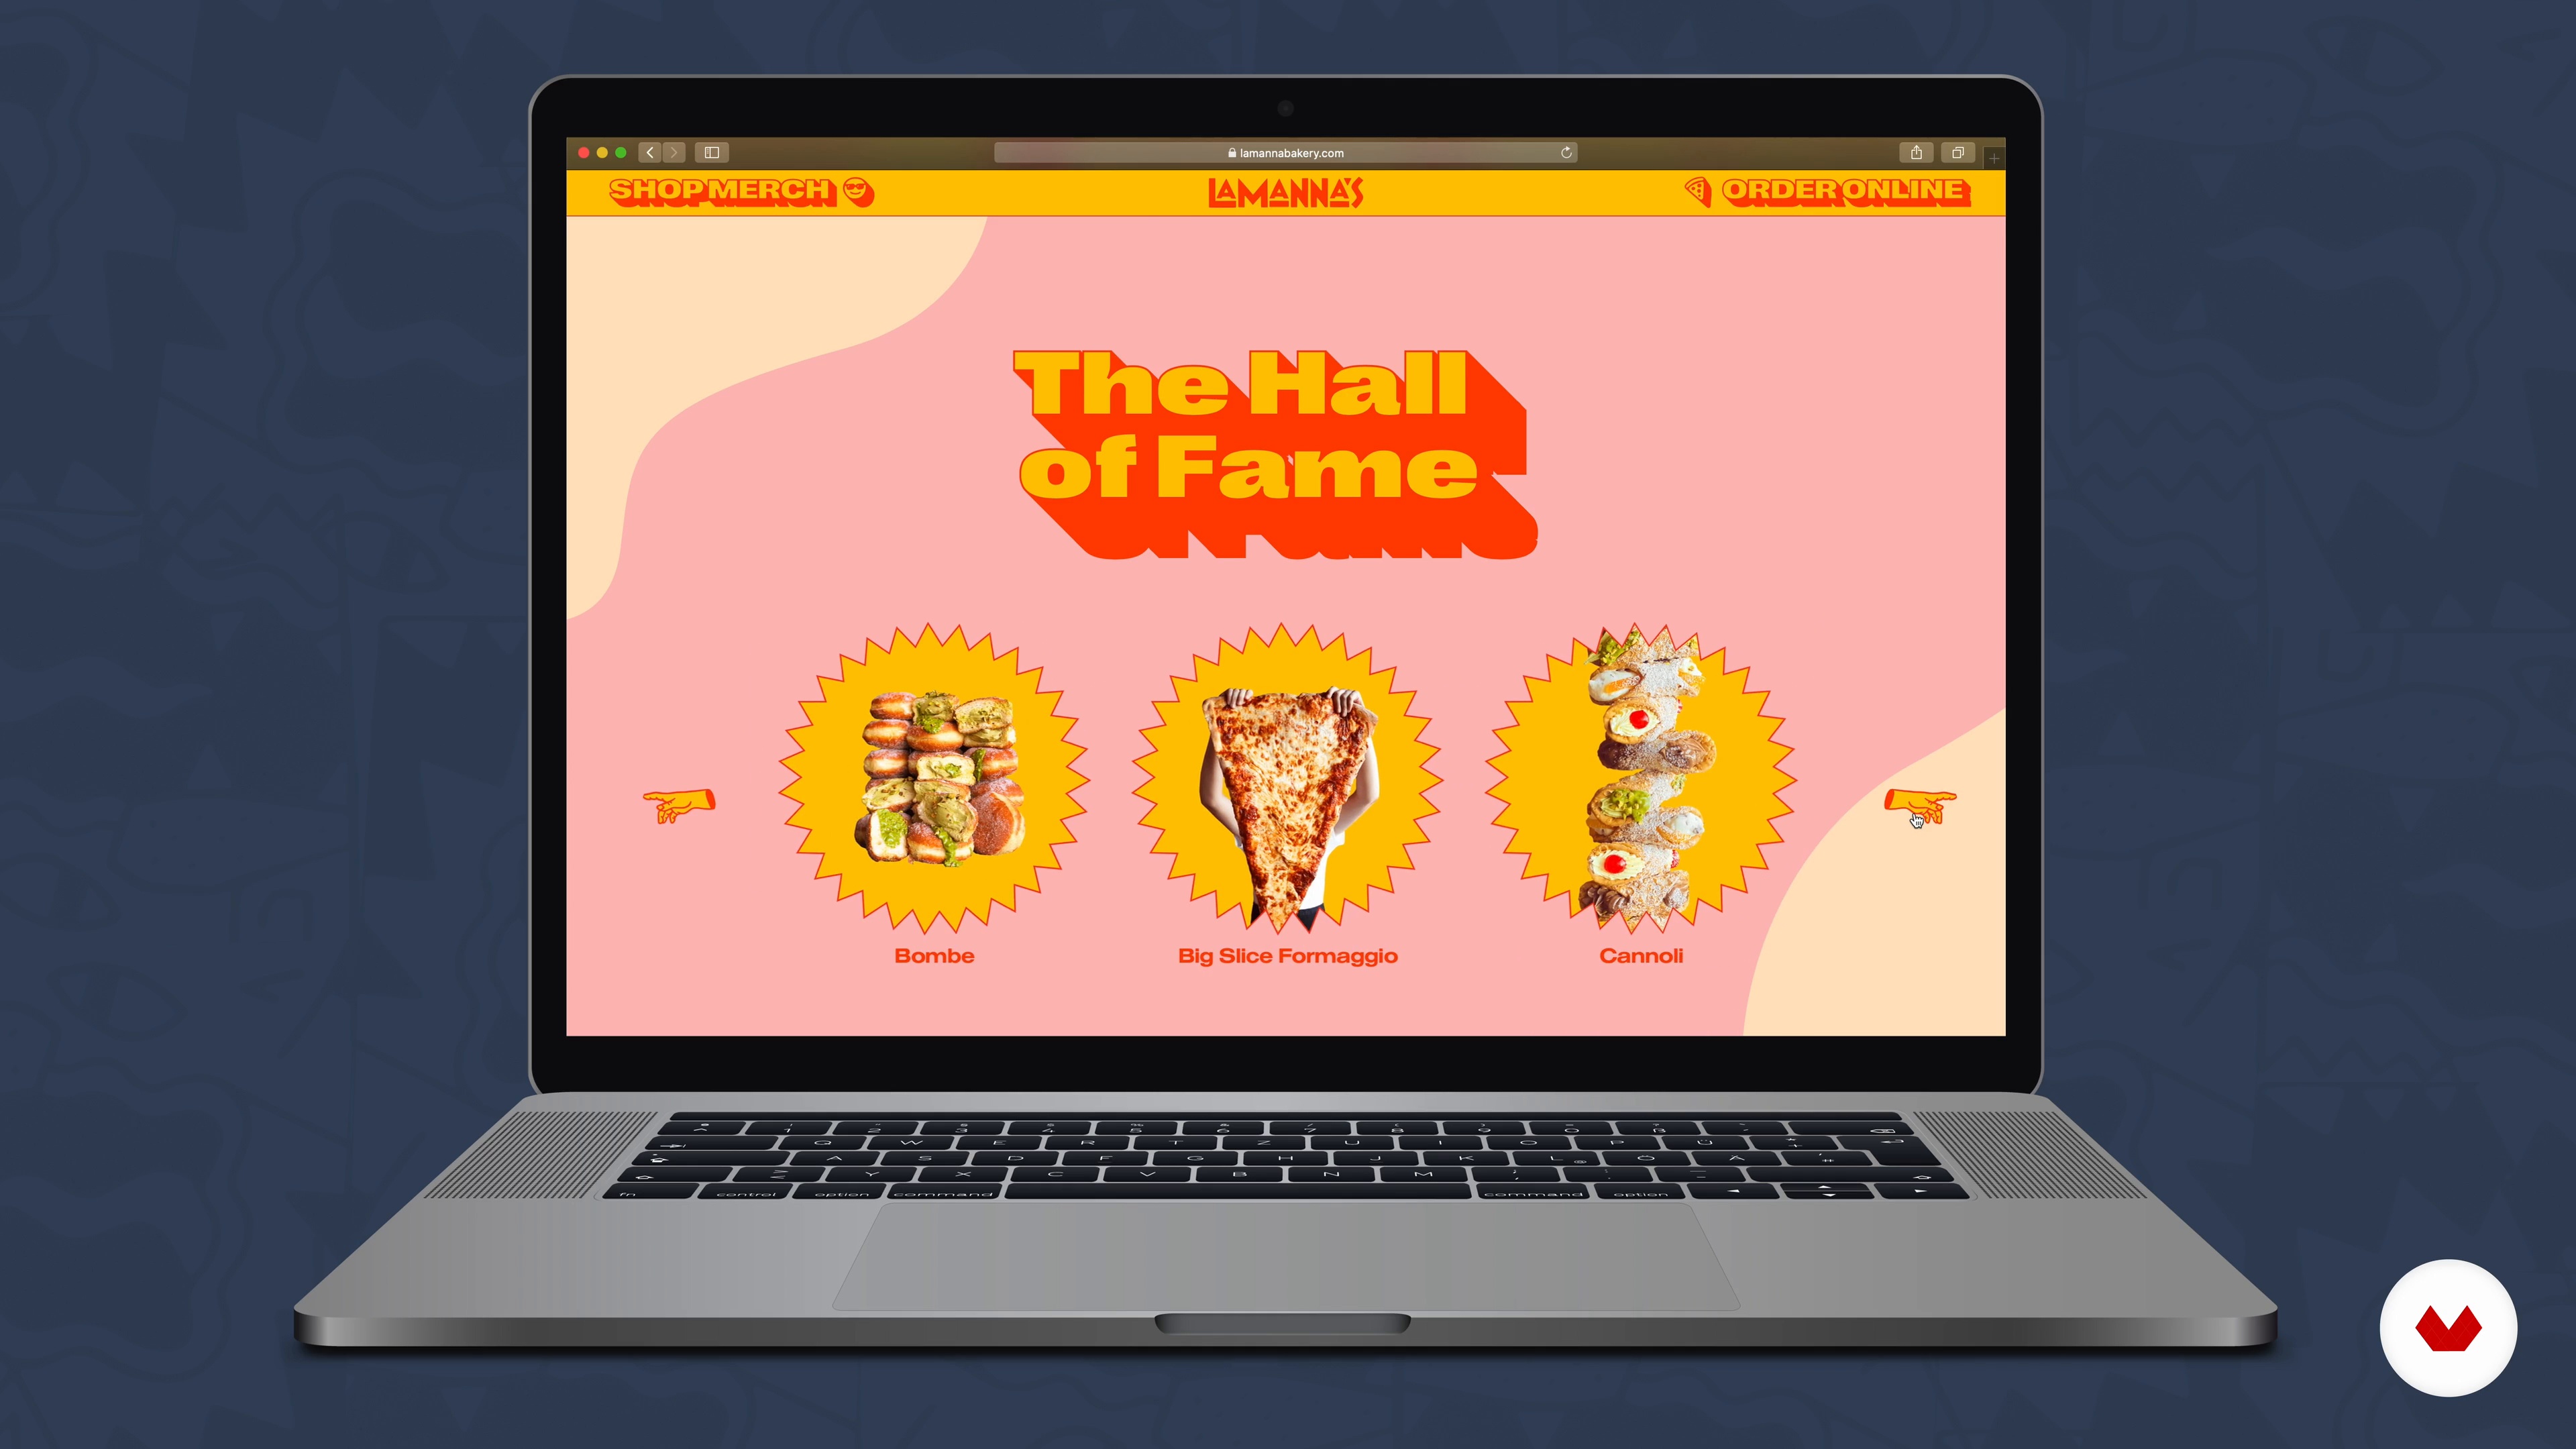
Brand Illustrations and Mock-ups
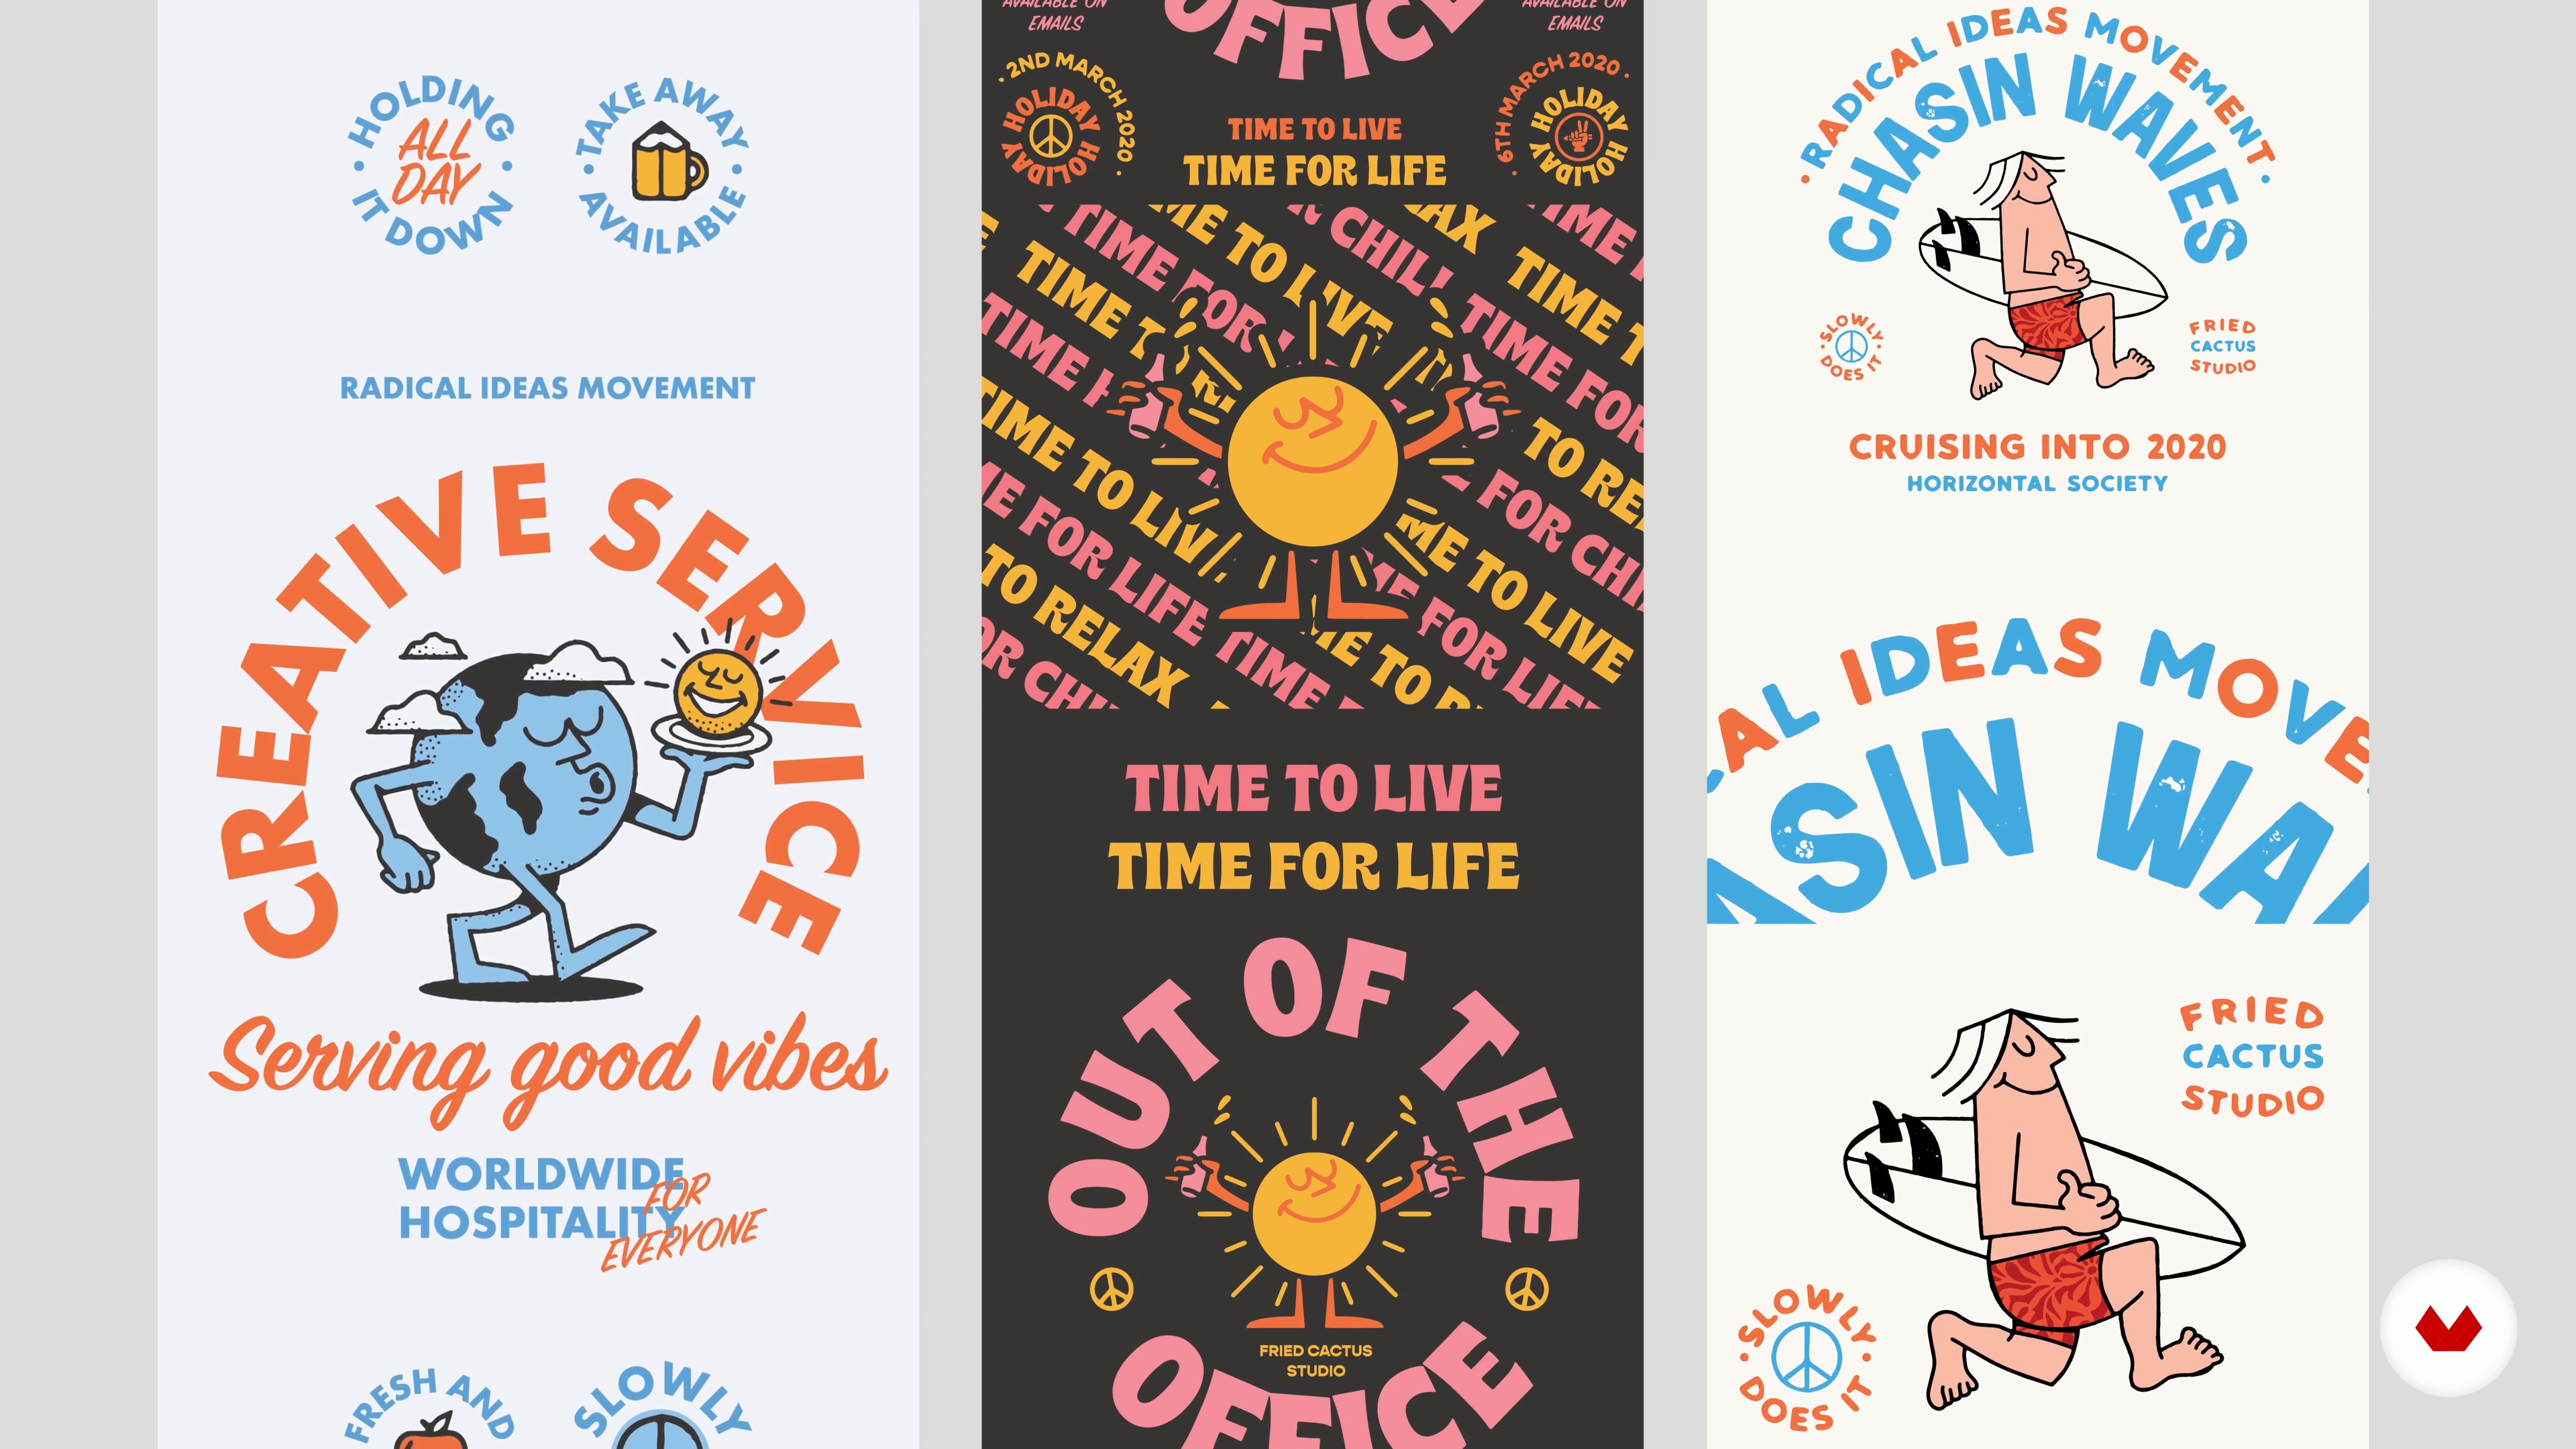
Your initial loose sketches still hold great value! Here we'll look at the different ways your brand illustrations can work on things like merch, social media or websites. Laying these up on mock-ups is a great way for your client to visualise the value of these illustrations.
5m
image
13
Finding Work
Now that the logo is complete, I’m going to backtrack a little bit and tell you about how I started out finding work as a freelancer. I’ll share my experience in going the extra mile and taking the odd risk or two. Hopefully, learning about my journey can help you with yours.
3m
image
4
What is a Designer?
What is really a designer? How many things do we have to be good at?
3m
image
5
The Responsibility of Expertise
It is important to have the sense you are an expert and think of yourself as an ideas person (always start from an idea). It is an attitude. Let's talk about this.
3m
image
6
What Is a Good Logo?
This lesson is an introduction to what is a good logo and misconceptions about logos. What is a good logo?
16m
image
7
Logotype vs. Symbol
In this lesson, I will explain the differences between a logotype and a symbol and when to use each of them, or both.
5m
image
8
Student Logos Analysis
In this lesson, I will make an analysis of a few logos that Domestika’s users have submitted.
12m
image
9
Choose Your Client
In this lesson, I want to encourage you to go out and find your client for the course project.
15m
image
10
Understand Your Client
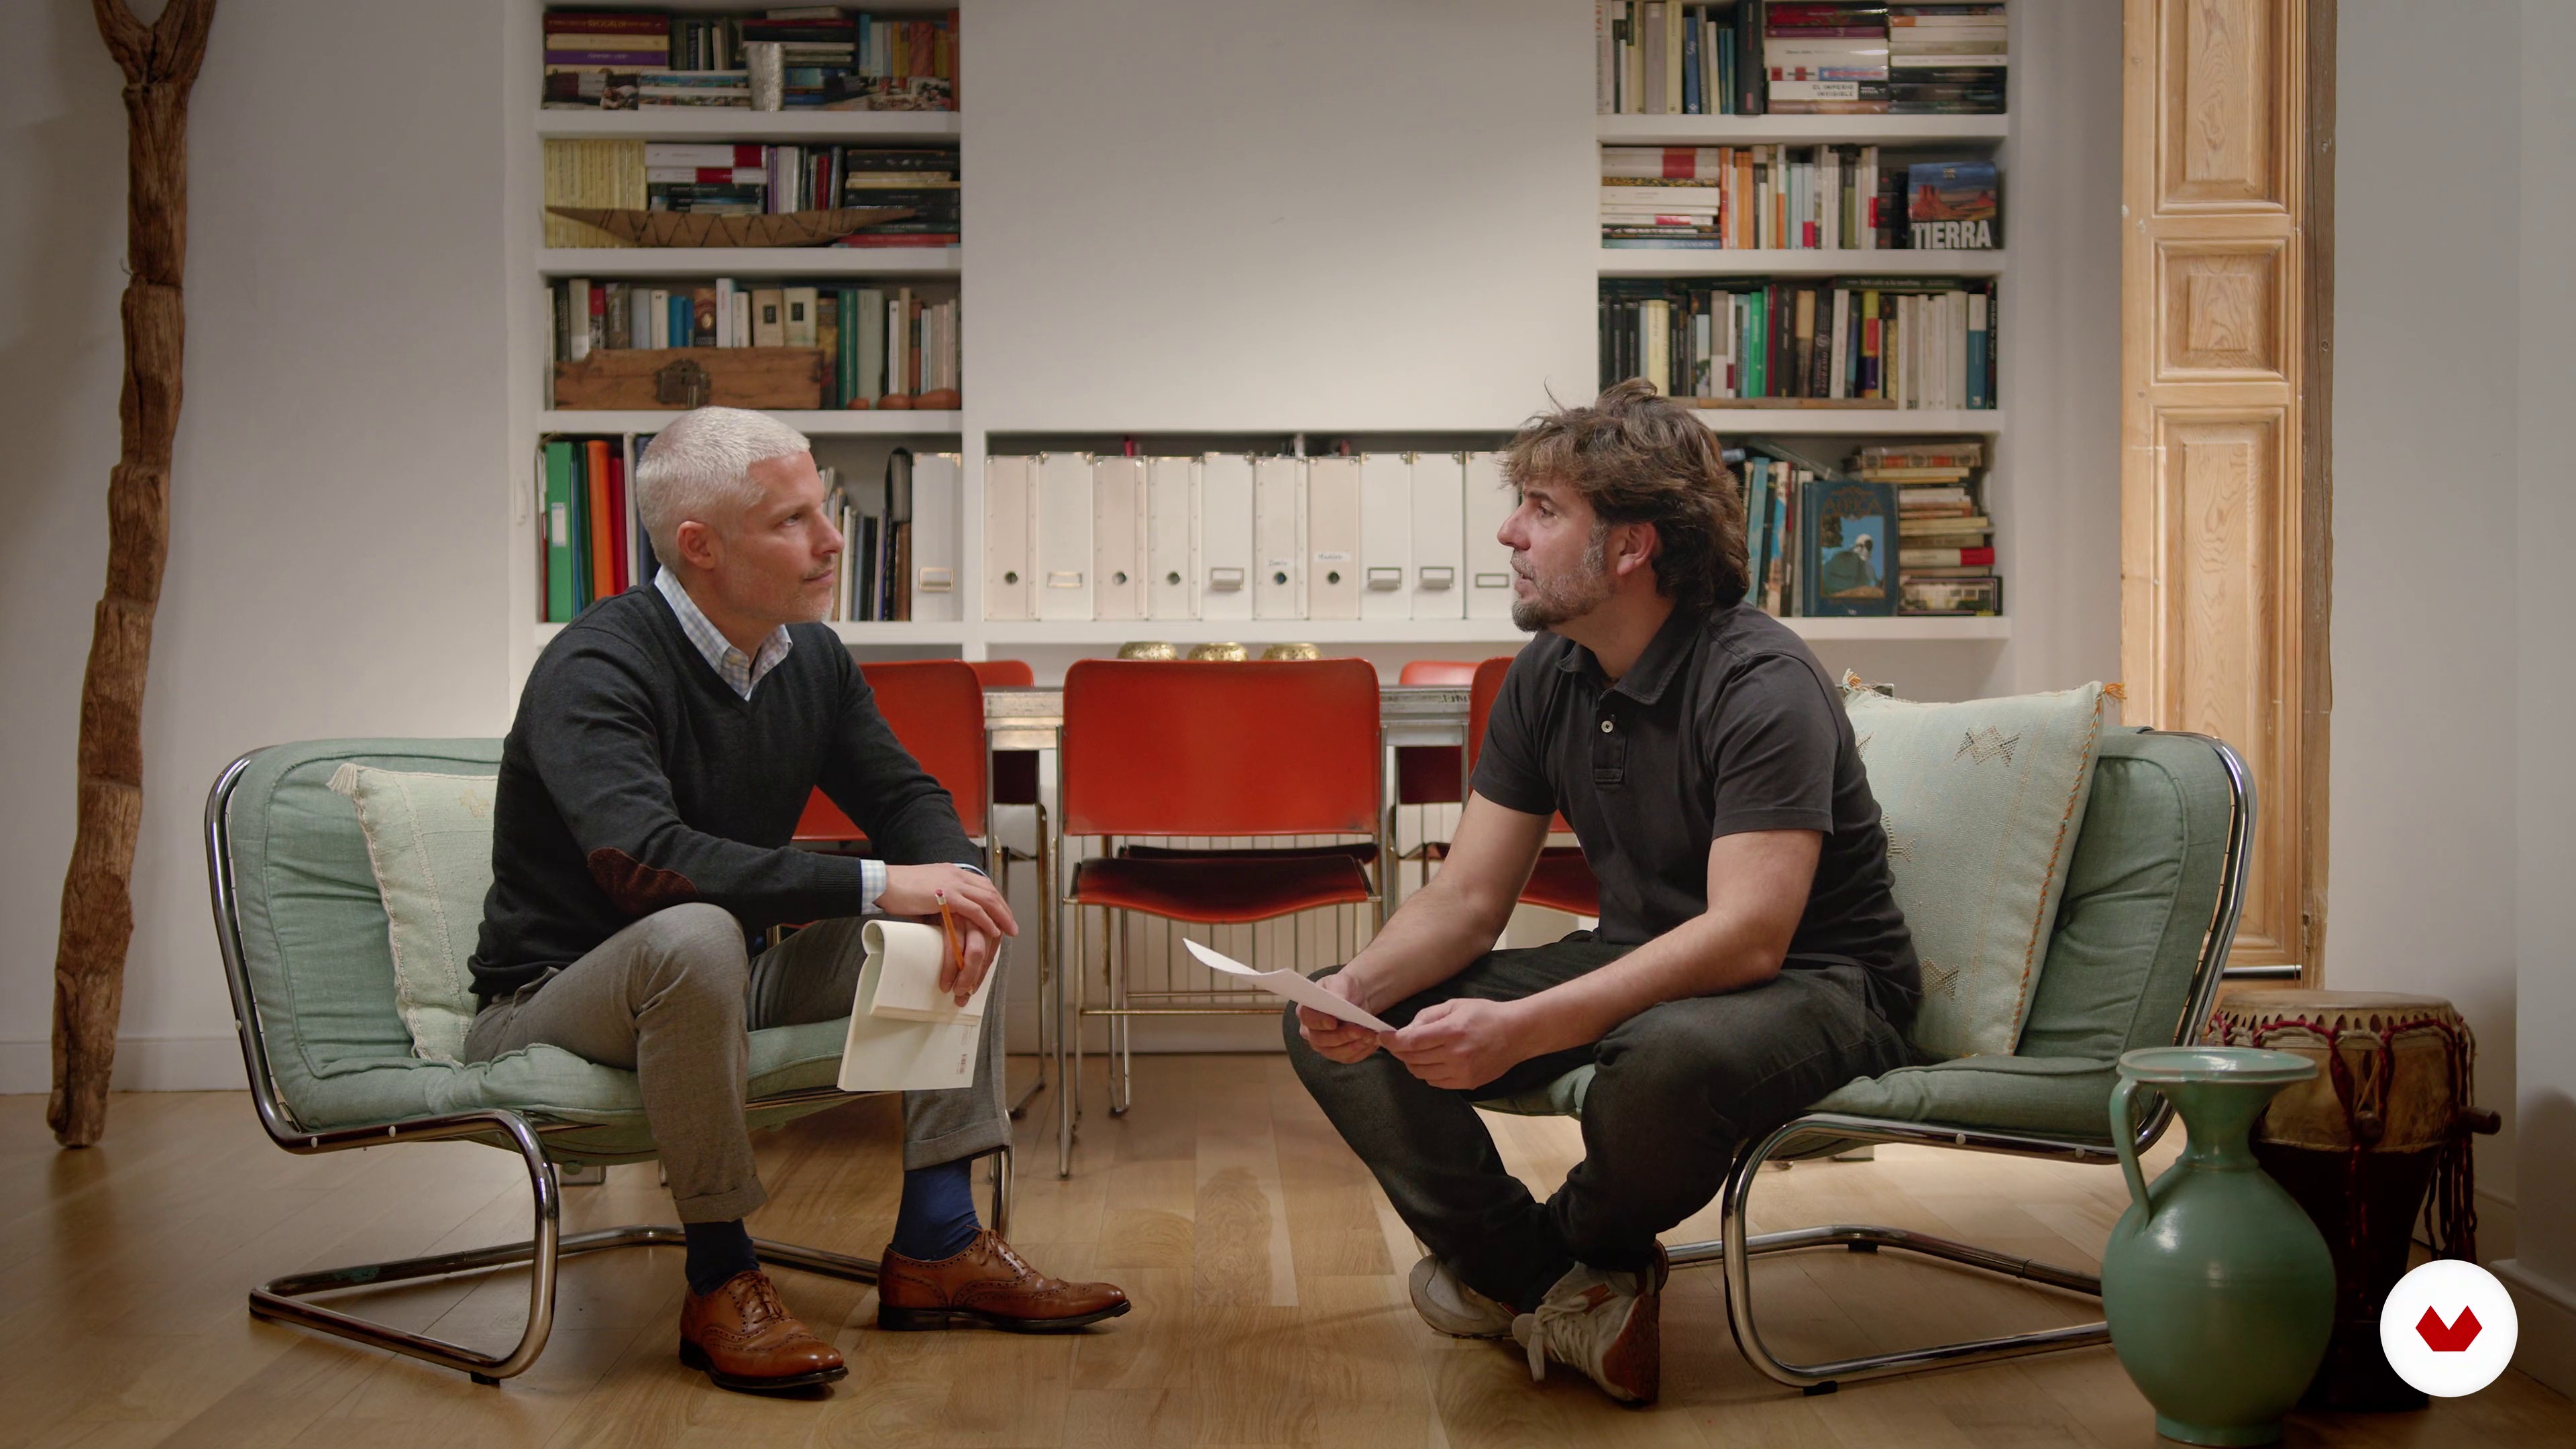
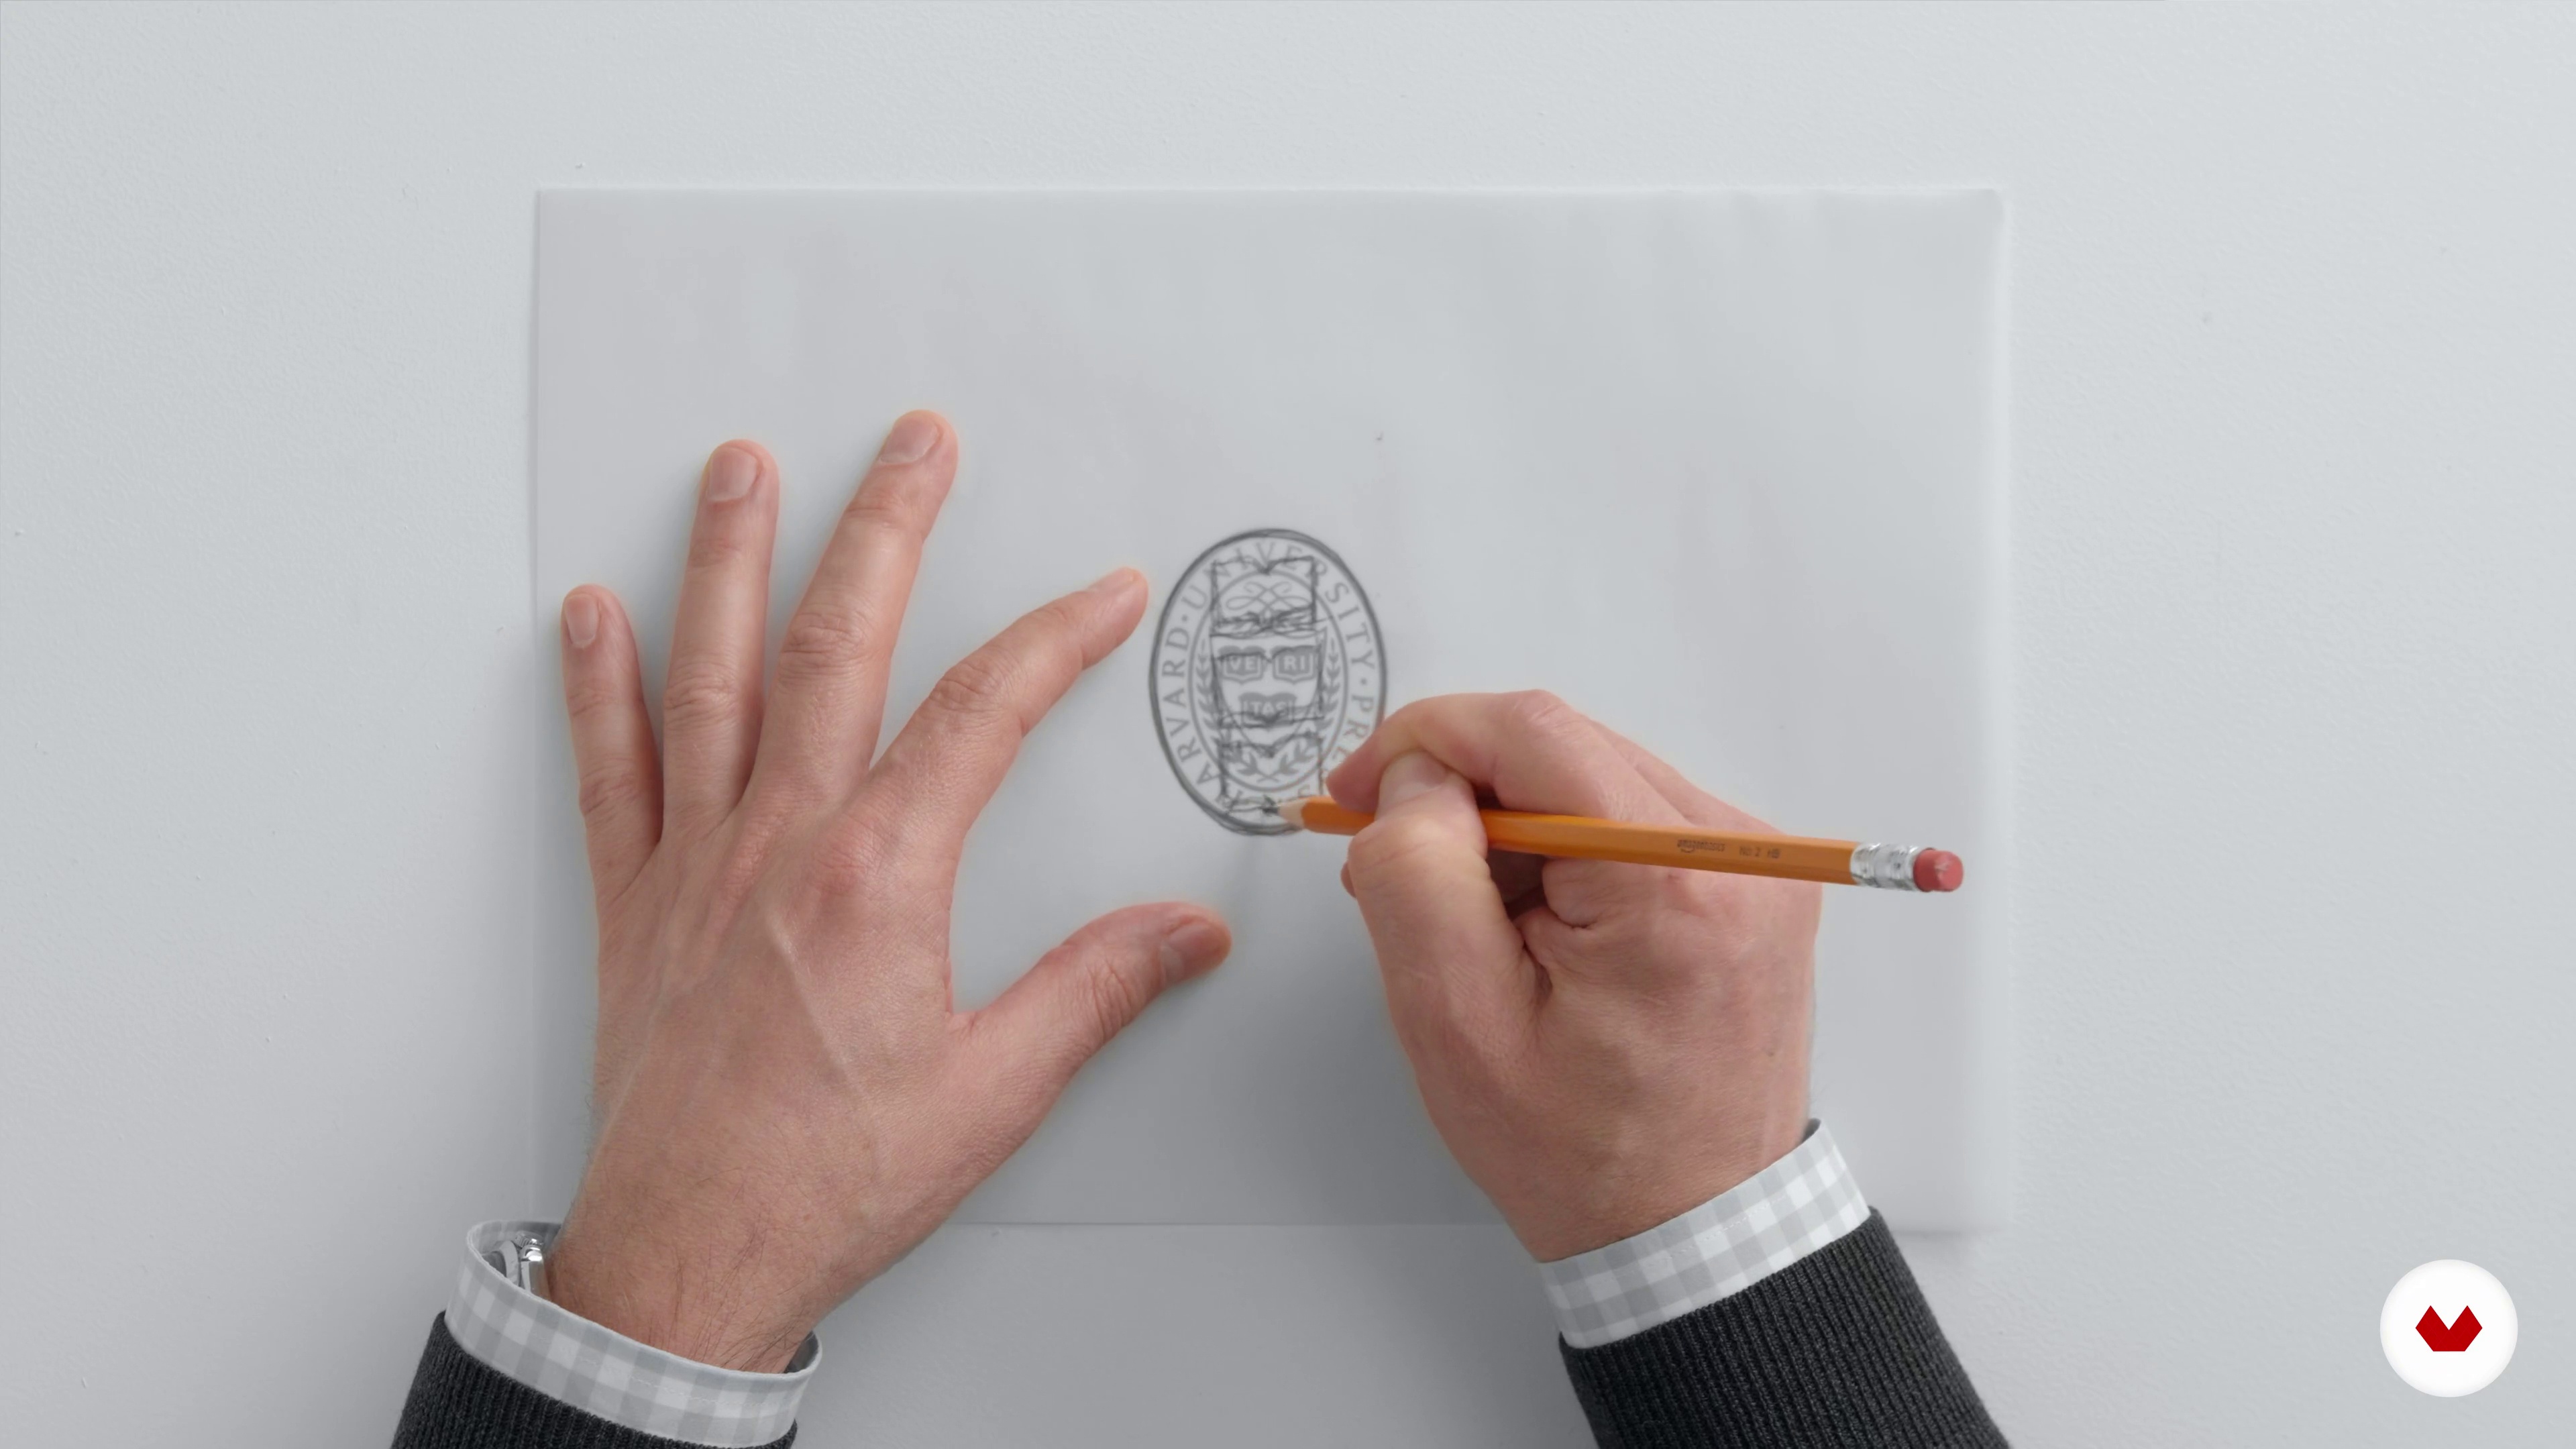
To help you understand the client, I am going to introduce the Harvard University Press client and share the answers to the questions of the previous lesson they gave me.
11m
image
11
Concept Development
In this lesson, I want to help you move from this understanding of your client into the concept development. I will be showing some of the proposals we had for them.
16m
image
12
Refinement
Here I want to talk about the importance of refining the few sketches you have selected out of the pool of original sketches.
10m
image
13
Typography
A good symbol is nothing without typography. The name is the most meaningful thing about the logo. You can't change the name, you don’t choose the name, so you have to design the name with meaning.
5m
image
14
Applications
In this lesson, I will talk about the importance of the applications. I will guide you through how to do it by showing you examples of how we did this for Harvard University Press.
12m
image
15
How to Build the Case
Many people can design nice logos, but what separates good work from great work, is the logos to manage to see the light. Until now we have talked about design, now we are talking about the other element on the other side of the table, that is not completely under our control: the client. 60% of the time I invest in a project I dedicate it to build the case, let me explain why.
5m
image
16
Bringing the Client Along
In this lesson, I will share some final recommendations to approach a client when they don’t like the proposal.
18m
image
3
Intro to Logo Design: Rules and How to Break Them
In this lesson, I will give an overview of the software and tools that will be used to prepare the practical parts of this course. I will also introduce you to the elements that make a great logo, the logo design principles, and the rules that can be broken and why.
15m
image
4
Discovery Meeting and Brief
Next, I will go through what a discovery meeting is and why it's important in building trust and getting to know the client better.
11m
image
5
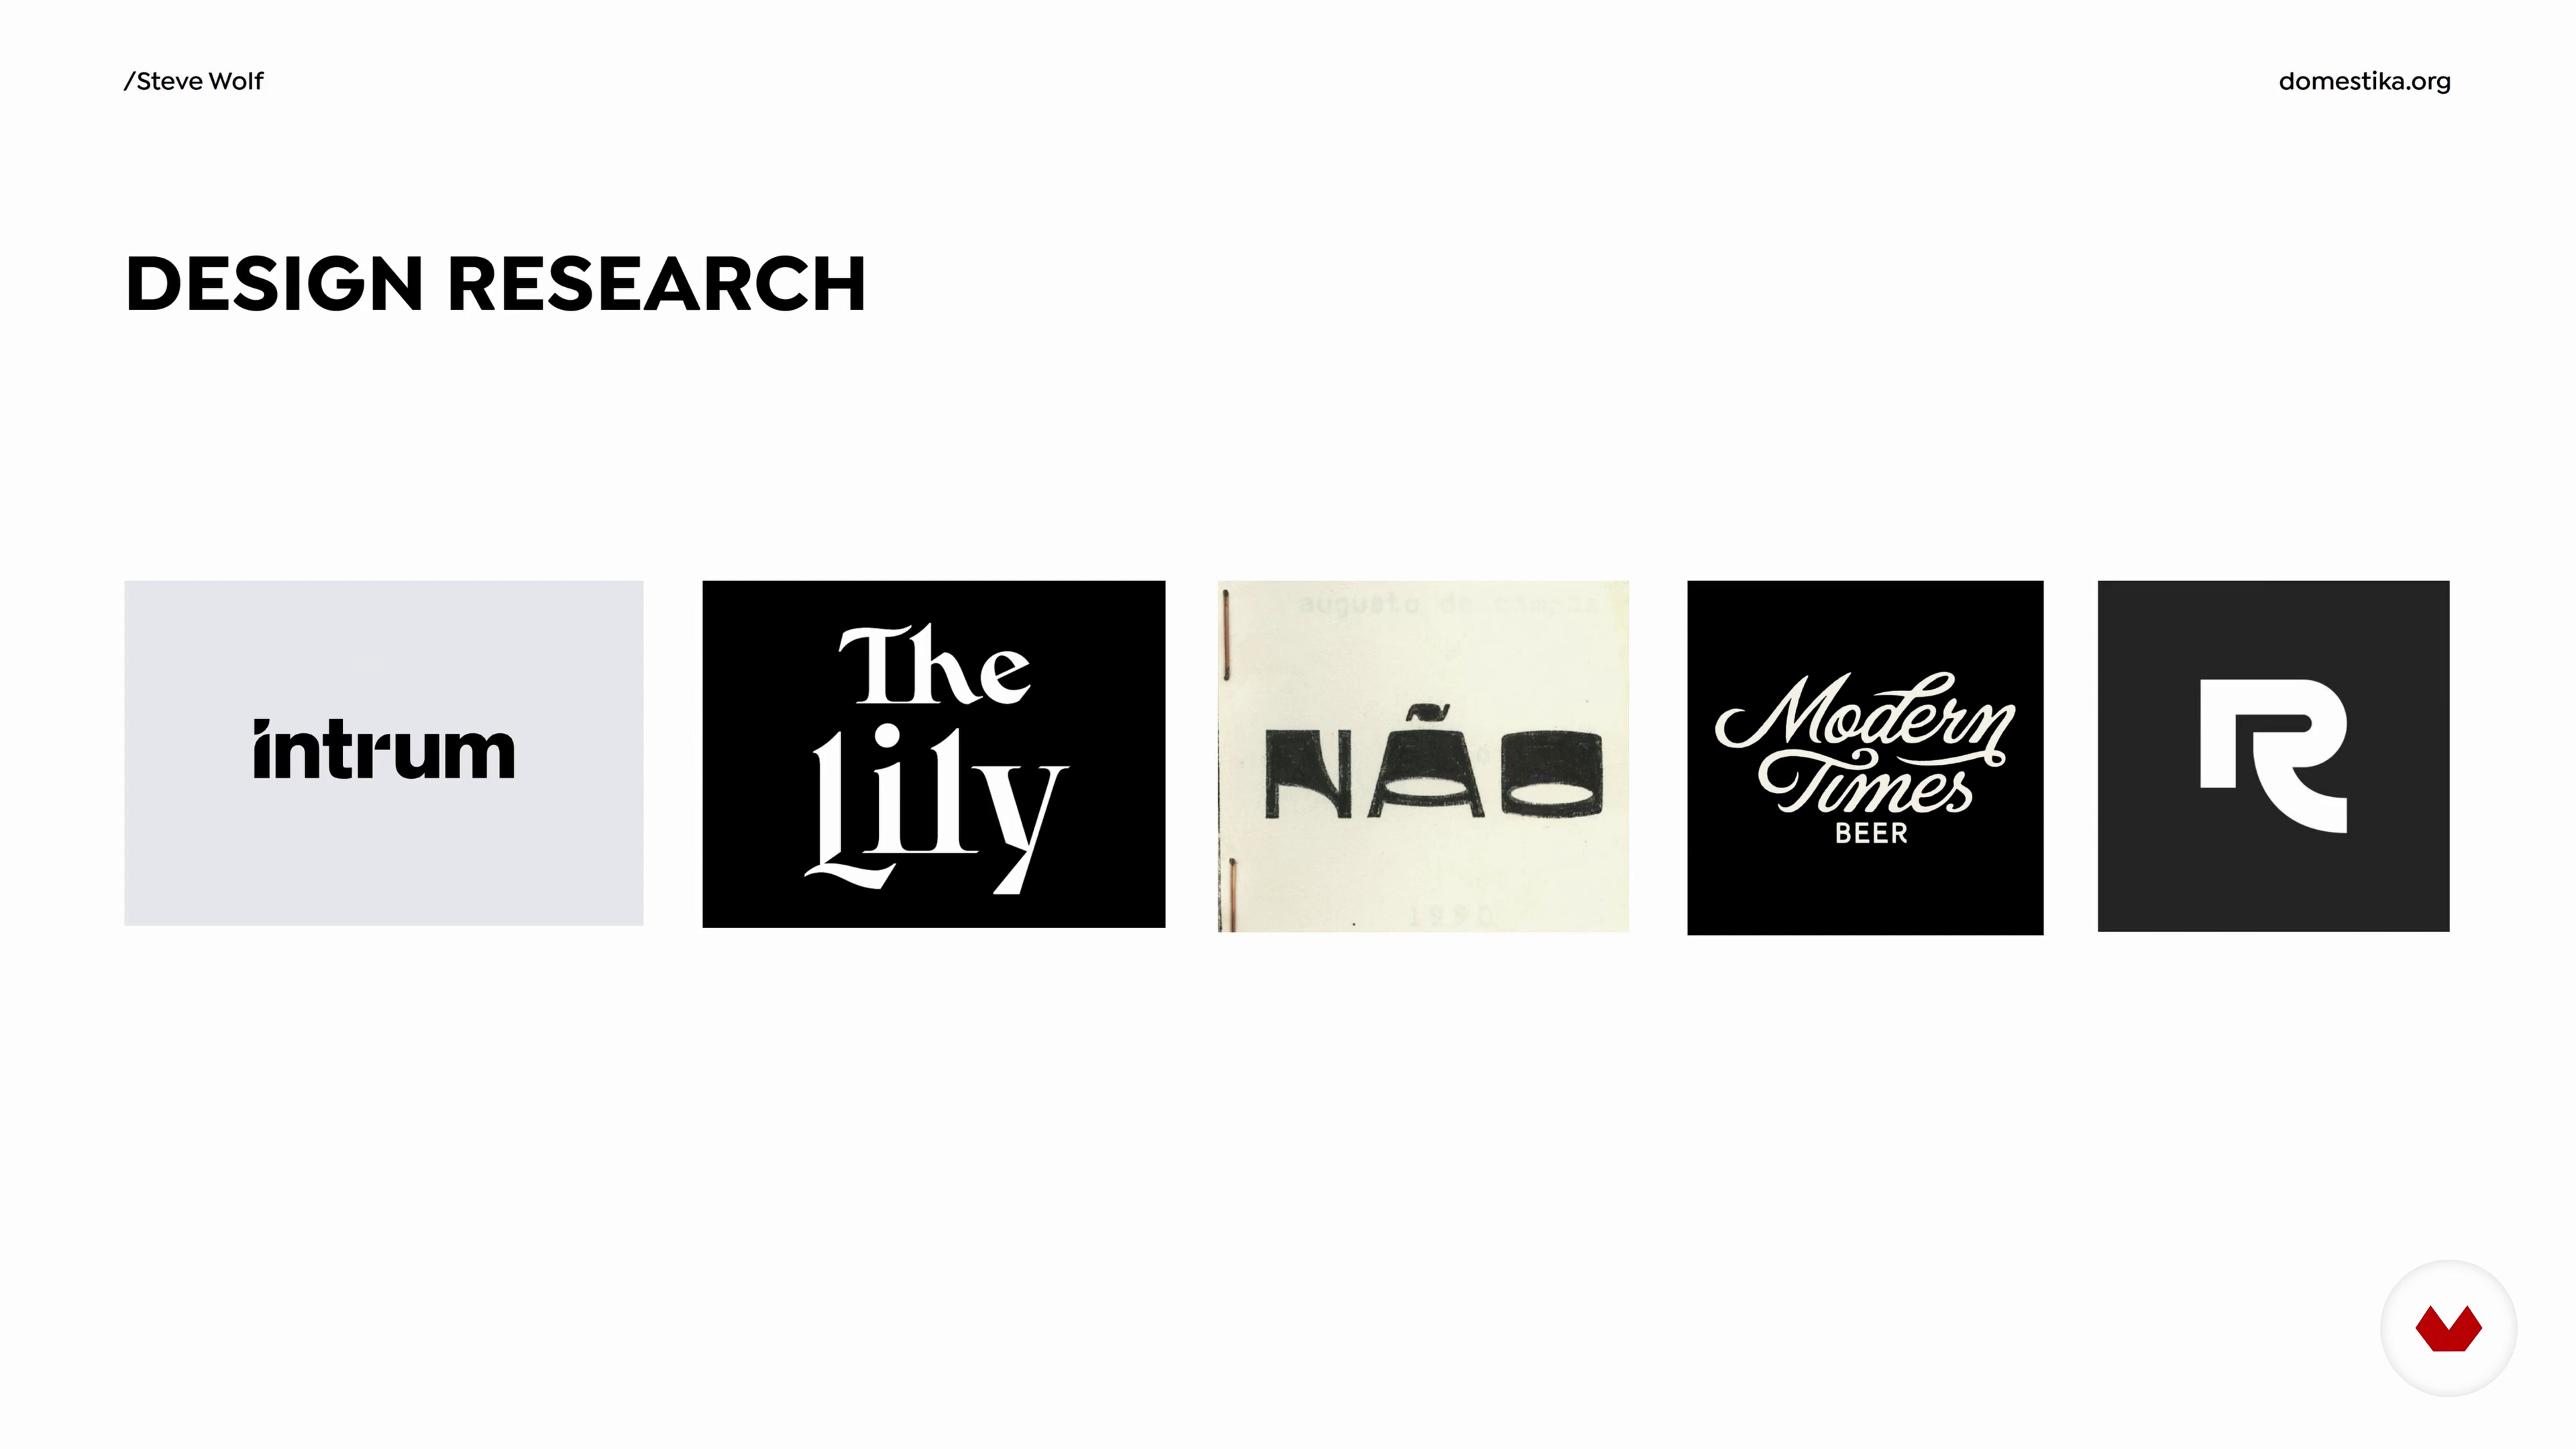
The Research
Now that we know what the client wants and understand the client brief, it's time to begin the research process and collect visual inspiration for future reference.
8m
image
6
The Mood Board
With the brief clear and the background research complete, the next step is to gather your research together to develop a mood board. Let me show you how to do this!
7m
image
7
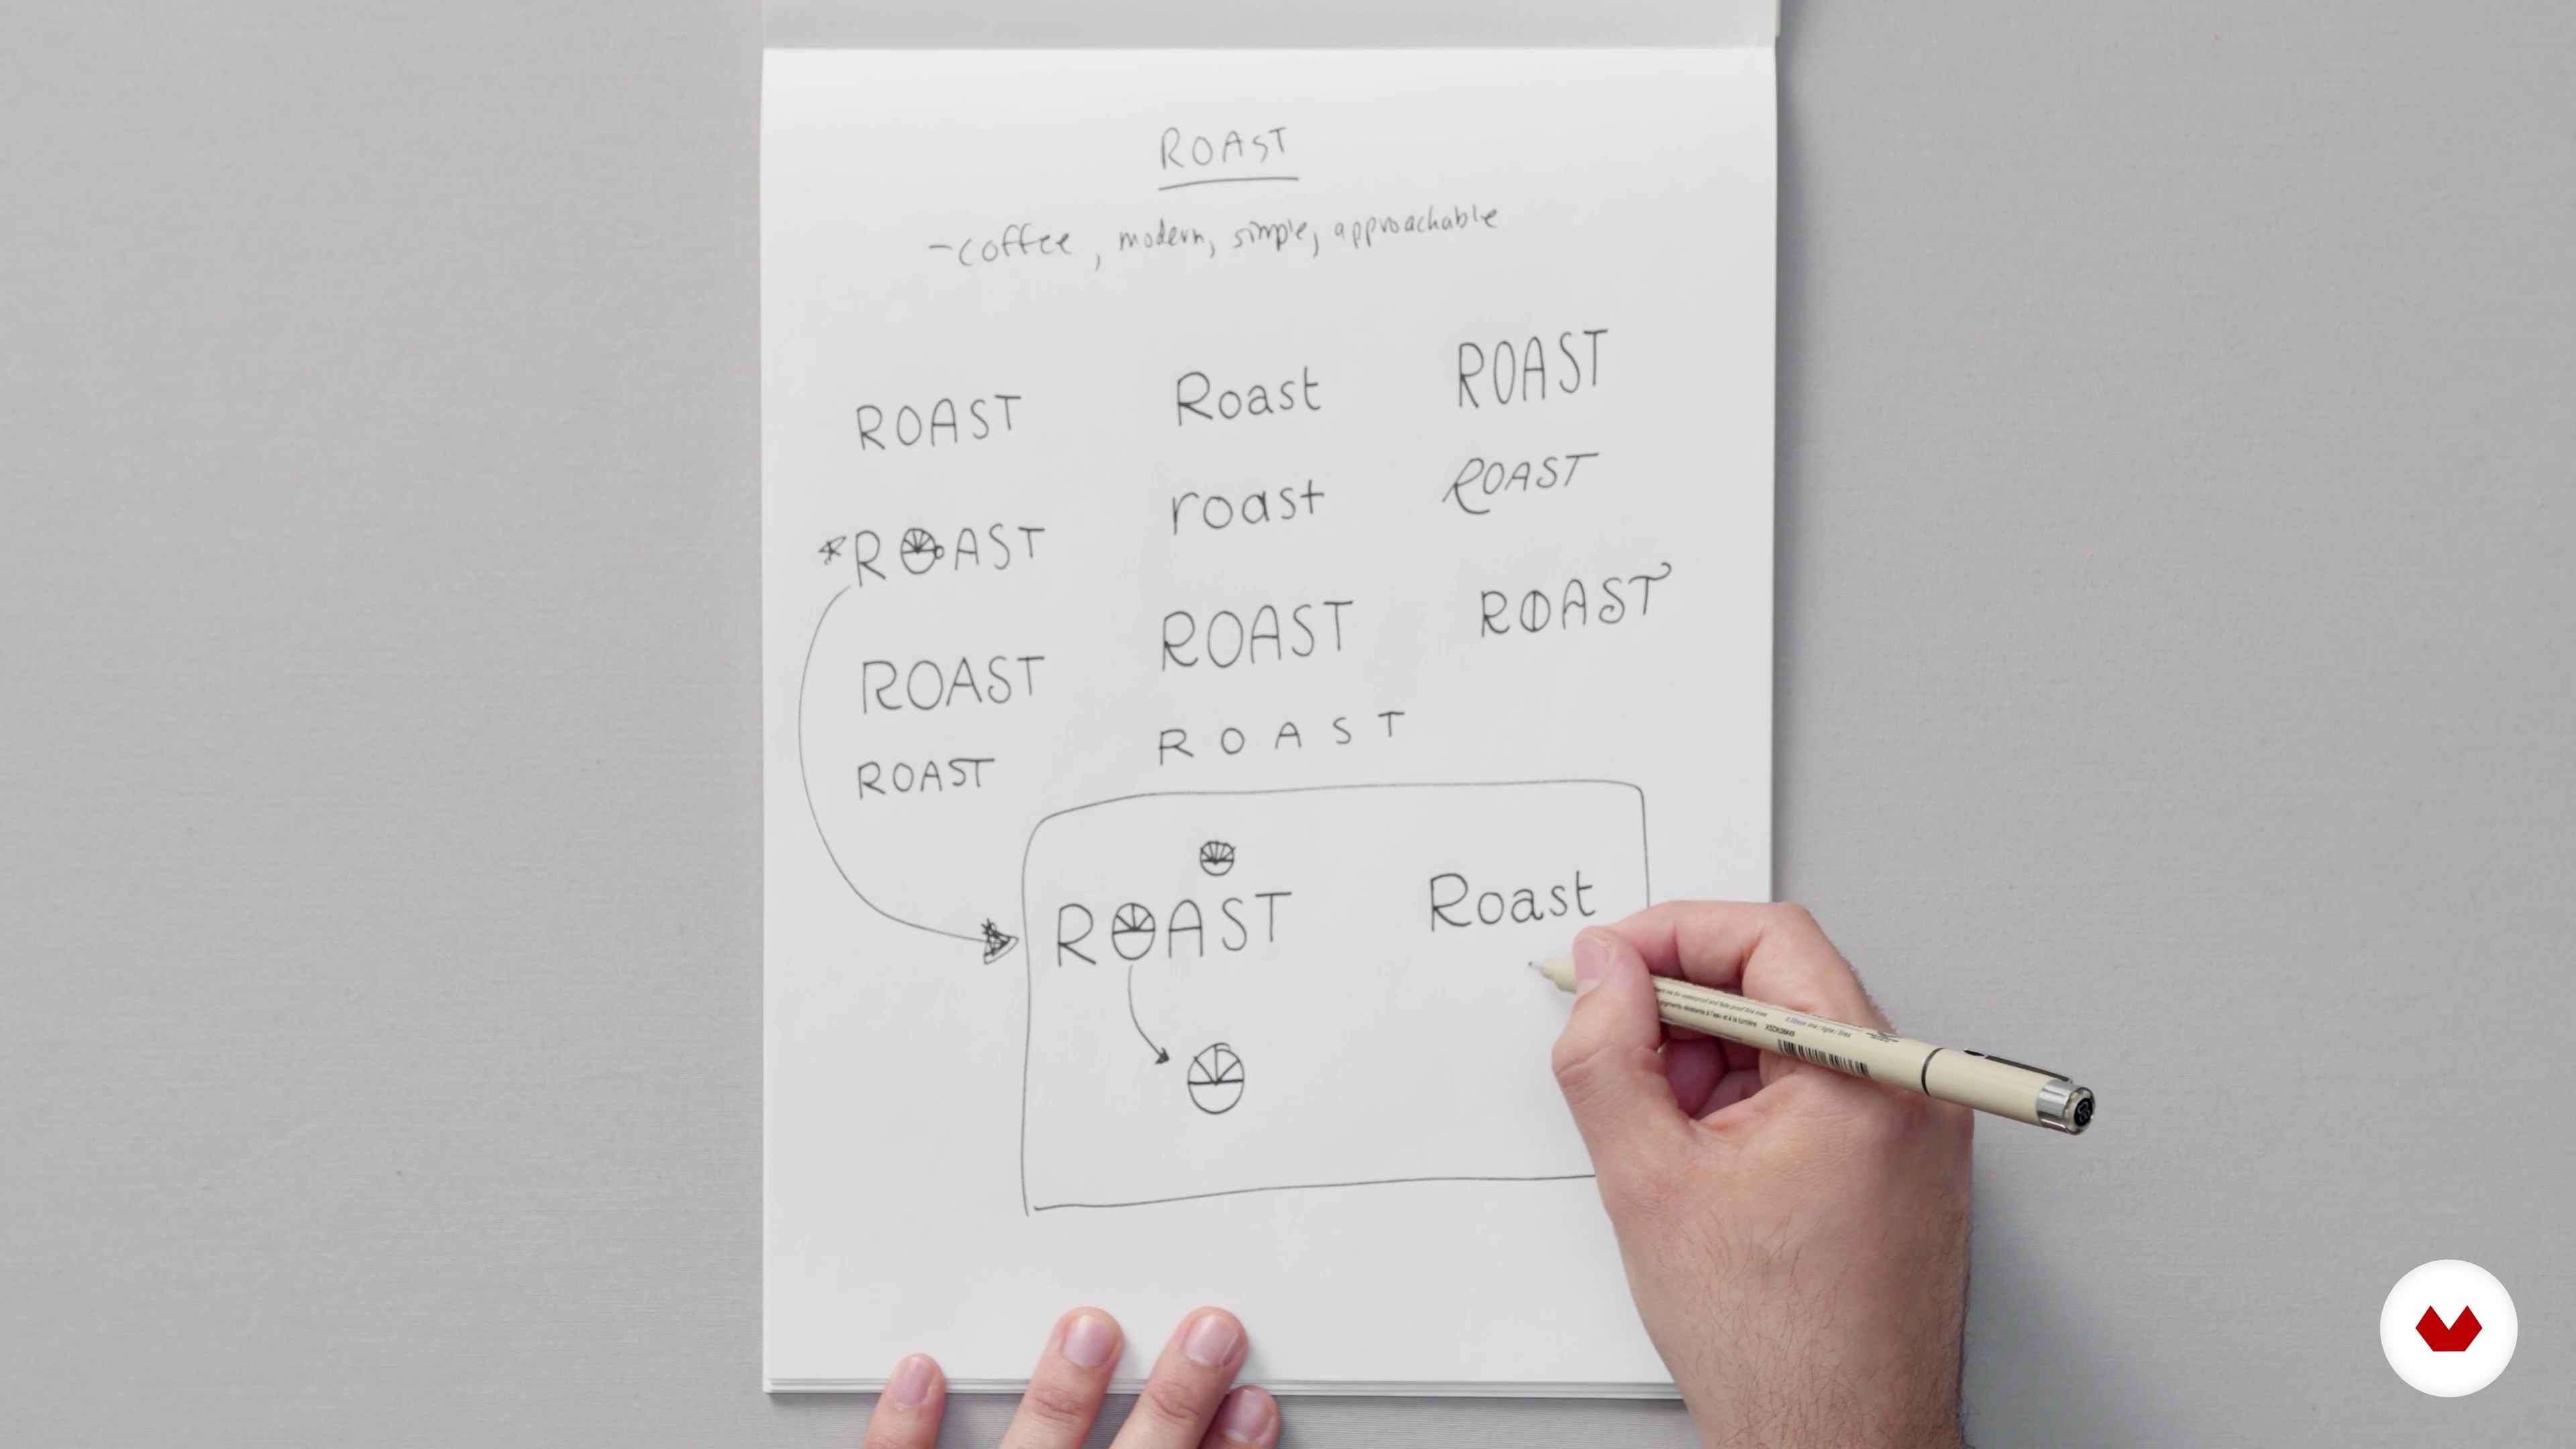
Sketching
Now that the preparation is complete – the client research and the mood board – it's time to get started on the more practical steps like sketching out your ideas.
19m
image
8
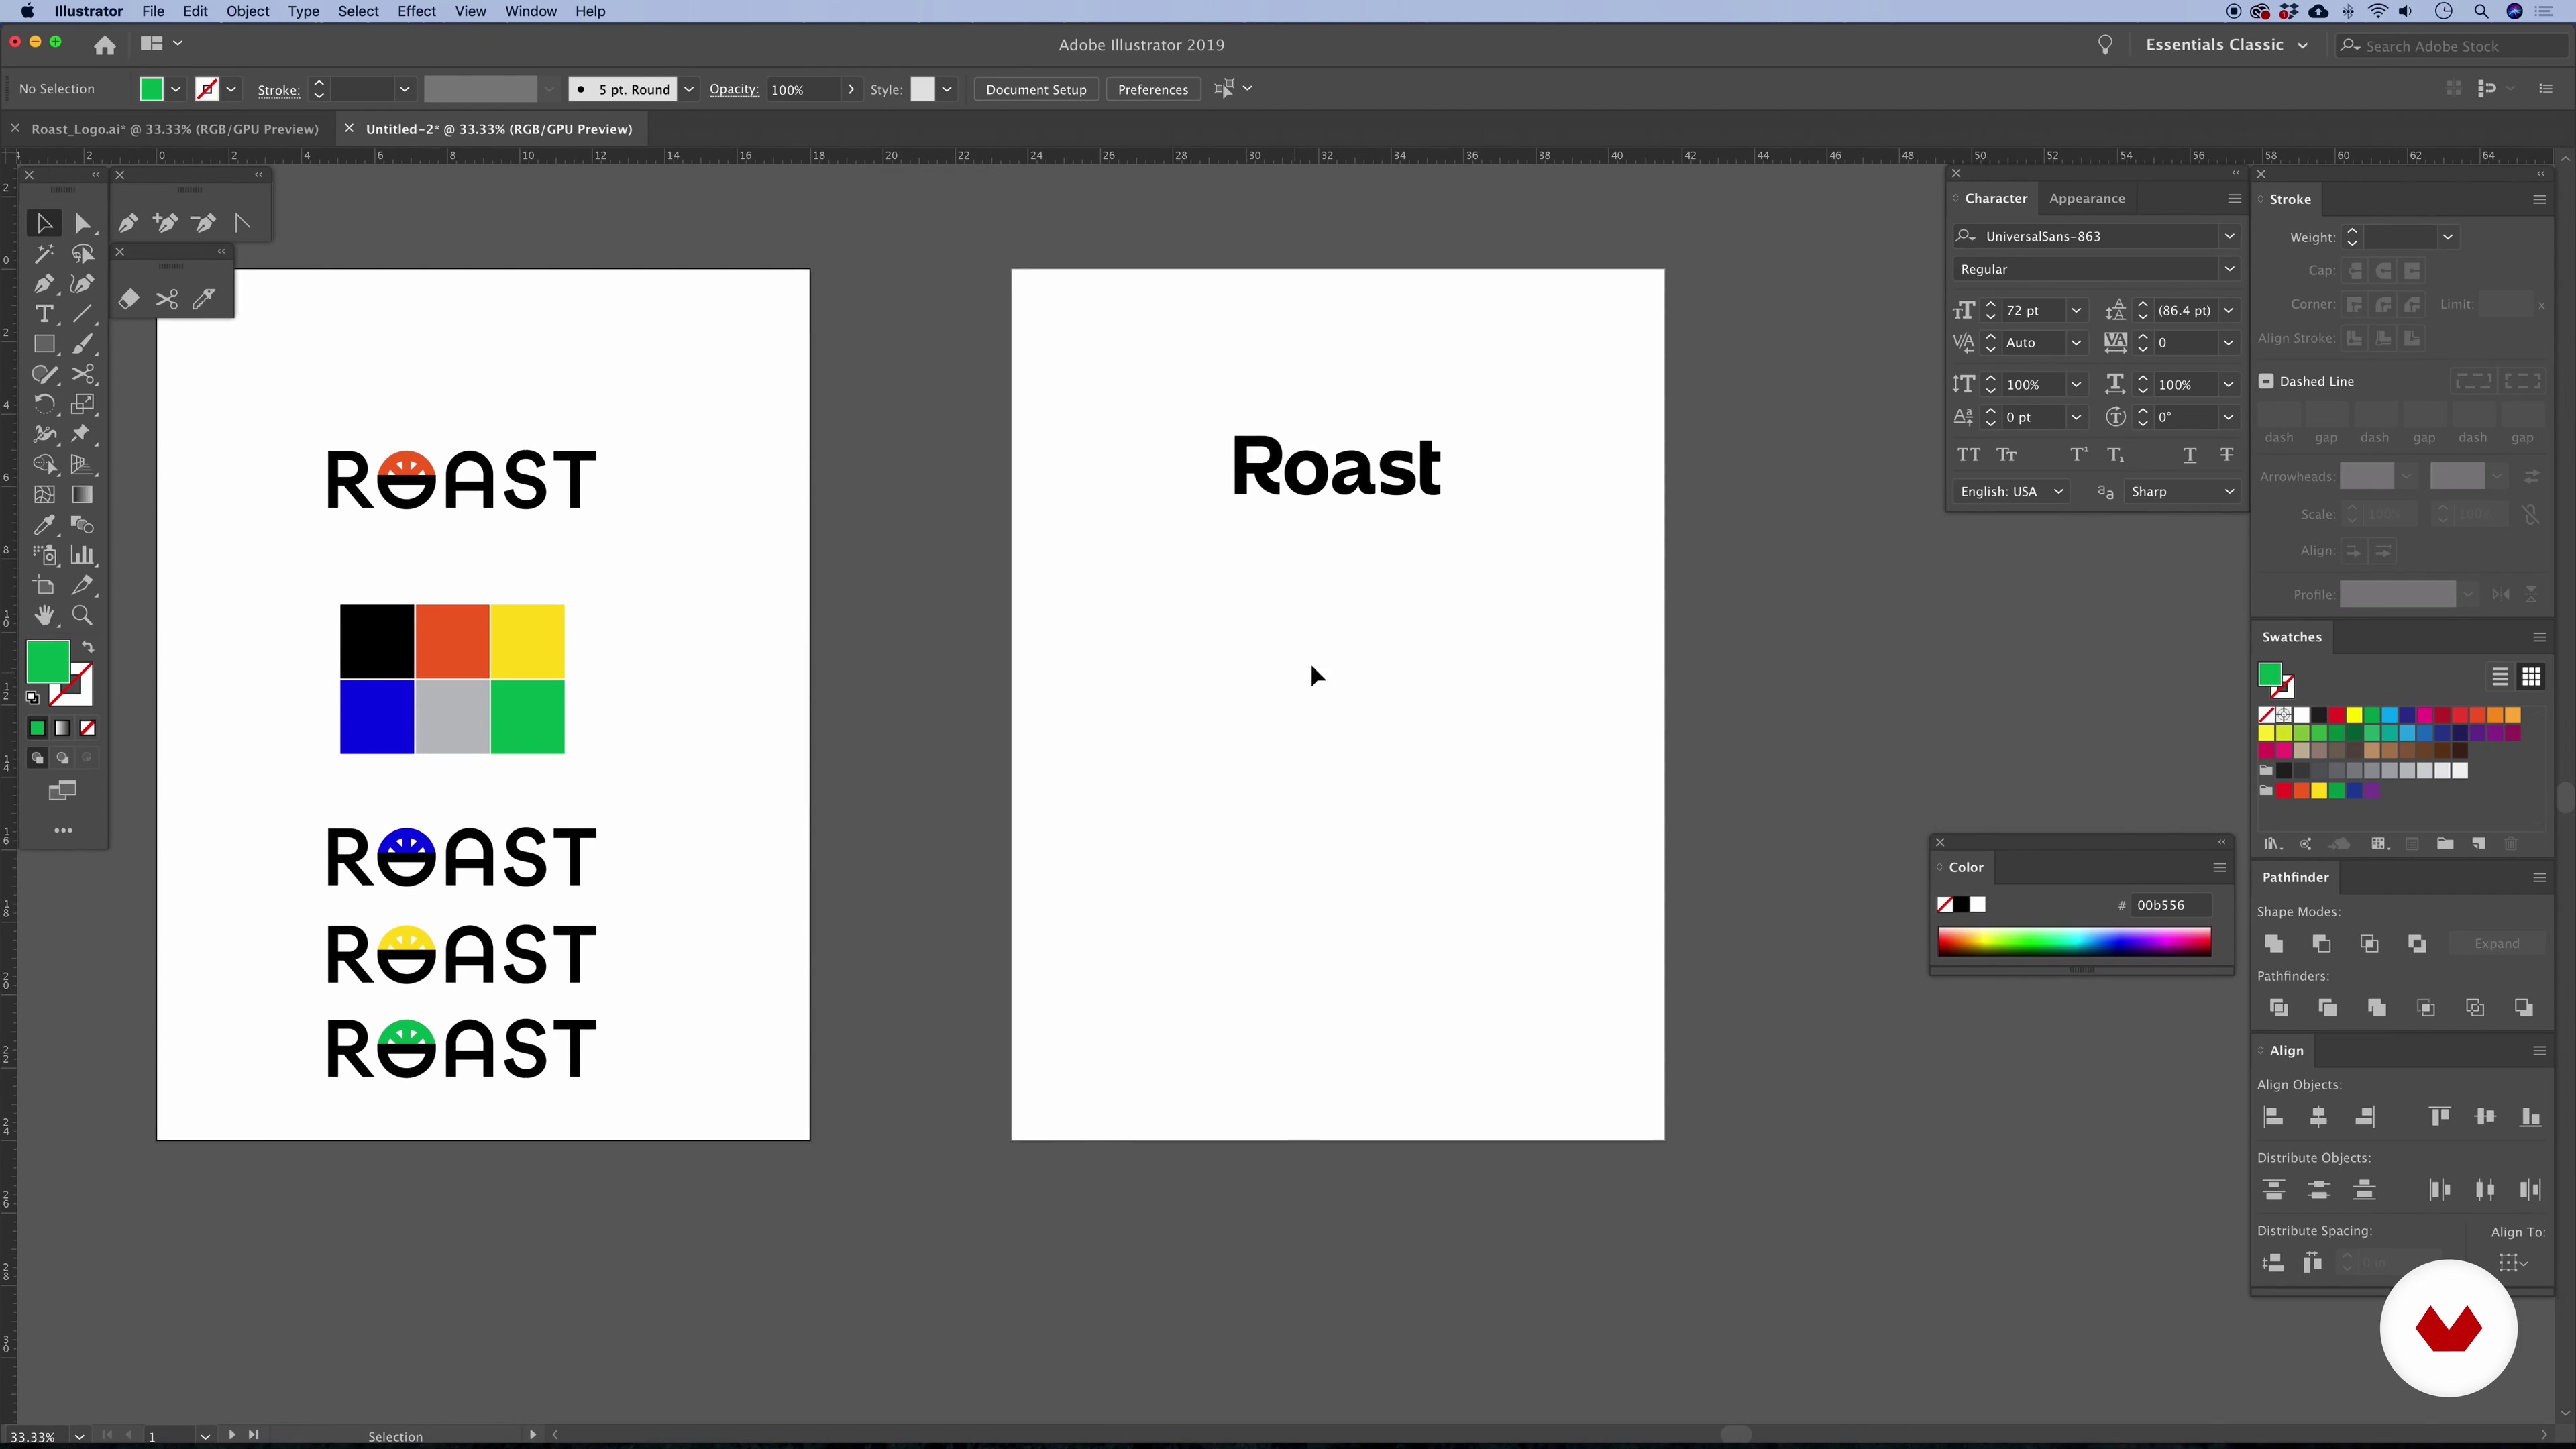
Starting in Illustrator 1
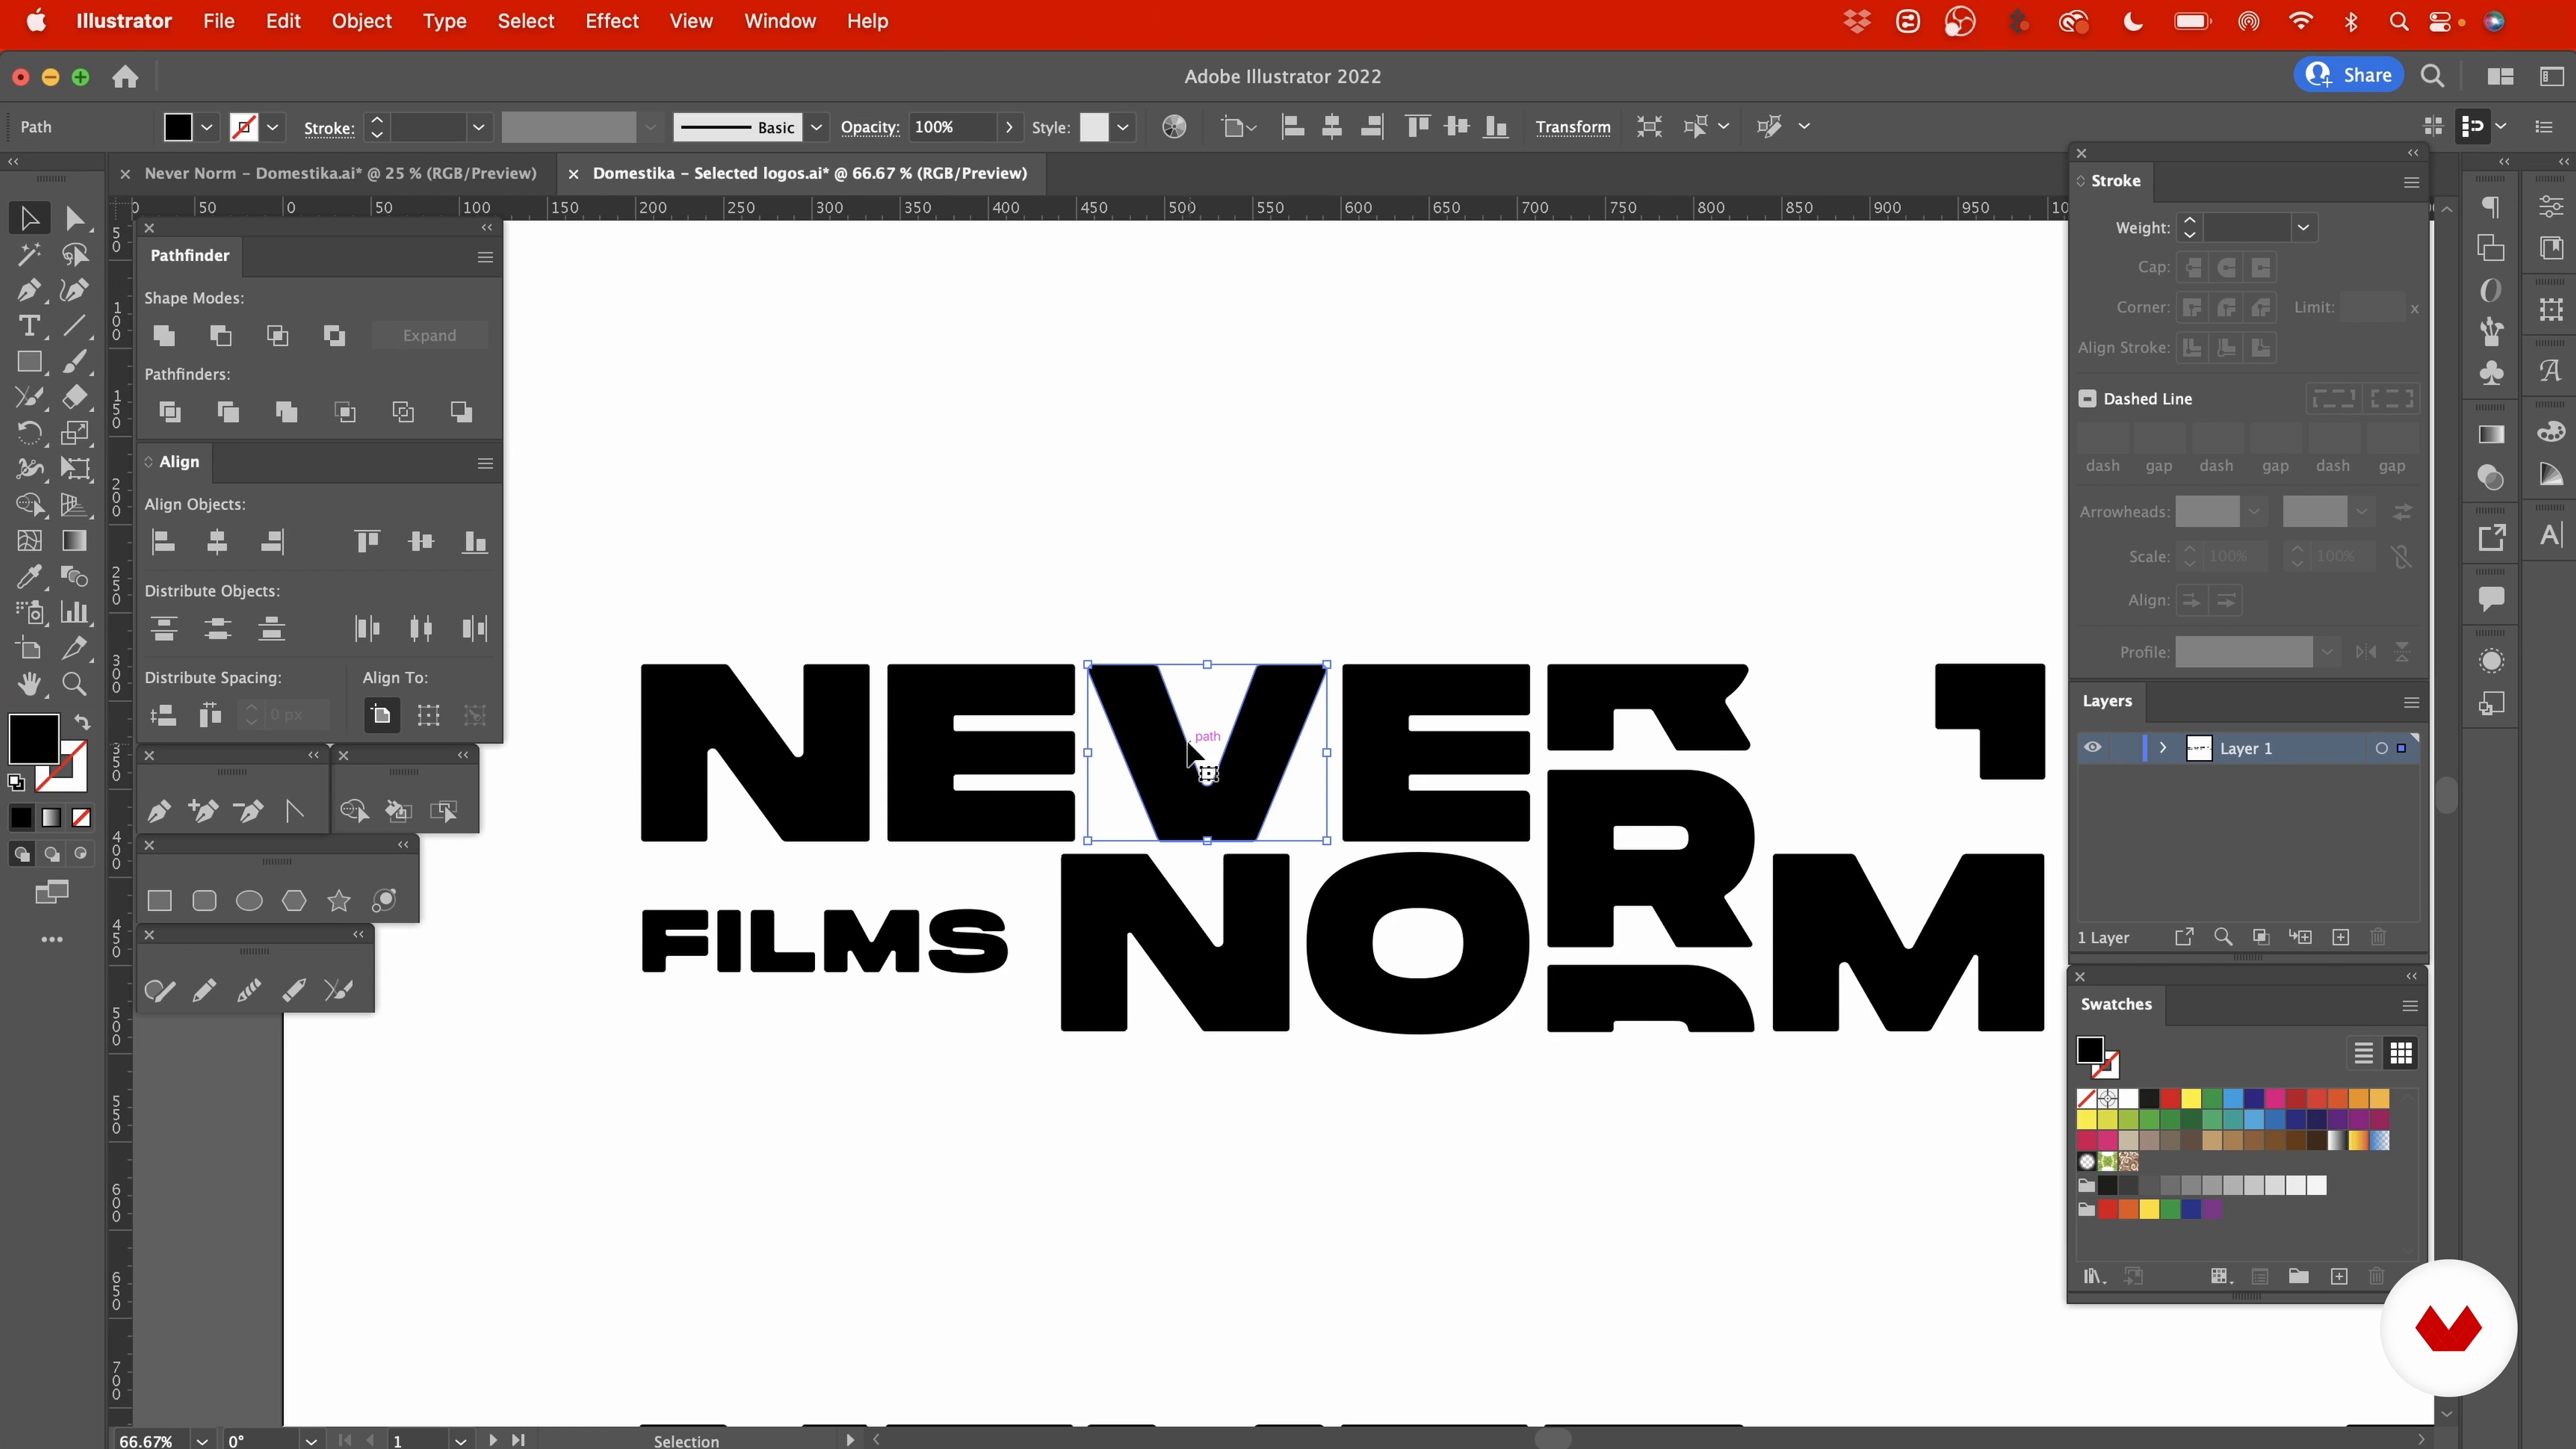
In this lesson, I will model how to transform simple sketches into high-quality vectors using Adobe Illustrator.
18m
image
9
Starting in Illustrator 2
Here, I will continue to demonstrate how to build a simple sketch in Adobe Illustrator.
15m
image
10
Selecting the Final Logos for Presentation
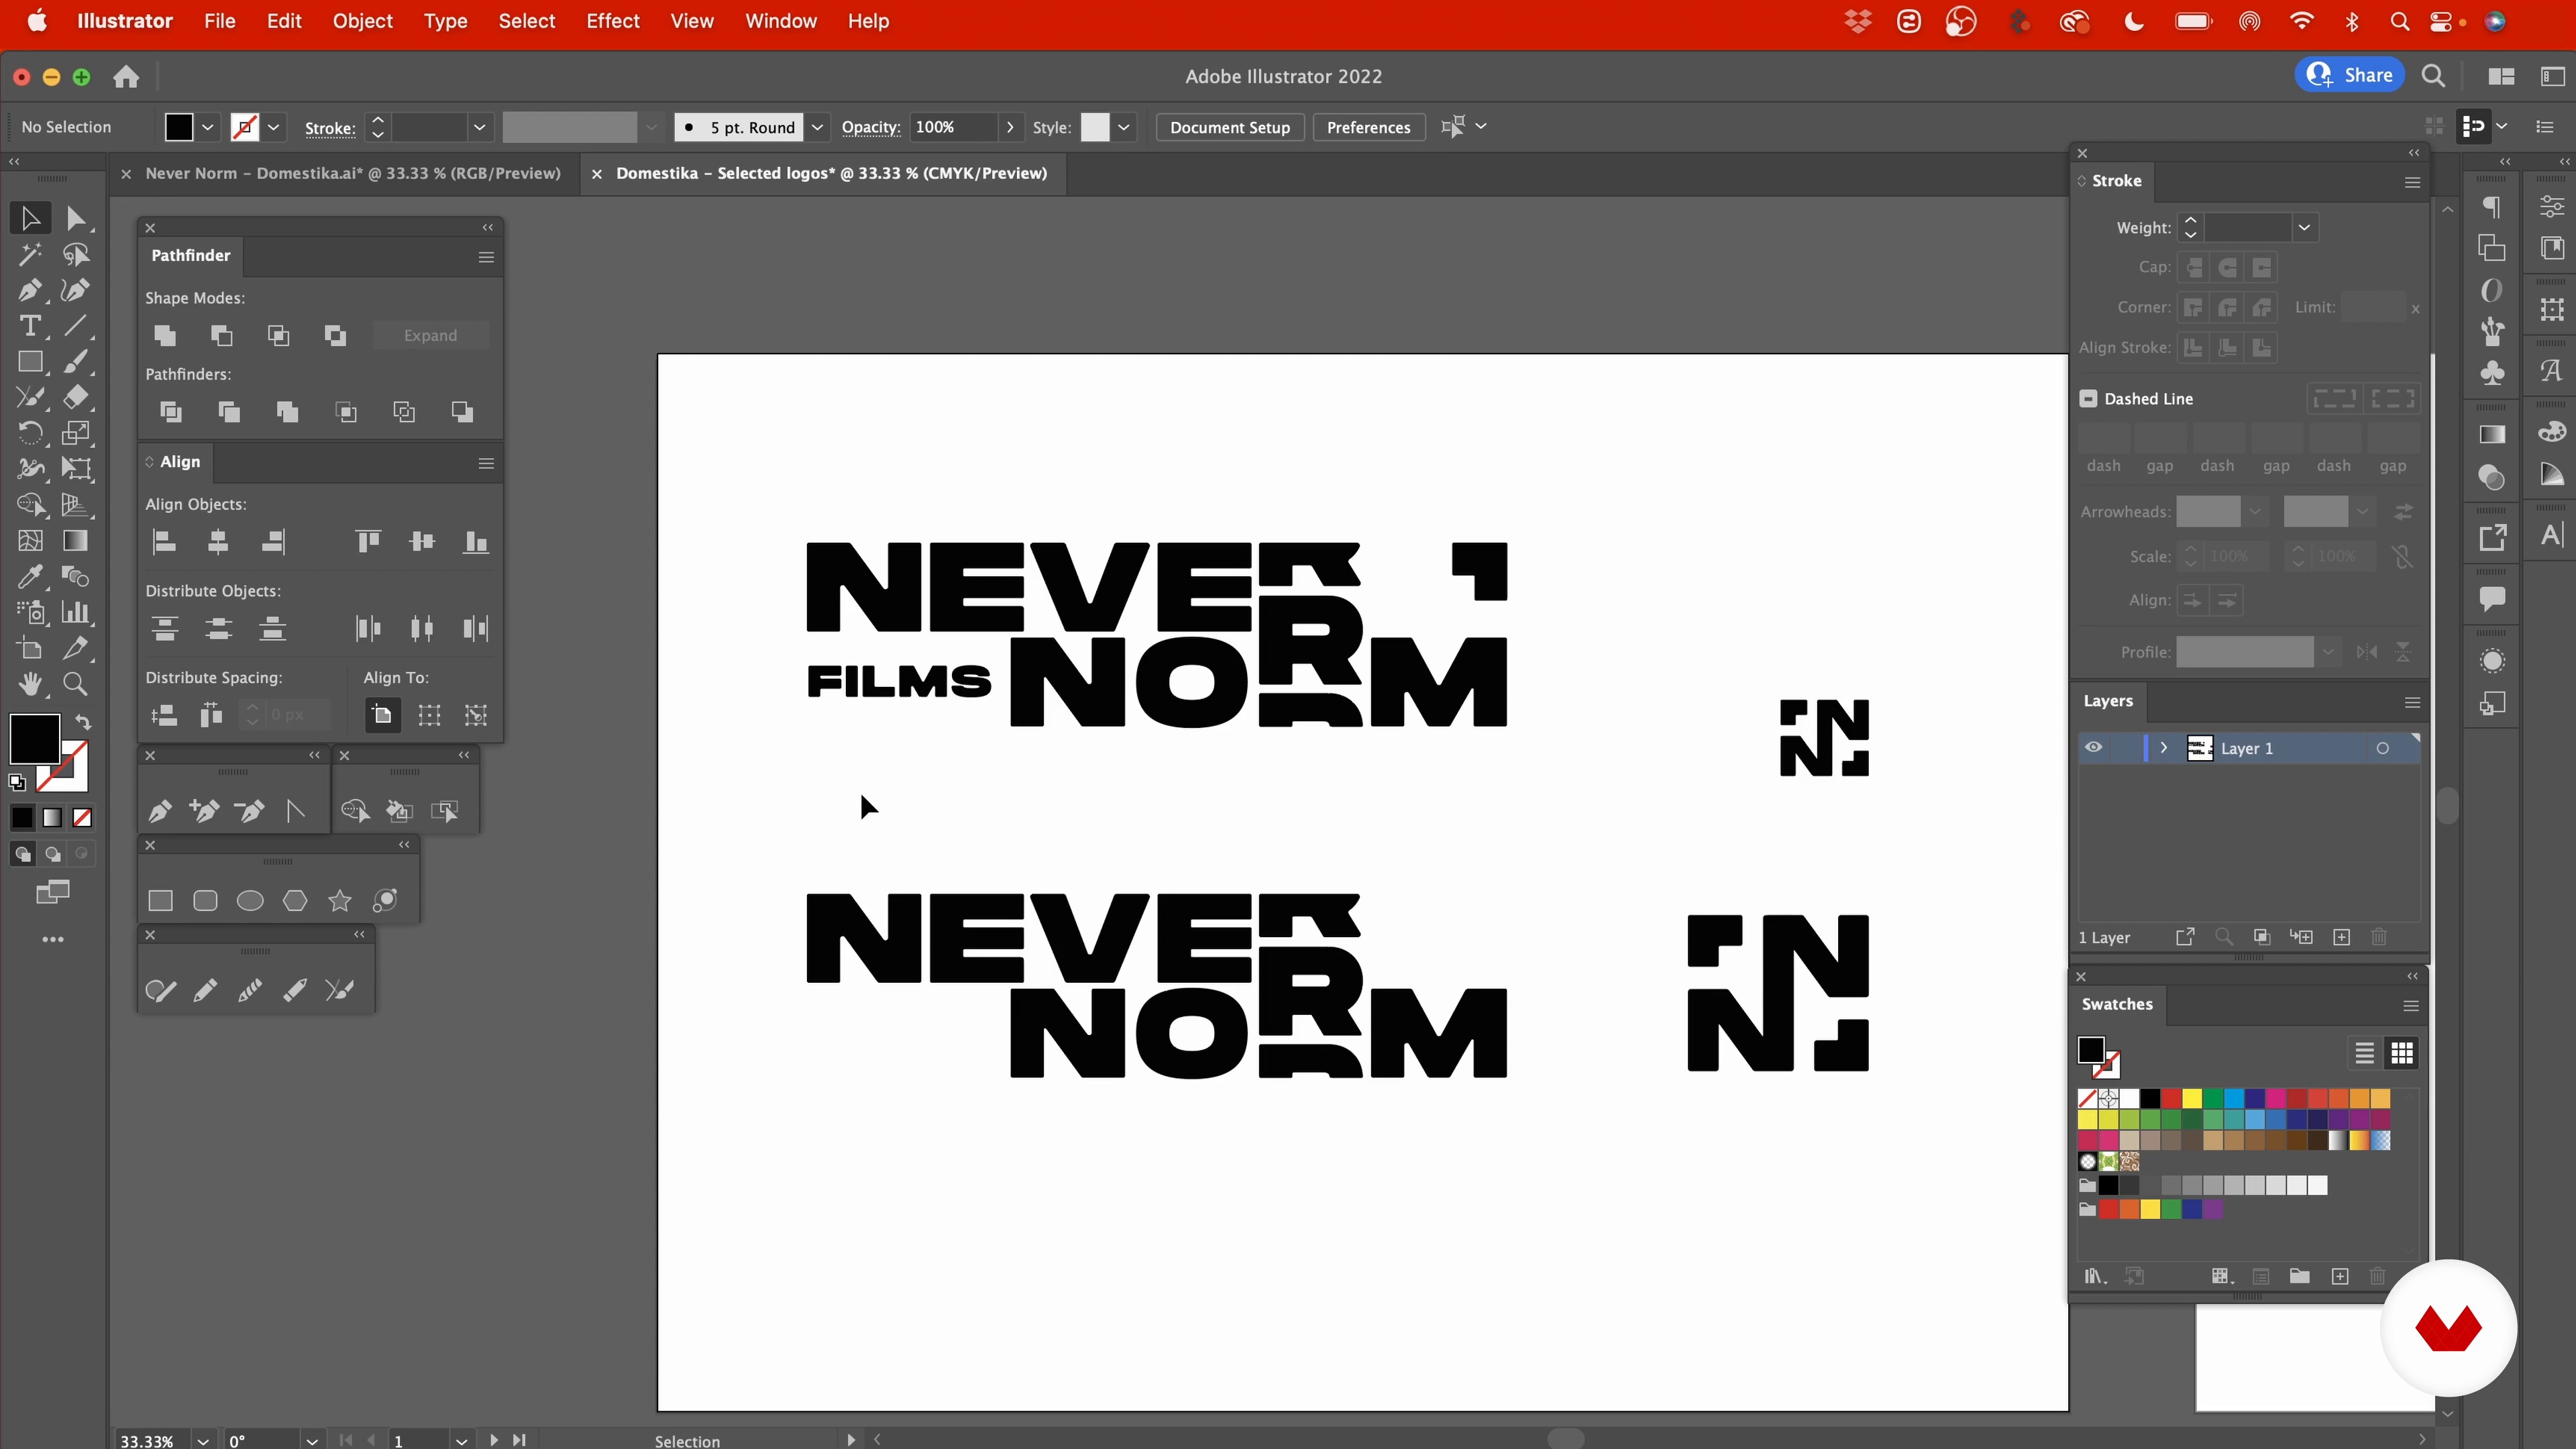
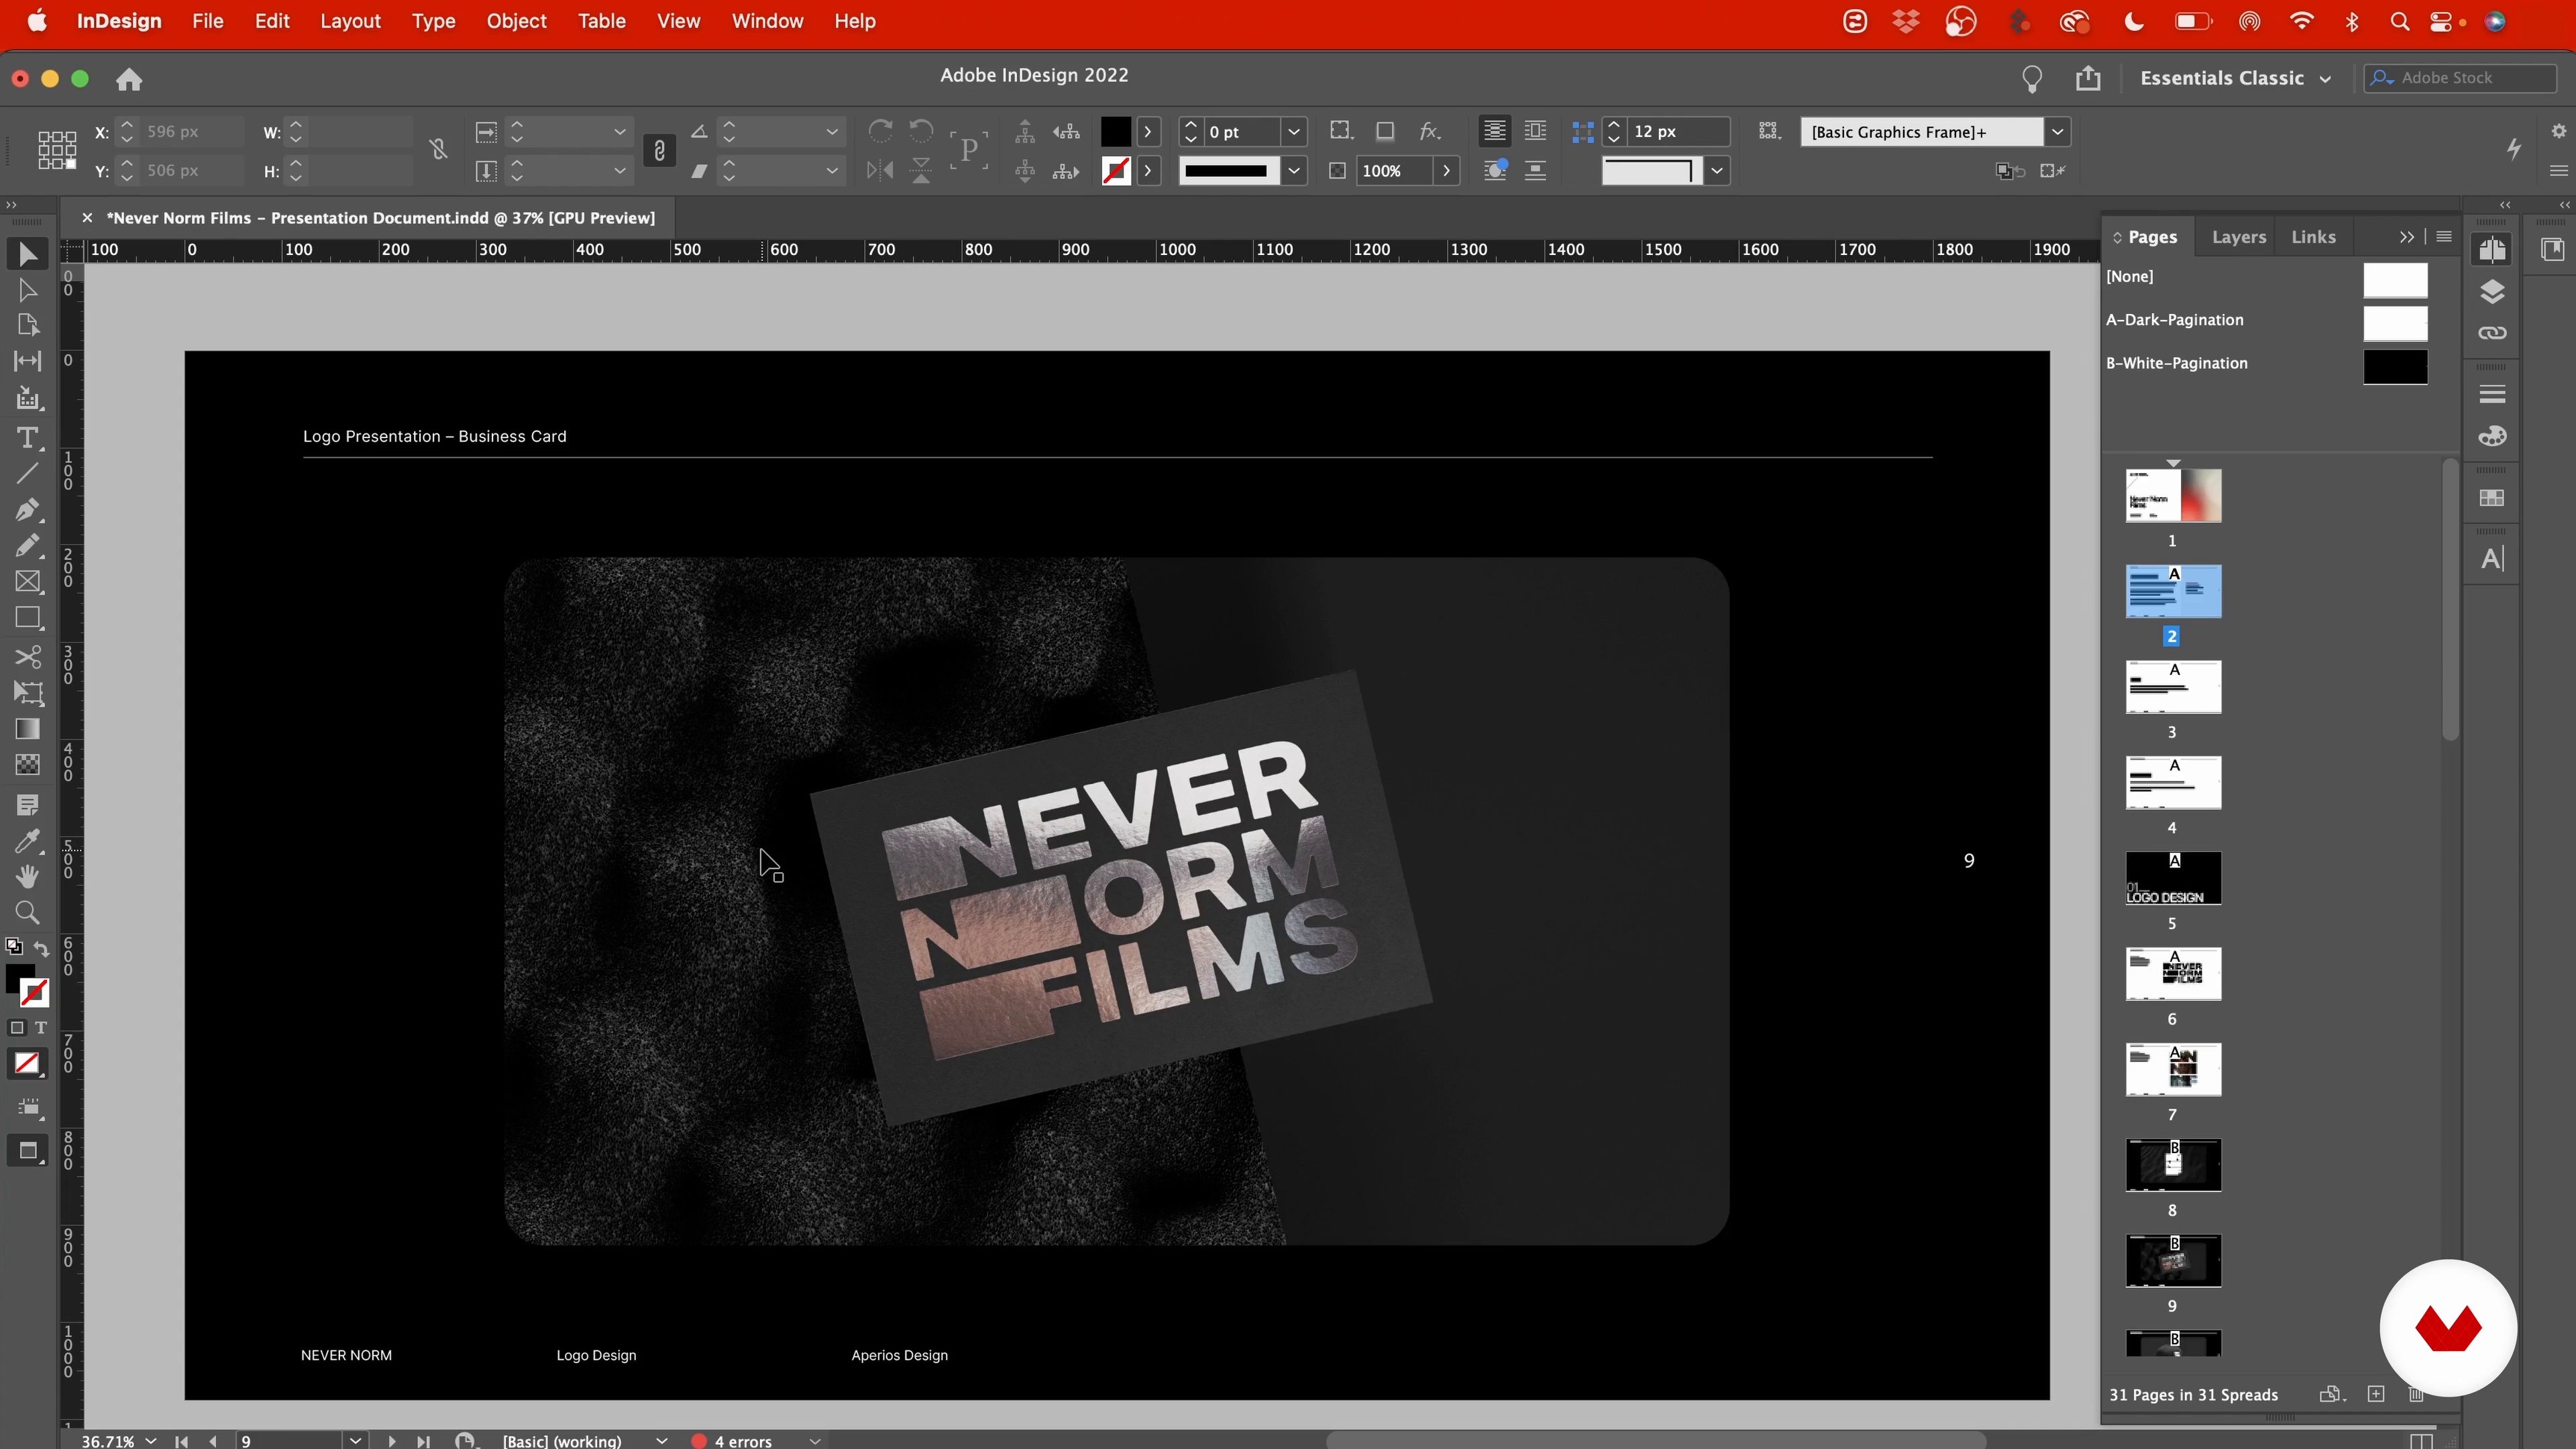
Once you're happy with the final logo, the next stage is to prepare the presentation. In this lesson, I will give you tips and tricks on how to achieve this.
6m
image
11
Refining the Logos in Photoshop
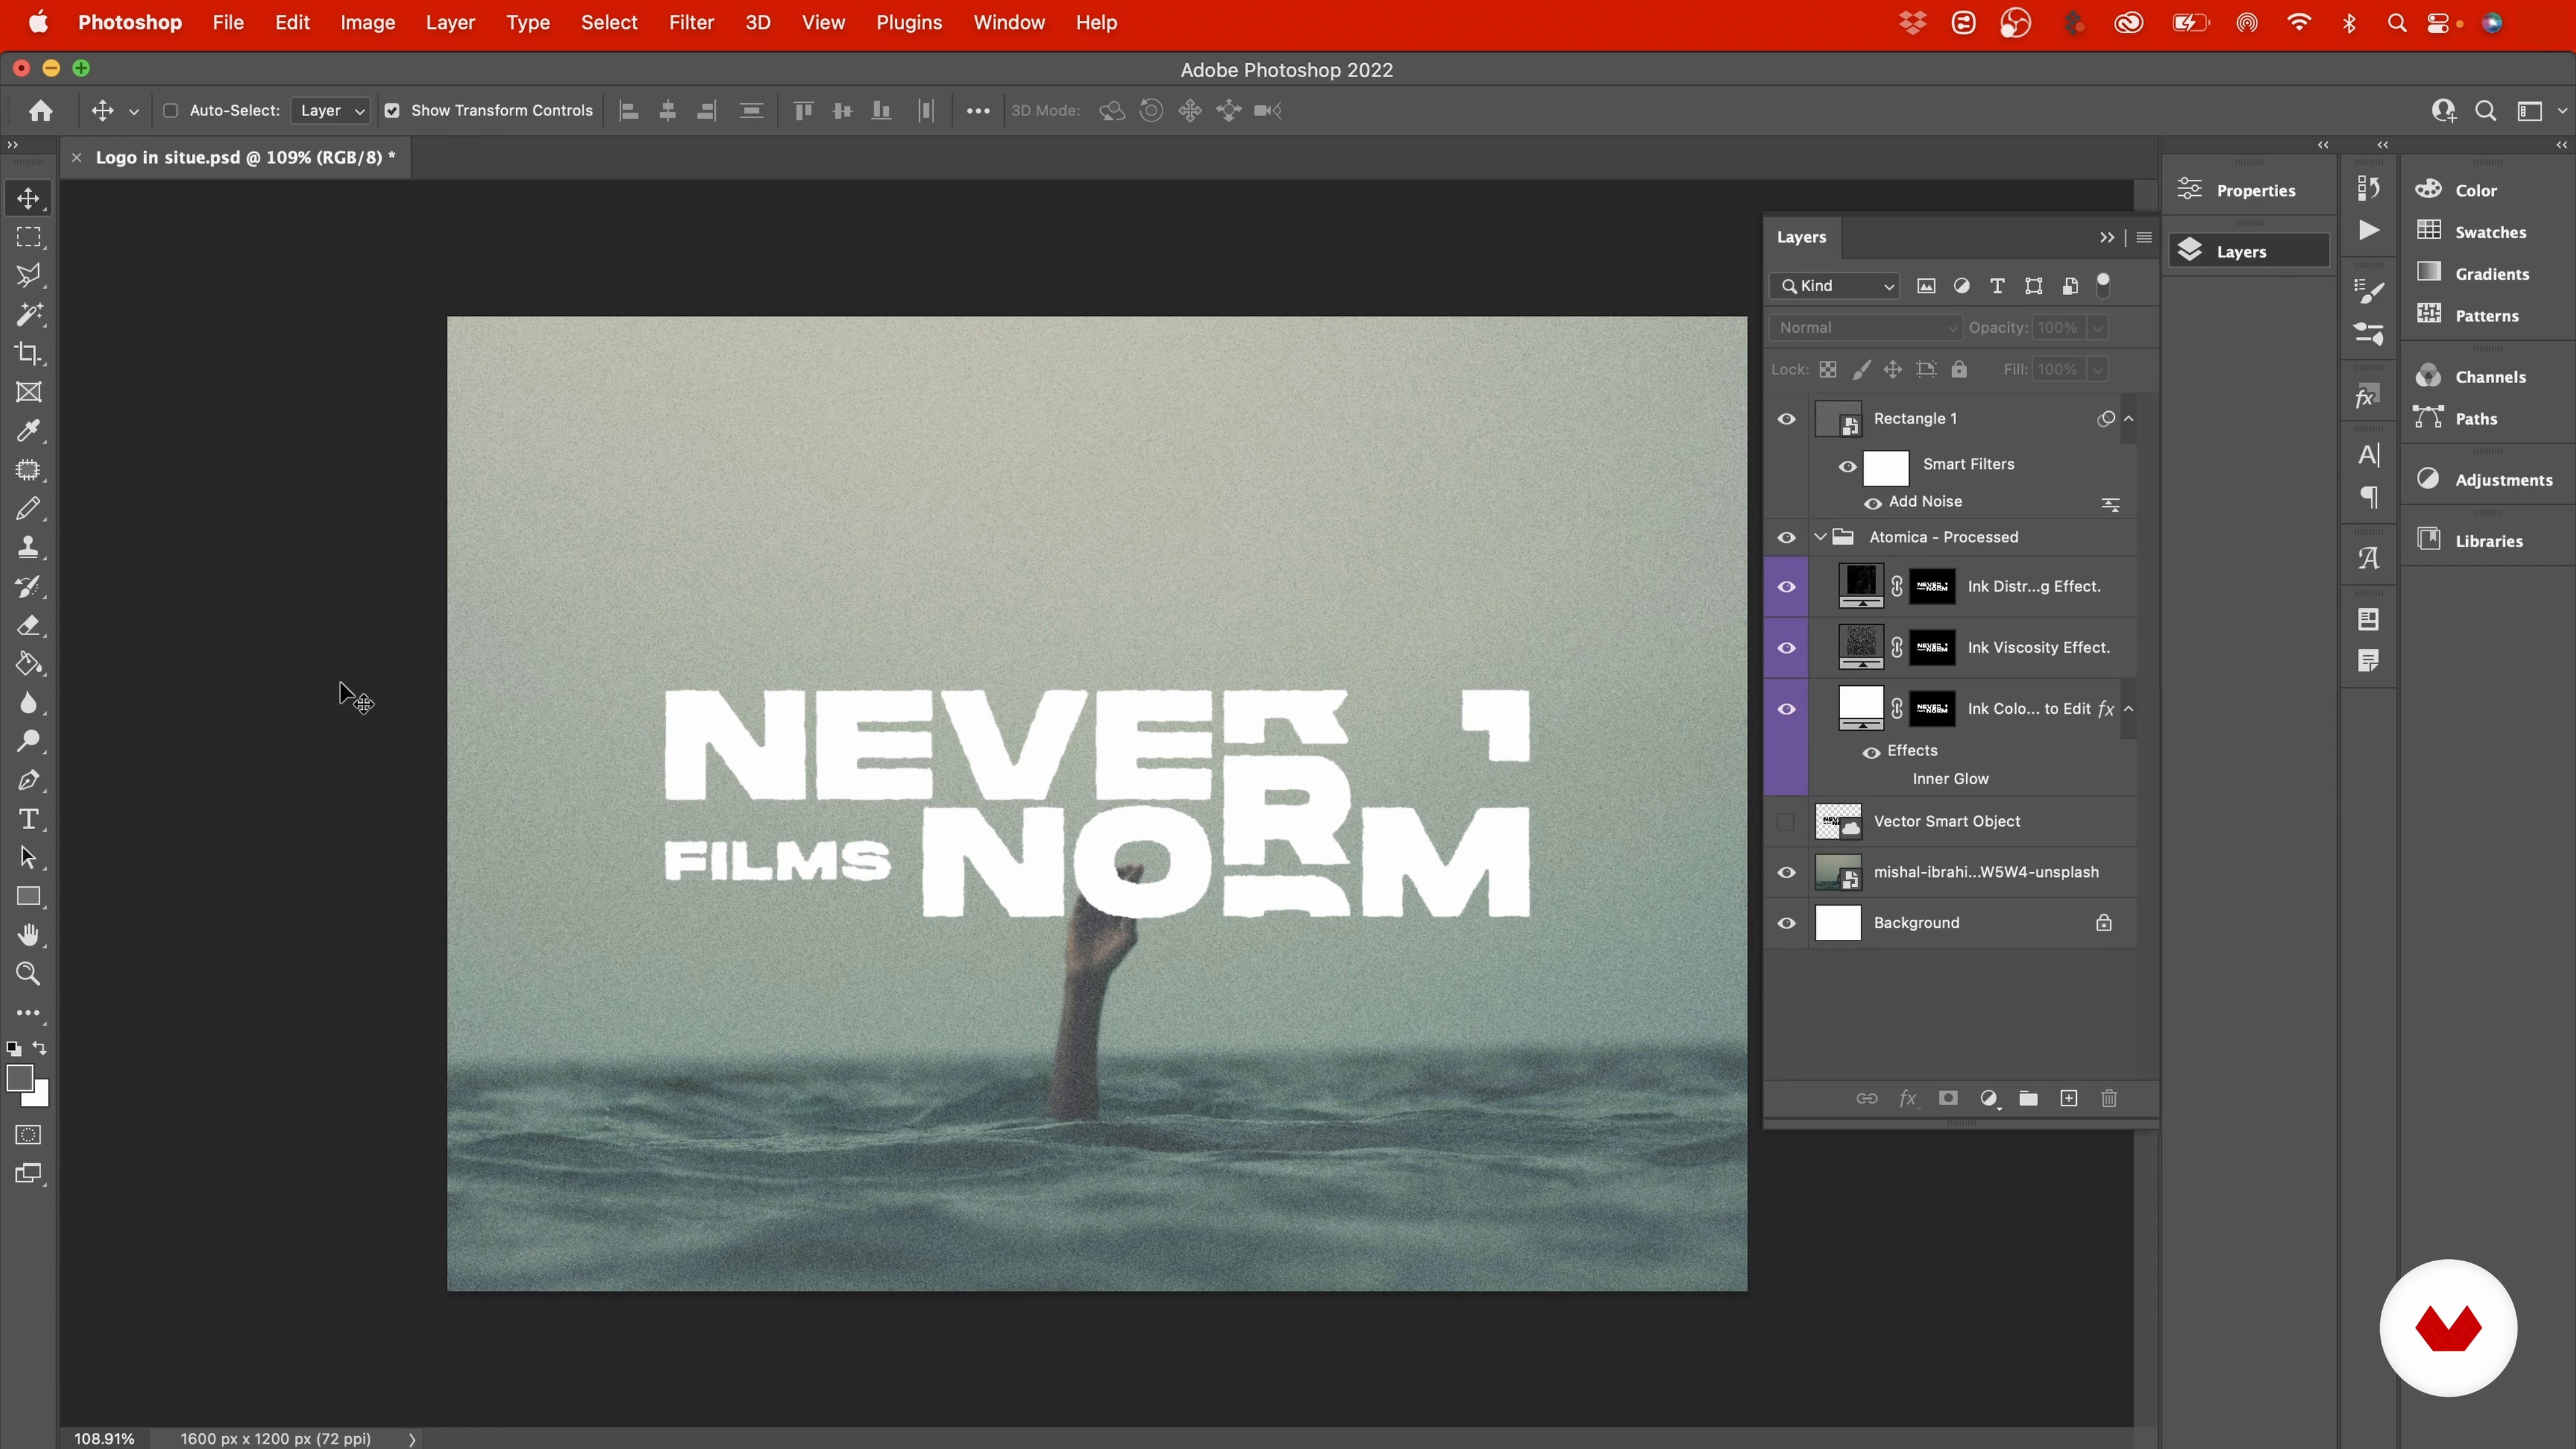
To end this unit, you will learn how to give your logos some extra depth and personality by adding texture and roughness. This will enhance your logos to make them stand out.
6m
image
12
The Presentation
By now, your design should be near complete. In this lesson, I will show you how to finalize your work and prepare the final presentation.
9m
image
13
Presenting Your Work Online and Developing a Portfolio
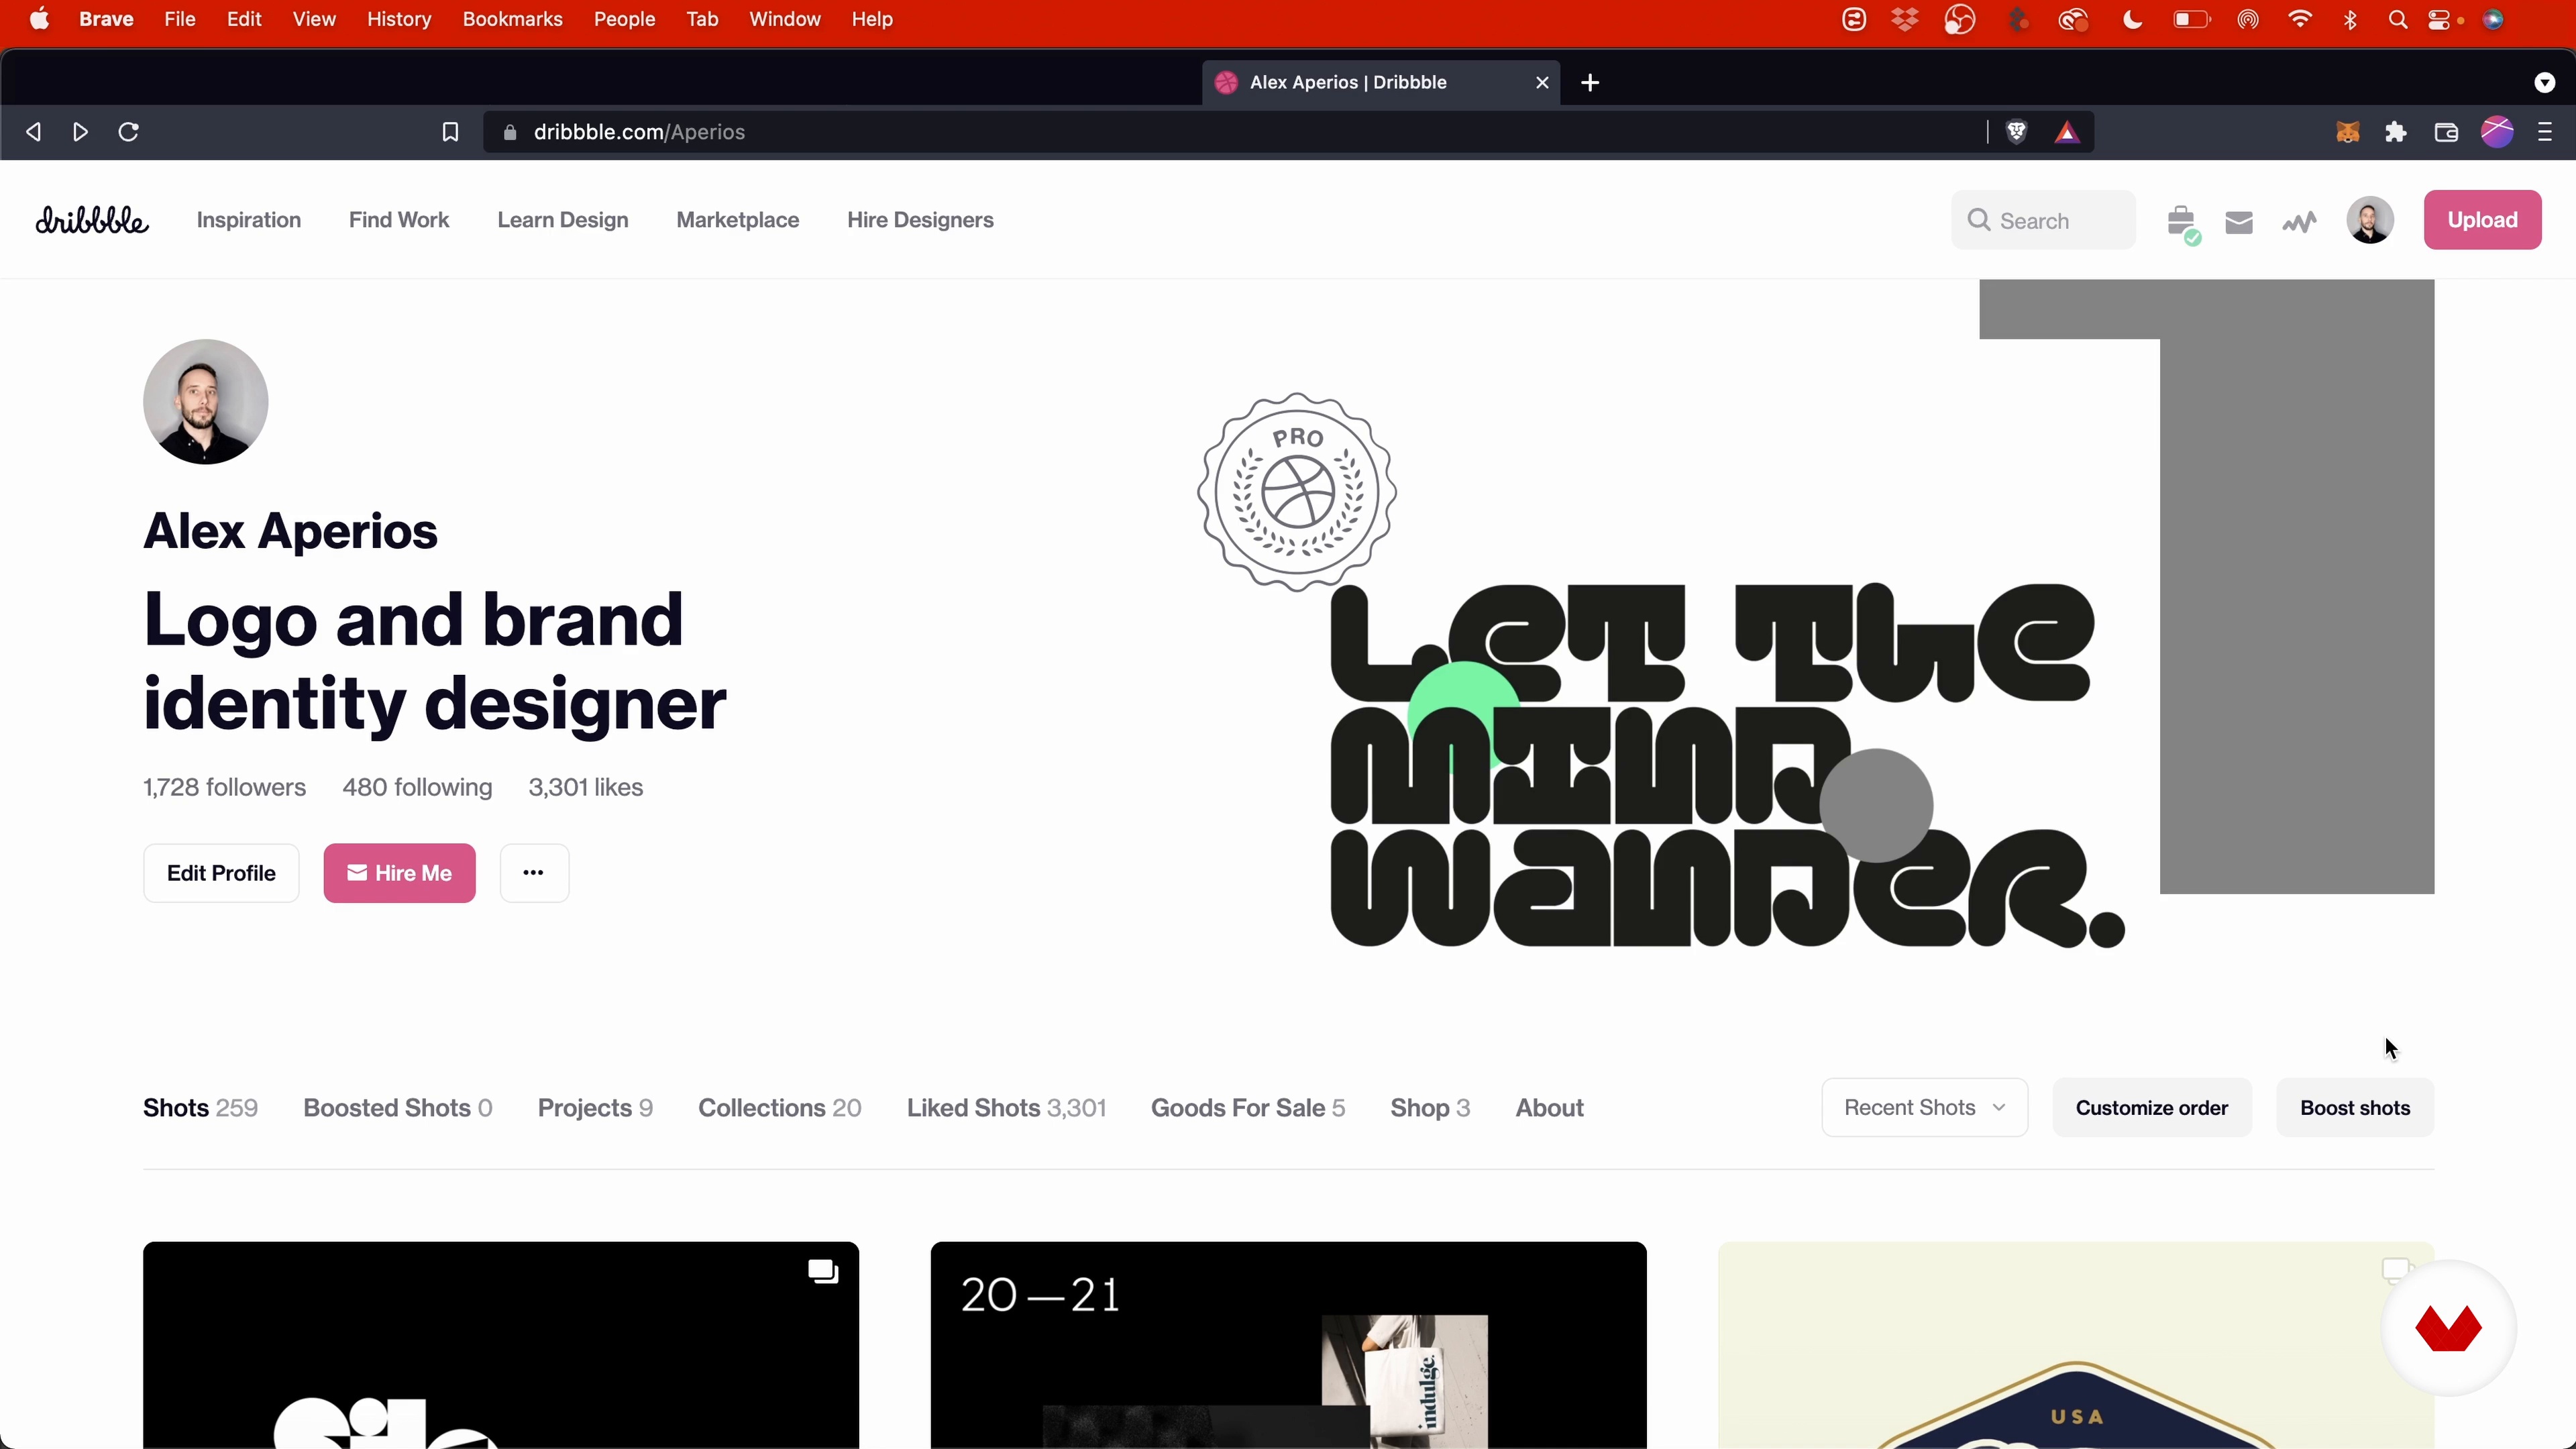
Next, I will share some tips and tricks on how to upload your work online to attract clients.
9m
image
14
Mock-Ups
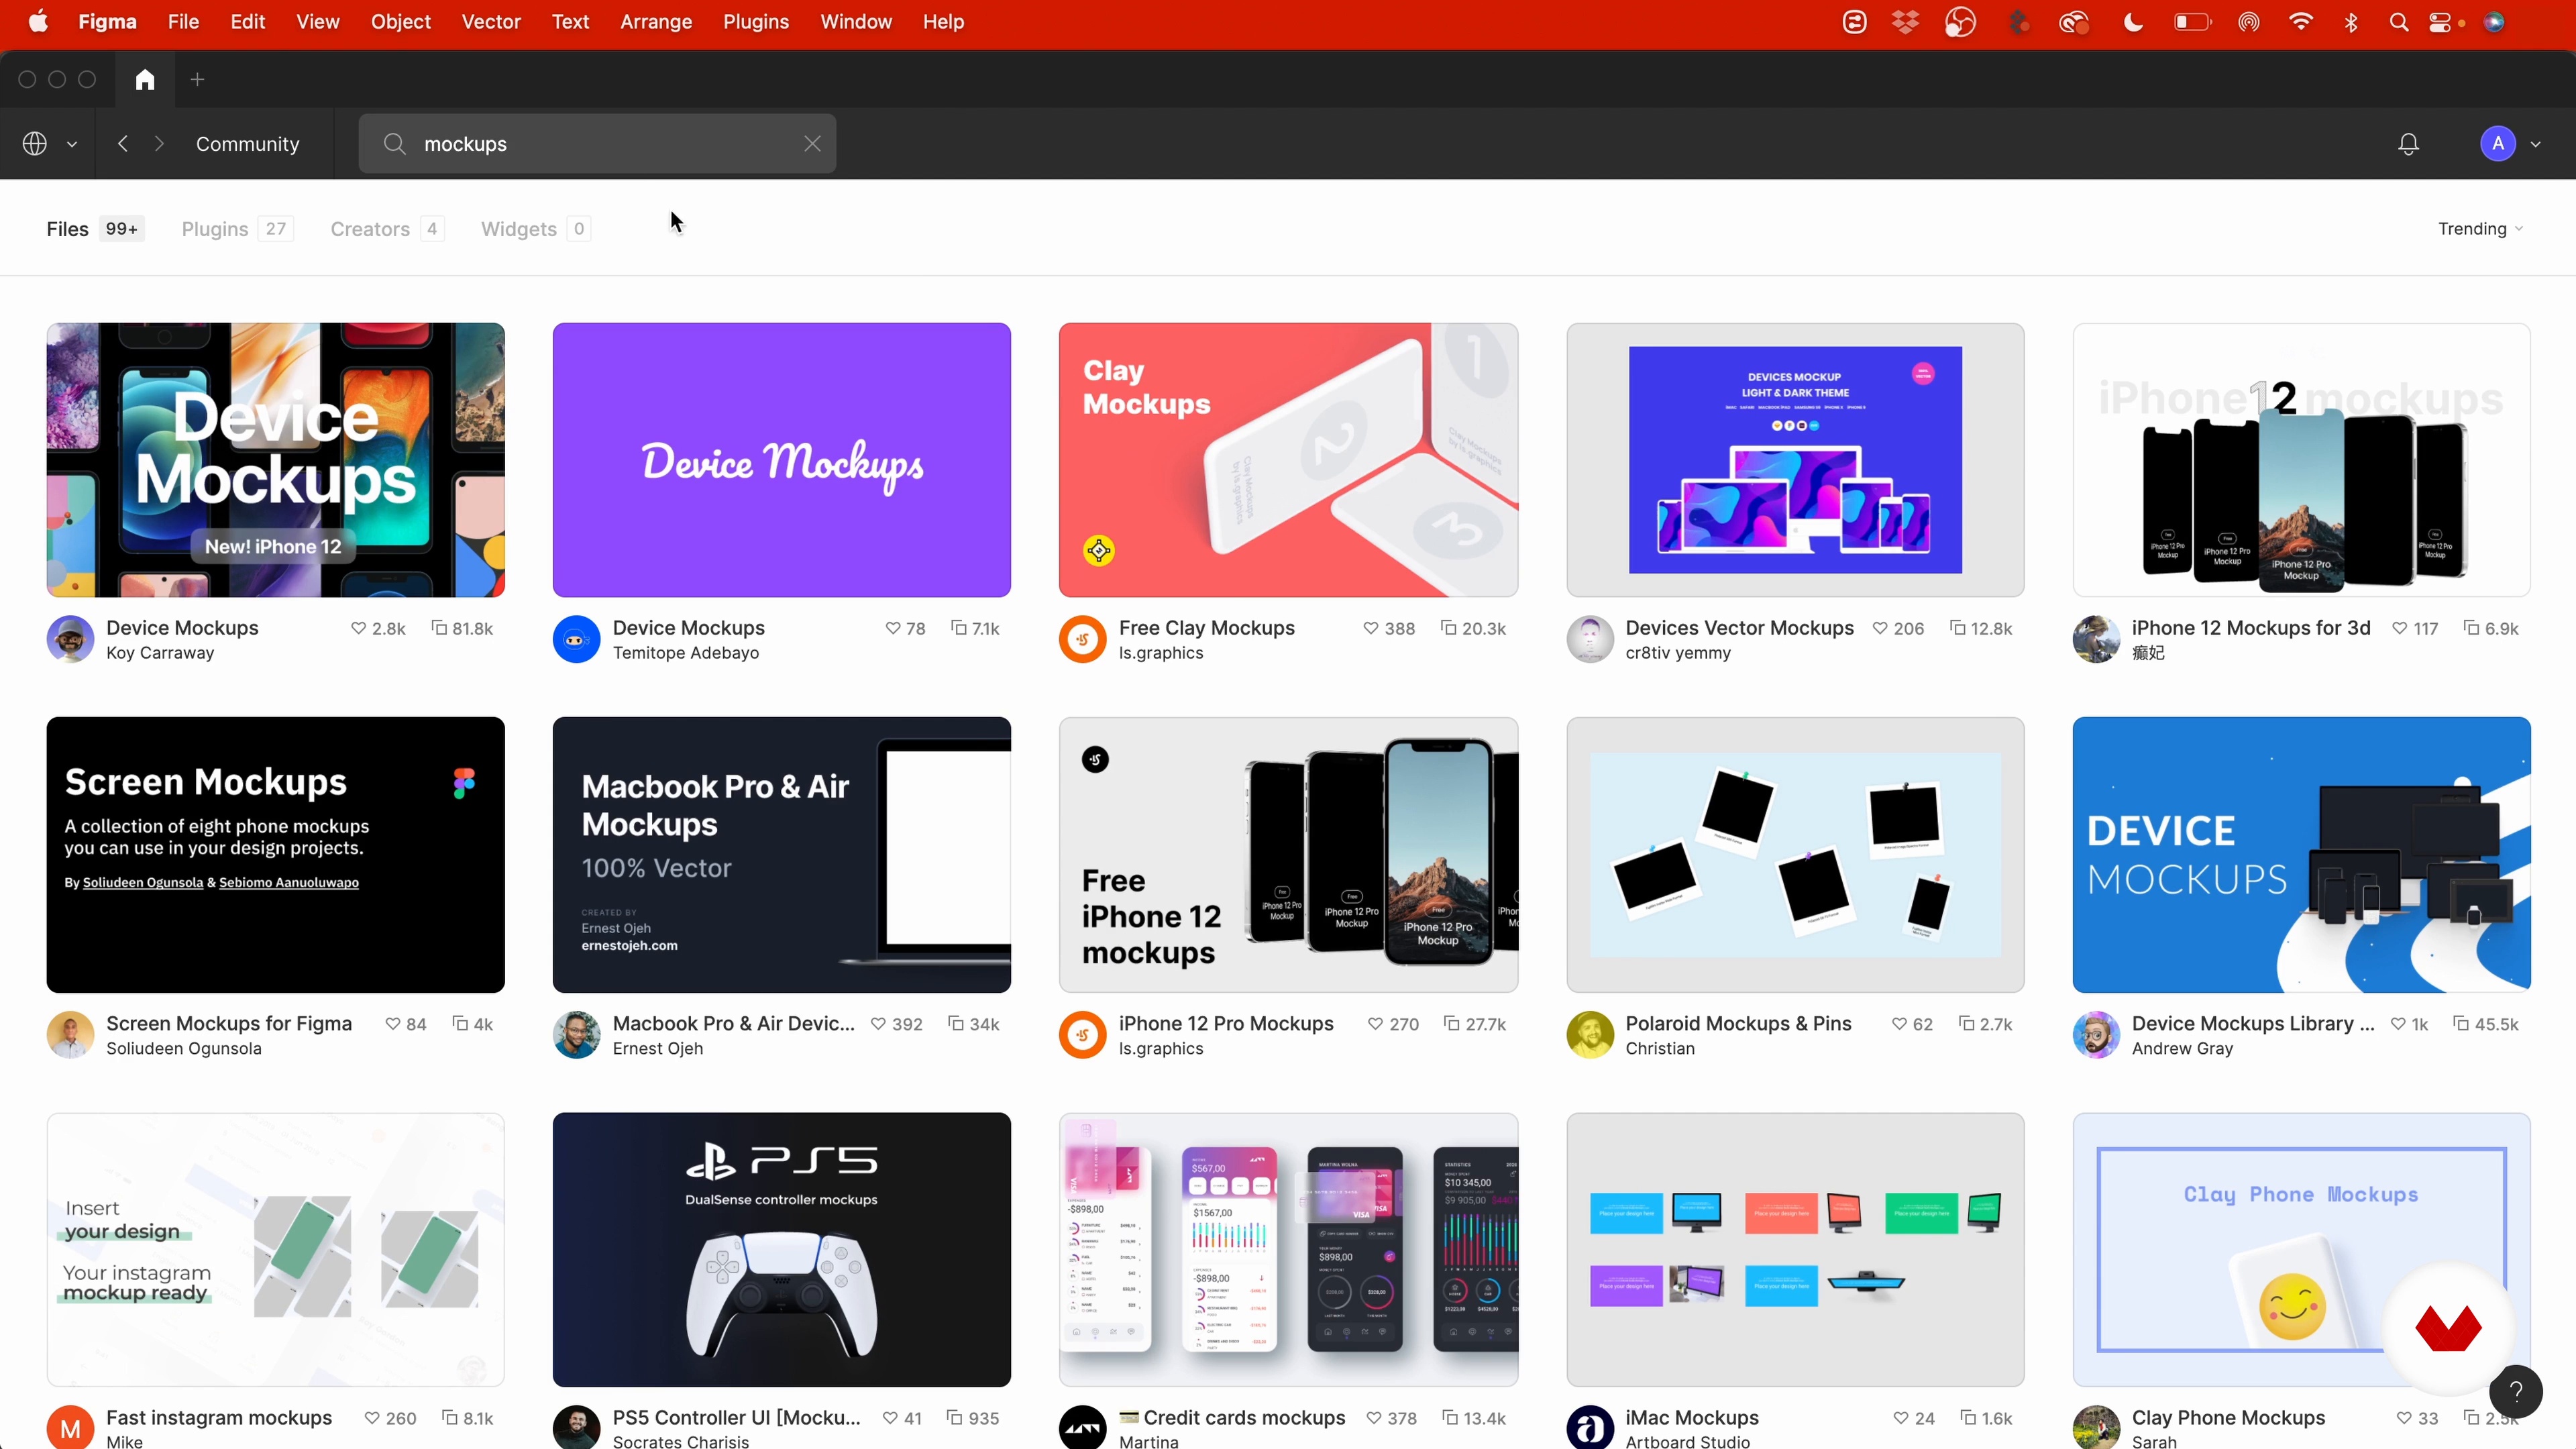
At this stage, you have already learnt how to place your logos on mock-ups. Now, I will provide some places to discover your own mock-ups to make your brand stand out.
7m
image
3
Principles of a Good Logo Design
In this lesson, I’m going to show you the principles that help constitute a successful logo. These principles act as the foundation for logo design and also as a reminder to have in the back of our minds as we start to design our logotype.
8m
image
4
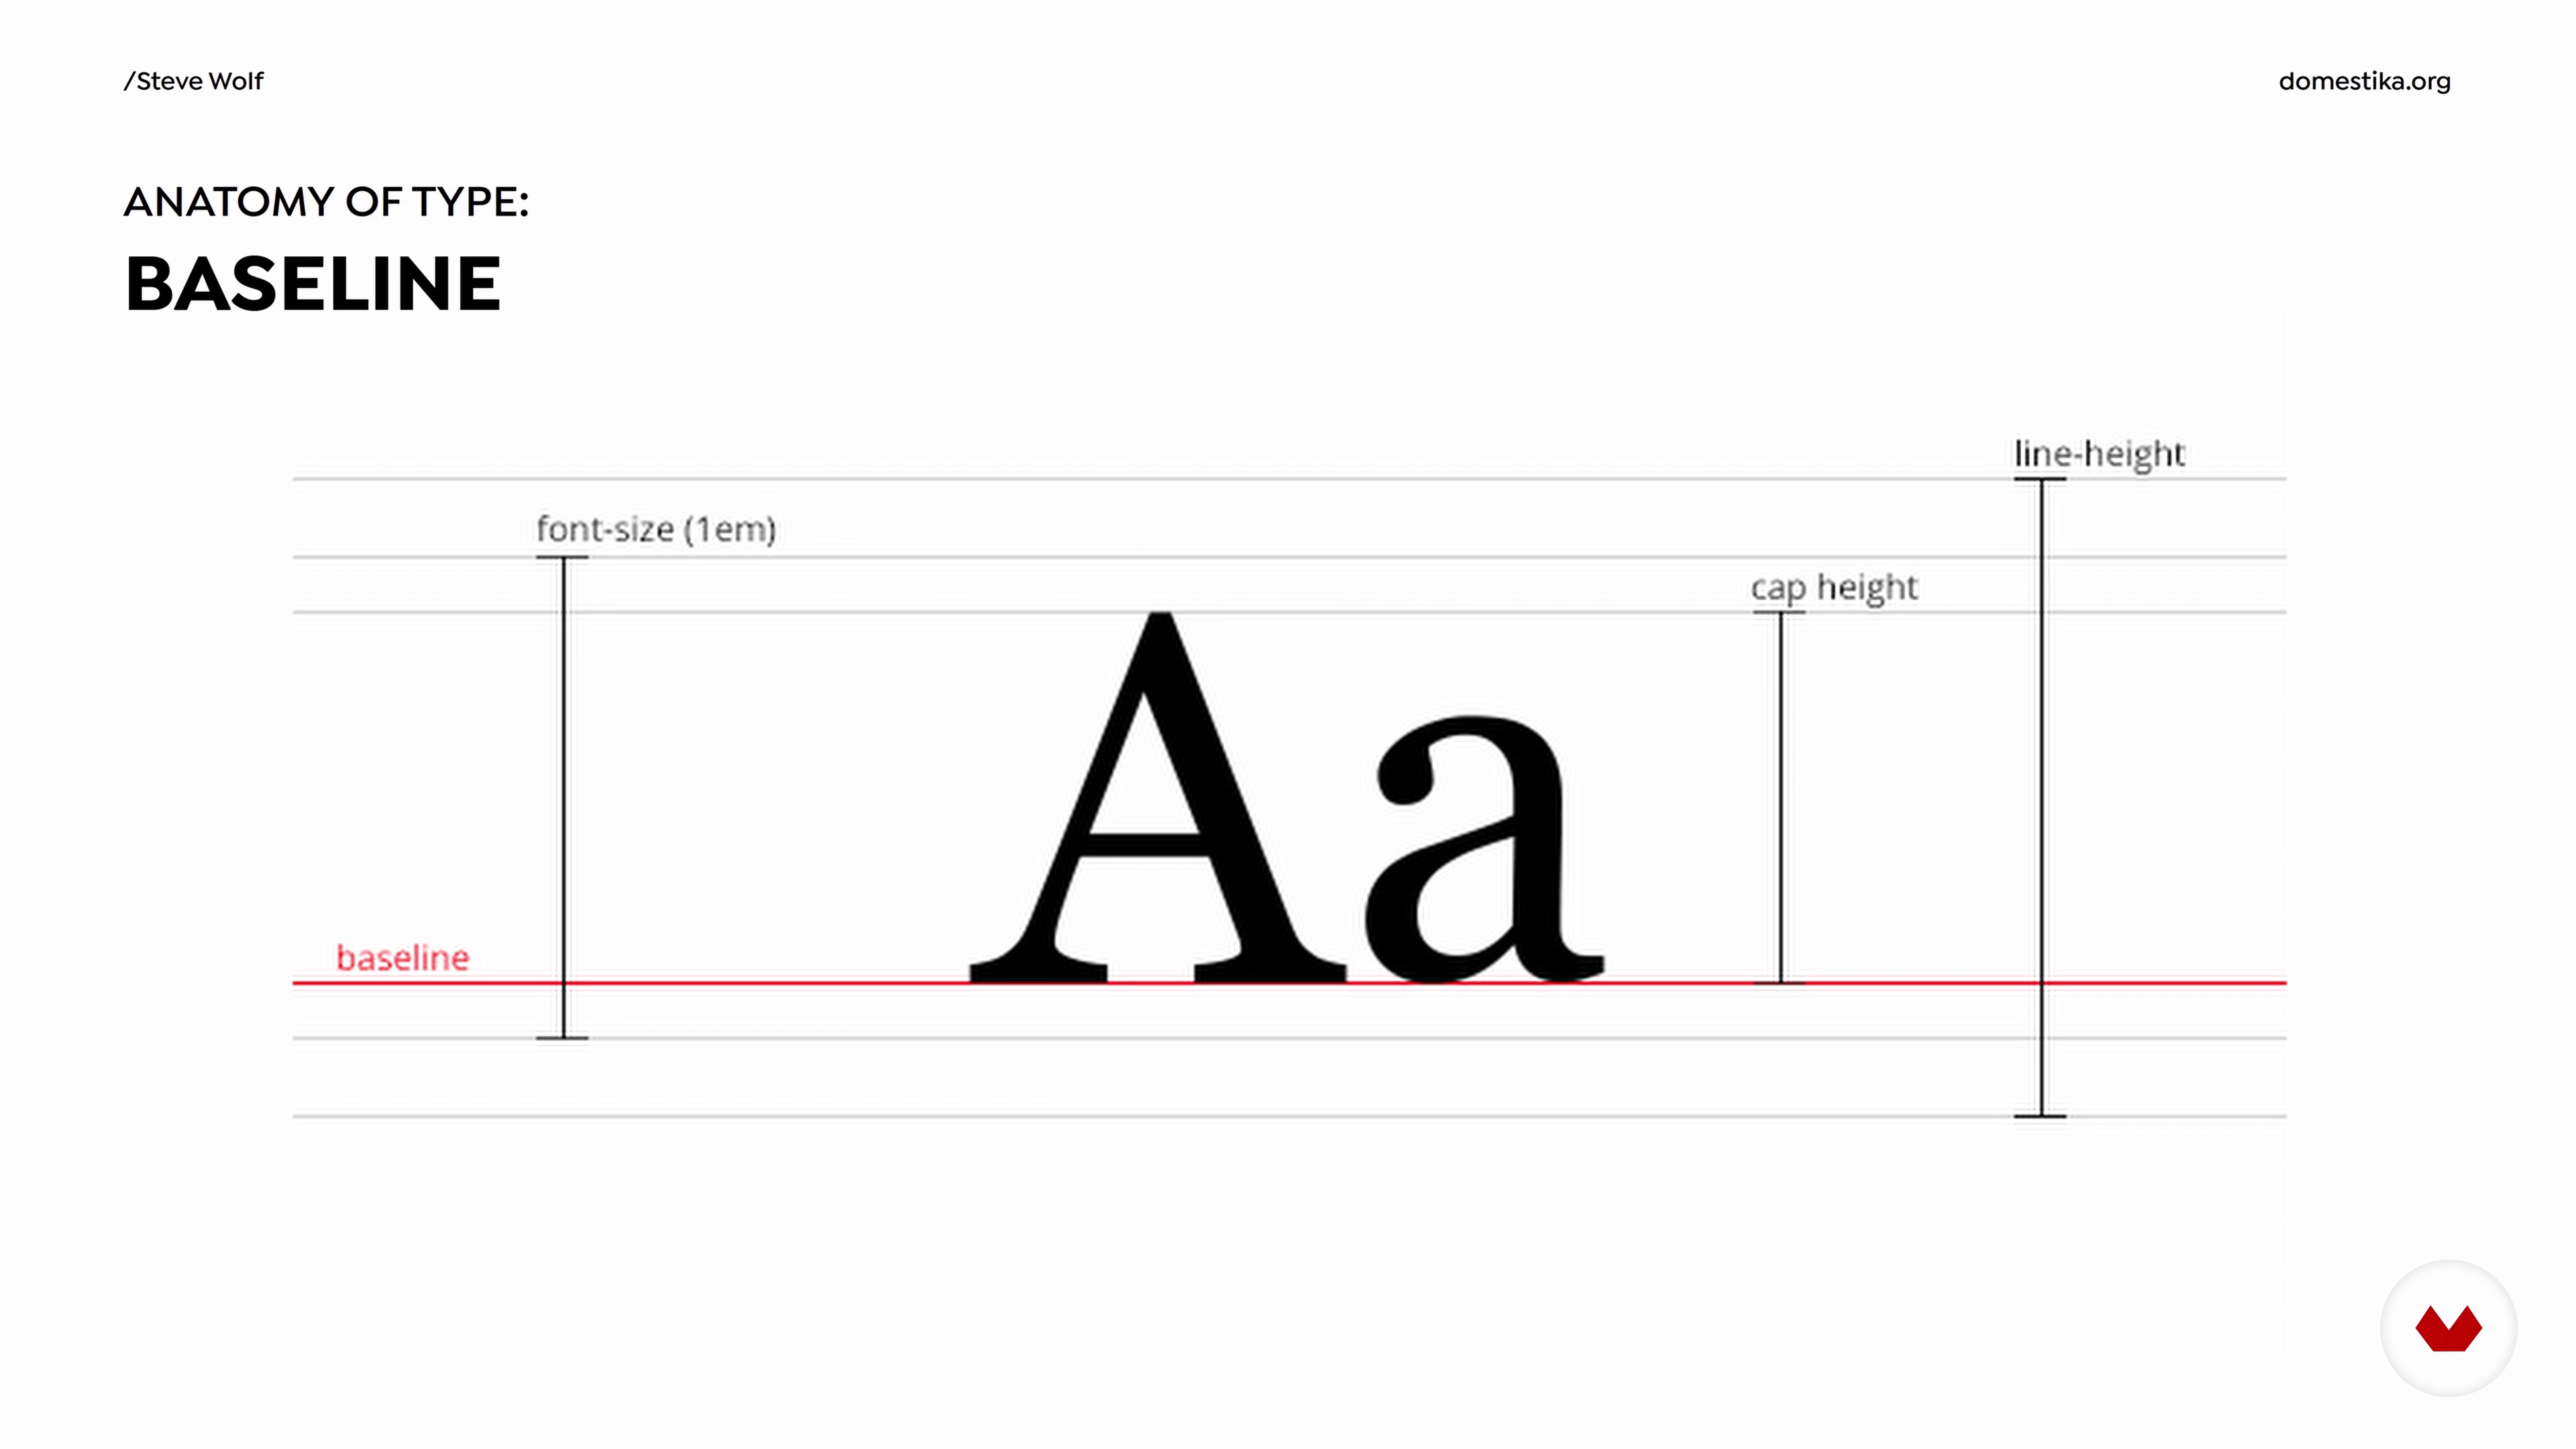
The Basic Concepts and Anatomy of Typography Design
Now, I will go through the basic concepts and anatomy of typography design.
6m
image
5
Add Meaning into Your Logotype and Make It Relevant to Your Client’s Industry
In this lesson, you will learn about different ways you can incorporate meaning and style into the letters you create for your logotype. Adding meaning into your logotypes helps add another level of depth into the design.
5m
image
6
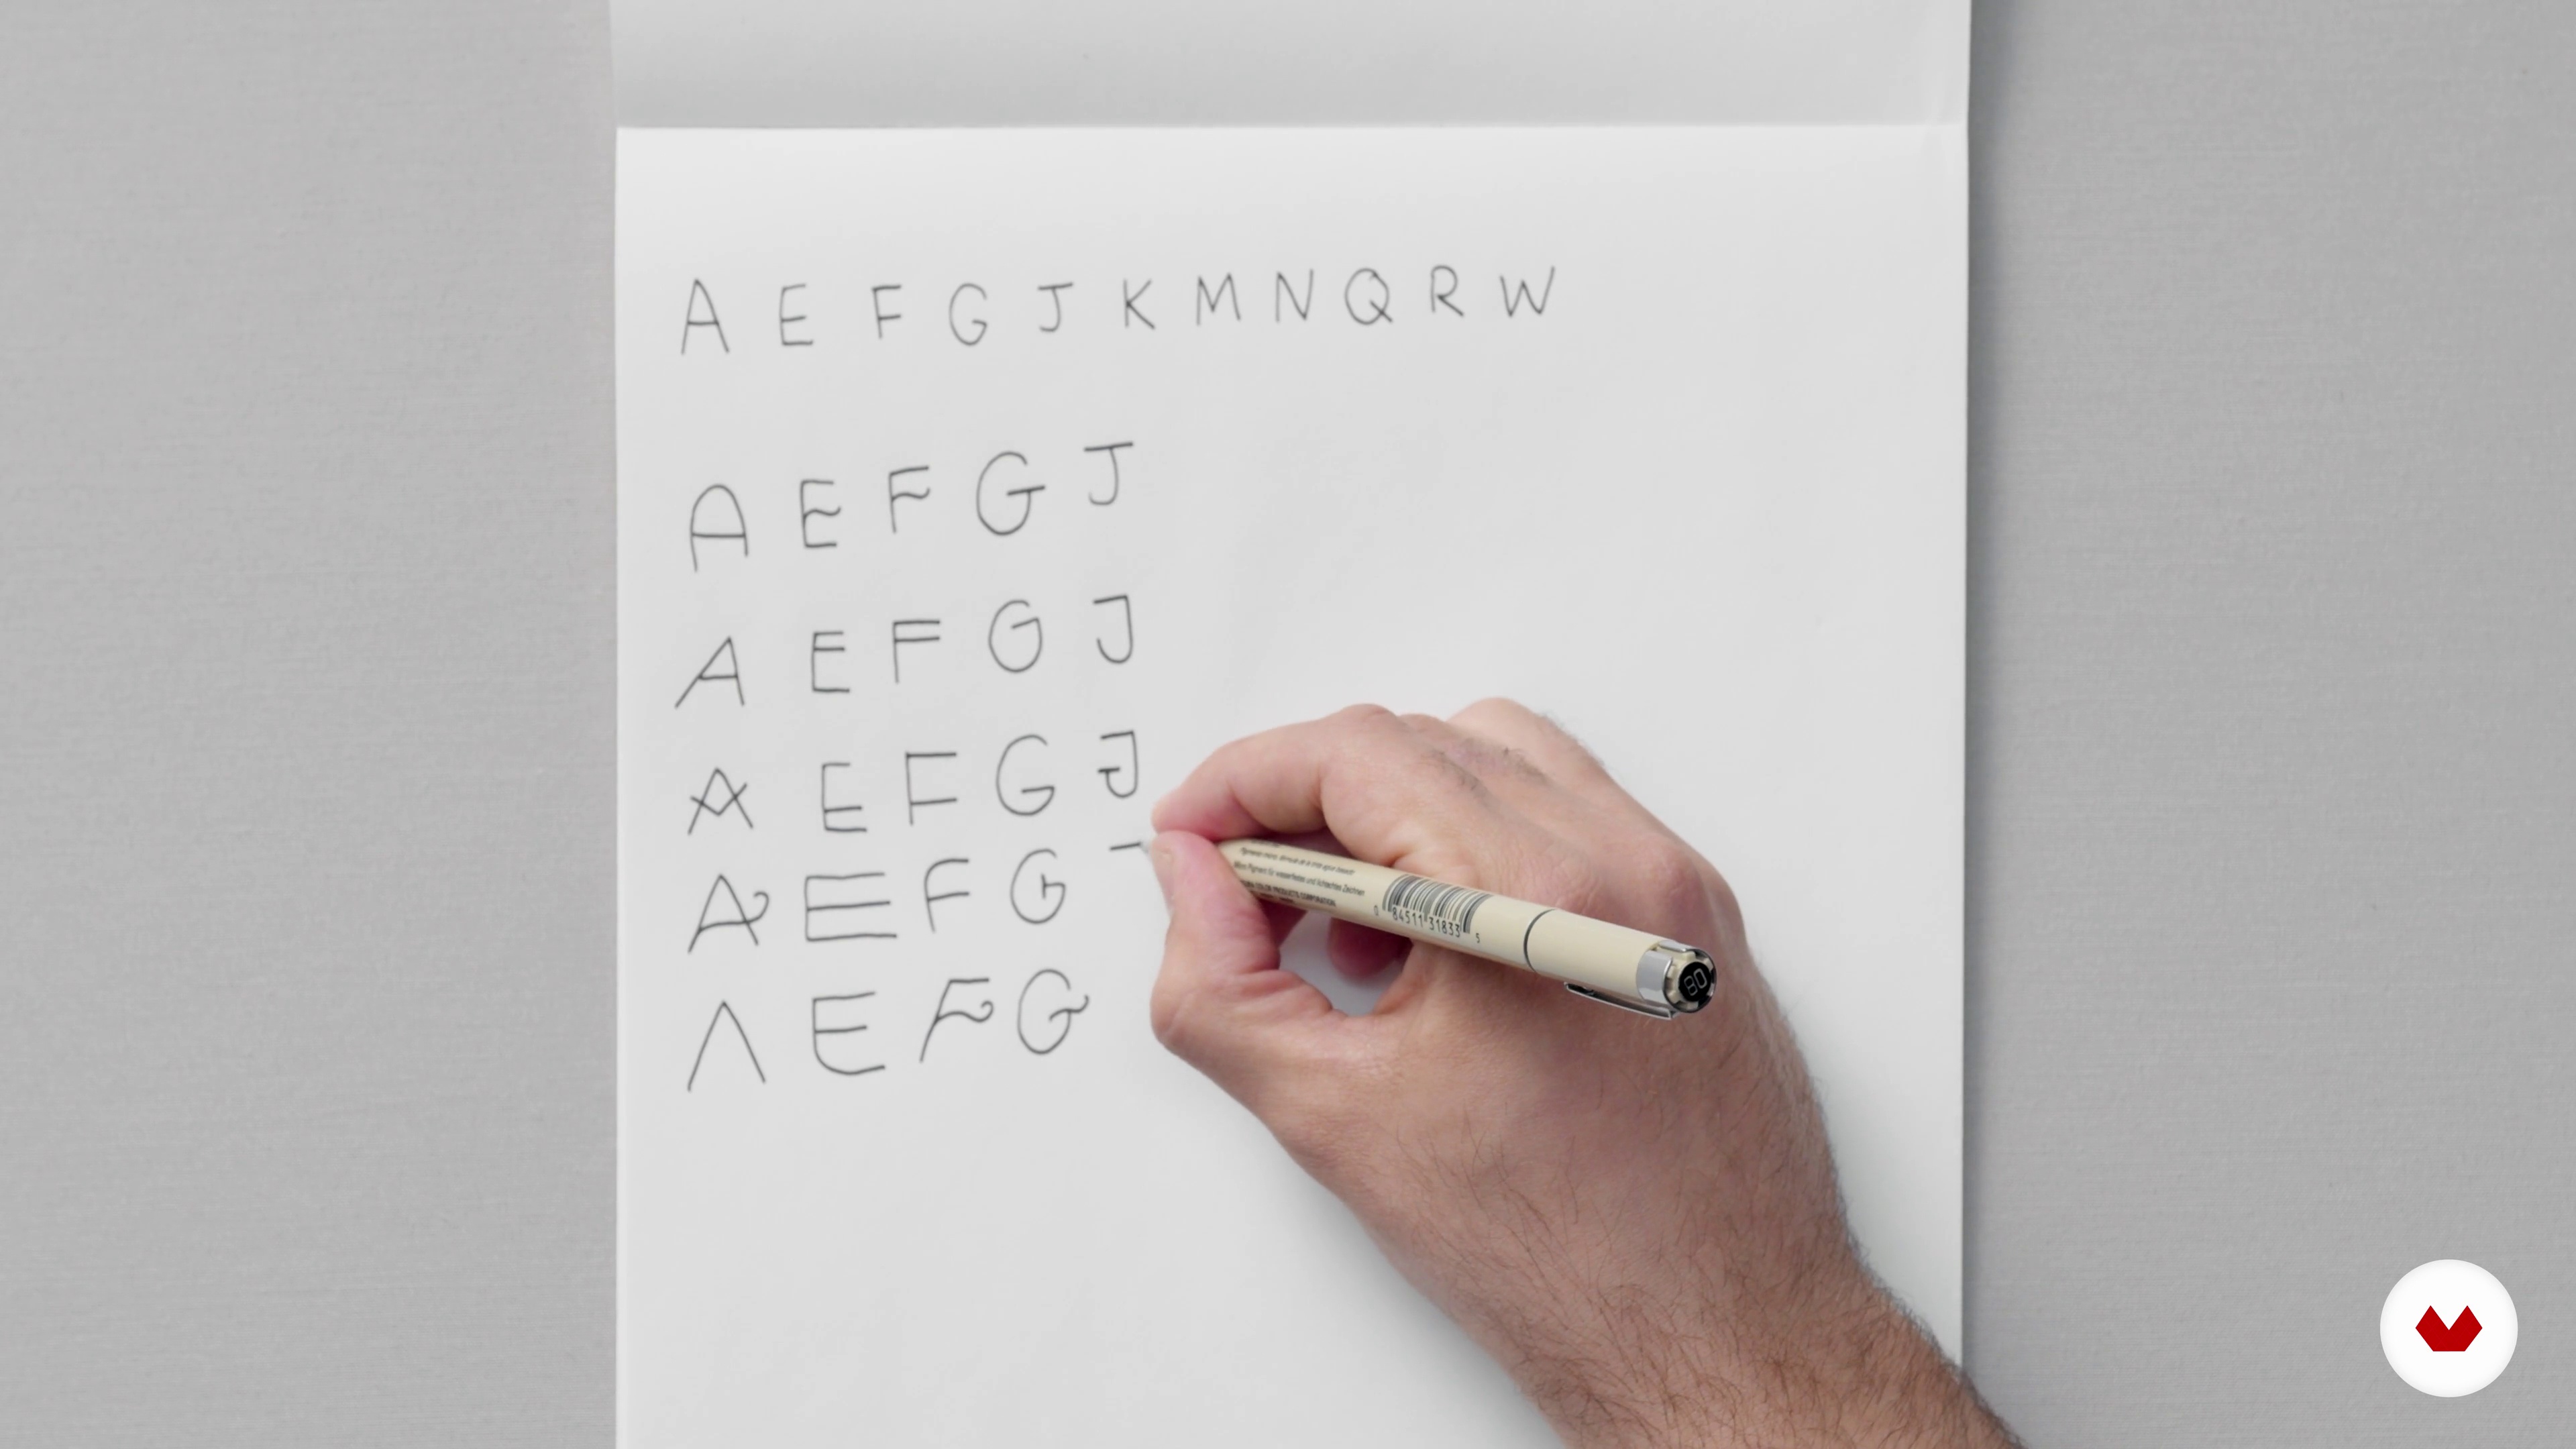
Knowing Which Letters to Customize for Your Logotype
Here, I will talk about which specific letters to look for when customizing type for your logo. I will also show you different variations that can be explored depending on the style of logo you are working with.
10m
image
7
My Creative Brief
First, I’ll be describing the project brief for the logotype I’ll be designing. Make sure you ask the client the right questions will help ensure that the design aligns with the brand and its intended audience.
11m
image
8
Getting Inspired and Sketching Your Ideas Out
In this lesson, you will learn about the benefits of sketching before designing. Sketching out your initial ideas on paper can help you achieve a final solution that can be used for the design phase.
9m
image
9
Executing Your Final Logotype Designs
Now, you will learn about executing your final logotype designs based on your sketches to ultimately craft your final design. You will see what I do as a base reference of how I execute logotypes in my design process.
19m
image
10
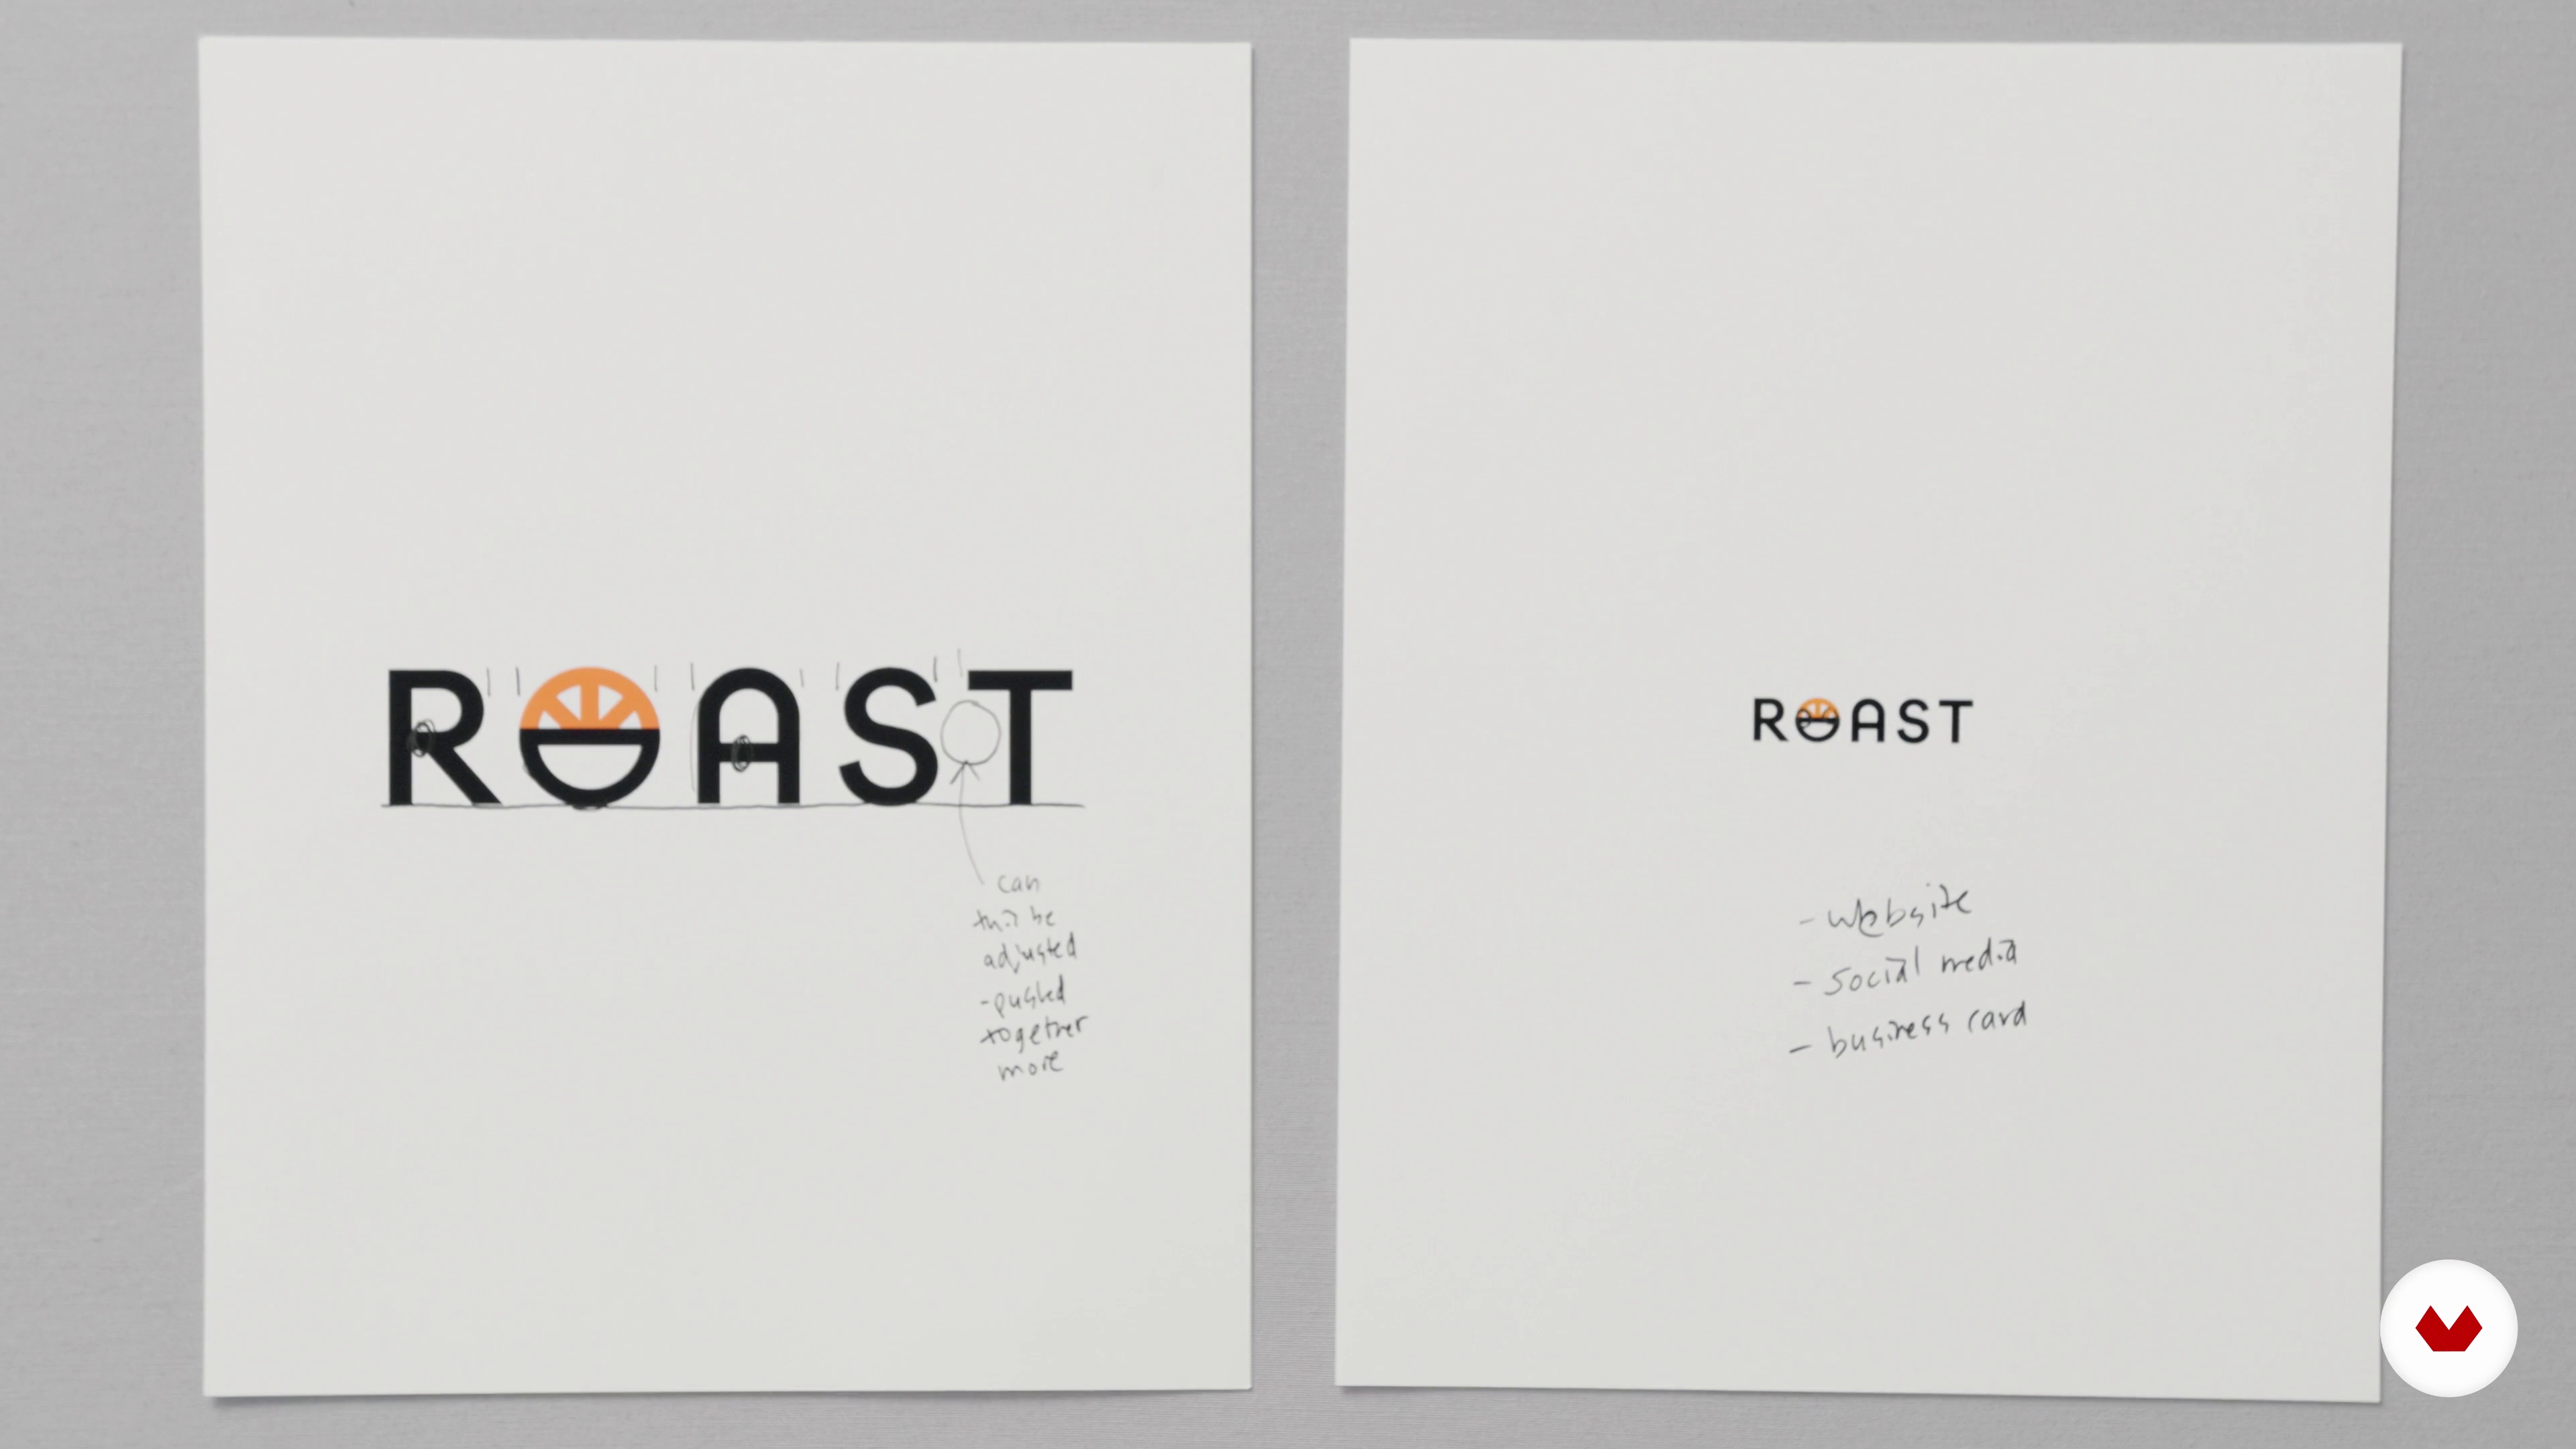
How to Evaluate Your Work and Make Small Adjustments to Refine
First, I will go over the importance of making a strong and polished presentation to help sell the work created for the client.
4m
image
11
Best Ways to Present Your Logotype Work to Clients
In this lesson, I will share the most important items to include in your presentation so that the client can visualize and understand the work you created.
13m
image
12
How to Share Your Work on Social Media and Design Portfolio Sites
Finally, I will discuss how to share your work on social media and design portfolio sites to build your online presence and attract potential clients.
5m
  • 14 students
  • 66 lessons (10h 32m)
  • 75 additional resources (22 files)
  • Online and at your own pace
  • Audio: English, Spanish
  • Spanish · English · Portuguese · German · French · Italian · Polish · Dutch
  • Level: Beginner
  • Unlimited access forever

What is this course's project?

Create a unique hand-drawn logo and develop a brand's visual identity. You'll refine sketches, transition them into digital format, and craft a cohesive brand identity bursting with personality, using manual design techniques and professional methodologies.

Who is this specialization for?

Aspiring graphic designers, illustrators, and branding enthusiasts eager to enhance their skills in logo creation and digital identity development will find this course ideal. Perfect for those looking to blend traditional hand-drawn techniques with modern digital tools to create impactful brand identities.

Requirements and materials

No extensive prior knowledge is necessary; however, a basic understanding of logo design principles and access to essential tools like pencils, paper, and Adobe Illustrator are recommended. Materials such as sketchbooks and digital software enhance the learning experience.

Select to get to know your teachers in this specialization course
Read more ↓

What to expect from this specialization course

  • Learn at your own pace

    Enjoy learning from home without a set schedule and with an easy-to-follow method. You set your own pace.

  • Learn from the best professionals

    Learn valuable methods and techniques explained by top experts in the creative sector.

  • Meet expert teachers

    Each expert teaches what they do best, with clear guidelines, true passion, and professional insight in every lesson.

  • Certificates
    Plus

    If you're a Plus member, get a custom certificate for every specialization course. Share it on your portfolio, social media, or wherever you like.

  • Get front-row seats

    Videos of the highest quality, so you don't miss a single detail. With unlimited access, you can watch them as many times as you need to perfect your technique.

  • Share knowledge and ideas

    Ask questions, request feedback, or offer solutions. Share your learning experience with other students in the community who are as passionate about creativity as you are.

  • Connect with a global creative community

    The community is home to millions of people from around the world who are curious and passionate about exploring and expressing their creativity.

  • Watch professionally produced courses

    Domestika curates its teacher roster and produces every course in-house to ensure a high-quality online learning experience.


FAQs

Domestika's specialization courses are online classes that provide you with the tools and skills you need to complete a specific project. Every step of the project combines video lessons with complementary instructional material, so you can learn by doing. Domestika's specializations also allow you to share your own projects with other students, creating a dynamic course community.

All specialization courses are 100% online, so once they're published, specialization courses start and finish whenever you want. You set the pace of the class. You can go back to review what interests you most and skip what you already know, ask questions, answer questions, share your projects, and more.

The specialization courses are divided into different modules. Each one includes lessons, informational text, tasks, and practice exercises to help you carry out your project step by step, with additional complementary resources and downloads. You'll also have access to an exclusive forum where you can interact with other students, as well as share your work and your final project, creating a community around the specialization course.

You can redeem the specialization course you received by accessing the redeeming page and entering your gift code.

If you're a Plus member, when you complete a course you've purchased, you'll instantly get your personalized certificate. You can see all your certificates in the Certificates section of your profile. You can download your certificates as PDFs and share the link online. Learn more about certificates.
Specialization in Hand-Drawn to Digital Branding Design. Design course by Domestika

Specialization in Hand-Drawn to Digital Branding Design

A specialization by multiple teachers
Berkeley, United States.
Joined April 2002
  • 14 students