Specialization

Specialization in Artistic Portrait Drawing Techniques

Master pencil portrait techniques focusing on proportions, shading, and facial structure for realistic drawing results

Specialization · 6 modules

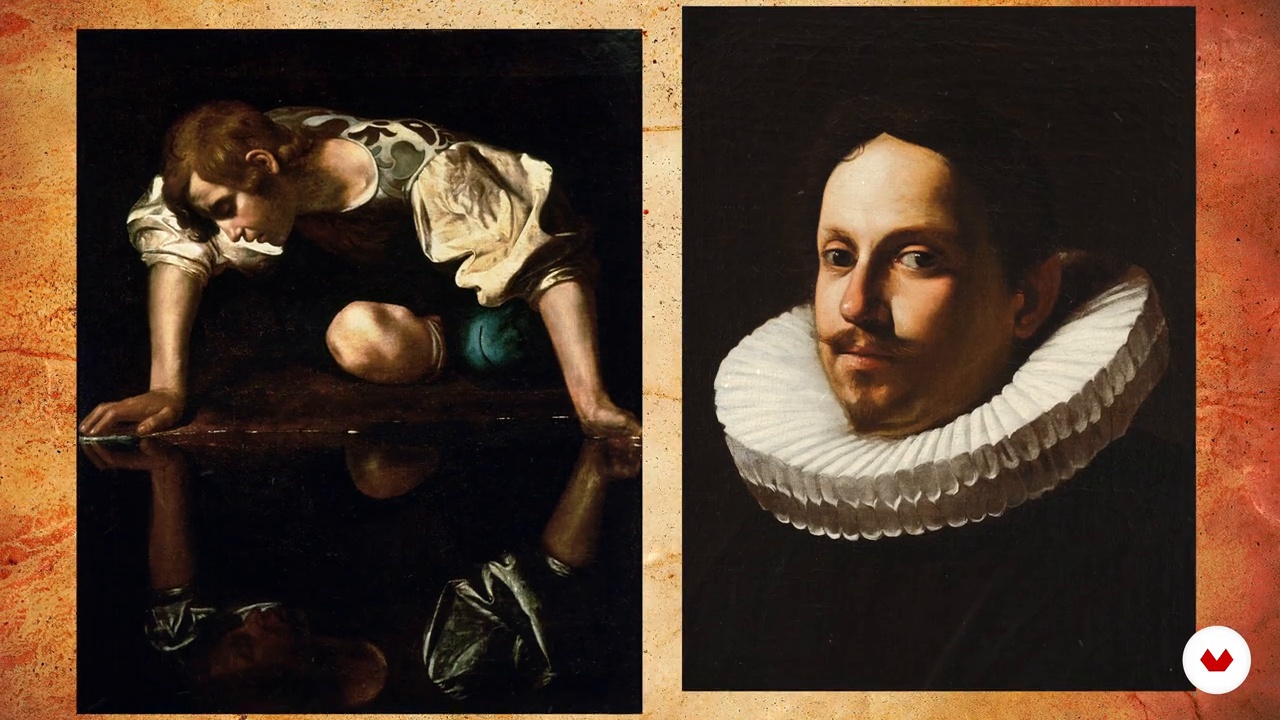
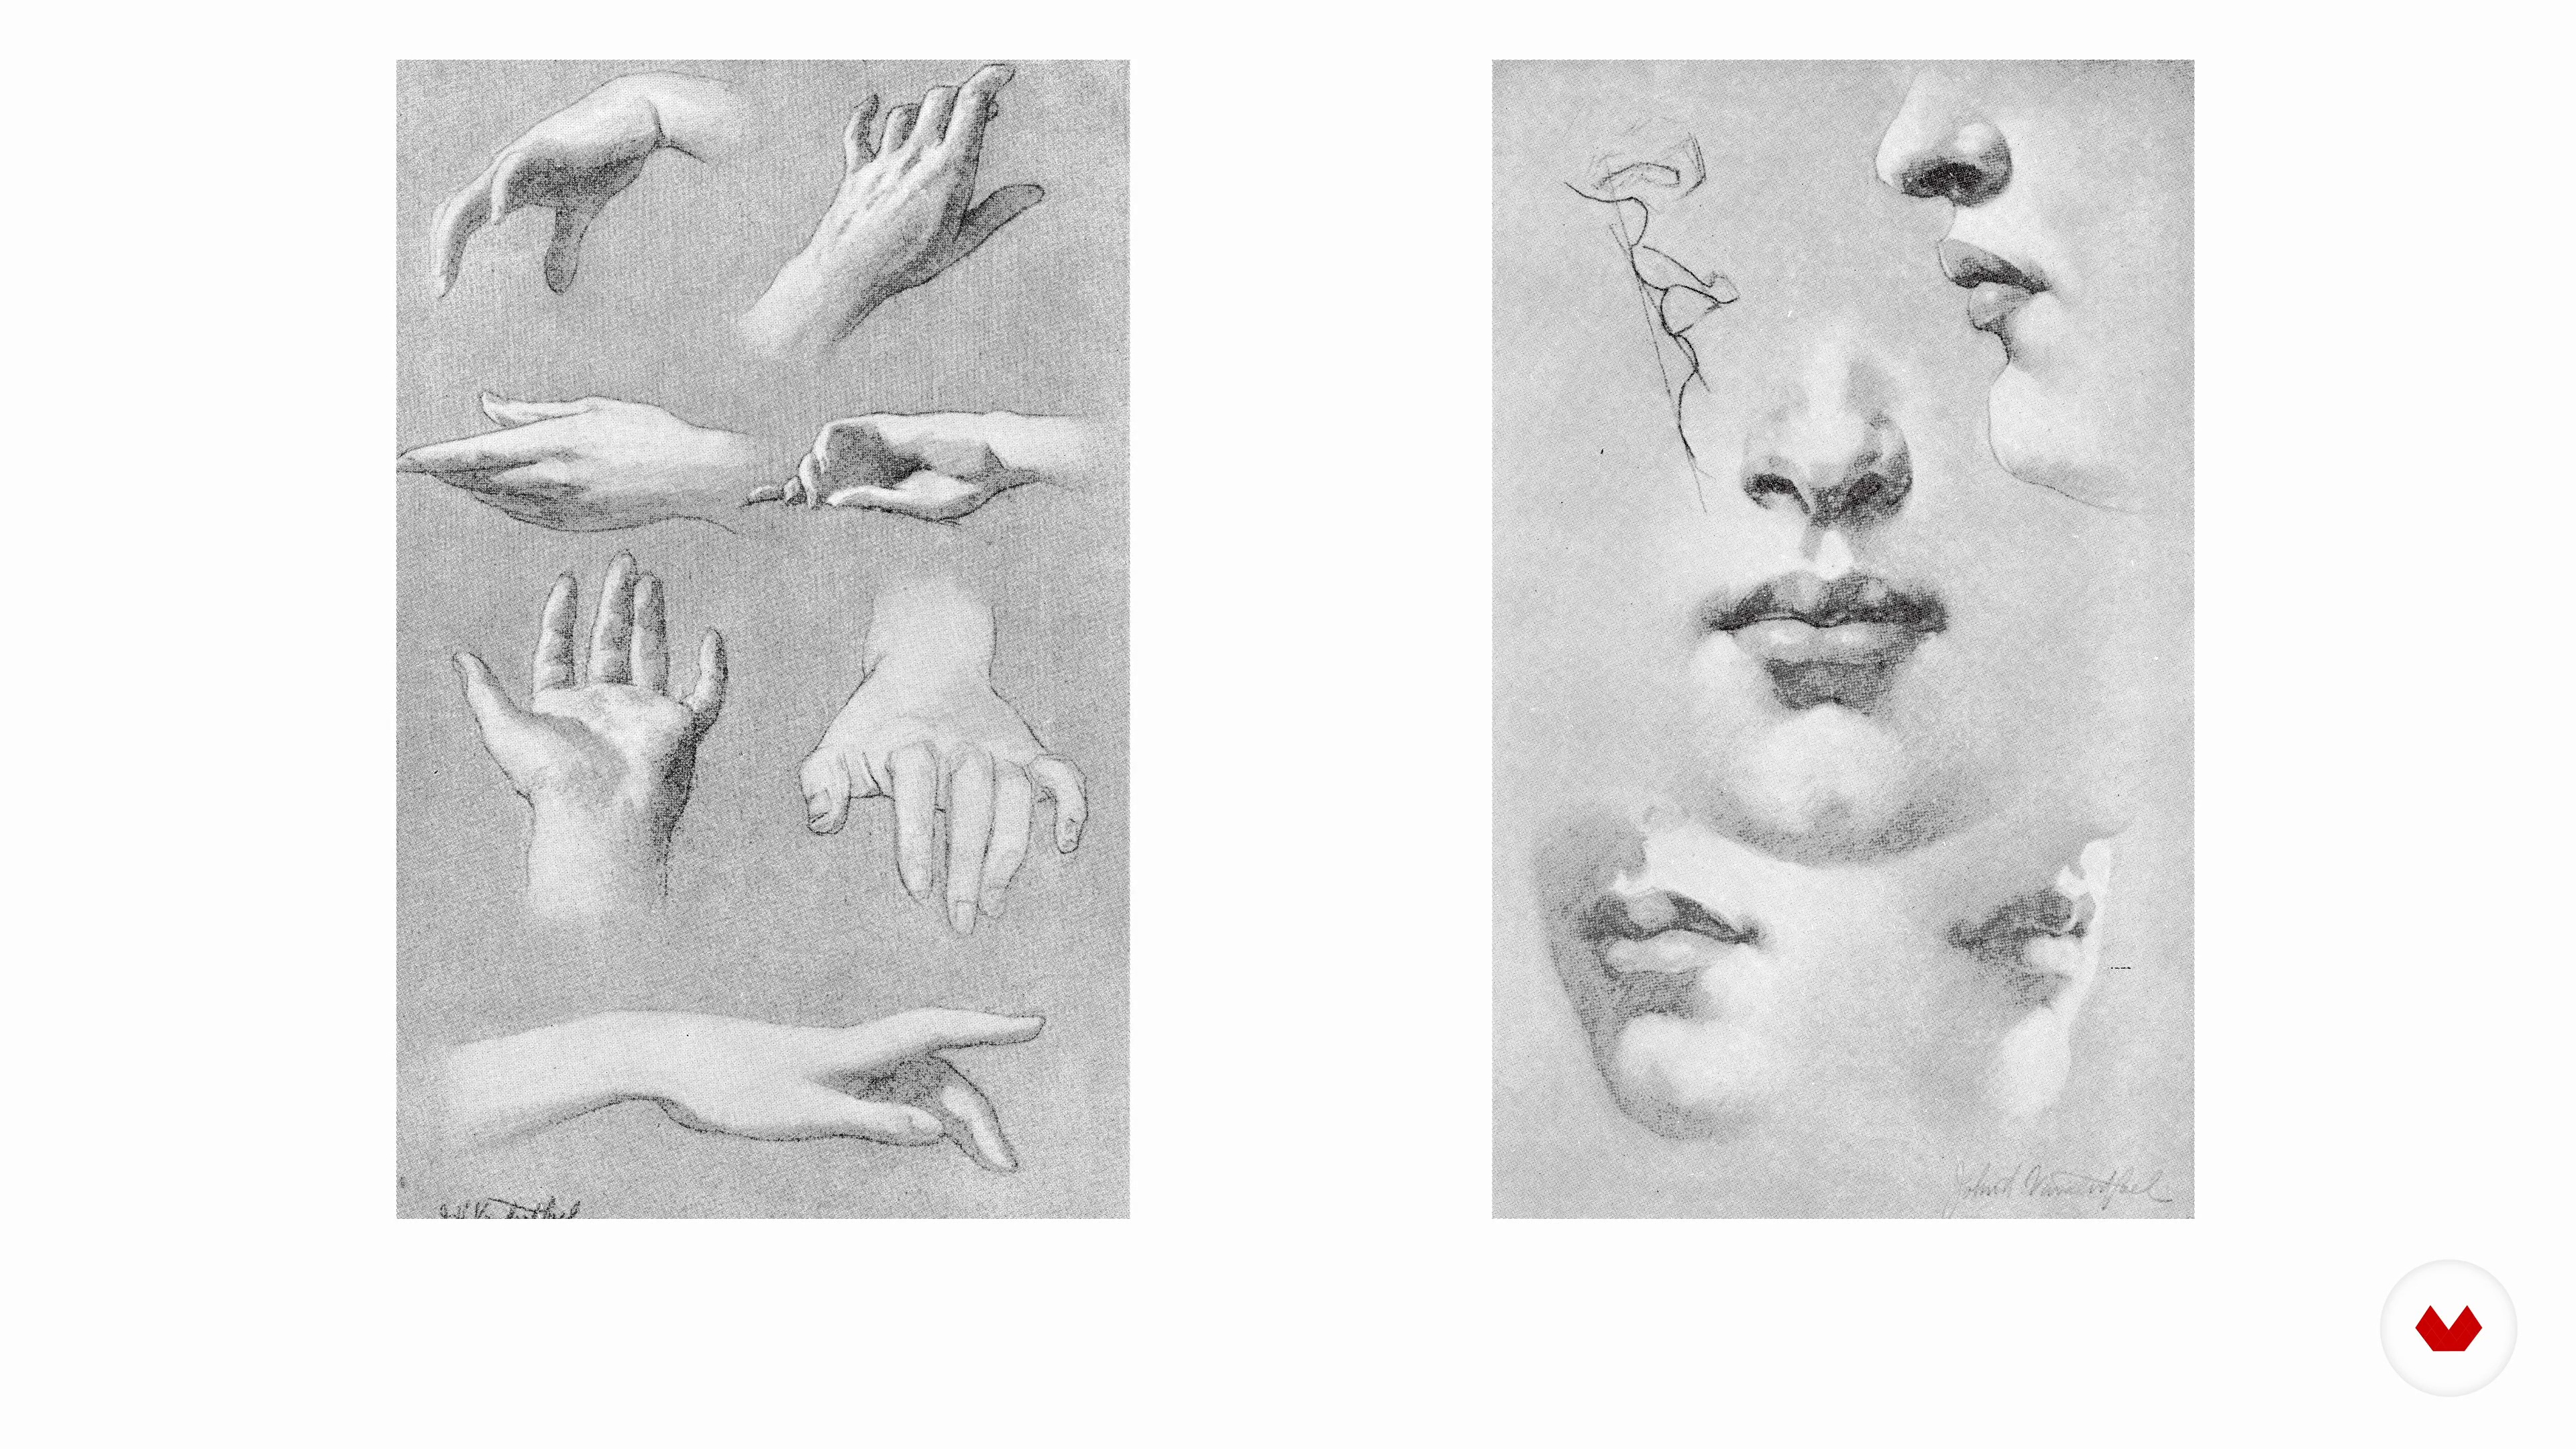
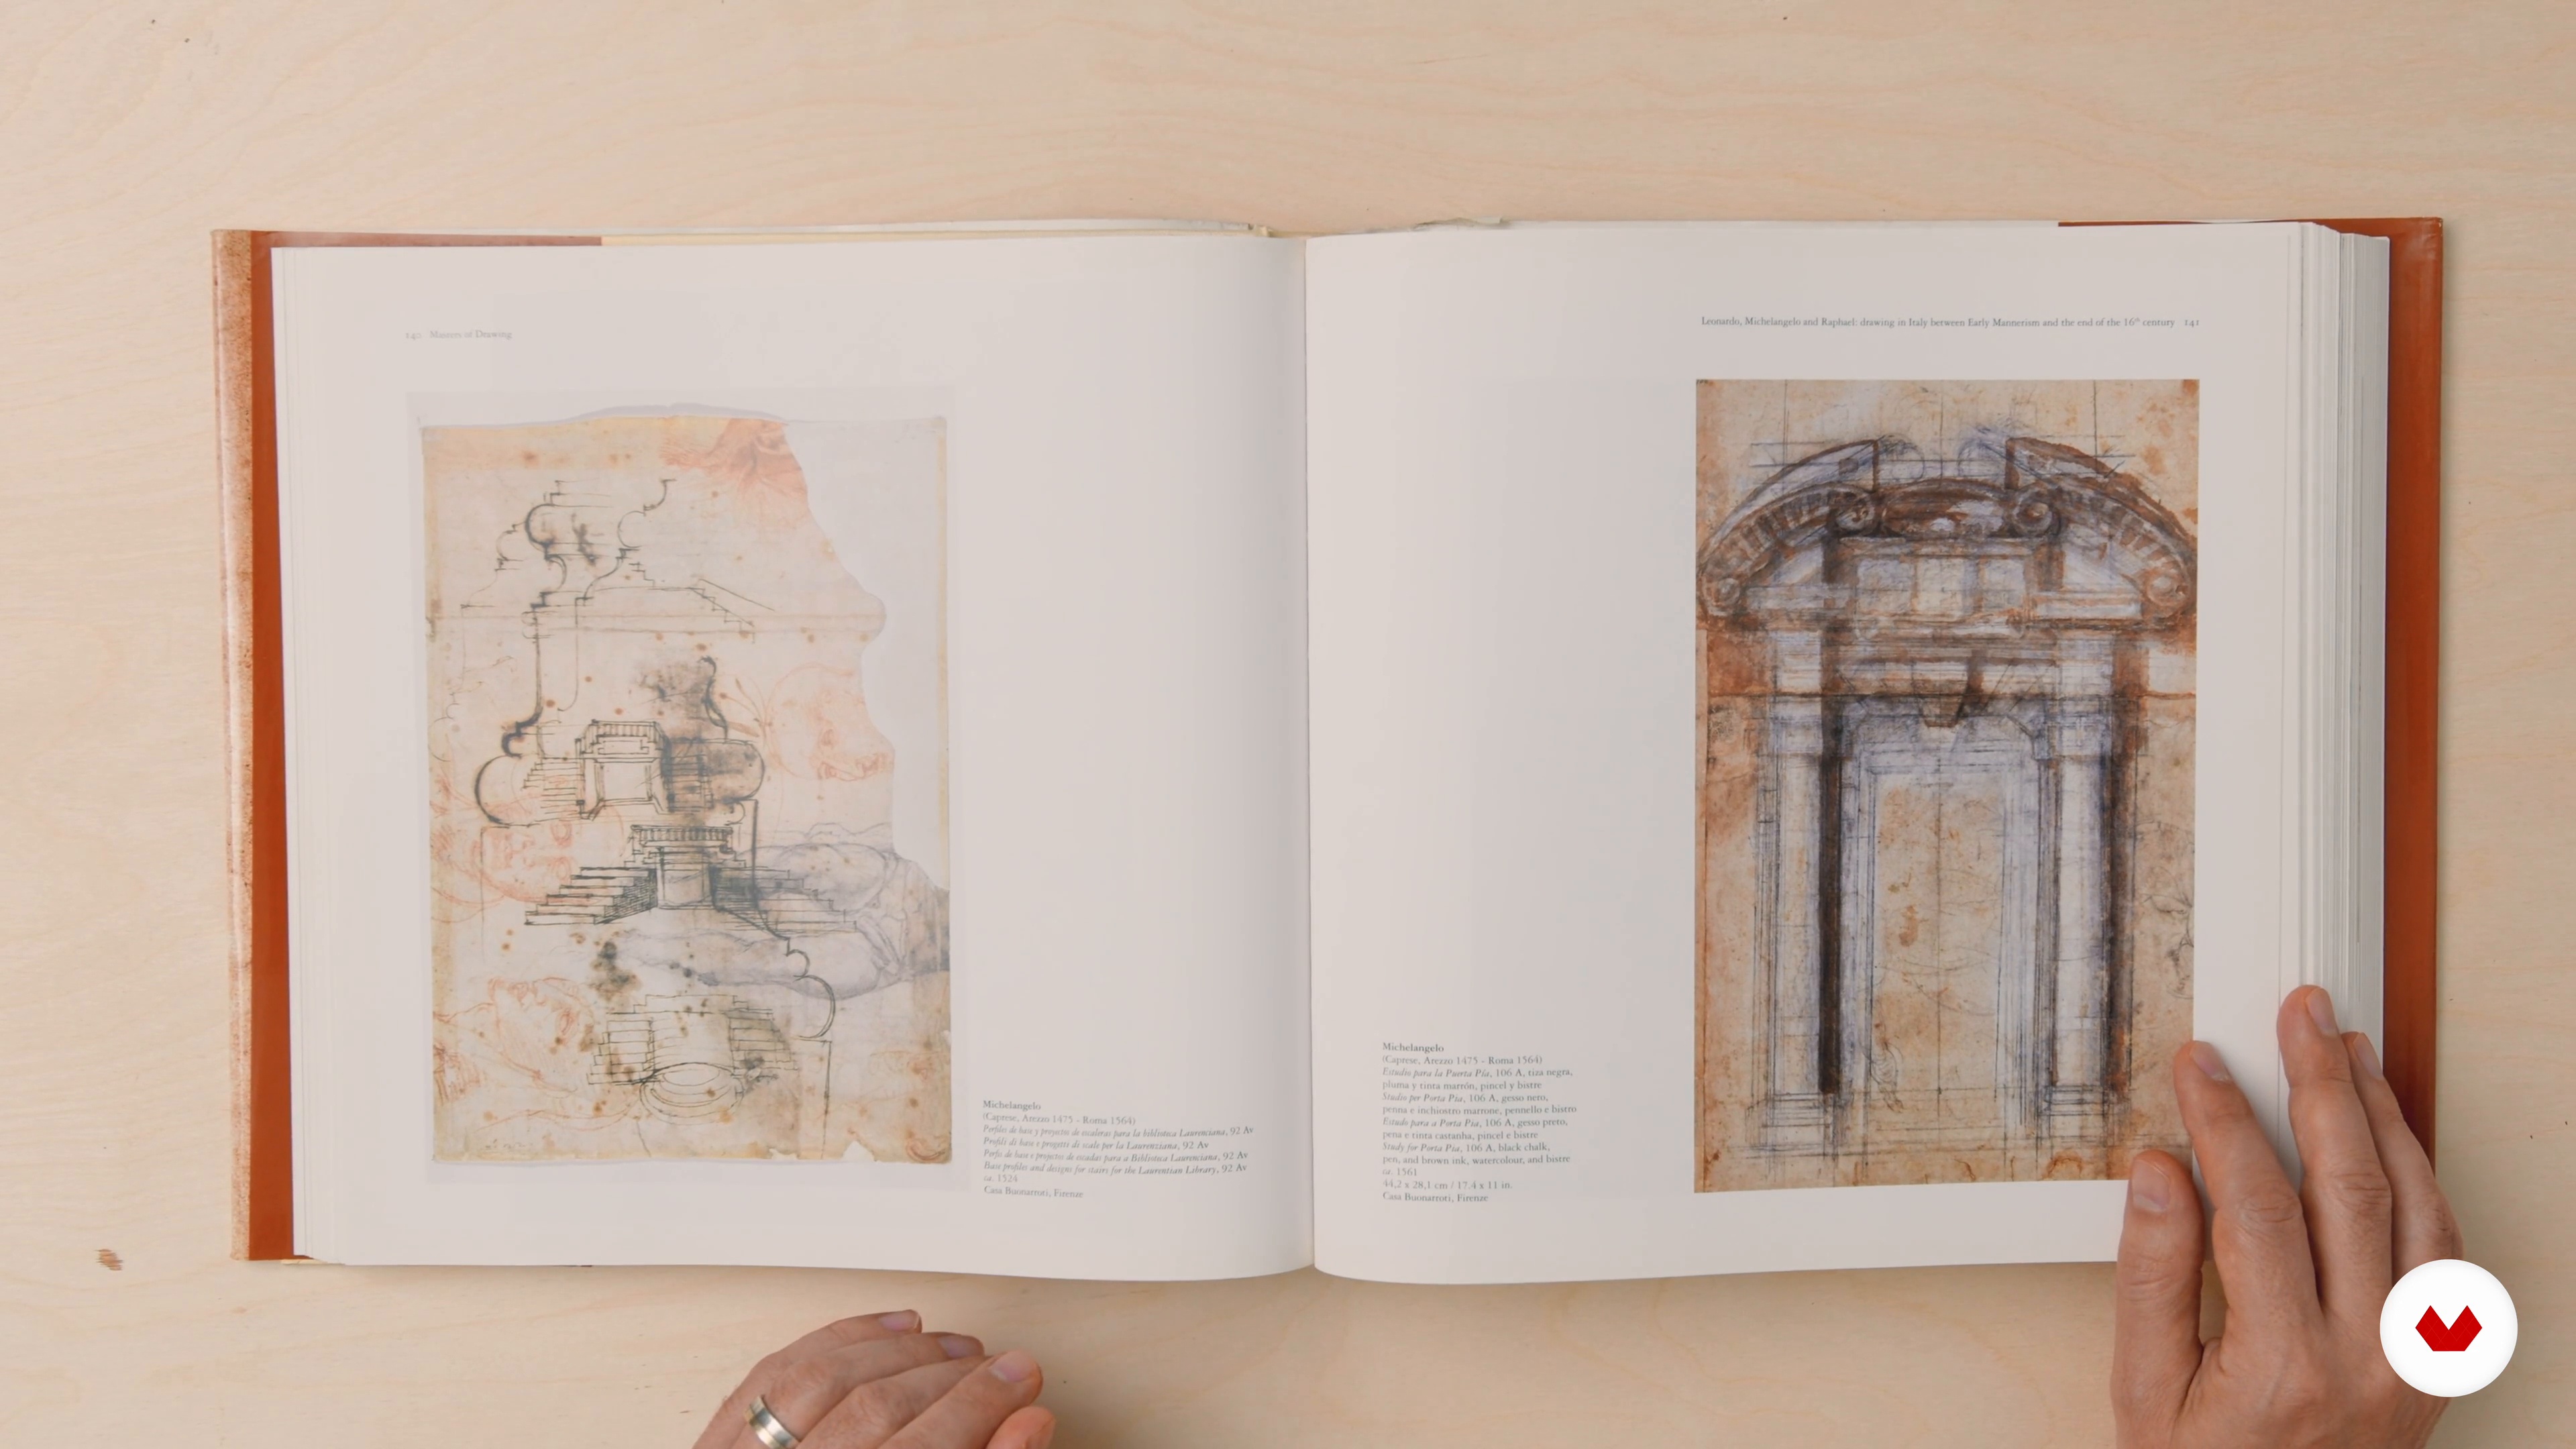
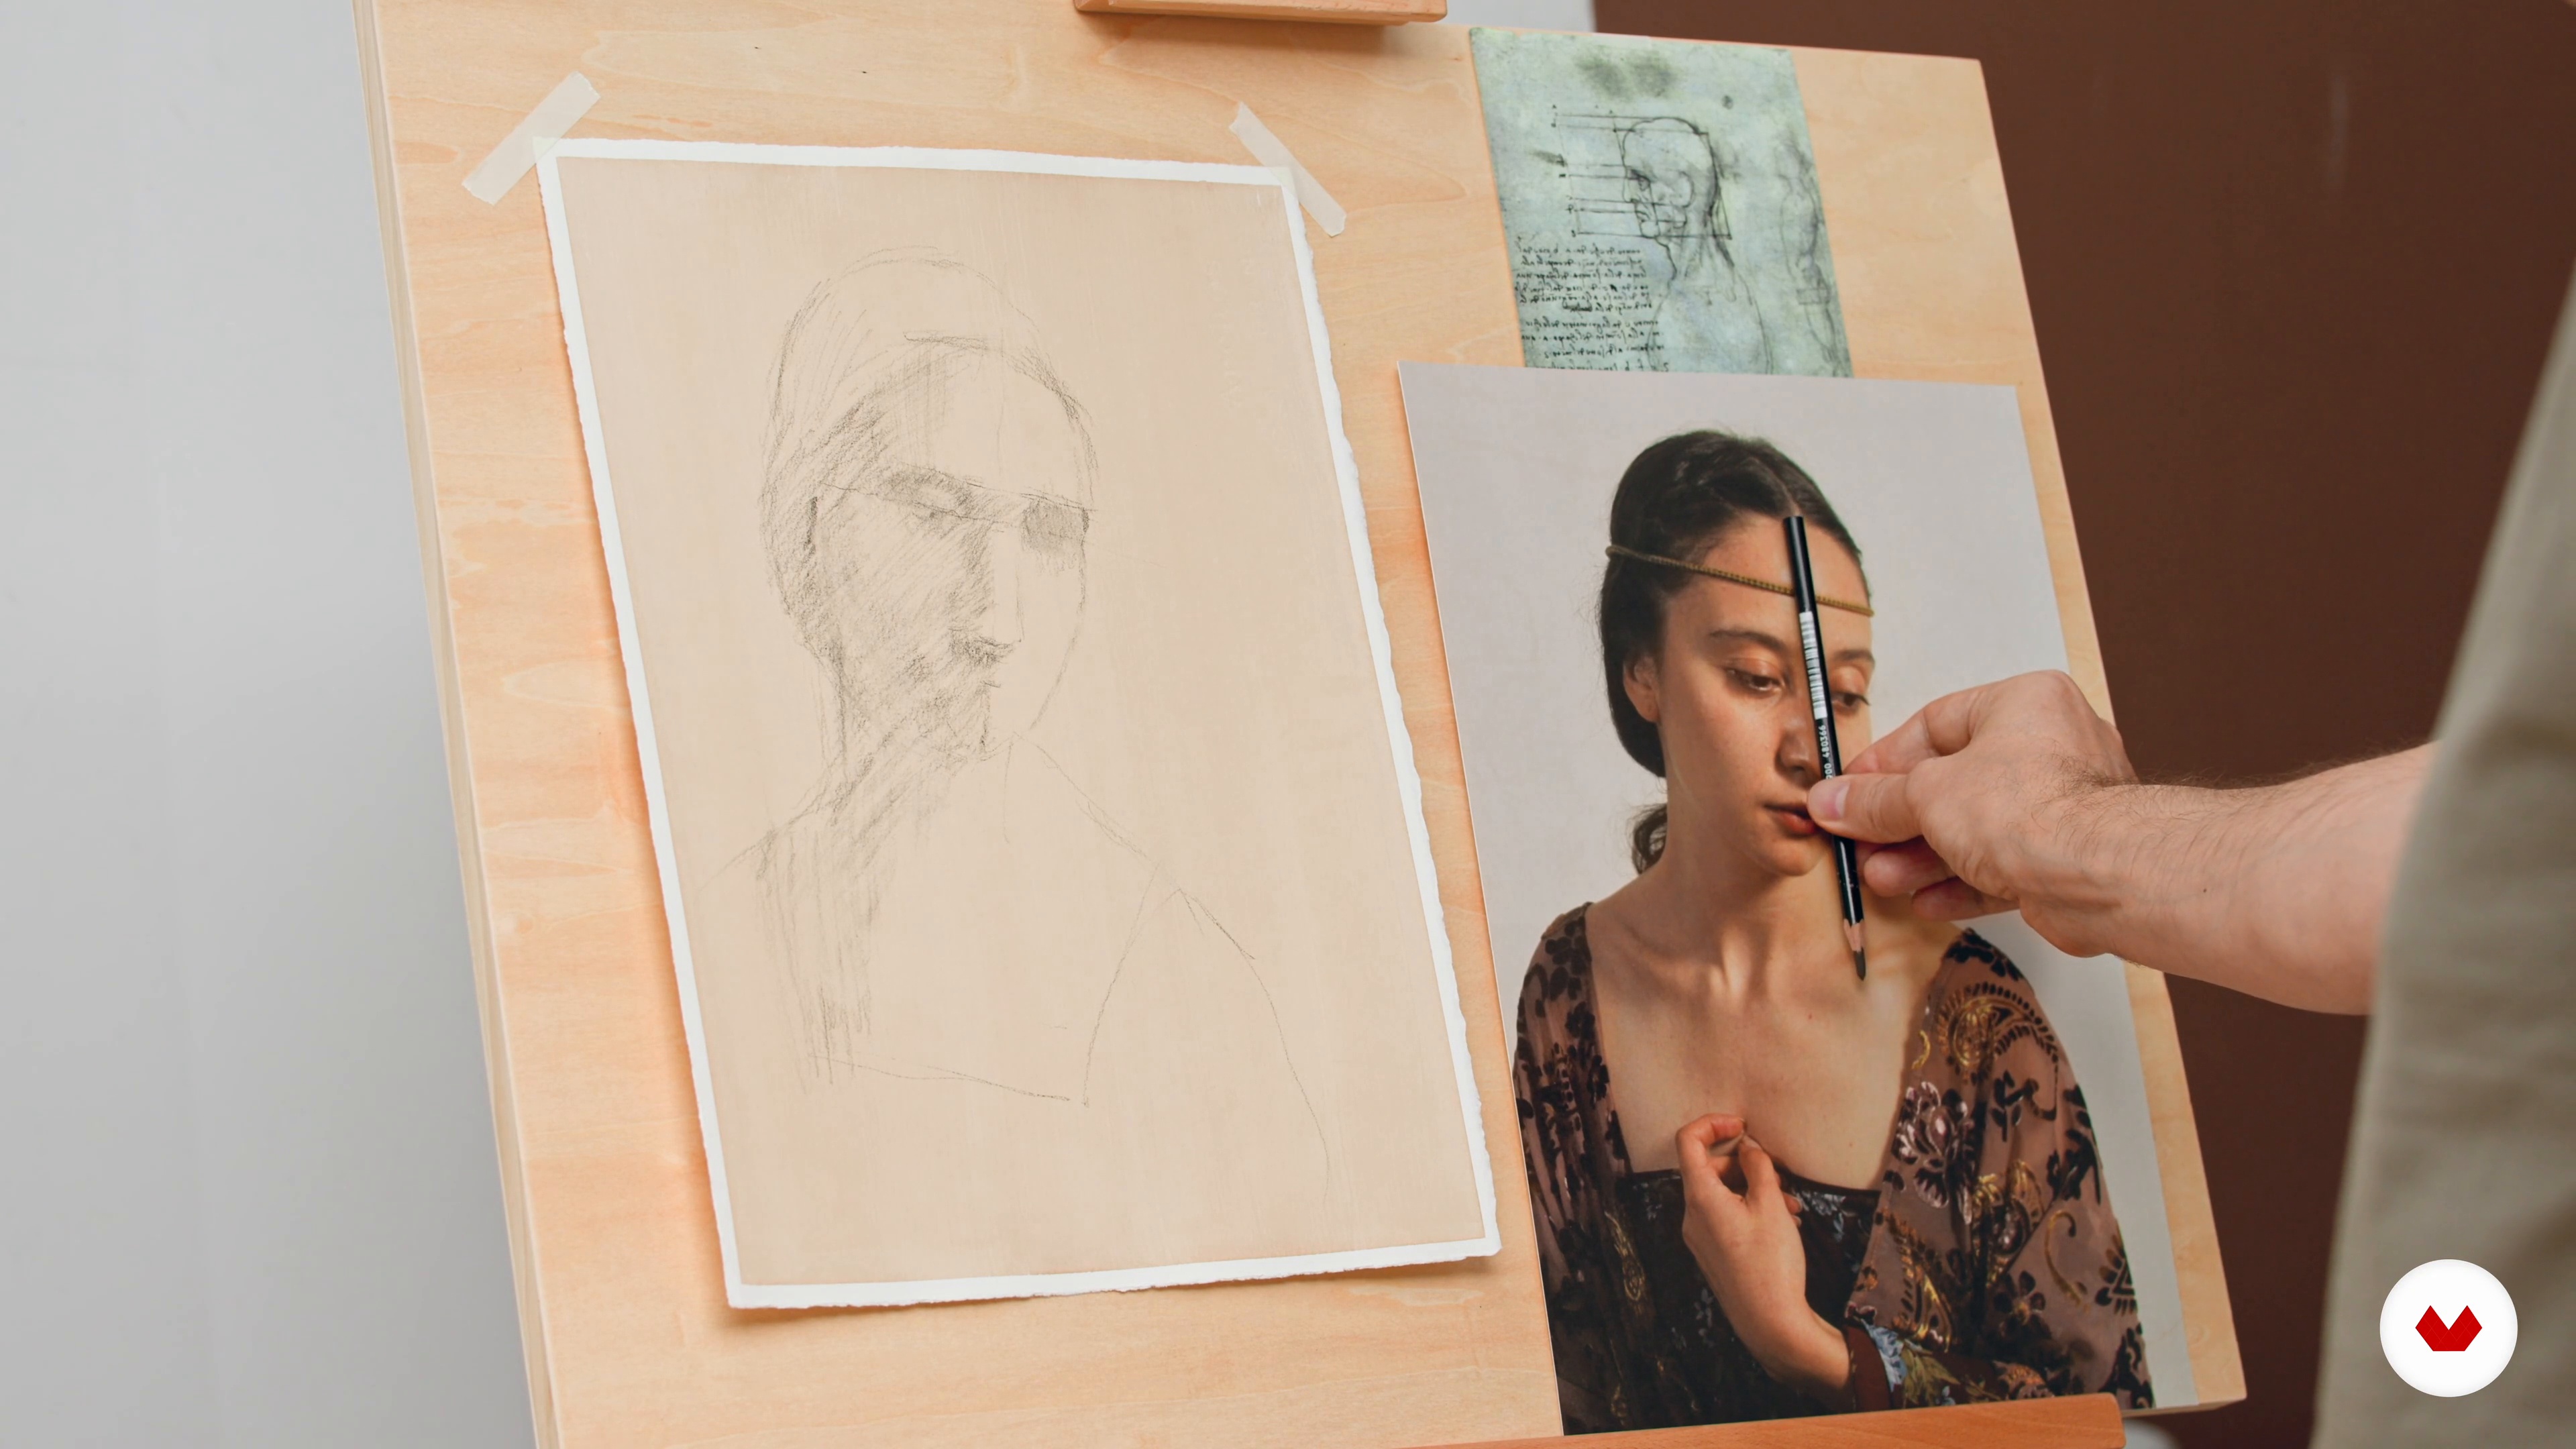
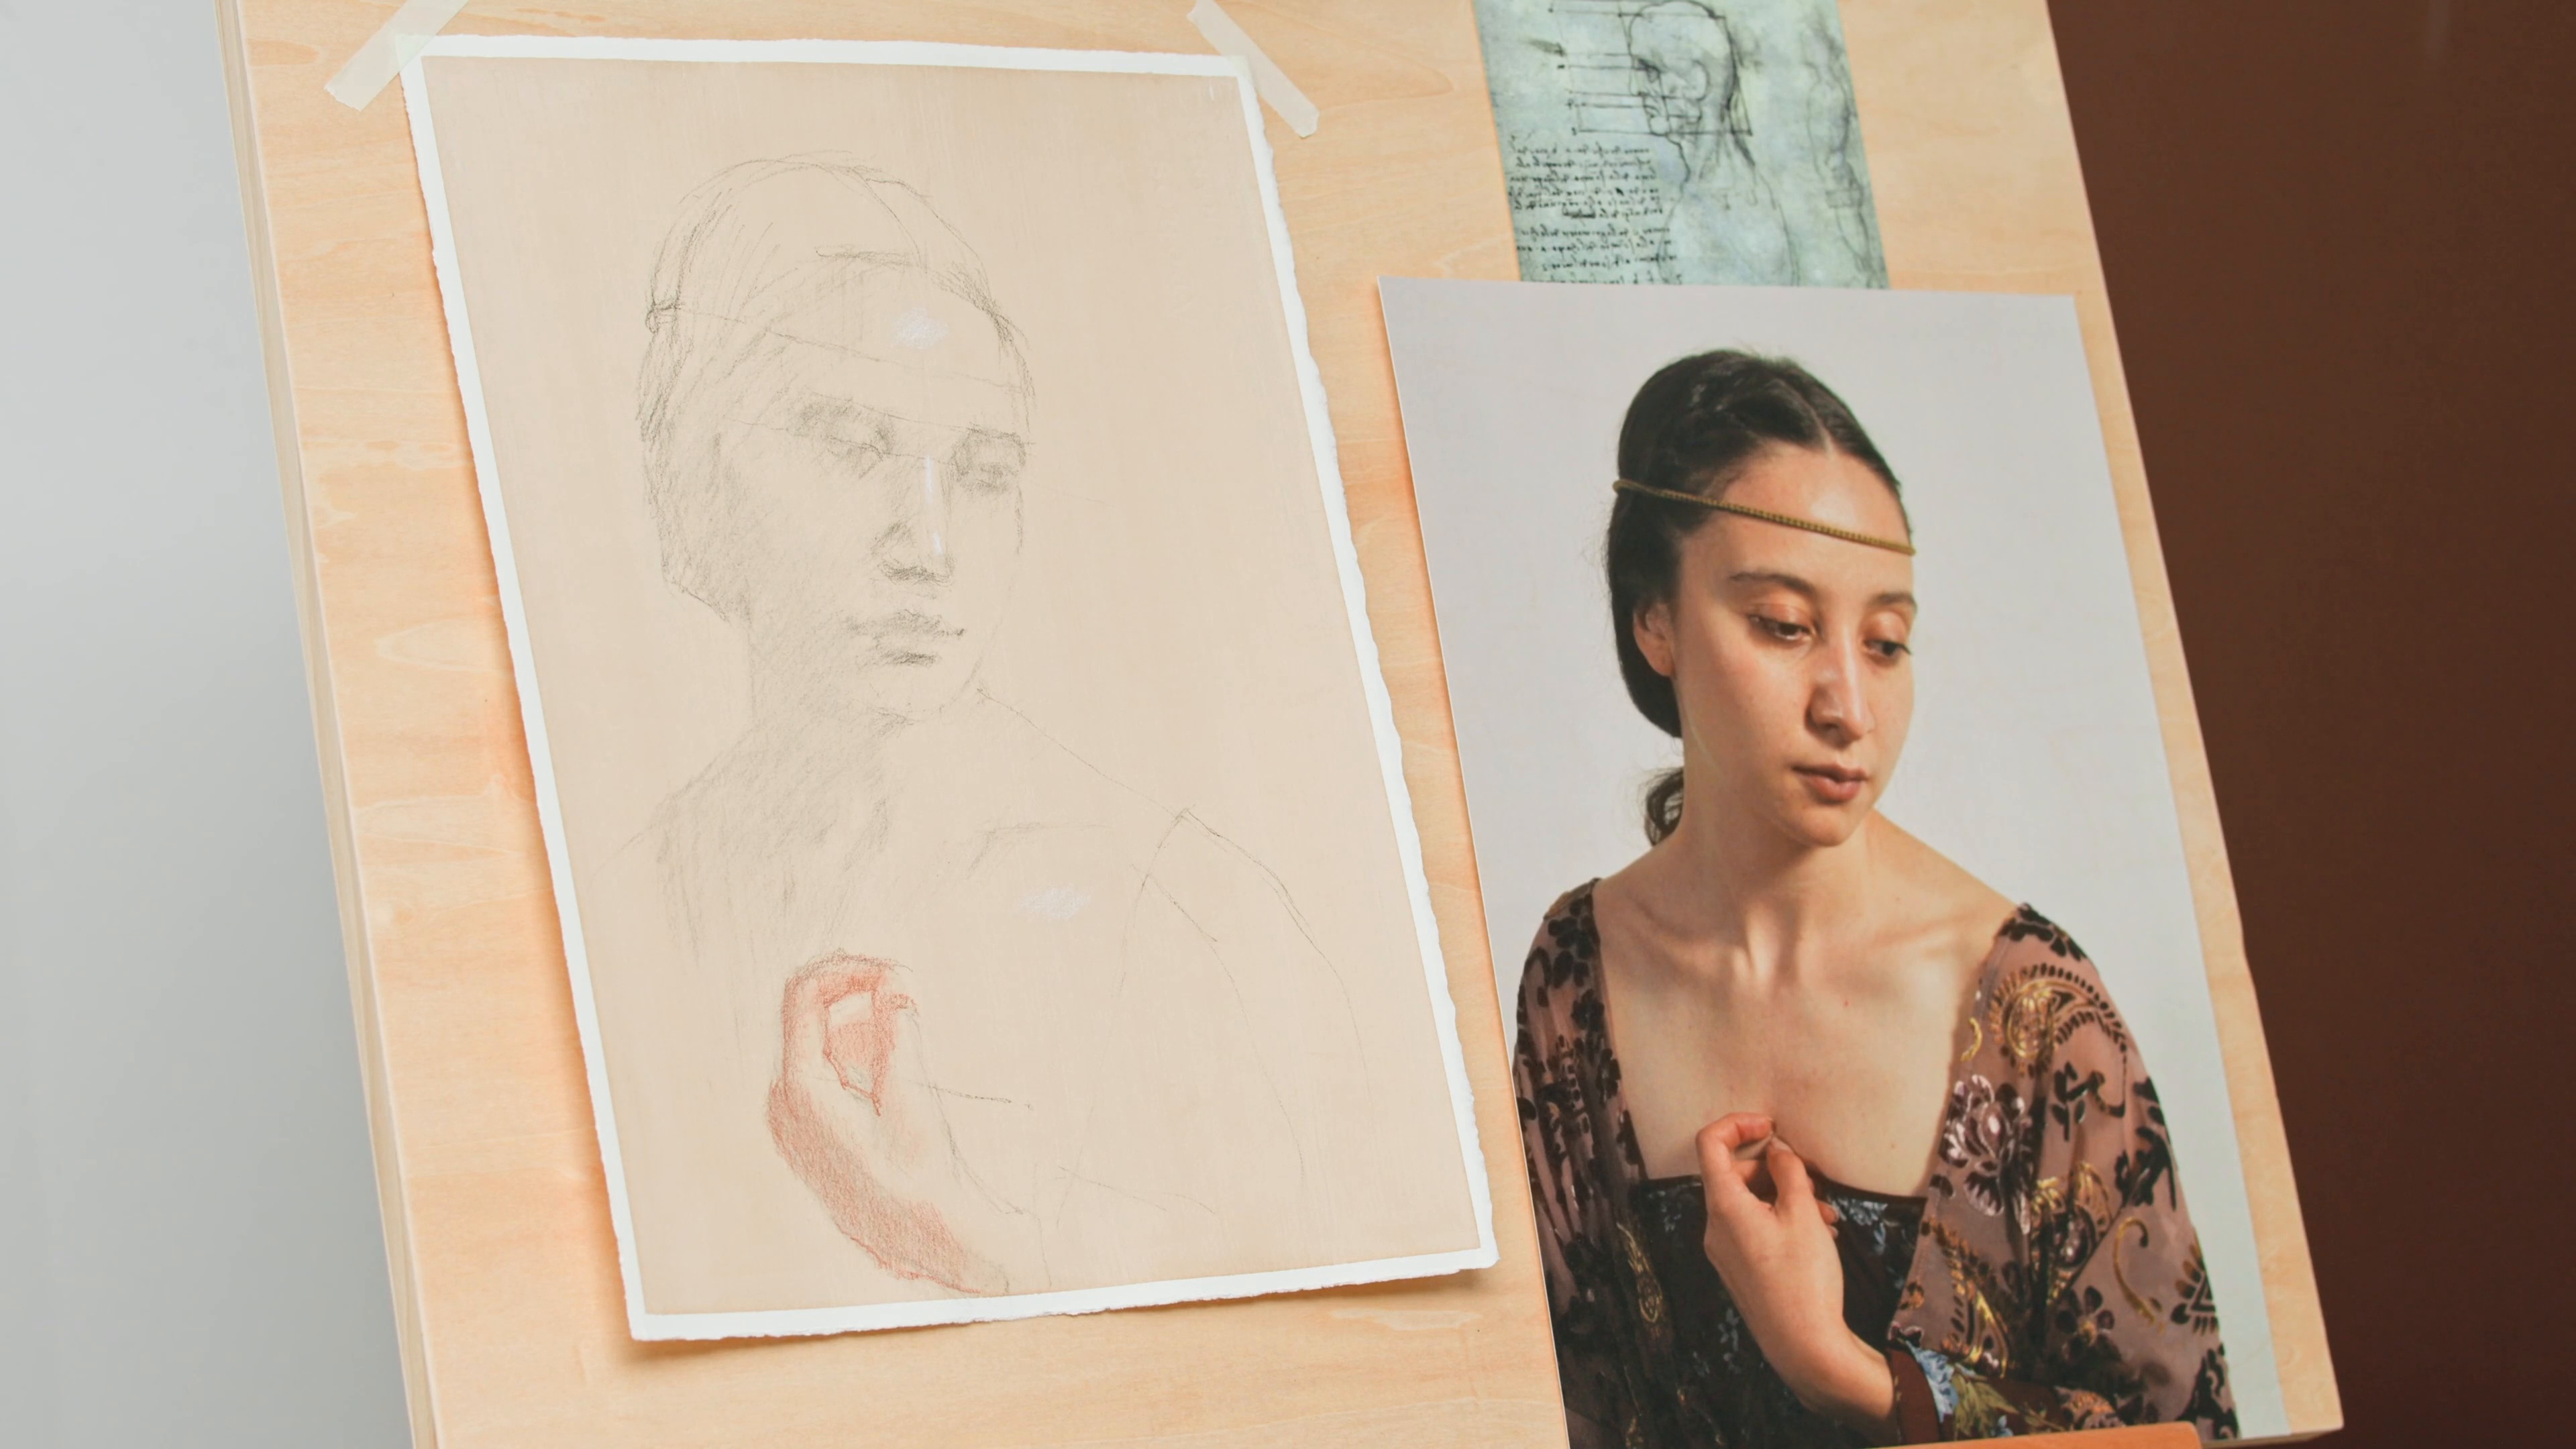
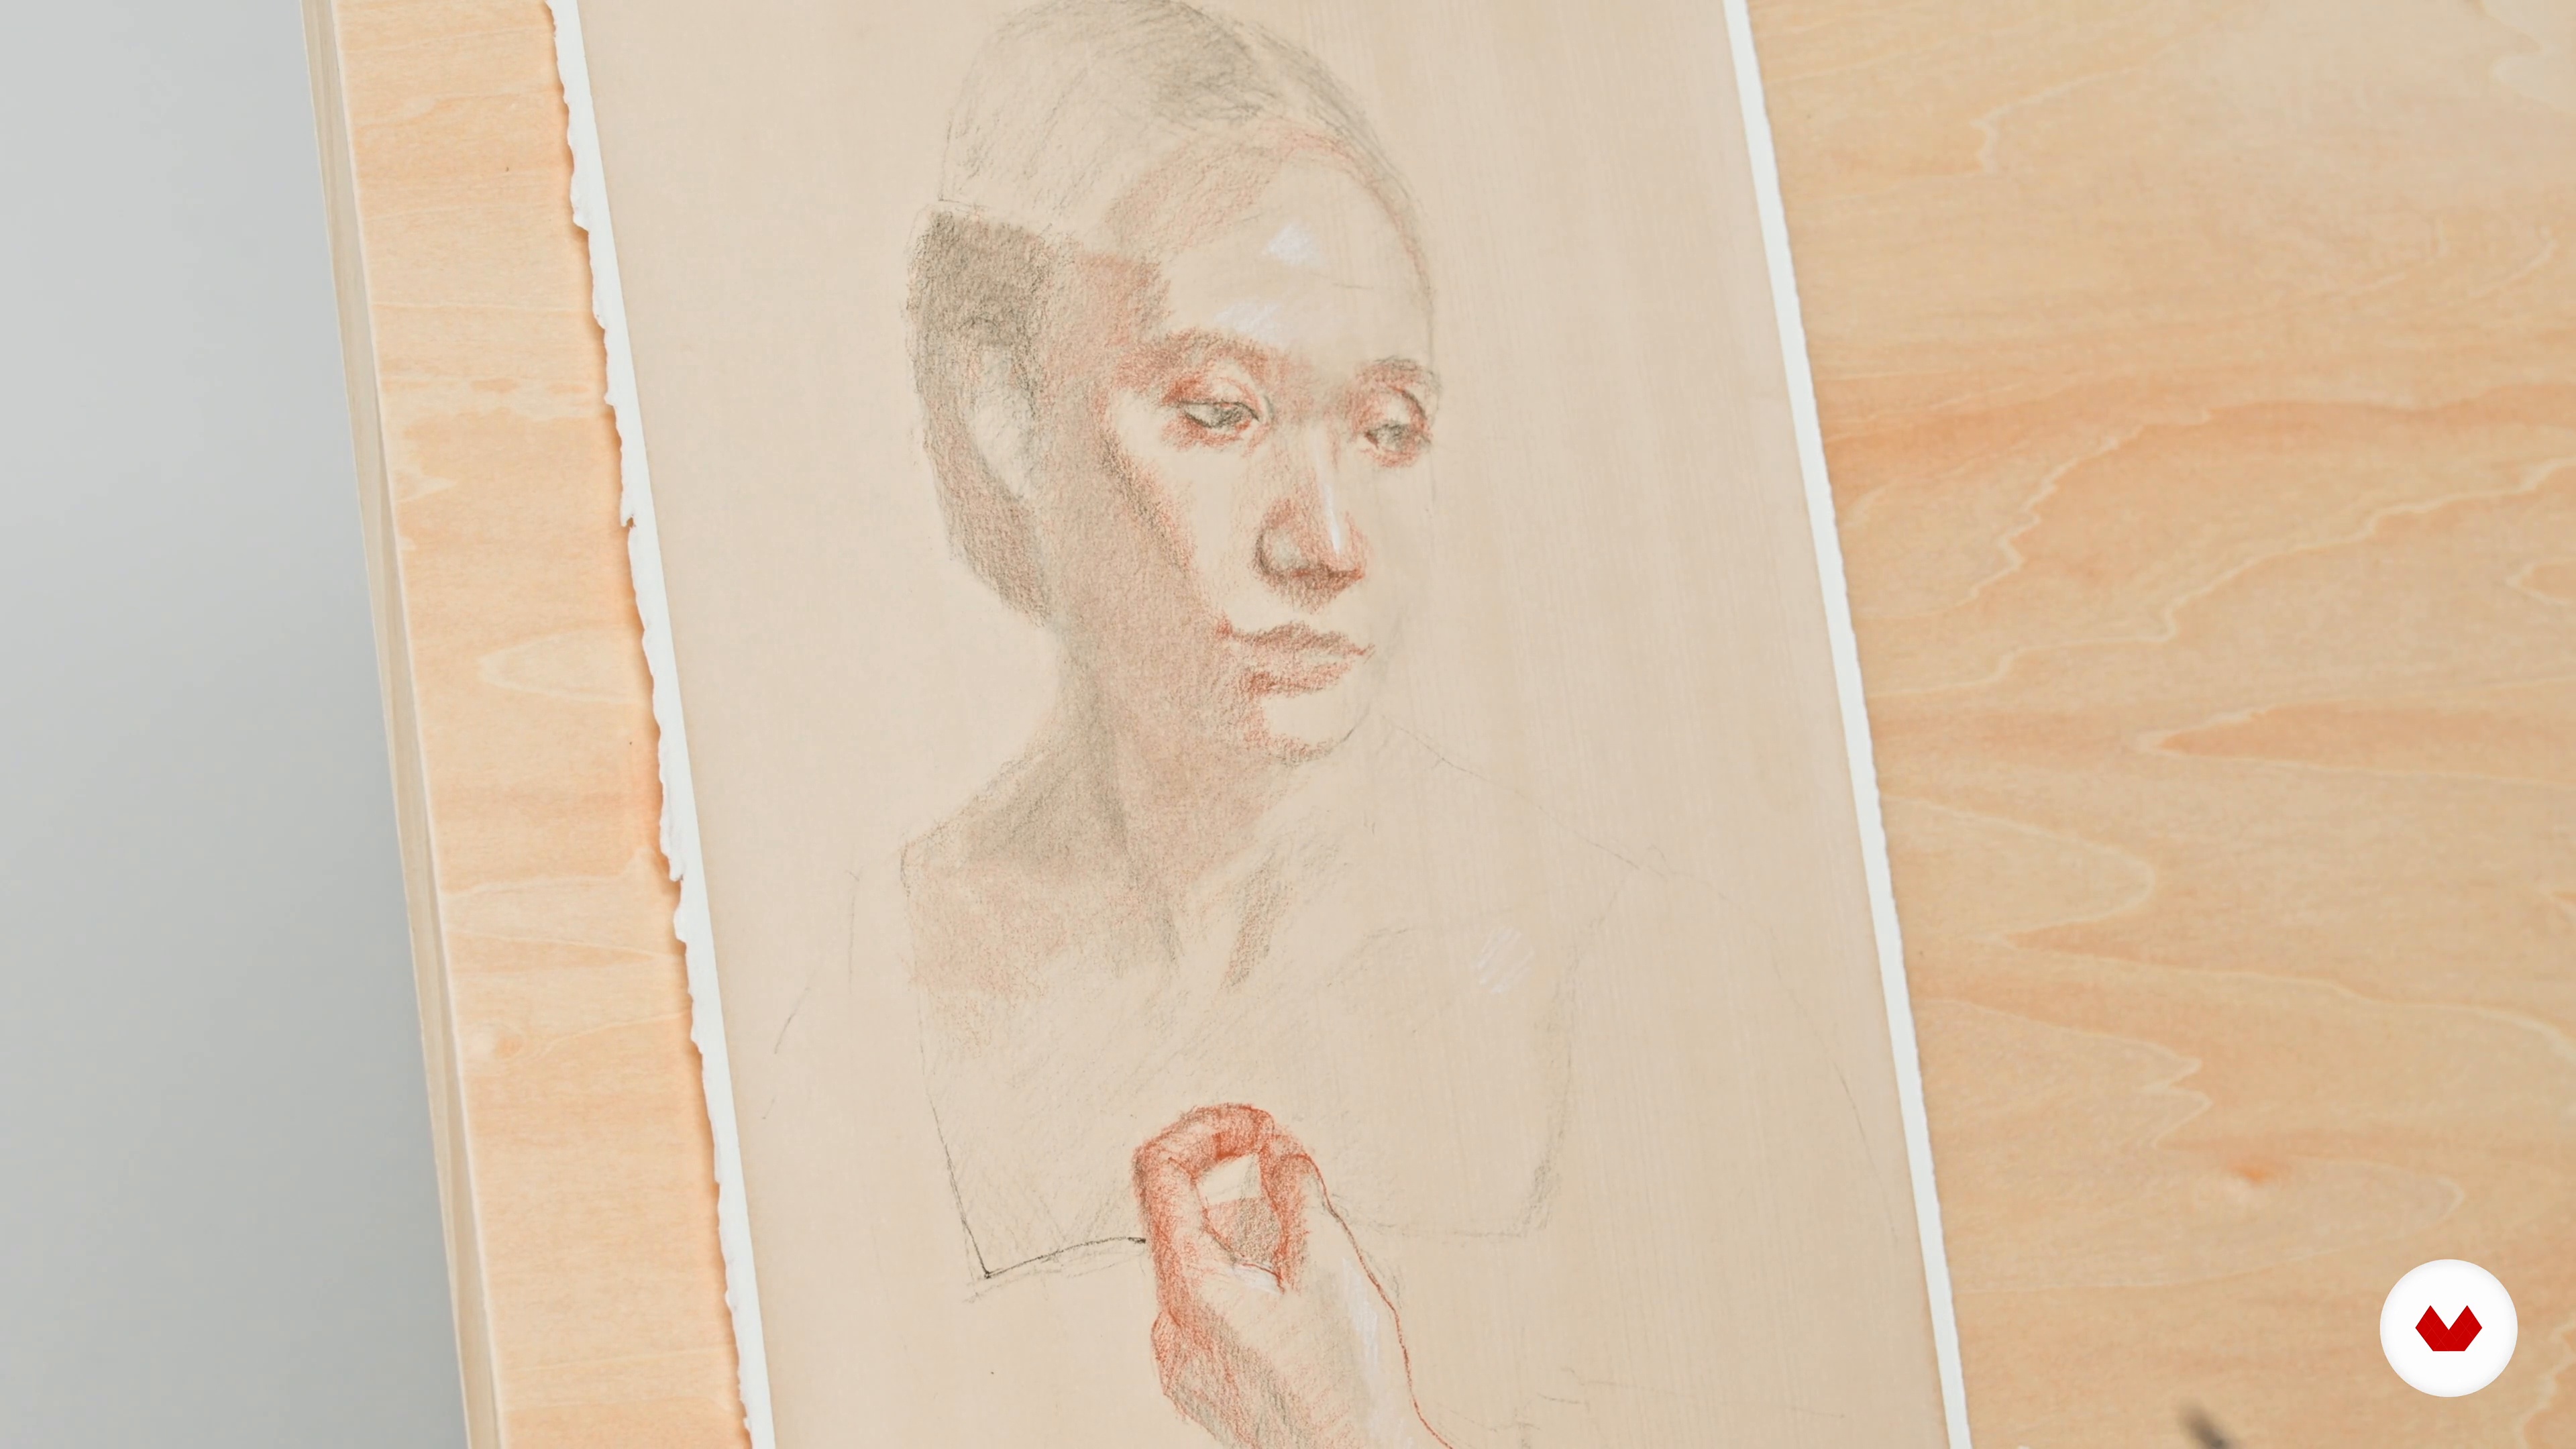
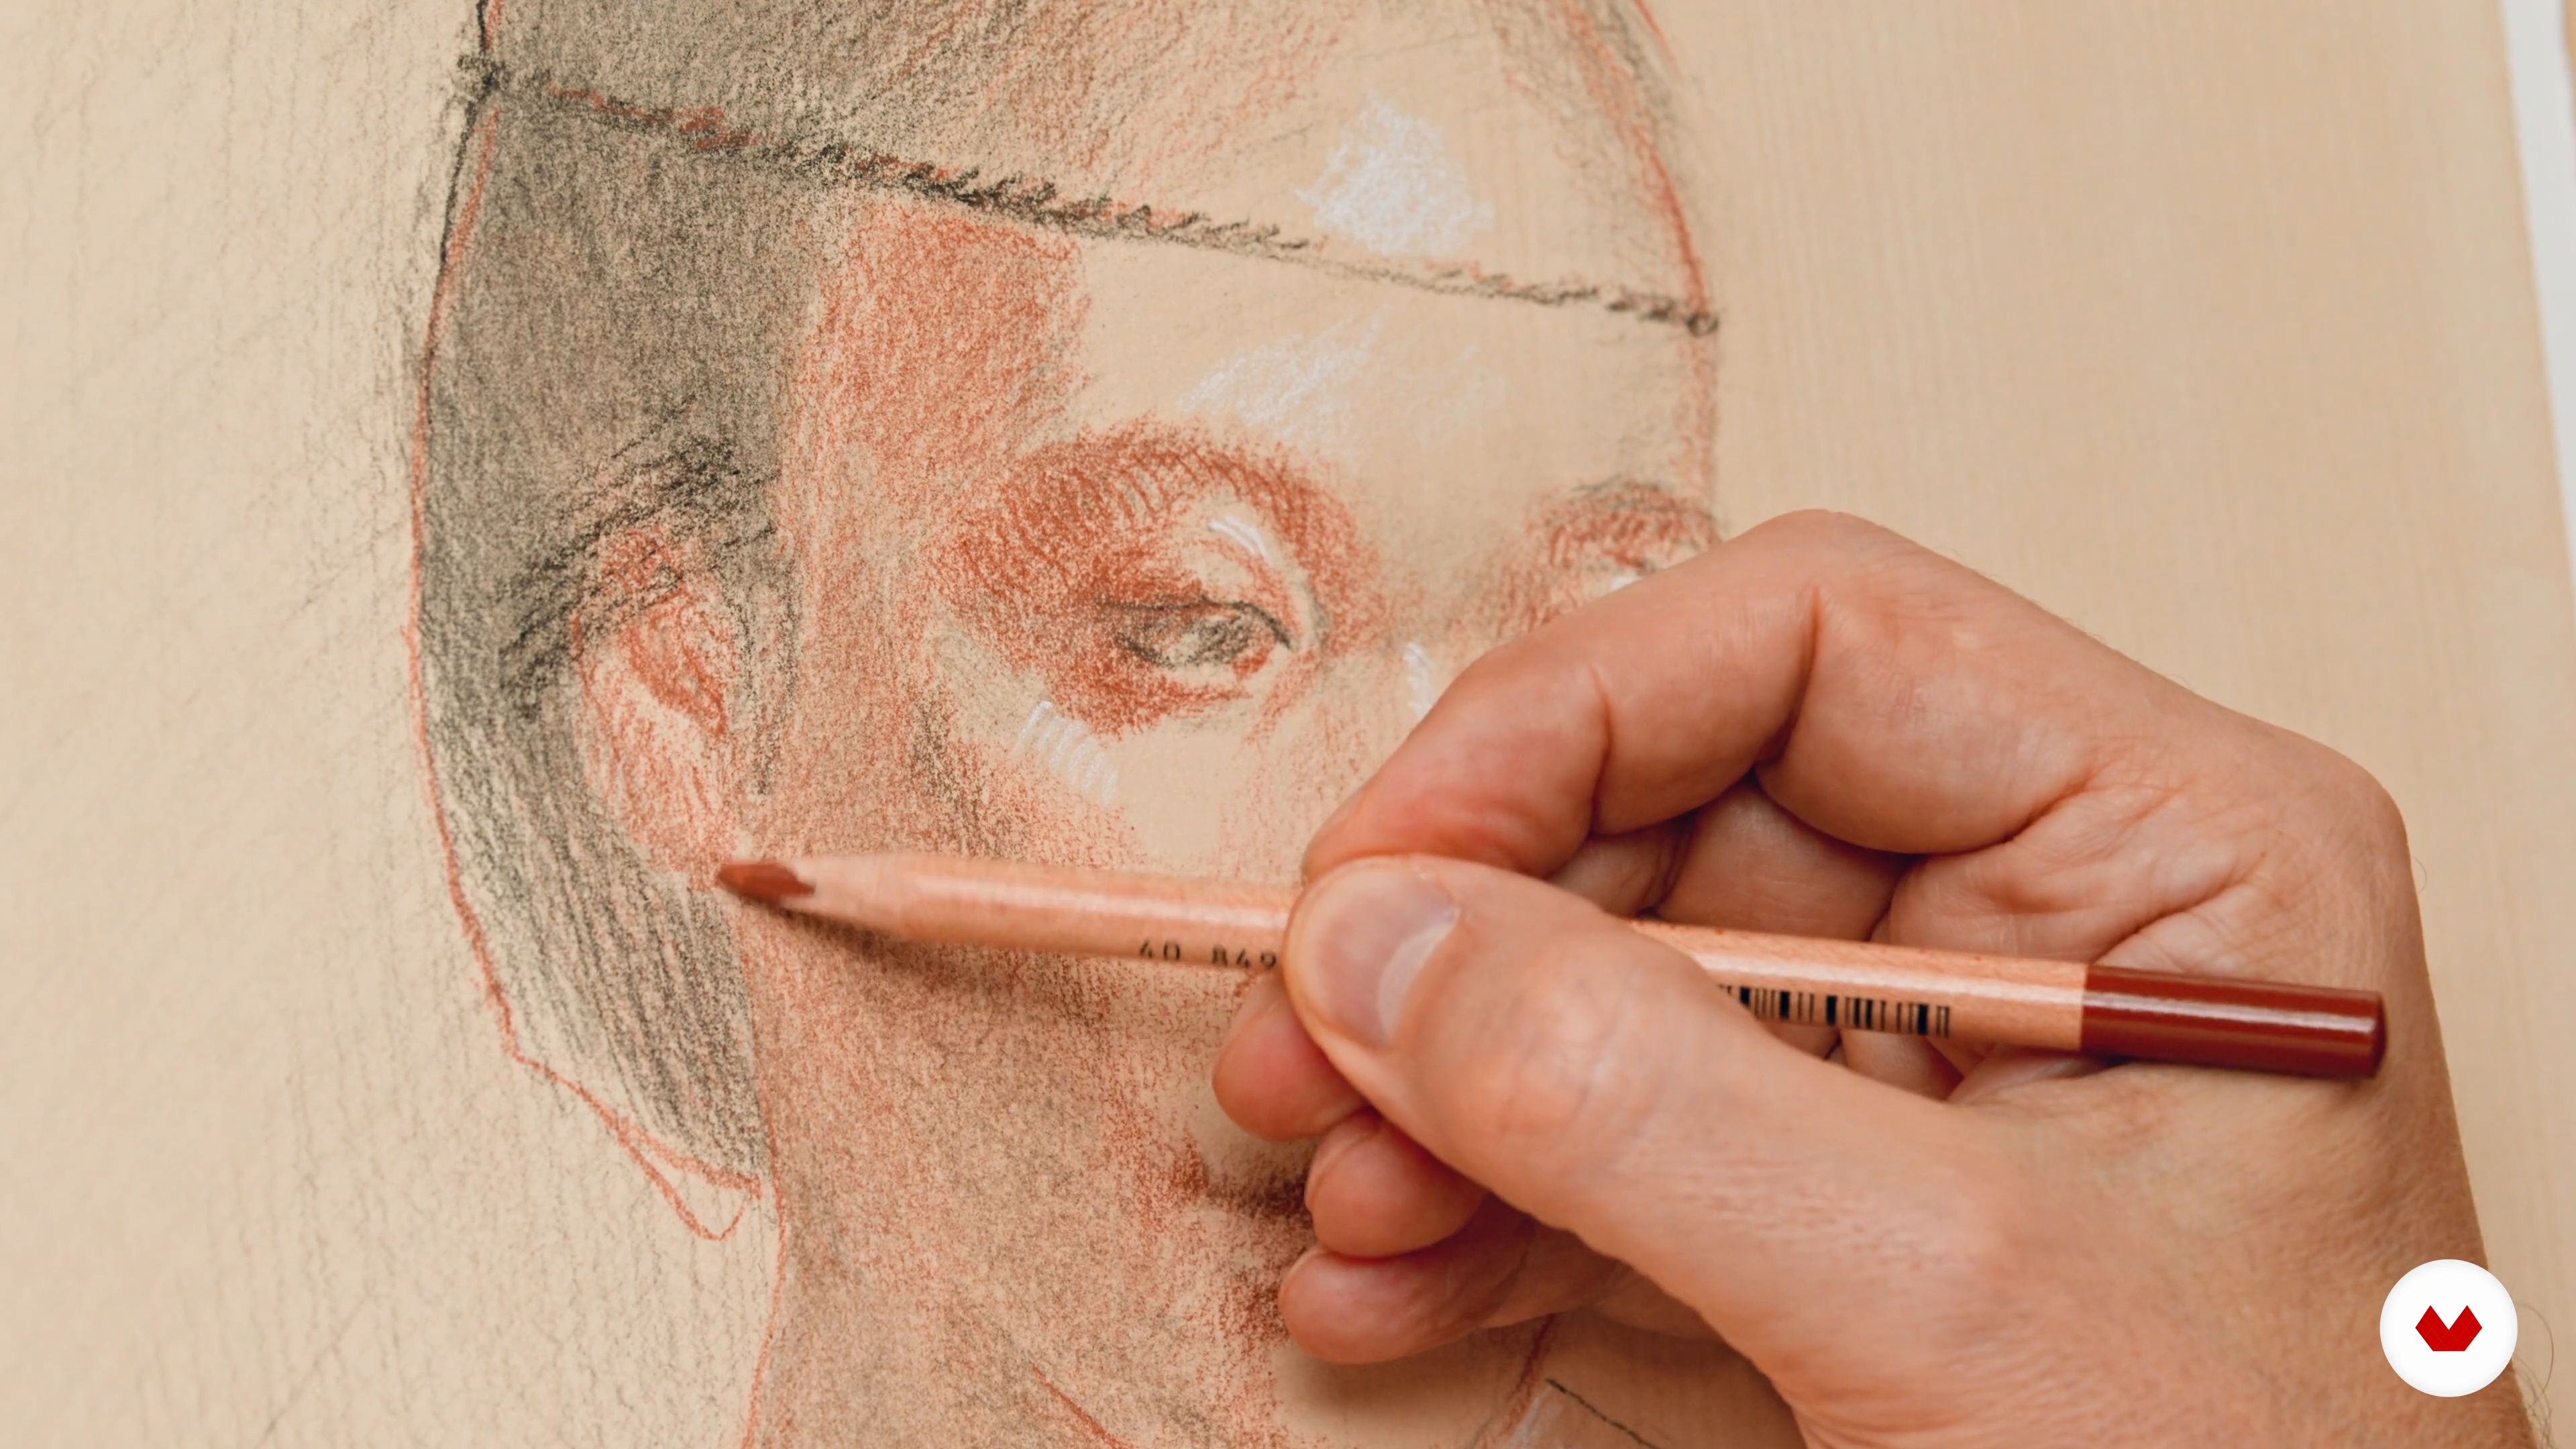
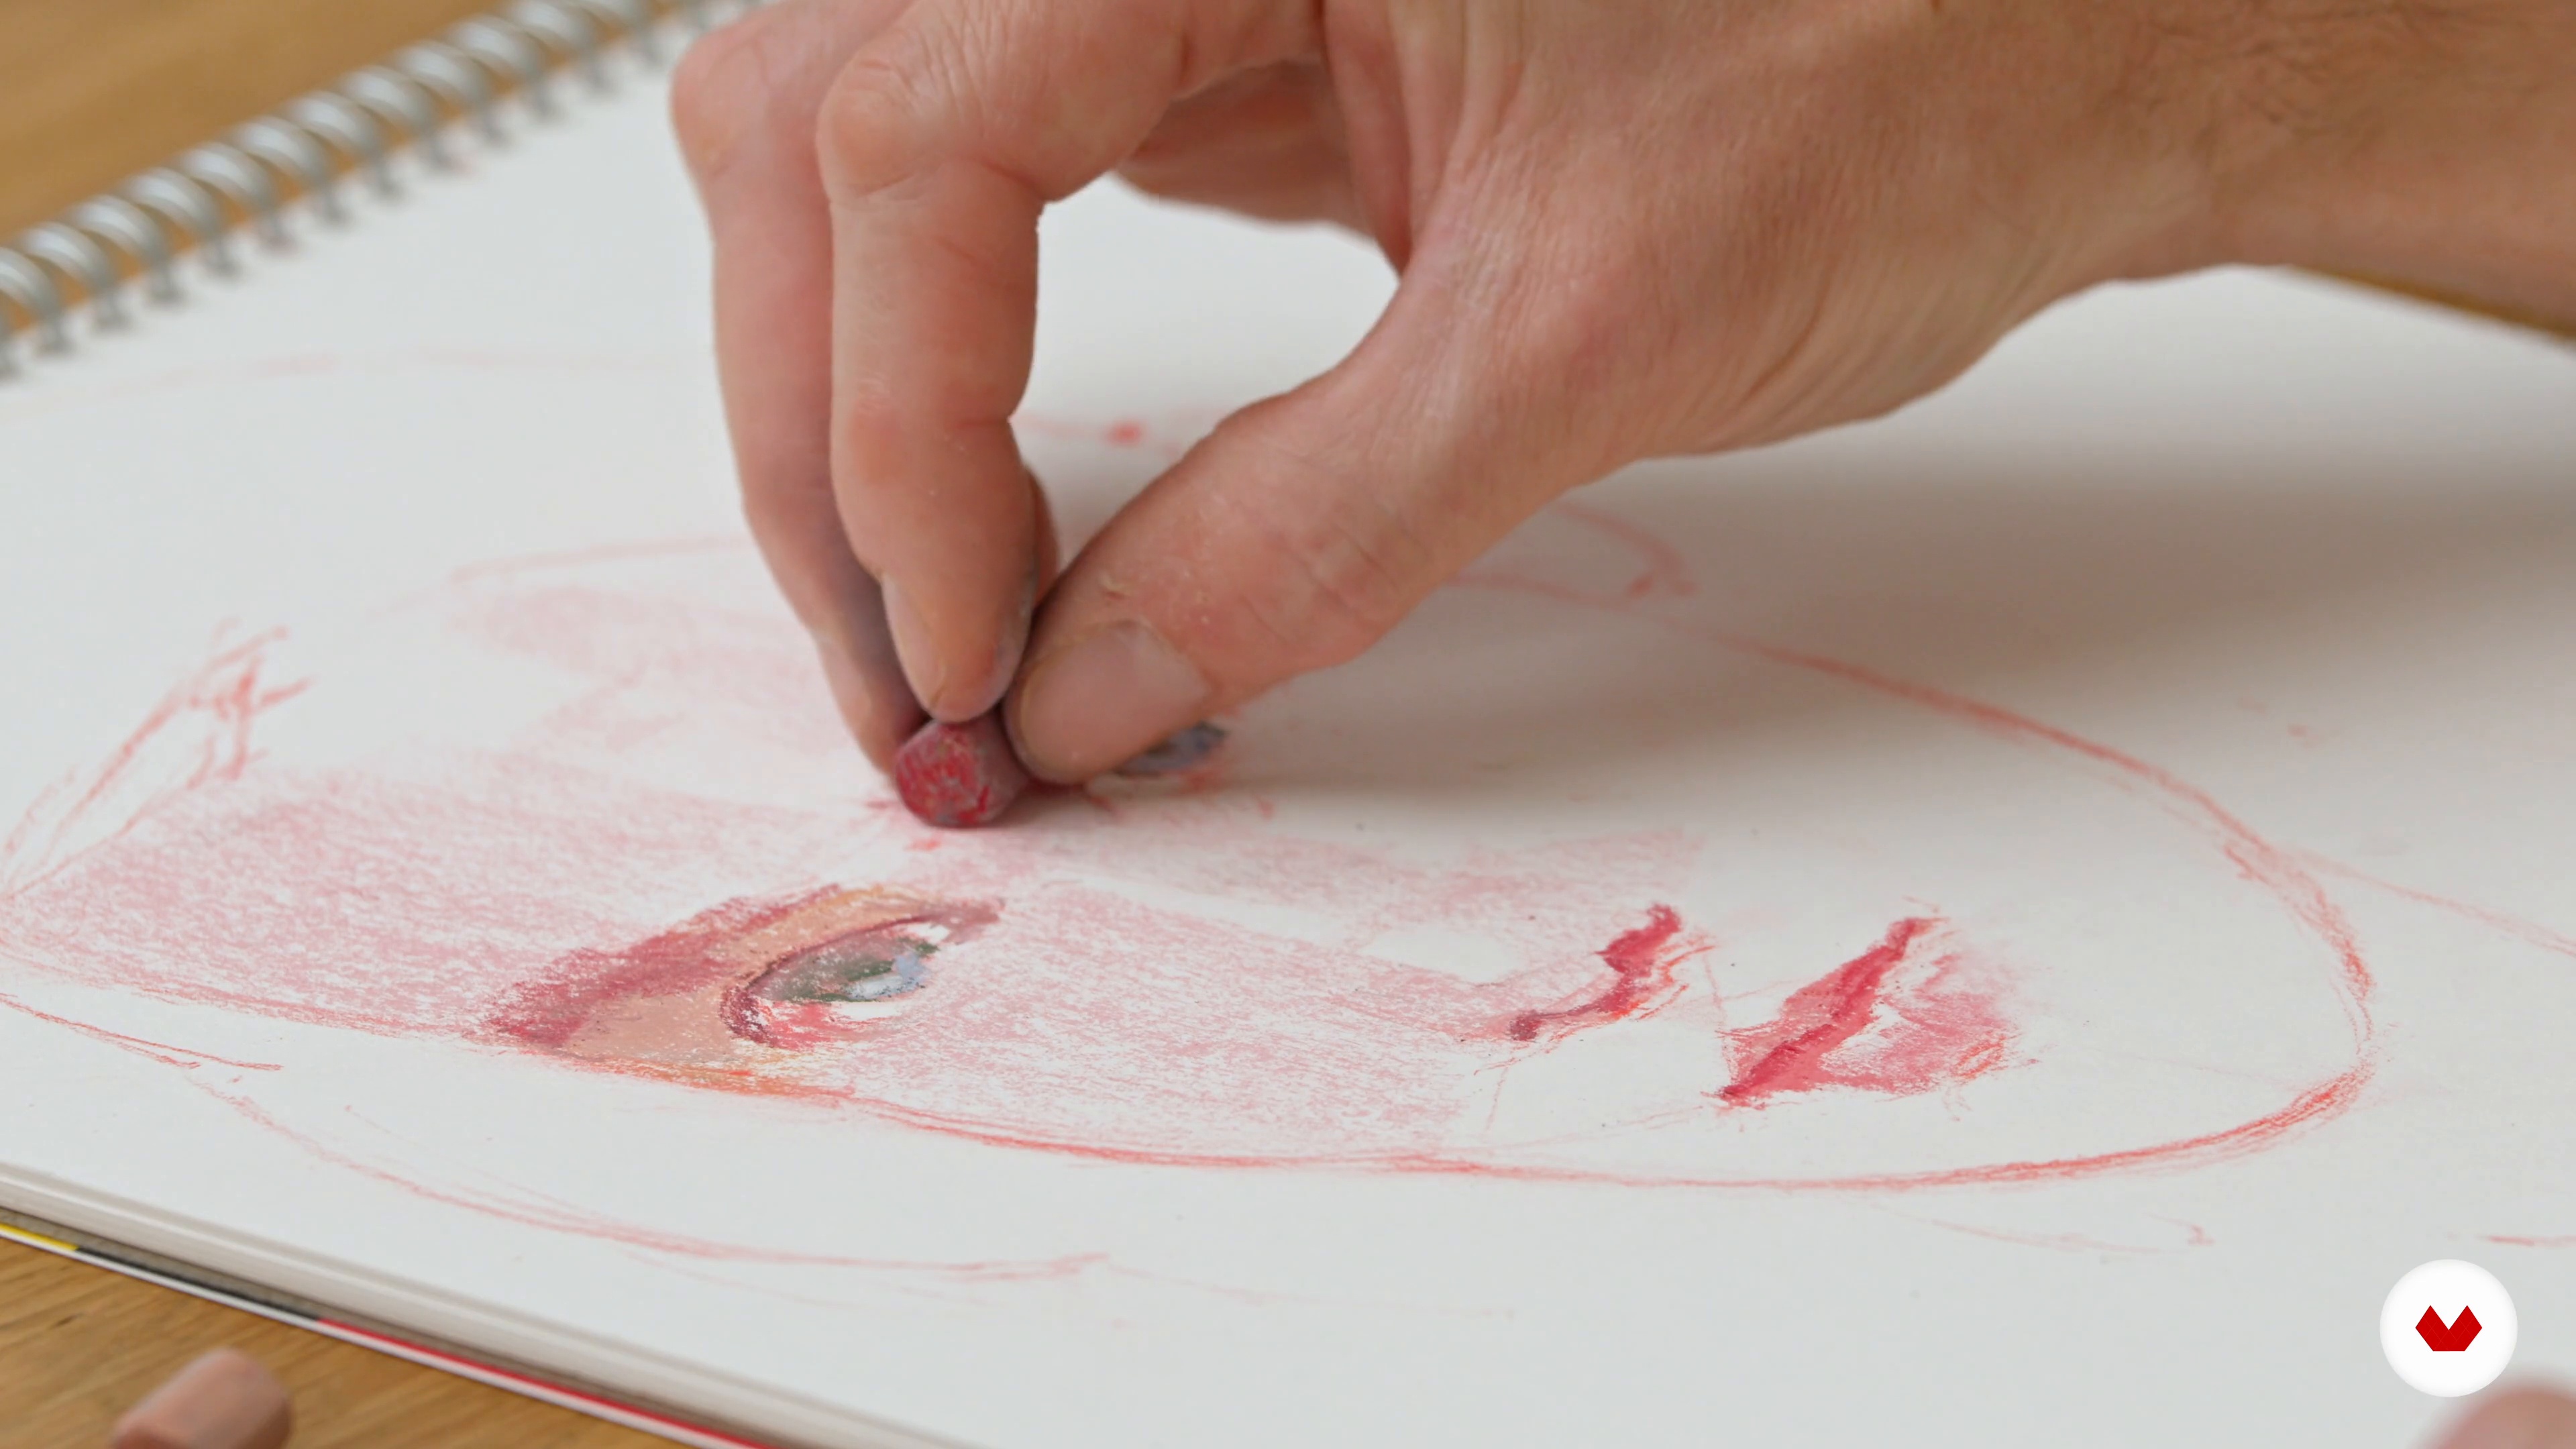
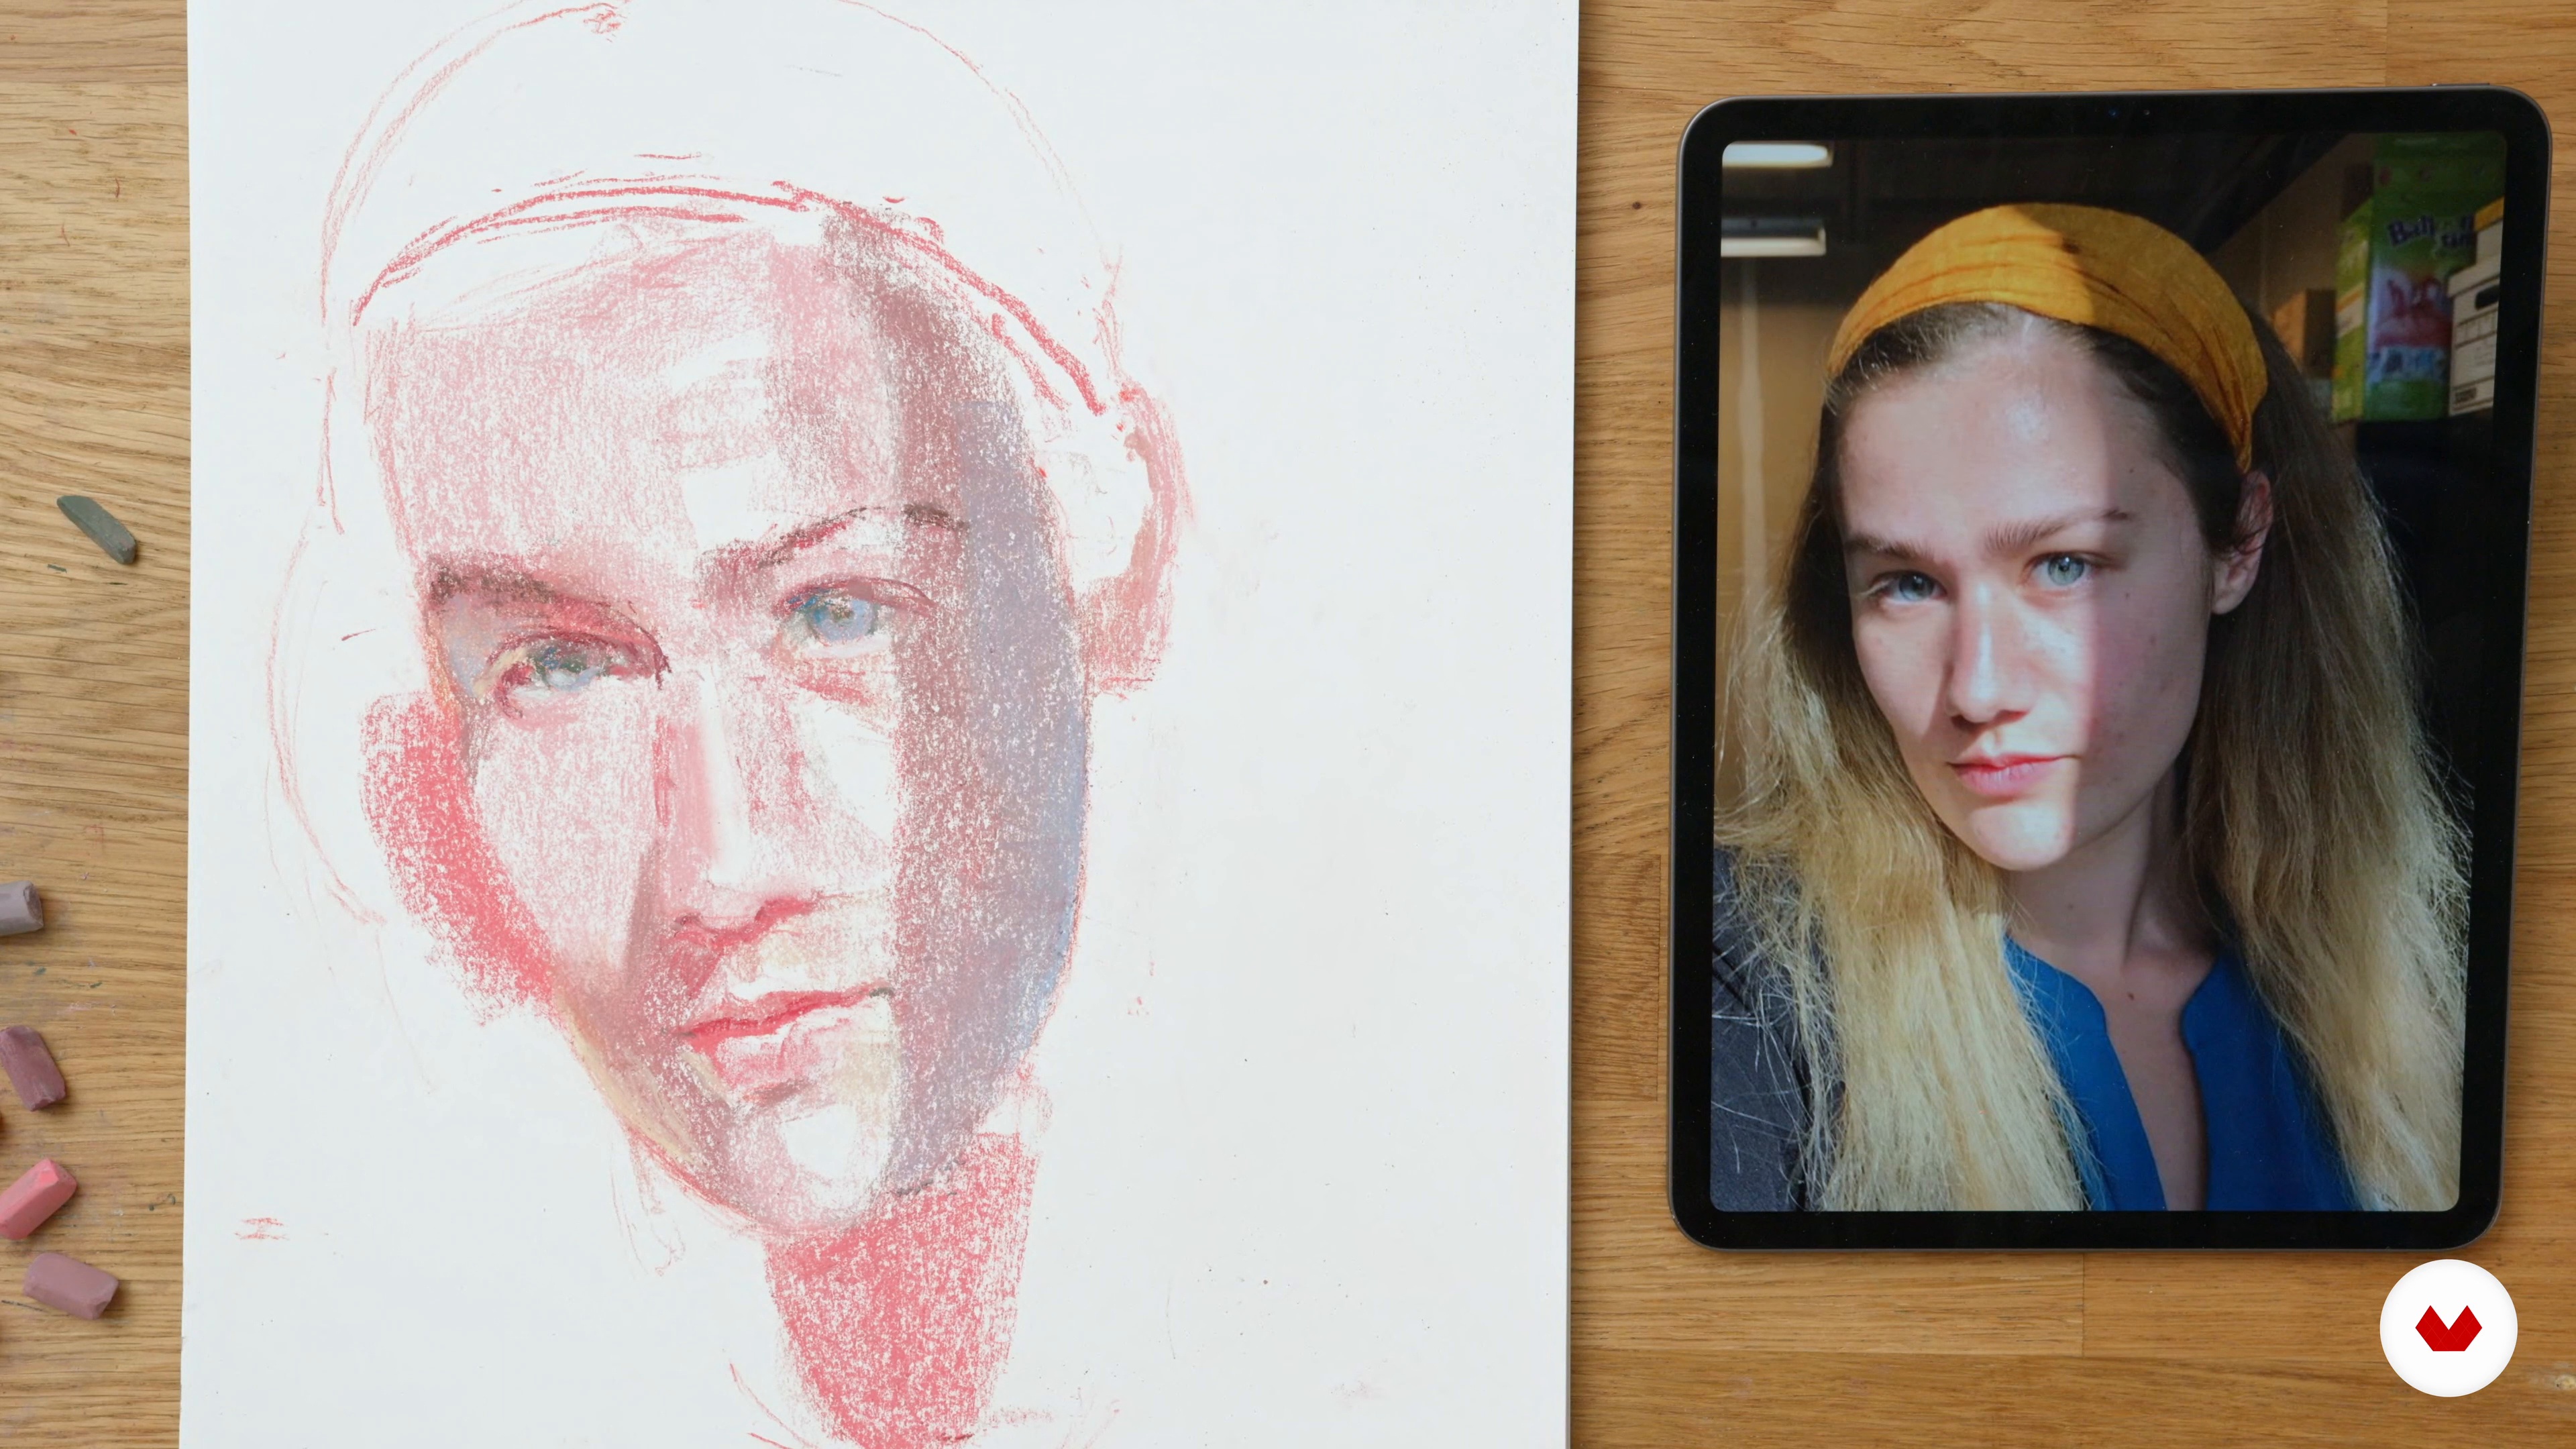
Embark on a journey through the world of portrait artistry with this comprehensive specialization. Begin by mastering the essentials of pencil portrait drawing, focusing on proportions, facial structure, and detailed shading techniques with Matt Smith. Elevate your skills by delving into the Renaissance methods, where Michele Bajona guides you through classical techniques, emphasizing the importance of form, light, and shadow for realistic and structured portraits.

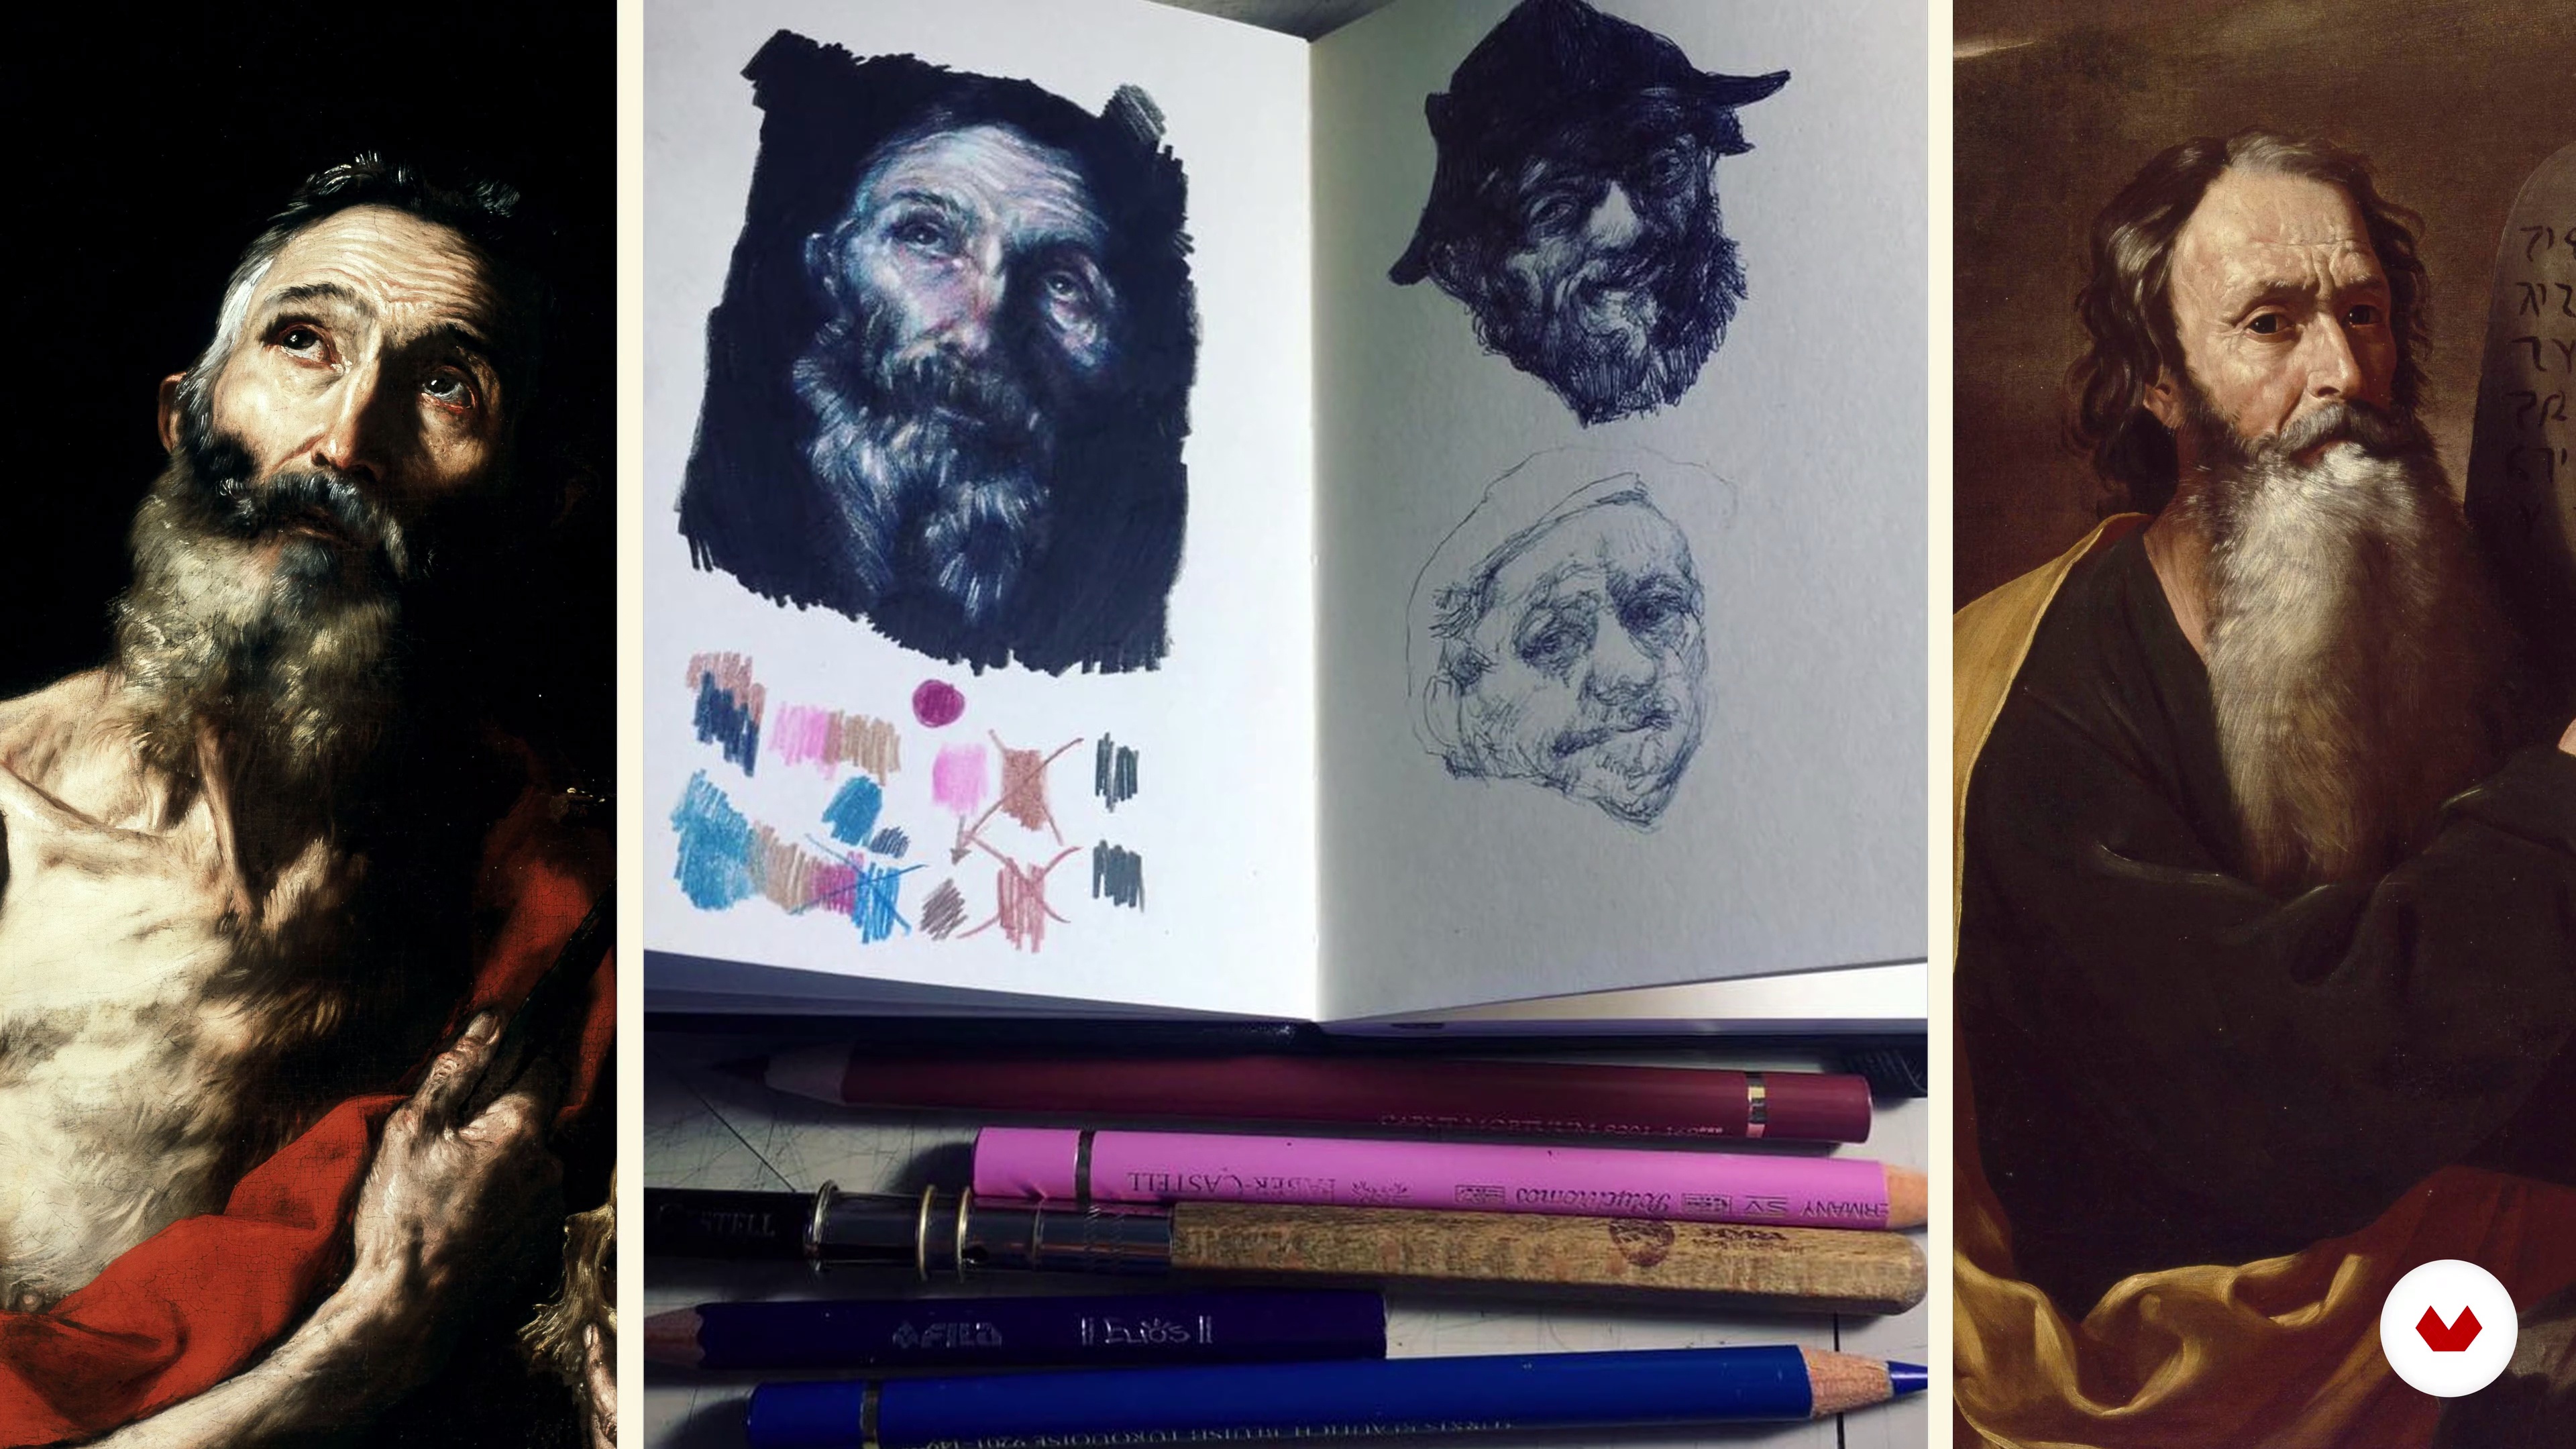
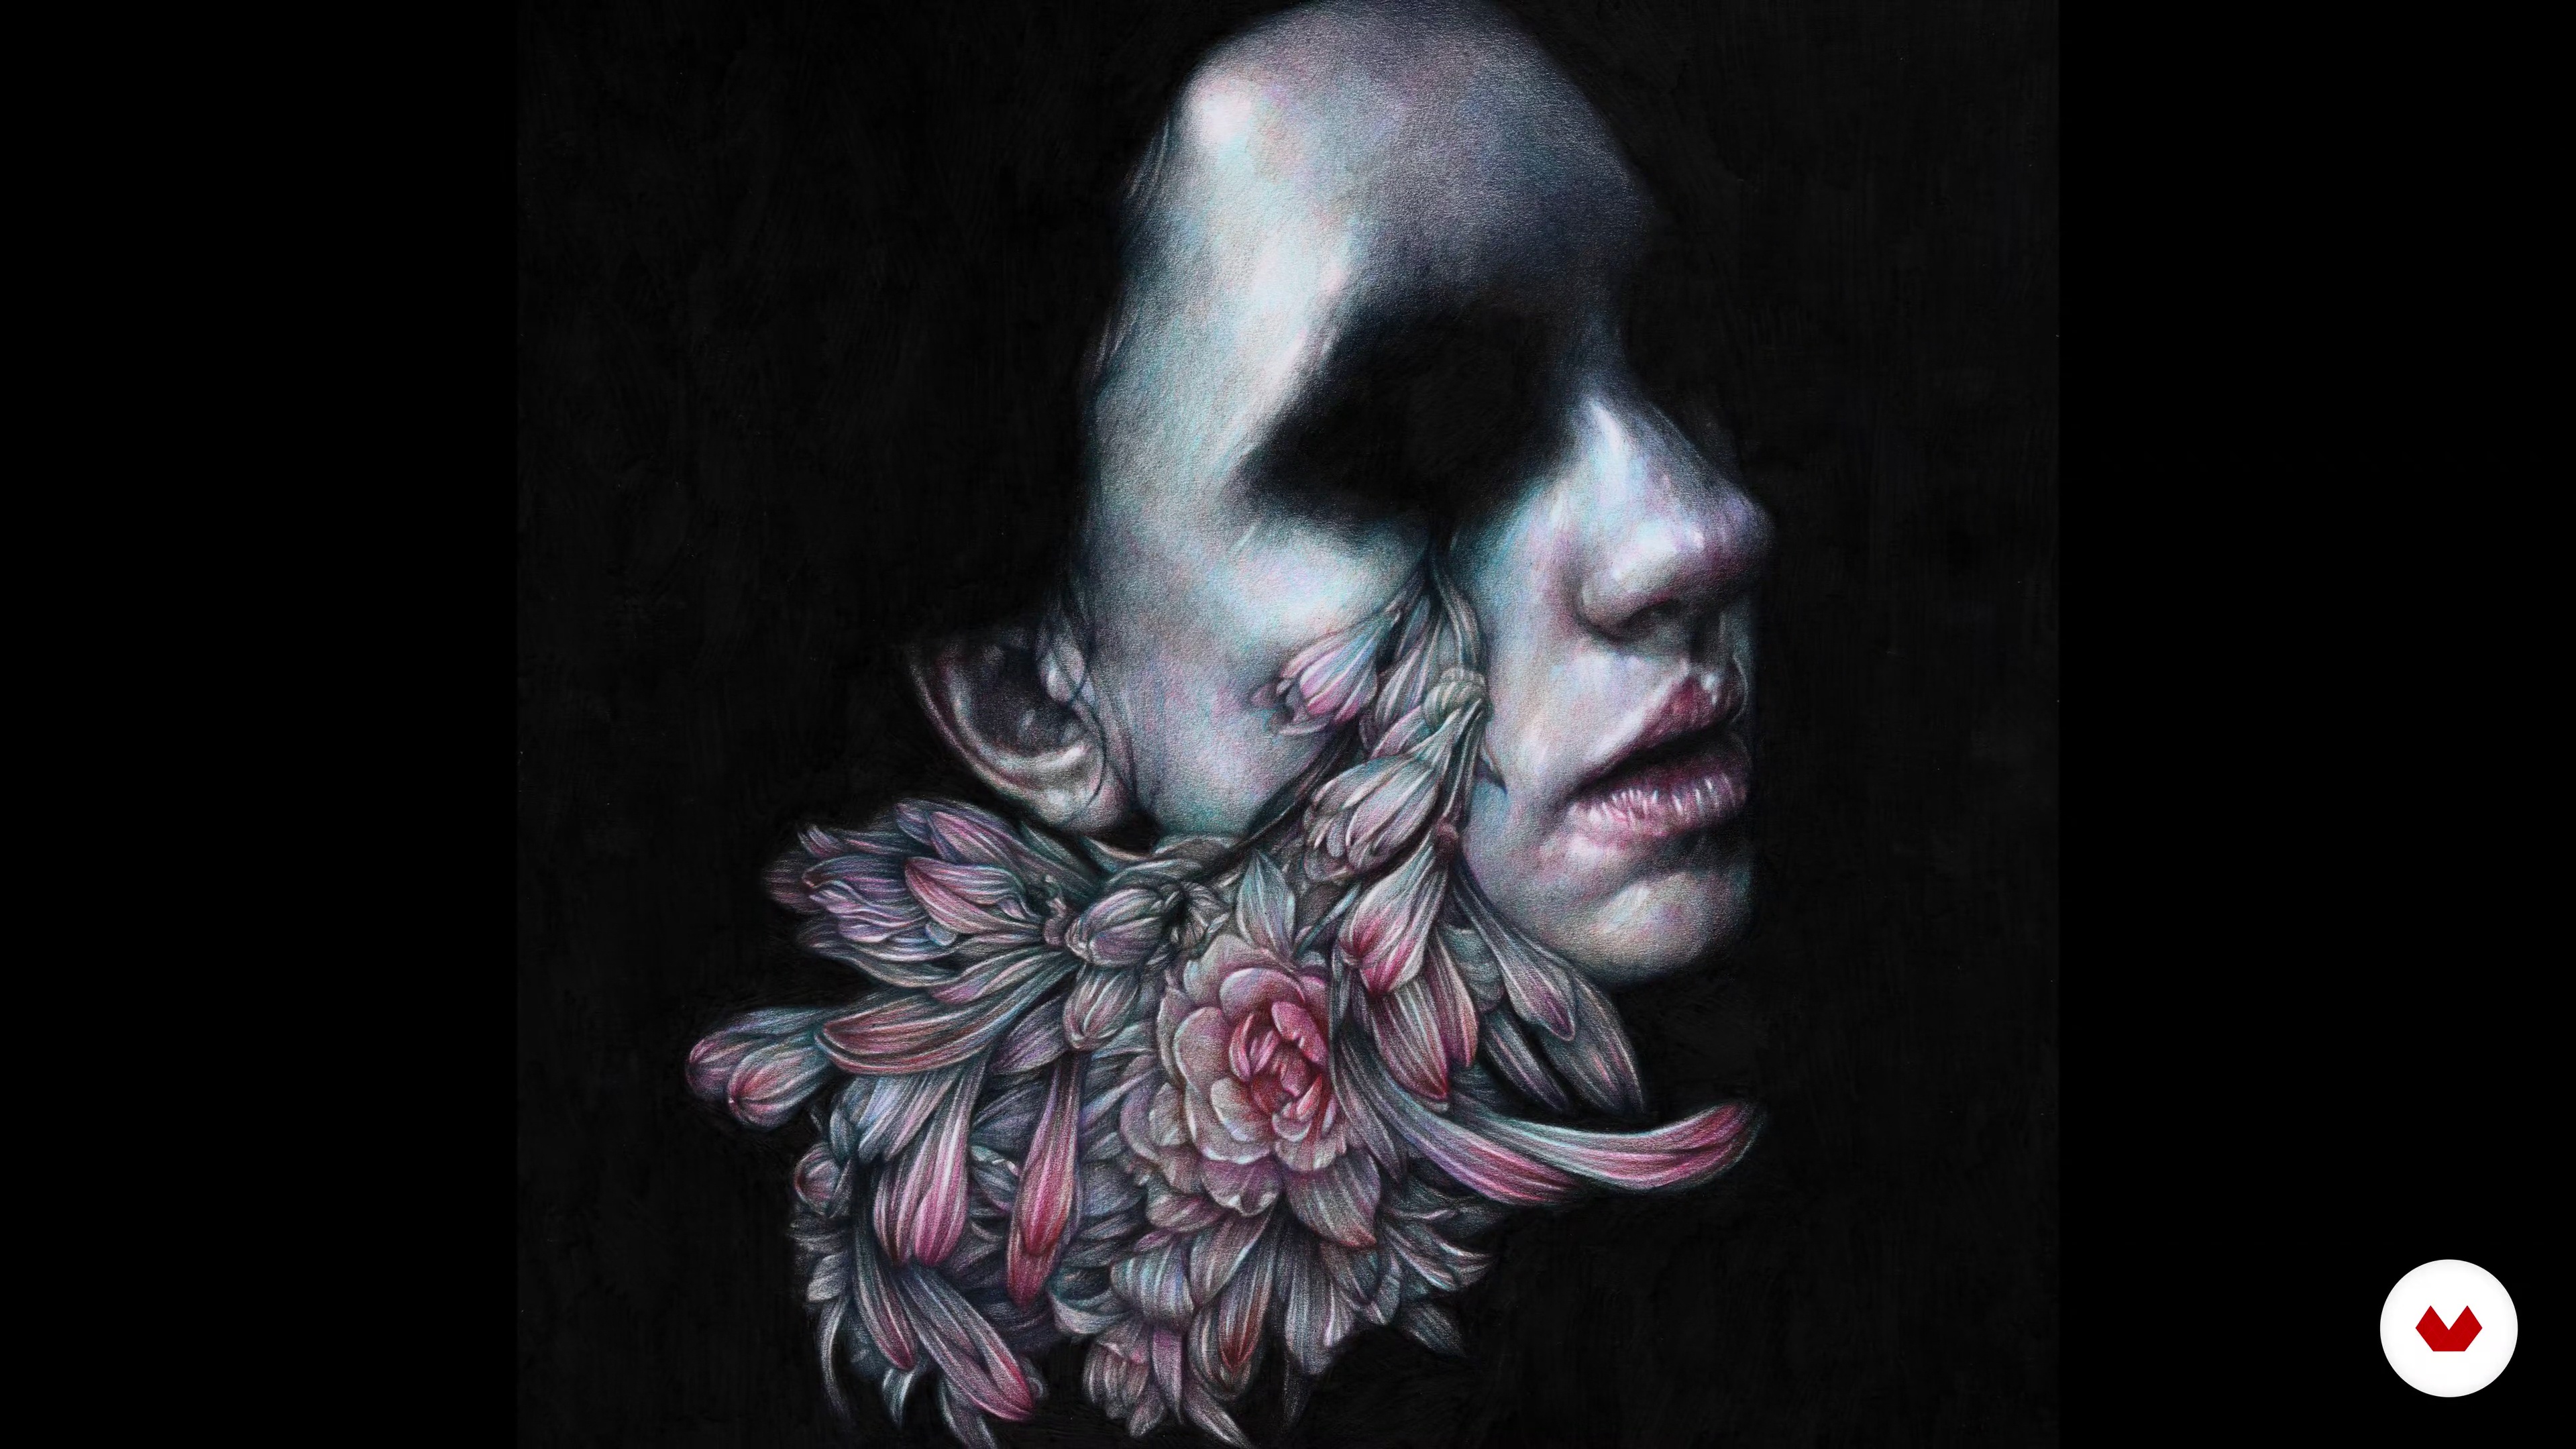
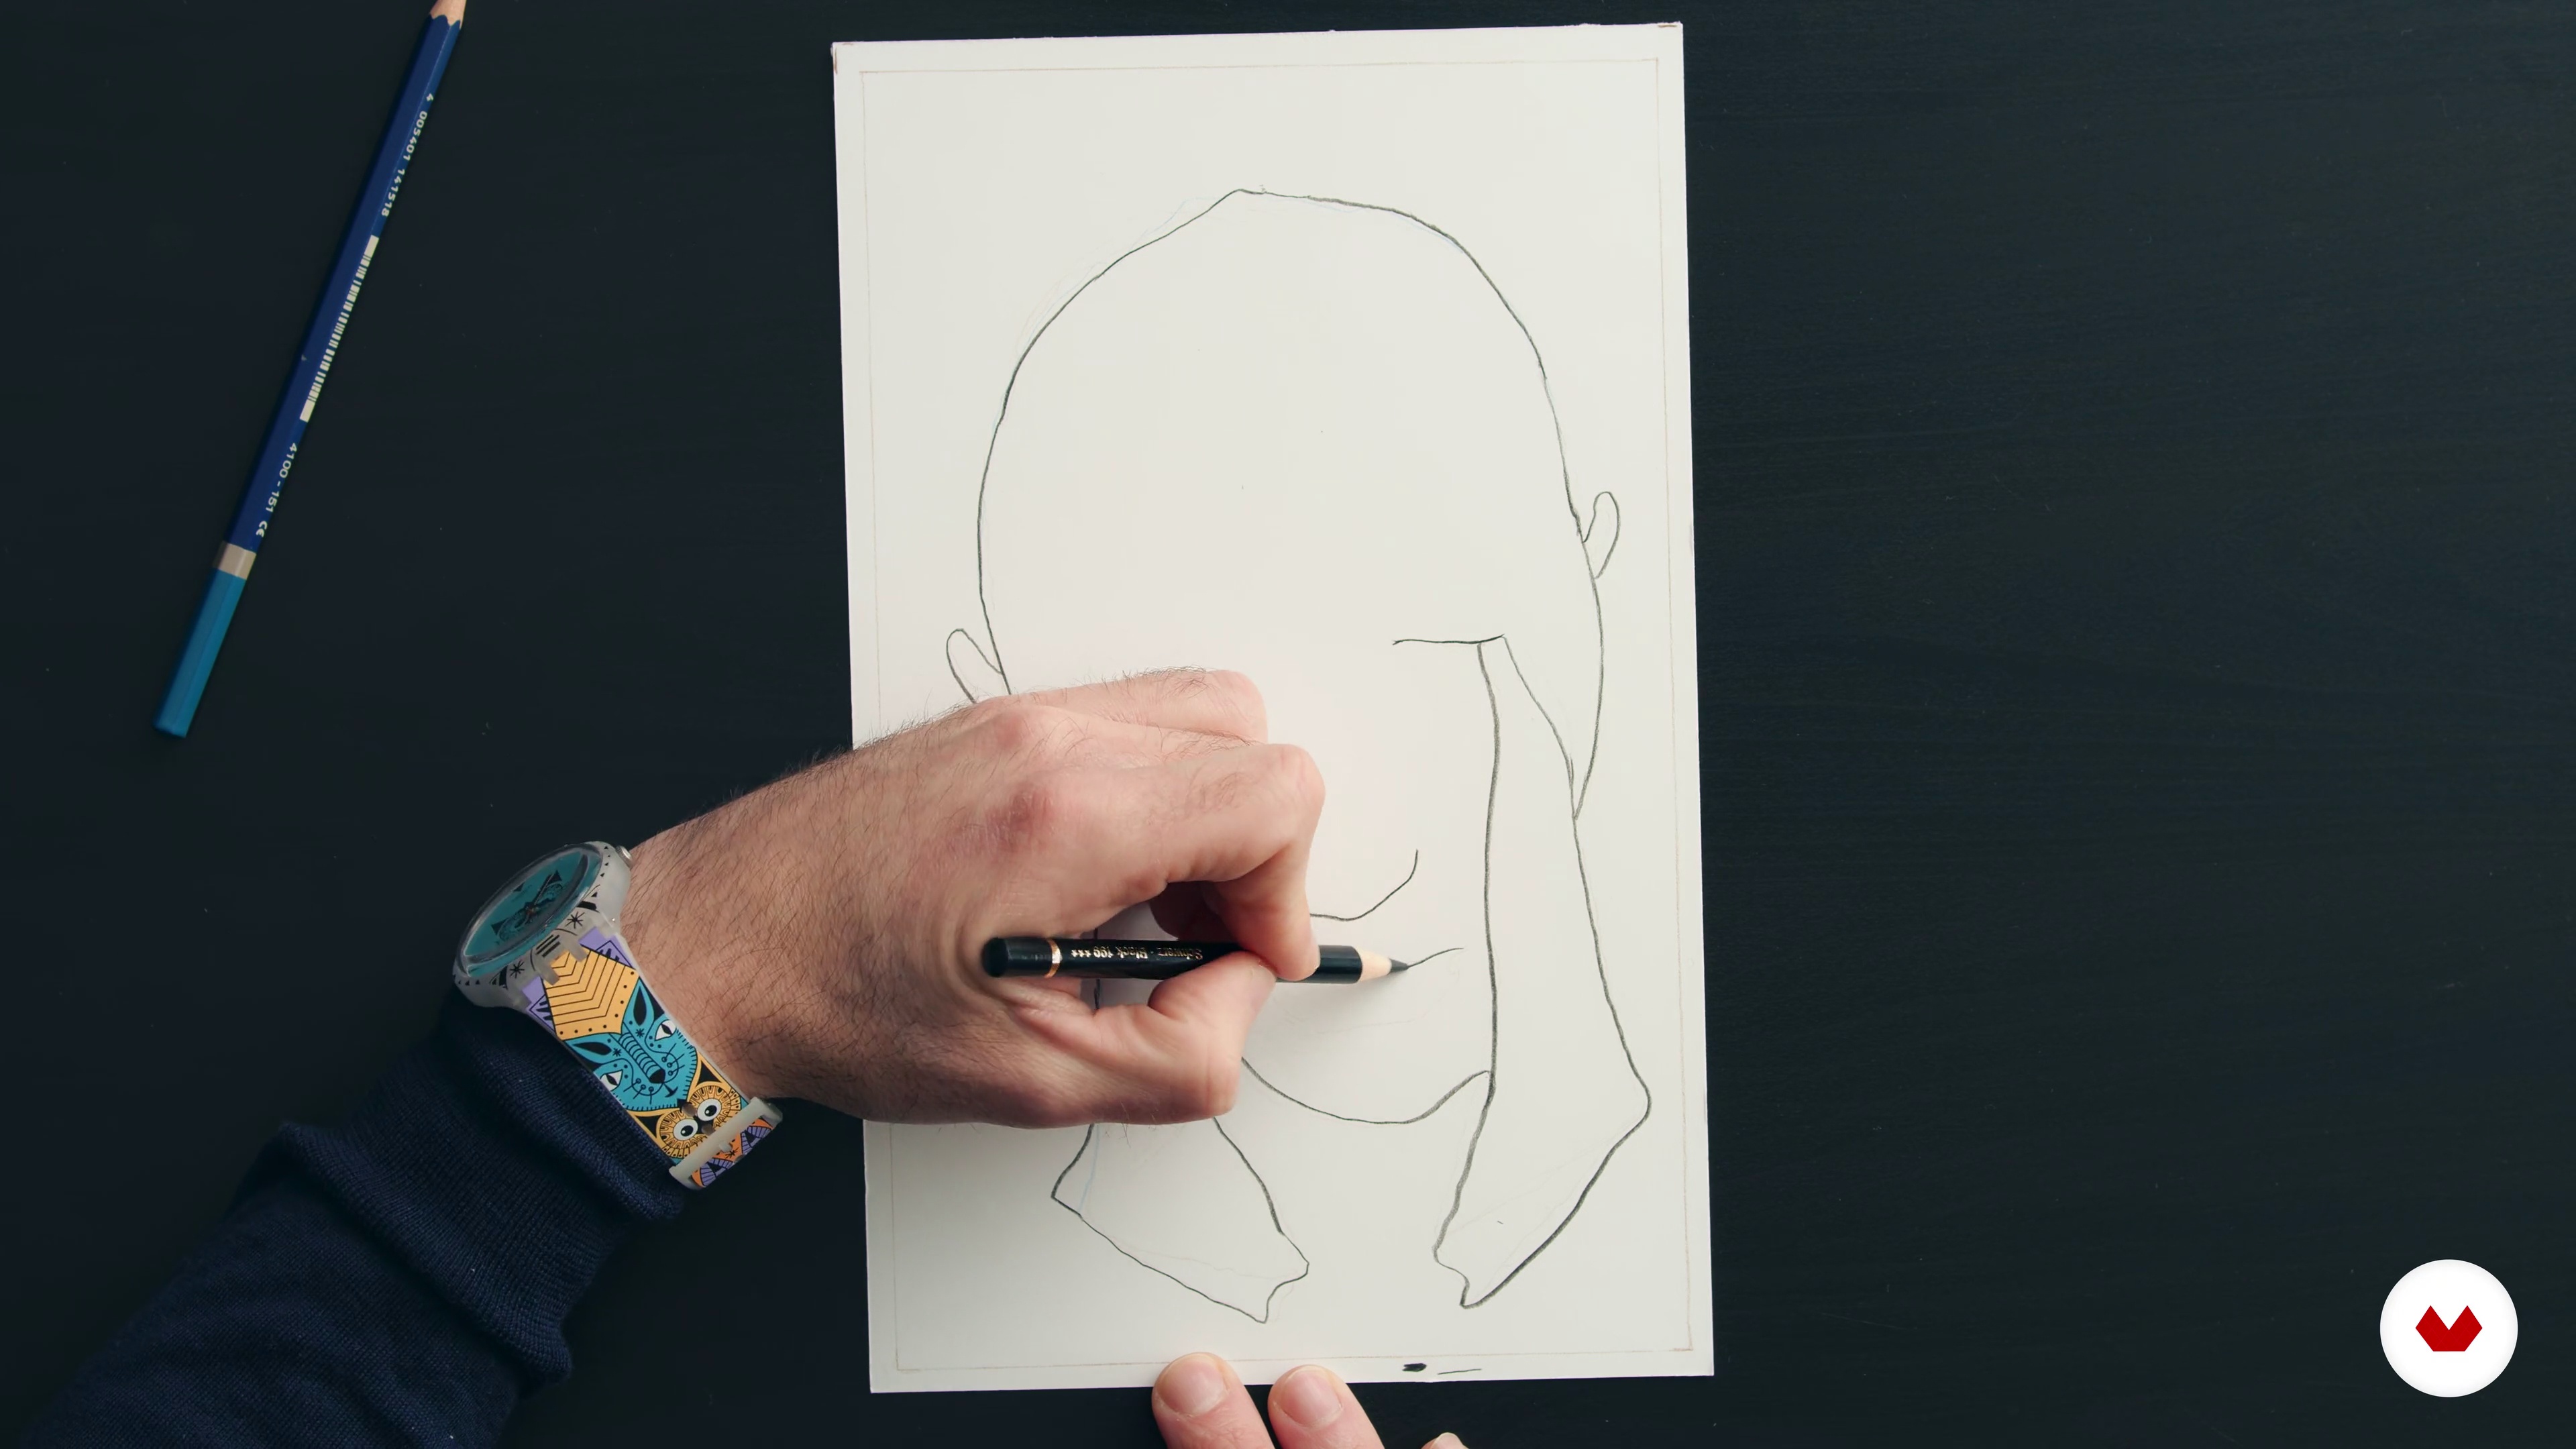
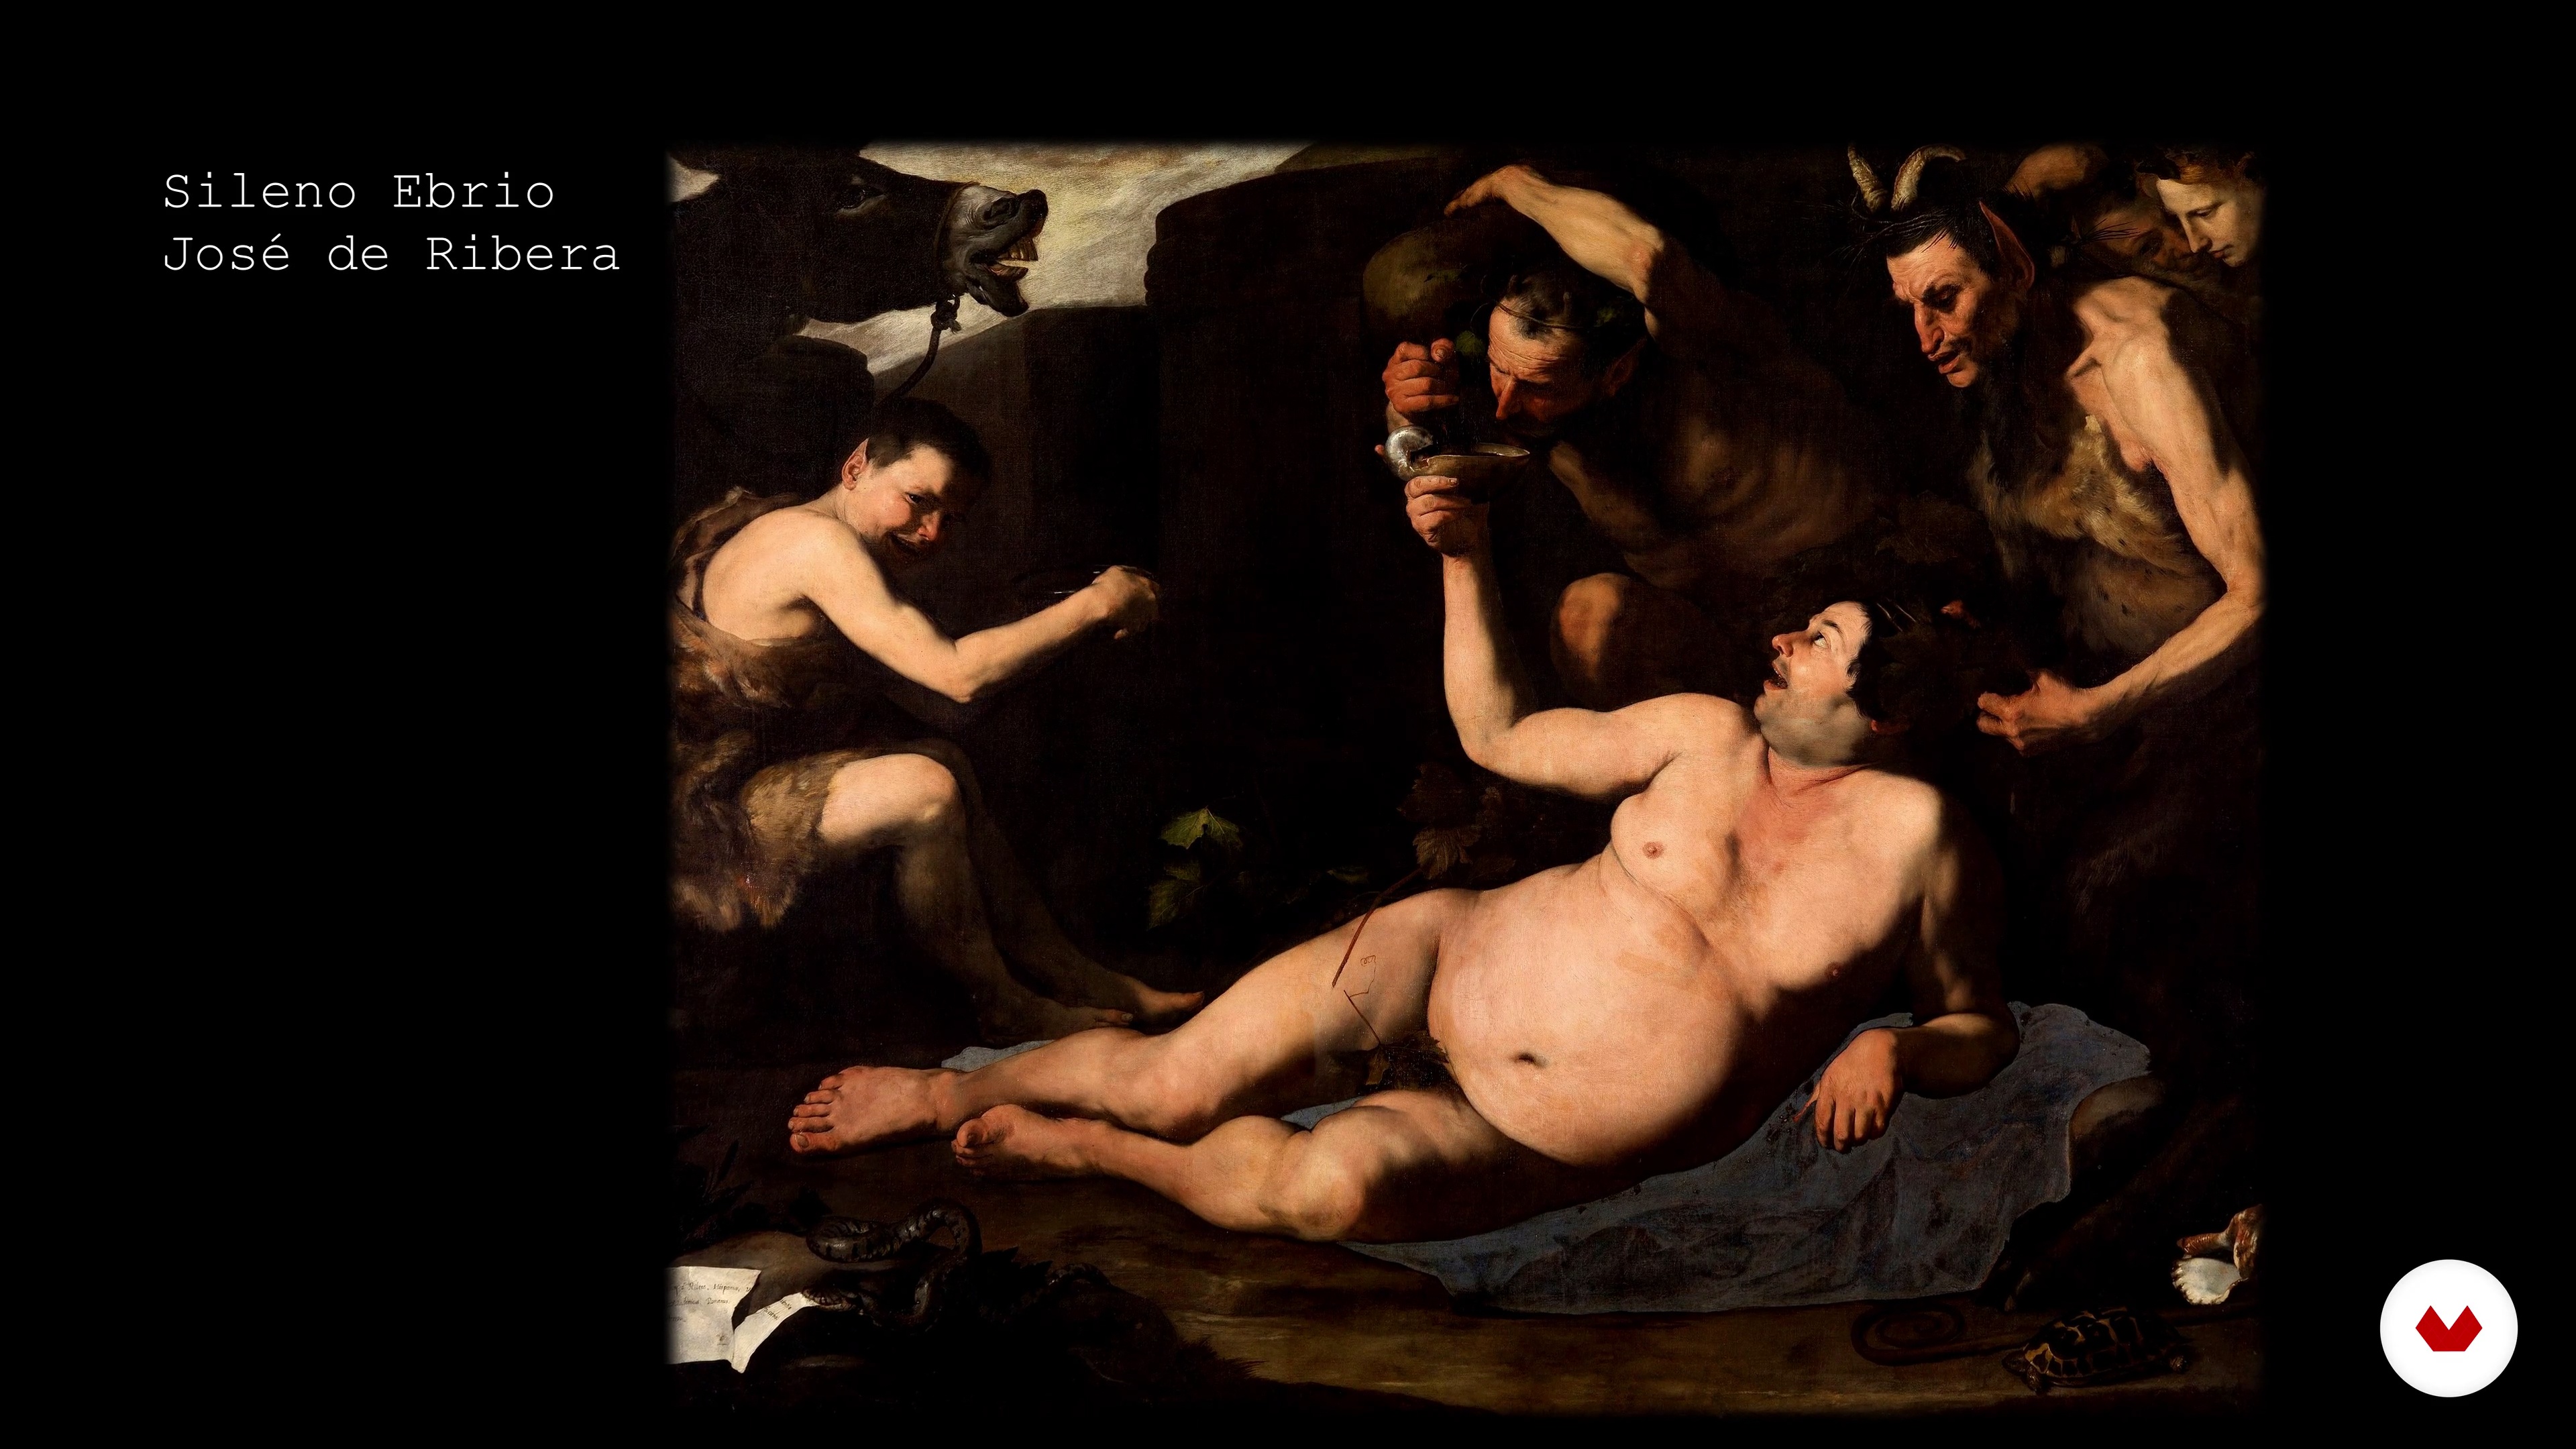
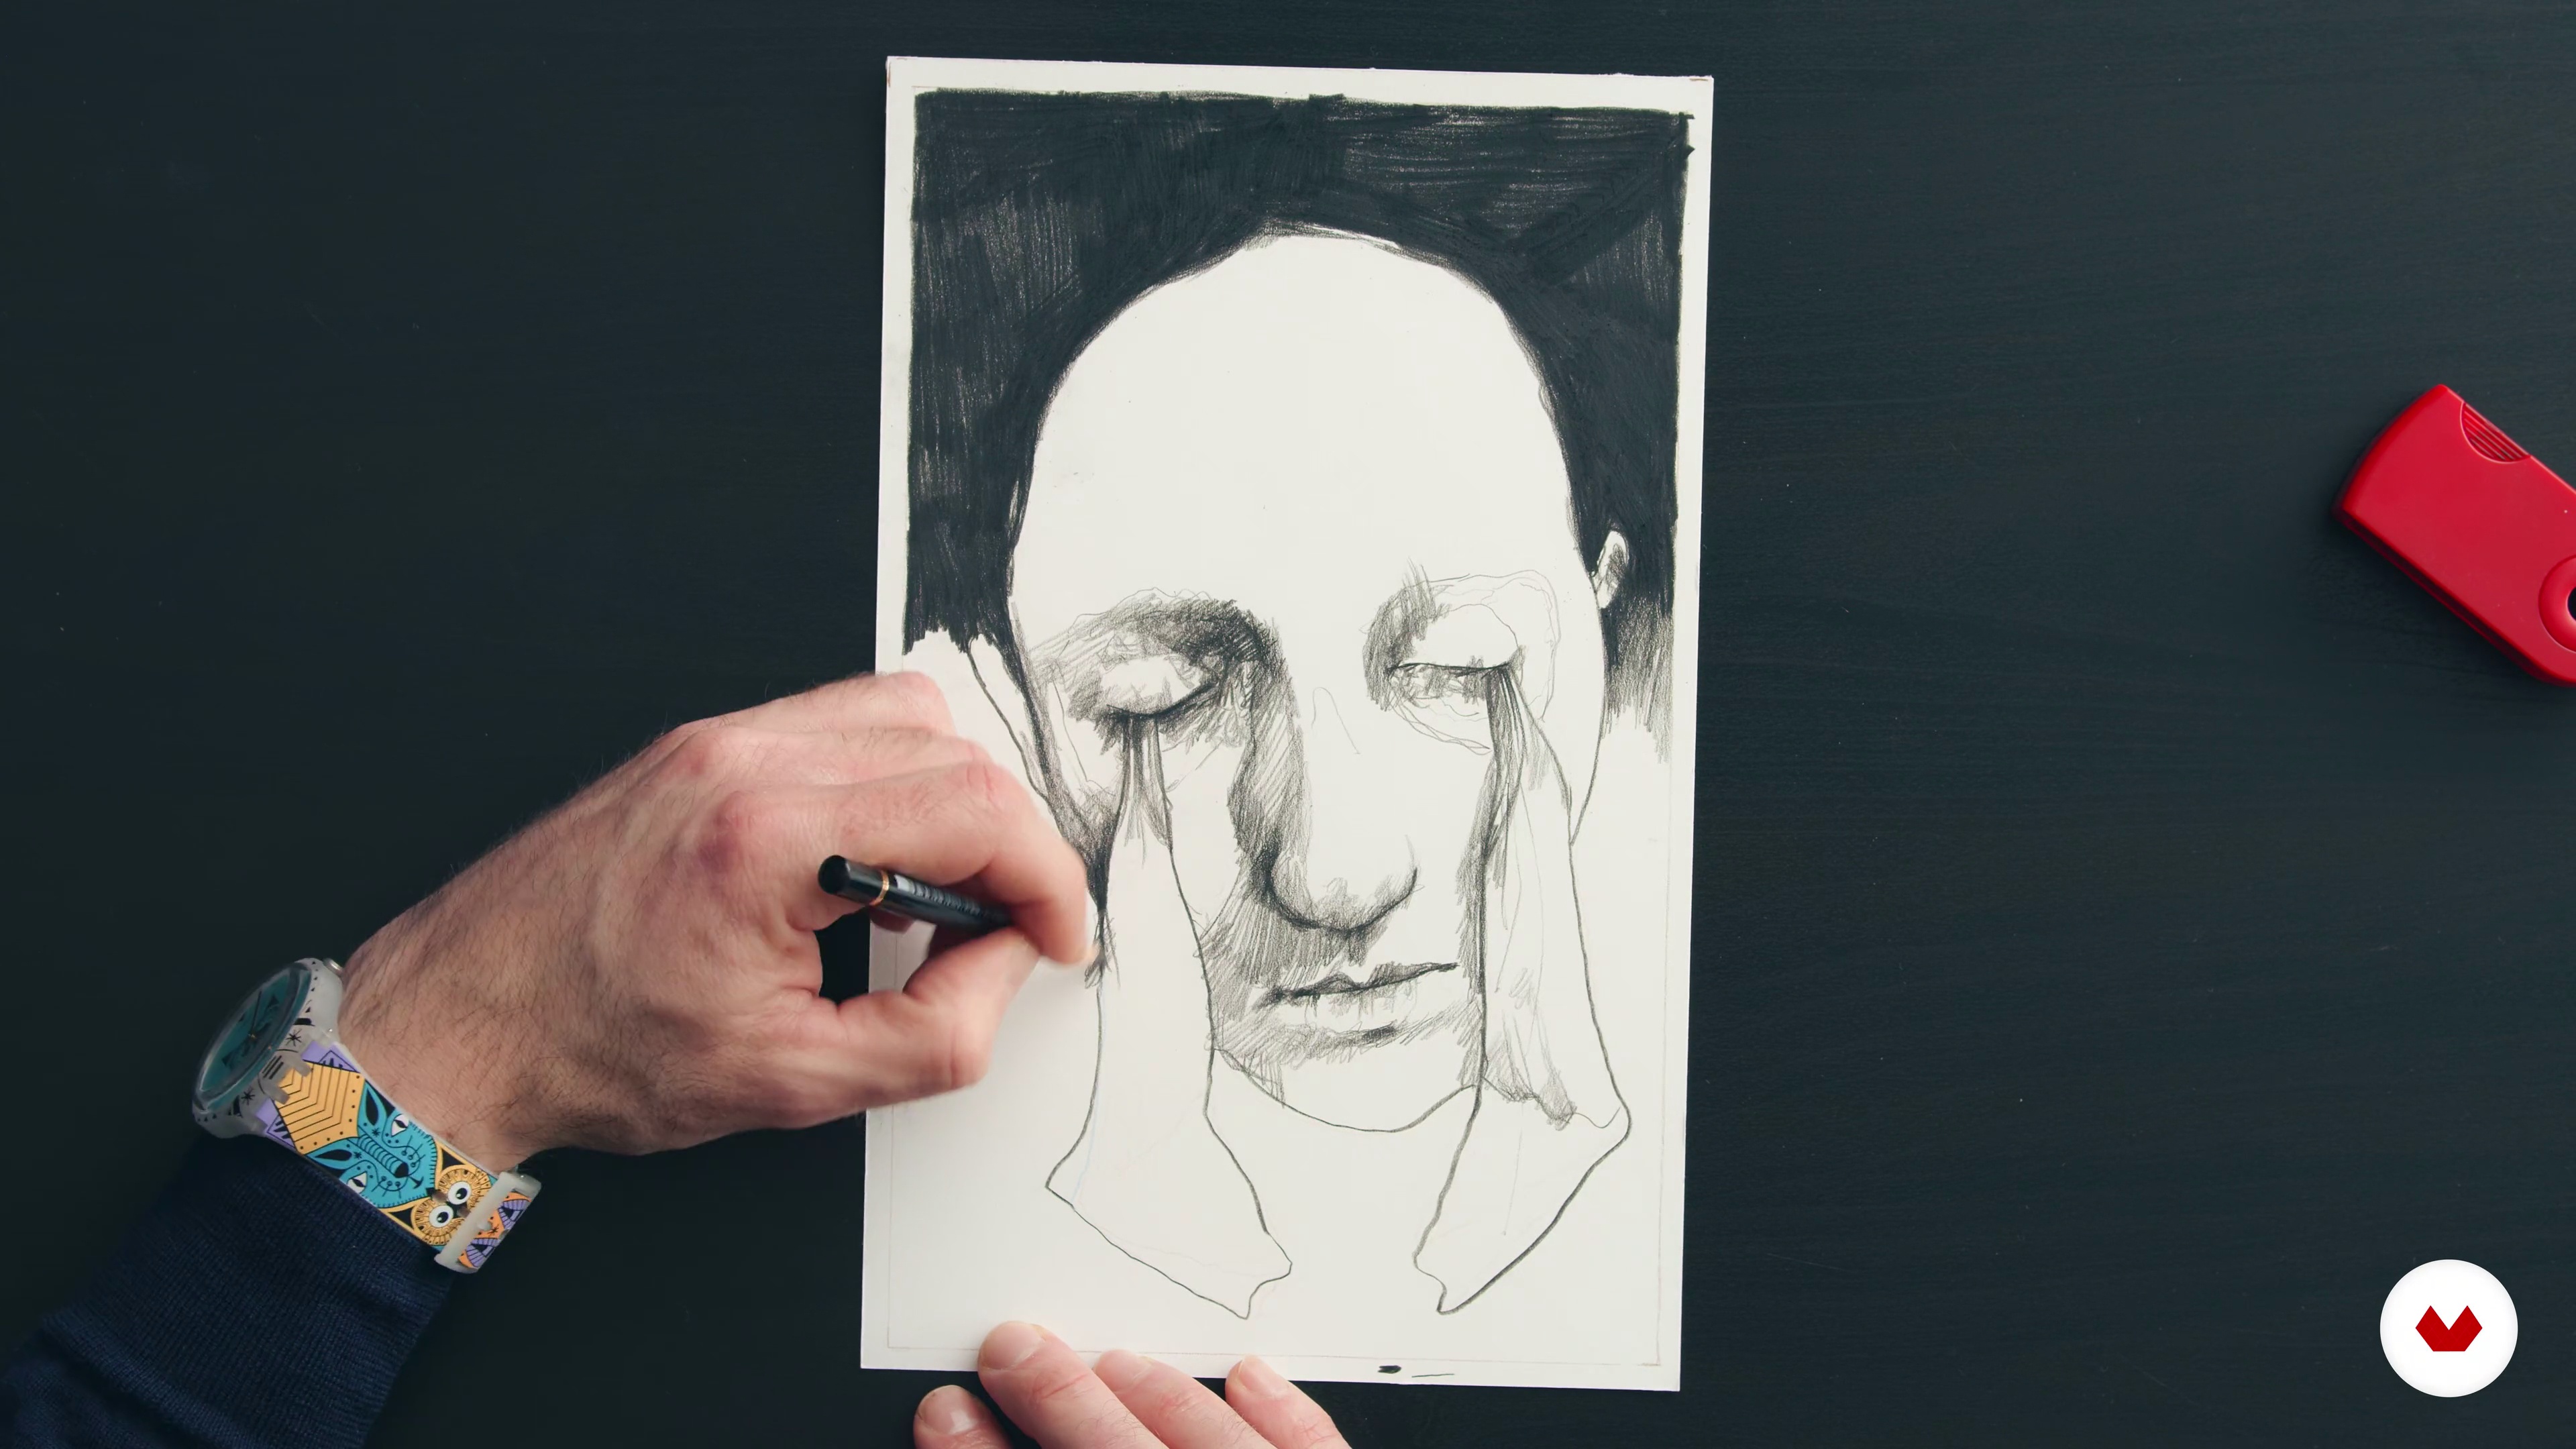
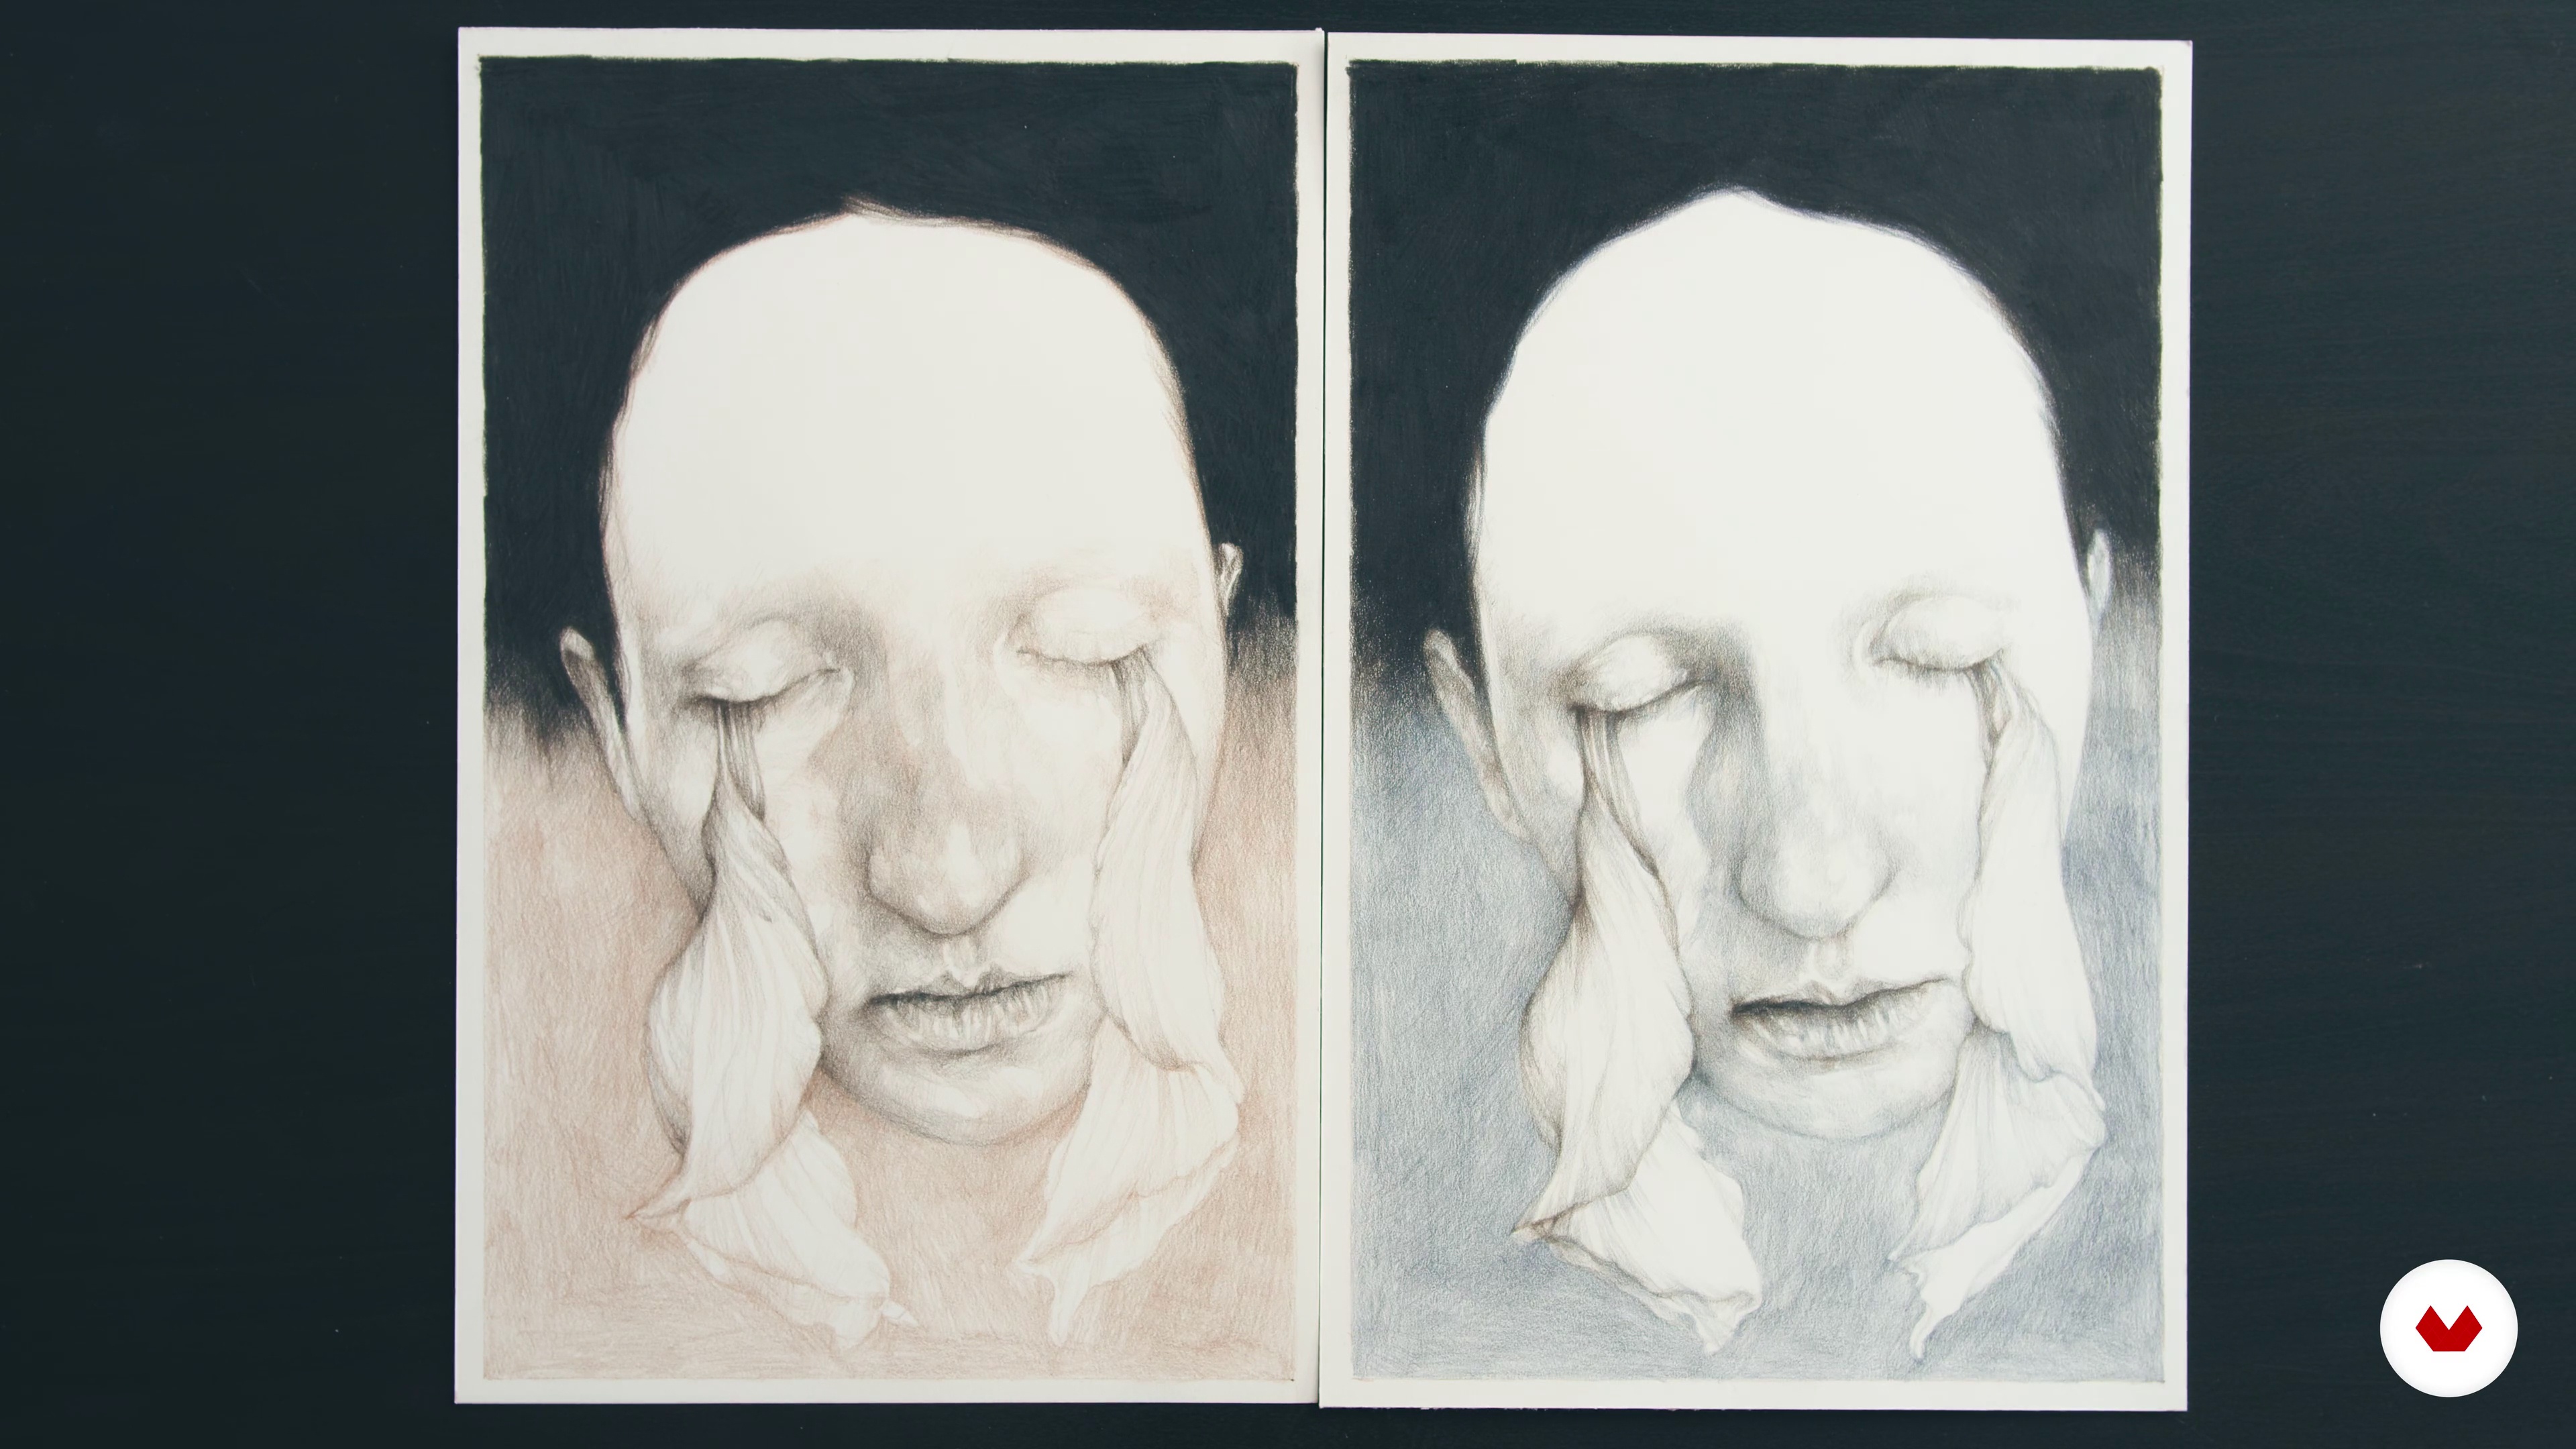
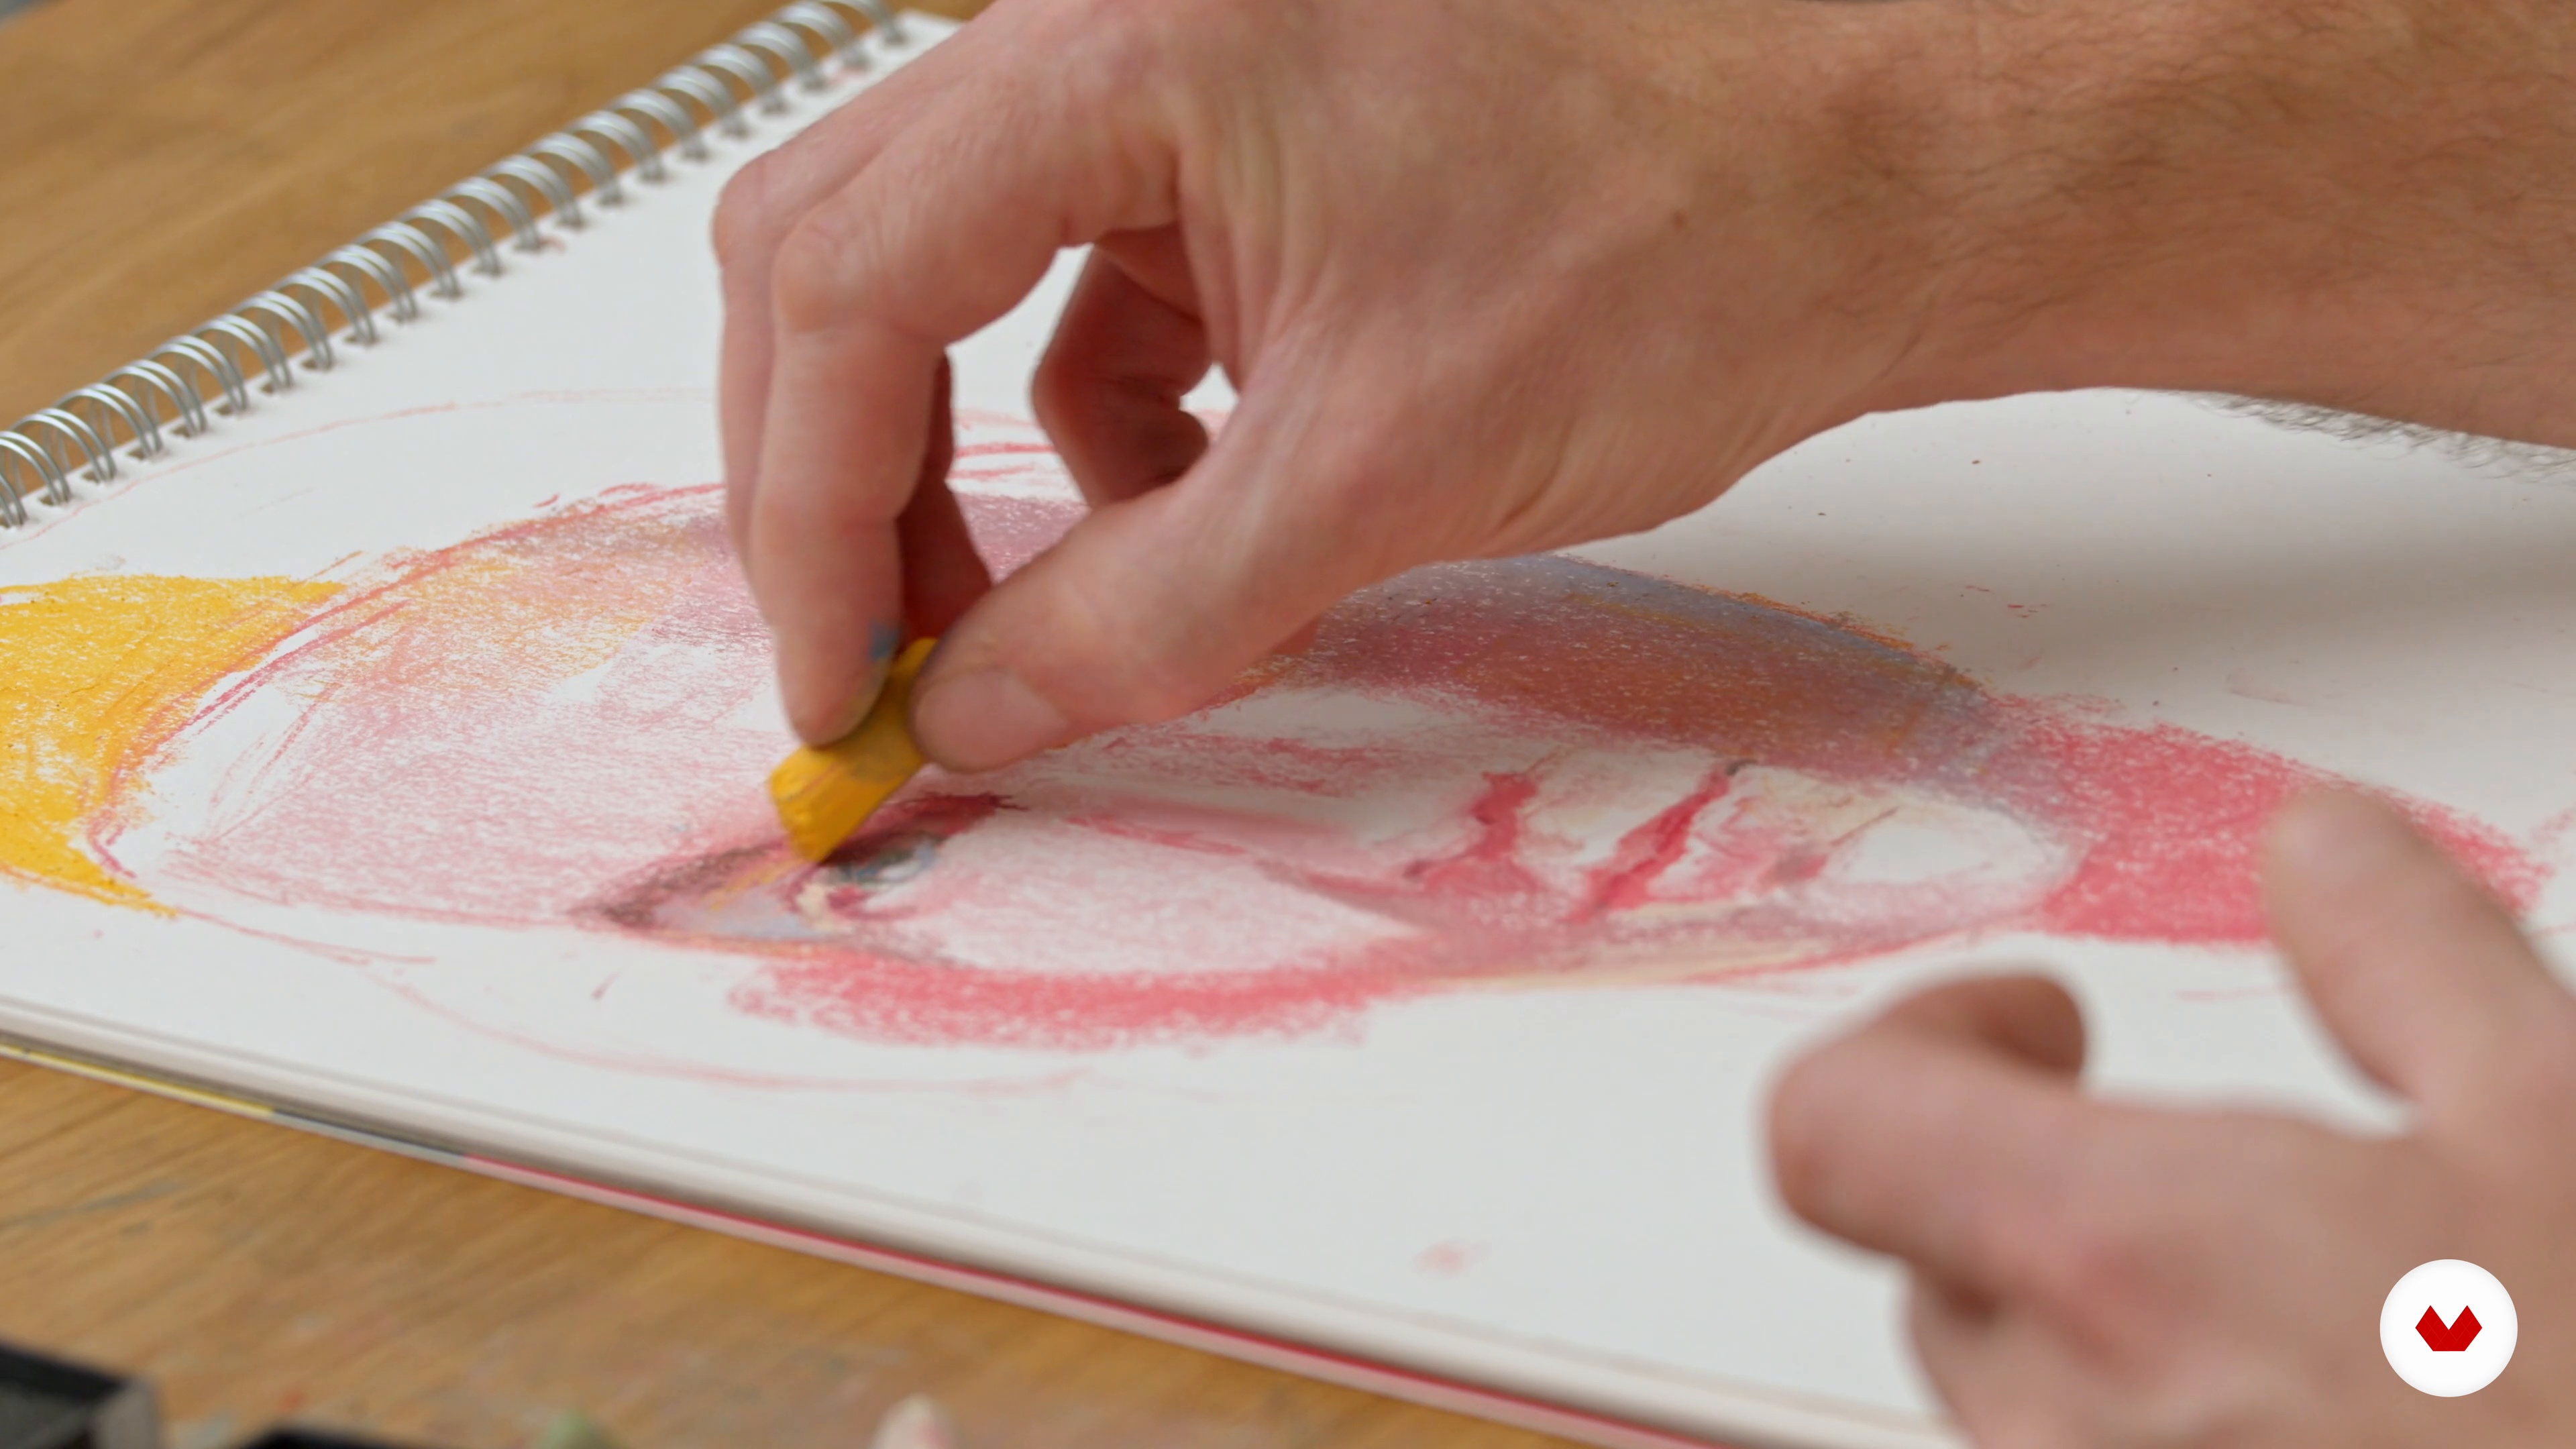
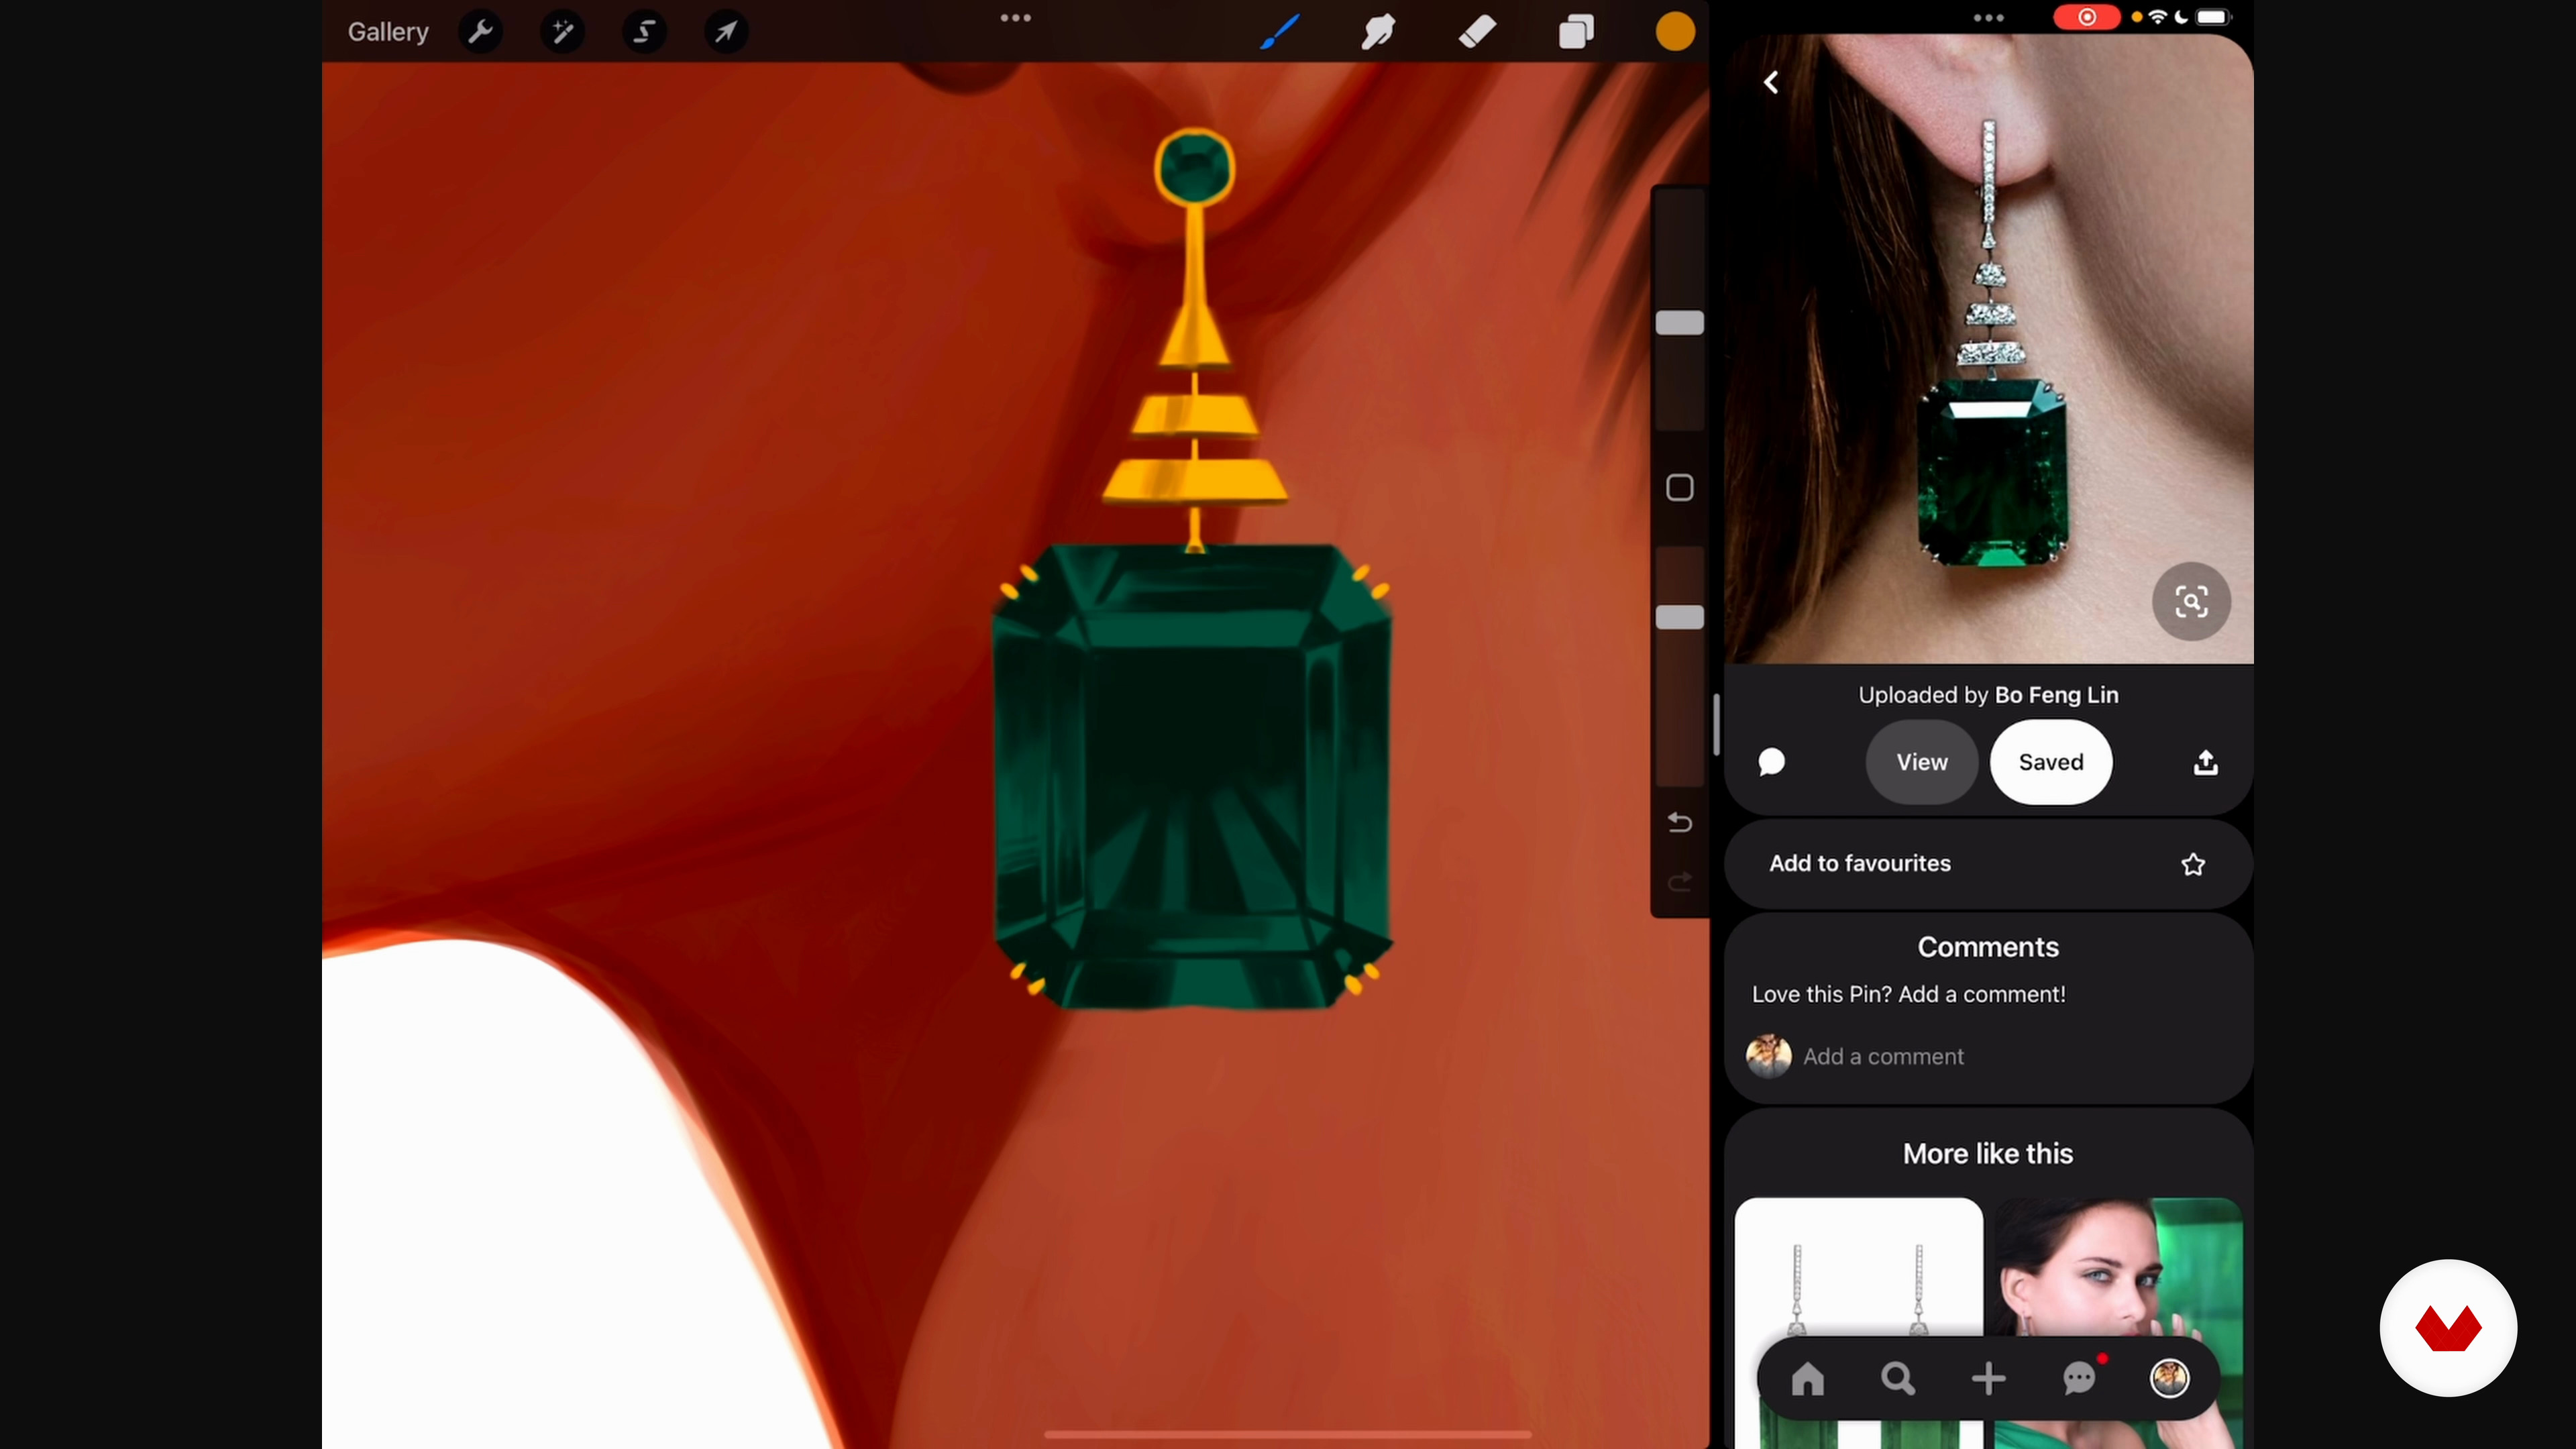
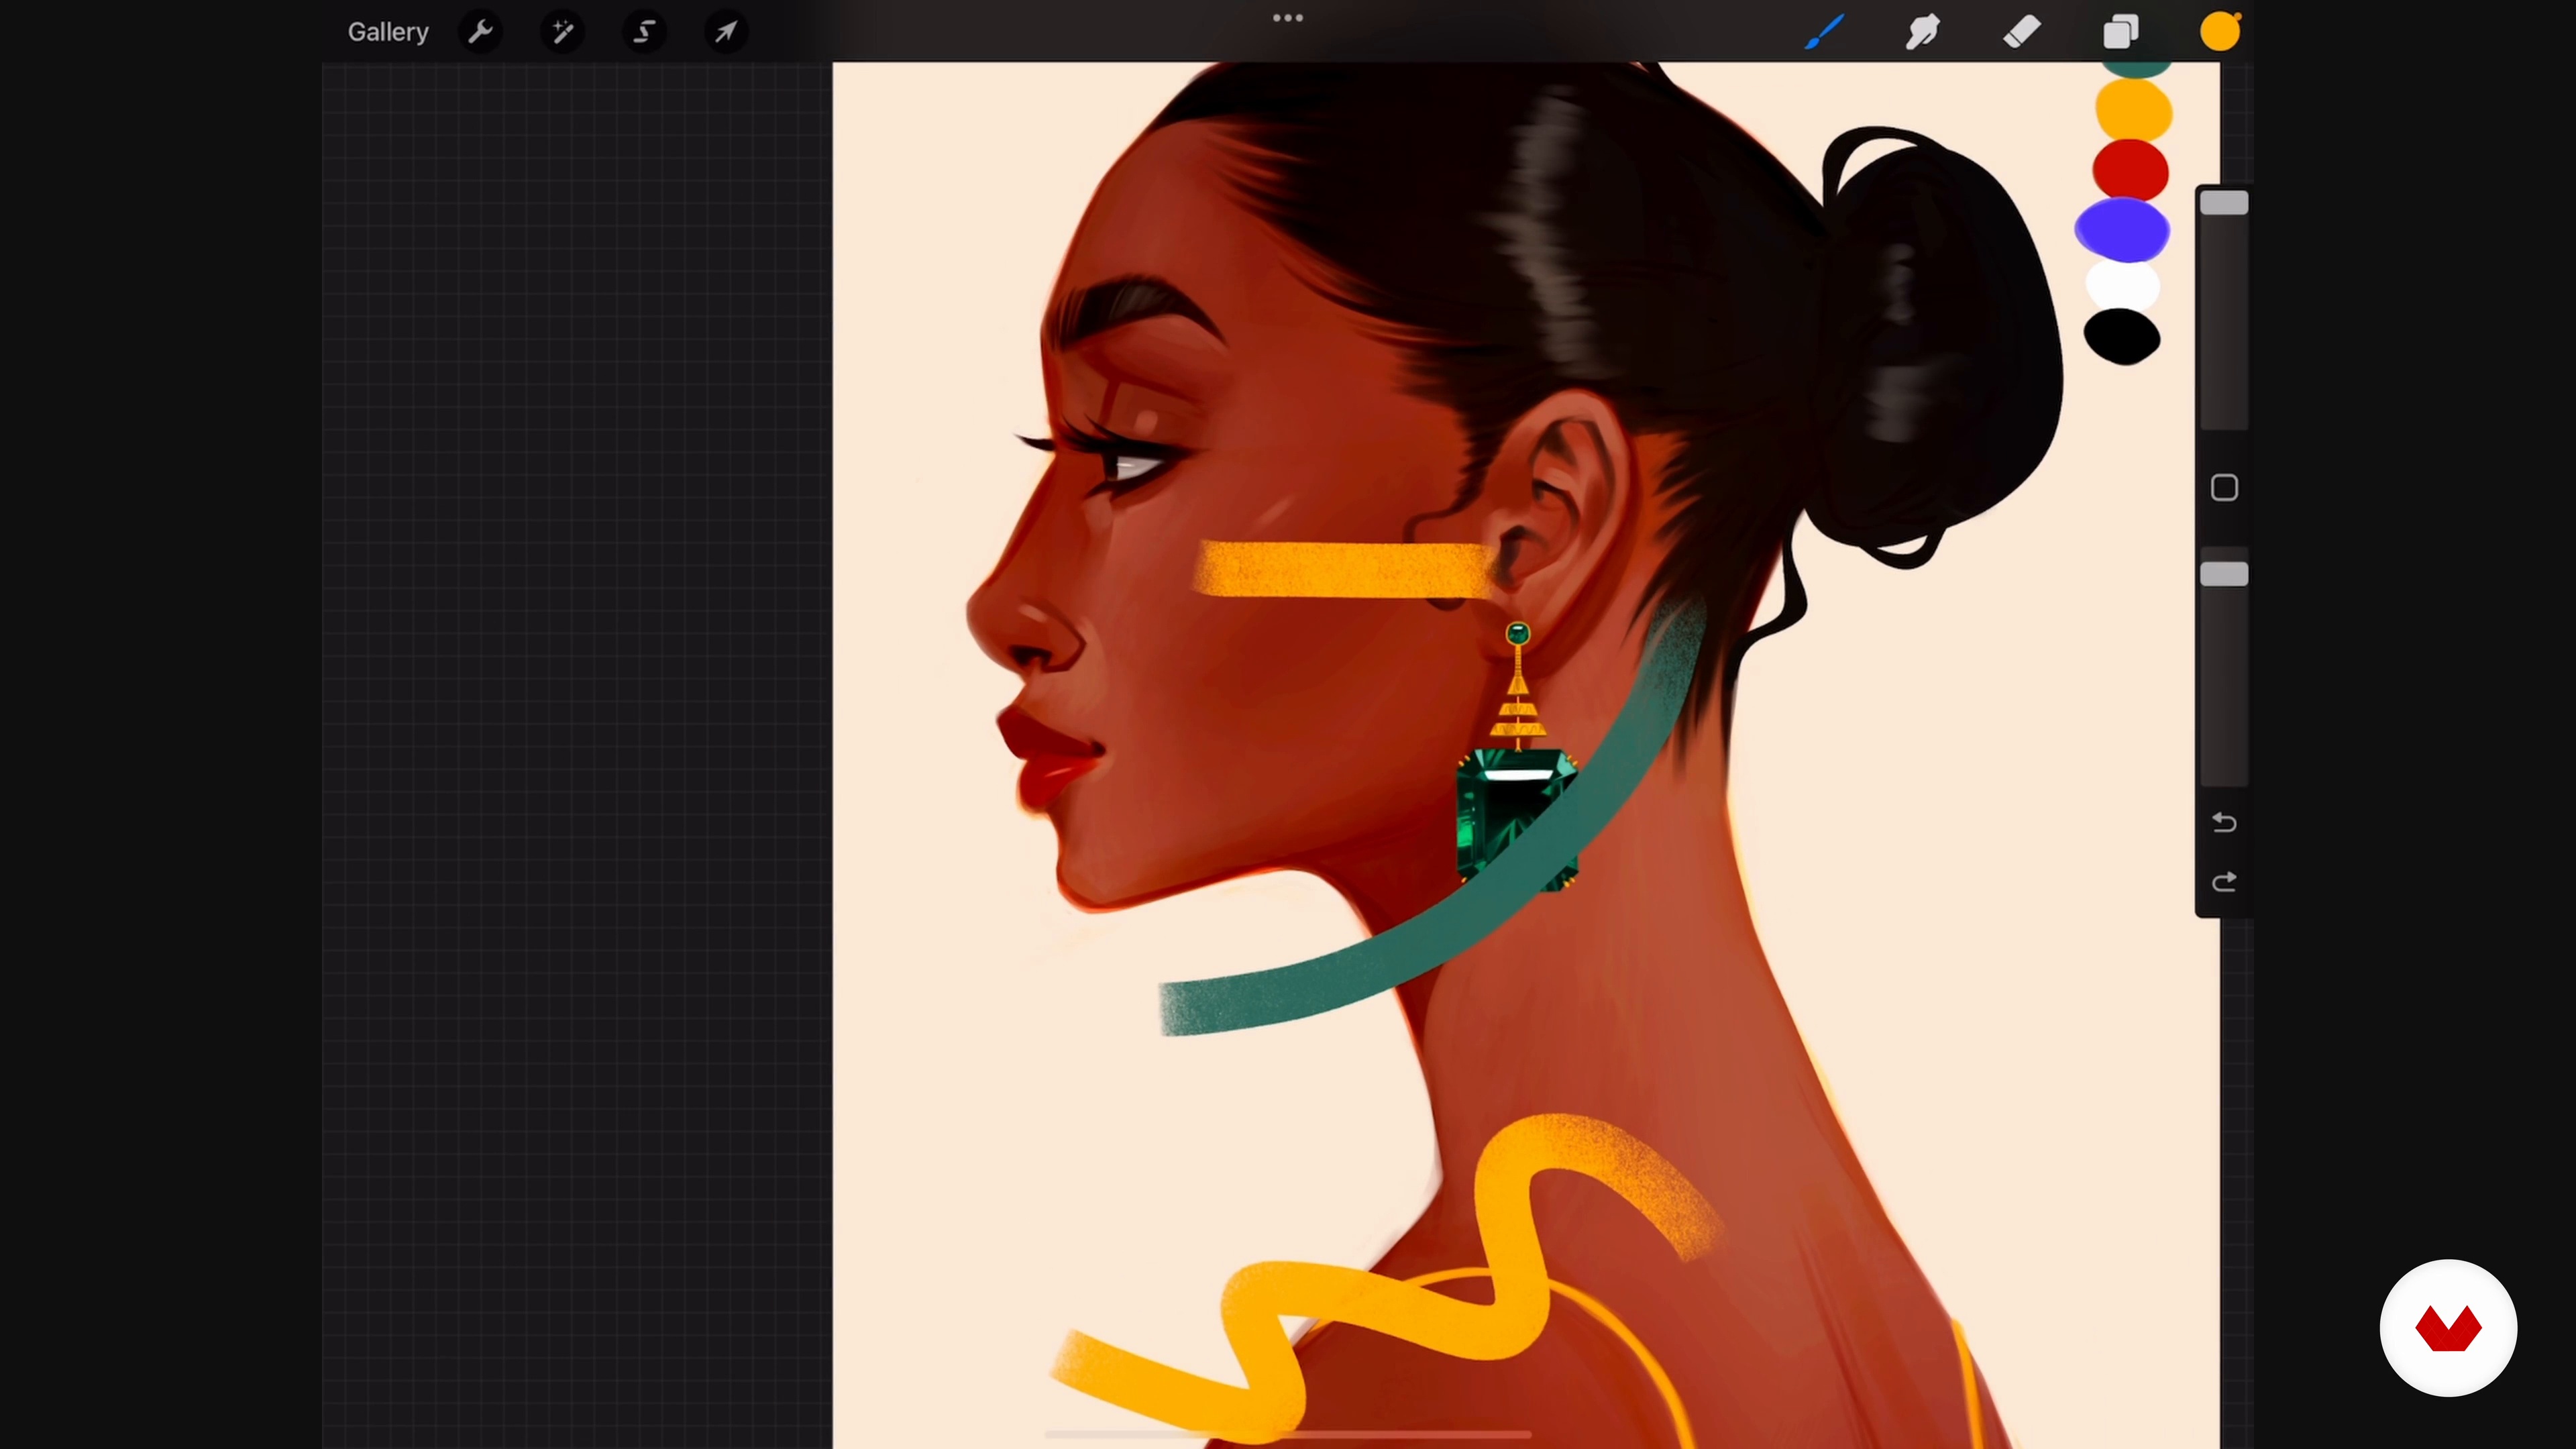
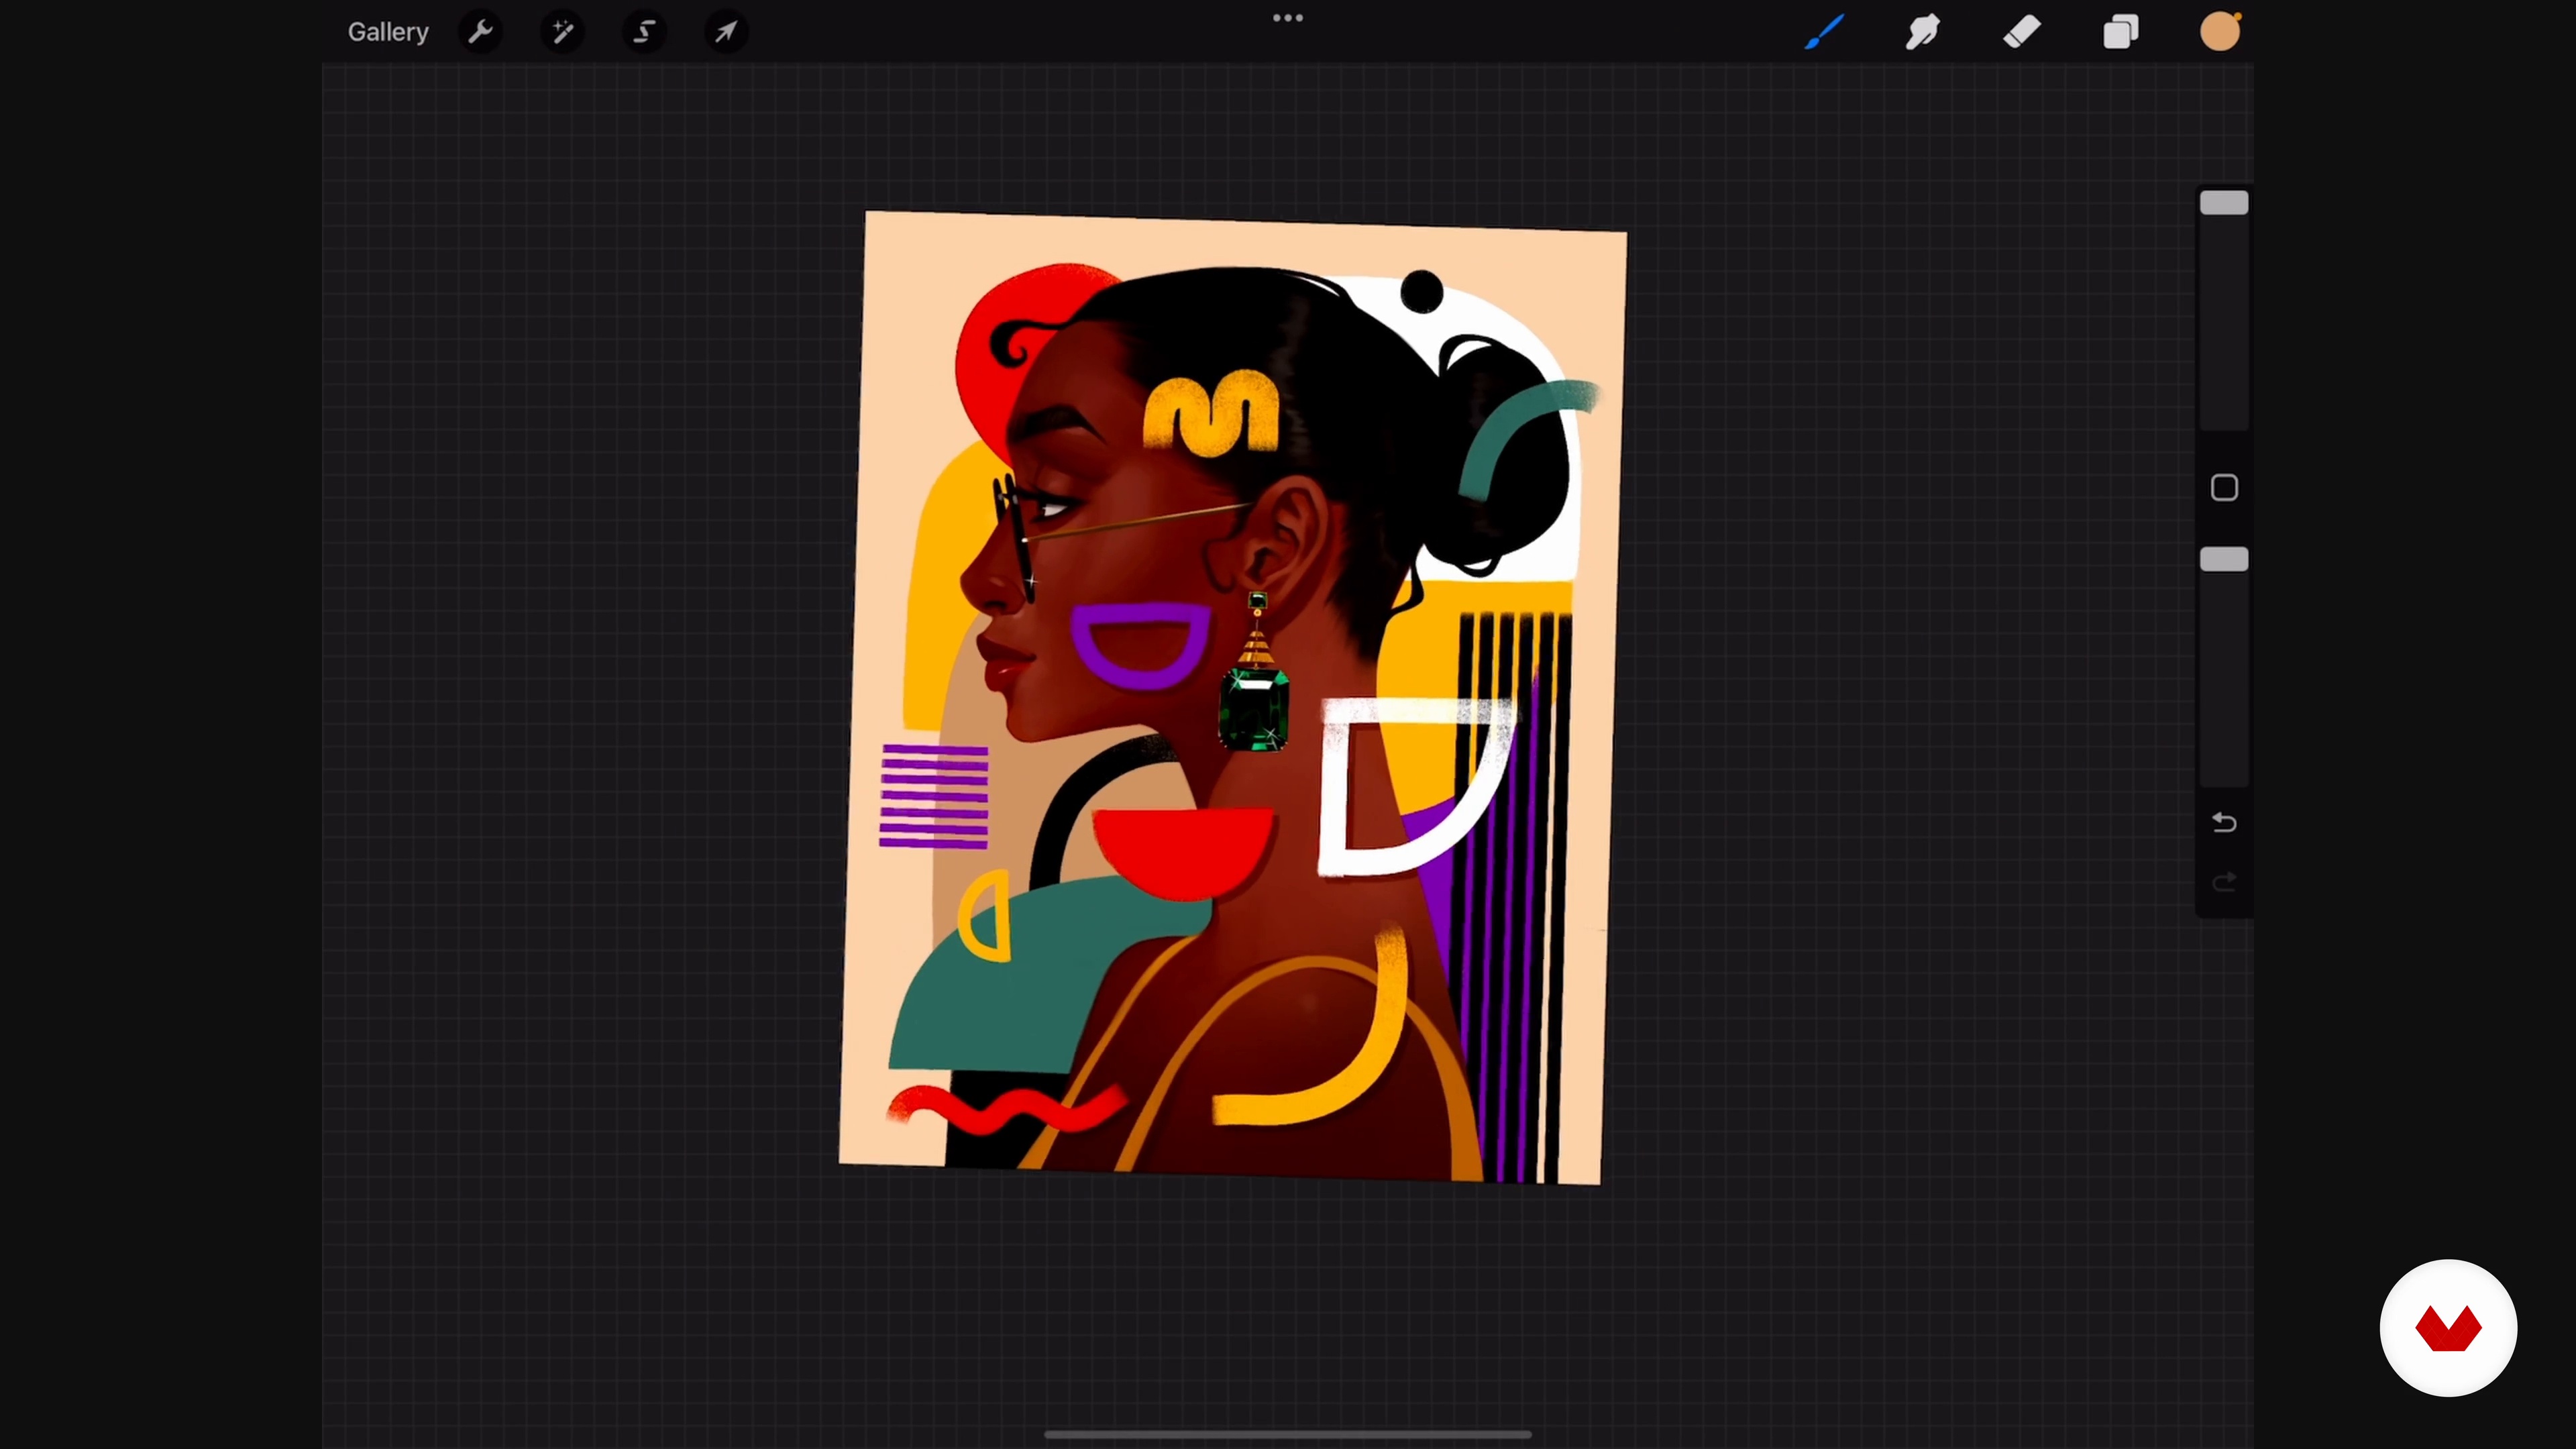
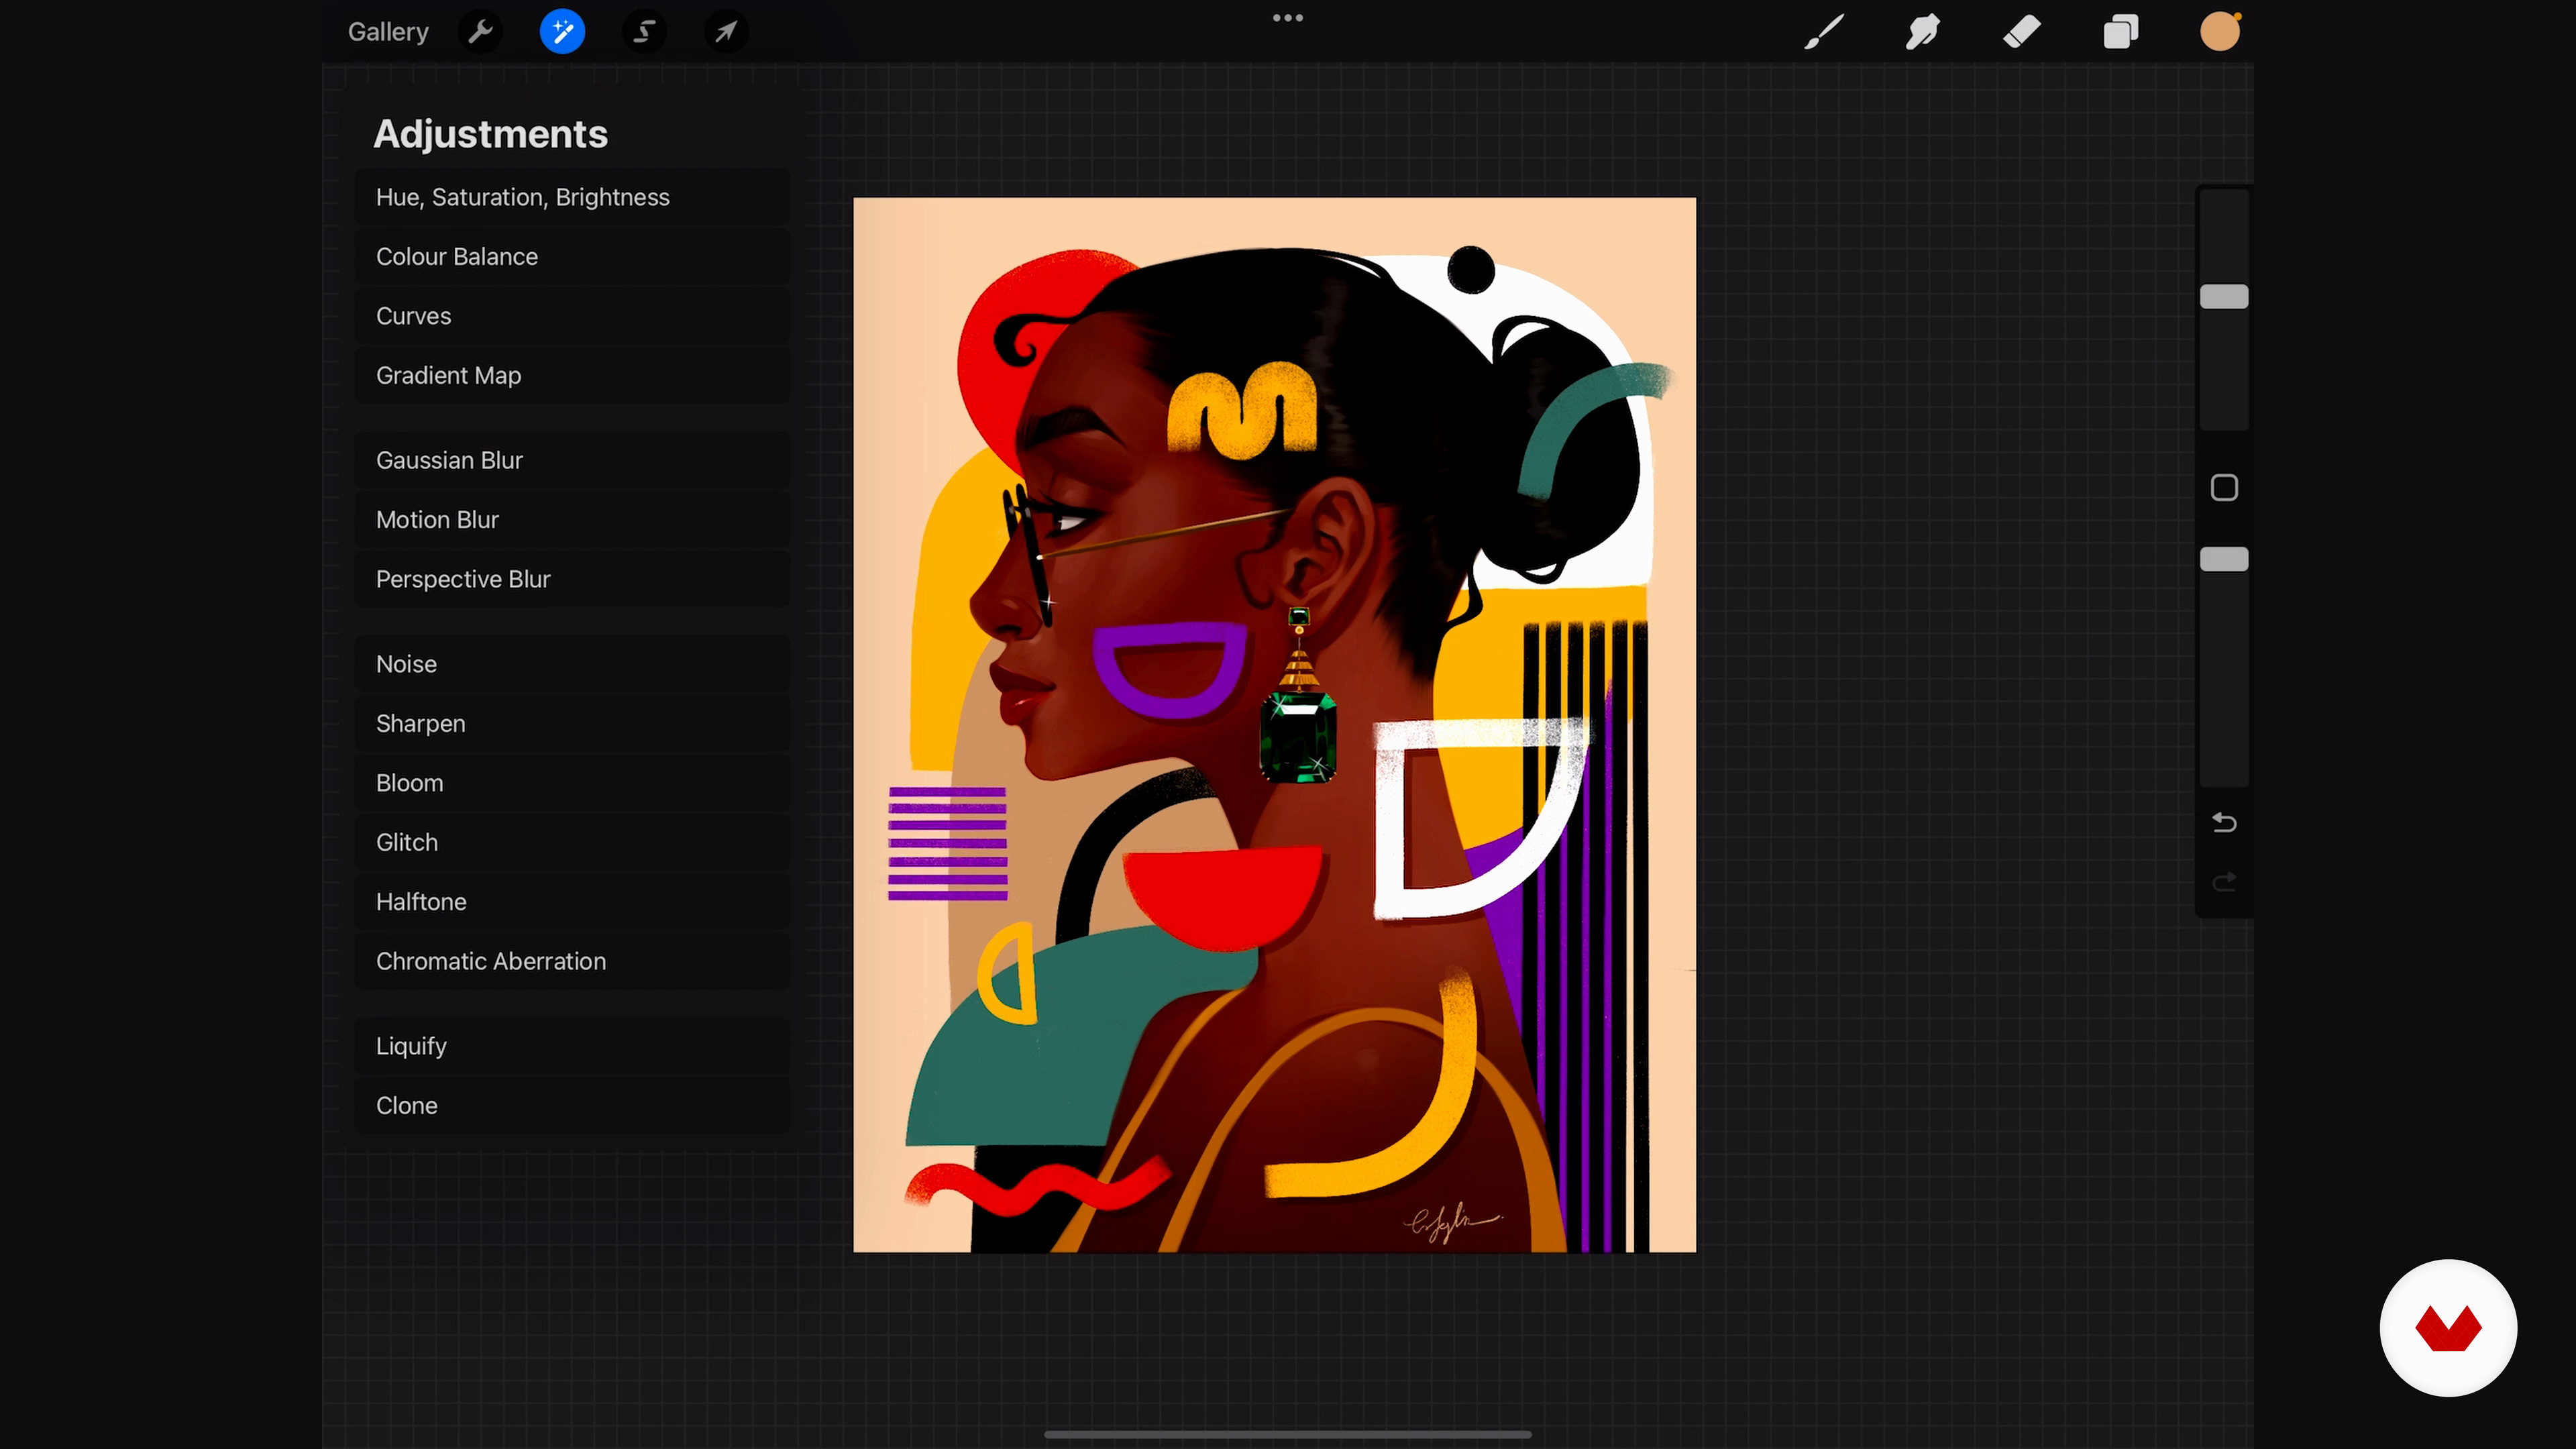
Explore the dramatic chiaroscuro technique with Marco Mazzoni, creating high-contrast portraits that play with depth and volume. Express your creativity with vibrant soft pastels, as Chris Gambrell teaches you blending techniques and color harmonies to enhance your compositions. Finally, transition into the digital realm with Bo Feng Lin, utilizing Procreate to integrate graphical elements and dynamic compositions into your artwork. This specialization offers a diverse range of tools and approaches for students to develop a unique artistic style, covering both traditional and modern techniques in portrait drawing.

Read more ↓

What will you learn in this specialization?

A total of 6 modules and 77 lessons
A total of 13h 23m of vídeo lessons
Taught by 5 selected expert teachers
image
3
Materials and How To Use Them
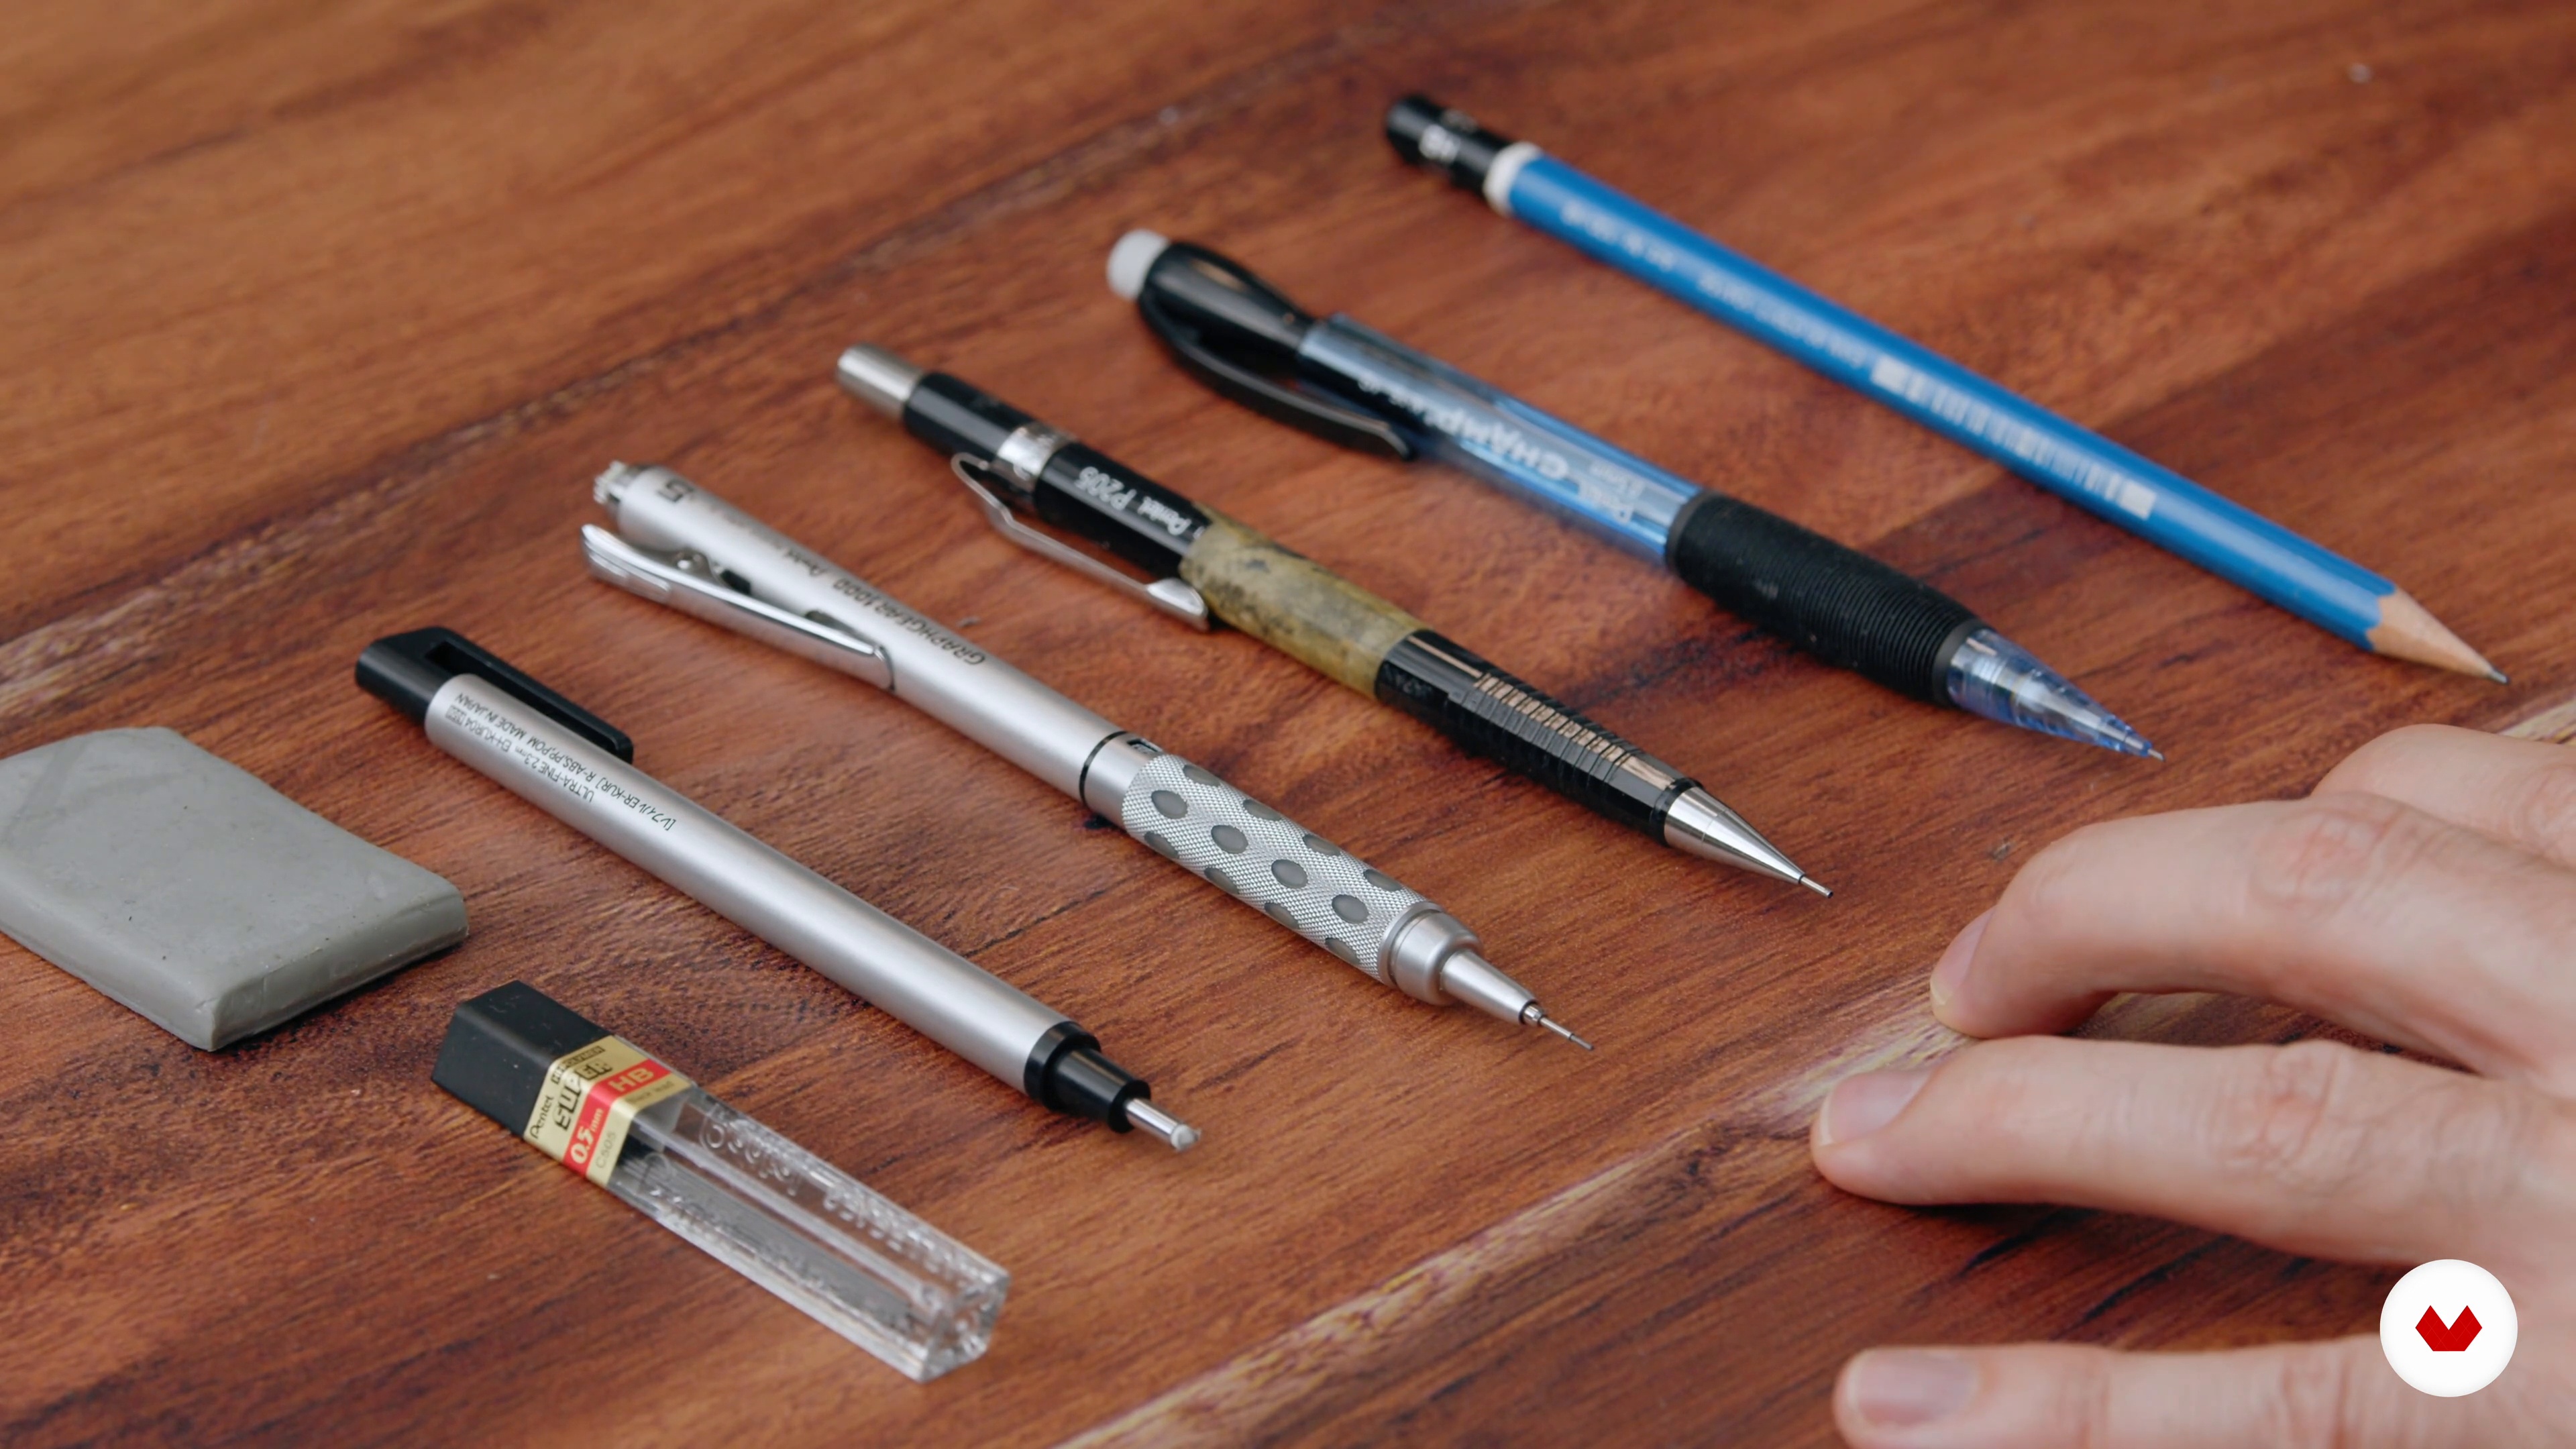
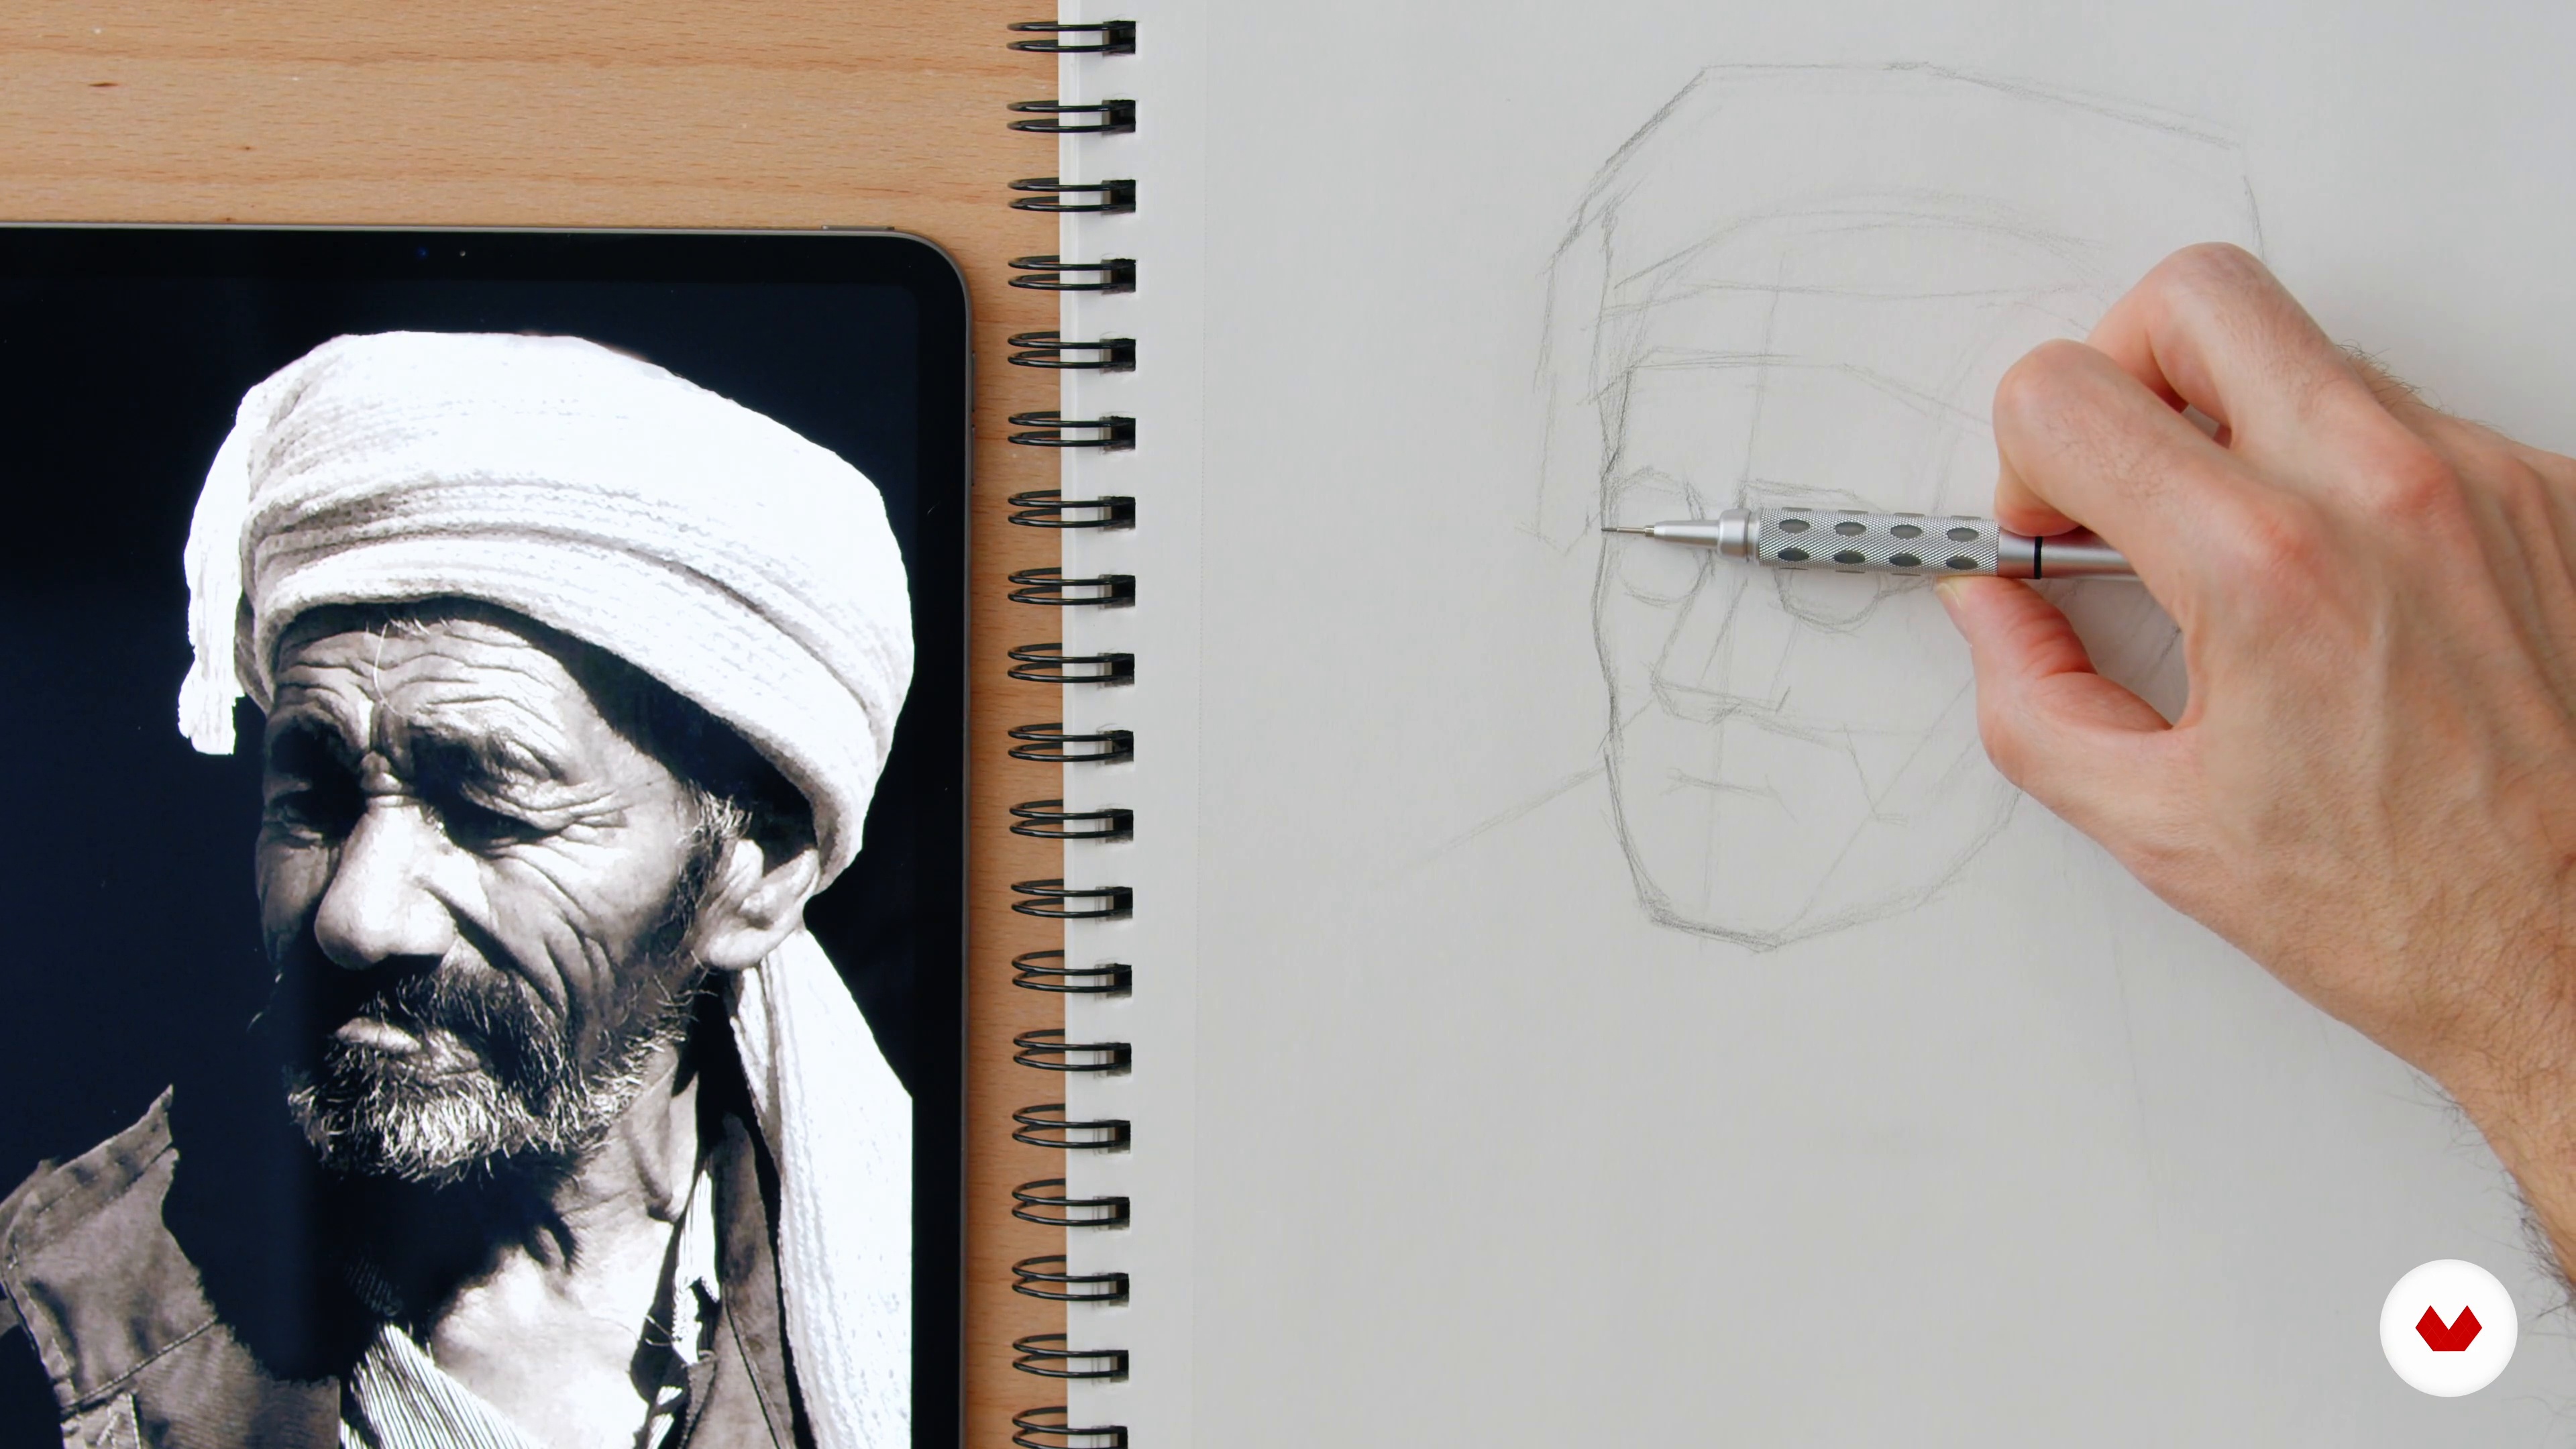
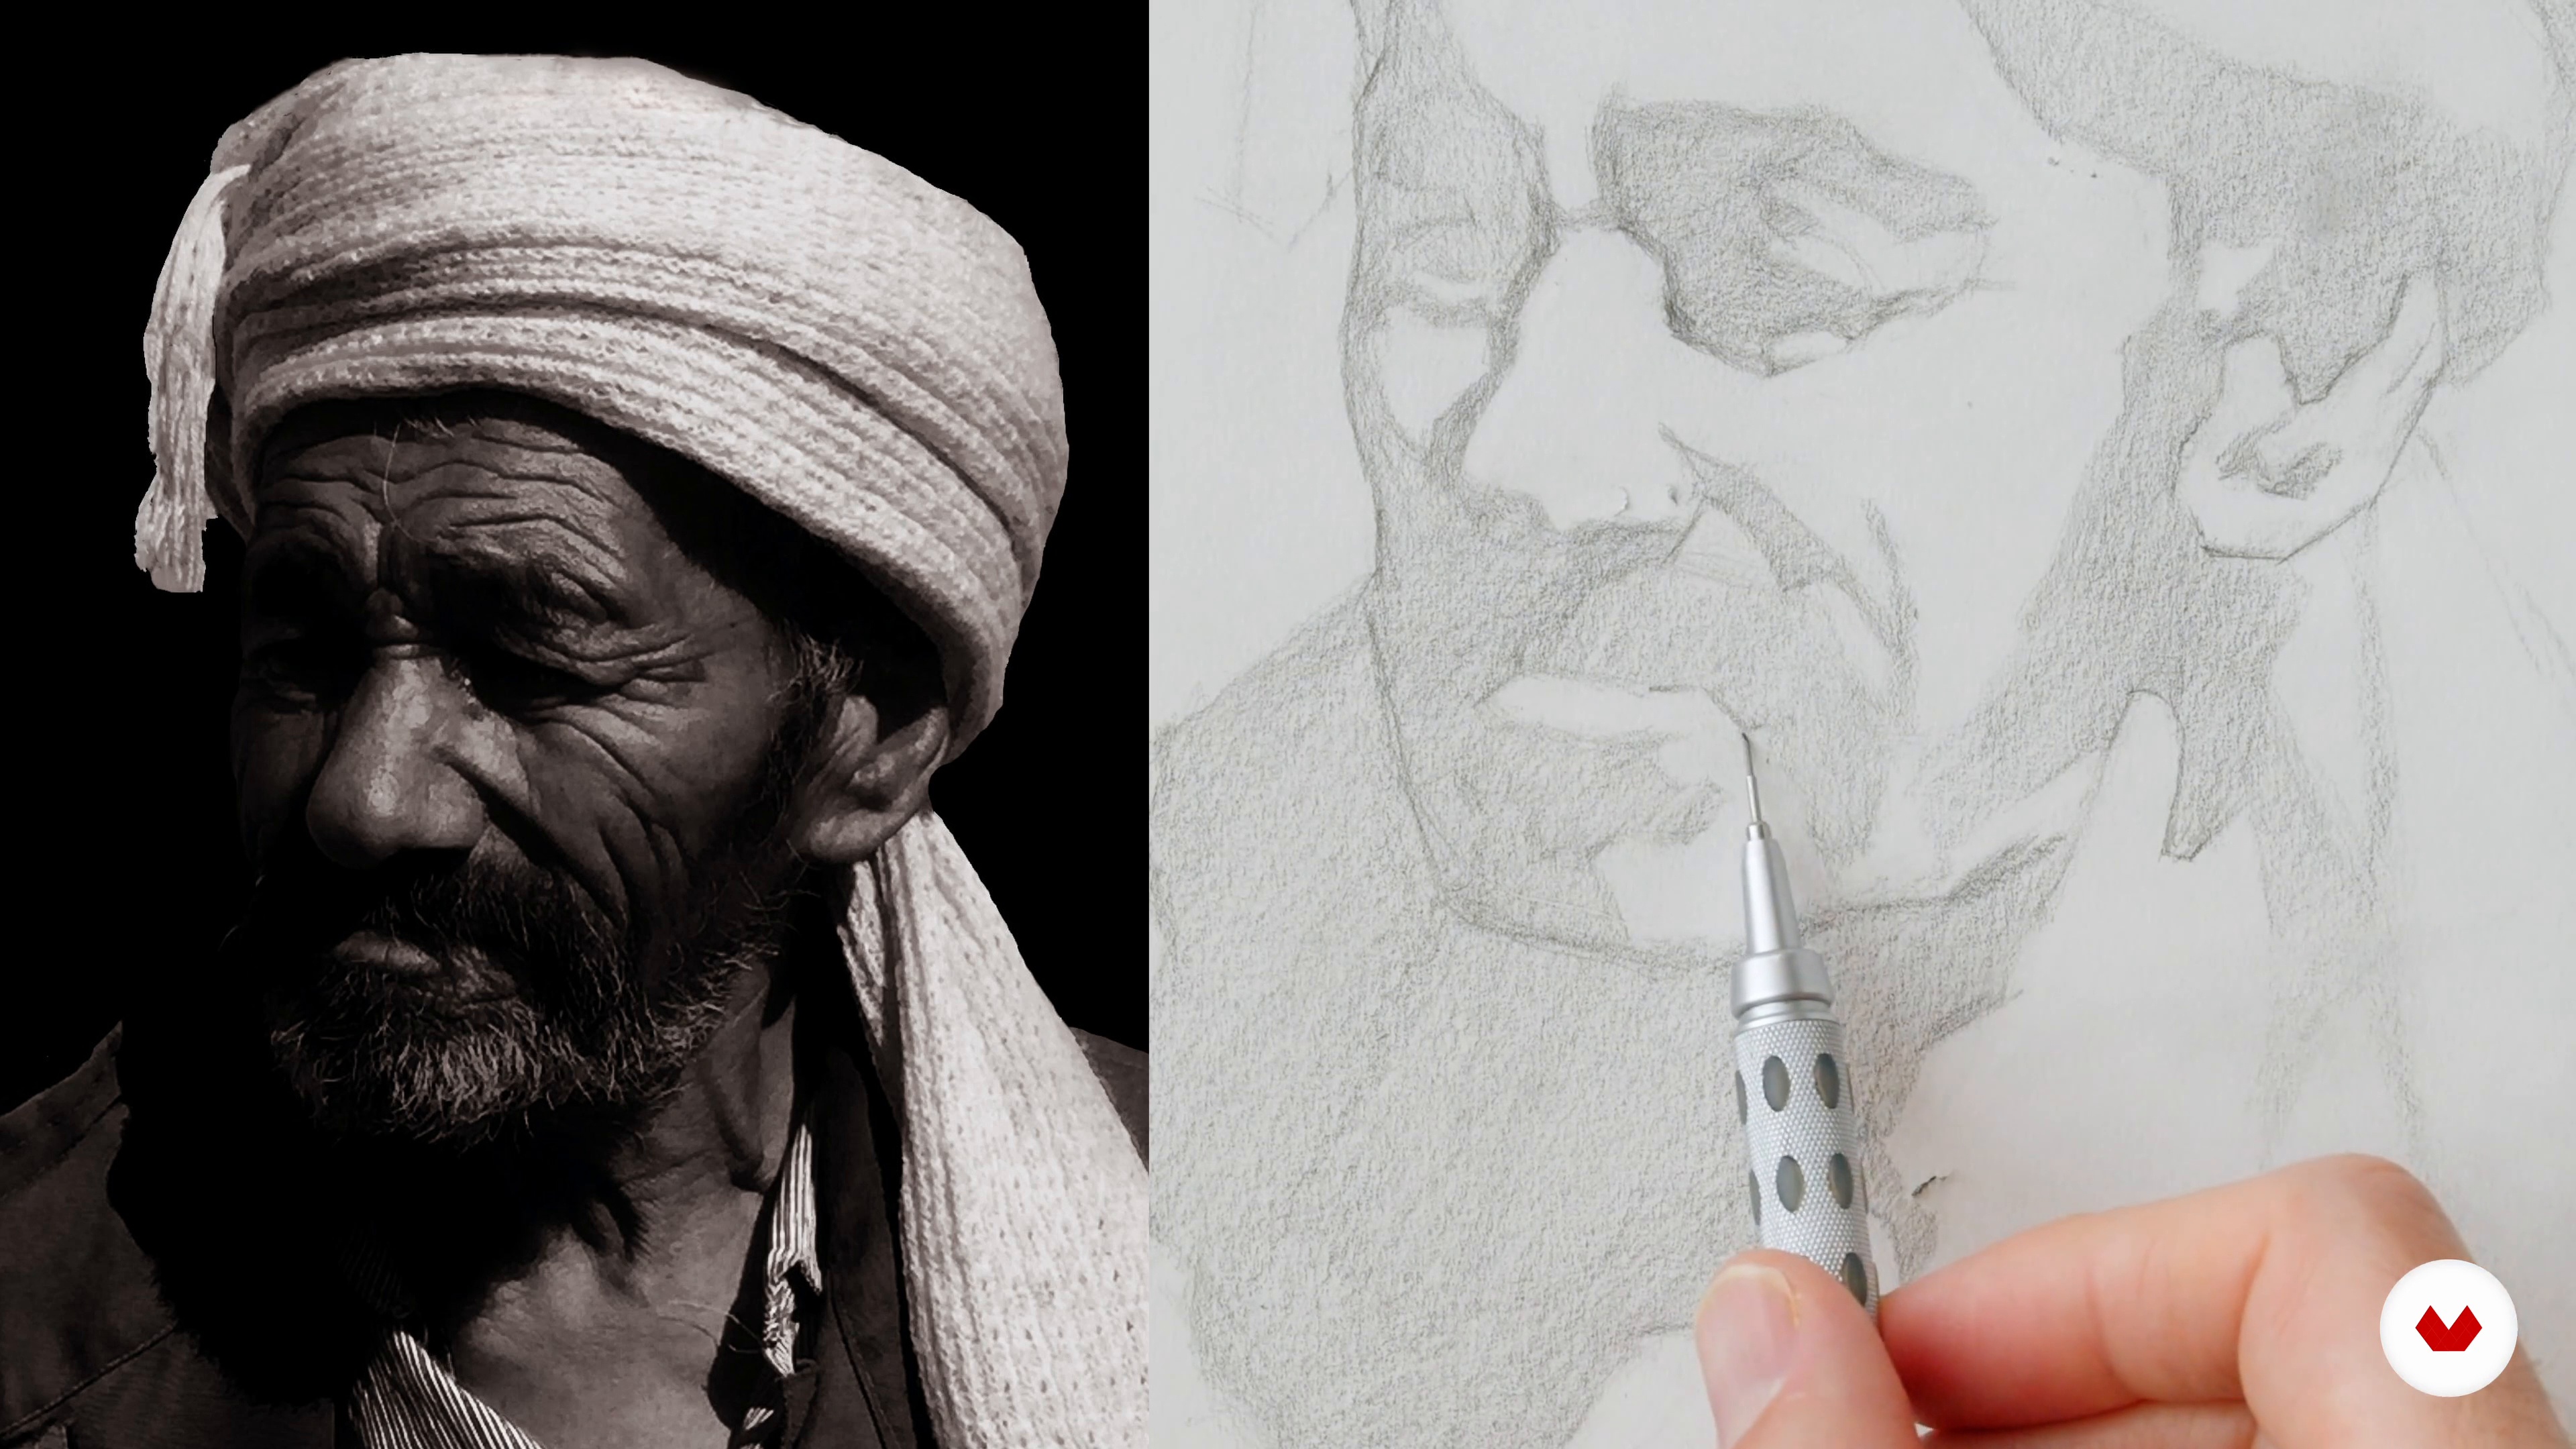
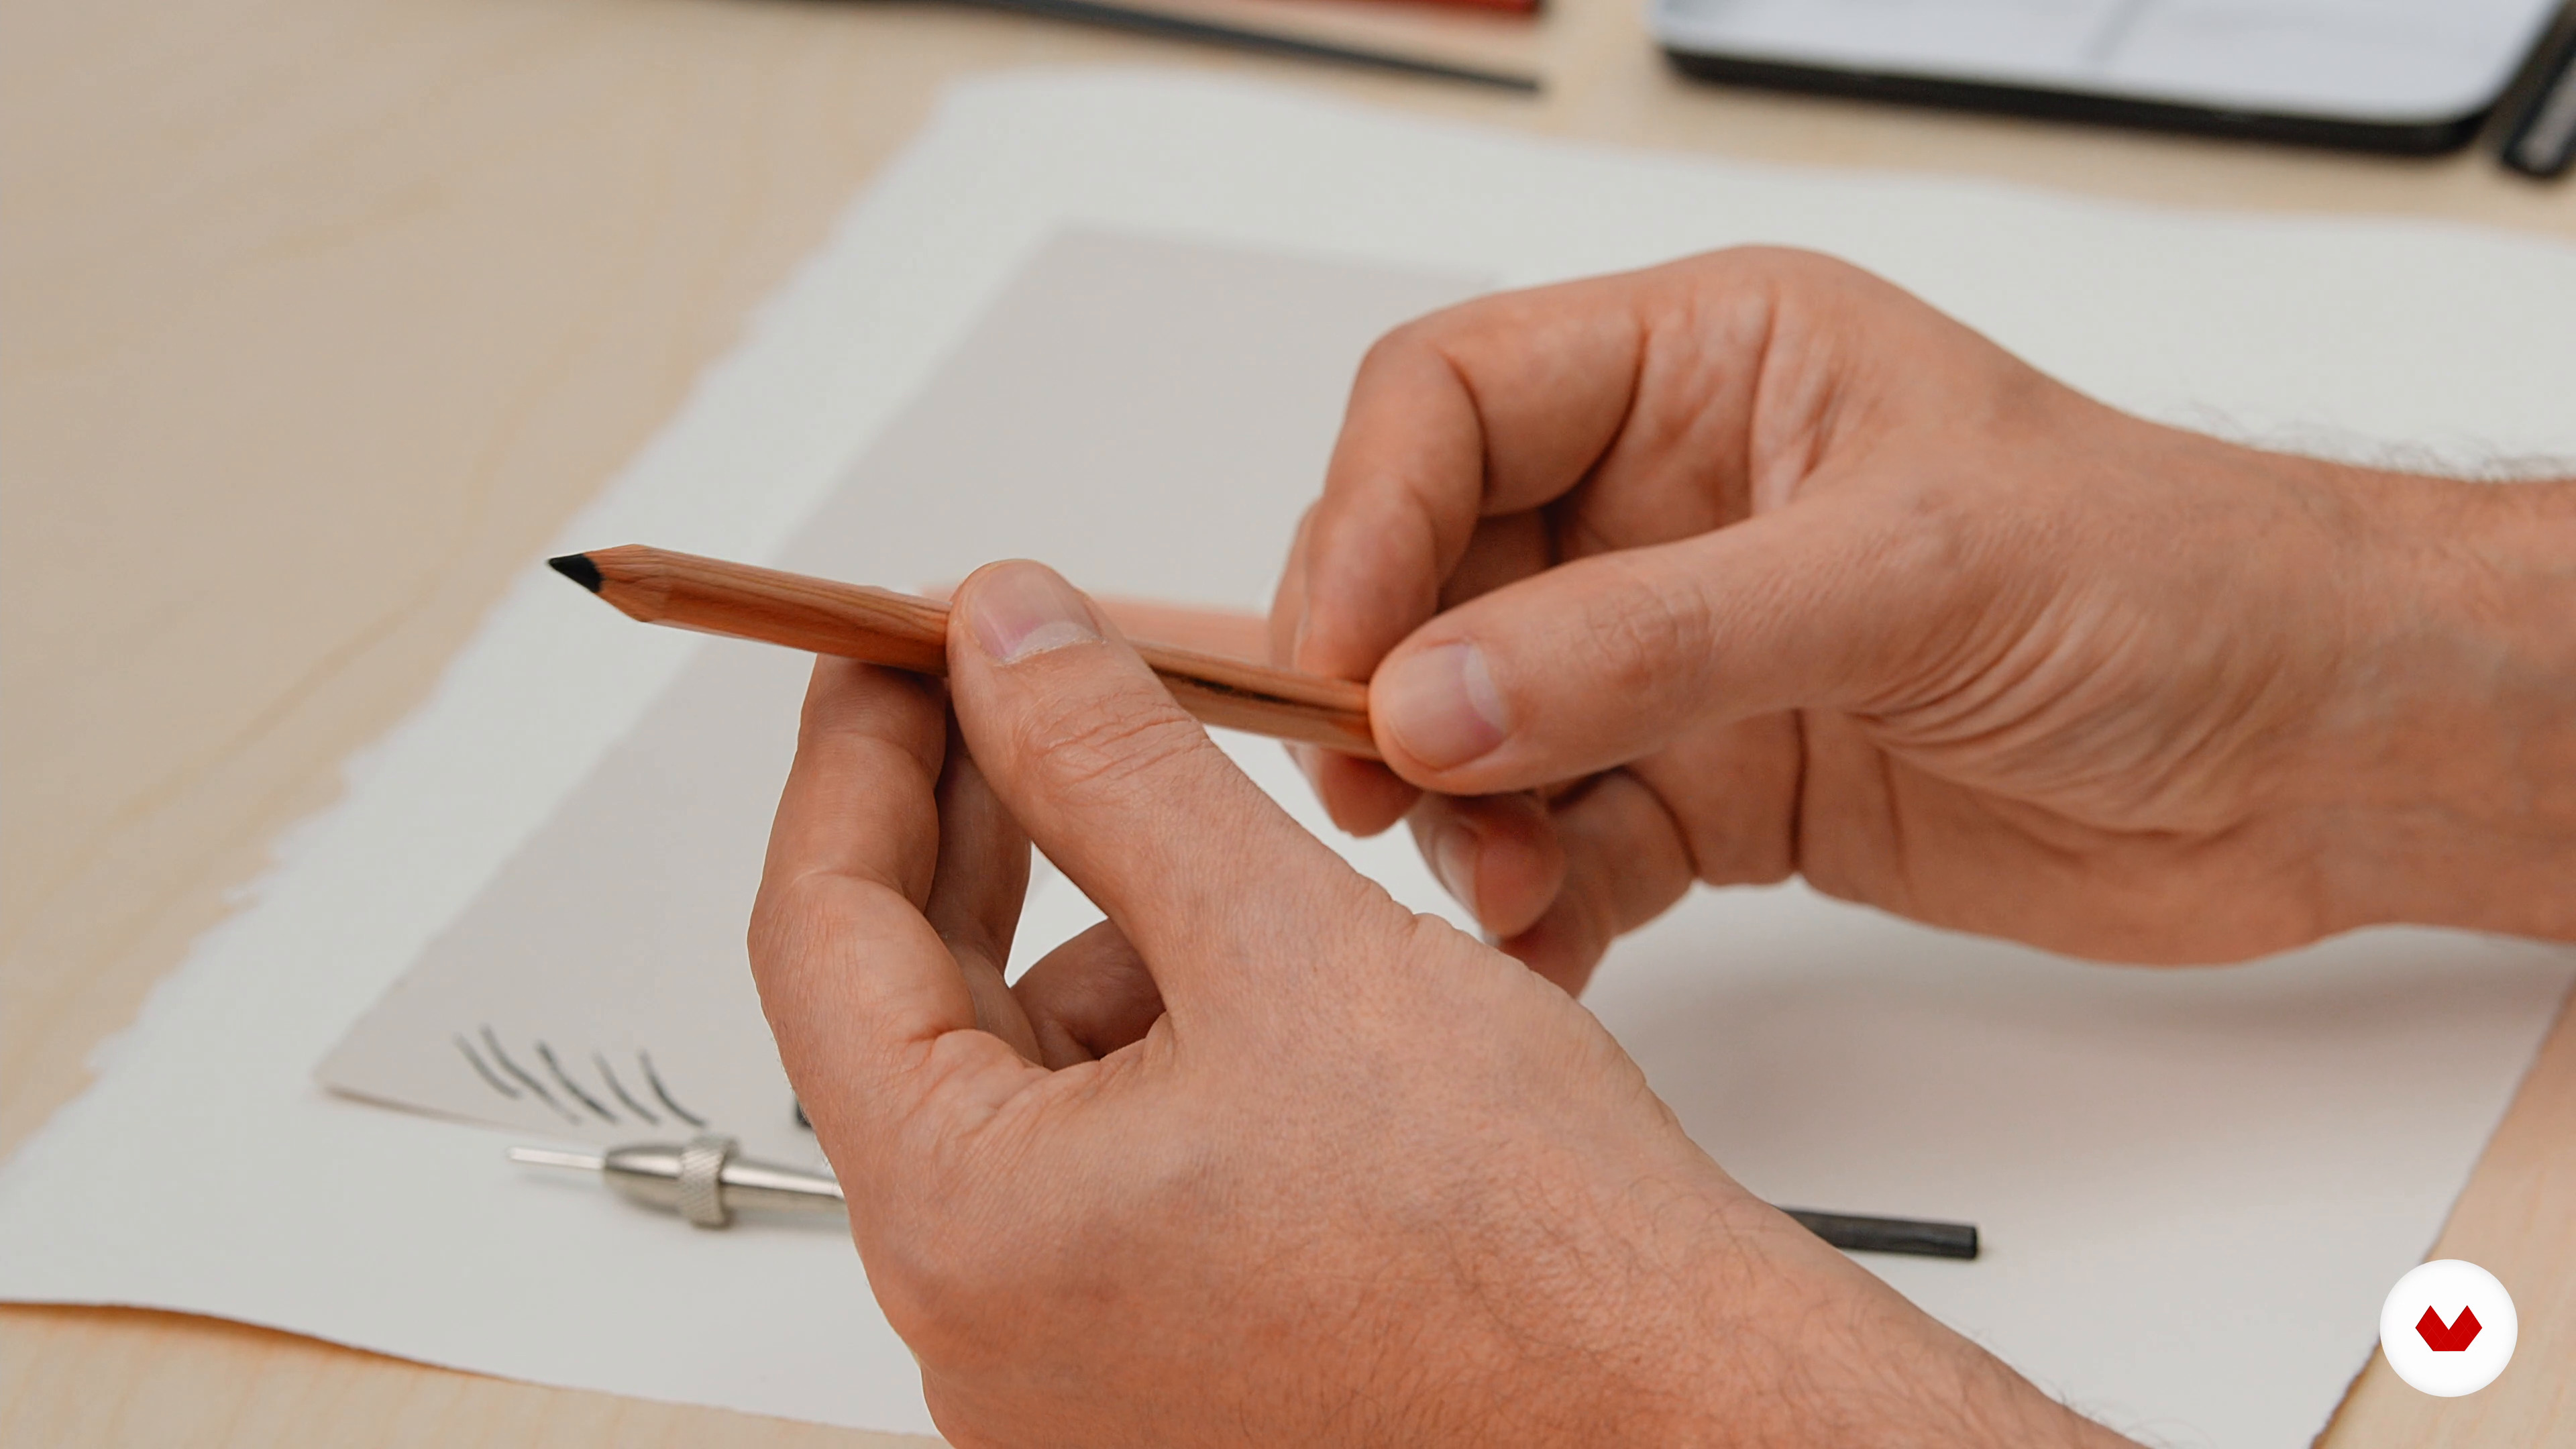
In this lesson, I will go over the materials for the course. These are very basic: a regular sketchbook, a mechanical pencil, and a few erasers. If you don't have a mechanical pencil, any pencil, from HB to 2B, will be fine.
7m
image
4
Dexterity Building Exercises
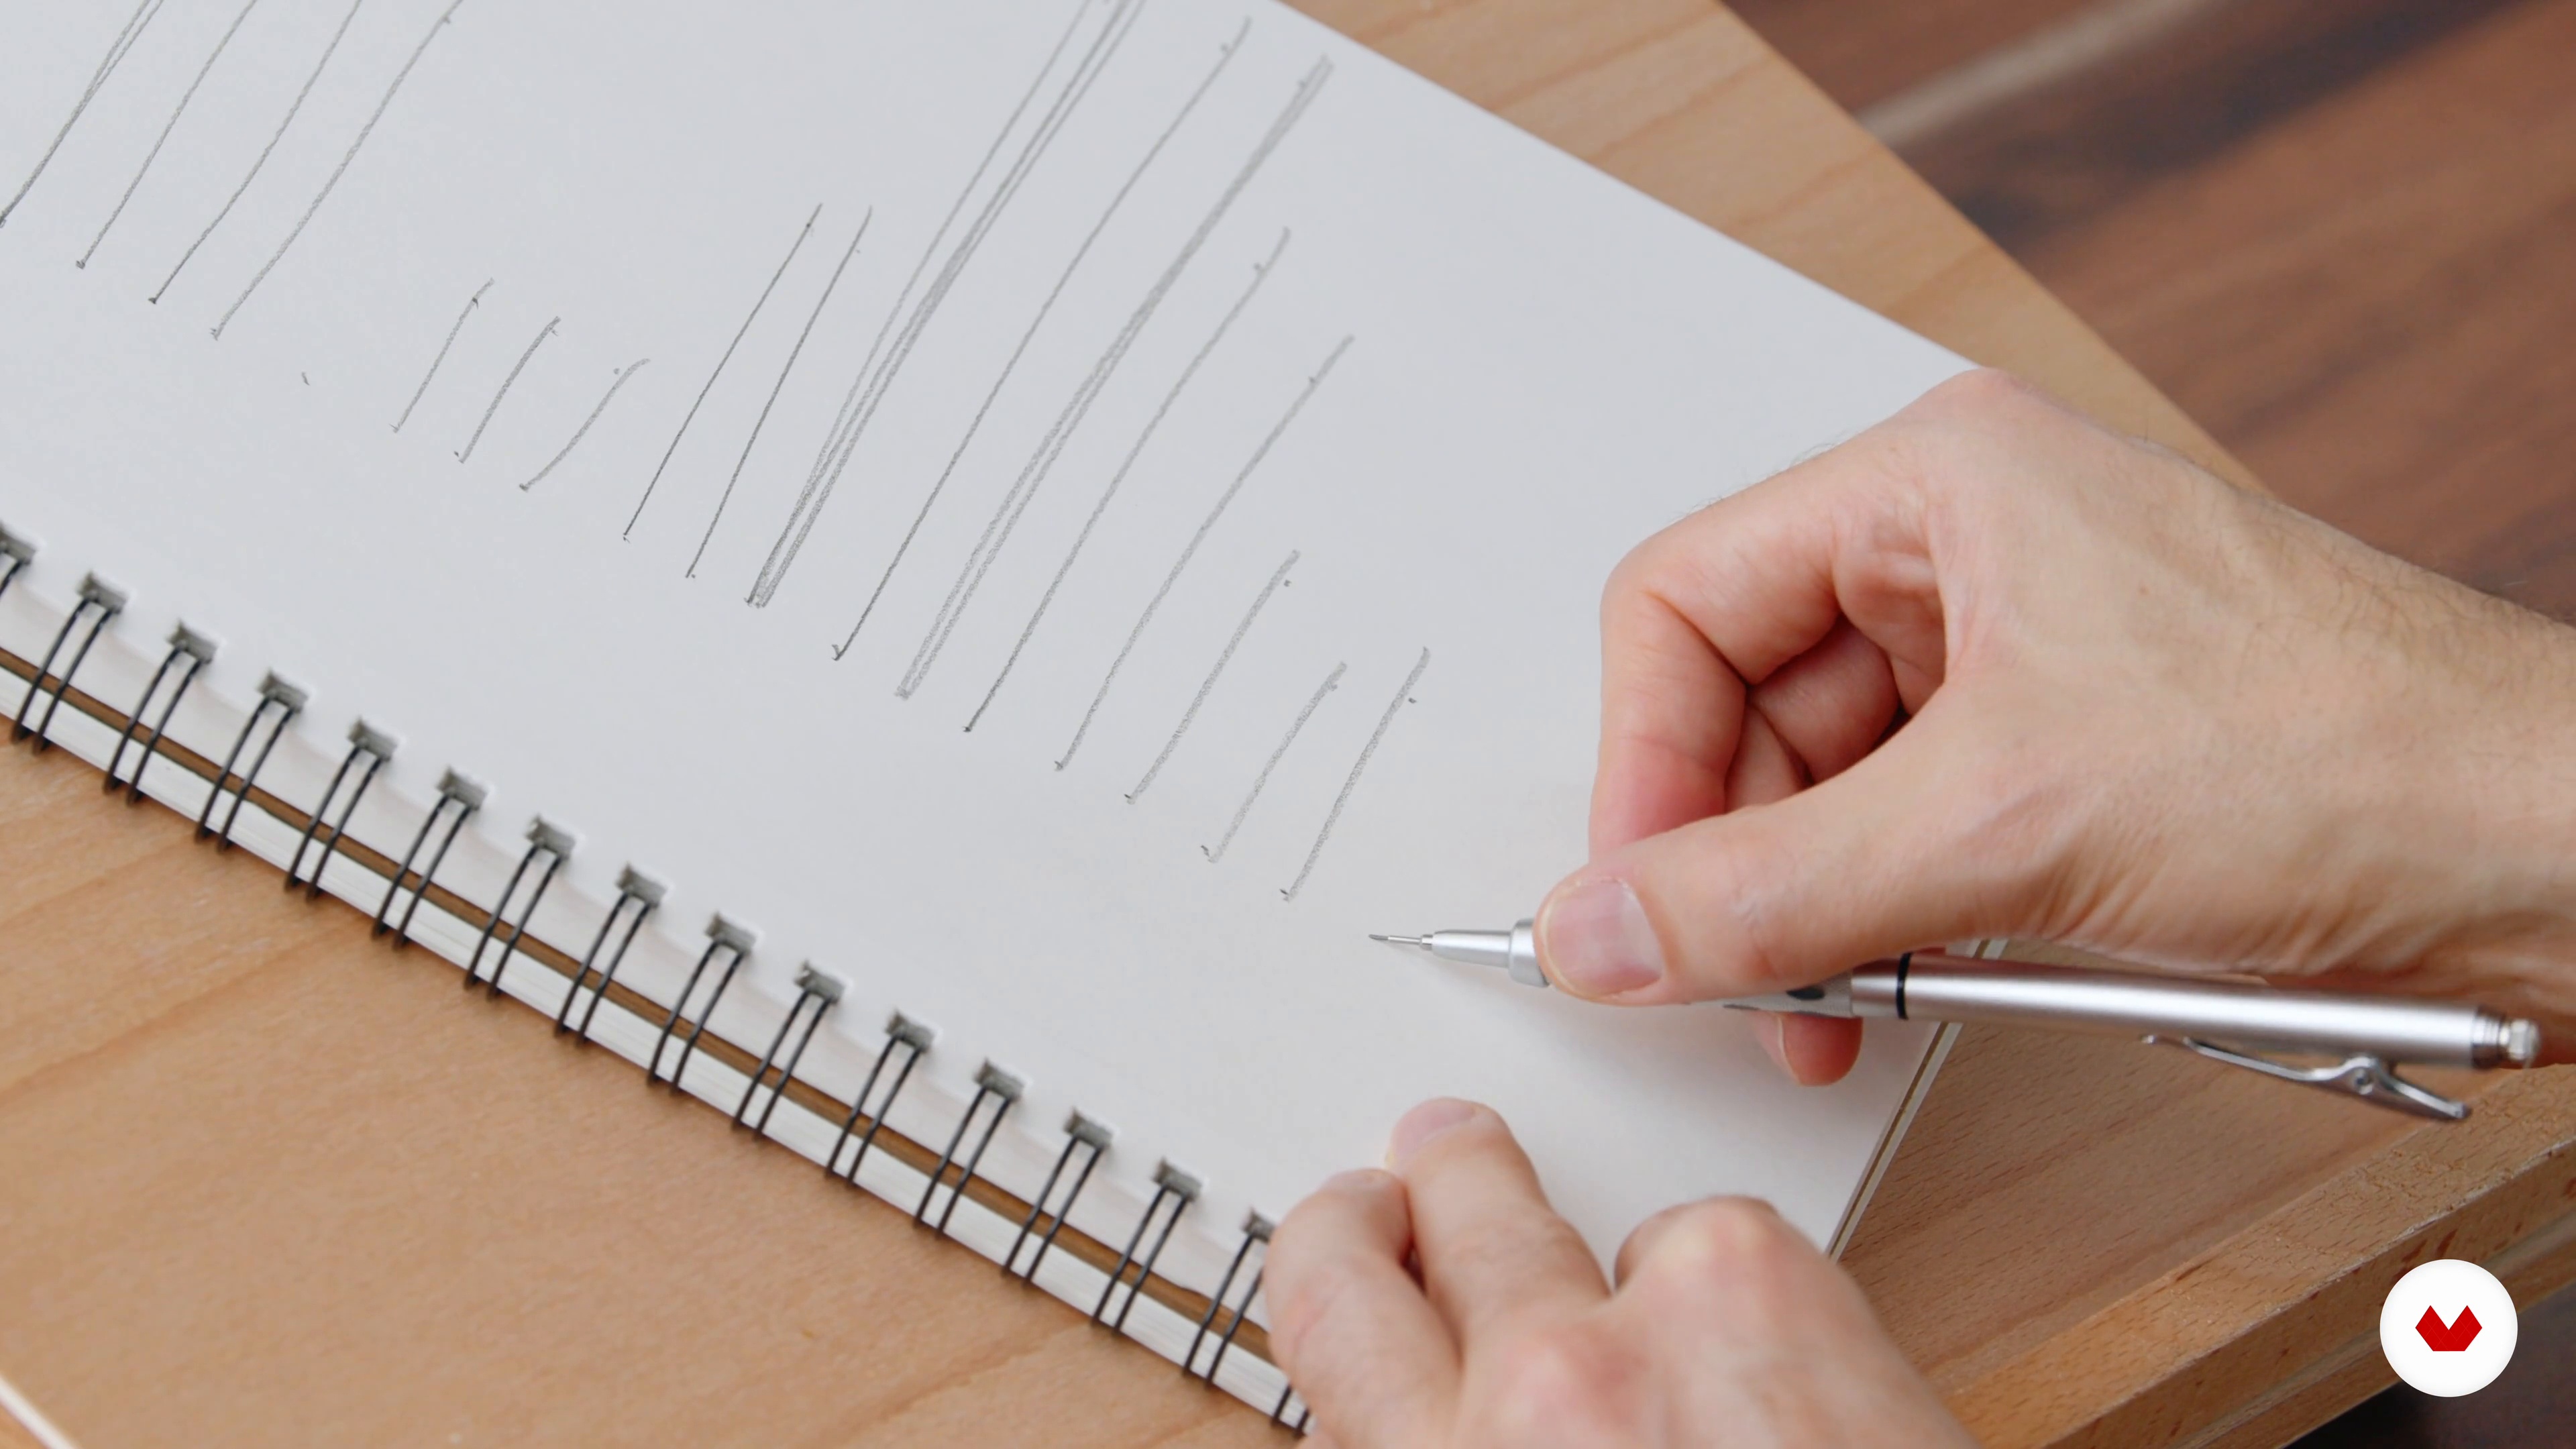
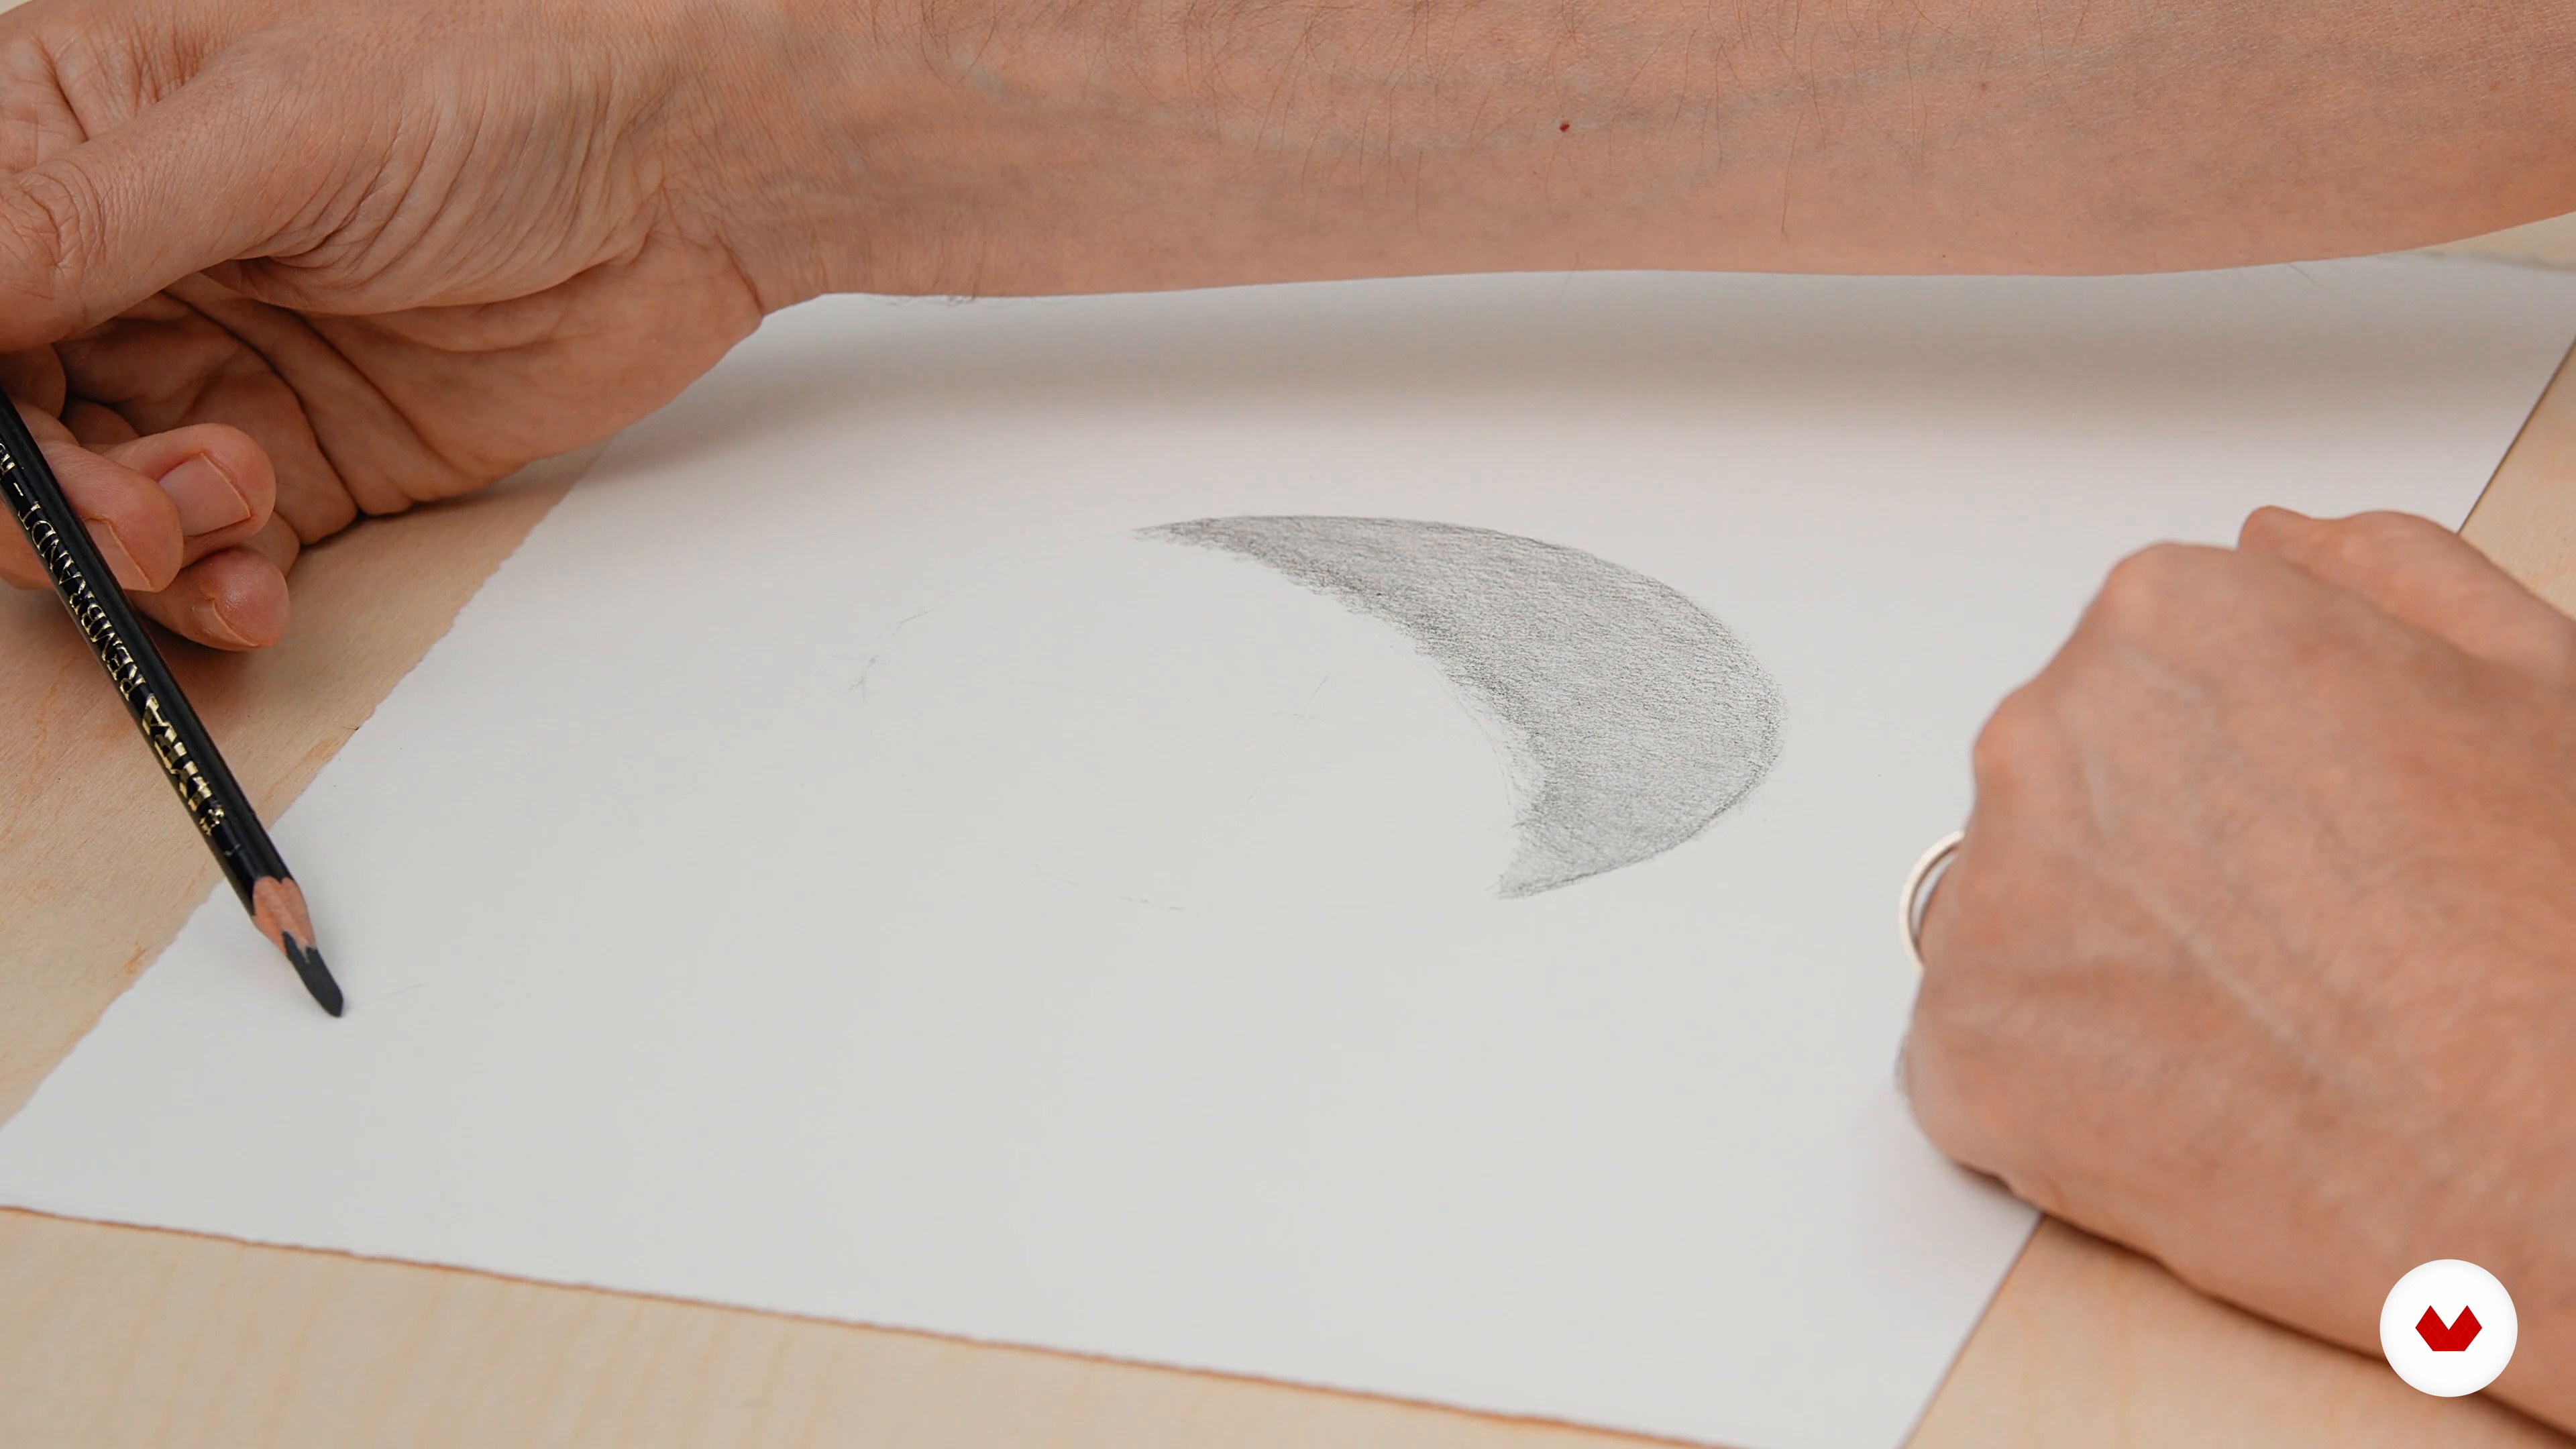
Here I will be working on dexterity building exercises. This will include drawing circles and ellipses, as well as straight lines. I will also cover shapes and calligraphy/hatching.
12m
image
5
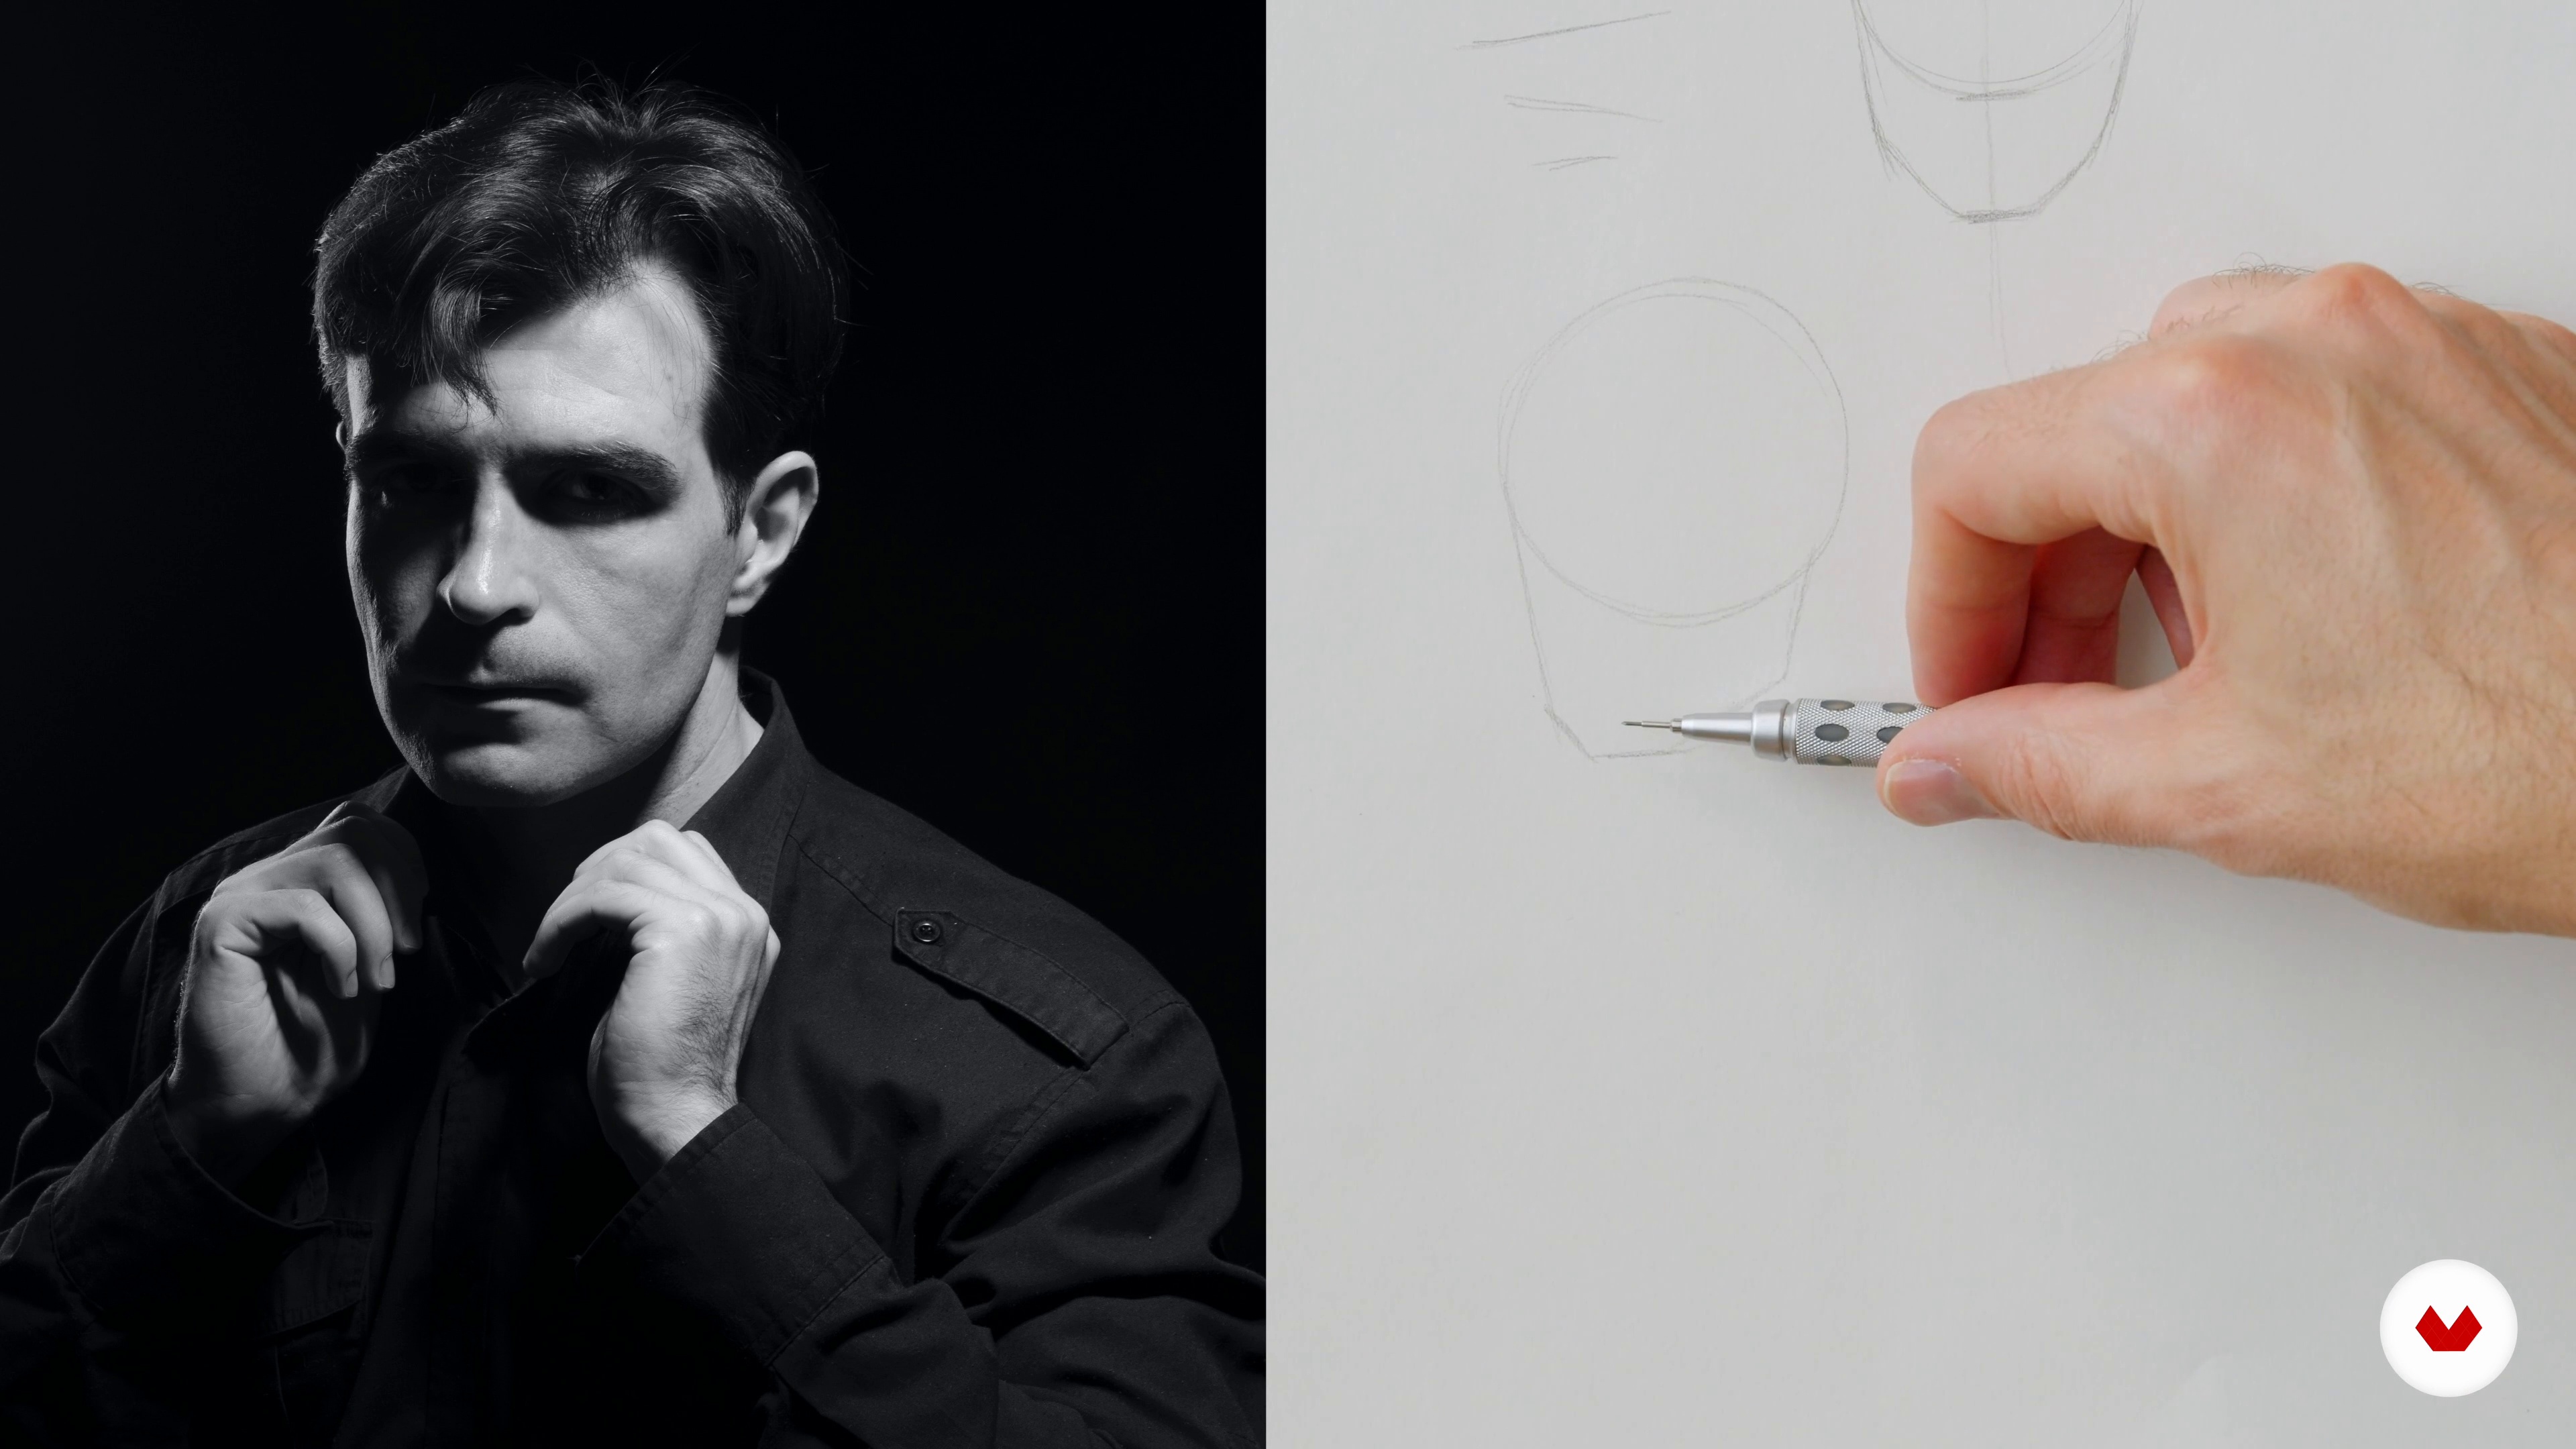
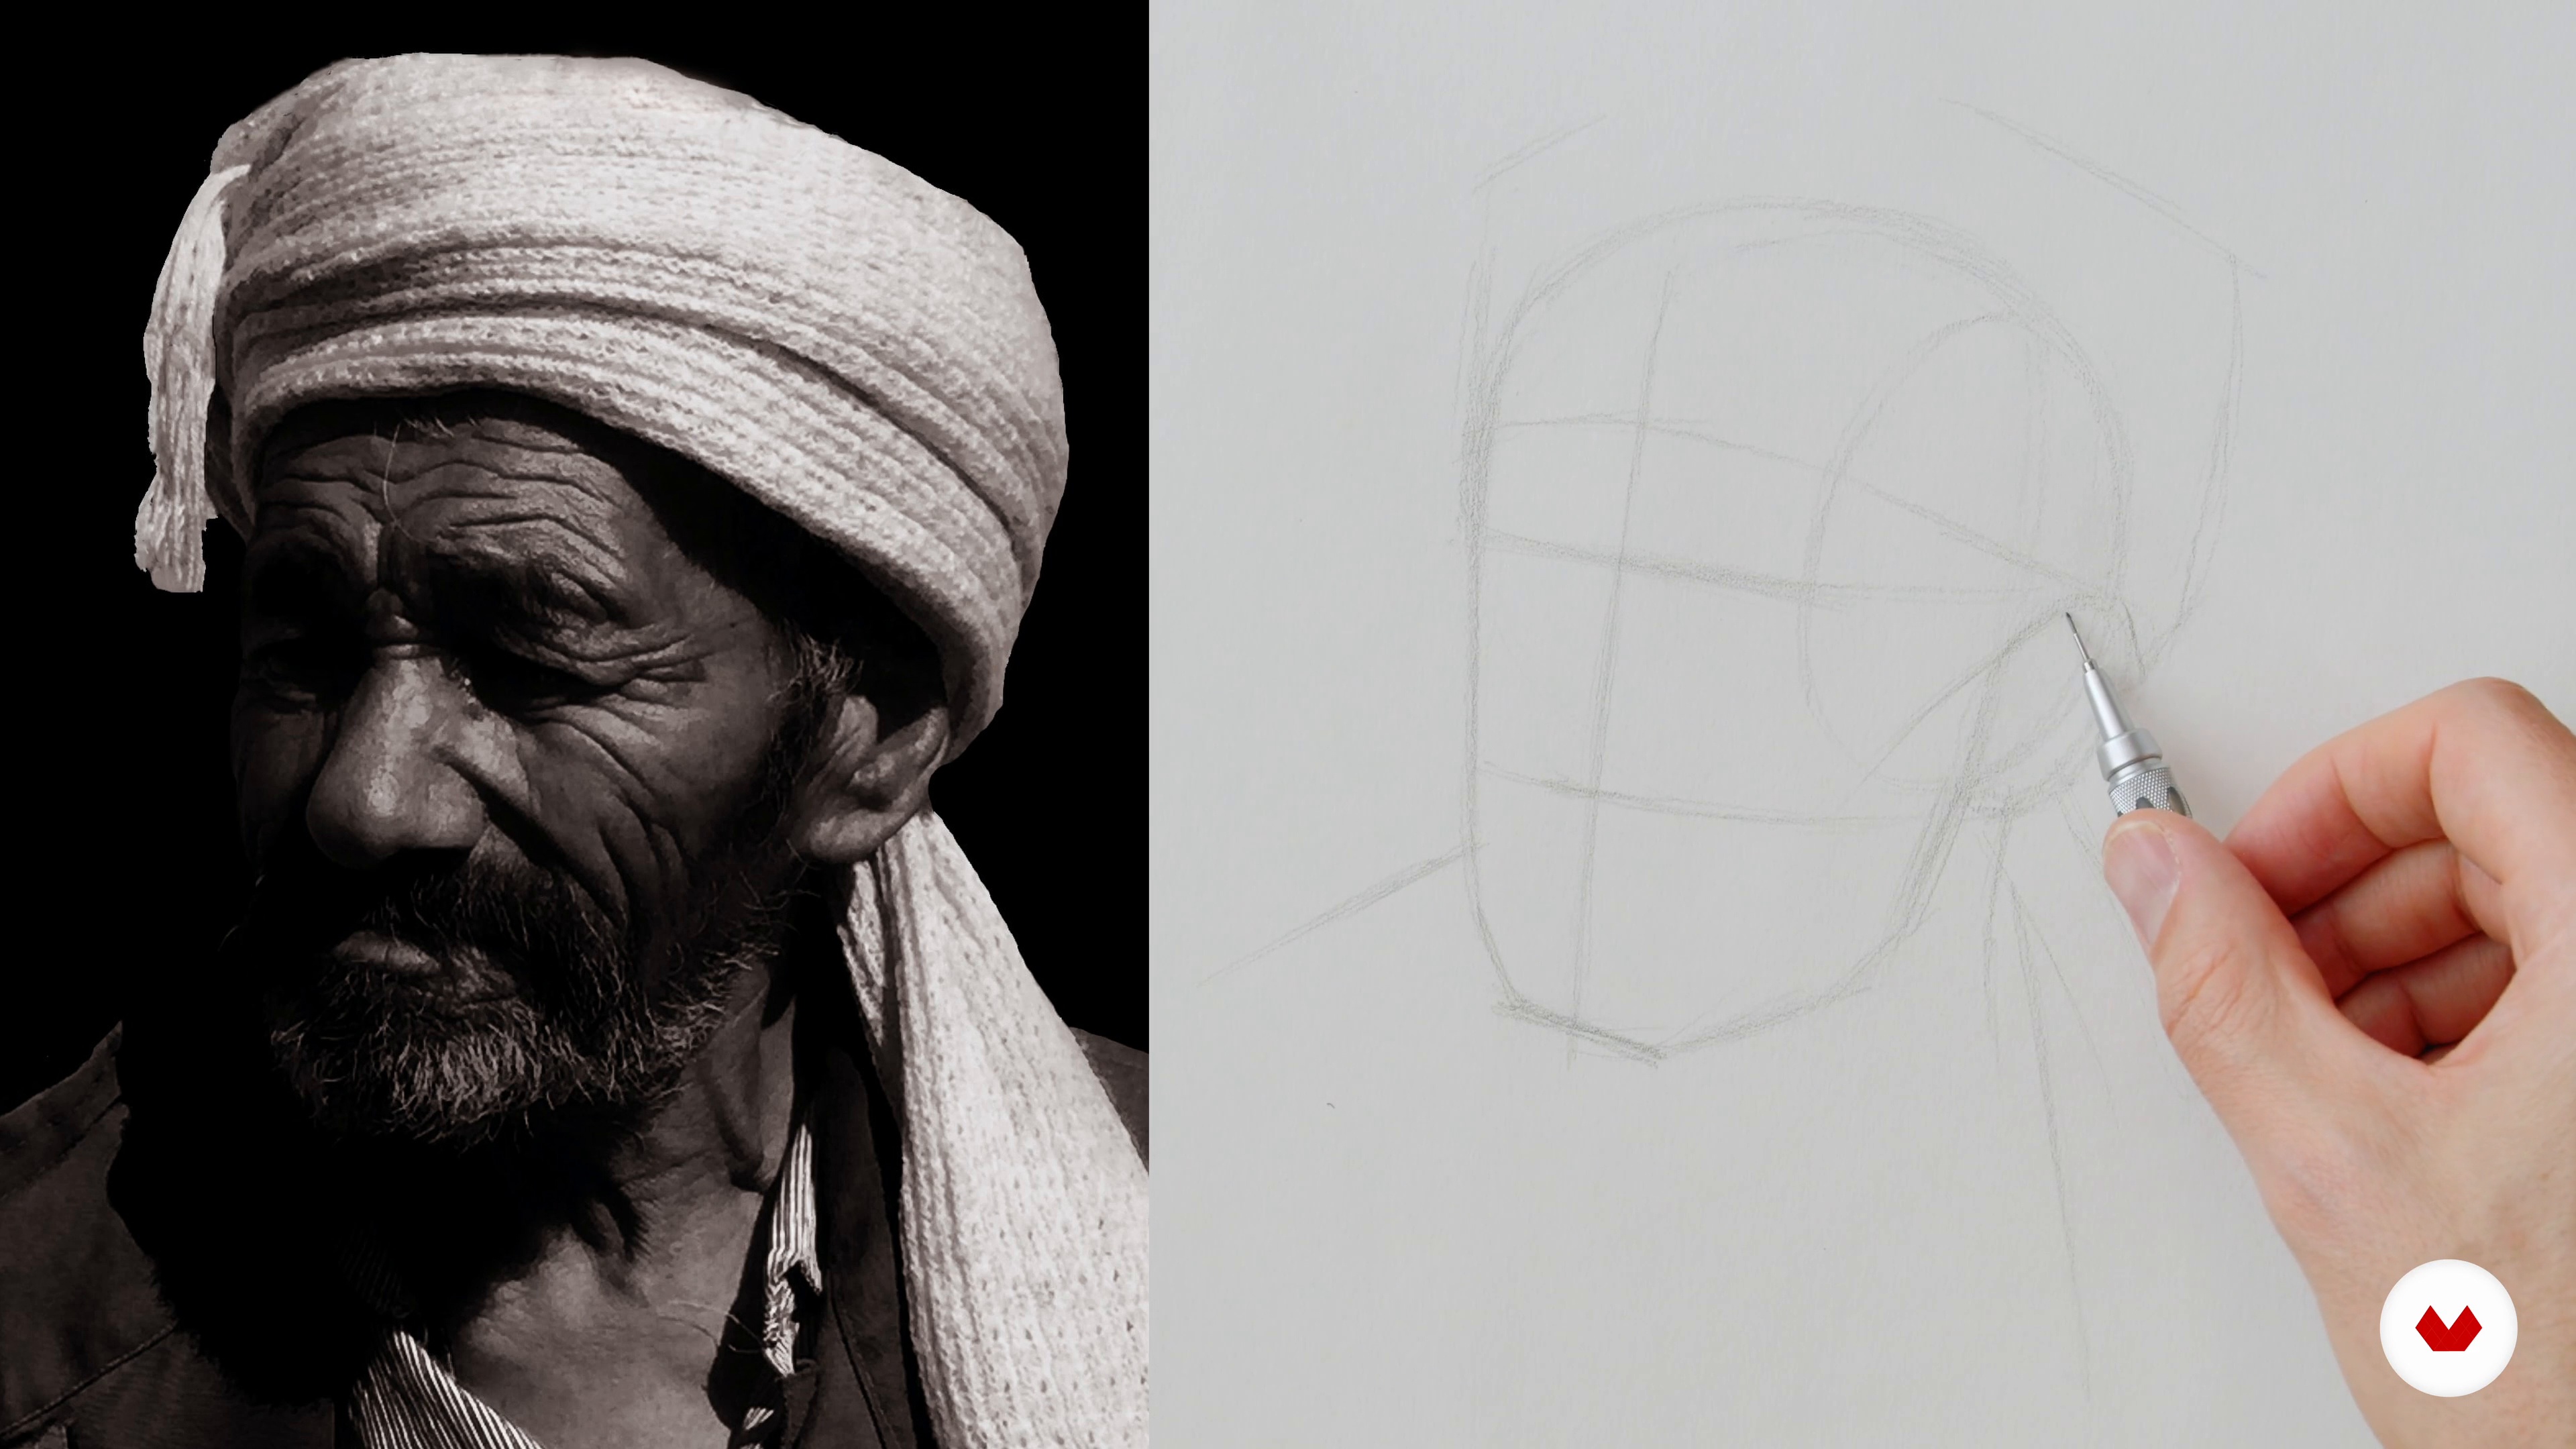
Basic Head Construction
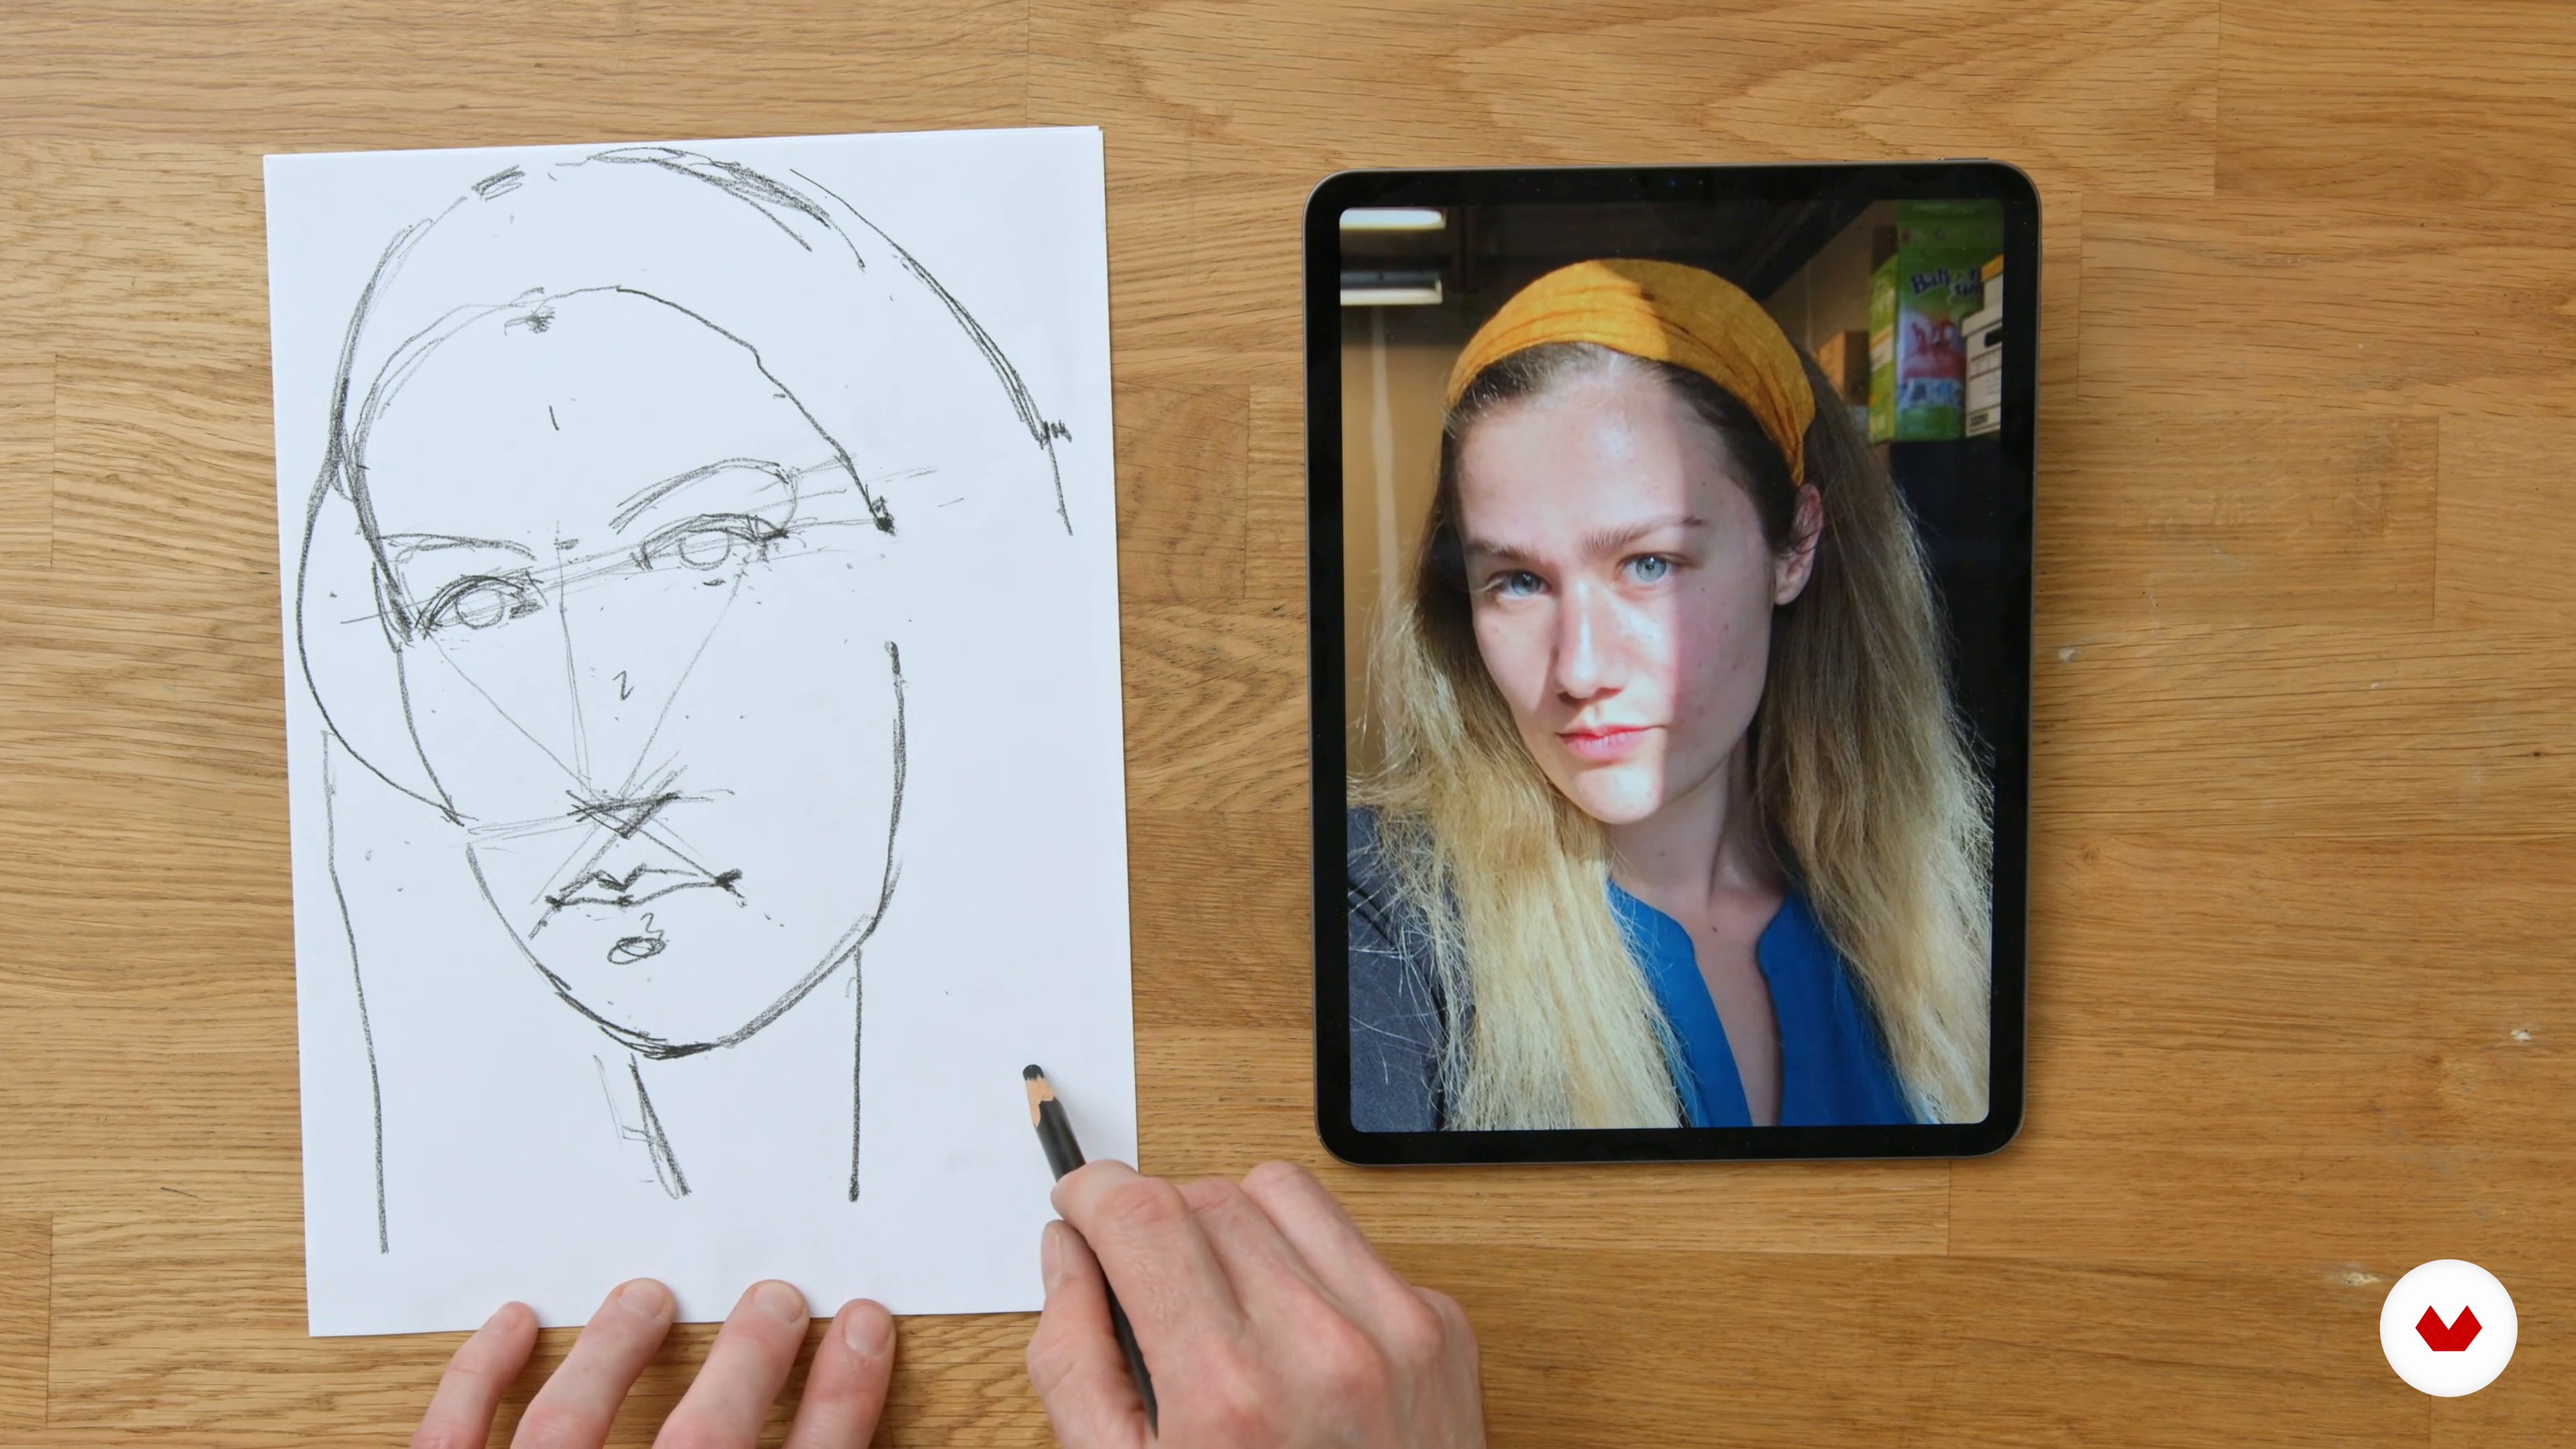
Next, I will teach you how to construct the head with basic shapes and lines from different angles.
9m
image
6
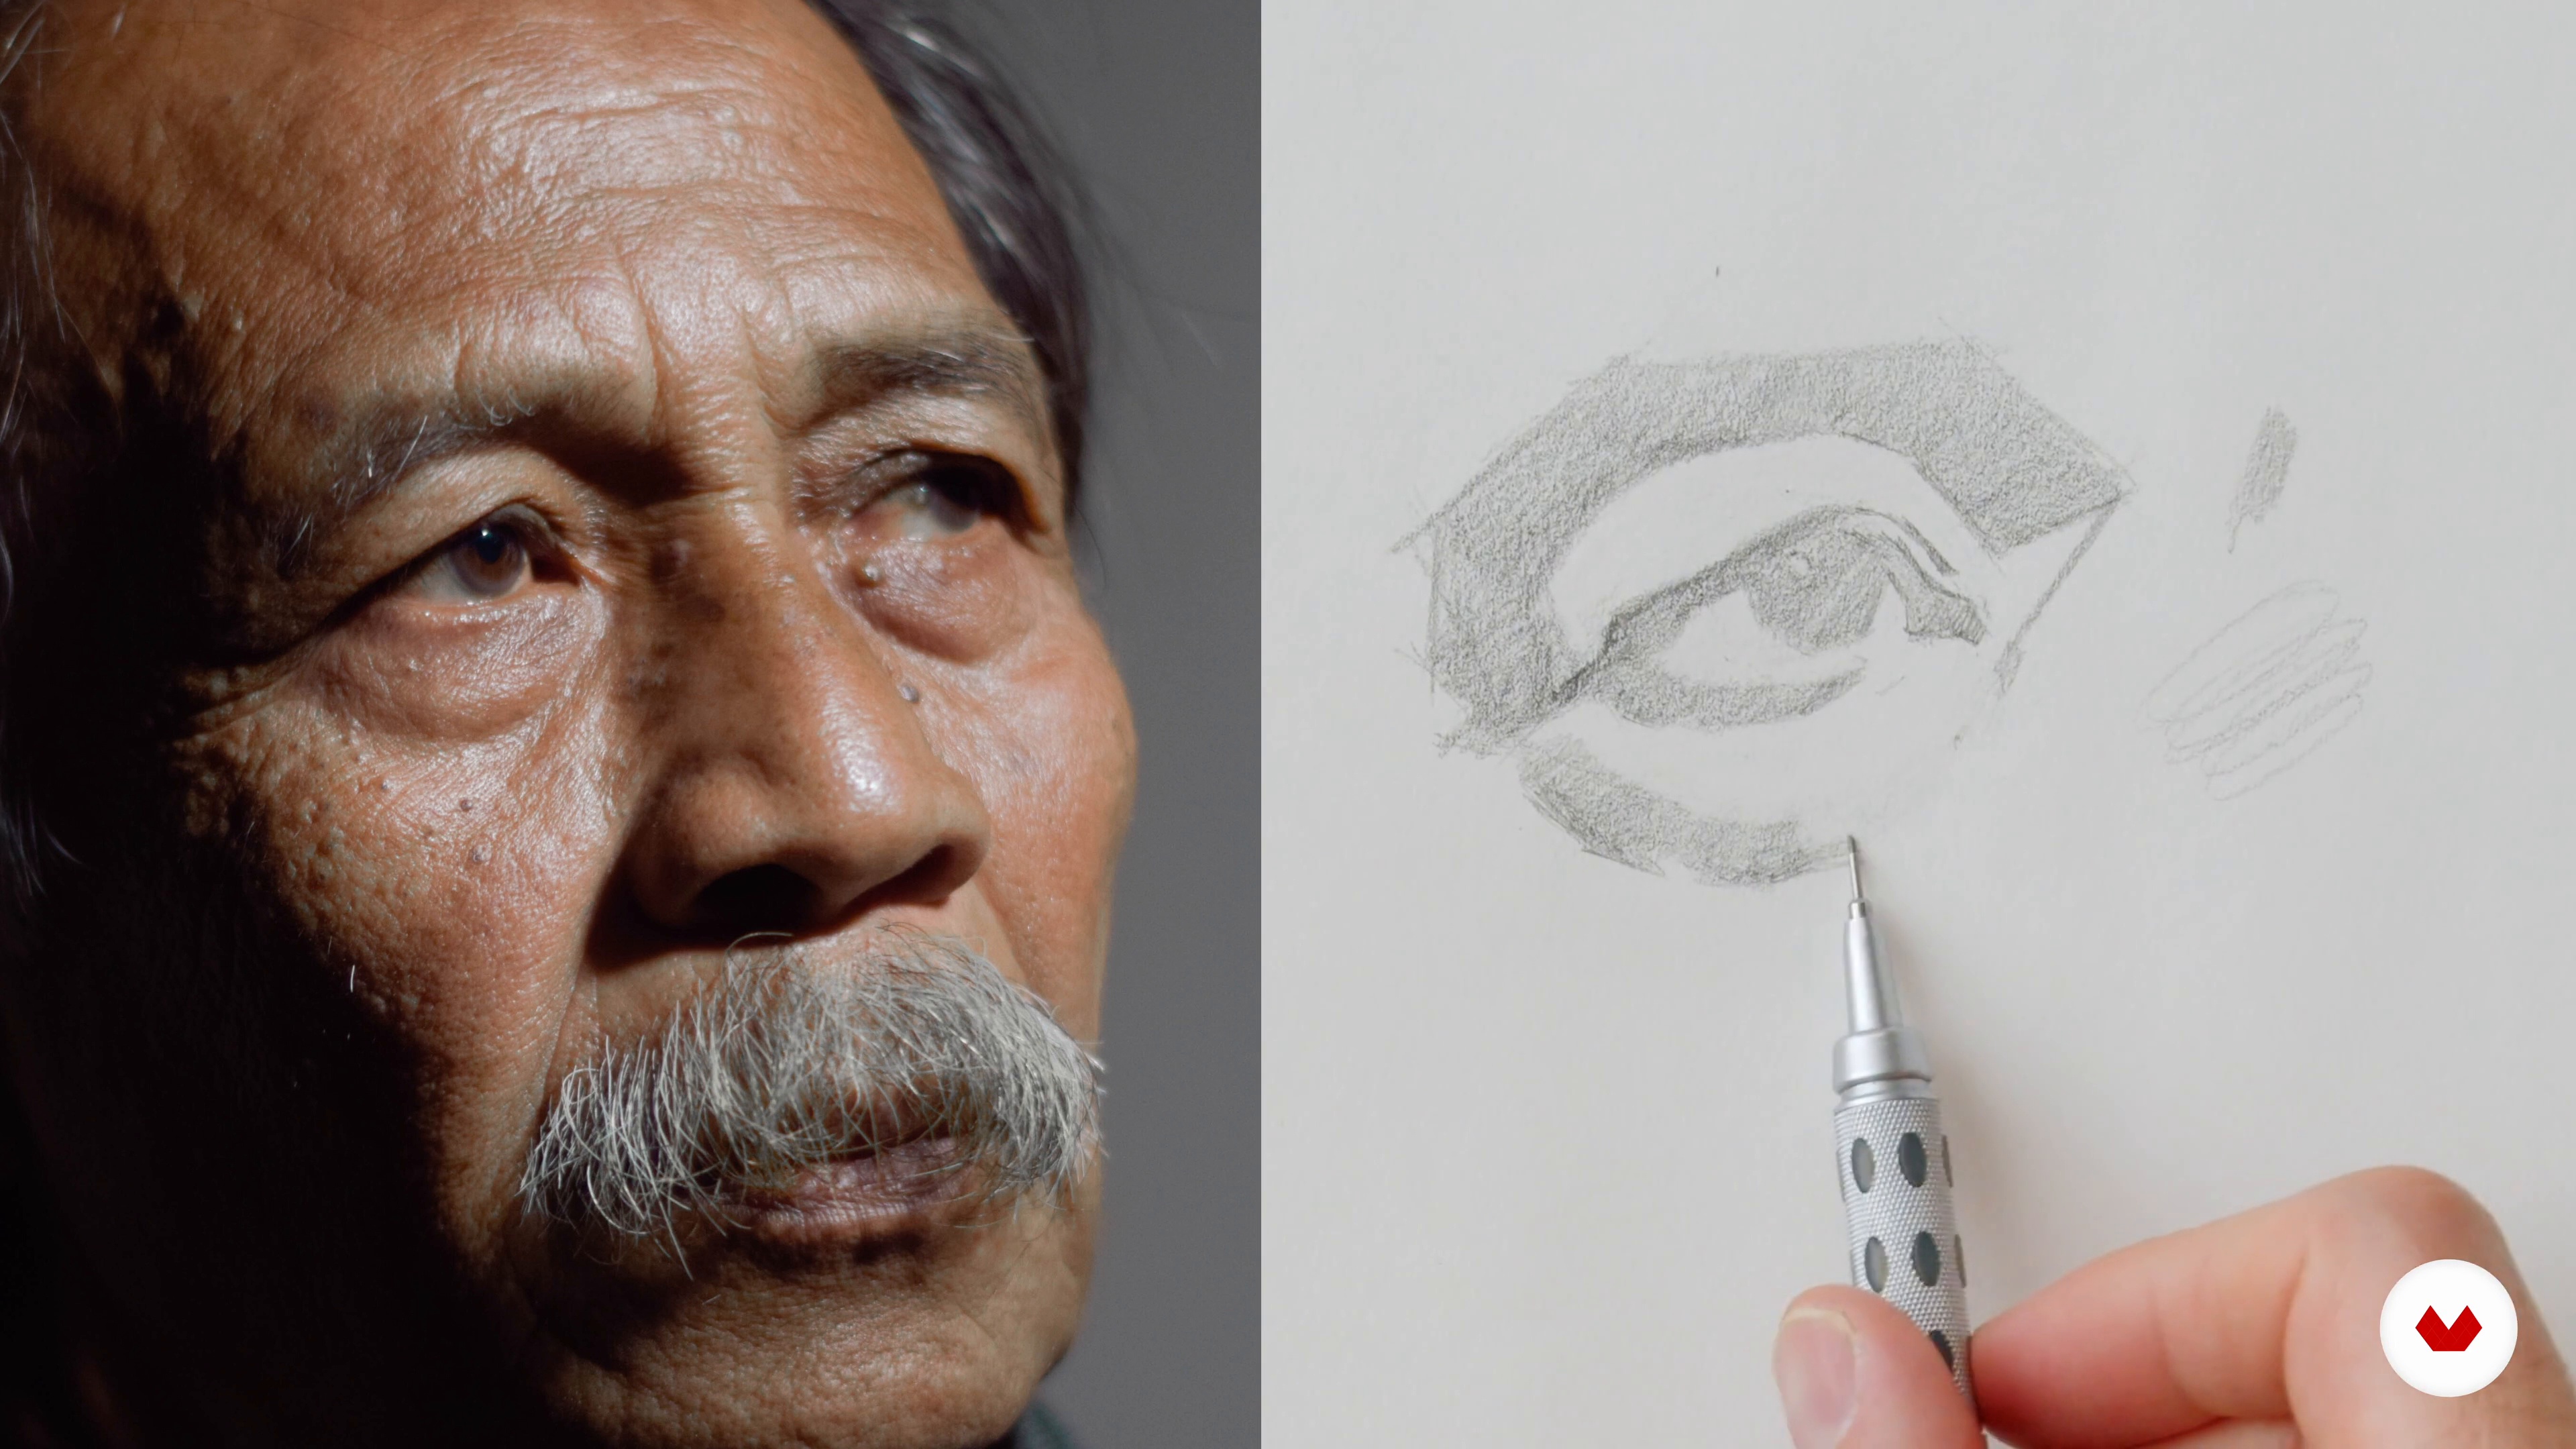
Shapes and Features 1
In this lesson, I will explore the features of the face and the shapes to look for when drawing them. Each feature will be looked at individually, going from construction to shape. I will start with the eyes and continue with the nose.
16m
image
7
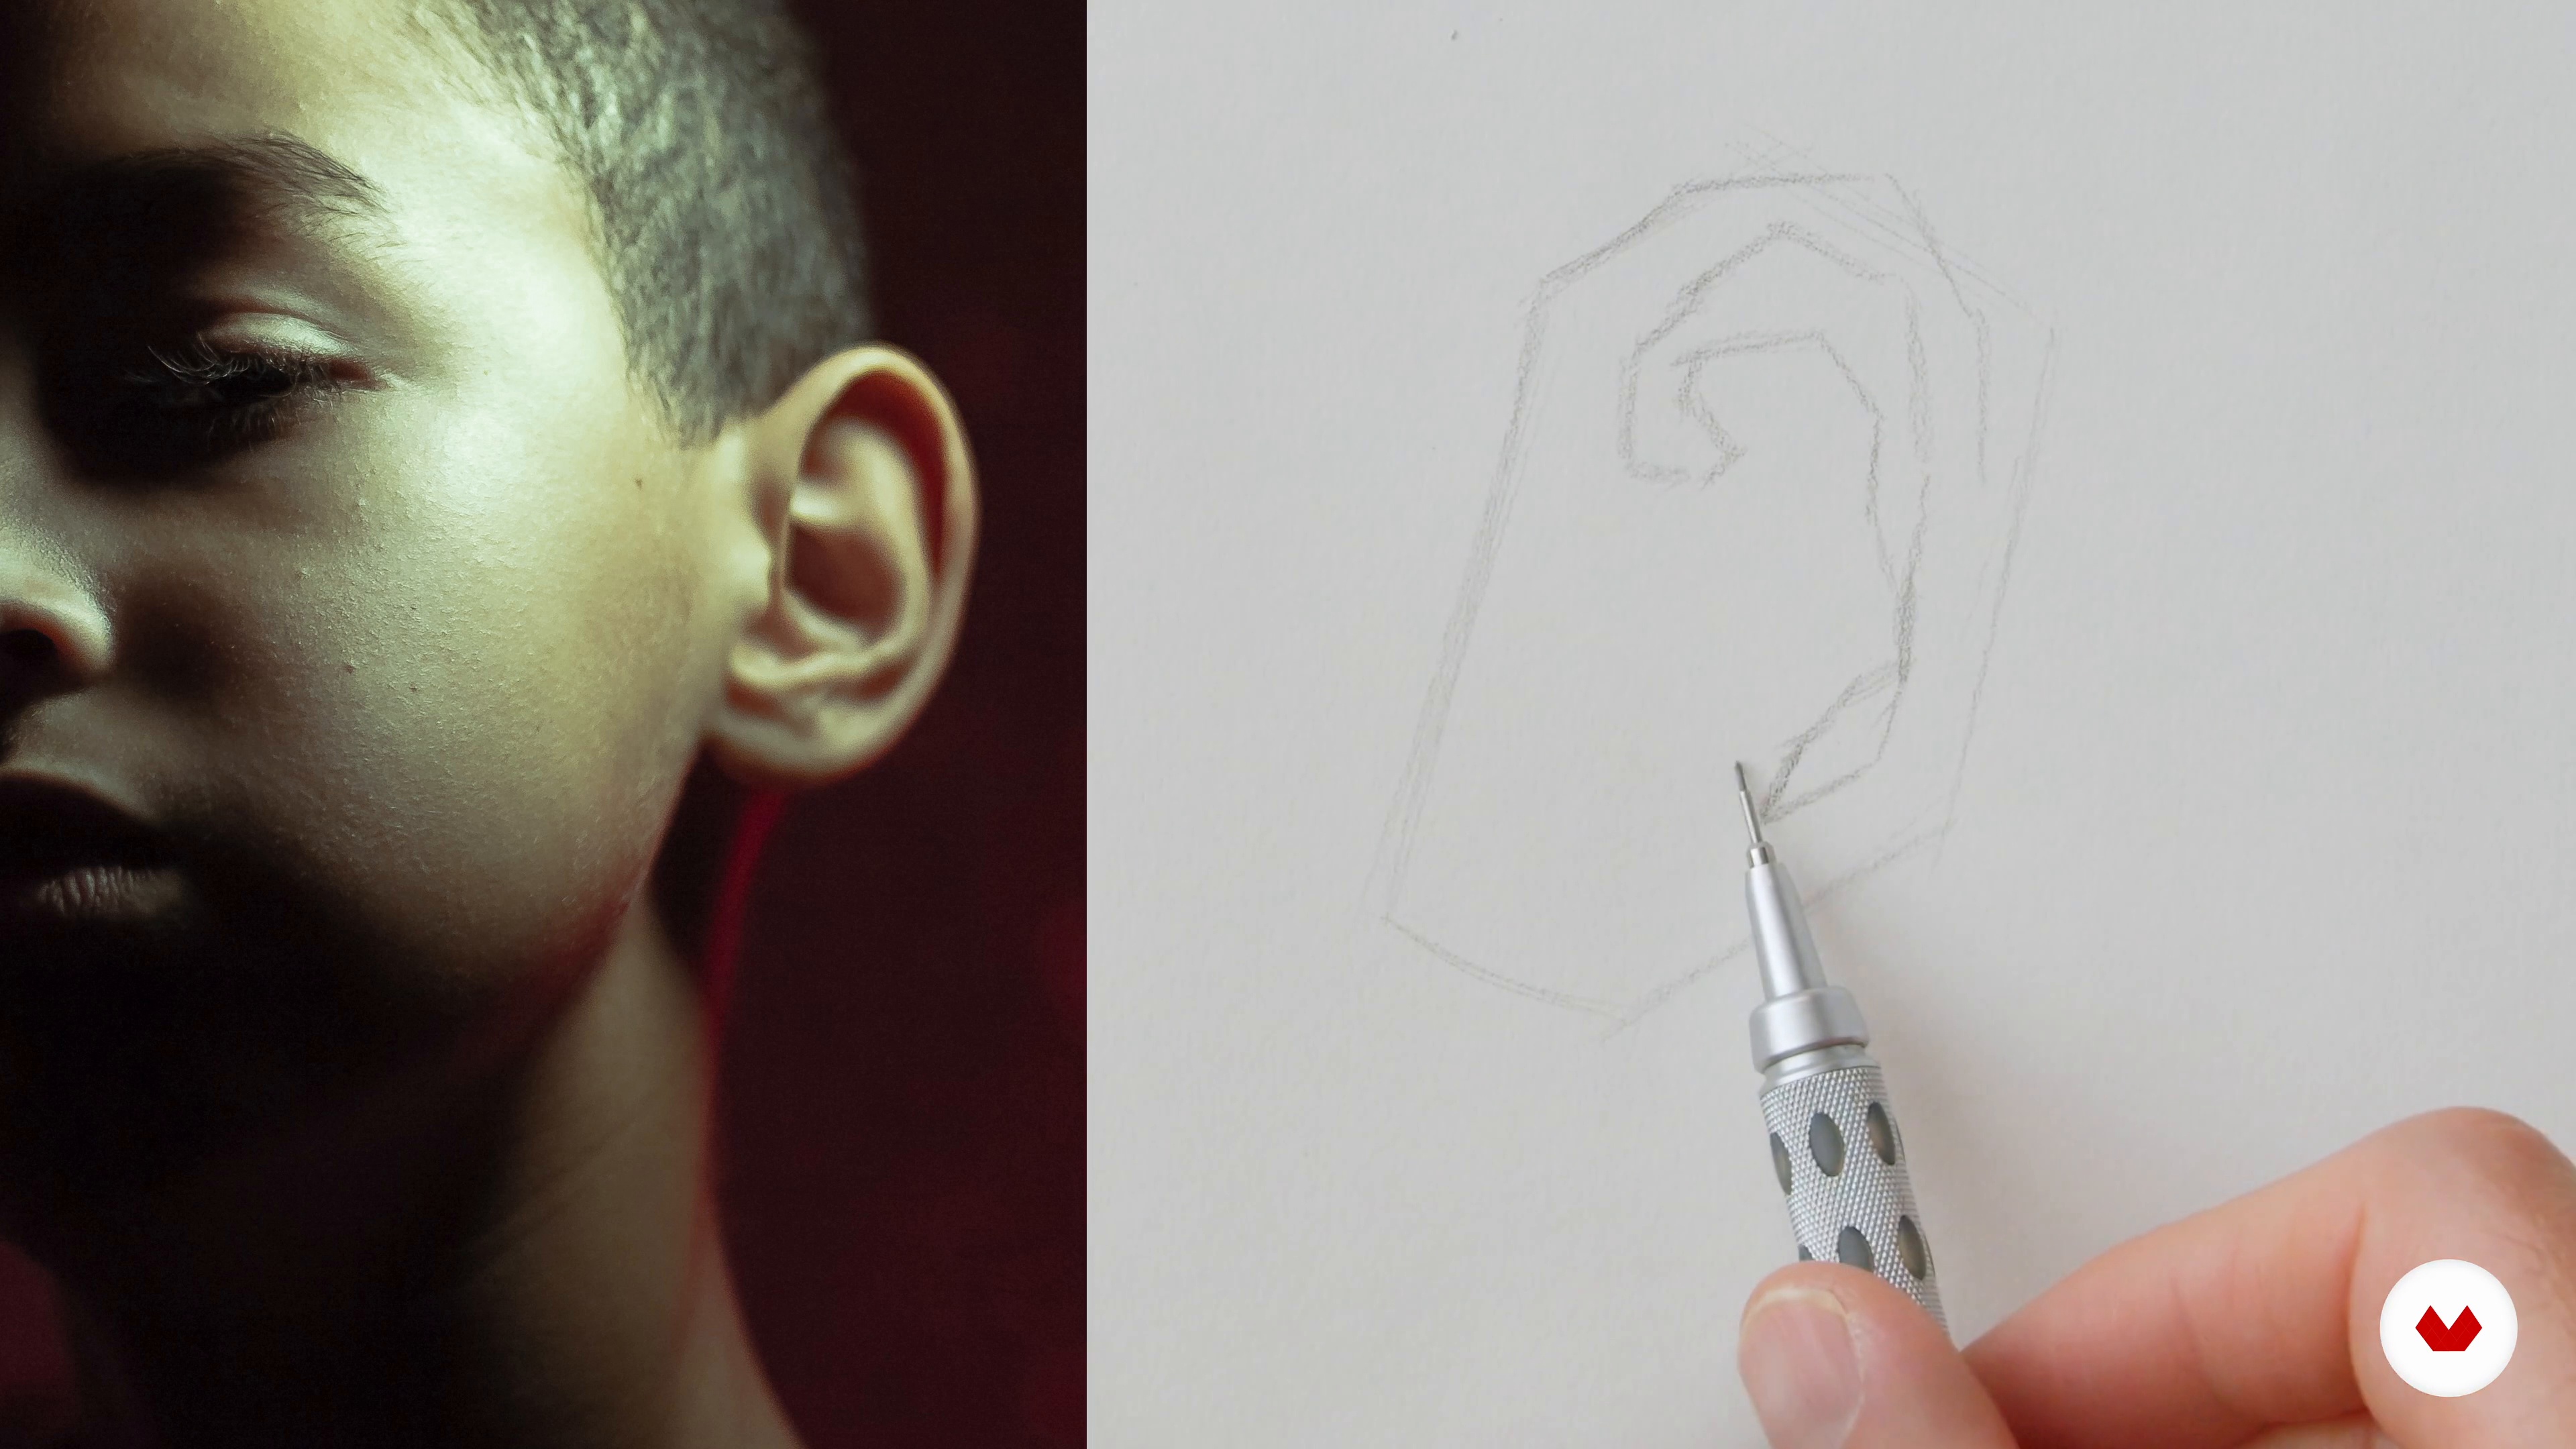
Shapes and Features 2
Next, I will continue exploring more features. Now, it's time to work on the lips and the ears. Let's get down to business!
10m
image
8
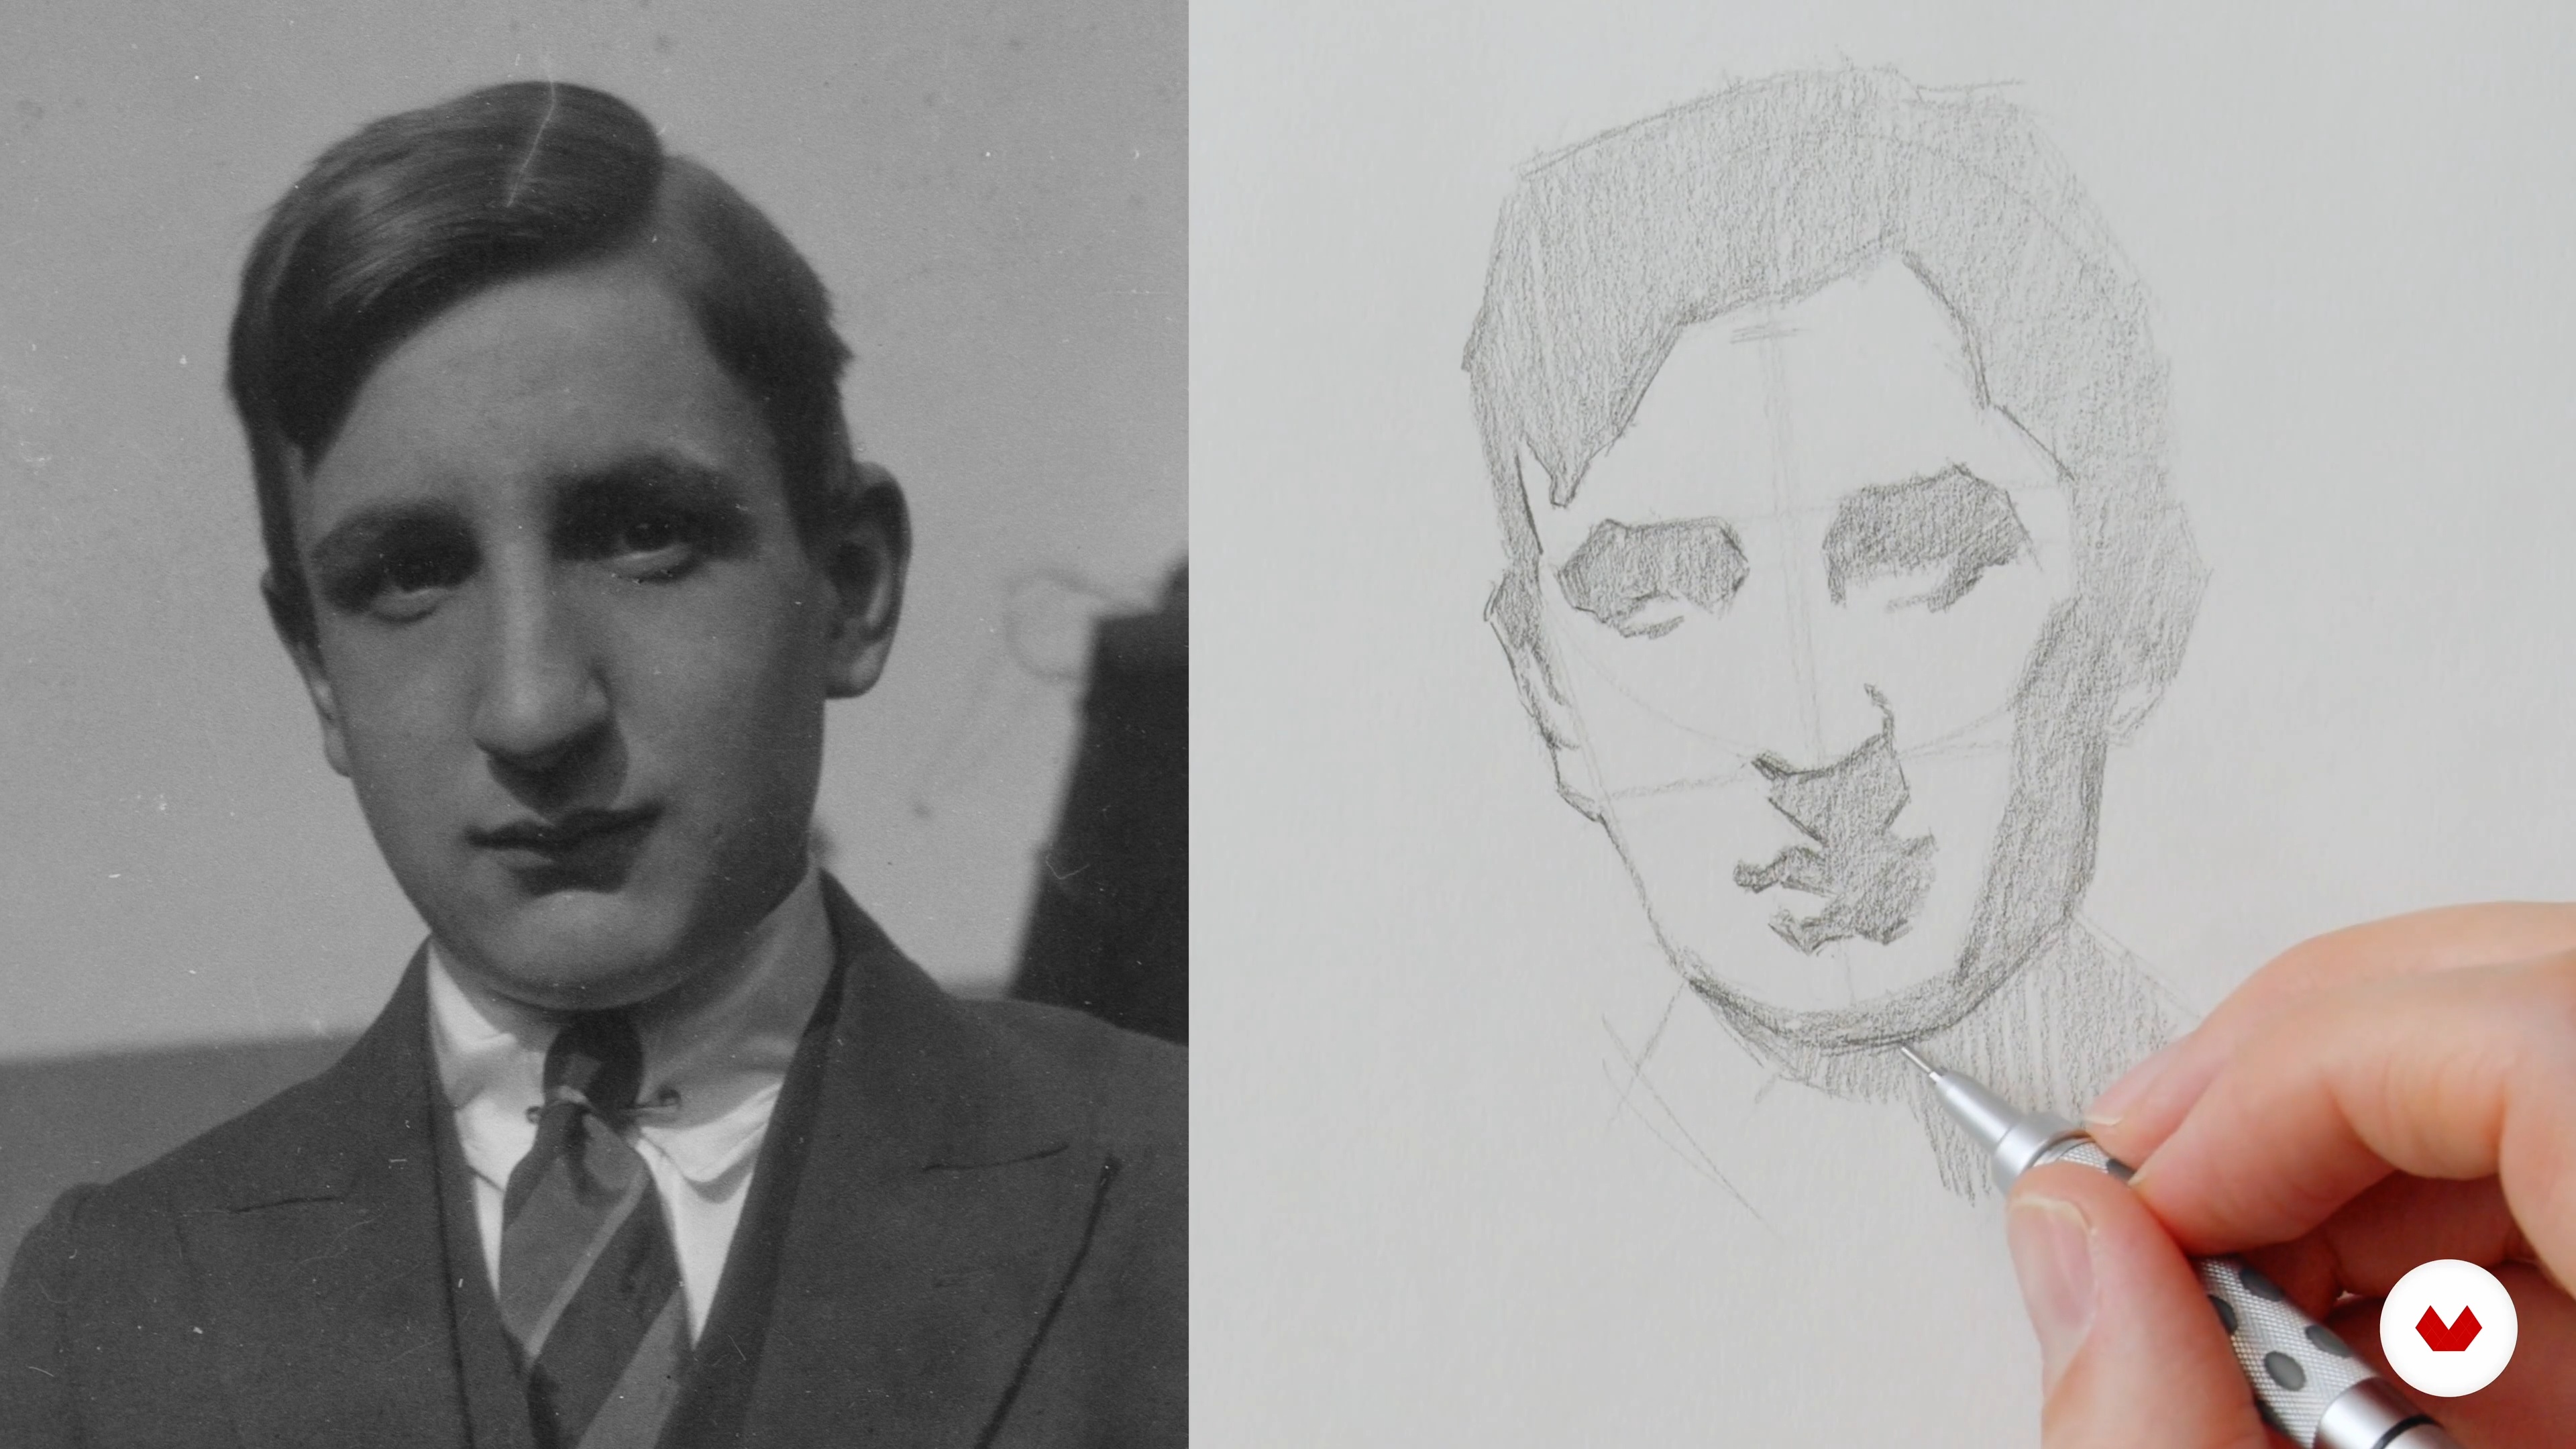
Head Sketches Based on Shapes
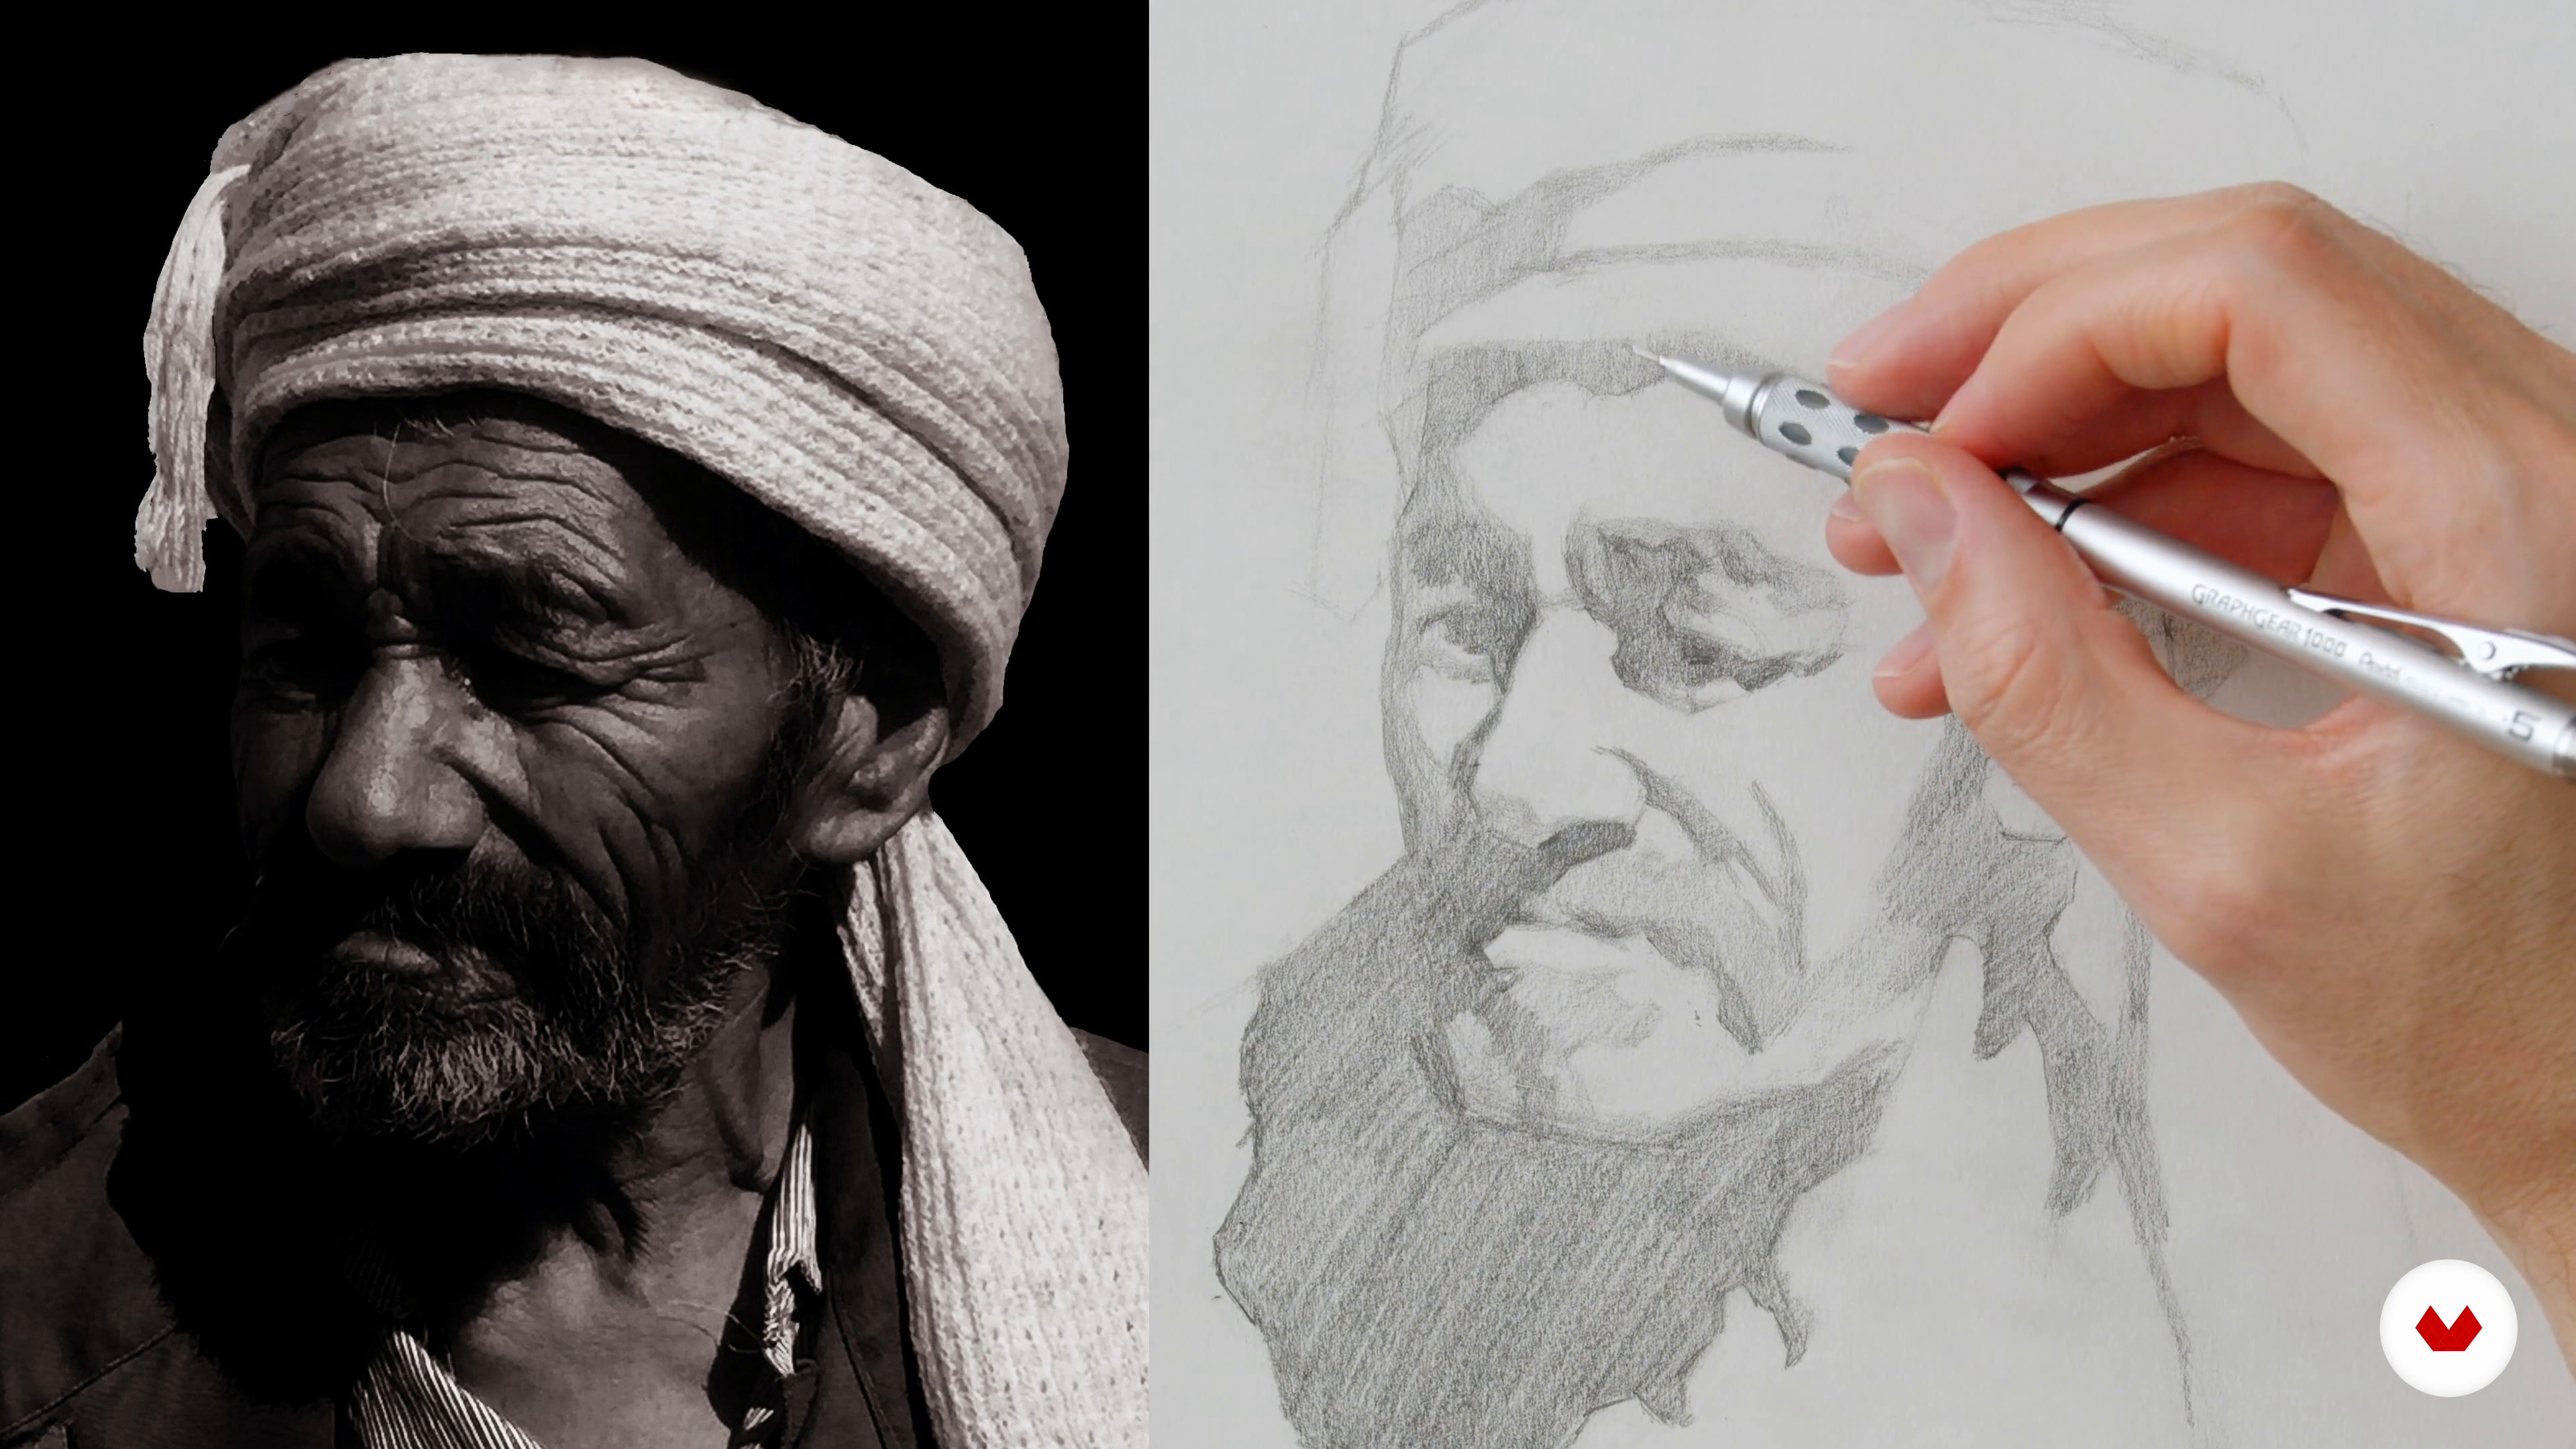
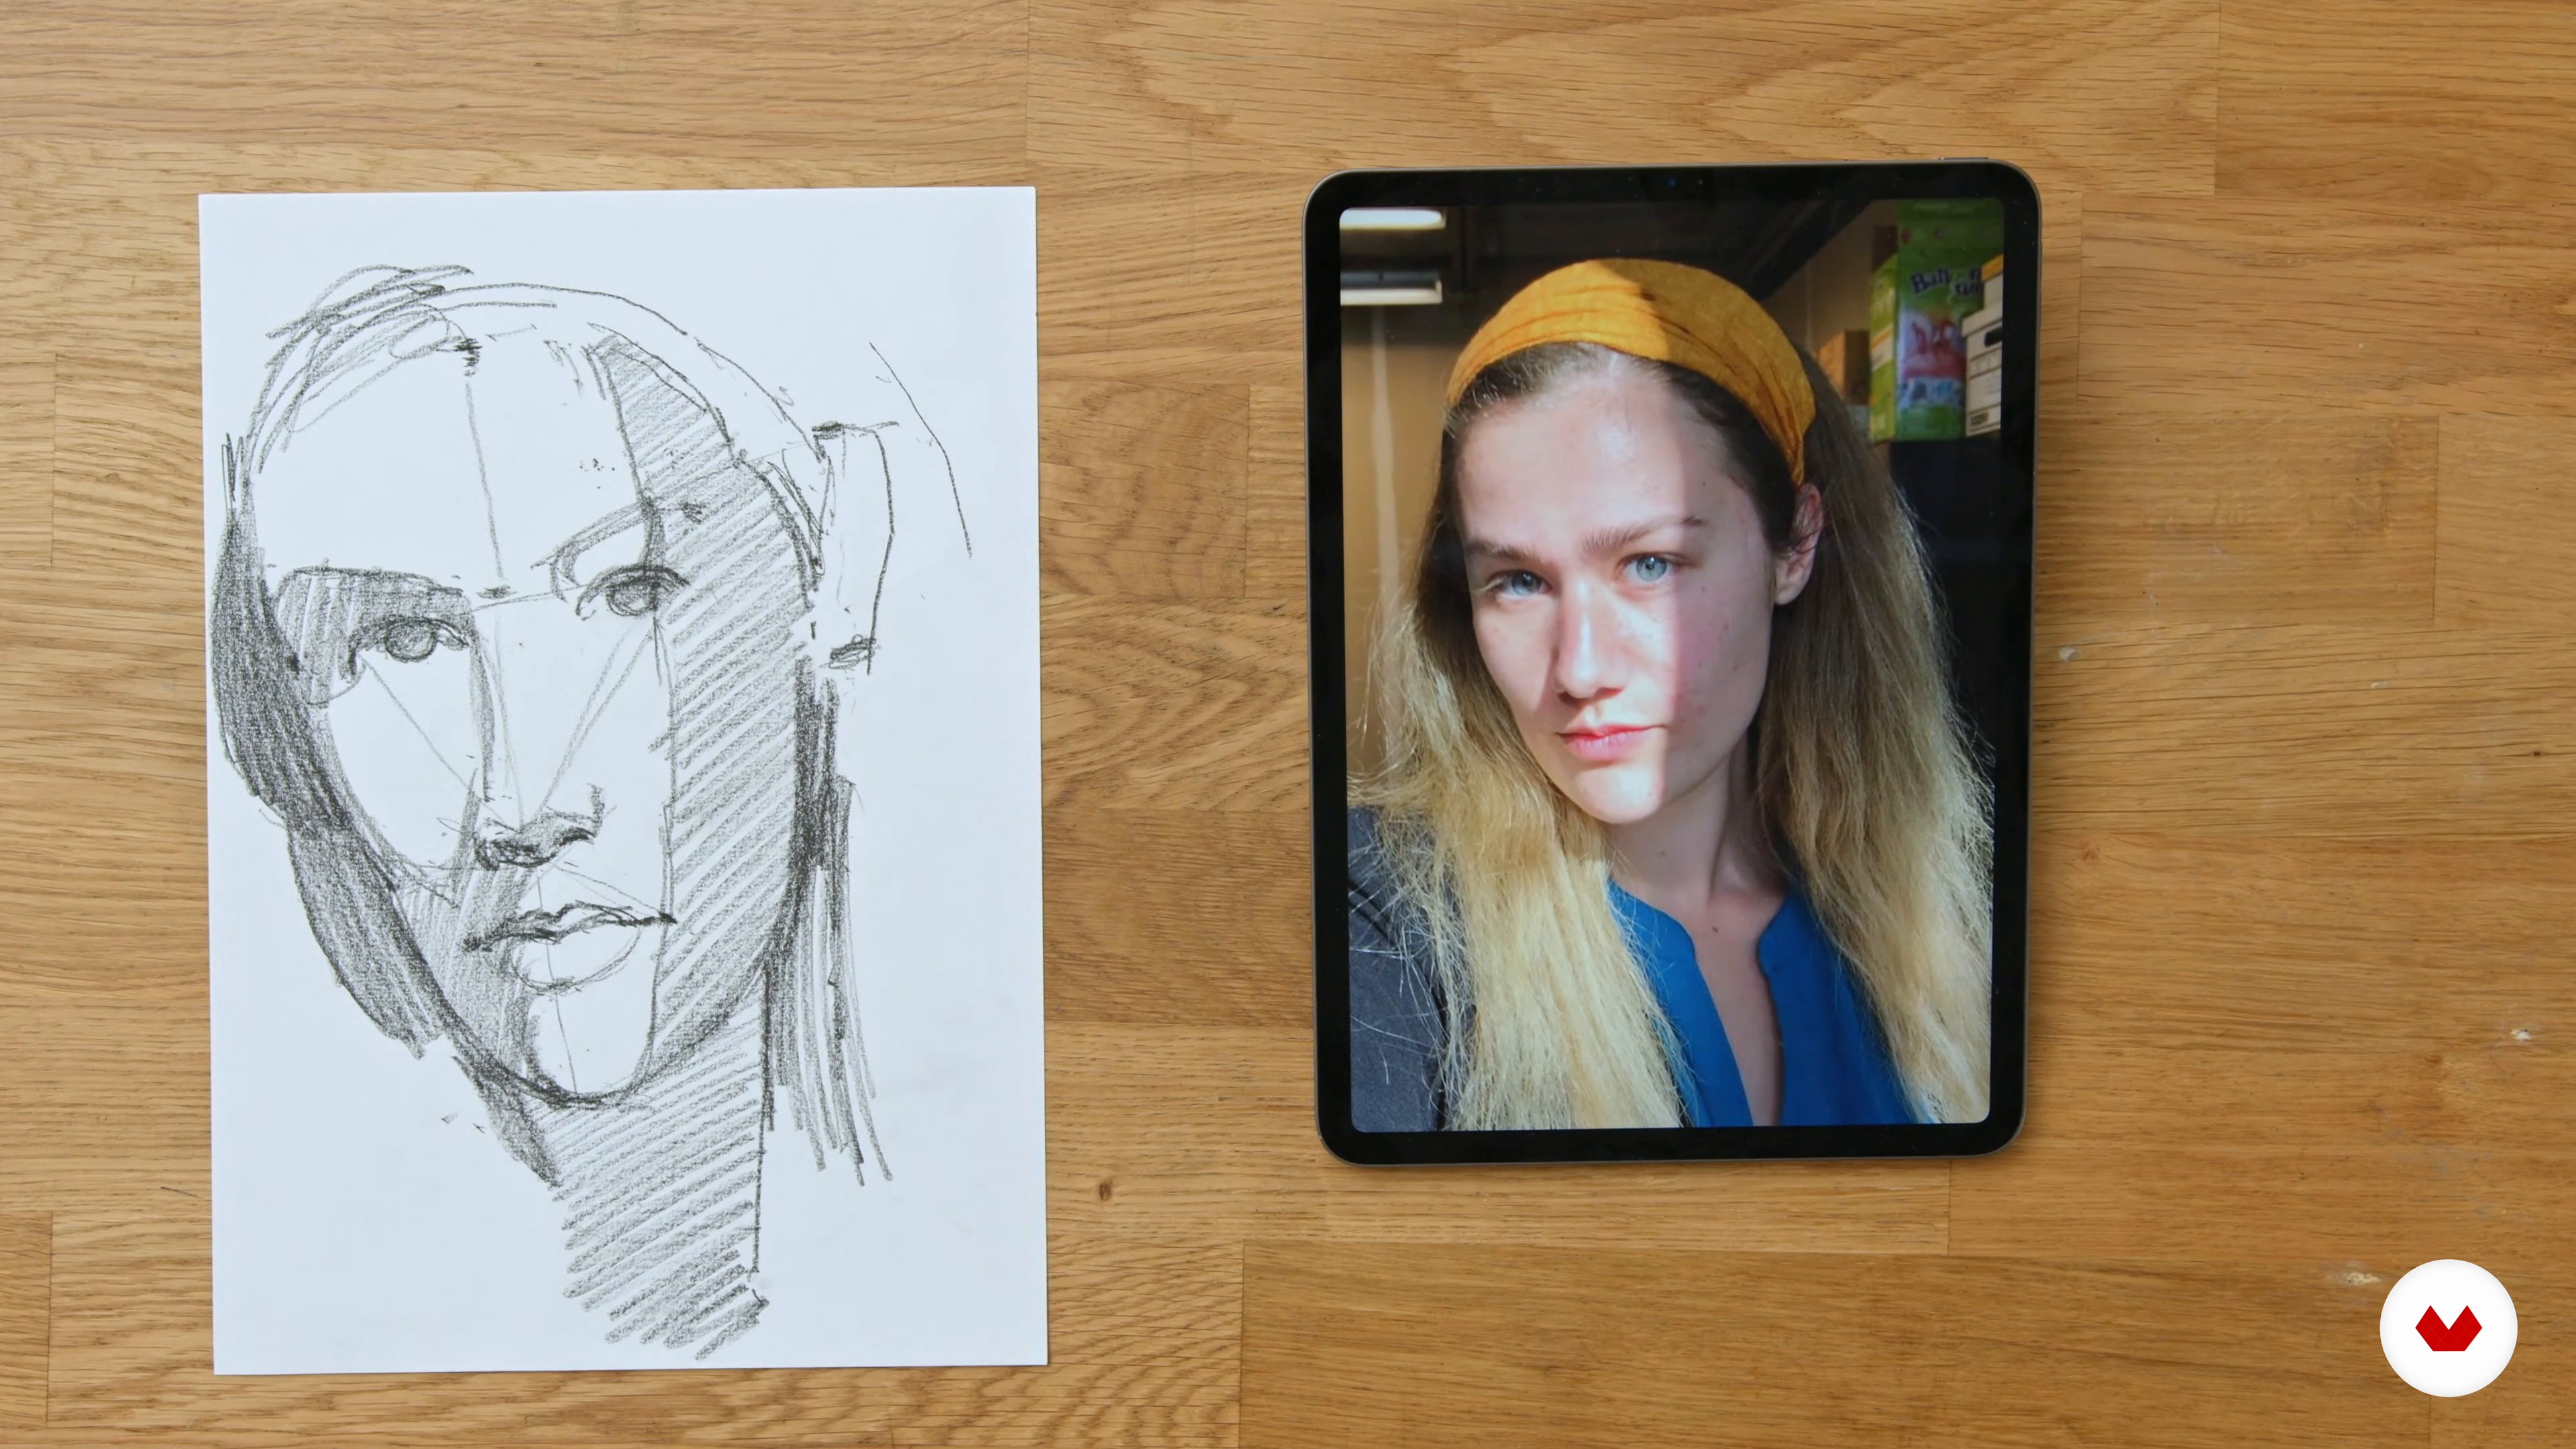
Here I will be doing quick sketches of the head based on the light and dark shapes that I see. I will draw on the previous lesson about basic construction and the shapes of the features to create a simple, well-read sketch.
17m
image
9
Constructing the Head
In this lesson, I will begin my larger head construction. I will follow the same process as before, but I will be moving slower to be more accurate.
5m
image
10
Advancing the Construction
Here I will be adding more information to the construction that I did in the previous lesson to create a more three-dimensional drawing.
9m
image
11
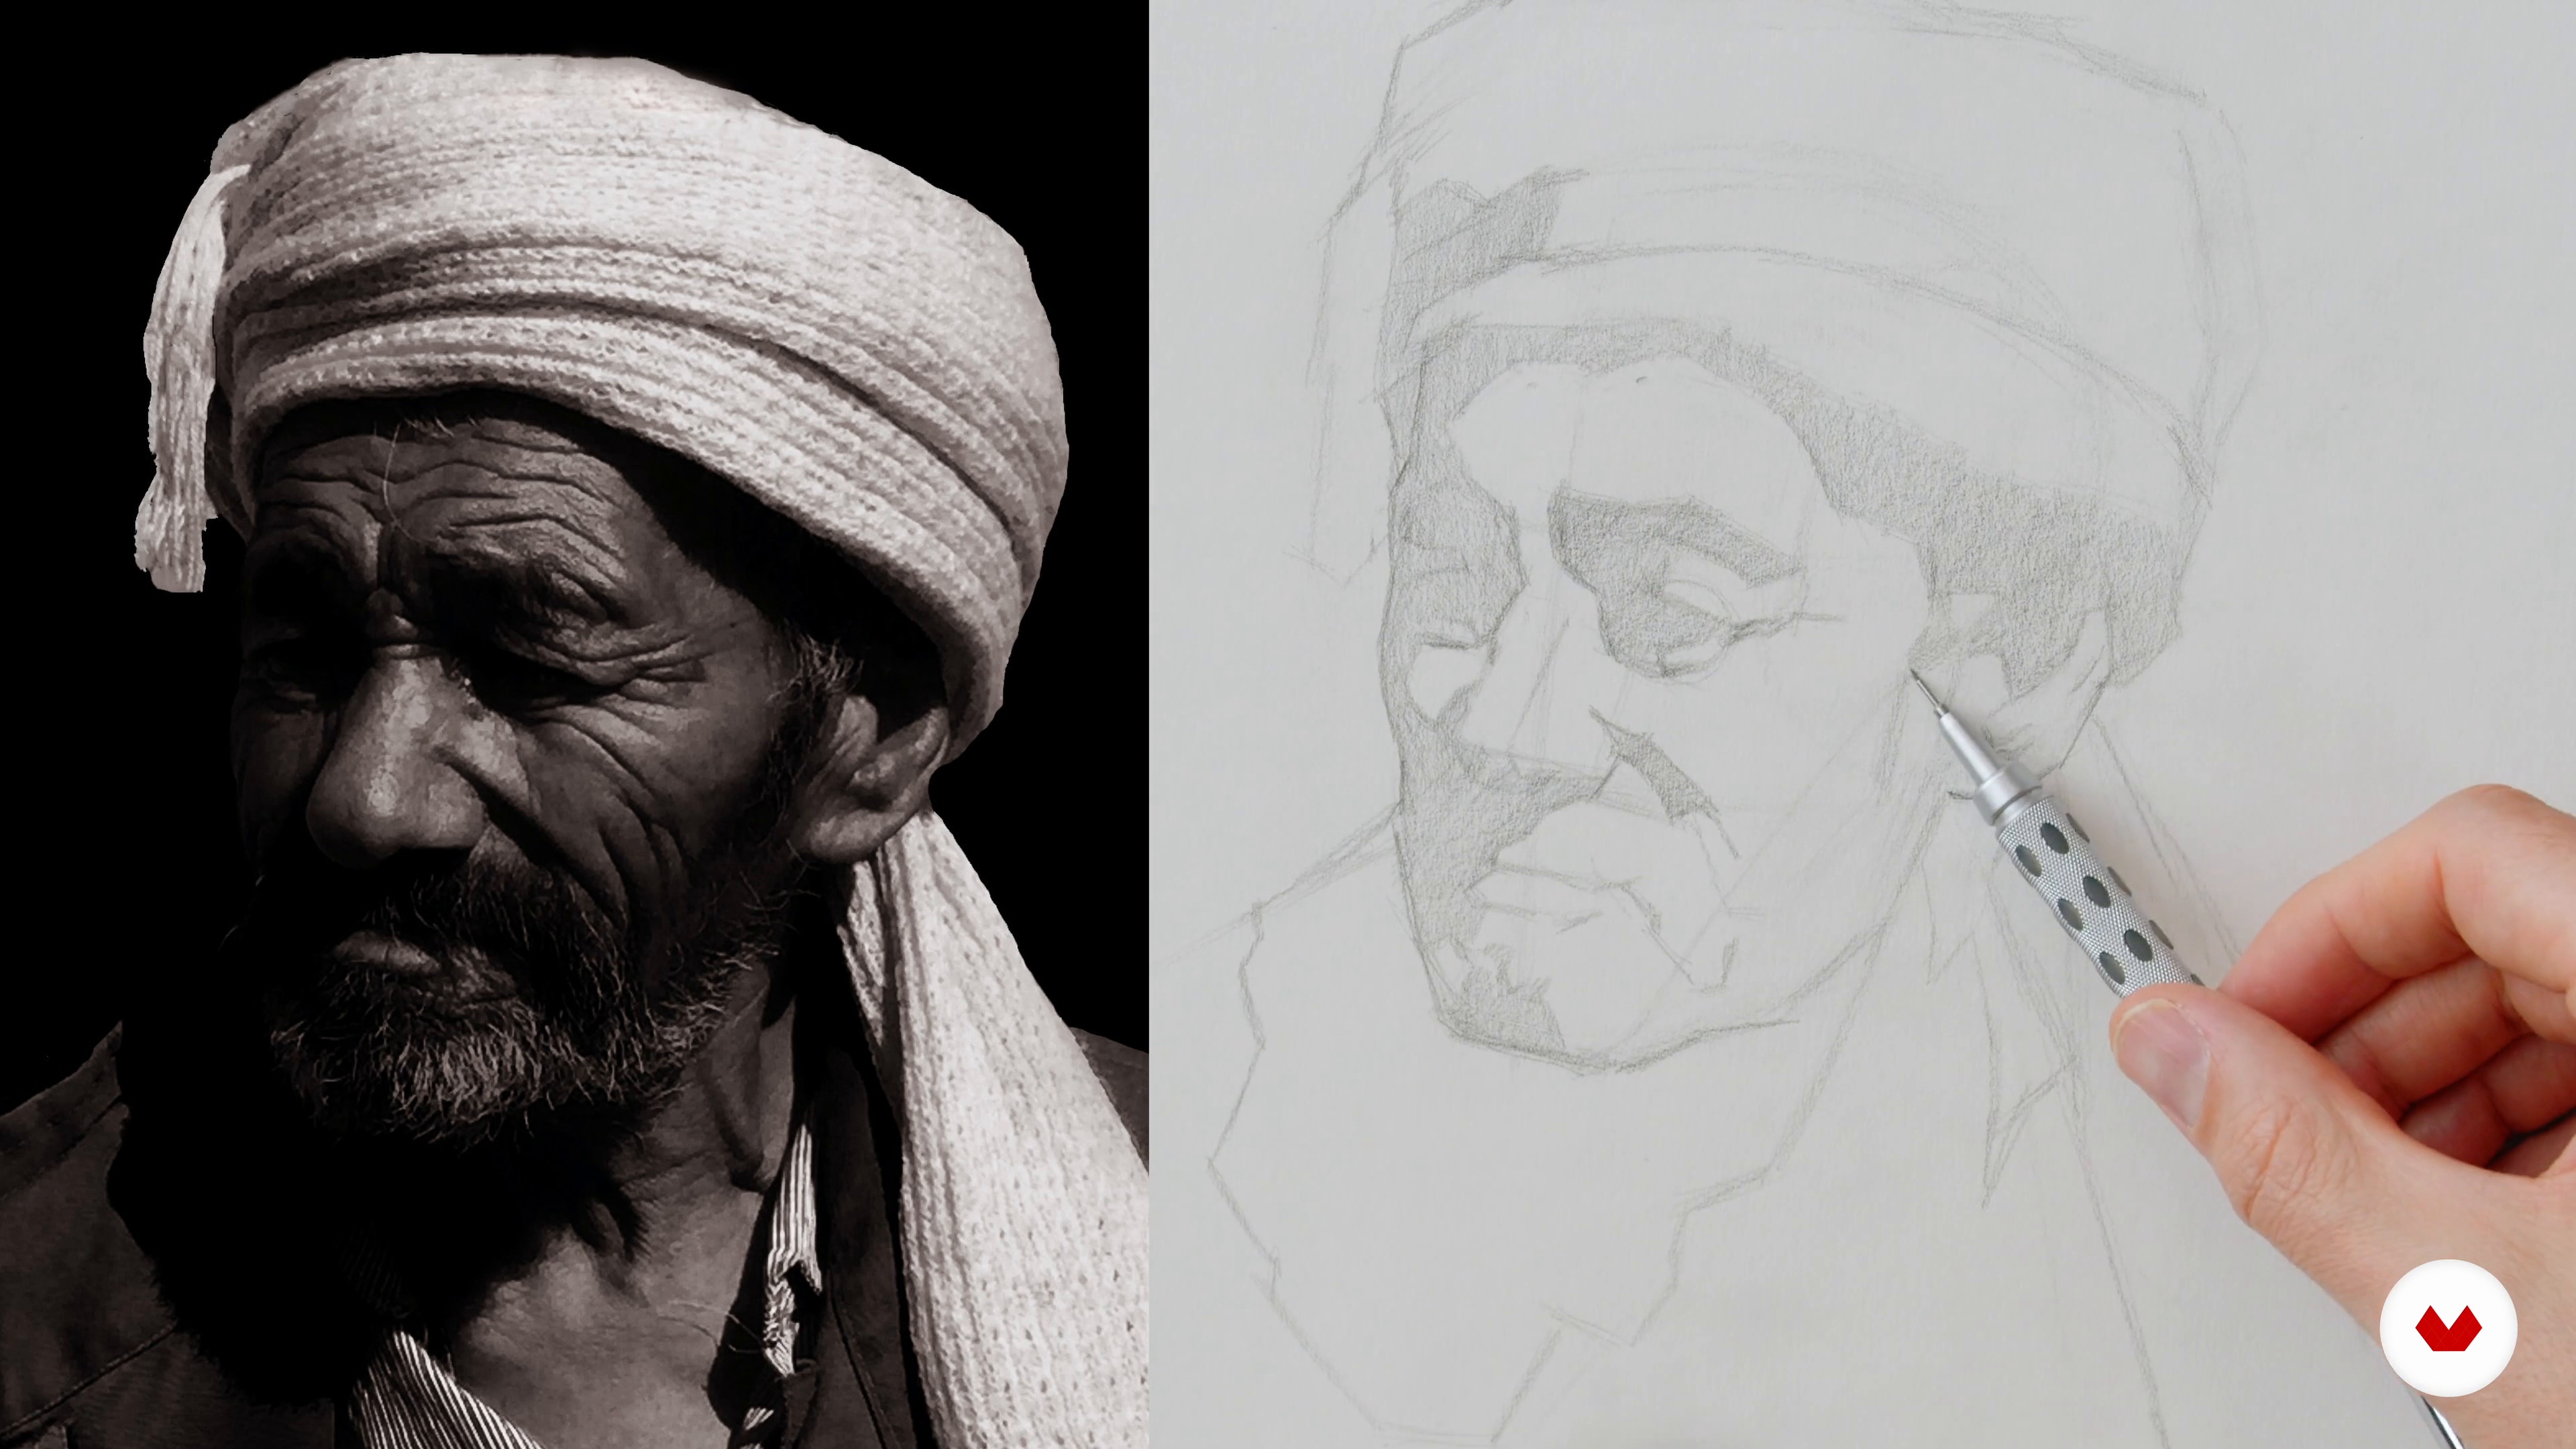
Corrections and Filling in the Shapes
Next, I will make some corrections to my piece and I will fill in the shadow or dark shapes that I drew in to reveal the drawing more.
15m
image
12
Judging Proportions
Here I will use the two-value drawings that I created to help judge the proportions in order to make any necessary corrections to the drawing before moving on.
7m
image
13
Refining the Shapes
In this lesson, I will adjust the shapes for better accuracy and design. This will improve the overall look of the artwork.
8m
image
14
Adding Darker Values
In this lesson, I will add darker values and smaller shapes to the drawing, so that I can take it to the next level.
12m
image
15
Adding Calligraphy
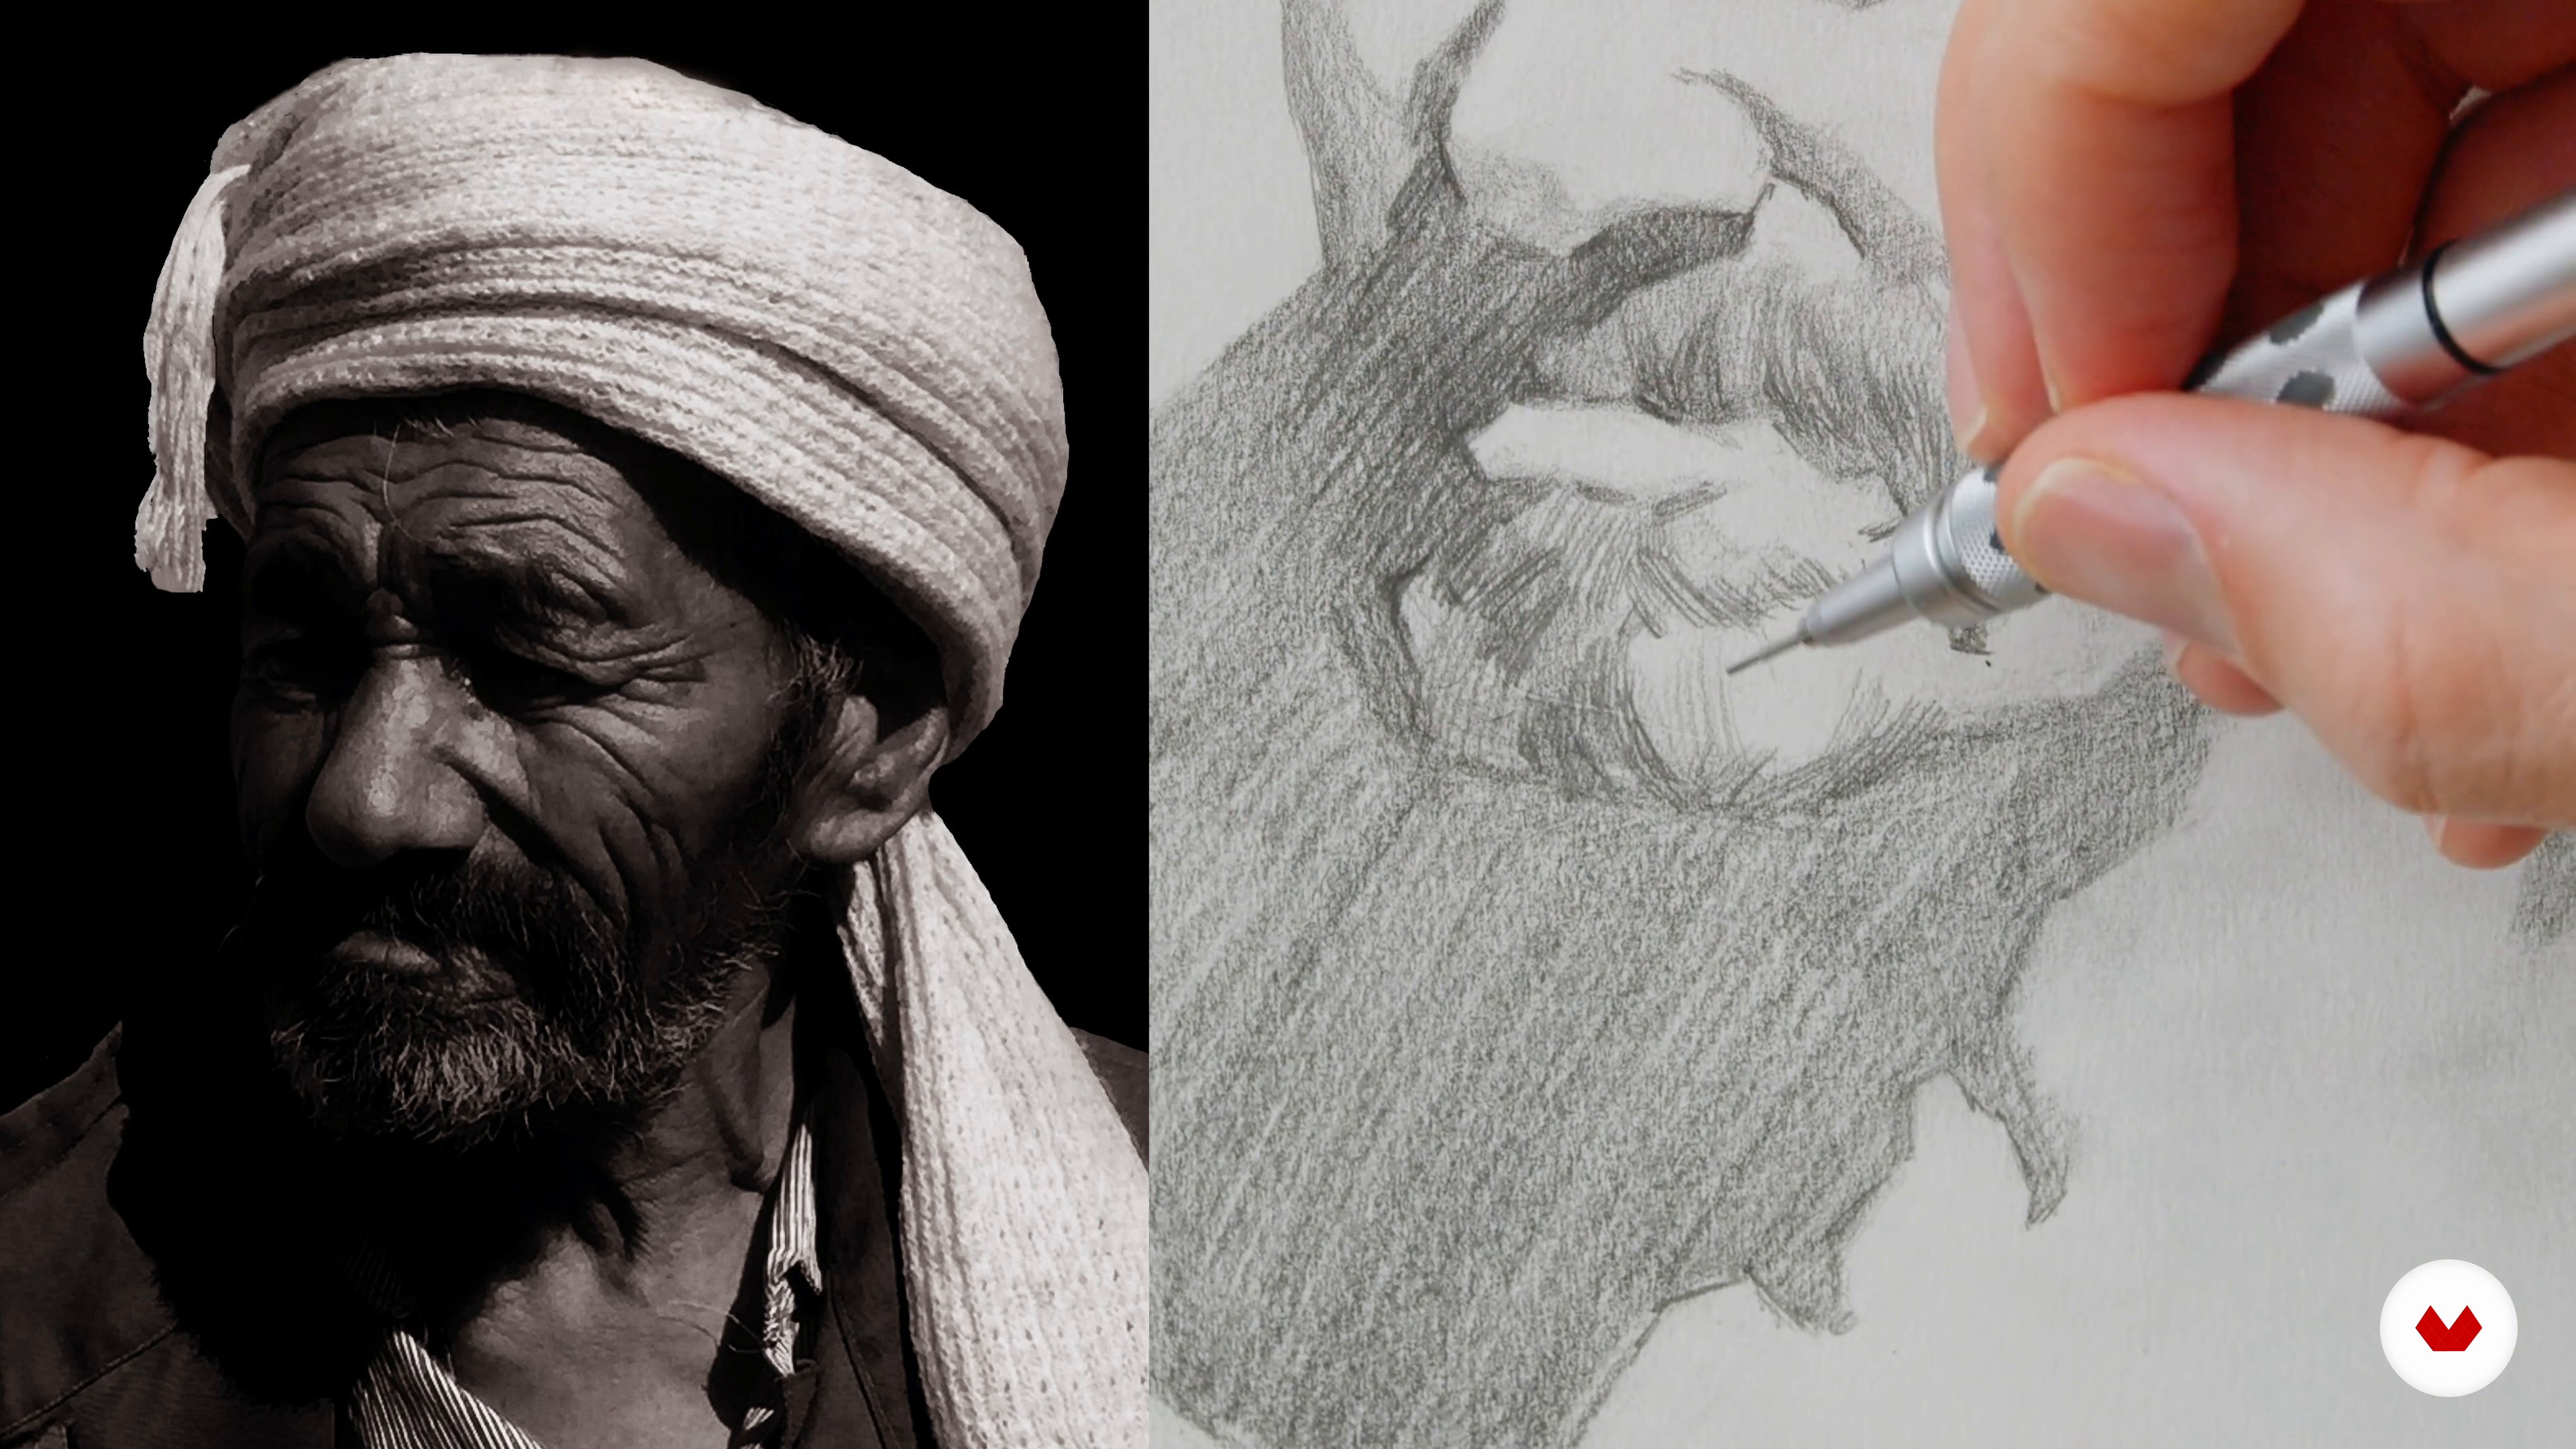
Now, I will make some quick corrections to my drawing. Then, I will add some calligraphy/hatching to the sketch. This will create more interest to the overall drawing.
11m
image
16
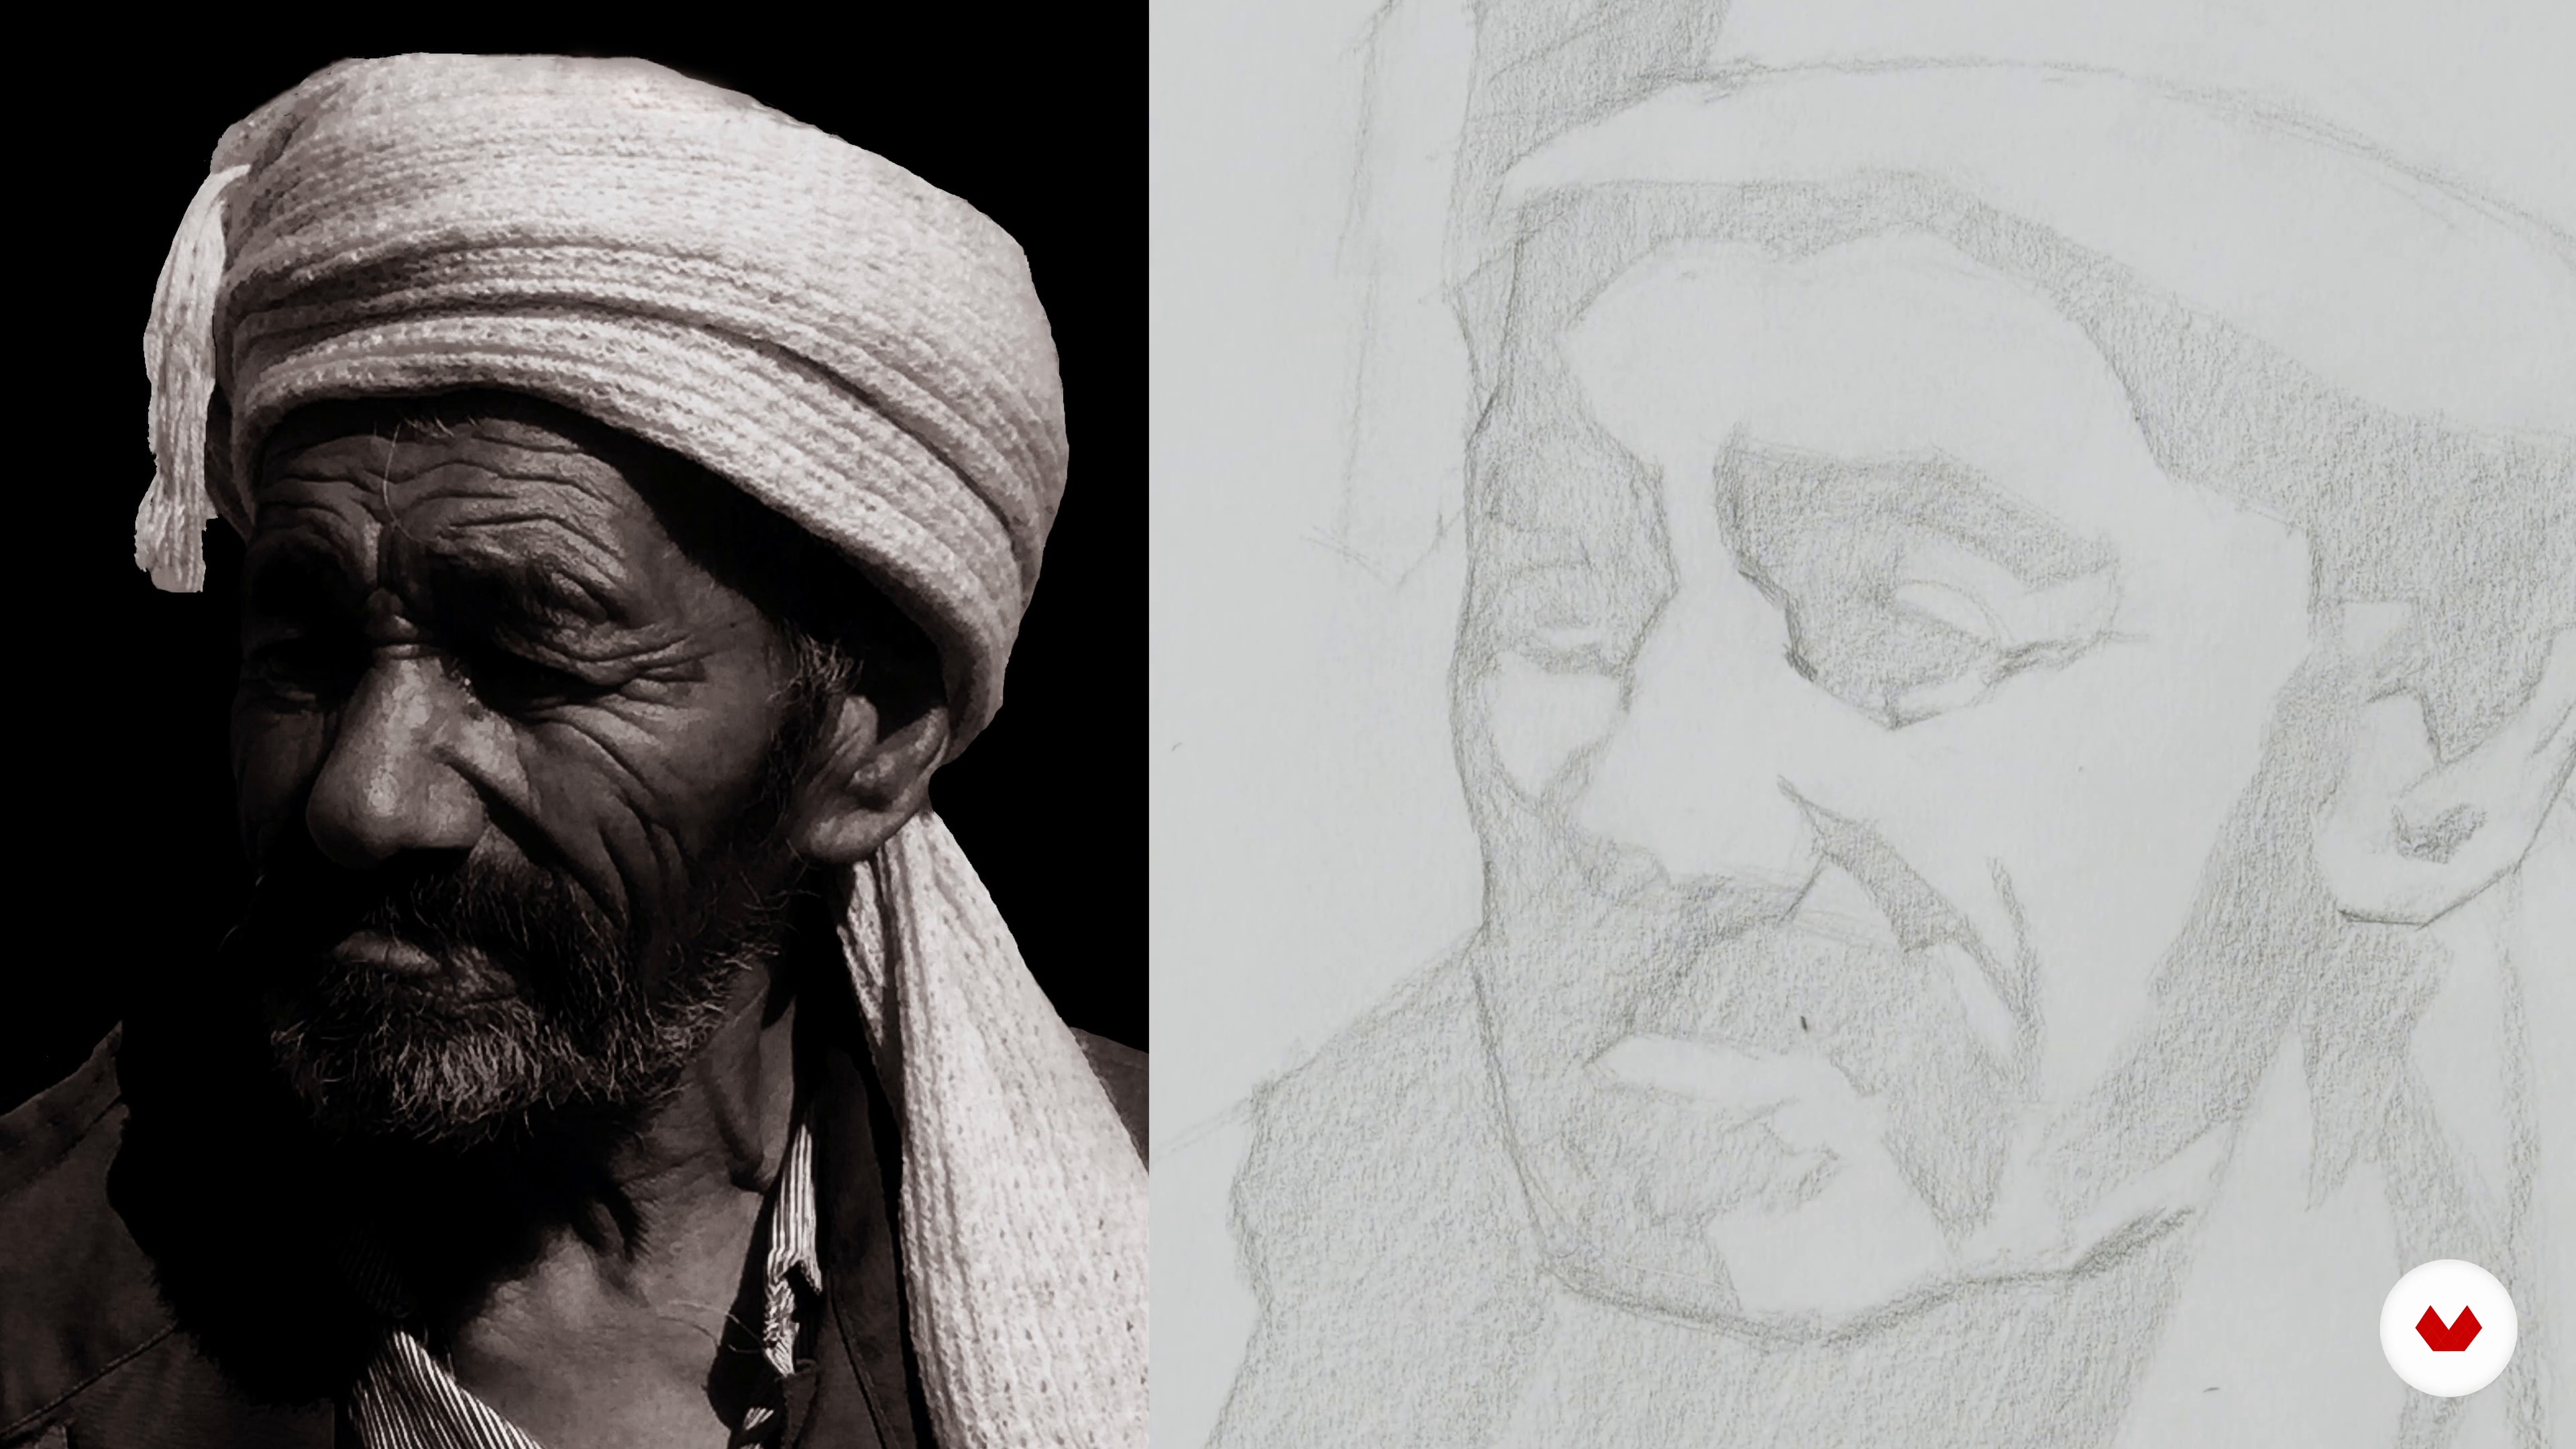
Finishing the Sketch
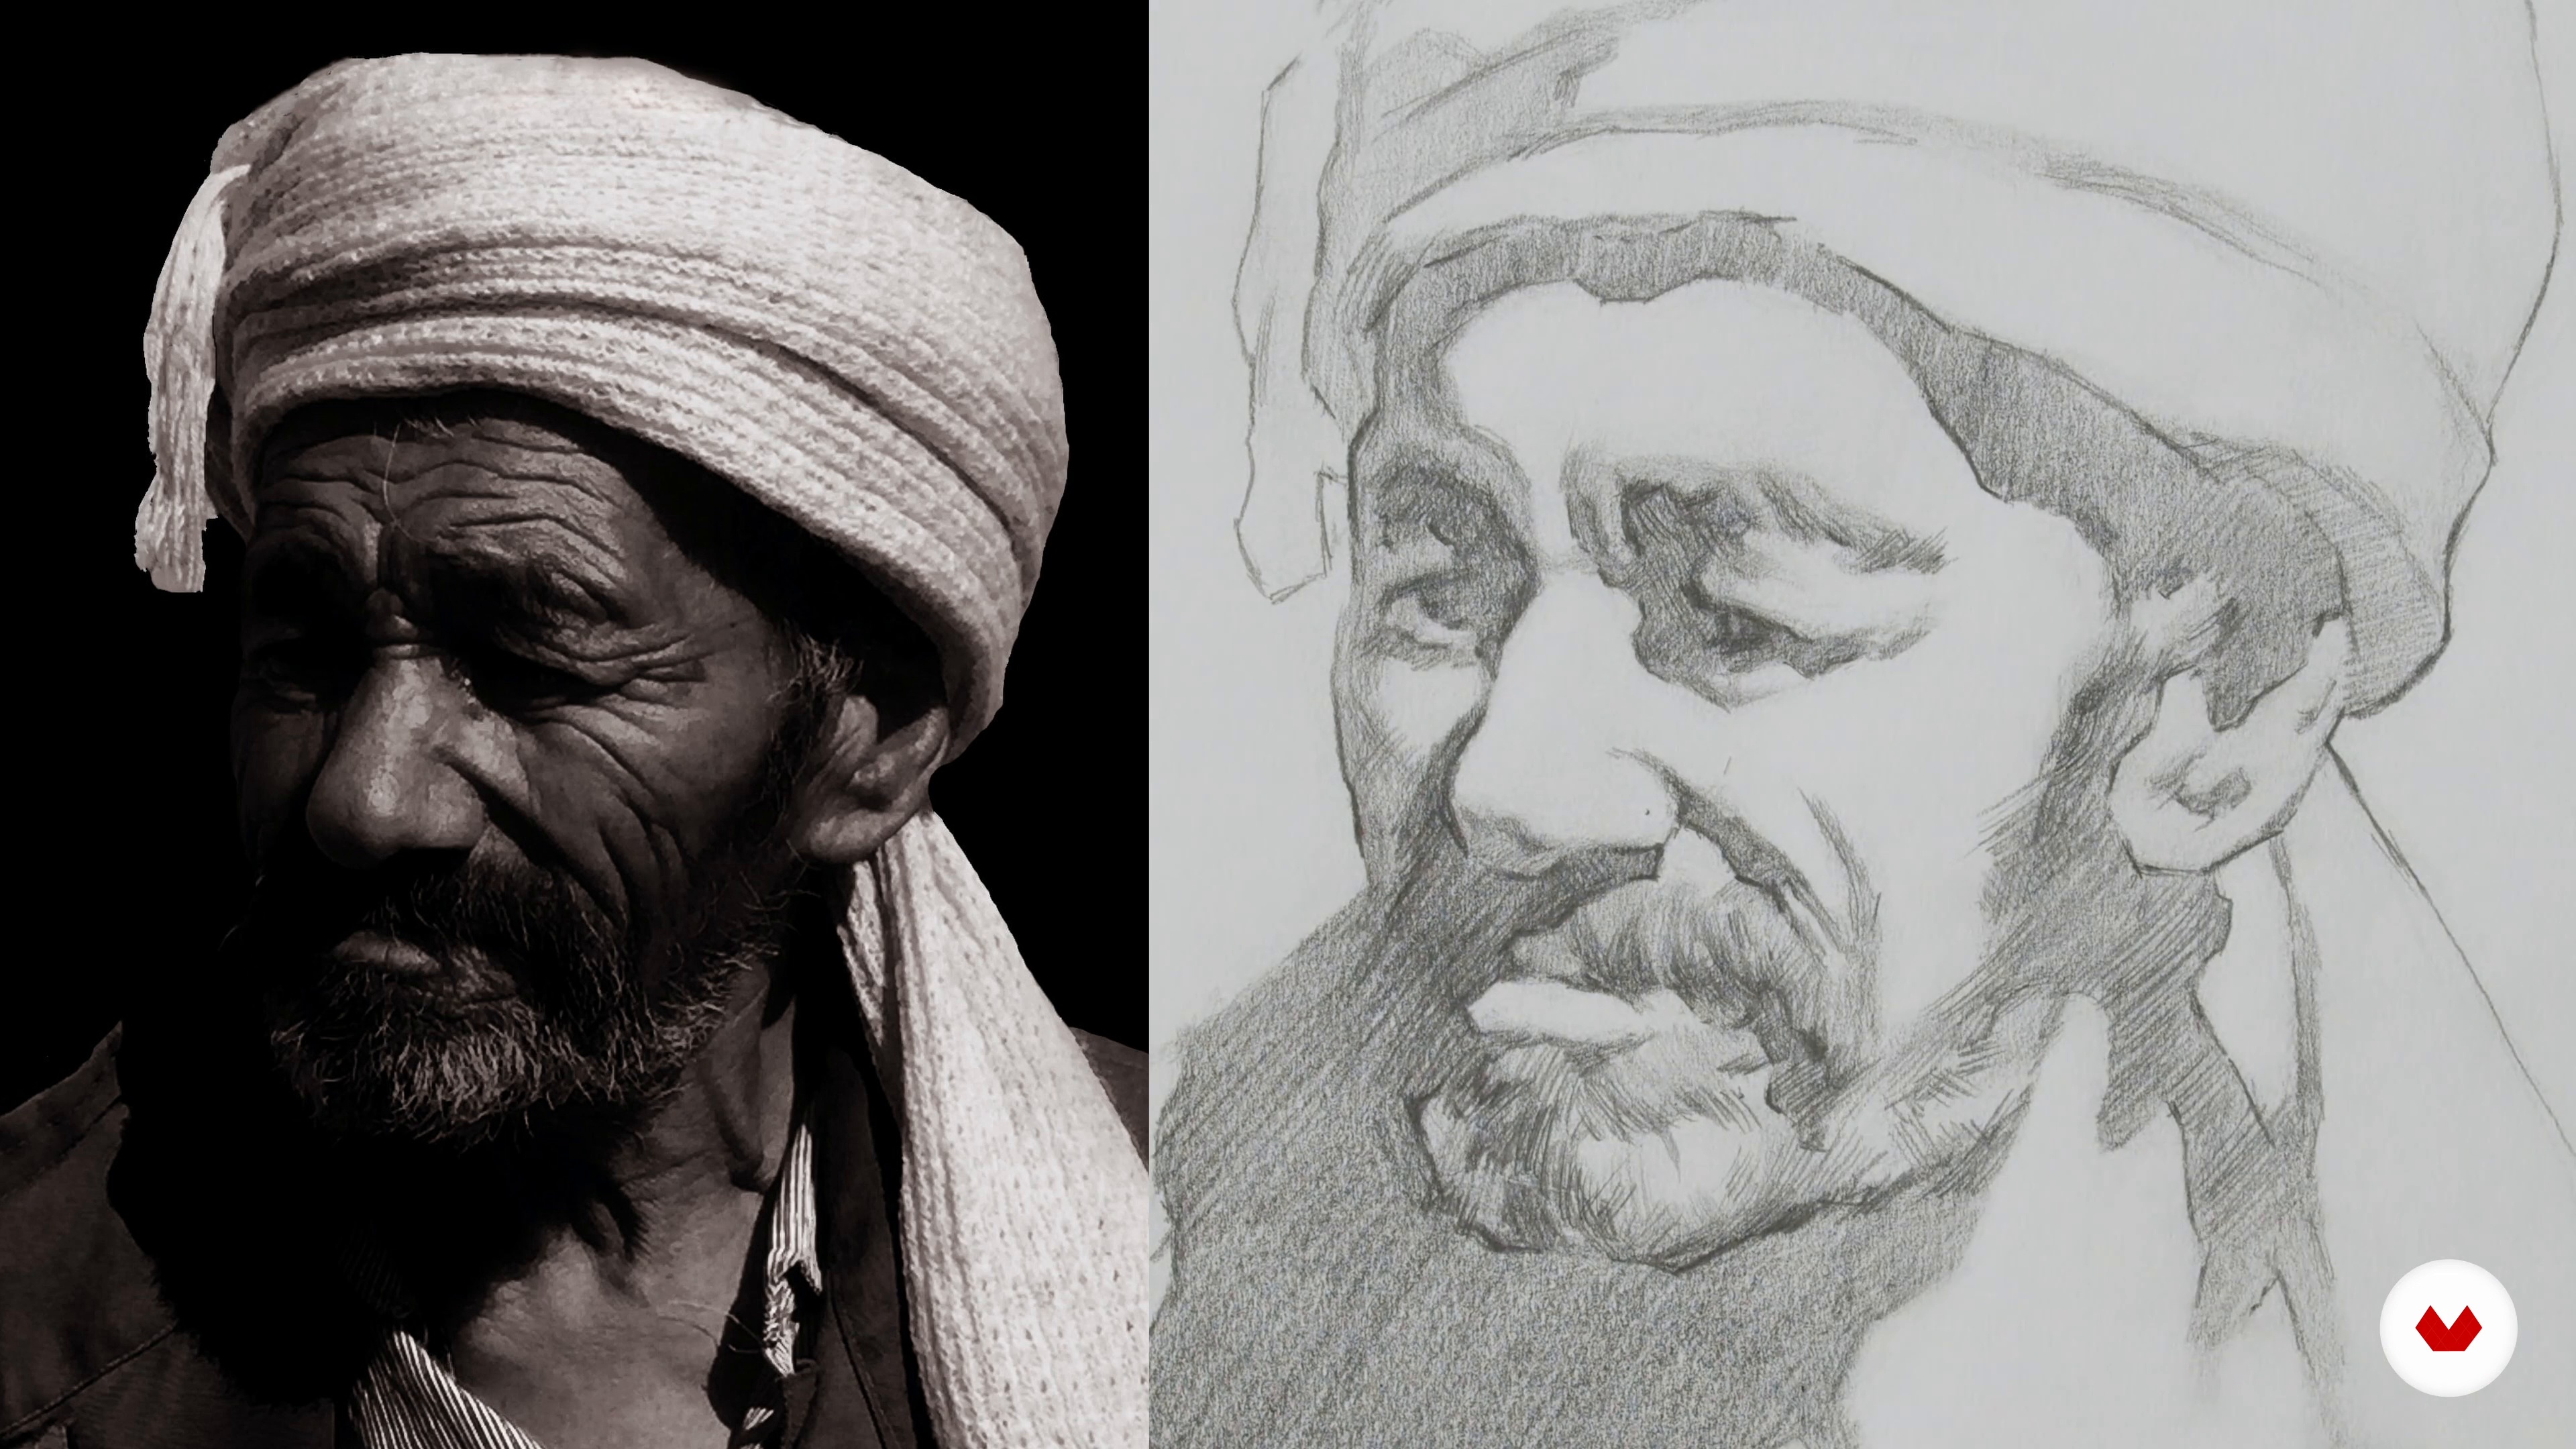
Next, I will go over any final details as I bring the sketch to a finish. This will include adding more darker values and calligraphy, and any last-minute shape adjustments that may need correcting.
15m
image
3
Introducing the Renaissance Movement
In this lesson, we’ll put Leonardo’s work into context, describing the birth of the Renaissance movement that generated a great revival in the arts. We will see Leonardo's early life, as he was learning the trade to become the most celebrated artist of his time.
8m
image
4
The Art and Life of Leonardo da Vinci
Let’s continue discovering Leonardo da Vinci's life, career, works, and legacy.
17m
image
5
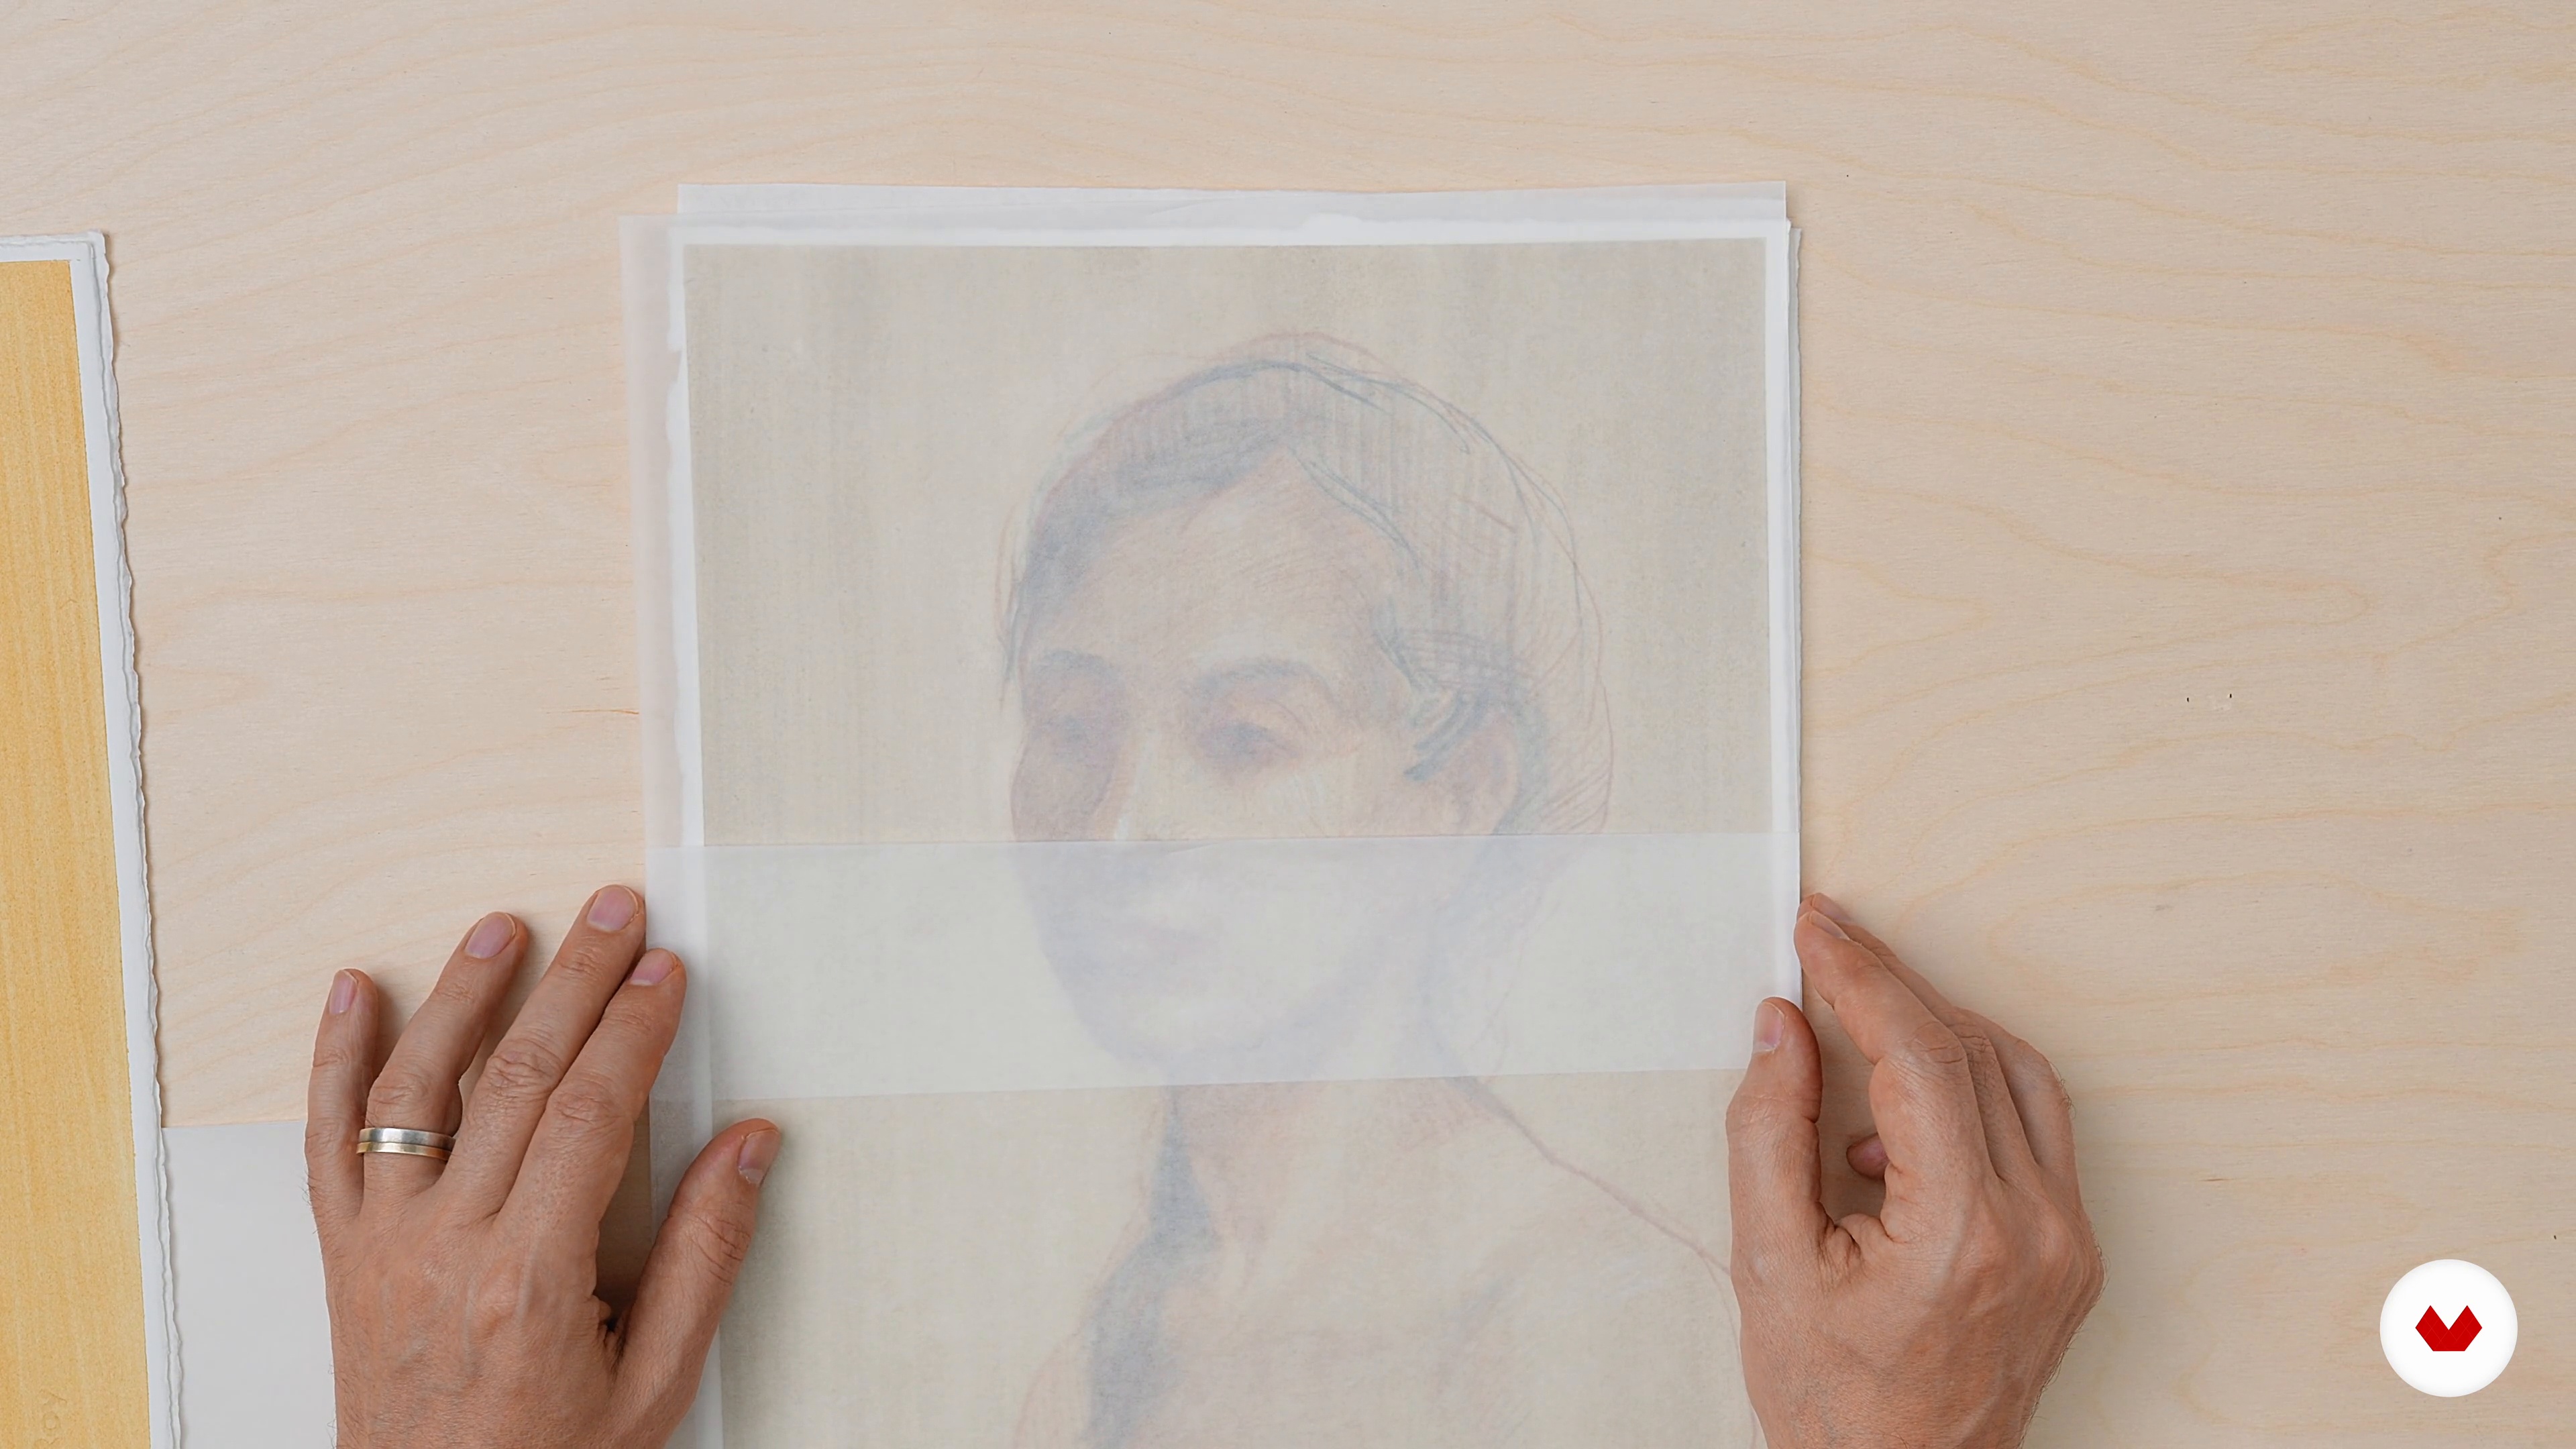
Drawing Materials of the Renaissance
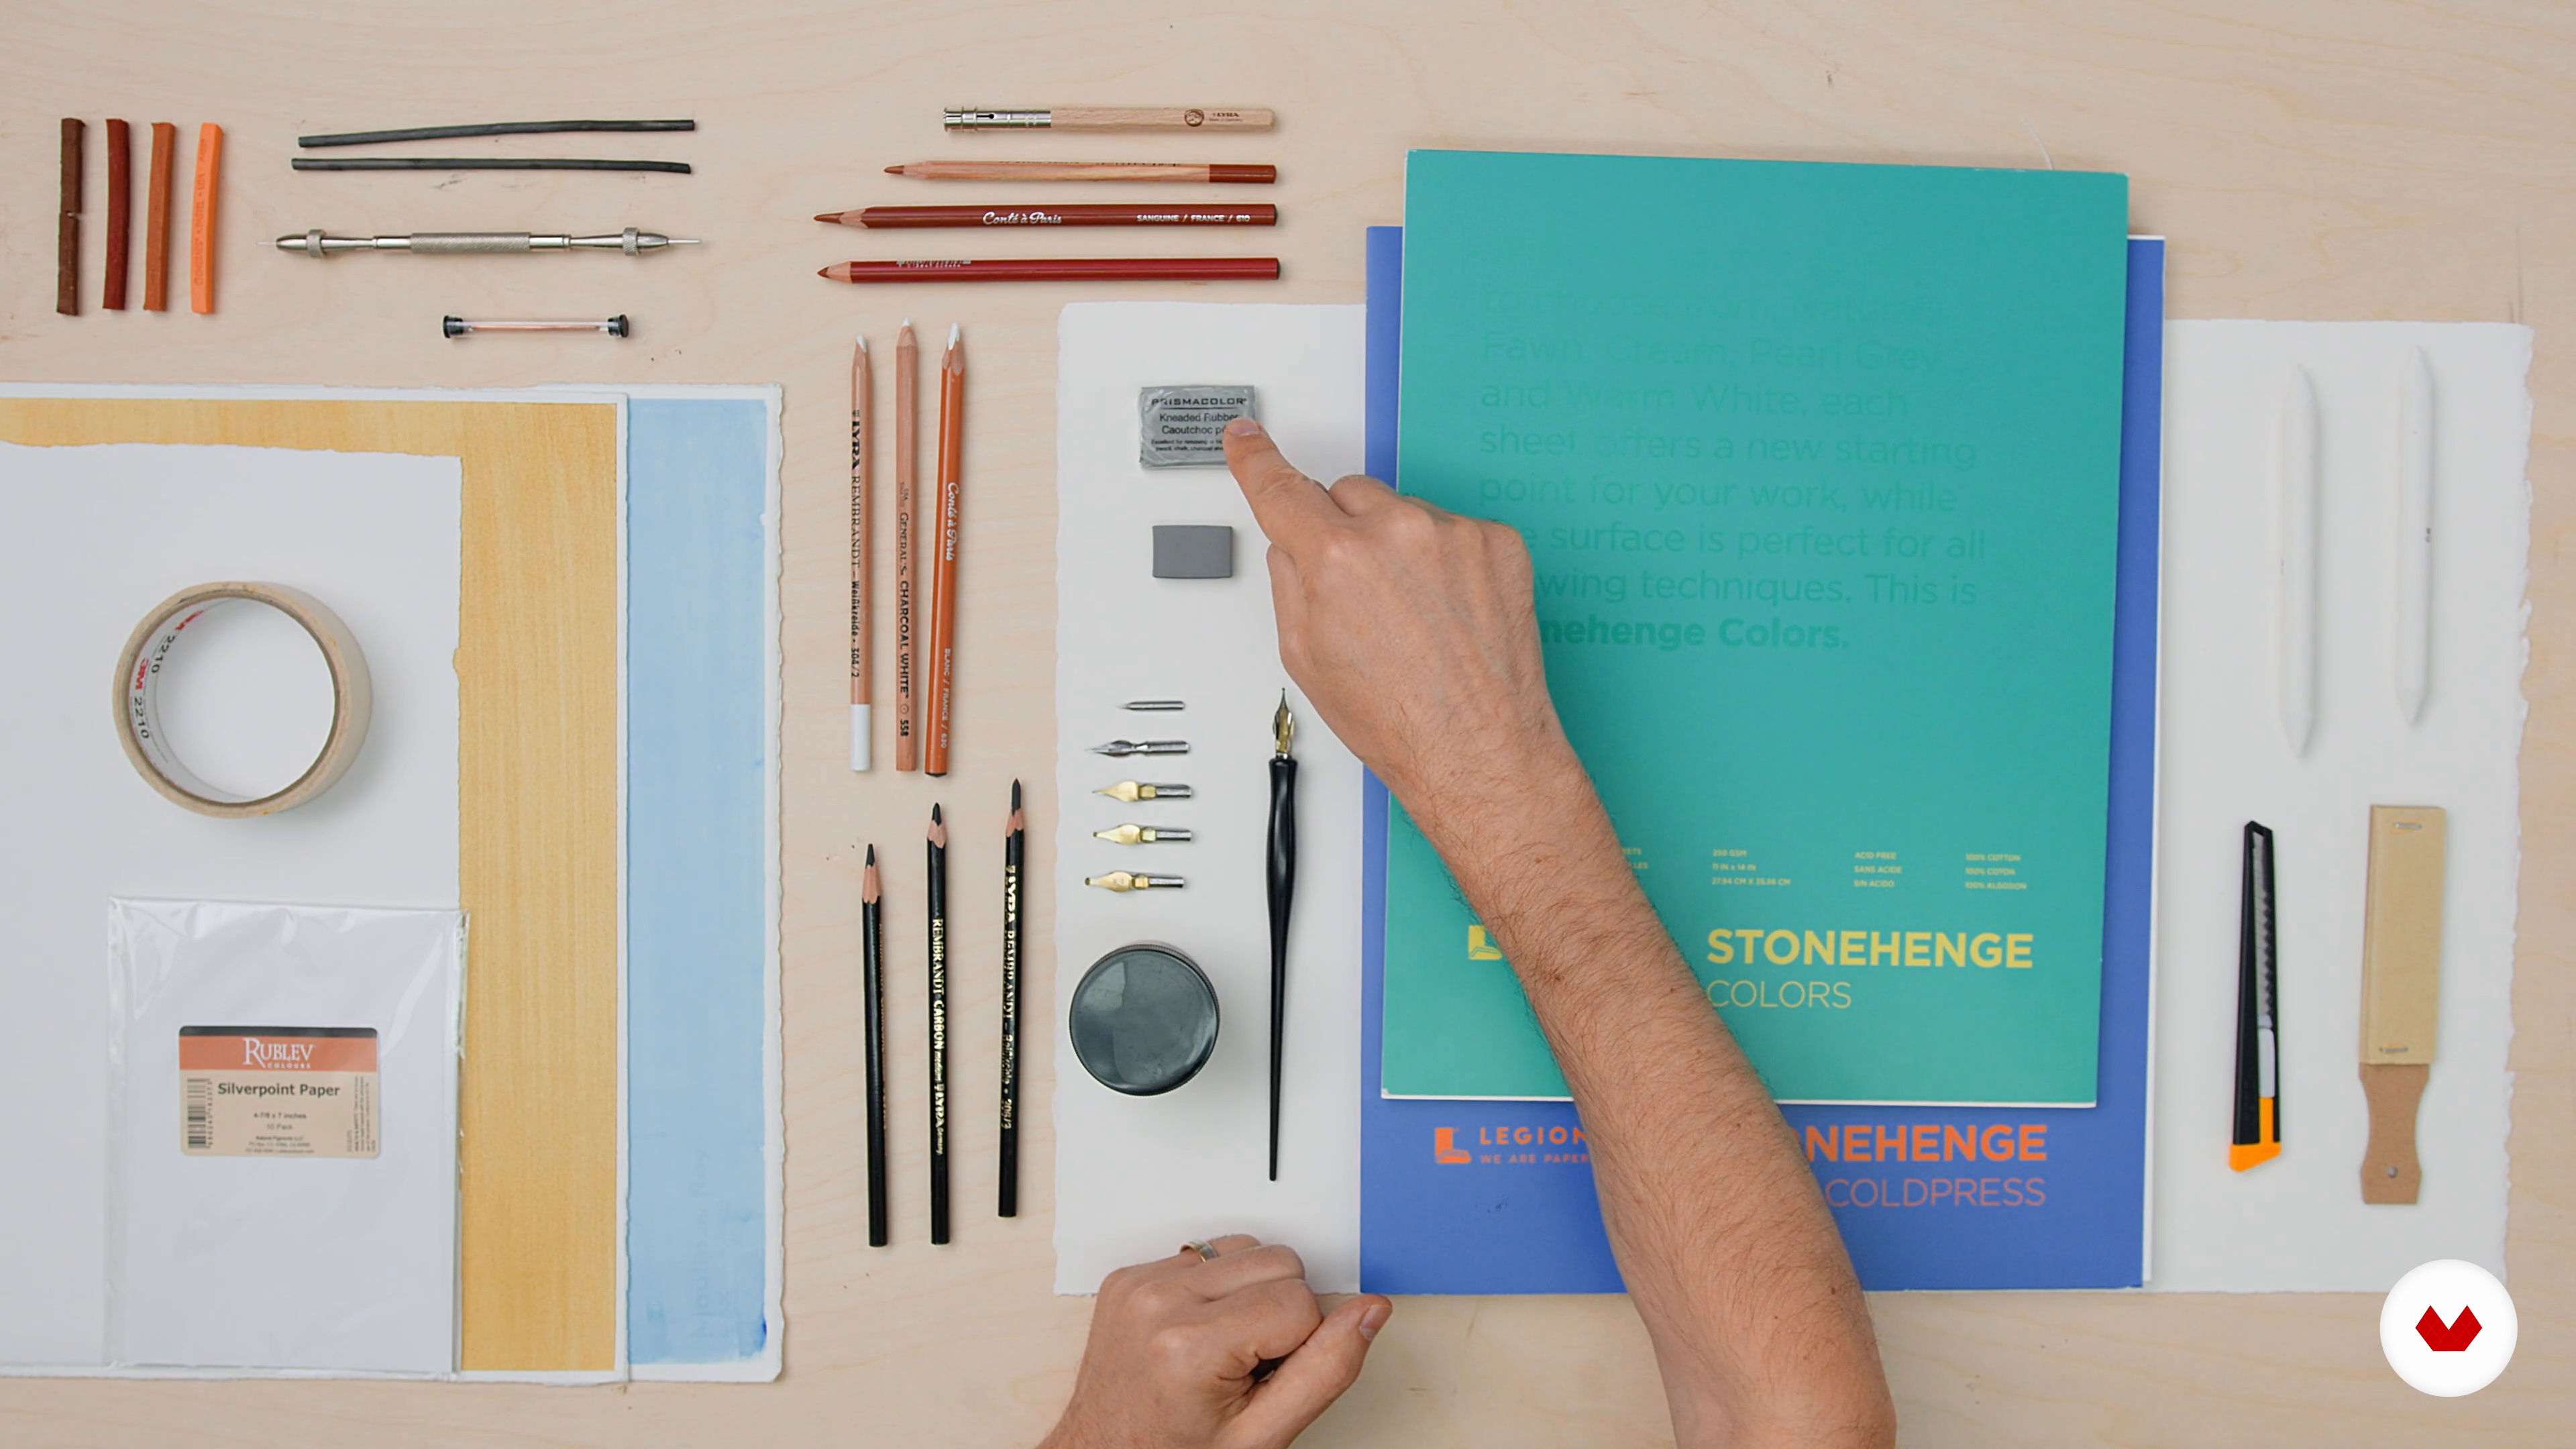
In this lesson, I will describe to you the materials that we’ll use during this course through an overall presentation on the drawing materials that were used during the Renaissance period.
9m
image
6
Support Preparation 1
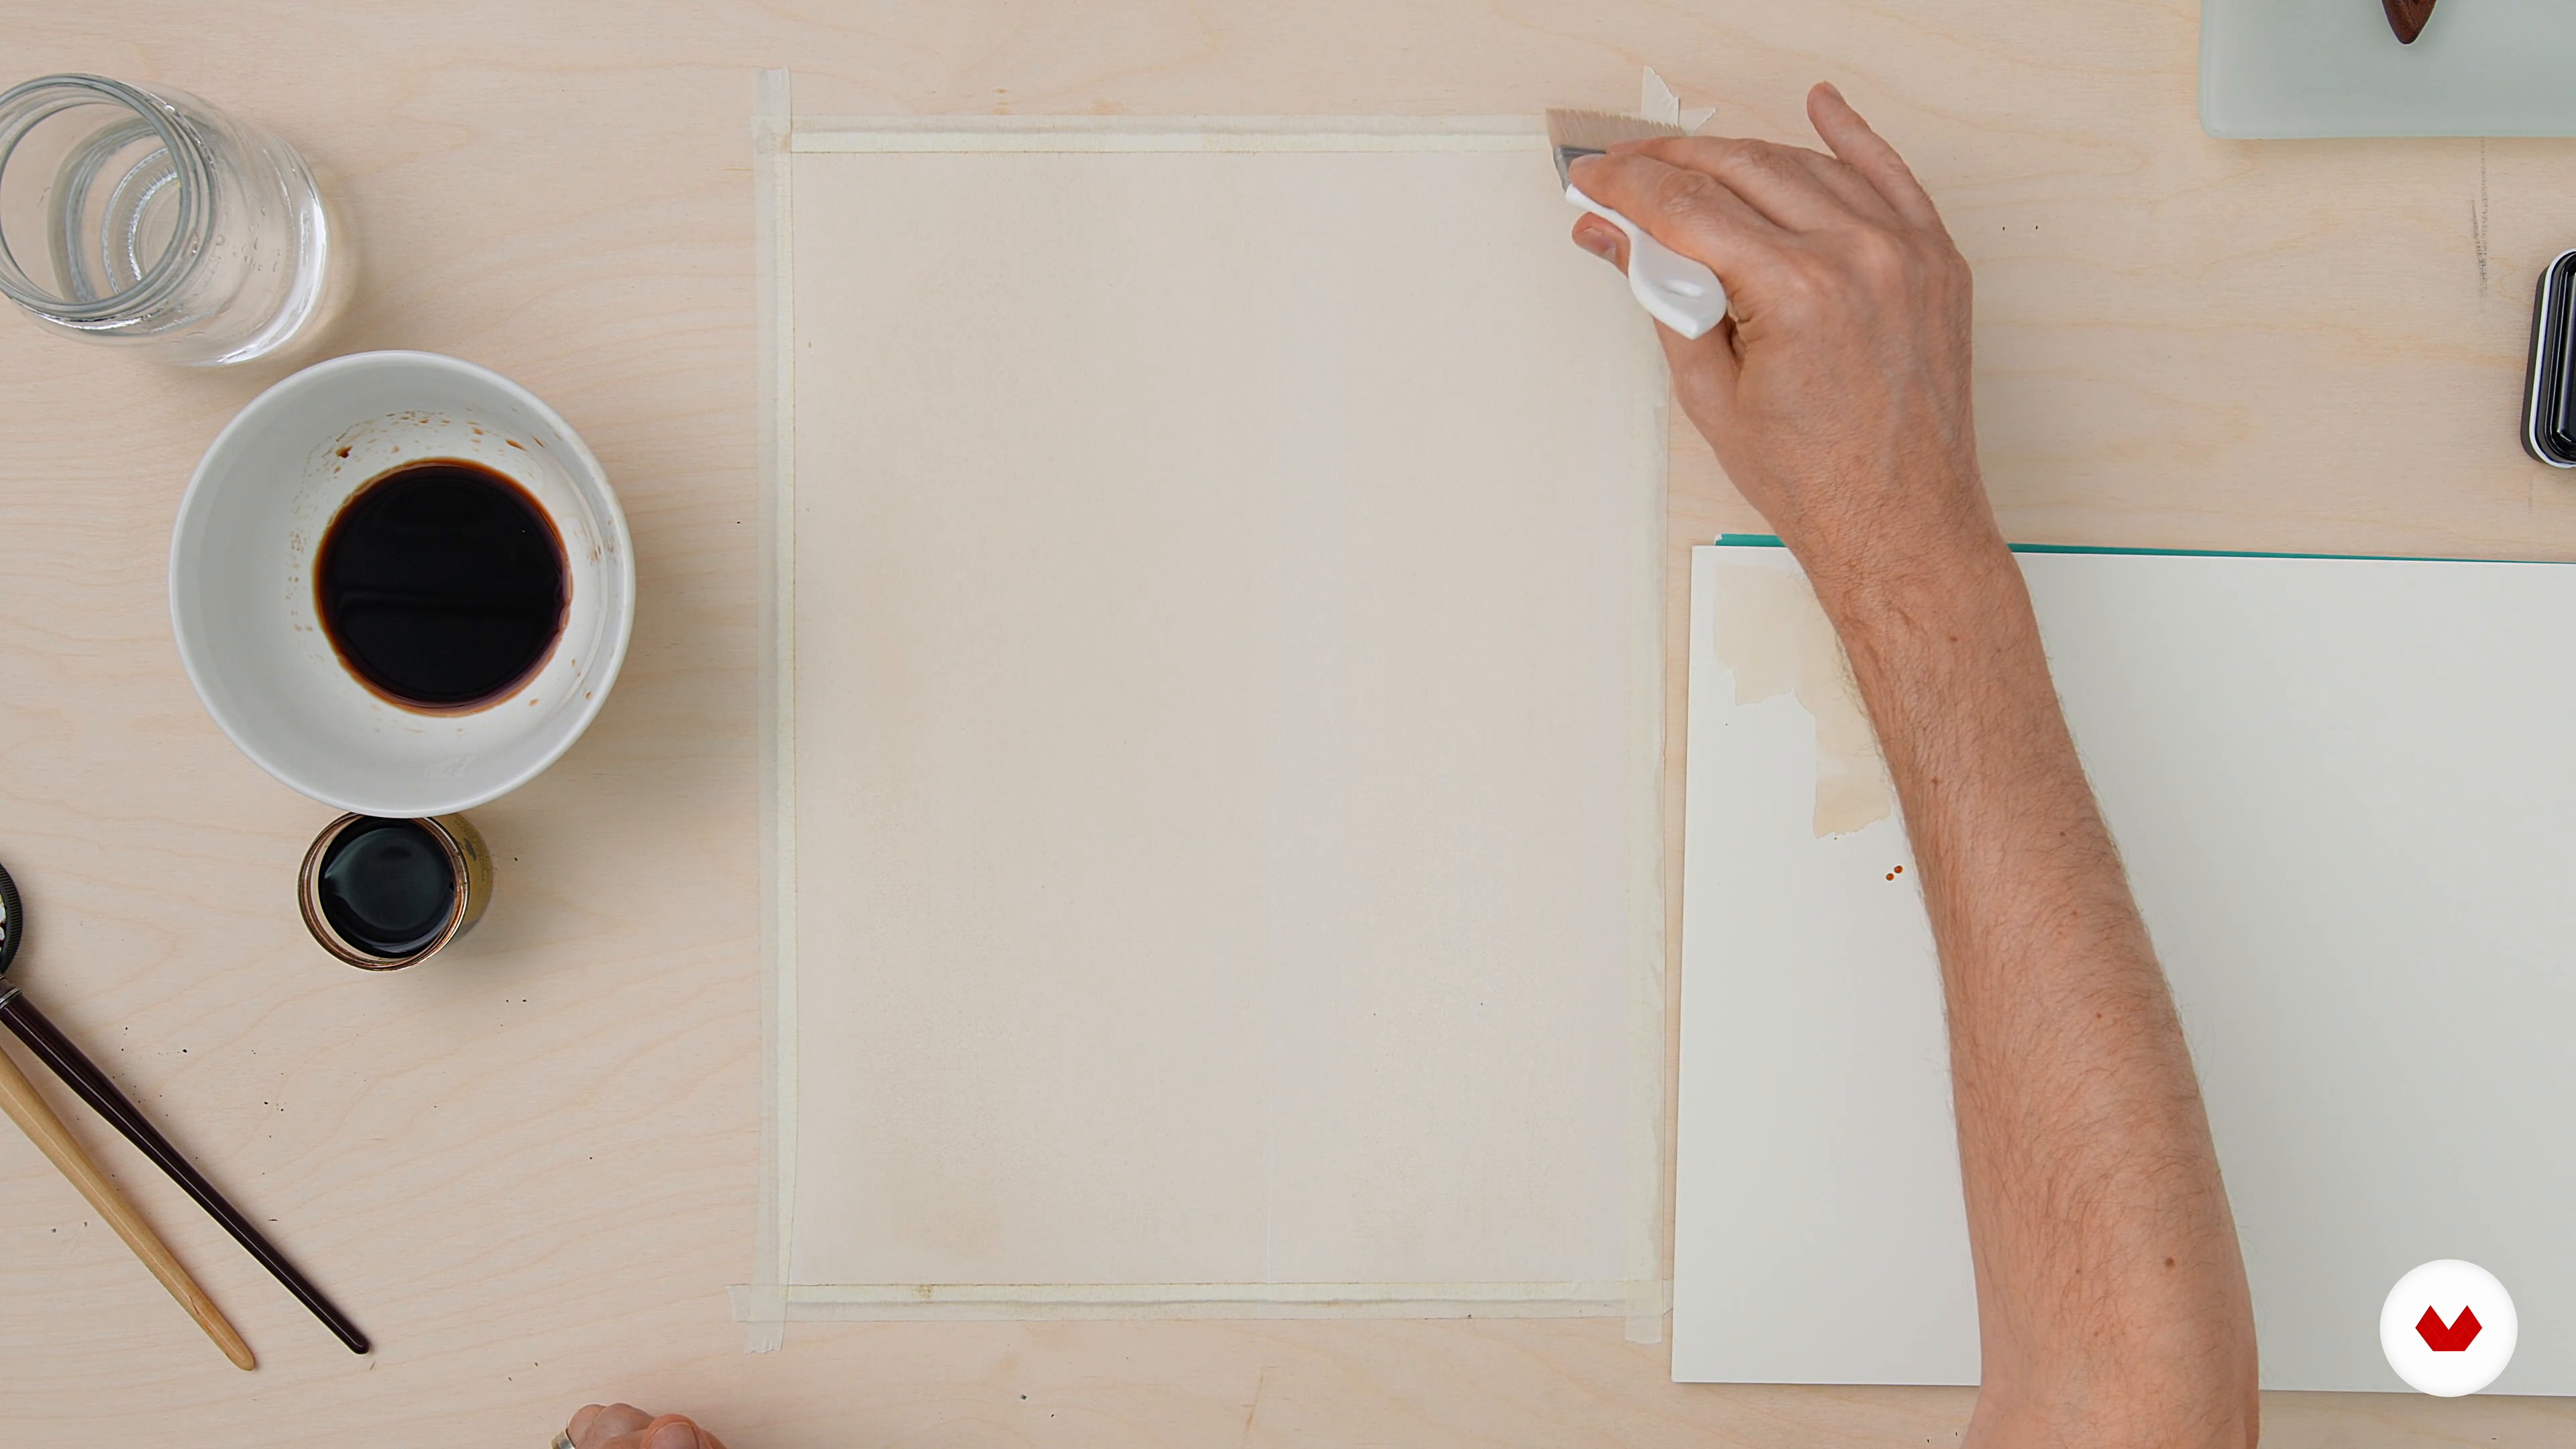
Let’s start preparing our supports in order to be able to draw just like Leonardo used to. For this, we have to use some of the materials described in the previous lesson. Let’s see how they work on paper!
10m
image
7
Support Preparation 2
Now, we are going to see how to work with colors and how to create watercolors for our drawings. We will also see the rest of the tools and materials.
11m
image
8
Lights and Shadows
To end this unit, I will teach you about the importance of tonal values when it comes to lights and shadows.
20m
image
9
Botanical Drawings 1
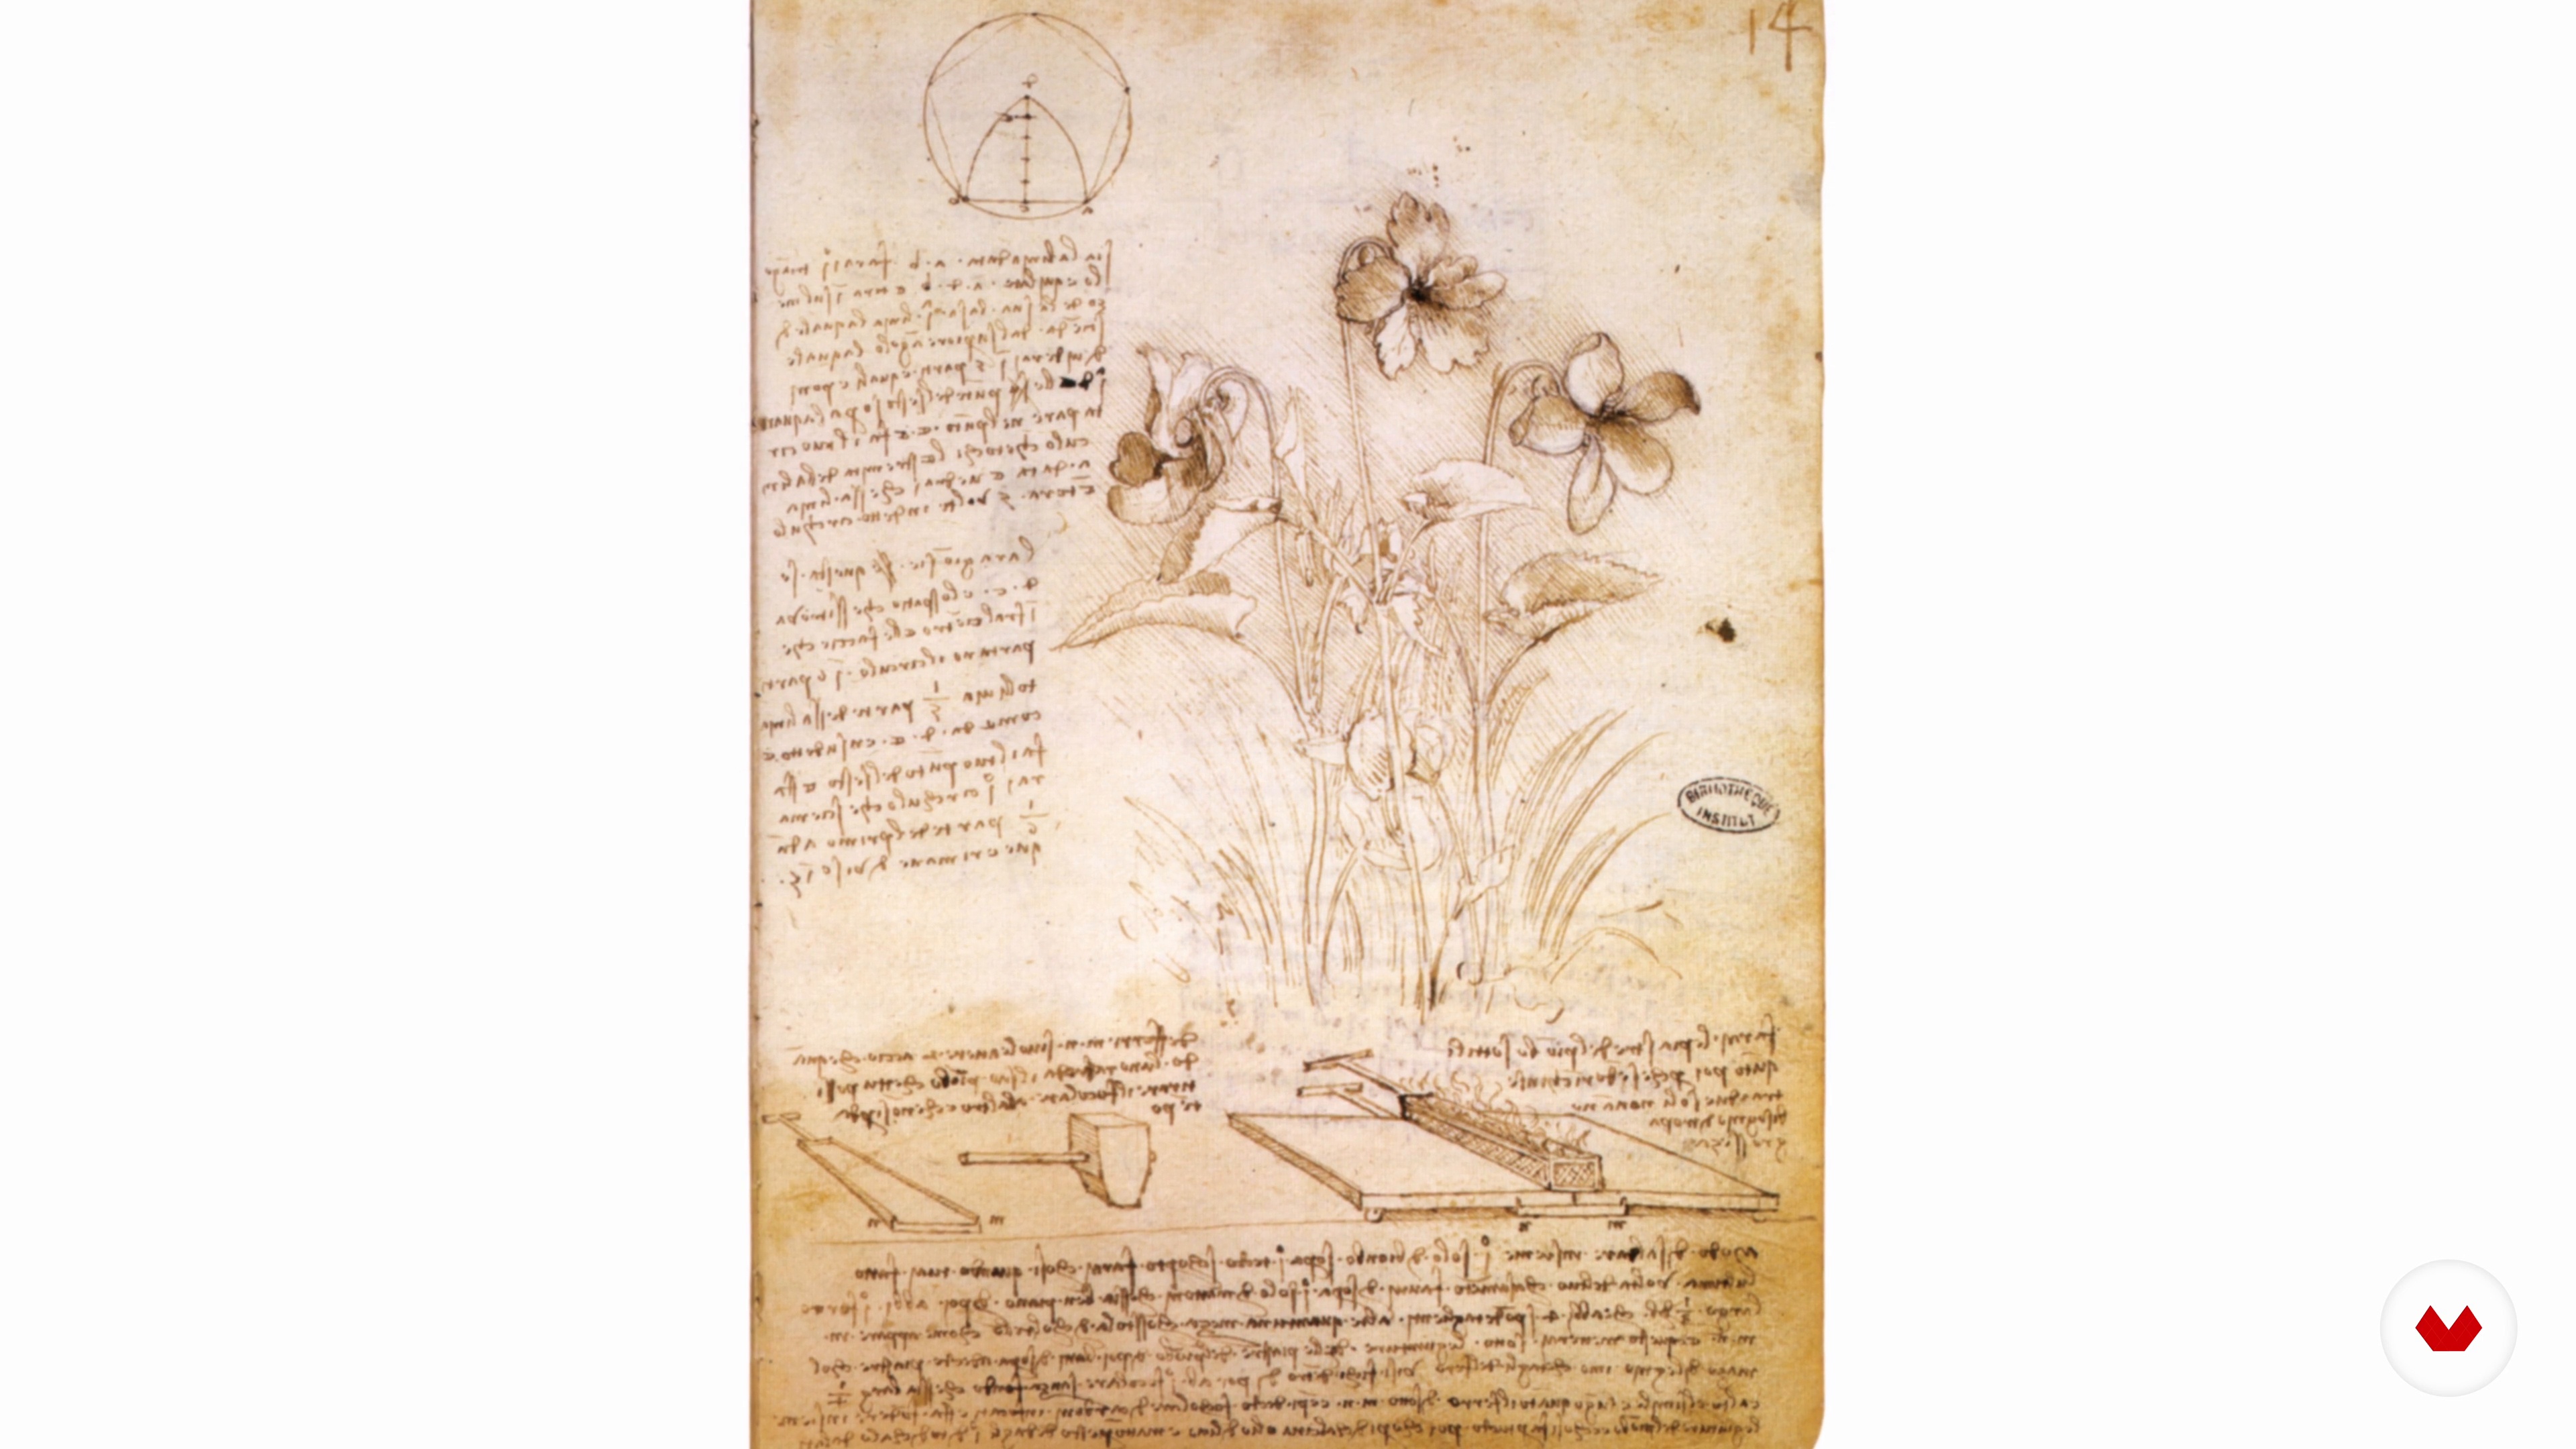
Let's put into practice what you have learned about tonal values, using some of Leonardo’s materials. I will show you some of his botanical drawings and we’ll discover how he drew them.
12m
image
10
Botanical Drawings 2
In this lesson, we will end the study of botanical drawings and complete our exercise.
12m
image
11
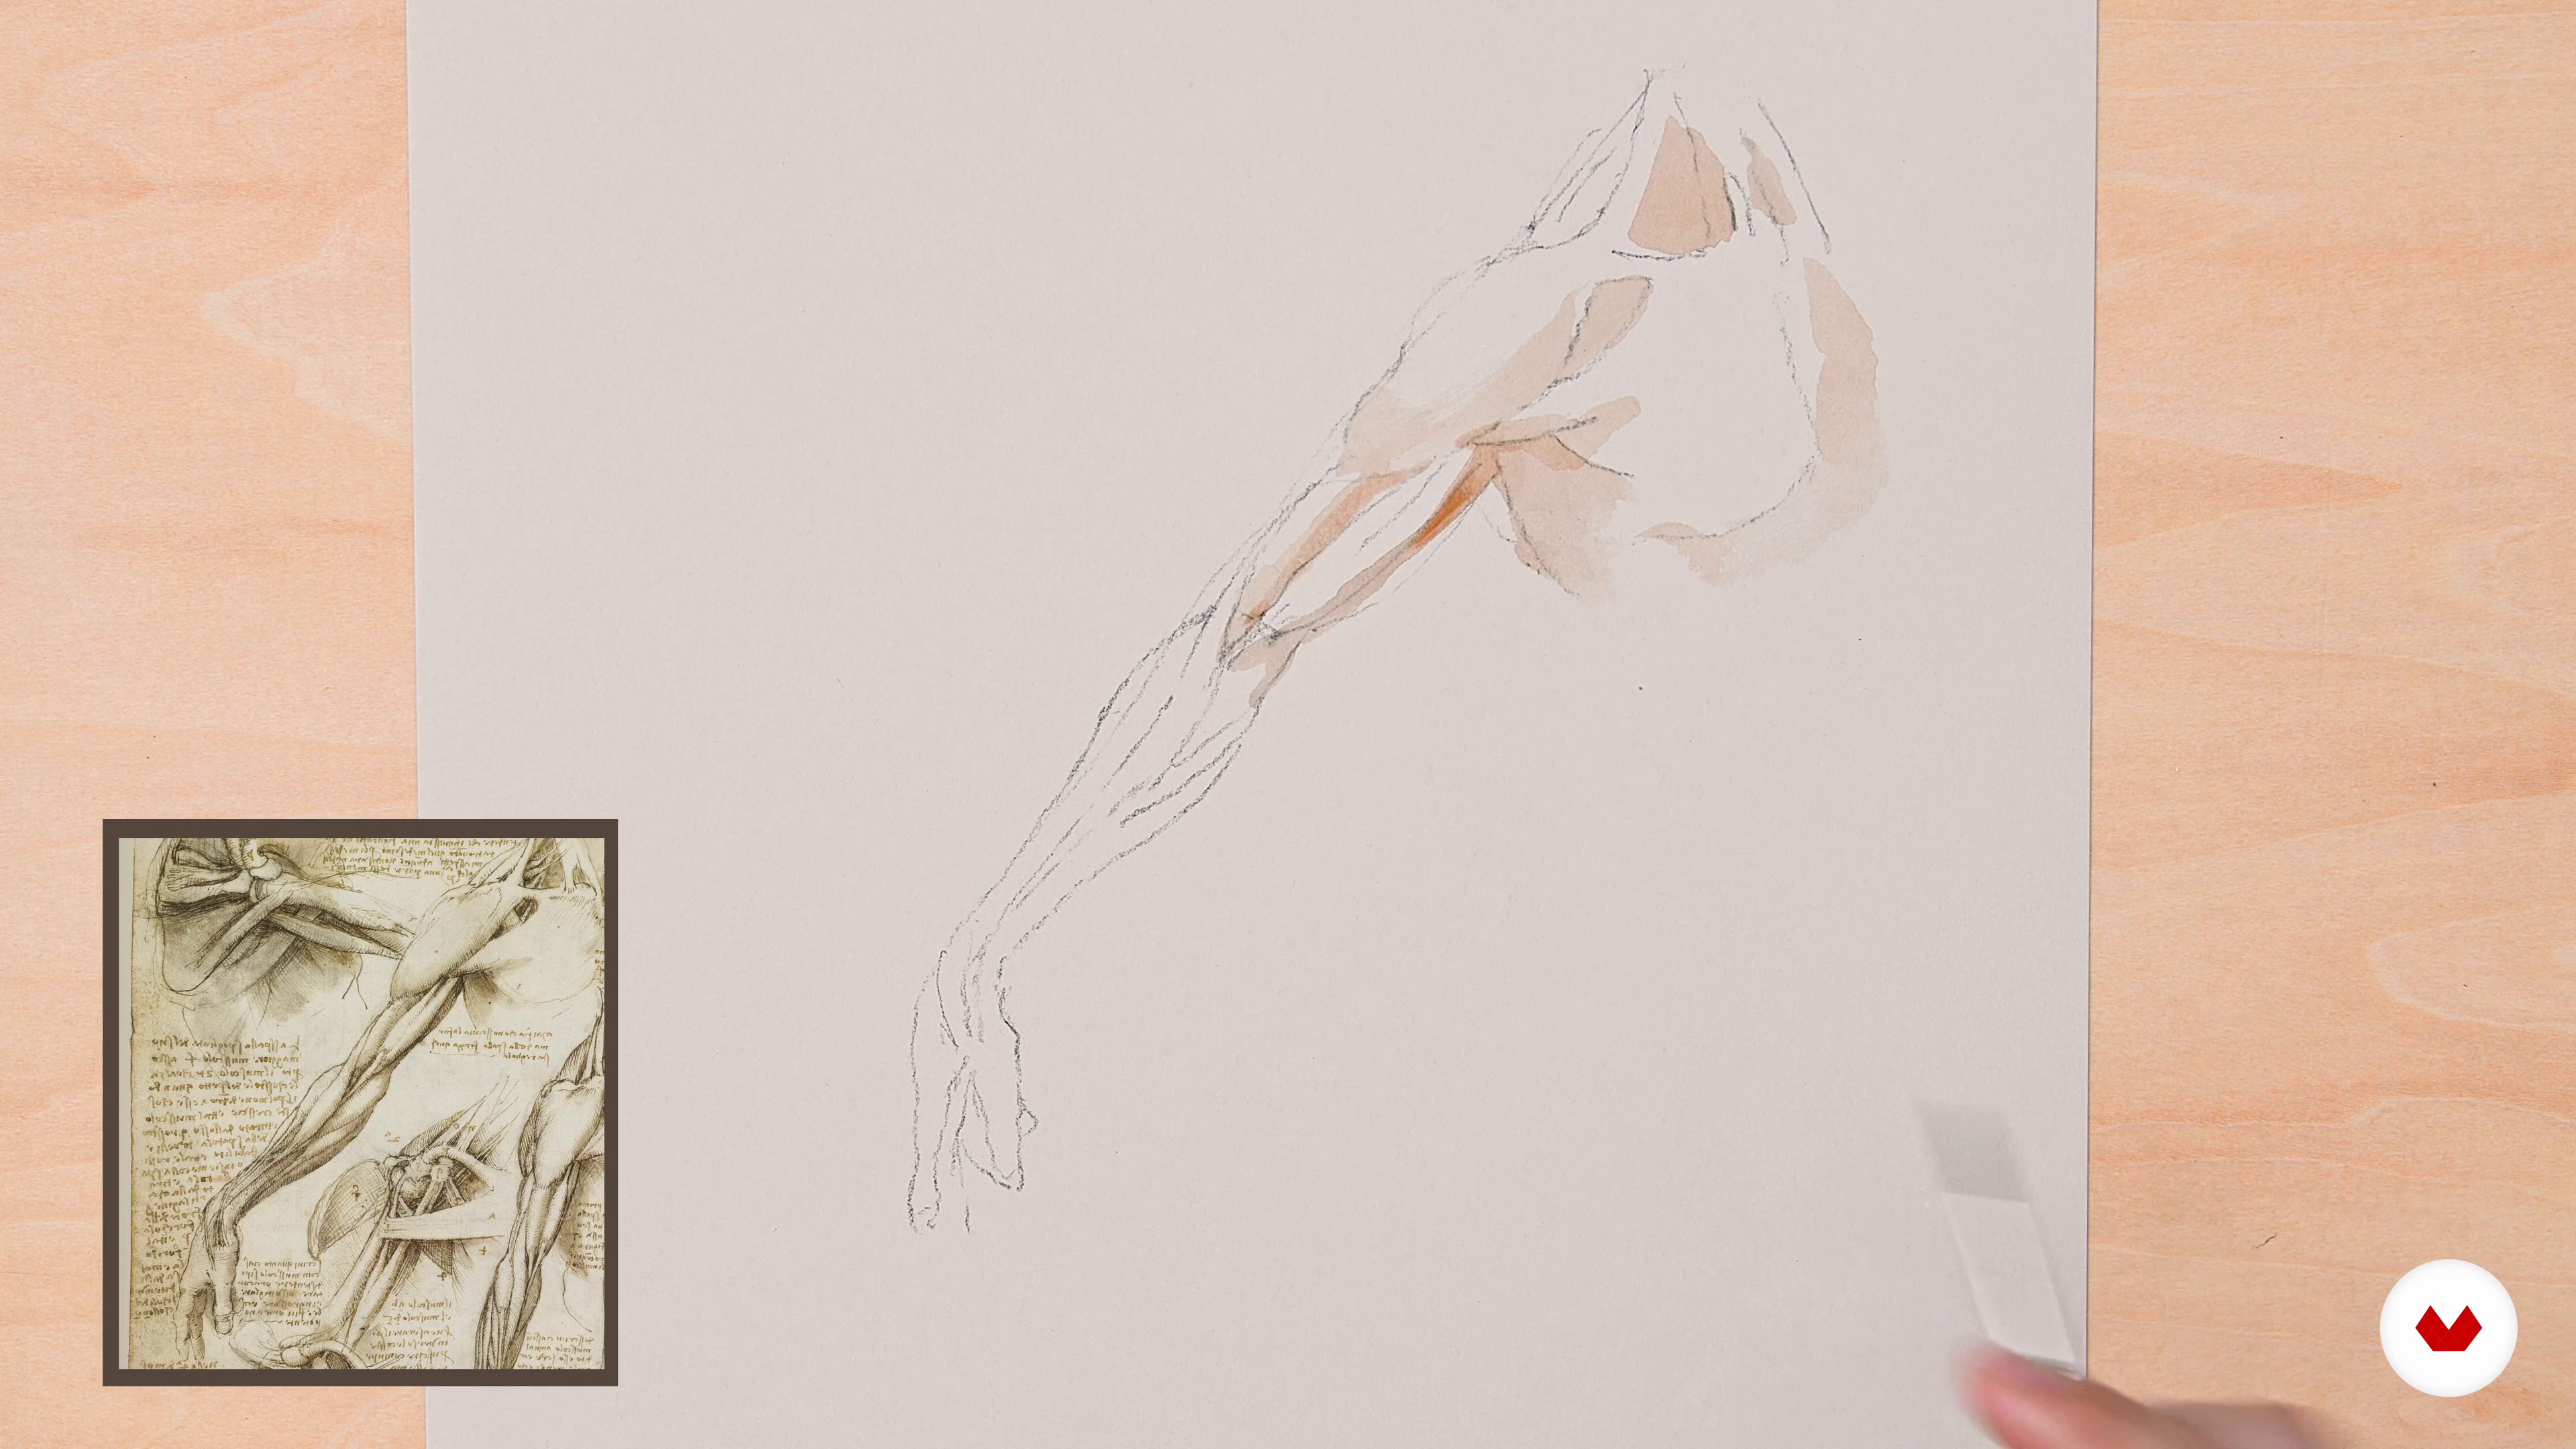
Anatomical Drawings
Now, you will discover some amazing anatomical drawings by Leonardo. You will replicate one of his studies using his materials and following his representational method.
20m
image
12
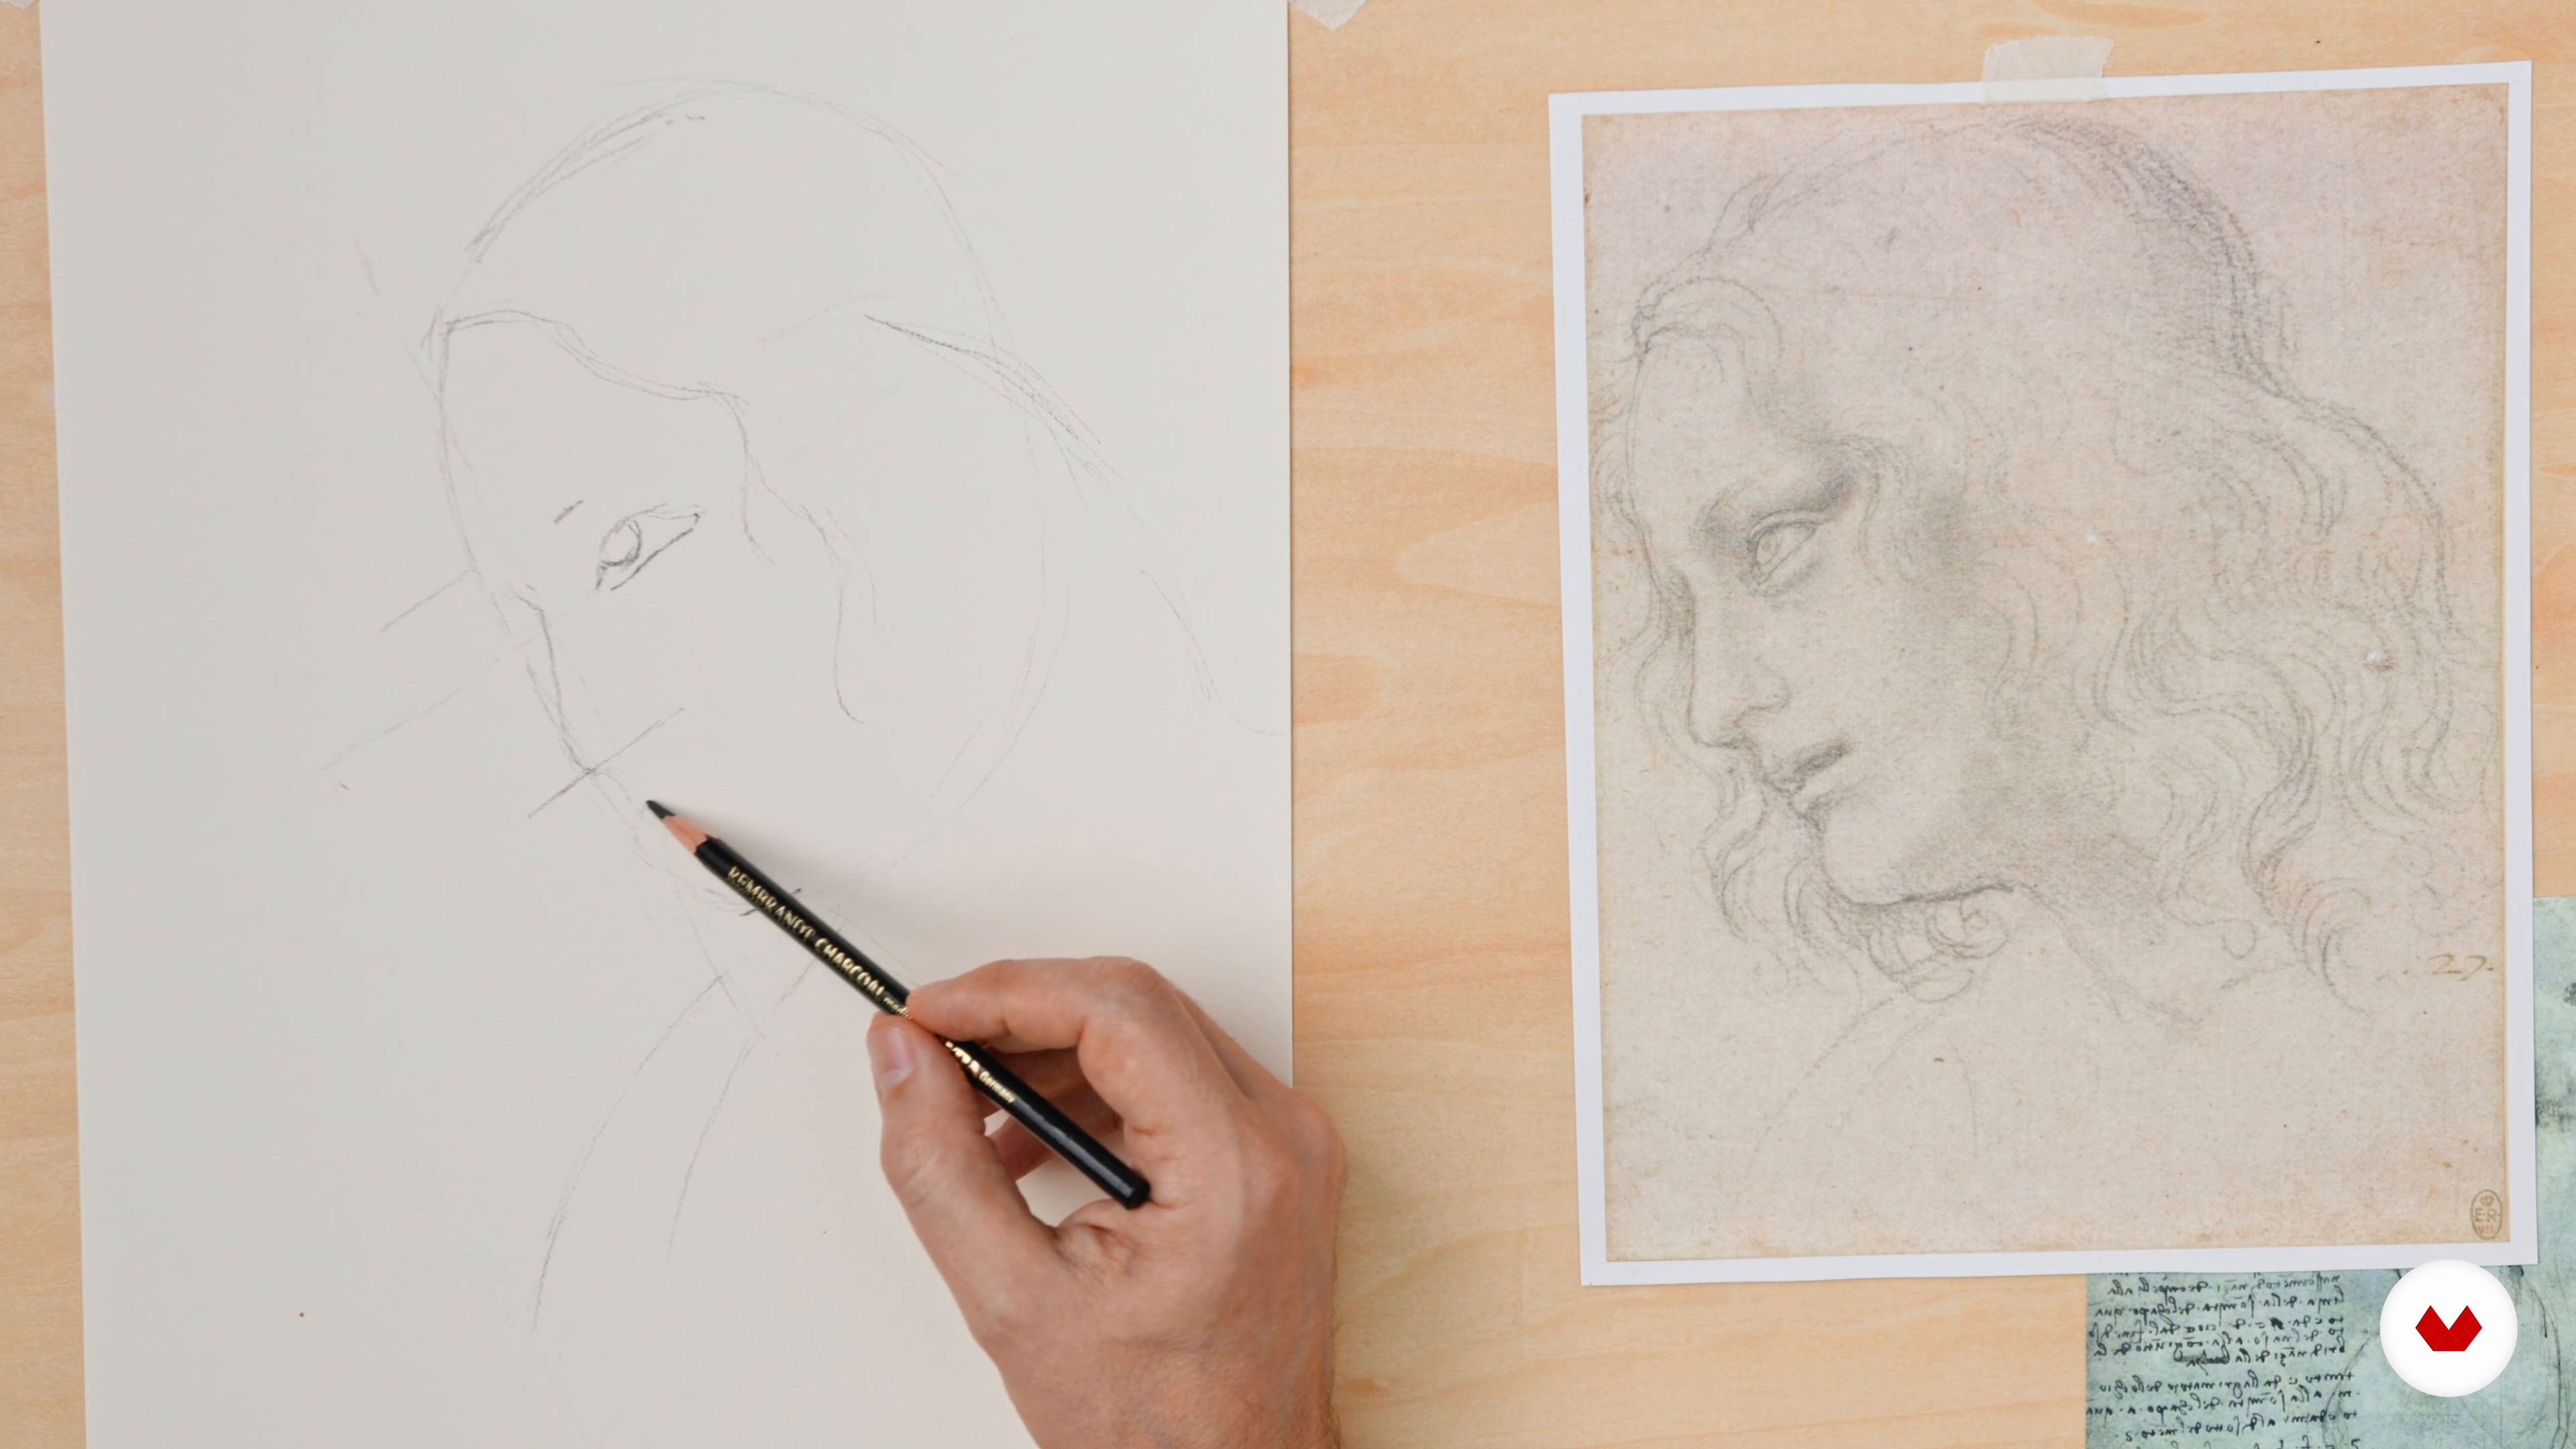
Proportions: Portrait Study 1
In this lesson, Leonardo himself will guide us through the essential elements of a portrait. You will learn about proportions, gestures, and how to capture people's essence on paper. I will show you, step by step, how the Master used to make a study of a human head.
13m
image
13
Proportions: Portrait Study 2
Let's complete our drawing by adding more depth and details to it.
12m
image
14
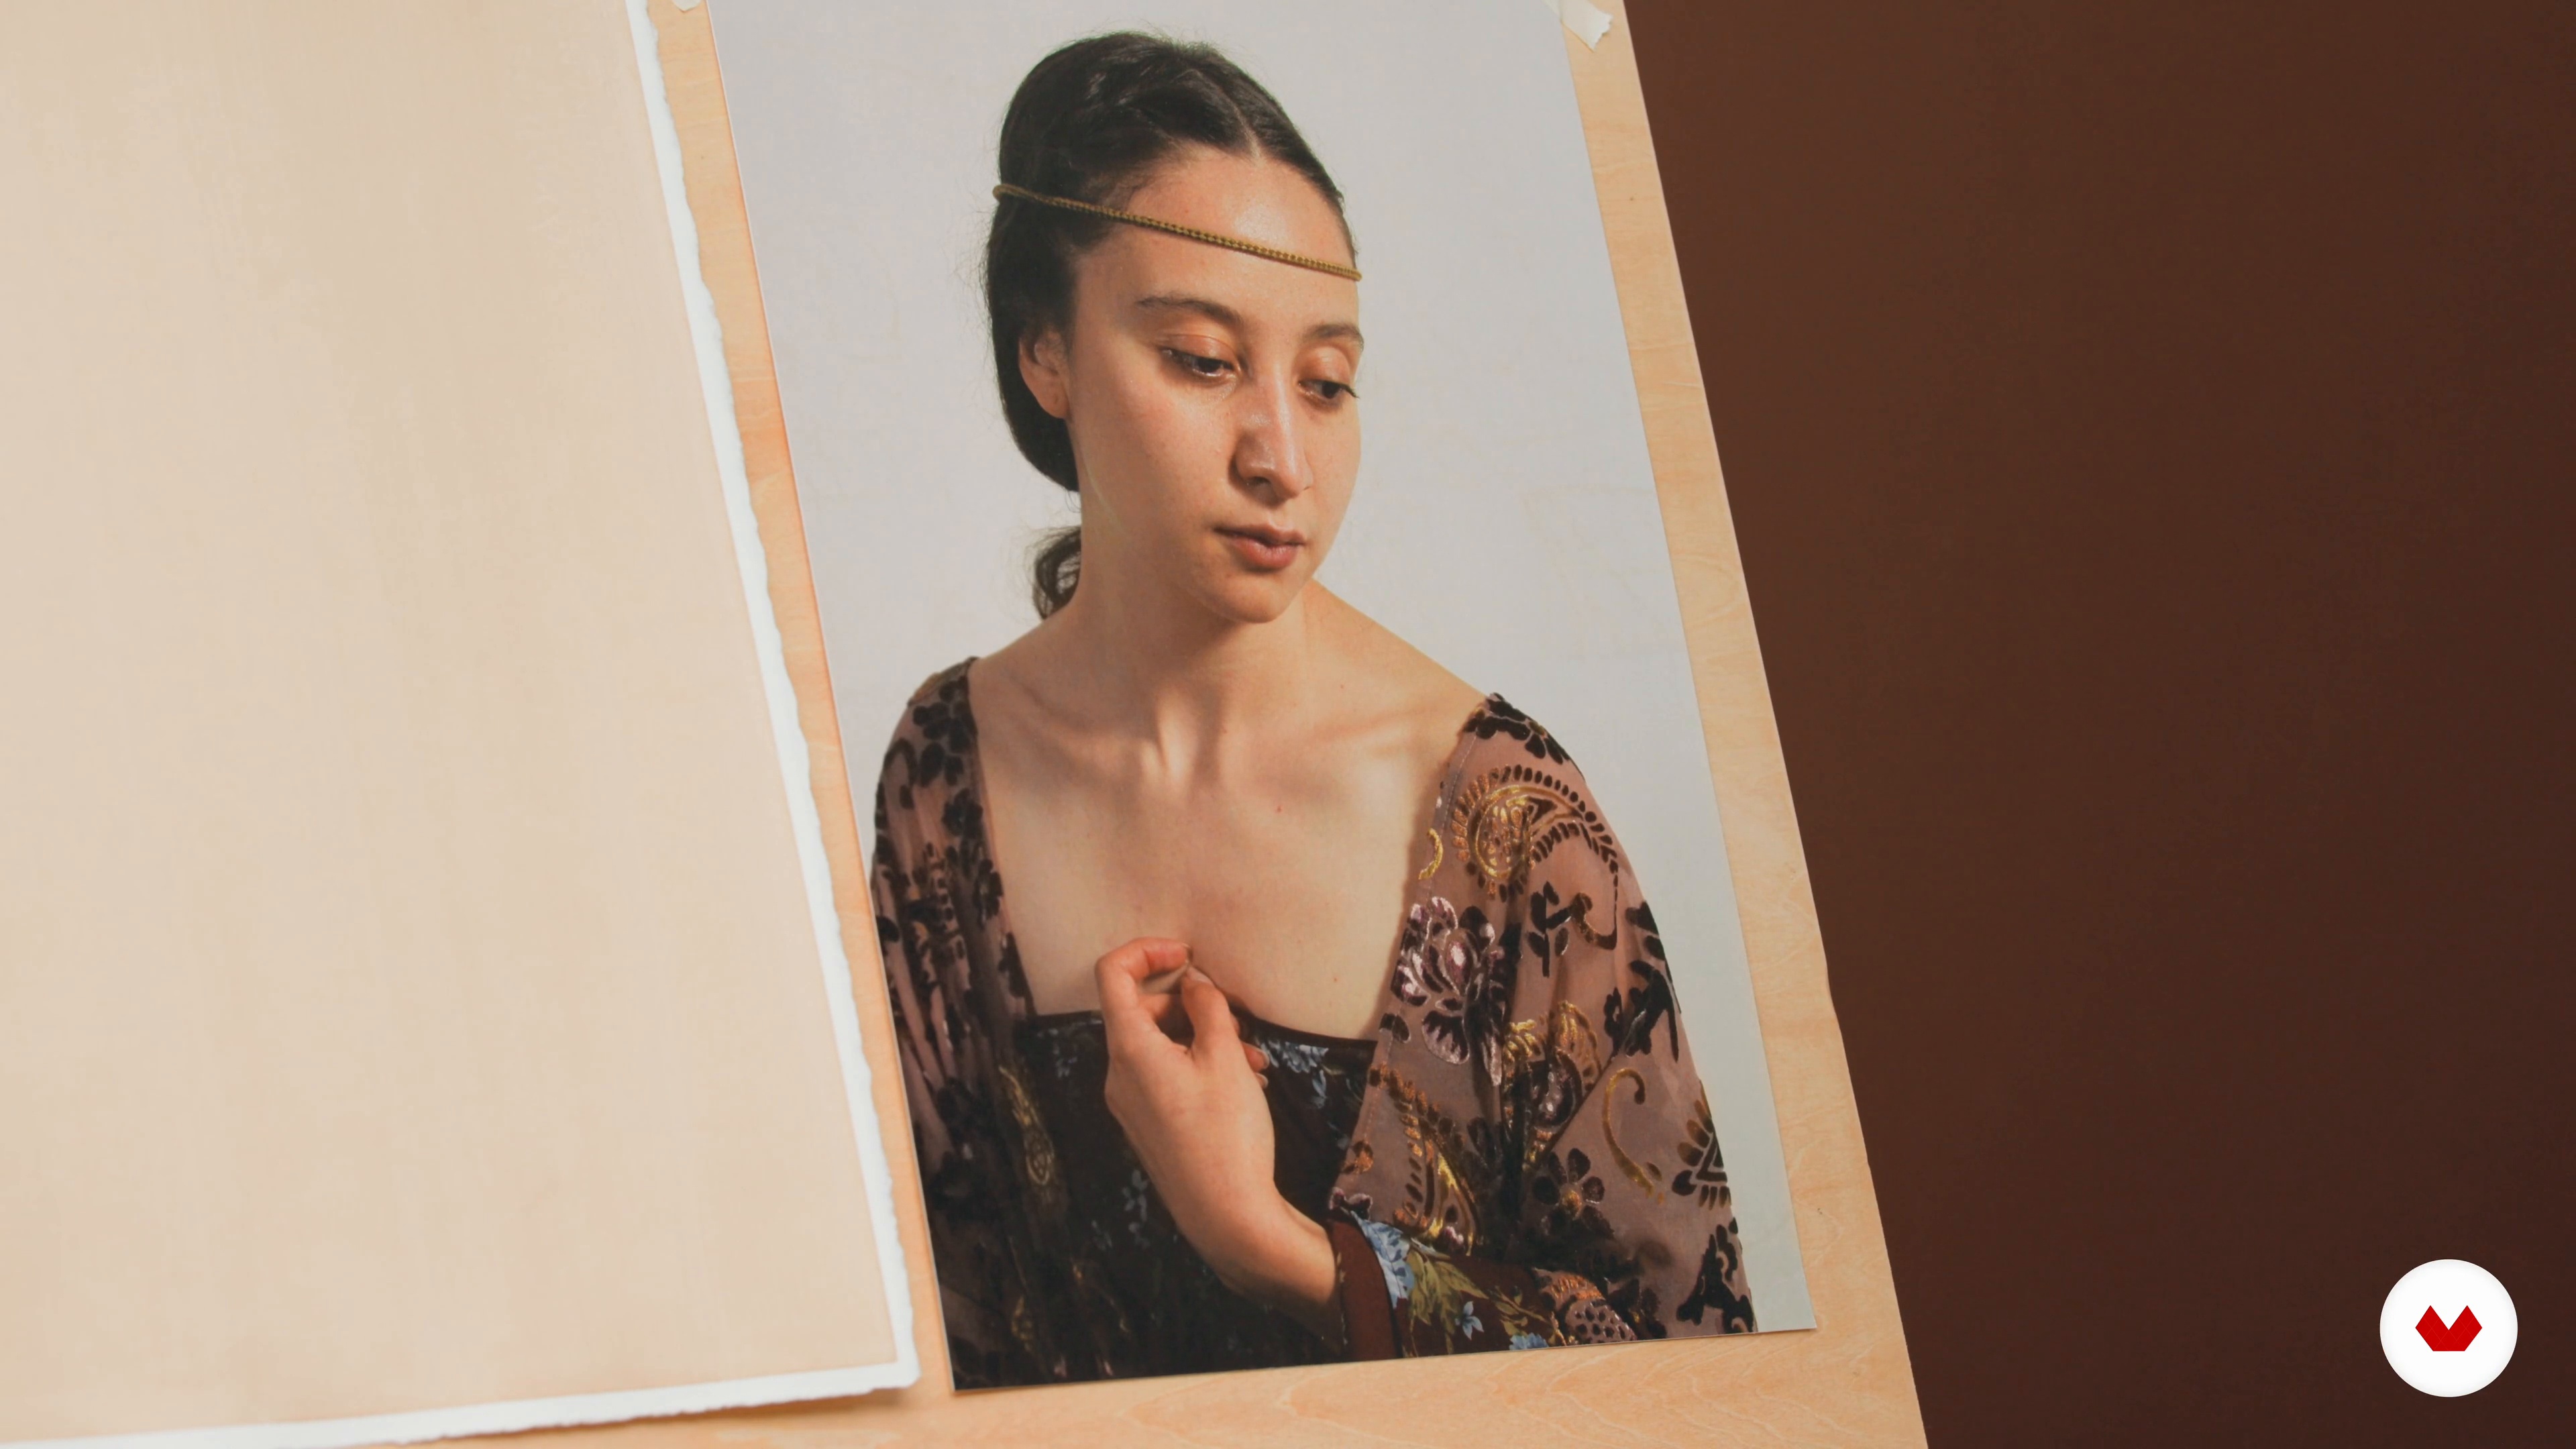
Preparations and Composition
In this lesson, I will briefly guide you through the process of taking a good photo reference considering some simple laws of composition. I will also analyze the picture in order to plan things ahead, choose the right supports and renaissance drawing materials.
9m
image
15
Gesture and Drawing Structure
Now, we will create the main structure for the drawing with construction lines that can be helpful to define where our main masses will go.
20m
image
16
Tonal Values
Once the construction drawing is done, we need to identify the shadow areas that create the different planes of the head. We can do this by creating different tonal values to build up the general masses.
19m
image
17
Features and Details 1
In this lesson, we are going to focus on the features and details of our portrait.
16m
image
18
Features and Details 2
Let's complete our portrait and bring it to life by adding more and more details and emphasizing its tridimensionality.
7m
image
19
Final Revision
Once the main masses and planes of the head are in place, we can focus on the tiniest details by adding more information in the areas that we have worked on so far. It’s time to have fun!
16m
image
20
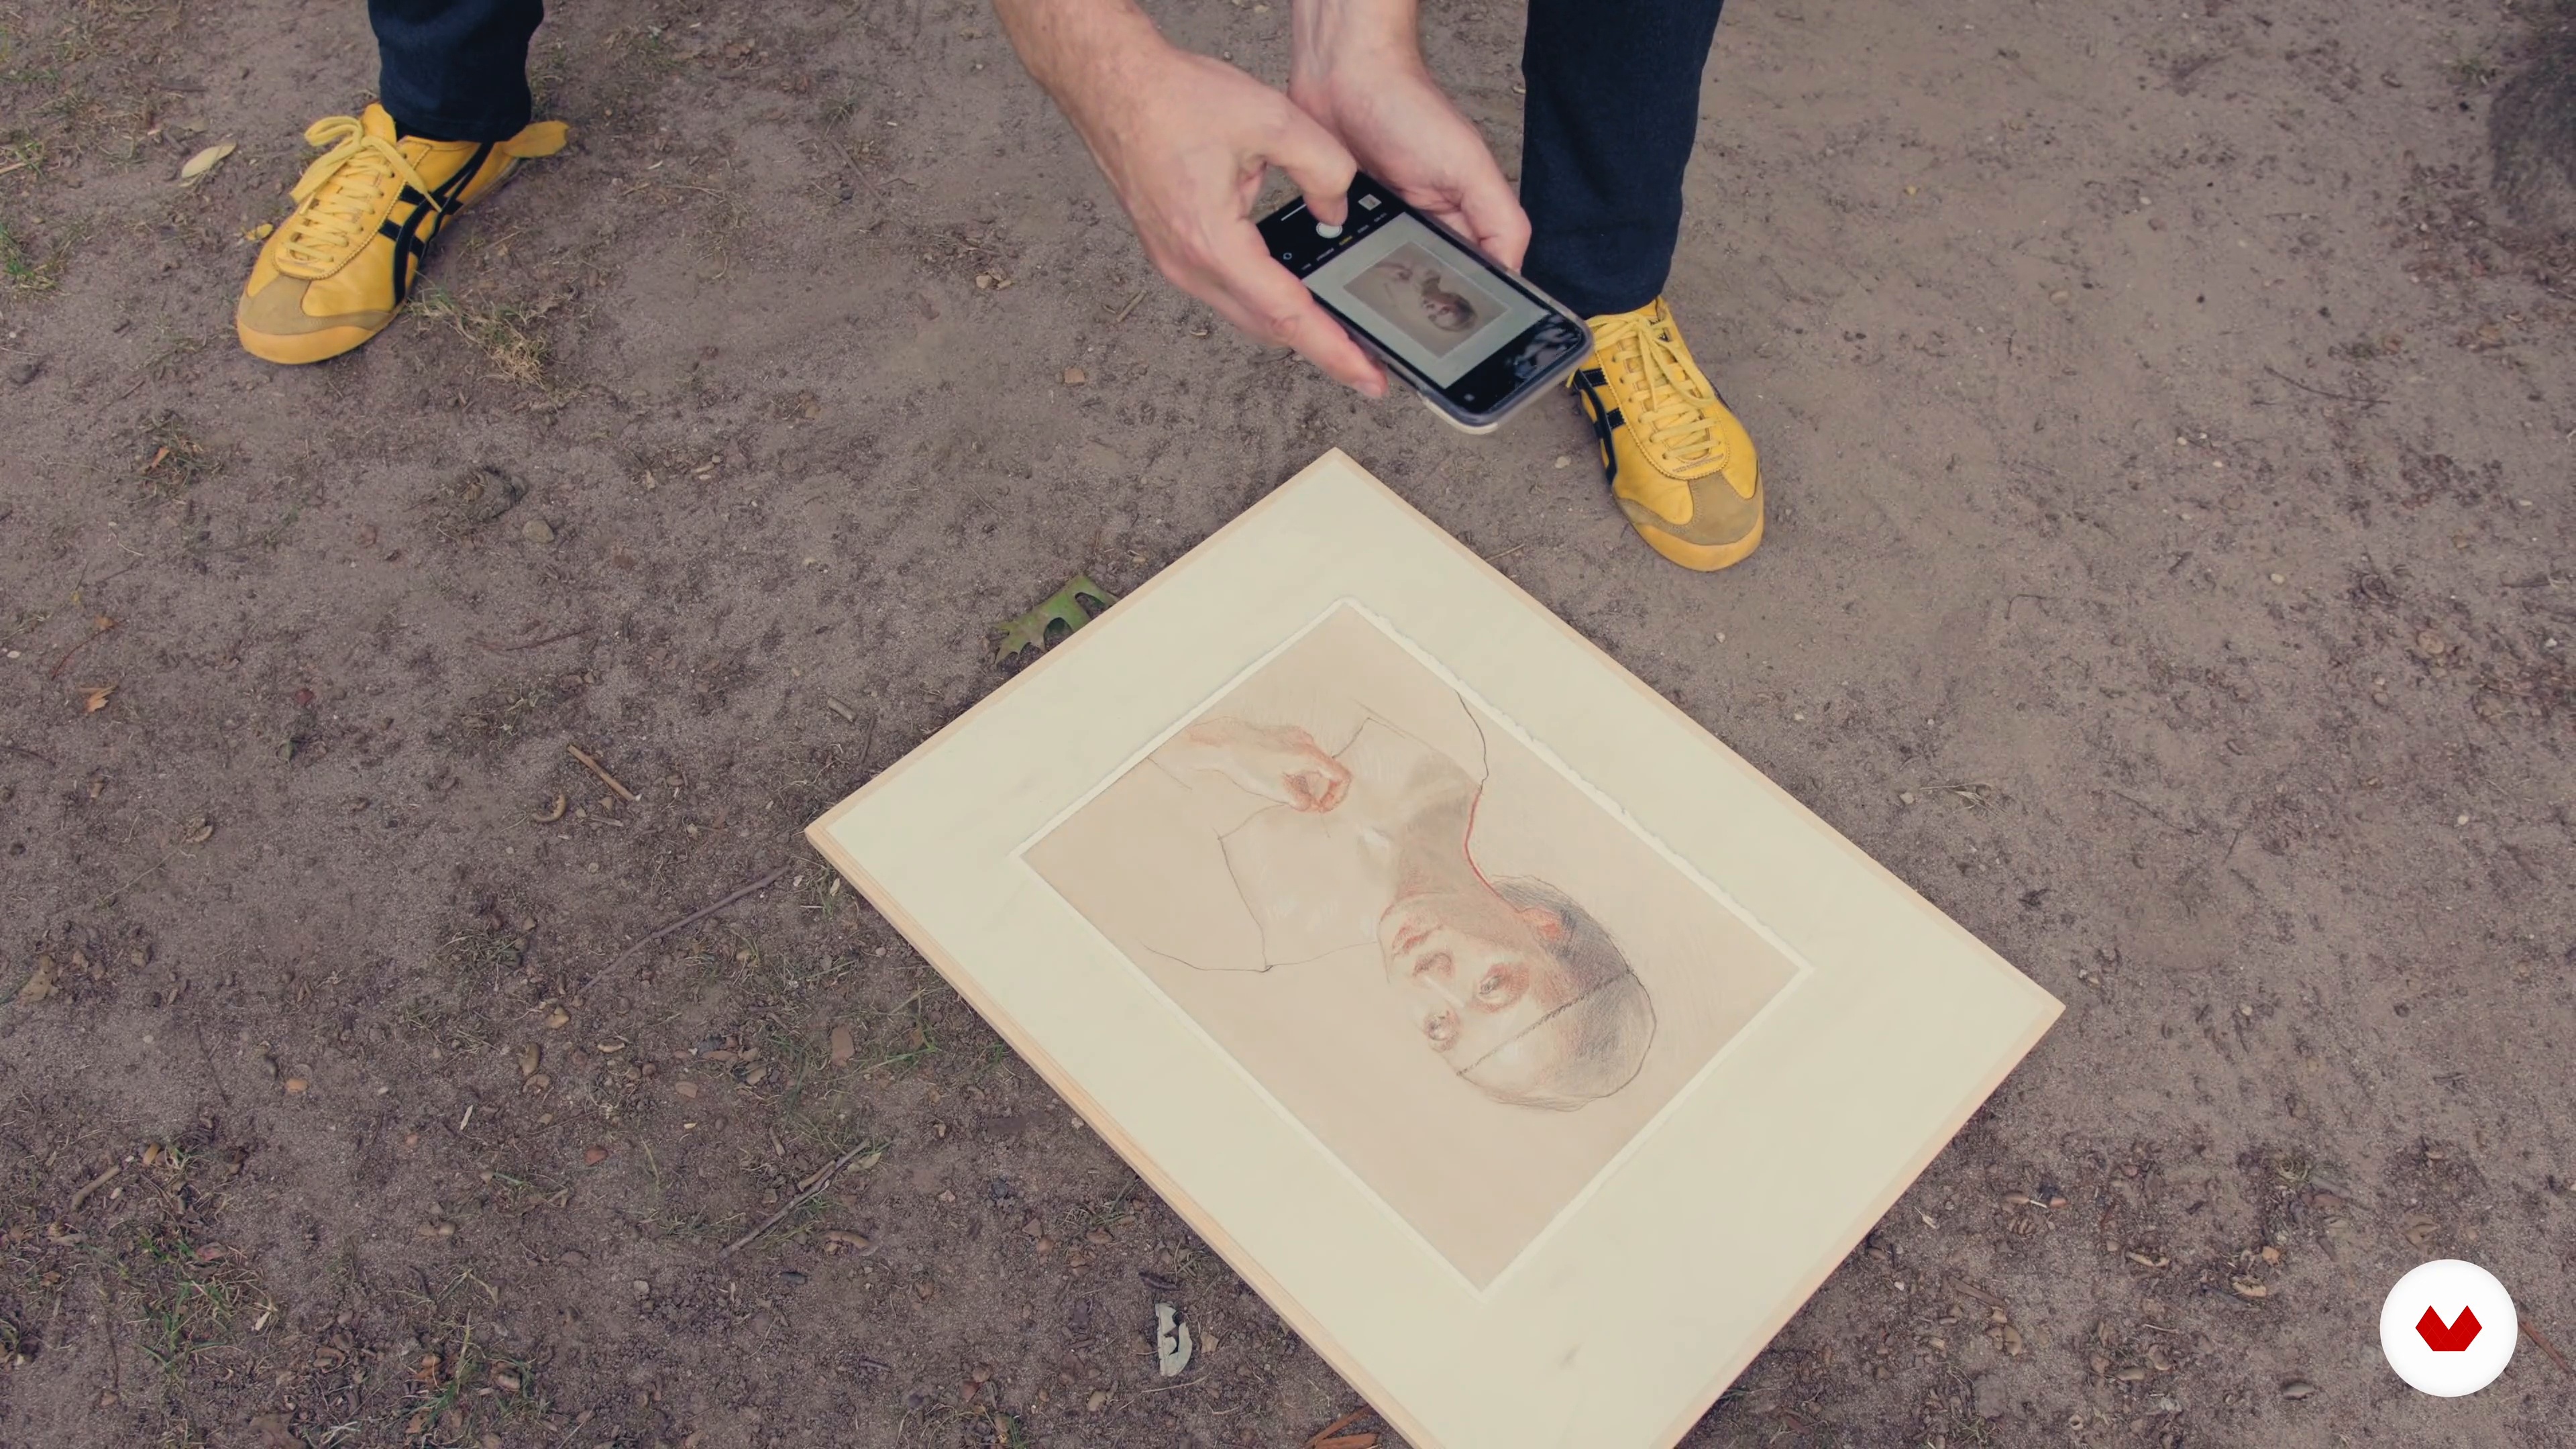
How To Take Pictures of Your Work
When you finish your drawing, you might want to show it to the world! In this lesson, I will show you how I document my process and how I take a picture of my finished work.
5m
image
21
Preservation
The preservation of a work of art starts with the materials that we use when we are drawing. That's why I am going to remind you how to pick the right drawing materials and show you how to properly store or frame your final work.
5m
image
4
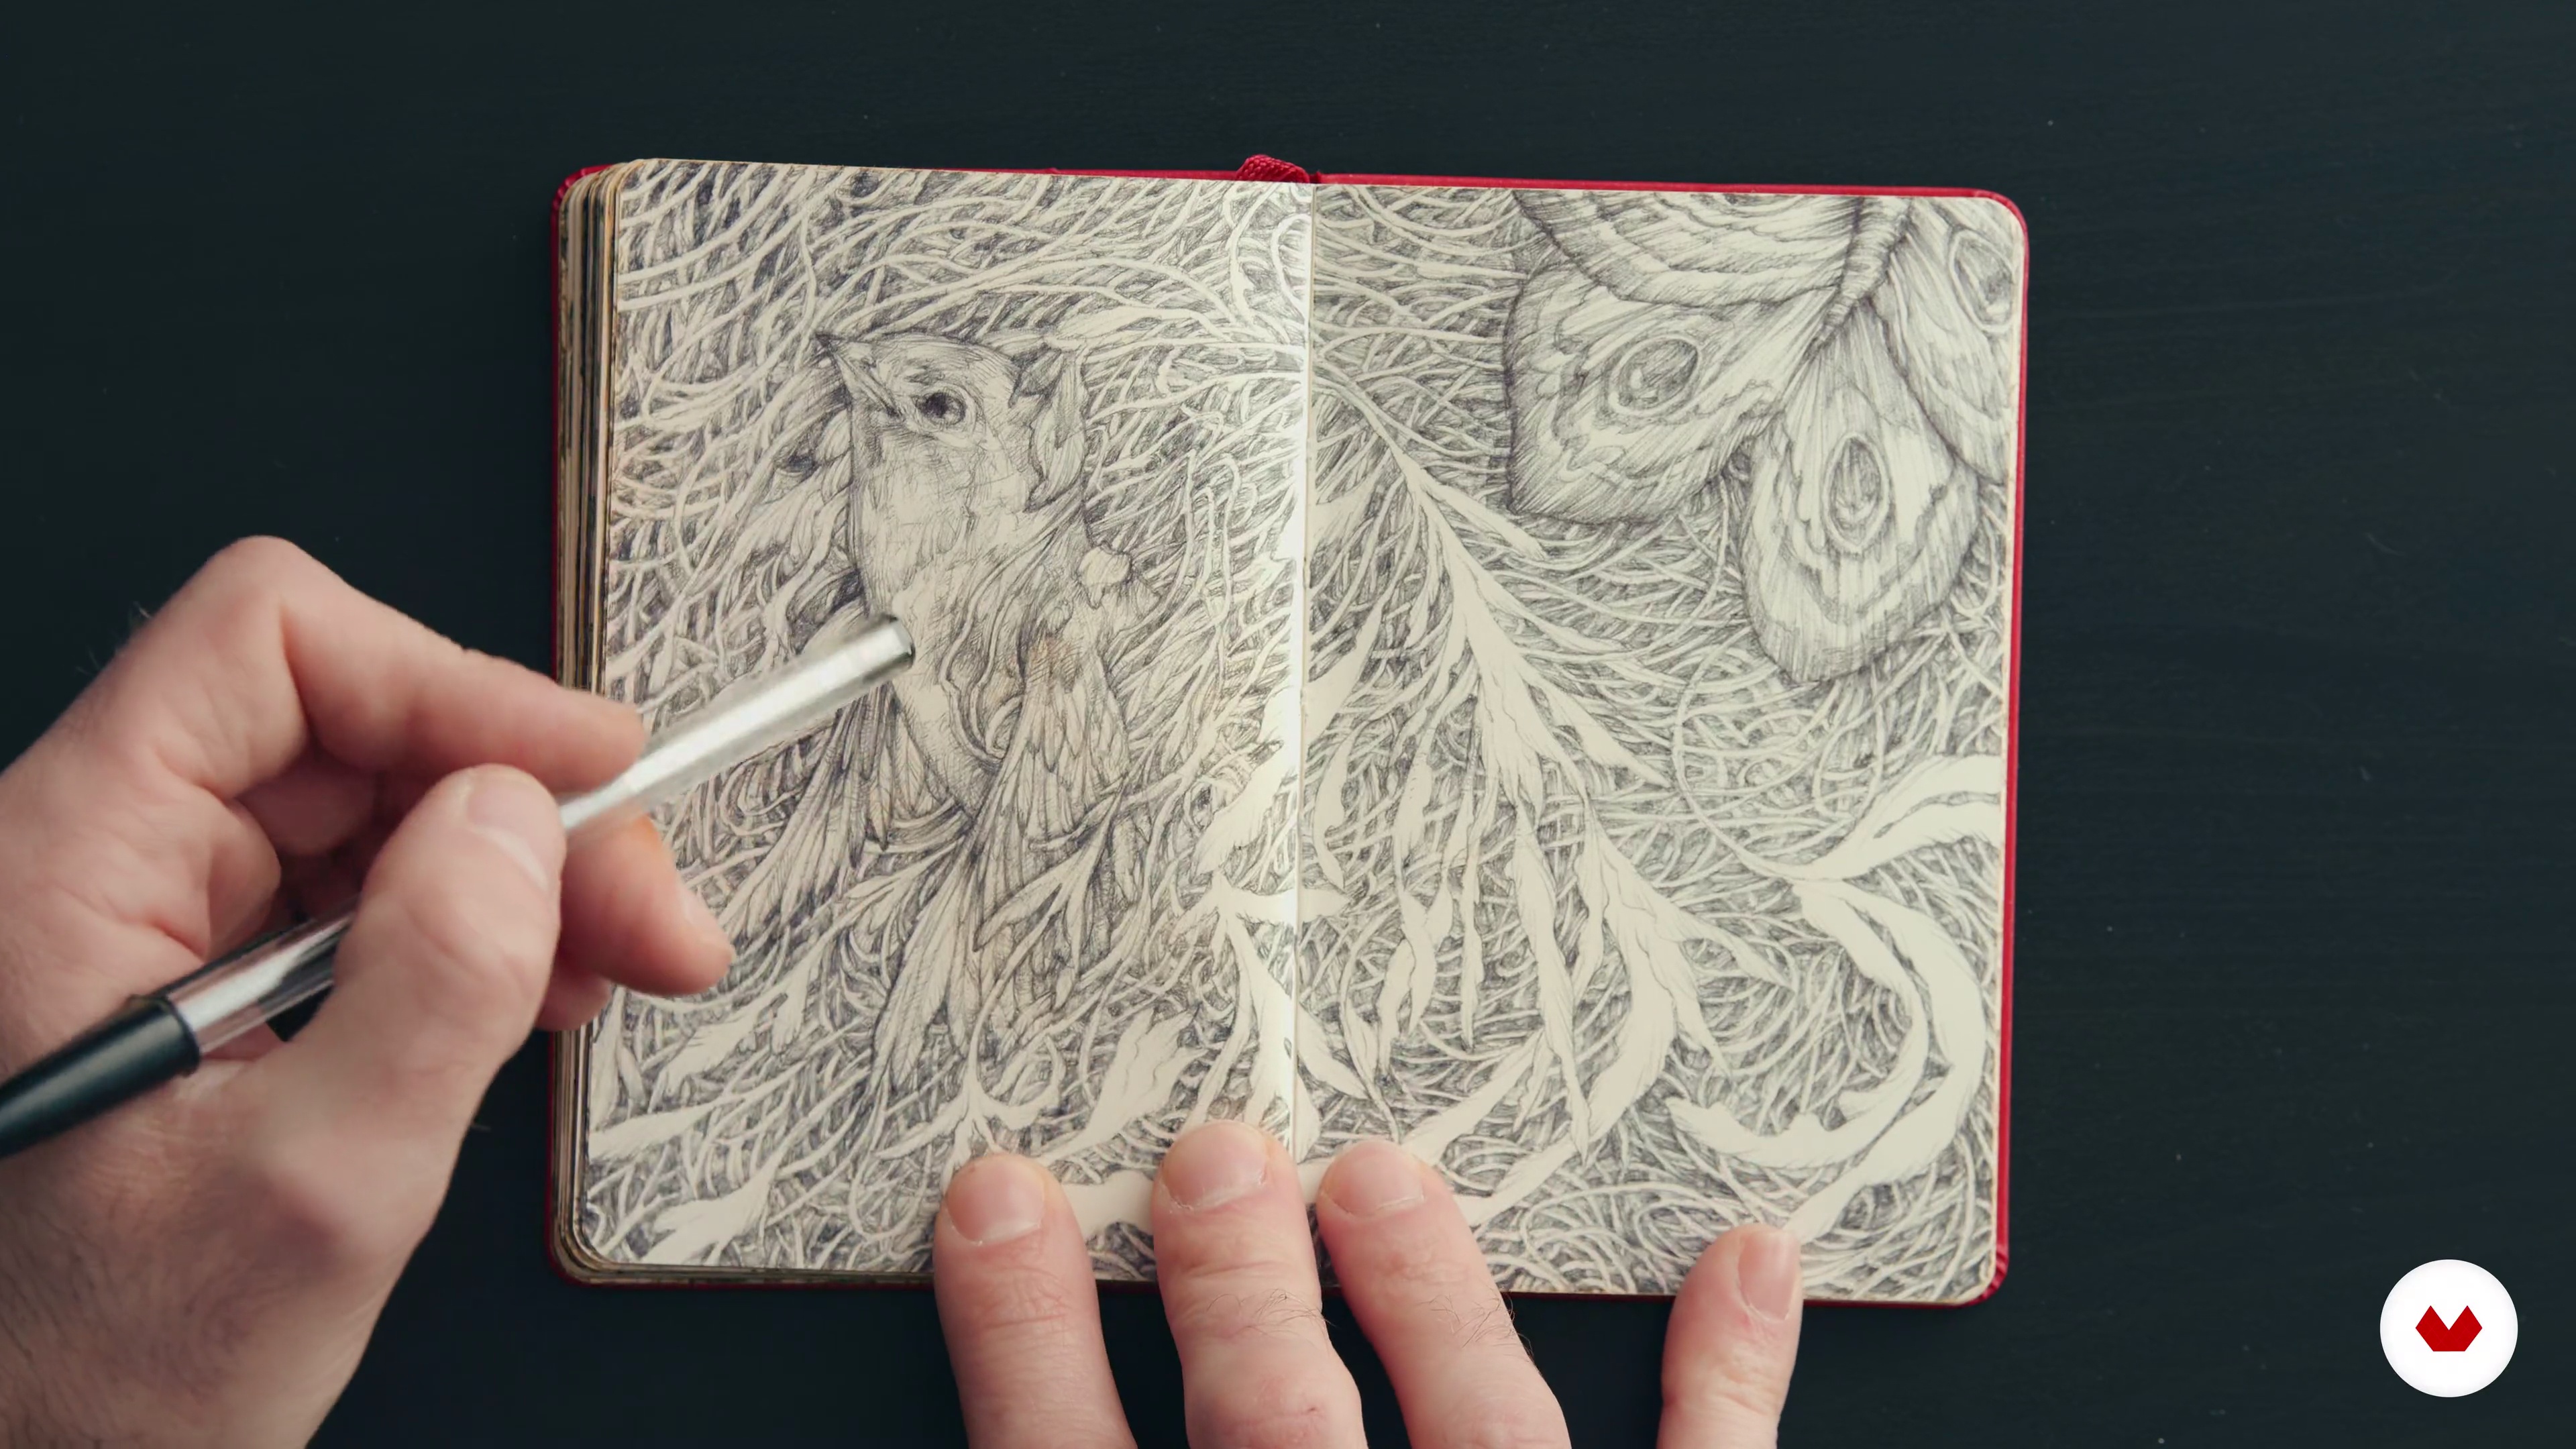
The Importance of Sketching
Doodling is good for the soul because the hand works on its own. In this lesson I will explain the importance of sketching.
4m
image
5
Planning the Portrait: Conceptualization and Choice of Elements
In this lesson I will explain the importance of the concept that the elements must have within the work, the plants in my case.
3m
image
6
Composition + Basic Lines
In this lesson I will take as an example, some lines that I like from my sketchbook. Lines that are drawn nothing, but move well on the paper.
3m
image
7
Chiaroscuro (Black & White) - Theory
In this lesson I will show you how a drawing is structured with the Chiaroscuro technique.
3m
image
8
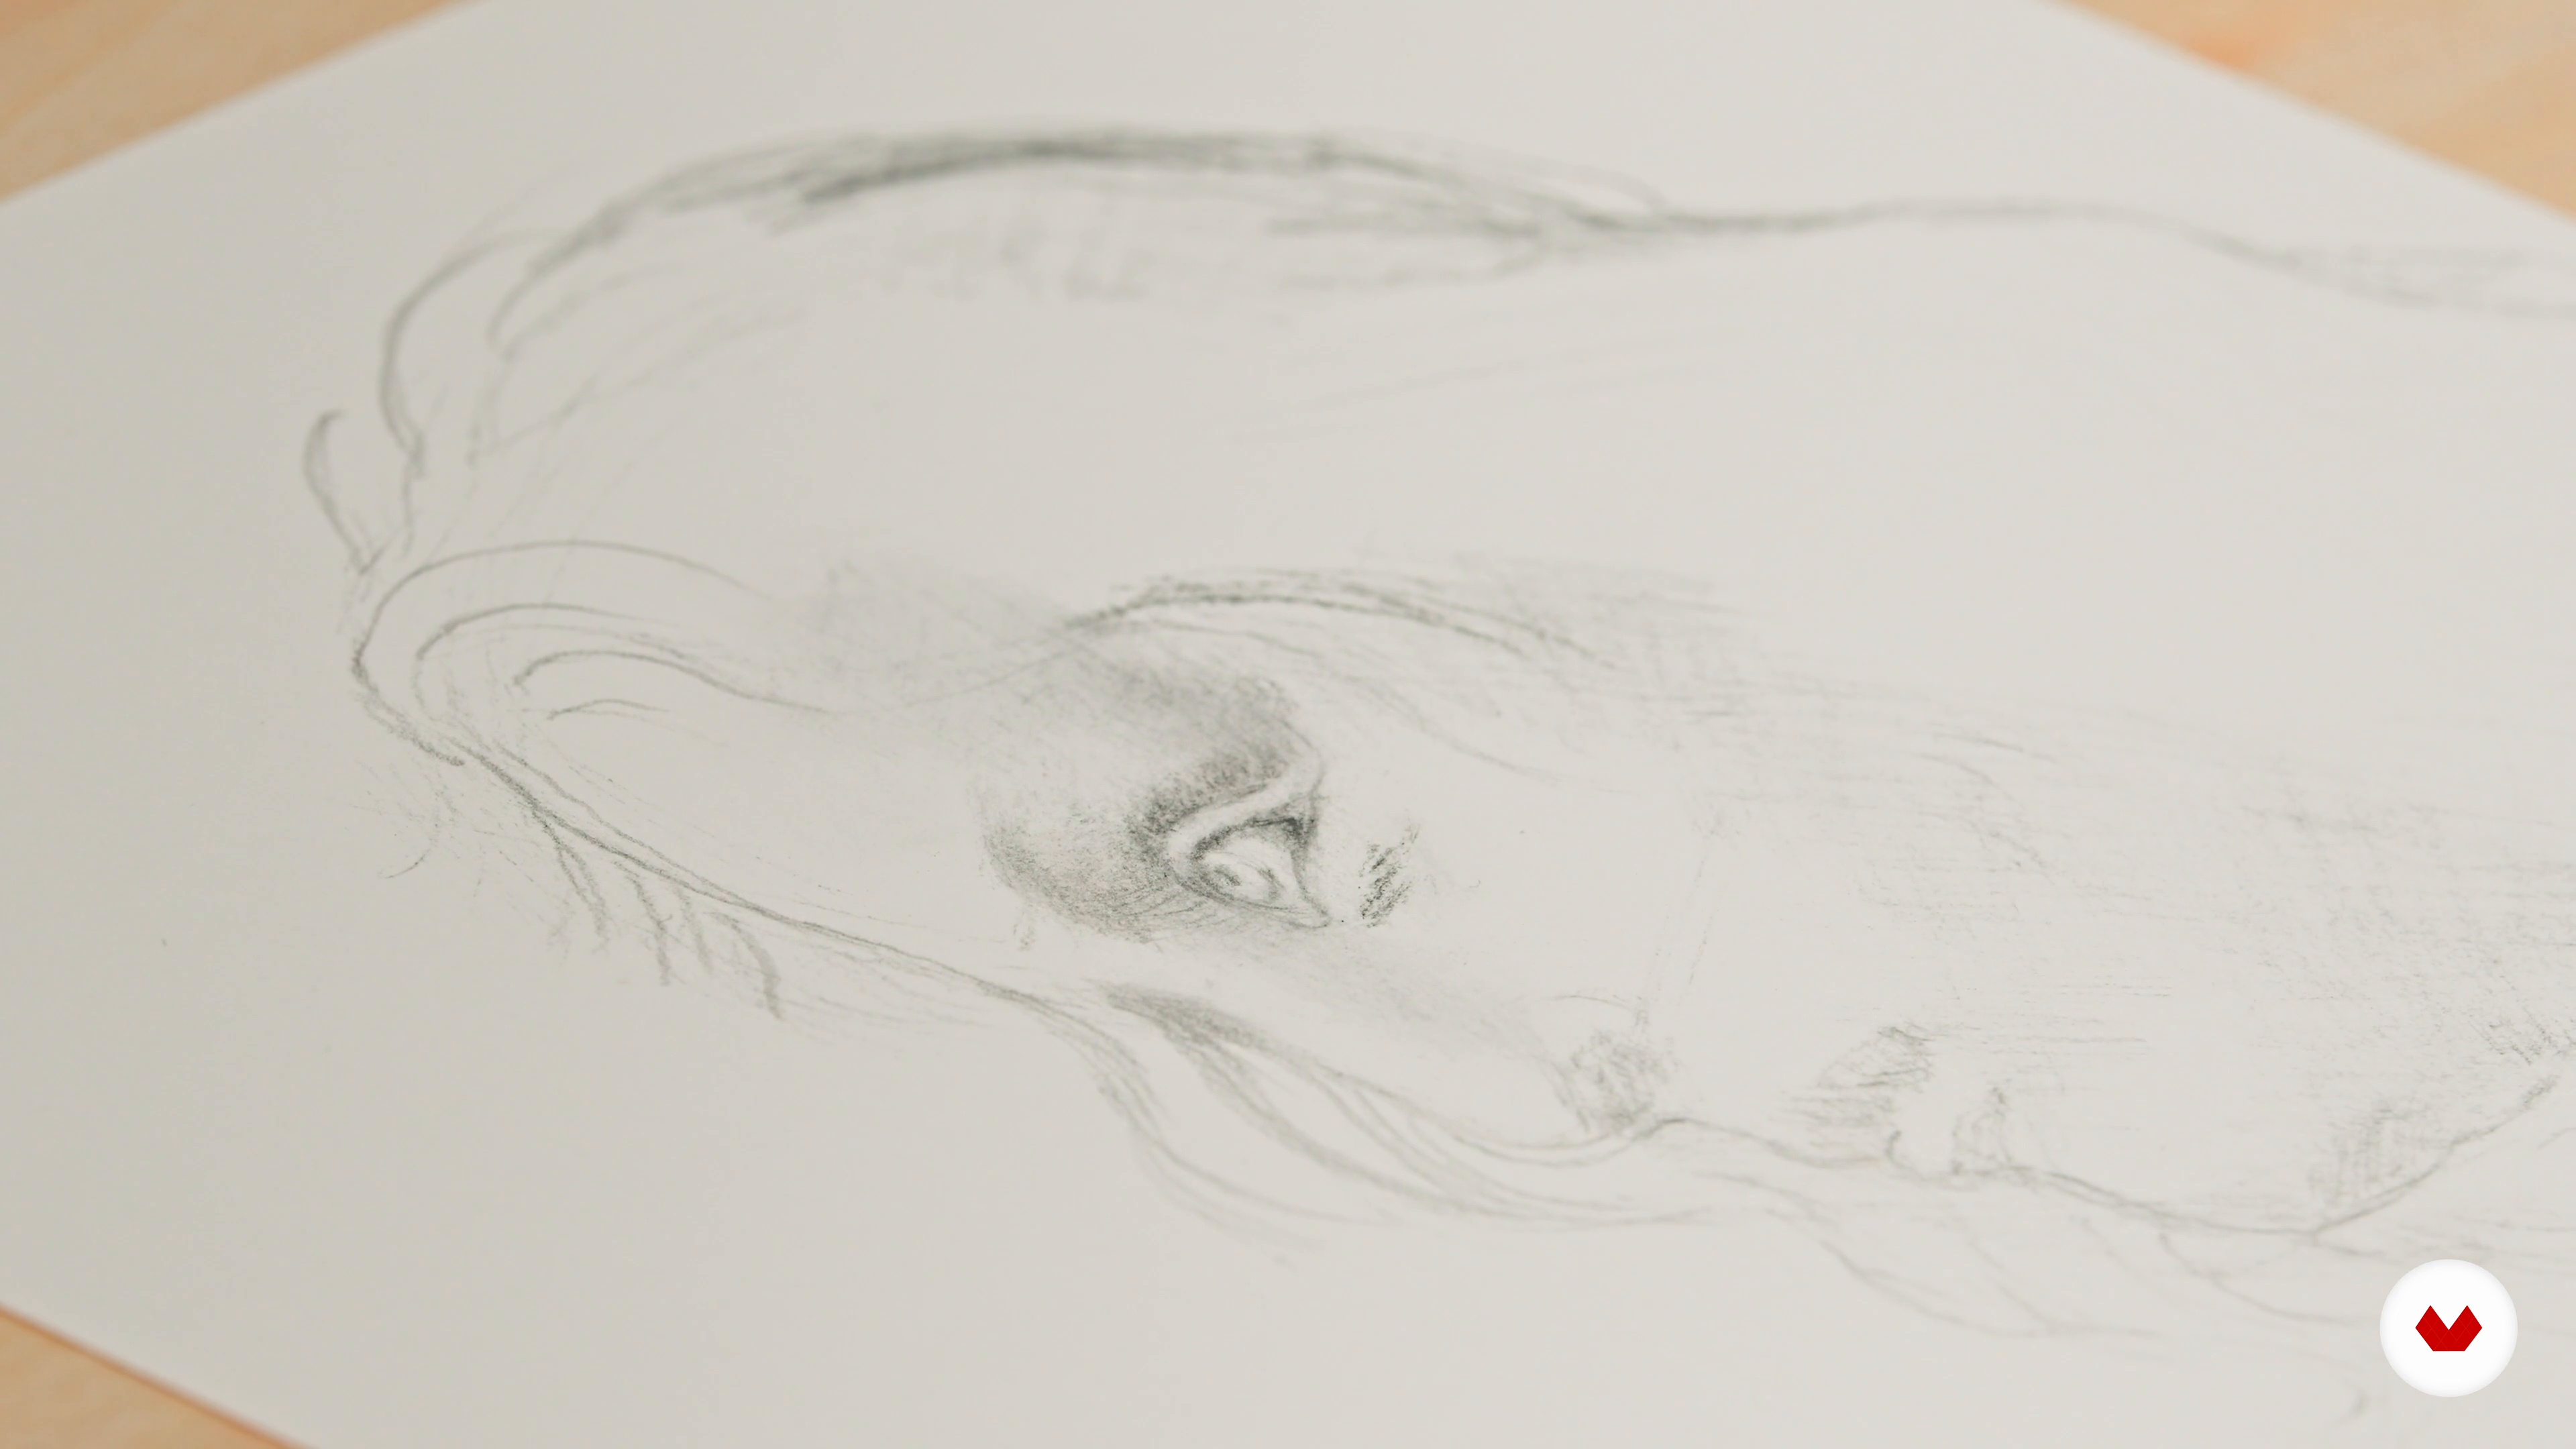
Chiaroscuro (Black & White) - Practice
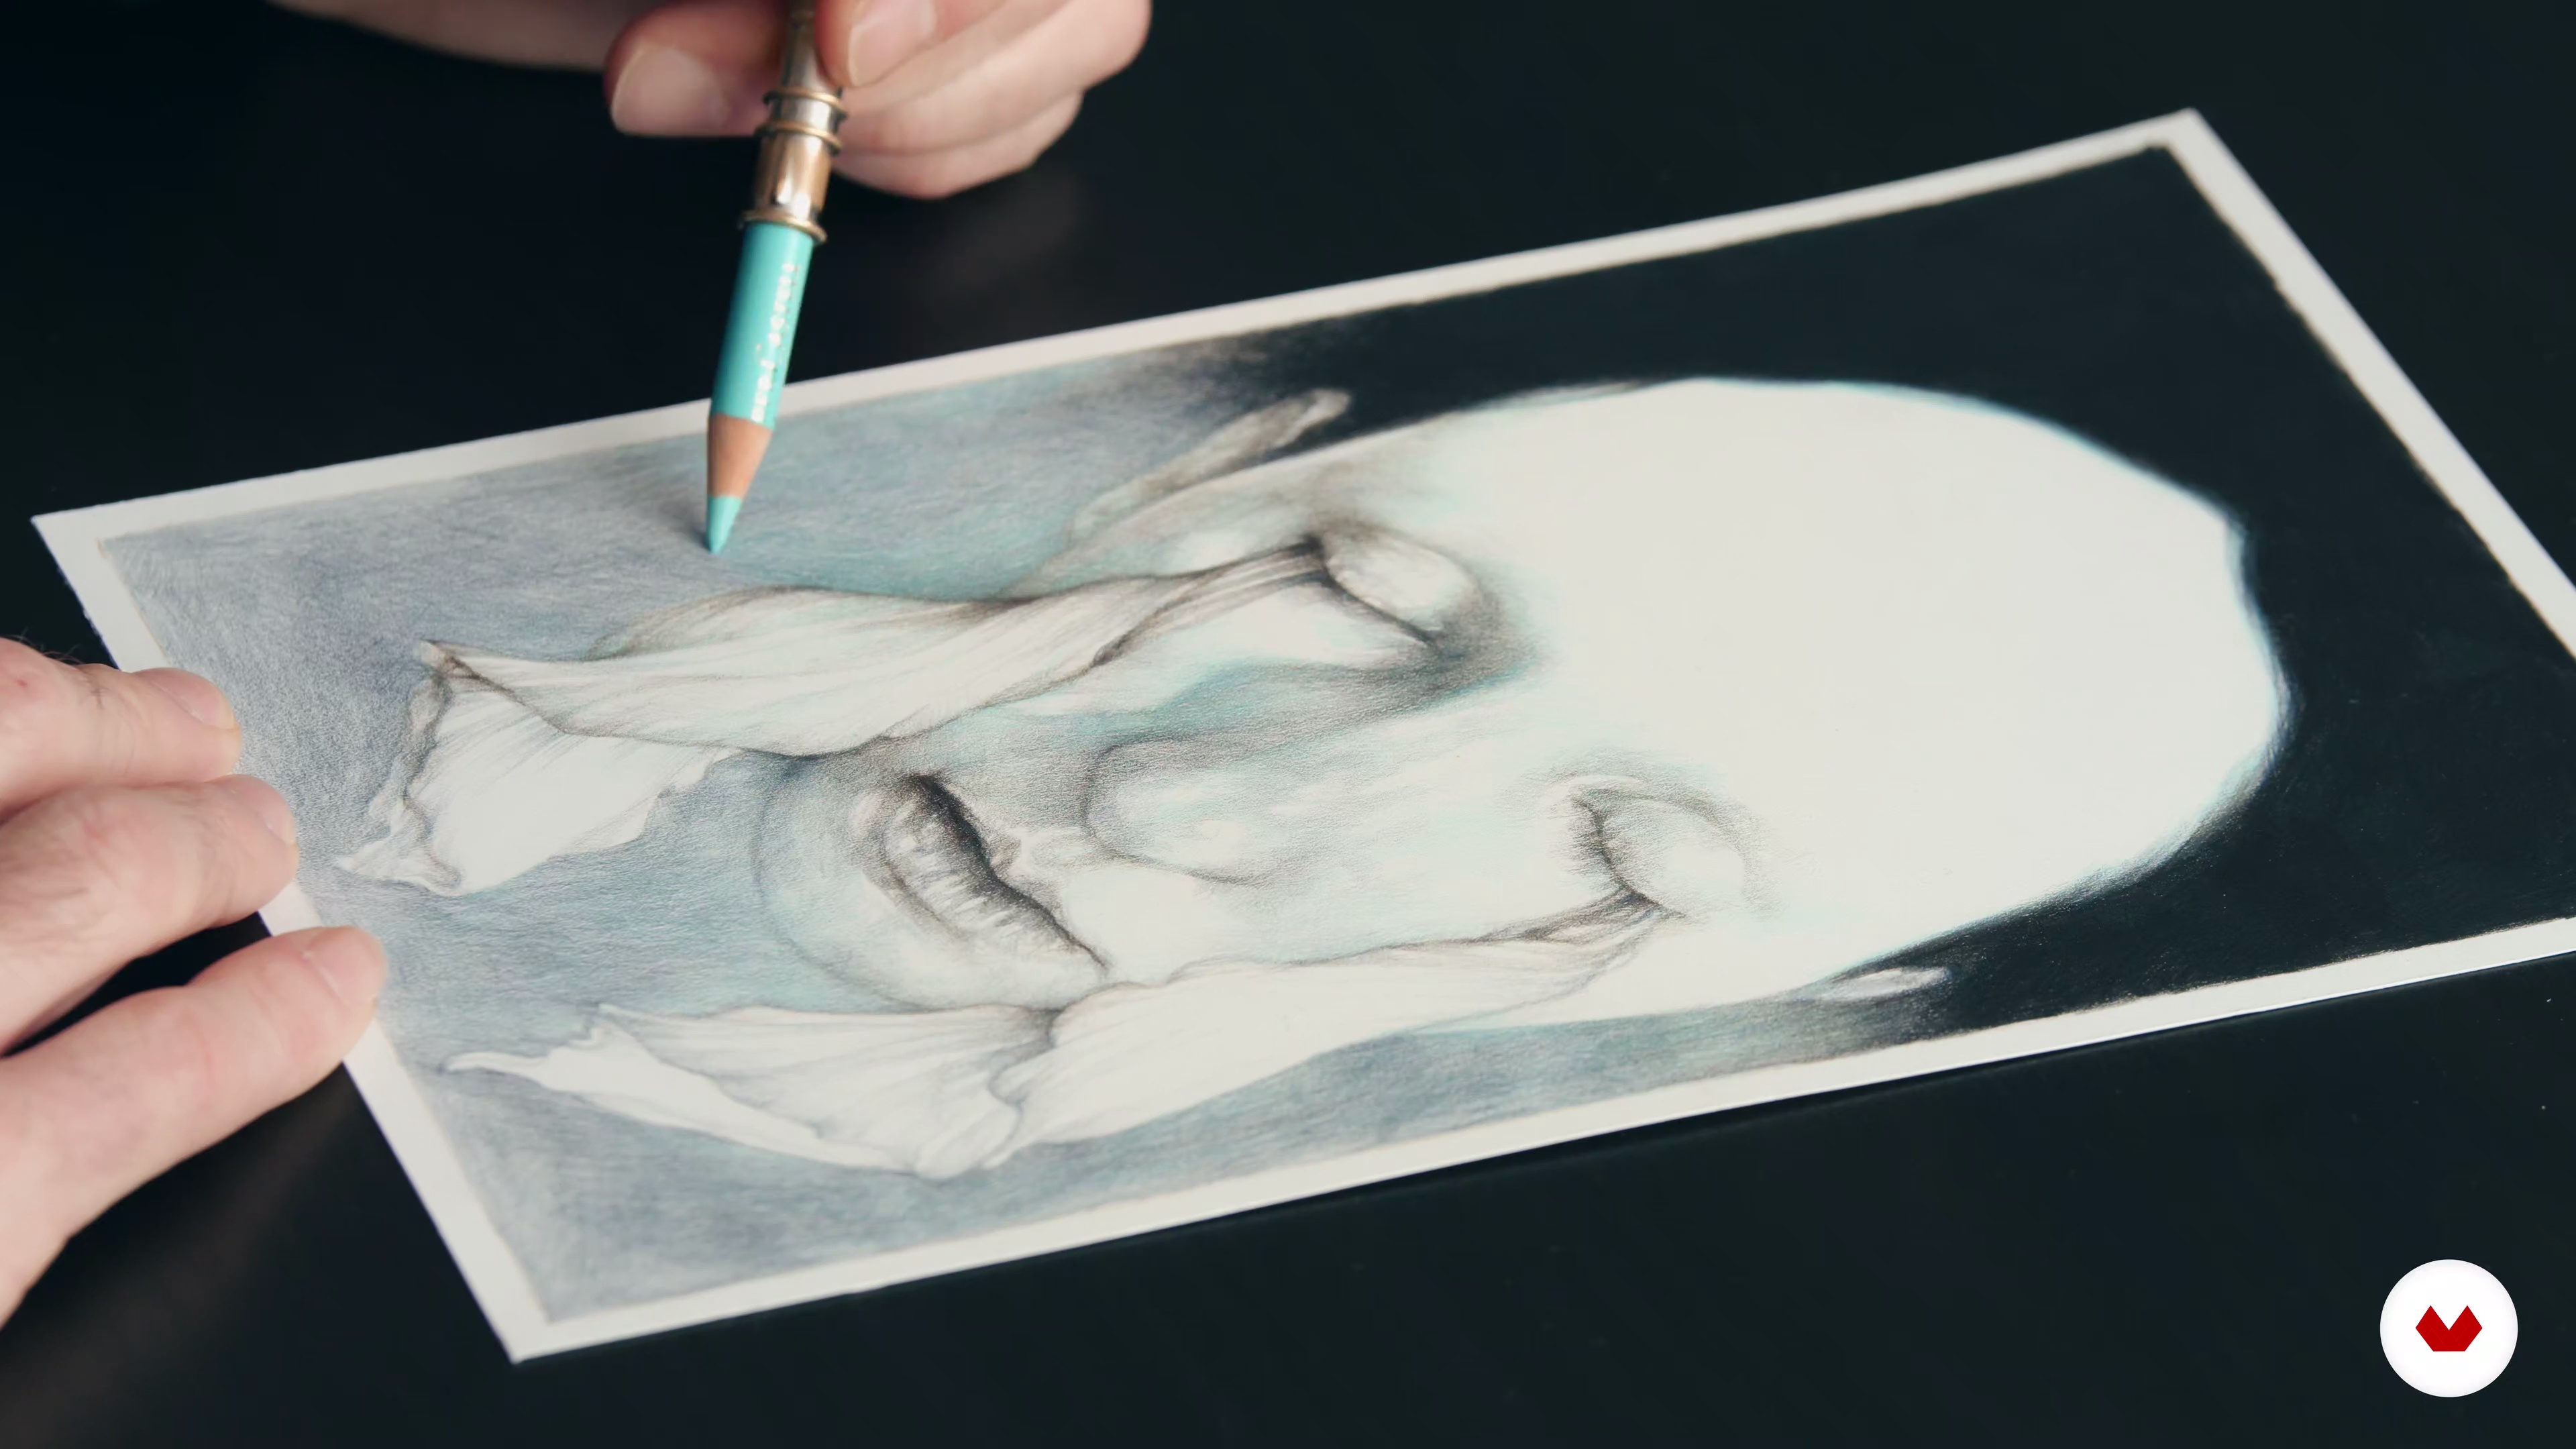
In this lesson I will start drawing with Chiaroscuro. I will show you some tricks to improve the effects on the face.
7m
image
9
Second Colour Base
In this lesson I will explain how the choice of a colour combined with black is useful for the dynamics of the final drawing.
5m
image
10
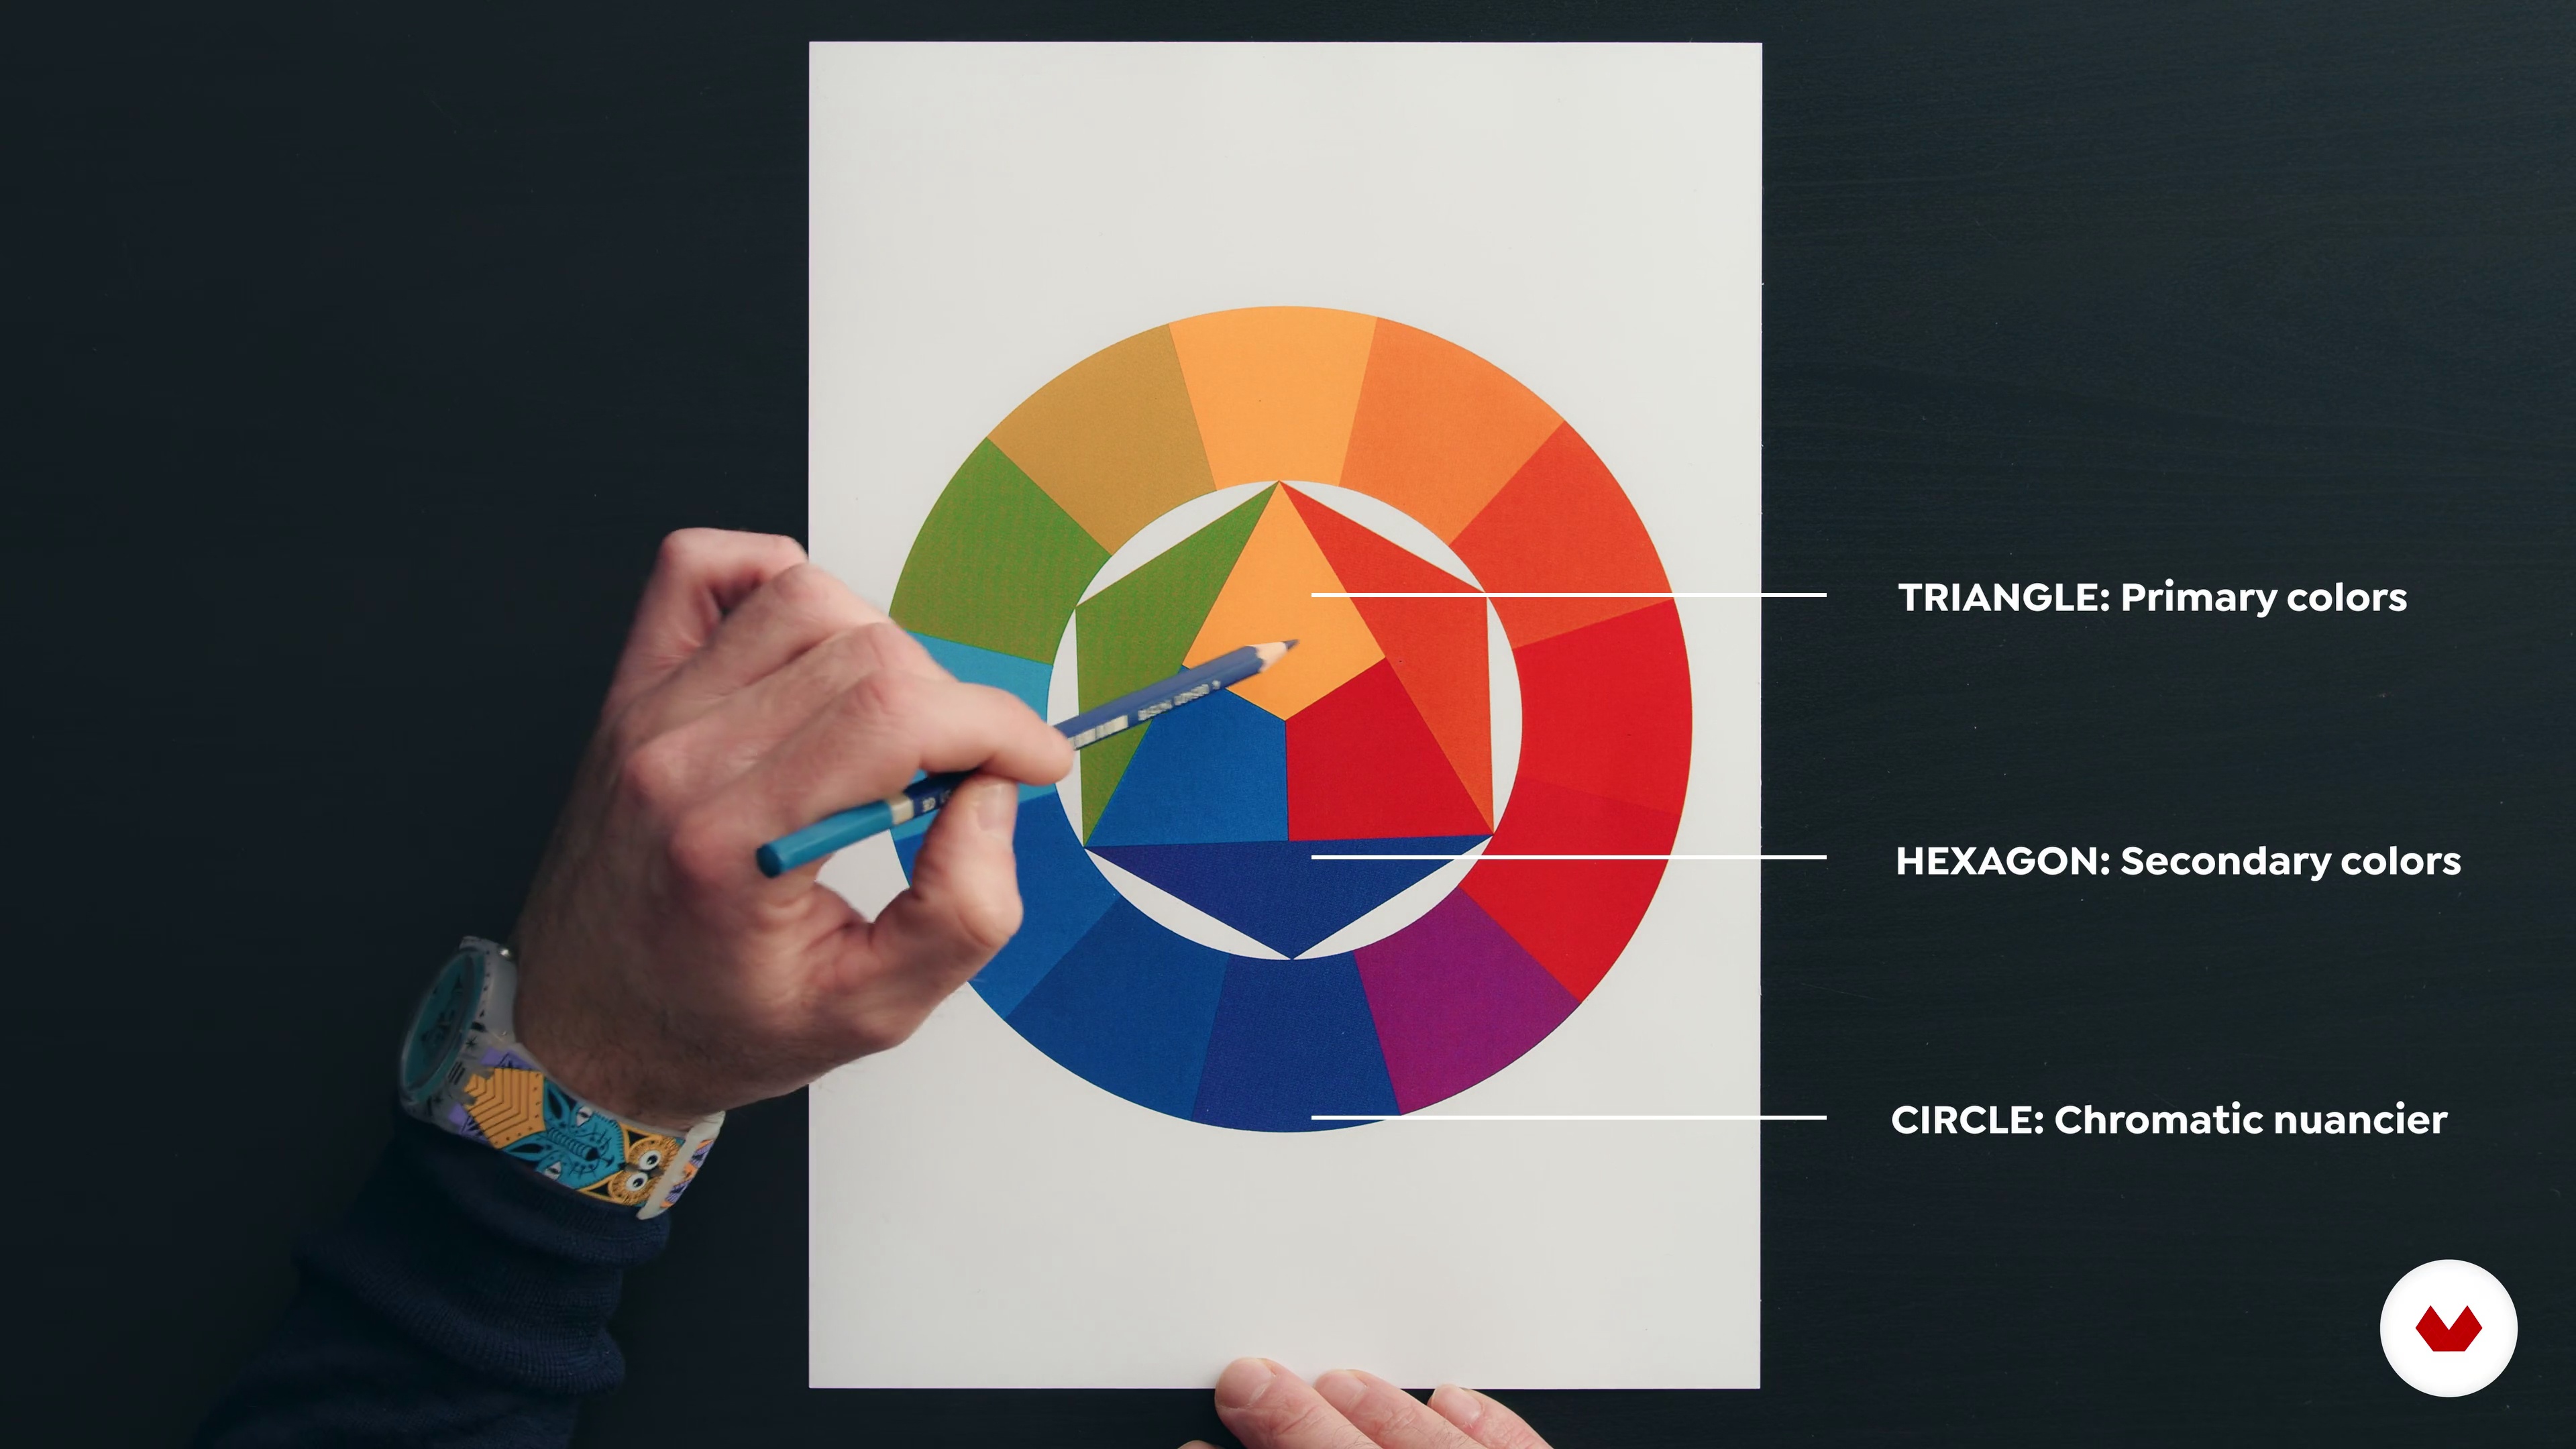
Itten Circle and Optional Choice of Colours
In this lesson I will describe the importance of the Itten circle, an easy way to optimally include colours.
3m
image
11
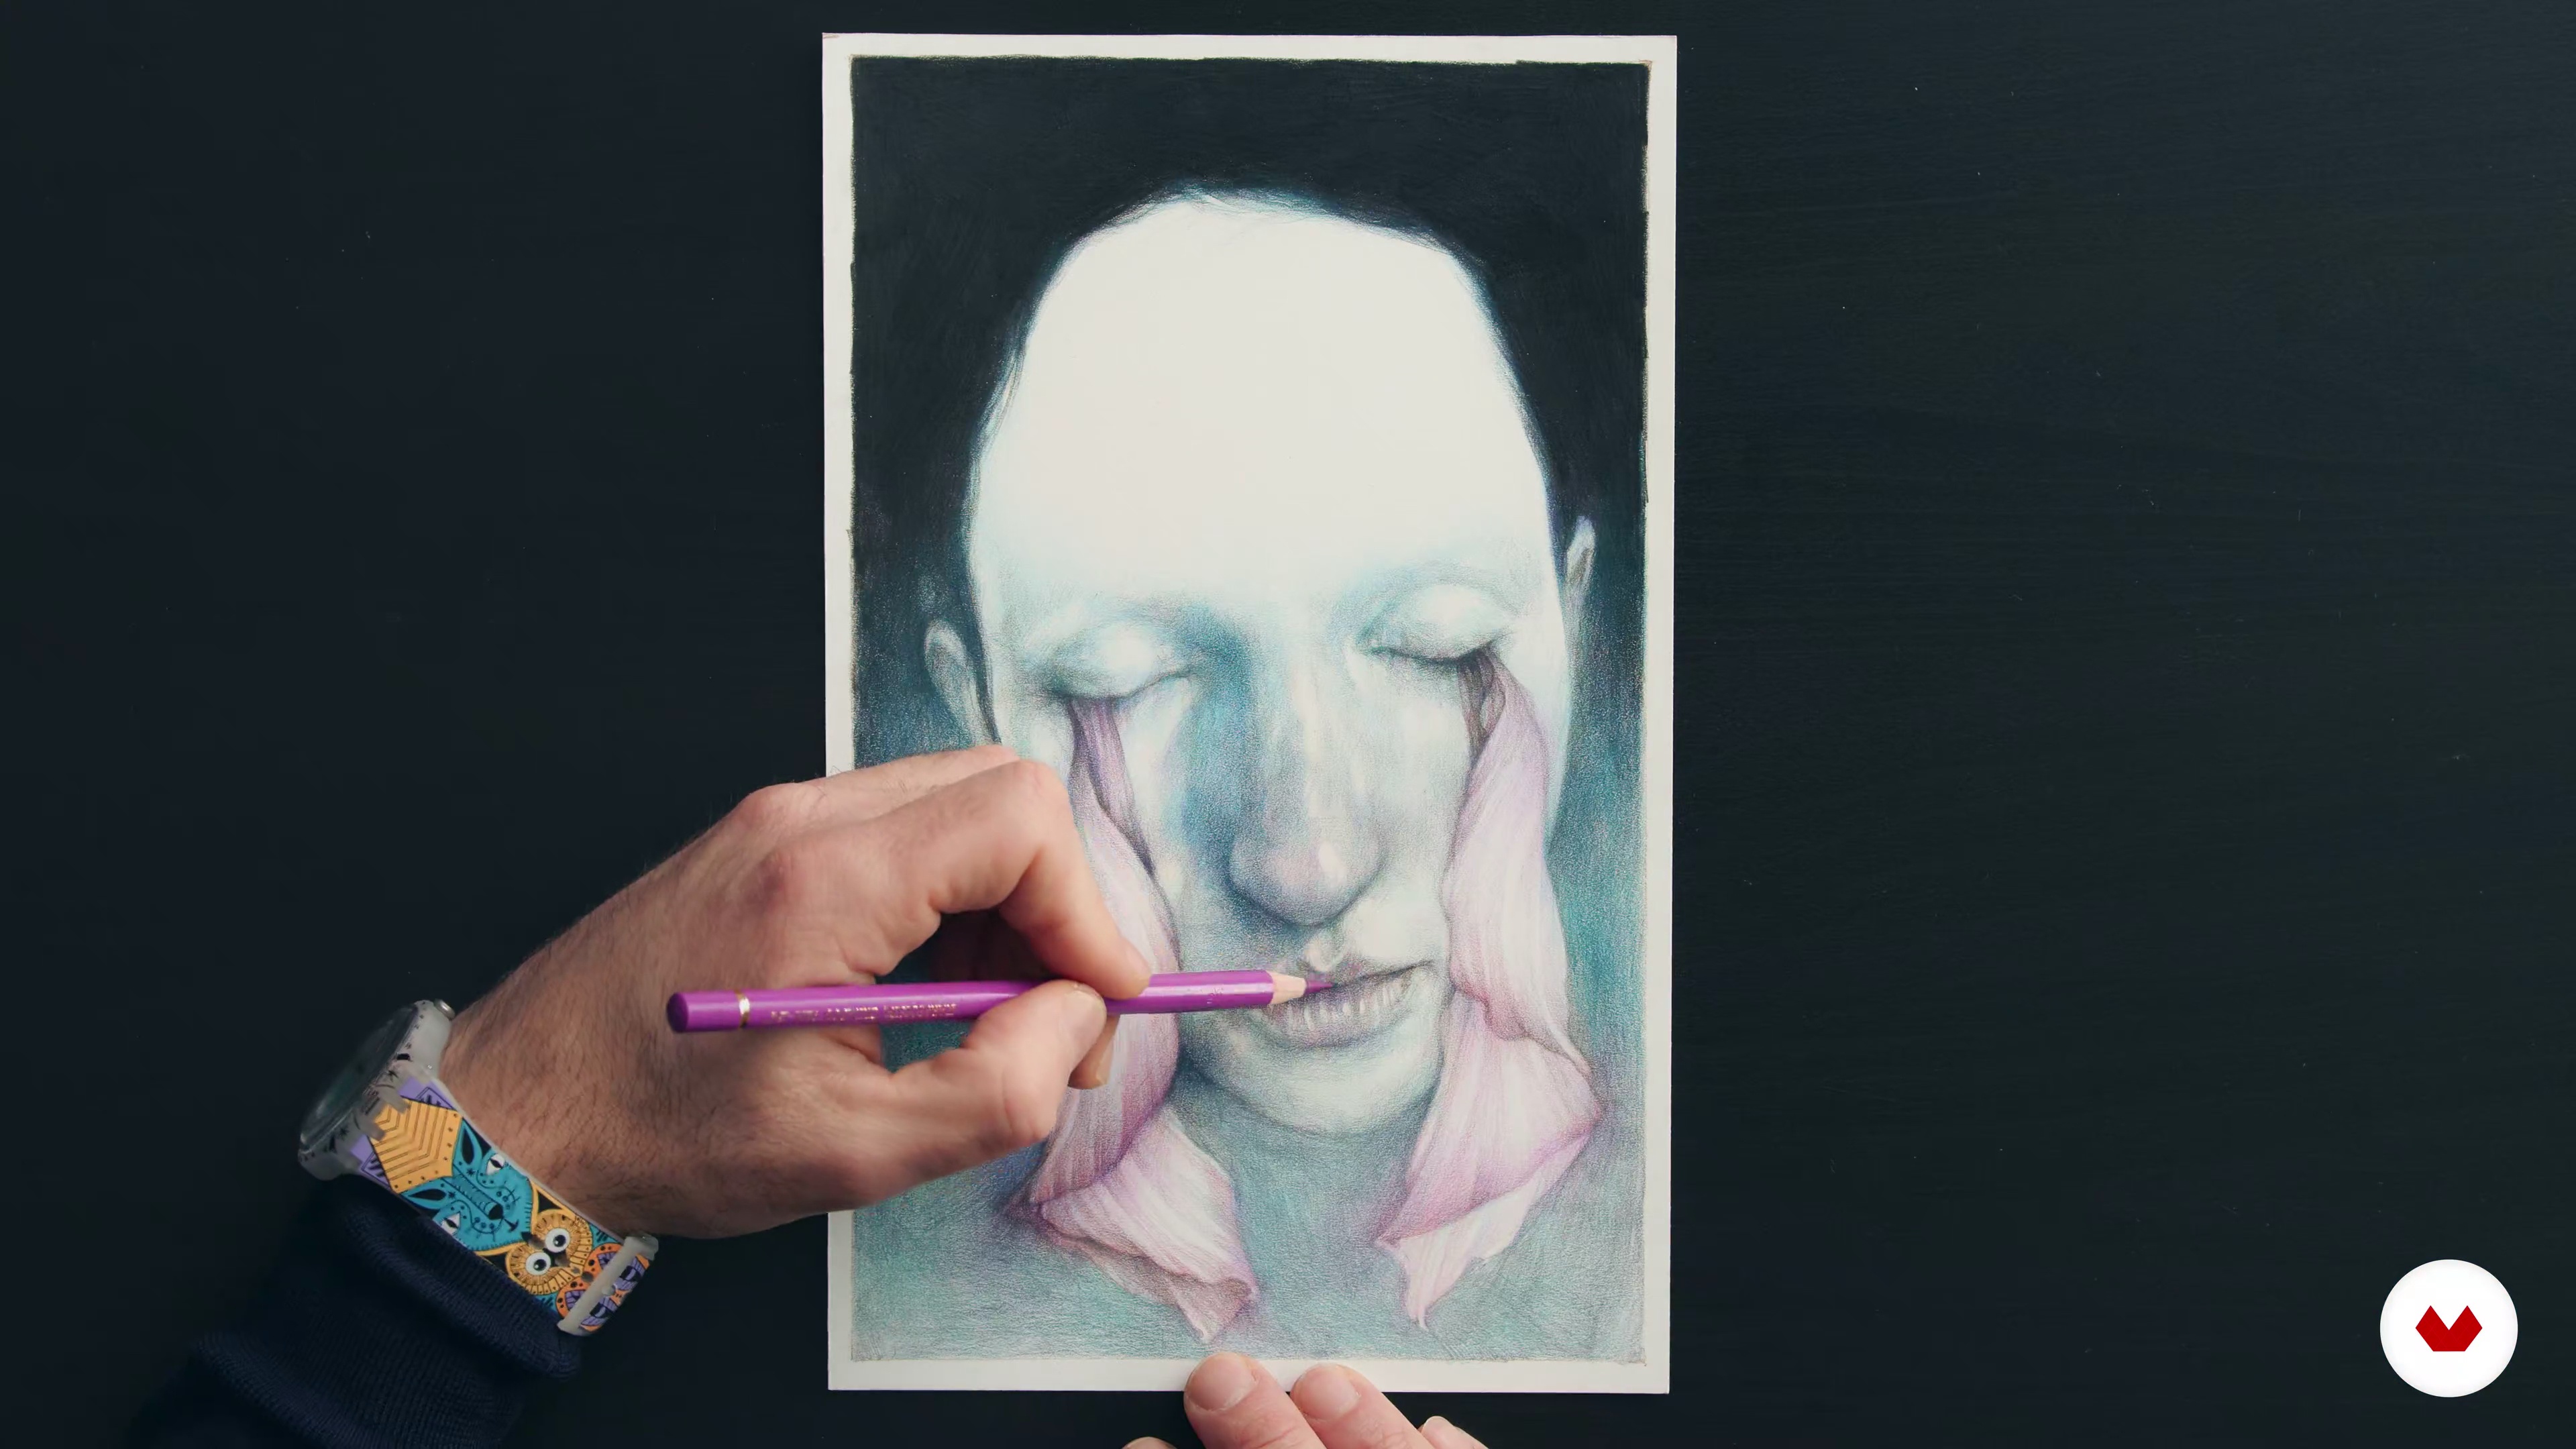
Applying First Colour
In this lesson I'm going to show you how we must decide which colour we want most to be noticed. It is important because it creates a general feeling and gives the idea of a filter.
5m
image
12
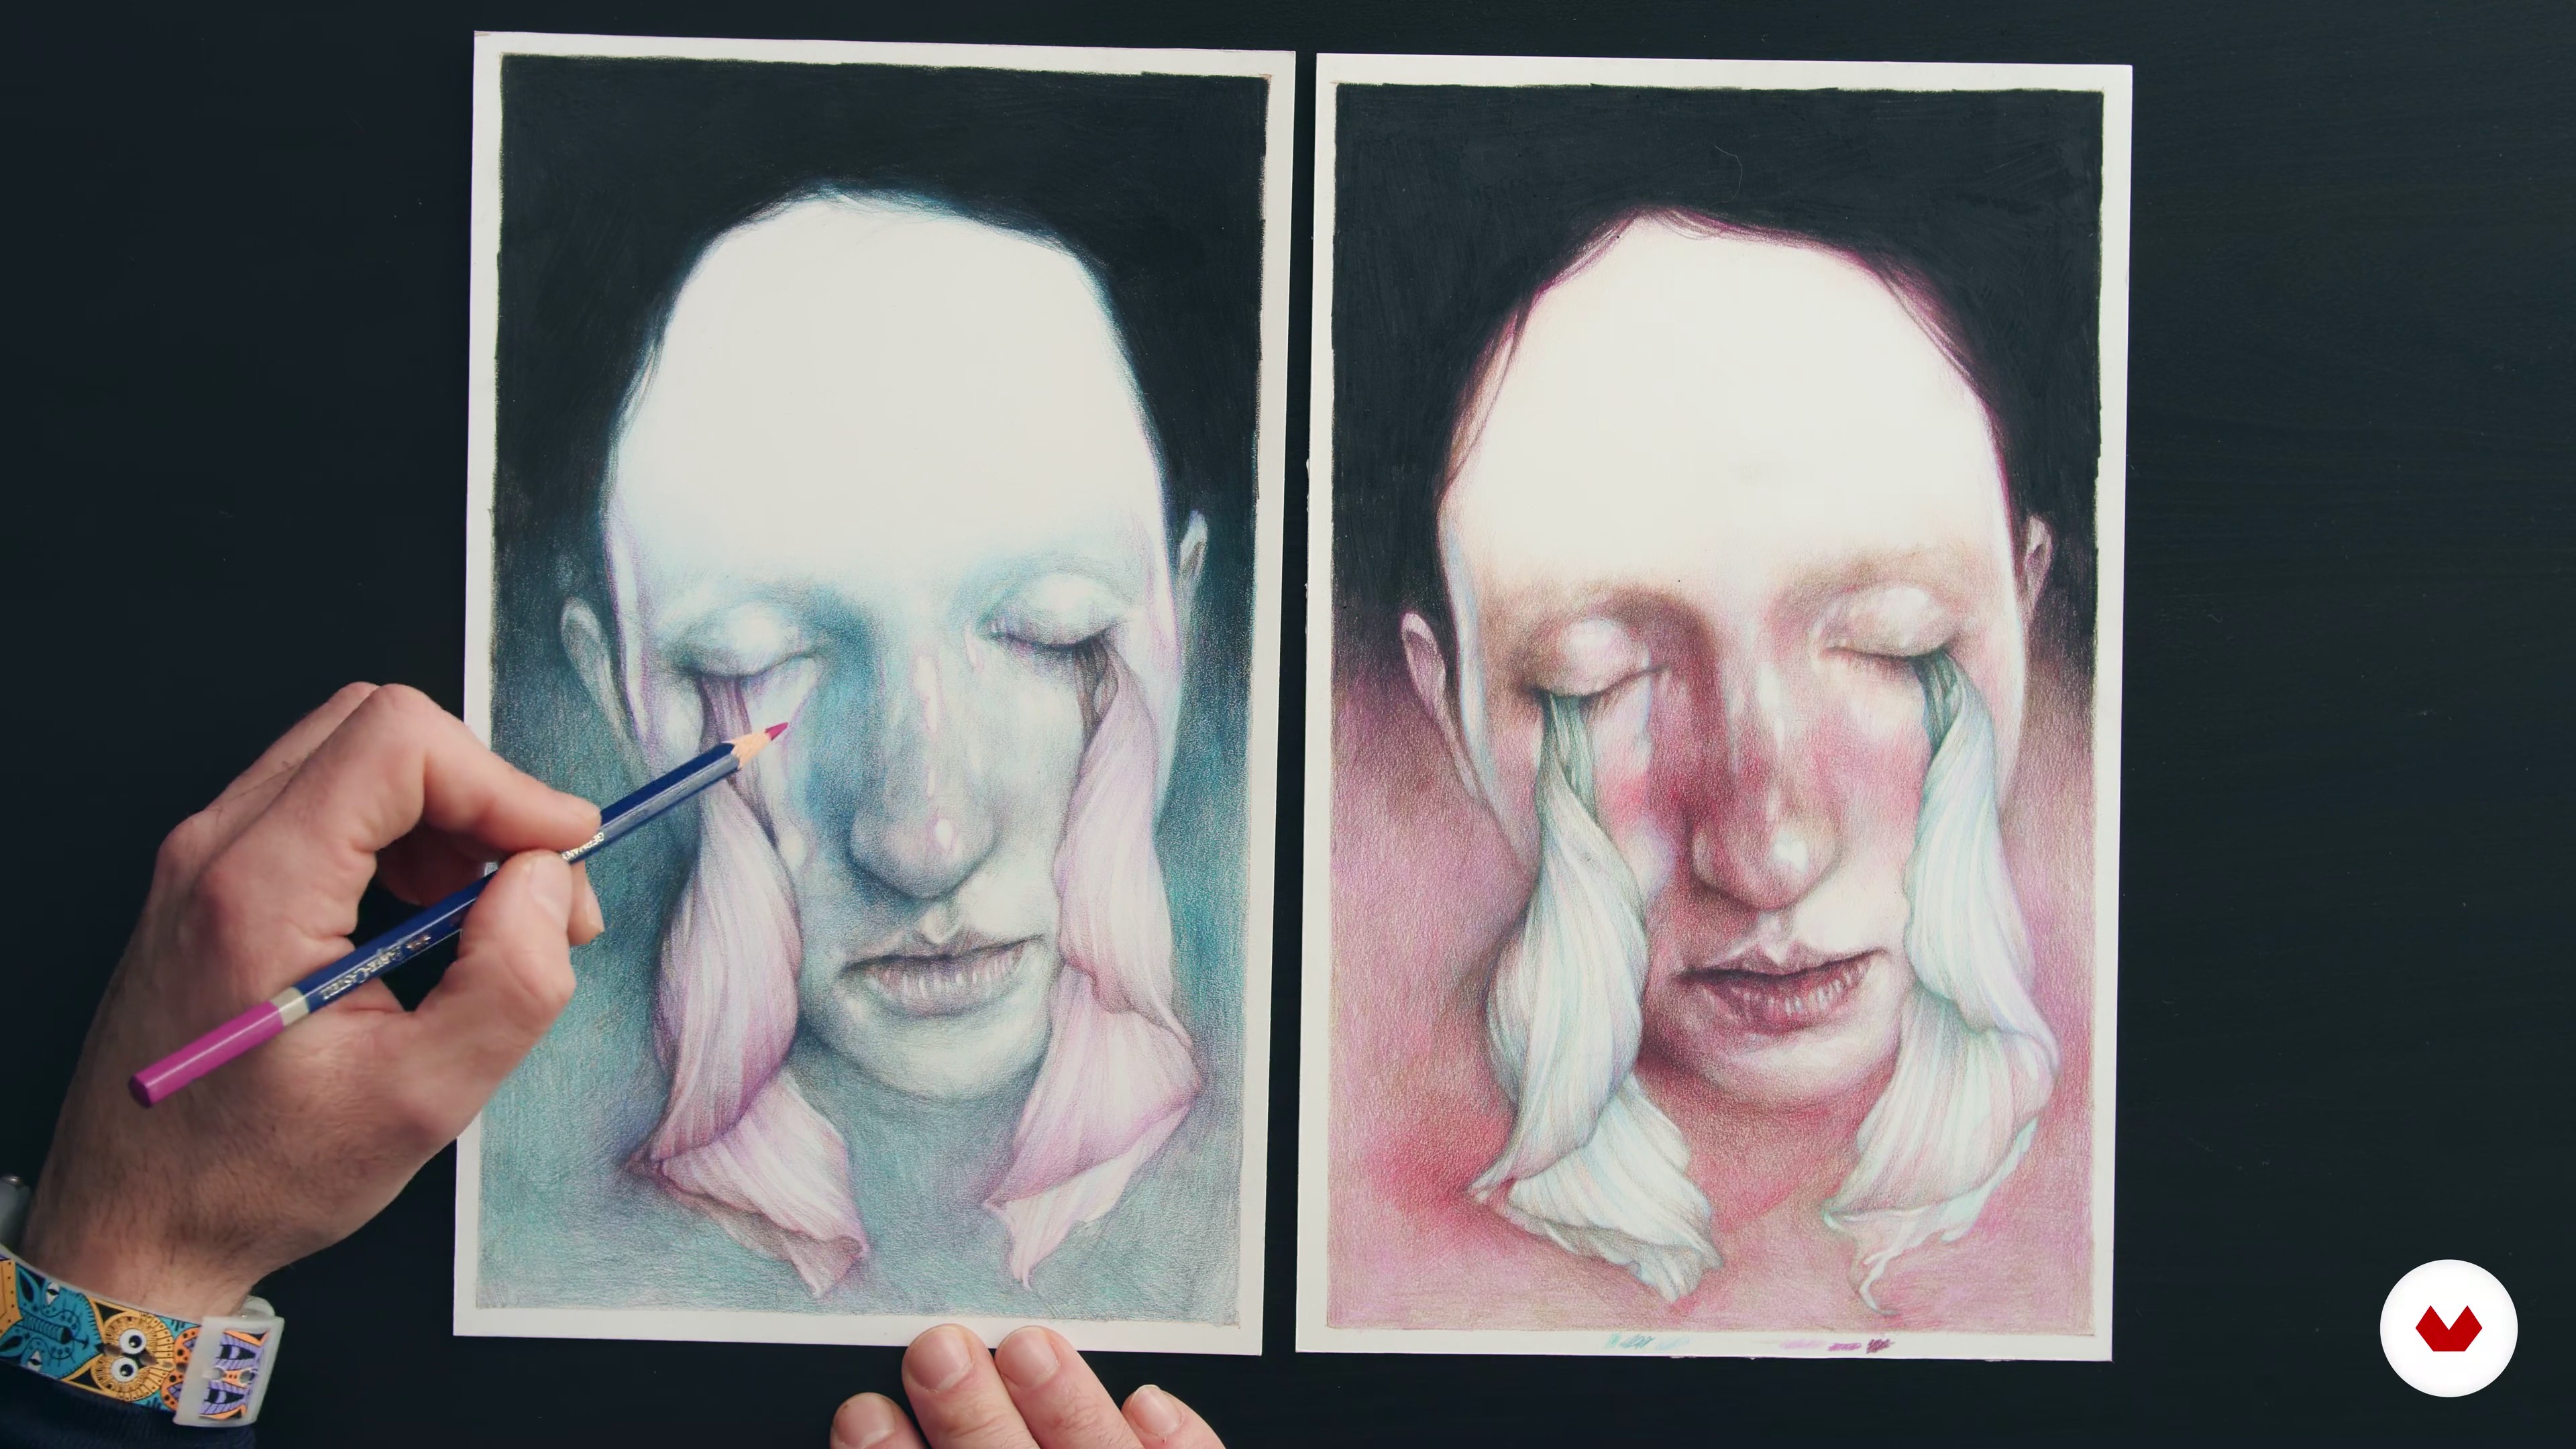
Applying Second Colour
In this lesson I will show you how to choose a second colour in order to get what elements will the observer see the first.
5m
image
13
Applying Finishing Touches
In this lesson I will show you some tips for making the draw even more alive and full of meaning.
5m
image
3
Introduction to Materials
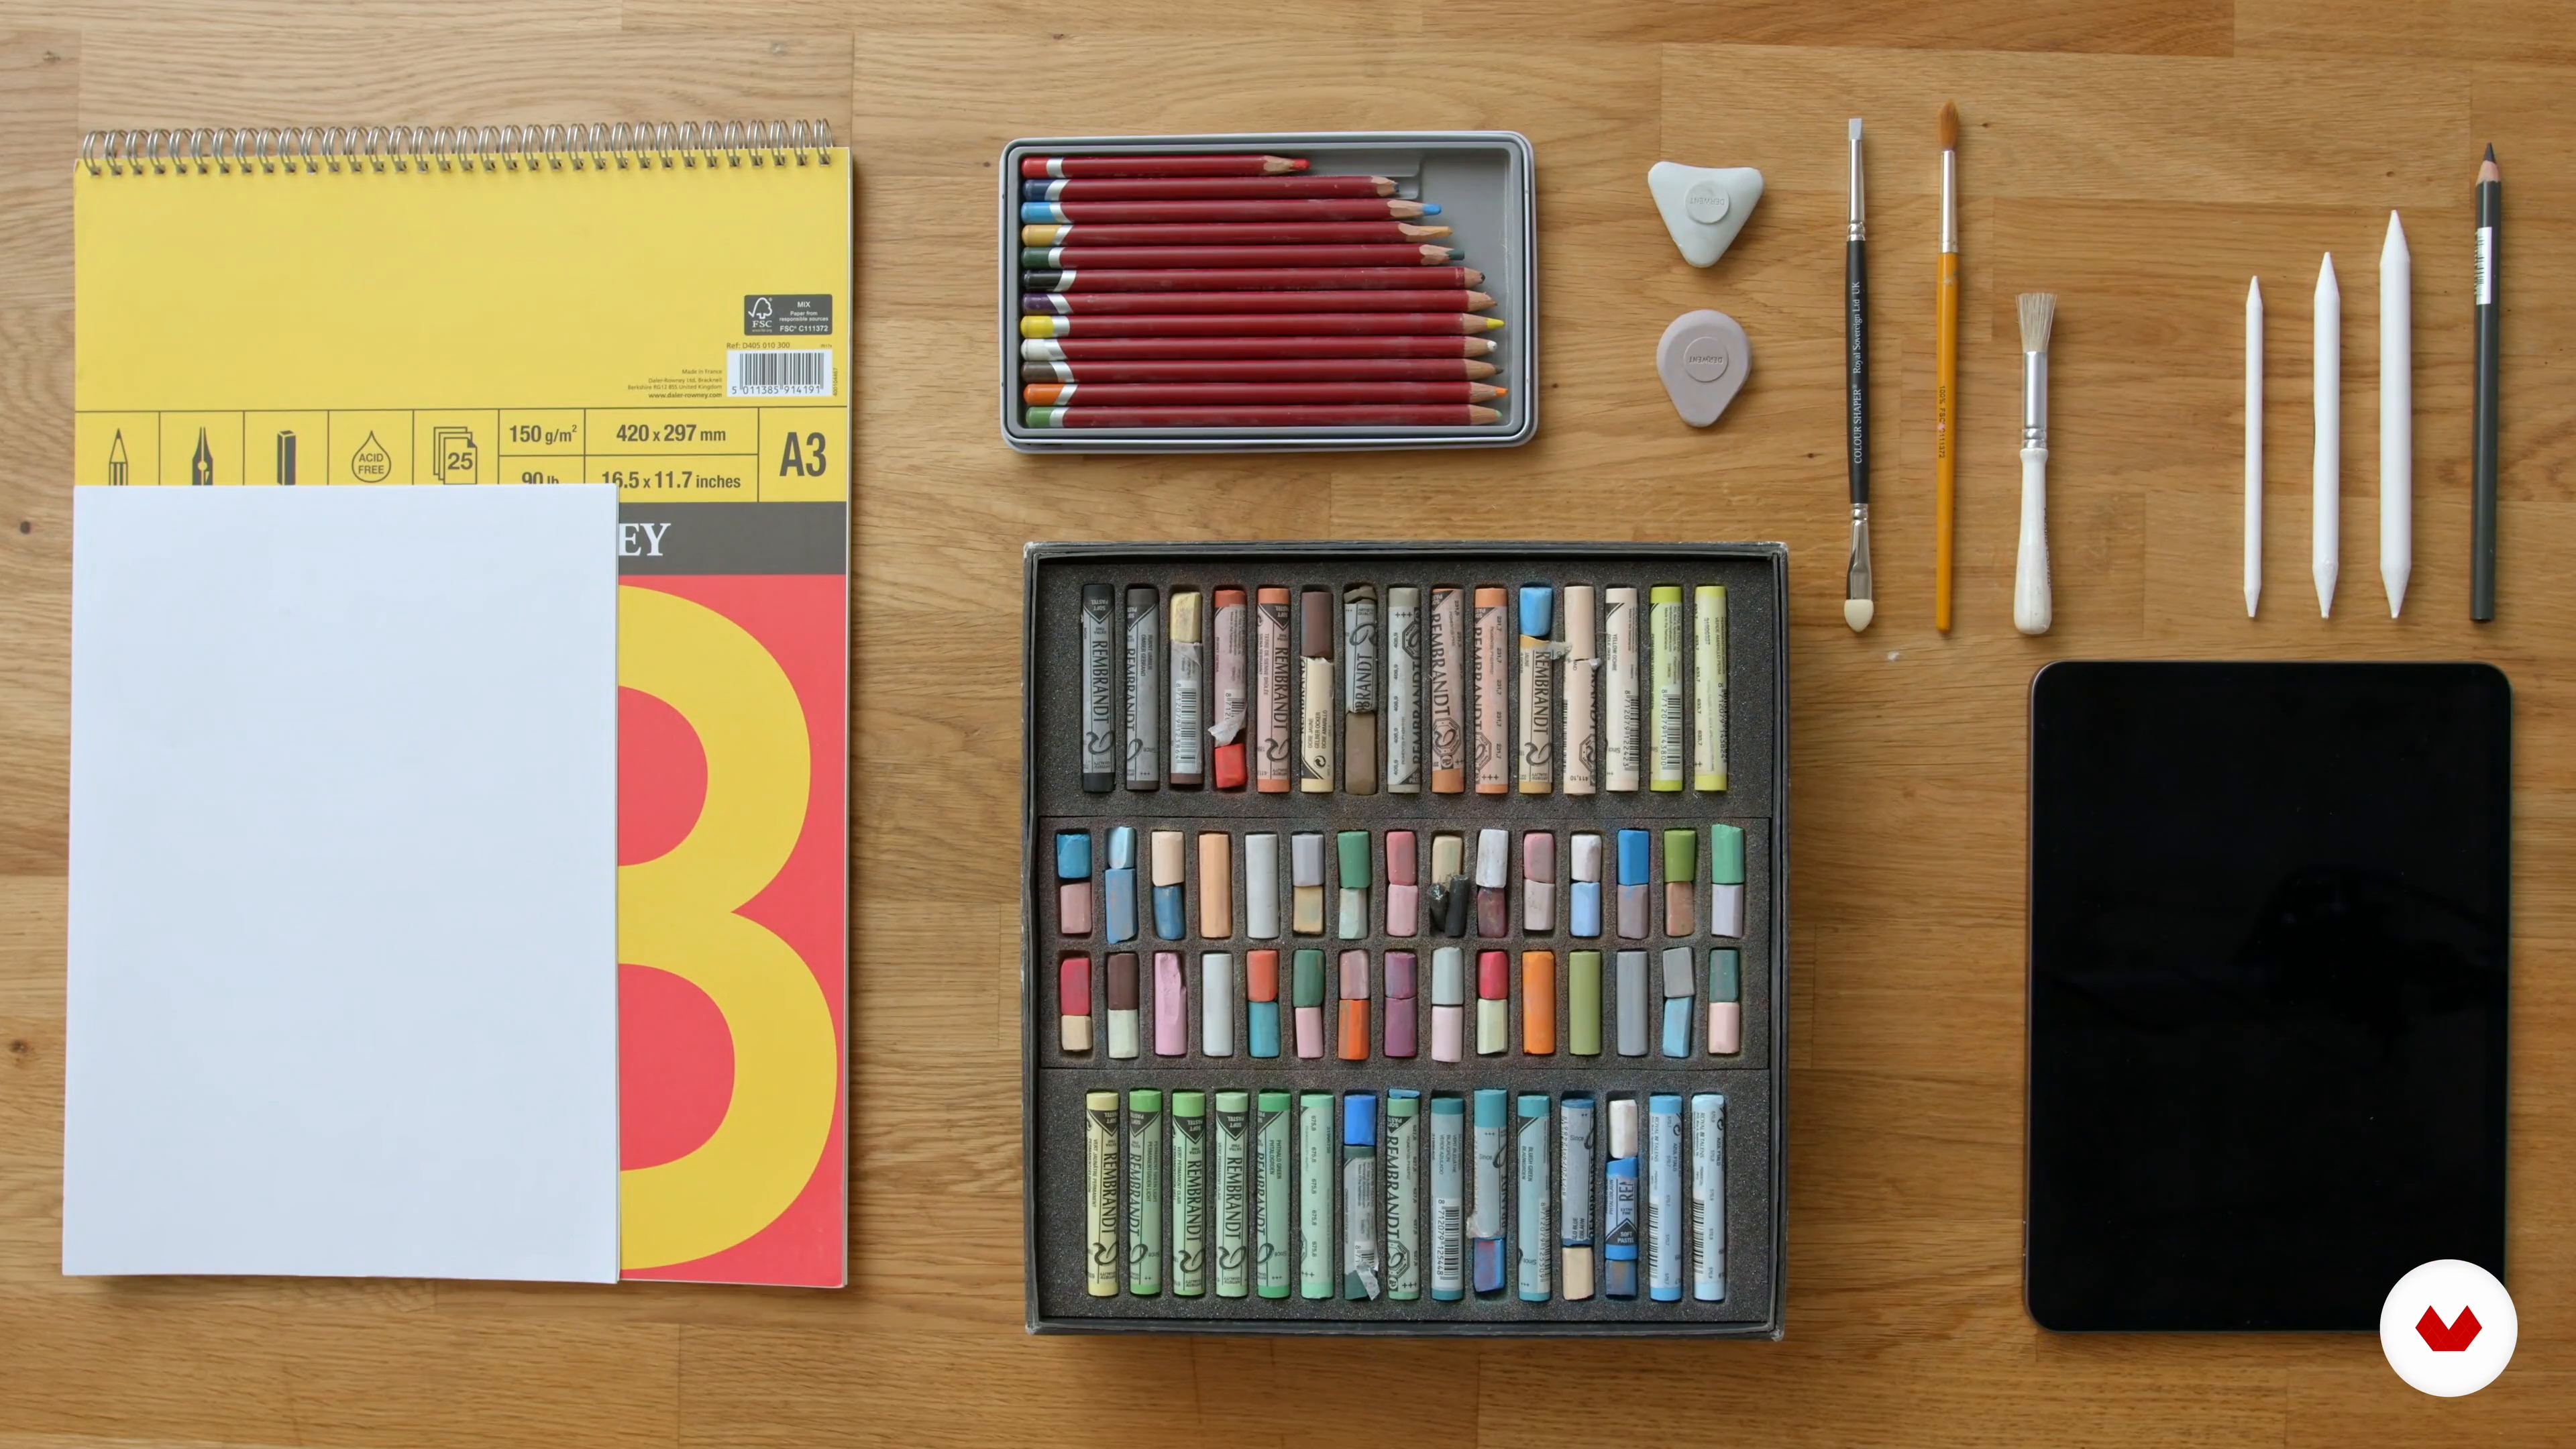
In this lesson I’ll show you the materials we’ll be using.
11m
image
4
The Importance of Keeping a Sketchbook
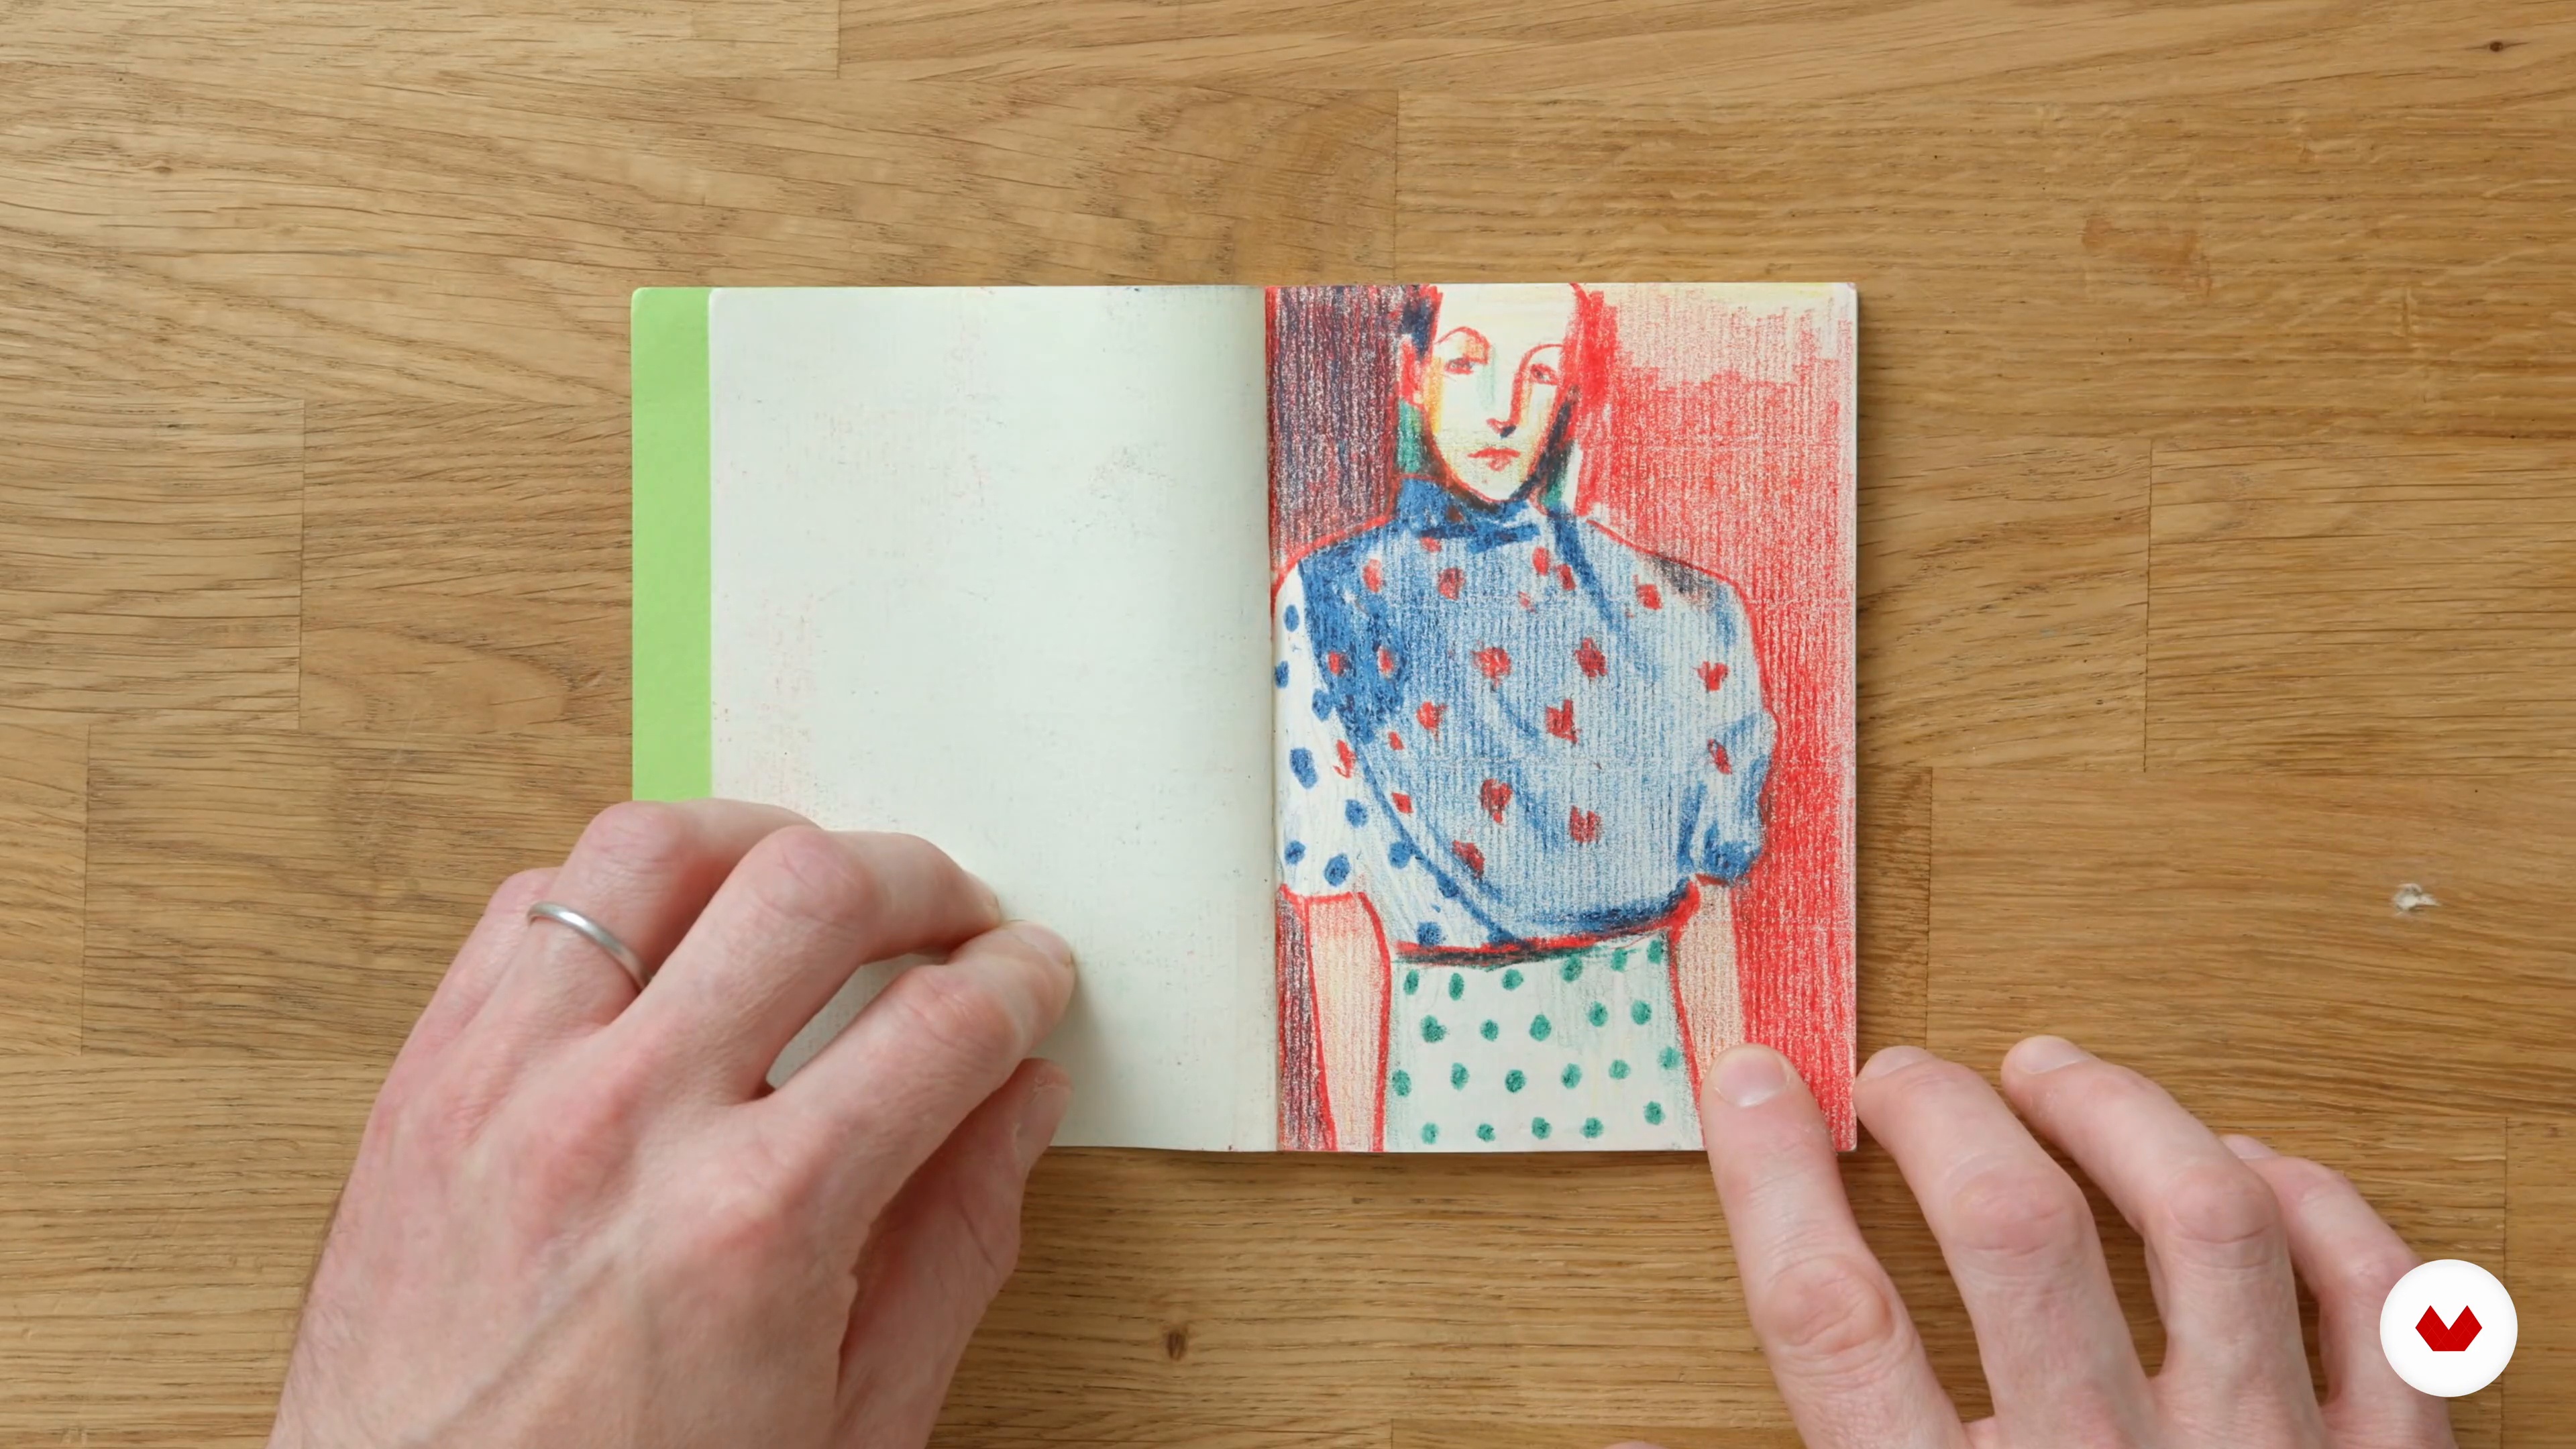
In this lesson we’ll look at the value of keeping a sketchbook. A sketchbook is an incredible tool that allows you journal and document your observations whether this be through drawings or even words.
14m
image
5
Mark Making
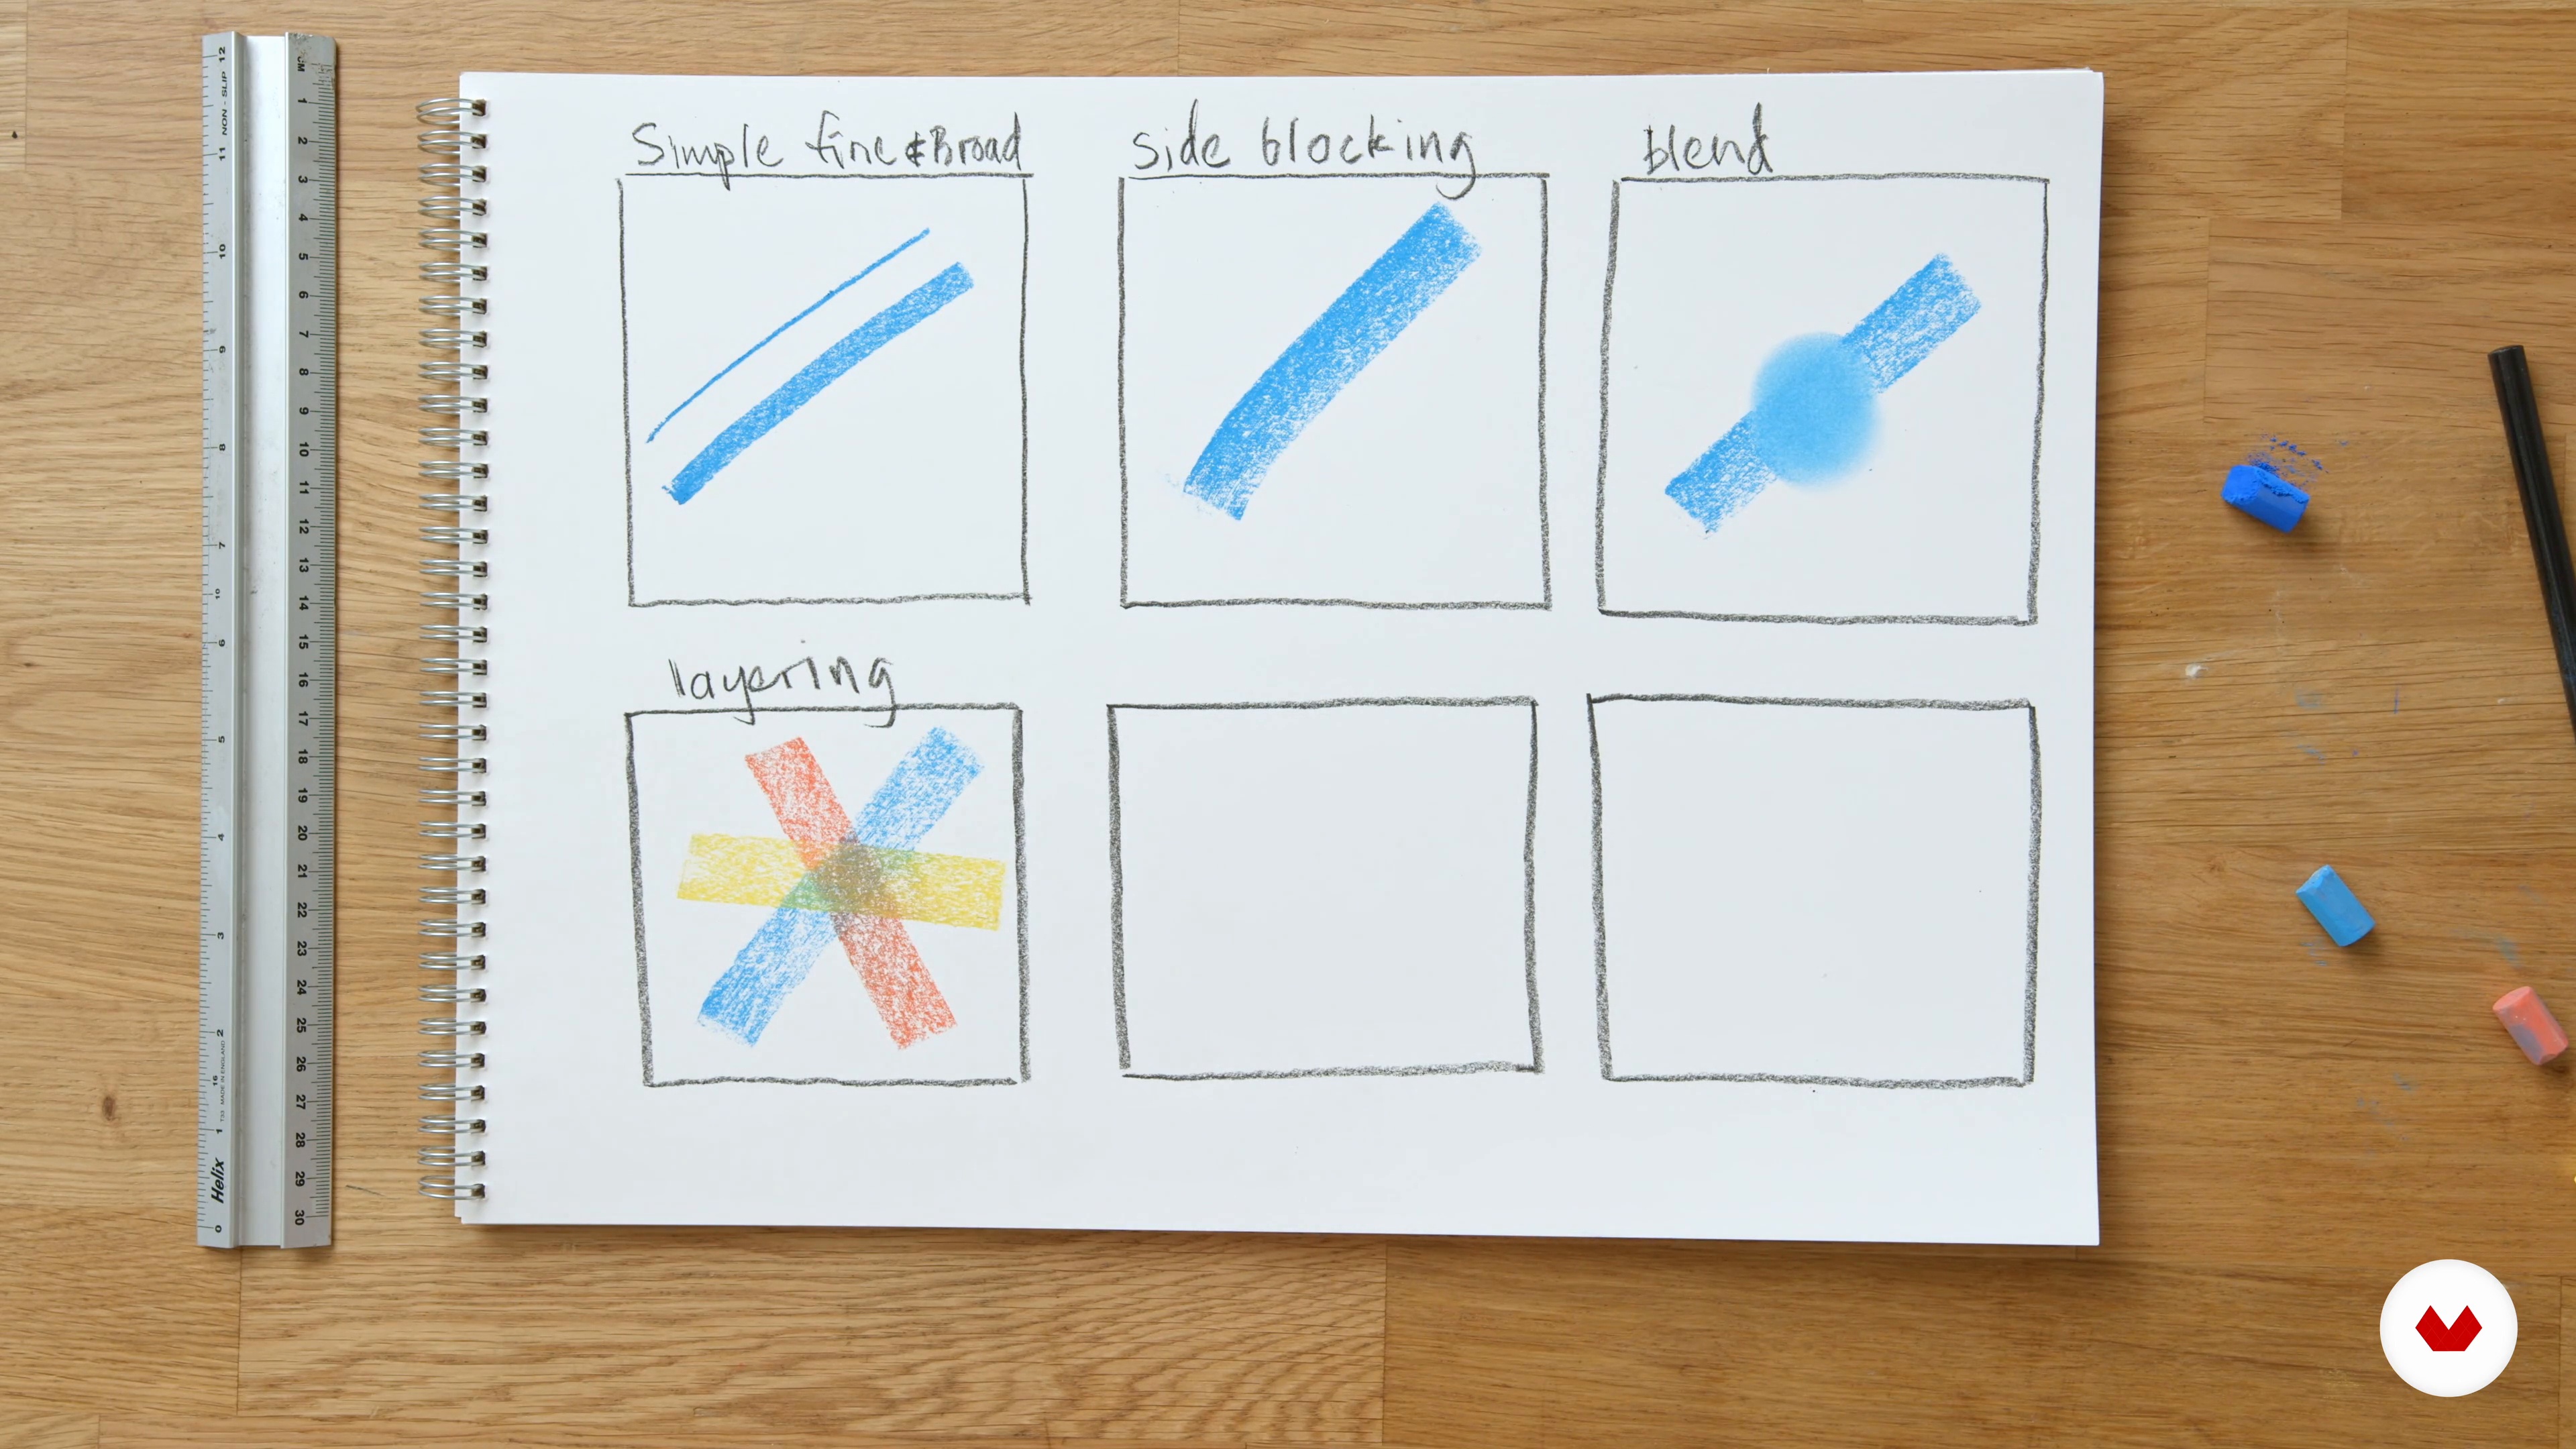
In this lesson we’ll apply some marks to see what the pastels can do. We’ll develop a library of different mark types and learn a bit about manipulating those.
12m
image
6
Colour Study
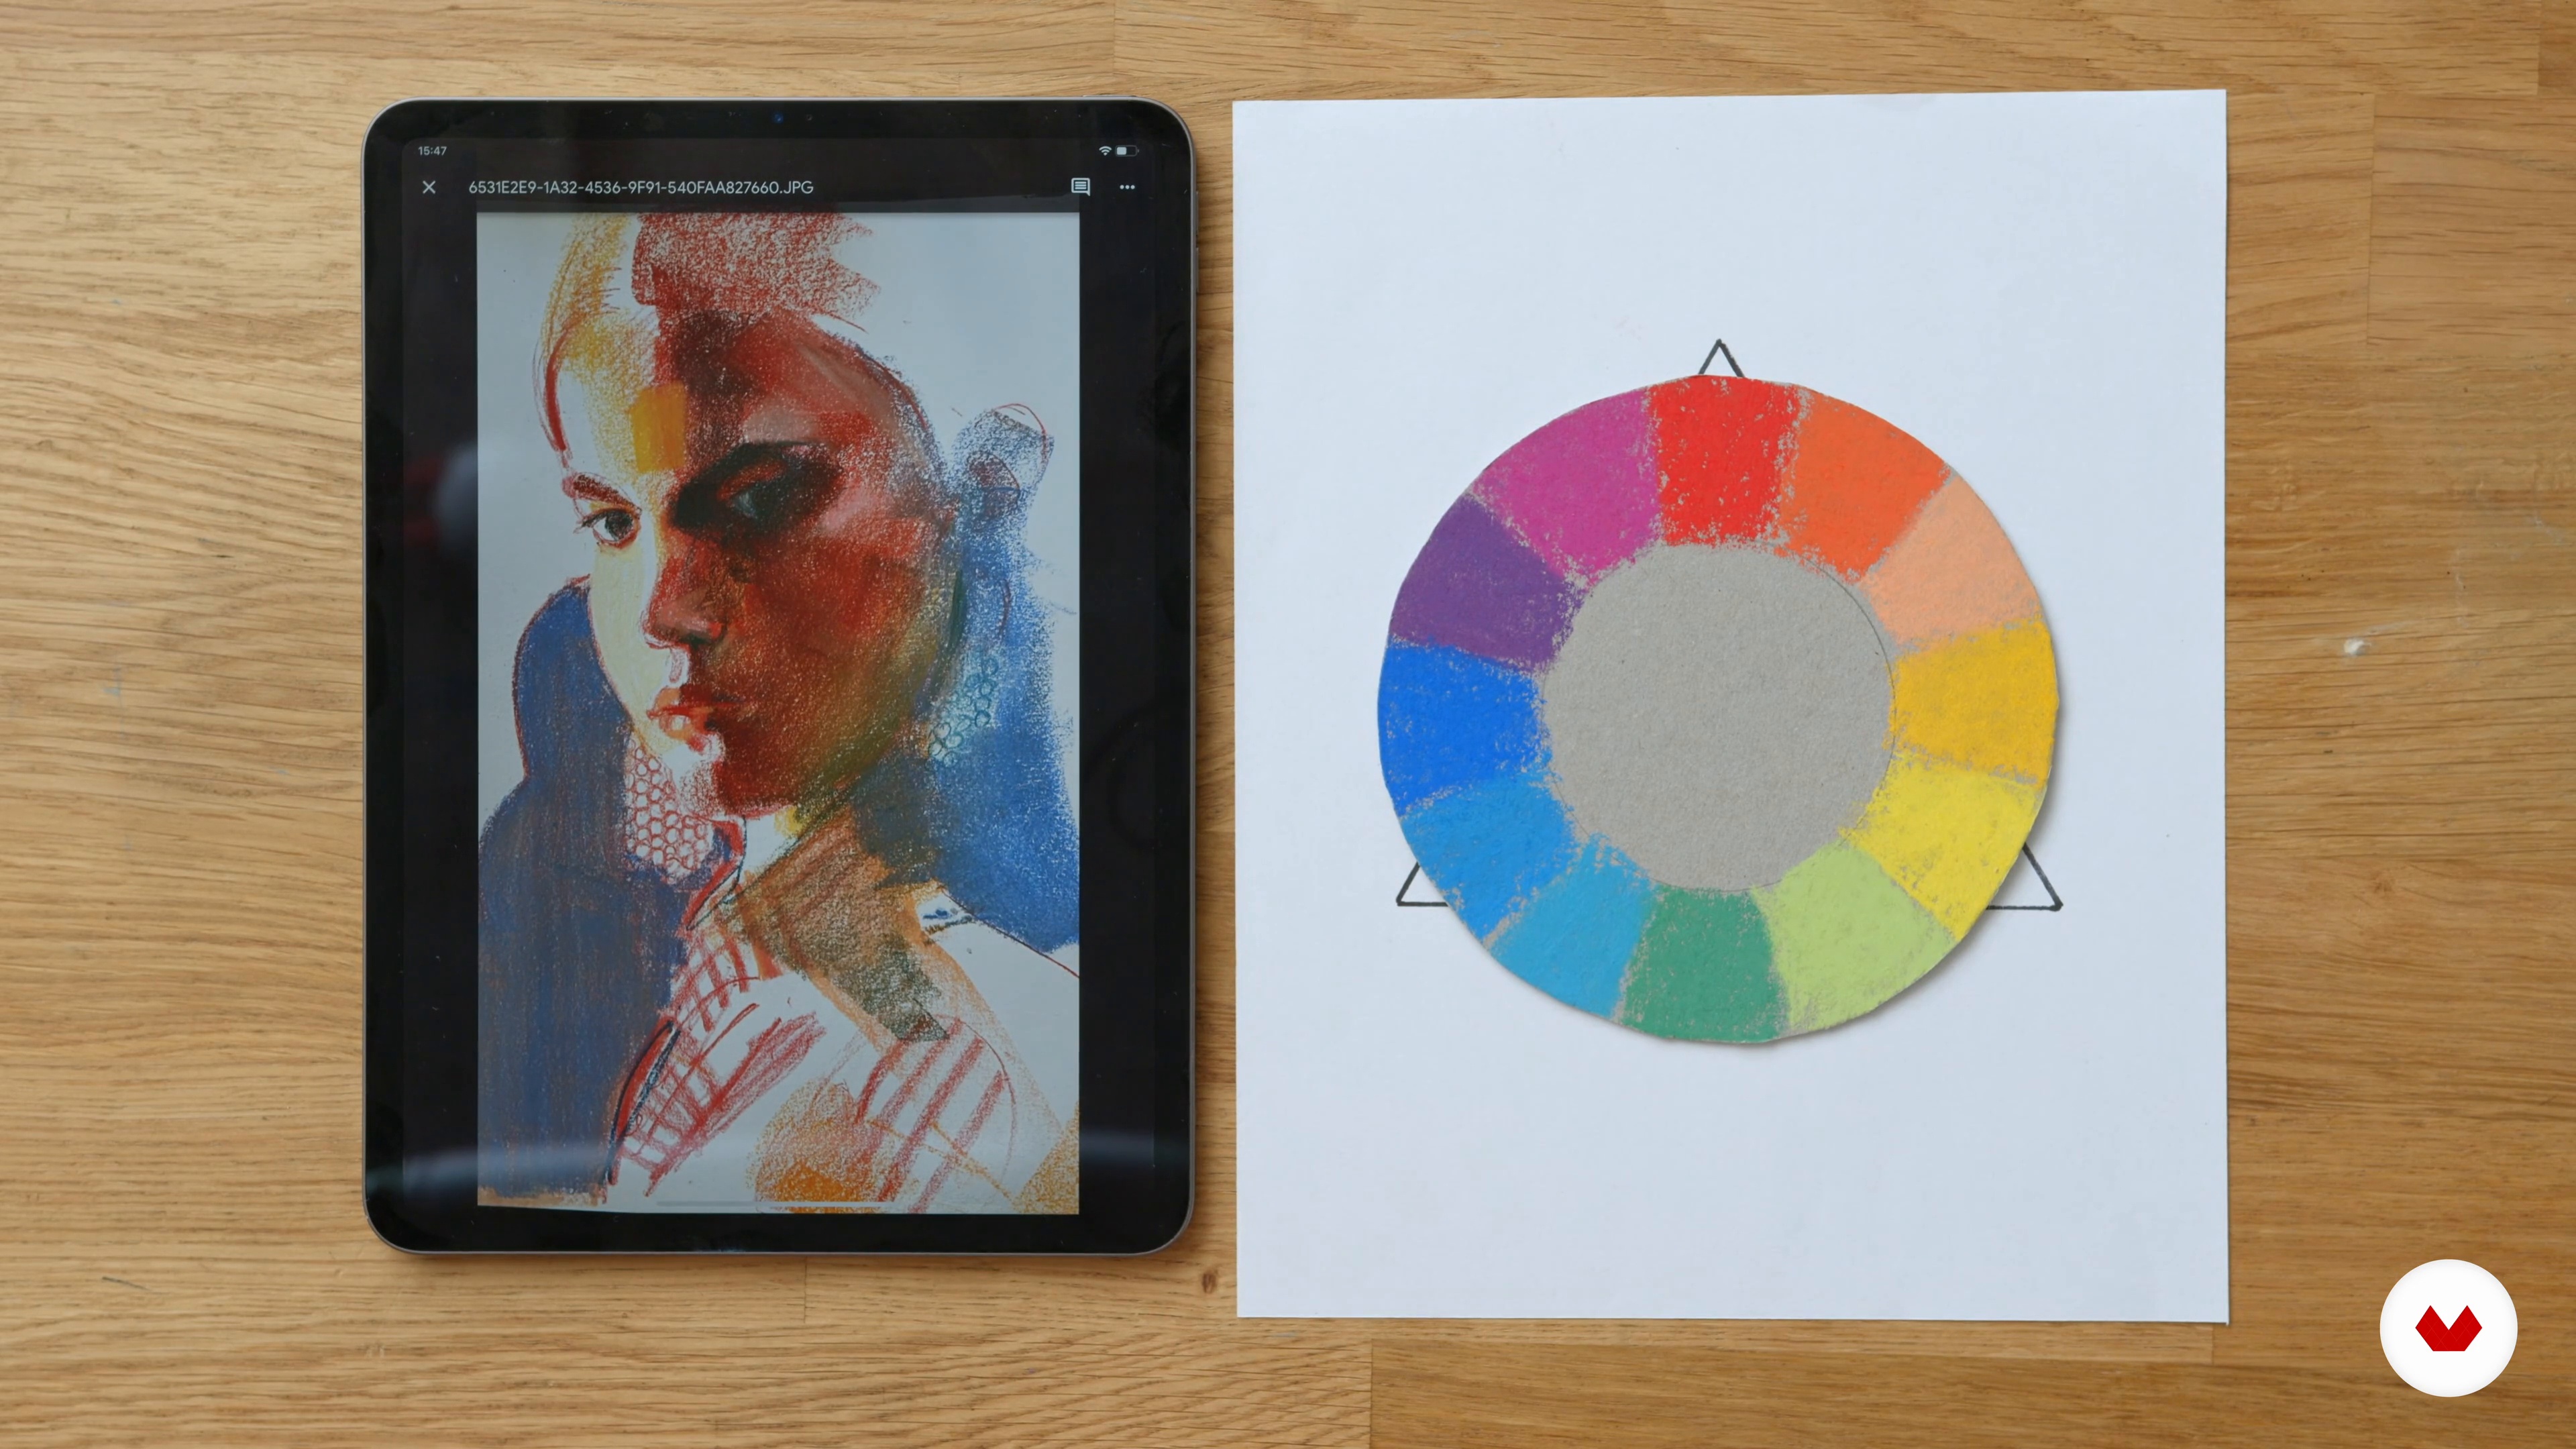
My drawings are full of contrasting saturated colour. I like colours to connect and to move the viewer so complimentary colours are usually the point from which I start. In this lesson we will look at and use complementaries and build out a little from there.
10m
image
7
Sourcing References
In this lesson we’ll go over the basics of sourcing subject matter for reference images.
7m
image
8
Initial Sketching 1
In this lesson you will become familiar with the subject matter by producing some studies, this will prime you to work on a more finished drawing.
13m
image
9
Initial Sketching 2
Let's go now for the third drawing, where we will put in a little bit of tone too.
13m
image
10
Proportions 1
In this lesson you will work on the final paper applying and building on the initial sketching studies with focus on the shapes and their relationship to each other.
15m
image
11
Proportions 2
Here I will continue to work on the proportions and check that the distances between the elements are correct.
12m
image
12
Details
In this lesson we’ll close in on the smaller details in and around the larger shapes.
17m
image
13
Making an Image Work as a Piece
In this lesson we’ll be attempting to make the drawing work by tying the shapes together with tone and texture
16m
image
14
Colour Work
In this lesson we’ll work on harmonising the colours of the image until it's balanced.
16m
image
15
Fixing the Work and Packaging
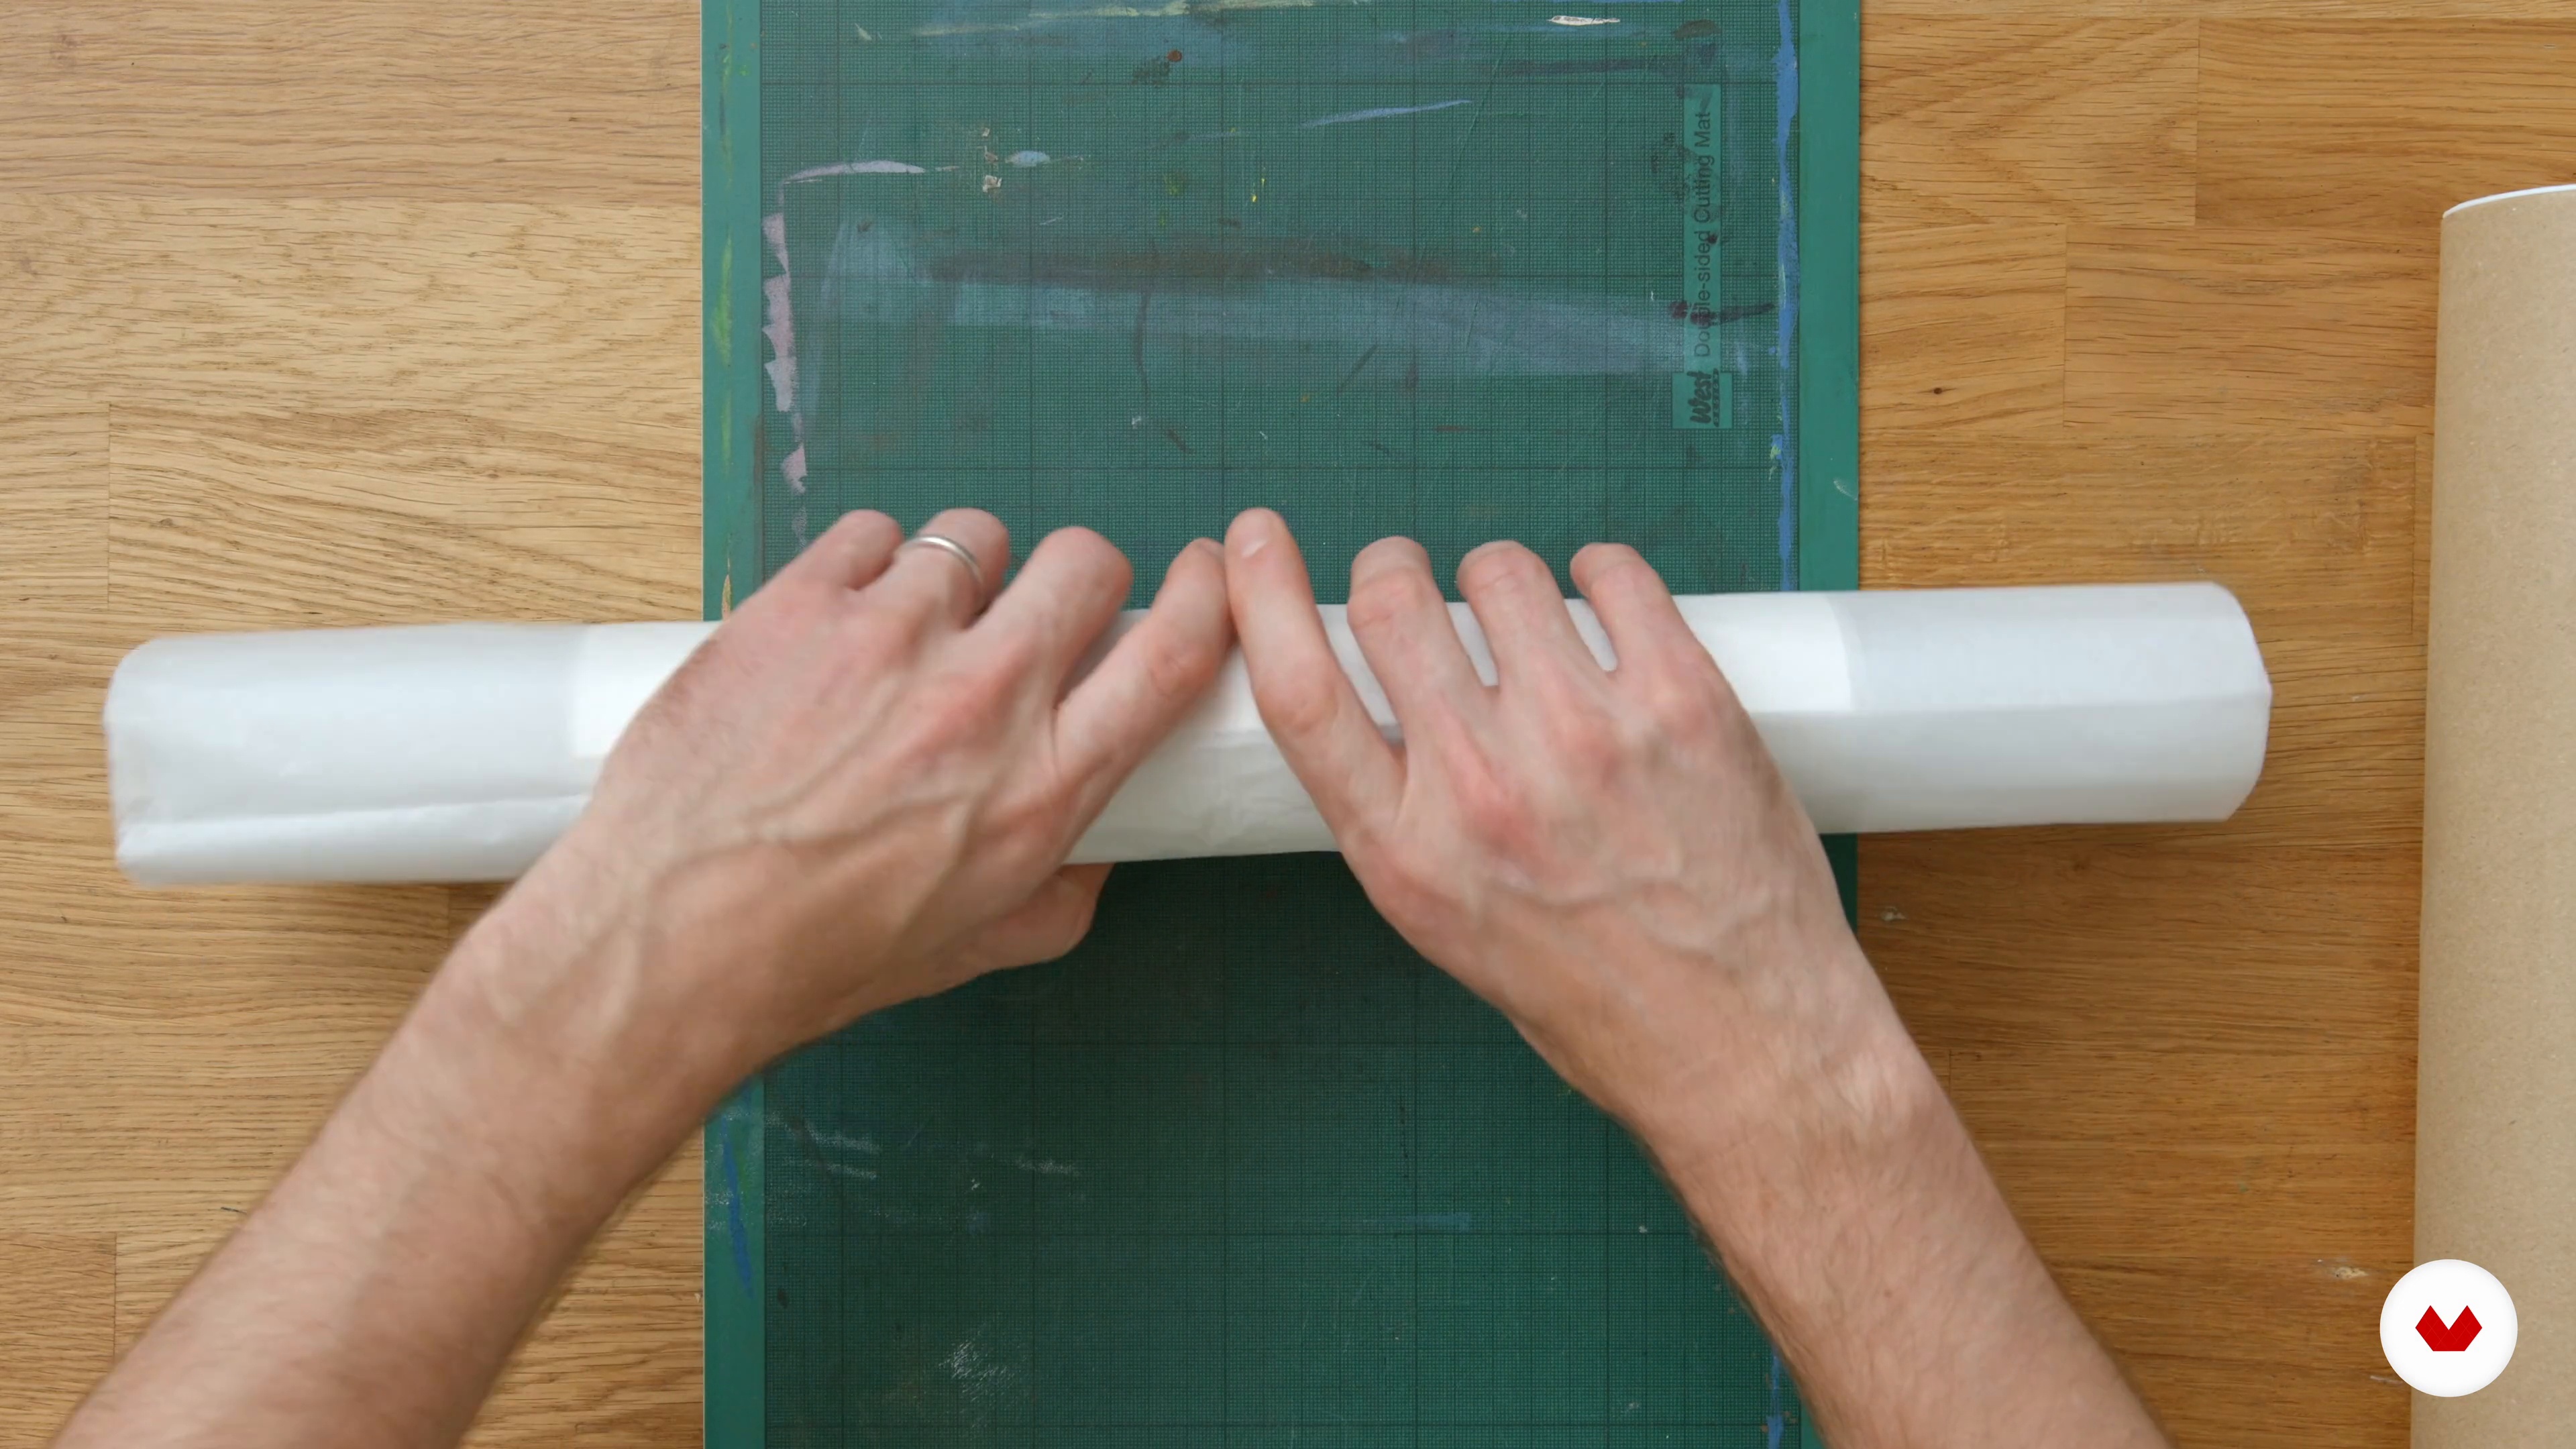
In this lesson you’ll see how to fix a soft pastel drawing and how to package it safely in a tube for sending.
8m
image
16
Photographing and Social Media
In this lesson we will be taking photos of the work for use on social media.
9m
image
3
Finding Inspiration with References
Let's have a look at how references can inspire you. References not only help you to increase your creativity but also to build your visual library.
2m
image
4
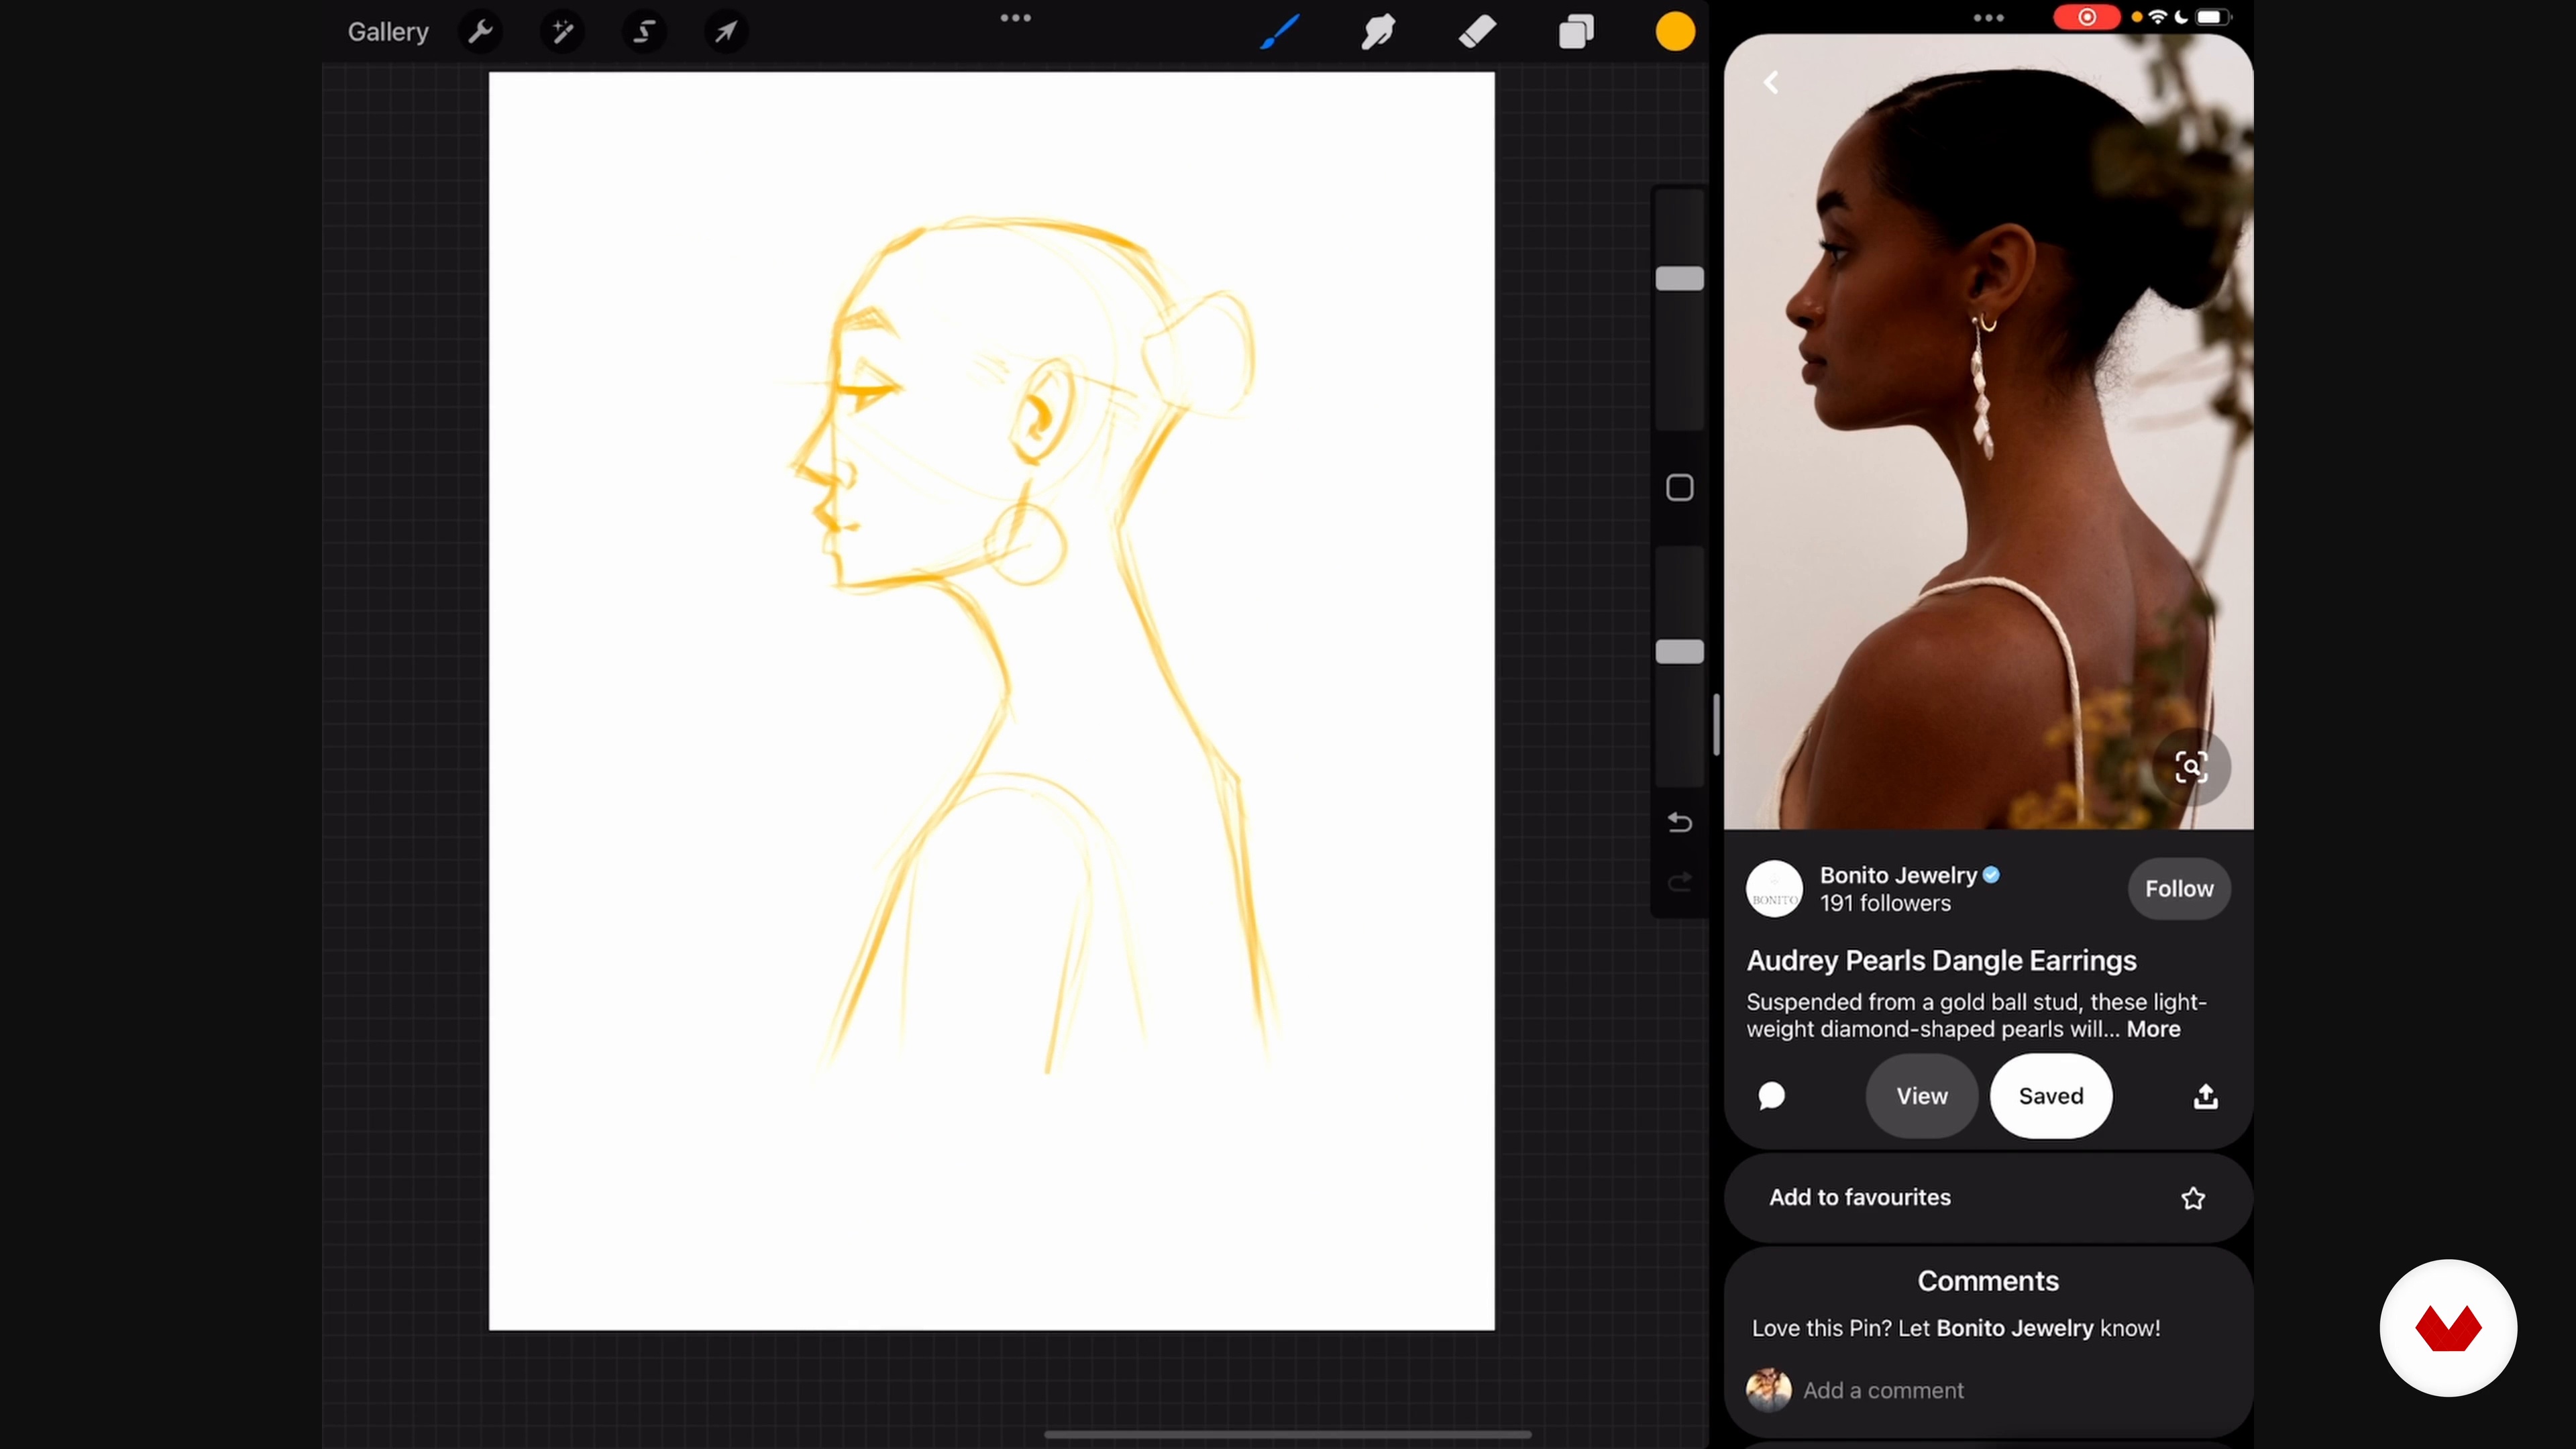
Learning Drawing Basics in Procreate
In this lesson, I will show you some drawing basics to pack into your toolbelt!
4m
image
5
Practicing Portraits
Here I will show you how to start working on one of the two components that shape my paintings: portraits. I will show you how I look at references, choose one from the mood board, and then you will learn how to draw some sketches to warm up.
18m
image
6
Exploring the Abstract
I include abstract forms in my work mainly to create a visual noise around the portrait. That's why, in this lesson, I will show you how to discover abstract art's vast and endless possibilities.
3m
image
7
Preparing the Canvas in Procreate
First, I will share my settings to create the right canvas for your needs.
3m
image
8
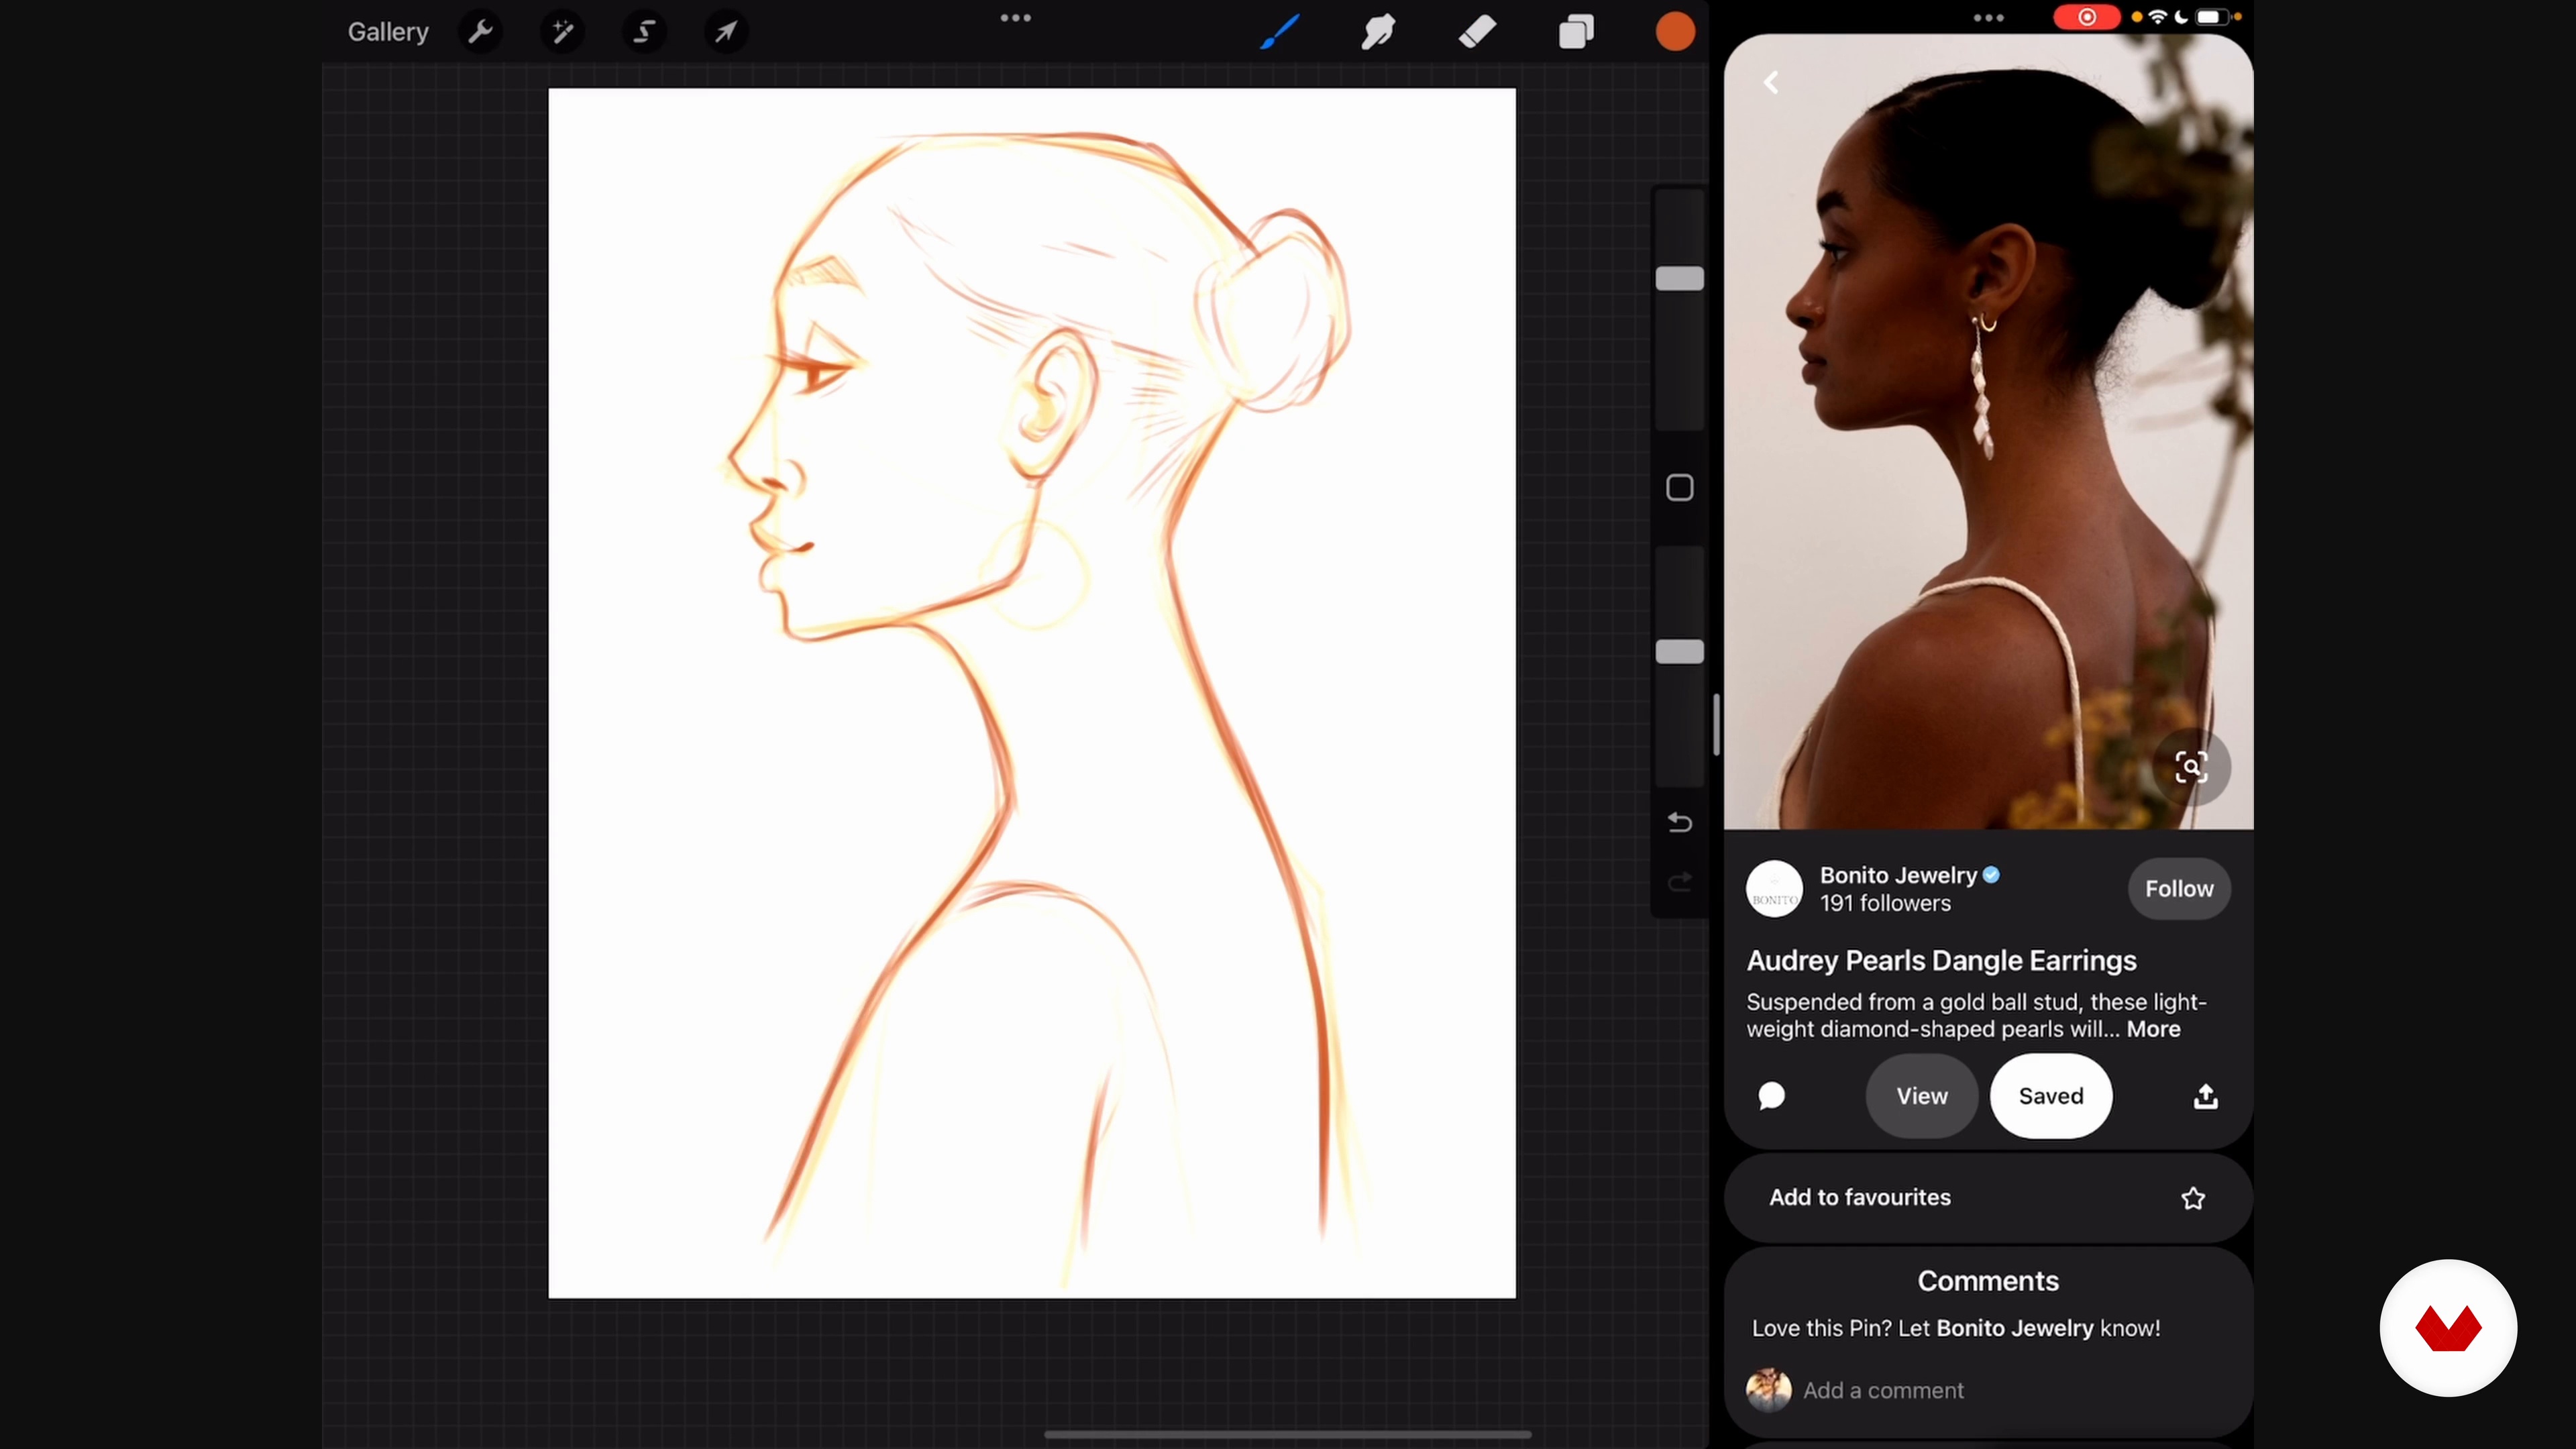
Sketching the Portrait
Let’s work on the sketch for the course project! I will guide you step by step on how I approach our portrait.
3m
image
9
A Clean Portrait
Now that you have a rough sketch, it’s time for you to learn how to clean up those lines.
7m
image
10
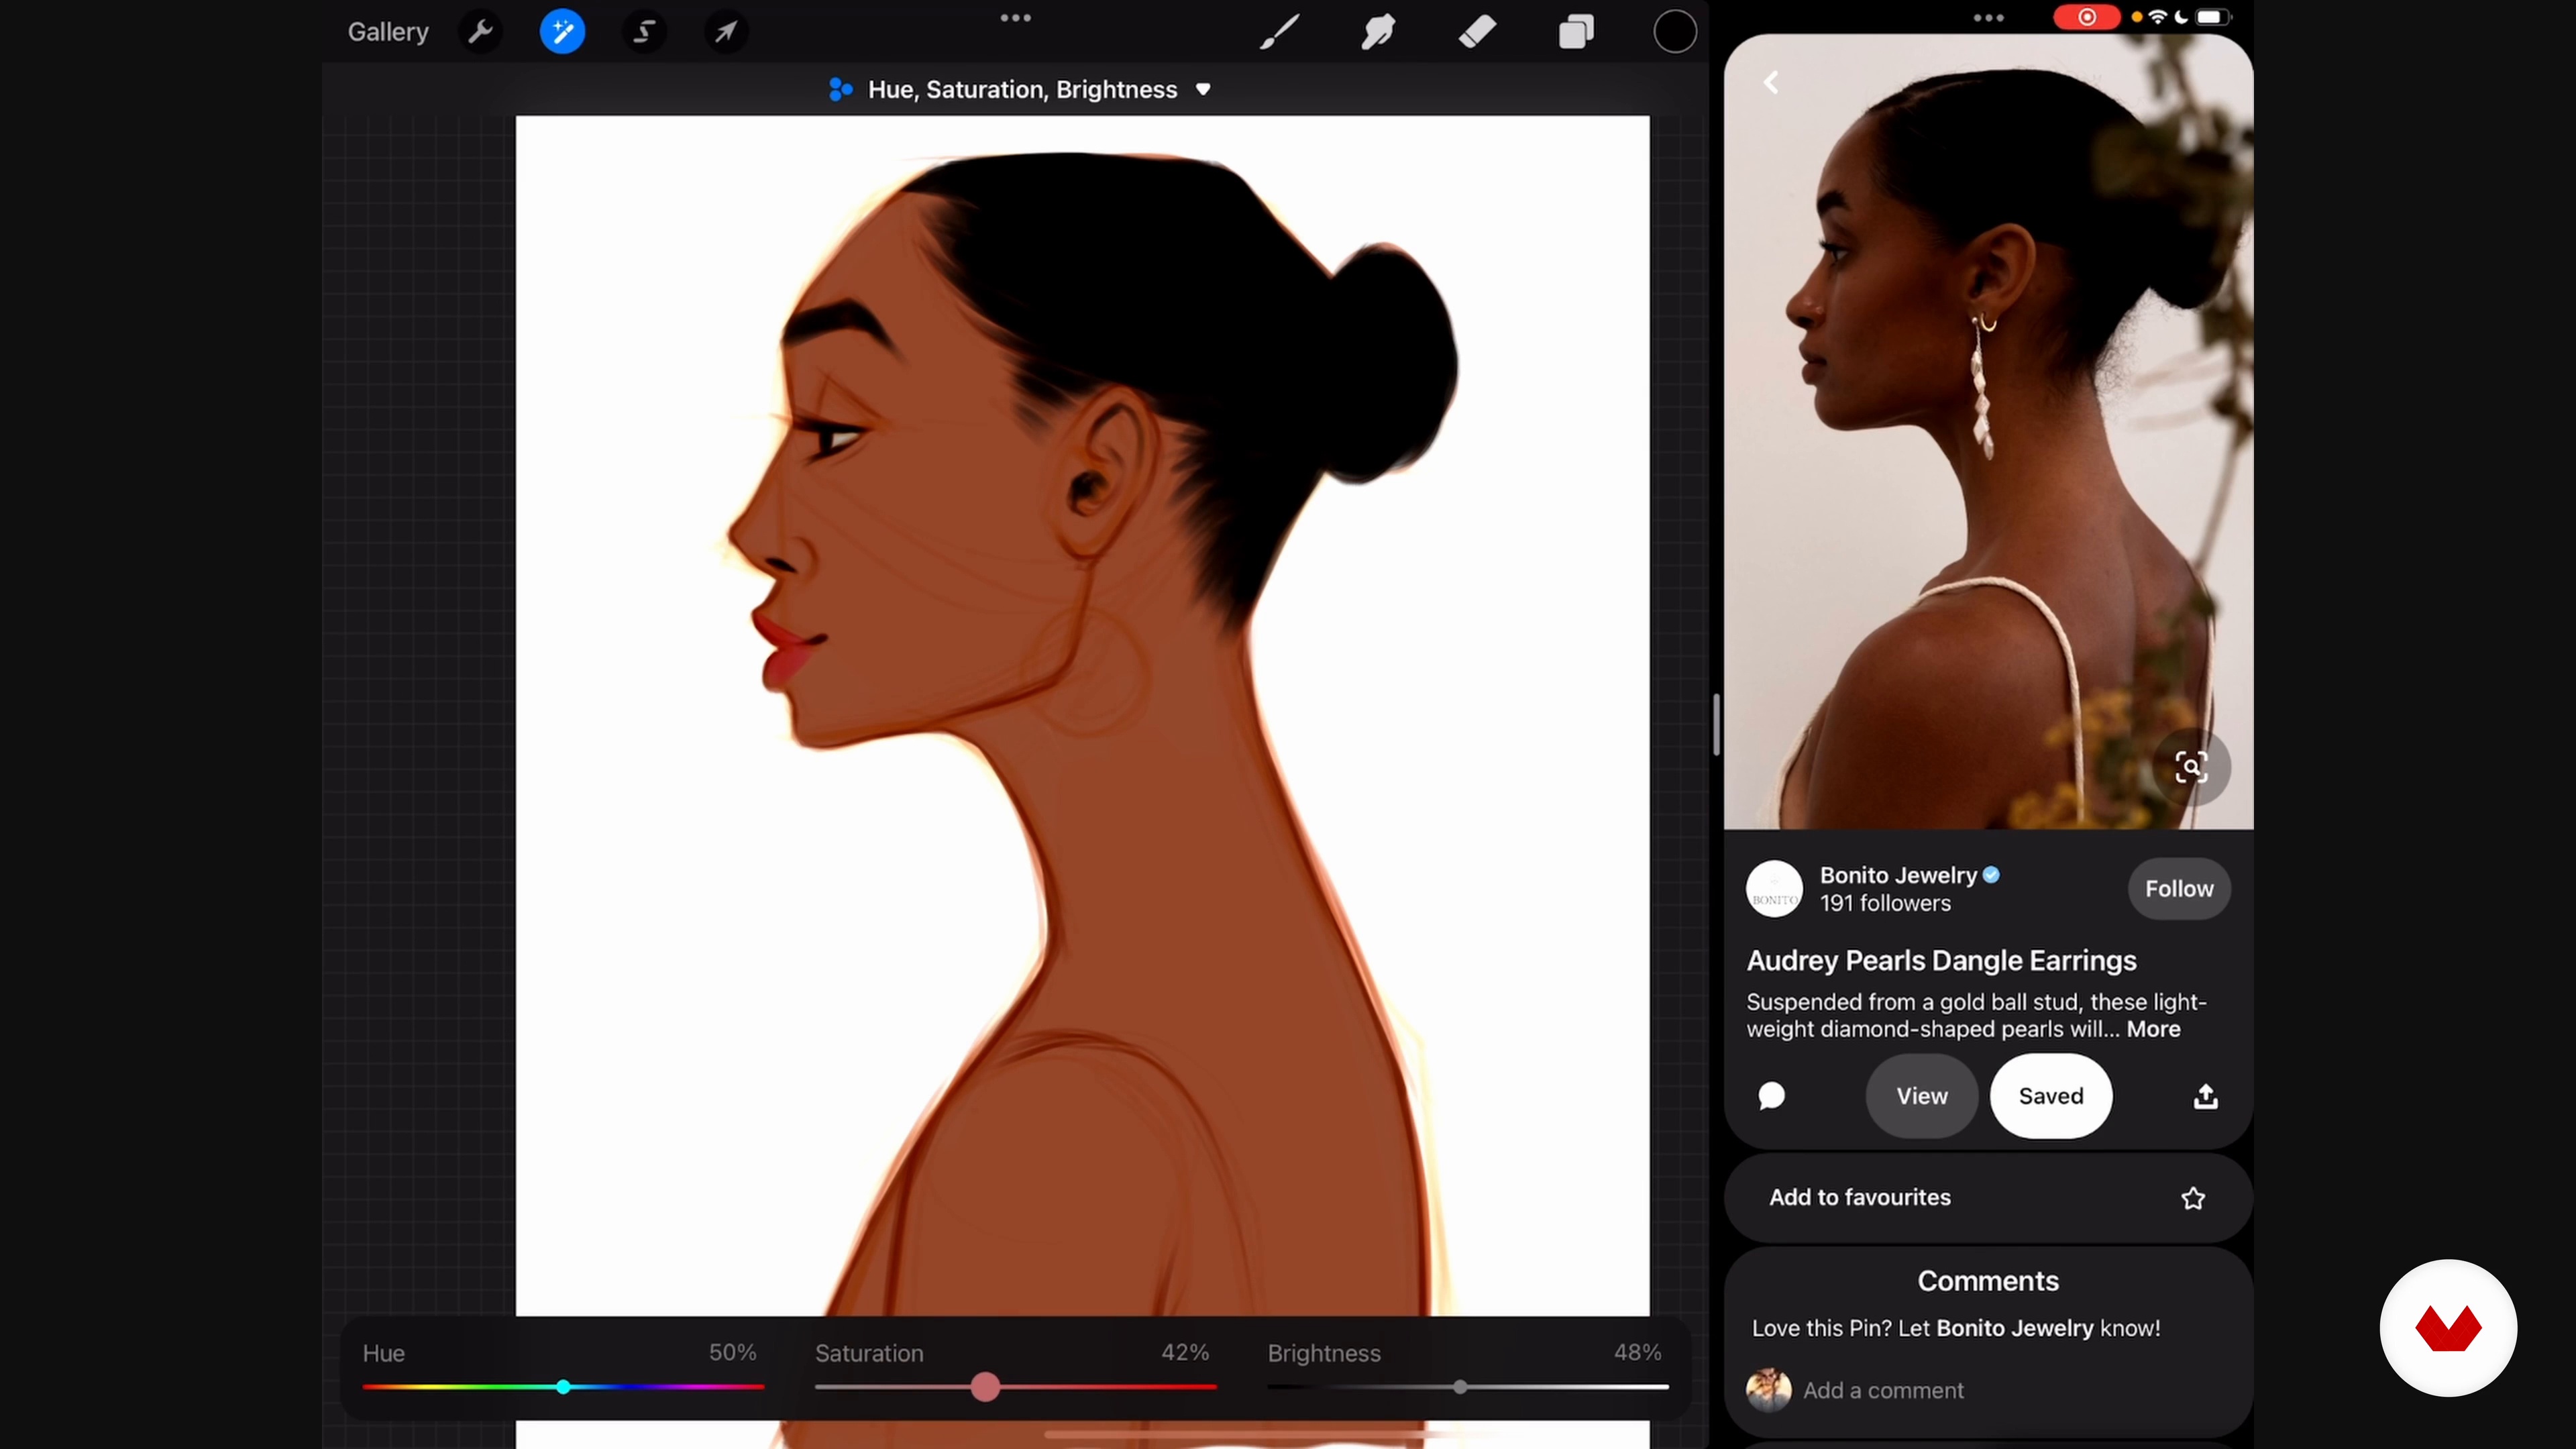
Color
Here is where the fun begins! In this lesson, I will teach you how to give the subject some life by adding colors.
9m
image
11
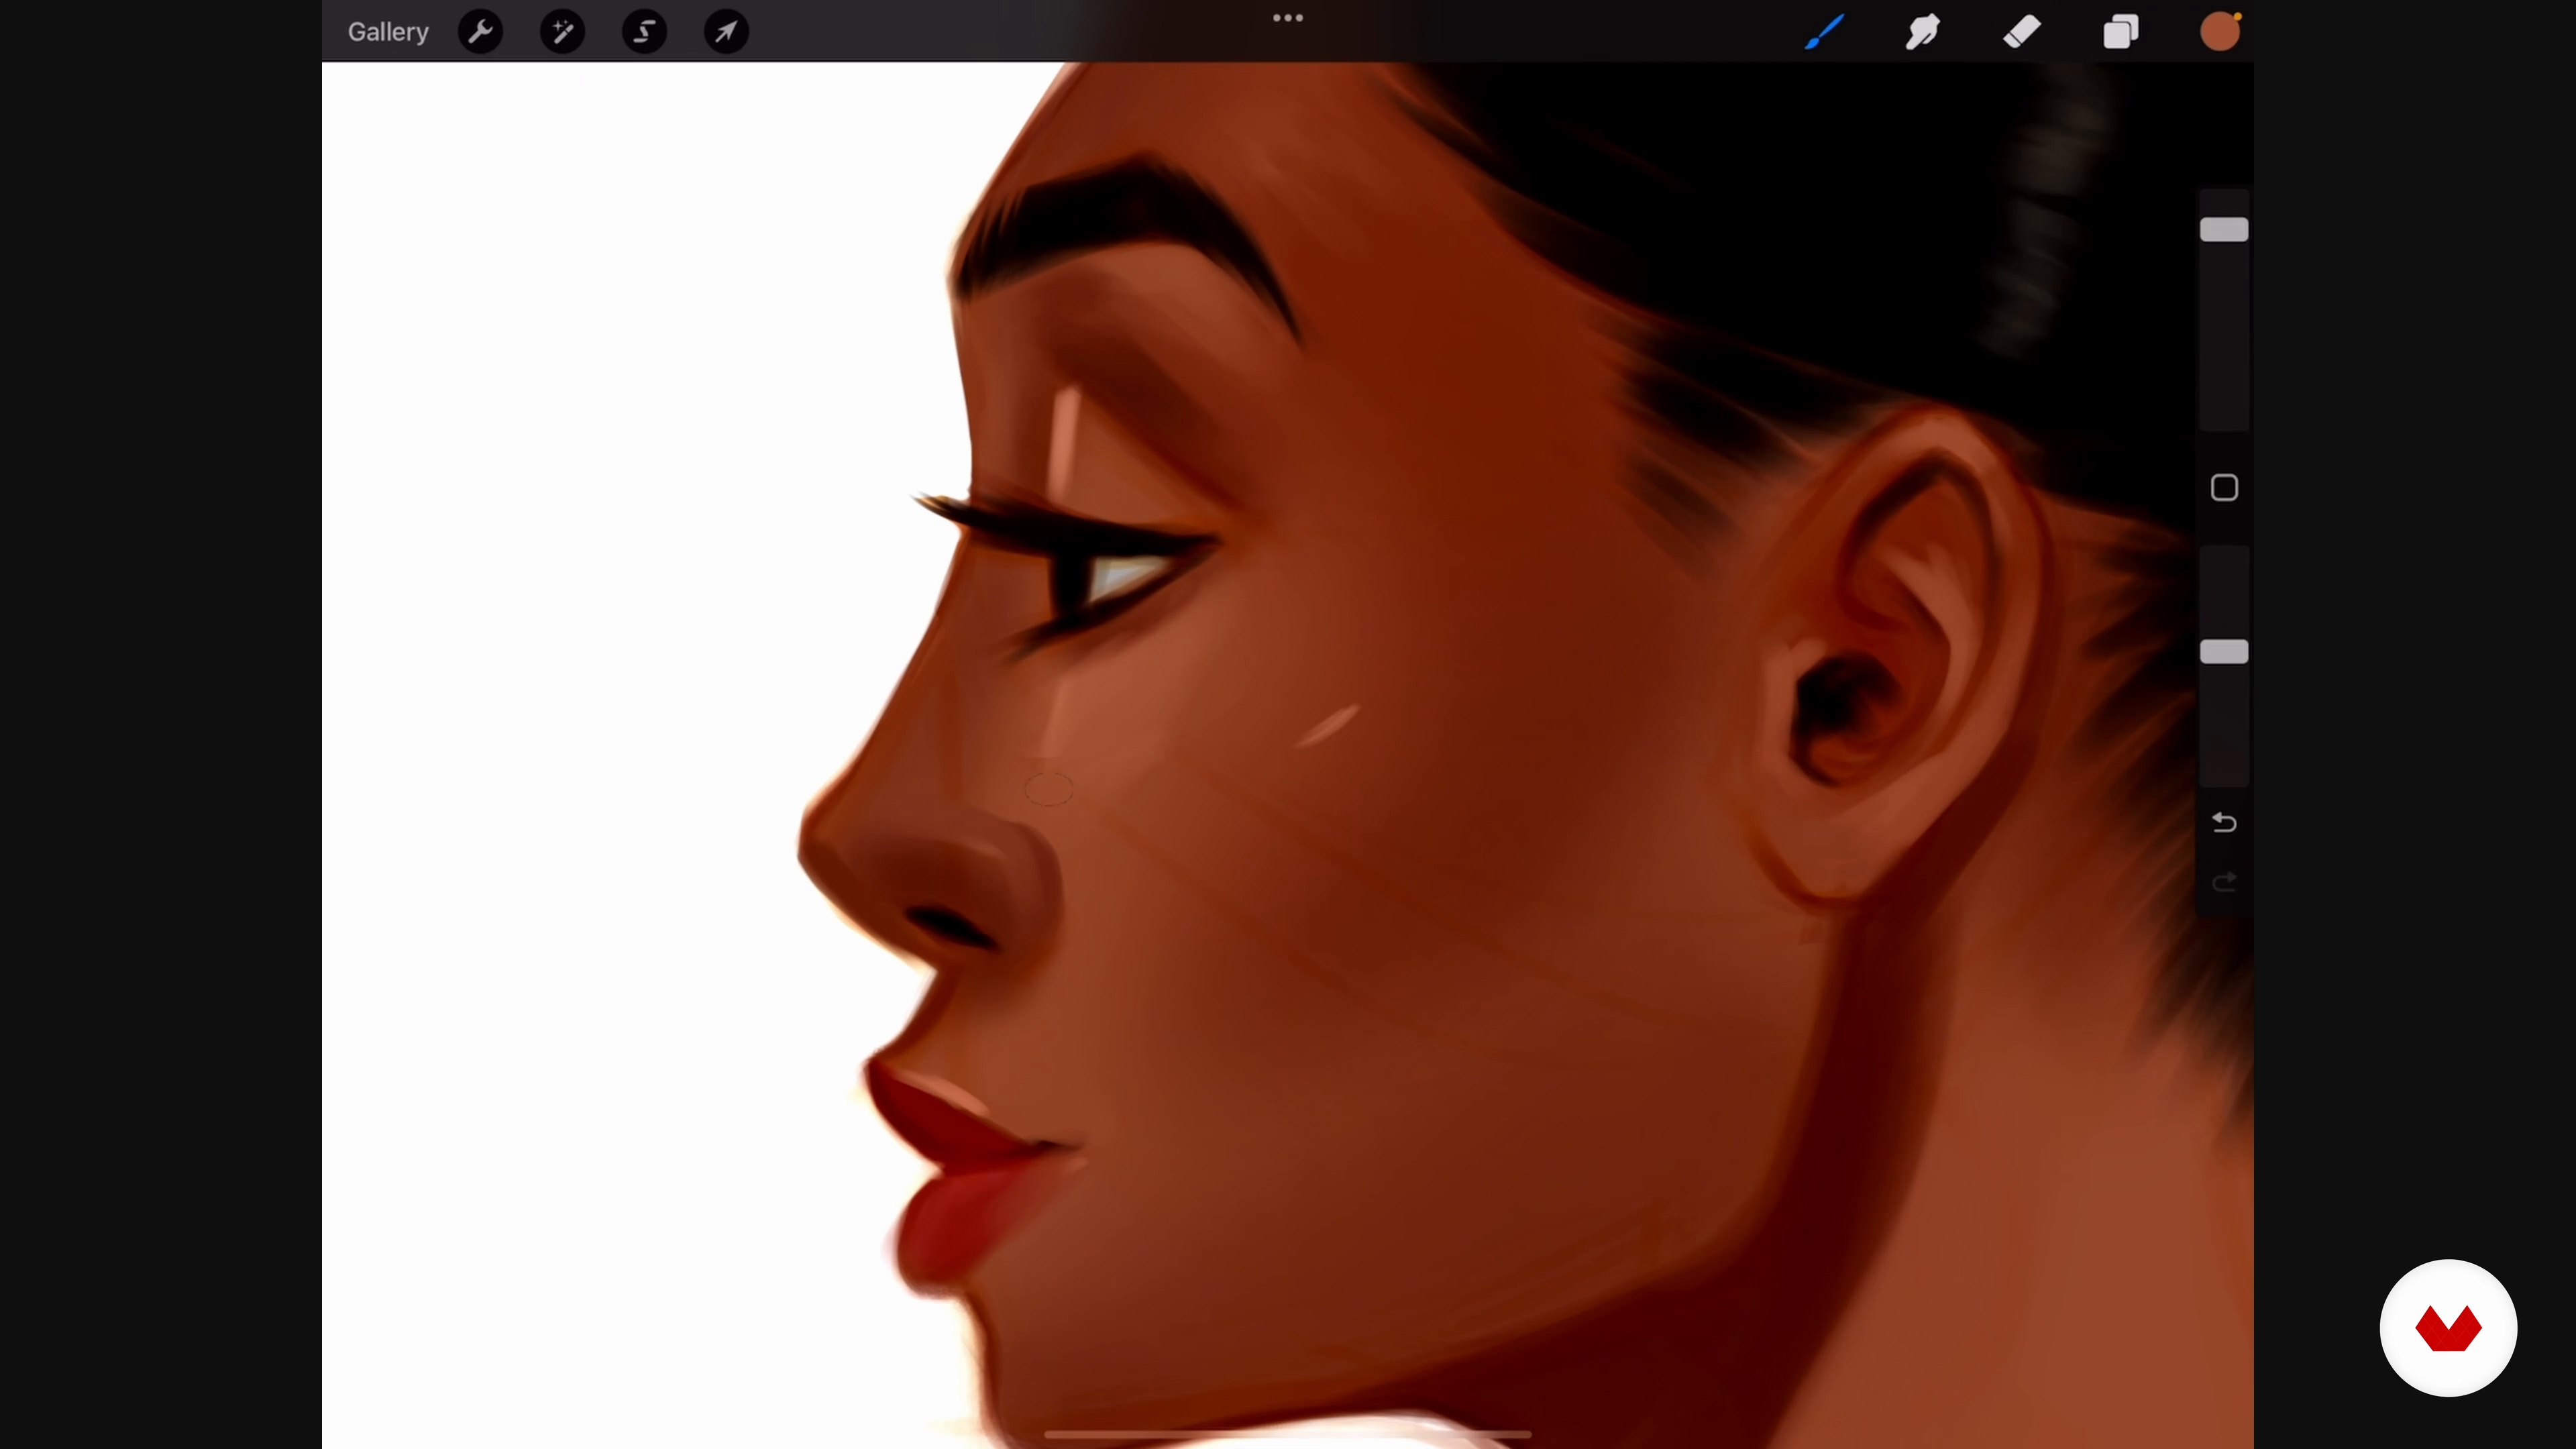
Shading and Highlights
The following natural step it's to add depth to your artwork. Therefore I will teach you how to add highlights and shadows.
20m
image
12
Details
You’re almost there! At this stage, I will show you how to add additional details to complete the artwork.
20m
image
13
Abstract Shapes 1
In this lesson, I will show you how I approach and add abstract shapes to a portrait.
15m
image
14
Abstract Shapes 2
I will continue showing you how to add abstract shapes in a very cool interesting way.
11m
image
15
Last Steps in Procreate
In this last step, I want to show you how to edit the artwork using Procreate. I will also share some final tips before publishing it online.
2m
image
16
Audience Engagement
It’s time to share your artwork with the world. In this lesson, I show you the steps I take to maximize the potential and engagement of your work.
2m
  • 24 students
  • 77 lessons (13h 23m)
  • 101 additional resources (48 files)
  • Online and at your own pace
  • Audio: English, Spanish
  • English · Spanish · Portuguese · German · French · Italian · Polish · Dutch
  • Level: Beginner
  • Unlimited access forever

What is this course's project?
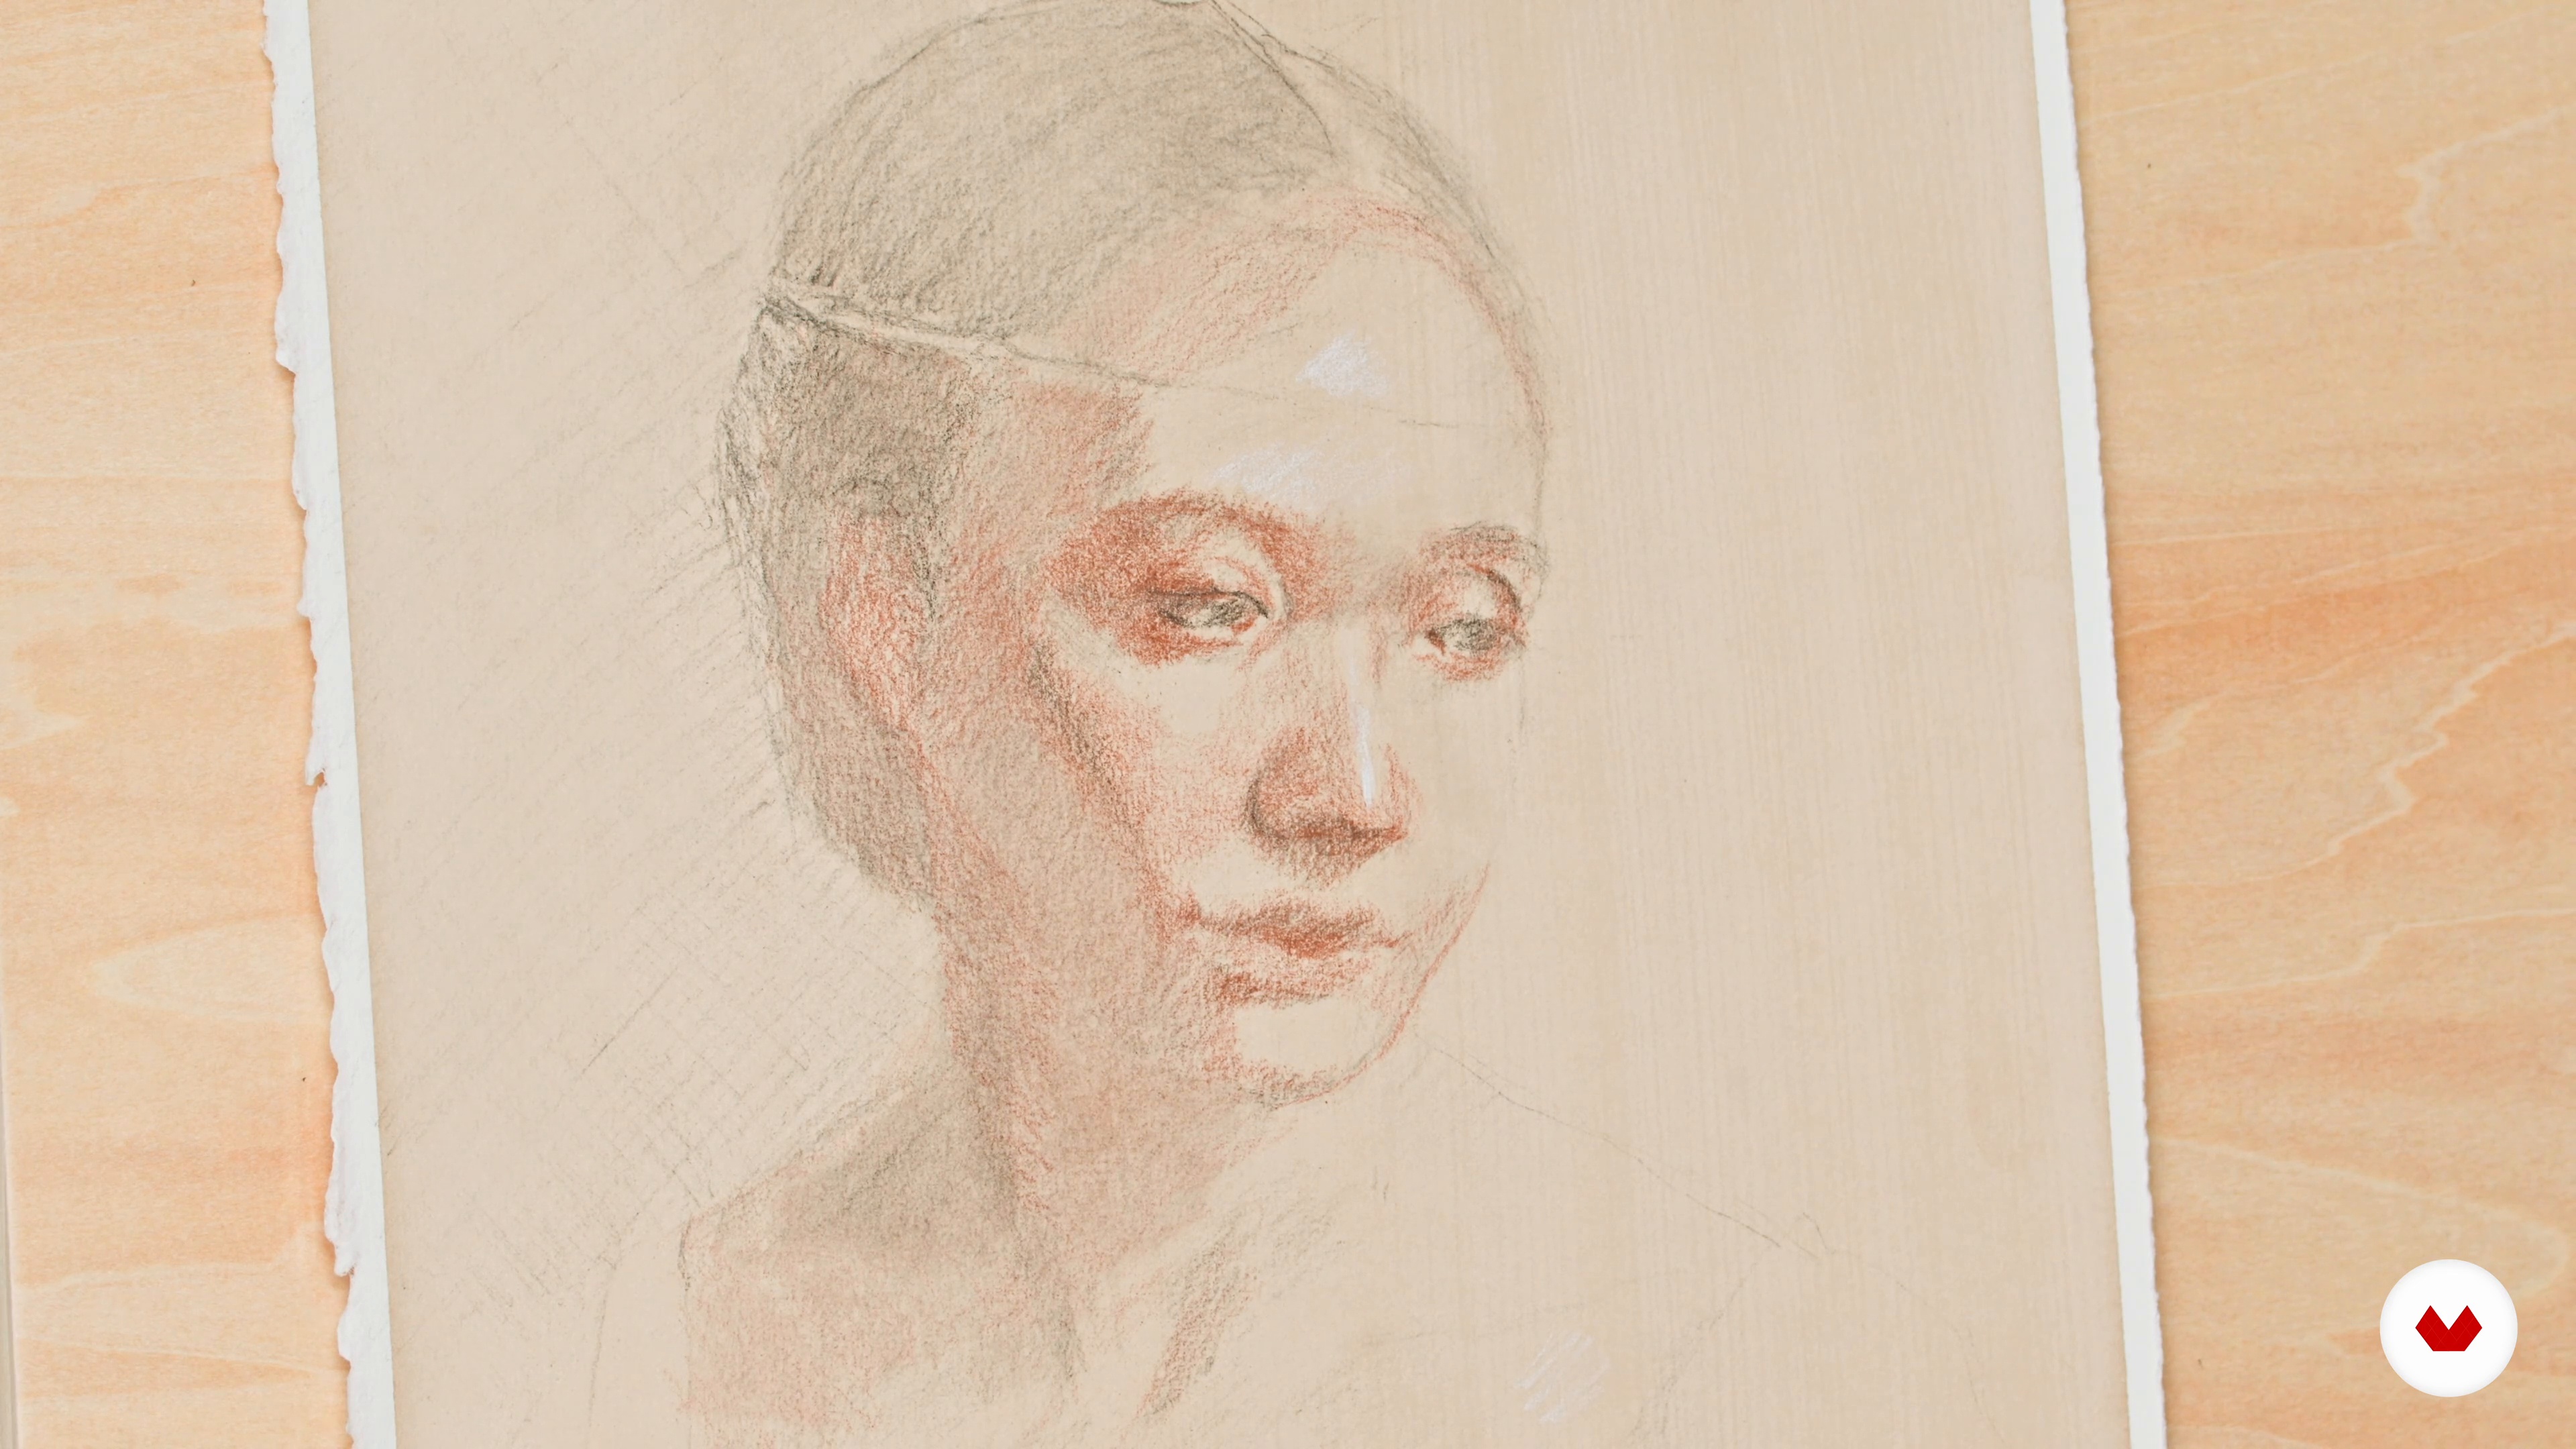
Create a pencil-drawn portrait by applying proportion, shading, and anatomy principles. Produce a Renaissance-style portrait using classical shading techniques. Draw a chiaroscuro portrait with deep contrasts. Develop a pastel portrait emphasizing expressiveness. Create a digital portrait incorporating graphical elements.

Who is this specialization for?

Aspiring artists seeking to deepen their portrait drawing skills, from beginners to advanced learners, will benefit from this specialization. It caters to those interested in exploring various techniques, including pencil, chiaroscuro, pastels, and digital tools, while developing a personal artistic style.

Requirements and materials

No extensive prior knowledge is needed, just a passion for portrait artistry. Gather basic drawing supplies: pencils, paper, soft pastels, and a digital device with Procreate. Explore various techniques and materials to develop your unique artistic style.

Select to get to know your teachers in this specialization course
Read more ↓

What to expect from this specialization course

  • Learn at your own pace

    Enjoy learning from home without a set schedule and with an easy-to-follow method. You set your own pace.

  • Learn from the best professionals

    Learn valuable methods and techniques explained by top experts in the creative sector.

  • Meet expert teachers

    Each expert teaches what they do best, with clear guidelines, true passion, and professional insight in every lesson.

  • Certificates
    Plus

    If you're a Plus member, get a custom certificate for every specialization course. Share it on your portfolio, social media, or wherever you like.

  • Get front-row seats

    Videos of the highest quality, so you don't miss a single detail. With unlimited access, you can watch them as many times as you need to perfect your technique.

  • Share knowledge and ideas

    Ask questions, request feedback, or offer solutions. Share your learning experience with other students in the community who are as passionate about creativity as you are.

  • Connect with a global creative community

    The community is home to millions of people from around the world who are curious and passionate about exploring and expressing their creativity.

  • Watch professionally produced courses

    Domestika curates its teacher roster and produces every course in-house to ensure a high-quality online learning experience.


FAQs

Domestika's specialization courses are online classes that provide you with the tools and skills you need to complete a specific project. Every step of the project combines video lessons with complementary instructional material, so you can learn by doing. Domestika's specializations also allow you to share your own projects with other students, creating a dynamic course community.

All specialization courses are 100% online, so once they're published, specialization courses start and finish whenever you want. You set the pace of the class. You can go back to review what interests you most and skip what you already know, ask questions, answer questions, share your projects, and more.

The specialization courses are divided into different modules. Each one includes lessons, informational text, tasks, and practice exercises to help you carry out your project step by step, with additional complementary resources and downloads. You'll also have access to an exclusive forum where you can interact with other students, as well as share your work and your final project, creating a community around the specialization course.

You can redeem the specialization course you received by accessing the redeeming page and entering your gift code.

If you're a Plus member, when you complete a course you've purchased, you'll instantly get your personalized certificate. You can see all your certificates in the Certificates section of your profile. You can download your certificates as PDFs and share the link online. Learn more about certificates.
Specialization in Artistic Portrait Drawing Techniques. Illustration course by Domestika

Specialization in Artistic Portrait Drawing Techniques

A specialization by multiple teachers
Specialization Course. Berkeley, United States.
Joined April 2002
  • 24 students