Best seller

Realistic Oil Portraiture: Conveying Detail and Expression

Course final project

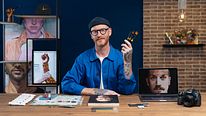
A course by Alan Coulson , Portrait Artist

Portrait Artist. Hebden Bridge, United Kingdom.
Joined May 2020
Best seller
99% positive reviews (550)
13,658 students
Audio: English
English · Spanish · Portuguese · German · French · Italian · Polish · Dutch

About the final project for: Realistic Oil Portraiture: Conveying Detail and Expression

Realistic Oil Portraiture: Conveying Detail and Expression

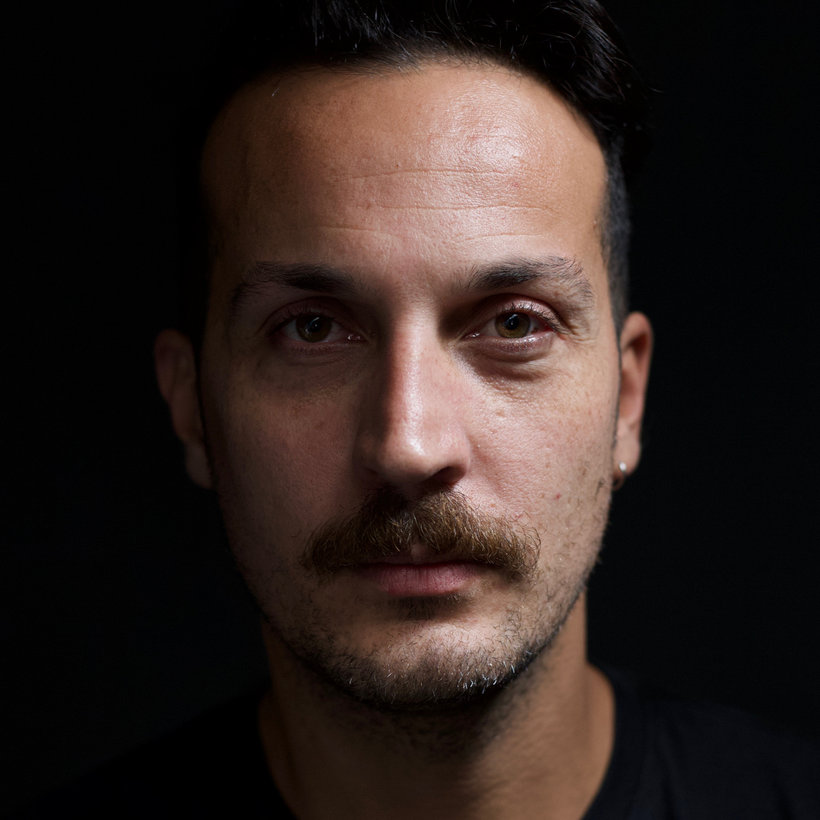
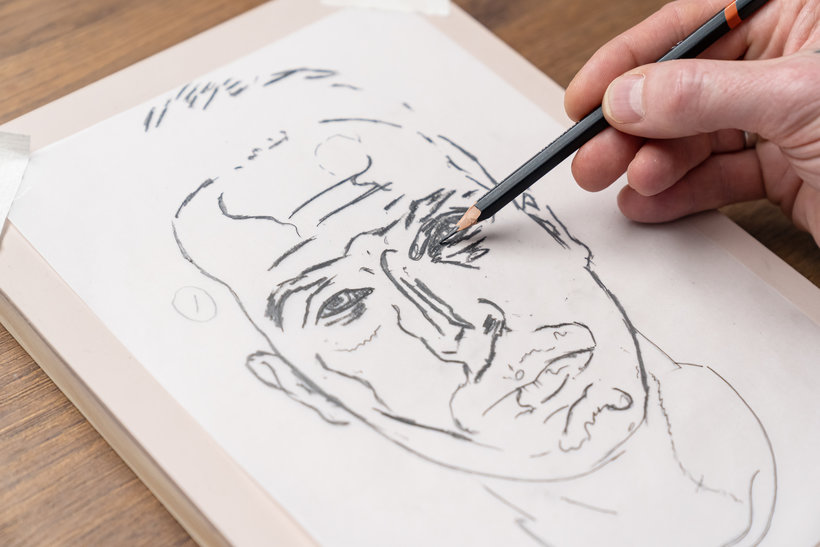
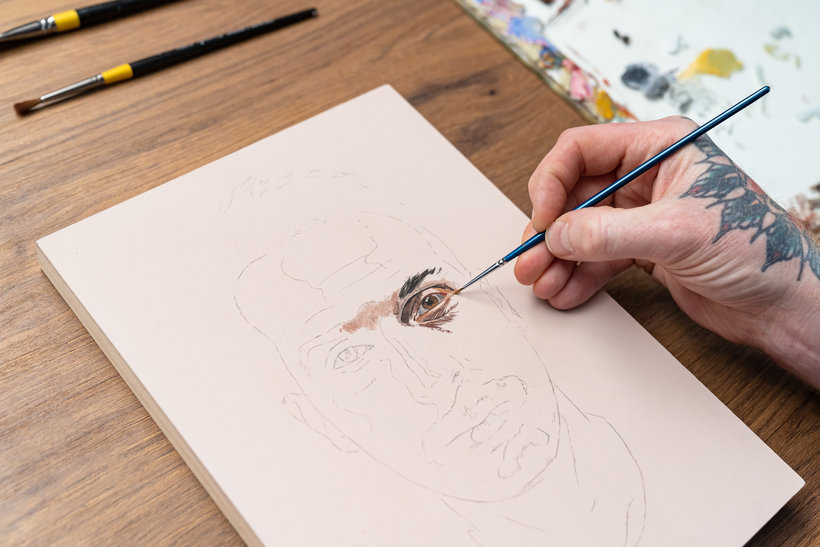
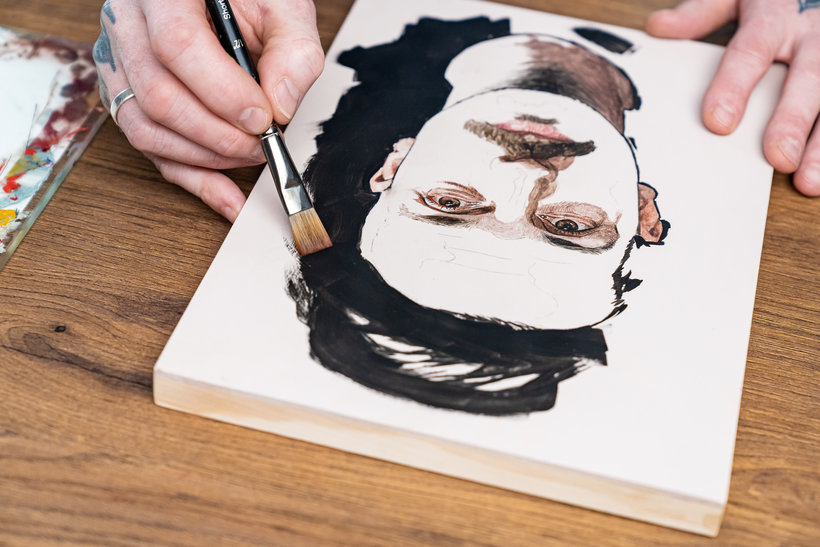
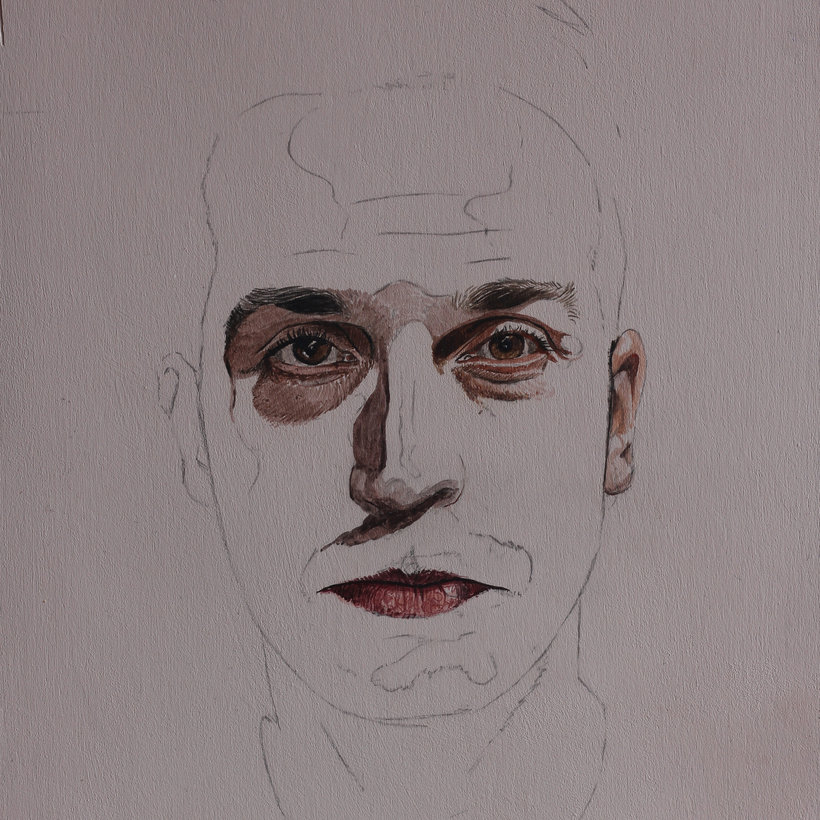
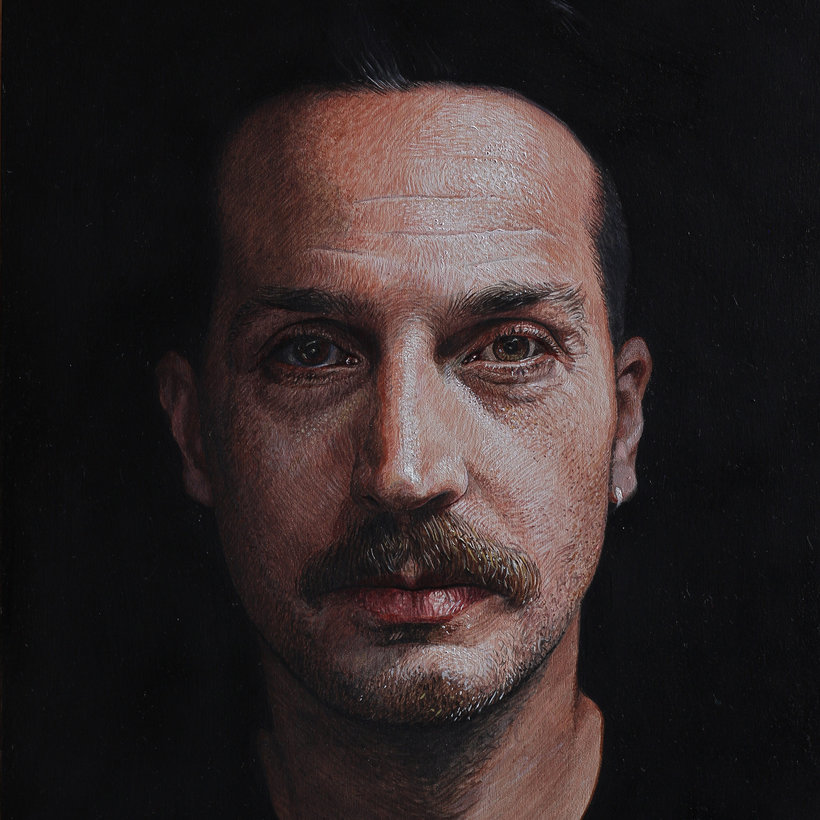
“We have reached the end of this course! I really hope that you have enjoyed this creative journey and insight into my personal creative approach. We have learned a little about myself, my influences, and most importantly, the human connection that drives me to pursue a career making portraits in oil paint. I want you to finish this journey by submitting an oil portrait of your making. Of course, I am not only interested in the outcome (which I will appreciate and I am so eager to see), I also want to see what your journey has been to create such a portrait. Throughout the course, I have taught my method and approach to oil painting, and I would love for you to use my teachings as a reference. The imitation game is not what I seek by showing you my process, take what is useful and disregard what does not suit you. That is what using references and inspiration is all about. Having said that, I would like to highlight the key elements of my creative process: Initial considerations The important considerations I take into account when choosing and photographing a subject for my work, whether that is an emotional connection to that person, a shared personal interest, or an aesthetic fascination. The importance of making your subject feel comfortable whilst photographing them to achieve a natural look. The use of window light as a light source for your photo and how to choose a reference that is dynamic but also has an emotional impact. Through pencil sketches, we have explored the features of the face. These preparatory drawings give us confidence and a sense of familiarity when making our painting.

Panel preparation We have learned how to prepare our wooden panel for painting, in a tactile way, so that we can personalise and take ownership of our painting surface. Doing it yourself, finding the right balance between the primer, water, and acrylic paint, would allow you to play with the texture of the surface. Once the panel is ready, we start tracing the image so that we can transfer it to the surface. While you can use projectors, I find that the combination of tracing paper and a tablet, namely an iPad, works best when dealing with a small image. It's up to you to decide what approach is best but always bear in mind the size of the painting. The transferral of the drawing is a critical moment, so lines and proportions must be on point. I like to follow the lines top-to-bottom, being very careful throughout the process. The painting stage After looking at the importance of using our painting materials safely, we began to explore my personal approach to creating a painting using oil paint thinned with solvent. First defining the features with an initial focus on the eyes, as this is often the area of a portrait that most draws the viewer in. We then began to create a sense of form by filling in the darkest areas then mid-tones followed by highlights and glazing. All the time considering the importance and direction of our brush marks. How we can use them to personalise our paintings by creating contours and visual impact across our portrait.
Cross-referencing Along the way we cross-referenced our painting with our reference photo to help us decide on changes we may want to make such as exaggerating a fleck of light in the eye or adding depth to darker areas, to really bring our painting to life. Remember that the best way to go about is to take a picture of the painting and upload it to your computer so you can look at the reference picture and the picture's photo next to each other. That way, you can see the spots you need to improve or the adjustments that need to be done. However, it is also an amazing way to see how much of a unique piece your painting is becoming. This a teaching that you can apply as well to your final project as a whole (references are great guidelines, but you must strive for creating something with soul). Make it last forever and share it Finally, we learned about the preservation of your painting and how to display and share your work with others, either at home, in a public space, or on social media. Remember that my approach is personal and it is for you to adapt these lessons. While I don't tend to varnish my paintings, as I prefer the painting not to have a glossy feeling, such a look might be a thing for you, so follow your gut feeling. Use these tools to make paintings that are unique and personal to you. Most importantly, please enjoy the process! Experiment and have fun with your paintings.
So it’s goodbye, for now, I’ve really enjoyed putting this course together and sharing my process with you. I’m here for you on the forum as much as my professional and family life will allow (please be patient, I will respond as soon as possible!) Please share your work in progress and join in the conversation with your colleagues. The lessons you learn along the way and your thoughts and opinions are such an important contribution and I would personally love to see what you have been working on! Best wishes and speak soon, Alan”

Partial transcription of the video

“Final project It's the end of our course and I wanted to take some time to recap the lessons that we've covered and some of the new skills that we've learned. First, we took a look at some of the essential tools that you'll need to make an oil portrait, and in particular the tools that I use when I'm making a portrait in oil. Then we looked at how I approach choosing a subject for my portraits and how this for me is quite a personal thing. And considering how you might decide to choose who is you want to paint and why you want to paint them. We looked at how to make your model feel comforta...”

This transcript is automatically generated, so it may contain mistakes.


Course summary for: Realistic Oil Portraiture: Conveying Detail and Expression

  • Level: Beginner
  • 99% positive reviews (550)
  • 13658 students
  • 5 units
  • 19 lessons (3h 26m)
  • 1 download
  • Category

    Illustration
  • Areas

    Fine Arts, Oil Painting, Painting

Alan Coulson

Alan Coulson
A course by Alan Coulson

Teacher Plus
Portrait Artist

Alan Coulson is an award-winning portrait artist from England with over fifteen years of experience using oil paints. He began a Fine Arts degree, however, after struggling to articulate his creative ideas, he dropped out and began working in fashion retail.
It was the birth of his first son in 2005 that prompted him to reconnect with his artistic ideas and explore oil painting. Shortly after deciding to pursue his dream of becoming a portrait artist, Alan Coulson was awarded a BP Portrait Award from The National Portrait Gallery in London. The exposure and awards he has received have given rise to a successful career in portraiture with clients including The New York Times, The Sunday Times Magazine, Bloomberg Markets Magazine, Carlton Books, The Chronicle Review, Club Wembley, and more.


  • 99% positive reviews (550)
  • 13,658 students
  • 19 lessons (3h 26m)
  • 11 additional resources (1 files)
  • Online and at your own pace
  • Available on the app
  • Audio: English
  • English · Spanish · Portuguese · German · French · Italian · Polish · Dutch
  • Level: Beginner
  • Unlimited access forever

Category
Areas
 Realistic Oil Portraiture: Conveying Detail and Expression. Illustration course by Alan Coulson Best seller

Realistic Oil Portraiture: Conveying Detail and Expression

A course by Alan Coulson
Portrait Artist. Hebden Bridge, United Kingdom.
Joined May 2020
  • 99% positive reviews (550)
  • 13,658 students