


Tips and Tricks: How to Take Haunting Halloween Photos
Learn how to create ghostly silhouettes, make the most of autumn scenes, and add spooky after effects
Halloween is the perfect time to practice your spooky photography skills. Not only is the holiday about the frights, as the nights draw in, colors turn, and the leaves start to fall, there’s really no better time to get out into nature with your camera to capture some eerie scenes.
Here, award-winning landscape and architecture photographer Yaopey Yong (@yaopey) shares a few of his composition tips and editing tricks for taking spooky Halloween pictures.

Hi! I'm Yaopey, a landscape and architecture photographer. Originally from Malaysia, I'm currently residing in the United Kingdom.
My works have been featured in books, magazines, and exhibitions in London and New York. My photography represents a contemporary approach to landscape and architecture, examining age-old topics such as stillness, light, and the interplay of geometry through utilizing modern post-production techniques.
Form, figure, and focus are a consistent theme throughout my oeuvre. My artworks exhibit both representational and impressionistic approaches, seeking to find and examine the balance between configuration, appearance, and impact.
In this article, I'm going to share with you my tips for taking spooky photographs this Halloween.
Ghostly Silhouette

Creating a ghostly silhouette is really fun and actually super easy! All you need is a camera with aperture priority or shutter priority mode, and a tripod. My personal preference to do this is nighttime or somewhere with low light. If you are doing this during the day, use a neutral density filter to drag down the shutter speed.
Now, set up the tripod and compose the image. You need a shutter speed of around ten seconds, use aperture priority mode and dial up the aperture to slow down the shutter speed, or you can use shutter priority and let the camera do the rest.
Next, get into position and pose! When it’s about five seconds (if the shutter speed is ten seconds), dash your way out of the frame. Experiment with the shutter speeds and the duration you are in the frame to get the result you like.
In this image, I chose a location with a street light above me to cast a hard shadow to accentuate that ghostly effect. In editing, I increased the saturation of background color to produce a contrast between the foreground and the background.
Spooky Walk

Black and white are often associated with spookiness. With a bit of work in editing, you can transform an ordinary "walk in the park" image into a Halloween-themed shot. The ideal place to create this image is woodlands or a park with trees.
Autumn is a great time for this shot because the leaves are gone, leaving trees with their bare branches, which is the "main ingredient" for this shot.
I photographed this in portrait orientation to complement the vertical lines of the trees and the direction of the path.
In editing, convert the image to black and white once you have done the basic tonal and color adjustments. In Adobe Lightroom, I used the radial and gradient filter, in combination with the luminance mask to target select the trees to make them darker. I used the same technique to make the sky and the path brighter, thereby enhancing the contrast between the bright and the dark.
Lastly, I added a heavy vignette to darken the edges to further enhance the effect. To add to the spookiness, you can include a person (or yourself!) dressed in white or in a hoodie! This would also add scale to the scene.
Haunted House

The ingredients for this effect is a lone house with some trees around it. The more trees the spookier! Once again, shooting in autumn helps because of the seasonal change of the foliage.
My personal preference for composition is to include the sky, cloudy and moody are the best. Watch out for the slower shutter speed as overcast weather with low light will require setting a higher ISO to compensate.
In Adobe Lightroom, I desaturated the color globally and reduced the luminosity for green. This created an old, creepy look to the house.
You can also adjust the whites, darks, and shadows of the sky with a gradient filter to make it look more dramatic.
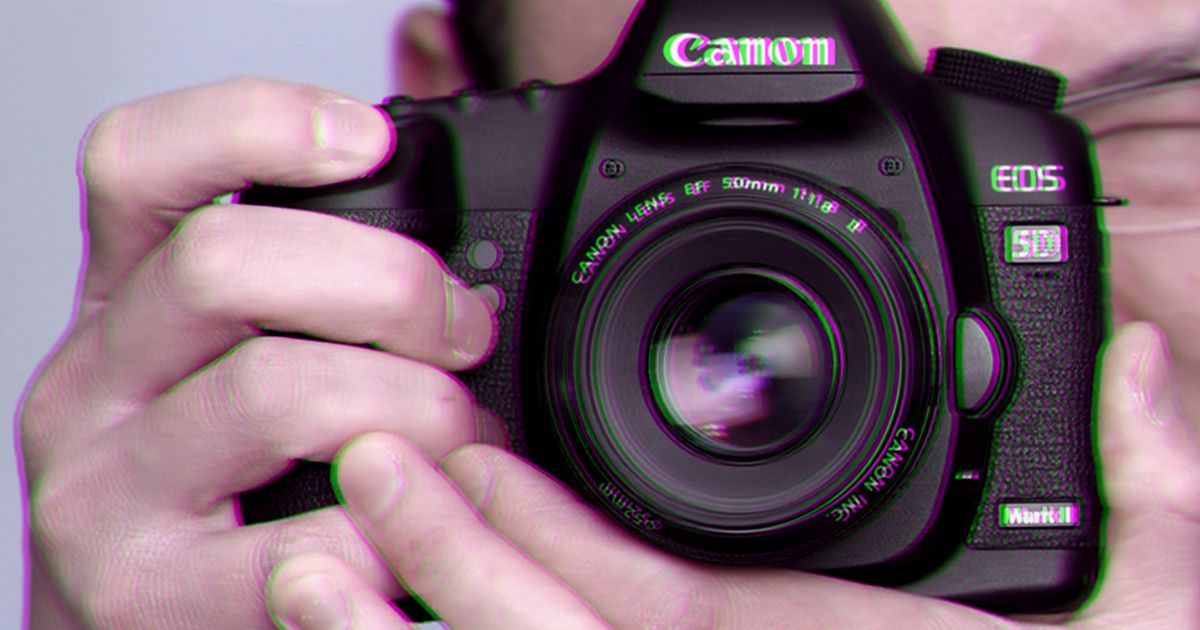
Next, I exported the image to Photoshop to create the glitch effect, which is really simple:
1. Duplicate the background layer twice, which means you now have three layers of the same image.
2. Double-click the first layer to bring out the "Layer Style" panel.
Go to Blending Options → Advanced Blending → Channels, uncheck the box for "G", which is for green color and click 'OK'.
3. Repeat this step for the second layer but this time uncheck the box for "R", which stands for red. Finally, for the third layer, do the same but uncheck both "R" and "G".
All you need to do now is move the second and the third layer left or right using the move tool to get the glitch effect you like!
This article was written by Yaopey Yong, an award-winning landscape, architecture photographer, and teacher whose works have been featured in books, magazines, and exhibitions in London and New York. At Domestika, Yaopey teaches Color Theory in Photography. Through the course he takes you through the fundamentals of color, elucidating on how we perceive color on an anatomical level. Then, he goes over the different types of color wheels before exploring hue and saturation.
You may also like:
- 6 Free Tutorials to Learn Essential Photography Skills in 20 Minutes
- Top Tips for Mastering Night Photography
- 6 Facts About Classic Halloween Movies You Probably Didn’t Know


1 comment
alsu
Woaa, thanks a lot, will use it!