


Photoshop Tutorial: Essential Shortcuts to Create Textures
Discover how to use basic keyboard shortcuts to create textures in Adobe Photoshop, with Nicholas Stevenson
Adding textures to your illustrations and designs is a great way to give them more personality and depth, and it’s an easy way to take your work to the next level. While the end results are impressive, the process to get there is surprisingly simple once you've mastered a few basic tricks and keyboard shortcuts in Adobe Photoshop.
Nicholas Stevenson (@nicholasstevenson) is an illustrator, animator, and university lecturer who is known for creating highly textured and layered illustrations. In this tutorial, he shows you step by step how to use shortcuts in Photoshop to create and manipulate textures.

How To Easily Create a Base Illustration for Your Textures
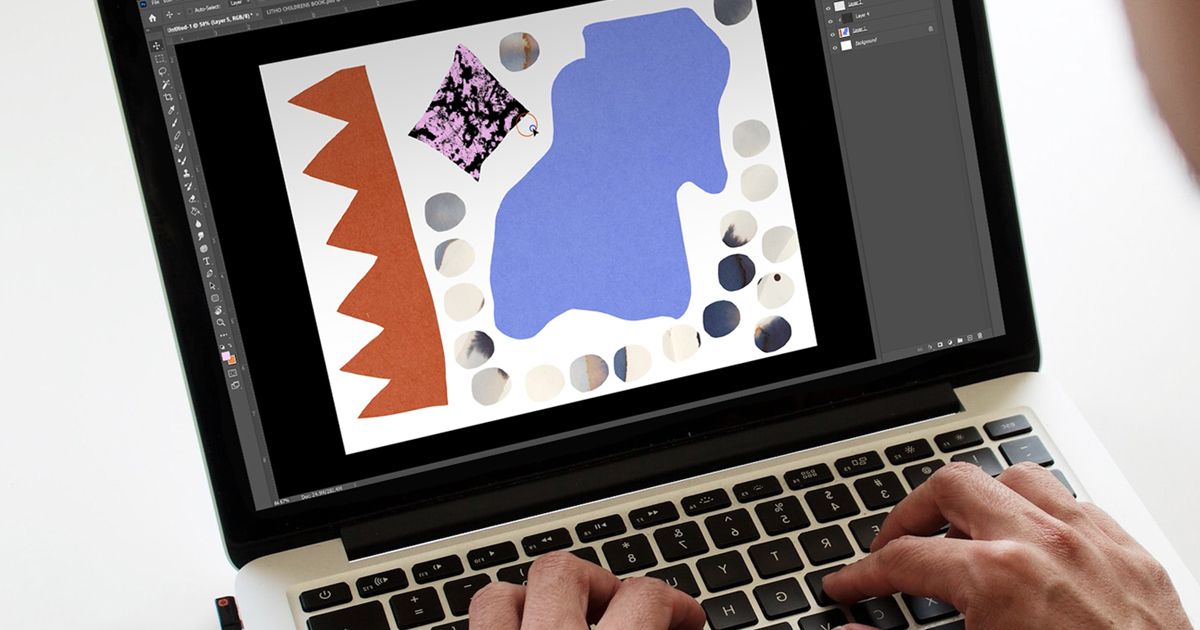
1. Before you can begin creating textures, you’ll need to create an illustration. To create a basic one with shapes, first press Control + Shift + N to make a new layer, and then press L to select the Lasso tool.

2. Using the Lasso, draw a shape. By pressing Alt + Delete you can fill the shape with your front color, by pressing Control + Delete you can fill it with your back color. Press Control + D to deselect the shape.

3. The more shapes you add, the more textures you can play with. You can either continue to create new layers, or if there’s a shape you want to duplicate, press Control + J to duplicate the layer and reposition the shape by dragging it. Once you’re done, press Control + E to merge your layers. Now you're ready to start adding textures.
How to Use Essential Shortcuts to Create Textures in Adobe Photoshop
1. Press L to use the Lasso tool to select the texture you would like to use.
2. Press Control + C to copy it.
3. Open your illustration and press Control + V to paste the texture onto a new layer.

4. Position the new texture layer beside the layer with the shape you would like to add that texture to. Hold down the Alt key and hover your mouse between the two layers to clip them together.

5. In the layer settings, select the Screen blend.
6. Using your mouse, you can drag the texture to adjust what parts of it are visible in the shape.
7. Press Control + T and then use your mouse to shrink, increase, or rotate the clipped texture. When you’re done, press Enter.

8. If you’d like to open the panel to adjust the Saturation, press Control + U.
9. If you’d like to open the panel to adjust the Levels, press Control + L.
10. To apply the original base color of your illustration to the texture, Multiply the layer.
11. By pressing I you can invert the colors in the texture.

12. Repeat these steps for each texture you’d like to apply to your illustration.
13. Most importantly, make sure to use Control + S to save your work.
Did you enjoy this tutorial? If you'd like to learn more about how to create unique illustrations full of textures and personality, check out Nicholas Stevenson's online course Texture Creation for Digital Illustration in Photoshop.
You may also like:
- Illustrator Tutorial: Essential Tips for Beginners
- Illustrator Tutorial: 17 Essential Keyboard Shortcuts for Illustrated Lettering
- Adobe Illustrator: Graphic Design for Beginners
- Adobe Illustrator for Beginners
- Introduction to Photoshop for Illustrators


0 comments