


Procreate Tutorial: How to Create Lettering Textures and Brushes
Learn how to create your own brushes and textures from scratch for digital lettering projects, with Jimbo Bernaus
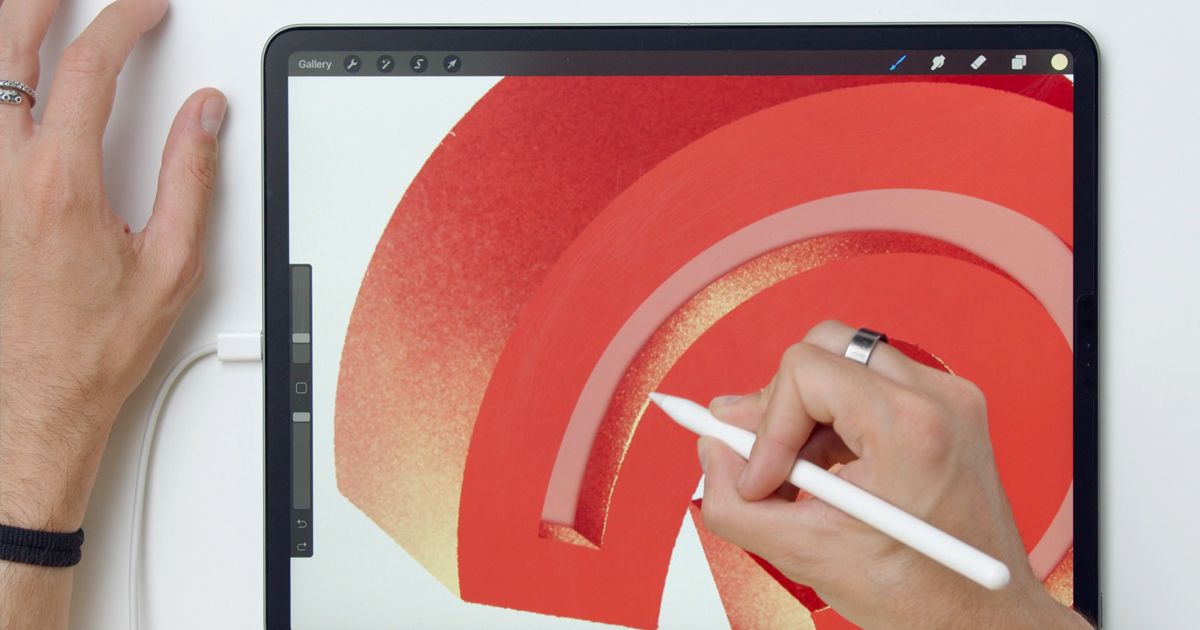
Messages can communicate more than just words when they’re styled with beautiful, standout lettering. That’s why Procreate is such a great tool for digital lettering artists, offering a range of brushes with different textures. If you want to create something a little different and uniquely yours, you can make your own Procreate brushes from scratch.
Jimbo Bernaus (@jimbobernaus) is a graphic designer and lettering artist whose clients include BMW and Carlsberg. Working from his studio in Croatia, Jimbo often incorporates his bold and lively lettering into colorful illustrations.
Join him in this step-by-step tutorial as he shows you how you can create your own Procreate brushes using just a photo.
How to Create a Brush in Procreate
1. Choose your photo
Take photos of any interesting textures you find. Choose the texture you like the best, and open your photo in Photoshop. Adjust the levels so that the texture will stand out once it is a brush in Procreate.

2. Even out the texture
Use the Burn Tool or the Dodge Tool to even out any highlights or shadows. For more noticeable imperfections, use the Patch Tool to overlay the imperfection with a more evenly textured area of the photo.

3. Crop the image
Crop the image into a square, making sure the dimensions are square by checking the toolbar in the top left hand corner of Photoshop. Position the cropping square over an area of the photo where the texture is even.

4. Disguise the crop boundary line
Once cropped, find the dividing line between the cropped square and the rest of the photo by going to Filter > Other > Offset. You can then use the Patch Tool or Clone Stamp to disguise the edges of the cropped square.

5. Import your texture into Procreate as a brush
Save your image as a JPEG and export it to your iPad. Open Procreate and create a new canvas, making sure that the dimensions are square. Head to the Brush Library and click on + > Grain > Import a photo, then tap on Done.

6. Finishing touches
Change the brightness or contrast of your brush texture in Grain, to alter how your brush behaves you can play with the settings in Properties.
Did you enjoy this tutorial? If you’d like to learn more about digital lettering, check out Jimbo Bernaus’s online course Custom Letter Design with Procreate.
You may also like:
- Illustrator Tutorial: How to Create a Brush for Vector Portraits
- Procreate Tutorial: Basic Actions for Working on an iPad
- Procreate Tutorial: How to Create a Gif Using Static Images
- Typography Animation with After Effects
- Animated Lettering for Advertising Using Procreate


1 commentaire
Awesome tutorial! Thanks!