Procreate Tutorial: How to Create a Gif Using Static Images

Learn Natalia Rojas’ simple, step-by-step technique and create an animated gif by combining static images
Natalia Rojas is a Colombian designer and founder of the Los Naked graphic design collective. She specializes in creating online content that speaks social. Today she’s going to teach you how to create animated GIFs that mimic traditional animation using Procreate.
Learn more in the video:
3 Steps to Create an Animated Gif From Static Images
1. Select the frames you’re going to use
Open the files from which you’re going to extract your Gif frames in Procreate. Once you know which frames you want to use, select Tools > Share > JPG to export them as static images.
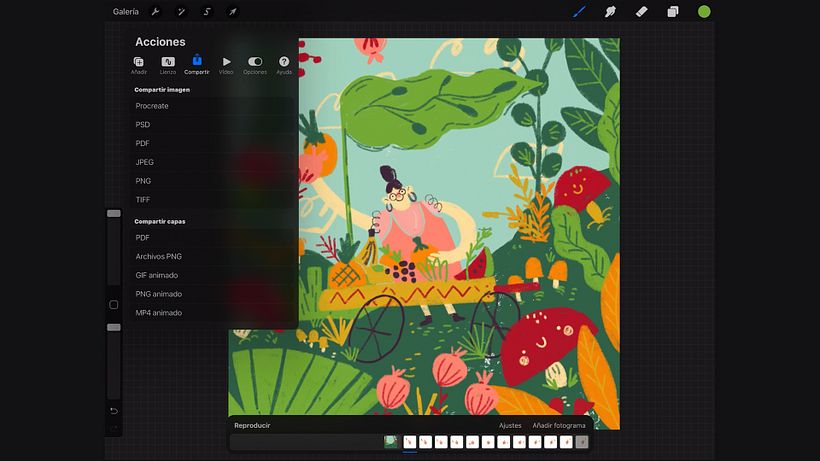
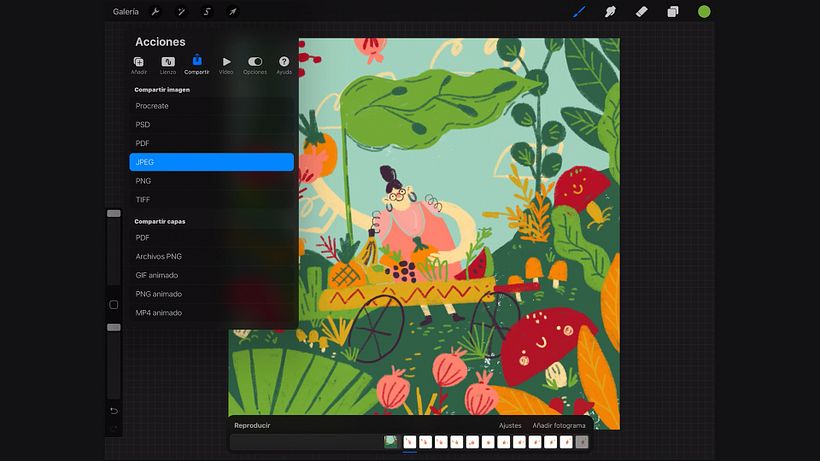
2. Create a new file
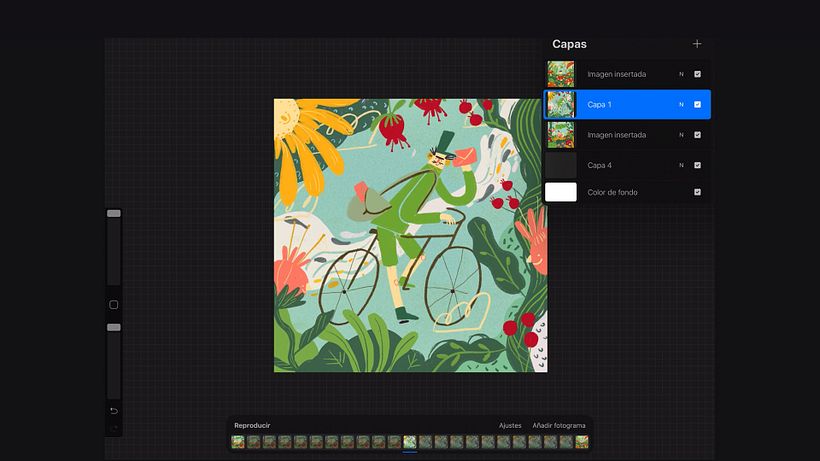
Remember the dimensions have to match the exported frames you saved. Import the images in Tools > Add > Insert photo.
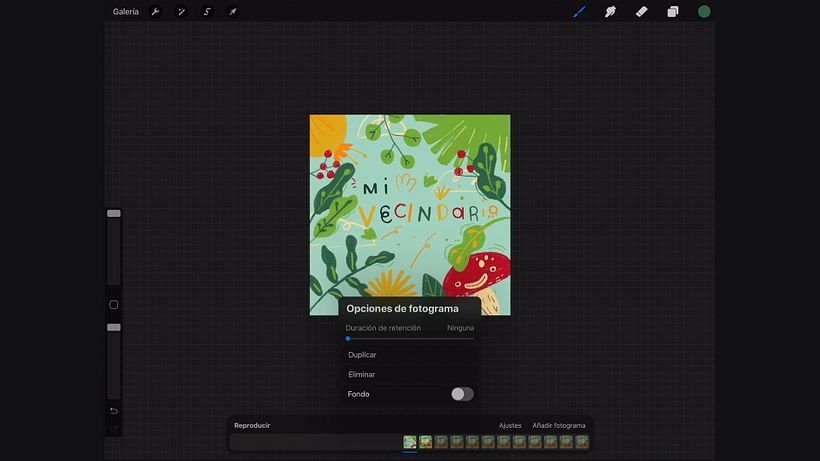
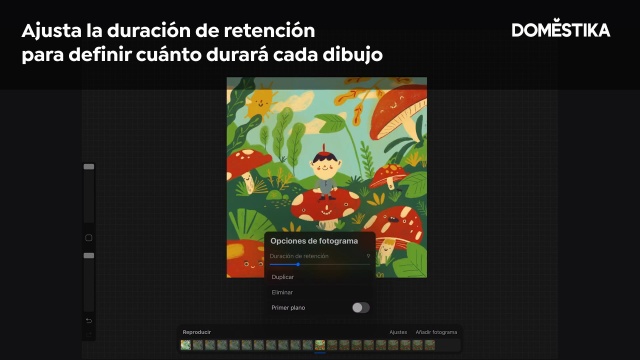
You’ll see the images you just imported, and they will follow each other in quick succession by default. Select Frame options > Display duration and increase the delay between each image.
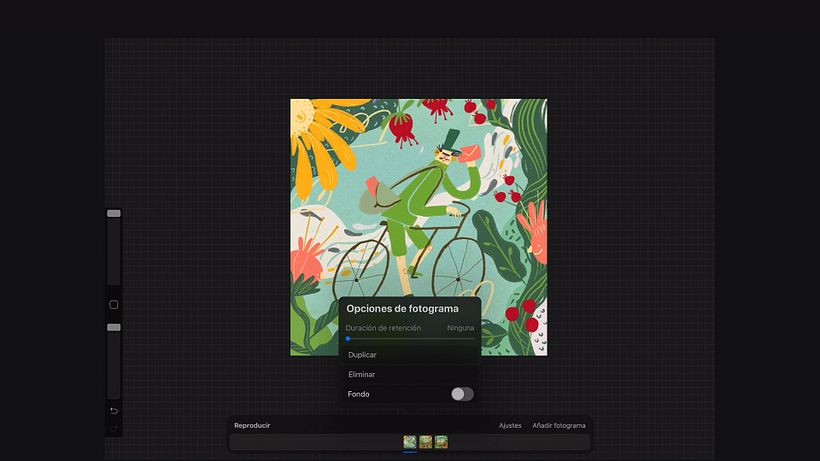
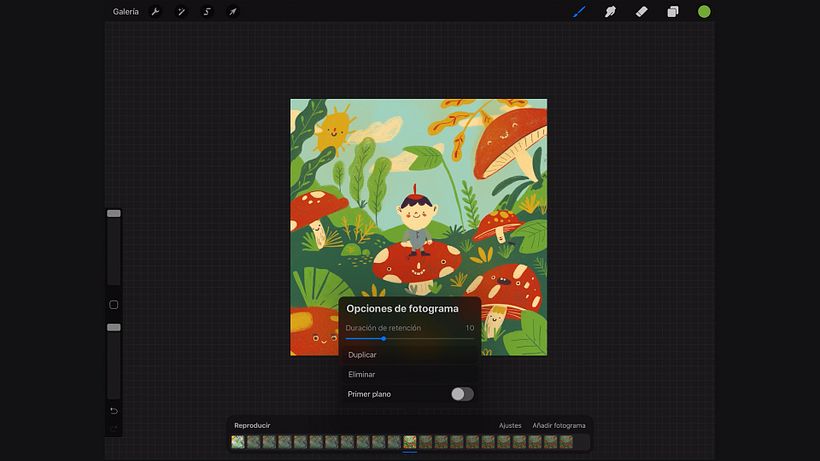
3. Create an introductory image
Select a new layer and add a background in a similar color to the predominant tone of your Gif images. You can add a title if you like, and any other interesting elements/illustrations. Adjust the display duration to match the others, save your project and Bob’s your Gif!
Like this tutorial? Remember Natalia Rojas teaches you the steps you need to turn your illustrated characters into animated Gifs using an iPad Pro in her online course: Illustration and Gif Creation on Procreate.
You may be interested in:
- Creative Composition for Illustration with Procreate, a course by Chabaski.
- Procreate: Creative Illustration Techniques, a course by Vero Navarro.
- Digital Portraits with Unique Style On Procreate, a course by Ulises Mendicutty.




0 comments