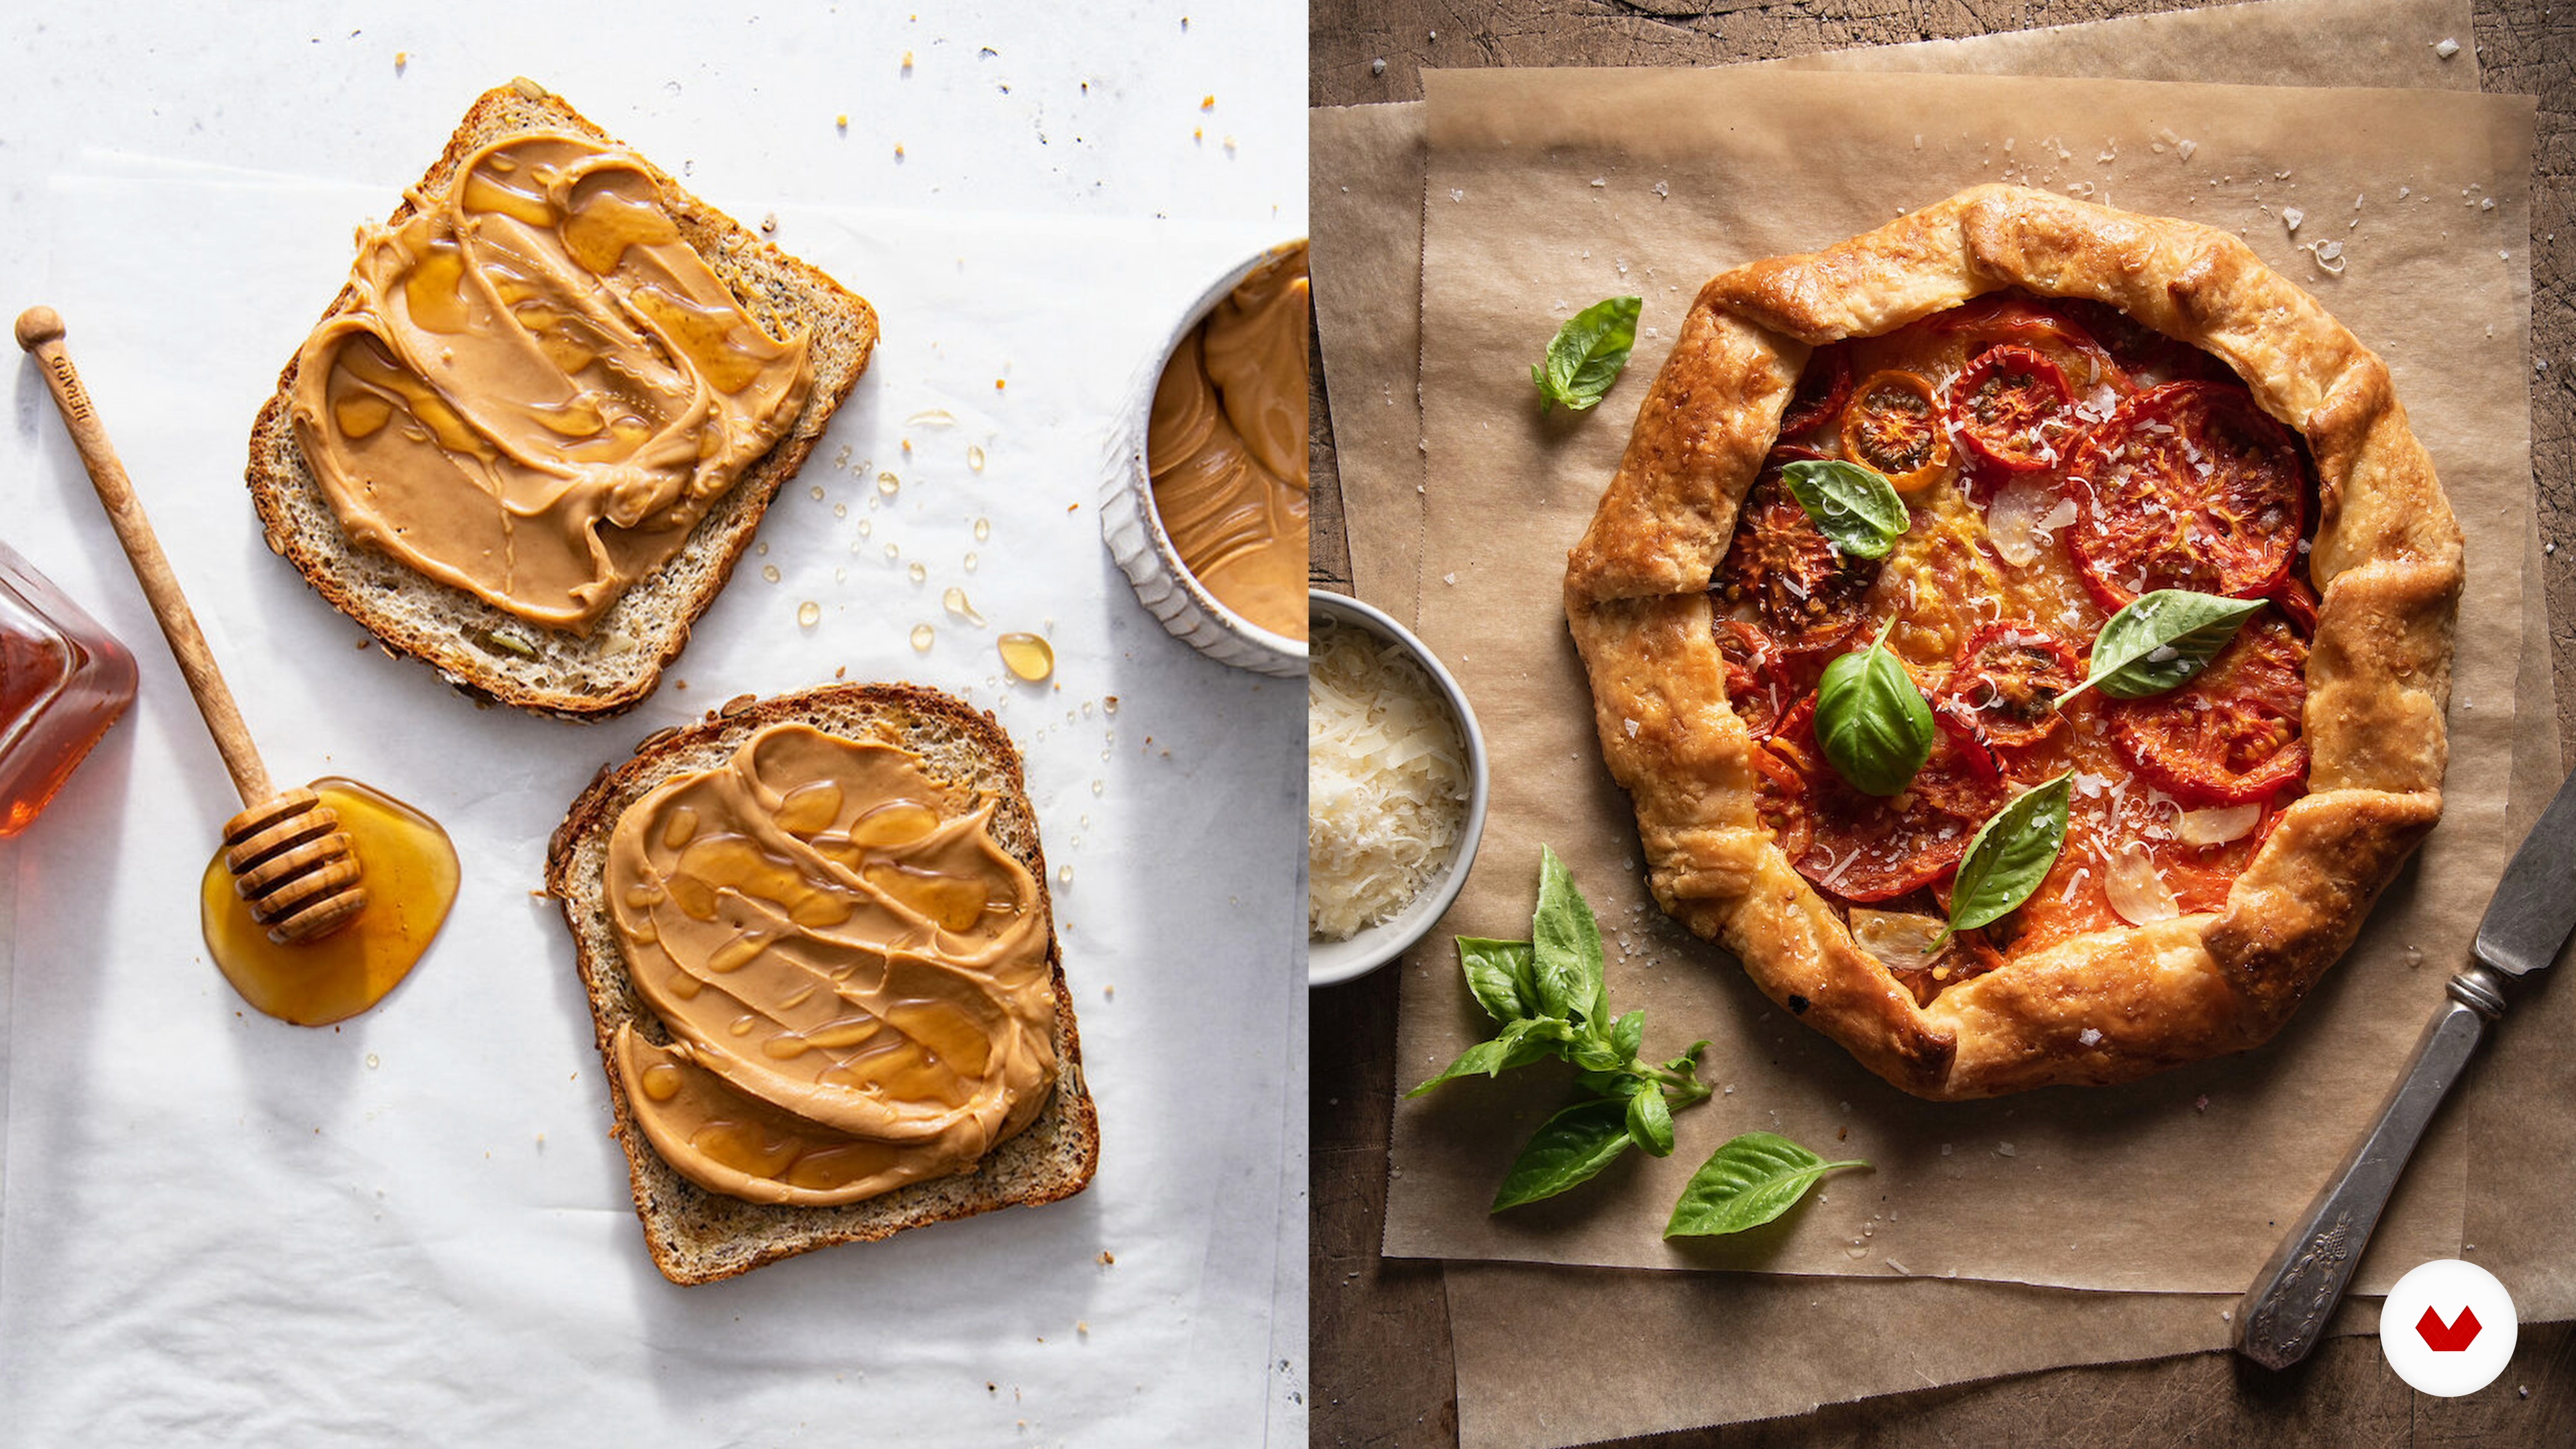
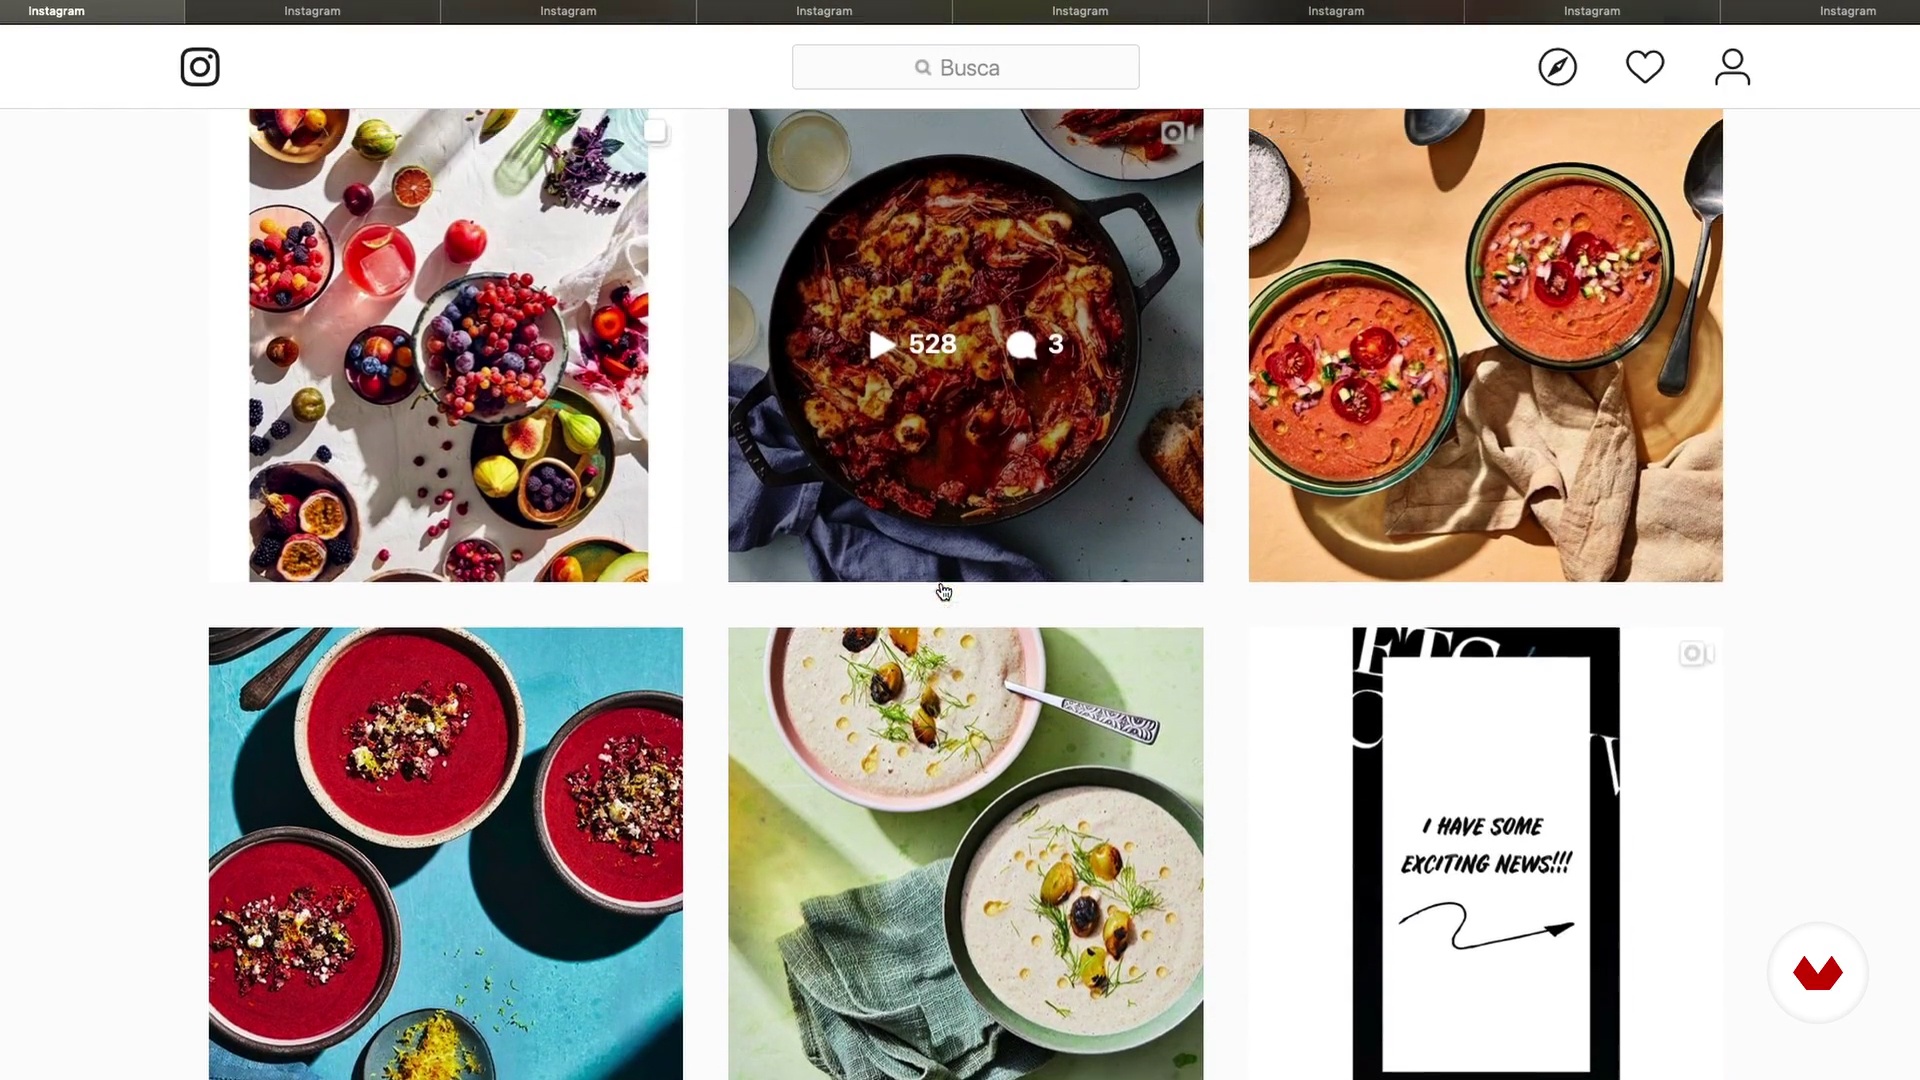
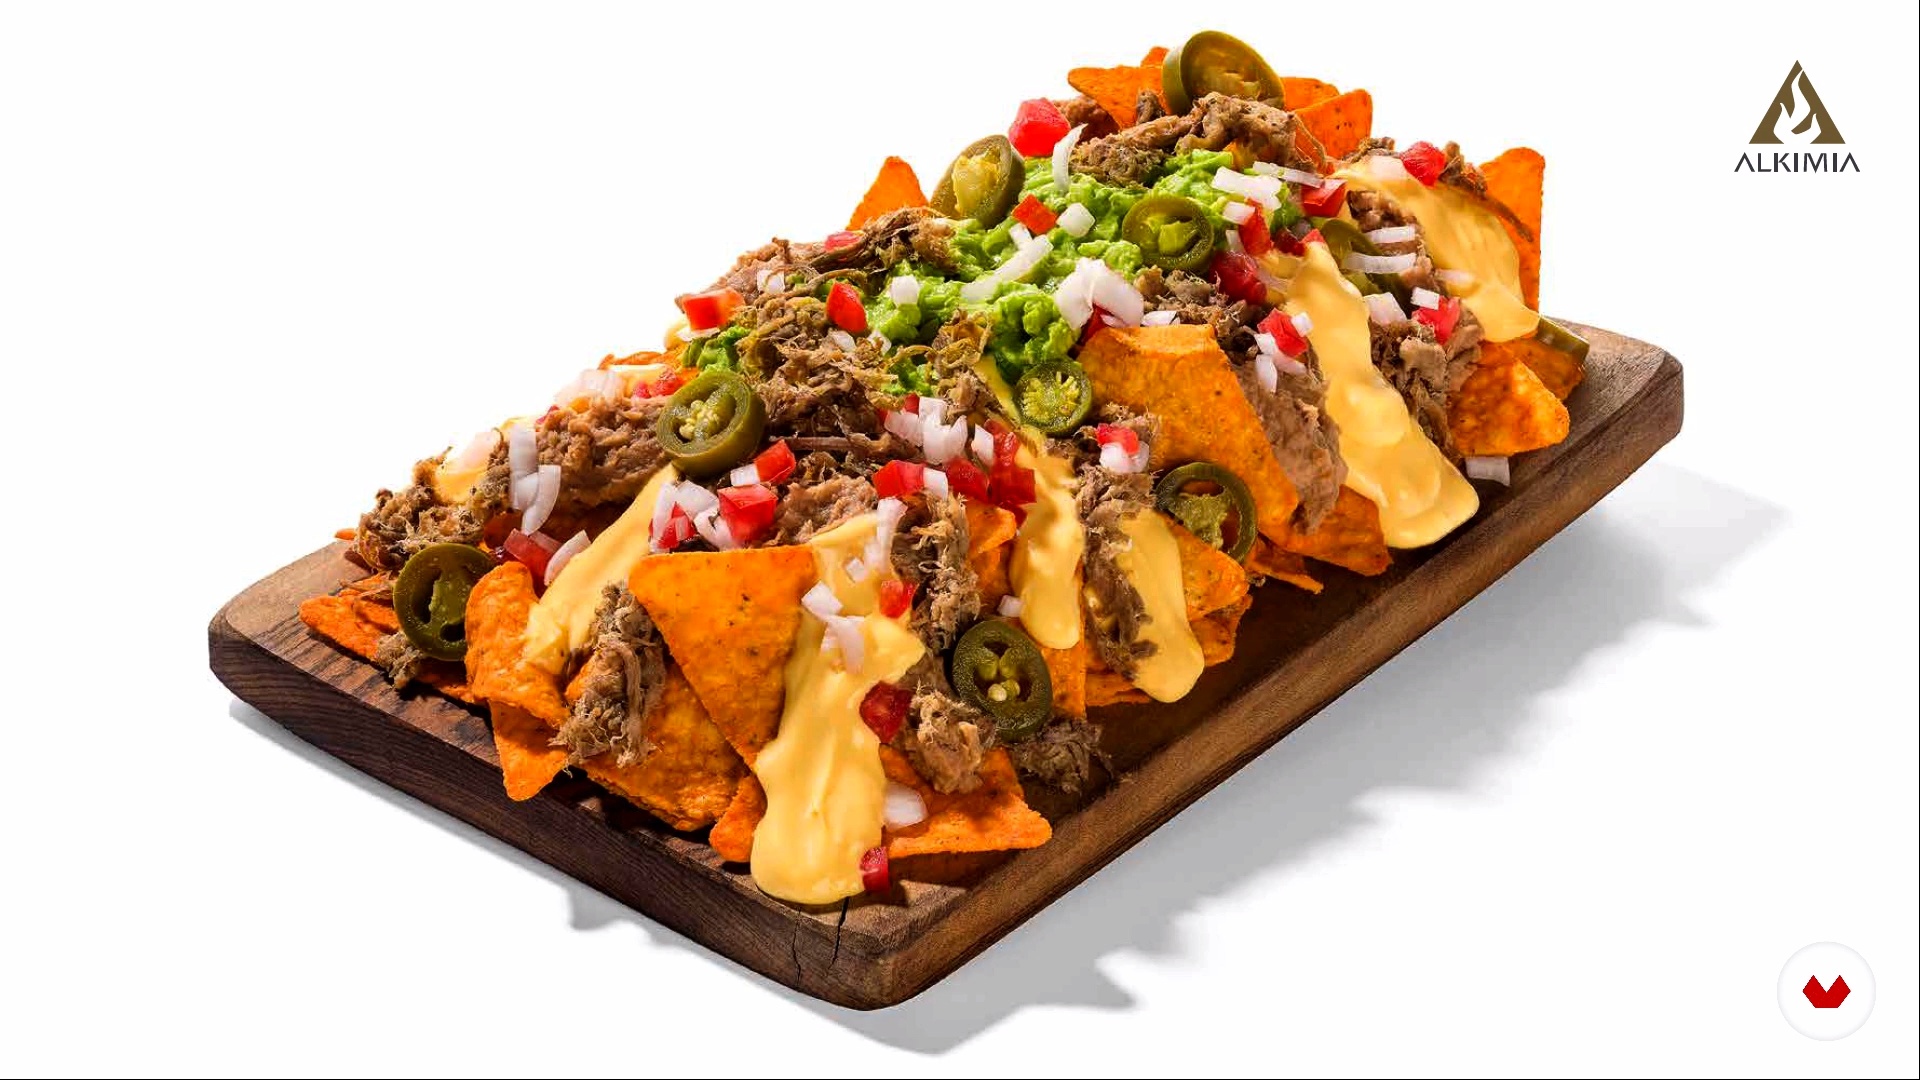
Specialization

Specialization in Food Photography and Styling

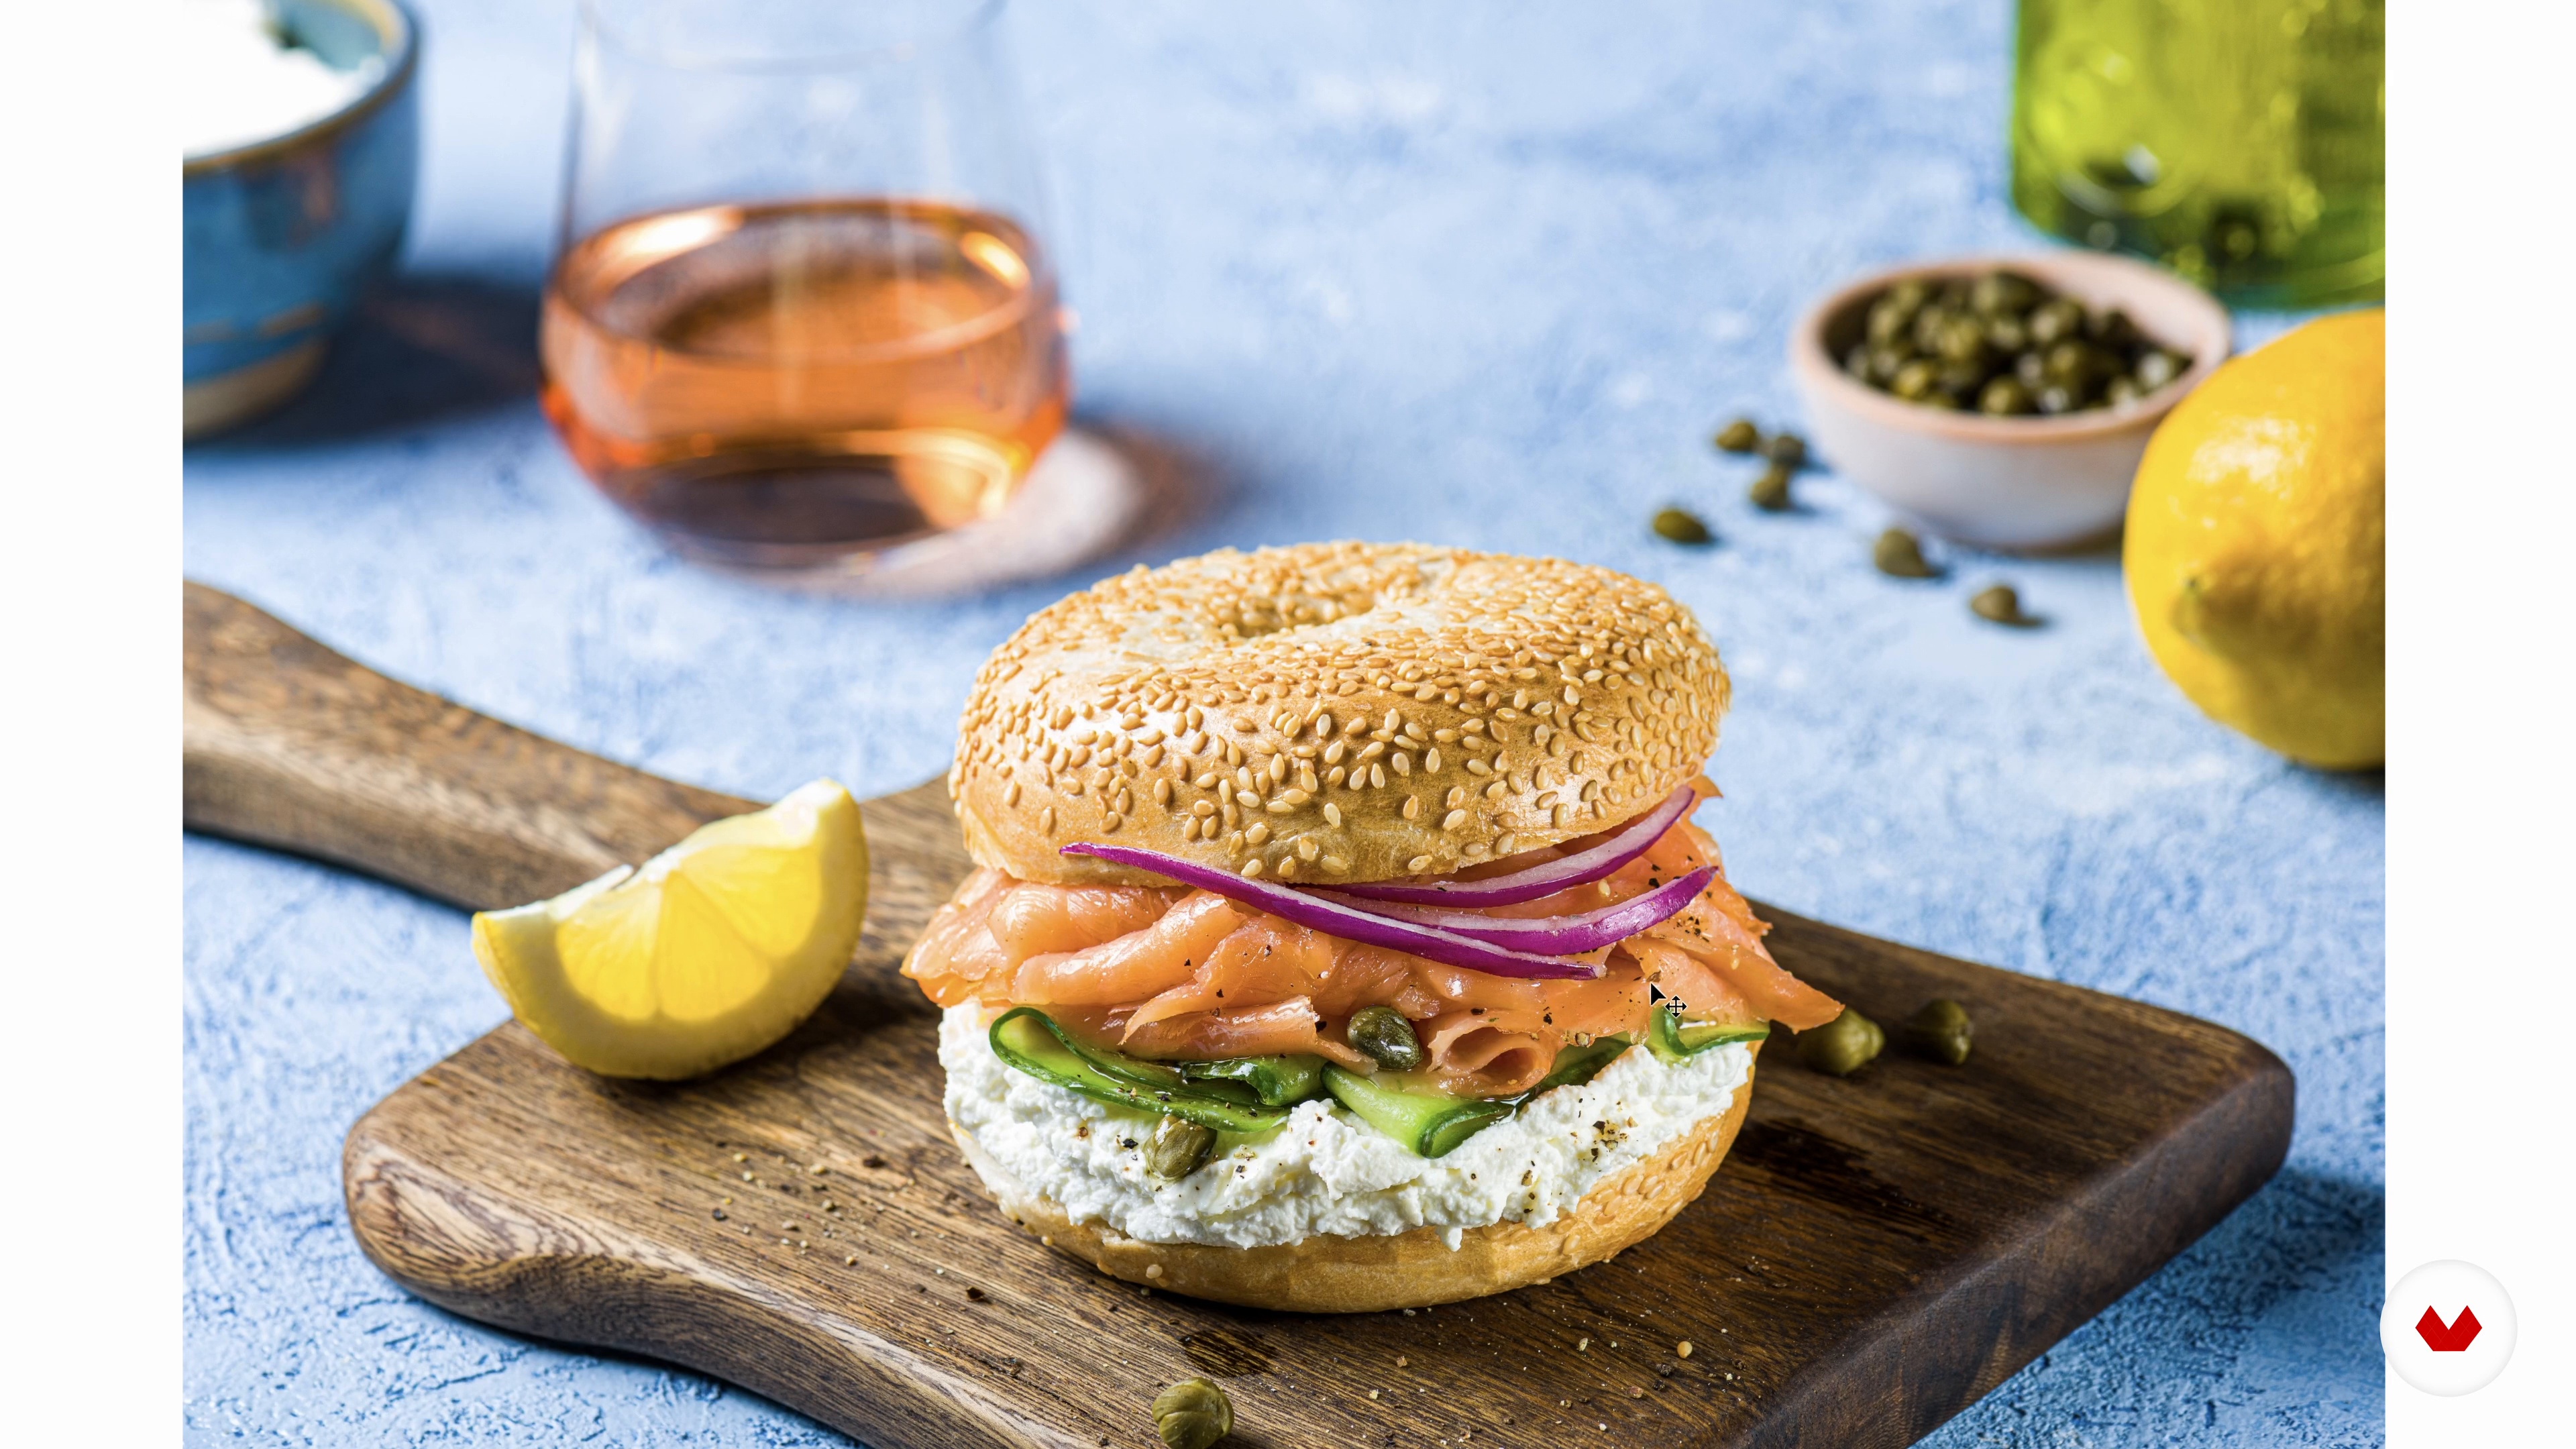
Capture food with your own style, mastering food photography techniques to create irresistible, professional images

Specialization · 7 modules

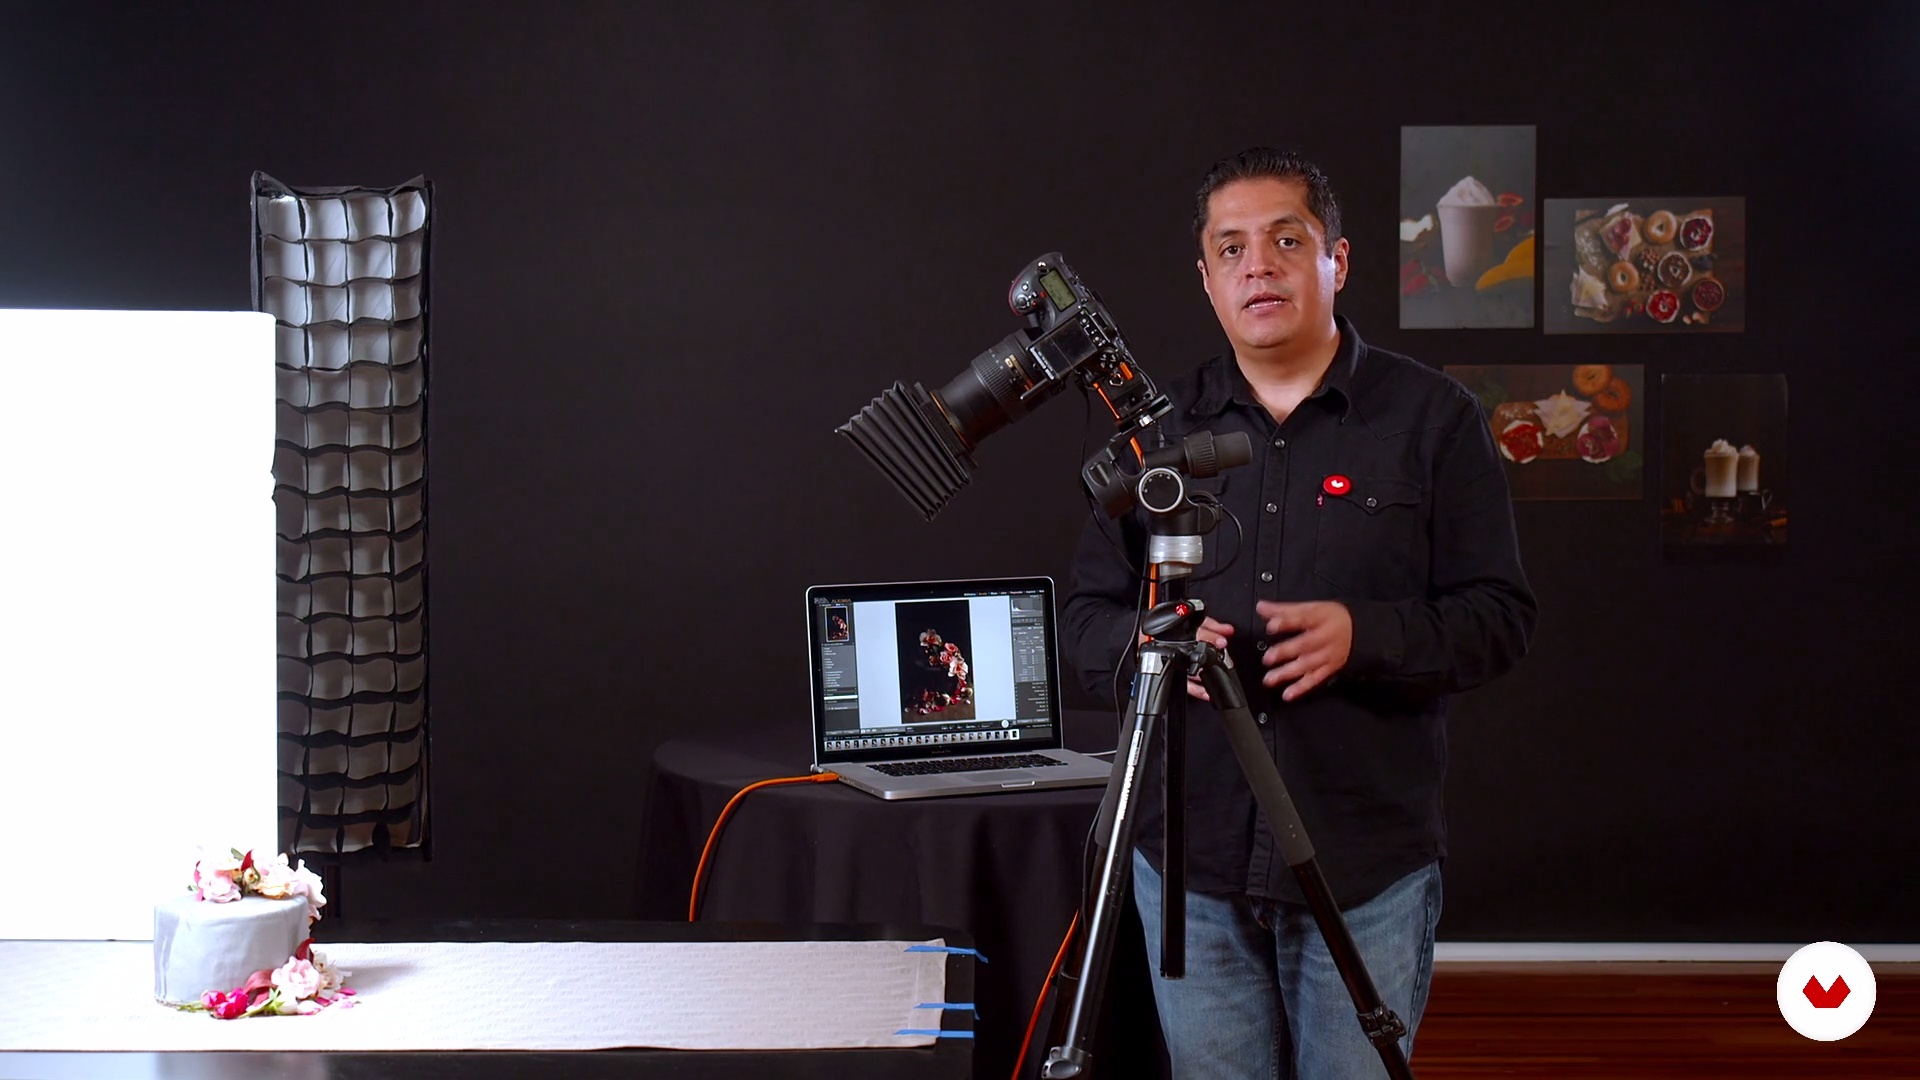
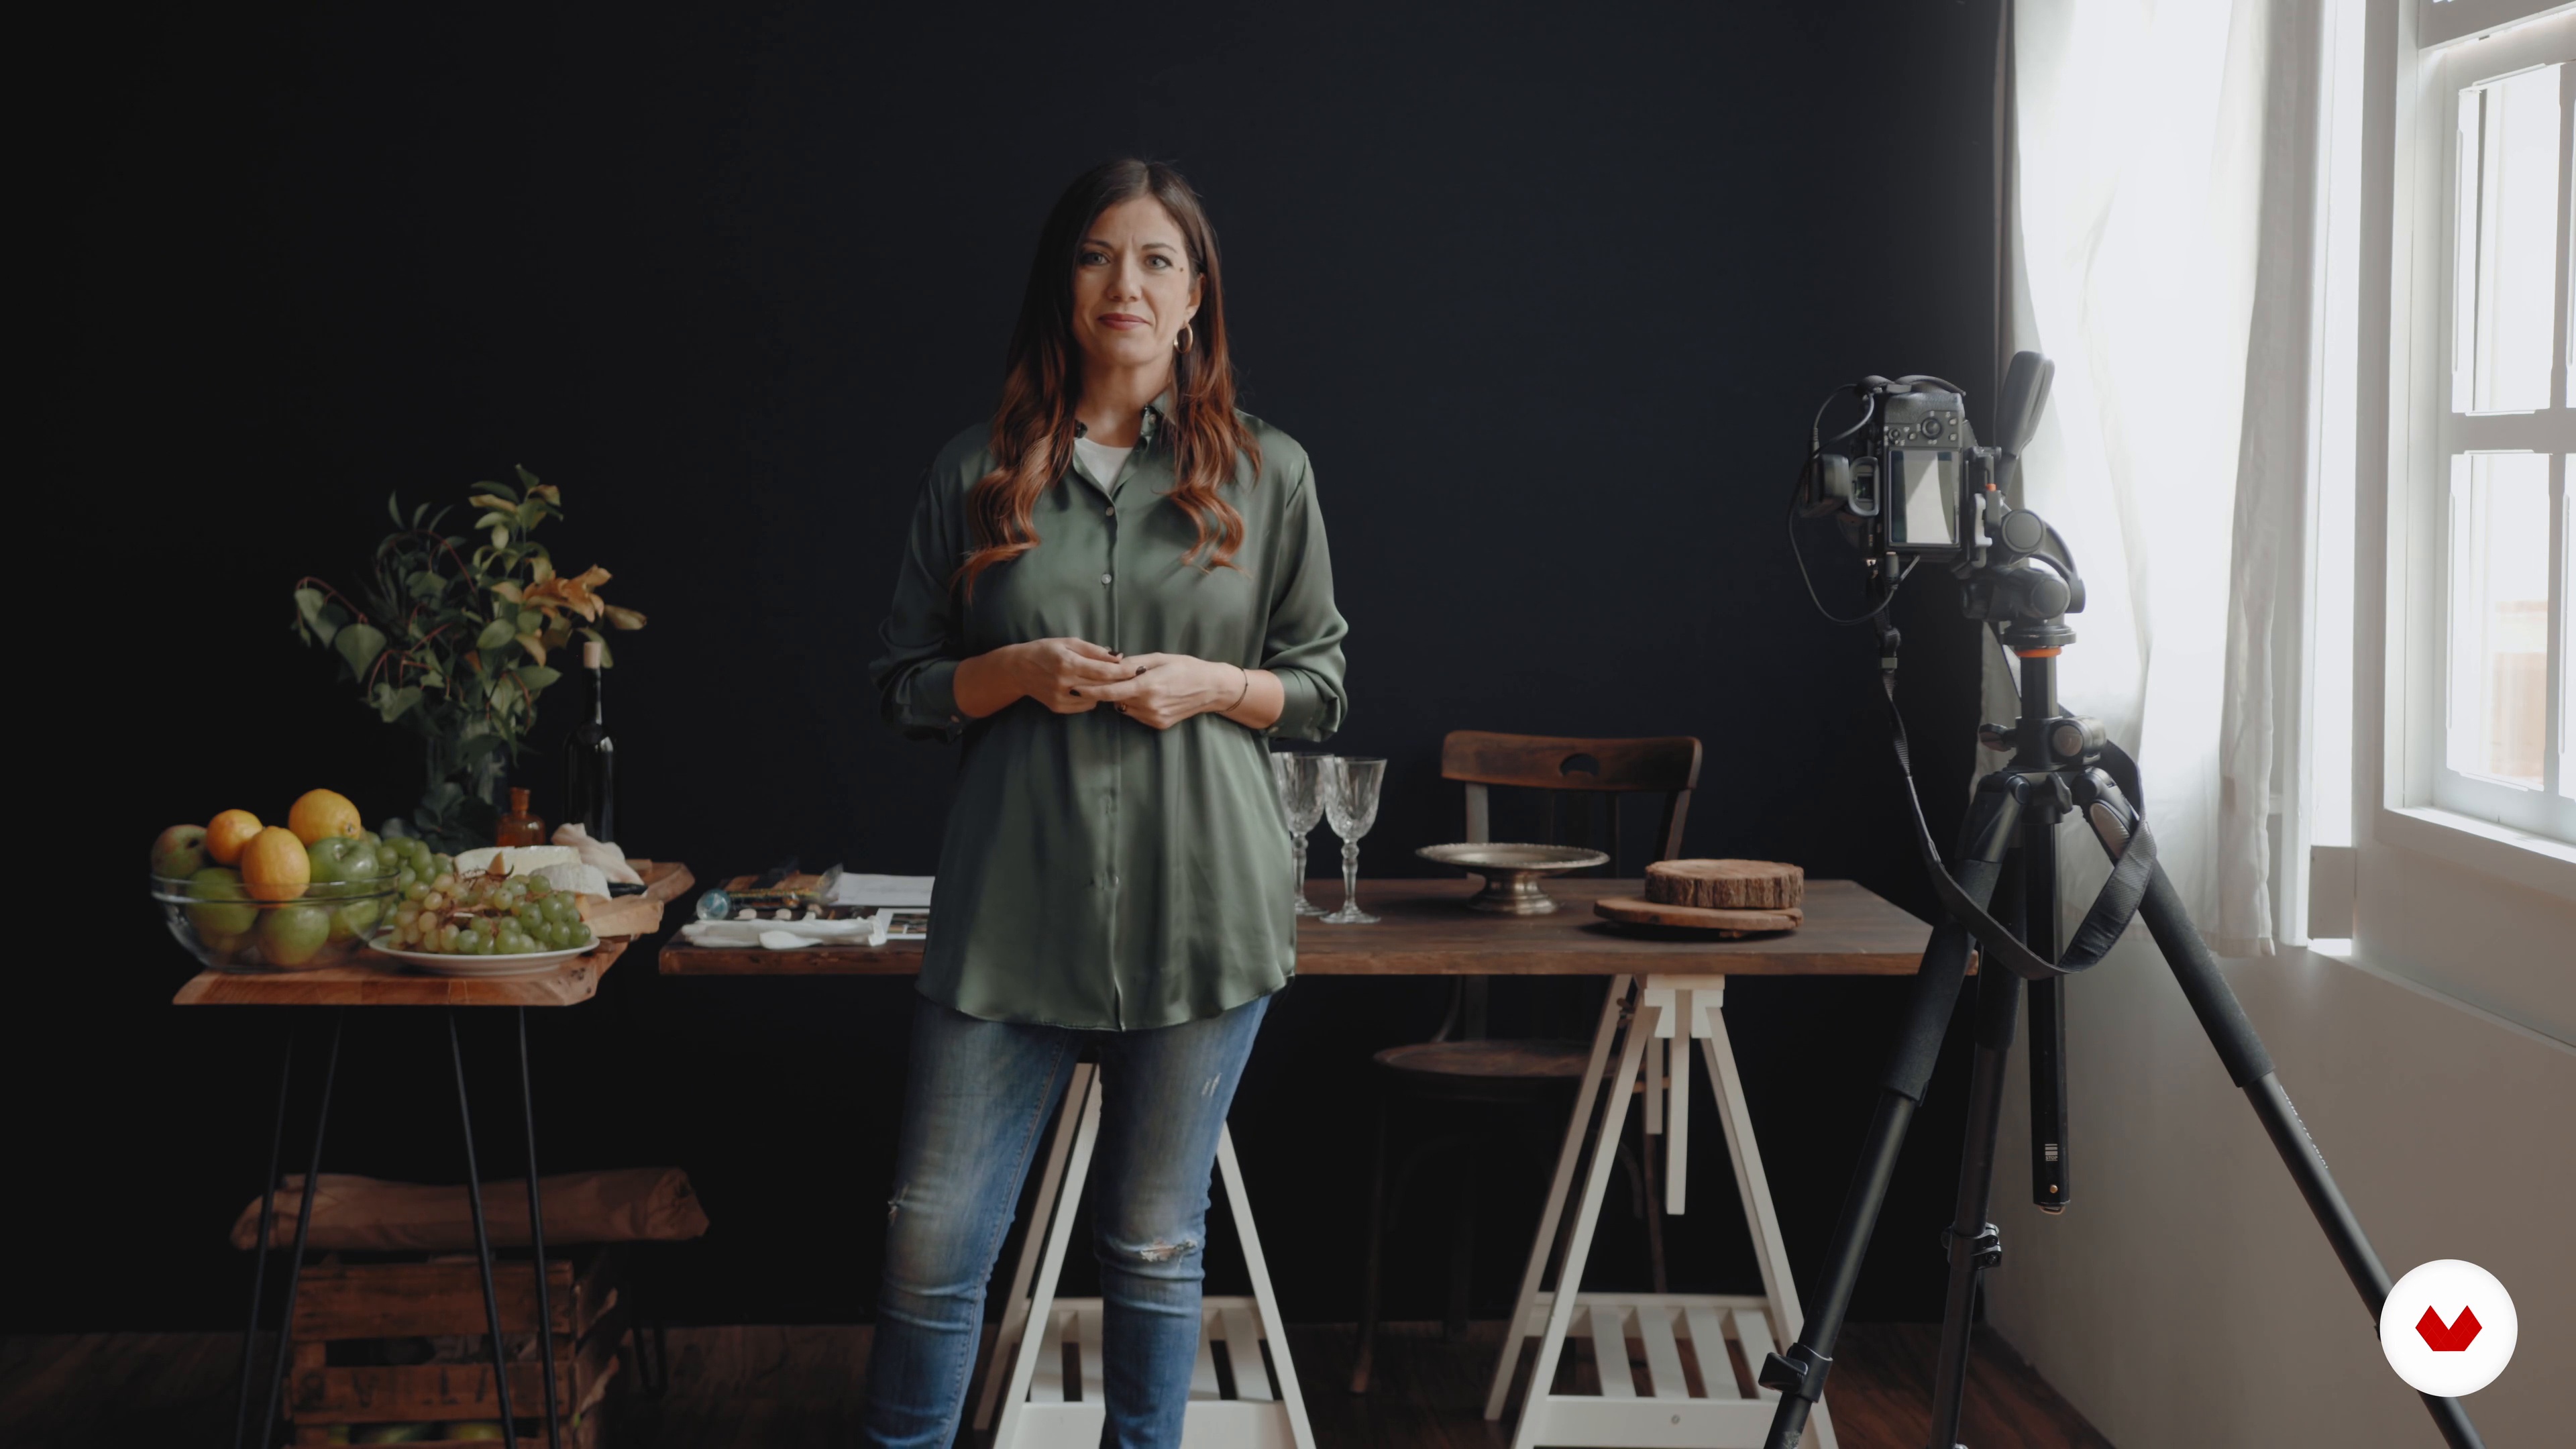
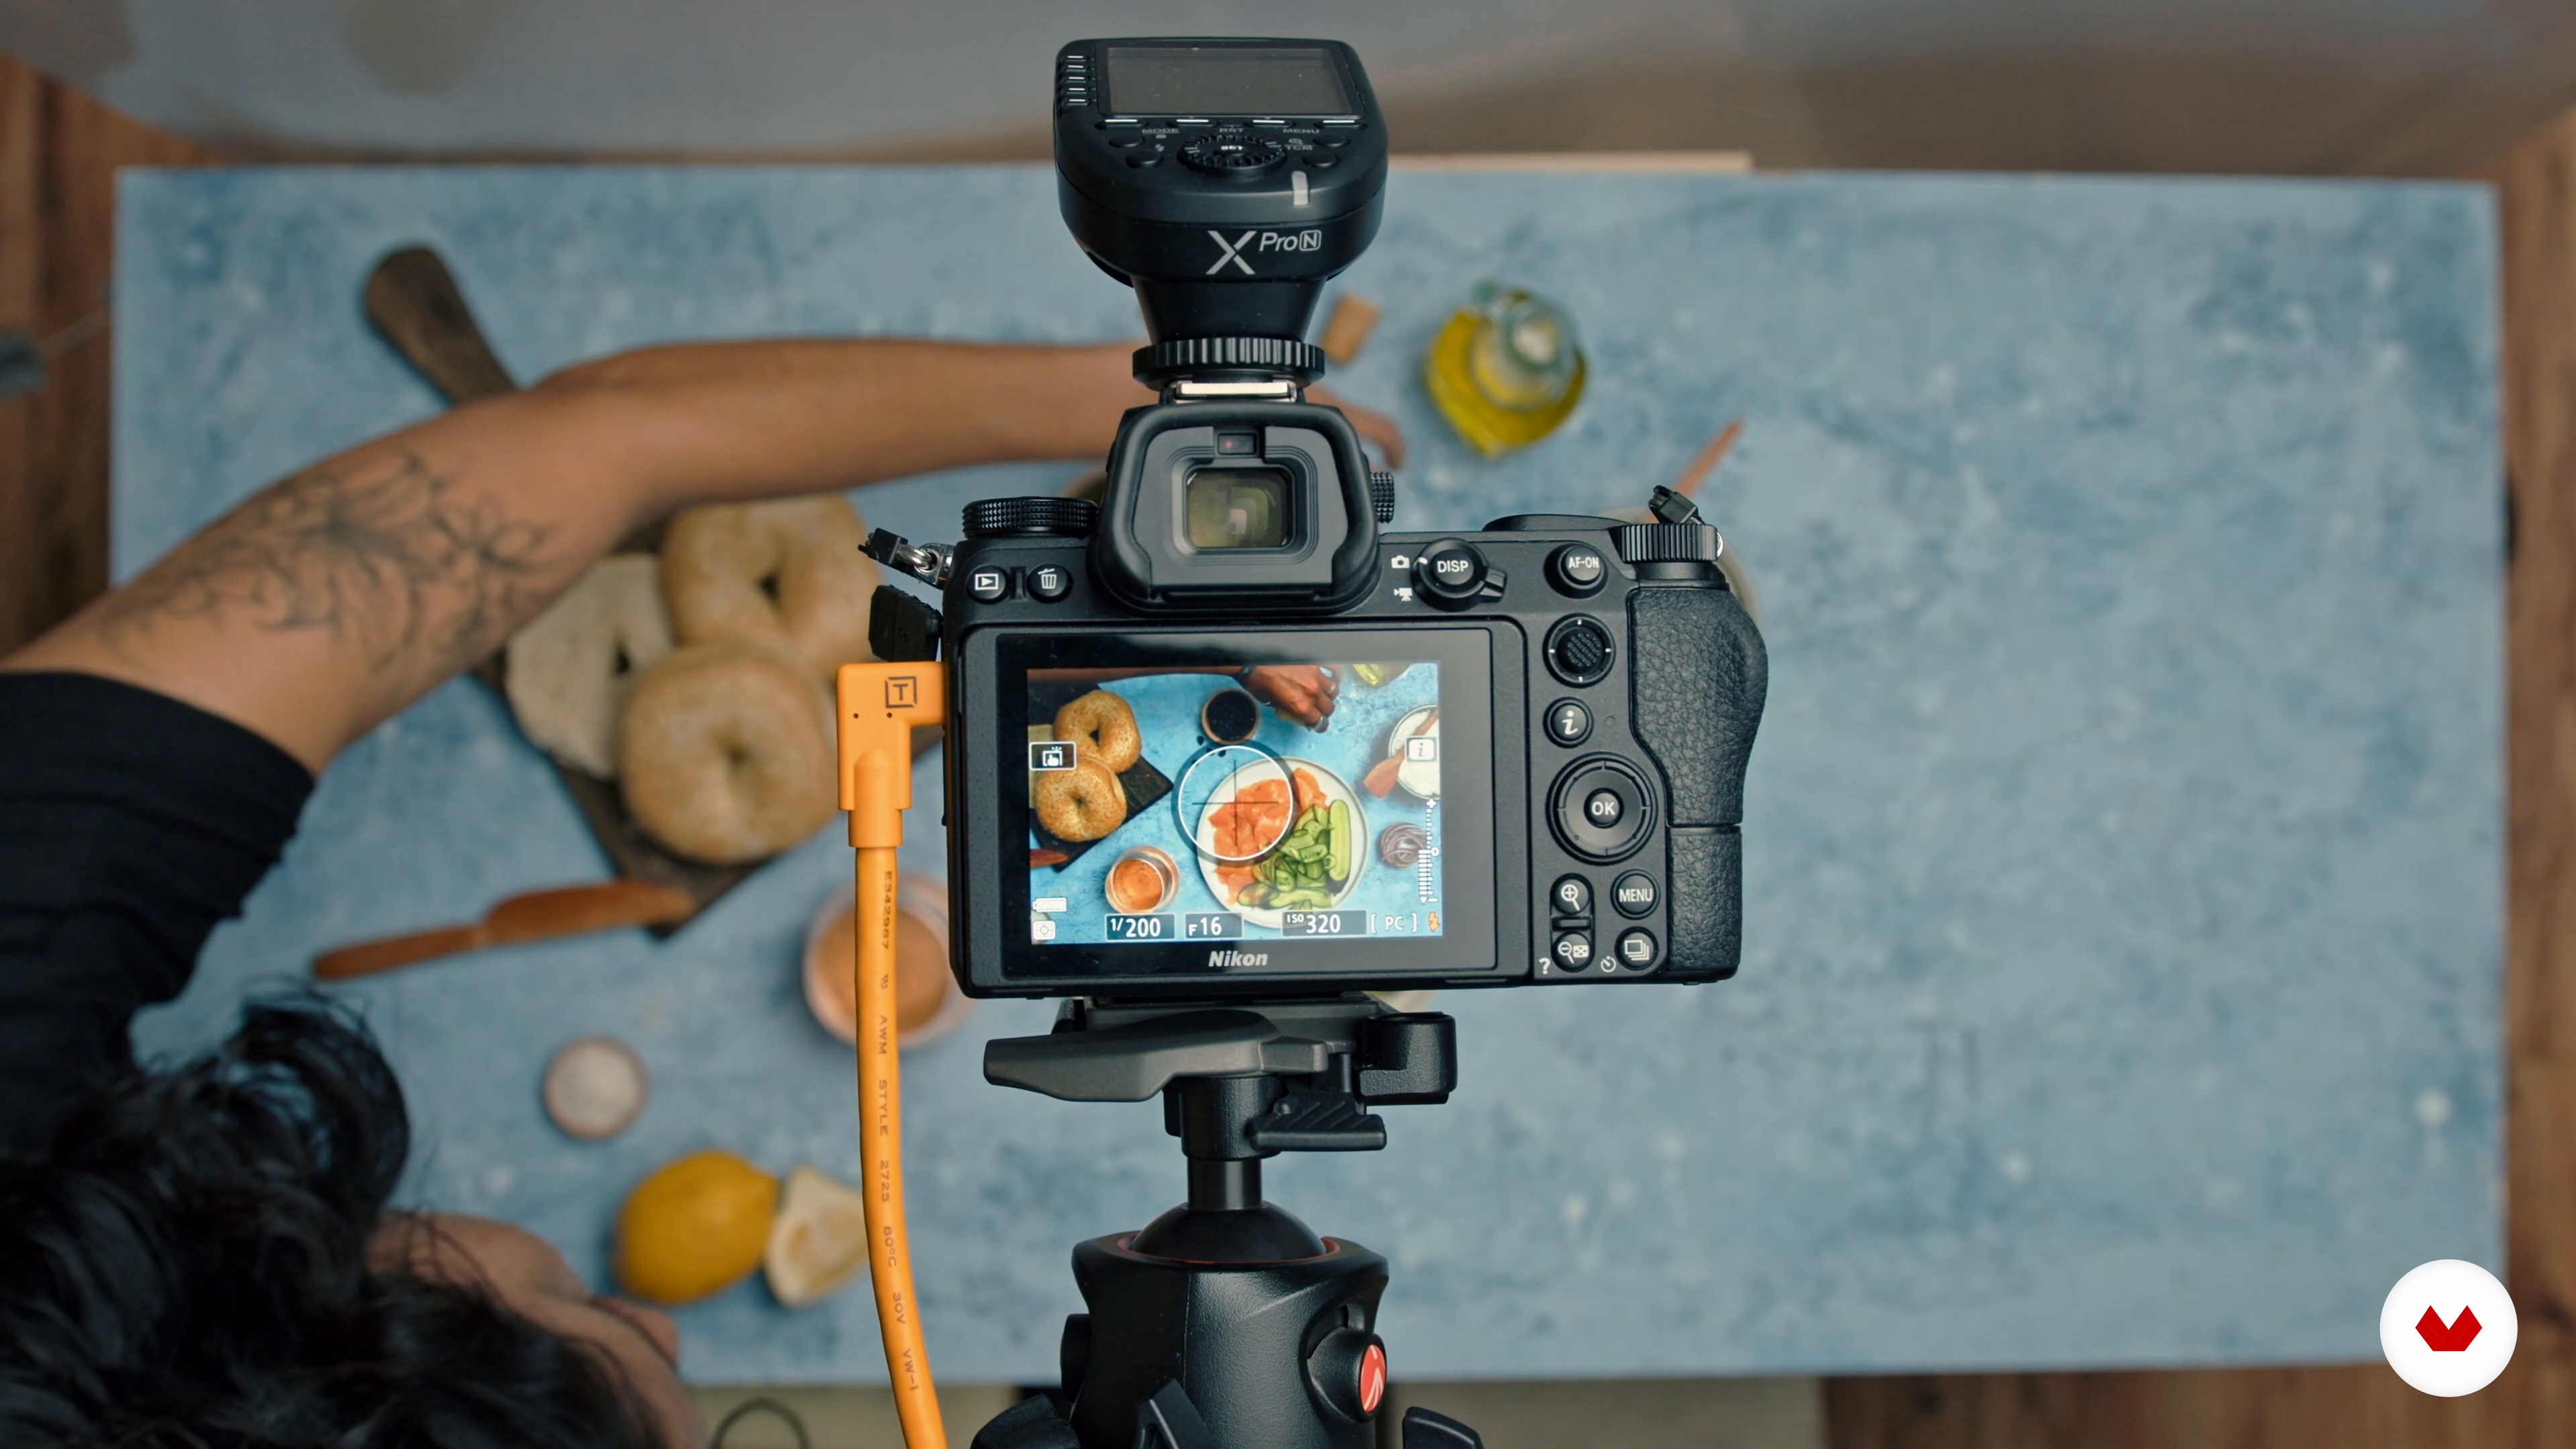
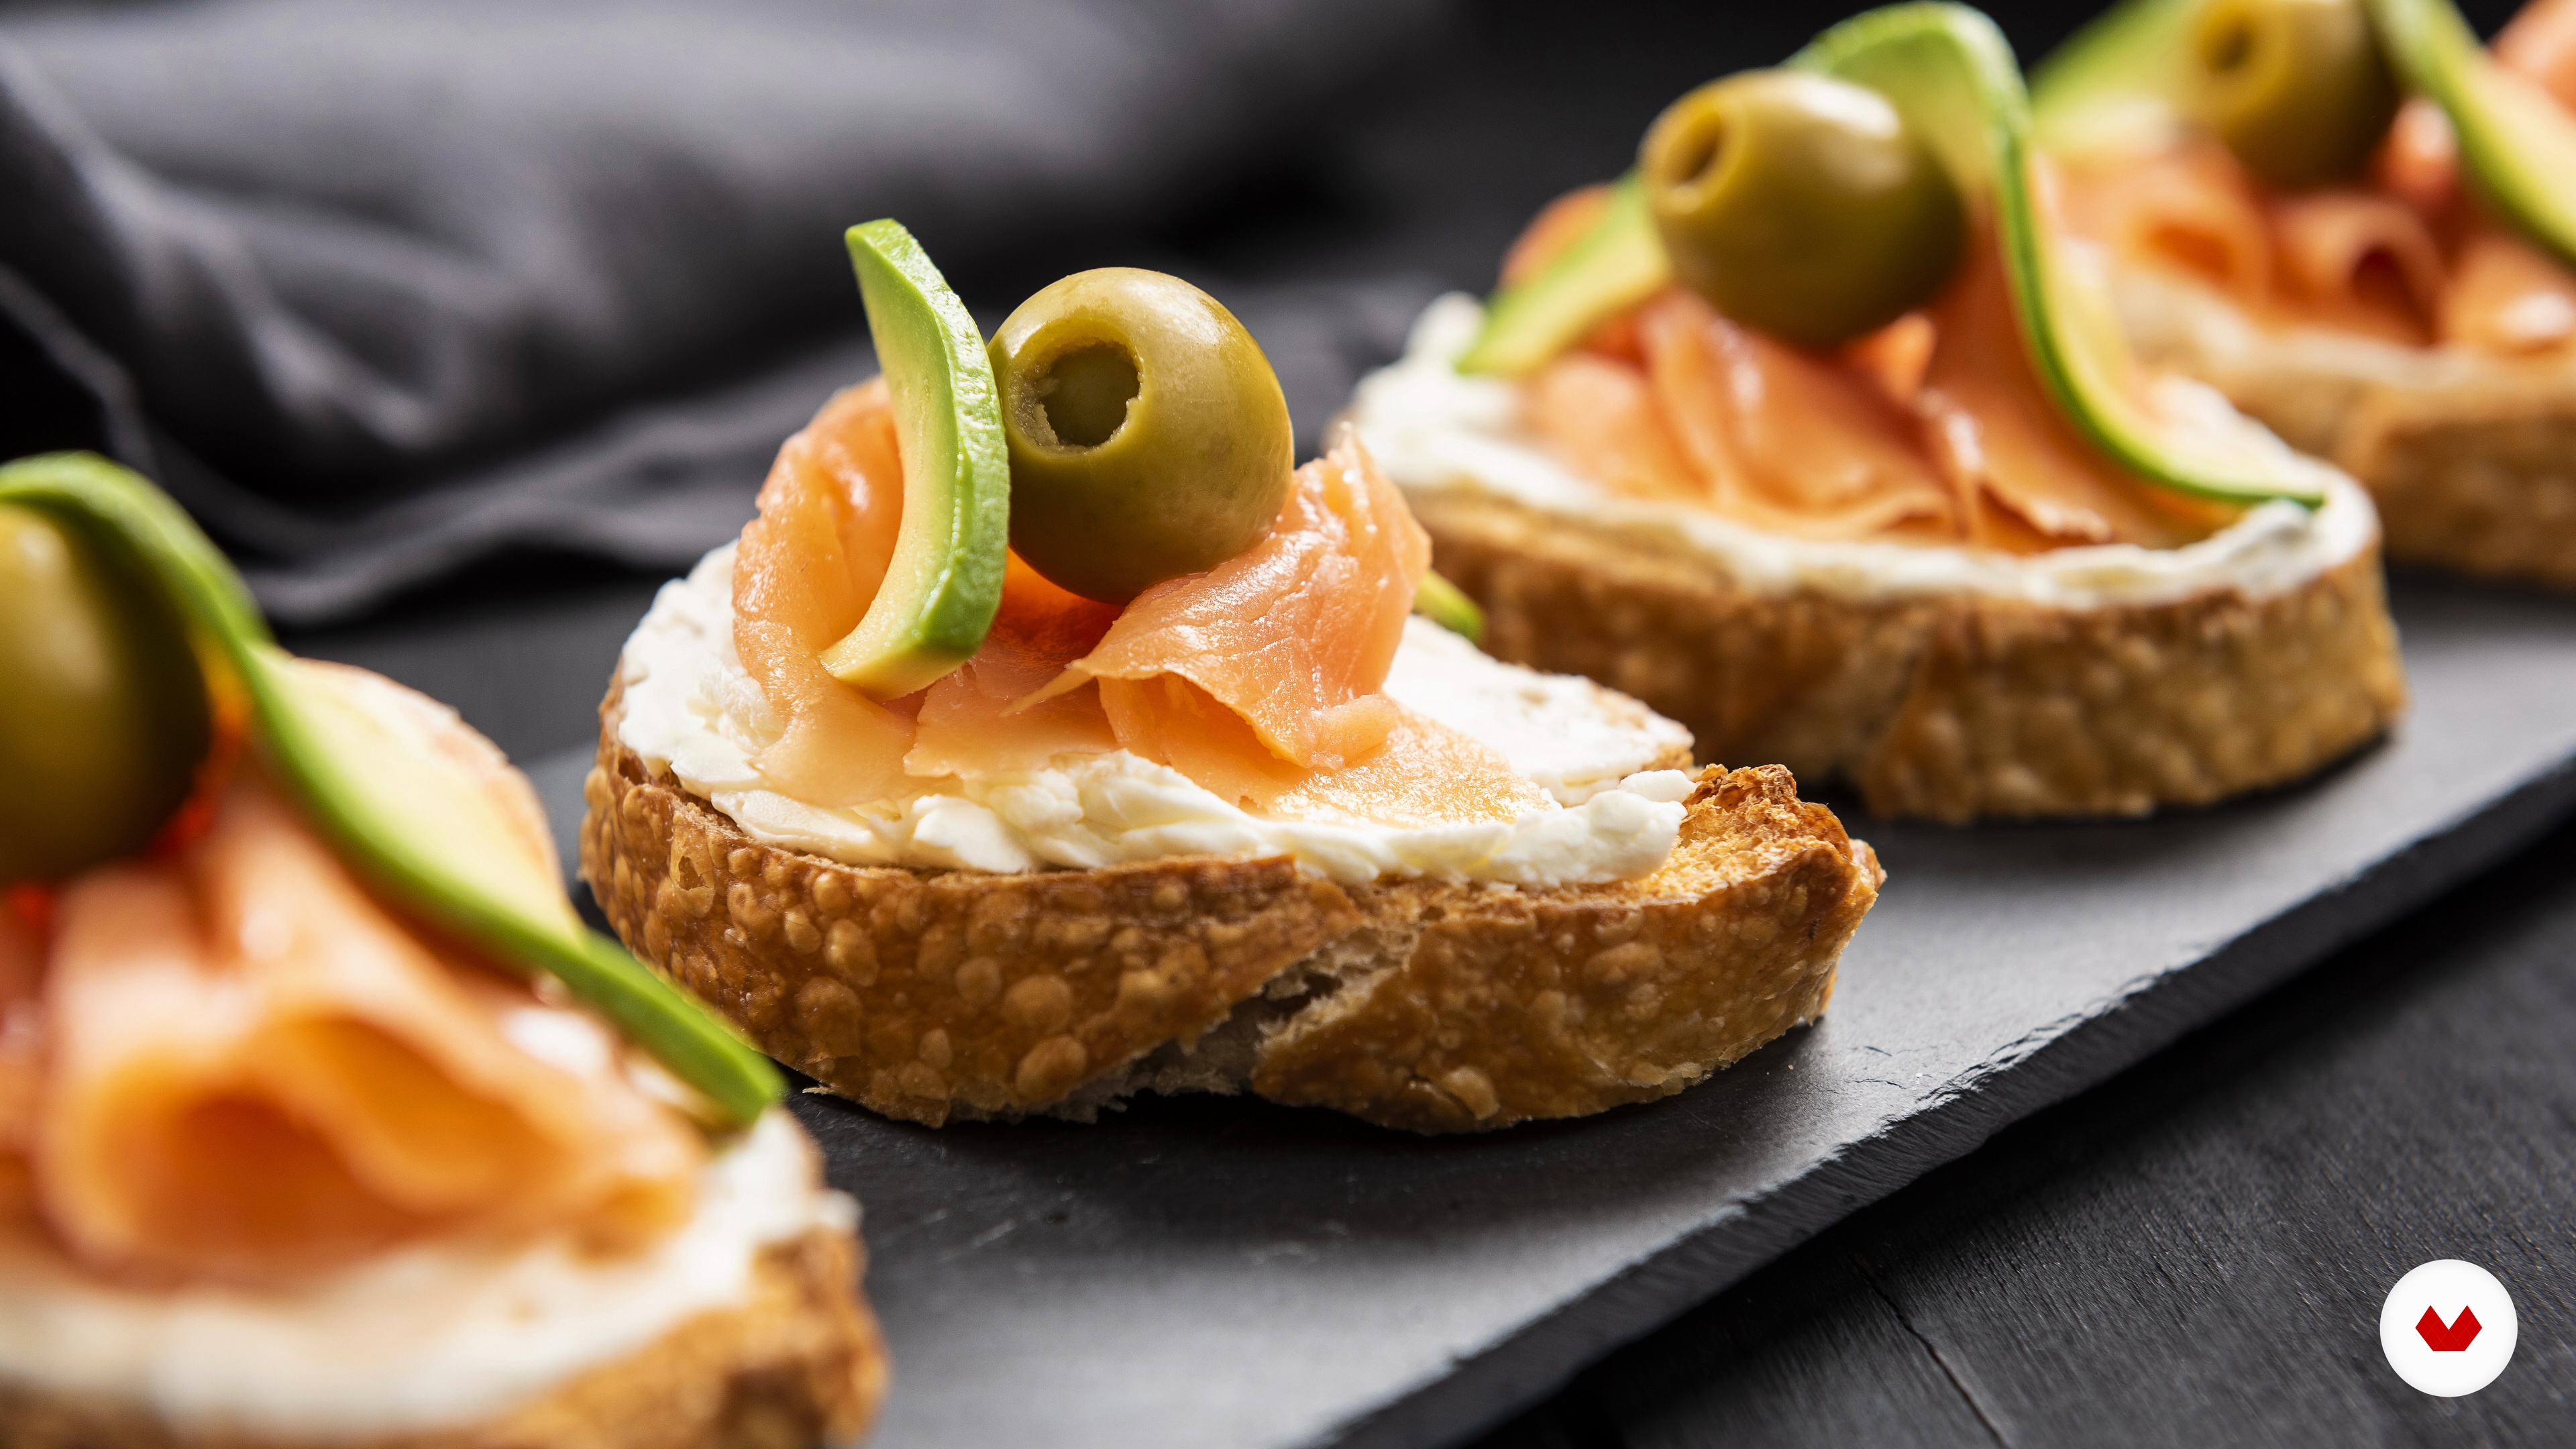
The Food Photography and Food Styling specialization invites you to discover the art of capturing the essence of food through the camera. From basic techniques to advanced approaches, each module is designed to help you develop a personal and professional style. Learn to master lighting, composition, and styling to create images that whet the appetite and tell powerful visual stories. Collaboration with experts such as Ernesto López, Marcela Lovegrove, Jimena Agois Sánchez, Dácil Fernández, Karla Acosta, and the Espacio Crudo studio guarantees a diverse and experienced training program.

Explore the many facets of food photography, from capturing dark mood atmospheres to creating compelling commercial images. Constant practice, feedback from professionals, and experimentation will be your best allies on this creative journey. Upon completion, you'll have a solid portfolio that reflects your technical and artistic mastery, ready to impress clients and publications in the competitive world of visual gastronomy. Transform your passion for food into a fulfilling career full of opportunities.

Read more ↓

What will you learn in this specialization?
A total of 7 modules and 94 lessons
A total of 13h 0m of vídeo lessons
Taught by 6 selected expert teachers
image
1
Introduction
Food photography transforms ingredients into visual delight: it's not just about capturing beautiful food, but about telling stories that are savored with the eyes. With technique, style, and a curious eye, food becomes a protagonist that conquers social media, awakens memories, and makes viewers salivate.
2m
image
2
Influences | Ernesto López (Alkimia)
We're all influenced by many powerful creative sources, and recognizing them is important. In this lesson, I'll share some of my most important visual guides.
4m
image
3
Influences | Marcela Lovegrove
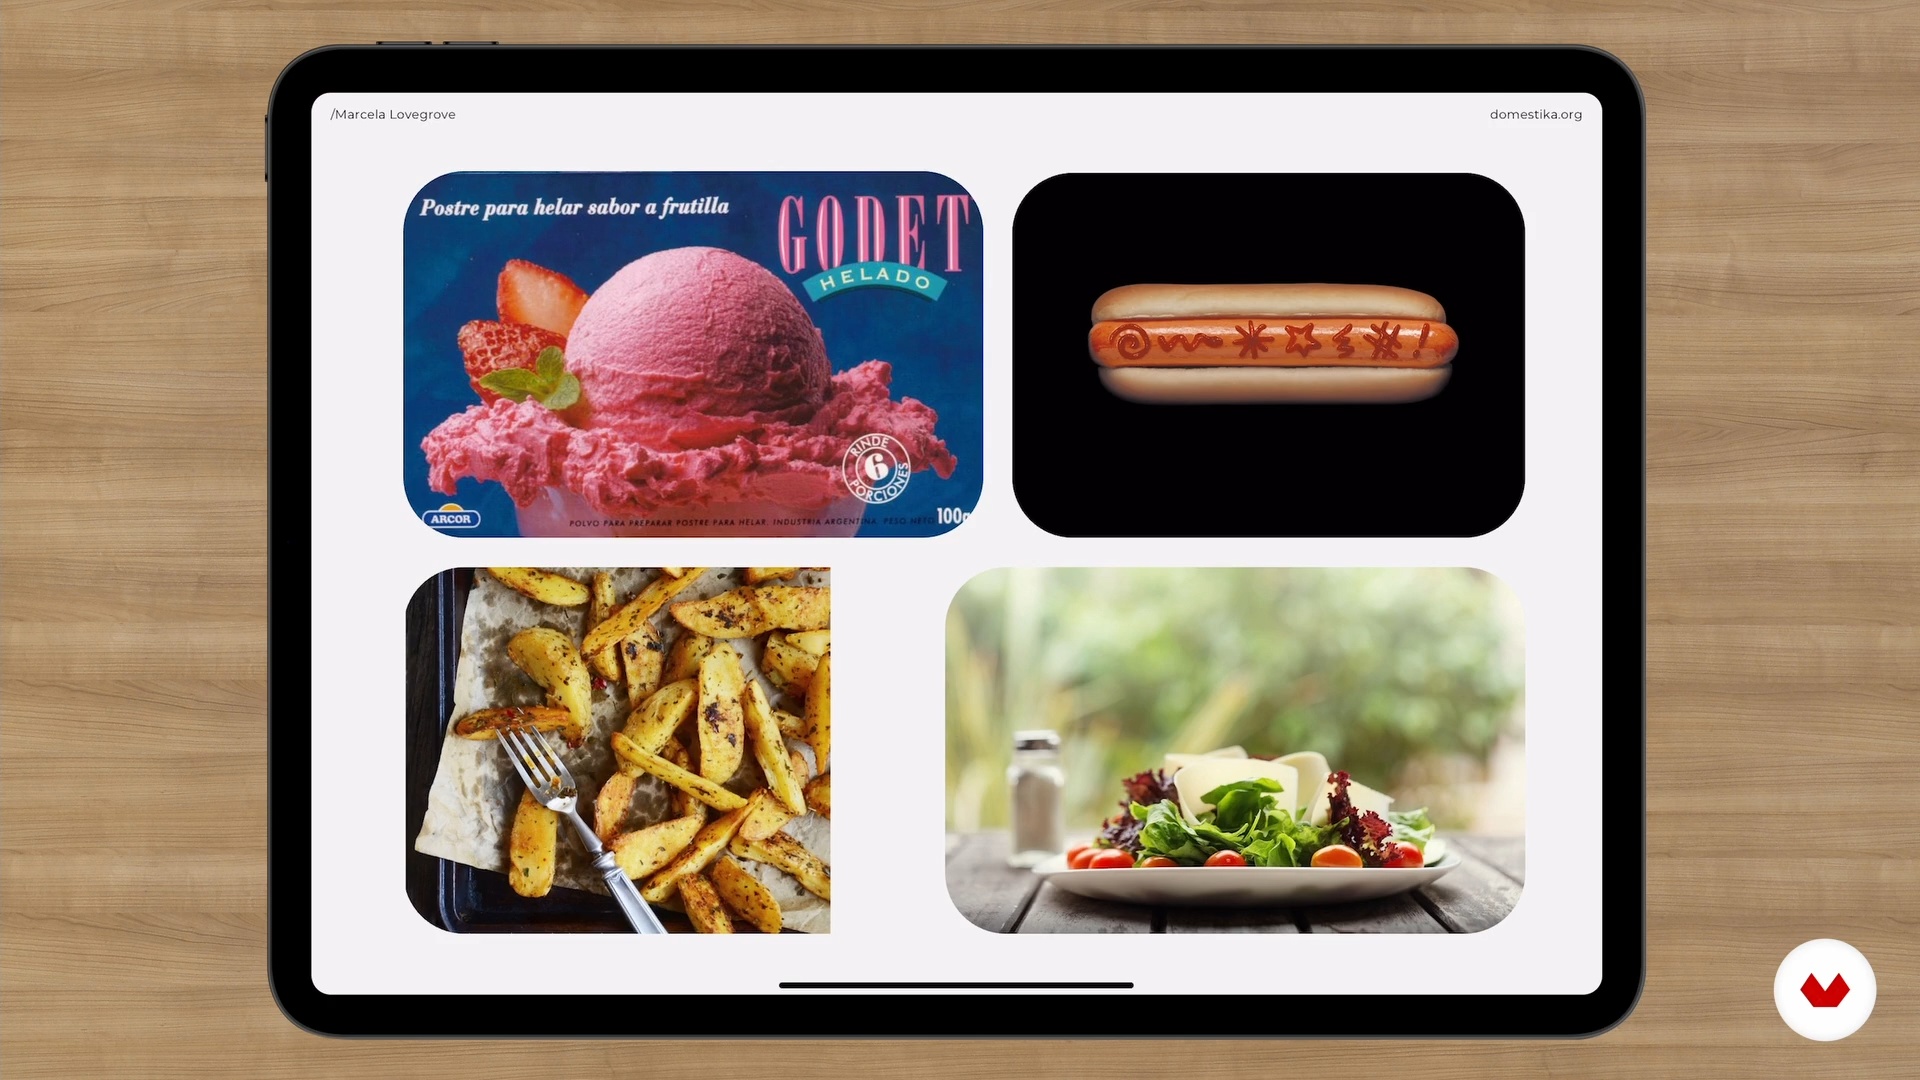
In this lesson, I'm going to tell you how I got my information in the pre-internet days, where I got my information, how I knew what was being used, what was in fashion, what I looked at, and what I looked for when I looked. I'm also going to tell you about my go-to books for both photos and recipes.
7m
image
4
Influences | Jimena Agois Sánchez
I'm always looking for photography role models to inspire me and see global trends in food photography. So, in this lesson, I'll show you my top role models.
2m
image
5
Influences | Dácil Fernández
Next, I'll show you my influences and how they're reflected in my work. I'll tell you about several artists and photographers who have influenced my style.
1m
image
6
Influences | Karla Acosta
In this lesson I will share with you some people who have inspired me with their work and teachings.
4m
image
7
It's not how creative you are, but how well you keep your references | Espacio Crudo
For Crudo, finding inspiration is one of the most important moments. From this "source of inspiration," we align what we want, visualize it, and land on the foundation to continue with the pre-production, production, and development of the project itself. In this lesson, we'll show you our main influences.
7m
image
3
Introduction to photographic production
We will learn what photographic production is and how having a method helps create successful images and streamline our creation process.
5m
image
4
Photo brief
In this lesson, we will learn the basic components of a brief through an example.
5m
image
5
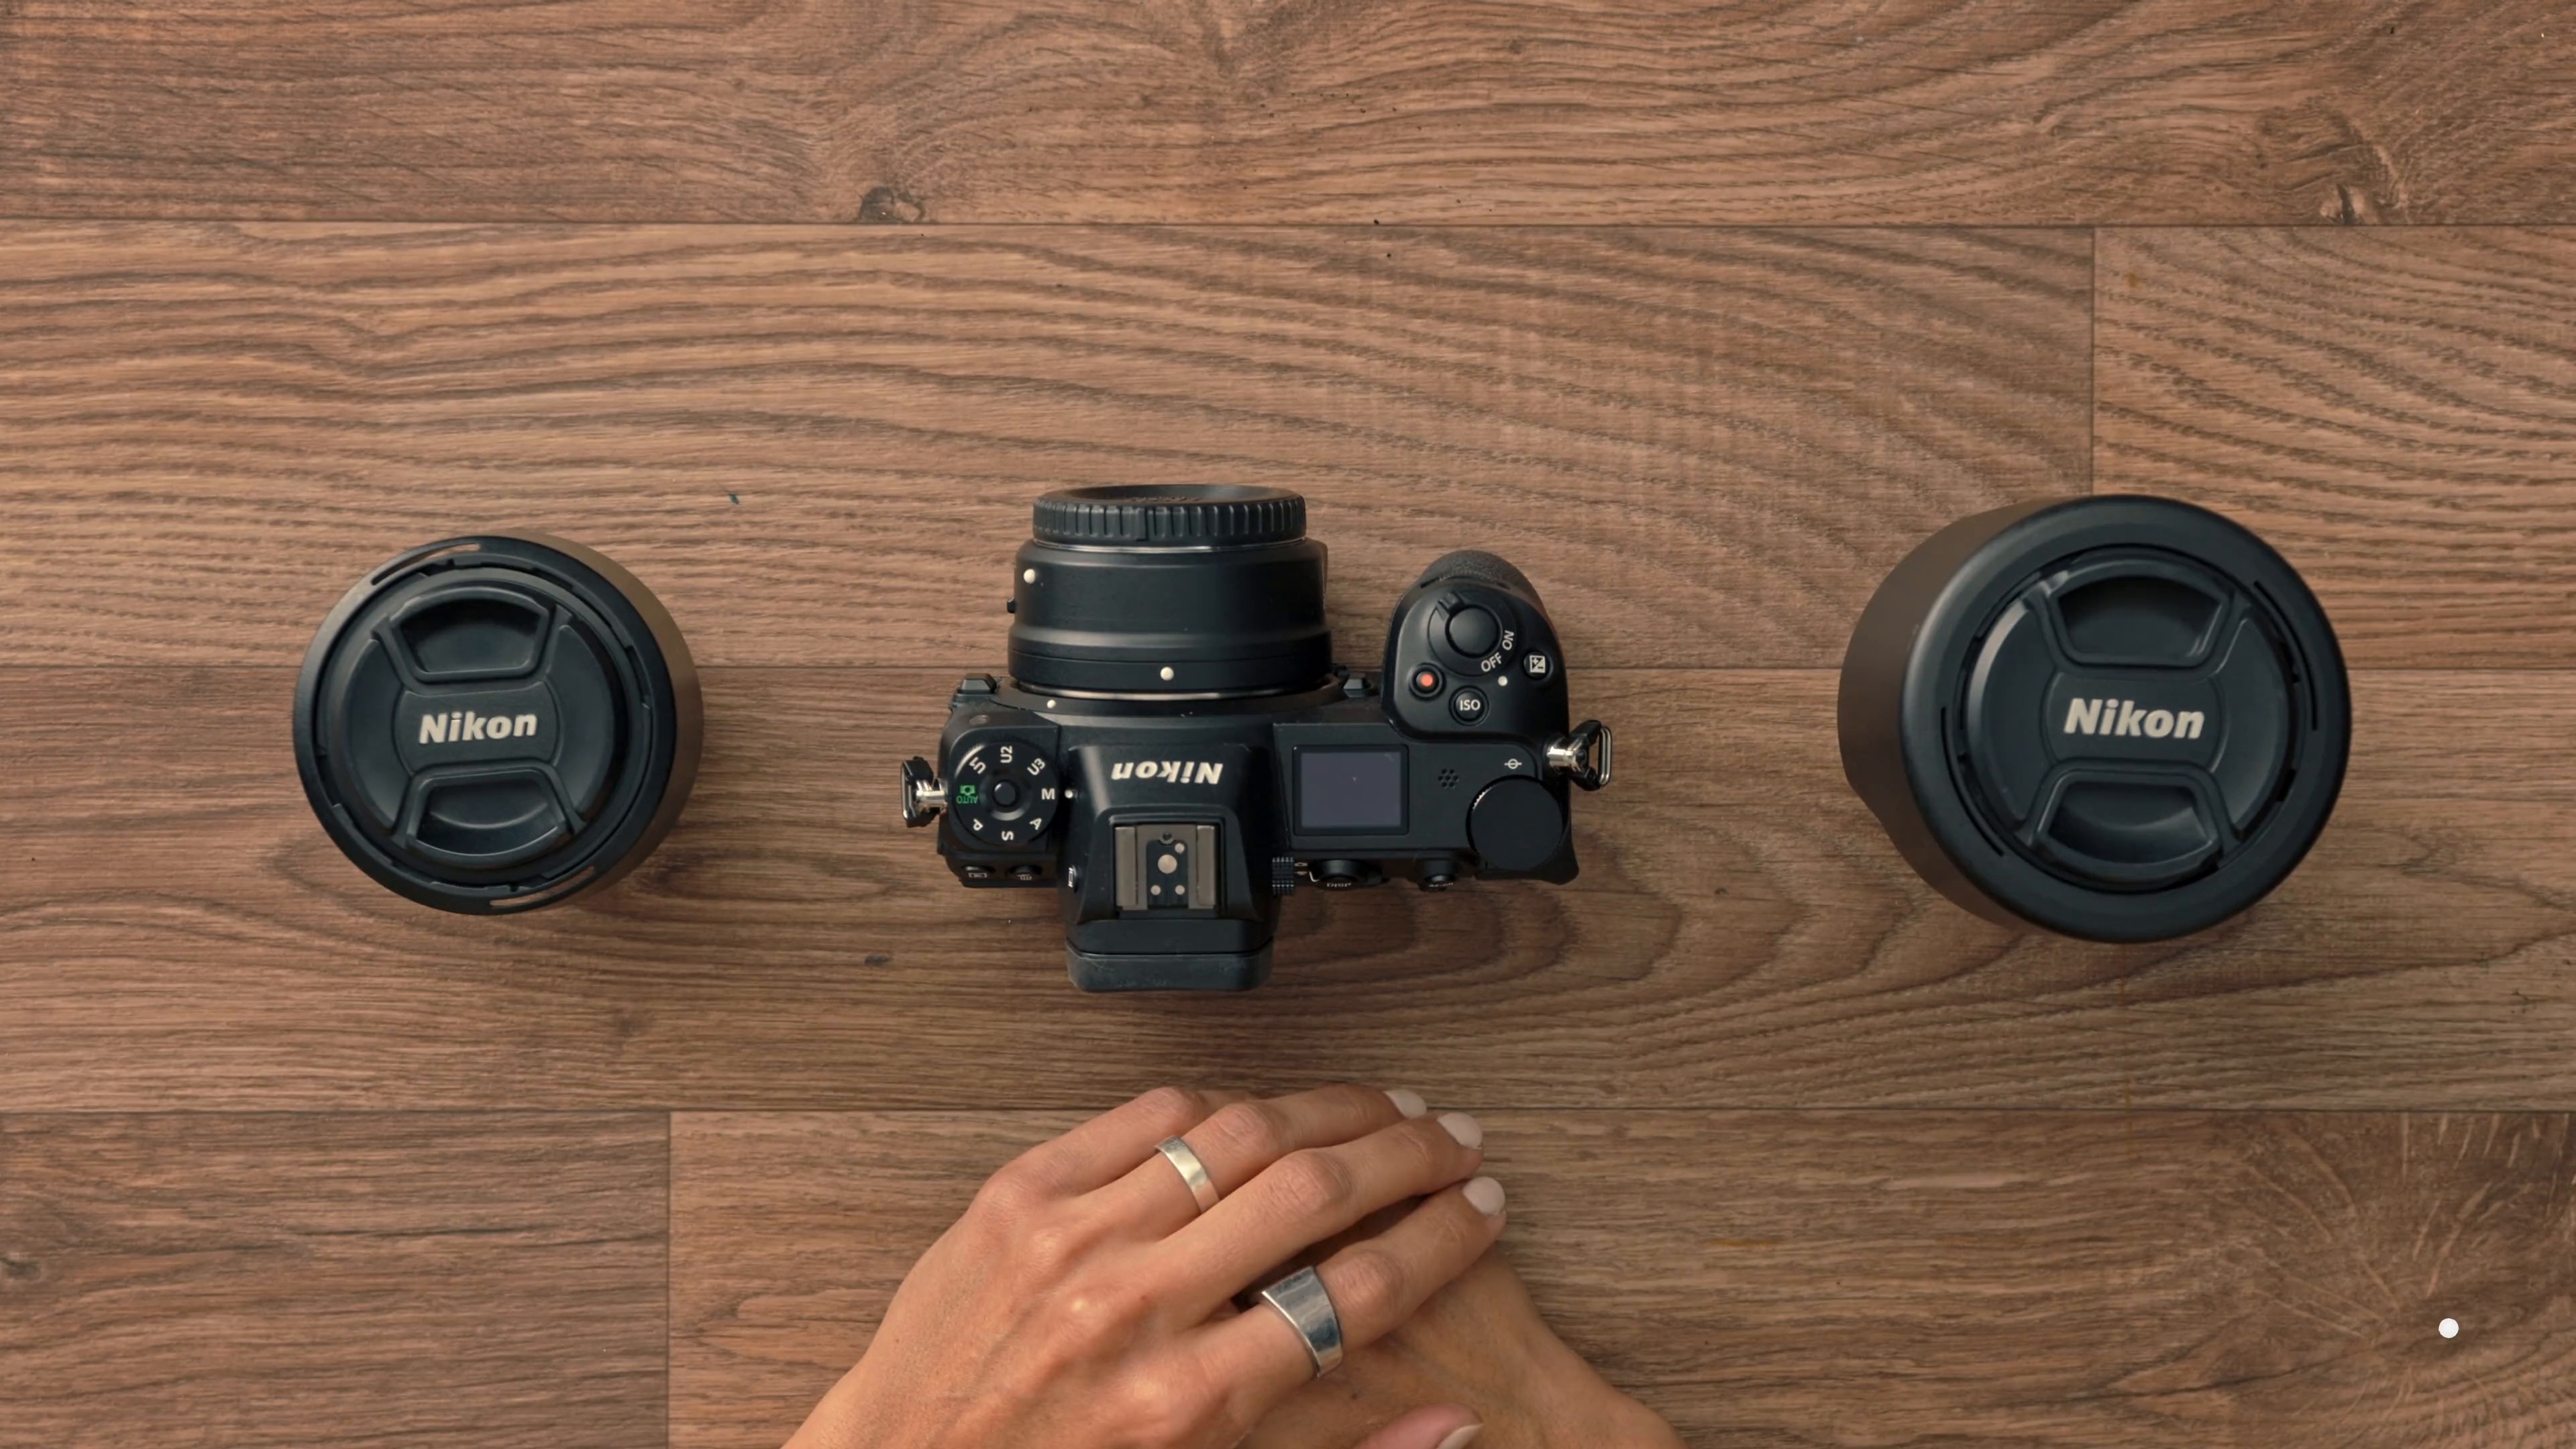
Camera and lenses
We'll learn the technical details of the equipment we can use for a photo shoot, as well as how to use it to get the best results.
8m
image
6
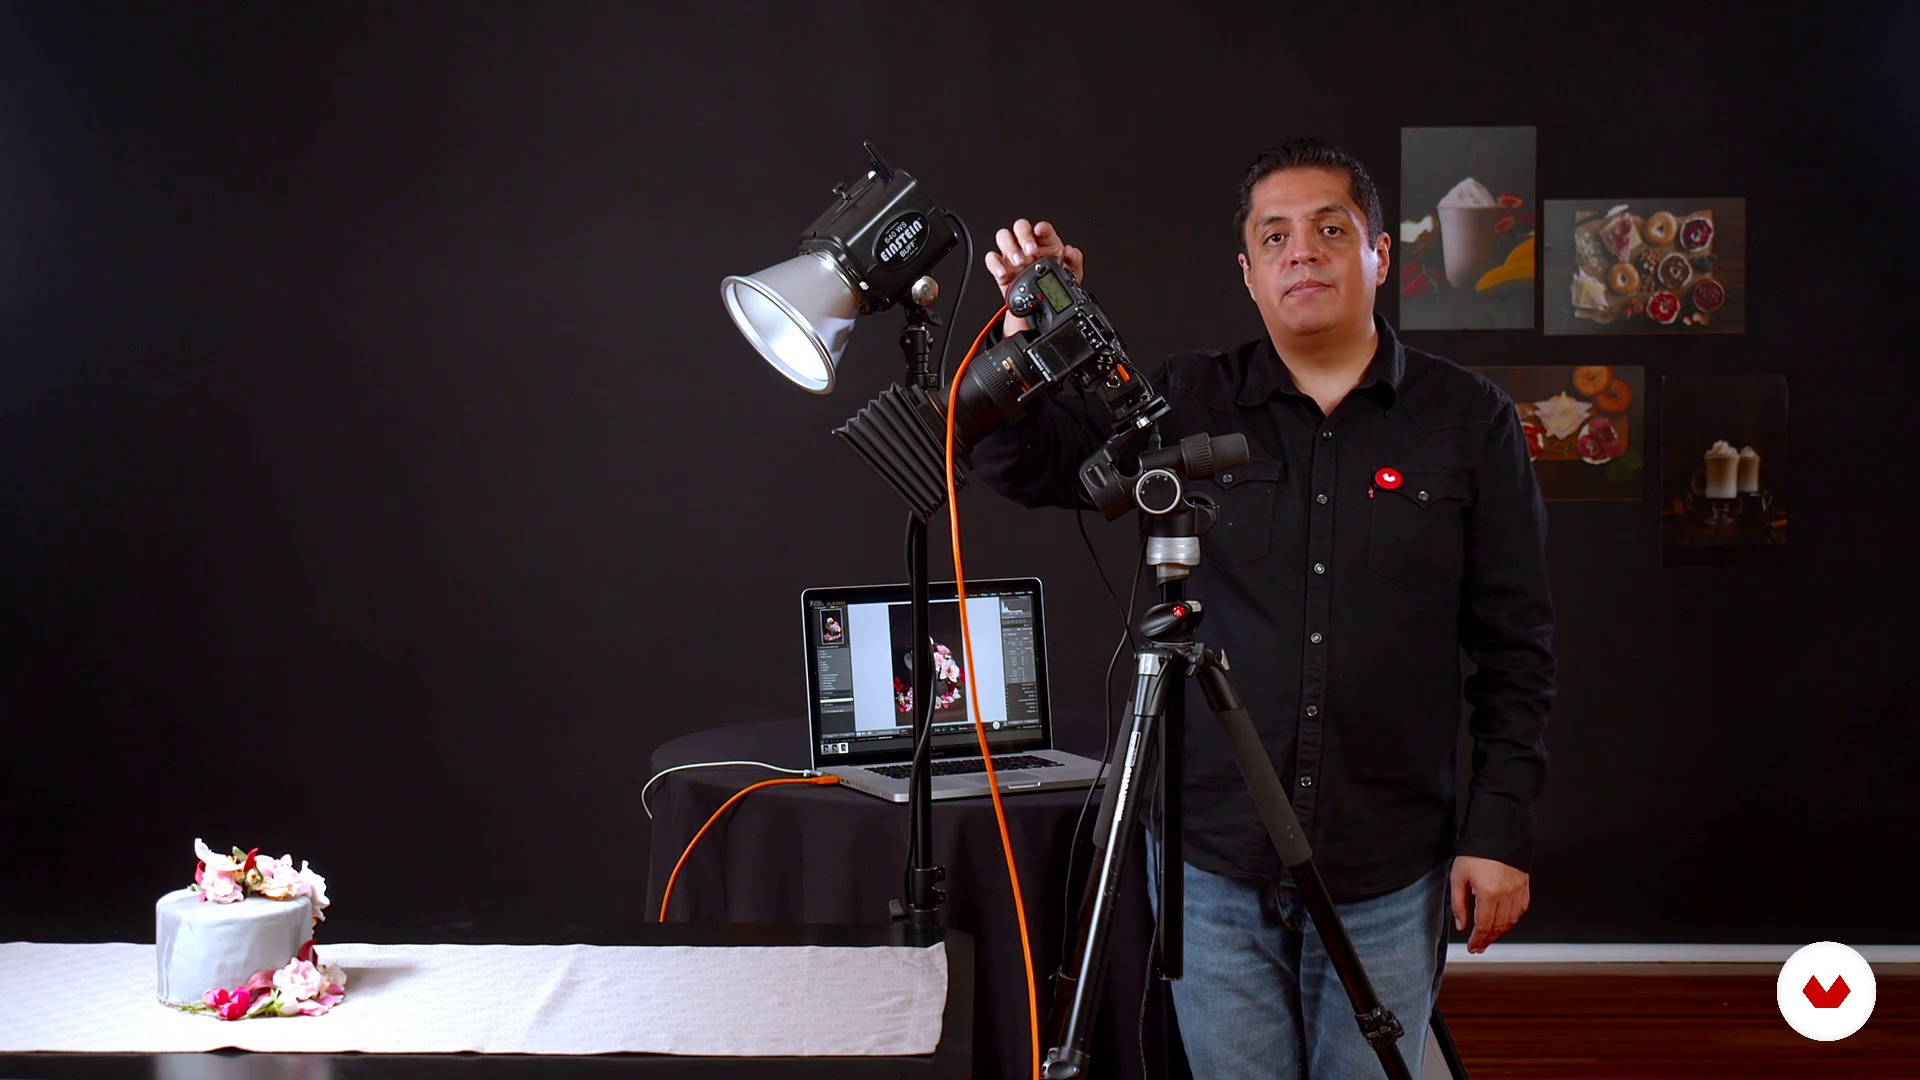
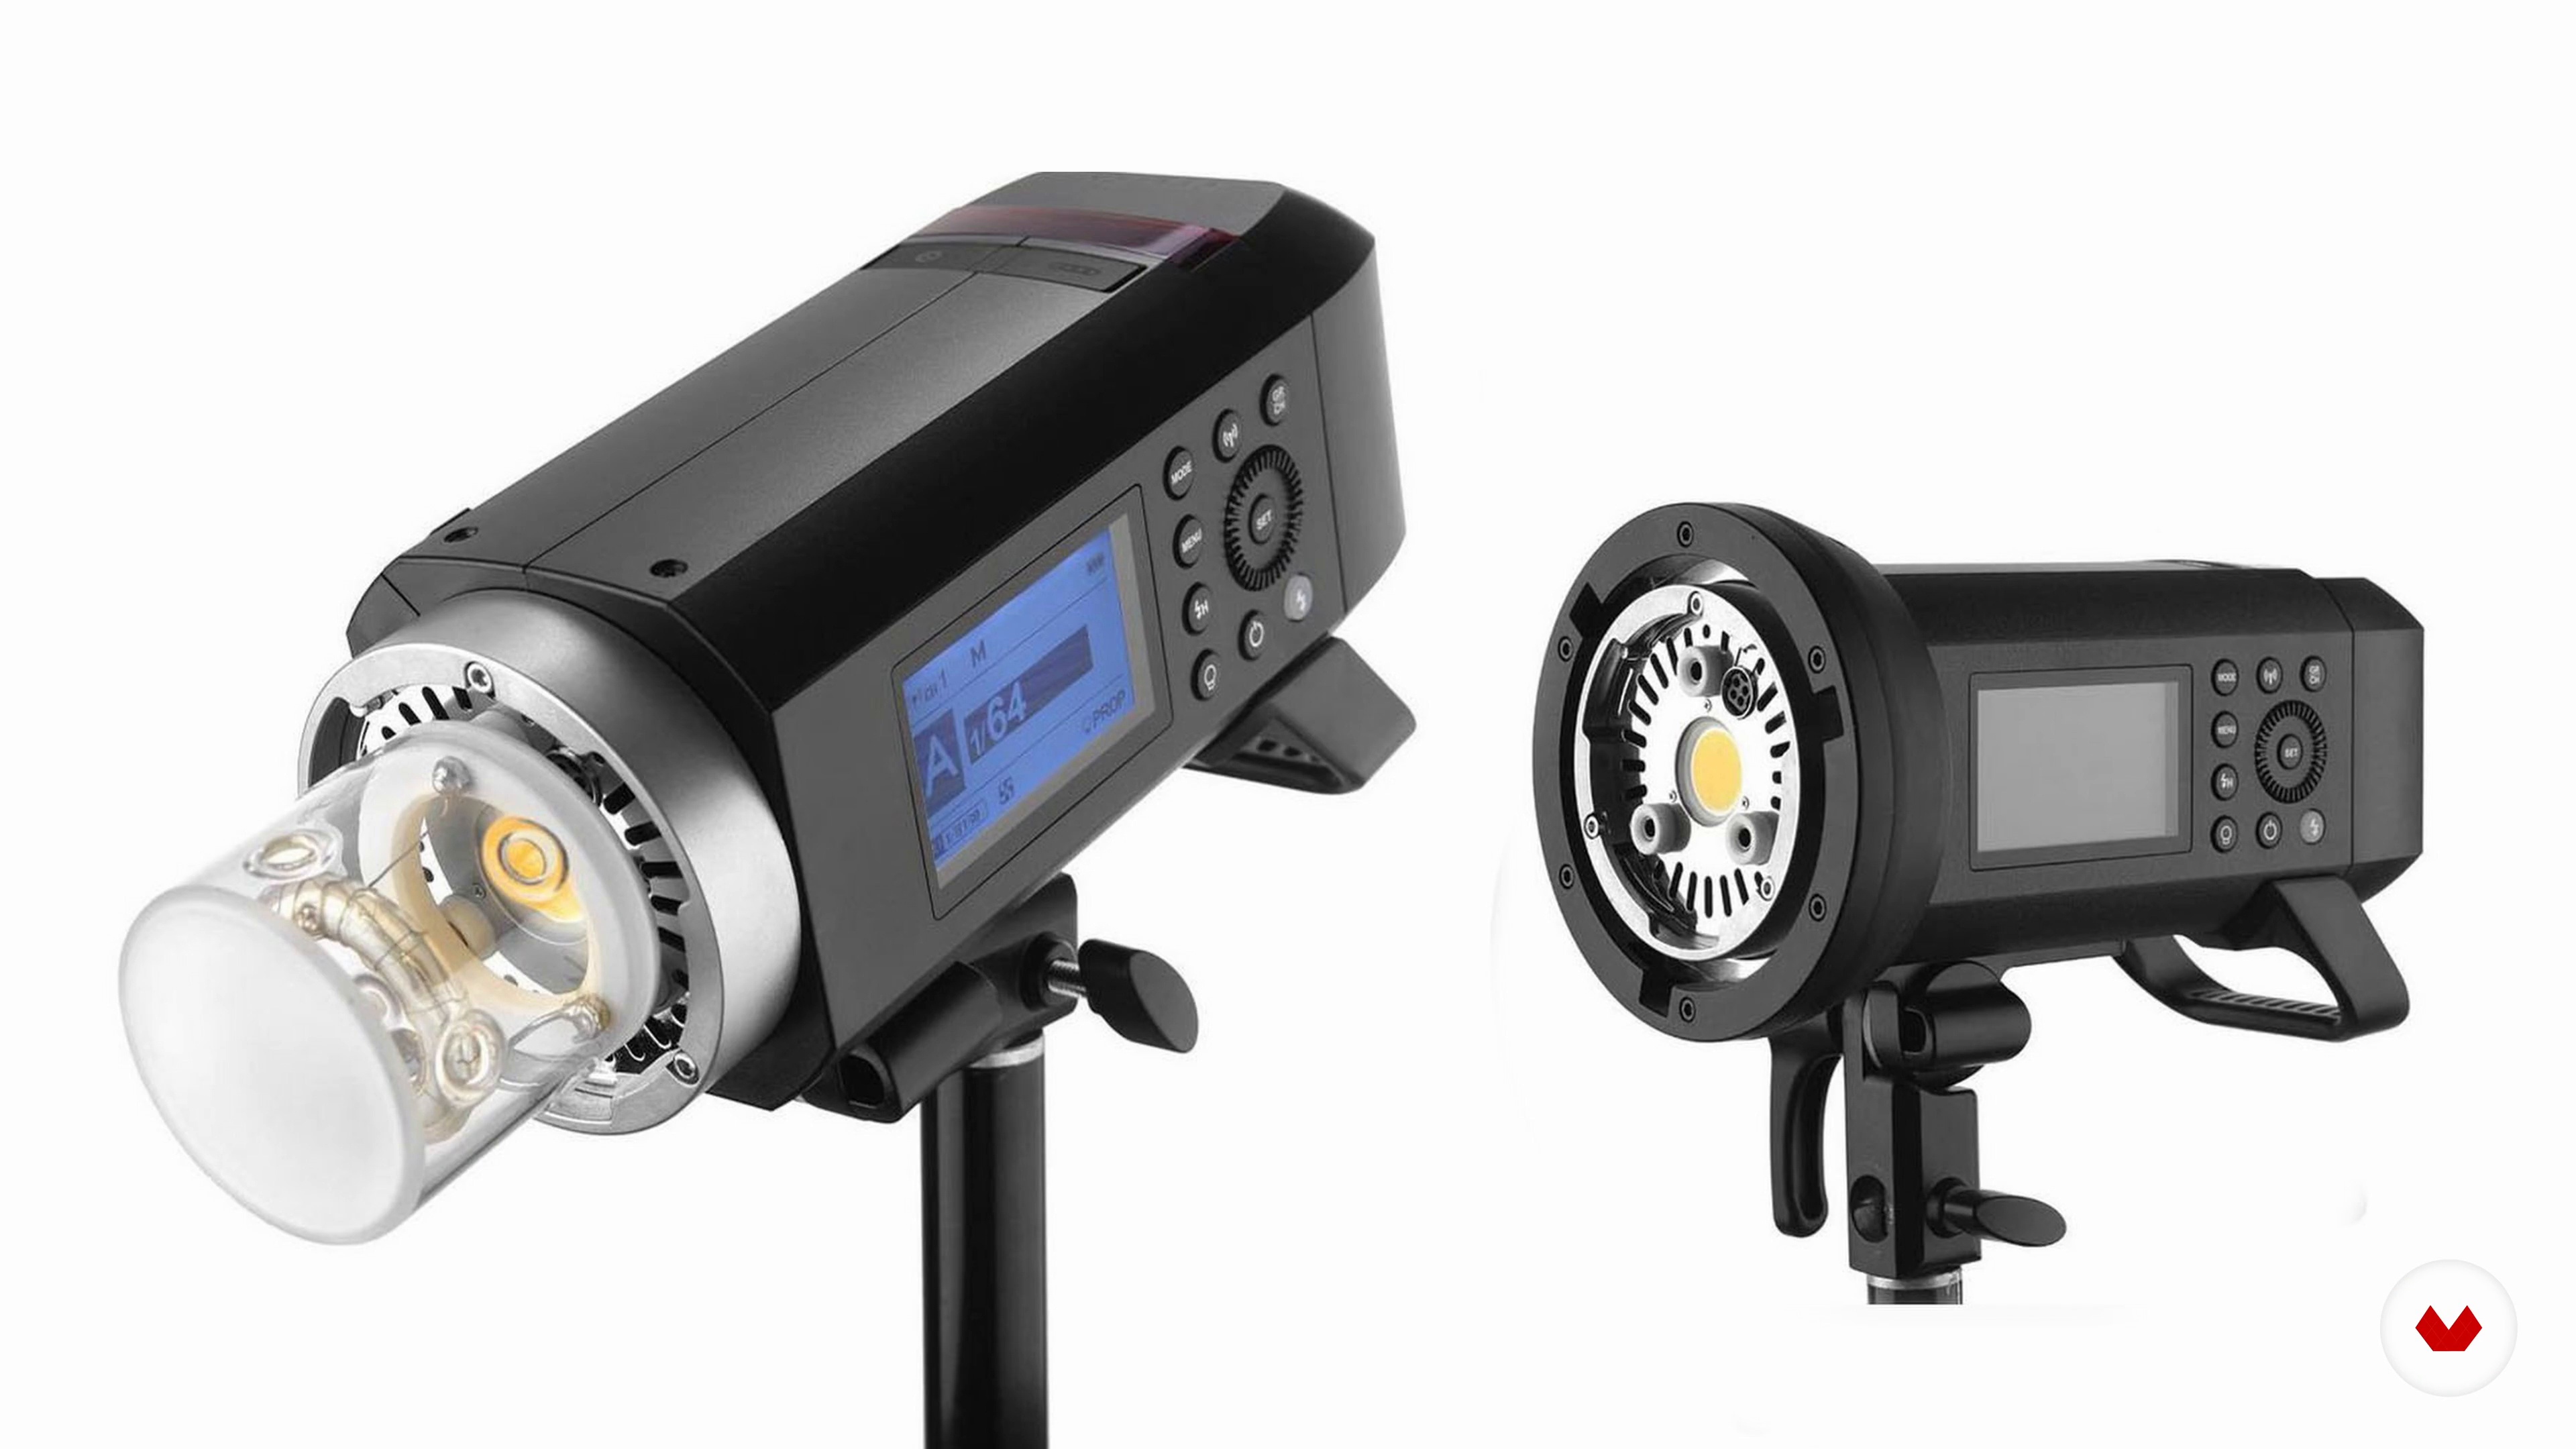
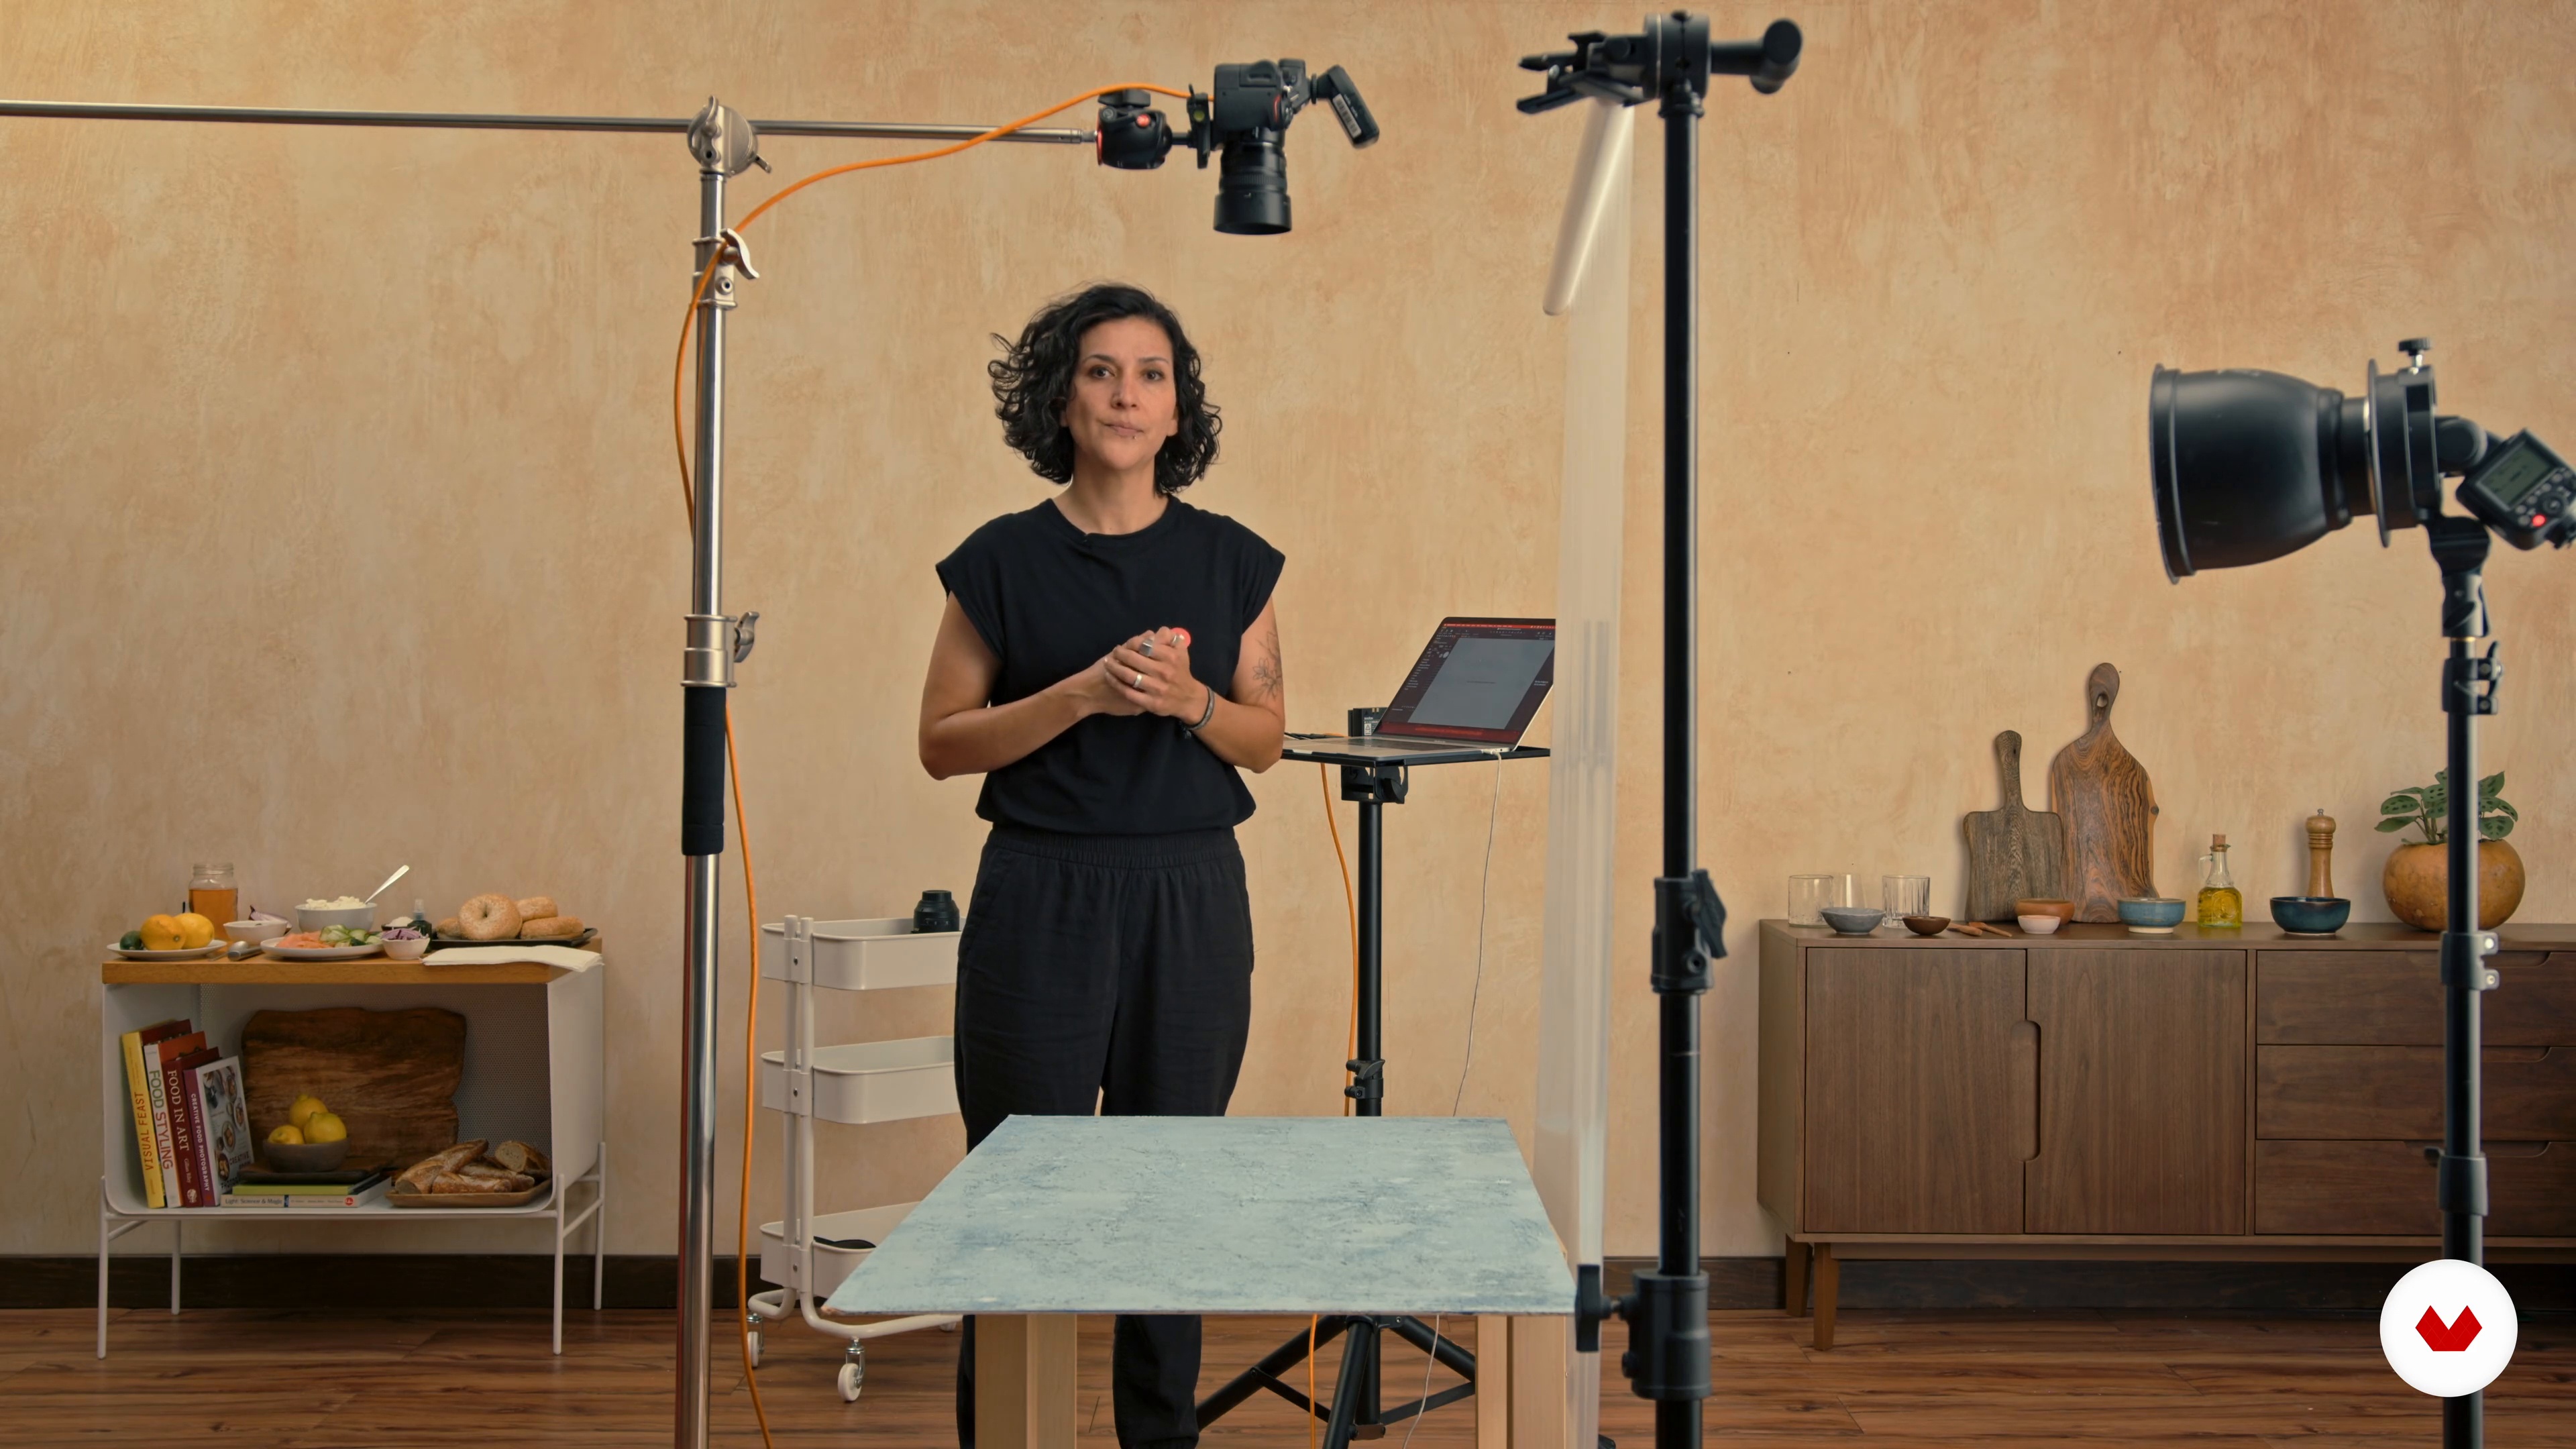
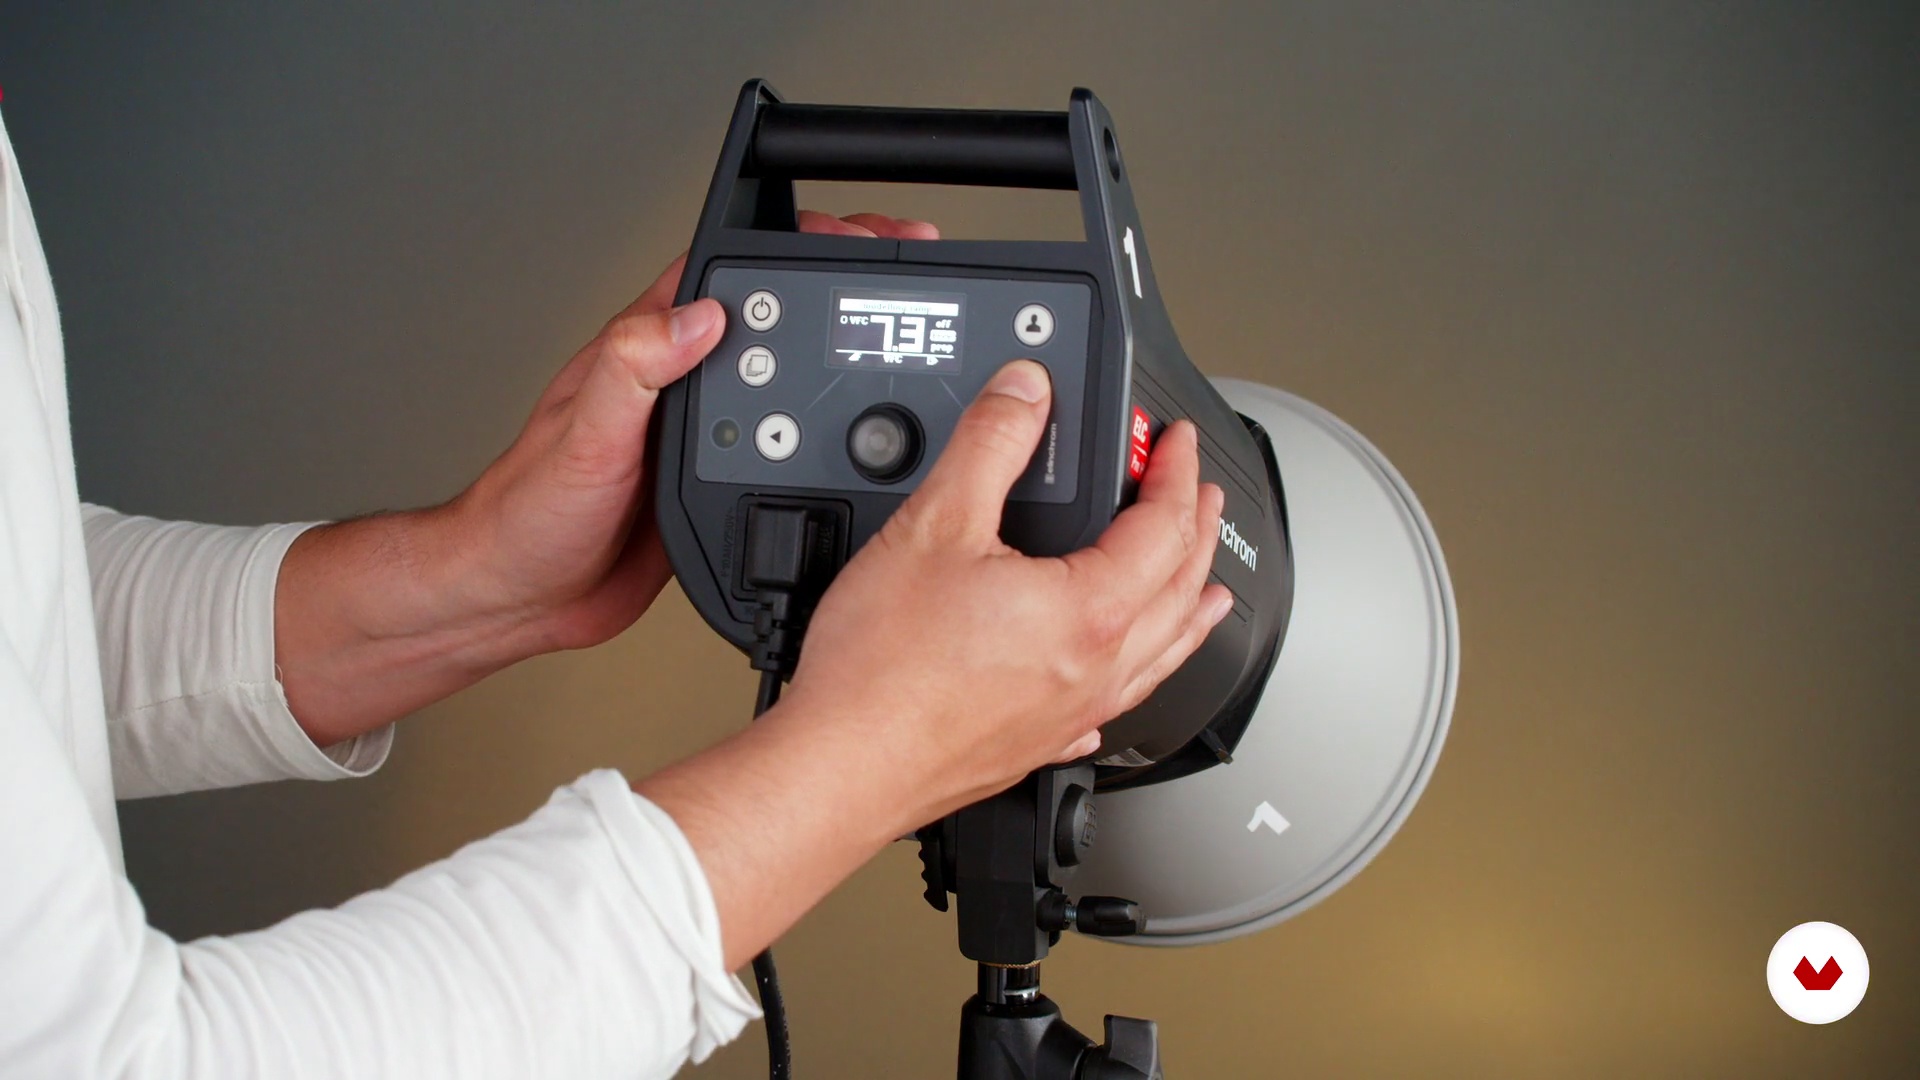
Artificial lighting: studio flash
We all love natural light, but to create photographs that match our brief, it's better to use artificial light. In this lesson, we'll explore the characteristics of this type of lighting and its advantages over natural light.
2m
image
7
Lighting angles and modifiers
Knowing how to use a flash means knowing how to position it correctly and use the appropriate diffuser. Here, we'll learn the lighting angles and modifiers you can use for your photos.
13m
image
8
Scenarios
Briefly, I'll tell you about some options you can use to decorate a photography set and make your food stand out and look more appetizing.
6m
image
9
Our set
I'll explain how to put together a set for your productions and cover the basic elements you need to achieve great photography.
8m
image
10
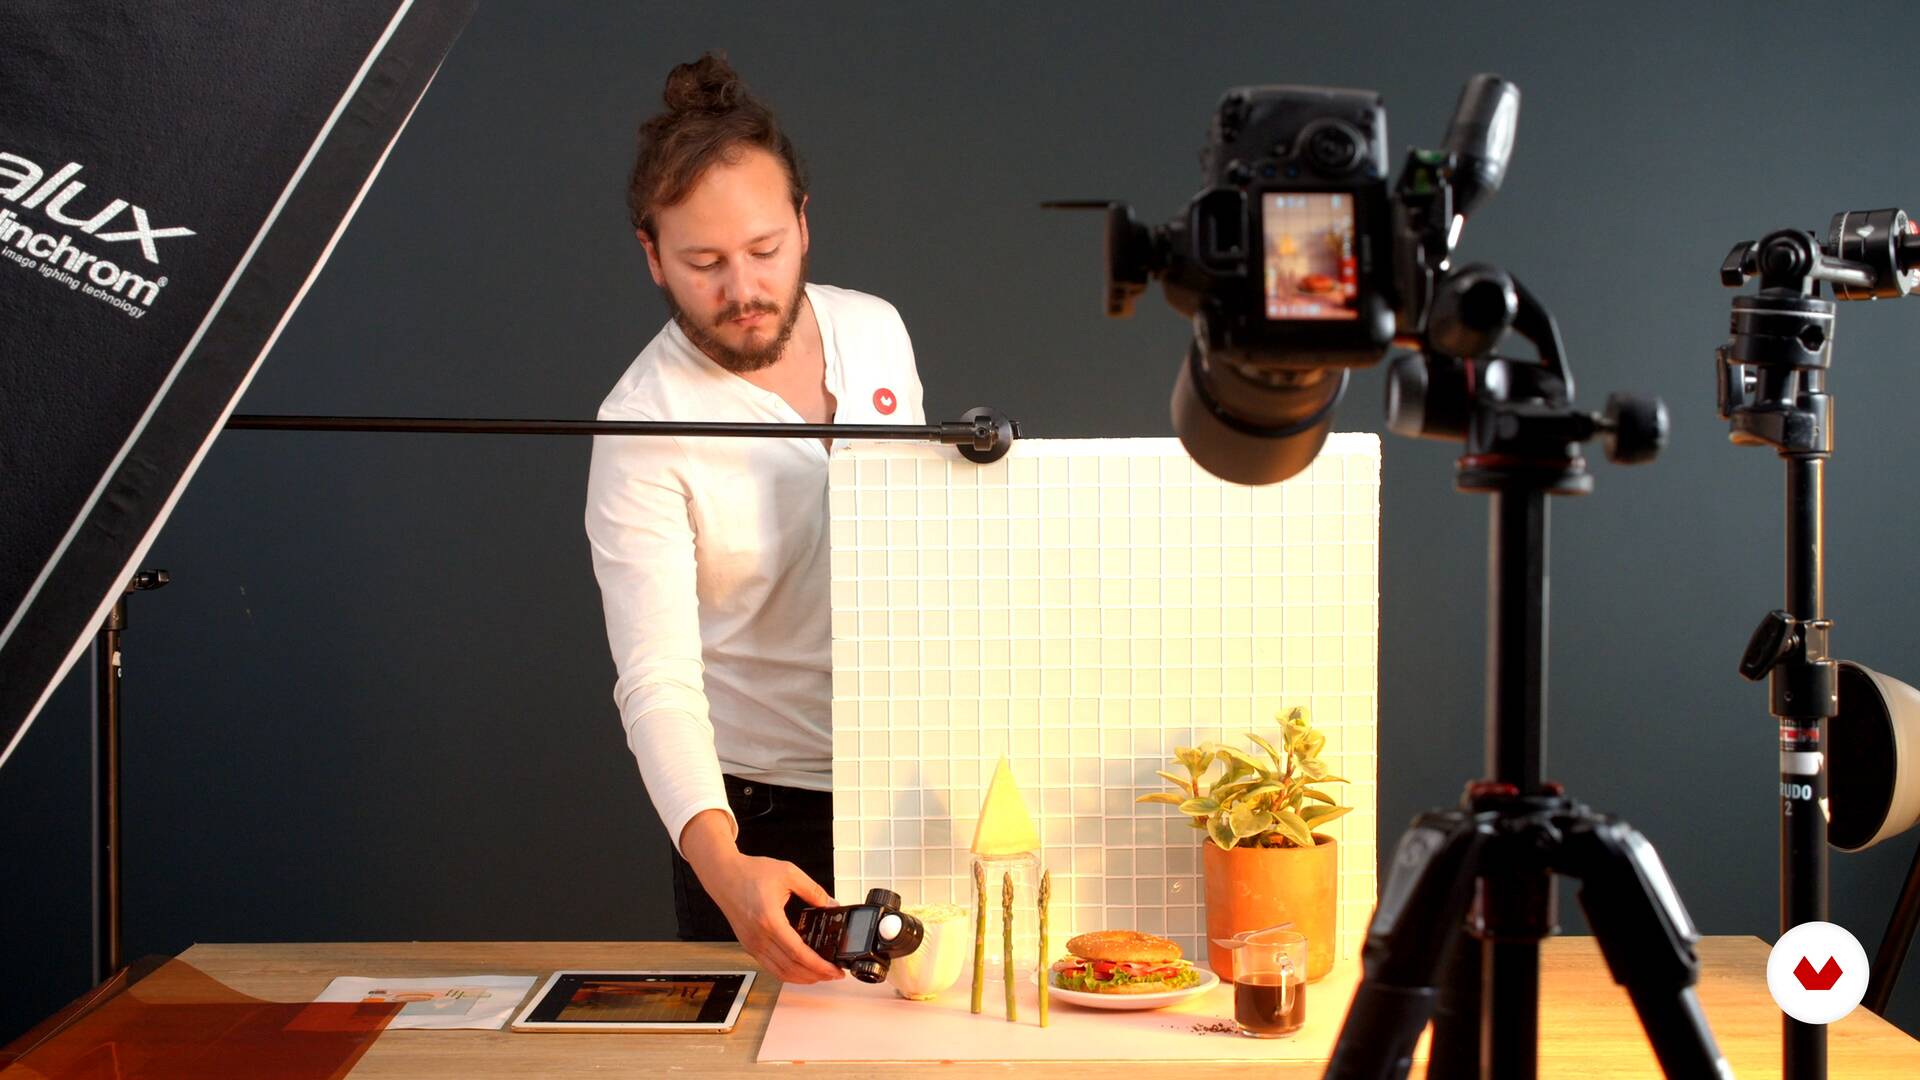
Light measurement
Let's learn how to measure light in a simple and accurate way. With this method, you'll be able to achieve what you're looking for from the first shot.
10m
image
11
Light quality
I'll tell you about the differences between hard light and soft light, and we'll see how, using very simple lighting, we can achieve great results.
6m
image
12
Shooting
It's time! Let's create some amazing photos! We'll position the product, light it, set the mood, and start shooting.
7m
image
13
Style Change
We've got our photo ready! Now it's time to create a variable, which aims to create a very different look by simply adjusting our lighting a little.
5m
image
14
System settings
We will create a color flow that guarantees color continuity between Lightroom and Photoshop.
2m
image
15
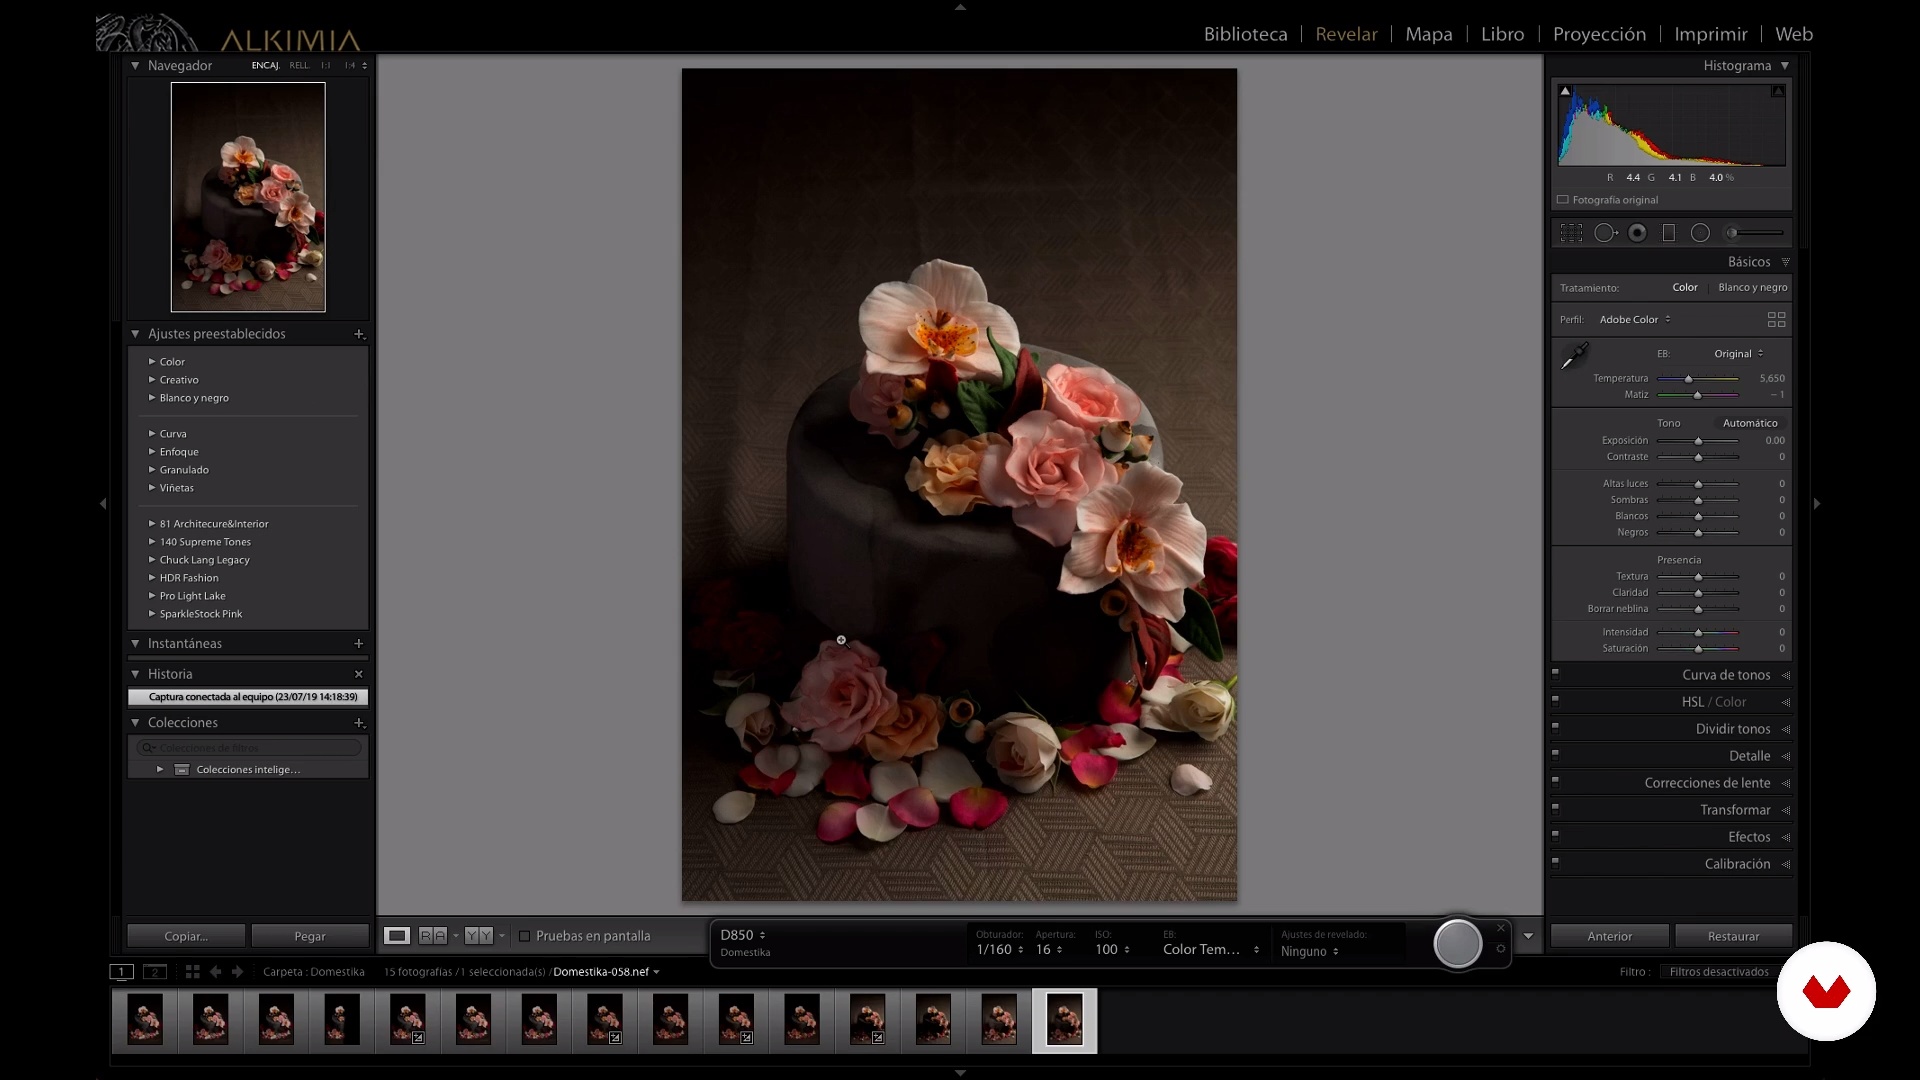
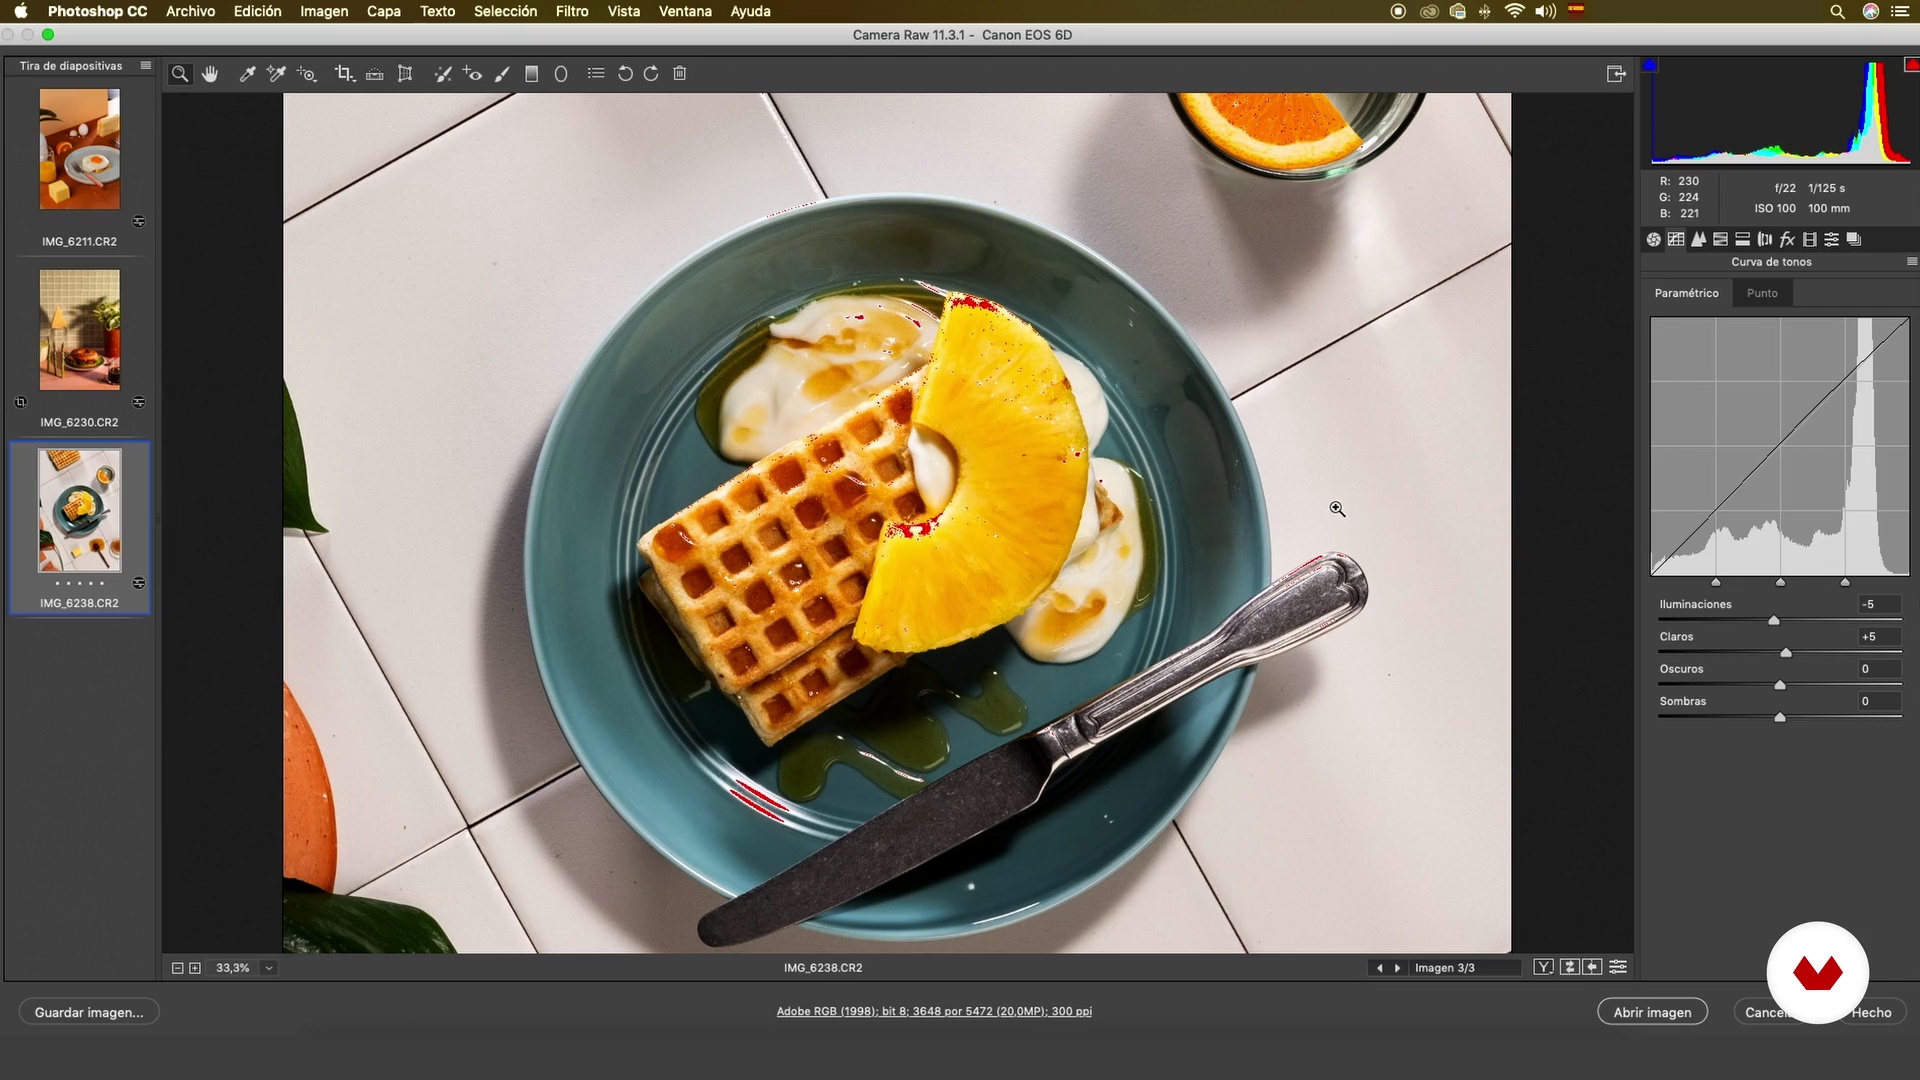
Revealed
I'll share my step-by-step digital development process with you. With this guide, you'll be able to make your photos look their best.
6m
image
16
Retouch
There are details that are difficult to control in a photo shoot, so here we'll improve our image by removing imperfections and enhancing the light and color.
13m
image
17
File output
We now have our image ready. Now we'll create several files, optimizing them according to their intended use.
8m
image
3
What is Food Styling?
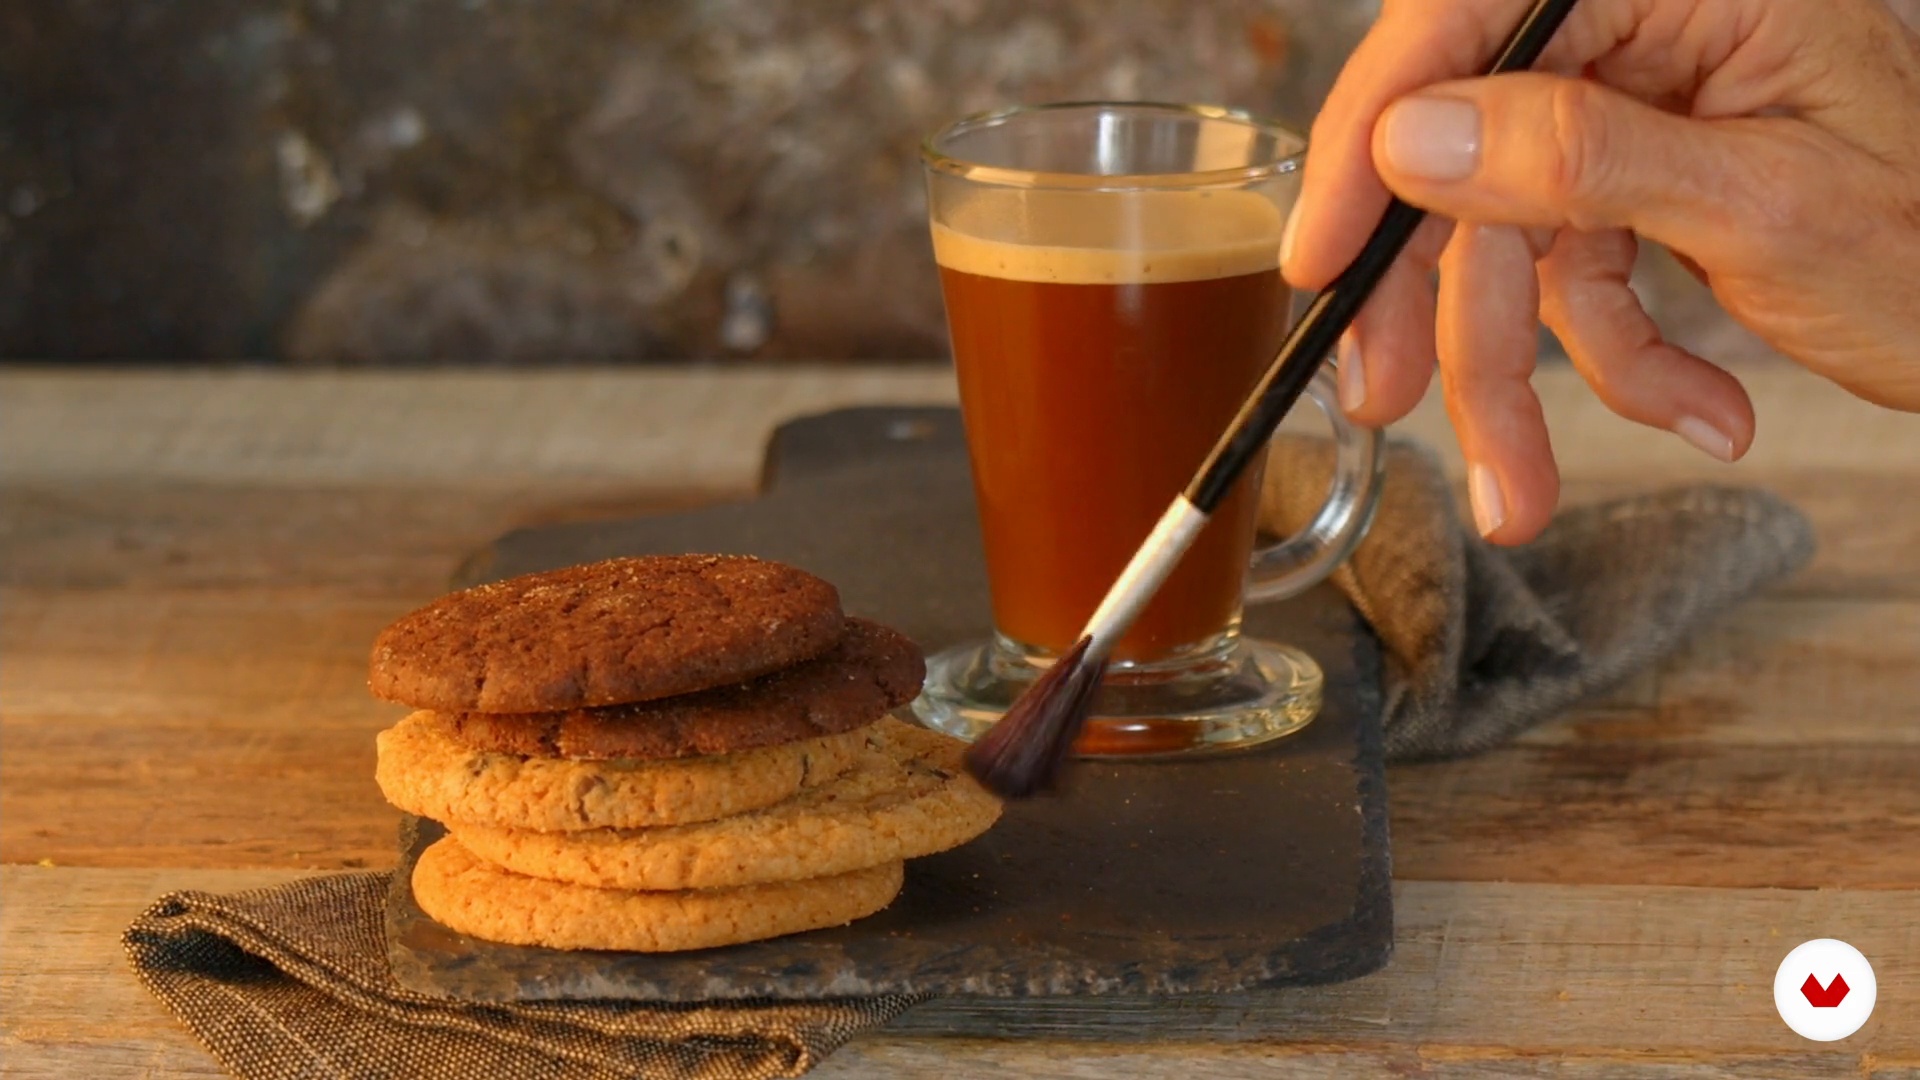
In this lesson, I'm going to talk to you about the project we're going to develop in the course, how this profession came about, what it does, and what its function is.
19m
image
4
Basic work kit
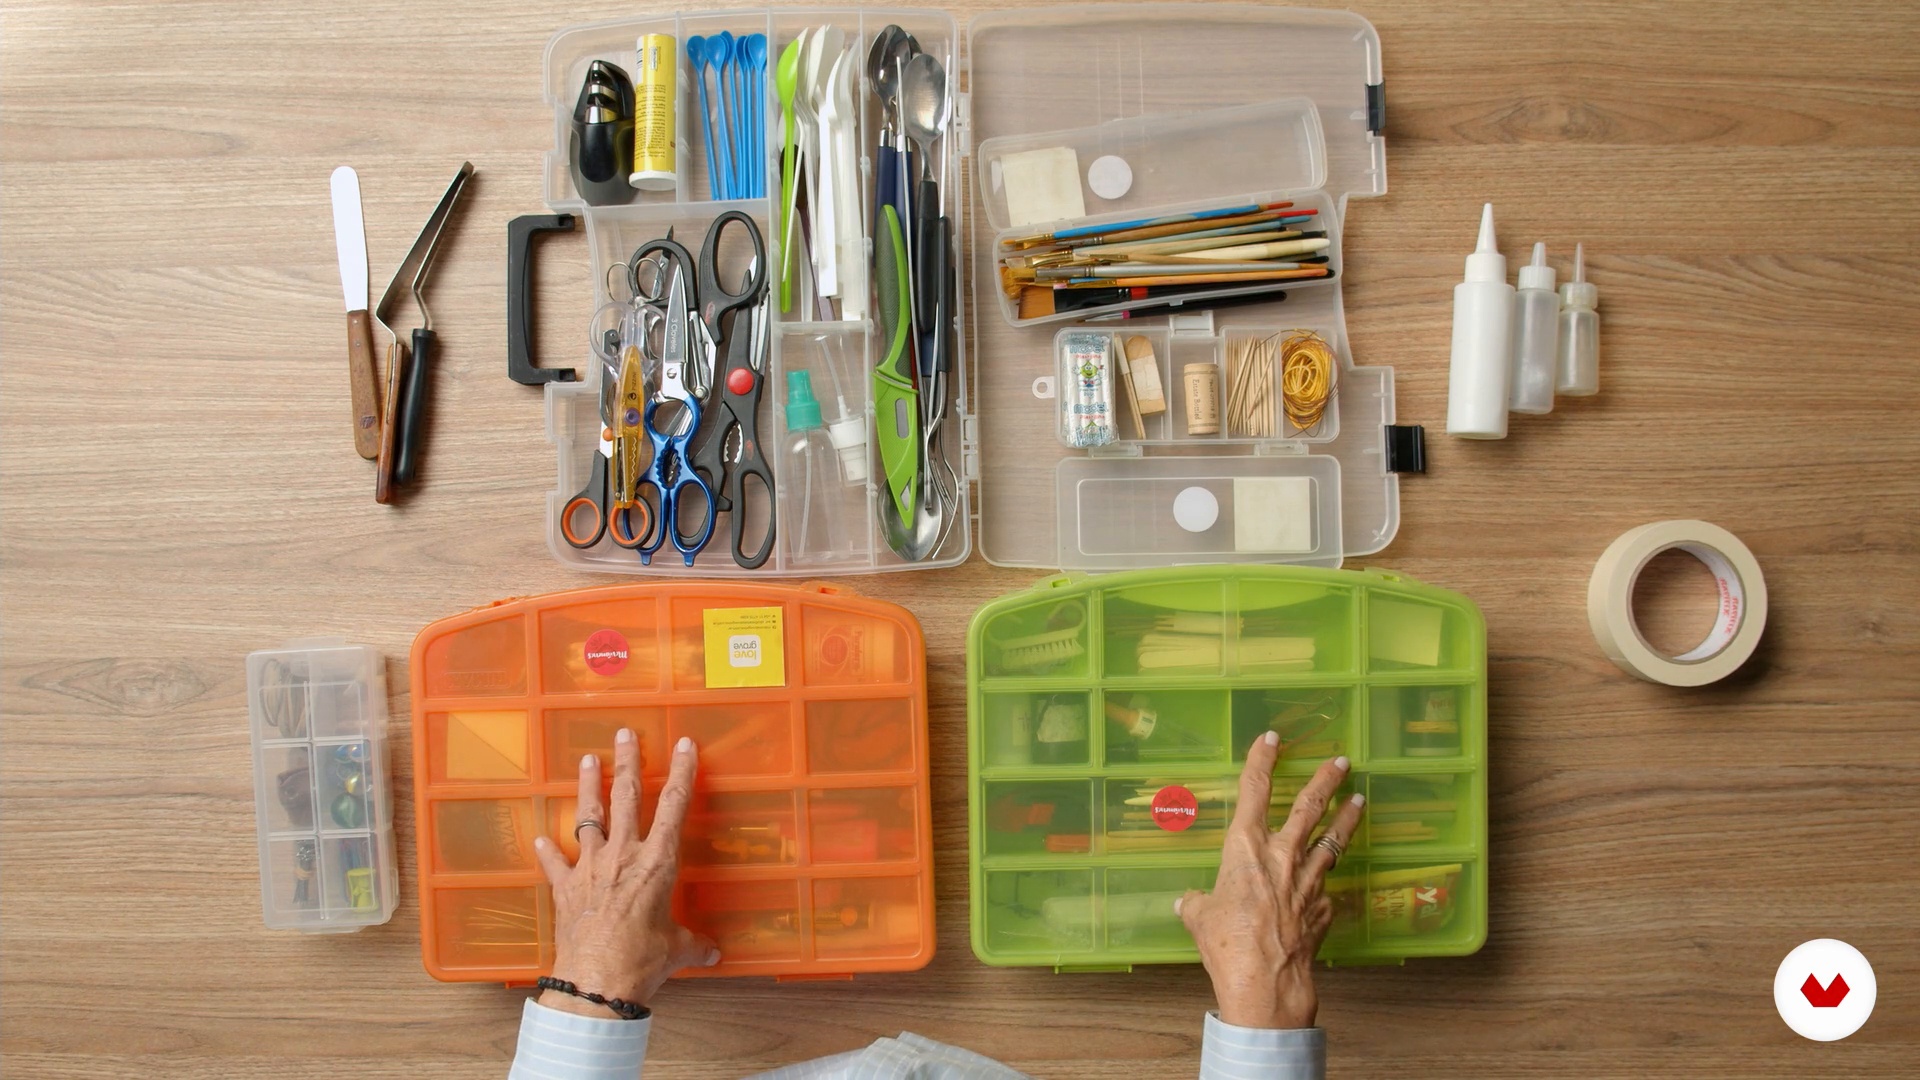
Now I want to show you the basic tools to work with. Whenever we take food photos, we'll need elements to help us with the task.
12m
image
5
Project needs
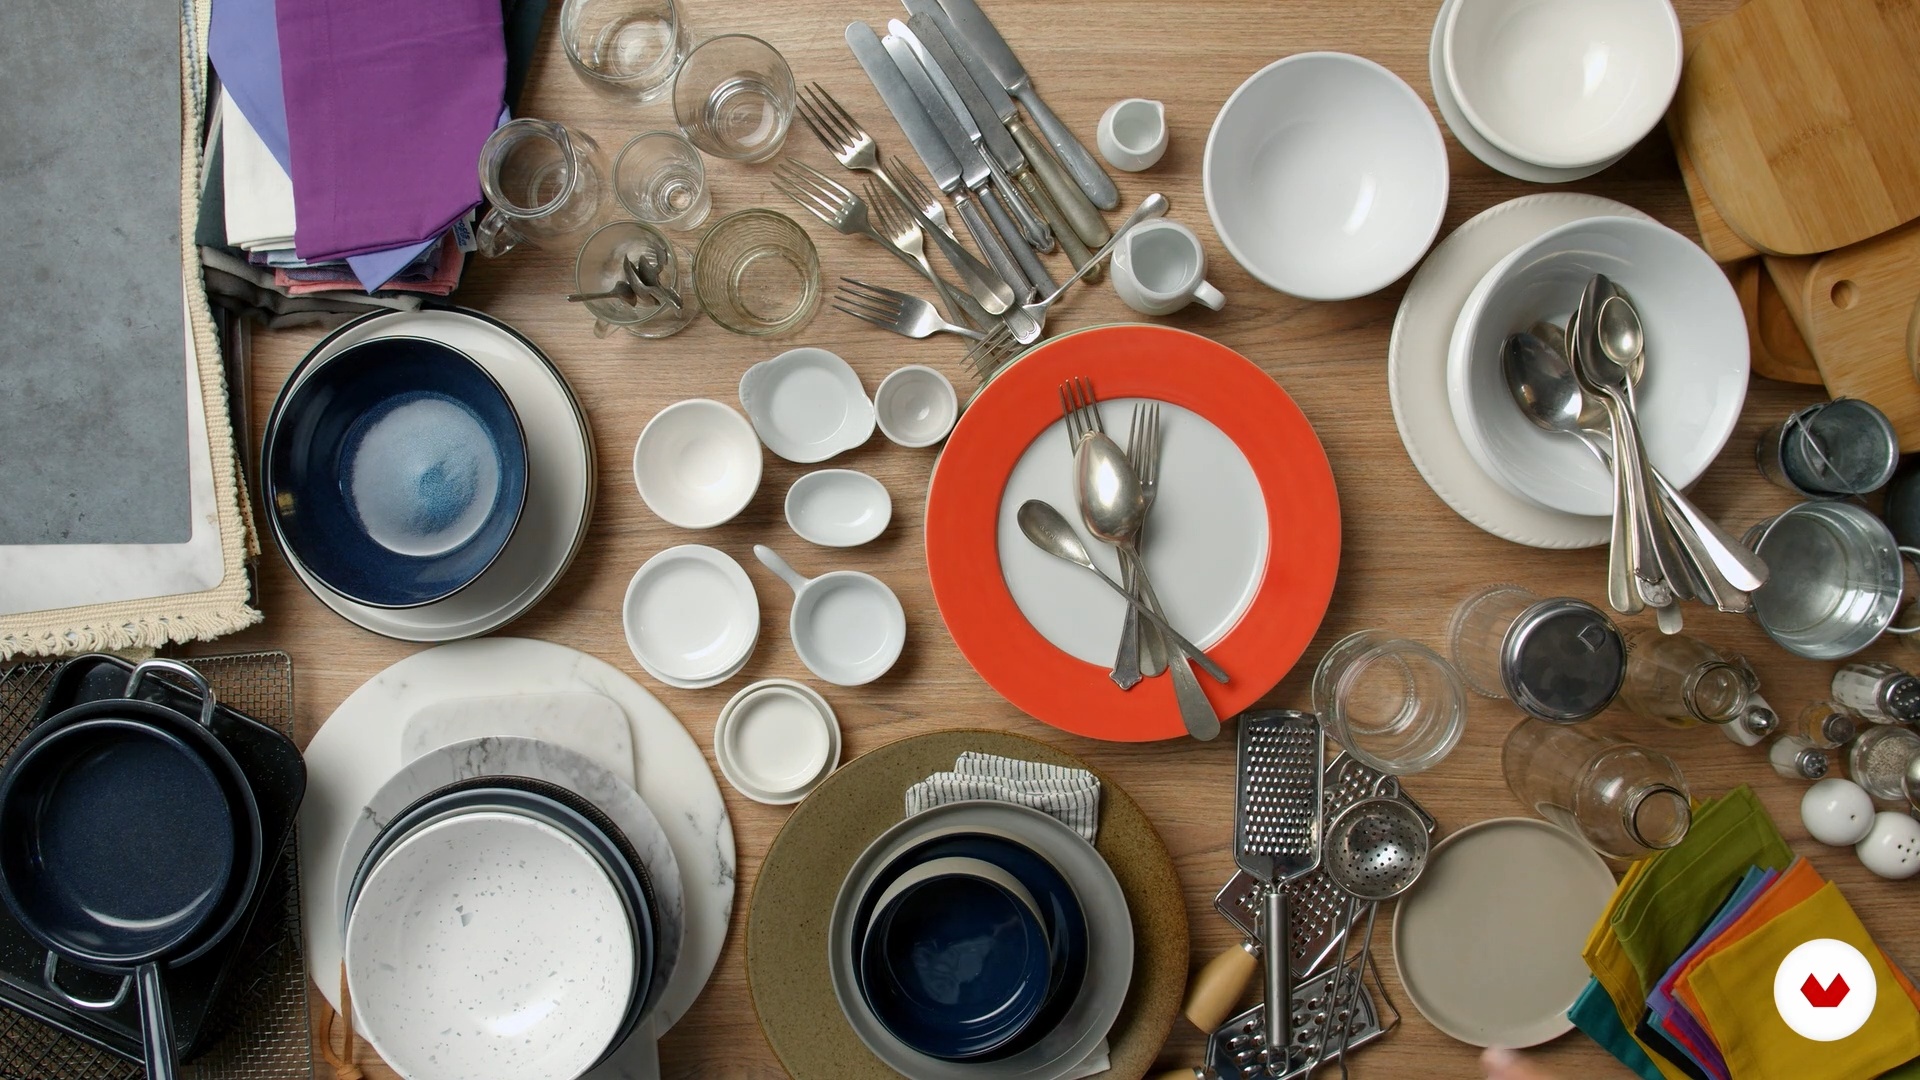
I'll tell you about the elements that make up photos and that are, to a greater or lesser extent, necessary. They are commonly known as props.
11m
image
6
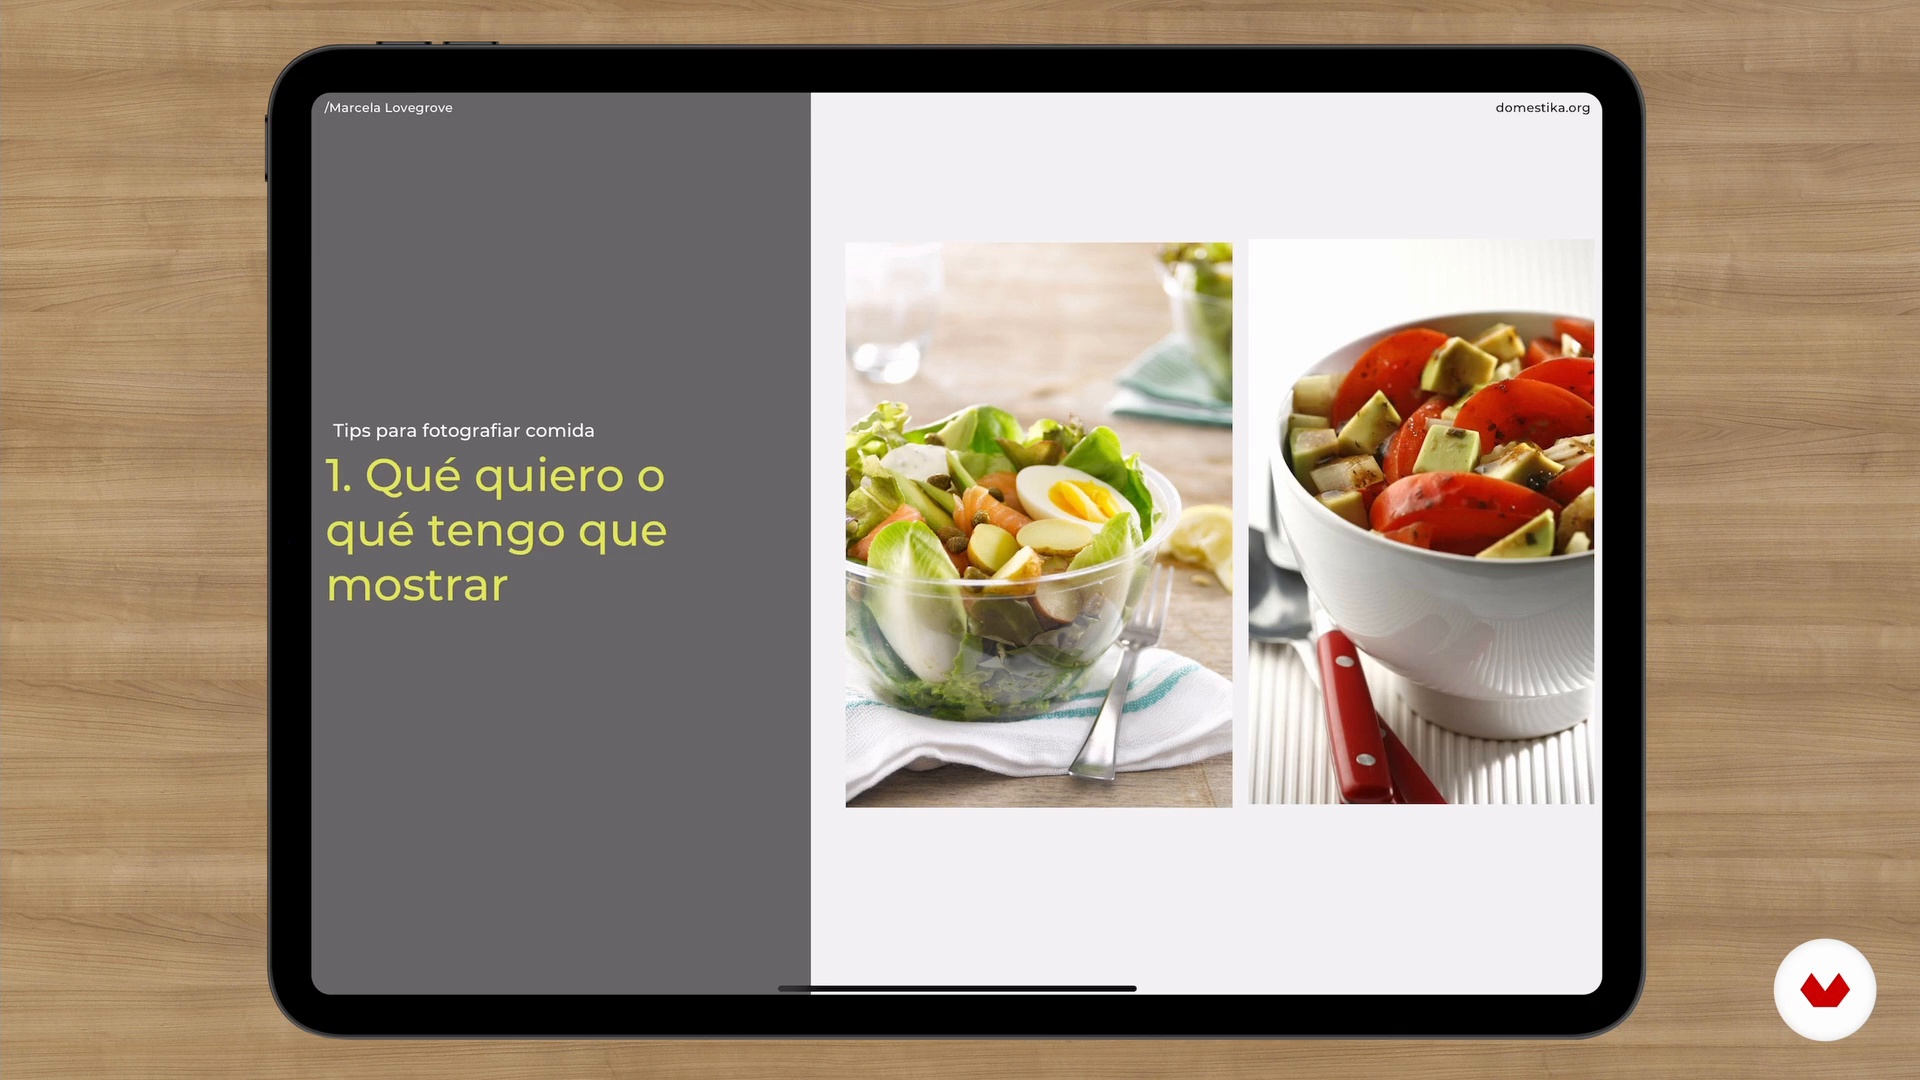
Tips for photographing food
I want to start by explaining some basic concepts that you should keep in mind when taking food photos.
18m
image
7
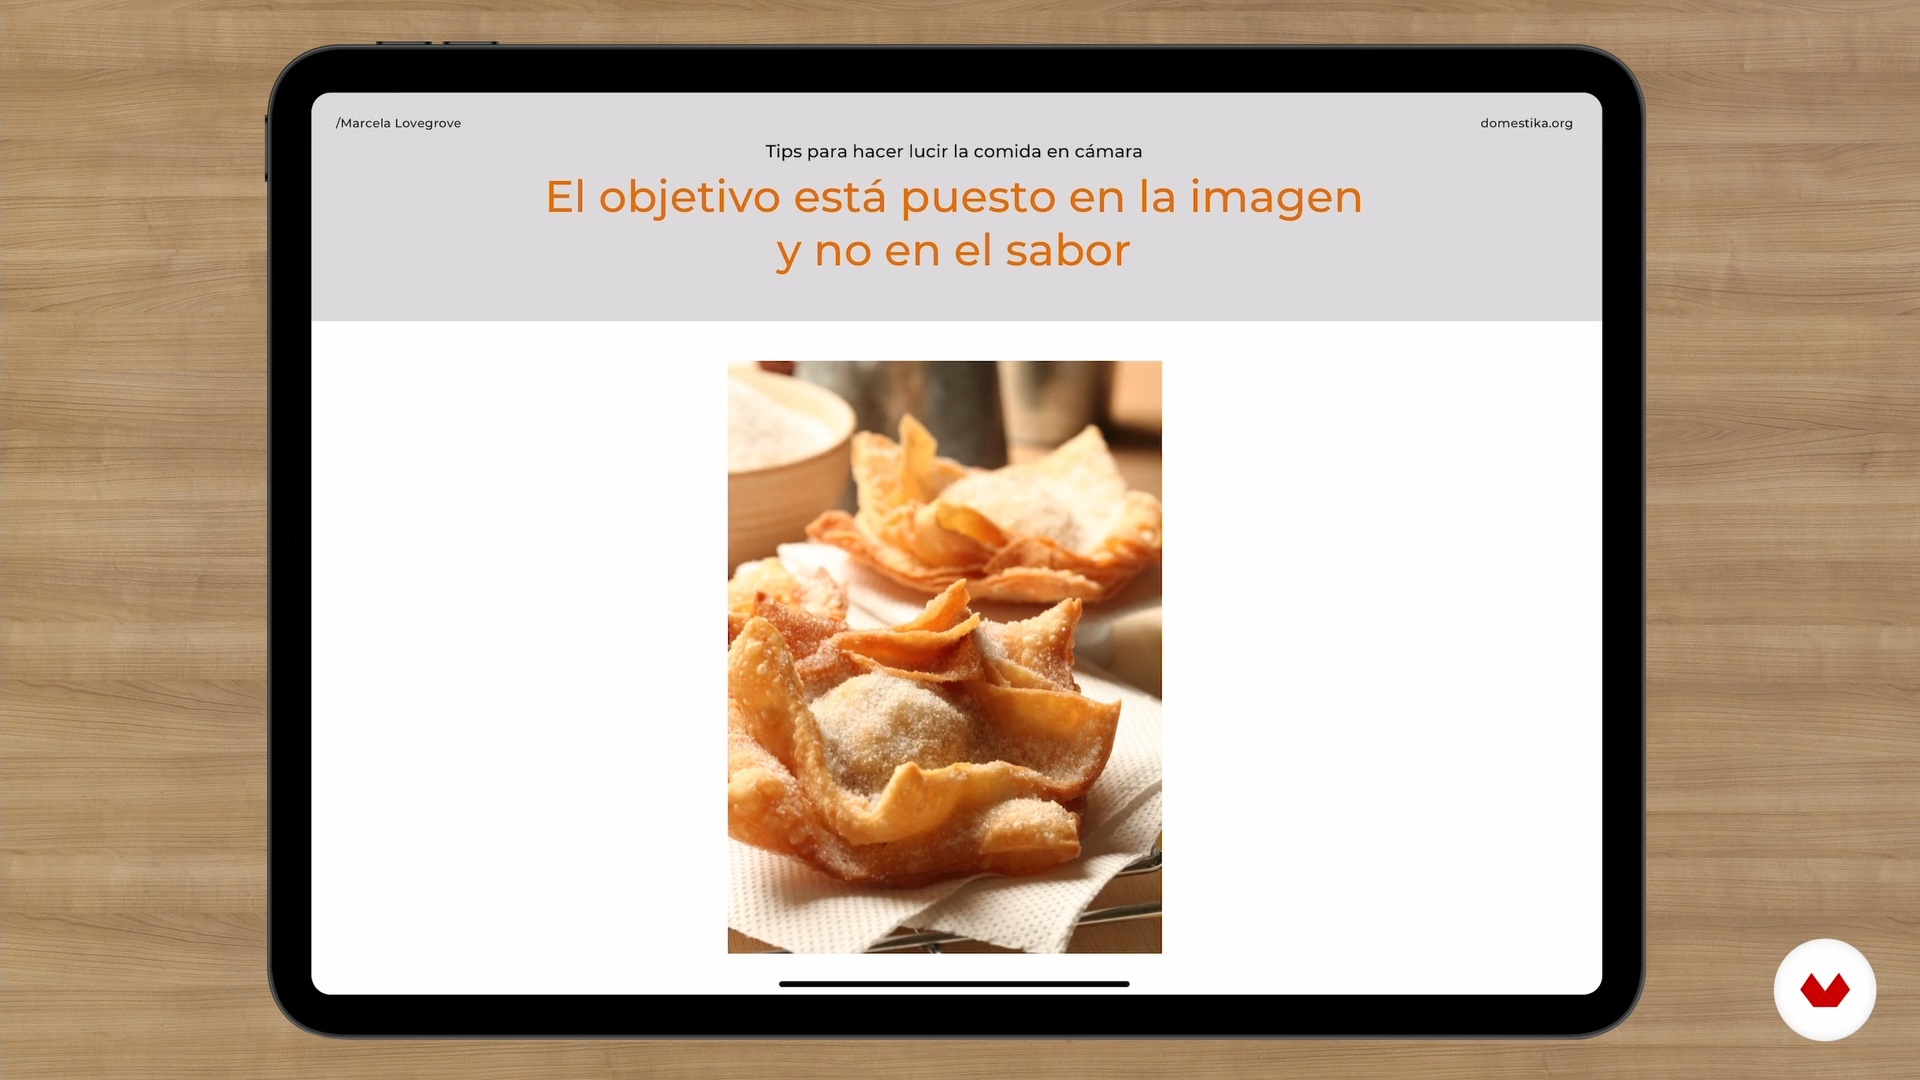
Show off food on camera
In this lesson, I'll share some things I keep in mind when preparing food for photography, not eating.
10m
image
8
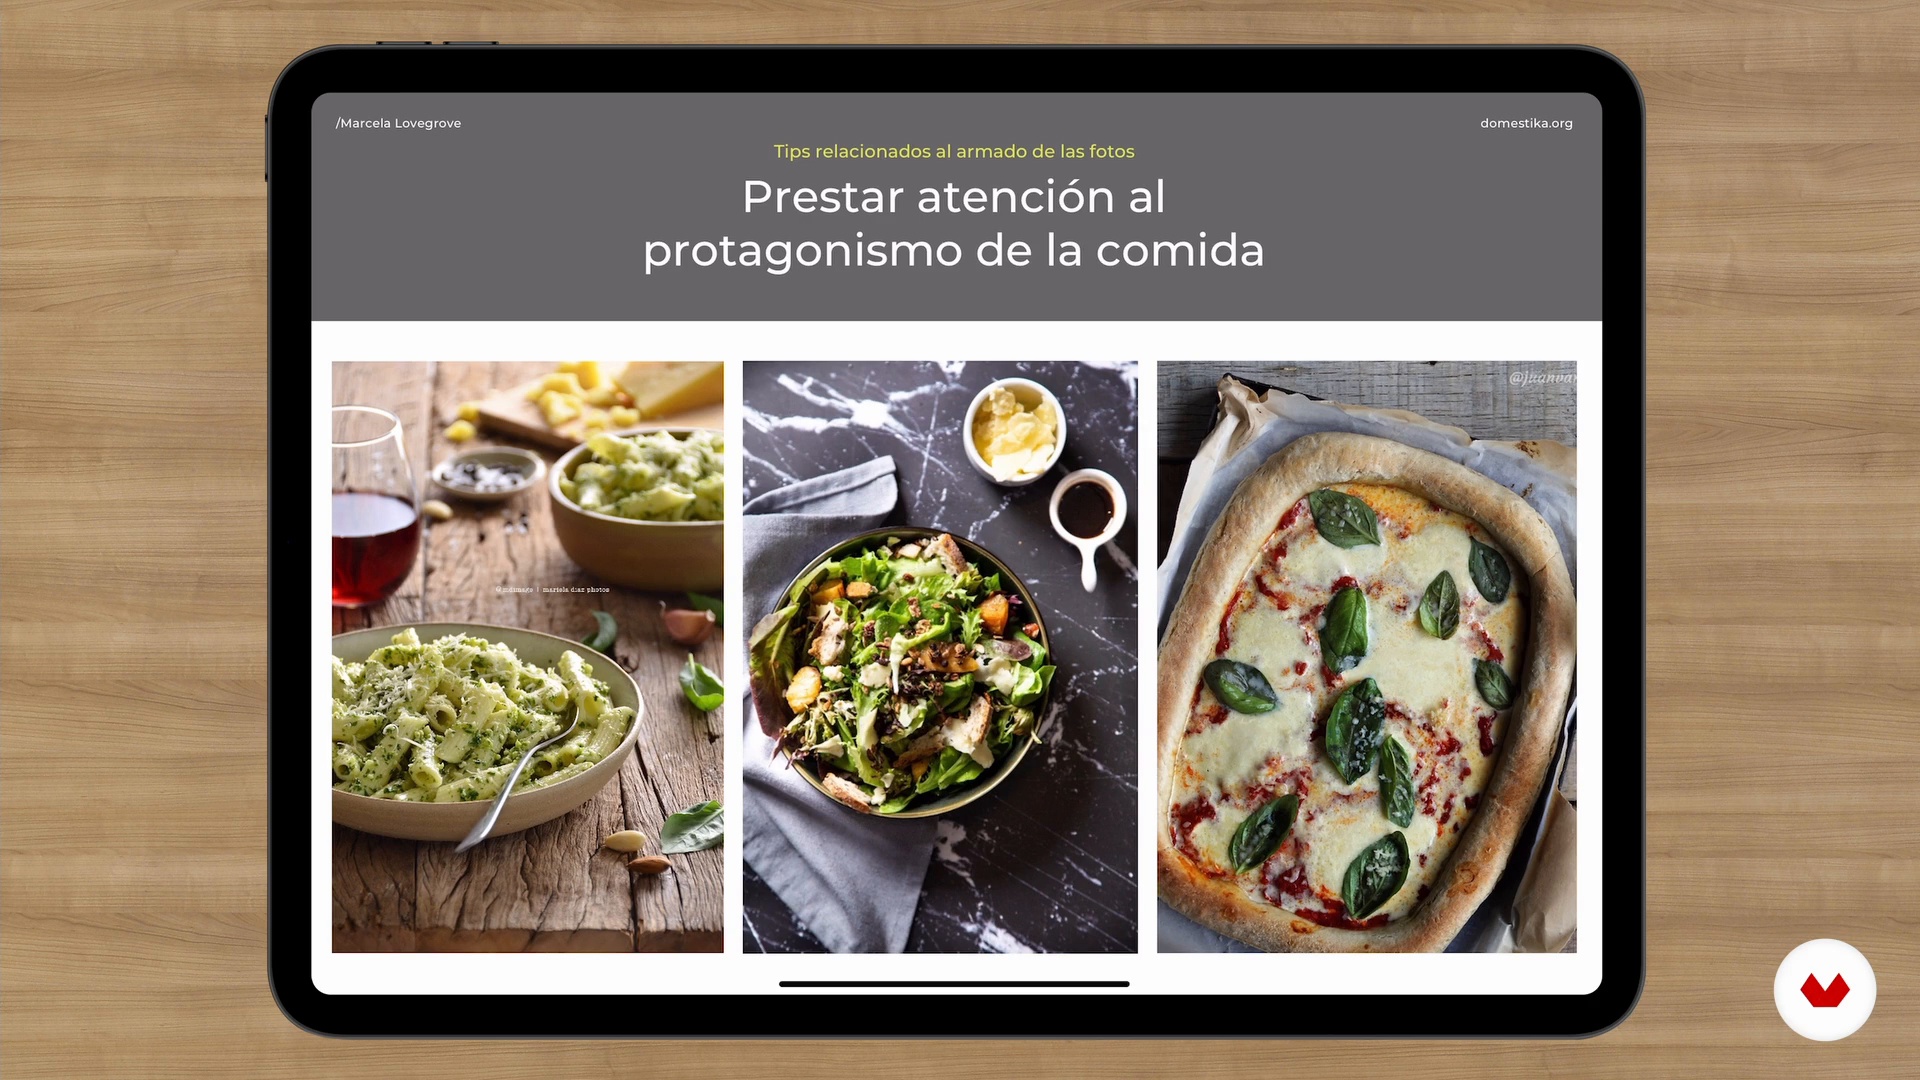
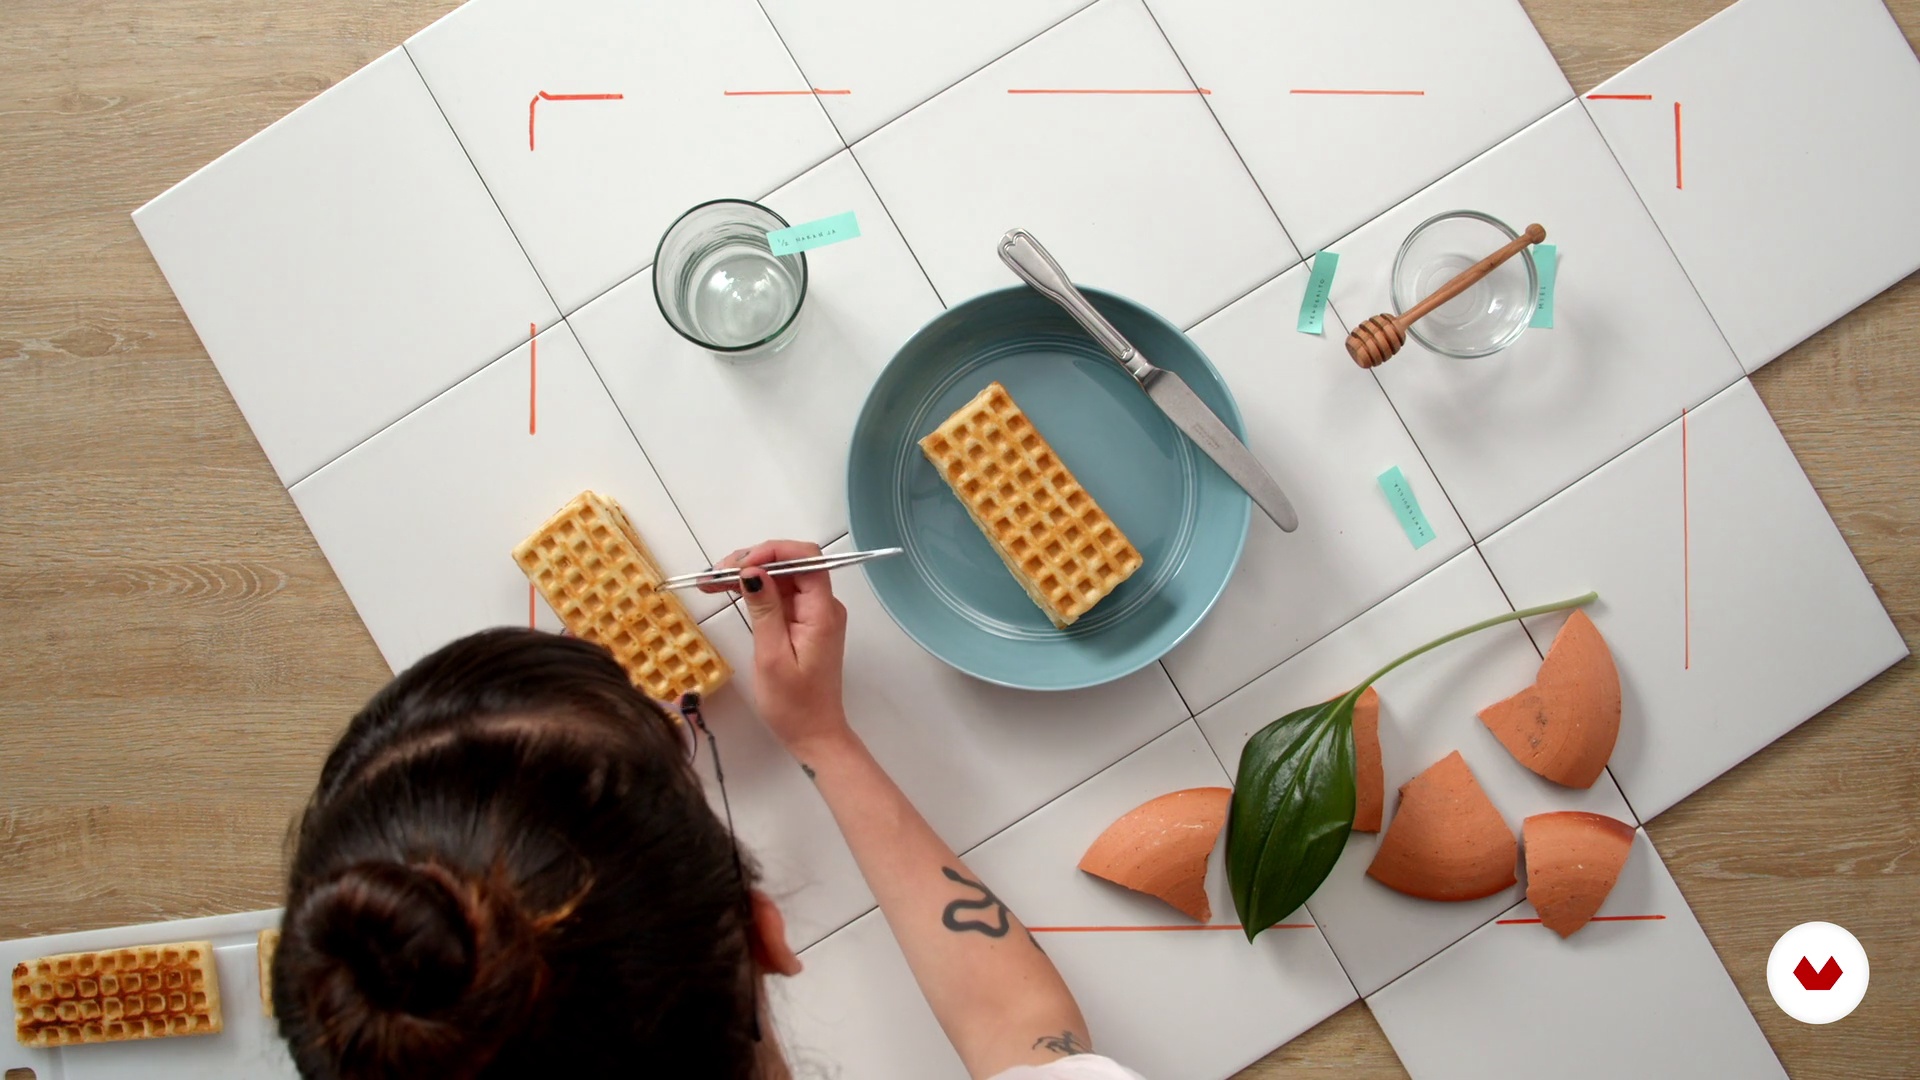
Assembling of the photos
Here I will tell you about the basic general considerations that I recommend you keep in mind when putting together a photo.
12m
image
9
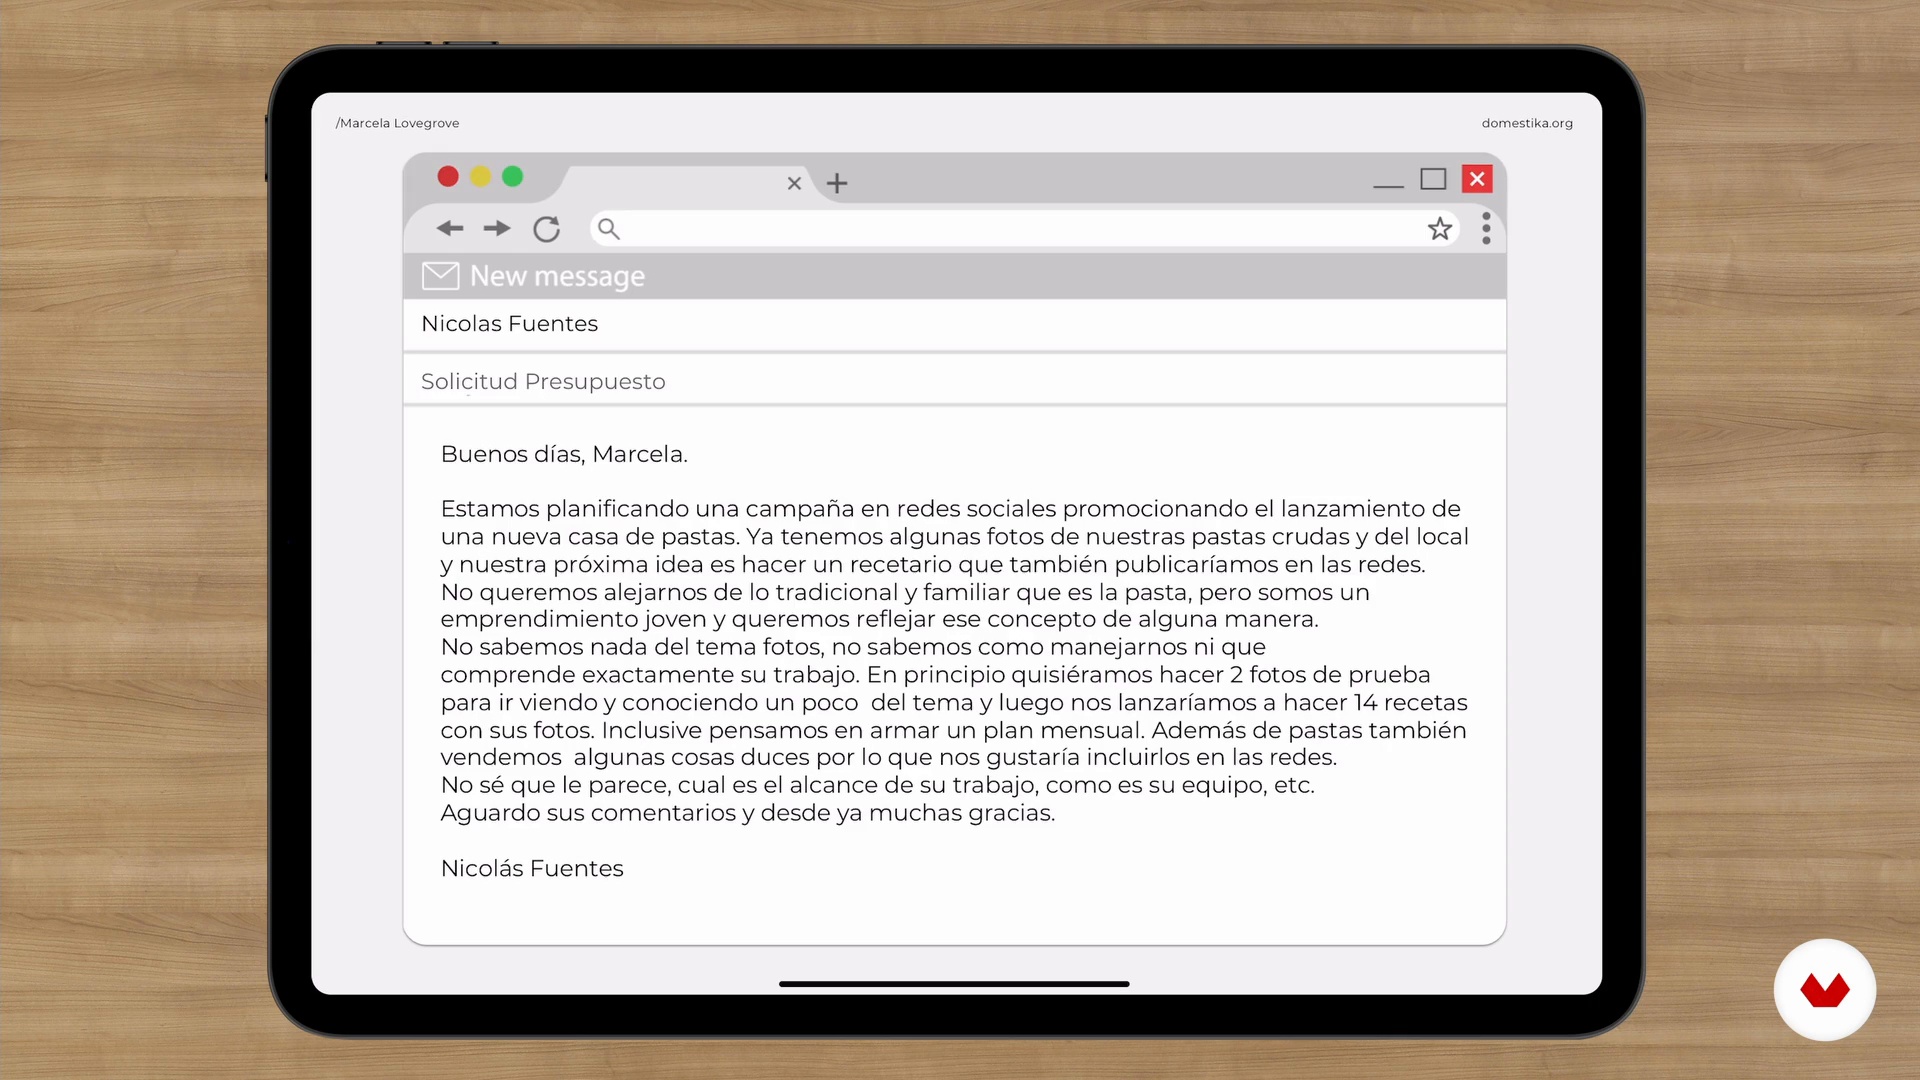
Budgets
Here I'll talk about everything you need to consider when preparing and presenting a budget.
15m
image
10
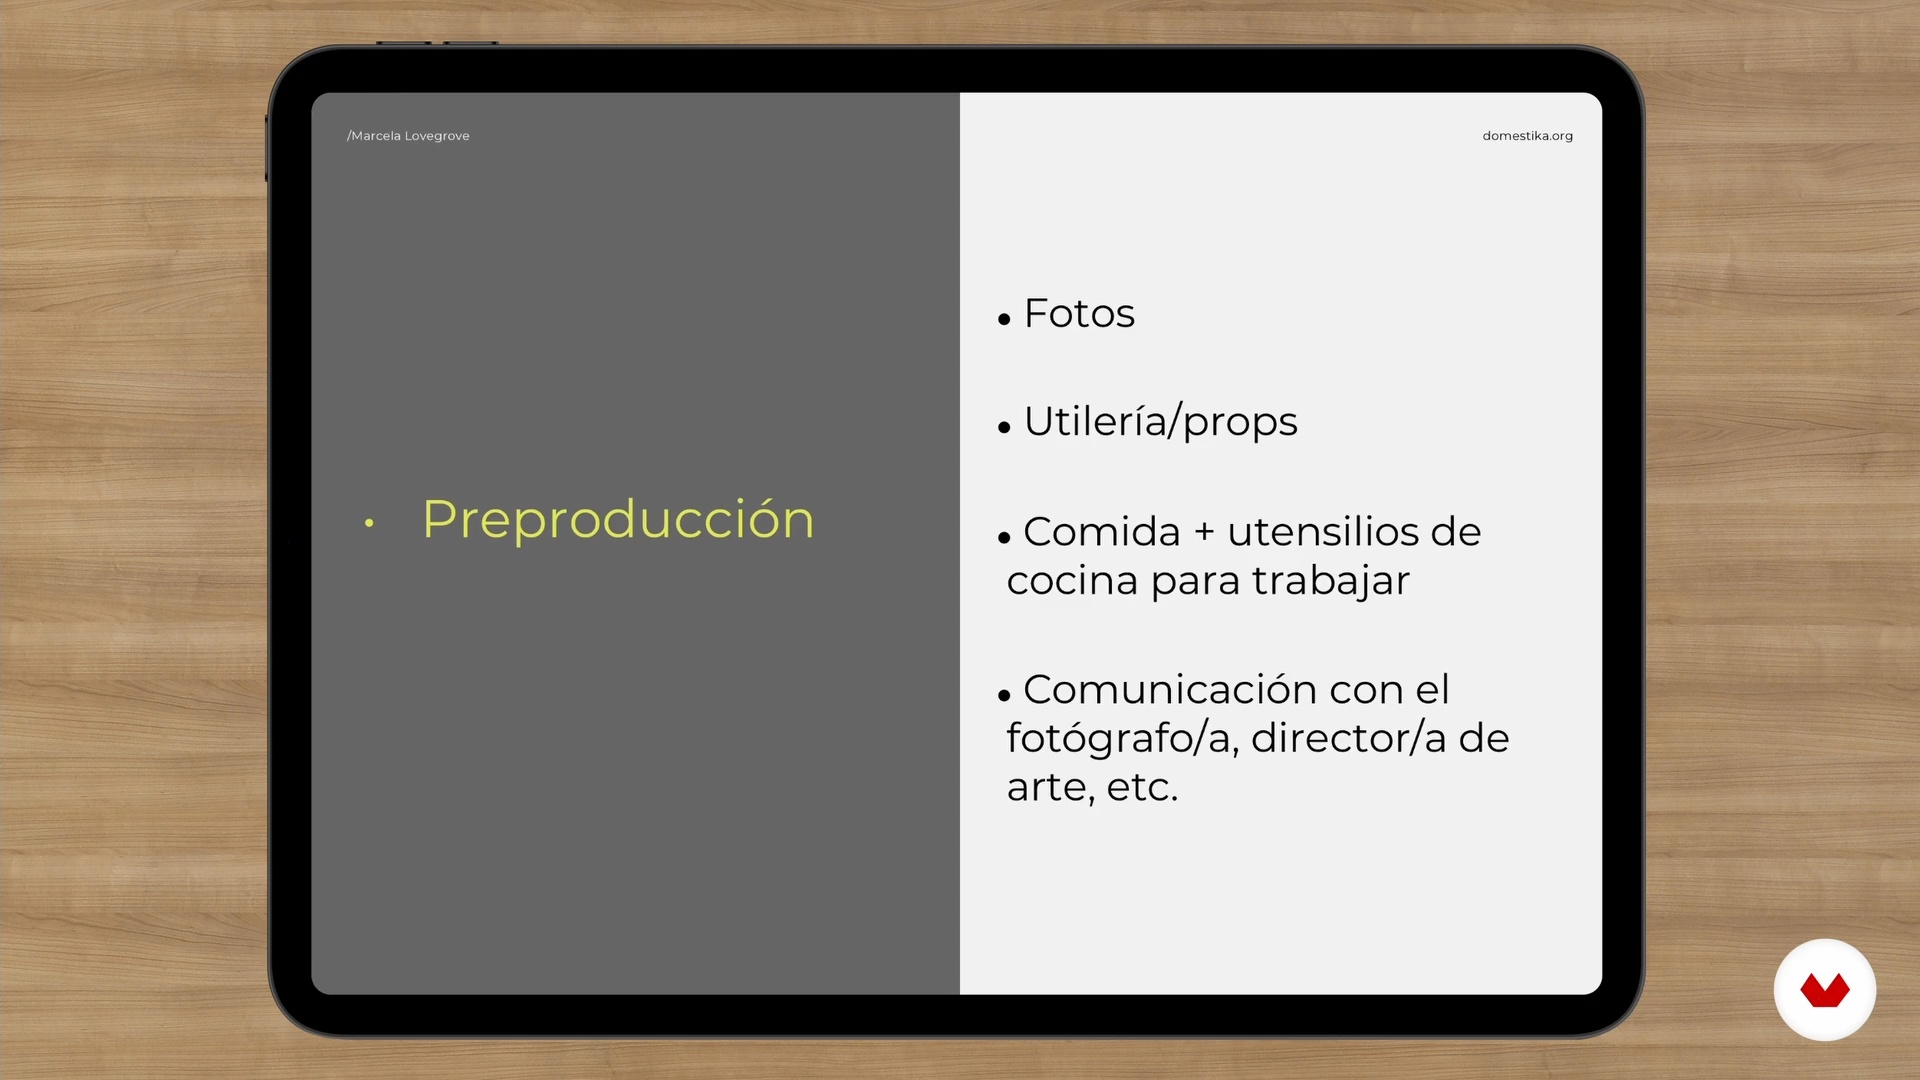
Preproduction
Now you'll learn how to organize yourself to do a good job and the importance of this stage for successful work.
4m
image
11
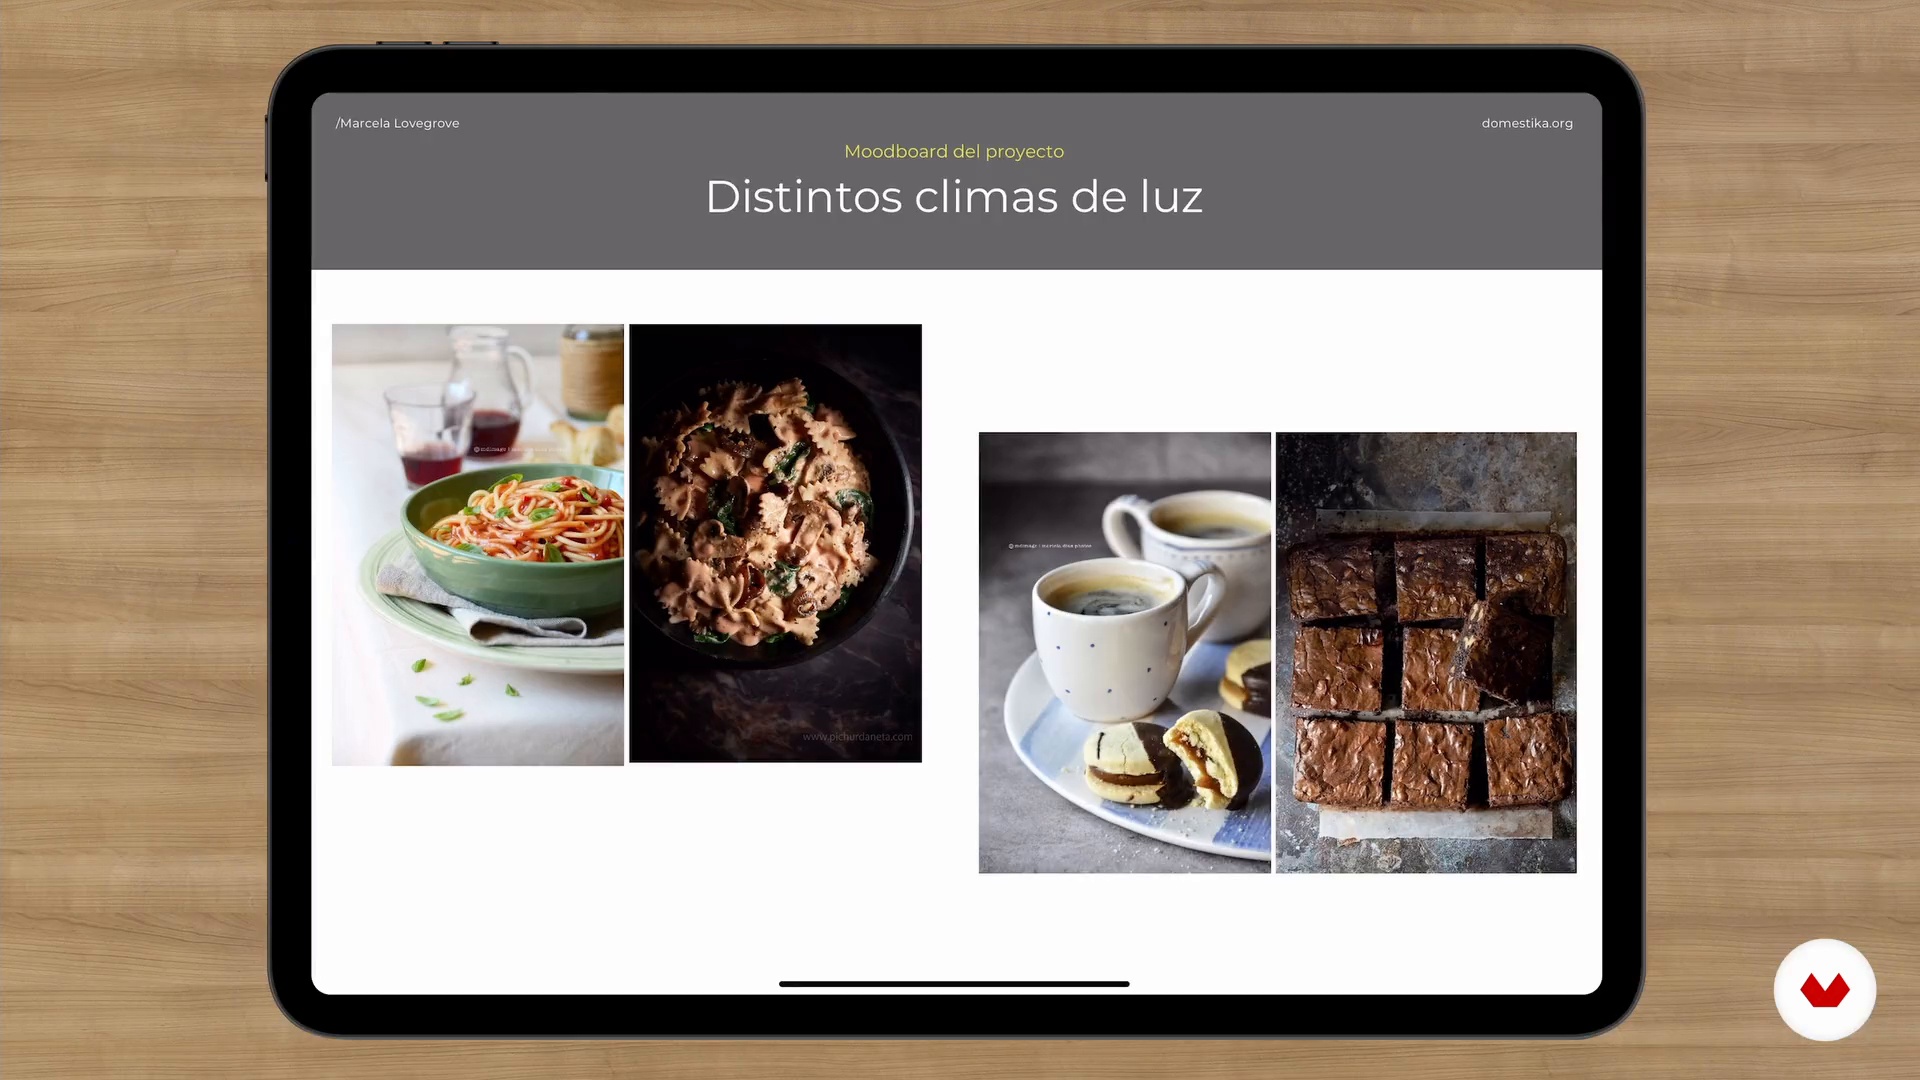
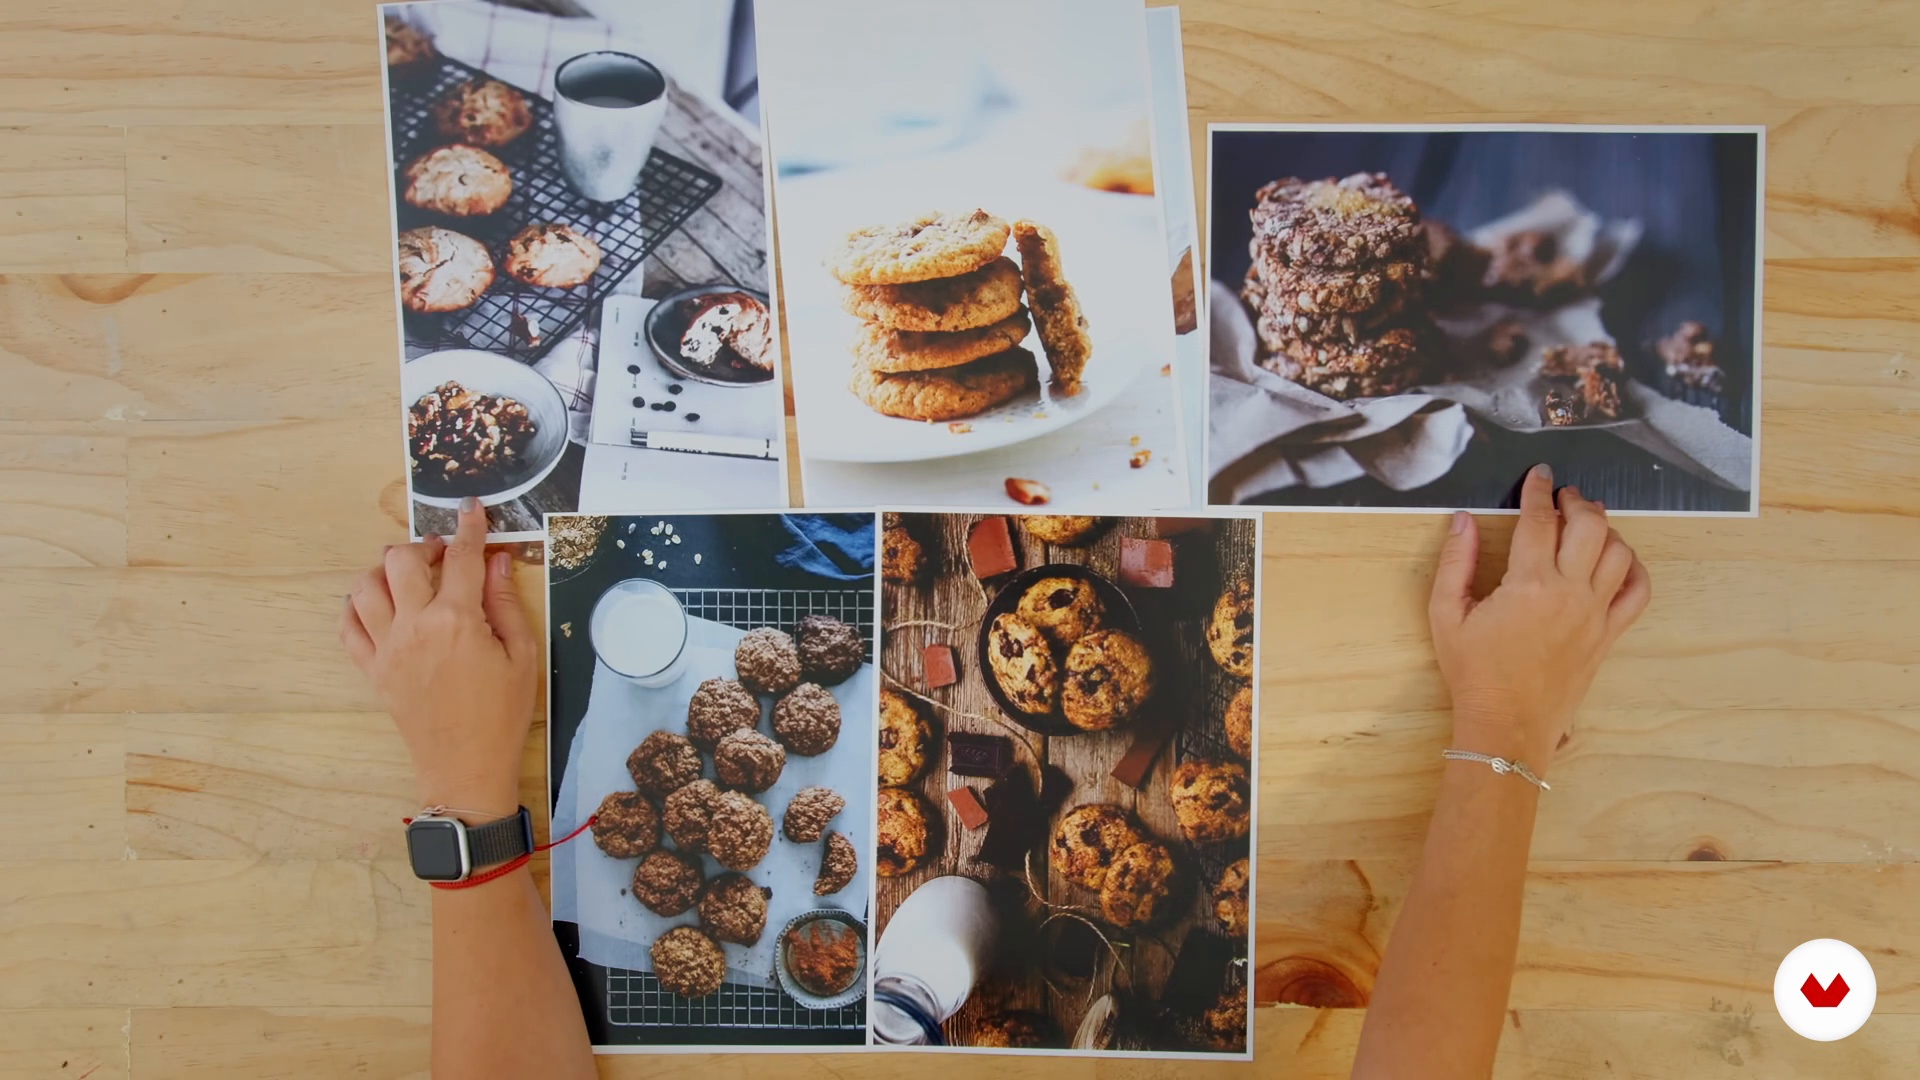
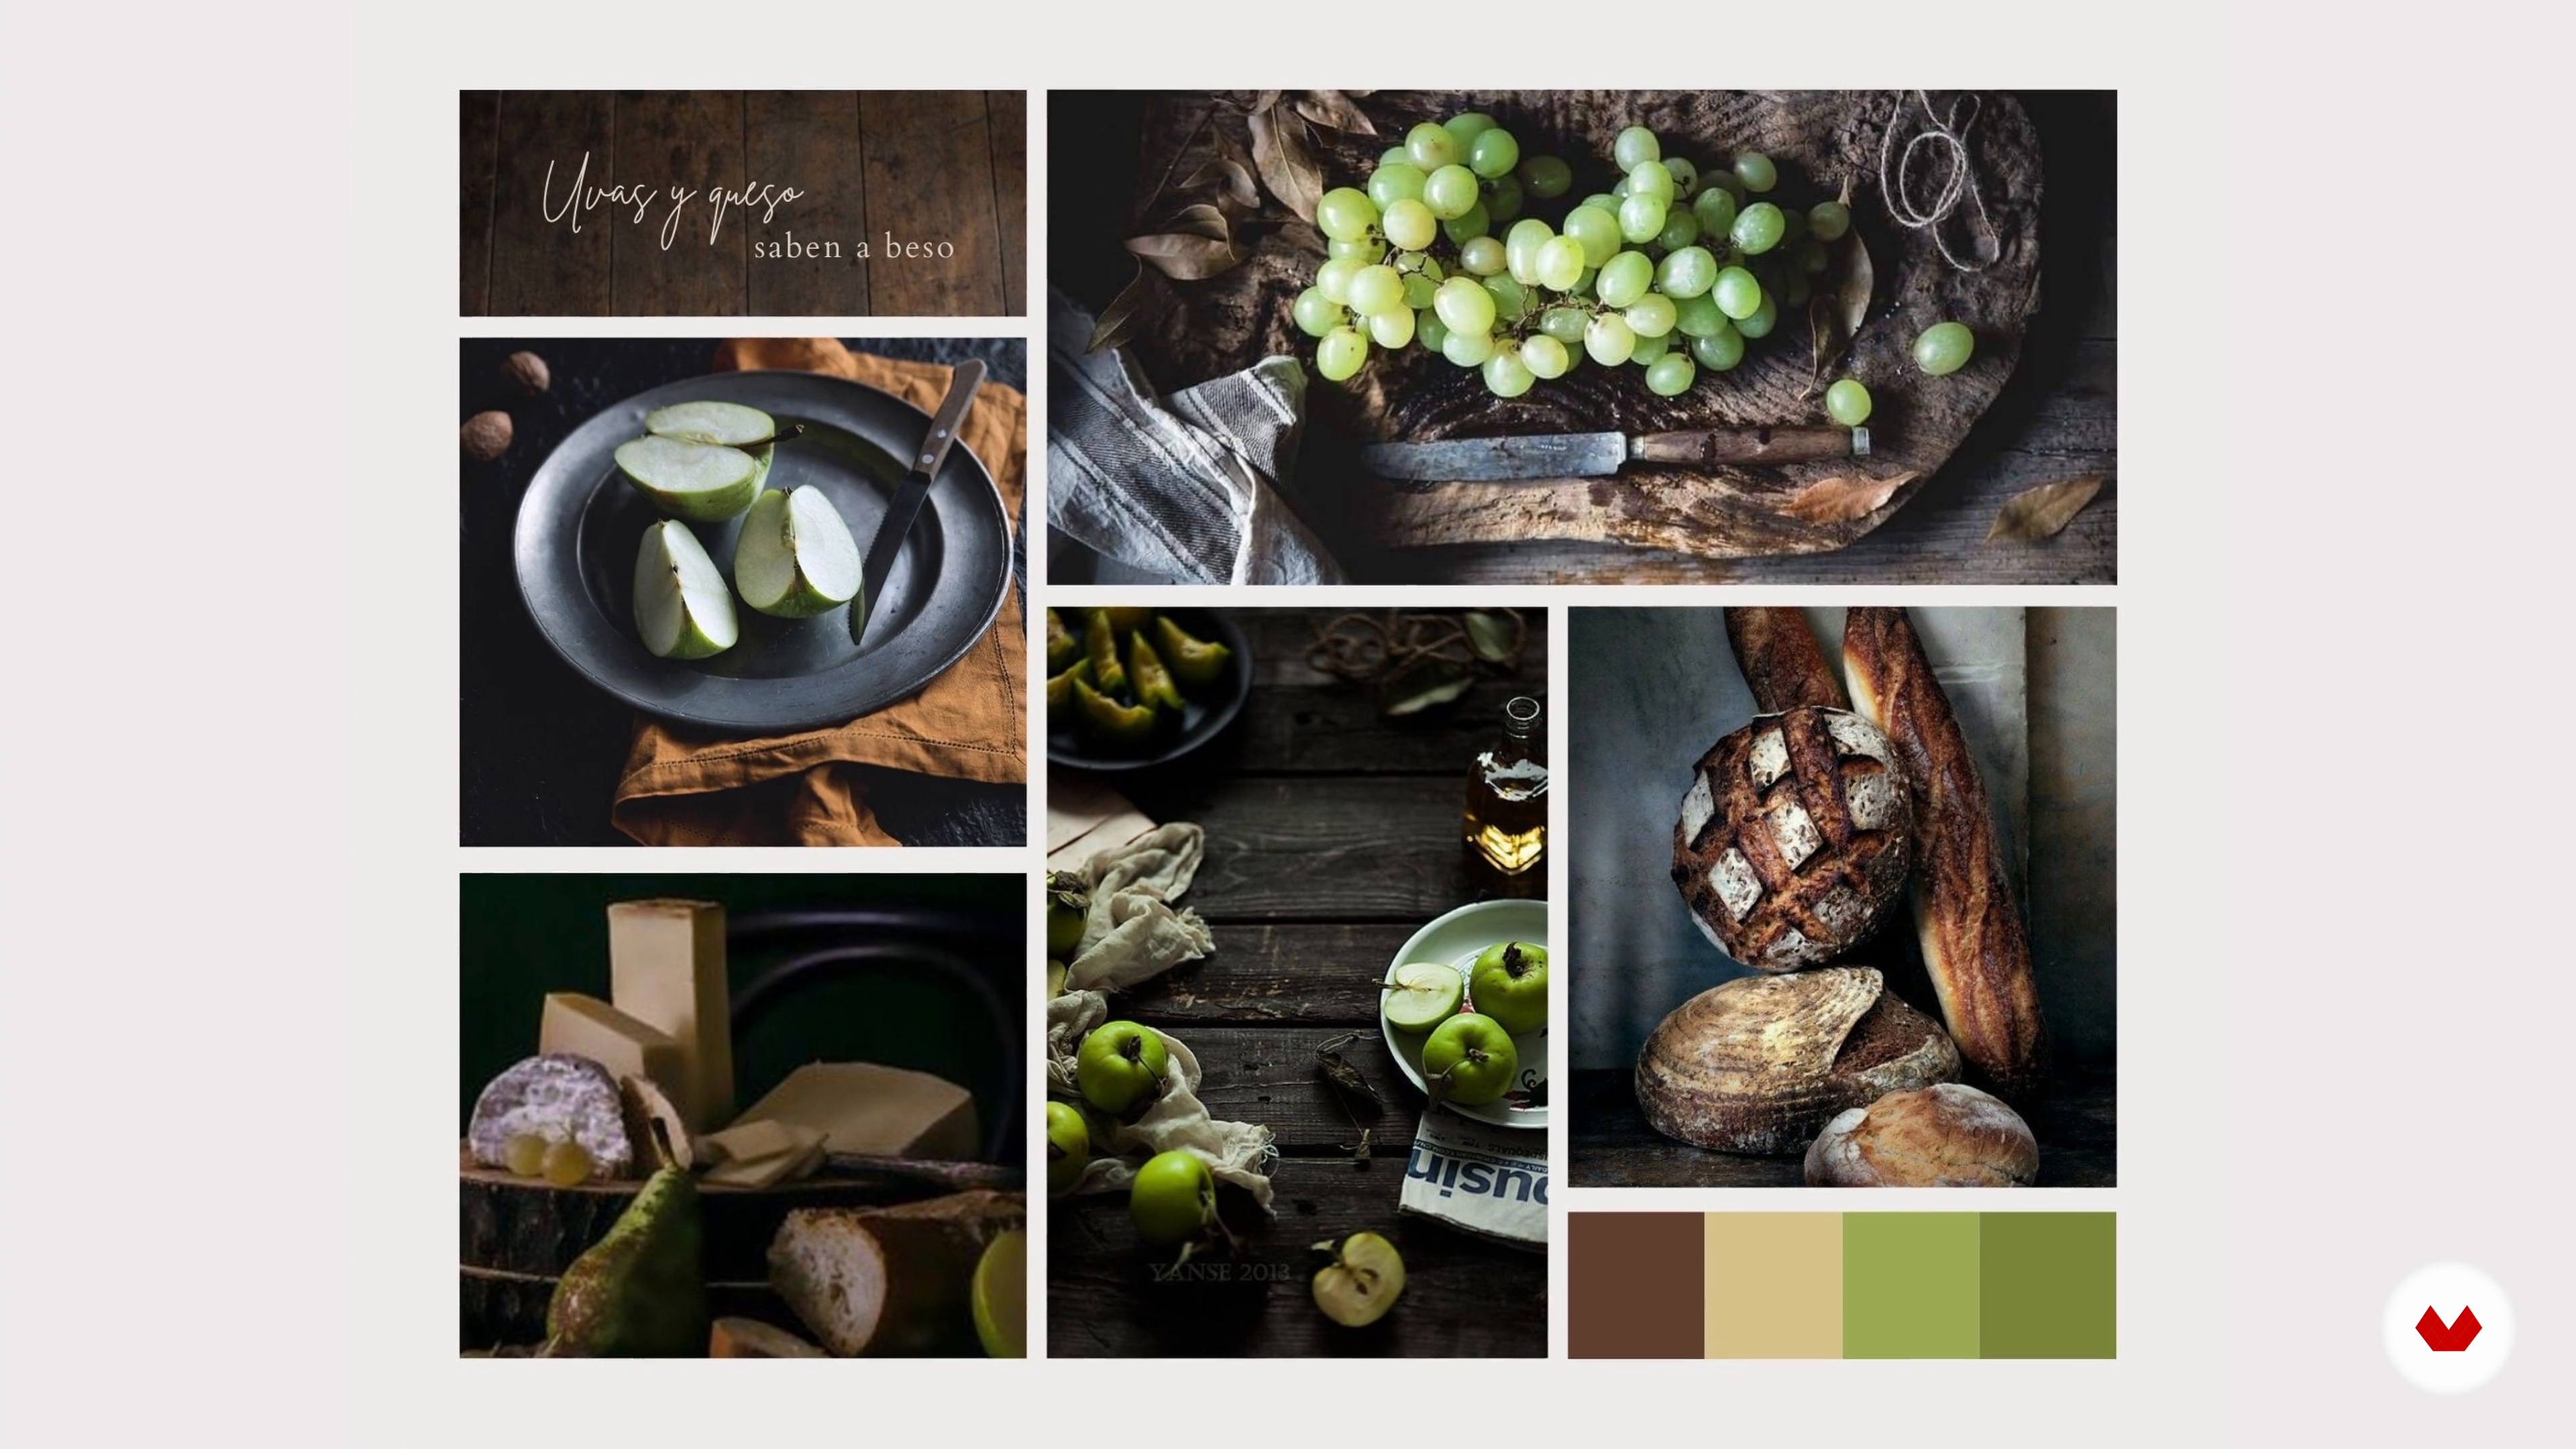
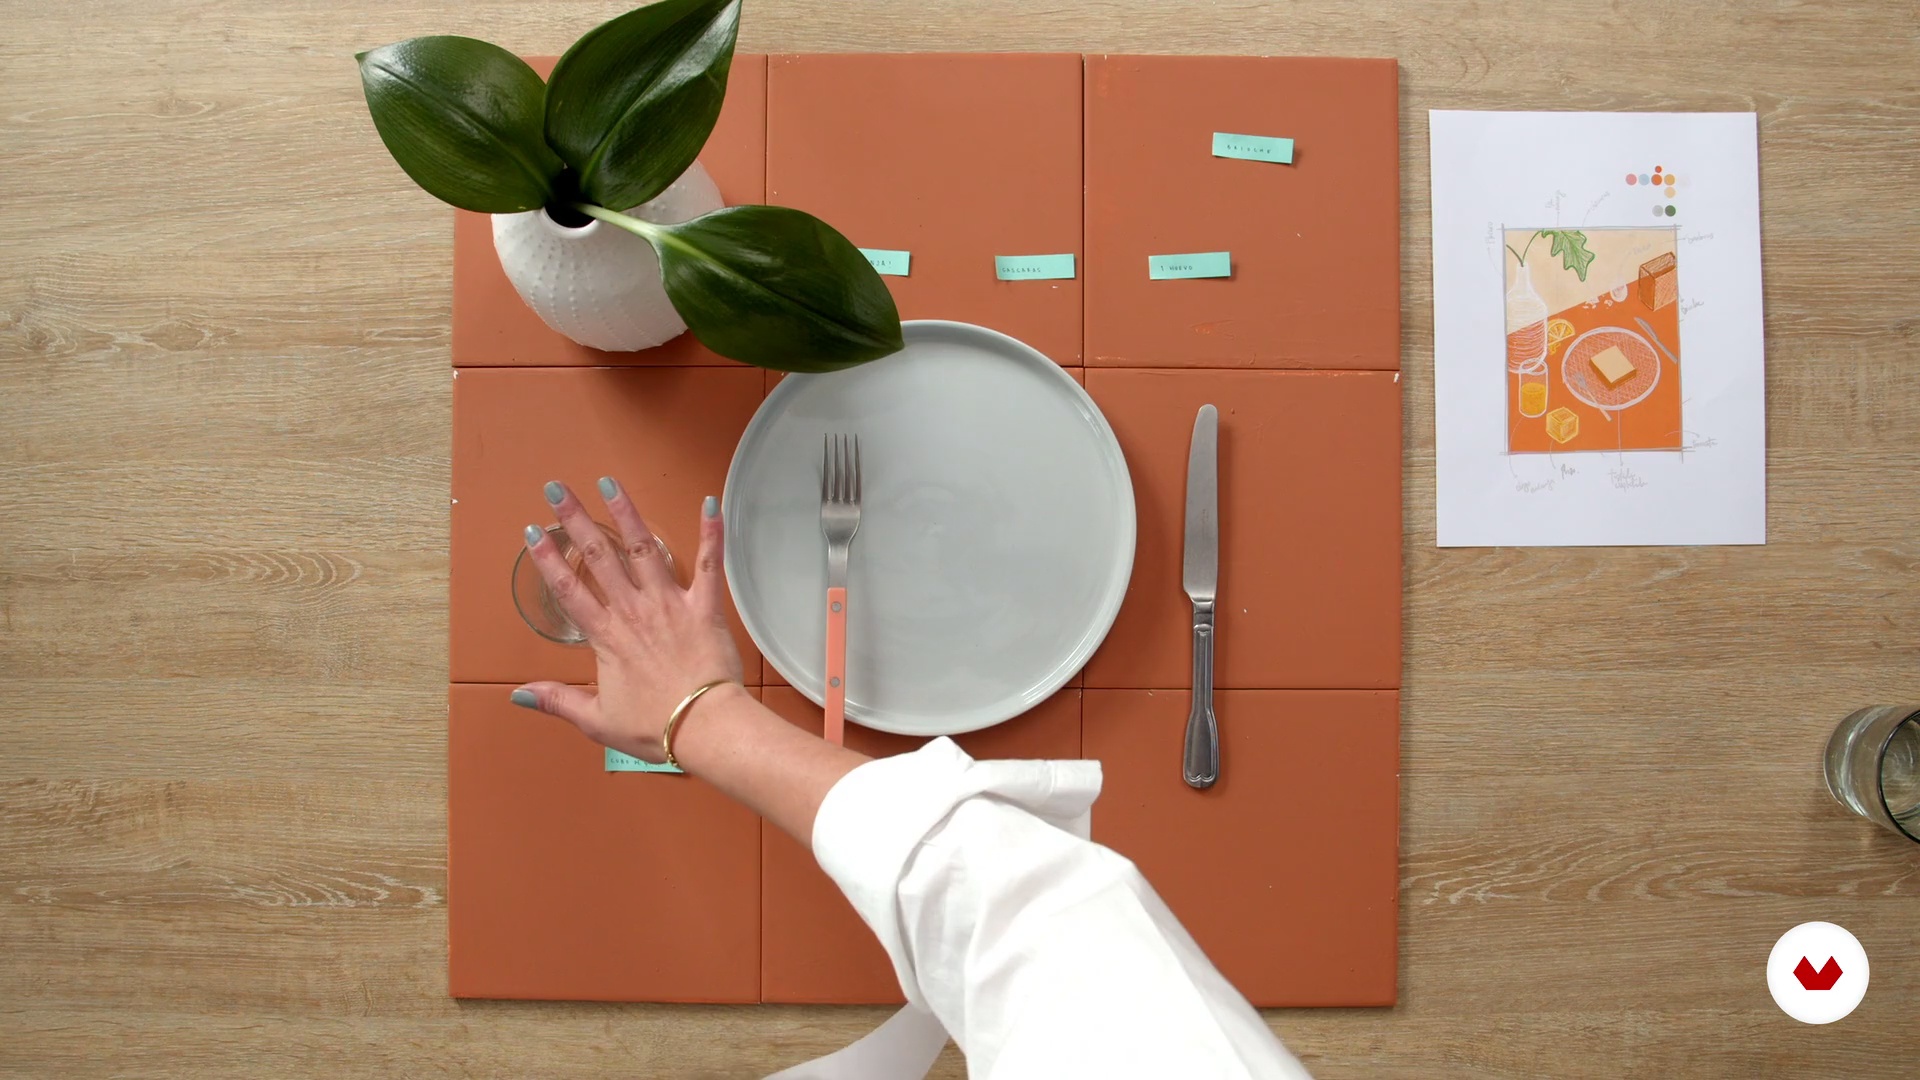
Mood Board
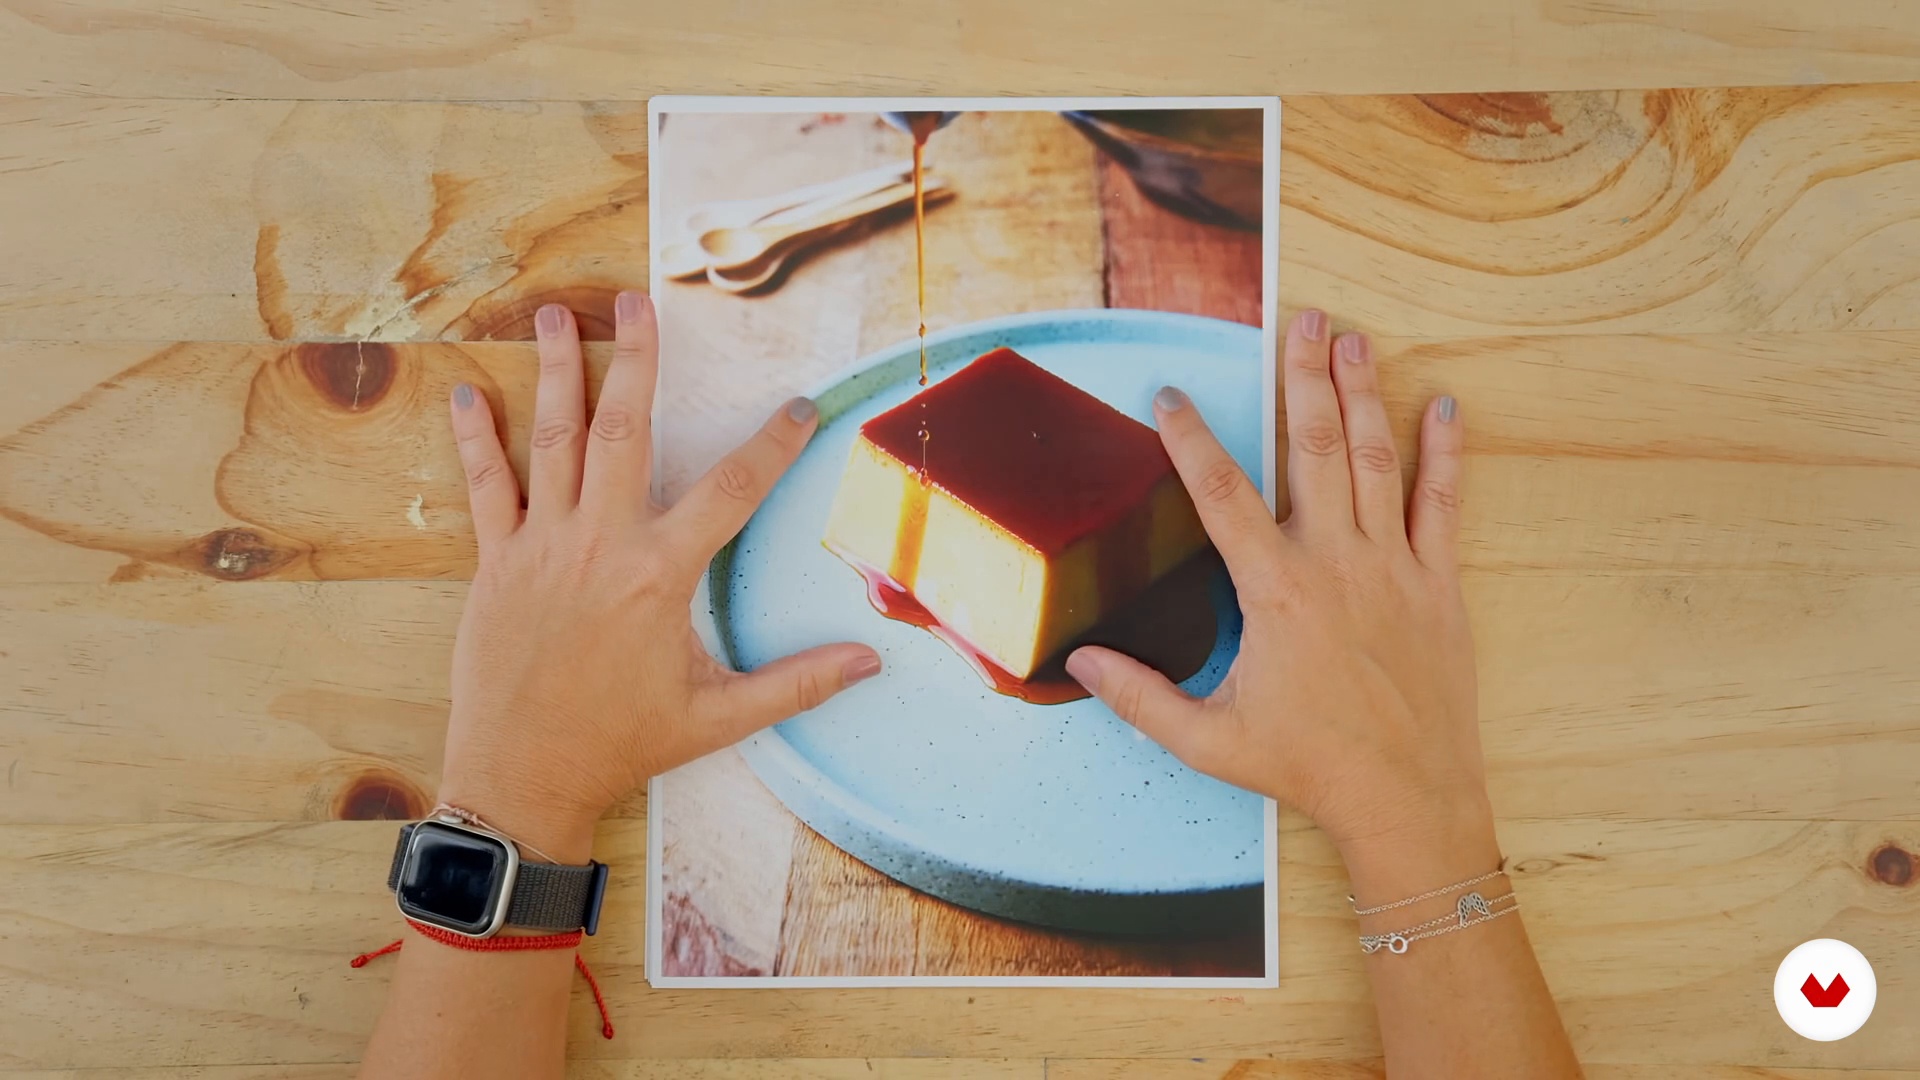
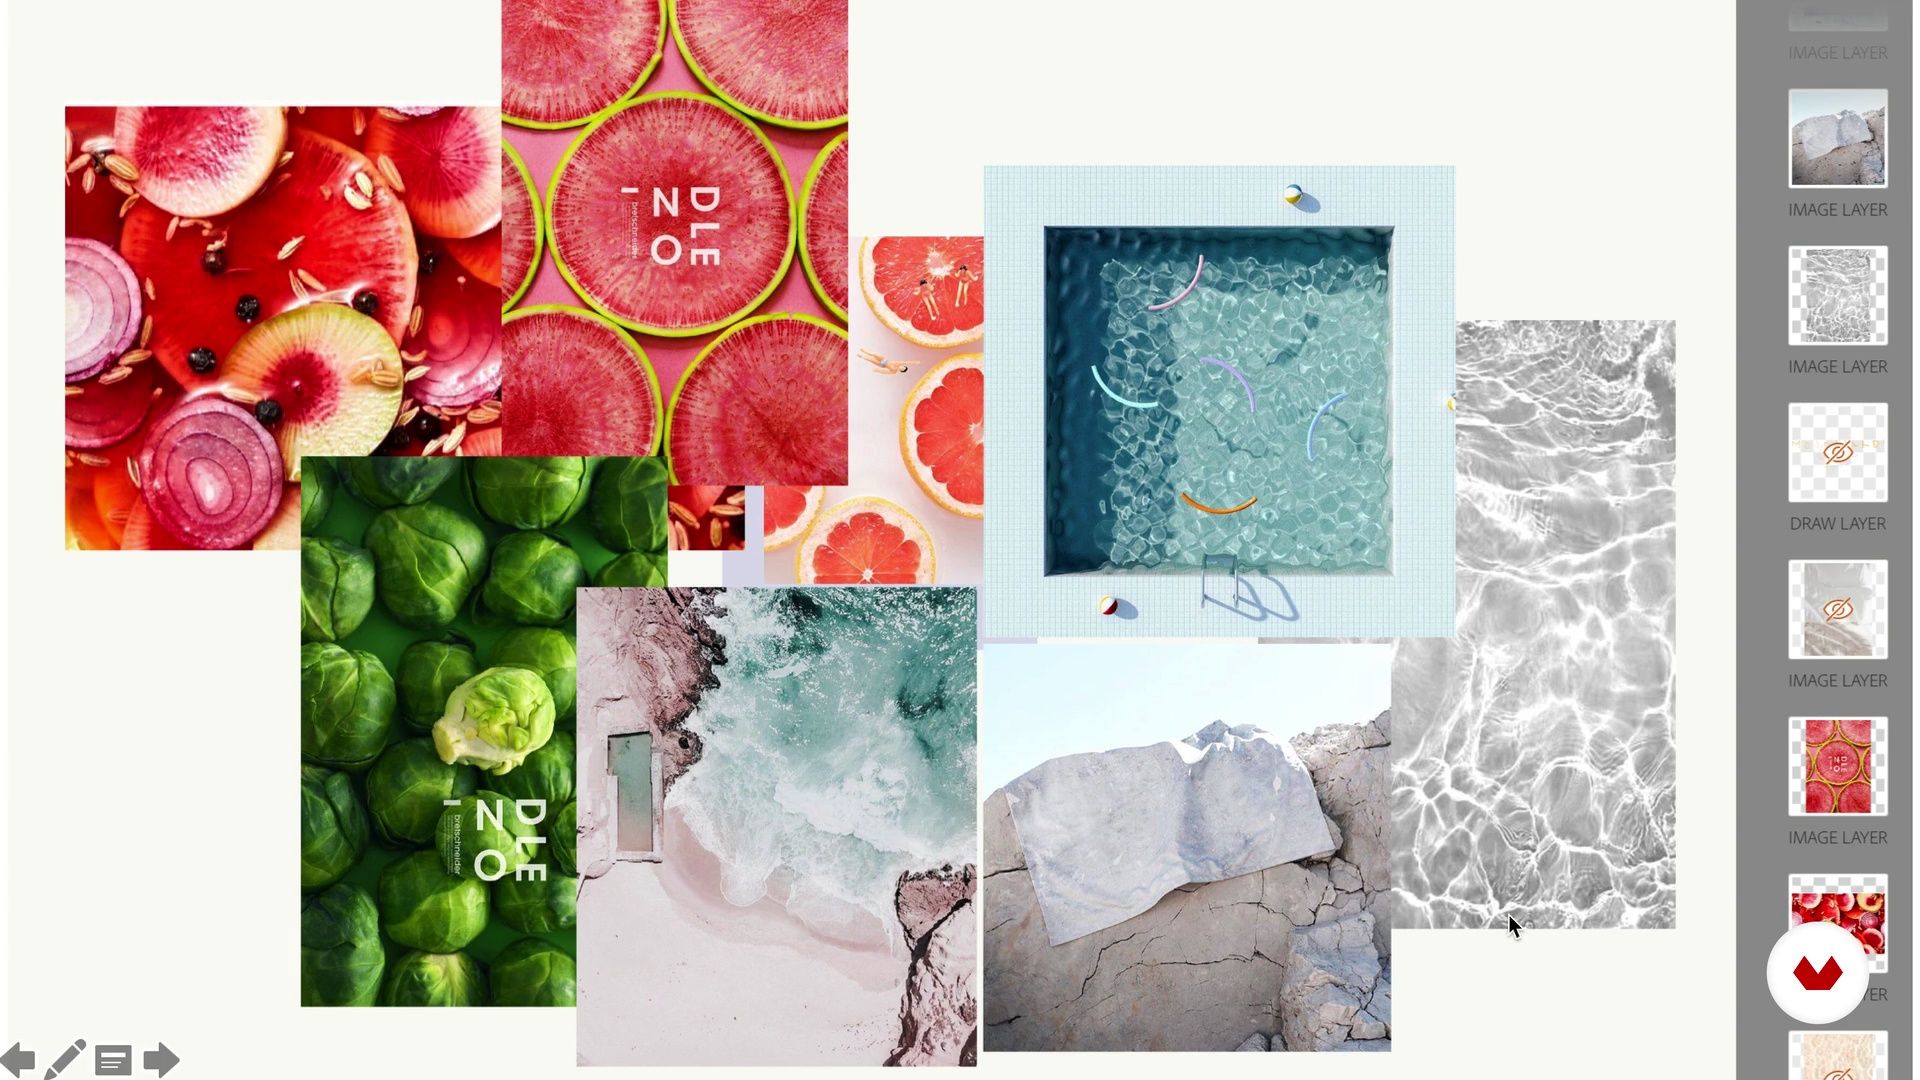
A mood board is a selection of reference images presented to the client to show them ideas for backgrounds, tableware, canvases, etc., so they can decide on the aesthetics of the photographs to be taken. This is what we'll cover in this lesson and how to put it together.
9m
image
12
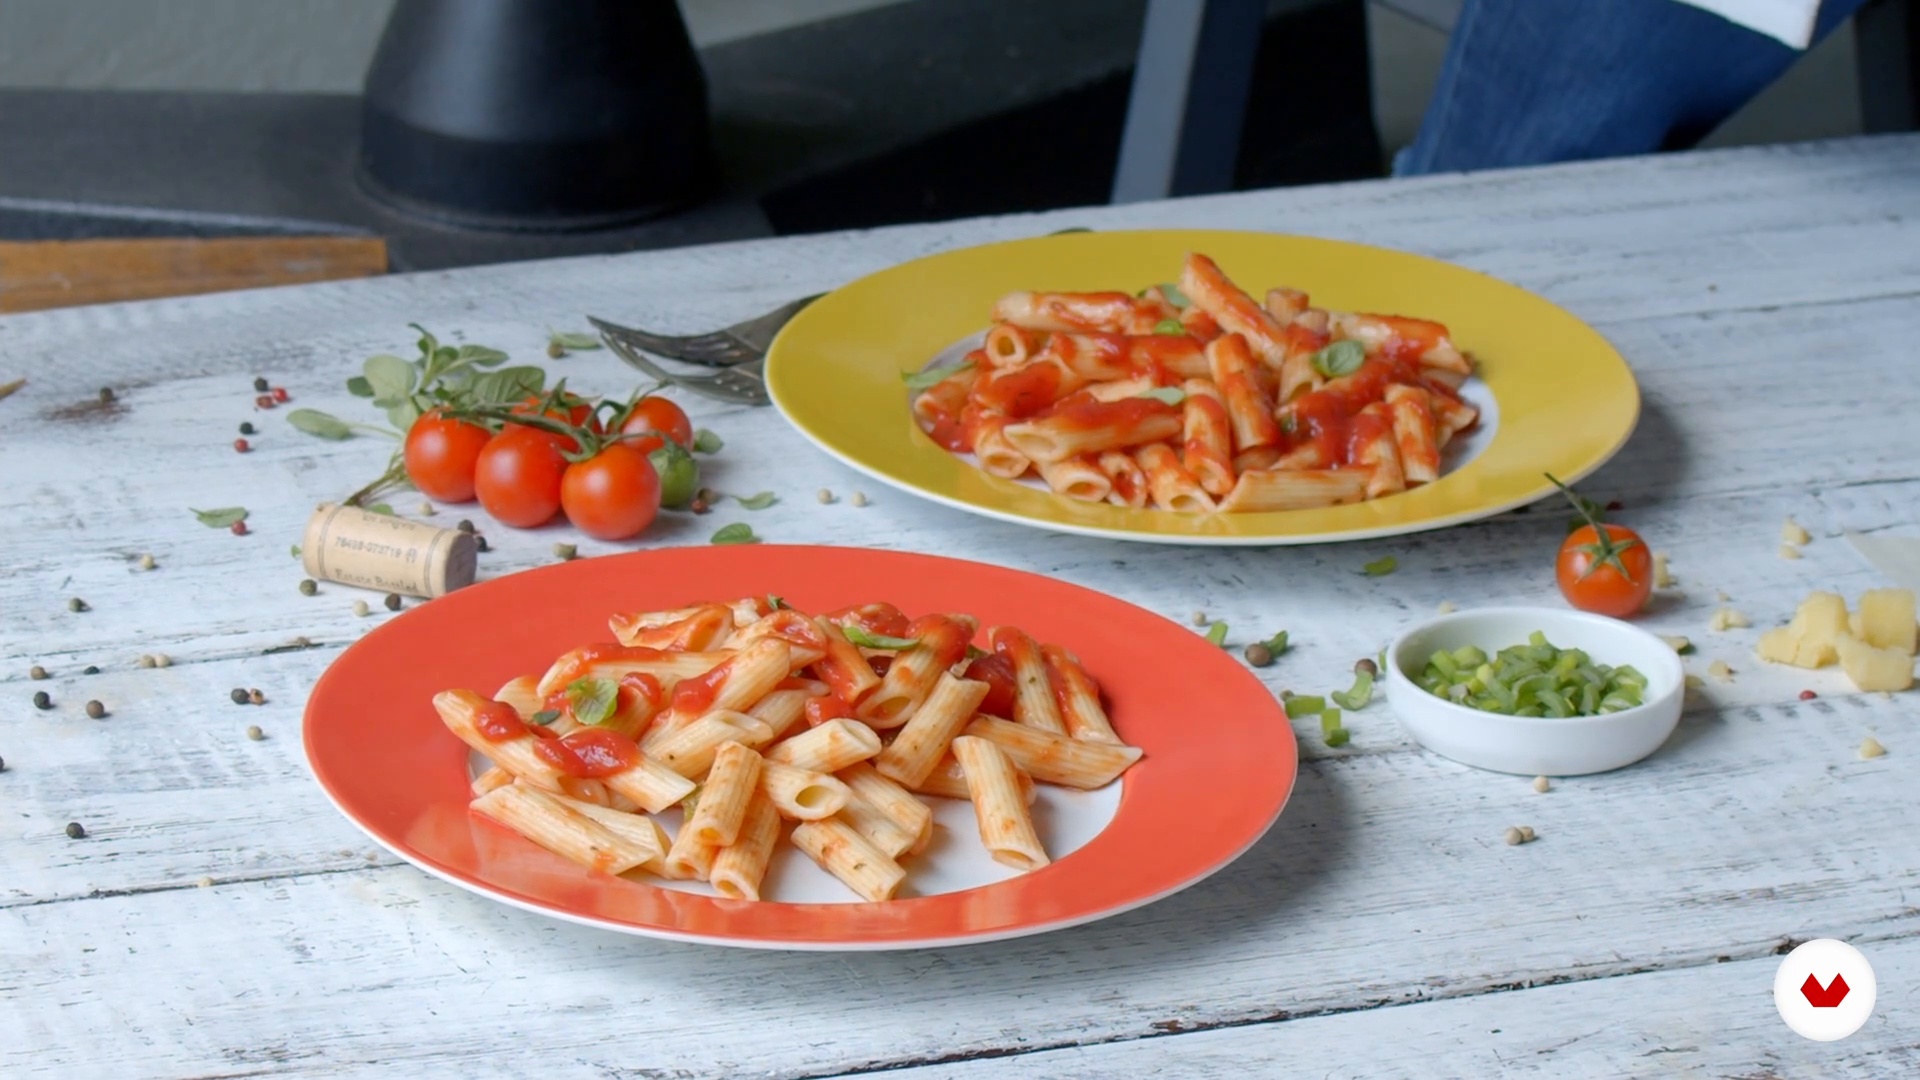
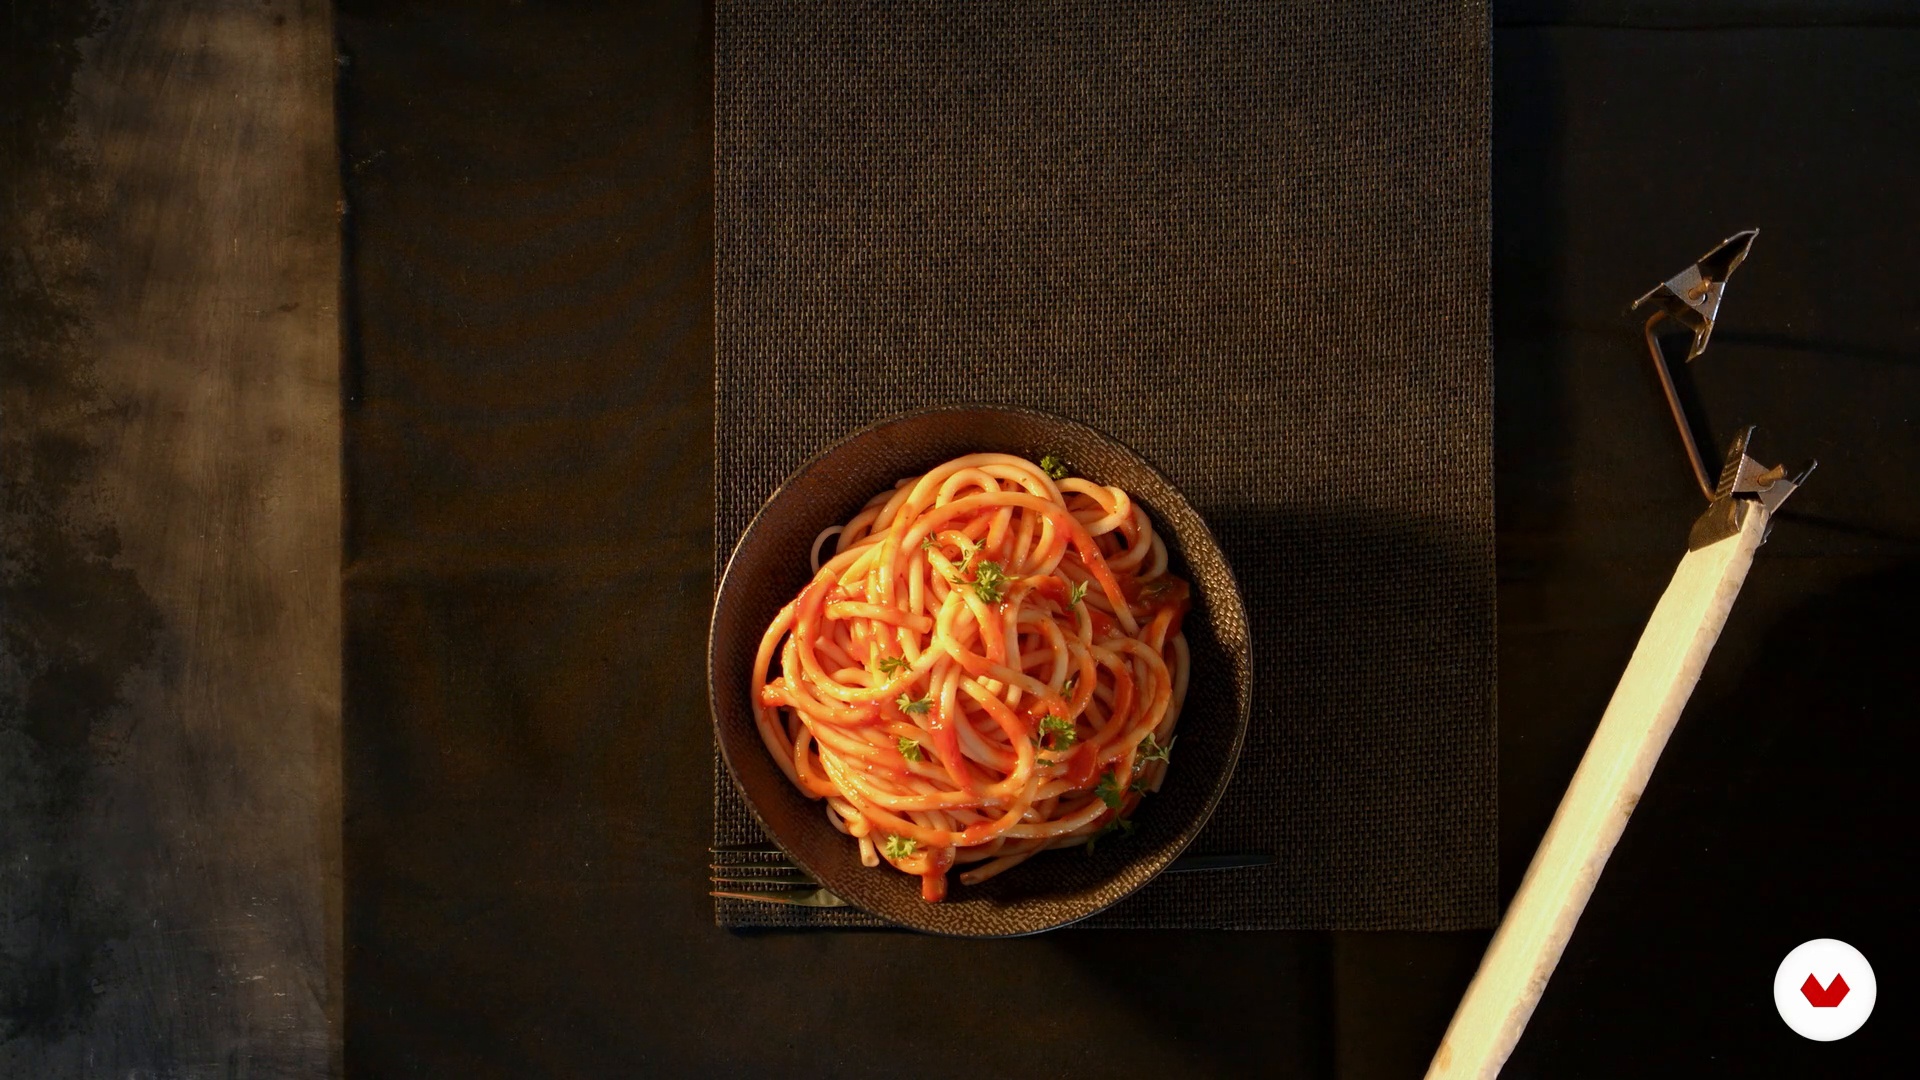
Pasta with natural light 1
It's time for the photo shoot! In this lesson, we'll show you the entire creative process behind a photo.
10m
image
13
Pasta with natural light 2
Our starting point is a plate of pasta and we're going to take the photo with the light coming in through the window.
16m
image
14
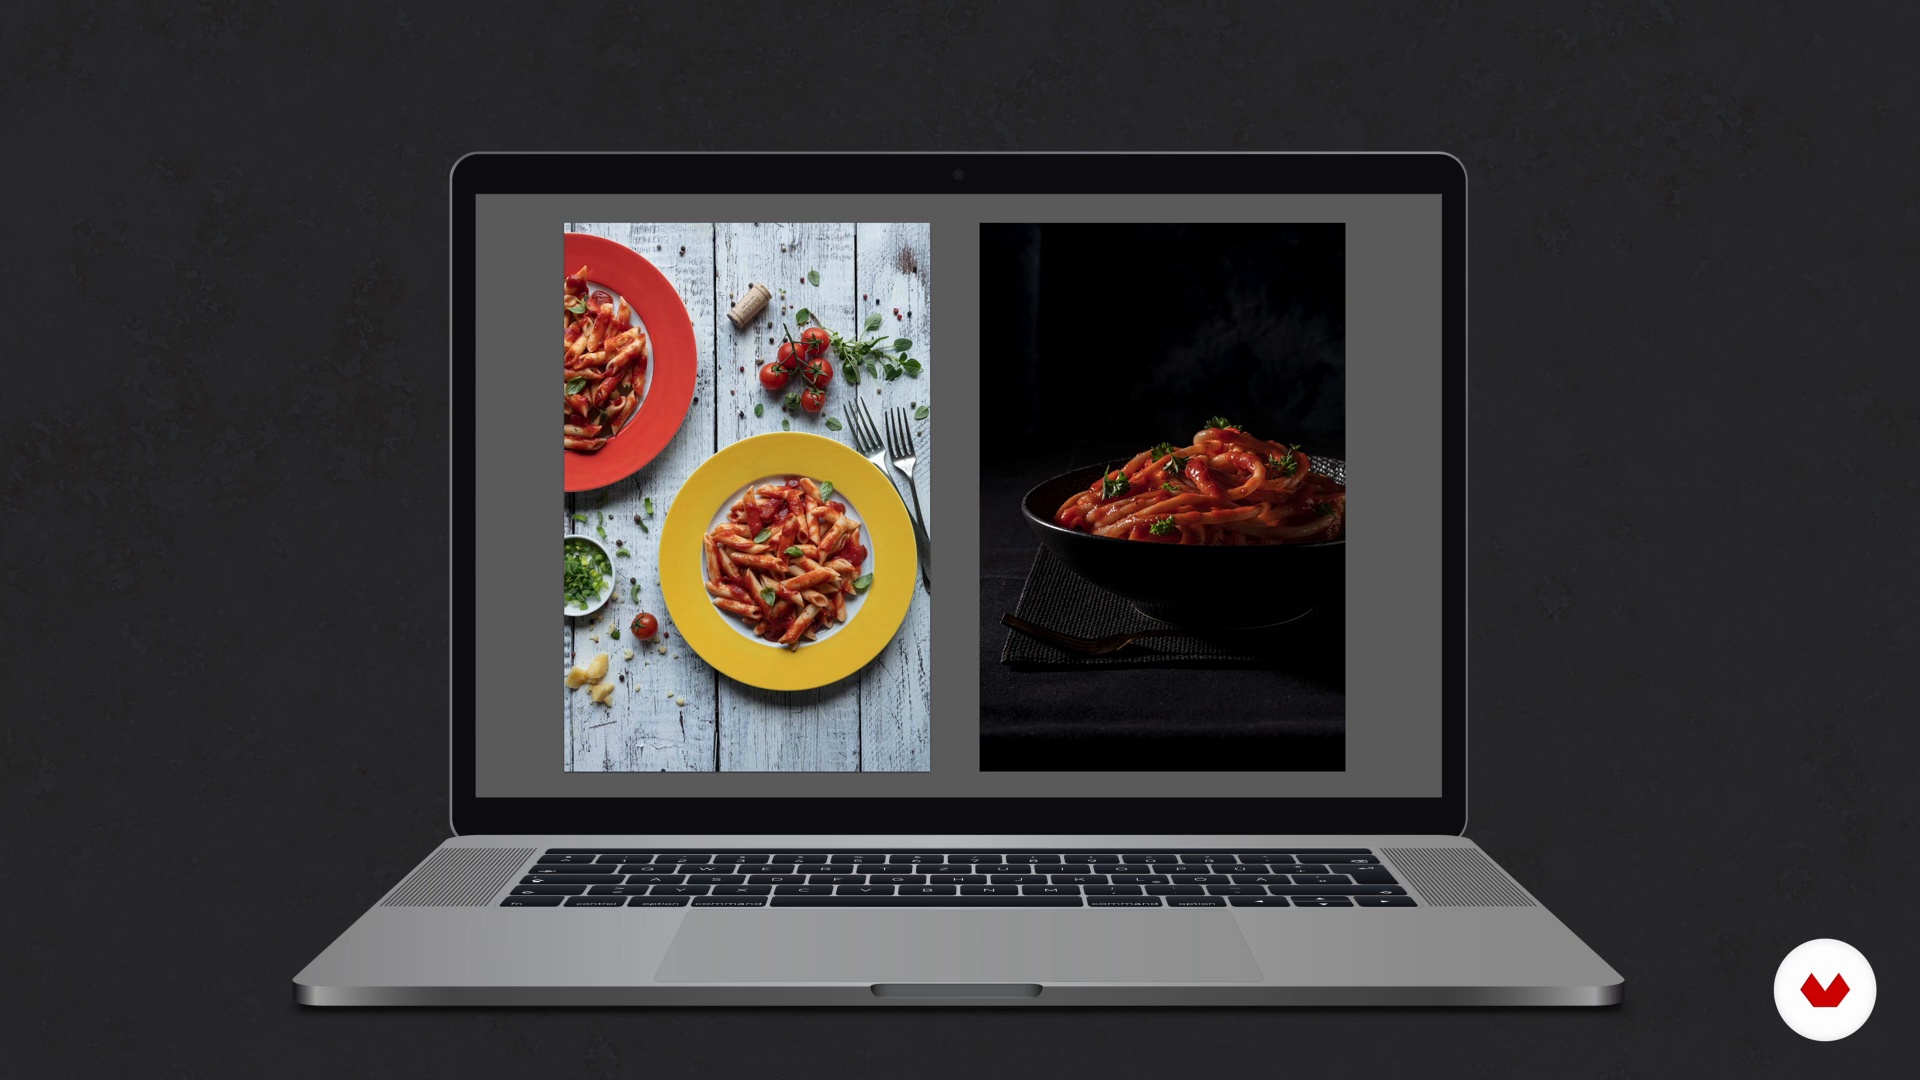
Fash pasta
Now we will take two other variants with artificial light coming from flashes.
11m
image
15
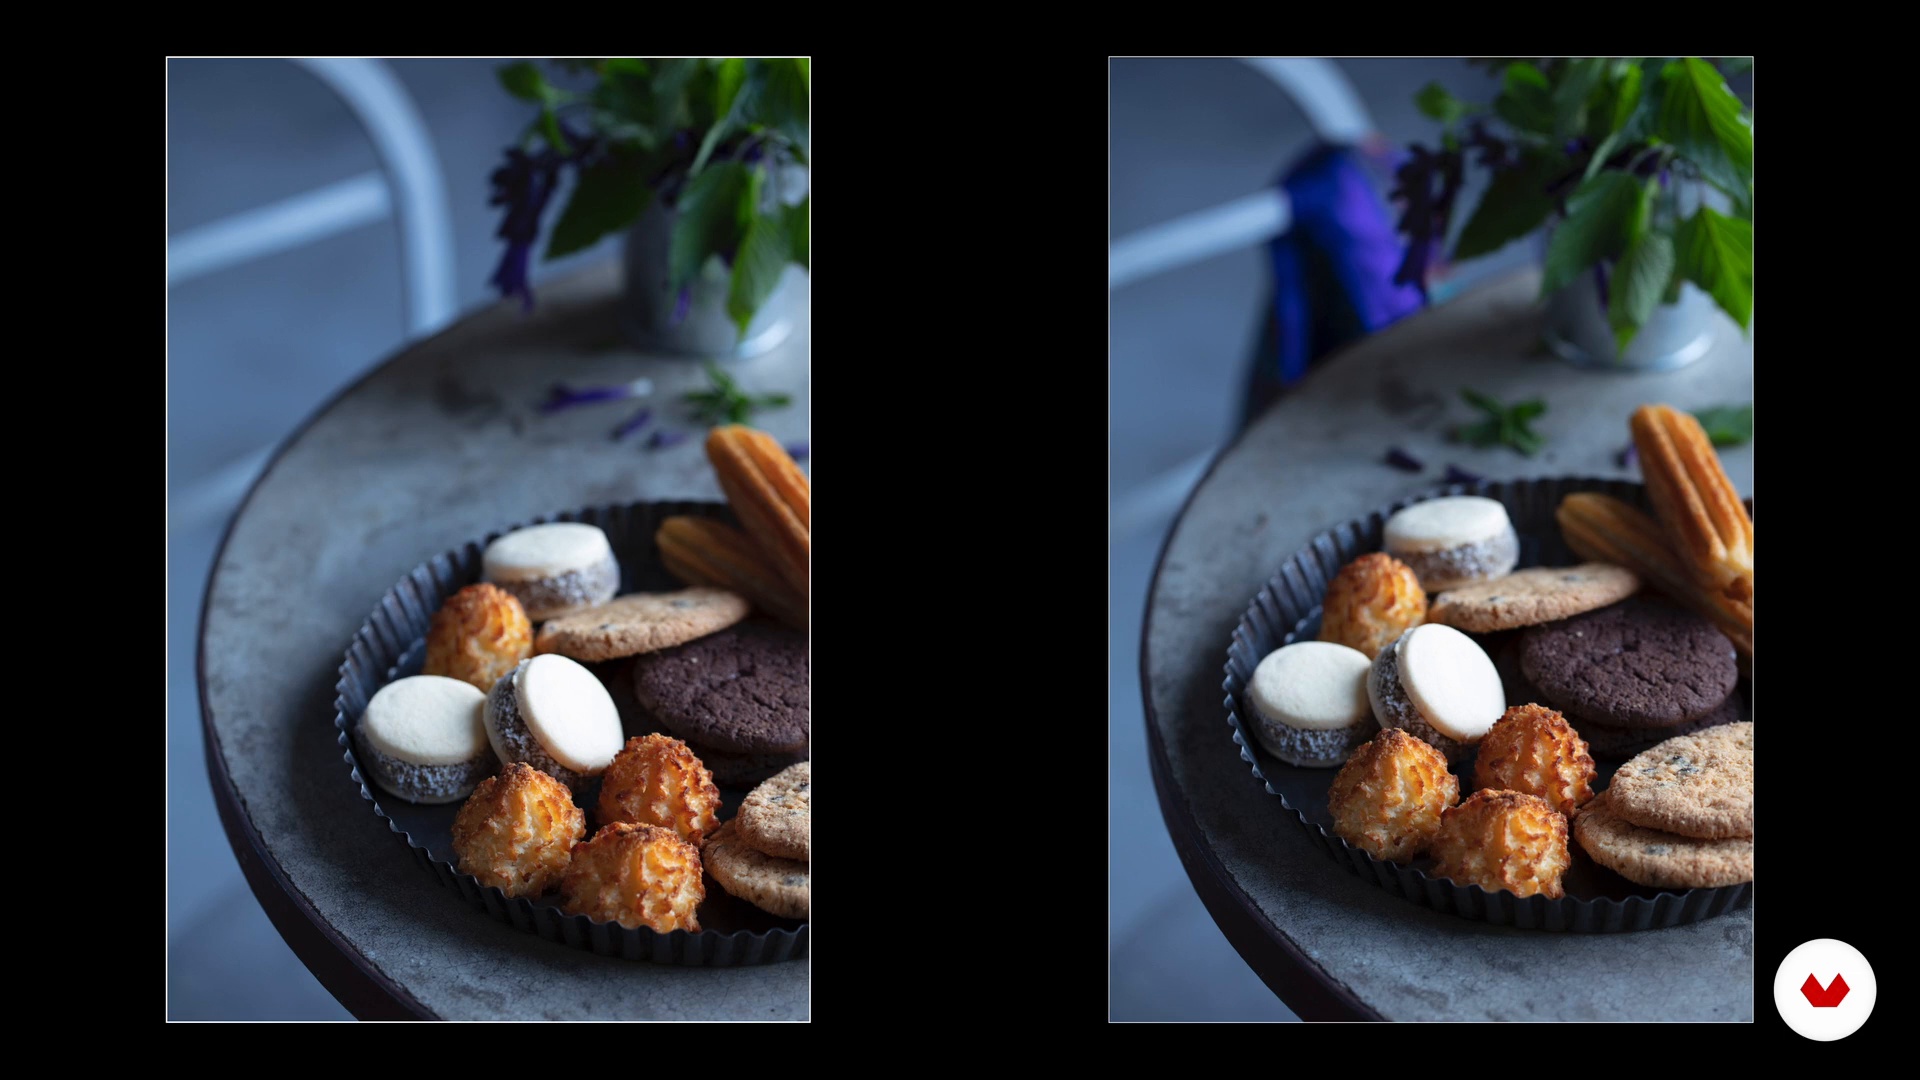
Cookies with natural light
Let's go through the photos of the cookies; the one we'll see in this lesson will be taken using natural light.
13m
image
16
Flash cookies
Our latest variation is cookie photography using artificial light. Join us for the process.
10m
image
17
Final photos
Finally, I'll show you how the final photos that will be presented to the client turned out.
12m
image
3
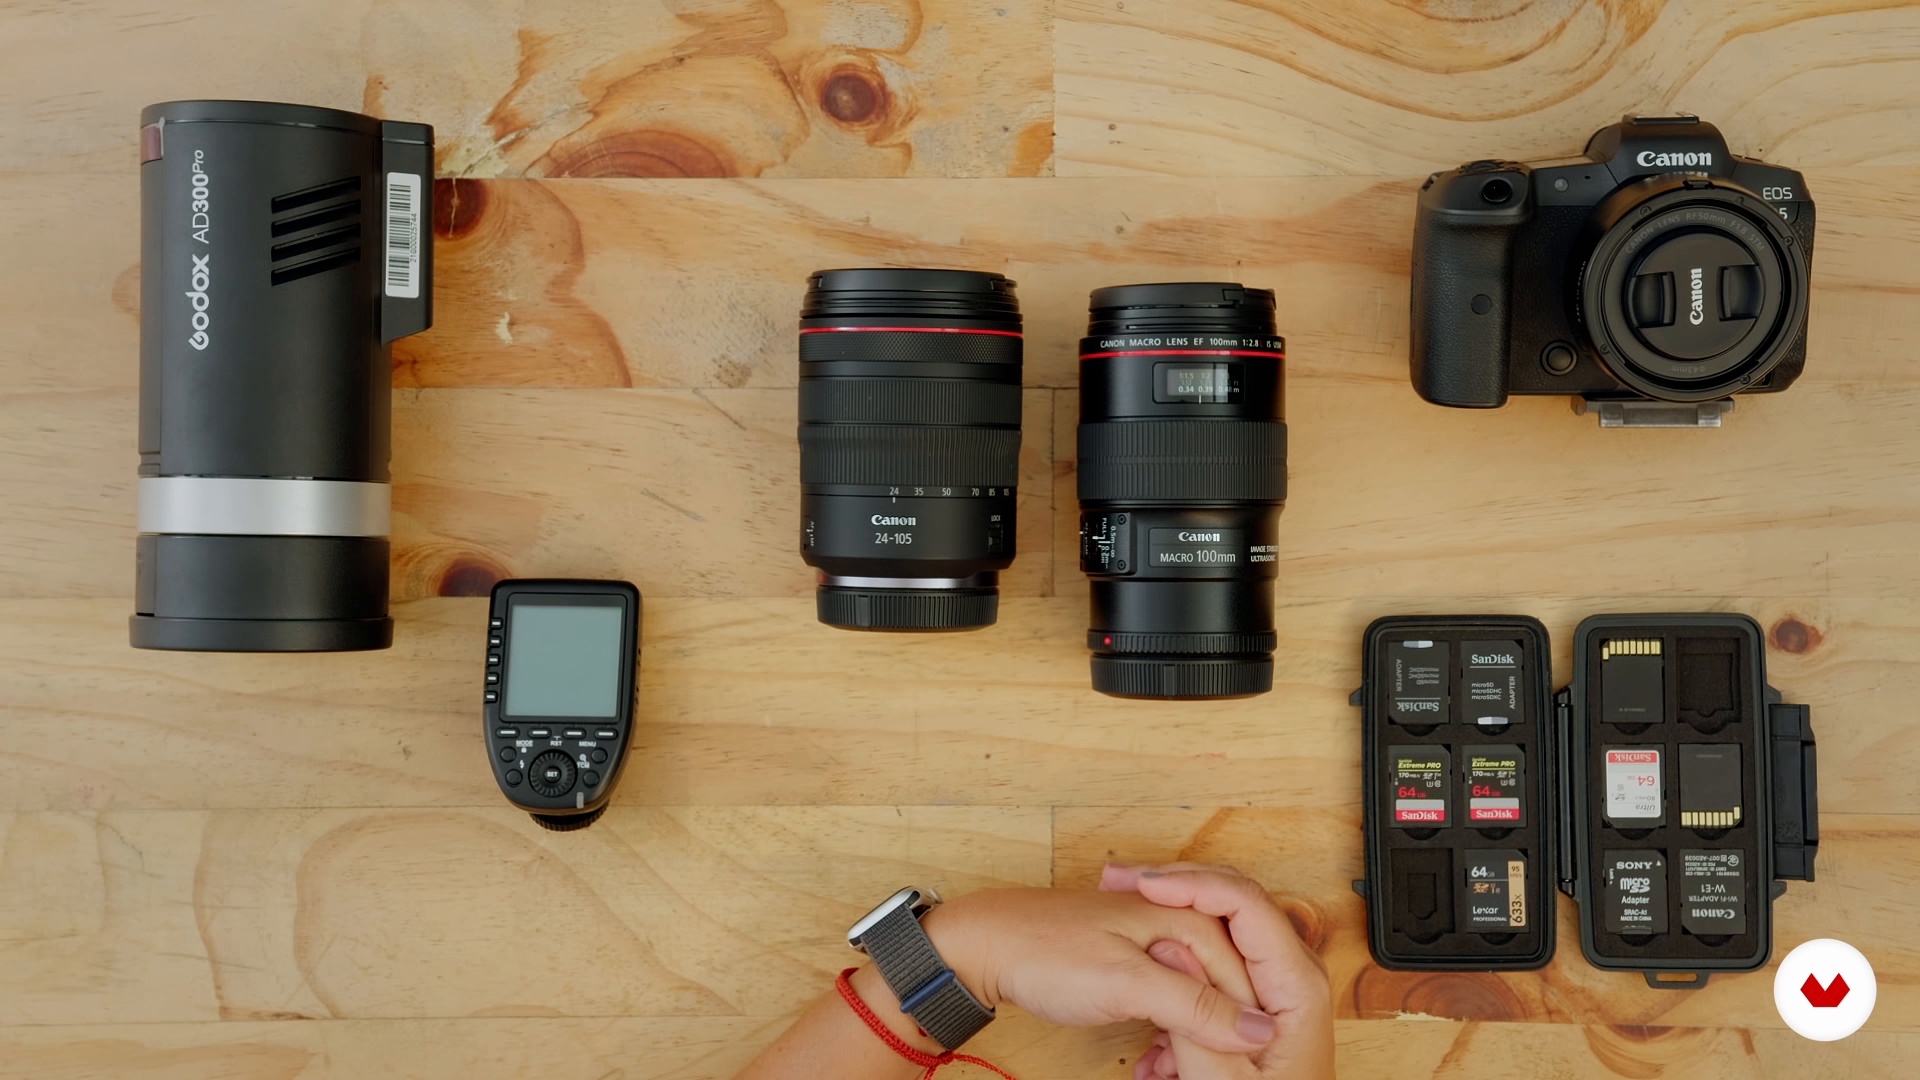
Basic equipment
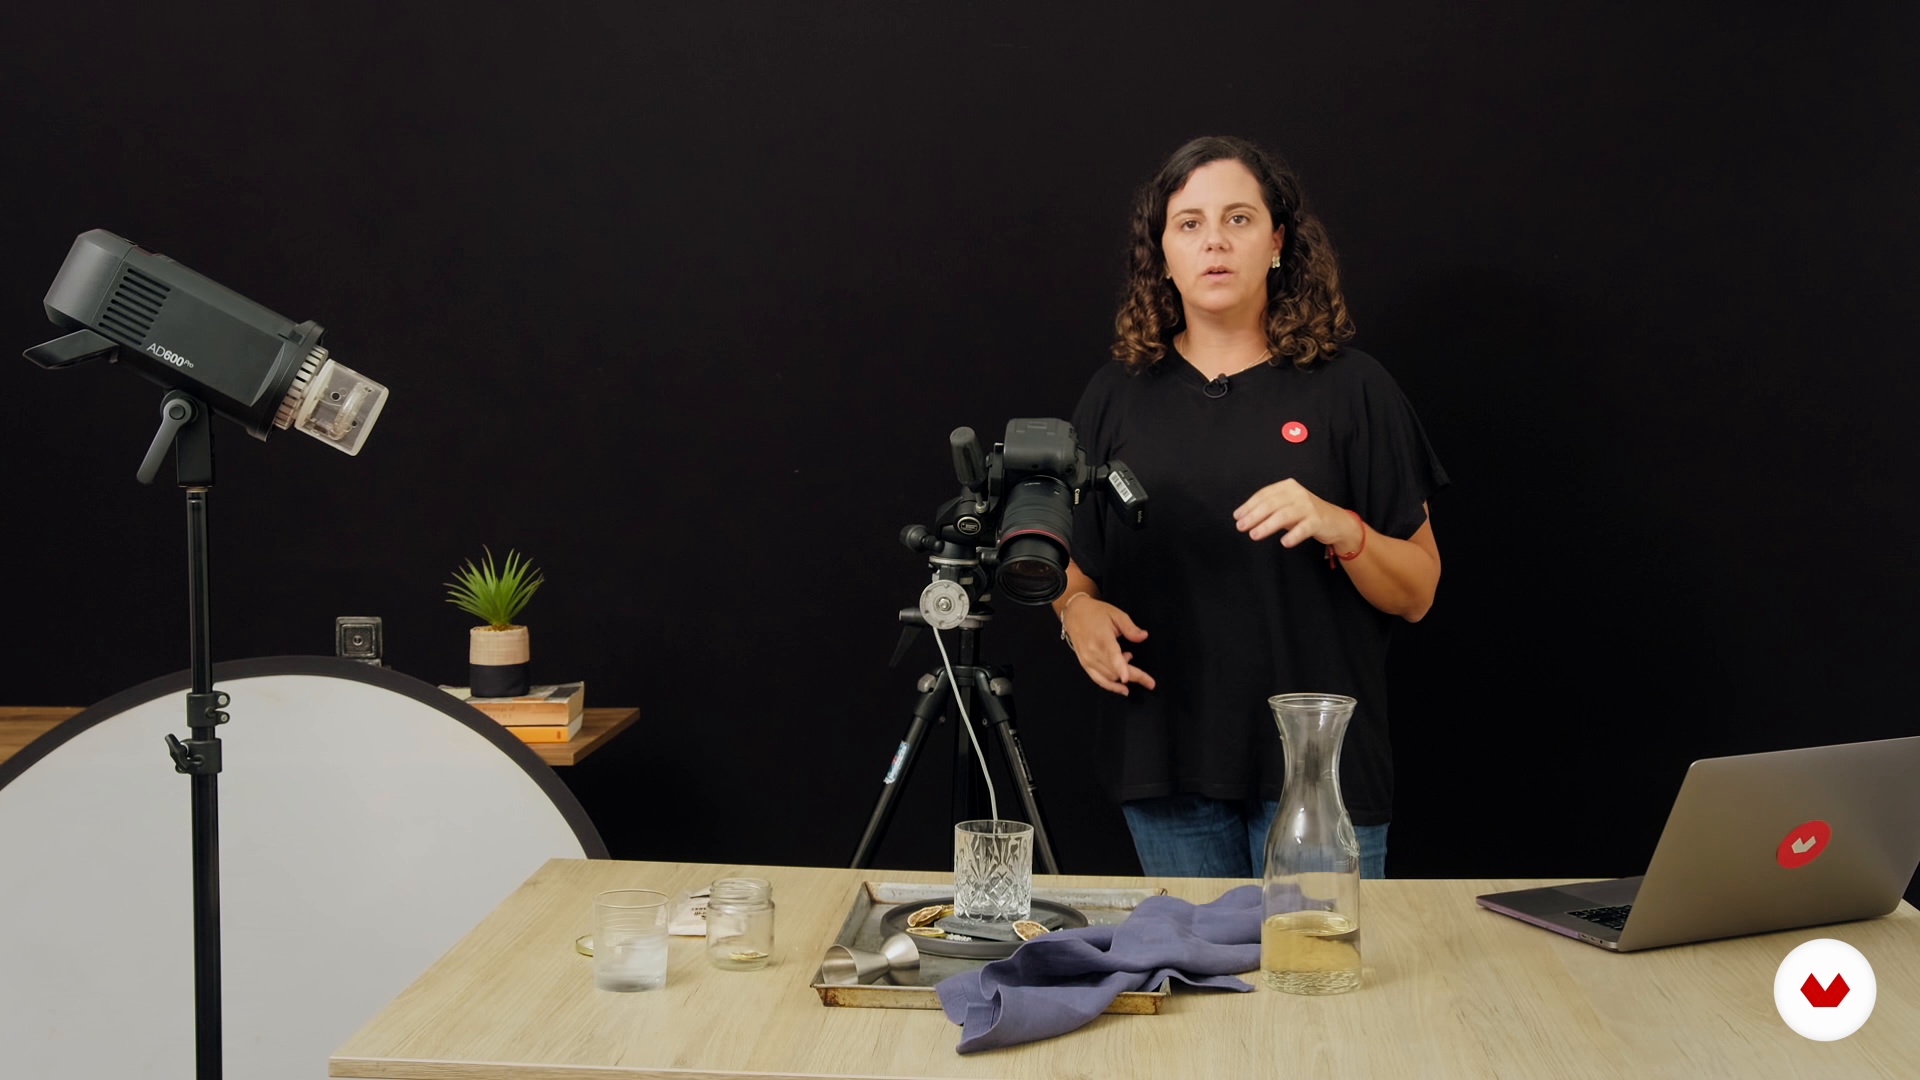
Here I'll present the basic equipment you'll need to take these photographs, and what I usually work with. We'll review all the elements and their features.
4m
image
4
Natural light
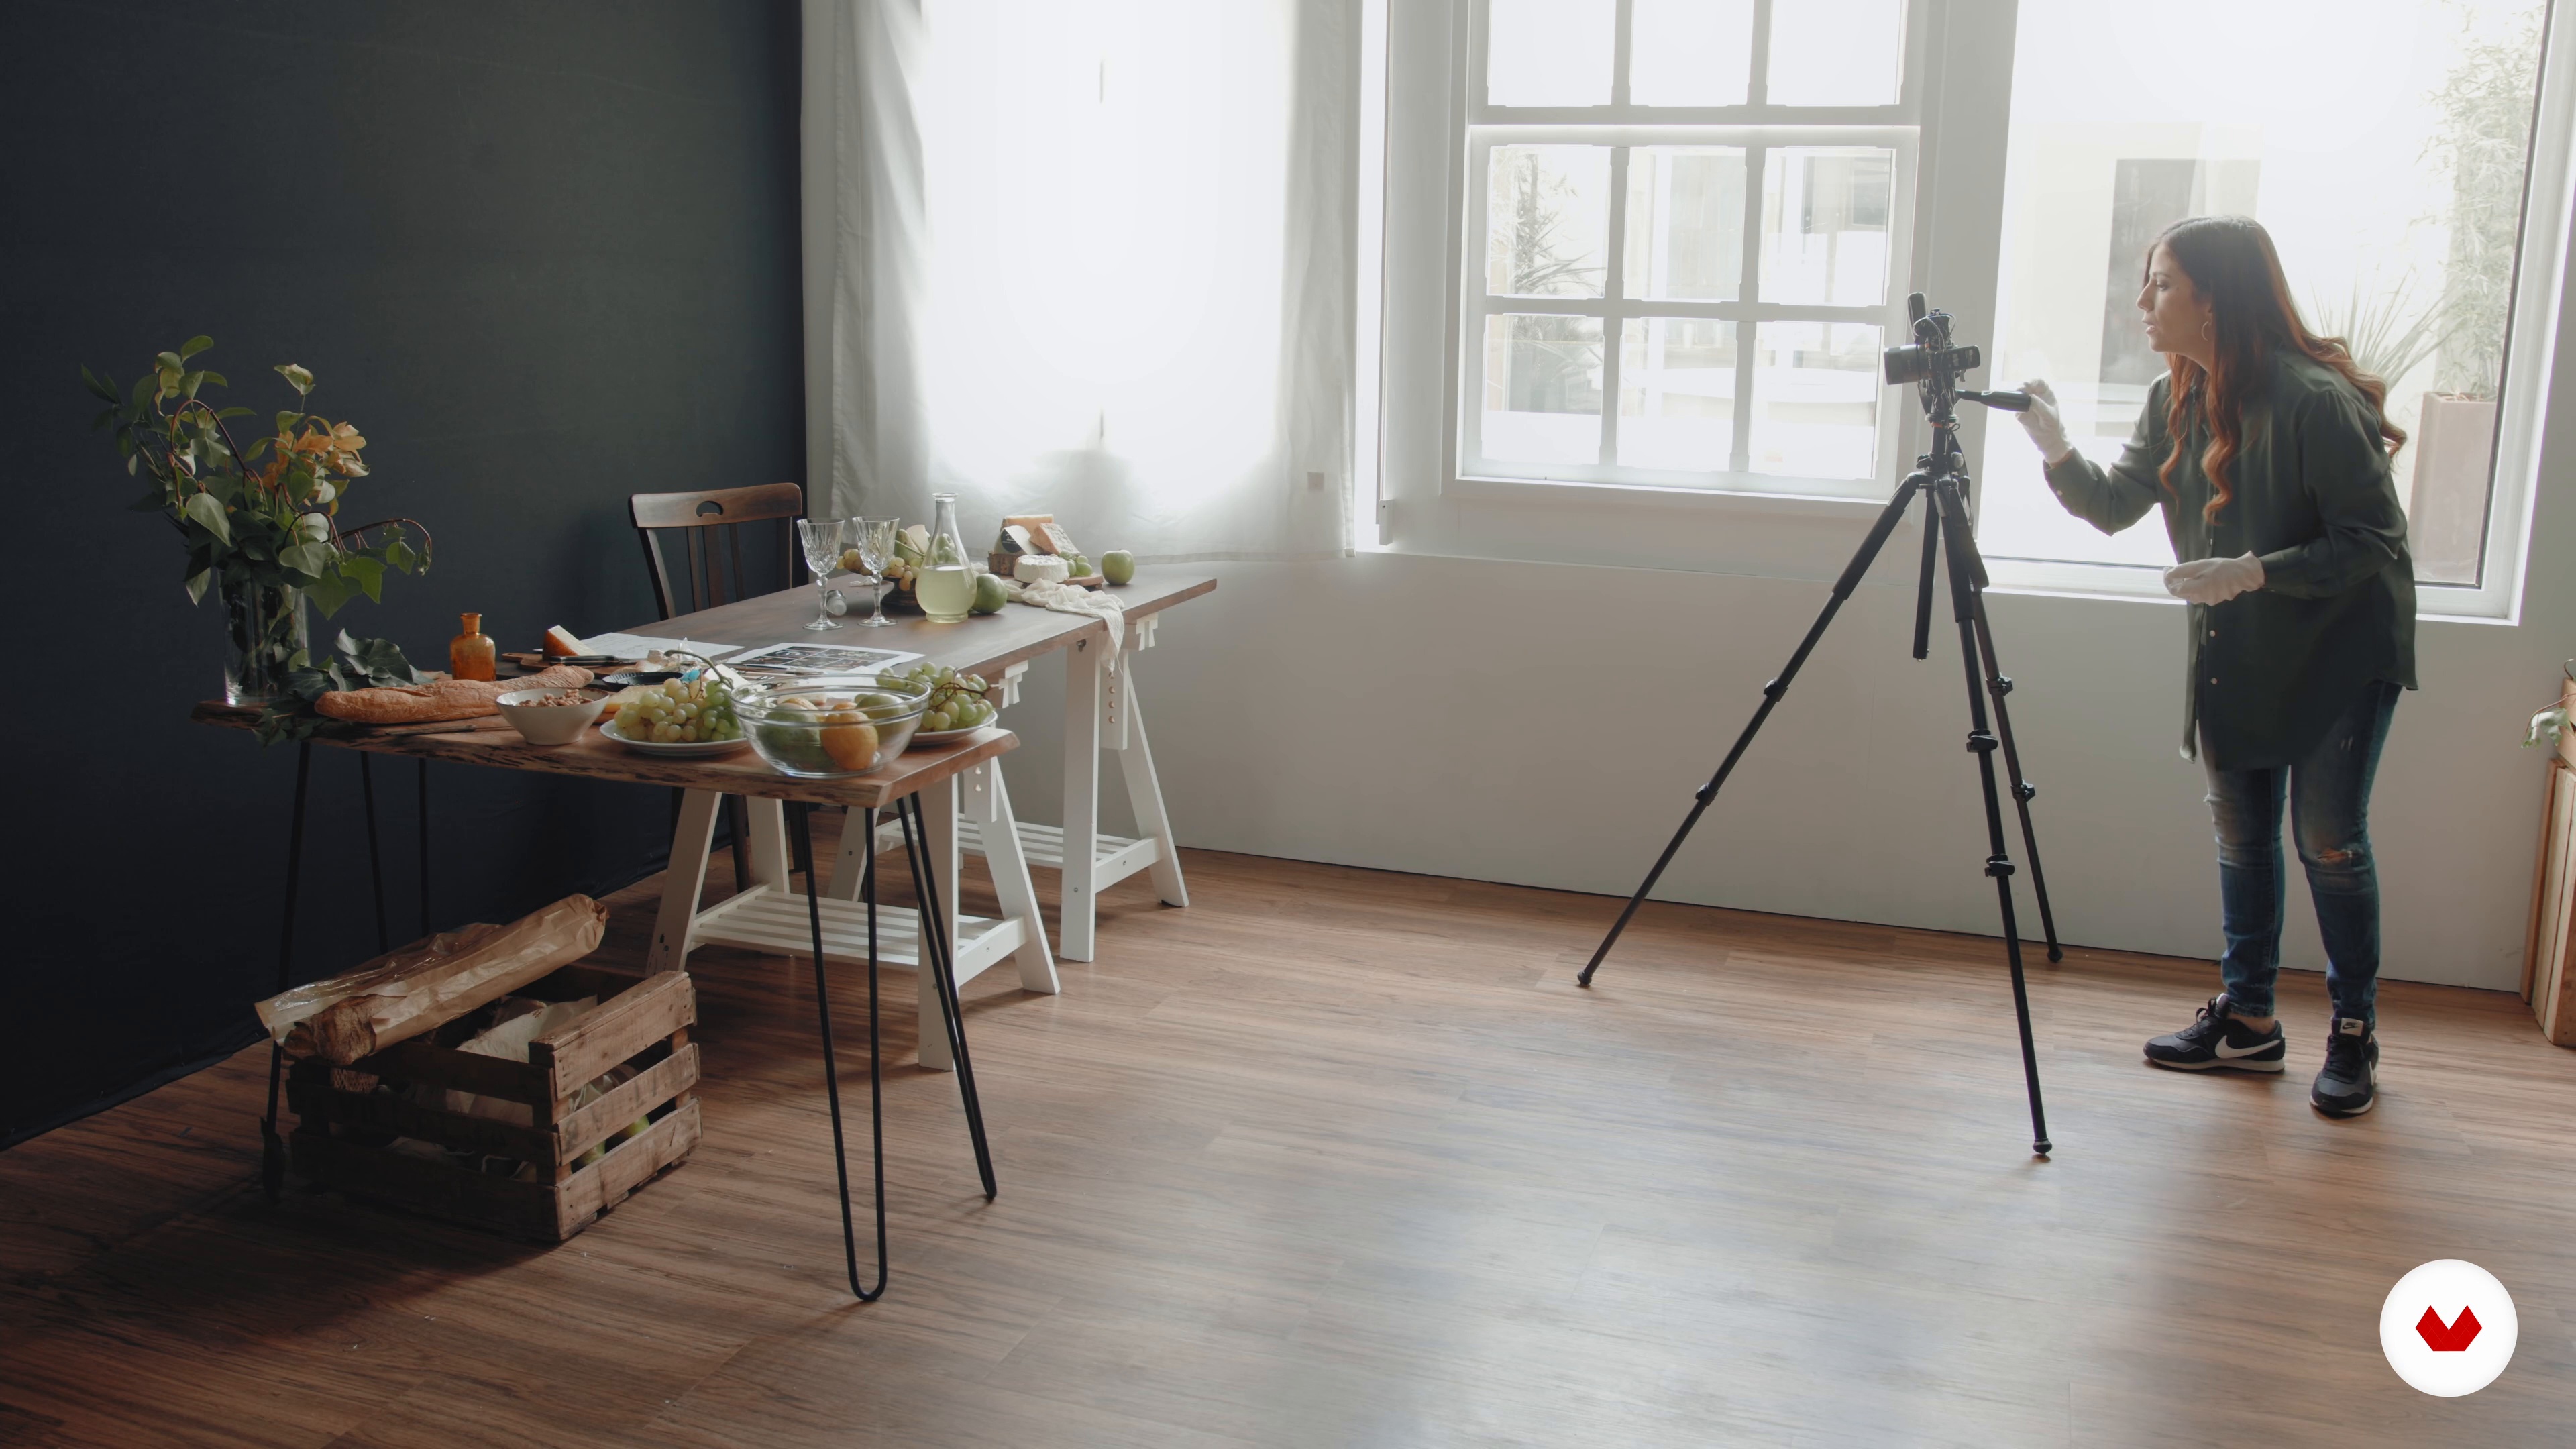
In this lesson, I'll talk about natural light. I'll tell you how to identify it in a space and how to manage it optimally for photography. I'll also talk about the difference between hard and soft light, and the tools you need to achieve them using diffusers or bounces. Finally, I'll talk about light direction and its effects.
6m
image
5
Simple artificial light
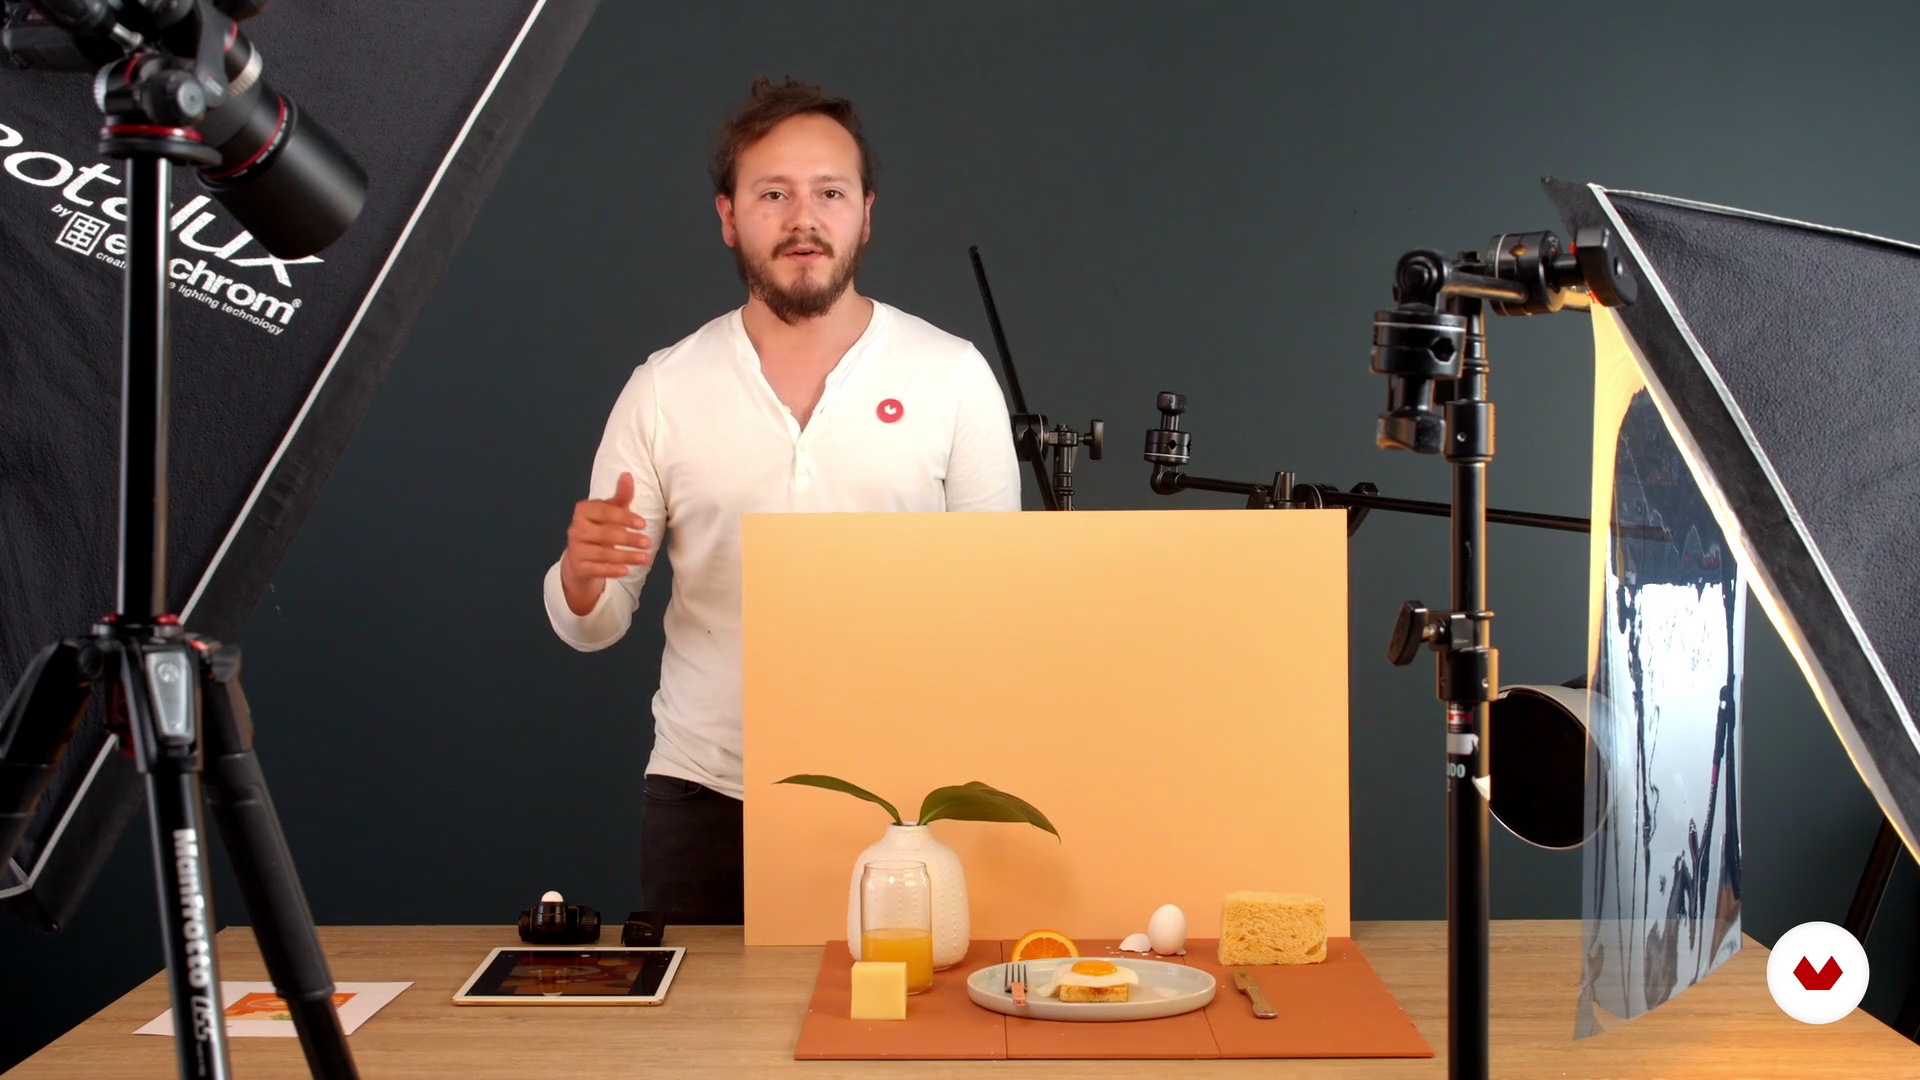
Now I'll show you the basic artificial lighting equipment you'll need for taking food photos. I'll also show you the basic modifiers you should have, such as umbrellas, softboxes, etc., and how to achieve a natural light mood with artificial light using these modifiers.
2m
image
6
The double artificial light
In this part of the process, I'll use two flashes to illuminate a product. I'll show you how to consider the placement of a main light and a second fill light that will help give brightness and volume to the dish.
3m
image
7
The composition
There are several factors that help us compose a photograph. In this lesson, I'll explain what the rule of three is and how it helps us improve our composing. I'll also discuss focus and how the product we're trying to highlight should be the center of attention and should be clearly and sharply visible in the image. Finally, we'll look at depth of field, how it helps us maintain focus on the main subject, and how the eye path in an image helps us emphasize it.
7m
image
8
The angles
Next, I'll tell you about the three most commonly used angles in food photography: overhead, frontal, and 45-degree.
4m
image
9
Food styling
Finally, I'll talk about food styling and the basic tools you can use to take your photos. I'll also share some tips to improve your dish setup when photographing food.
16m
image
10
Mood board and shots
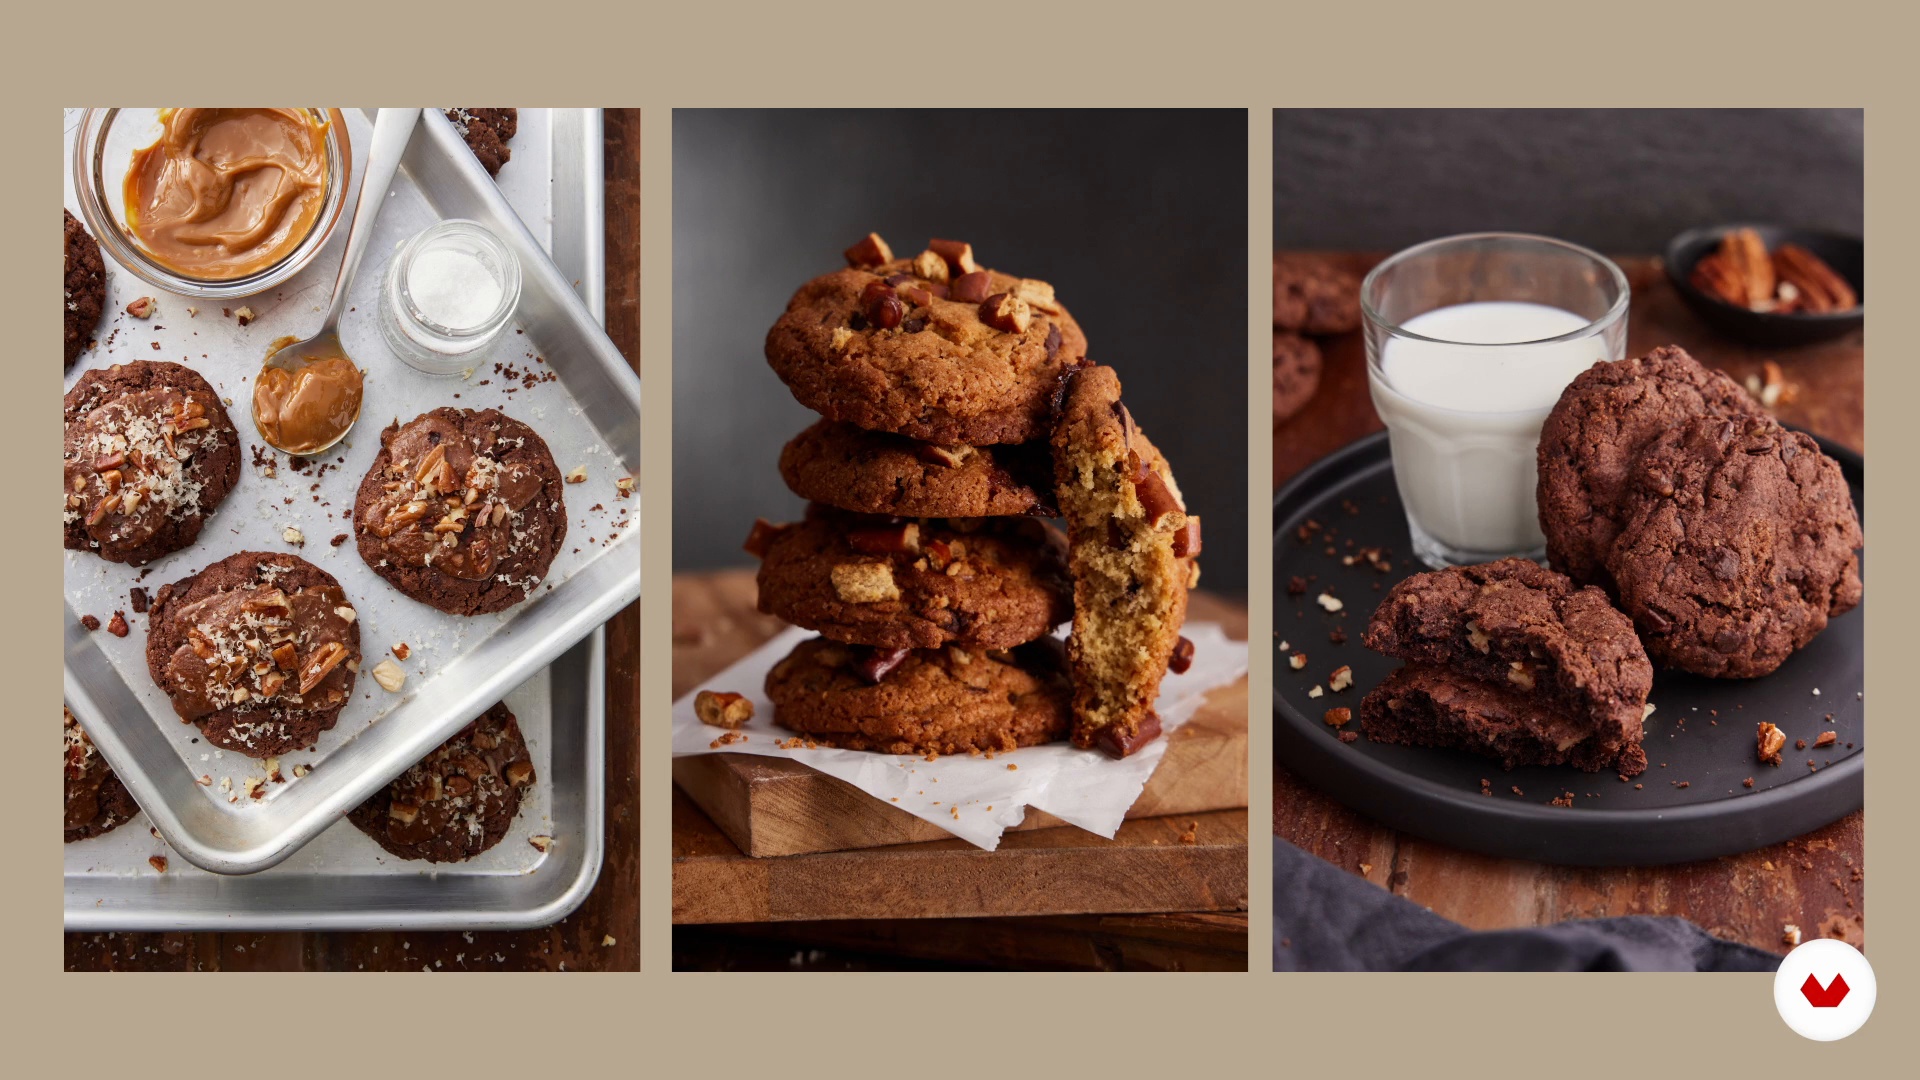
In this lesson, we'll create a mood board for the project. In my case, I'm going to take photographs of cookies. The same type of cookies, in three different flavors, each from a different angle: overhead, frontal, and 45-degree angle. I'll define each shot and what I'll need for each one. I'll maintain the same color scheme for all three shots, as if they were related editorial projects. You can do your project this way, or you can take three shots of the same food with completely different props and colors, but they must be from the three angles mentioned above.
8m
image
11
Plate assembly, food styling and first photo
In this lesson, I'll explain how to arrange your plate according to the angle from which you'll be taking the photo. We'll apply basic food styling tips to make your dishes look more appealing. You'll see how I use several of the tools recommended above.
3m
image
12
Plate assembly, food styling and second photo
Now I'm going to take my second photo. This time, a 45-degree shot, again using a second light.
6m
image
13
Plate assembly, food styling and third photo
It's time for the third photo. The angle will be completely frontal, and I'll use two lights to achieve a different lighting than the previous shots.
4m
image
14
Edit and export photos
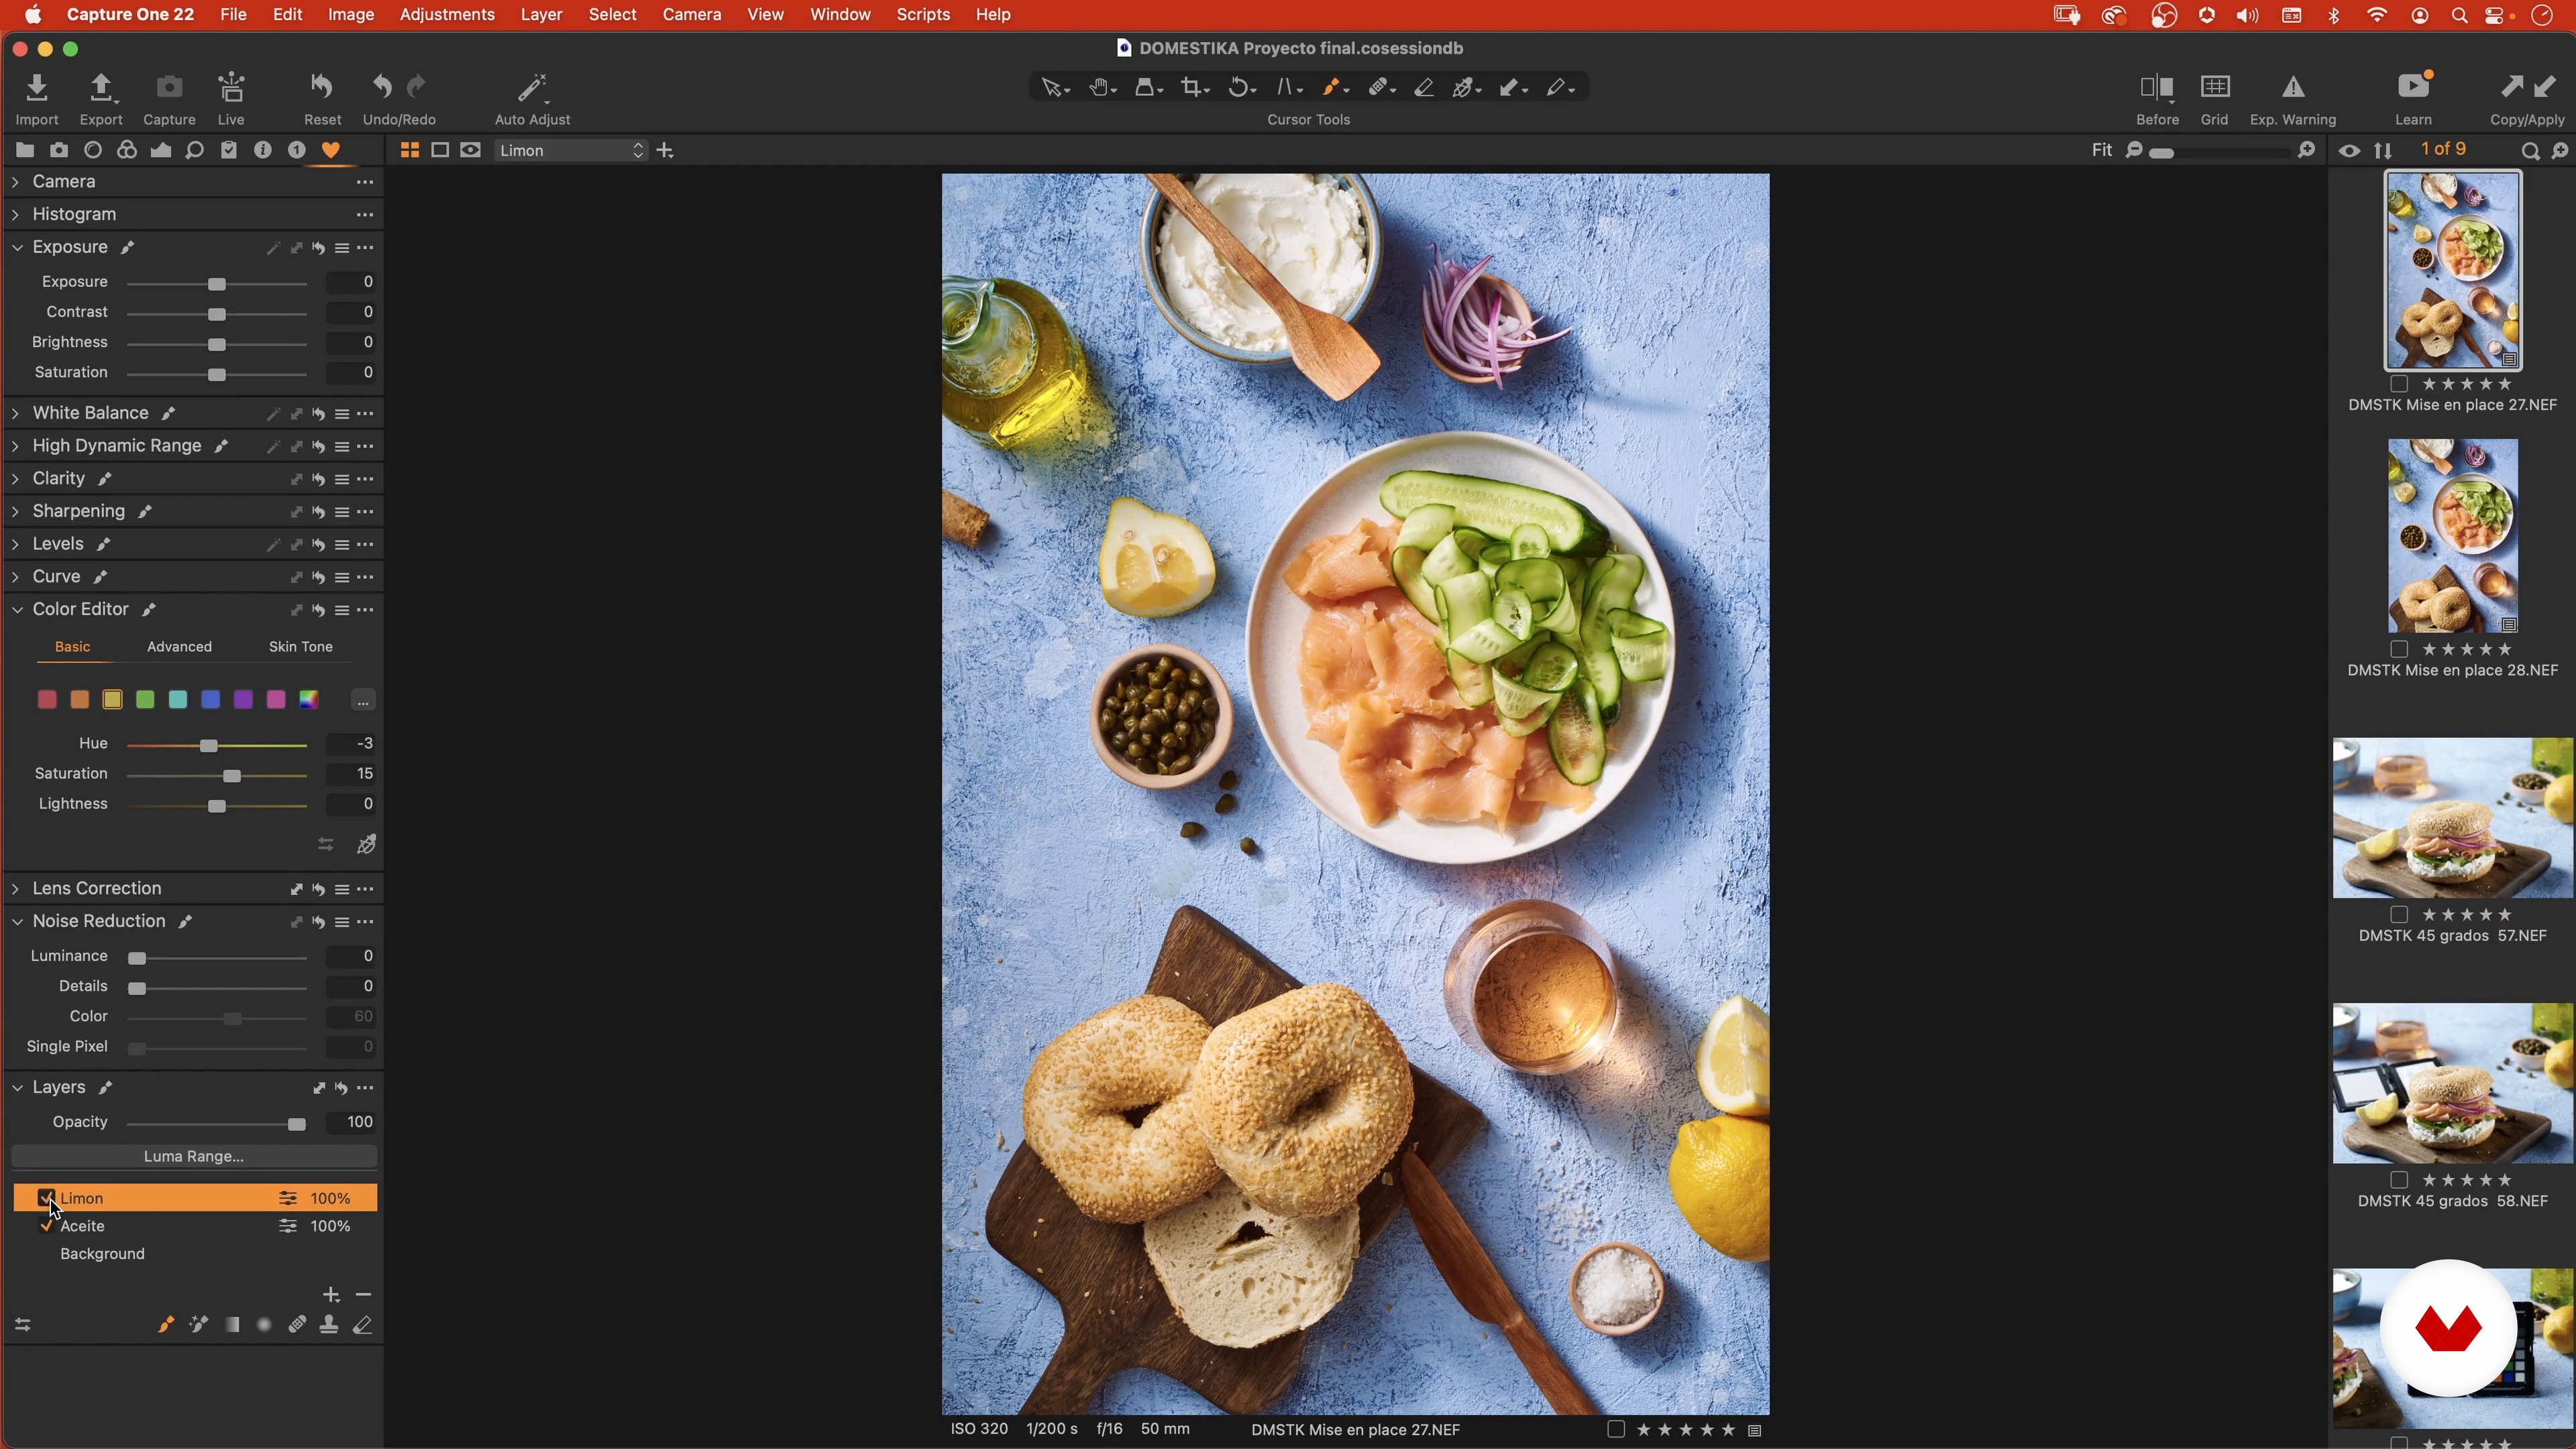
Finally, I'll explain the editing process I use for my photos. I'll also show you how to export photos, either in high quality or for online work and mobile use.
9m
image
3
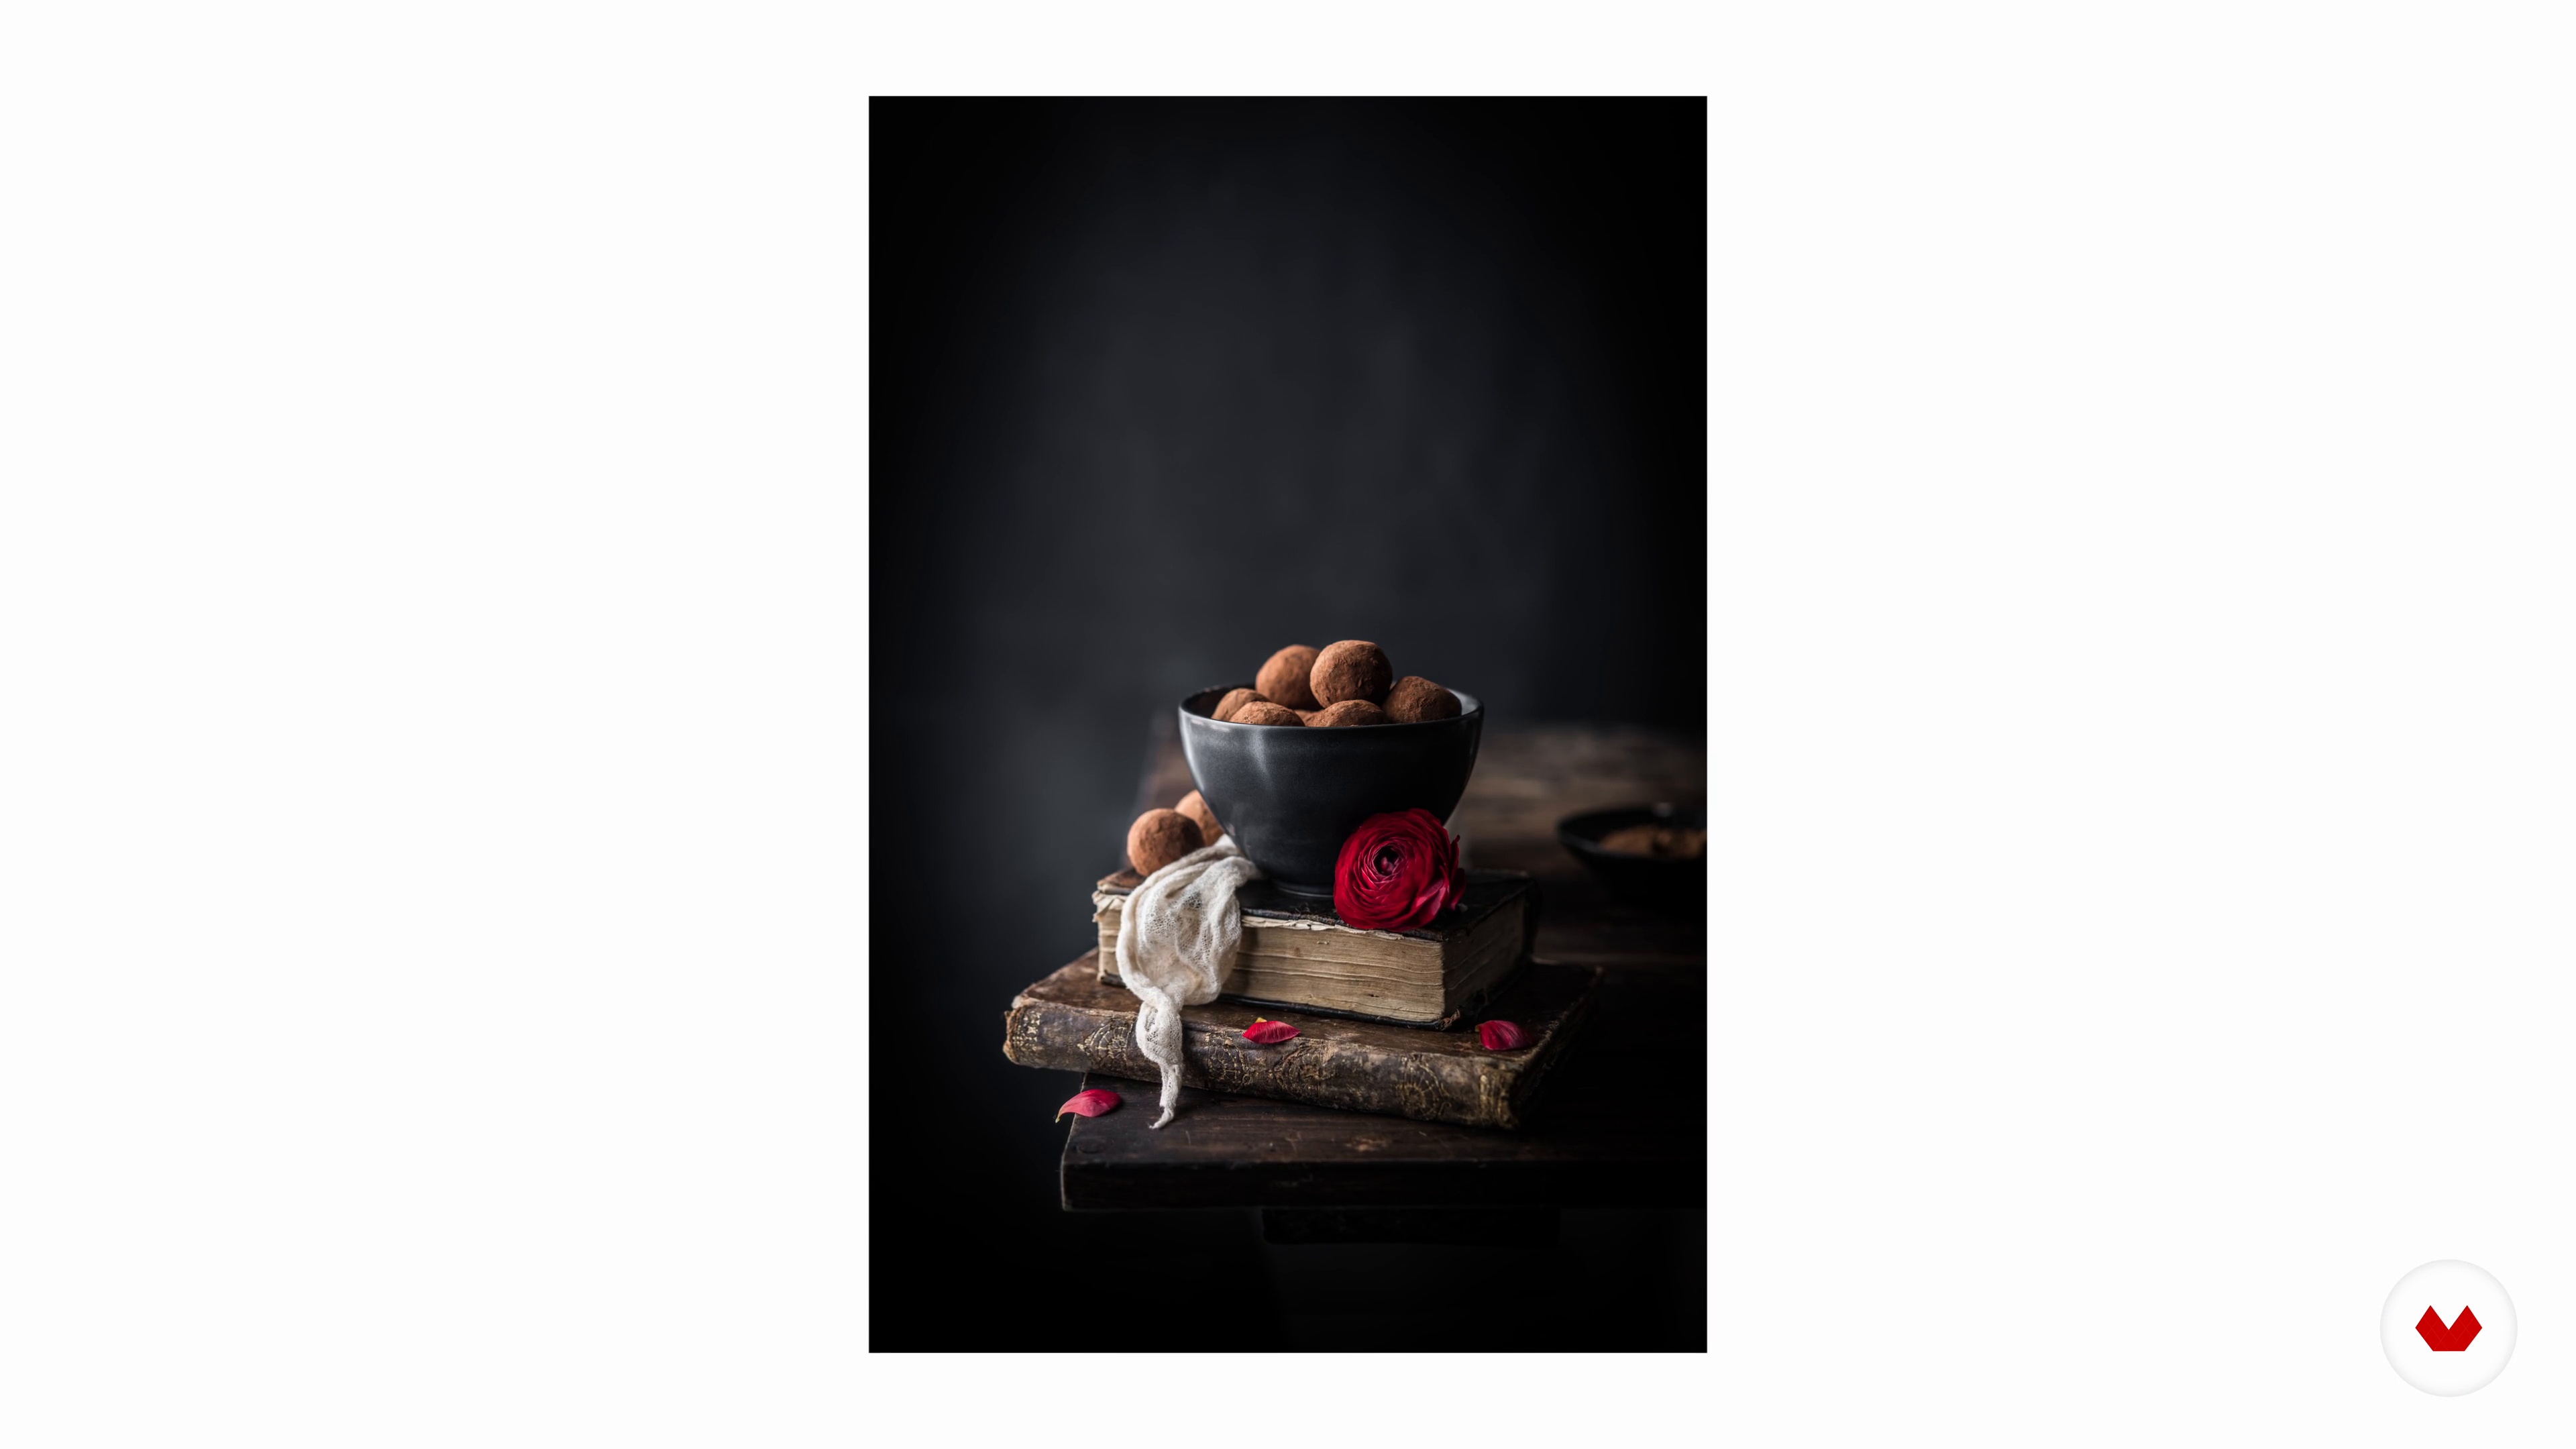
What is Dark Mood photography
In this lesson, we'll delve into the term "Dark Mood" to understand exactly what this photographic technique entails. We'll obviously apply it to food photography, but it's also used in other types of photography, such as portraits and pet photography.
1m
image
4
Natural light: understand it to master it
Lighting is the most crucial part of photography, but it's also the most difficult to achieve. In this lesson, we'll look at how to use light, a natural resource available to everyone, as an ally to achieve our goals.
3m
image
5
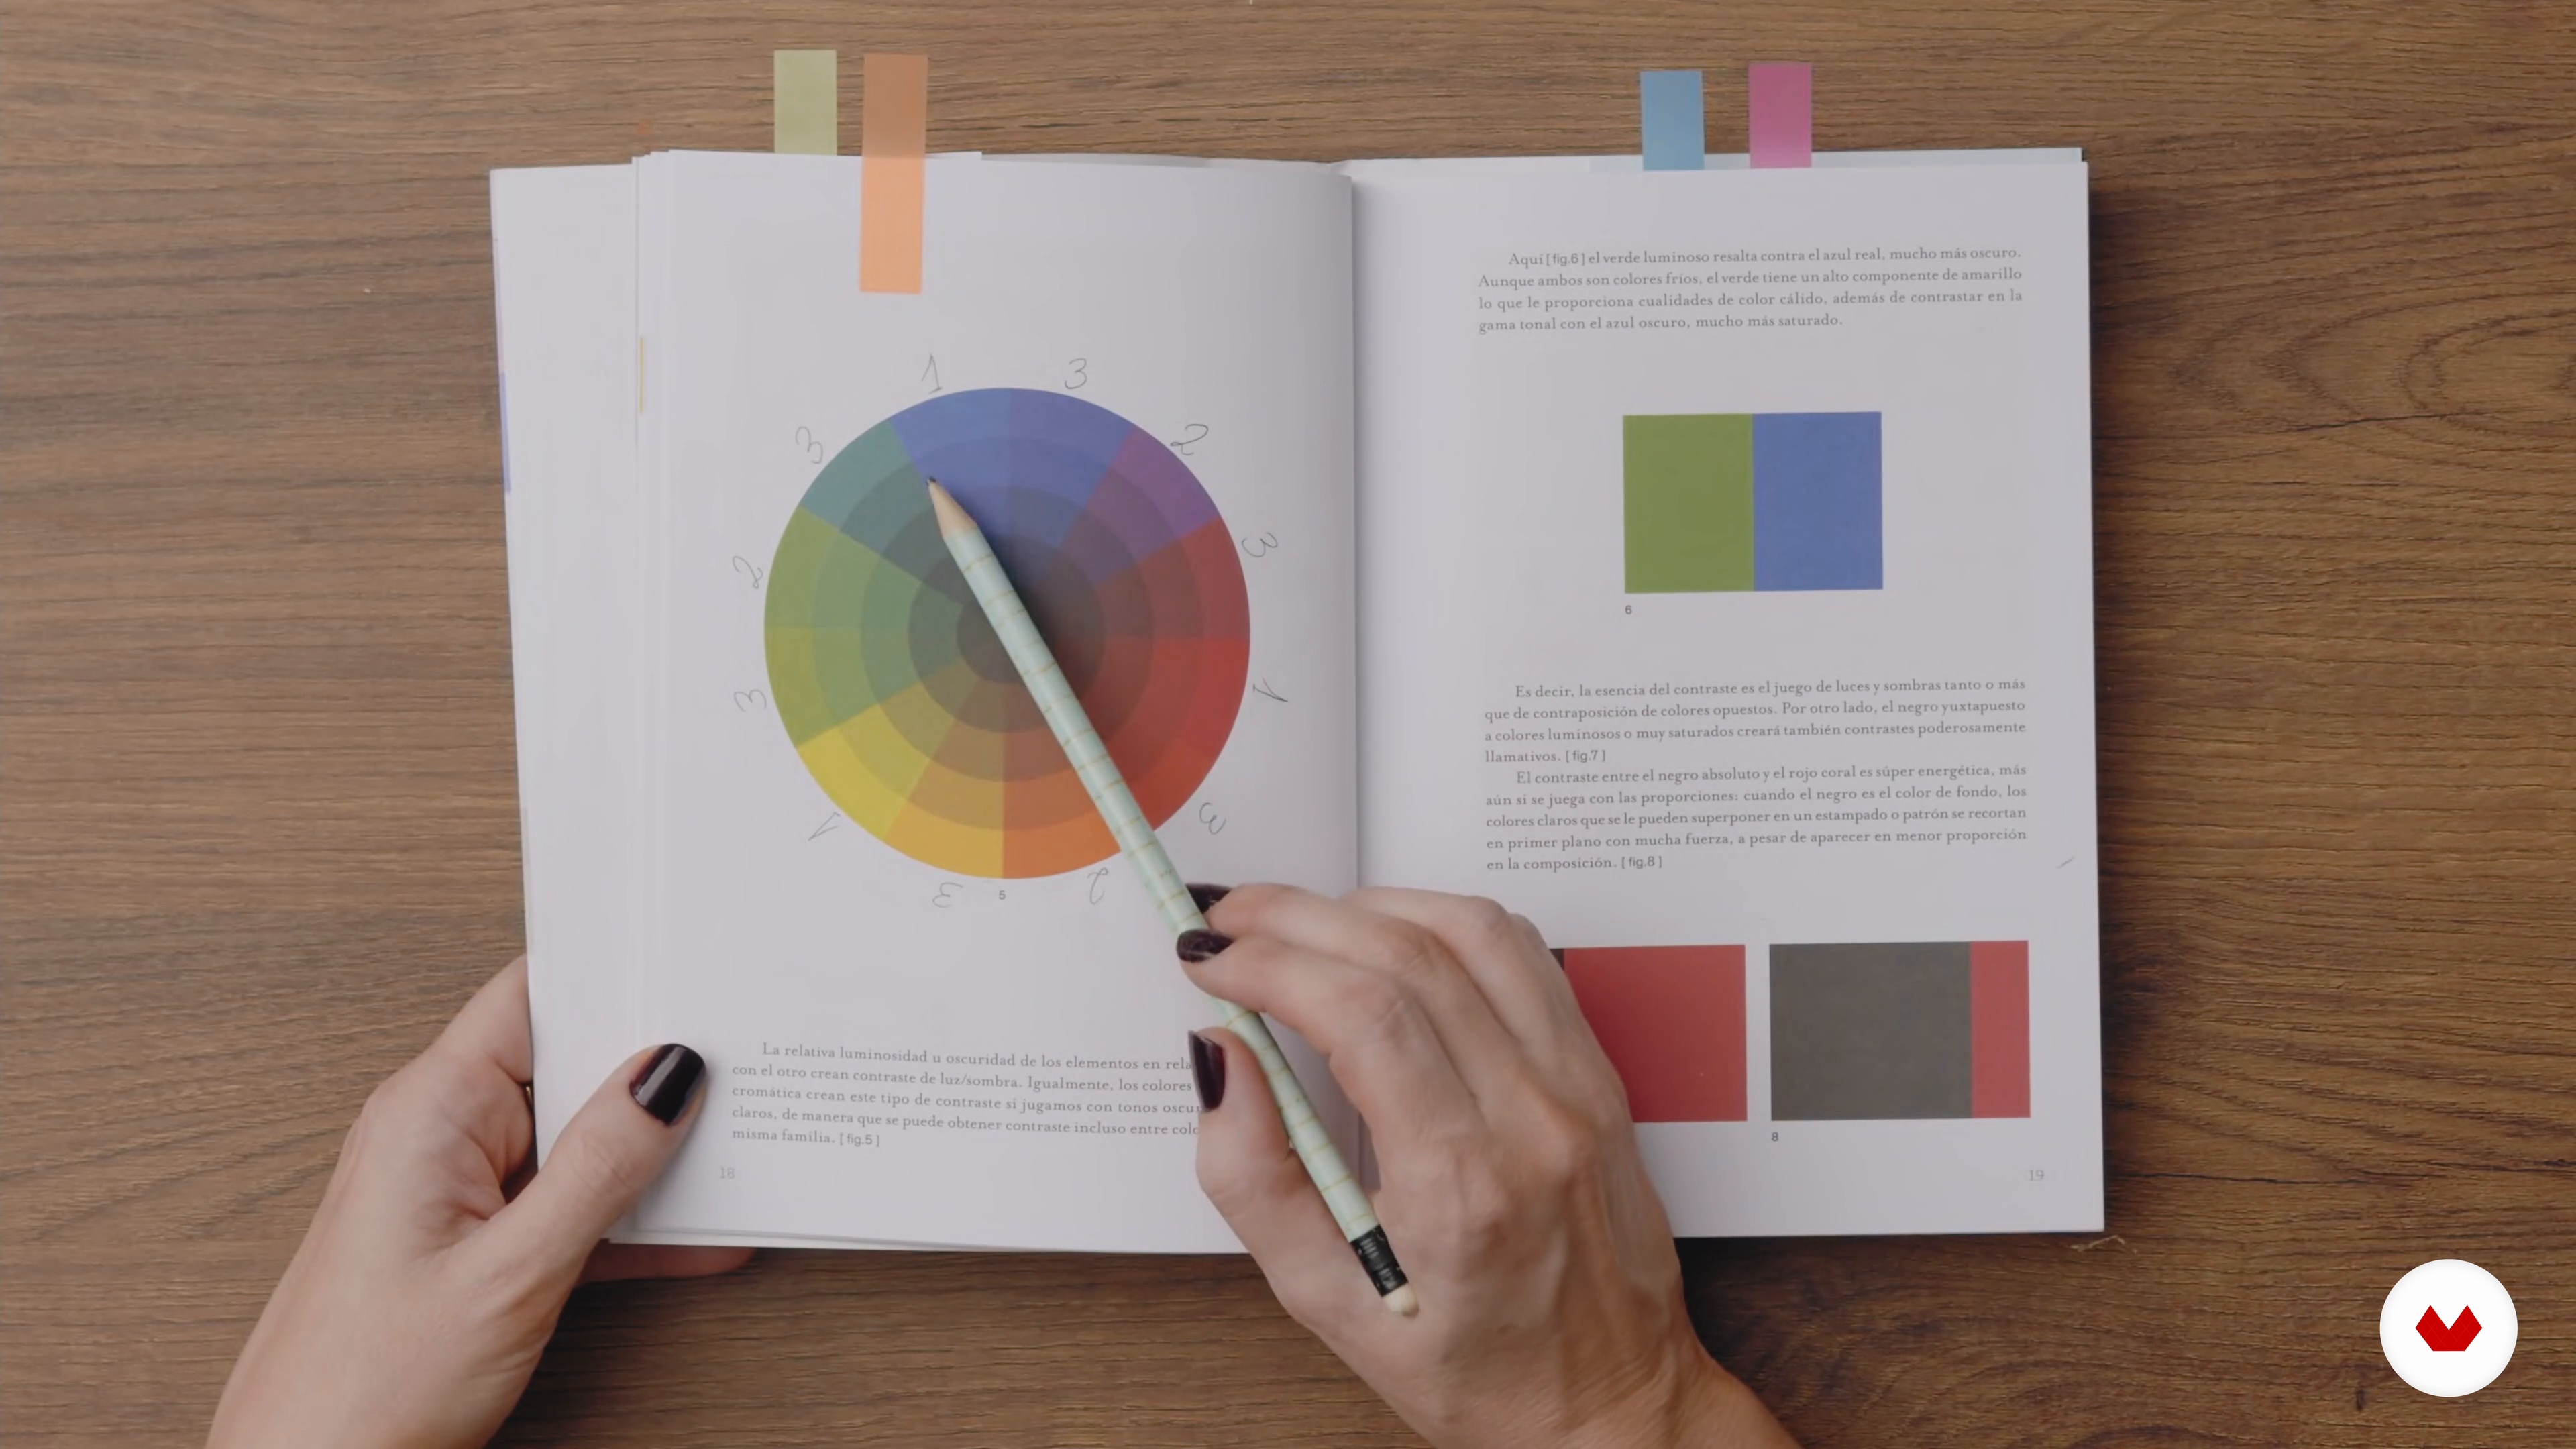
Color in food photography
Next, I'm going to talk to you about the importance of color in our photographs and its ability to generate different sensations and emotions.
7m
image
6
Frame orientation, camera angles, and composition
Now I'm going to talk to you about framing orientation and camera angles. I'll also teach you the most commonly used composition rules in food photography. Let's get to it!
5m
image
7
The creative process
In this lesson, I'll show you my creative process, from the conception of the idea to the final shot. You'll understand why it's so important to have a good workflow and proper planning to save time and avoid getting lost in the process.
7m
image
8
Storytelling: let's tell a story
Now we're going to delve into the world of visual storytelling. We're going to make our photographs captivate and excite the viewer through storytelling. Because everything is so much more meaningful if we tell it as a story.
5m
image
9
How to visualize your ideas
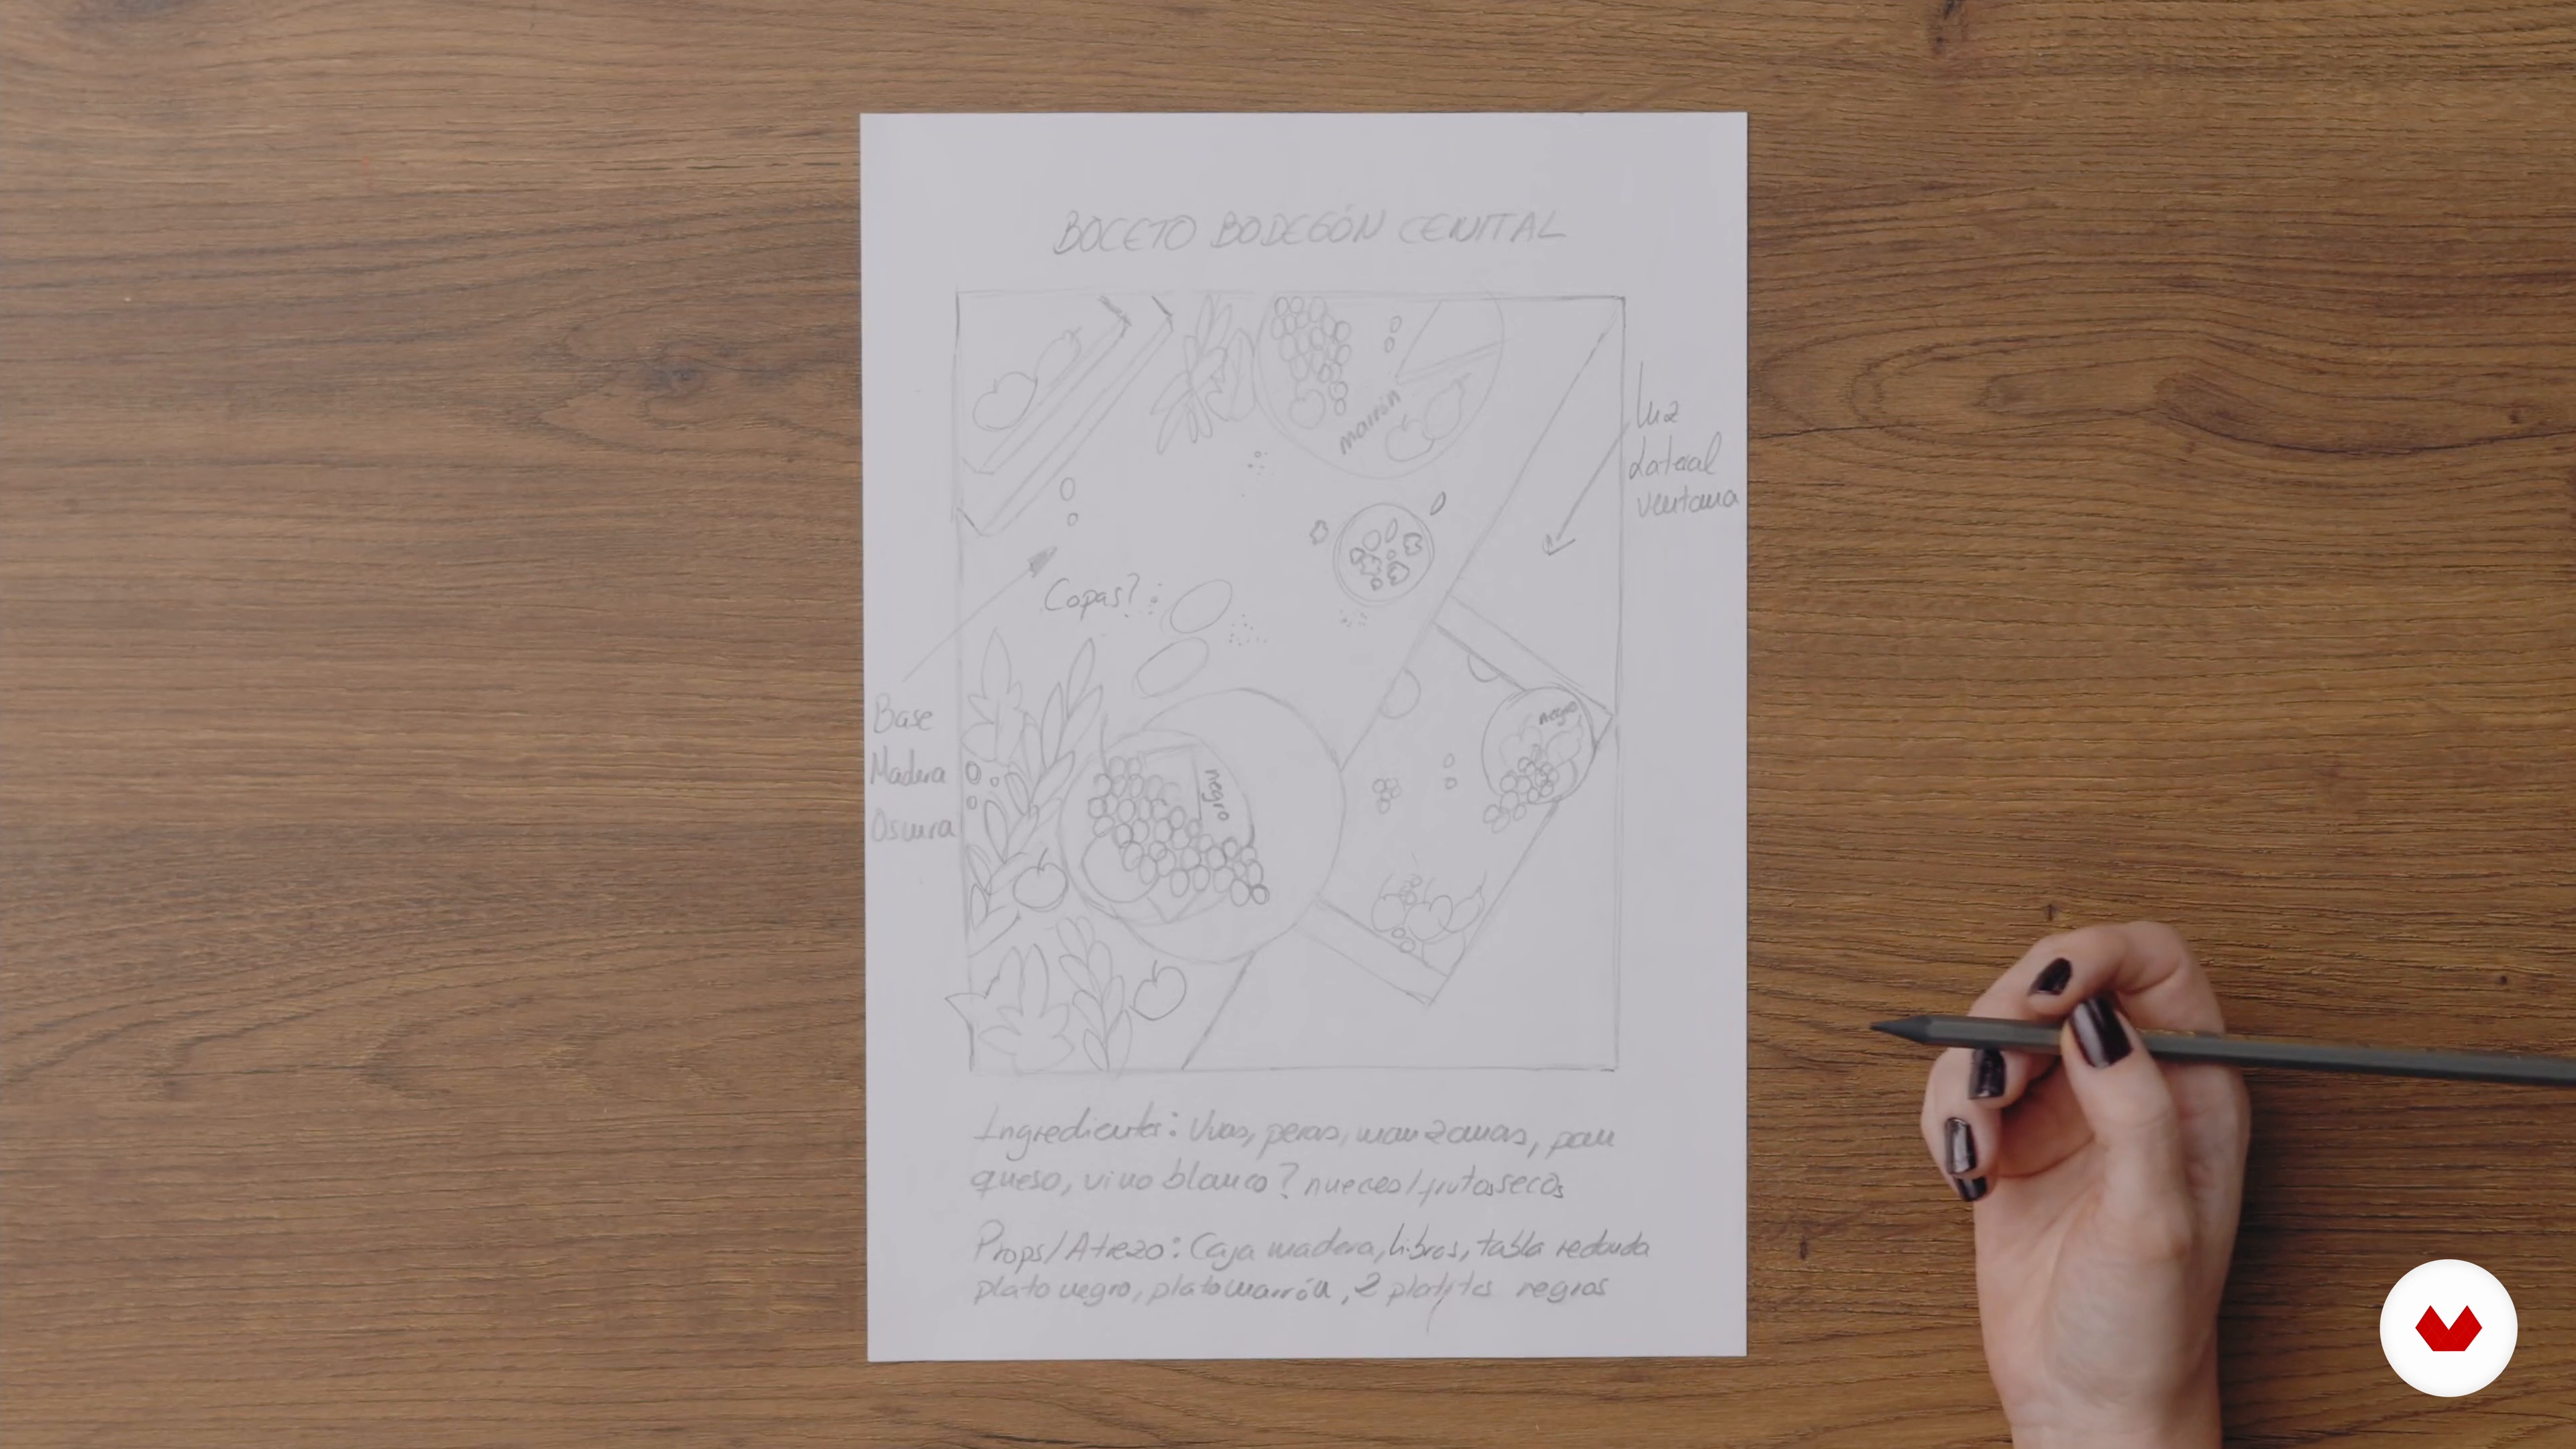
In this lesson, we'll begin to flesh out our project idea in a more visual way. I'll teach you how to do this using a mood board and a sketch.
11m
image
10
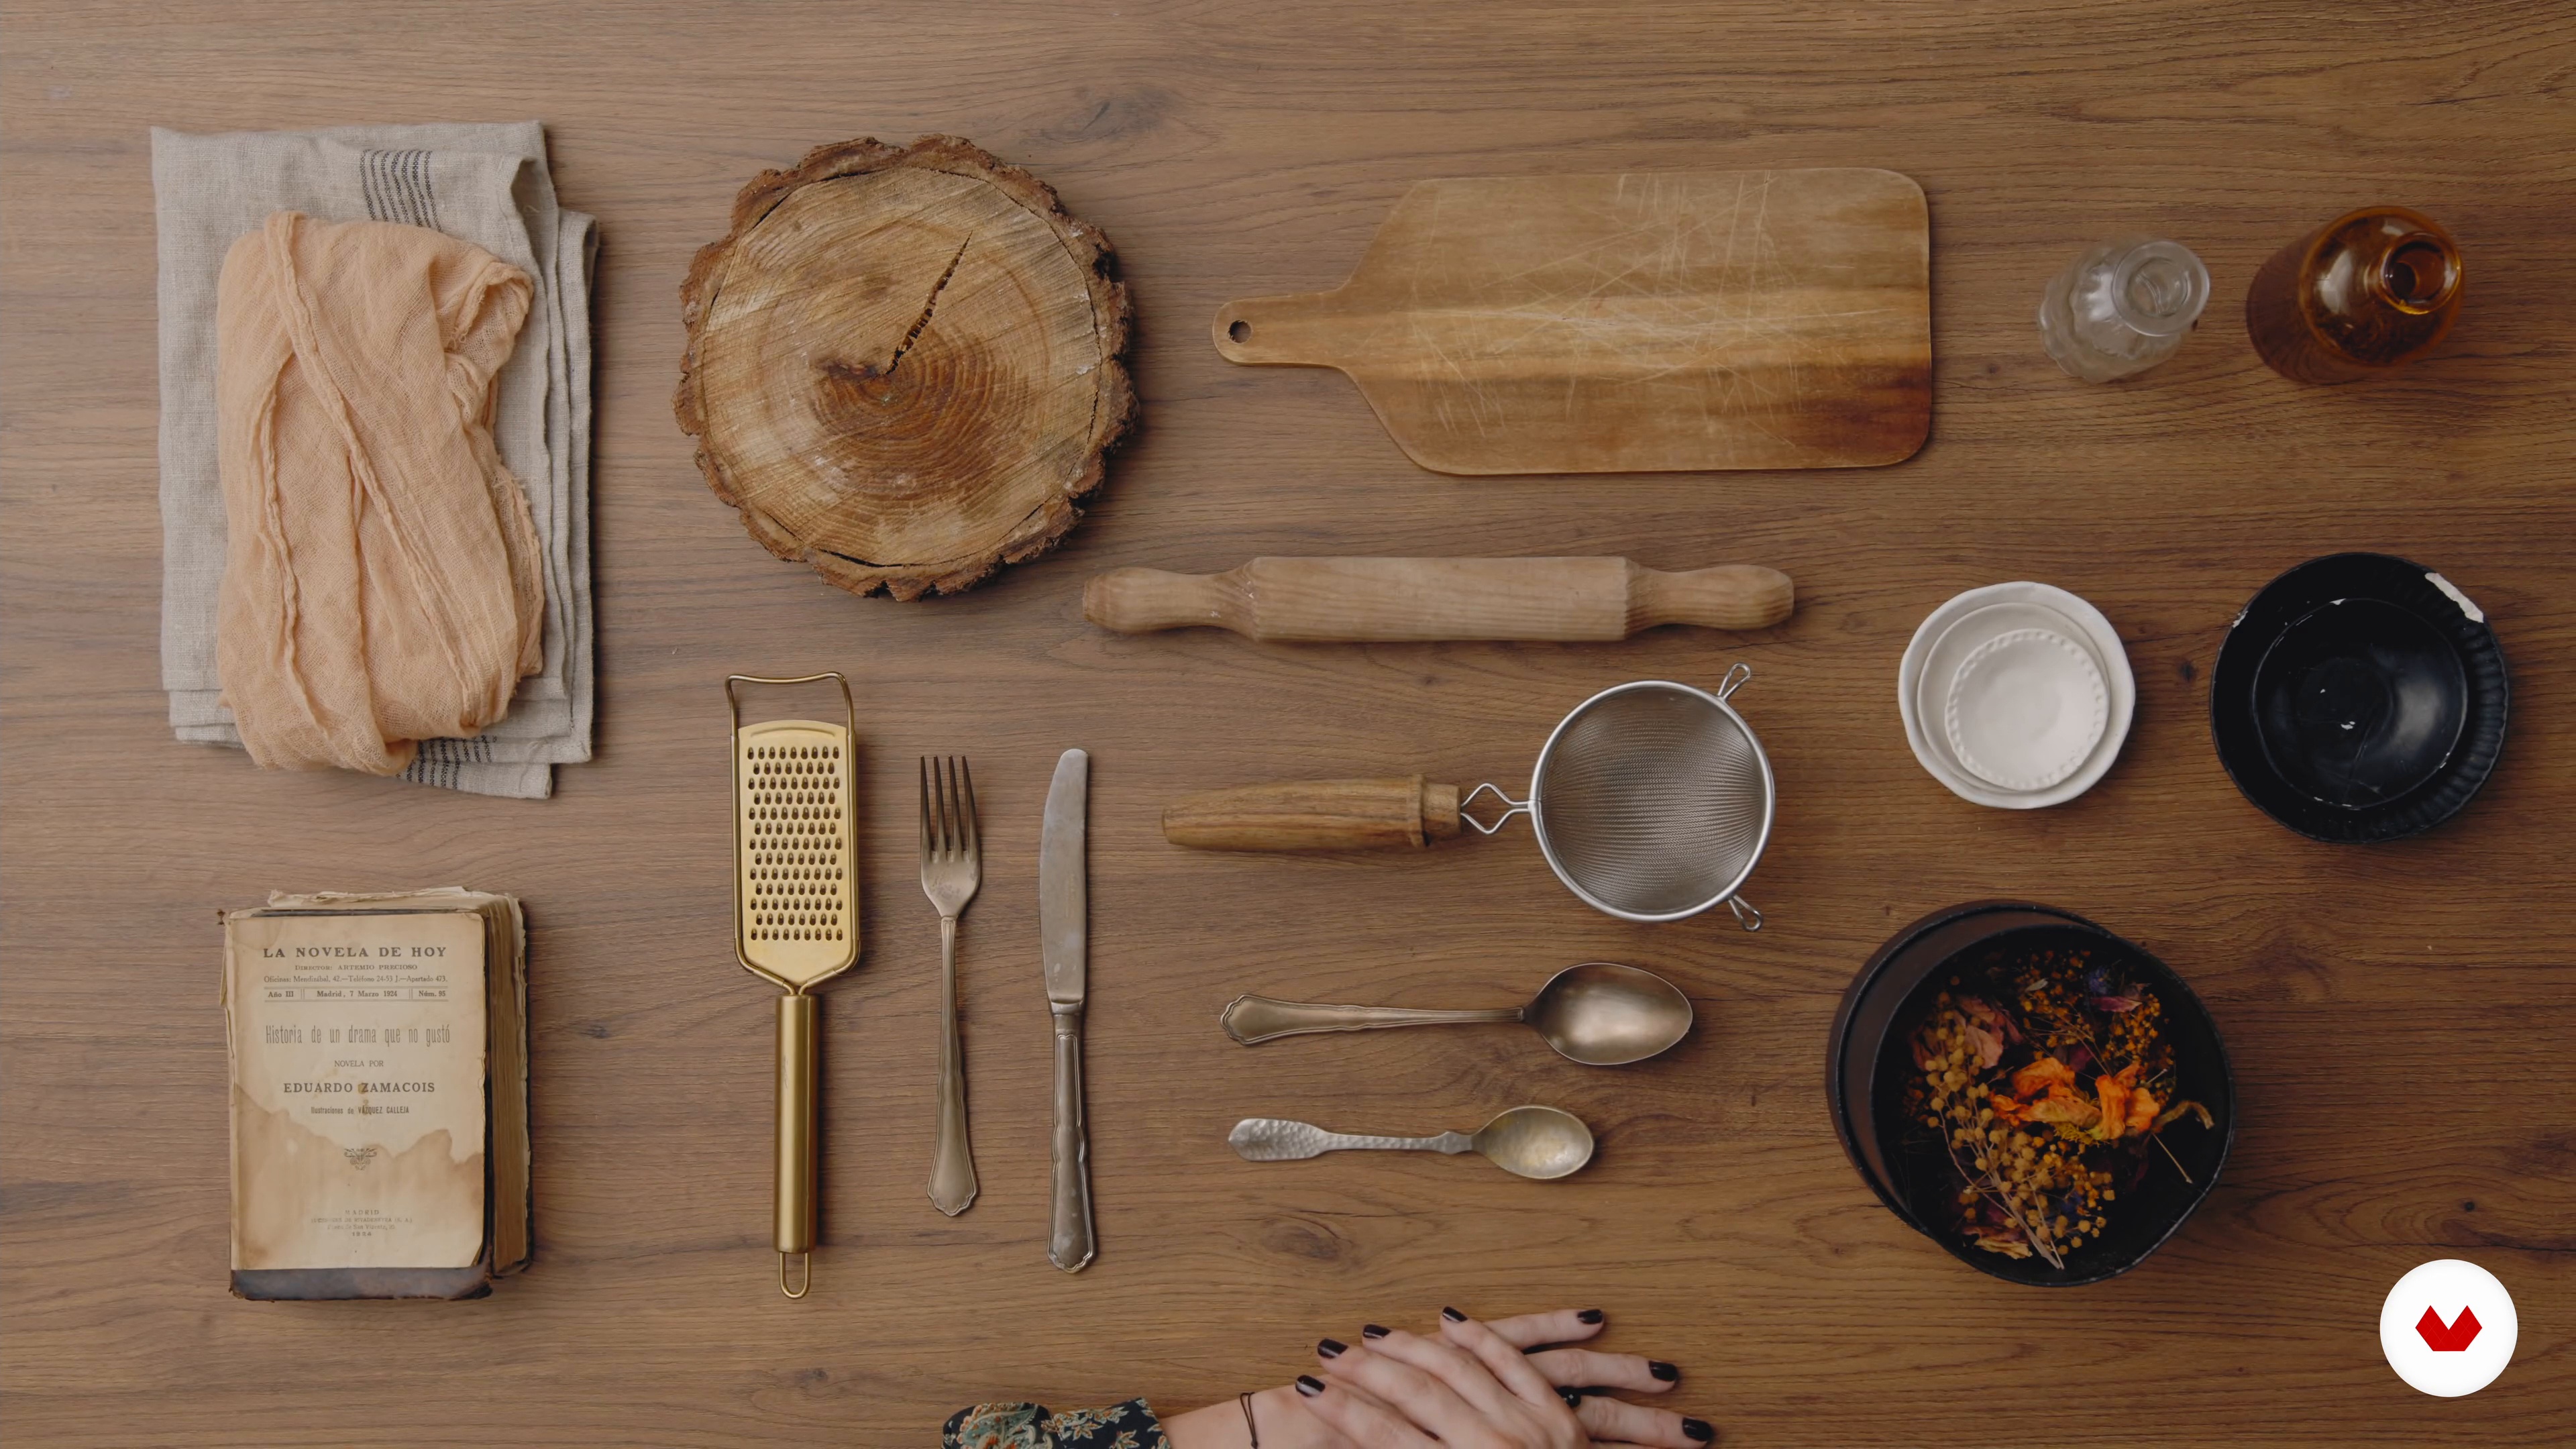
Photo props, props and backgrounds
Finally, I'll show you the basic and essential props to get started in the exciting world of food photography. You'll also see the ones I'll use for my project, I'll show you how to make some homemade props, and finally, I'll give you some shopping tips you'll fall in love with.
8m
image
11
Organization on set
In this lesson, I'll tell you how we'll organize ourselves on set and everything we'll need to have on hand. It's essential to avoid any mishaps.
4m
image
12
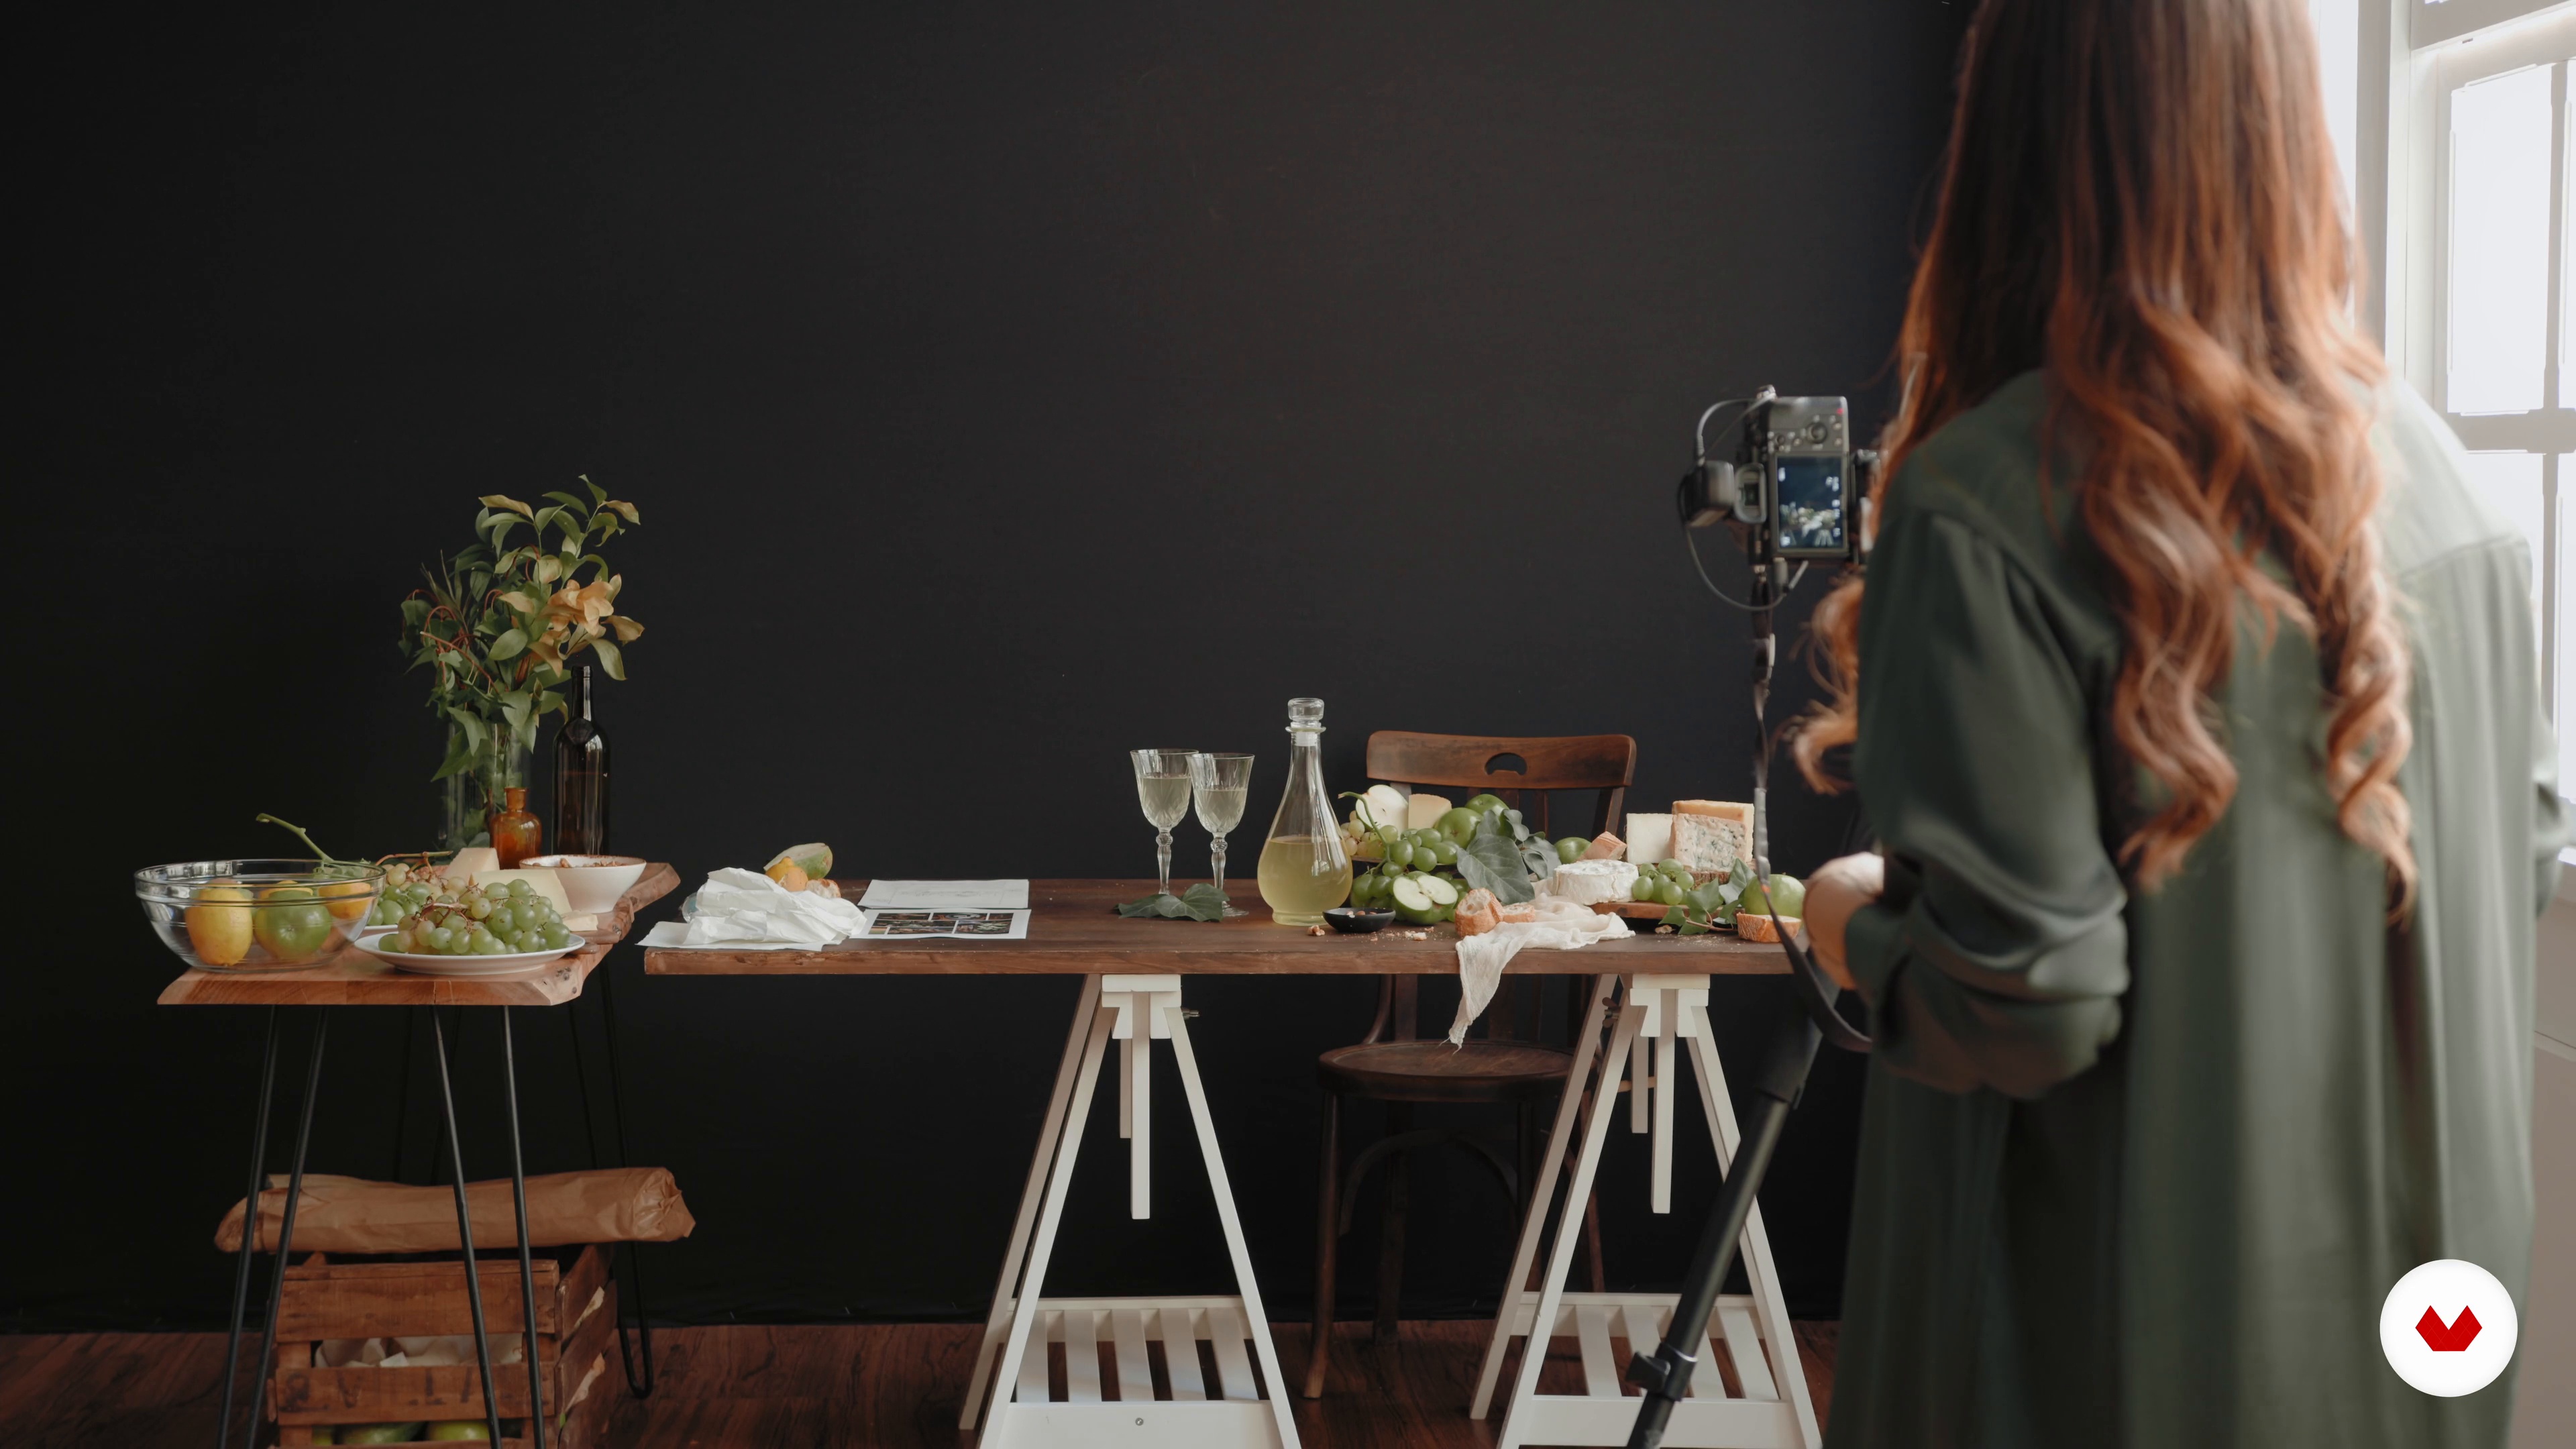
Composing our photo: frontal plane 1
In this lesson, we'll compose a still life shot from the front for the first photo. We'll start by placing the basic props to create a base.
13m
image
13
Composing our photo: frontal shot 2
We continue composing the photo. I'm going to fill the wine glasses and add other elements to create the perfect scene for the frontal shot.
10m
image
14
Composing our photo: zenith plane
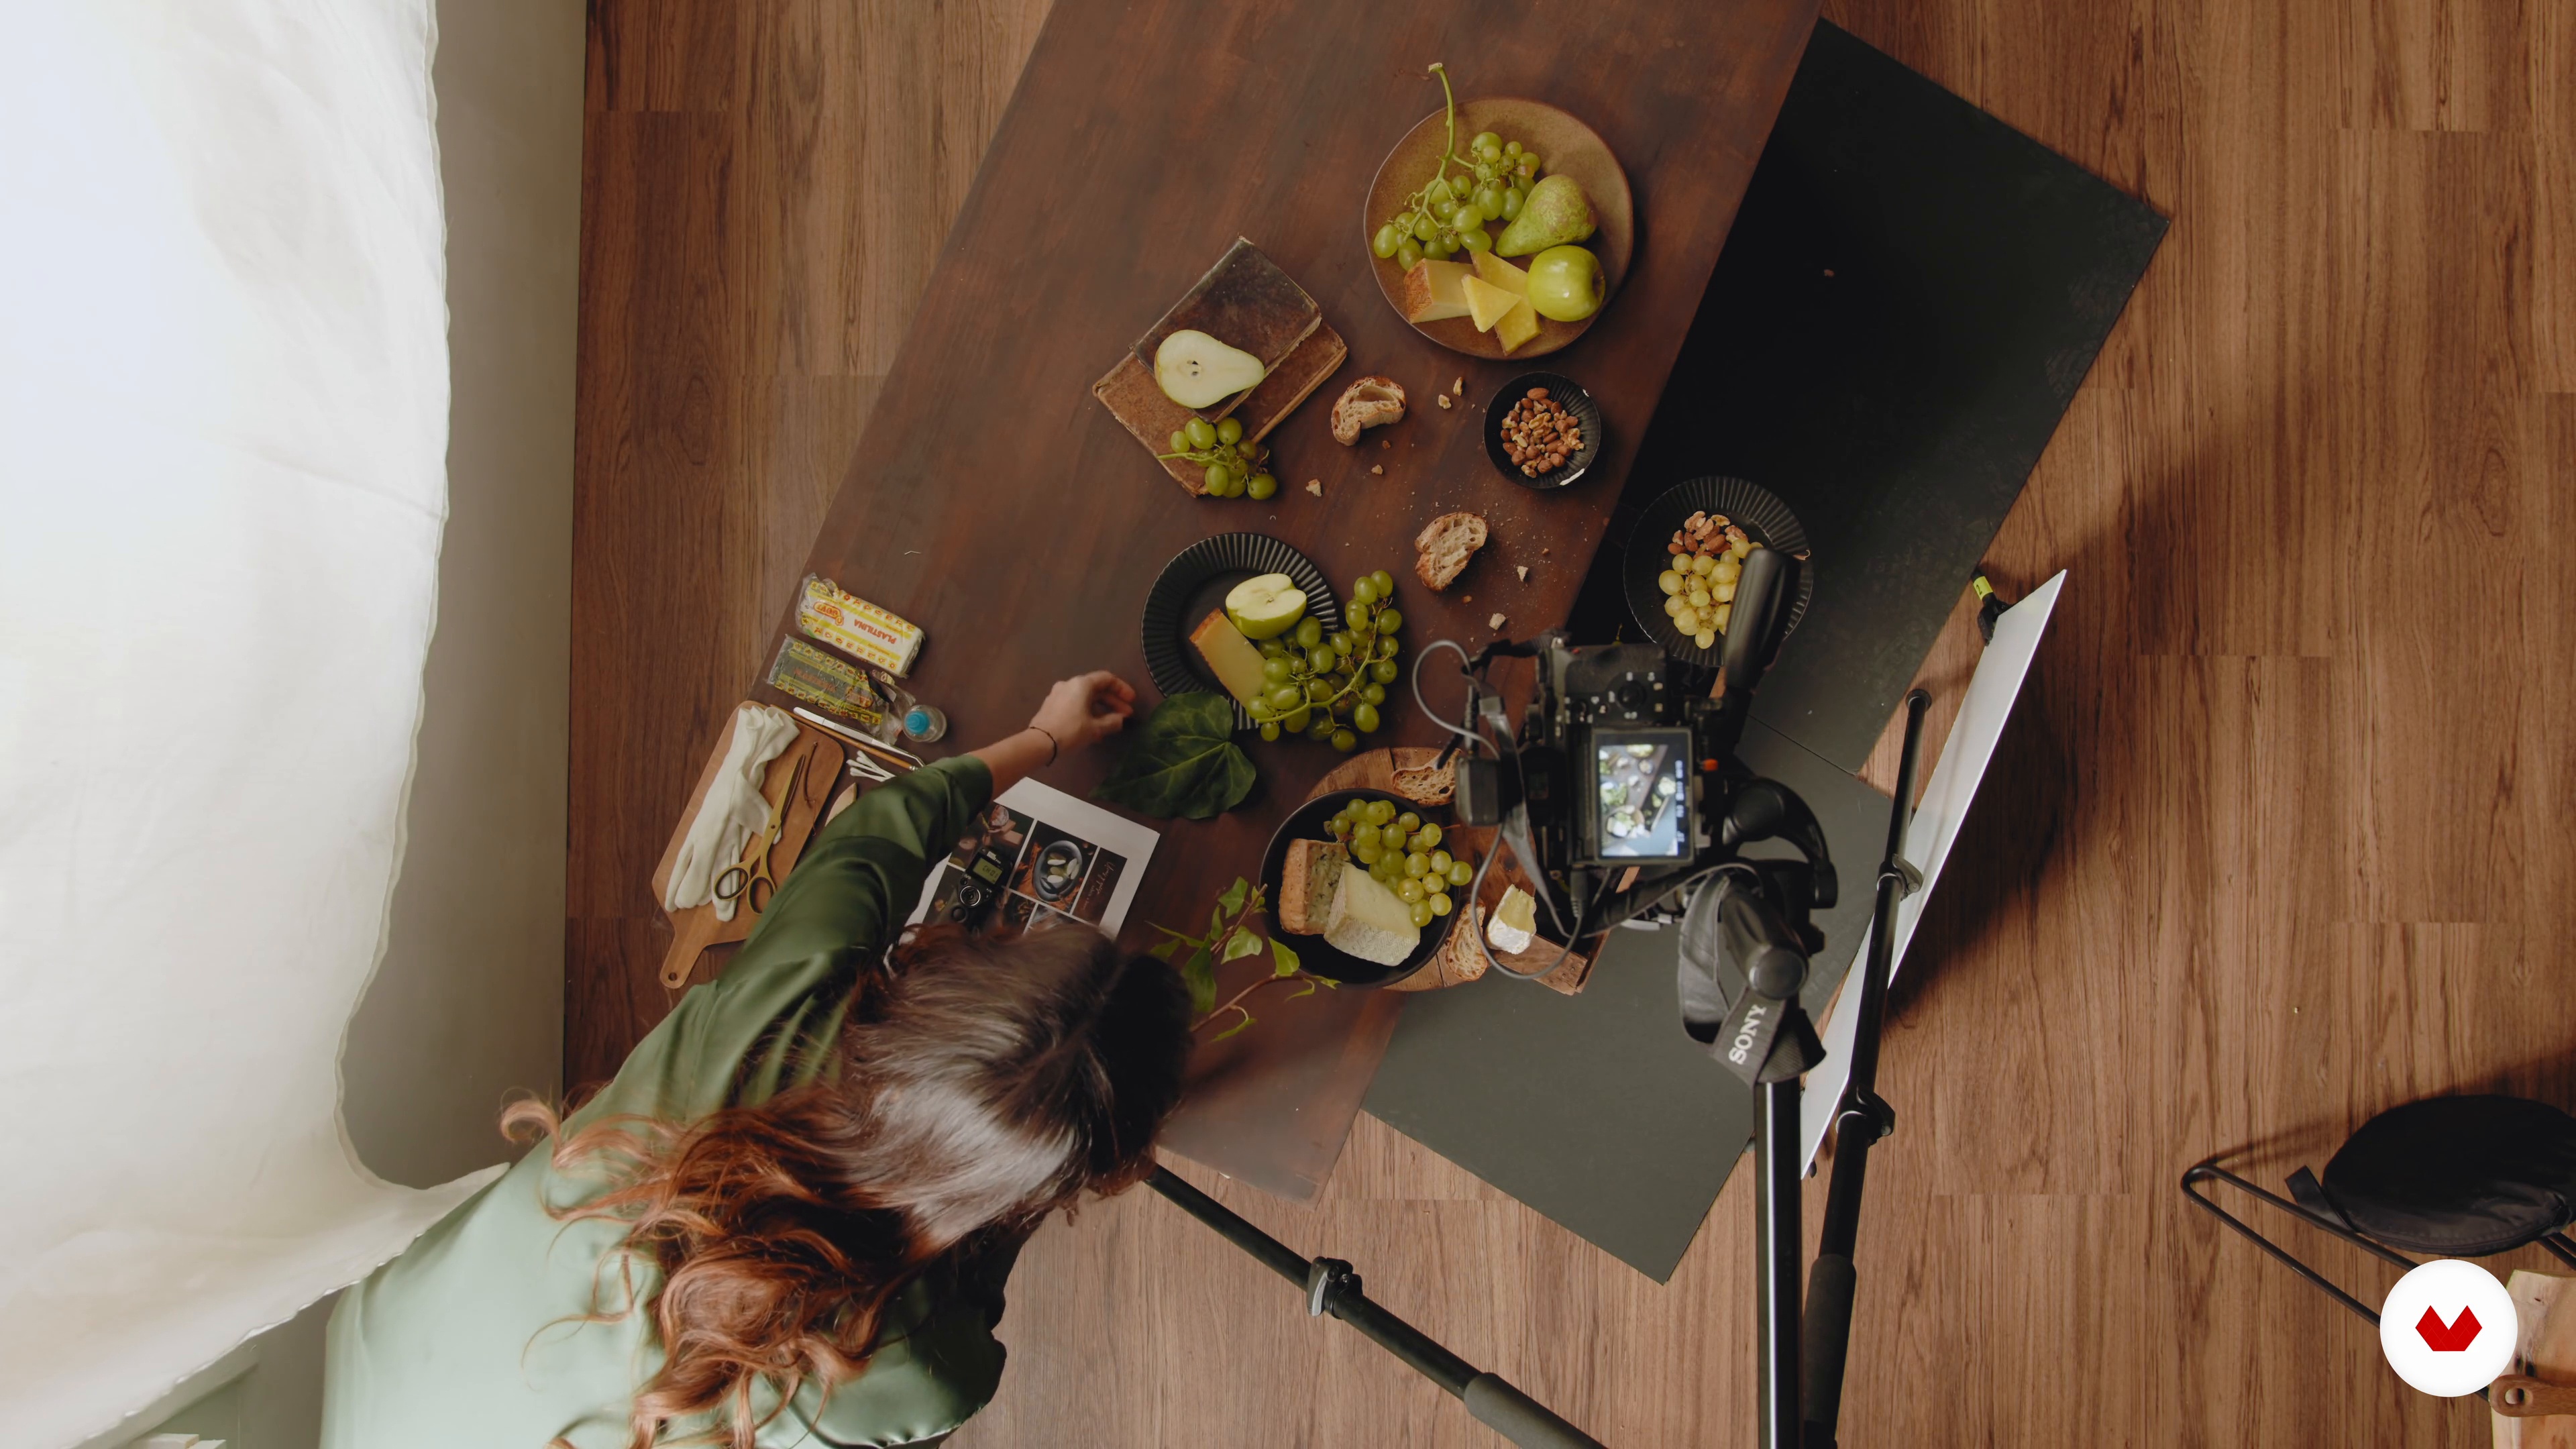
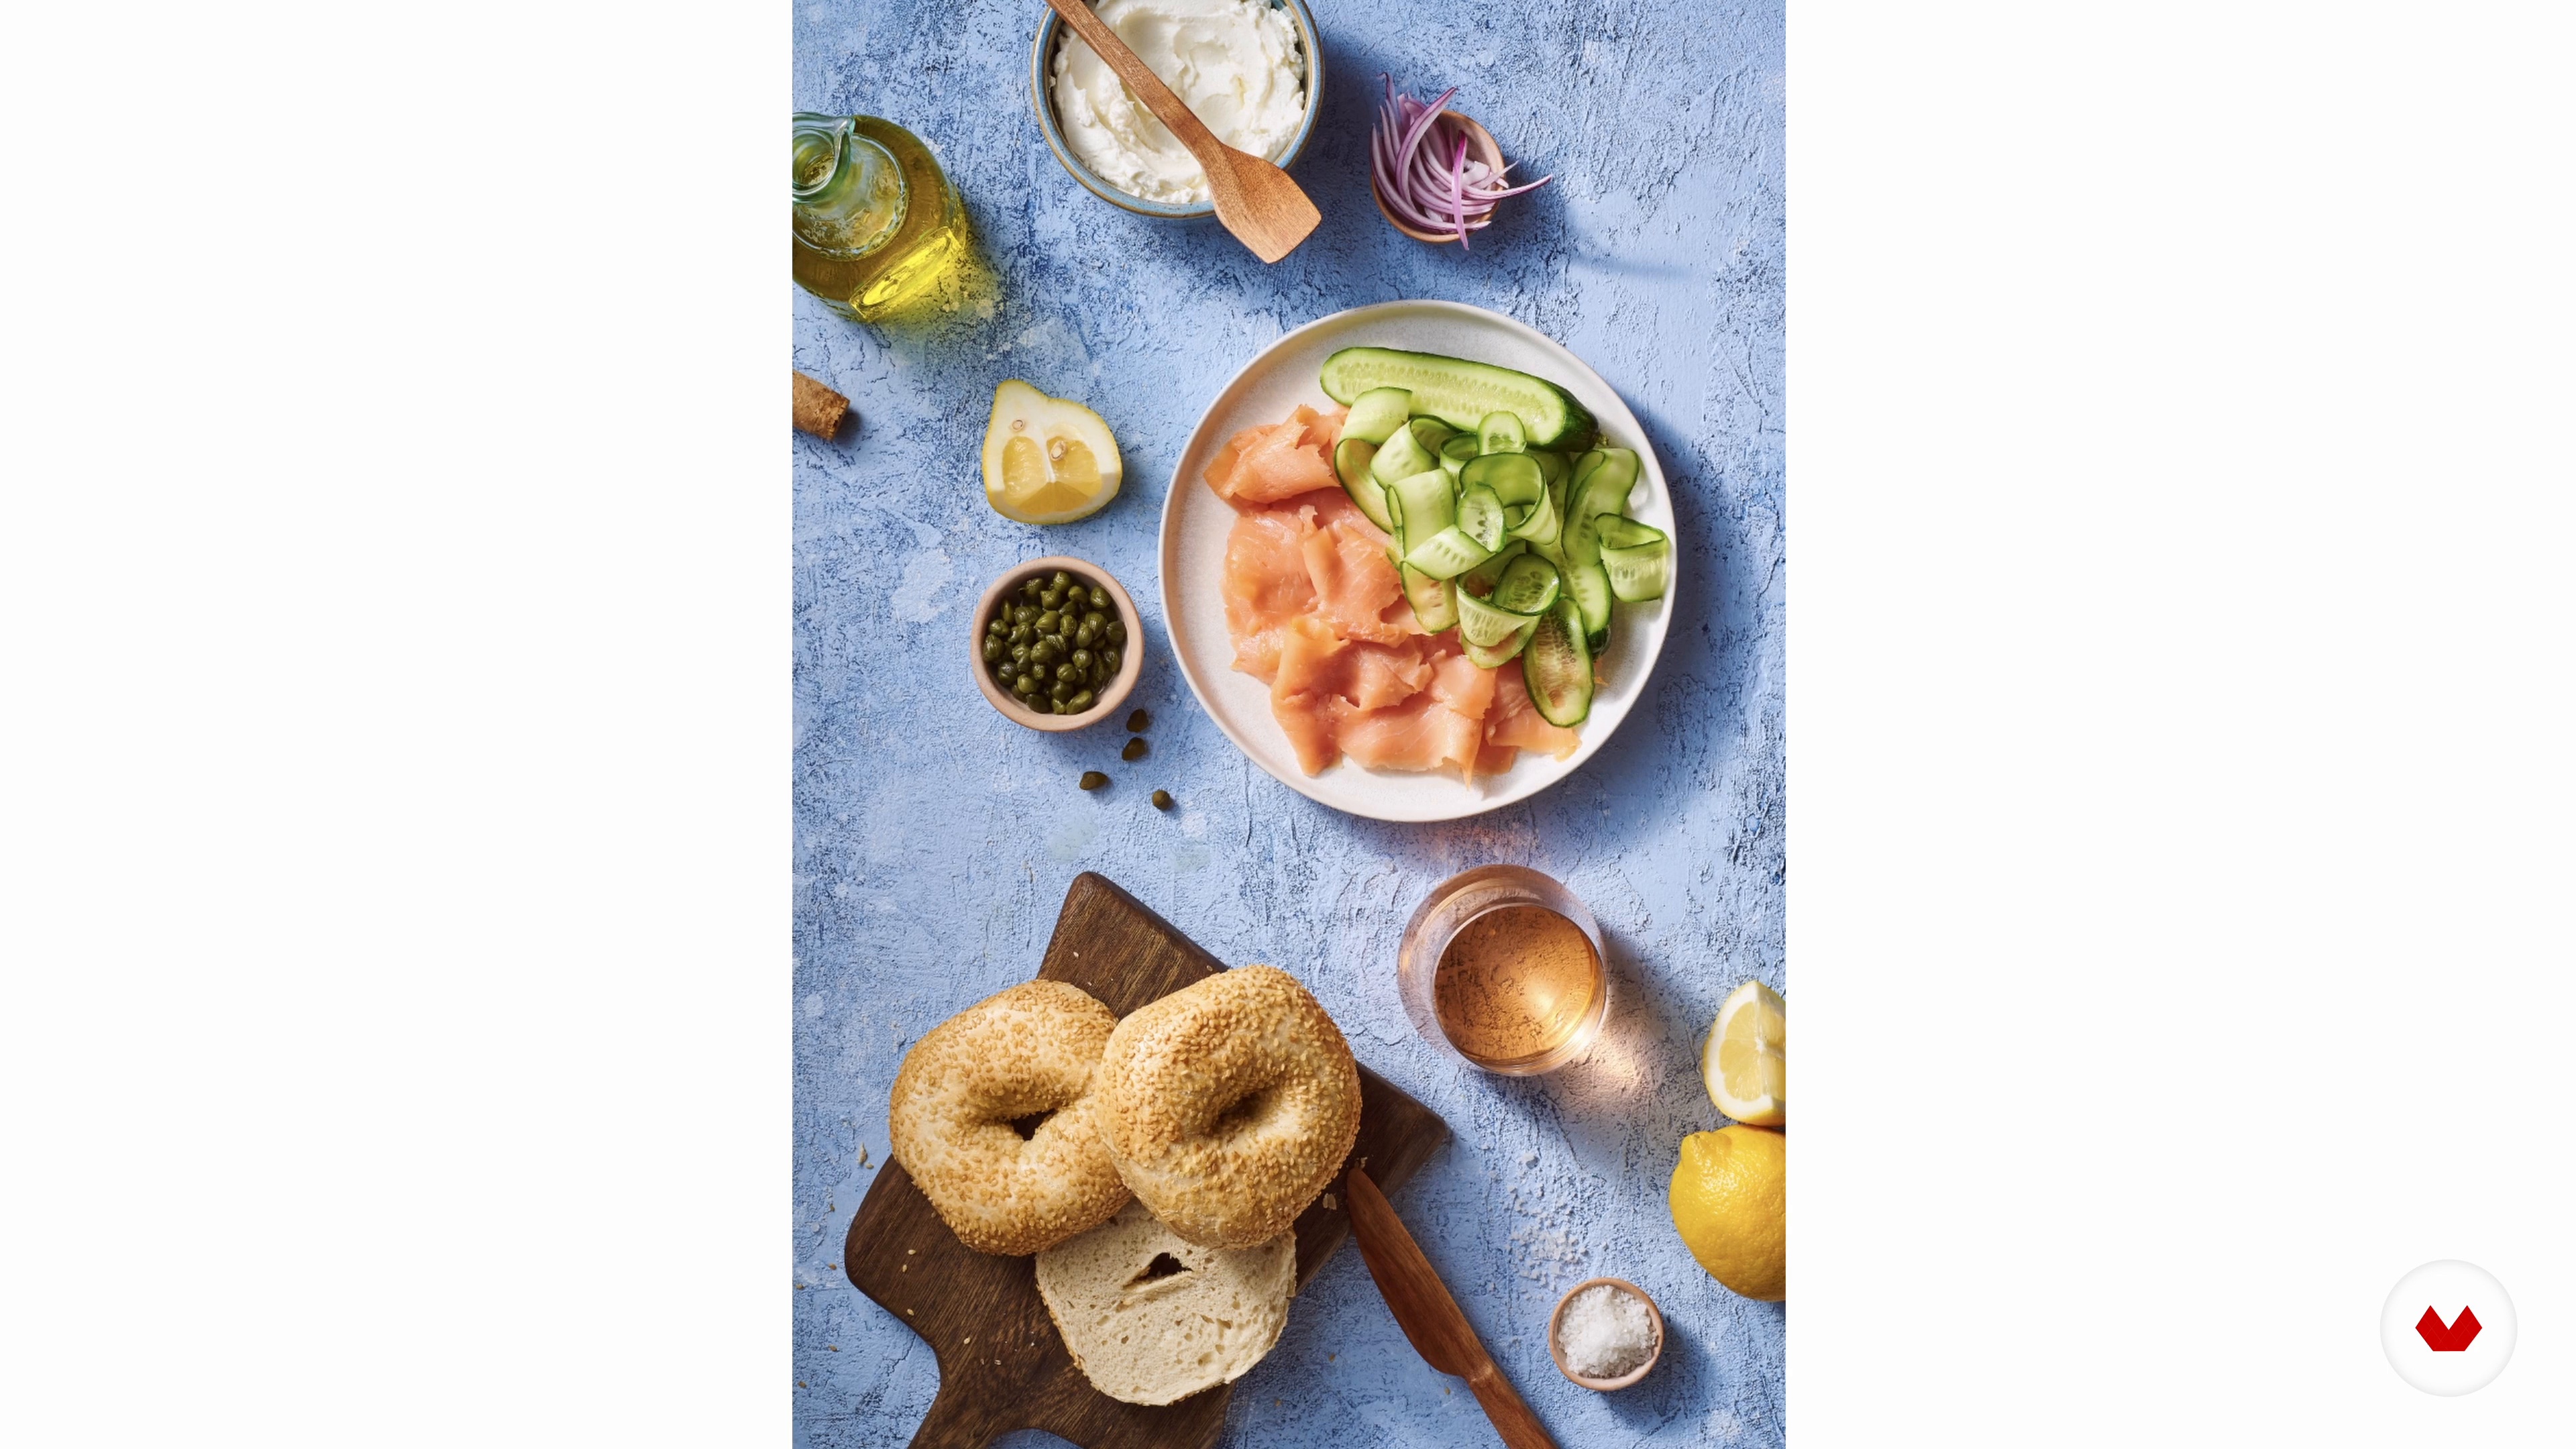
In this lesson, we'll compose our still life in a flatlay shot. We'll follow the same process as in the front-on shot.
18m
image
15
The Dark Mood style in Lightroom editing
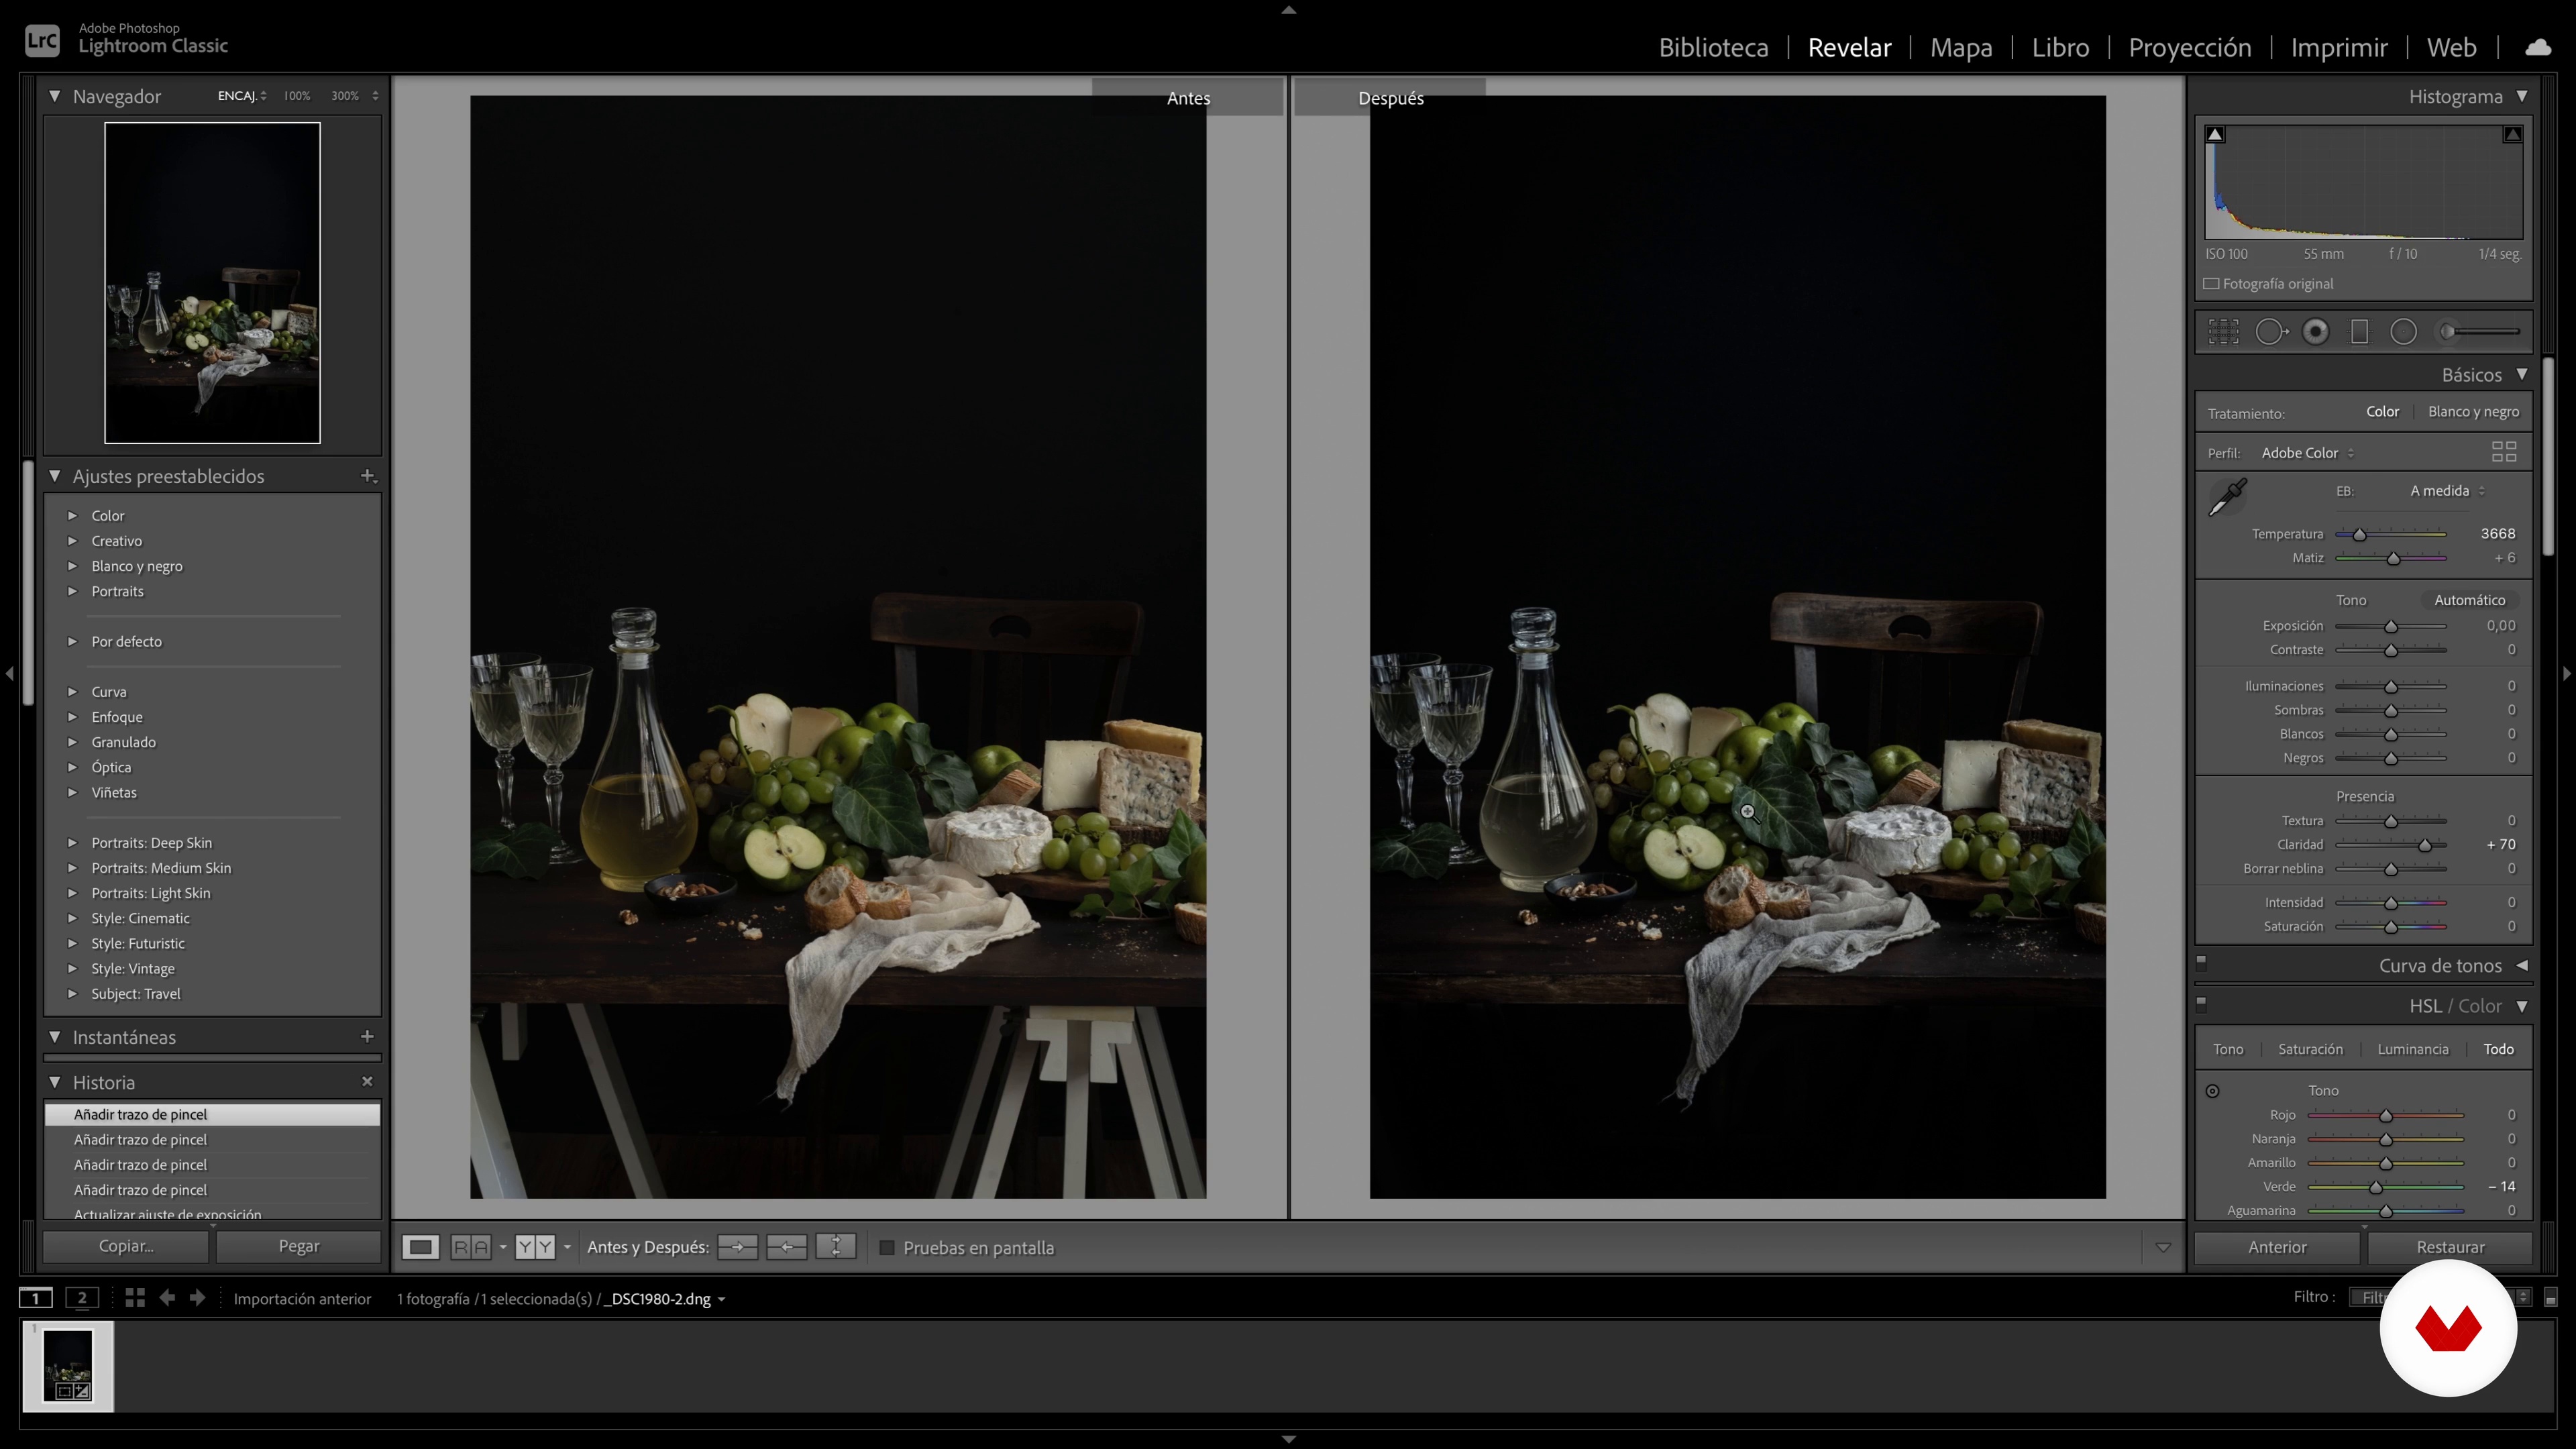
In this lesson, I'm going to show you how I edit one of the photos from our shoot using Lightroom to make the Dark Mood effect even more striking.
8m
image
16
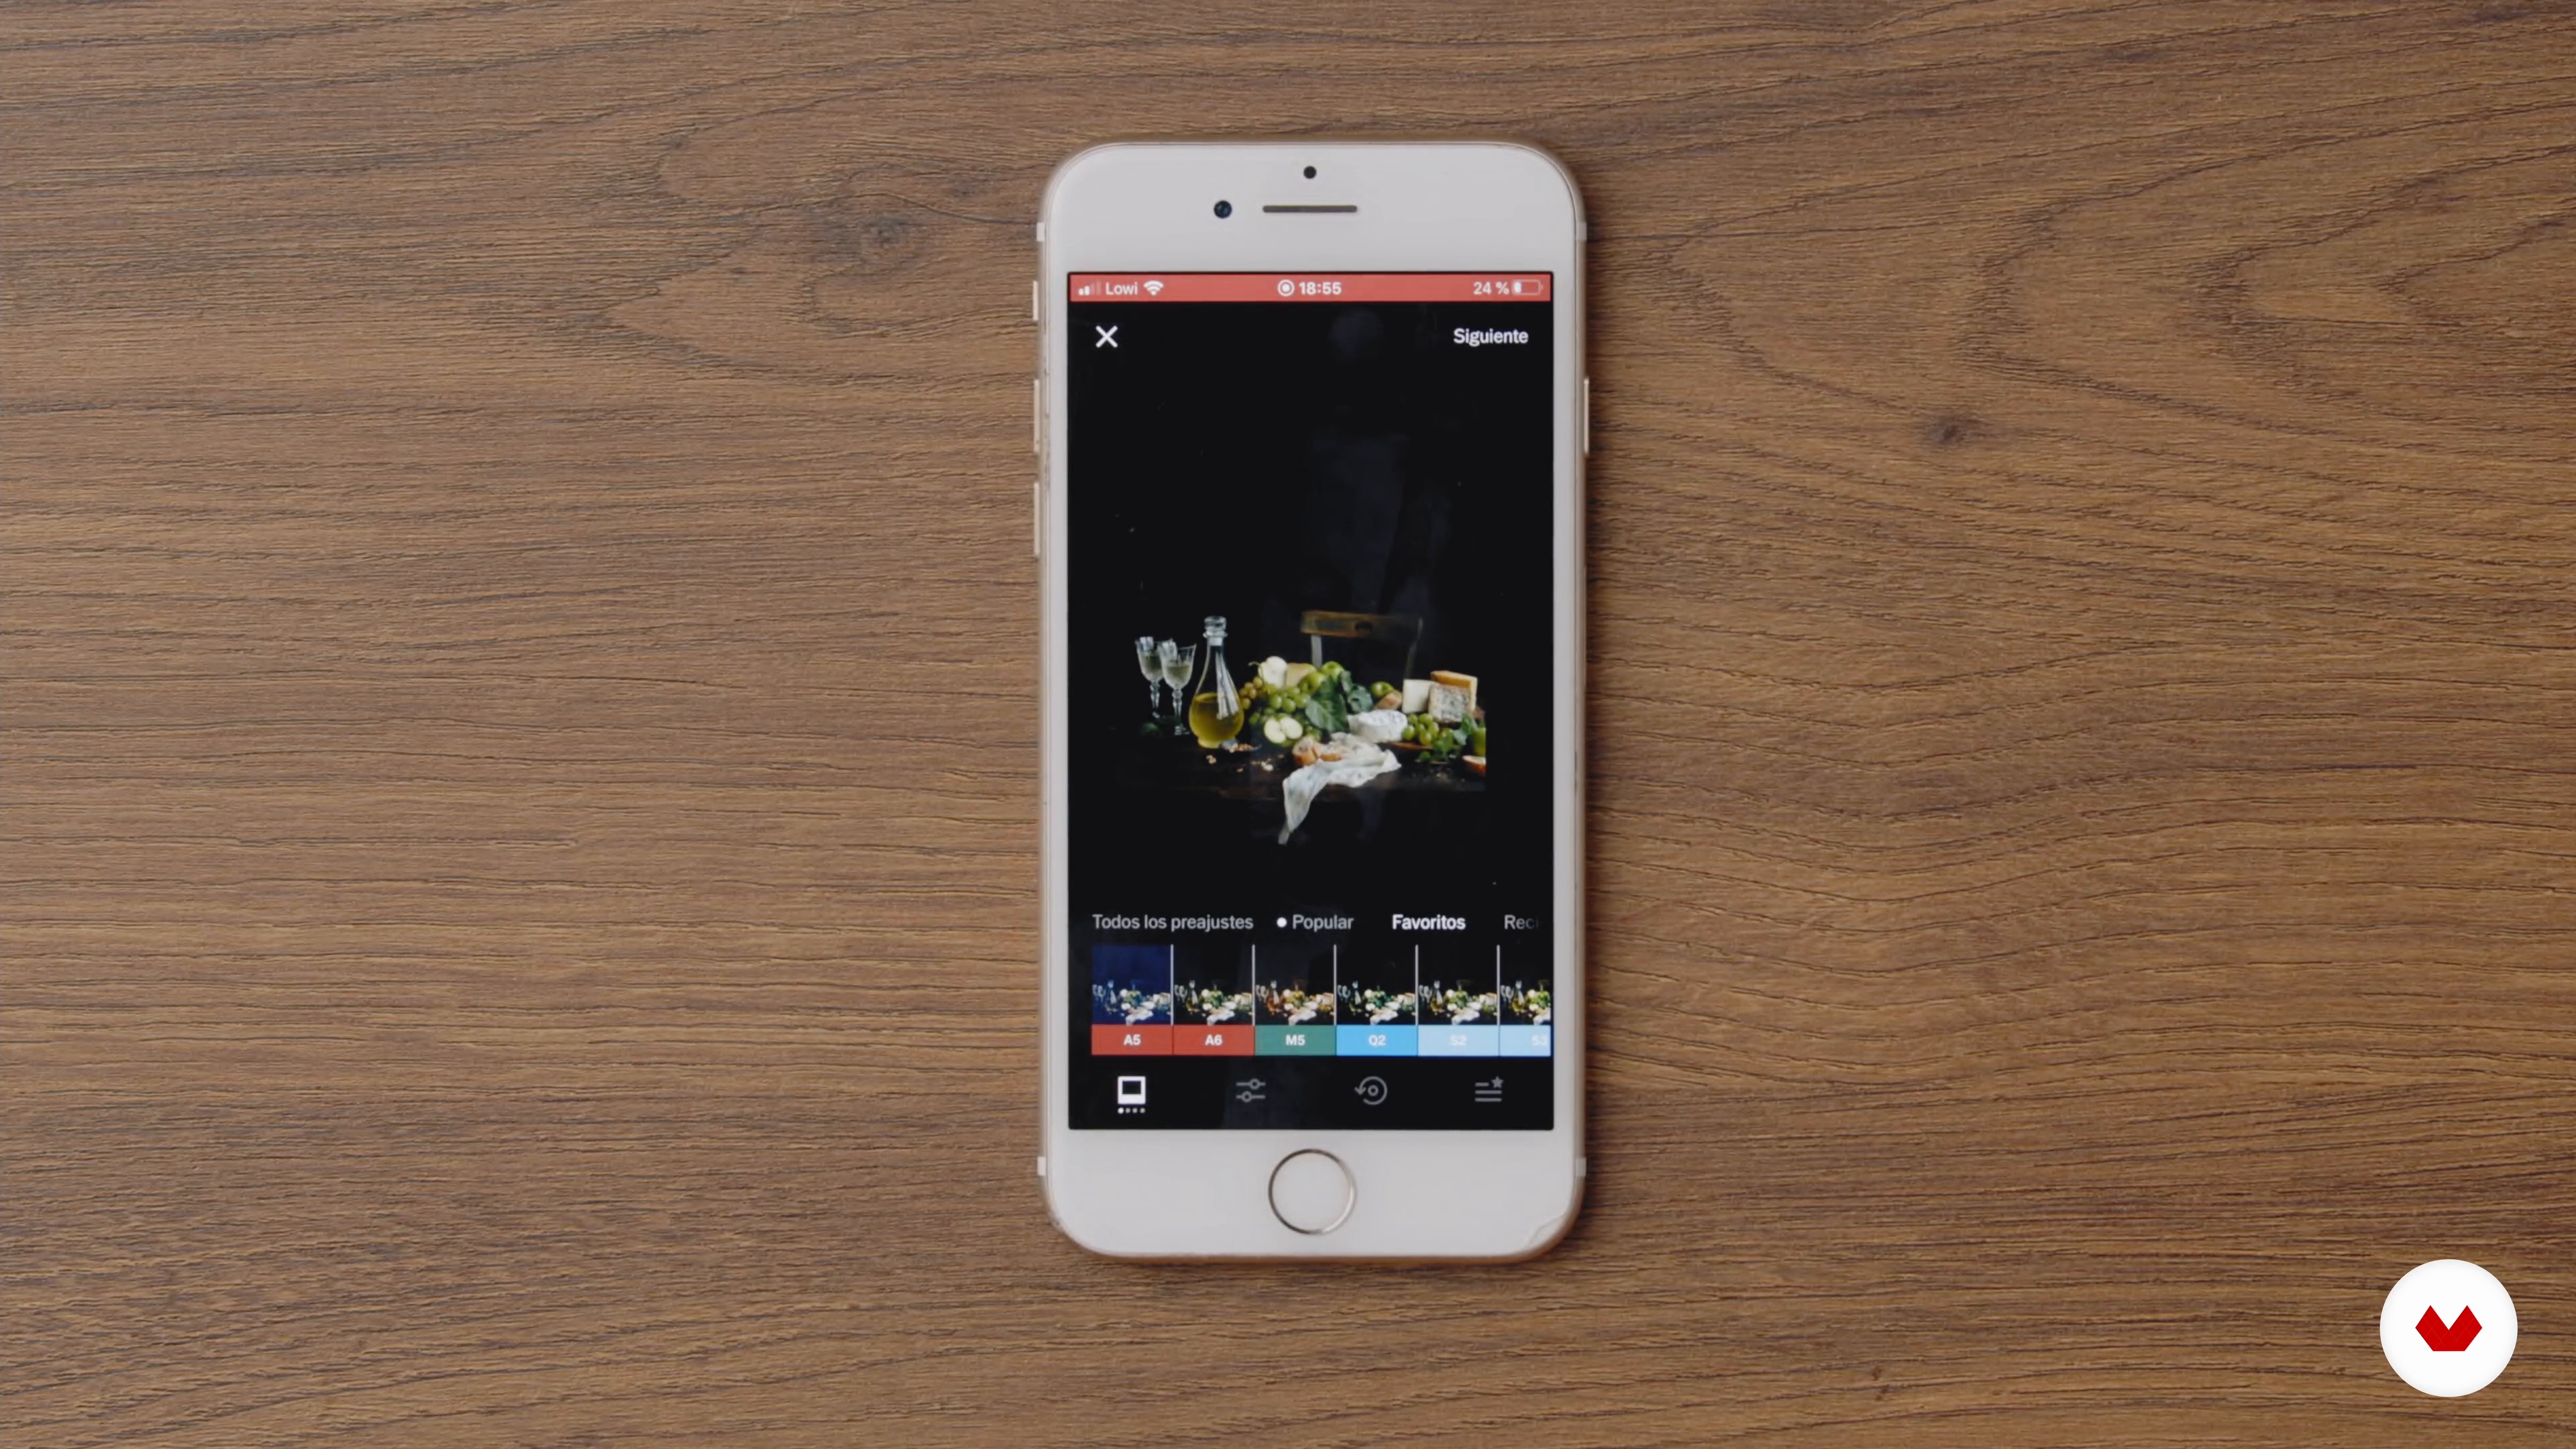
Editing apps on your mobile phone
Next, I'm going to tell you about three essential apps for mobile editing. One is the queen of filters, another of mobile retouching, and the last, for me, is one of the best apps for removing elements from a photo.
13m
image
17
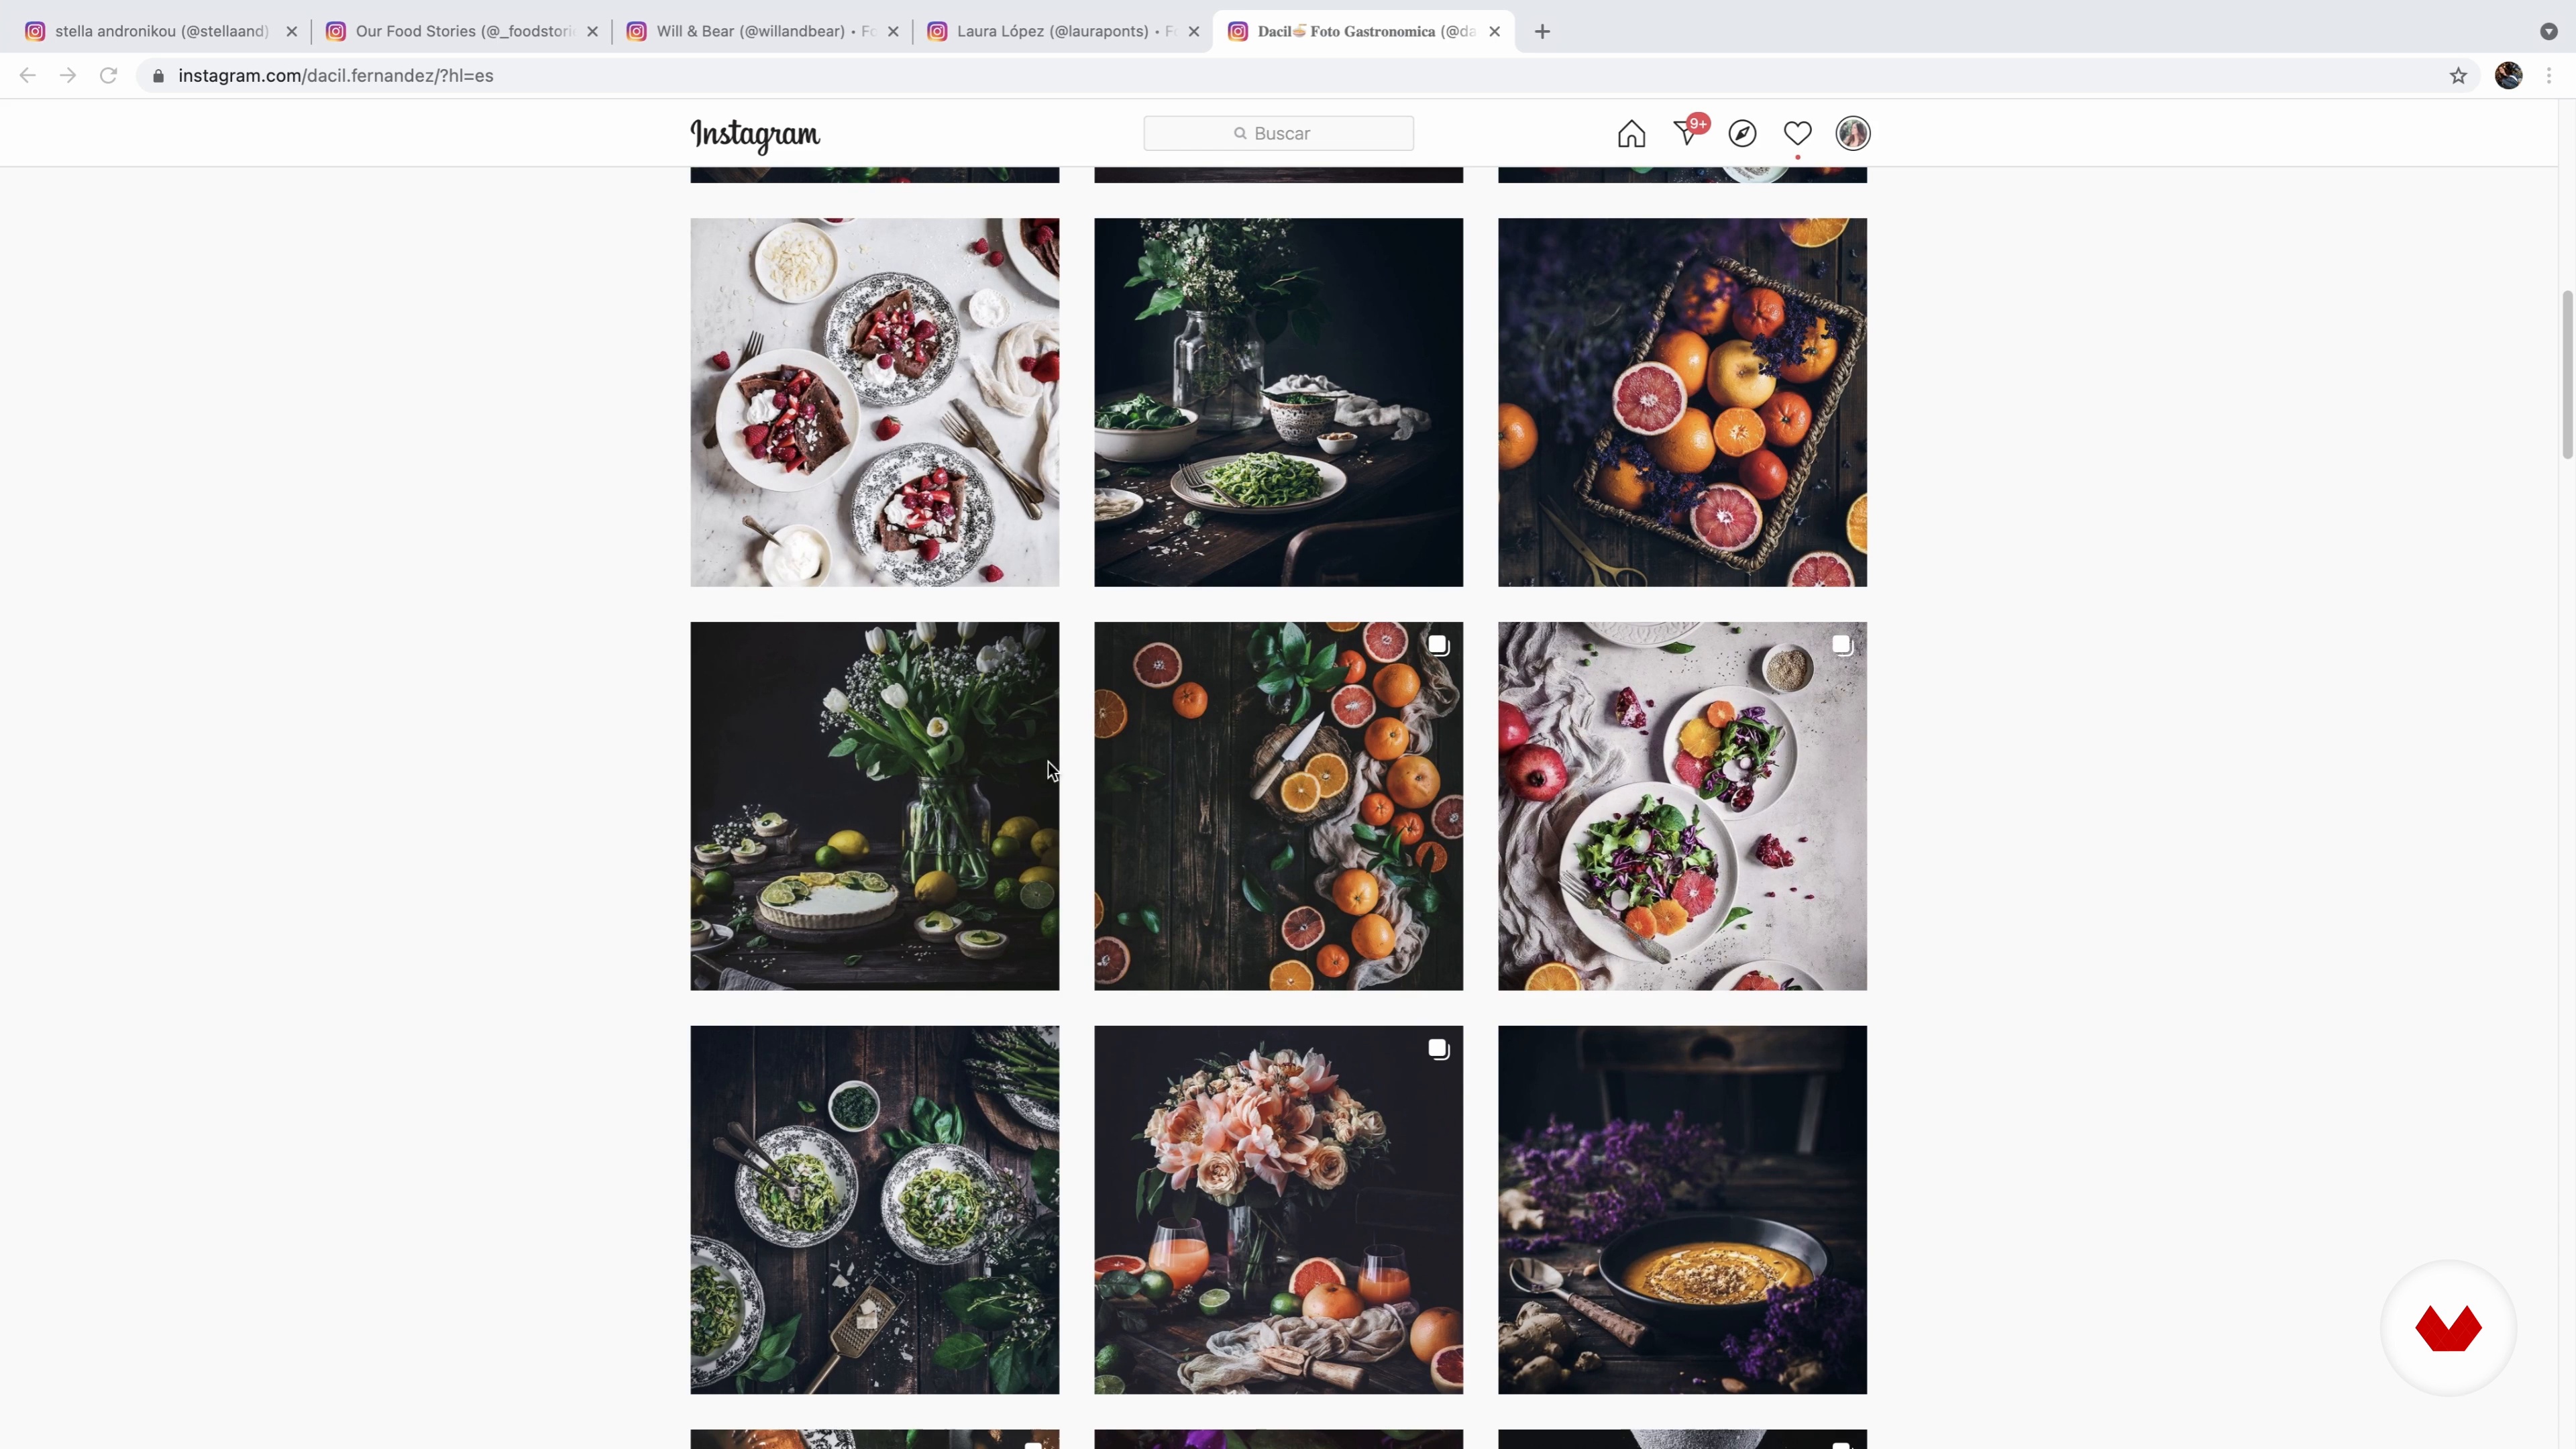
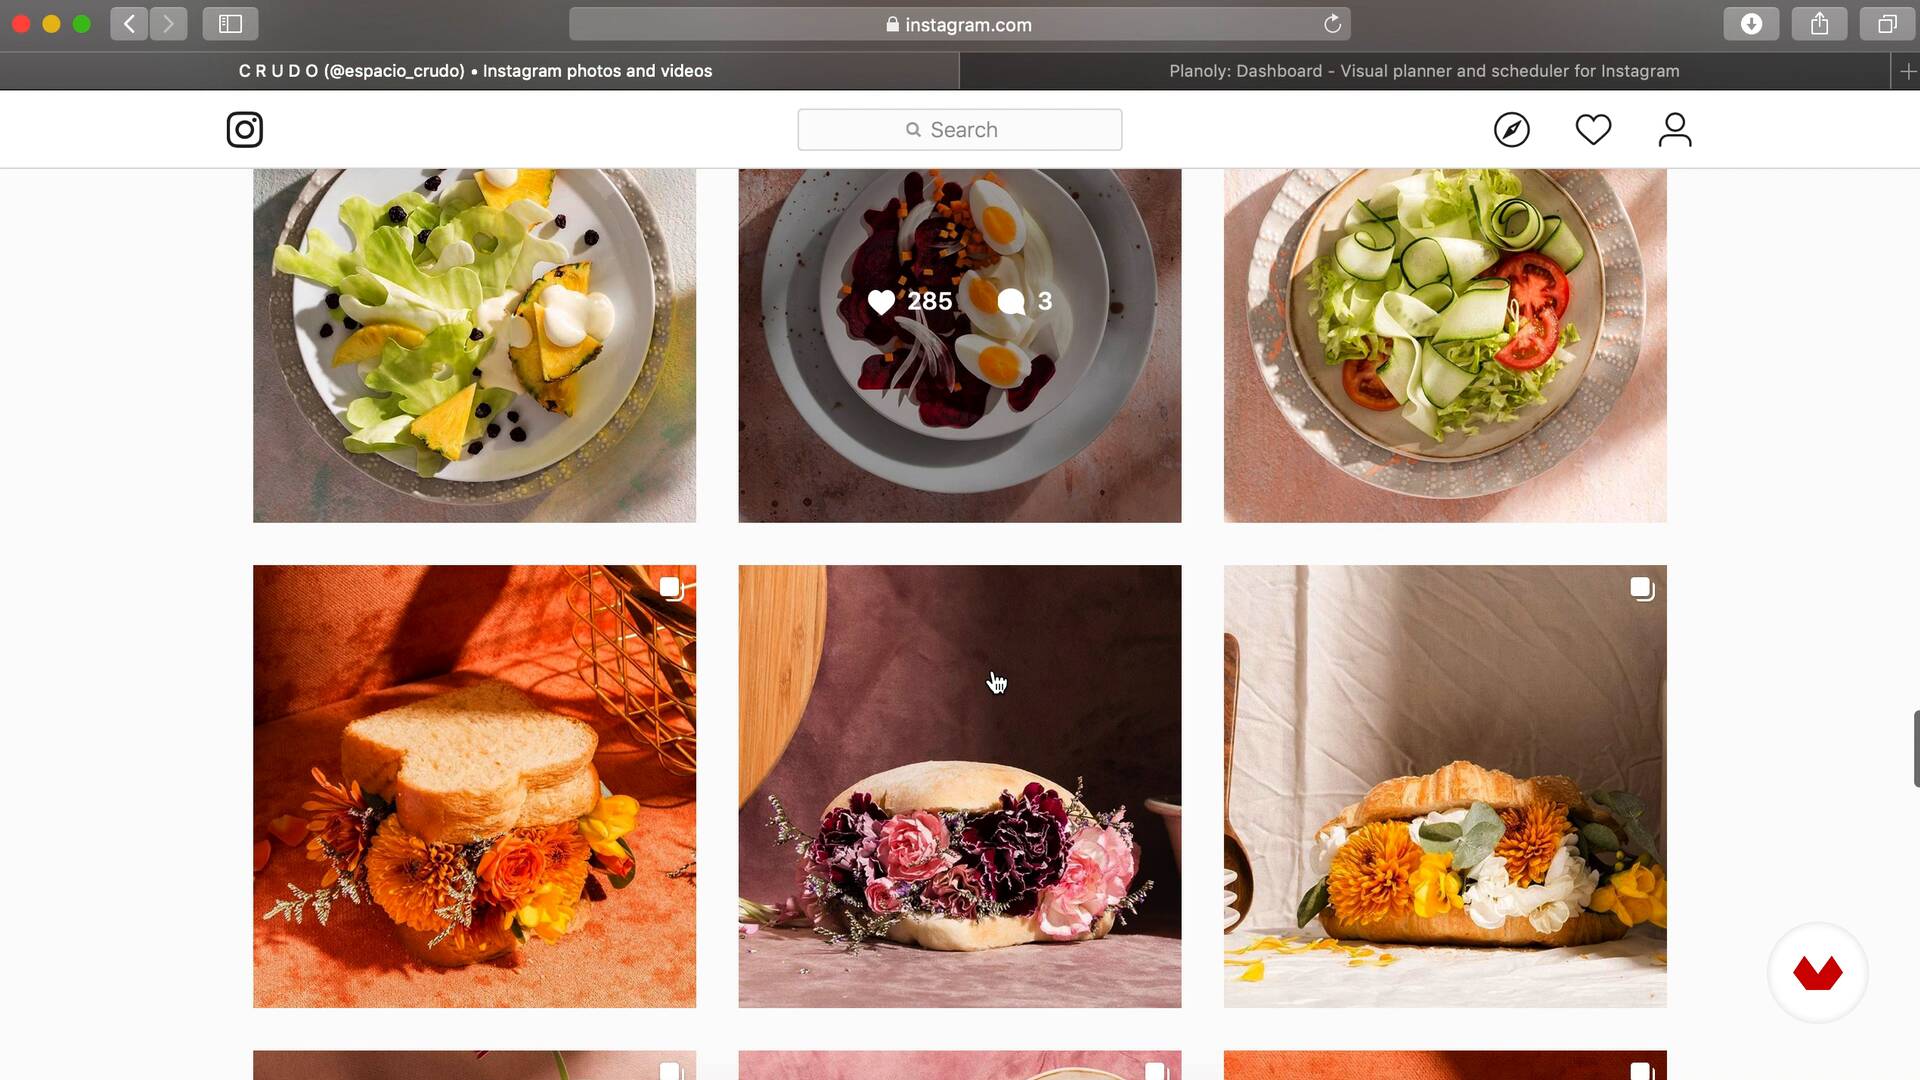
A homogeneous and impressive feed on Instagram
Finally, in this lesson, I'll give you some tips to help you create a consistent and impactful Instagram feed when you share your art with the world.
8m
image
3
Types of Photography: Specialization
Before getting started with the course content, I'll explain the types of food photography I understand. This way, you'll be able to better understand the type of photography I do and the course project.
4m
image
4
Types of Photographers: Soloists and with Orchestra
With this analogy, I'll explain how and with whom you'll most likely work throughout your career as a food photographer.
4m
image
5
Telling a Story
In this lesson, I'll tell you how I create a story when I don't have a brief or mood board to use when taking photos.
3m
image
6
The Laws of Gestalt
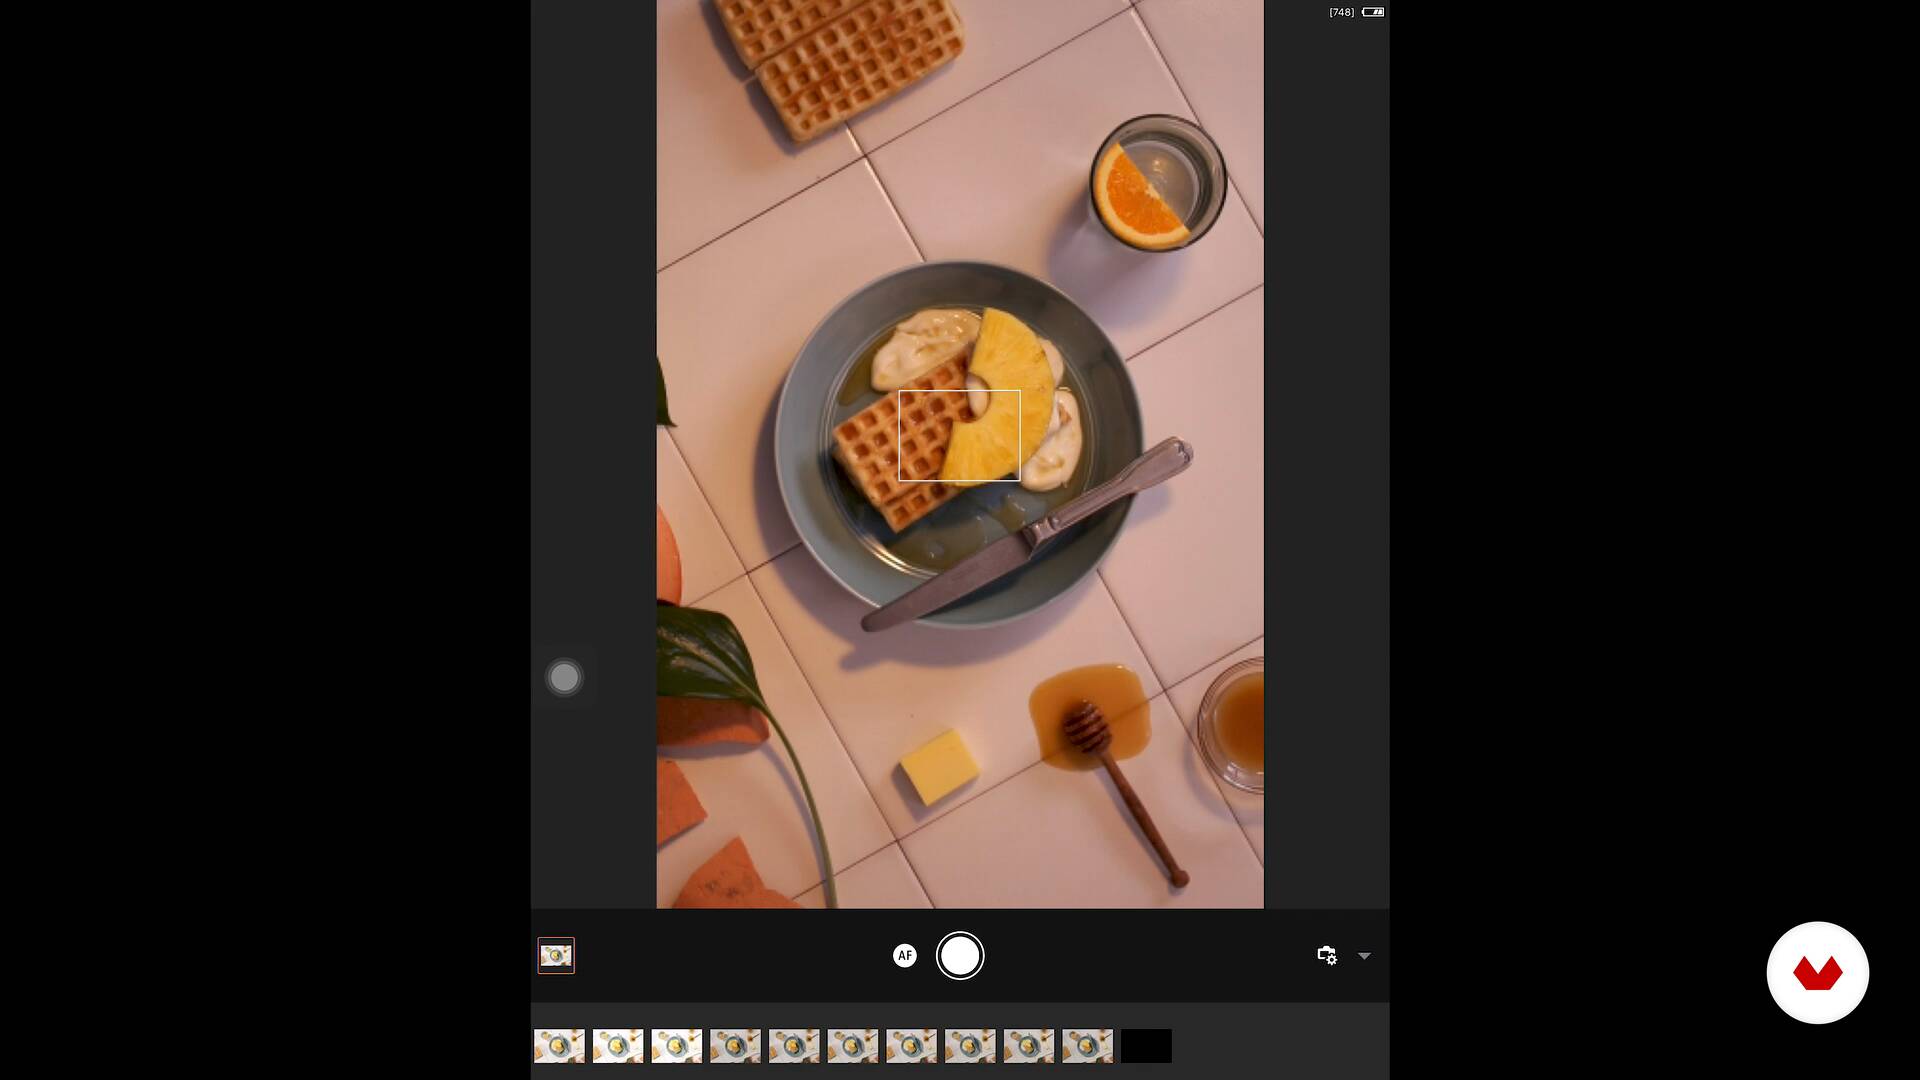
Have you ever been taking a photo and suddenly someone tells you that those raspberries in the yogurt cup look like two eyes and a mouth? To explain these and other situations, I'll share some principles that will help you create your own art direction.
3m
image
7
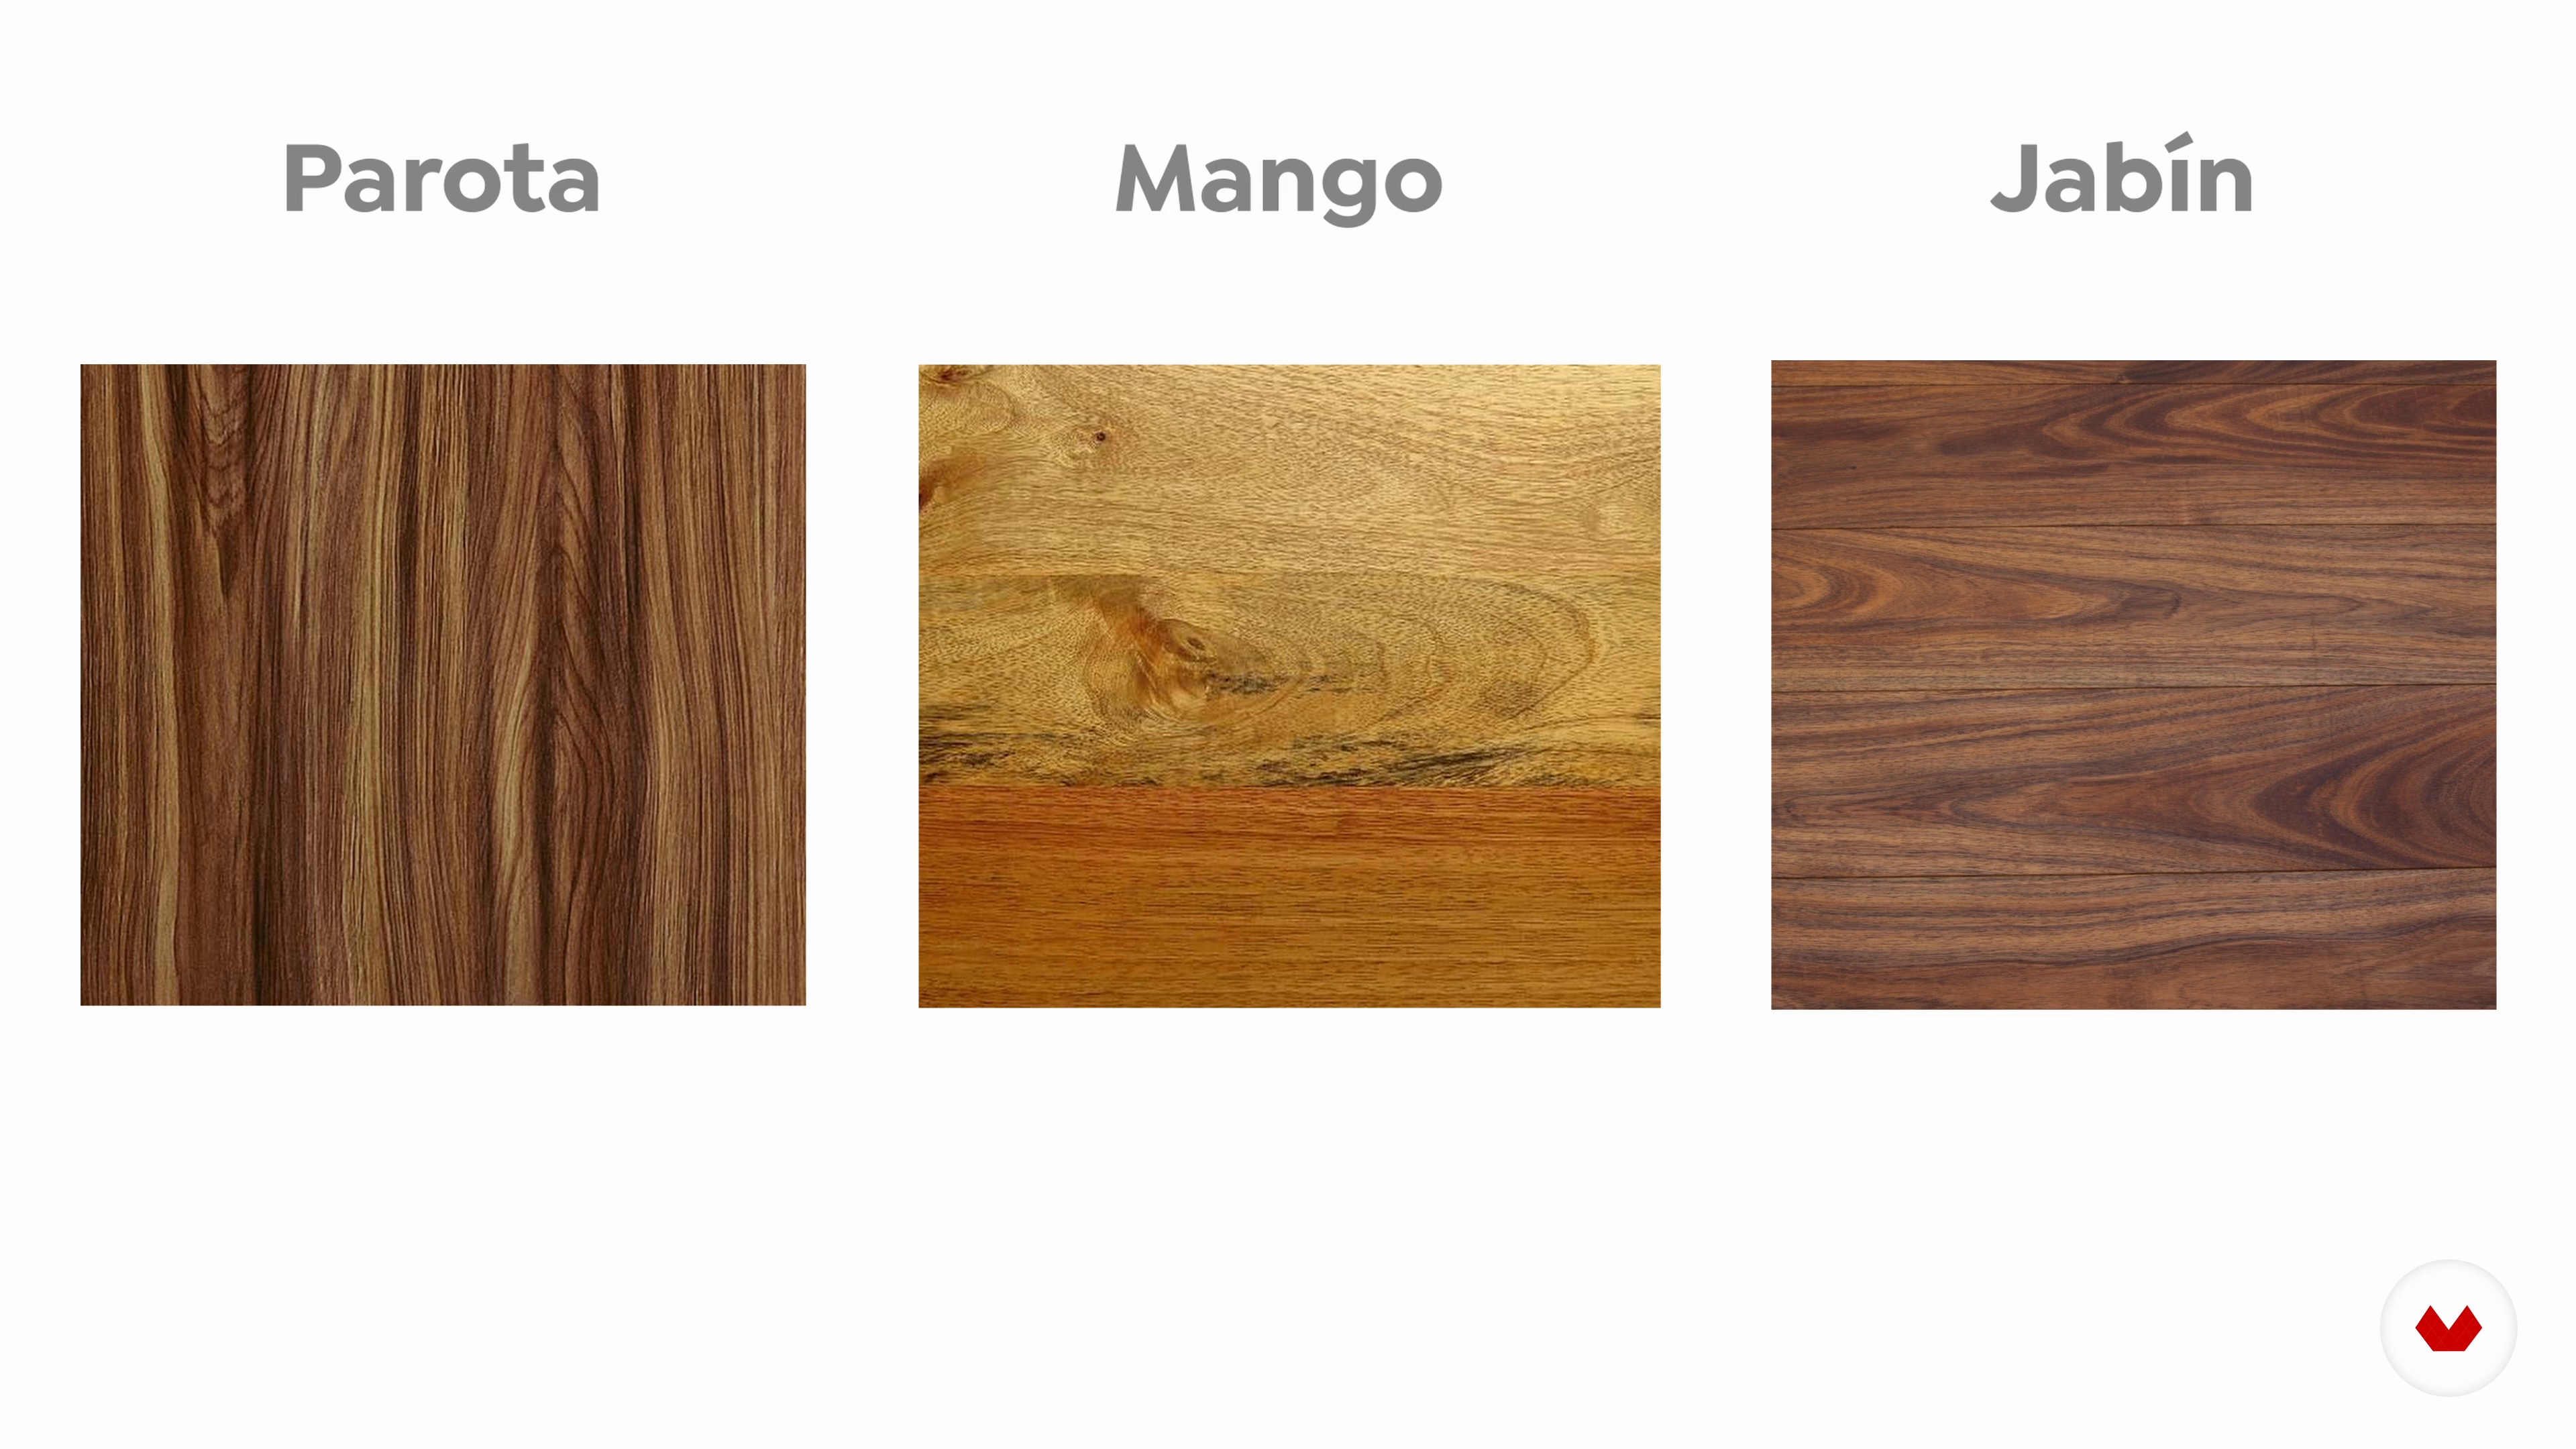
Funds
In this lesson, we'll start with the literal and figurative foundations of the stage. I'll also talk about the materials you can use as backdrops or bases.
4m
image
8
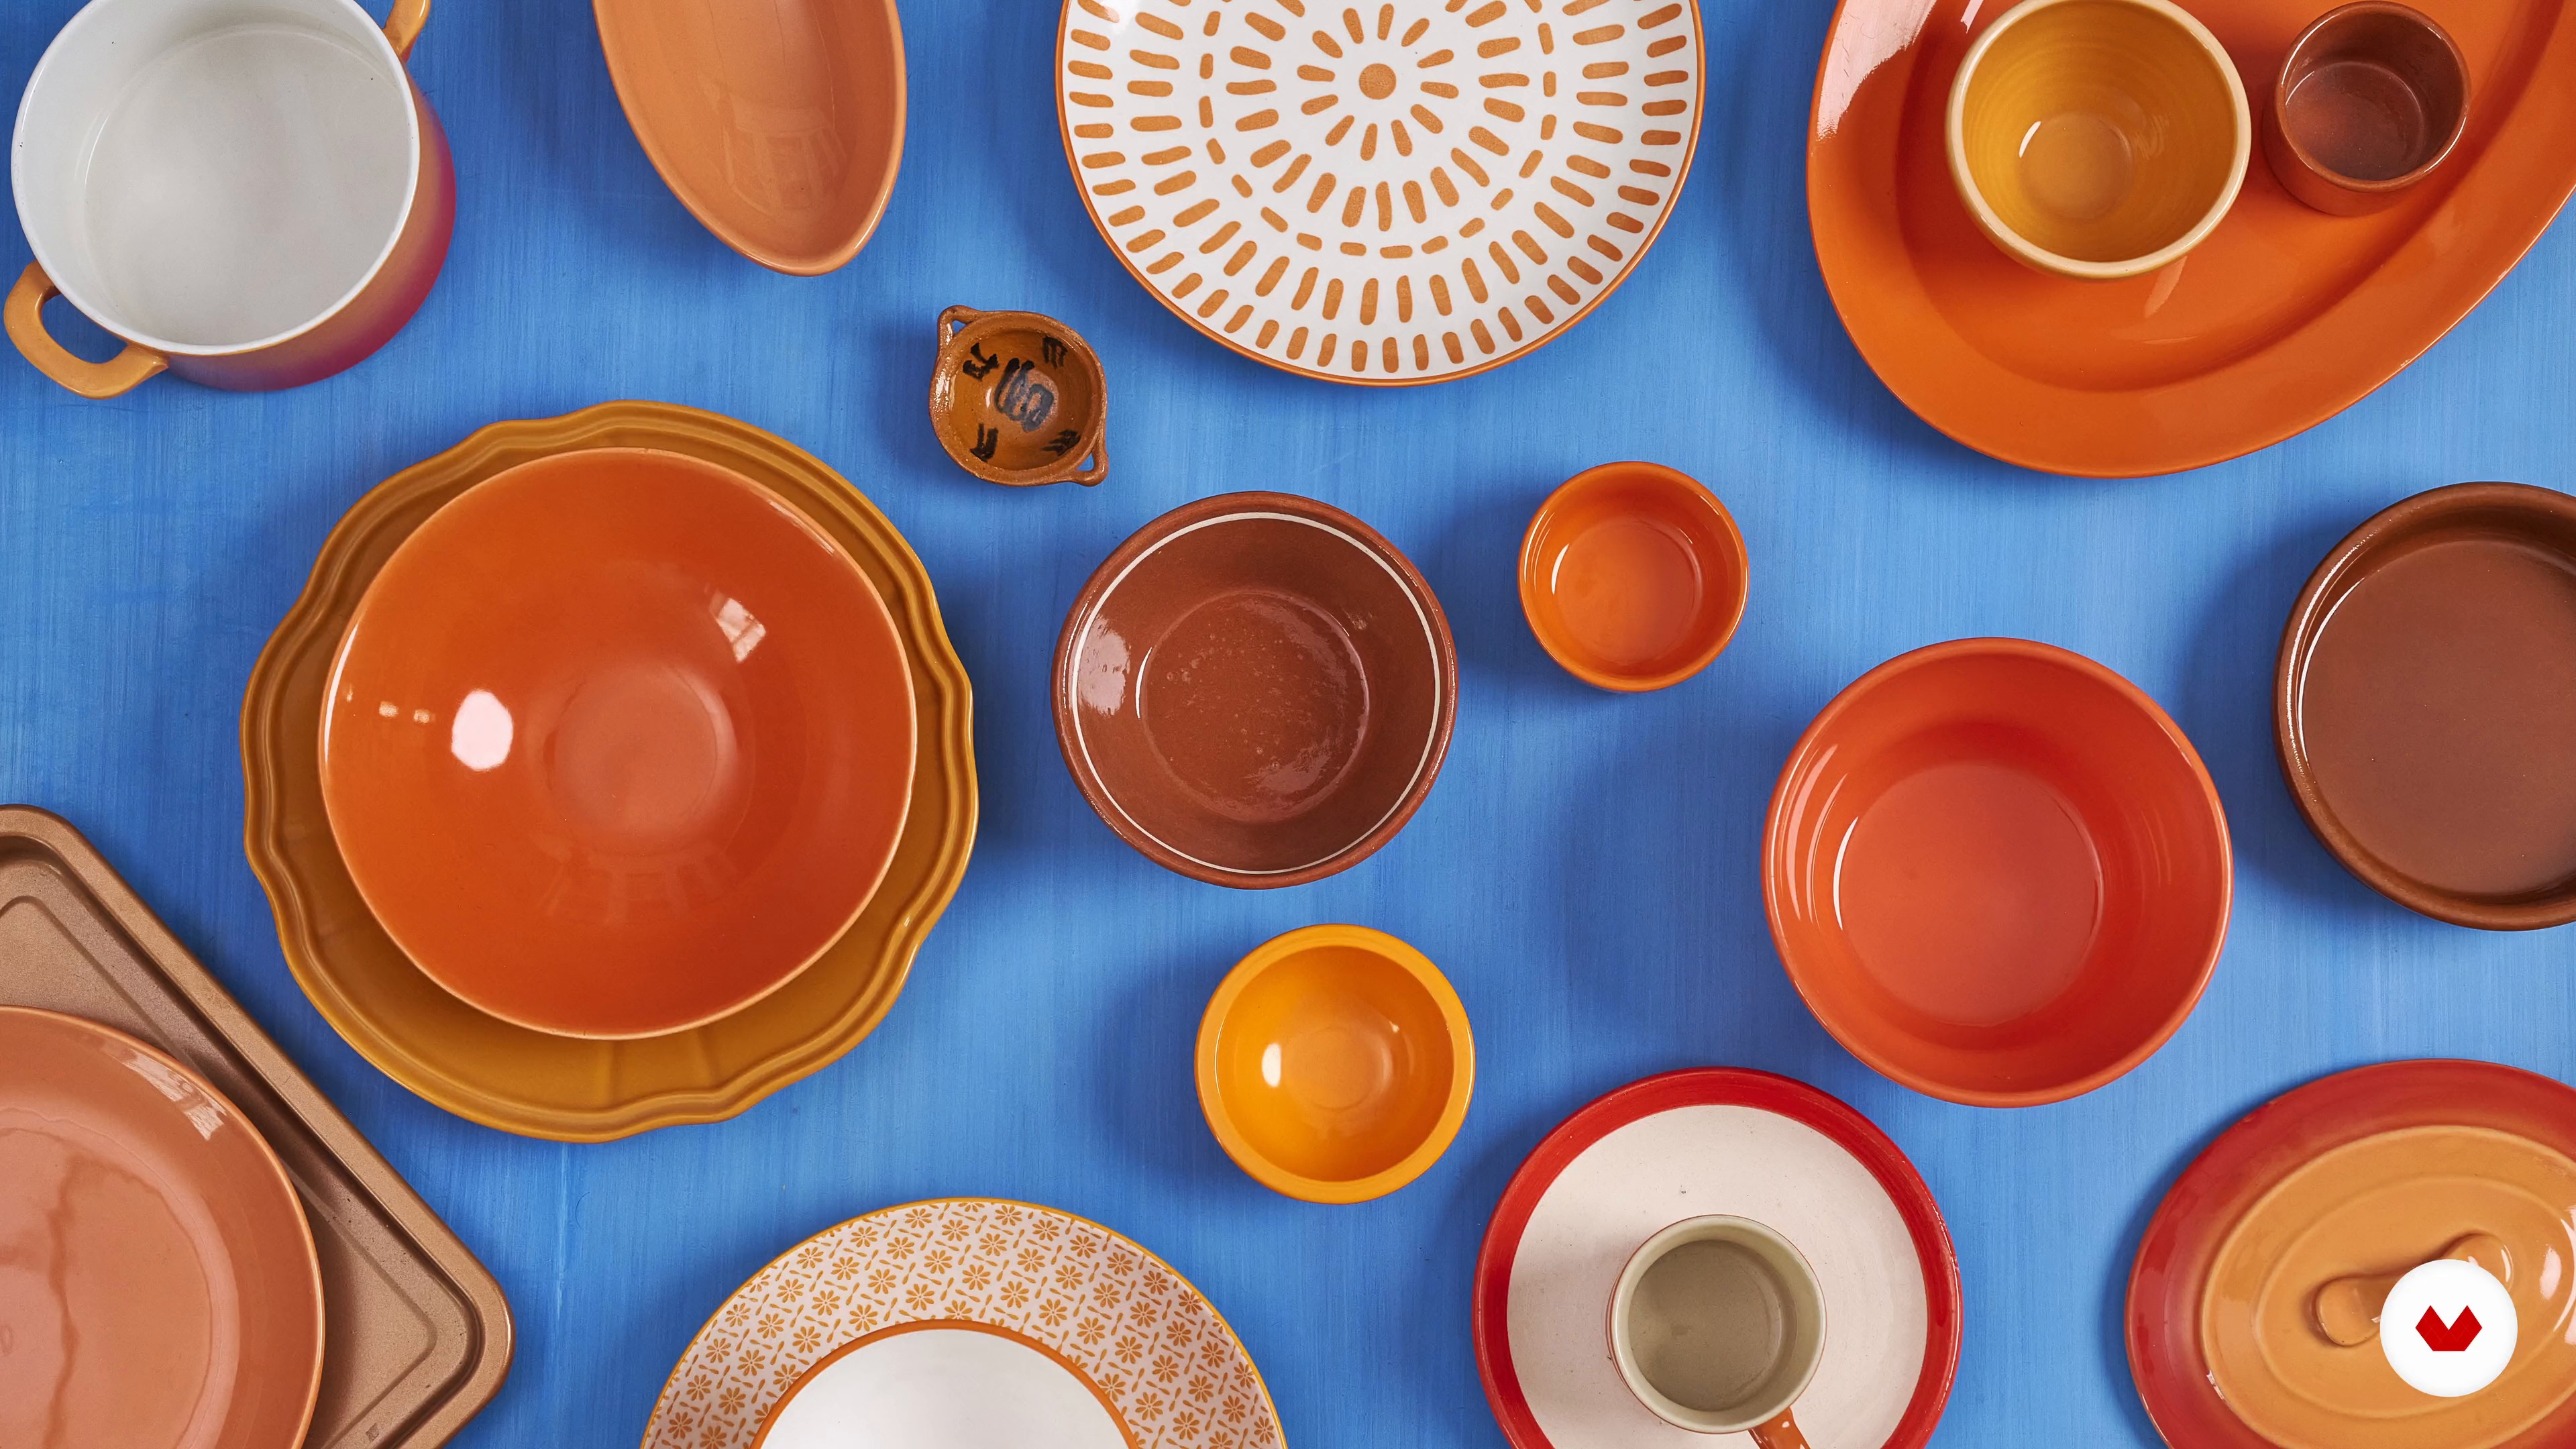
The Props
Props, or accessories, are all the objects that will help you compose a scene. In this lesson, I'll talk about them and explain the clothing that food will wear in your photographs.
5m
image
9
The Properties of Light
It's said that the best light for food photography is natural light. However, I believe it depends greatly on each photographer's workflow. Therefore, I'll talk about the main properties of light and how it affects objects.
5m
image
10
Studio Lights
In this lesson, I'll share the type of lighting I use. I'll also offer an affordable alternative for your projects.
4m
image
11
Camera and Optics
To begin this unit, I'll tell you about the main equipment I'll be using for the course project photographs.
3m
image
12
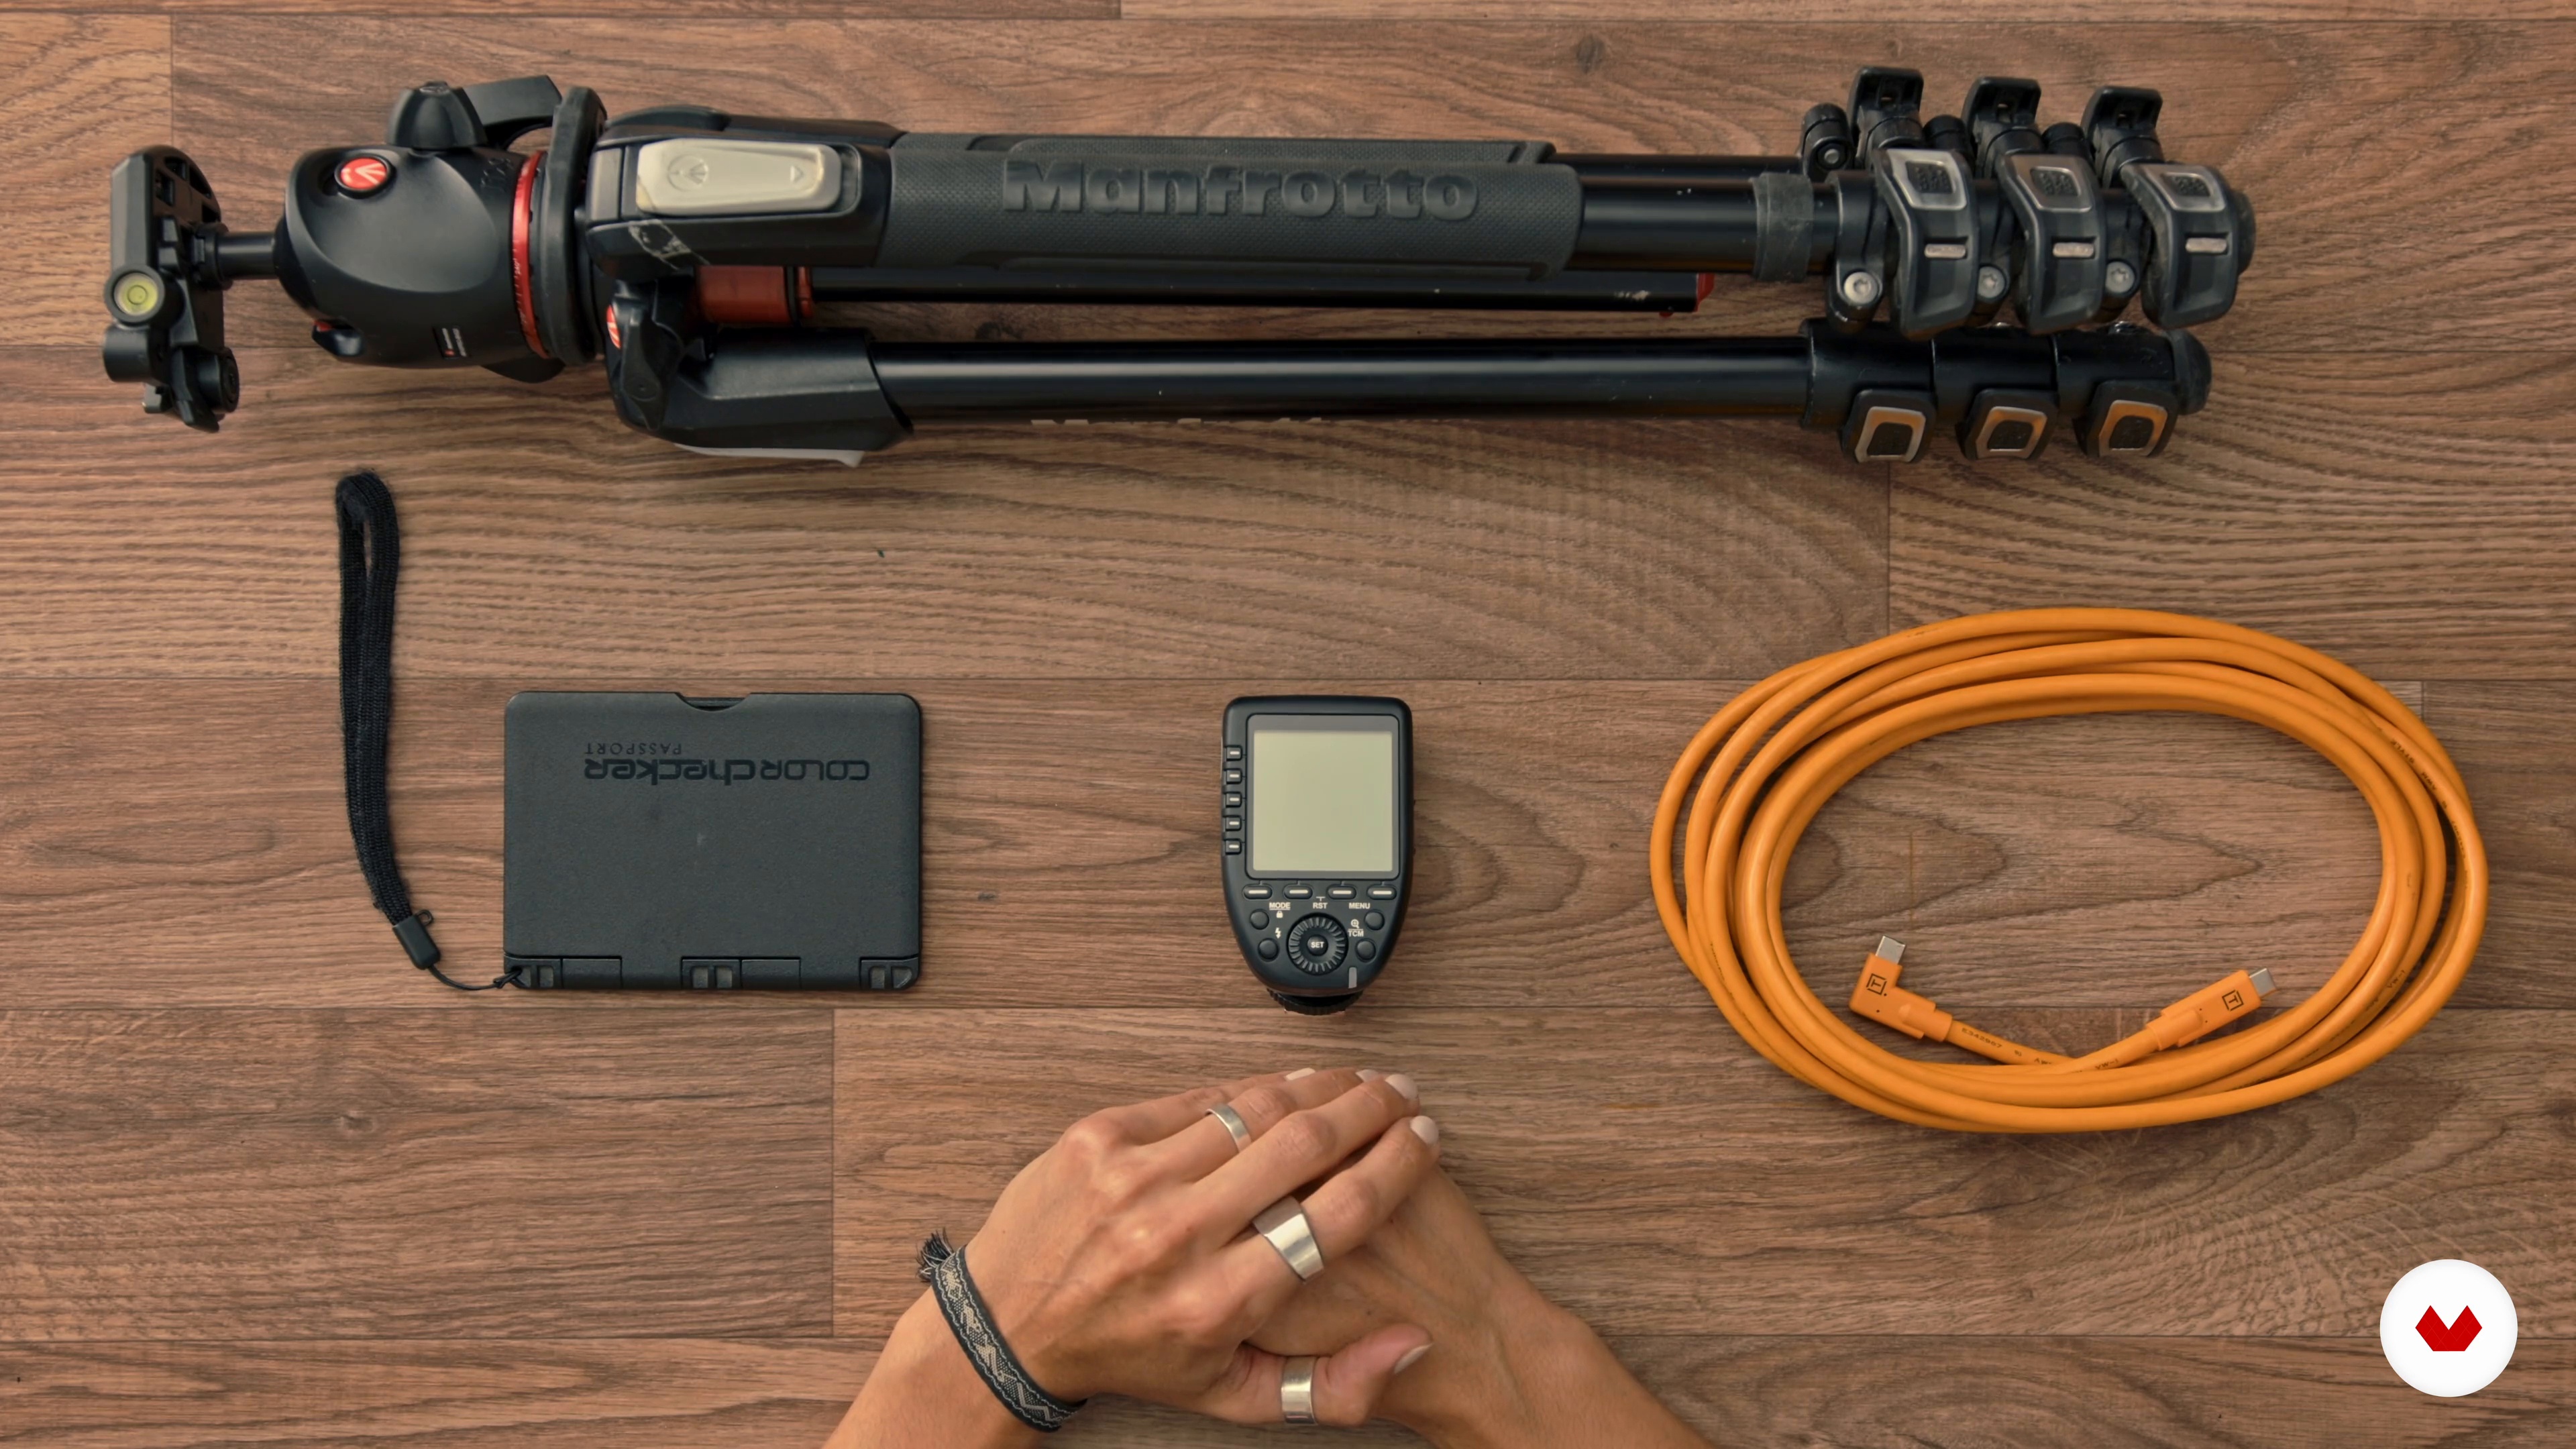
Other Accessories
You'll see the other essential accessories for taking photographs. Remember that just because they're accessories doesn't mean they're less important, because without them you couldn't do the job as well.
2m
image
13
First Photo: Overhead Shot 1
The overhead angle offers an all-powerful perspective. It allows us to see a scene and understand its entirety at a glance. It's typically used for flat-screen shots, but it's become more popular since the advent of social media. In this lesson, I'll show you how to take this type of photo.
5m
image
14
First Photo: Overhead Shot 2
I'll continue teaching you how to take this type of photo. I'll also share some tips to help you take better photos.
17m
image
15
Second Photo: 45º
Now I'll show you how to take a 45º or ¾ angle photo, which is also known as diner view according to the story I created earlier.
9m
image
16
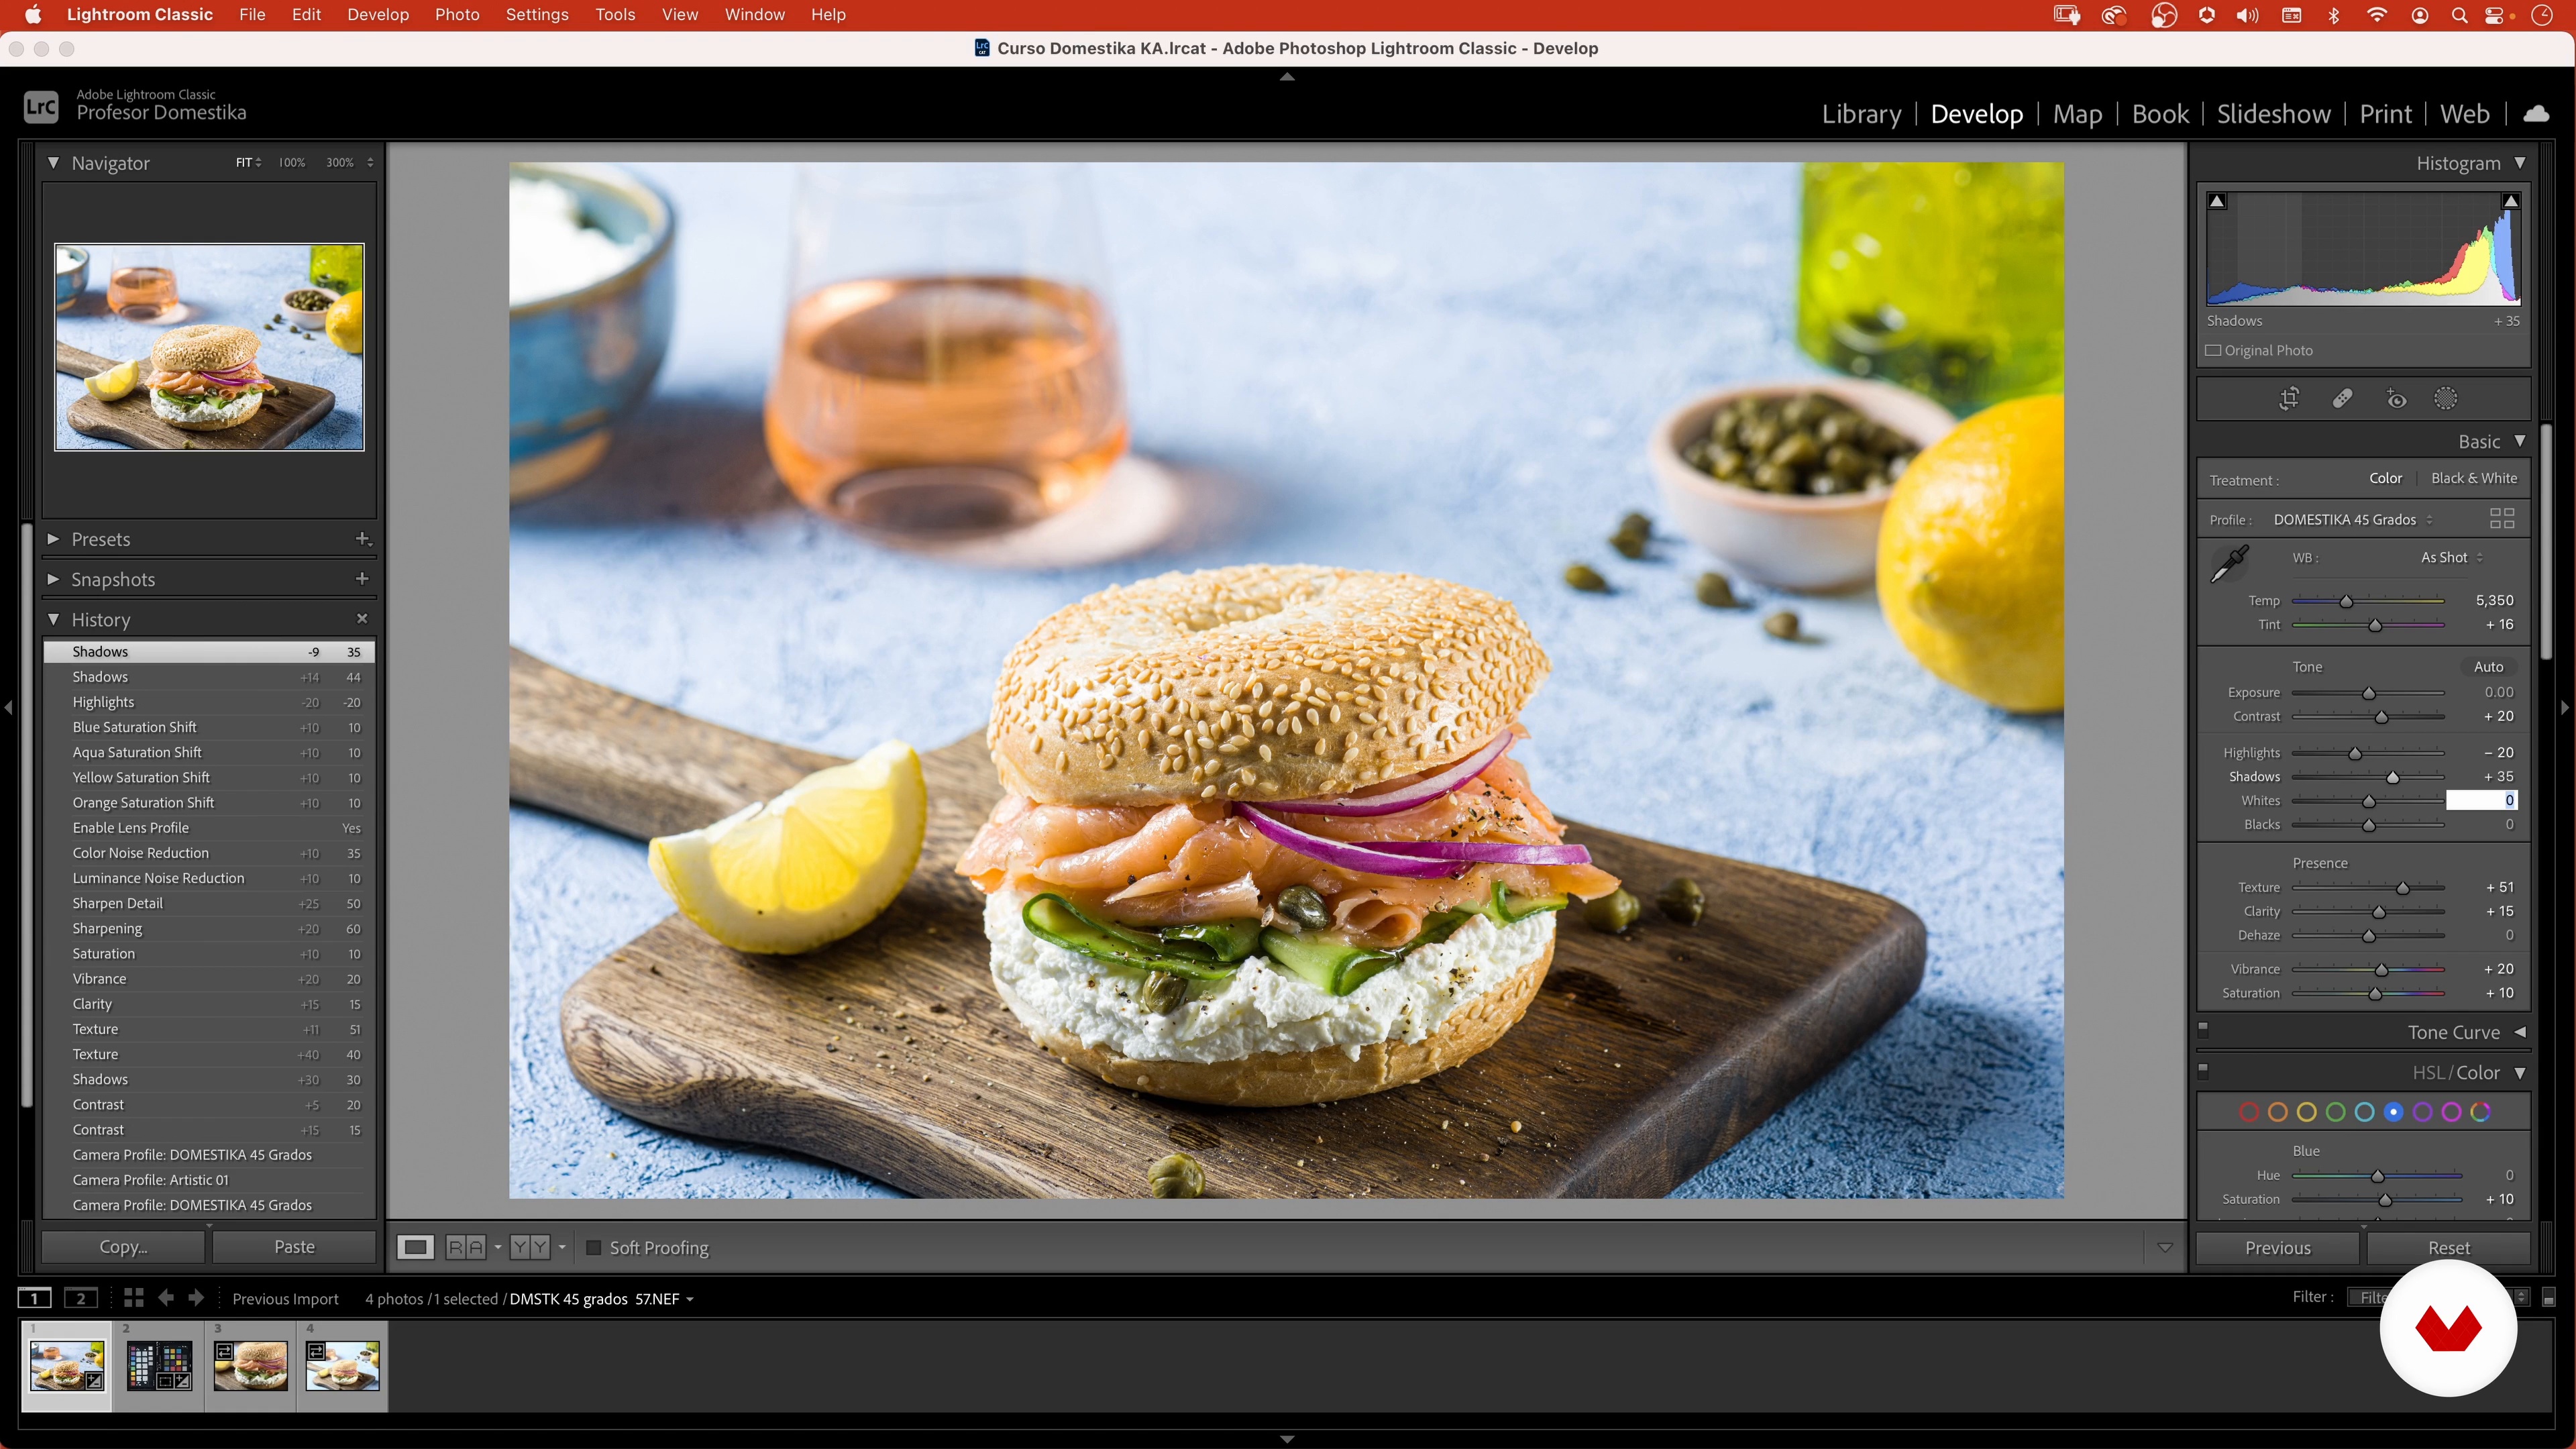
Developed with Lightroom 1
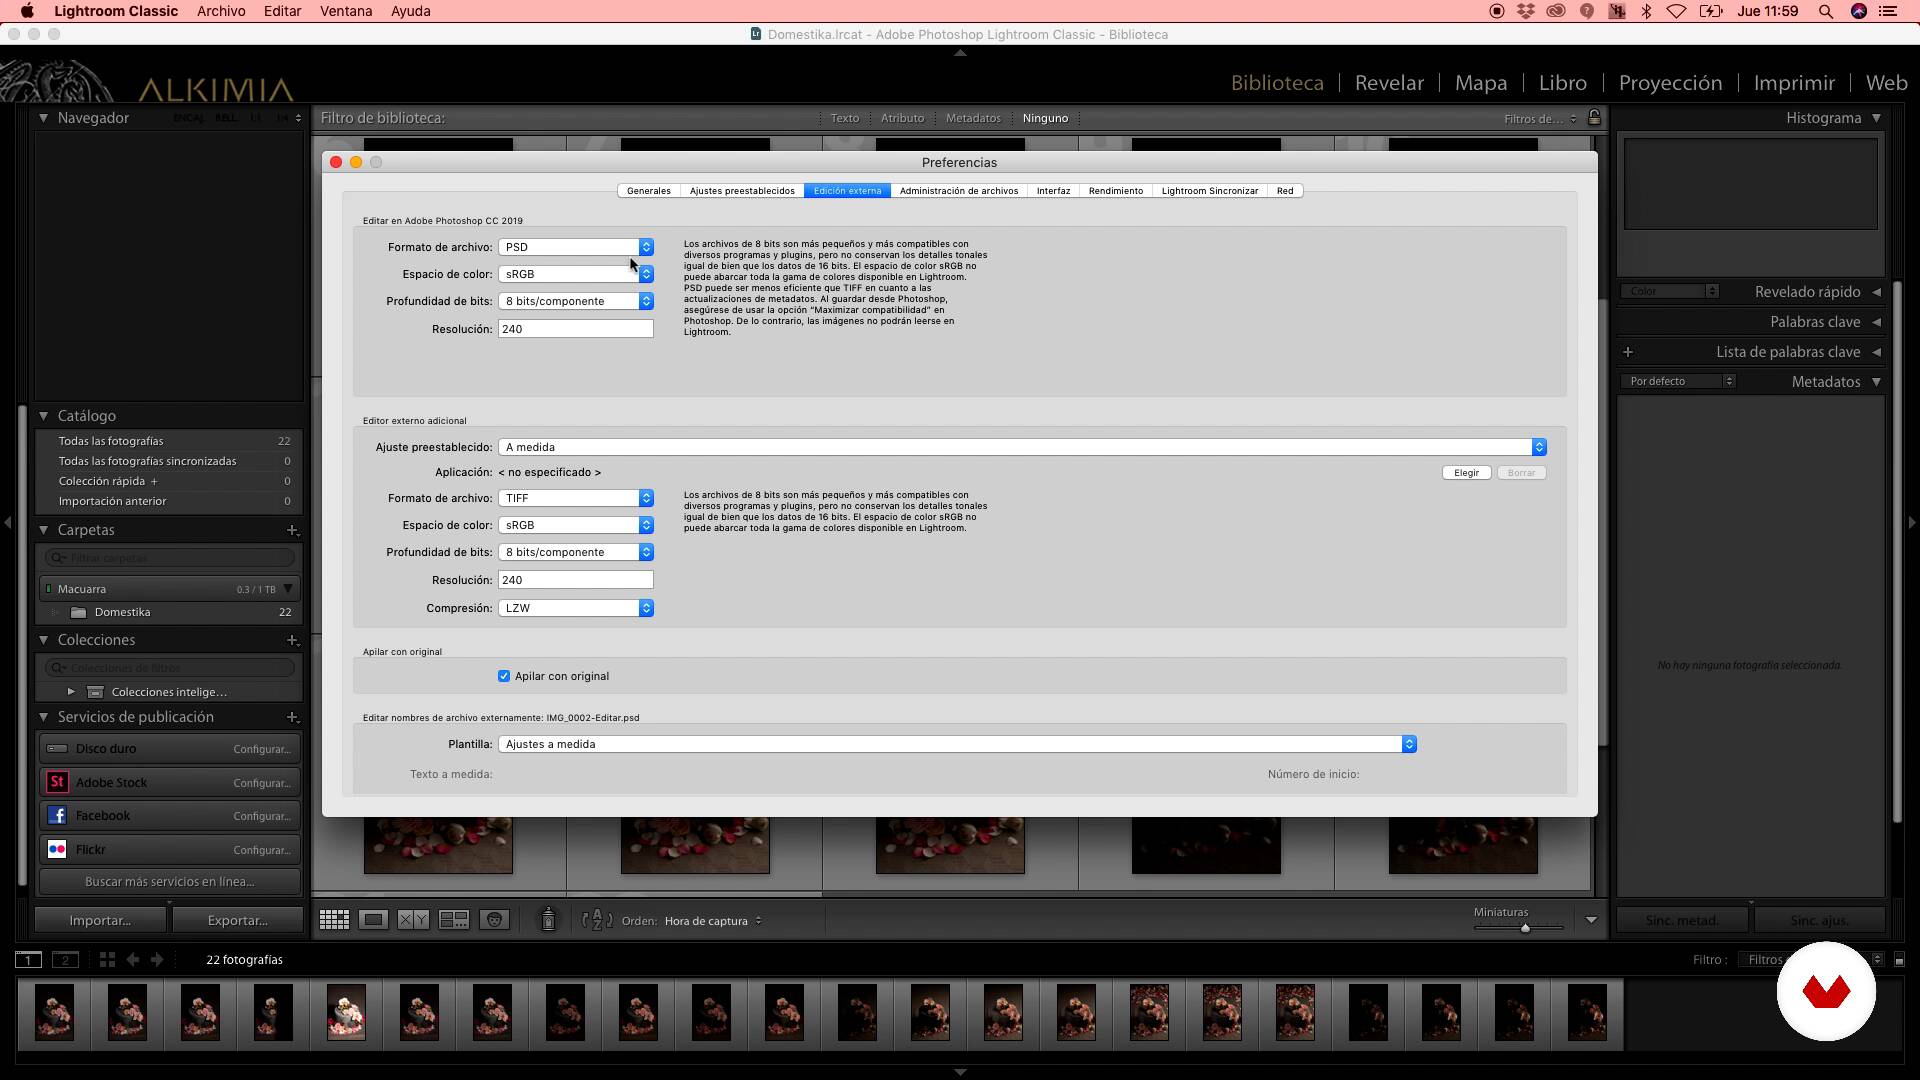
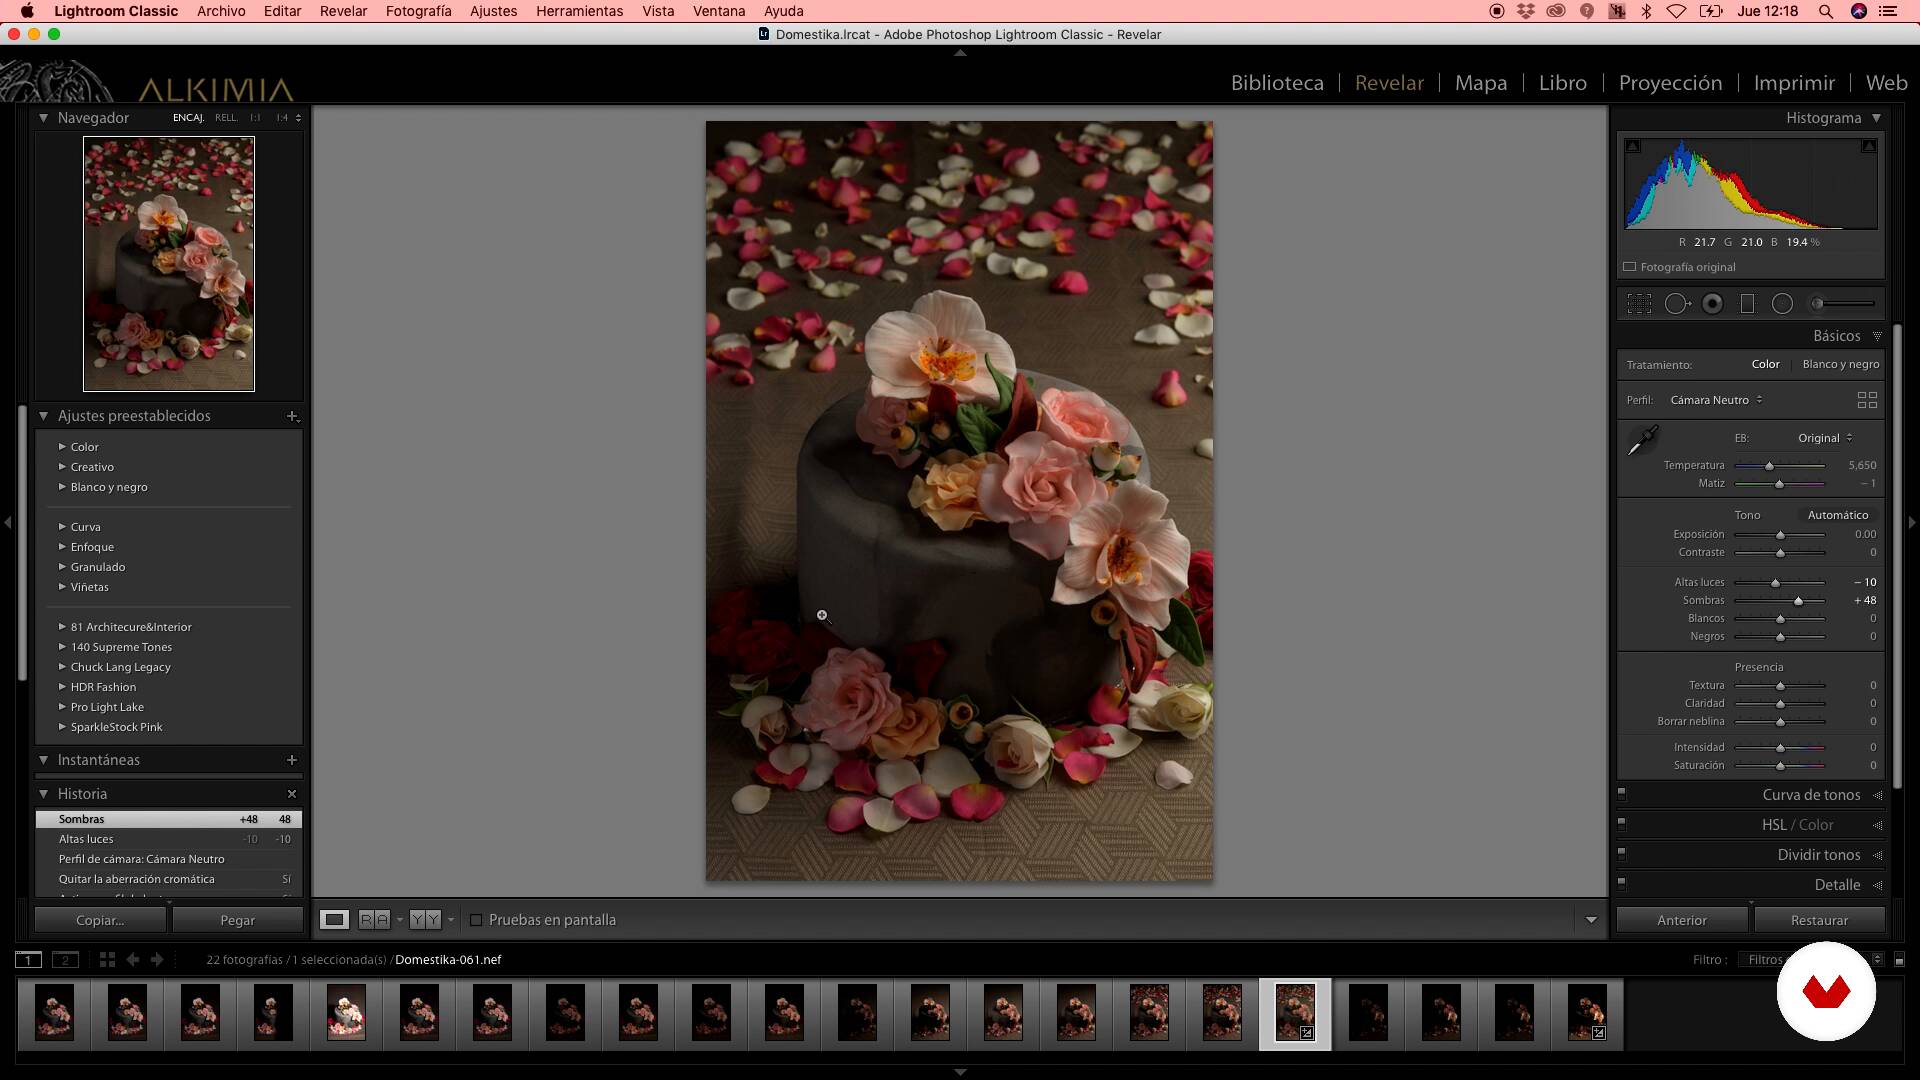
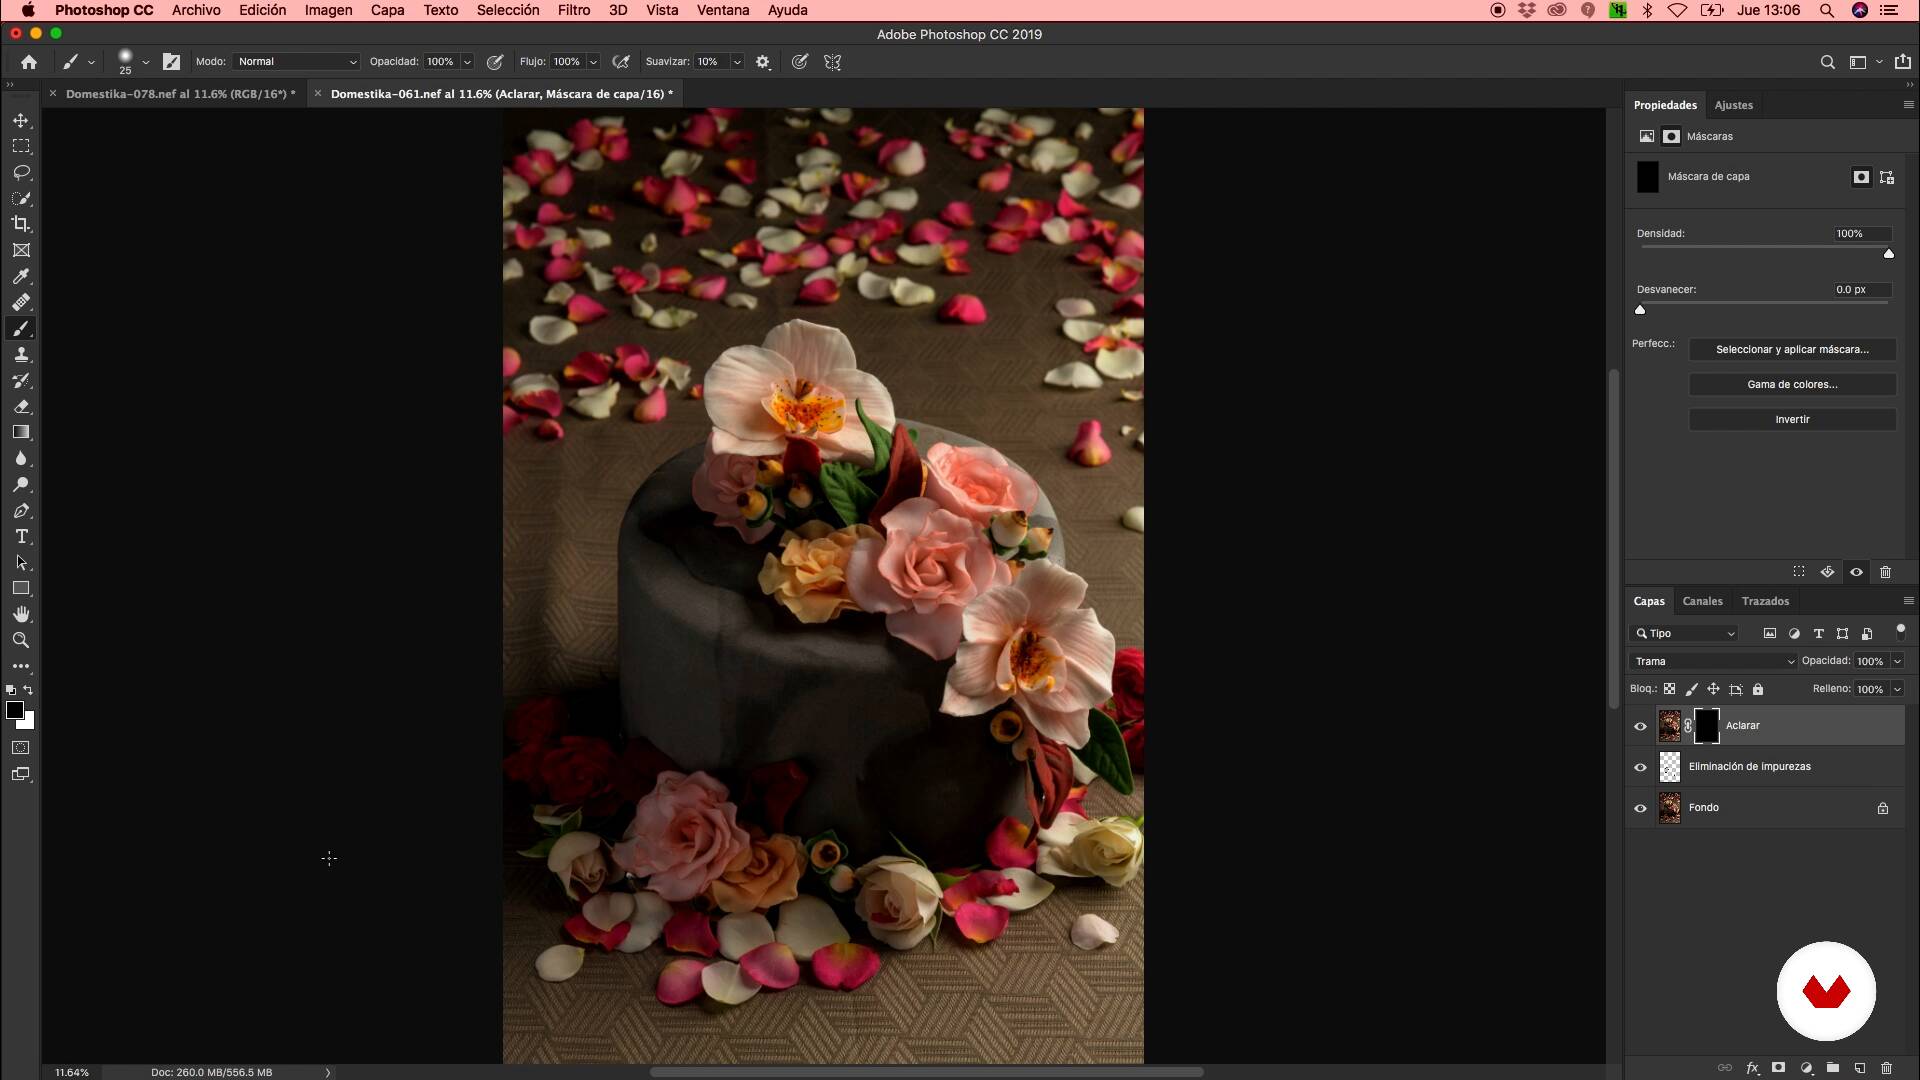
In this lesson, I'll teach you how to develop your images in Lightroom so you can give them the finishing touches in Photoshop.
15m
image
17
Developed with Lightroom 2
During this second part of the lesson, I'll show you how to add the final details needed in Photoshop.
10m
image
18
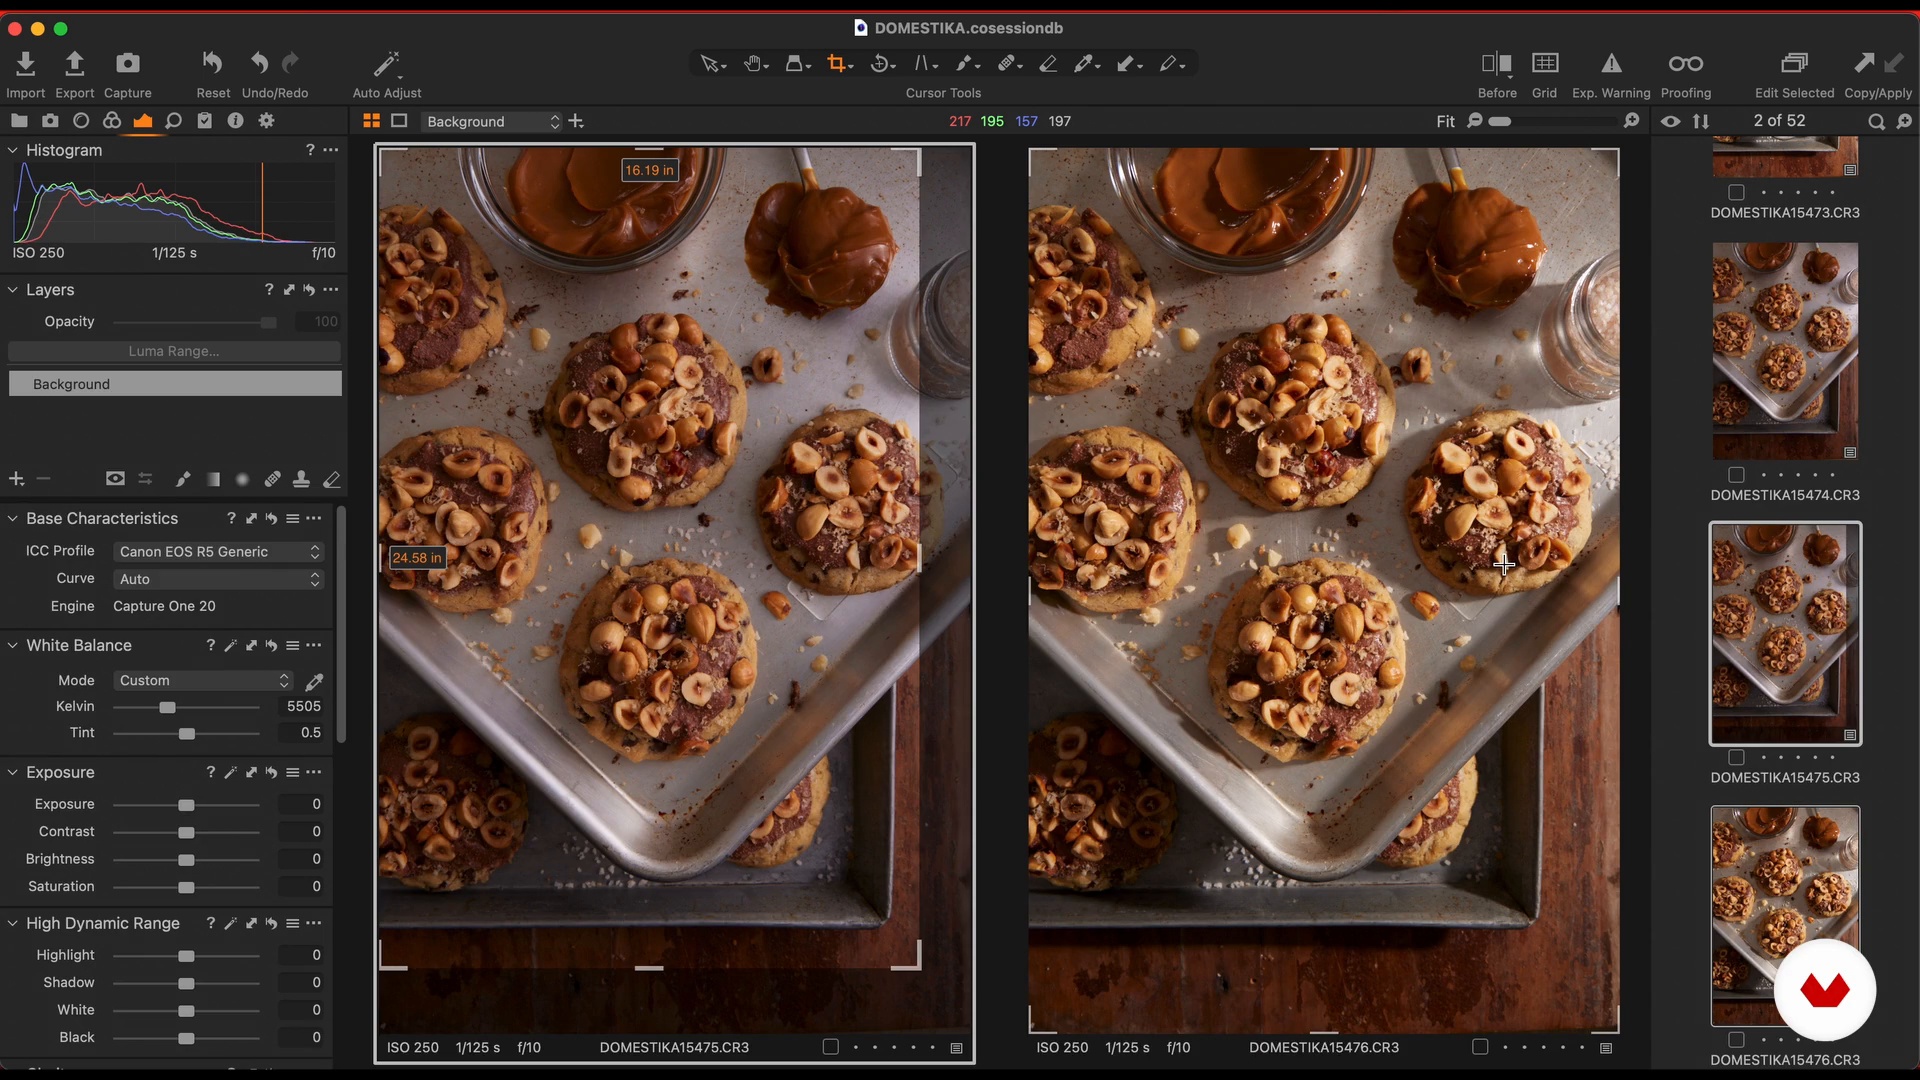
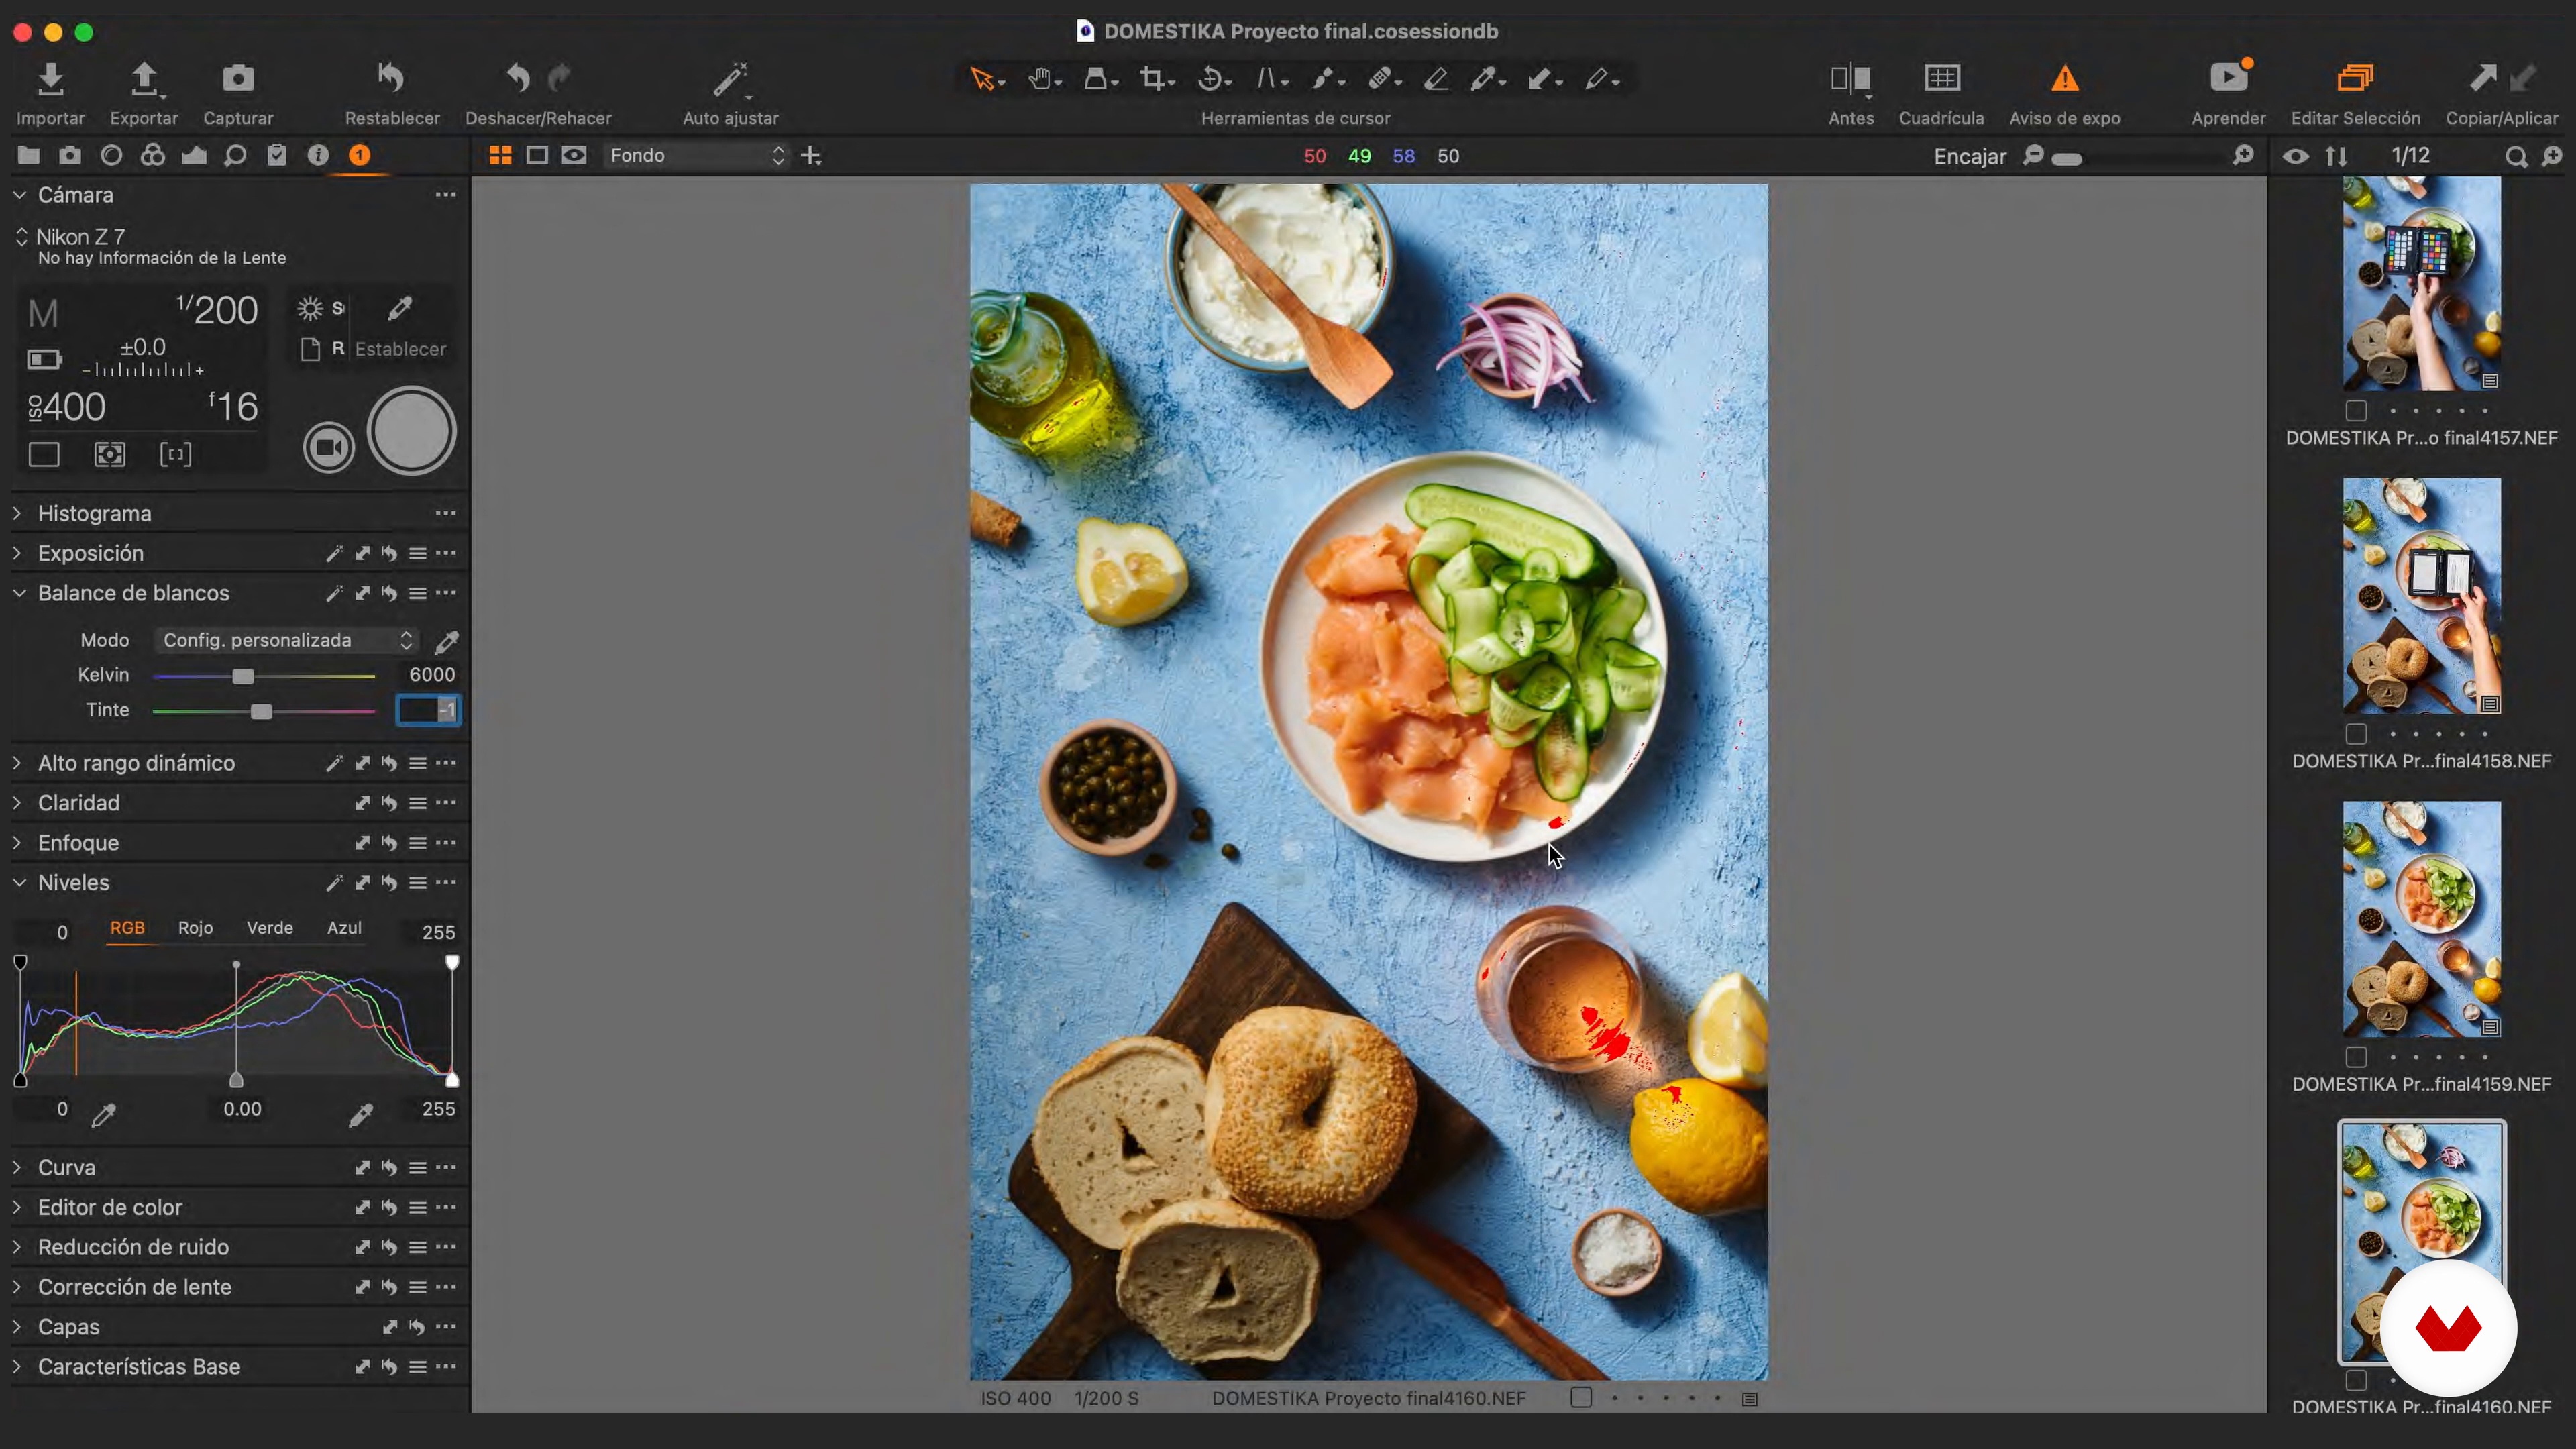
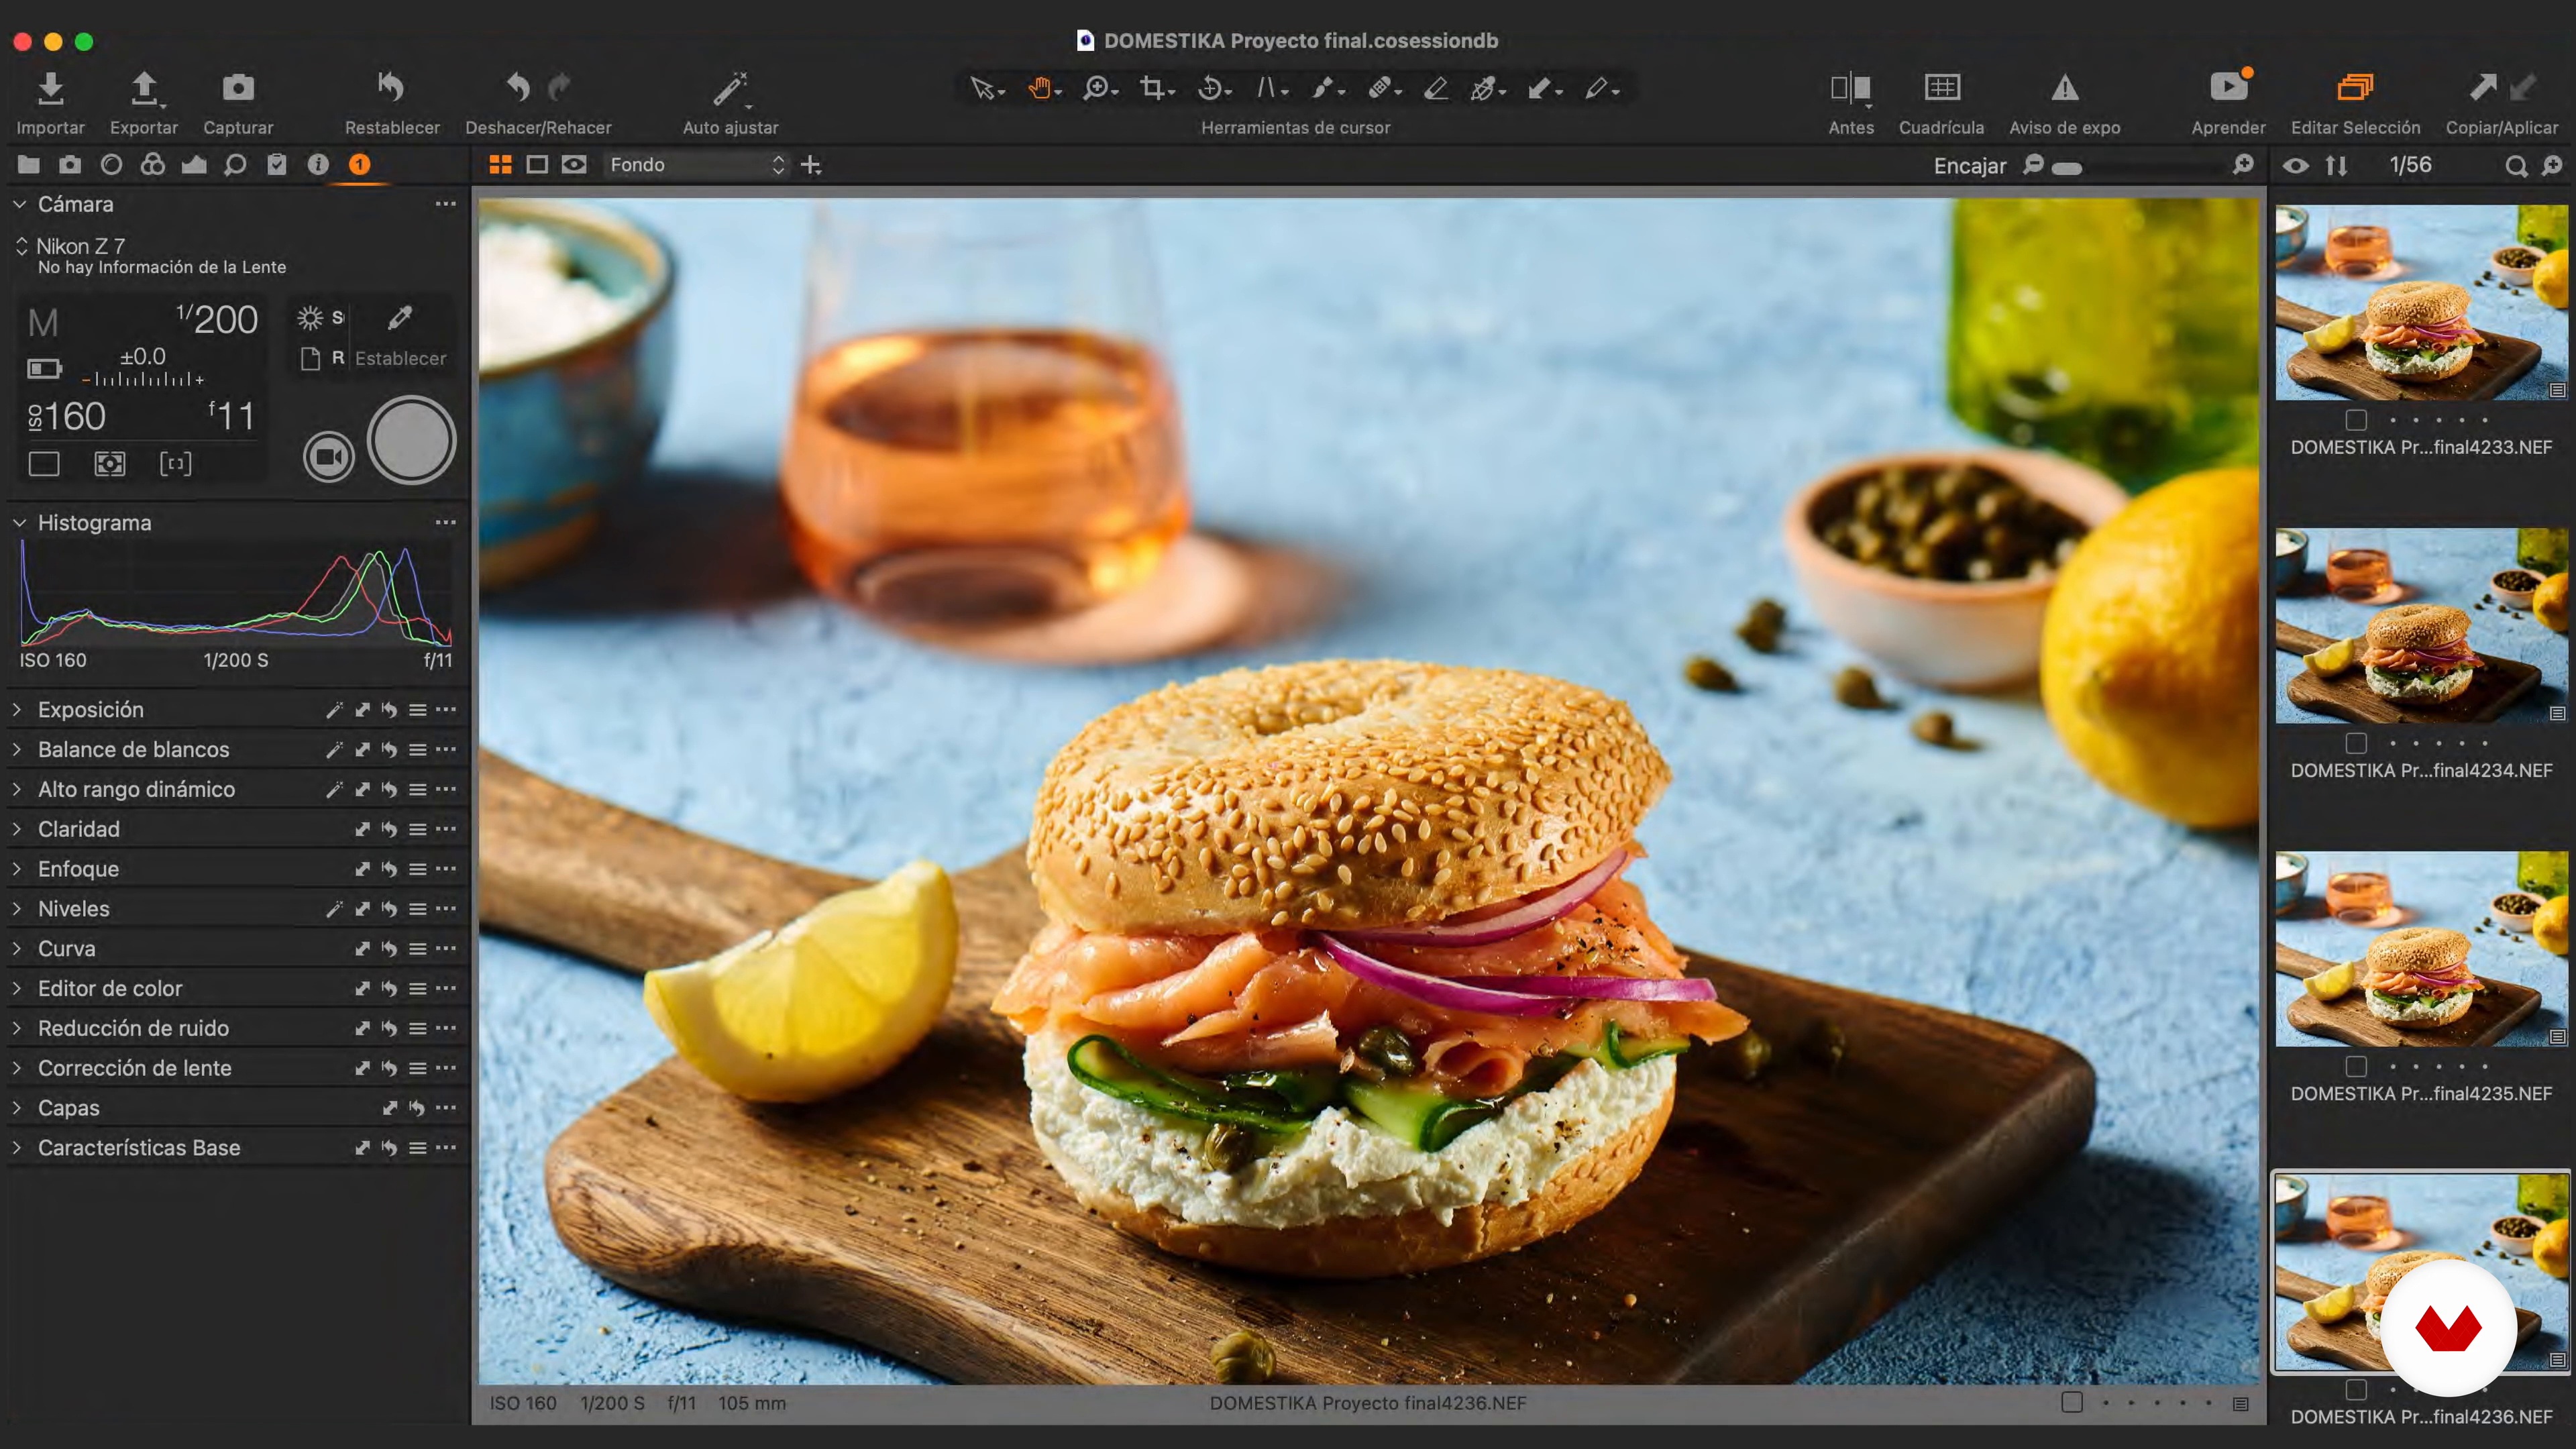
Revealed with Capture One 1
Now you will learn how to develop images in Capture One, my favorite digital development program.
20m
image
19
Revealed with Capture One 2
Now that the images are ready, it's time to show you how to finish them in Photoshop.
17m
image
4
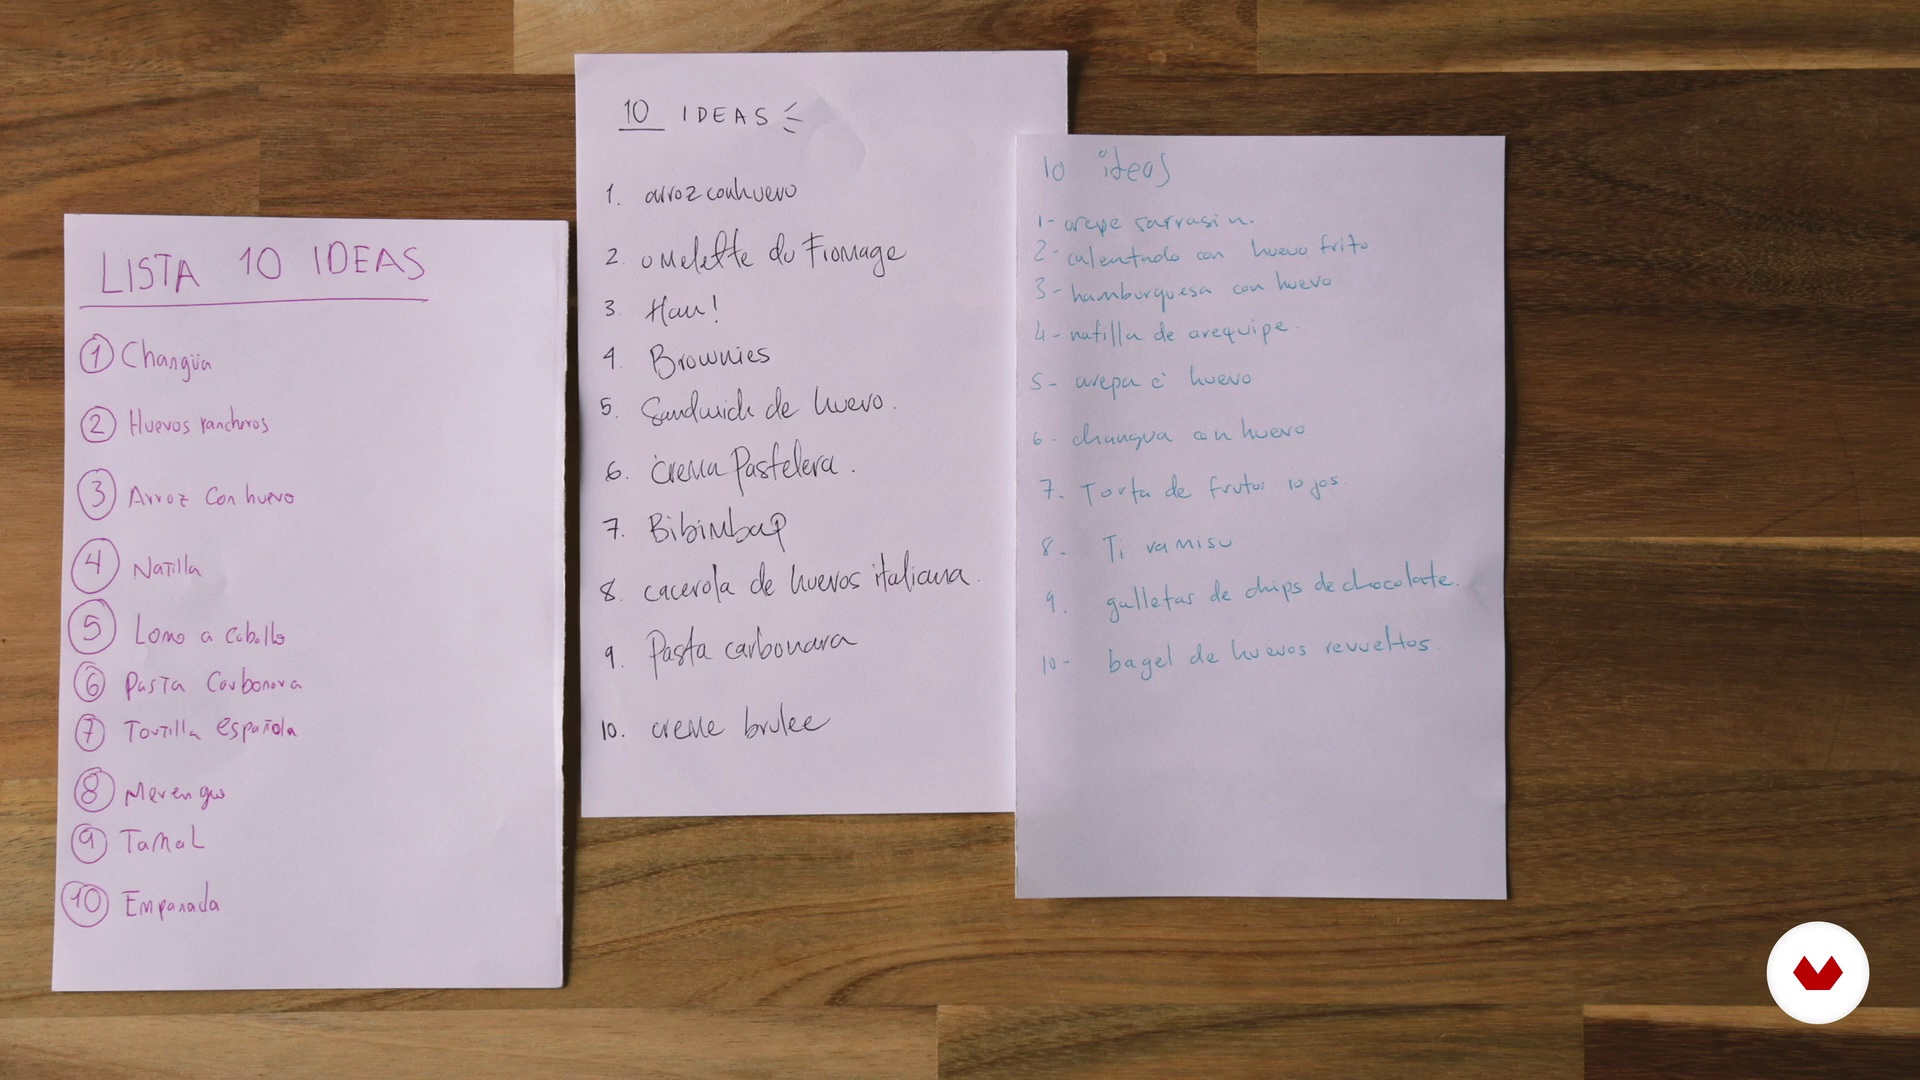
Mom, where do the ideas come from?
In this lesson, we'll tell you where Crudo's ideas come from, how we arrive at them, and also some techniques for finding them because they don't always float in the air.
6m
image
5
How do we count it?
Here you will see how the process of creating the visual concept is based on the ideas we achieved in the previous lesson.
8m
image
6
Moodboard
It's one thing to be inspired, and another to copy. Why do we say this? Because in this lesson, we're going to work with images that aren't our own, find visual references, and create an aesthetic path. All we need to develop this lesson is to take the best of what we find and like to build something new.
10m
image
7
Paint them!
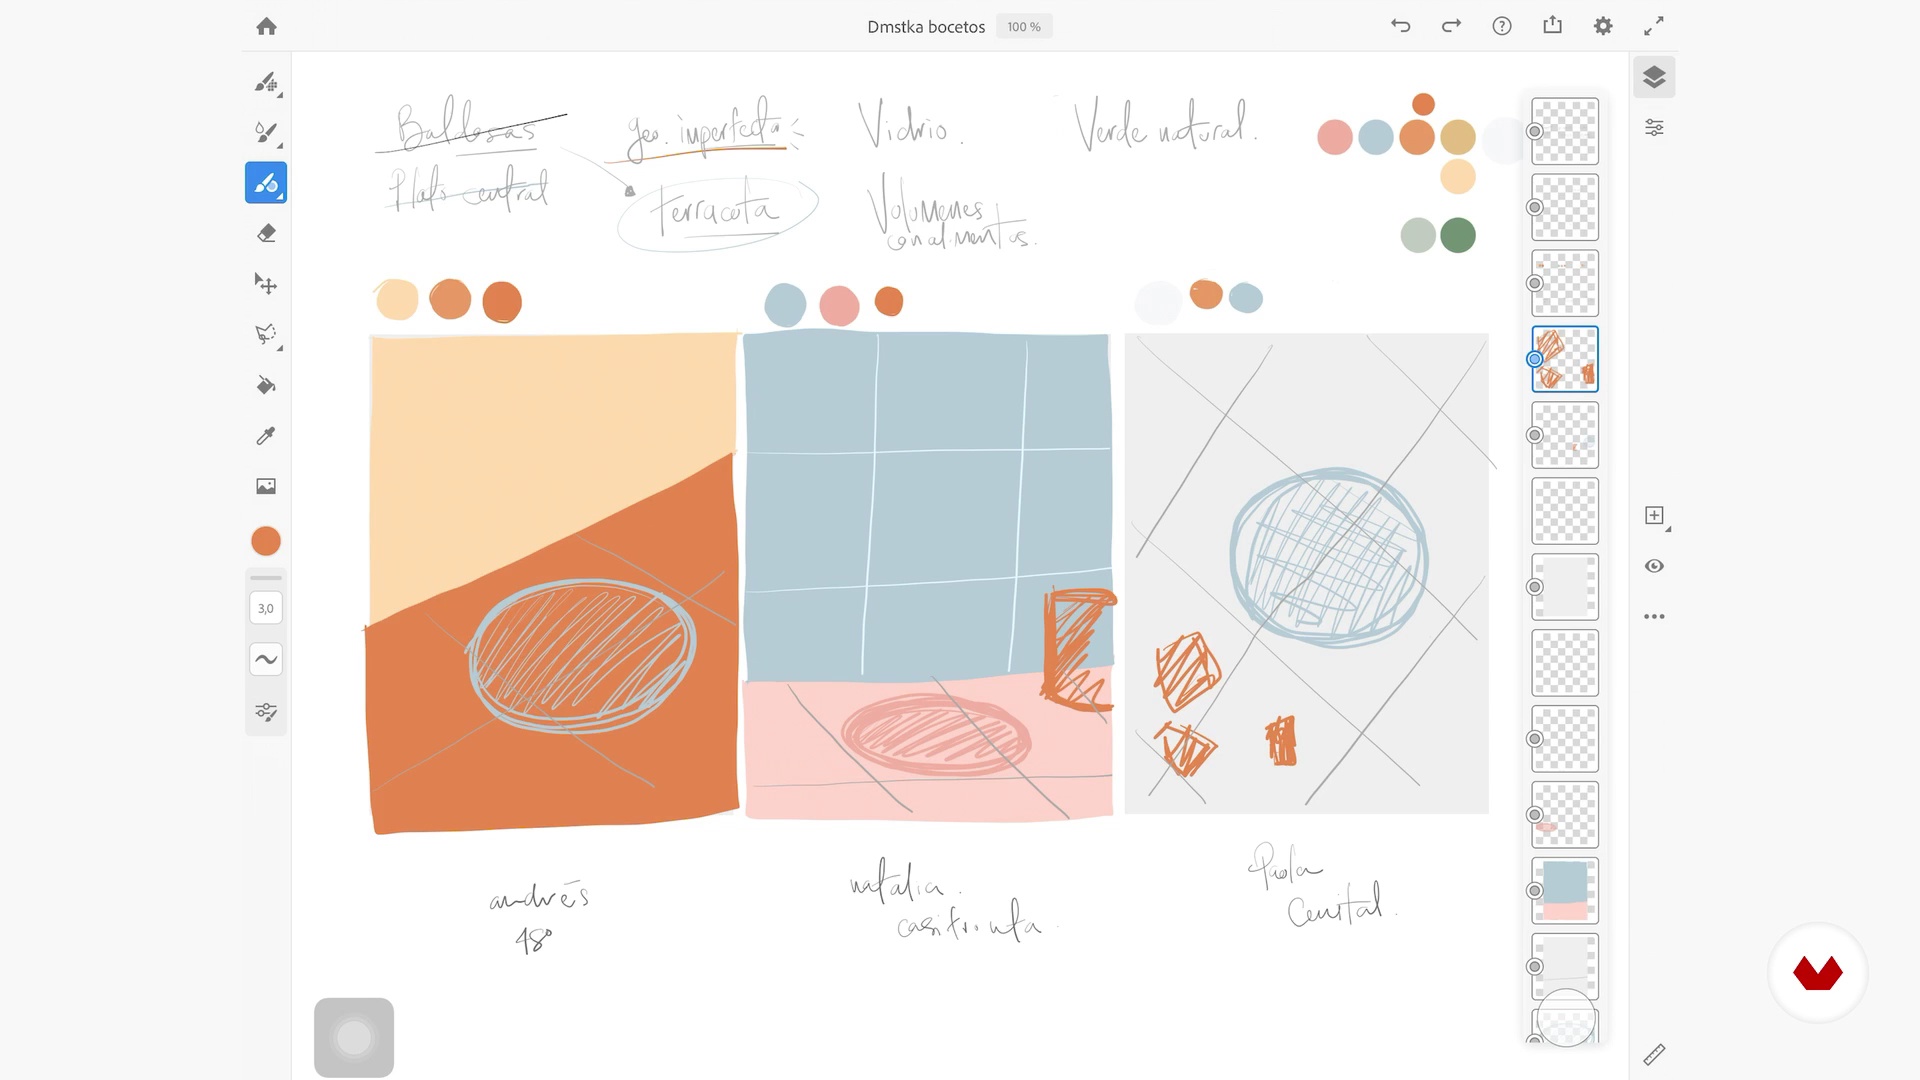
With the idea in mind, we need to start putting it down to earth. What is the importance of sketches in our project? How does this process impact the subsequent steps? Does the final photo closely resemble the initial sketches? We'll answer all of these questions in this lesson.
13m
image
8
What do you need for the photos?
In this lesson, we'll tell you what materials are needed to develop the course, from photography to art and food styling.
8m
image
9
1 to 3. Base lighting scheme
The first step in starting our photography production is to set up the lighting scheme. This must be ready before art direction and food styling come in.
1m
image
10
Make it real. Art direction
In this lesson, we'll assemble the sets we've already planned. Remember, this builds on the sketches we conceptualized a few units earlier. Let's begin organizing the sets for each of the photos.
12m
image
11
The important thing is the outside
Now we'll begin the next step: food styling. We'll get each set ready for photography.
16m
image
12
6:00 am. Photo 1
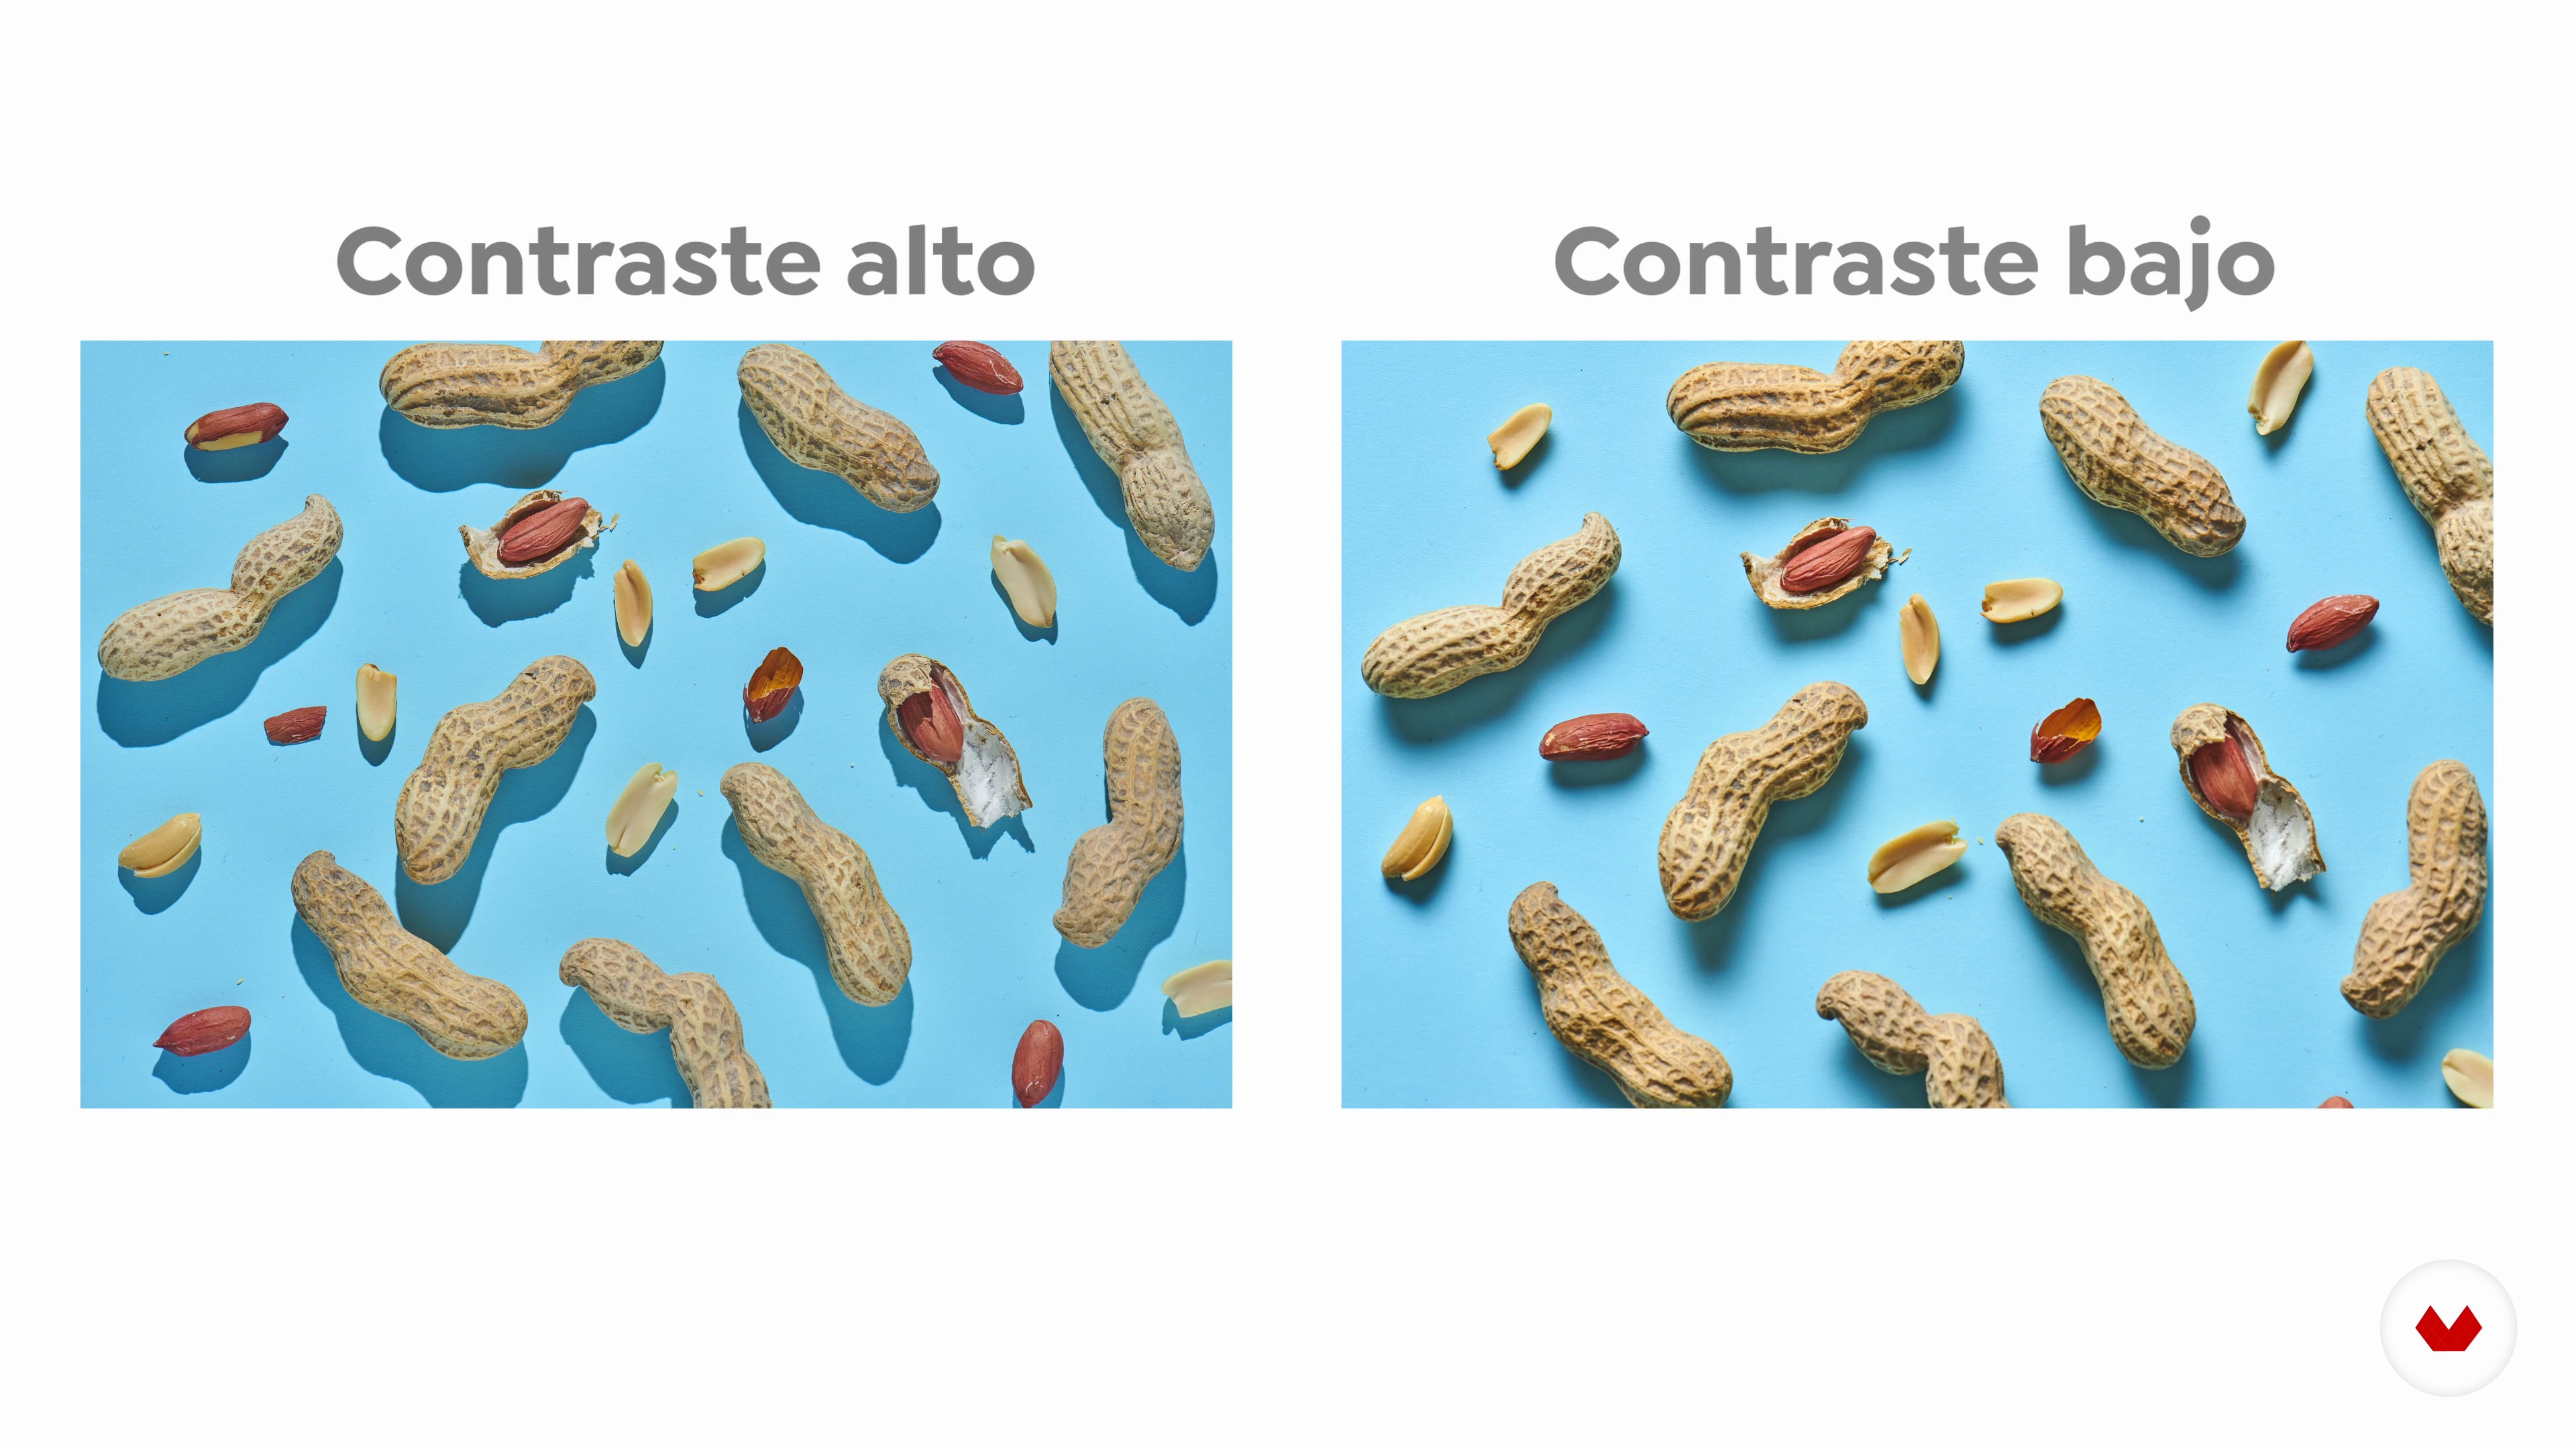
For photo number one, we're going to recreate the light of dawn, that is, the cool, soft light we see when it's already light but the sun hasn't yet risen. In technical terms, the light we're going to develop is a cool, diffused light (5600k) with a 1:1 contrast. To achieve this lighting, we're going to use a basic lighting scheme: main light, fill light, and backlight.
5m
image
13
8:00 am. Photo 2
For photo number two, we're going to recreate the morning light when the sun has already risen, but is not yet at its highest point (8:00 a.m.). This light is especially photogenic, as it has a warm temperature and produces shadows that aid composition. In technical terms, the light we're going to develop is a hard, warm light (5000ºk) with a 1:4 contrast.
3m
image
14
10:00 am Photo 3
For photo 3, we'll set the time at 10 a.m. We'll recreate the intense, harsh light of midday. In this photo, we'll also look for a defined shadow, but this time it's less projected, meaning shorter, because at this time the sun is almost at its highest point.
2m
image
15
Lettering and painting
Here we'll see the complete post-production process for the series, from developing to exporting the file to Instagram.
11m
image
16
500 copies required
Let's close by giving you some tips on posting your work on Instagram.
4m
  • 10 students
  • 94 lessons (13h 0m)
  • 127 additional resources (56 files)
  • Online and at your own pace
  • Audio: Spanish, English
  • English · Spanish · Portuguese · German · French · Italian · Polish · Dutch
  • Level: Beginner
  • Unlimited access forever

What is this course's project?

Develop food photography by applying basic techniques, from camera settings to proper lighting, capturing food in an appealing way, and experimenting with angles and modifiers to find your personal style.

Who is this specialization for?

Photographers passionate about gastronomy, visual creatives, and culinary stylists looking to hone their skills in capturing irresistible food images, develop a unique style, and understand food styling to create impactful photography projects in the culinary world.

Requirements and materials

No extensive prior knowledge is required, just a digital camera and access to editing software like Lightroom. Simple materials like backdrops, tableware, and fresh ingredients will be helpful for practicing and developing food photography and food styling skills.

Select to get to know your teachers in this specialization course
Read more ↓

What to expect from this specialization course

  • Learn at your own pace

    Enjoy learning from home without a set schedule and with an easy-to-follow method. You set your own pace.

  • Learn from the best professionals

    Learn valuable methods and techniques explained by top experts in the creative sector.

  • Meet expert teachers

    Each expert teaches what they do best, with clear guidelines, true passion, and professional insight in every lesson.

  • Certificates
    Plus

    If you're a Plus member, get a custom certificate for every specialization course. Share it on your portfolio, social media, or wherever you like.

  • Get front-row seats

    Videos of the highest quality, so you don't miss a single detail. With unlimited access, you can watch them as many times as you need to perfect your technique.

  • Share knowledge and ideas

    Ask questions, request feedback, or offer solutions. Share your learning experience with other students in the community who are as passionate about creativity as you are.

  • Connect with a global creative community

    The community is home to millions of people from around the world who are curious and passionate about exploring and expressing their creativity.

  • Watch professionally produced courses

    Domestika curates its teacher roster and produces every course in-house to ensure a high-quality online learning experience.


FAQs

Domestika's specialization courses are online classes that provide you with the tools and skills you need to complete a specific project. Every step of the project combines video lessons with complementary instructional material, so you can learn by doing. Domestika's specializations also allow you to share your own projects with other students, creating a dynamic course community.

All specialization courses are 100% online, so once they're published, specialization courses start and finish whenever you want. You set the pace of the class. You can go back to review what interests you most and skip what you already know, ask questions, answer questions, share your projects, and more.

The specialization courses are divided into different modules. Each one includes lessons, informational text, tasks, and practice exercises to help you carry out your project step by step, with additional complementary resources and downloads. You'll also have access to an exclusive forum where you can interact with other students, as well as share your work and your final project, creating a community around the specialization course.

You can redeem the specialization course you received by accessing the redeeming page and entering your gift code.

If you're a Plus member, when you complete a course you've purchased, you'll instantly get your personalized certificate. You can see all your certificates in the Certificates section of your profile. You can download your certificates as PDFs and share the link online. Learn more about certificates.
Specialization in Food Photography and Styling. Photography, Video, and Culinary course by Domestika

Specialization in Food Photography and Styling

A specialization by multiple teachers
Berkeley, United States.
Joined April 2002
  • 10 students