


@isaque_criscuolo
Essential Materials for Making Paper Mache Sculptures
Discover the tools and craft materials you need to craft your own paper mache models at home
From quirky dolls to plant pots, jewelry, and beyond, with a few simple ingredients to mix up paper mache paste and some easy-to-get equipment, you can create DIY three-dimensional works of art at home.
Artist, author, and Domestika teacher Sarah Hand (@the_sarah_hand) sees creating paper mache (aka papier-mâché) as a way of slowing down and enjoying the moment. She teaches creative techniques for all ages using the papercraft technique and has even published a book in which she shares her tips and insider secrets on the subject.
Sarah has enjoyed making things with her hands since childhood: a small comforter for her dolls’ house, a puppet theater to perform for her family, sketchbooks, and more. Her love of color and curiosity for the world we live in, as well as the feeling of accomplishment, inspires her art.

Born into a family in the Navy, Sarah grew up in many different places. Currently, the artist dedicates her time to making illustrations, paper mache dolls and animals, and exhibiting in galleries. She also teaches her techniques at the Richmond Center for Visual Arts, the Virginia Museum of Fine Arts, and Studio 23.
Read on as Sarah shares all the essential materials needed for creating sculptures and paper mache objects. But first, let’s find out what exactly paper mache is and discover more about the craft technique.
What is paper mache?
The paper mache process involves tearing strips of paper dipped in glue and spread over a structure to form a sculpture, an object, or a frame. Paper mache acts as a sort of layer around this structure. Once it has dried and solidified, you can later paint and personalize it.
The process consists of three simple stages:
- Building a wire, cardboard, or wood structure
- Covering it with paper mache
- Painting and customizing it
Paper mache is a lengthy yet relaxing process - and, for many, even nostalgic of childhood. Given the natural imperfection of the technique, creating in paper mache is like playing, and the results are often unpredictable, free from overly elaborate aesthetics.

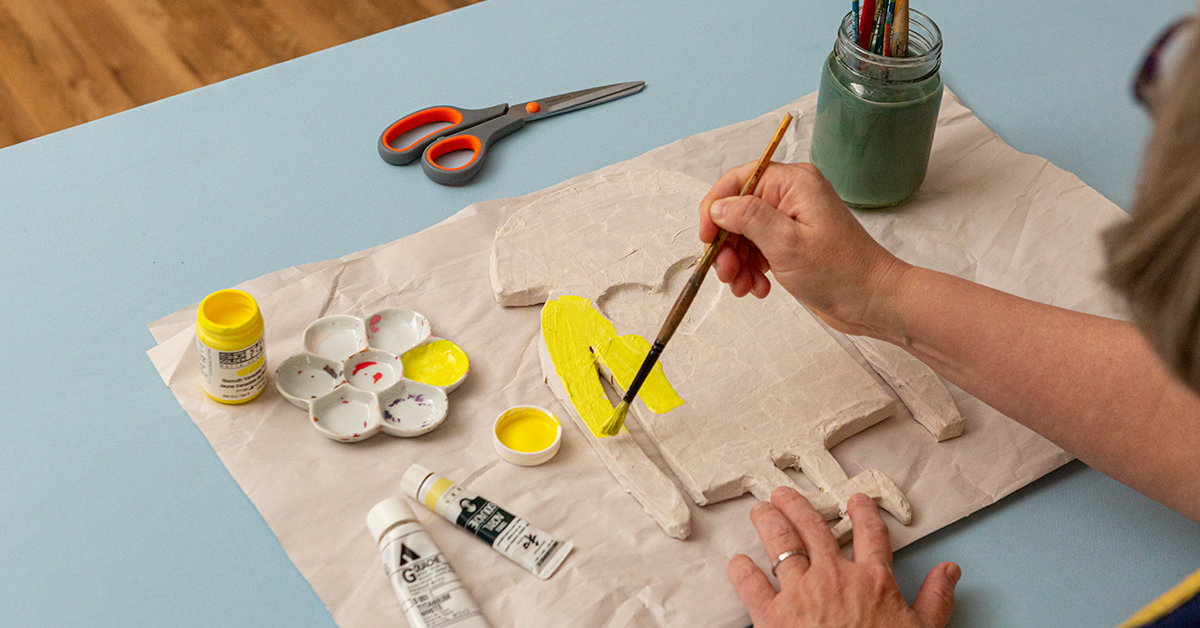
Basic equipment for paper mache craft projects
The following list includes all the materials Sarah uses to create and add the final touches to her own projects:
Paint brushes
You can use any brush, however, the roughest and most firm ones are ideal. This will help you create different textures in your projects and paint with ease. In addition, you will need medium and small brushes to create details.

Cutter
It is used to cut cardboard or foamboard, which are heavier and difficult to cut with scissors.

Acrylic markers
These markers are optional but recommended, as they create excellent finishes on the sculptures. Painting on uneven textures (like that of paper mache) is challenging, and these markers will ease the process.

Pliers and side cutters
These tools are essential for cutting the wires that serve as a structure to the colorful characters.

Colored pencils
You can use colored pencils to add finishing touches to your pieces and create unique and special effects.

Sandpaper
You will need this to prep your paper mache sculpture for the final painting.

Acrylic paint
Ideally, always use dark acrylic paints, as they work best as a base for adding colored pencils and pens to create details. However, as long as you go for acrylic paints, you can use the colors and effects you prefer.

Paint palette
A palette will help you in the painting process as a tool to hold and mix colors.

Tacky glue and hot glue
Ideally, you will need both types of glue to create paper mache sculptures (if you have to choose between the two, tacky glue is best). These glues will make your project last longer.

The following materials are needed to create the paper mache base:
Flour, whisk, and bowl
Flour is the base for paper mâché paste, so keep a mixer and a bowl handy to mix it up.

For the sculpture to be firm and secure, you will need the following materials to create a structure:
- Wire
- Thin cardboard
- Foamboard
- A pair of scissors
- Masking tape

If you’d like to learn to decorate cheerful, whimsical characters using the easy paper mâché technique, don’t miss out on Sarah’s online course, Paper Mache for Beginners: Sculpt a Colorful Character.
English version by @acesarato.
You may also like:
- Challenge: Experimental Paper Printing
- Kintsugi Tutorial: How to Glue Your Broken Bowl
- 12 Online Upcycling Courses for Getting Creative at Home
- Sketchbooking with Handmade Stamps, a course by Jeanne McGee
- Paper Cutting Techniques for Storytelling, a course by Karishma Chugani


0 comments