
Learn design and preparation techniques to create unique garments, from patterns to professional finishes
Discover the fascinating world of pattern making and tailoring with a specialization that takes you from the basics to the design and creation of complex garments. Learn to master essential machine sewing techniques, replicate your favorite garments, and create patterns tailored to your measurements. Explore the versatility of one-size-fits-all garments and immerse yourself in the design and construction of custom shirts, skirts, dresses, and jackets. Each course offers you the opportunity to develop practical and theoretical skills that are essential in the world of fashion.
Throughout this specialization, guided by experts such as Julia Reyes Retana, Lantoki, Laura peSeta, Alicia Cao Guarido, and Natalia Londoño, you will have the opportunity to create a capsule collection of garments that demonstrate your mastery of pattern making and tailoring. Through challenging final projects, you will develop a portfolio that reflects your unique style and professional background. This journey through the textile universe will allow you not only to make your own garments but also to explore fashion design in a sustainable and authentic way.
What will you learn in this specialization?
 1
1Introduction
Creating your own clothes is an act of personal expression and resistance to mass consumption. You'll explore pattern making as art and therapy, learn from mistakes, and discover your style. You'll celebrate diversity and craftsmanship while transforming ideas into unique and timeless garments.
2m
 2
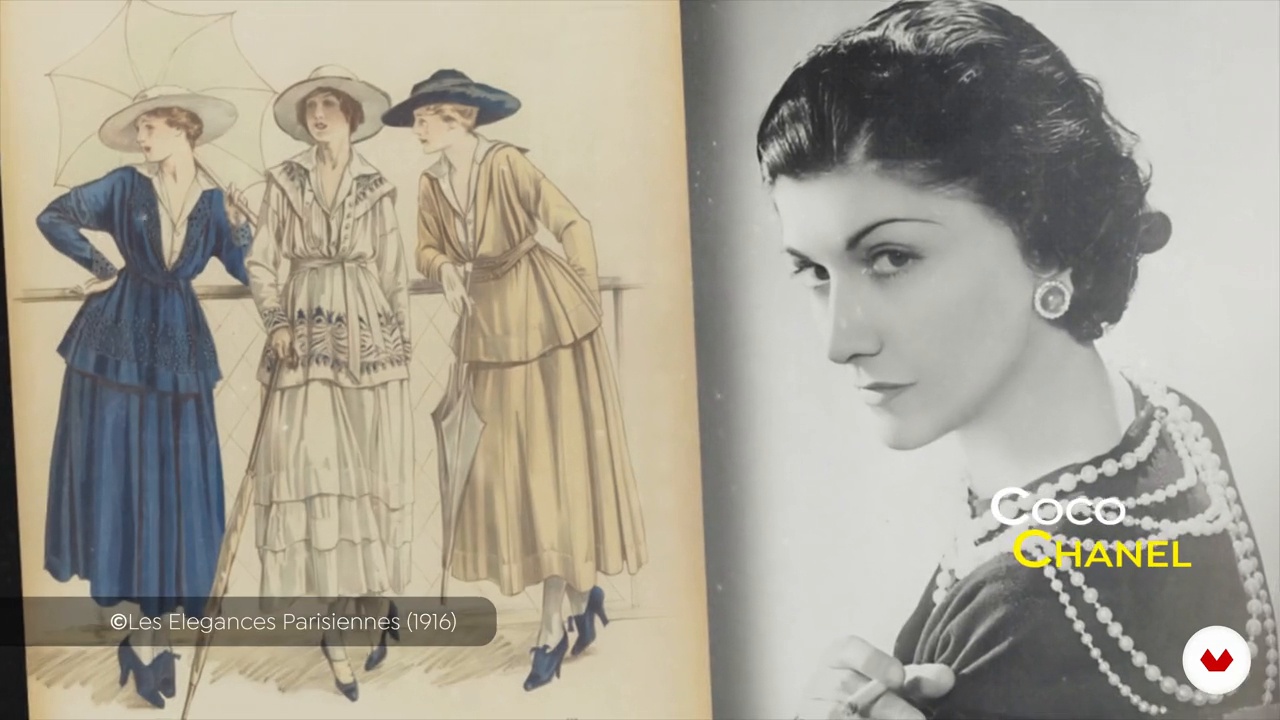
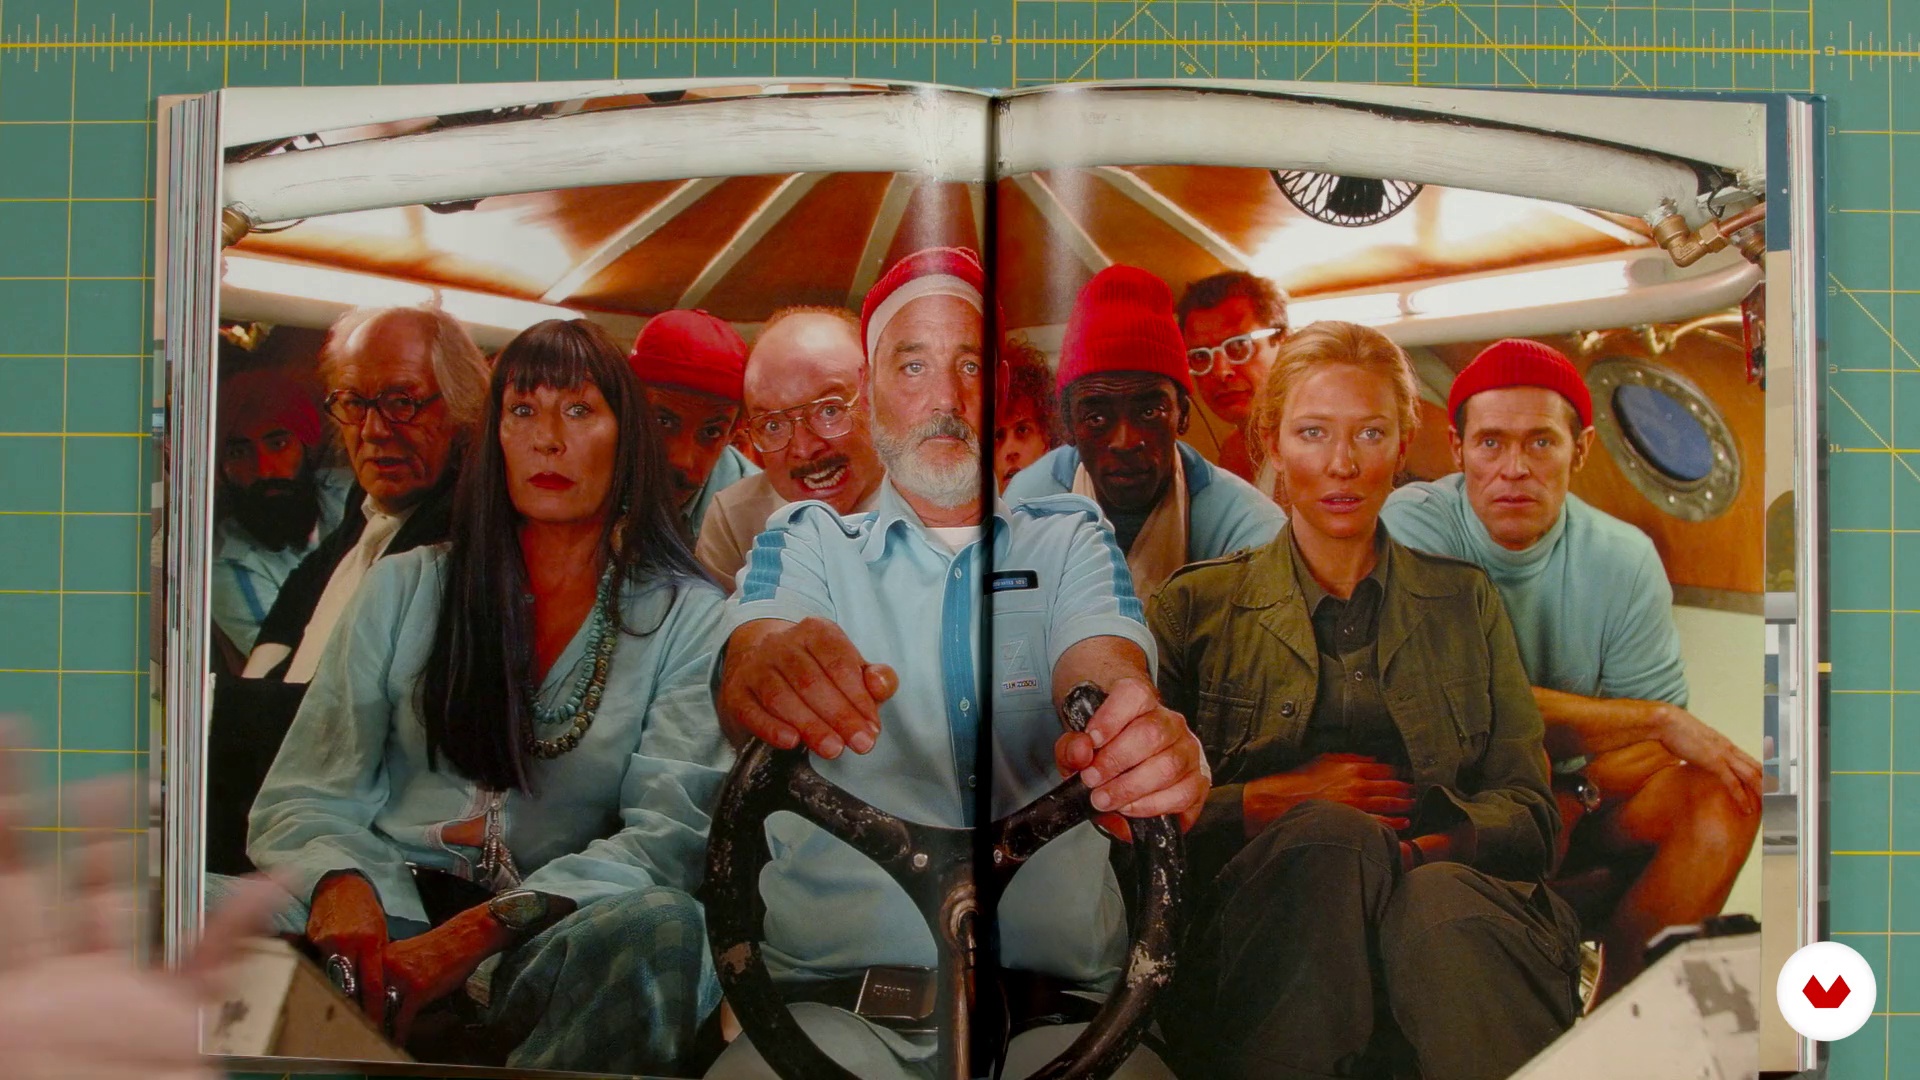
2Influences | Julia Reyes Retana
I made a small selection of books and people who inspire and influence me, I hope you enjoy it.
17m
 3
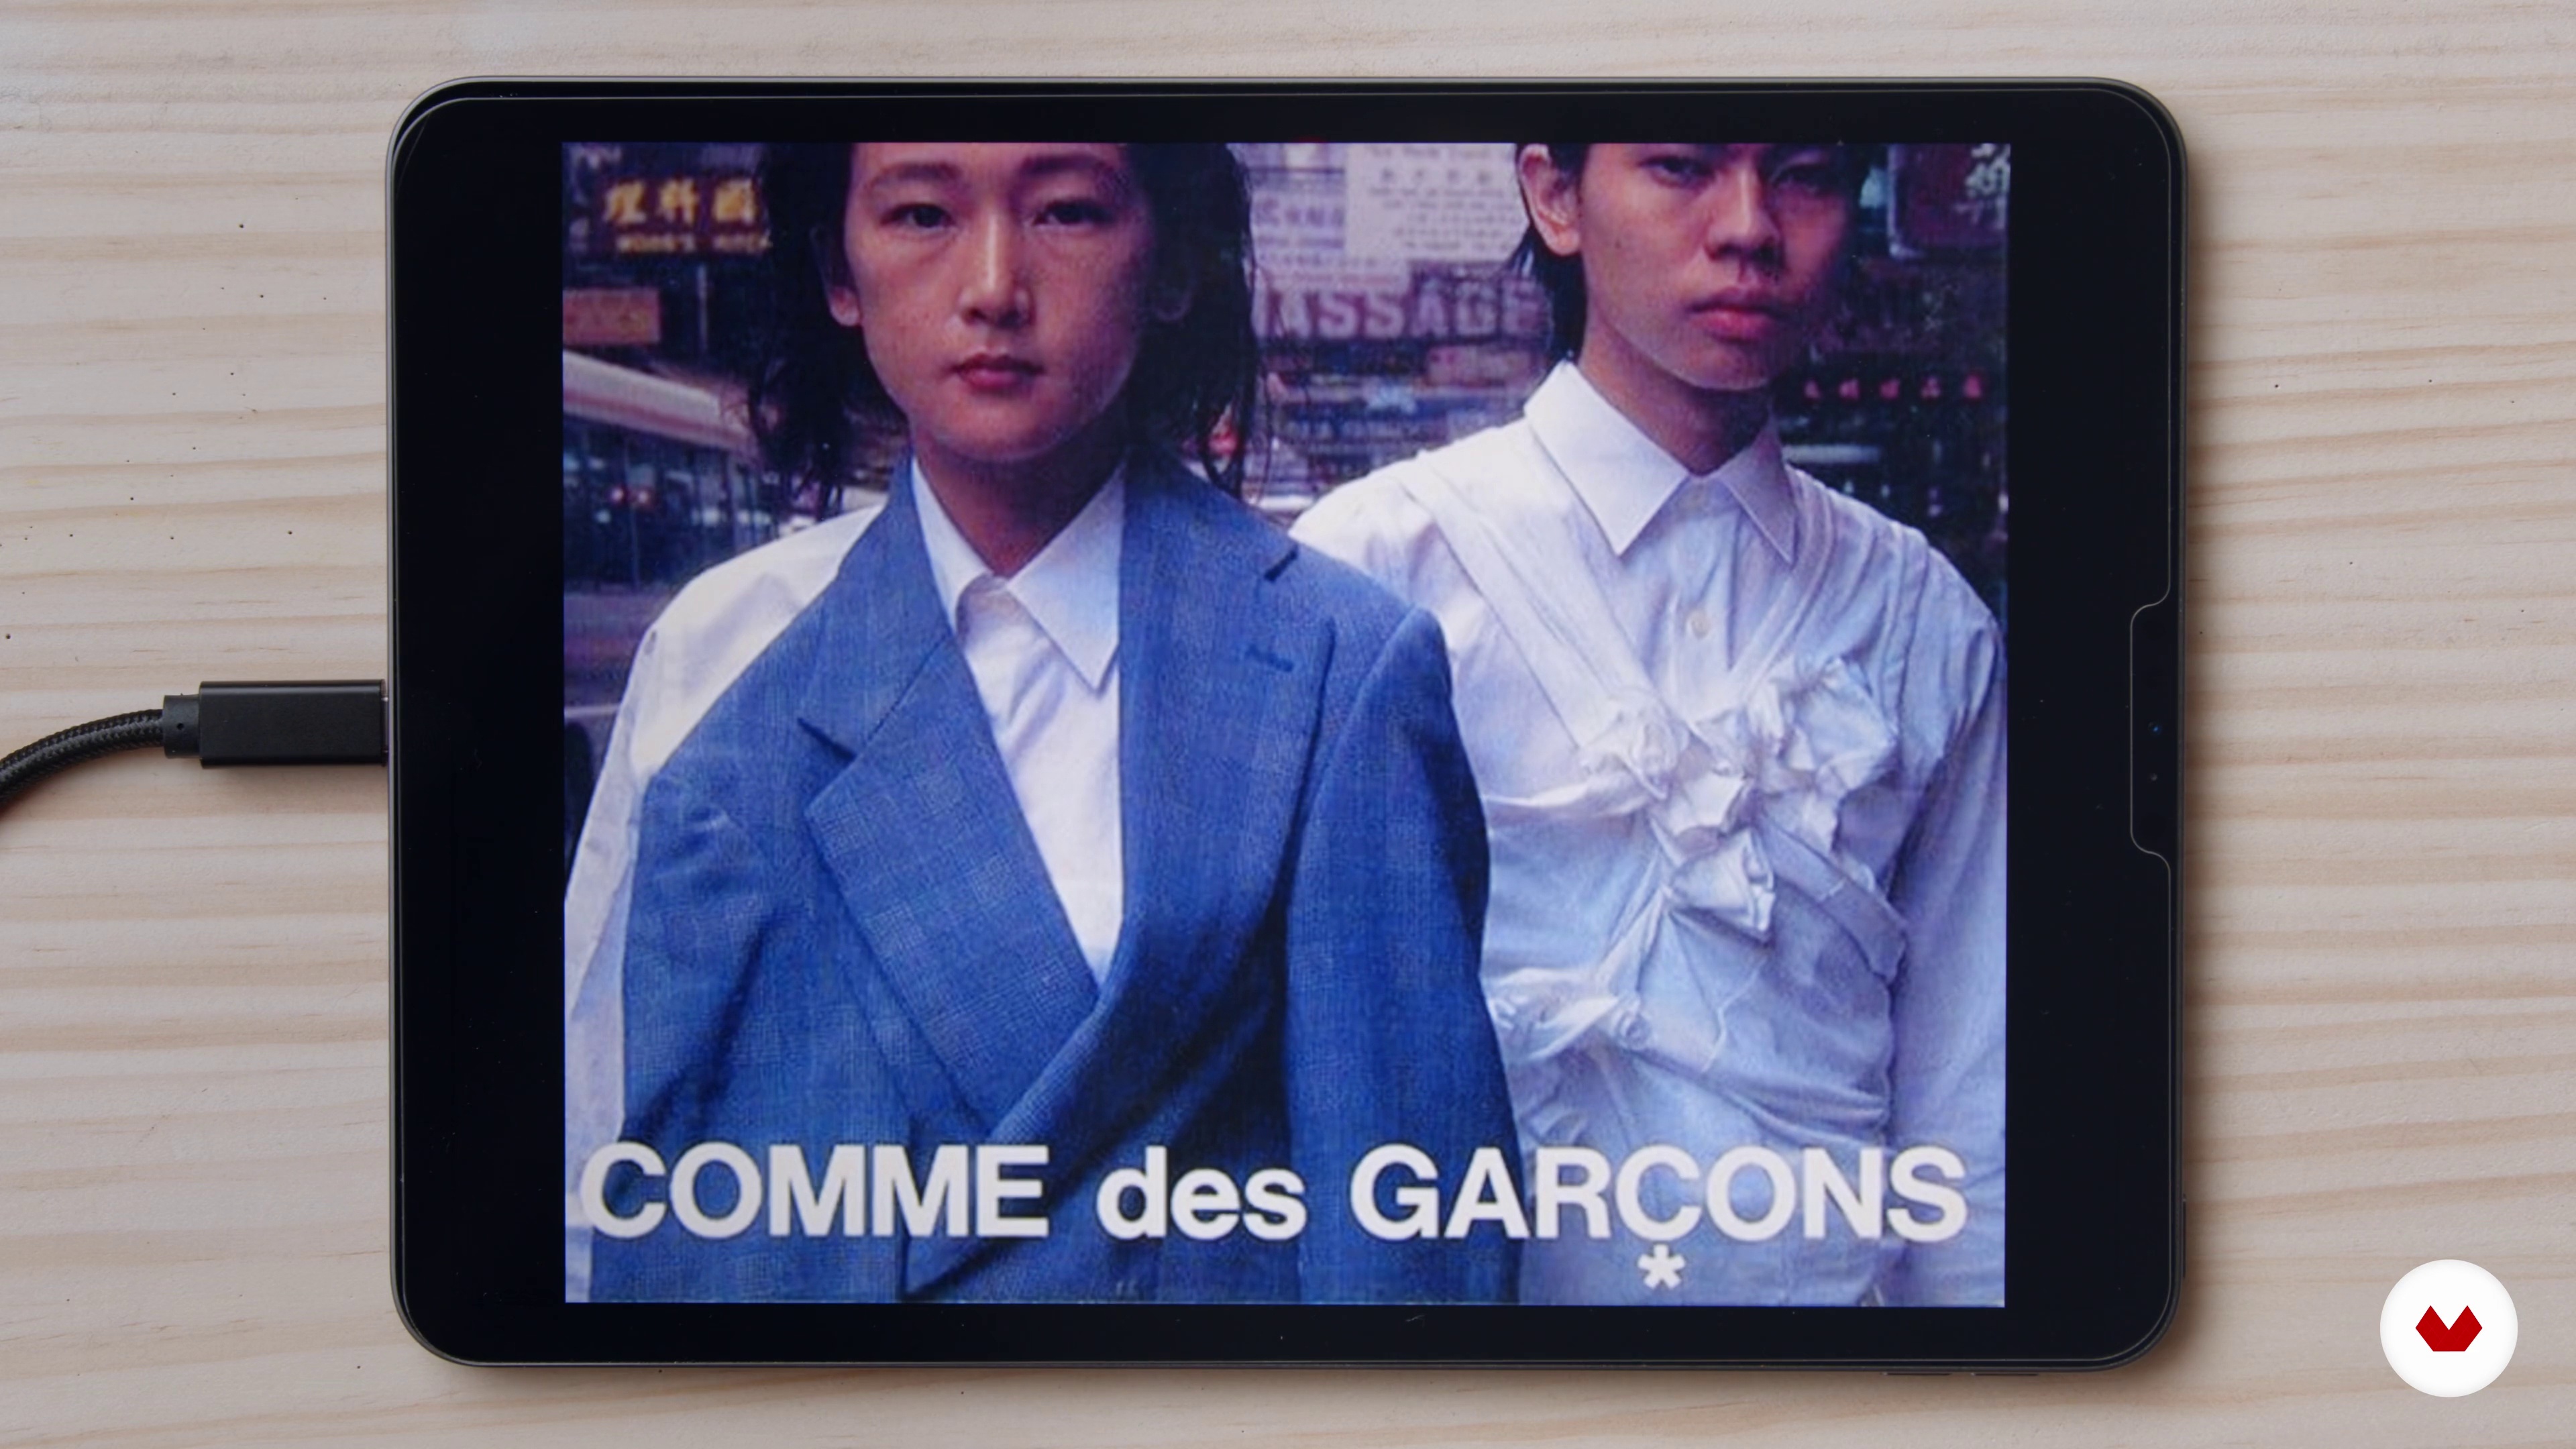
3Influences | Lantoki
Now we want to share with you the brands, pattern makers, publishers, and more that most influence our work and the way we approach it.
14m
 4
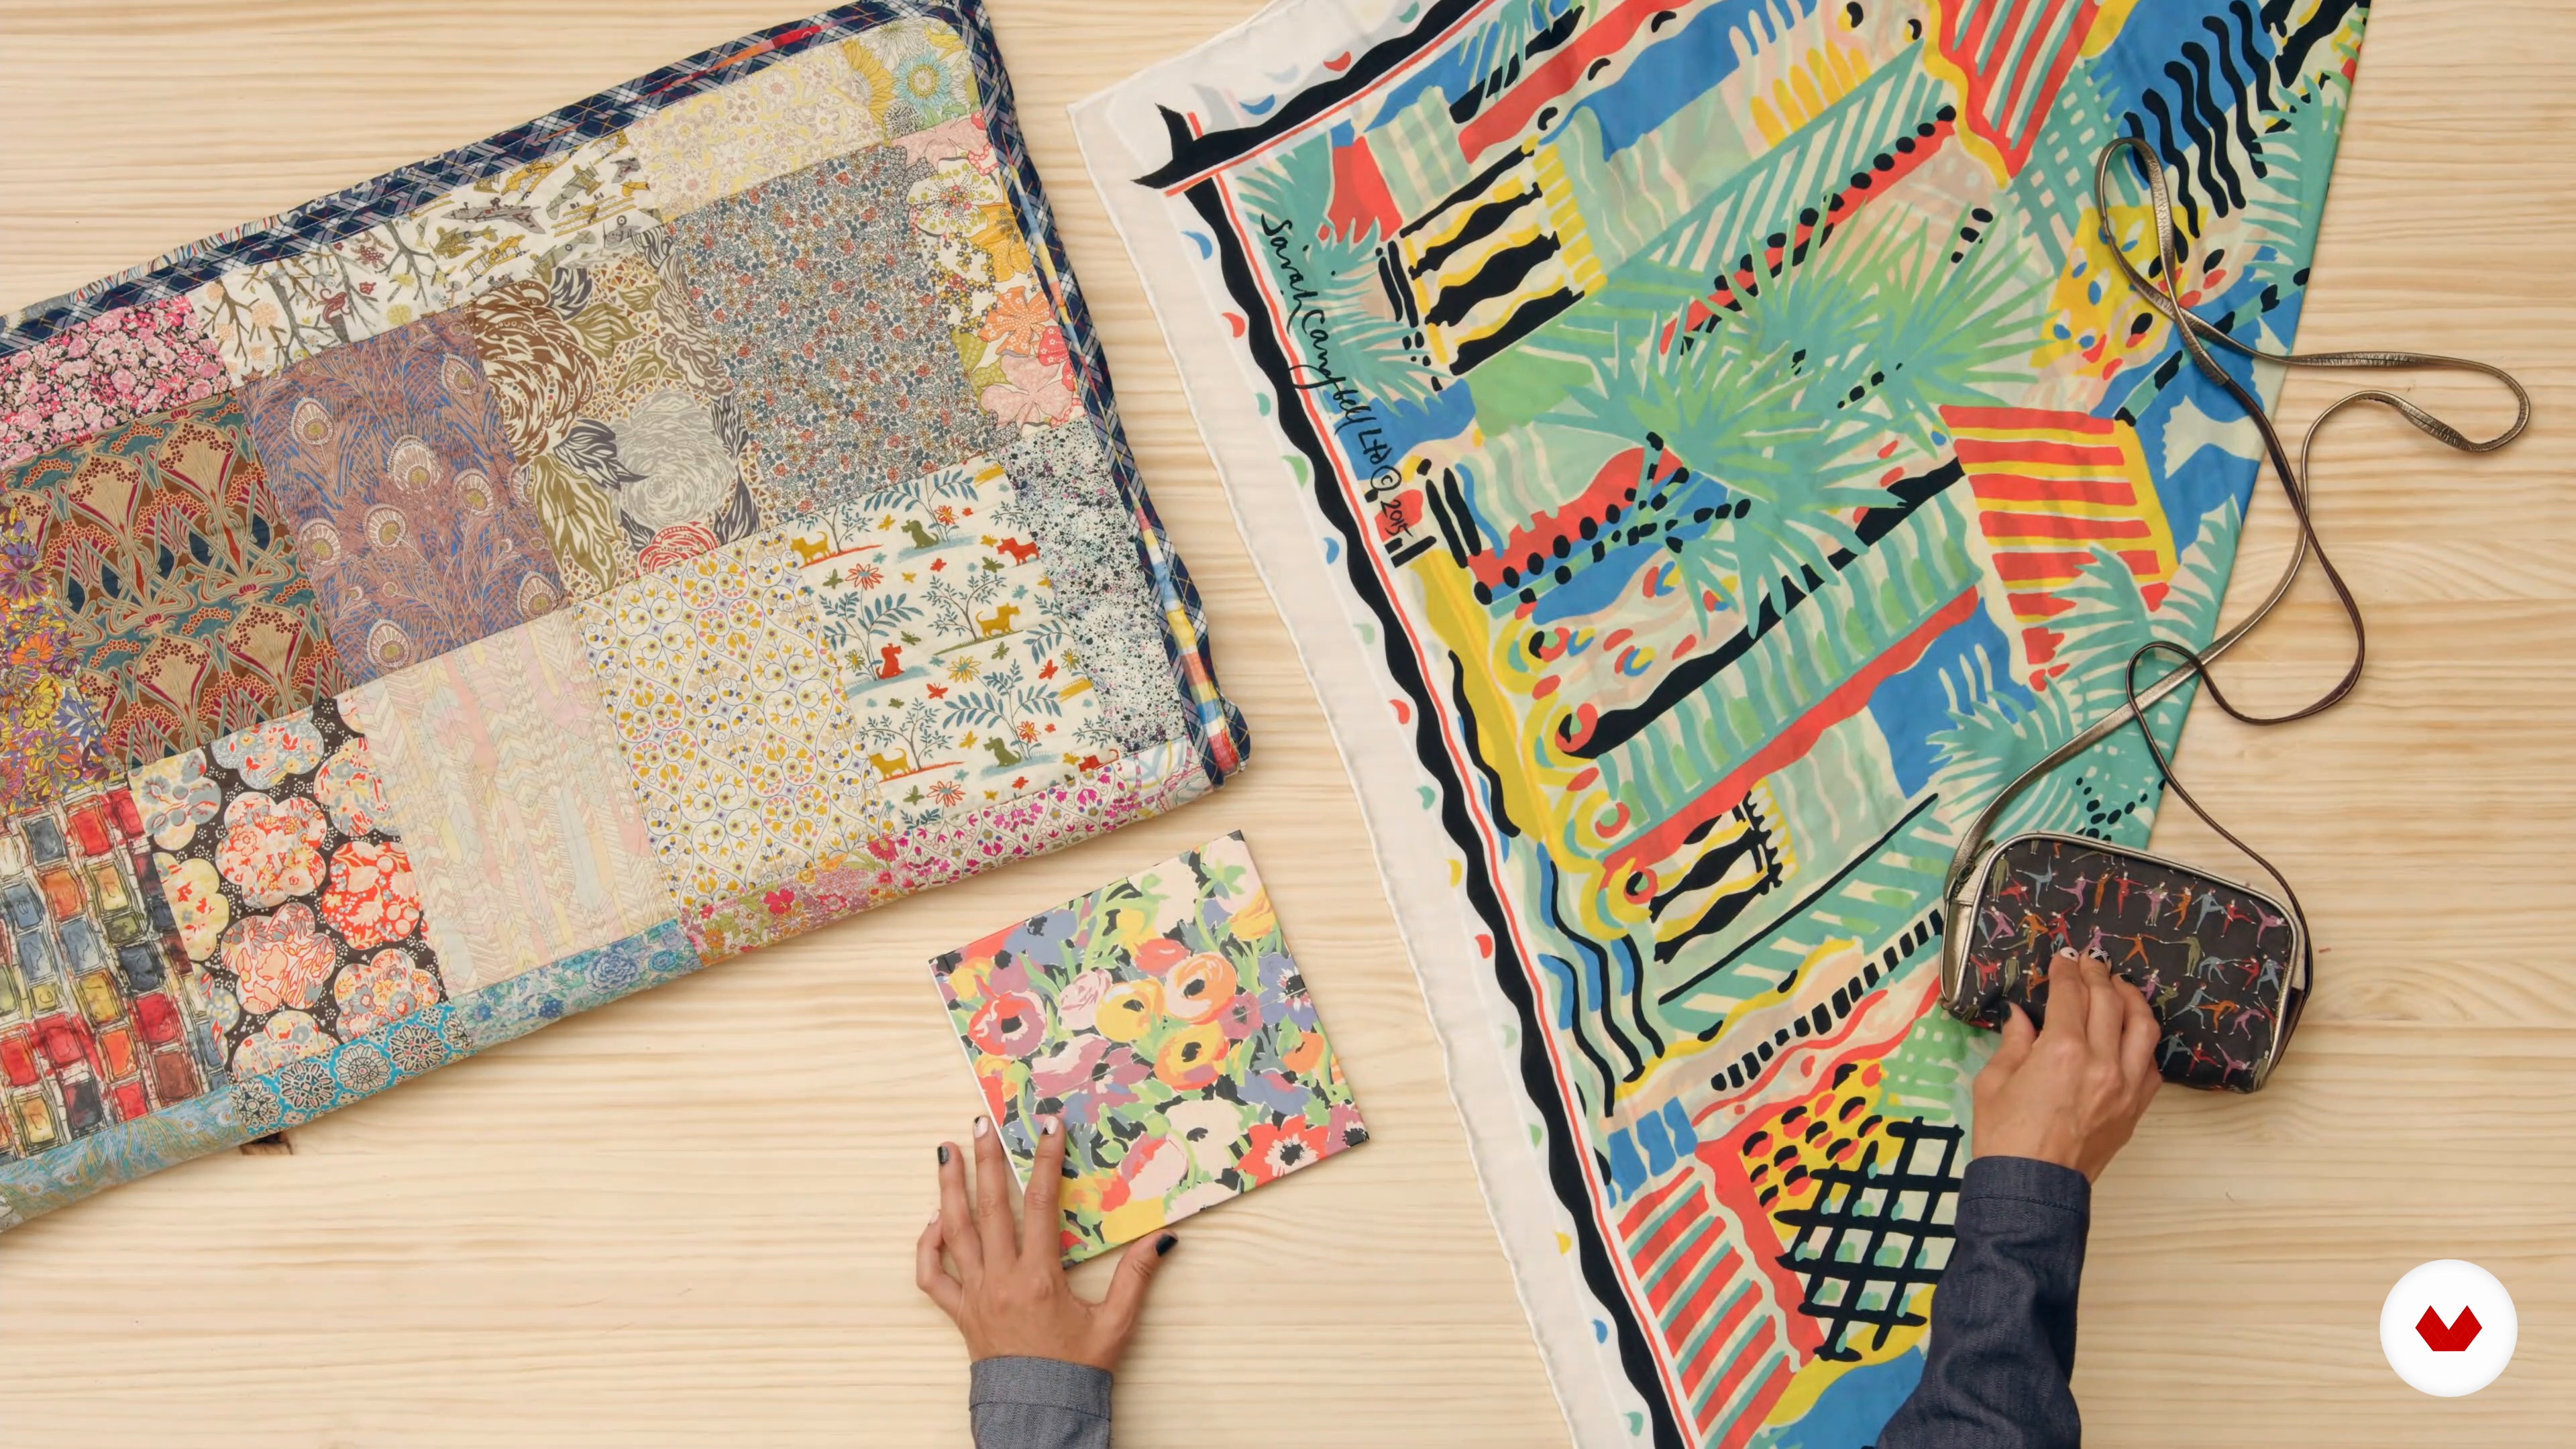
4Influences | Laura peSeta
I have a ton of influences, but here I'll tell you about three that are fundamental to me and that have a bearing on the final project. You might have a good idea of some of them, but you'll find surprises!
8m
 5
5Influences | Lantoki
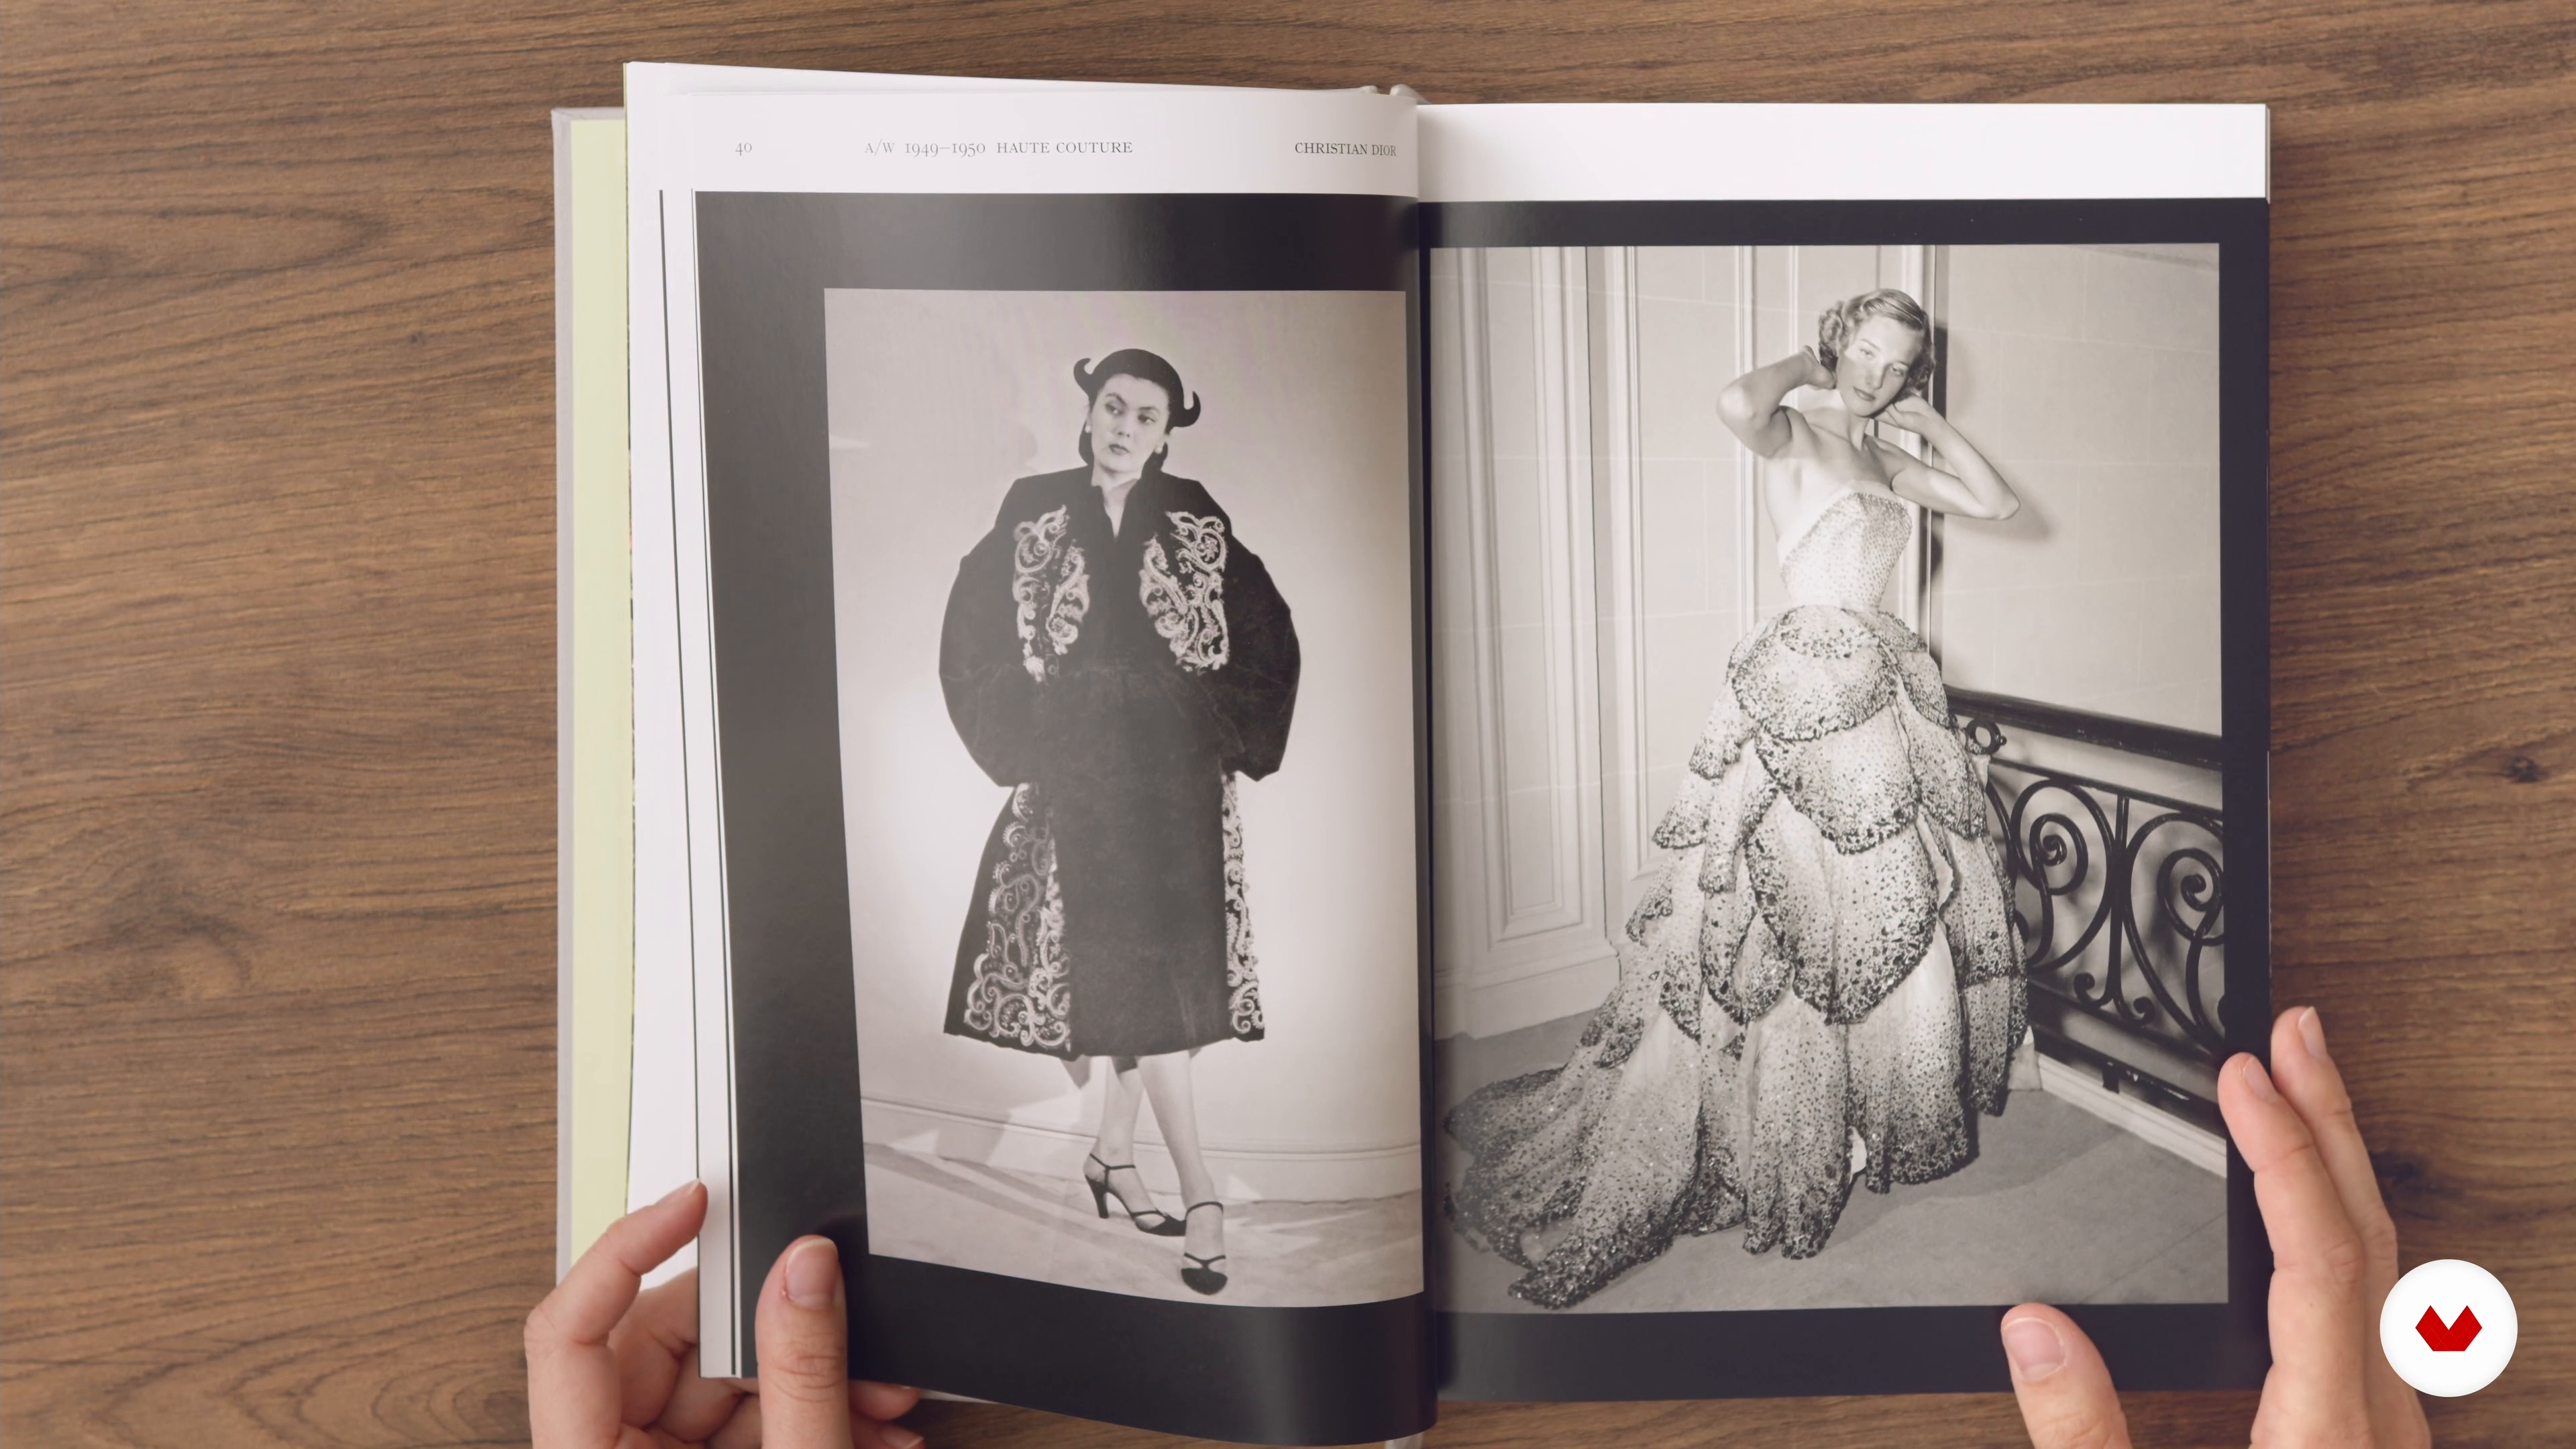
For us, the 1960s and 1970s are a great source of inspiration. We love the aesthetics of these decades, not only in the world of fashion, but also in architecture, object design, and furniture. Below, we'll show you some of our aesthetic references and also brands that inspire us with their way of working.
10m
 6
6Influences | Alicia Cao Guarido
Next, I'm going to tell you about designers and relevant people in the fashion world who have inspired me and influenced my way of working.
6m
 7
7Influences | Natalia Londoño
I'll introduce you to the main themes that have influenced my work, as well as the specific elements that inspire me and that I use as a constant reference in my designs.
4m
 3
3Basic anatomy: Controls and accessories
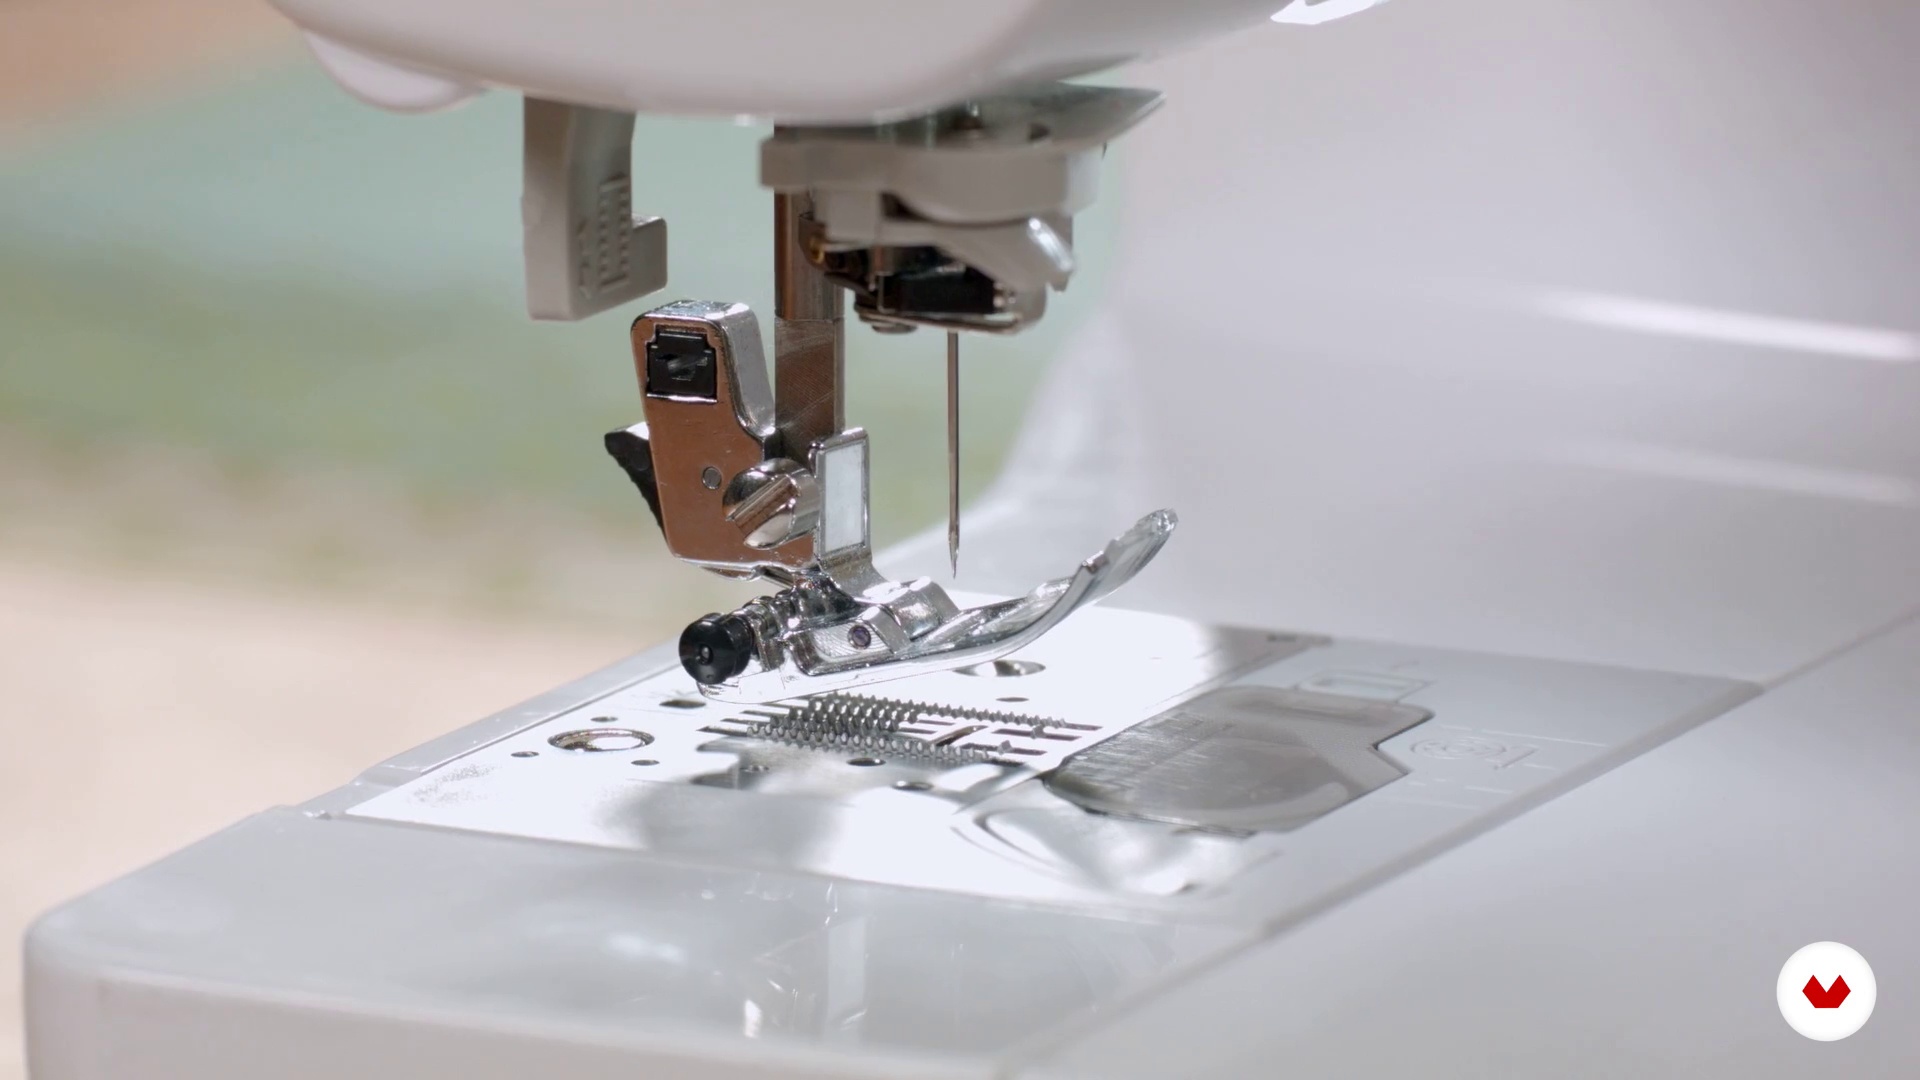
Here you'll start getting to know your machine...Yay! I'll talk you through the most basic controls: stitch length, stitch width, and basic presser feet.
11m
 4
4Tools
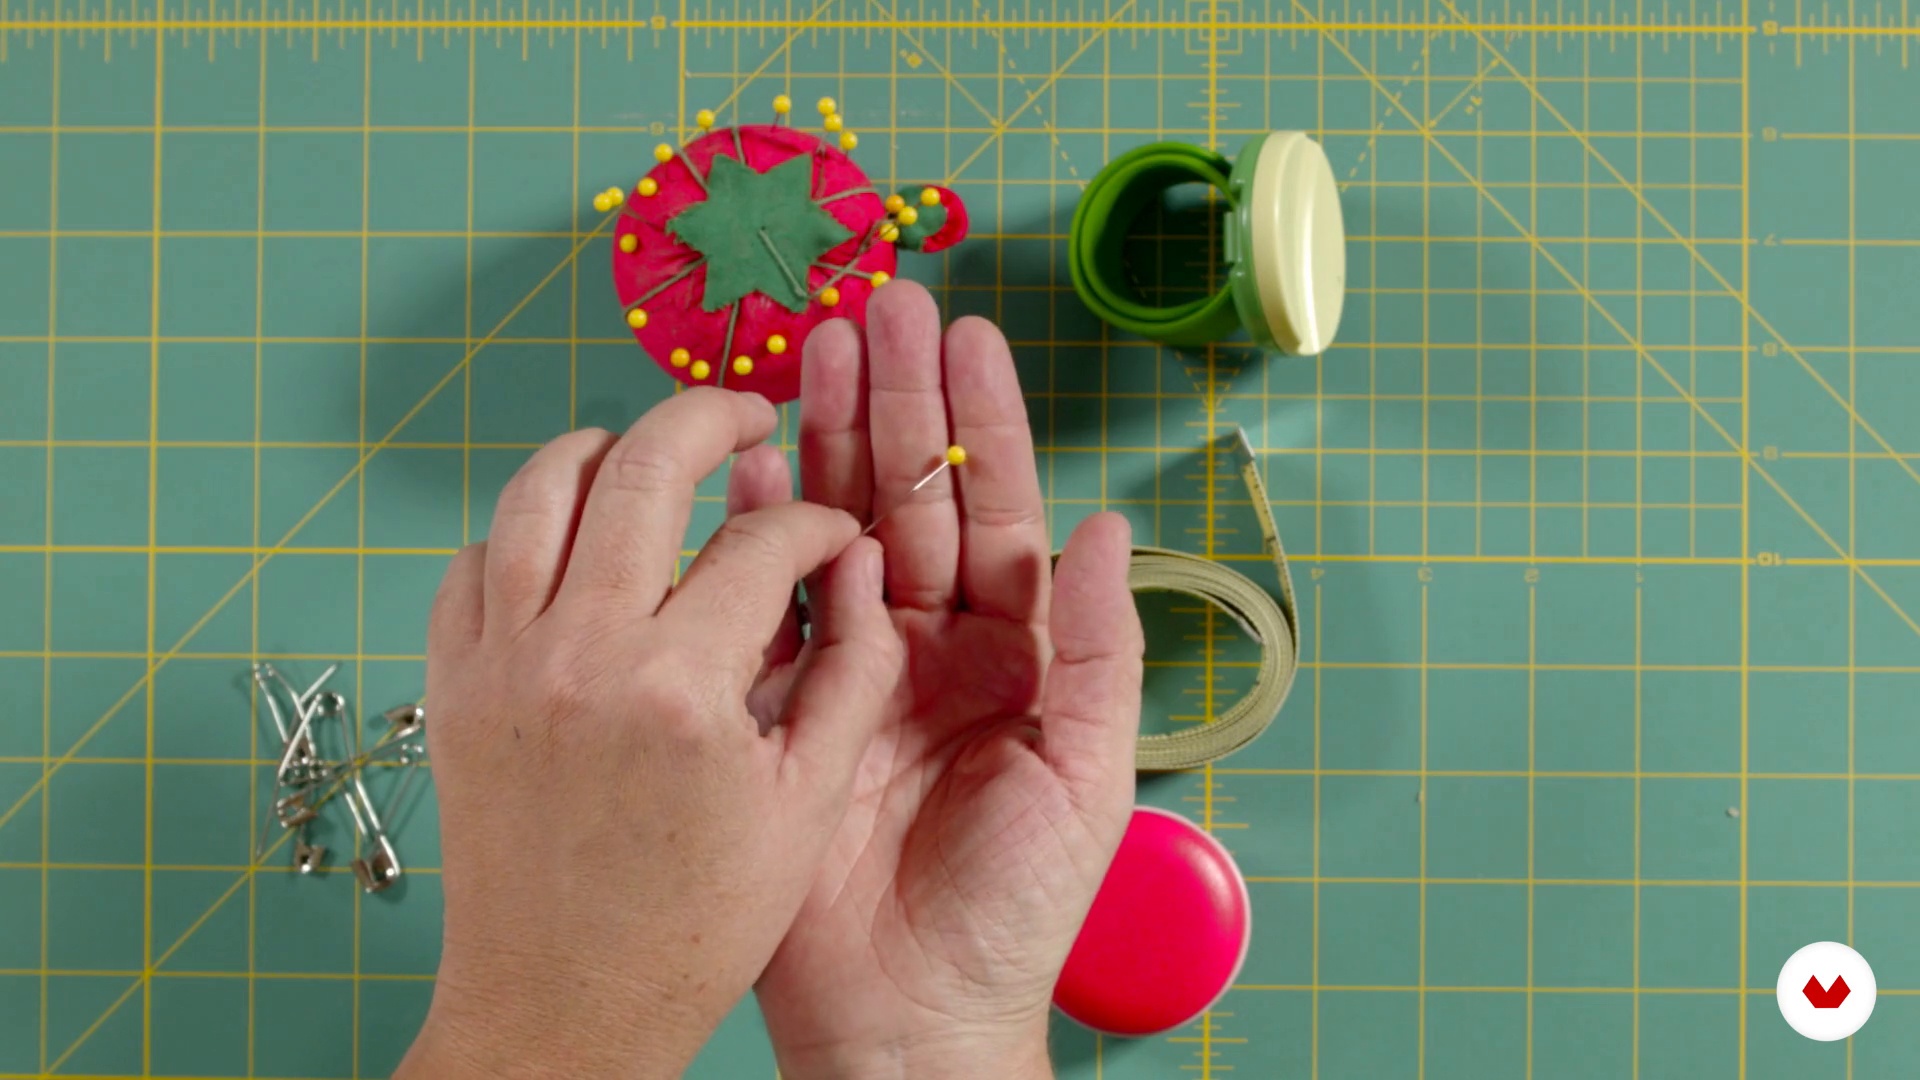
And now we'll do a brief review of the tools you'll need throughout the course.
4m
 5
5Fabrics and other materials
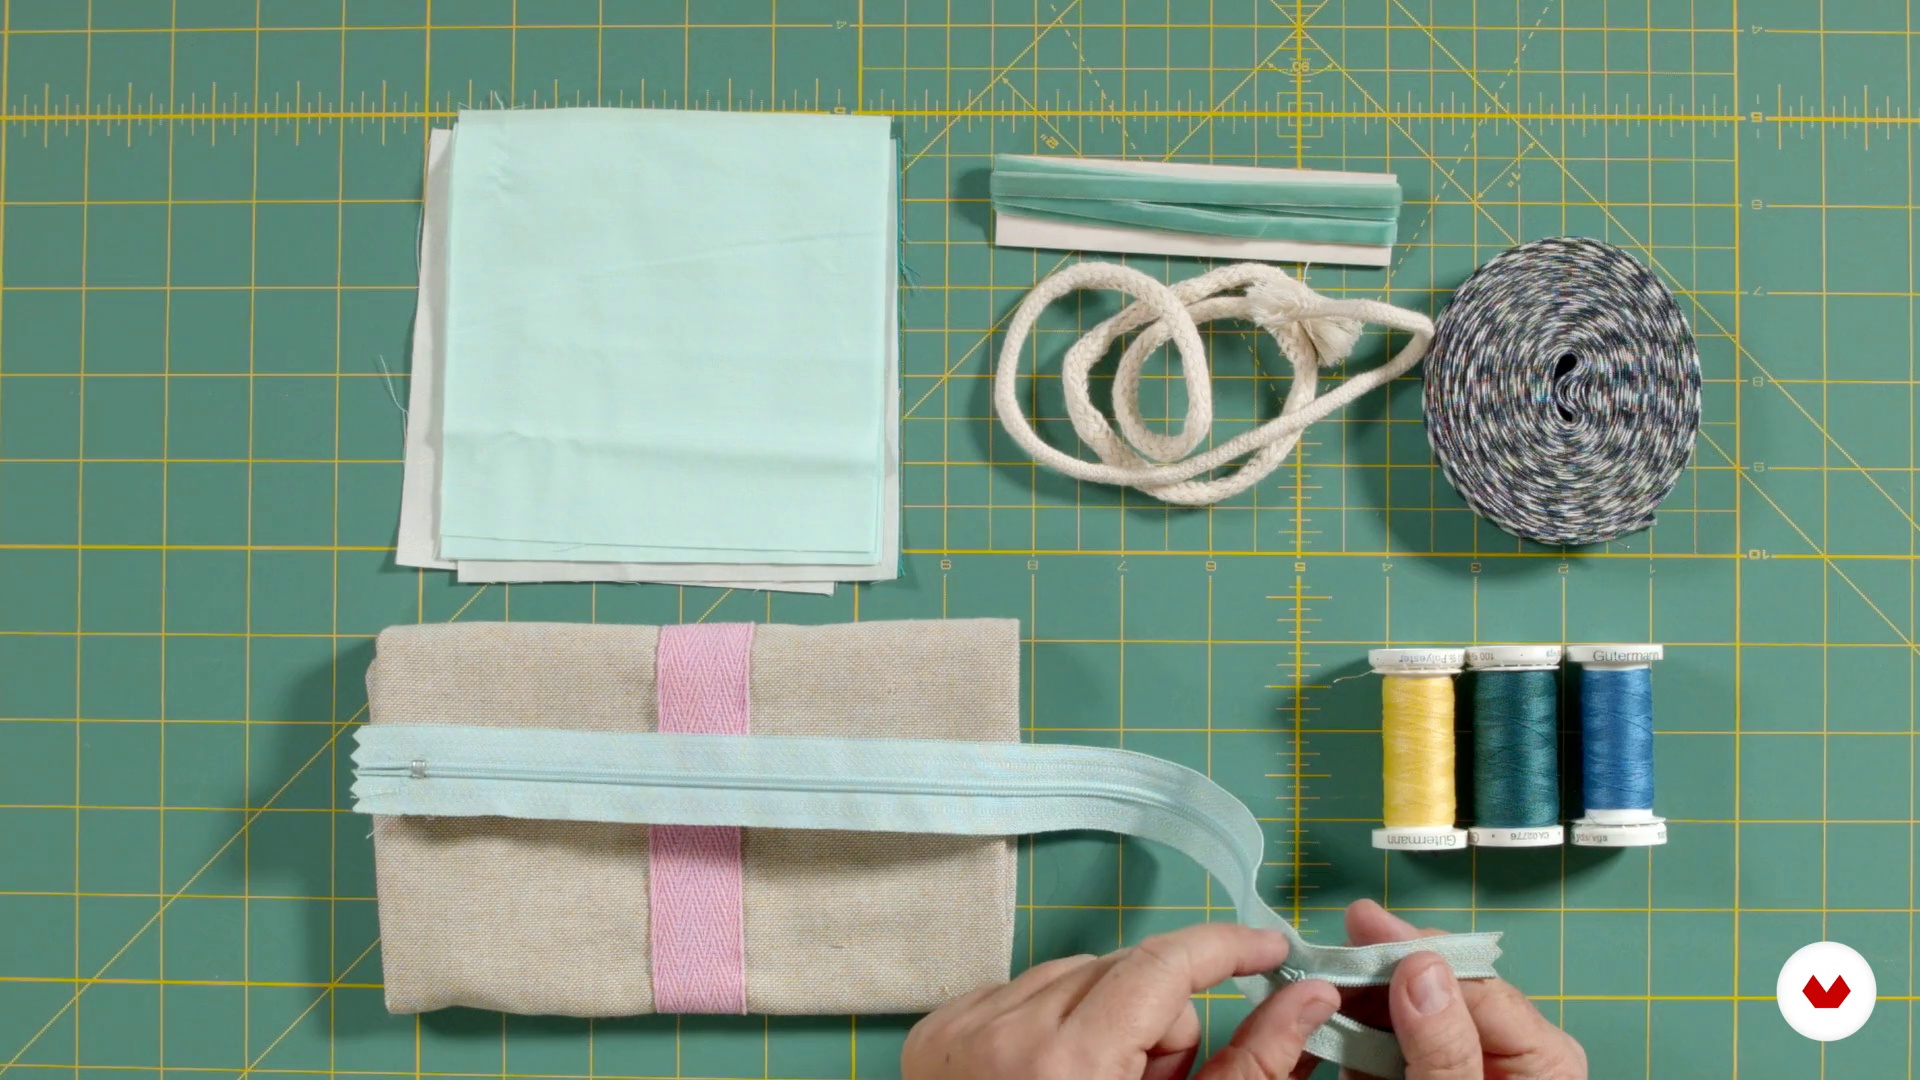
Now I'll tell you about fabric. I'll tell you a little about the types of fibers available, specifically natural fibers, which are the ones we'll be using and the ones I'm most familiar with. We'll also cover sewing materials like thread, zippers, and cord.
4m
 6
6To skewer!
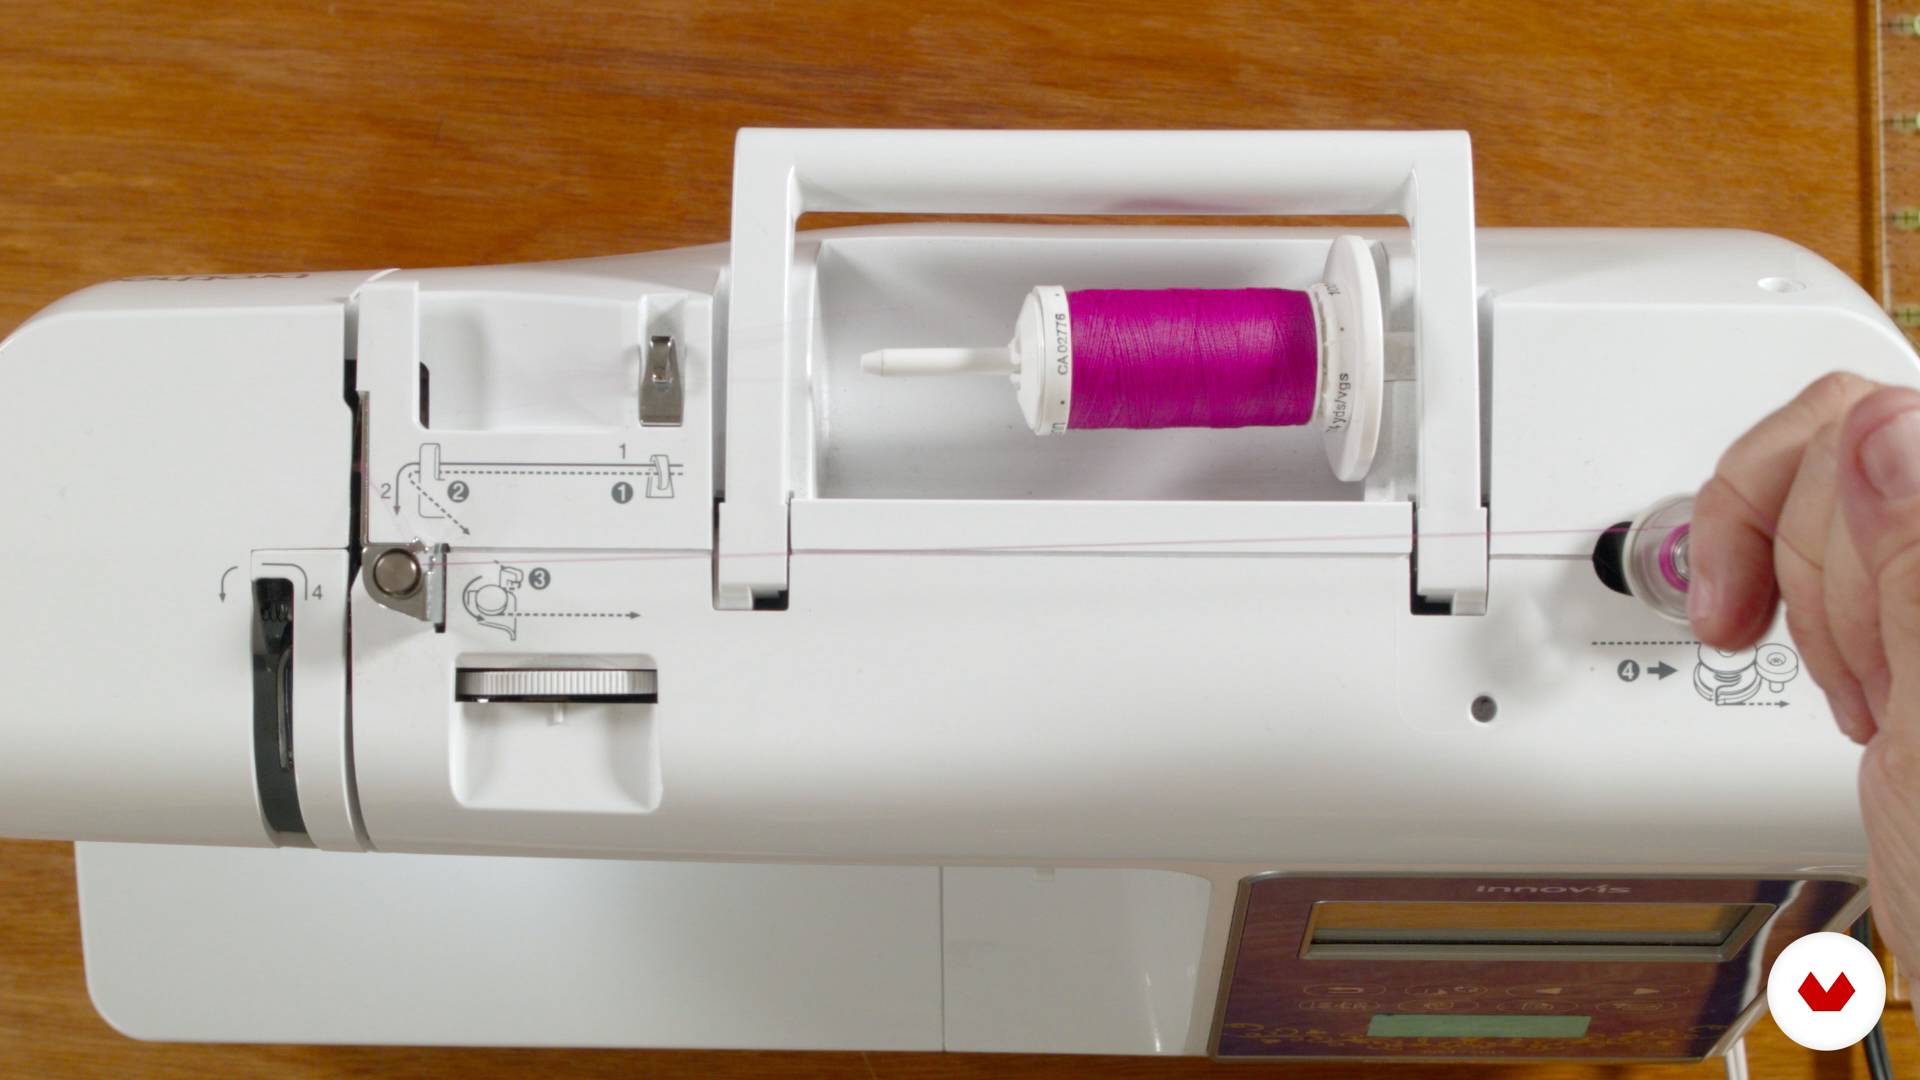
In this lesson, we'll learn the most important things (well, everything is important) to start sewing. We'll learn how to thread the thread into the sewing machine: we'll make a bobbin, and we'll thread the upper and lower threads. So, pay attention, and very importantly, have your machine's manual nearby (if you don't have a paper copy, look for a PDF online; you're sure to find it).
9m
 7
7Now yes ... Sew!
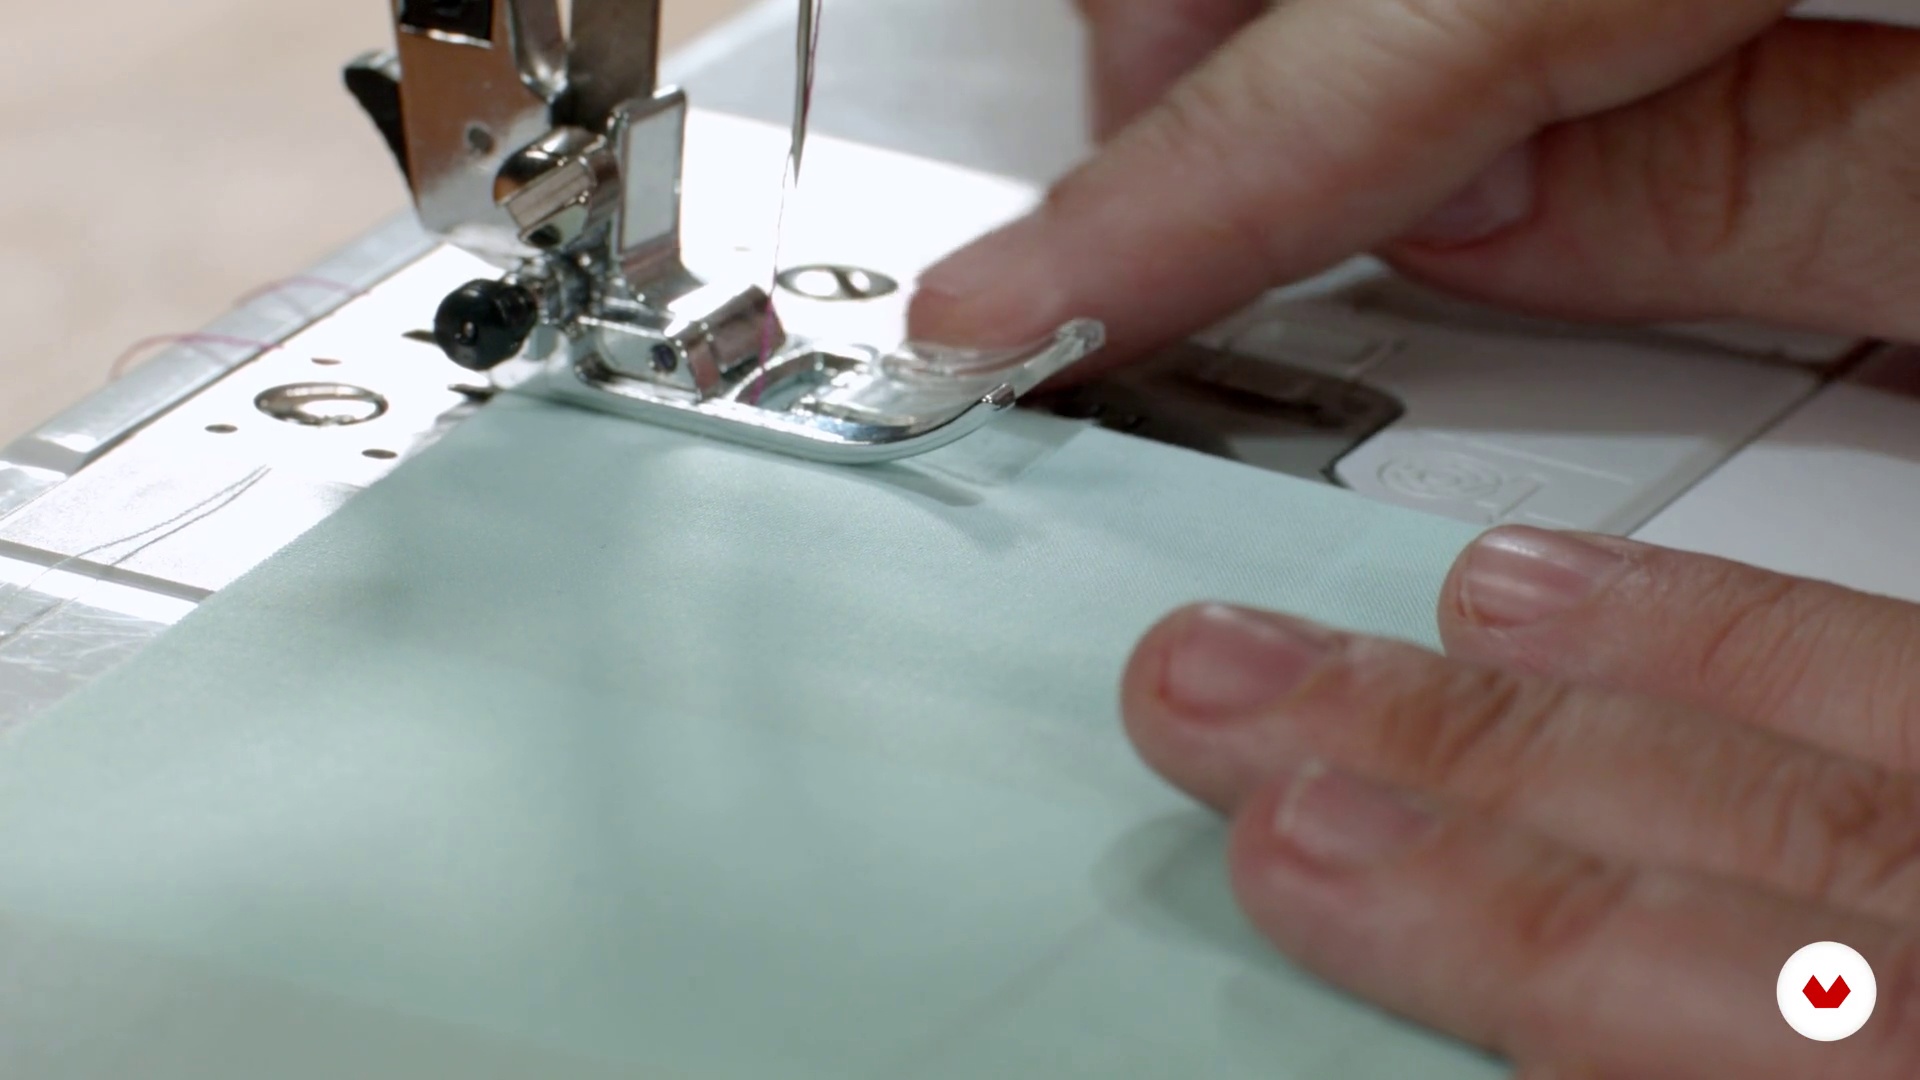
Now, it's time to start sewing. I'll show you some tricks to make your seams come out perfectly straight.
8m
 8
8Maximum of sewing
The maxims of sewing are a series of little phrases that I have been collecting (and inventing) over the years and are nothing more than some basic principles that it is very good to keep in mind all the time while sewing.
7m
 9
9Let's cut a pattern
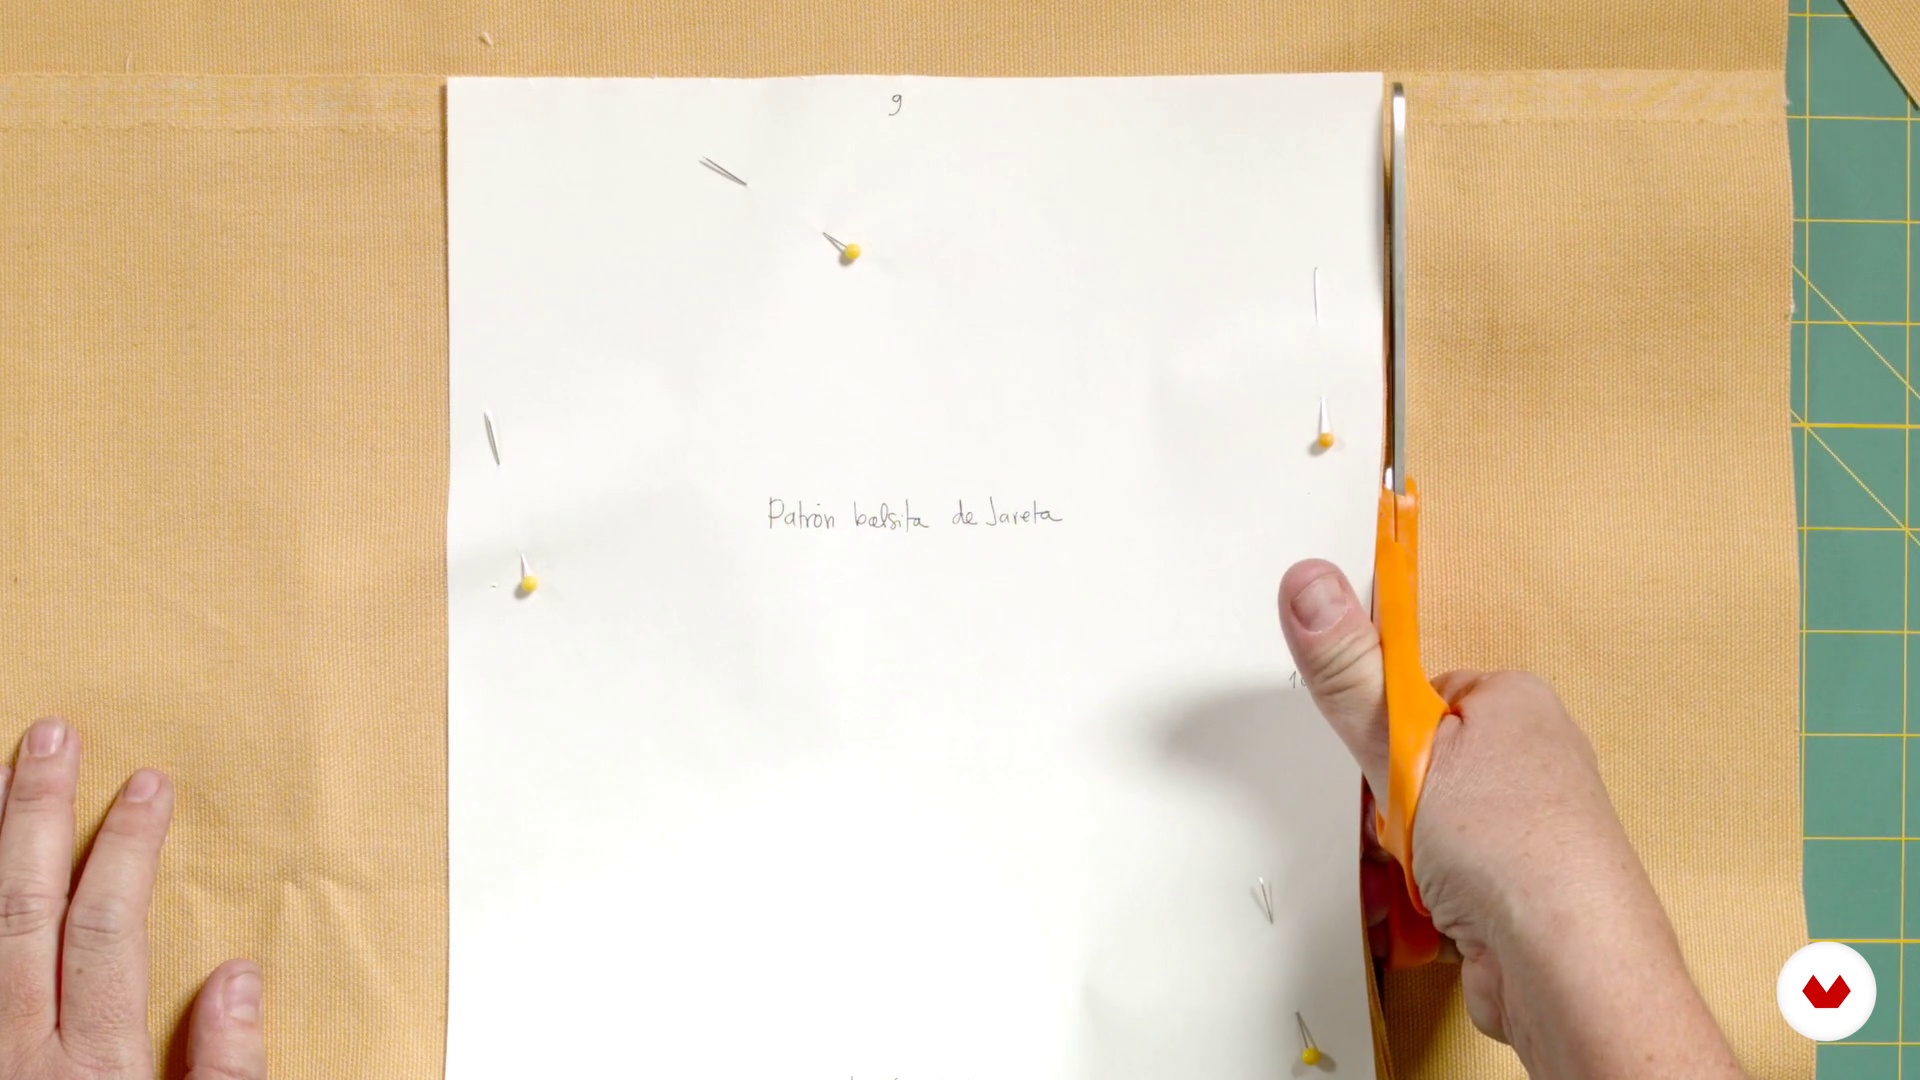
In this lesson I will explain two methods for cutting, one works for any type of piece and the other only for orthogonal pieces.
5m
 10
10Embroidering by machine
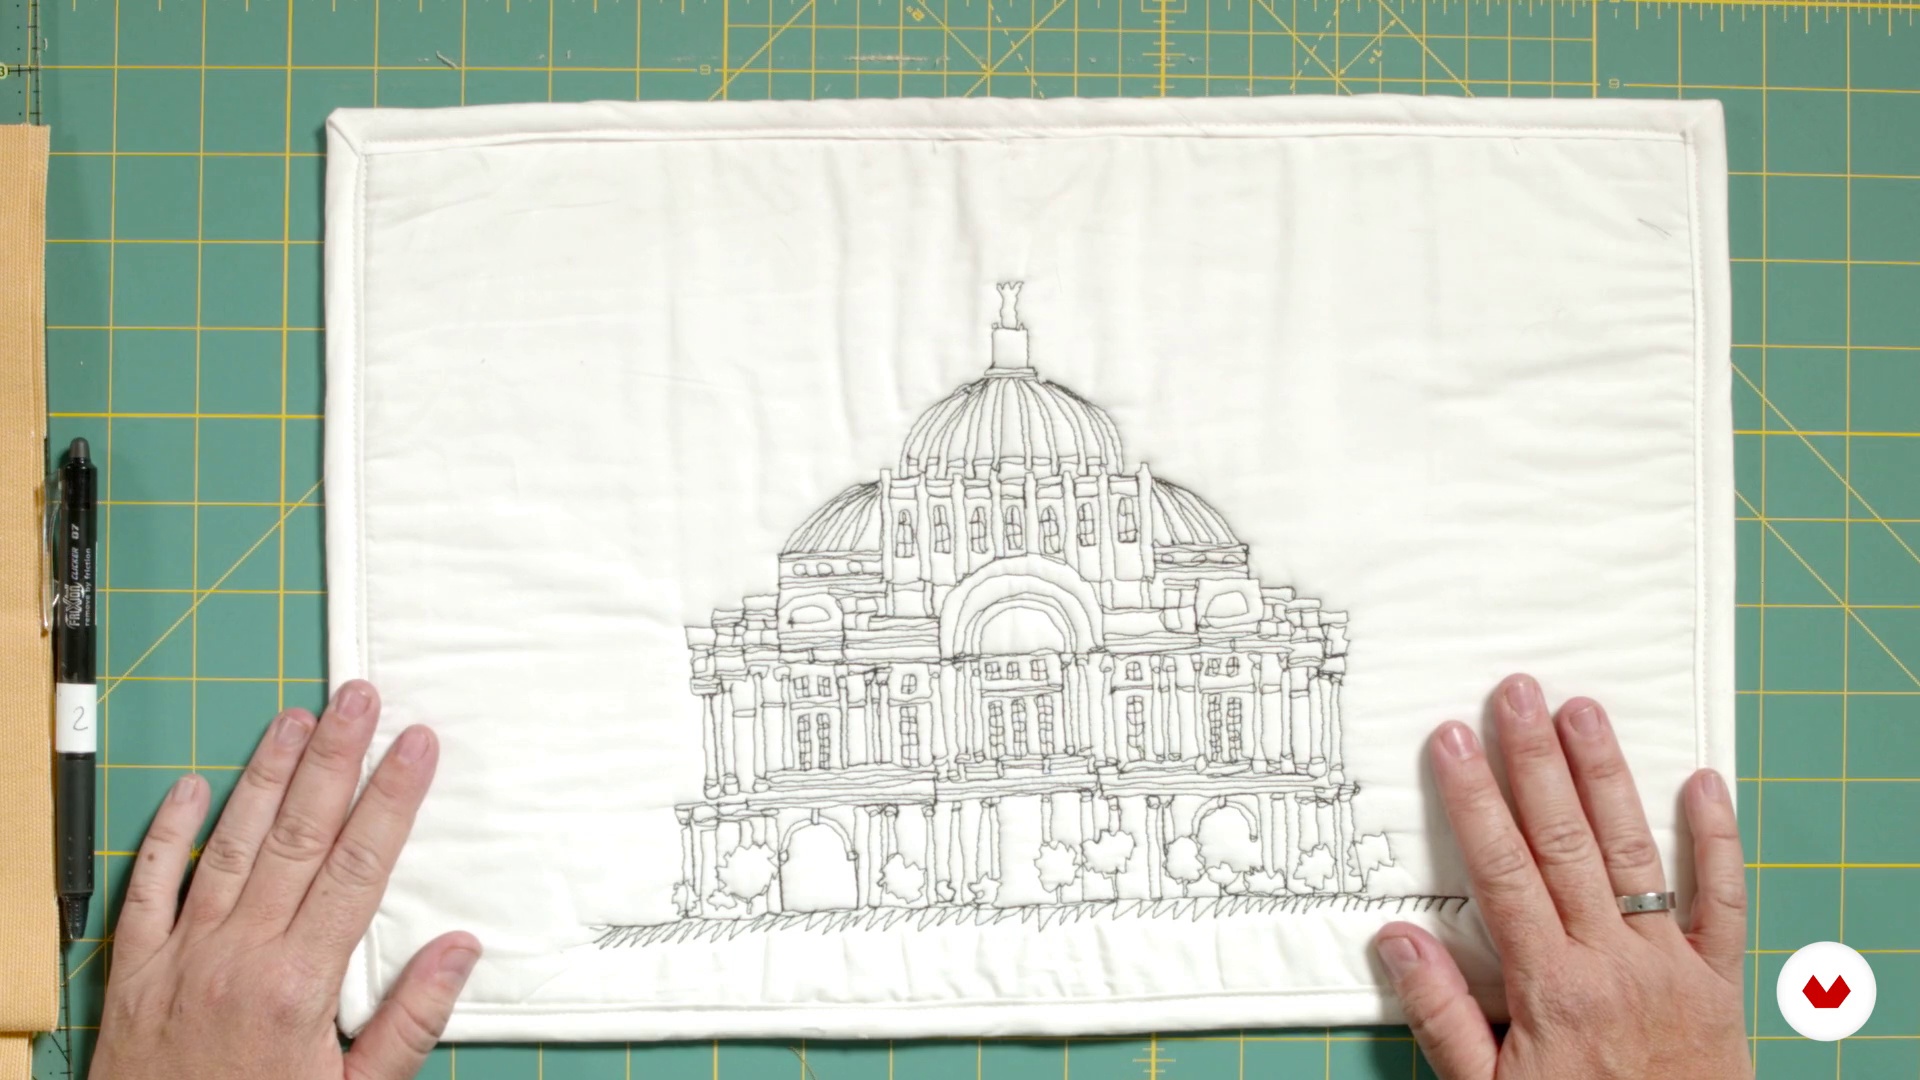
That's right, you can also embroider on a machine, even the simplest one. I'm going to teach you a method so you can decorate any fabric with your personal style, and while we're at it, we'll continue practicing sewing.
4m
 11
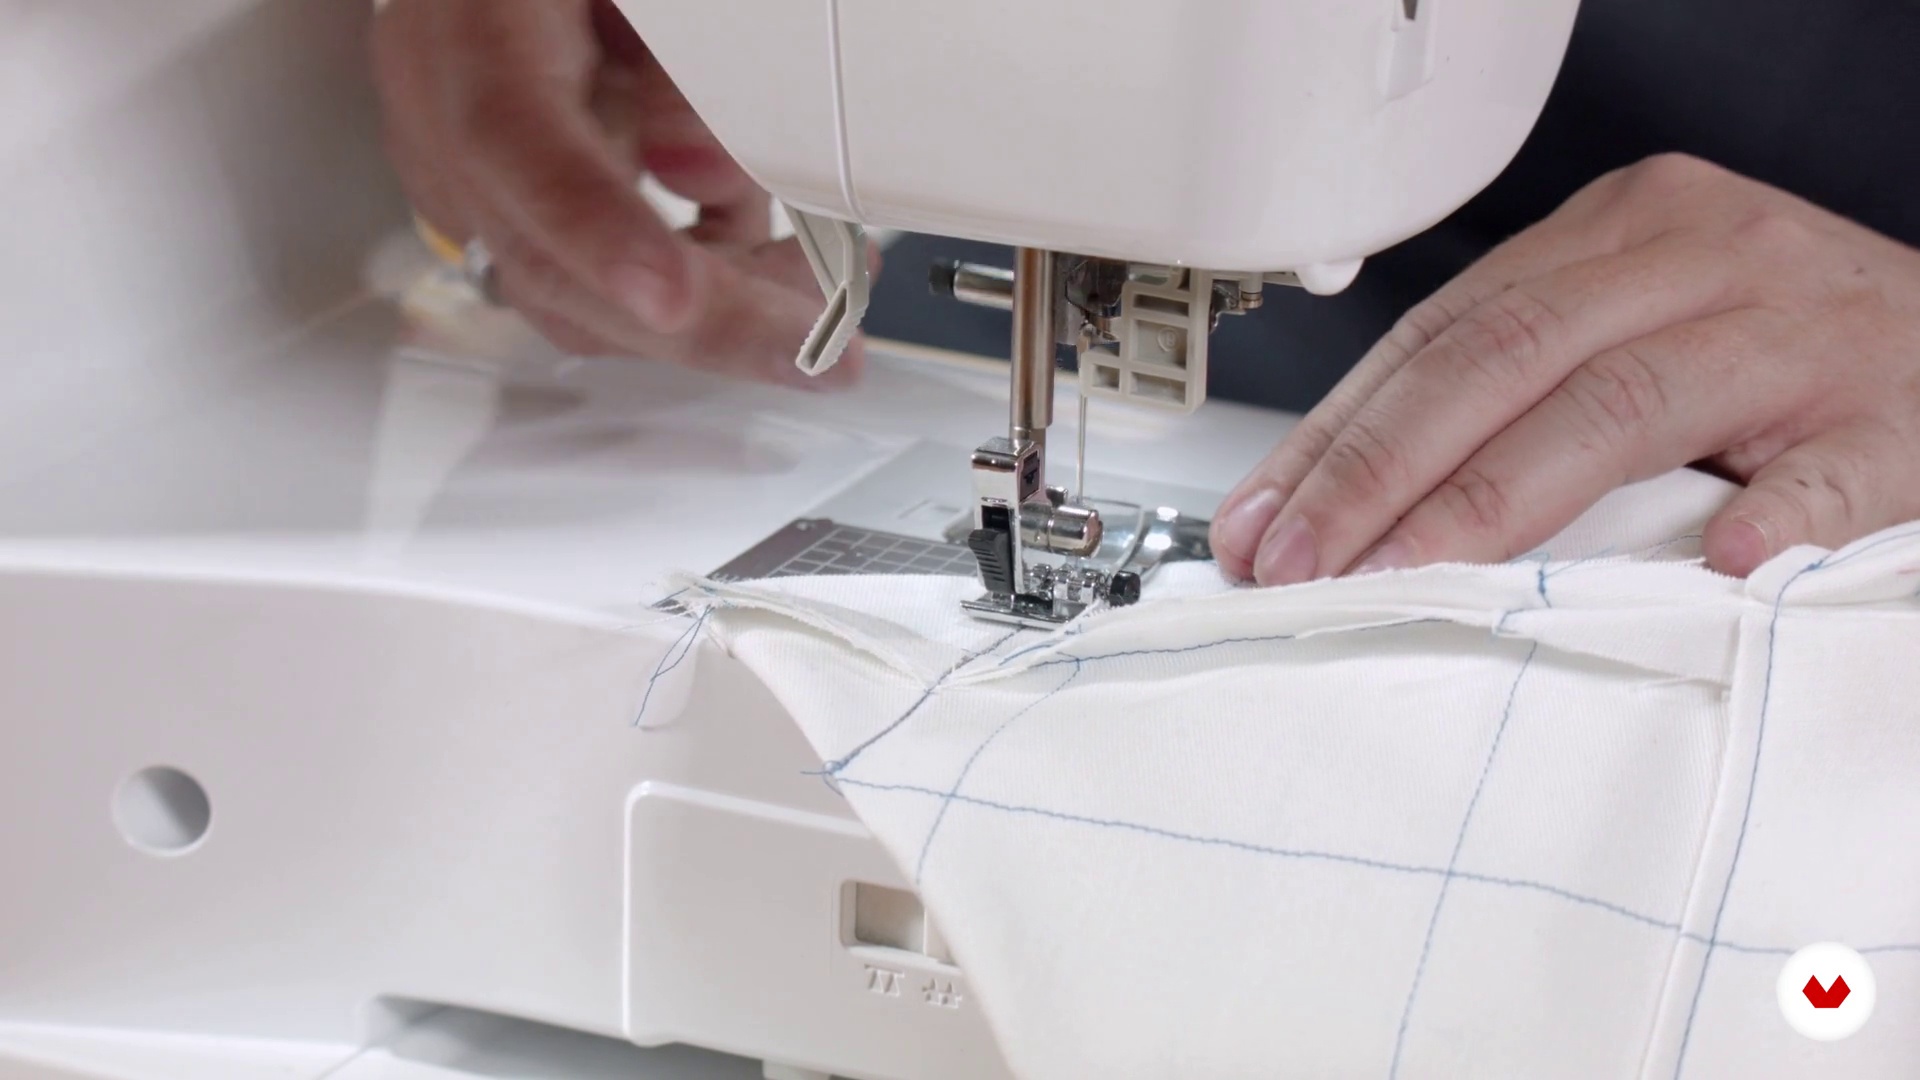
11Armed with the sachet
Now that you have your fabric rectangle ready, let's turn it into a drawstring bag. Now's the time to bring your prettiest piece of ribbon.
10m
 12
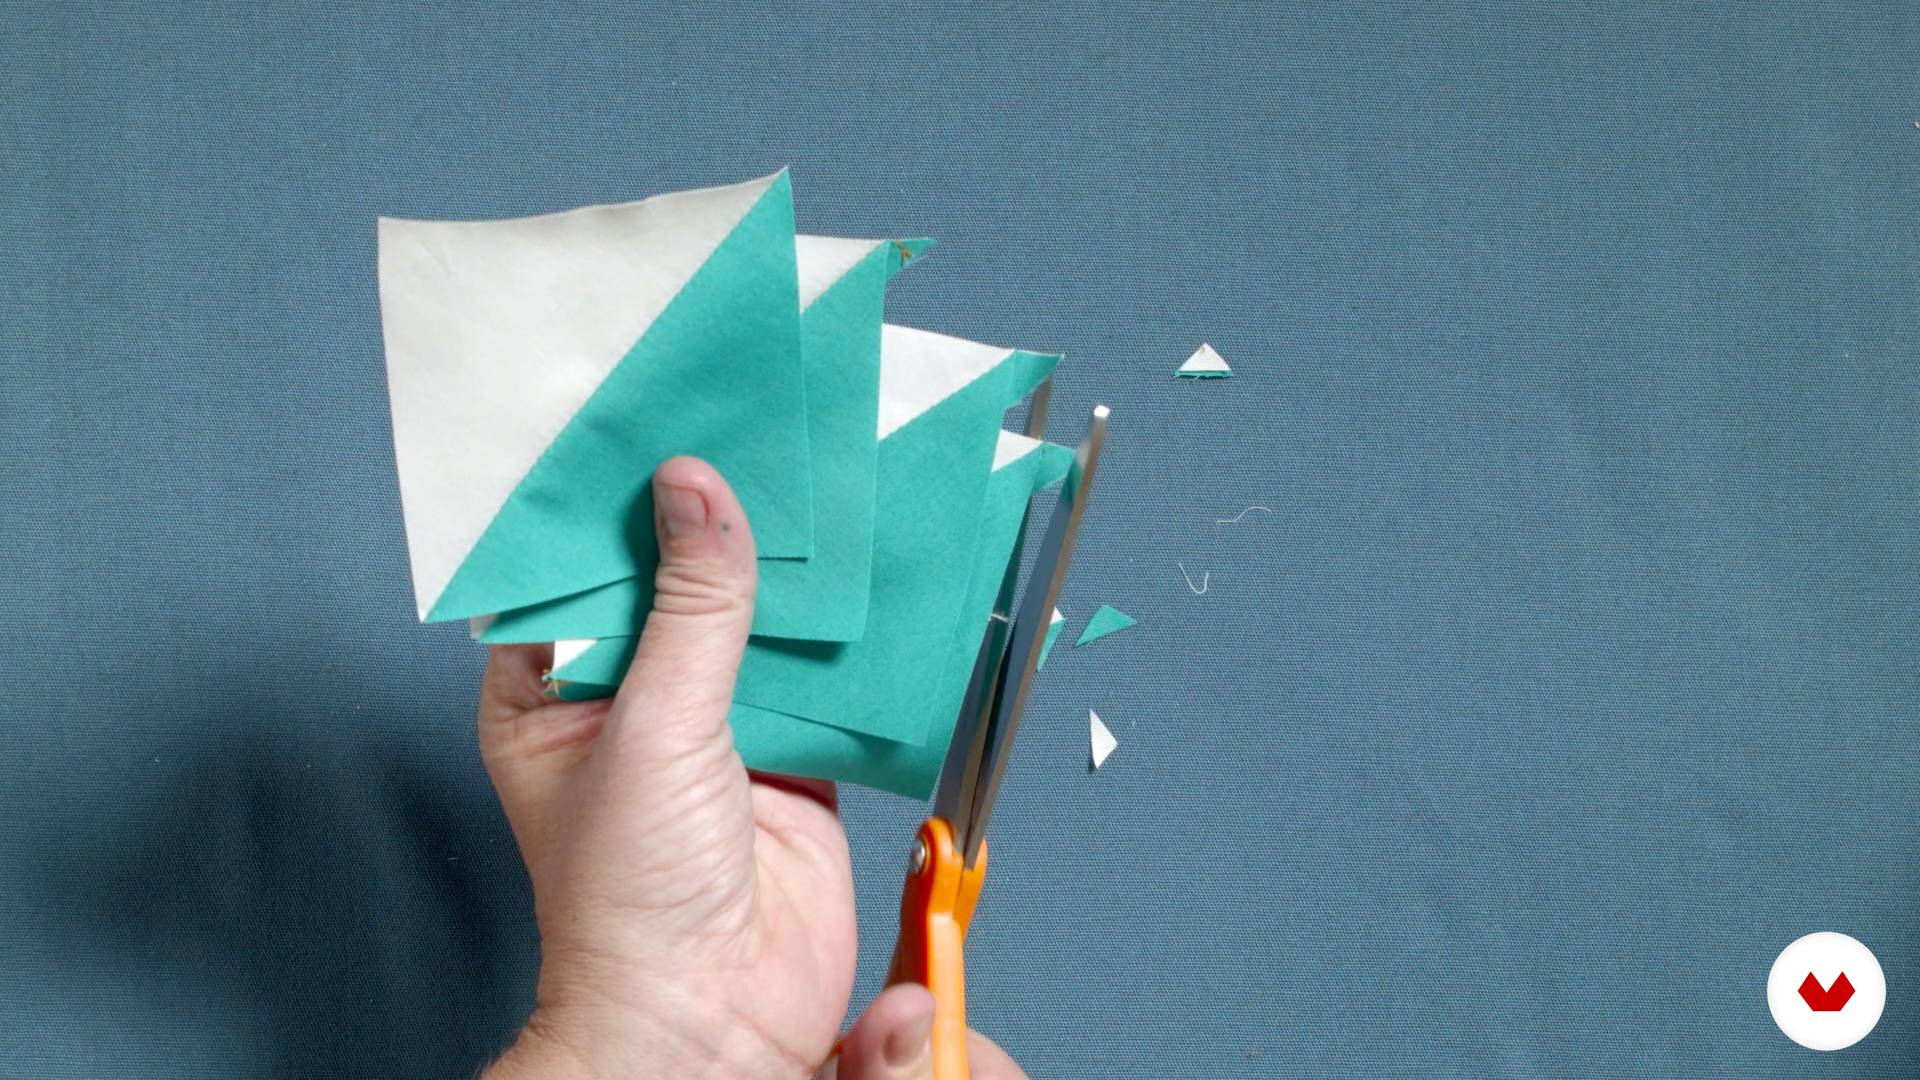
12Preparing your patchwork
Here the fun begins! Here comes one of the best things, a super simple, but very effective trick, to obtain squares divided into triangles and then many possible figures.
19m
 13
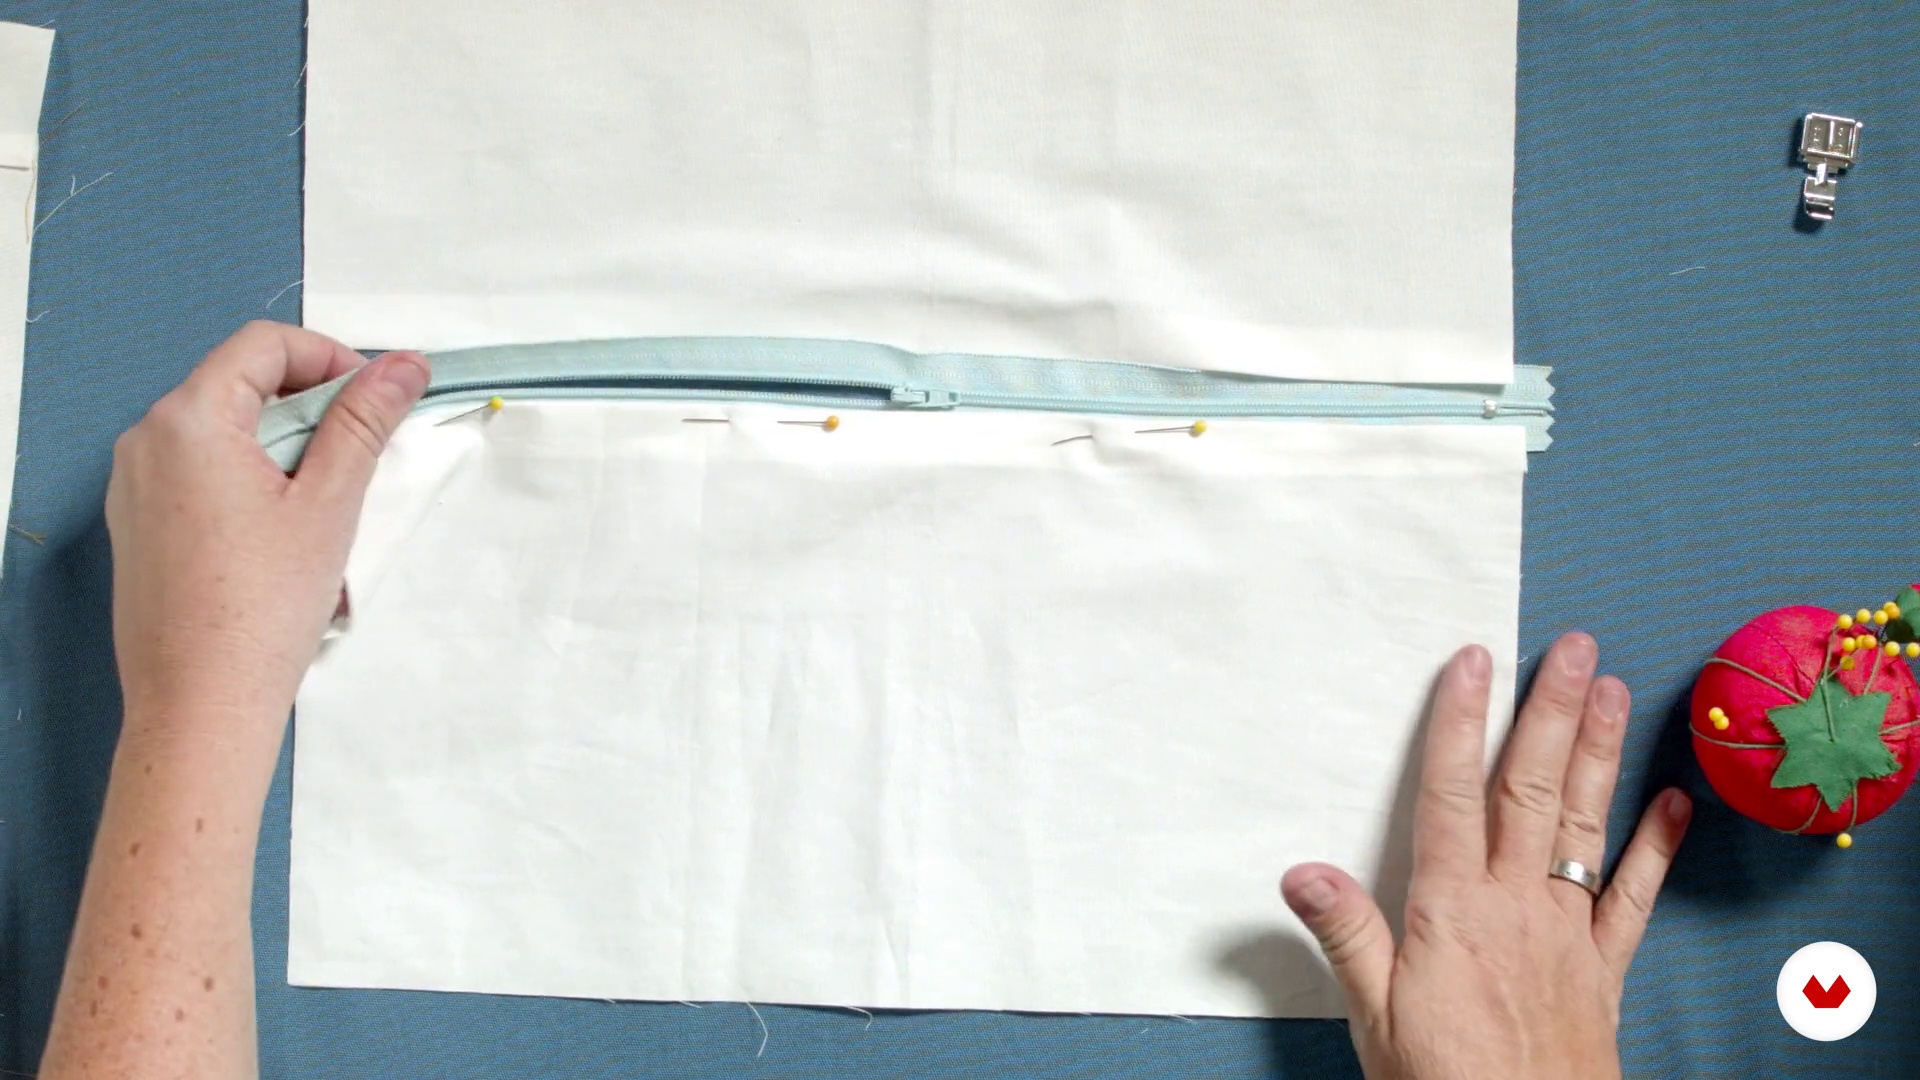
13The closing
Now we'll learn how to put on the world's simplest zipper. To do this, we'll cut the zipper face pieces. If you need a reminder on how to cut, go back to Lesson 1 of Unit 4.
5m
 14
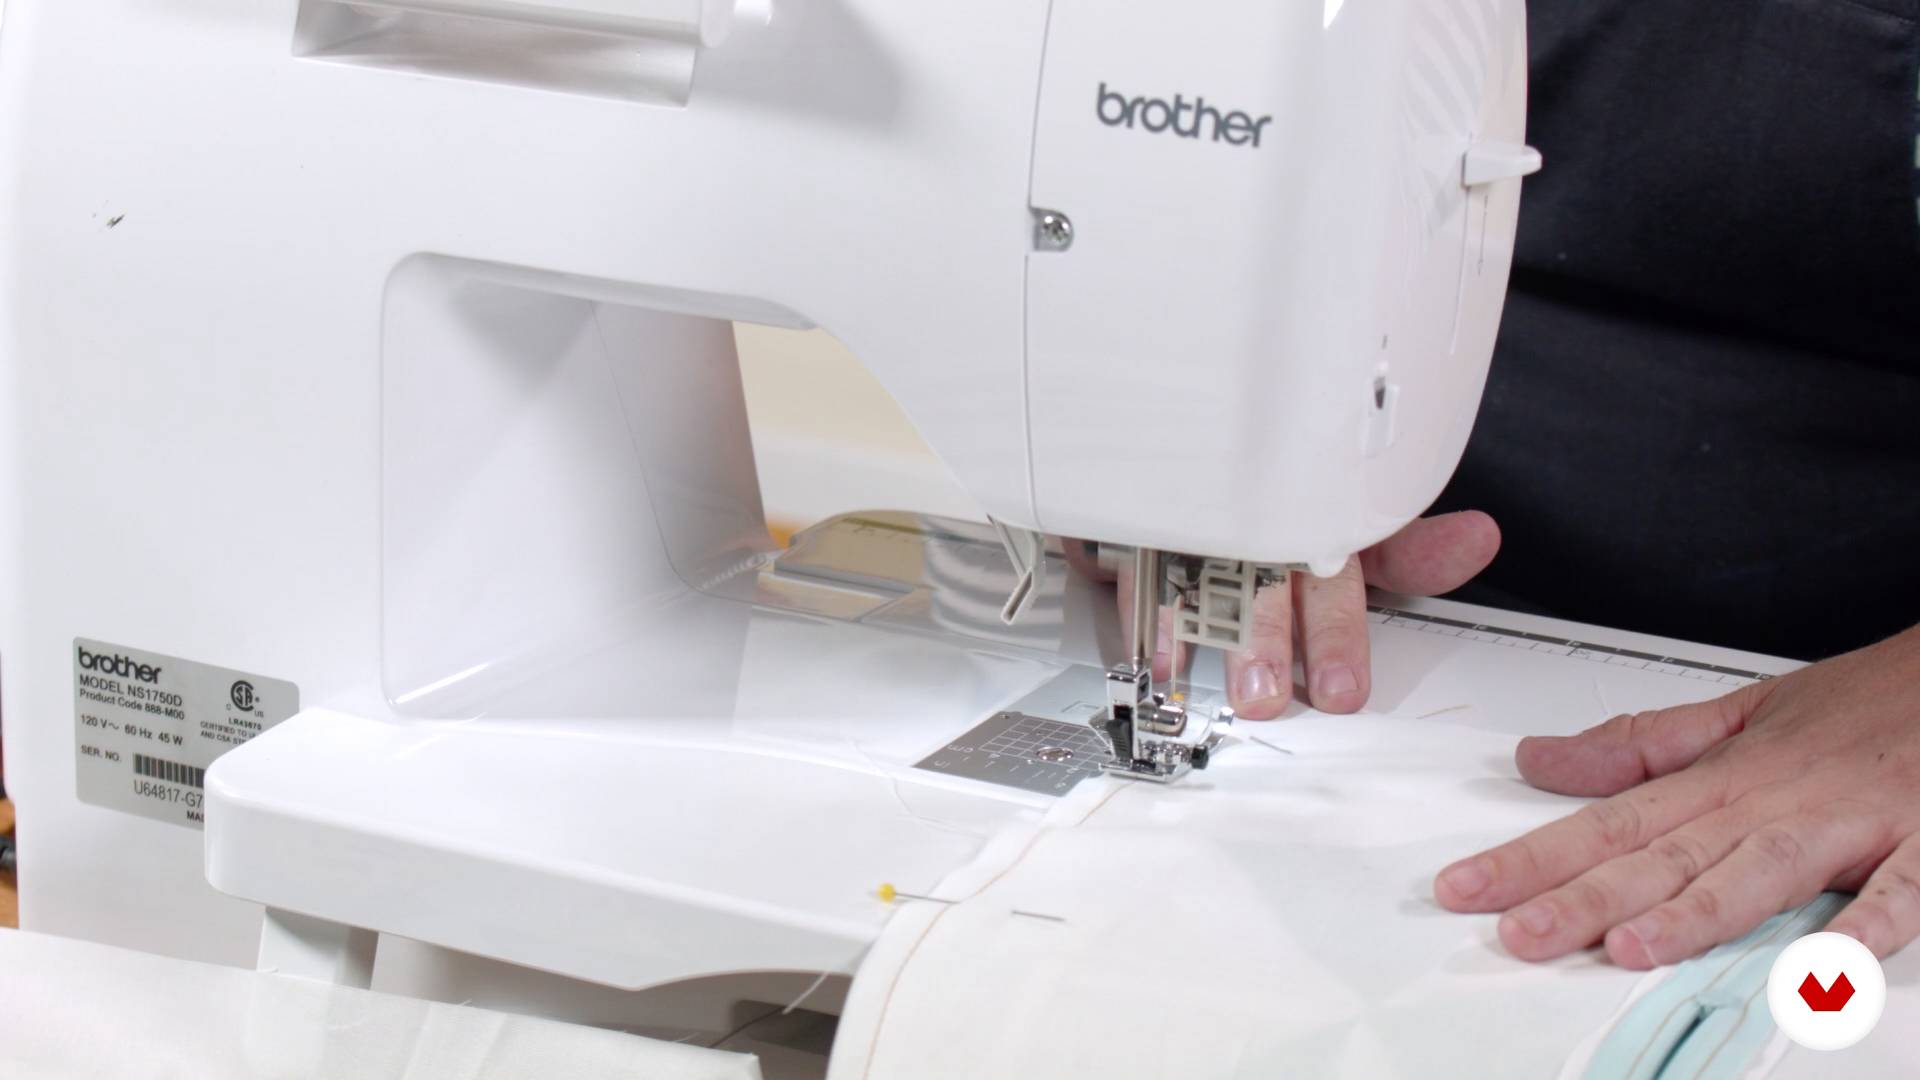
14Putting together the parts
Now, with both sides ready, we will assemble the cushion.
5m
 15
15Design your bag
To make this bag more special, you're going to design it yourself. Here I'll tell you how I designed it, how I chose the color scheme, and where I get my inspiration from when choosing the fabrics and colors I use in my pieces.
5m
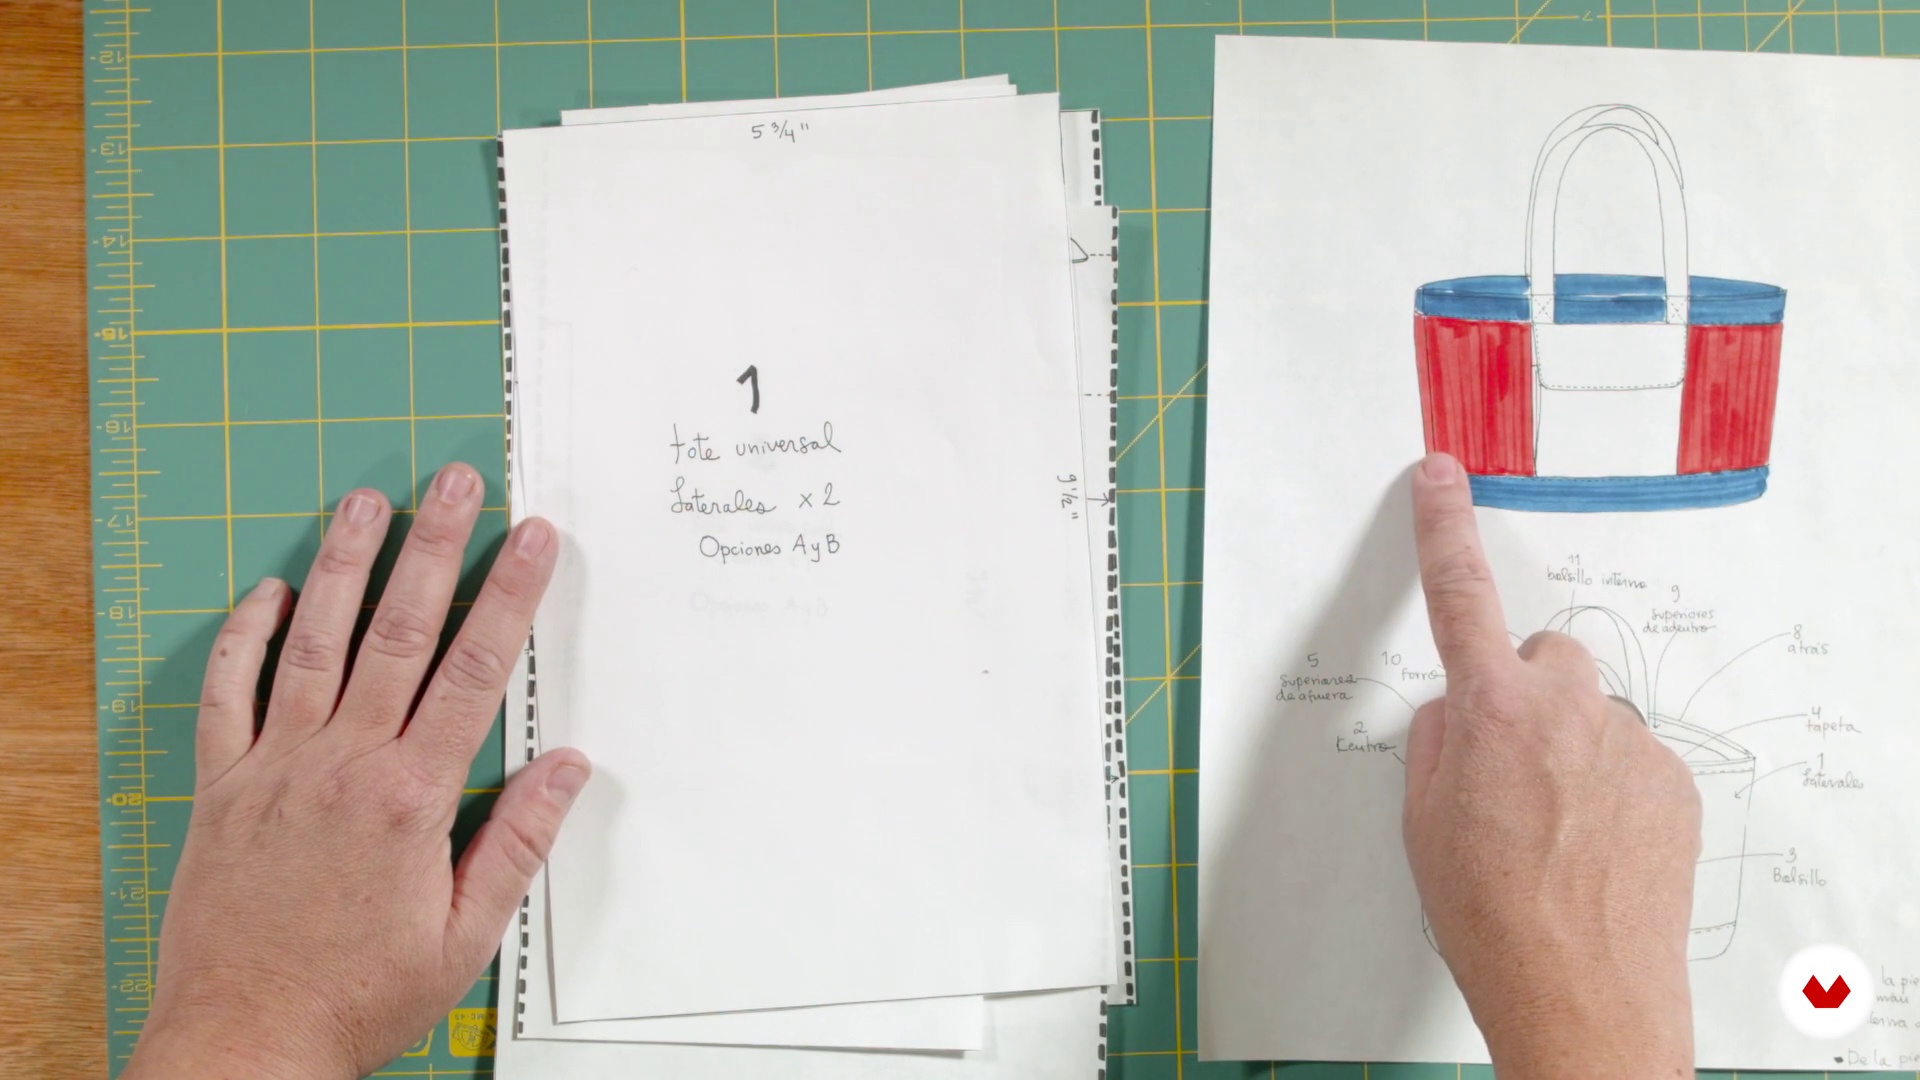 16
16Deciphering and cutting the pattern
Here I will briefly explain how to use the pattern and what each piece that makes it up is.
6m
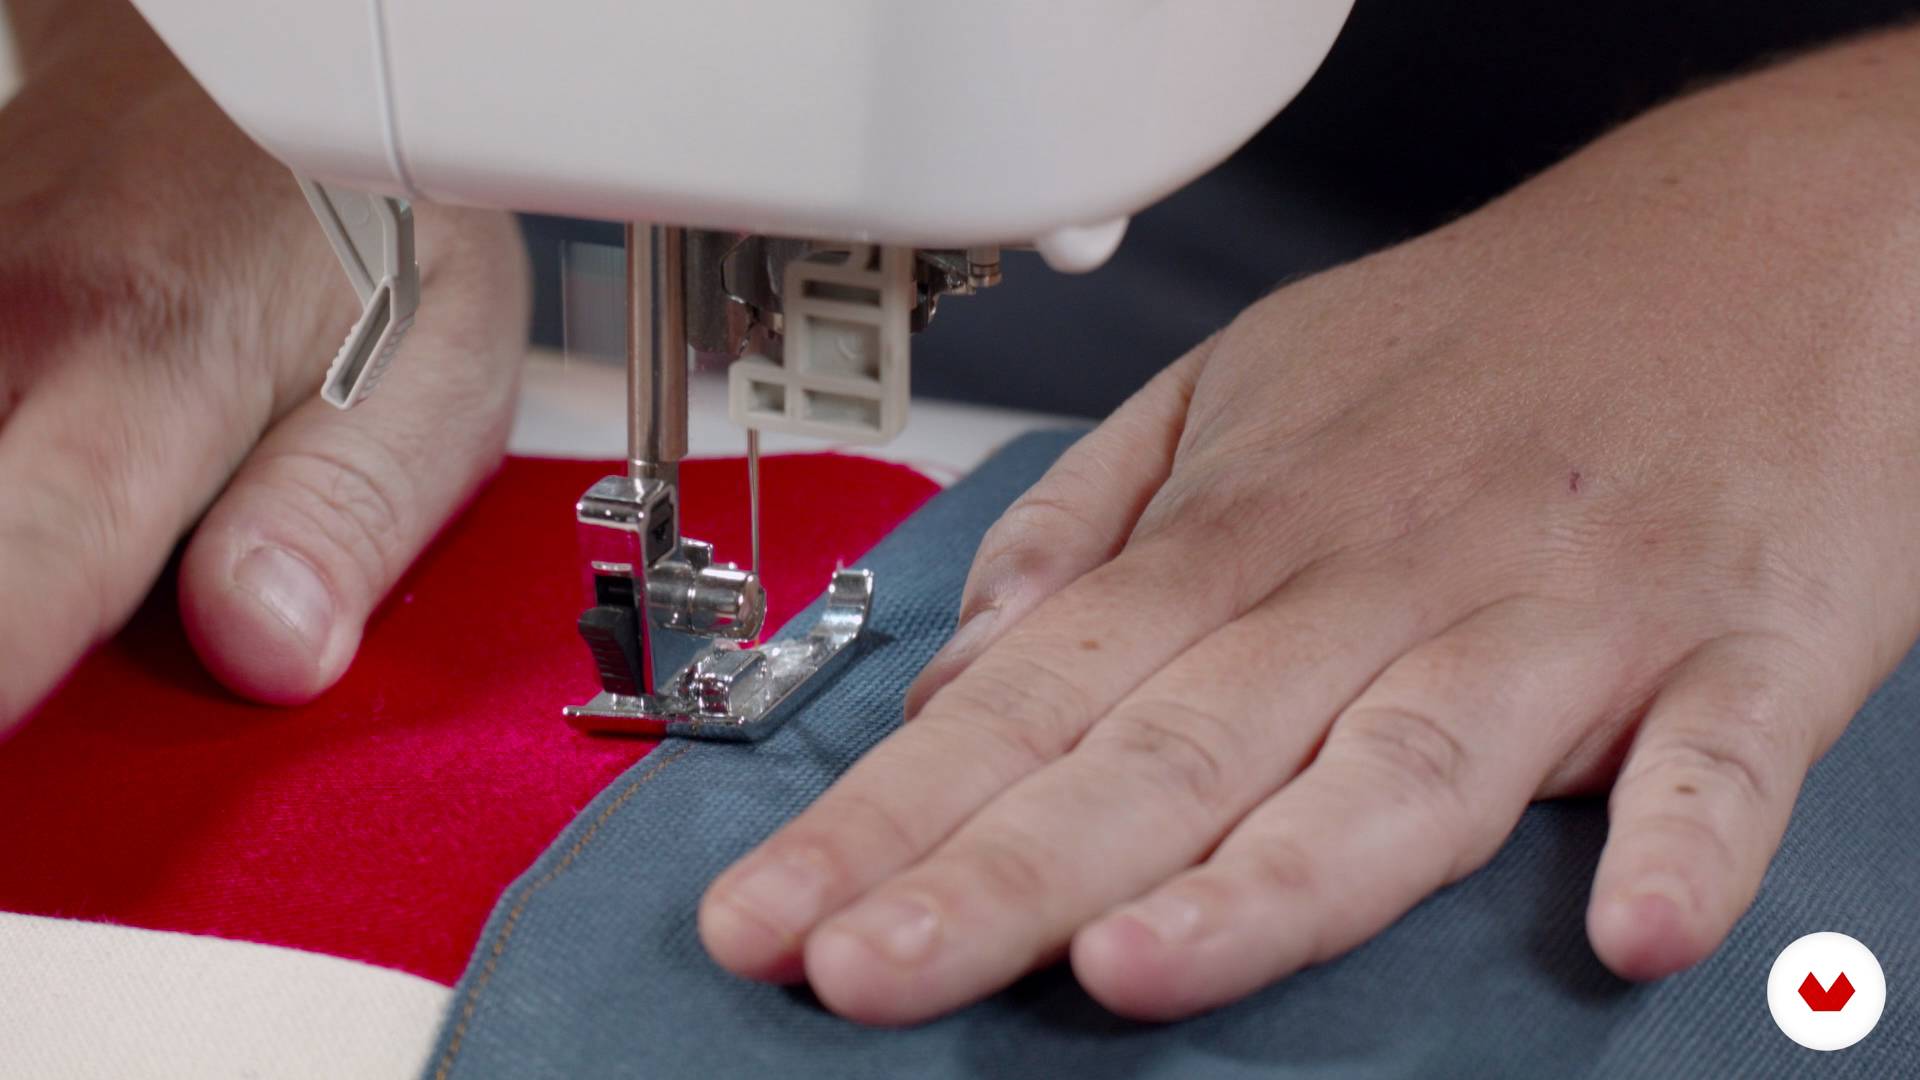 17
17The two faces
Now we will assemble the two sides of the bag, first the front, which is another small patchwork with far fewer pieces, and then the back.
22m
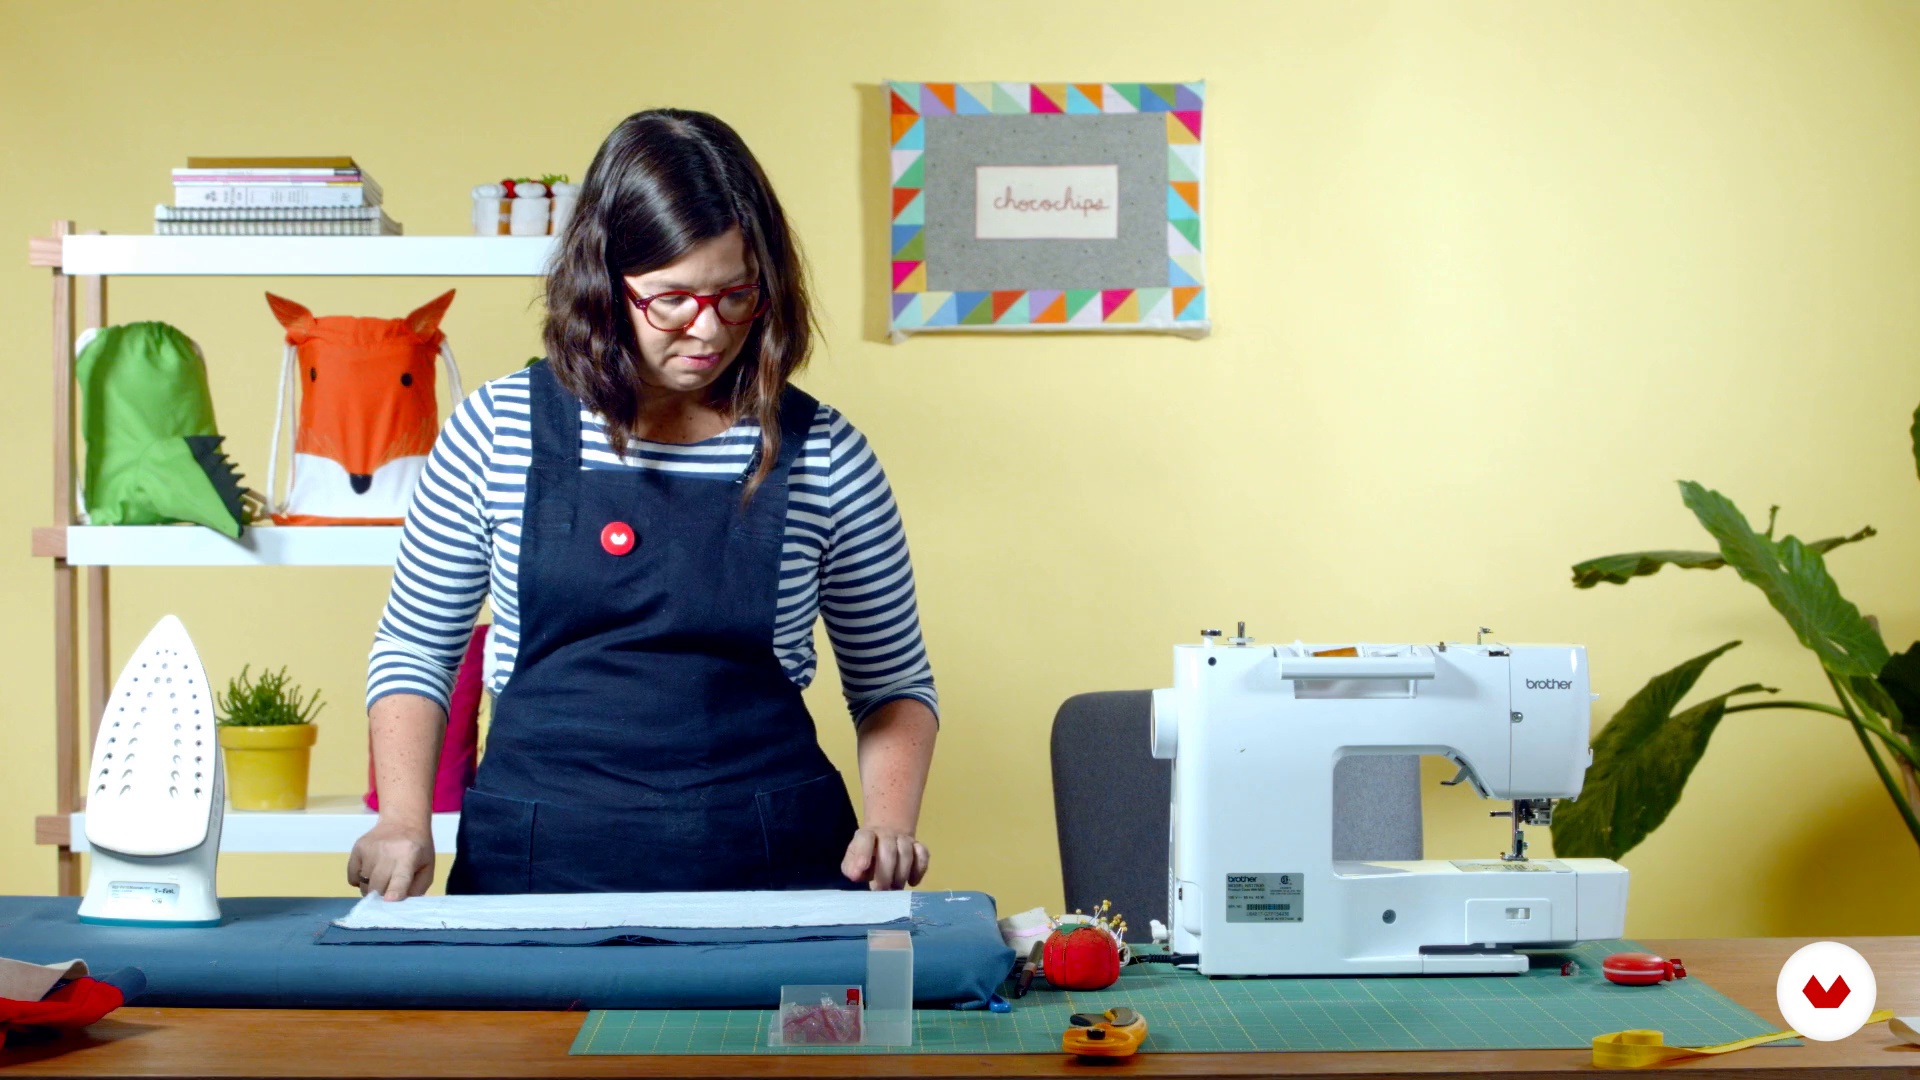 18
18Cover
Yes, remember that this bag has a nice lining where you can also put another pocket!
4m
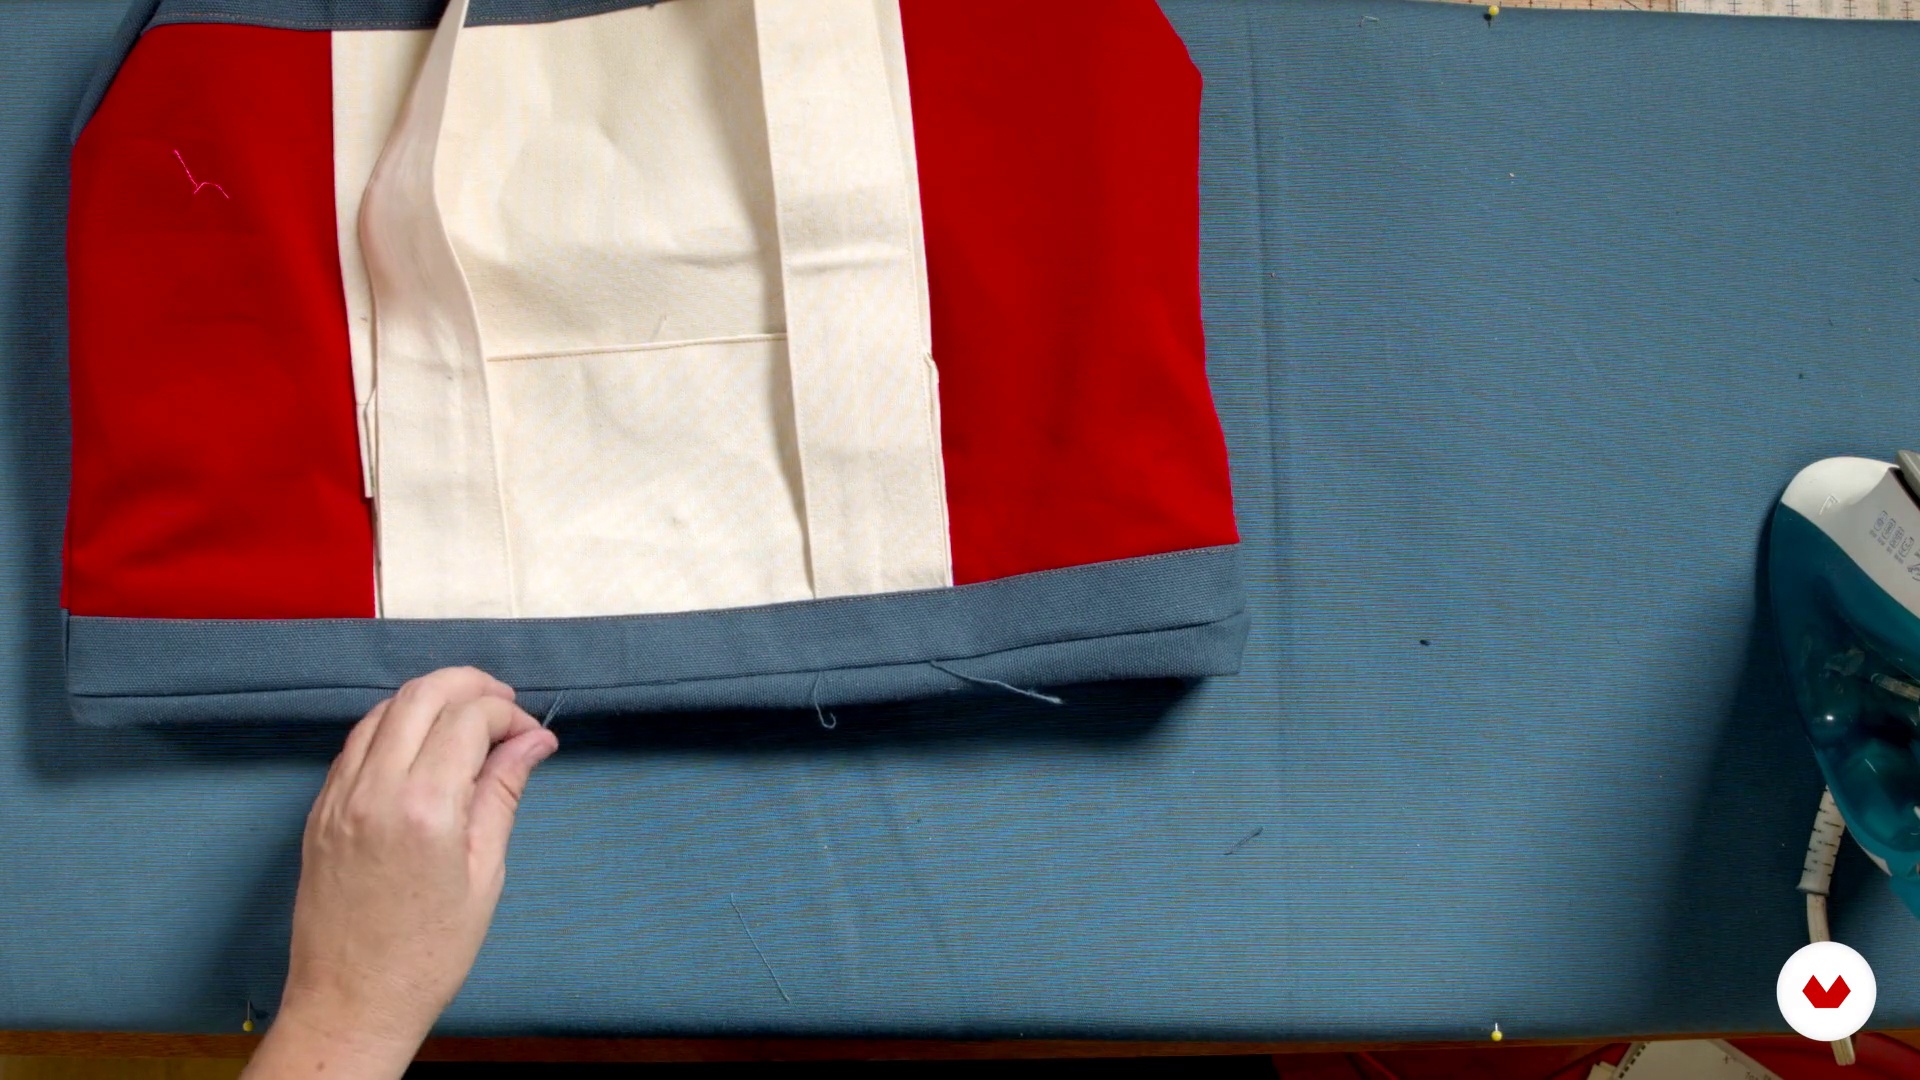 19
19Now yes, the final assembly
Almost there, this is the last step, I swear! This is where we join the two bags we have (exterior and lining) into one, and we do the final finishing touches.
8m
 3
3Technique and Materials Required
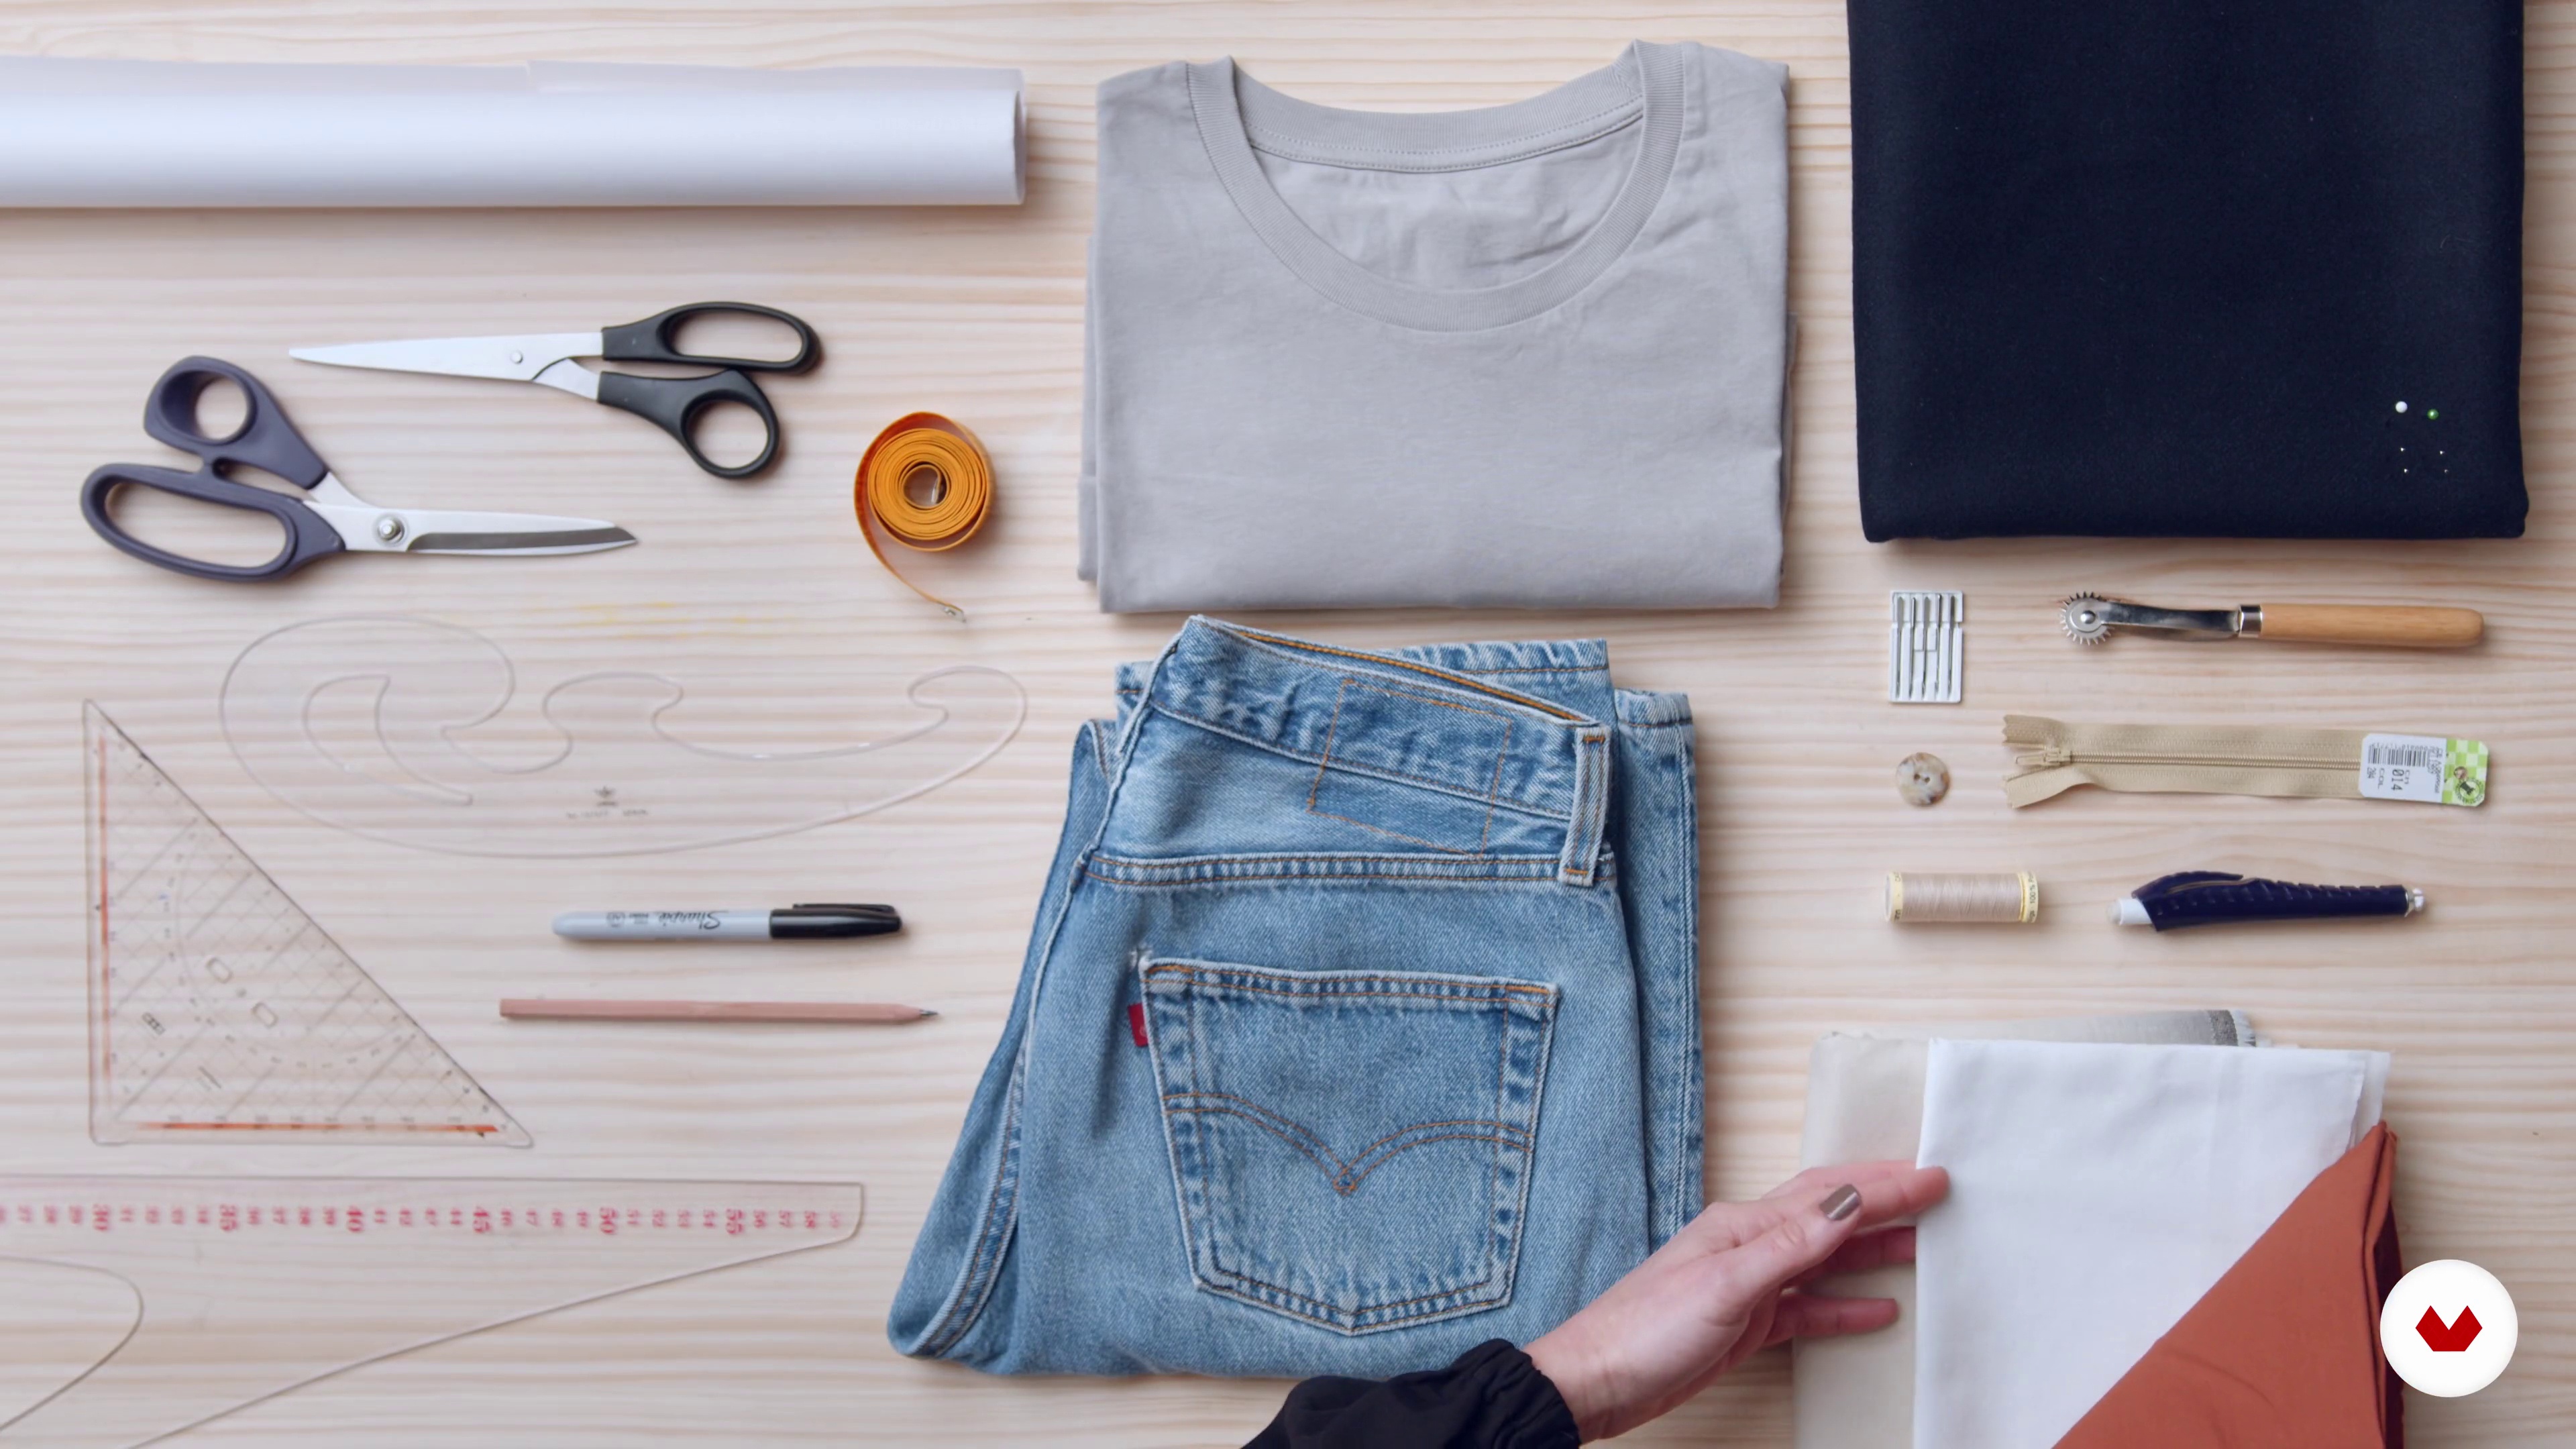
In this lesson, we'll explain what this technique entails: how to create a pattern for a garment without disassembling it, and why we can create a pattern even without knowing any patternmaking methods. We'll also cover the necessary and recommended materials for this course, both those needed to create the patterns and those needed to complete the final project.
6m
 4
4Basic Notions of Pattern Making: Fundamental
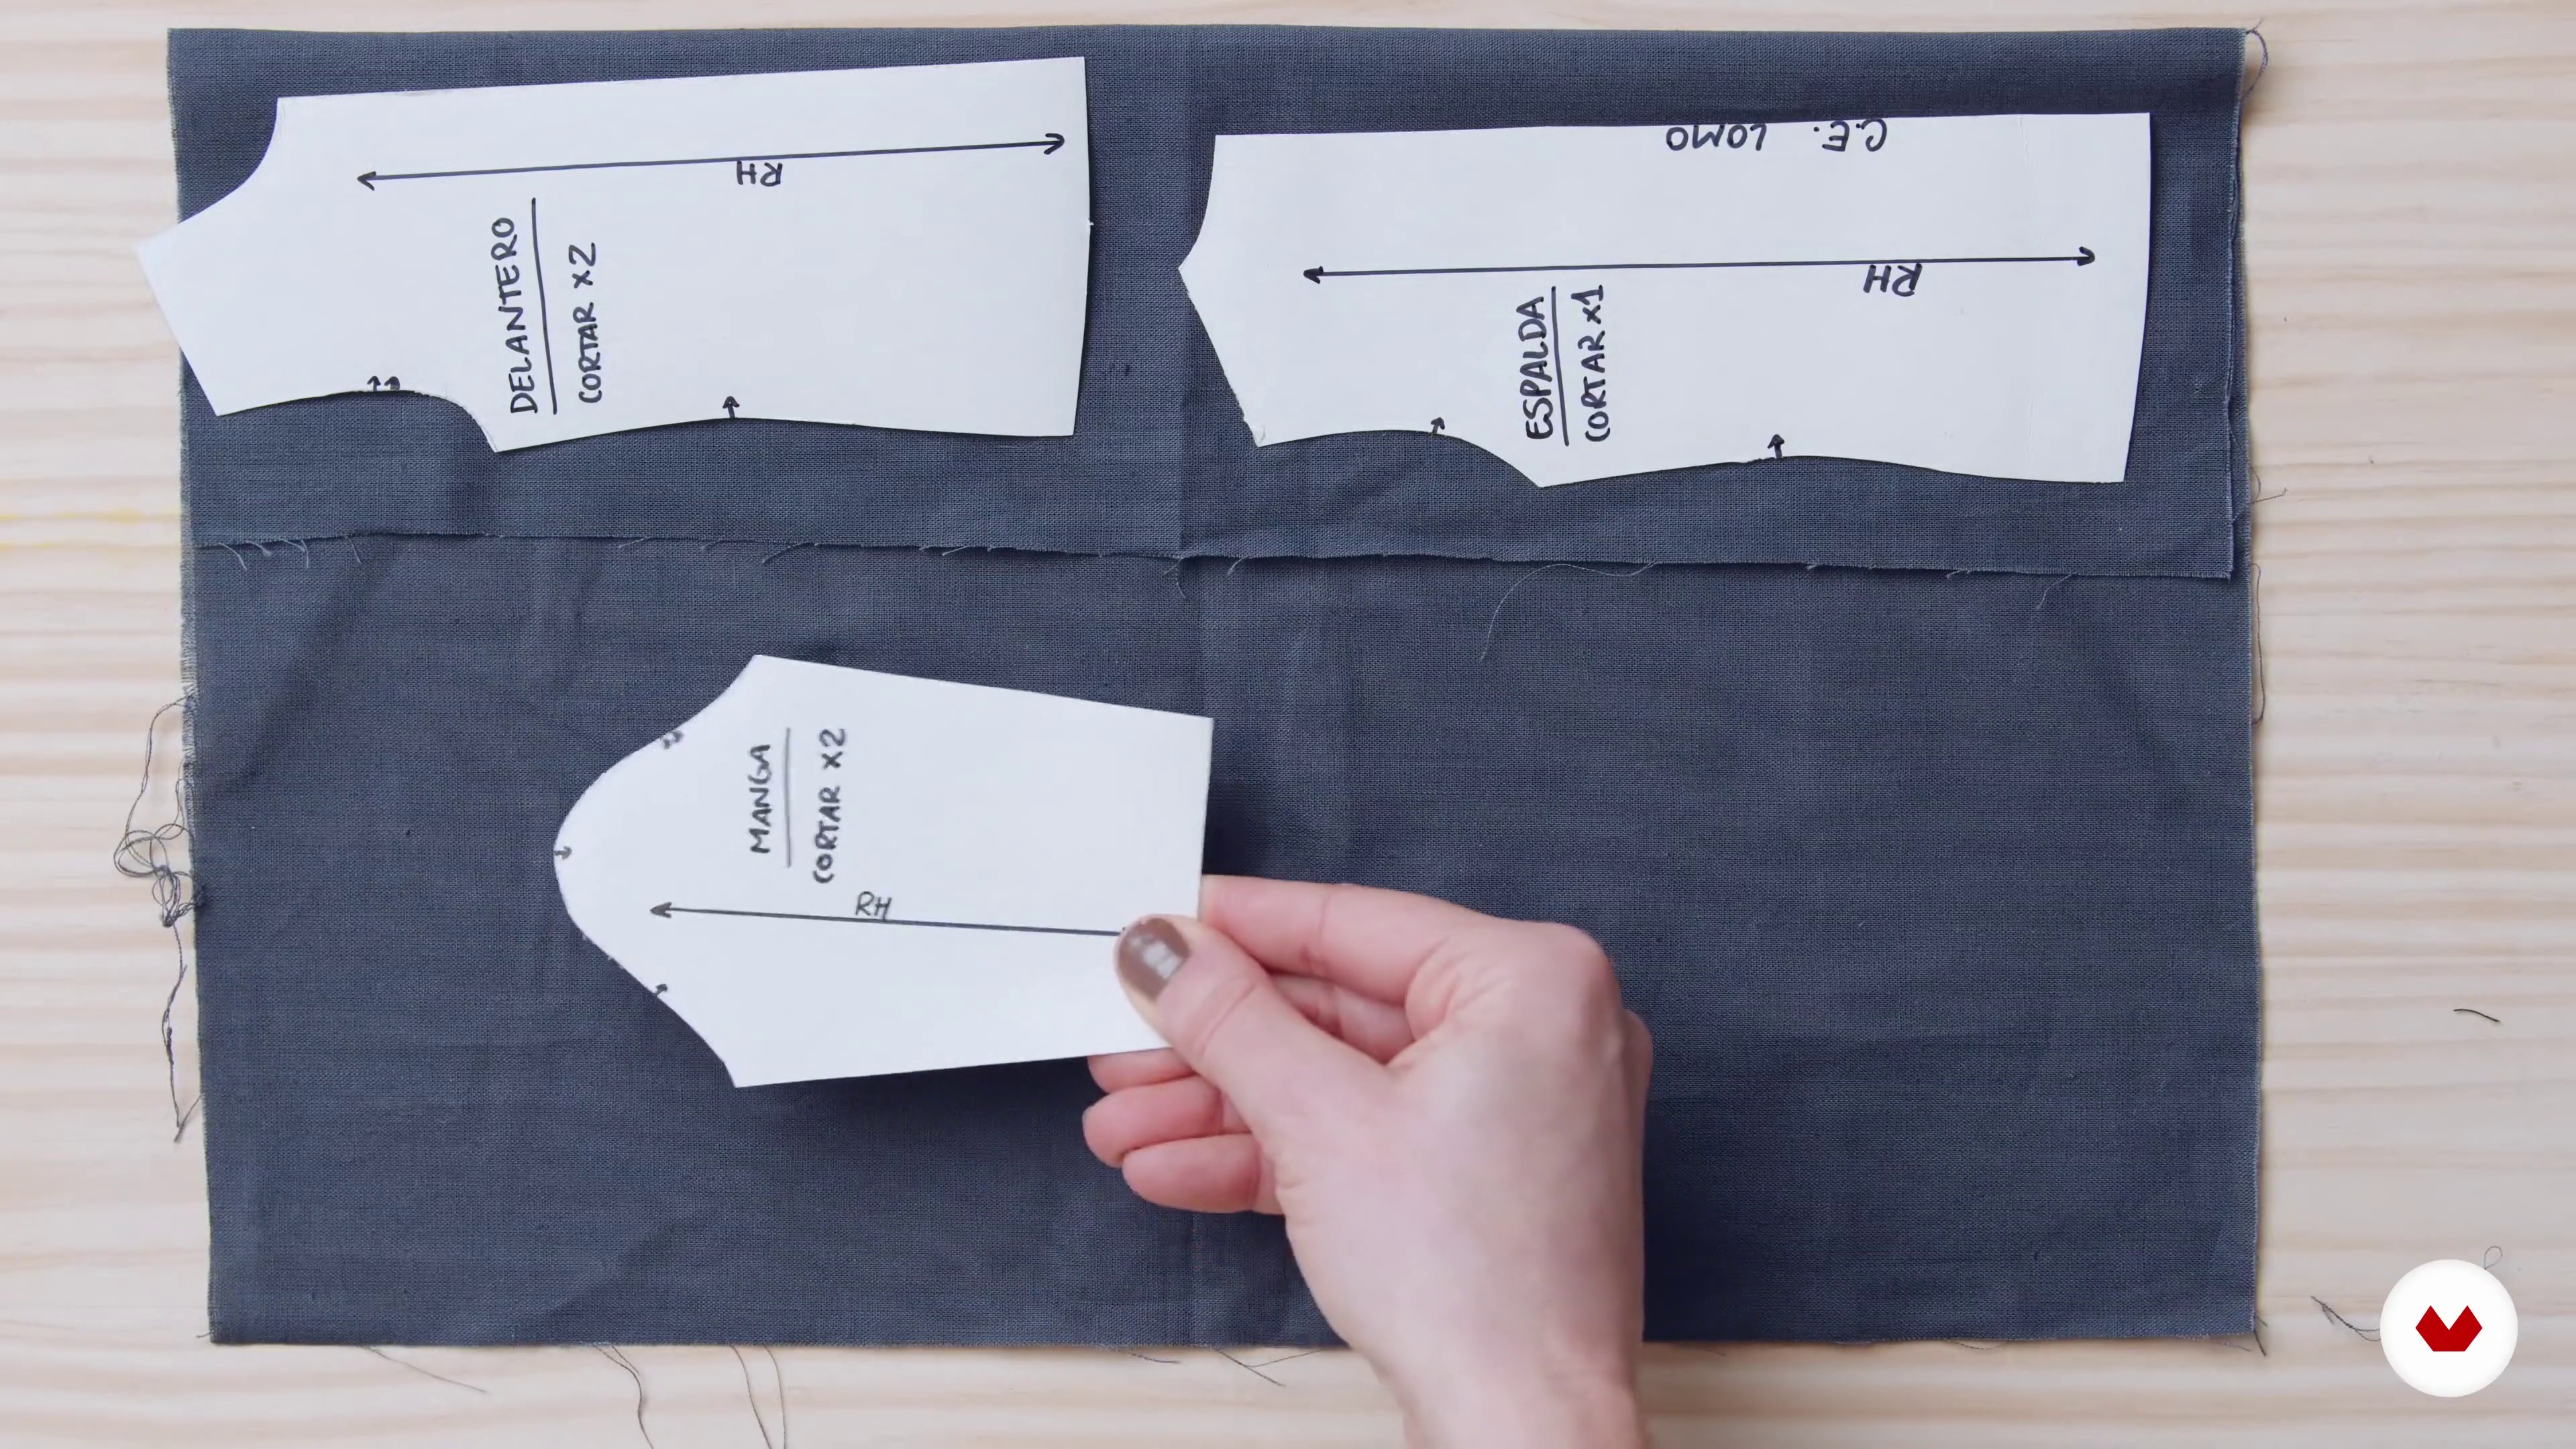
Before you begin practicing the pattern-making technique, we'll teach you some fundamental concepts you need to know to create correct and well-made patterns. In this lesson, we'll cover how to differentiate between fabric types, what a straight thread is, and pattern symmetry.
5m
 5
5Basic Notions of Pattern Making: More Concepts
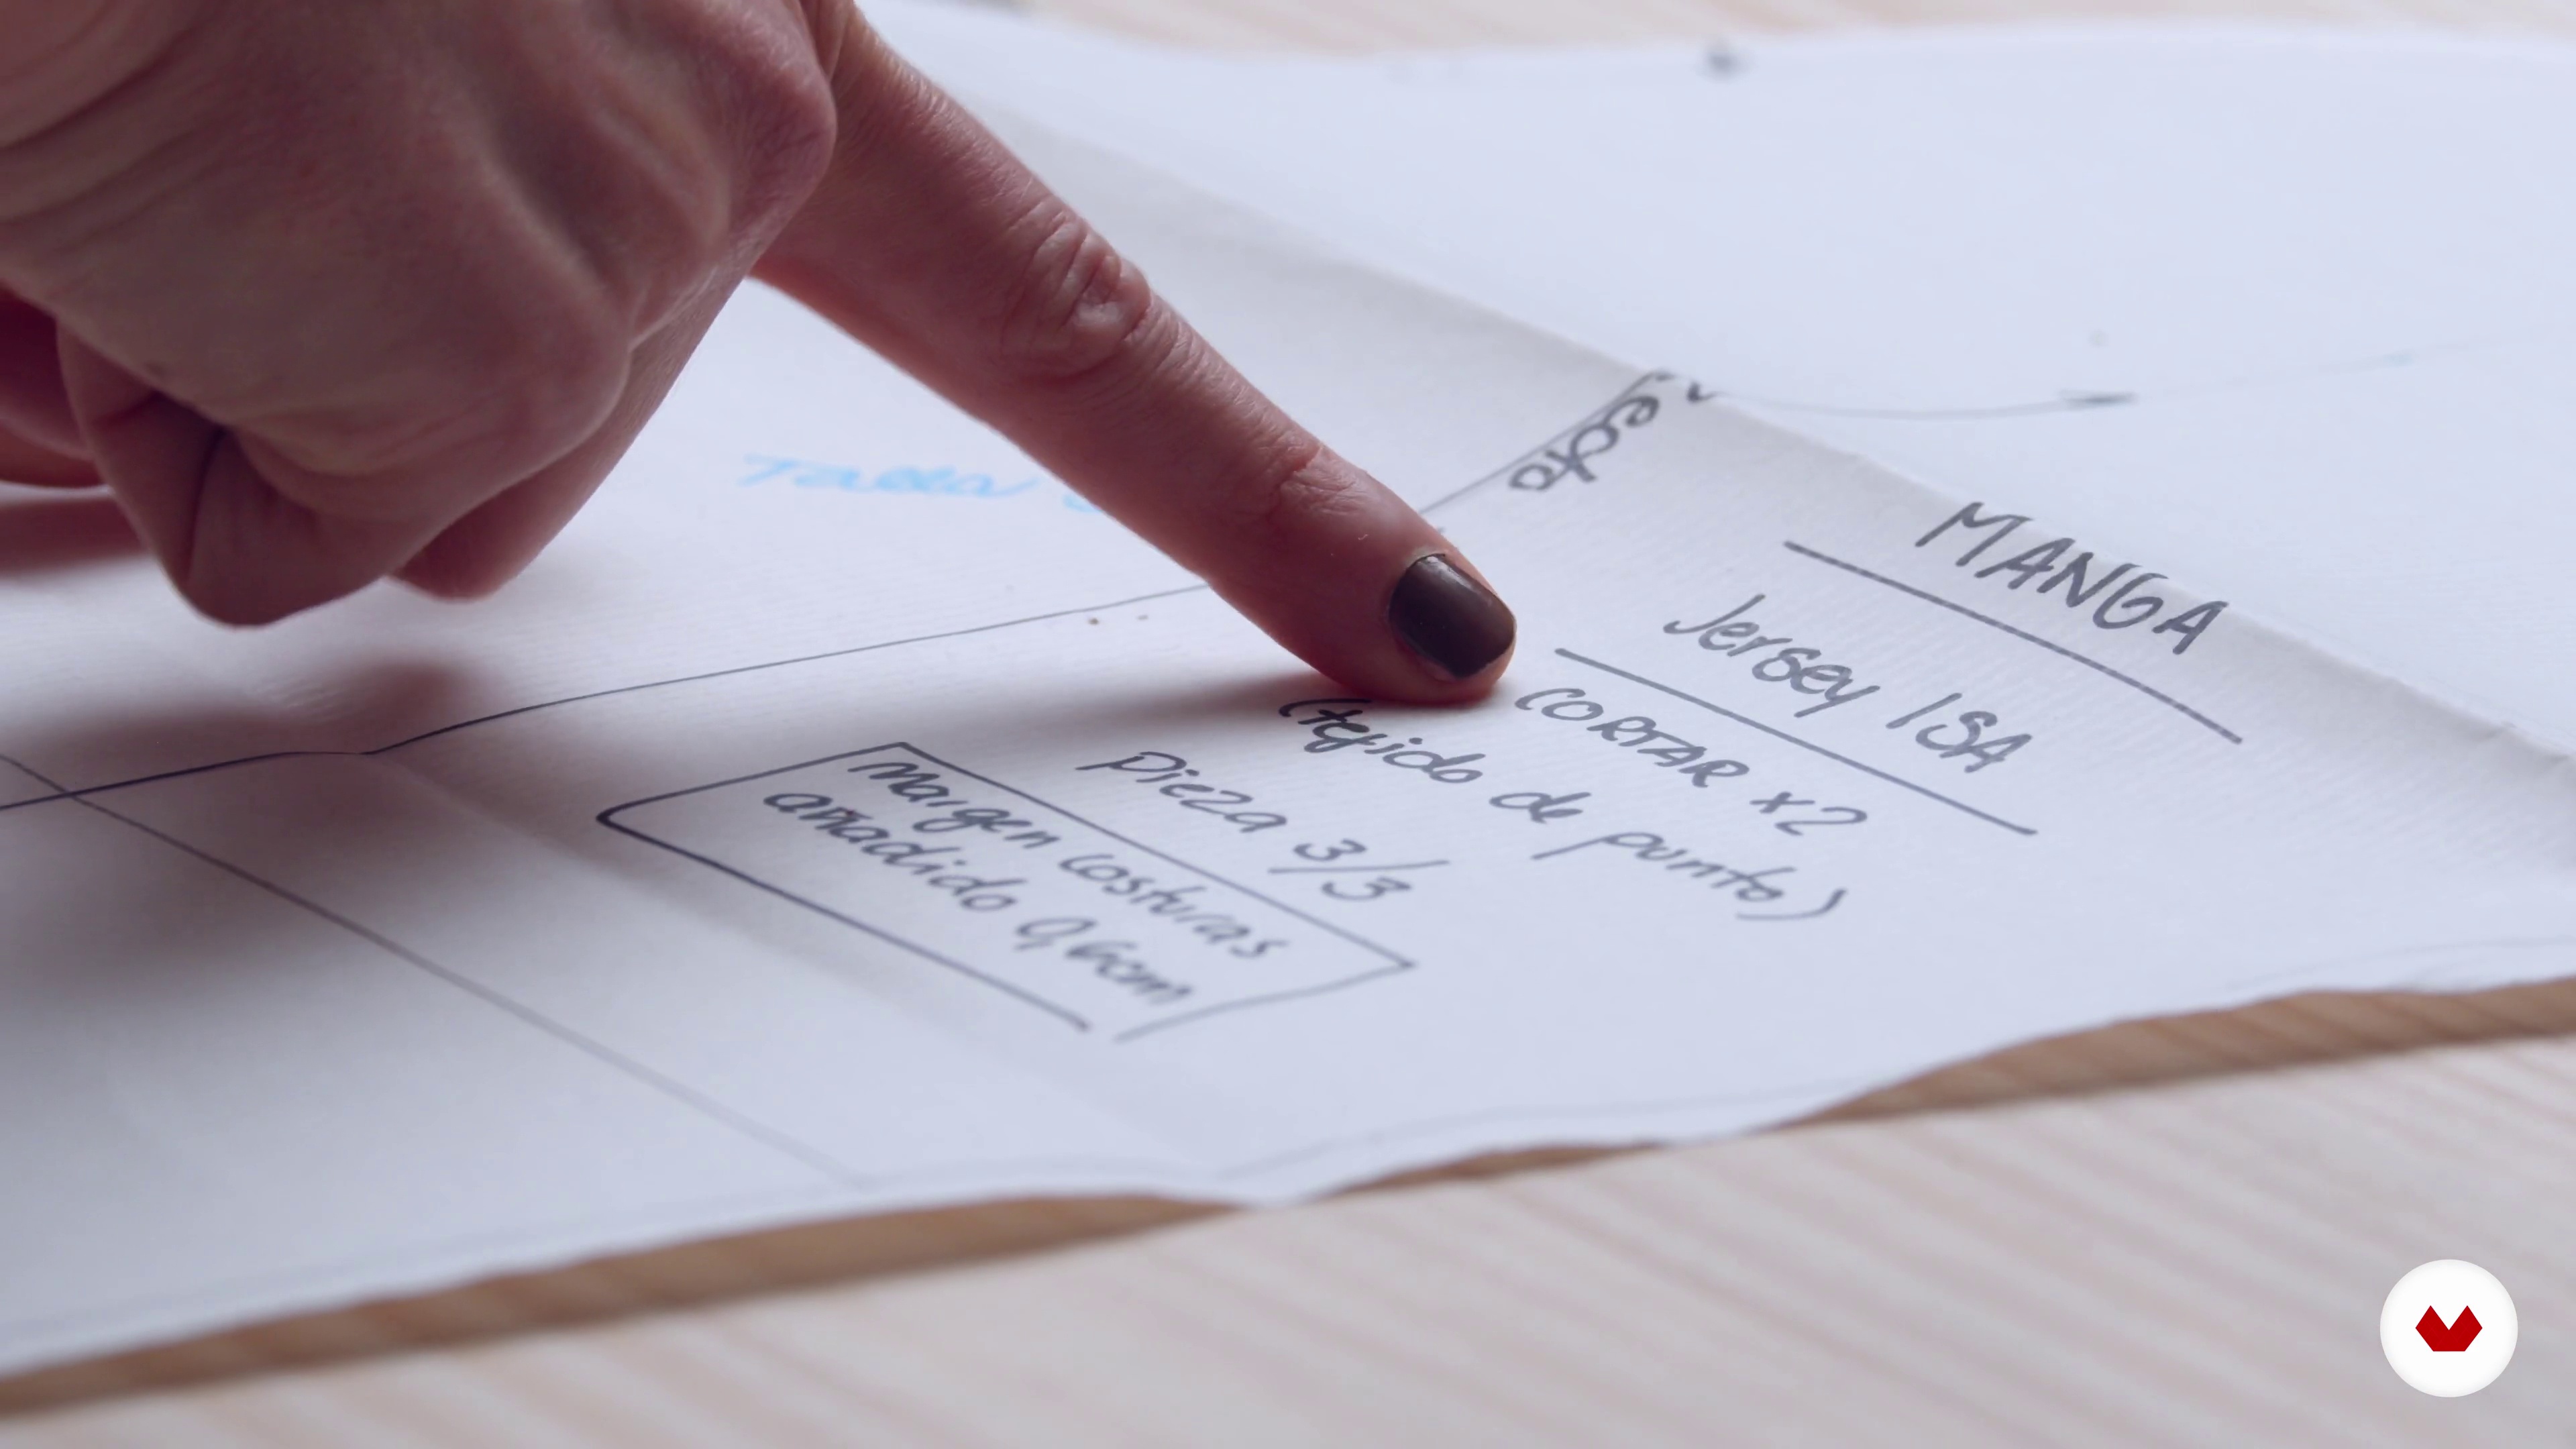
Continuing with the basics, we'll now look at all the nomenclature reflected in patterns, which can seem confusing. But don't worry, once you see what they're all about... you'll know how to interpret all kinds of patterns!
7m
 6
6Let's Reproduce a T-Shirt 1
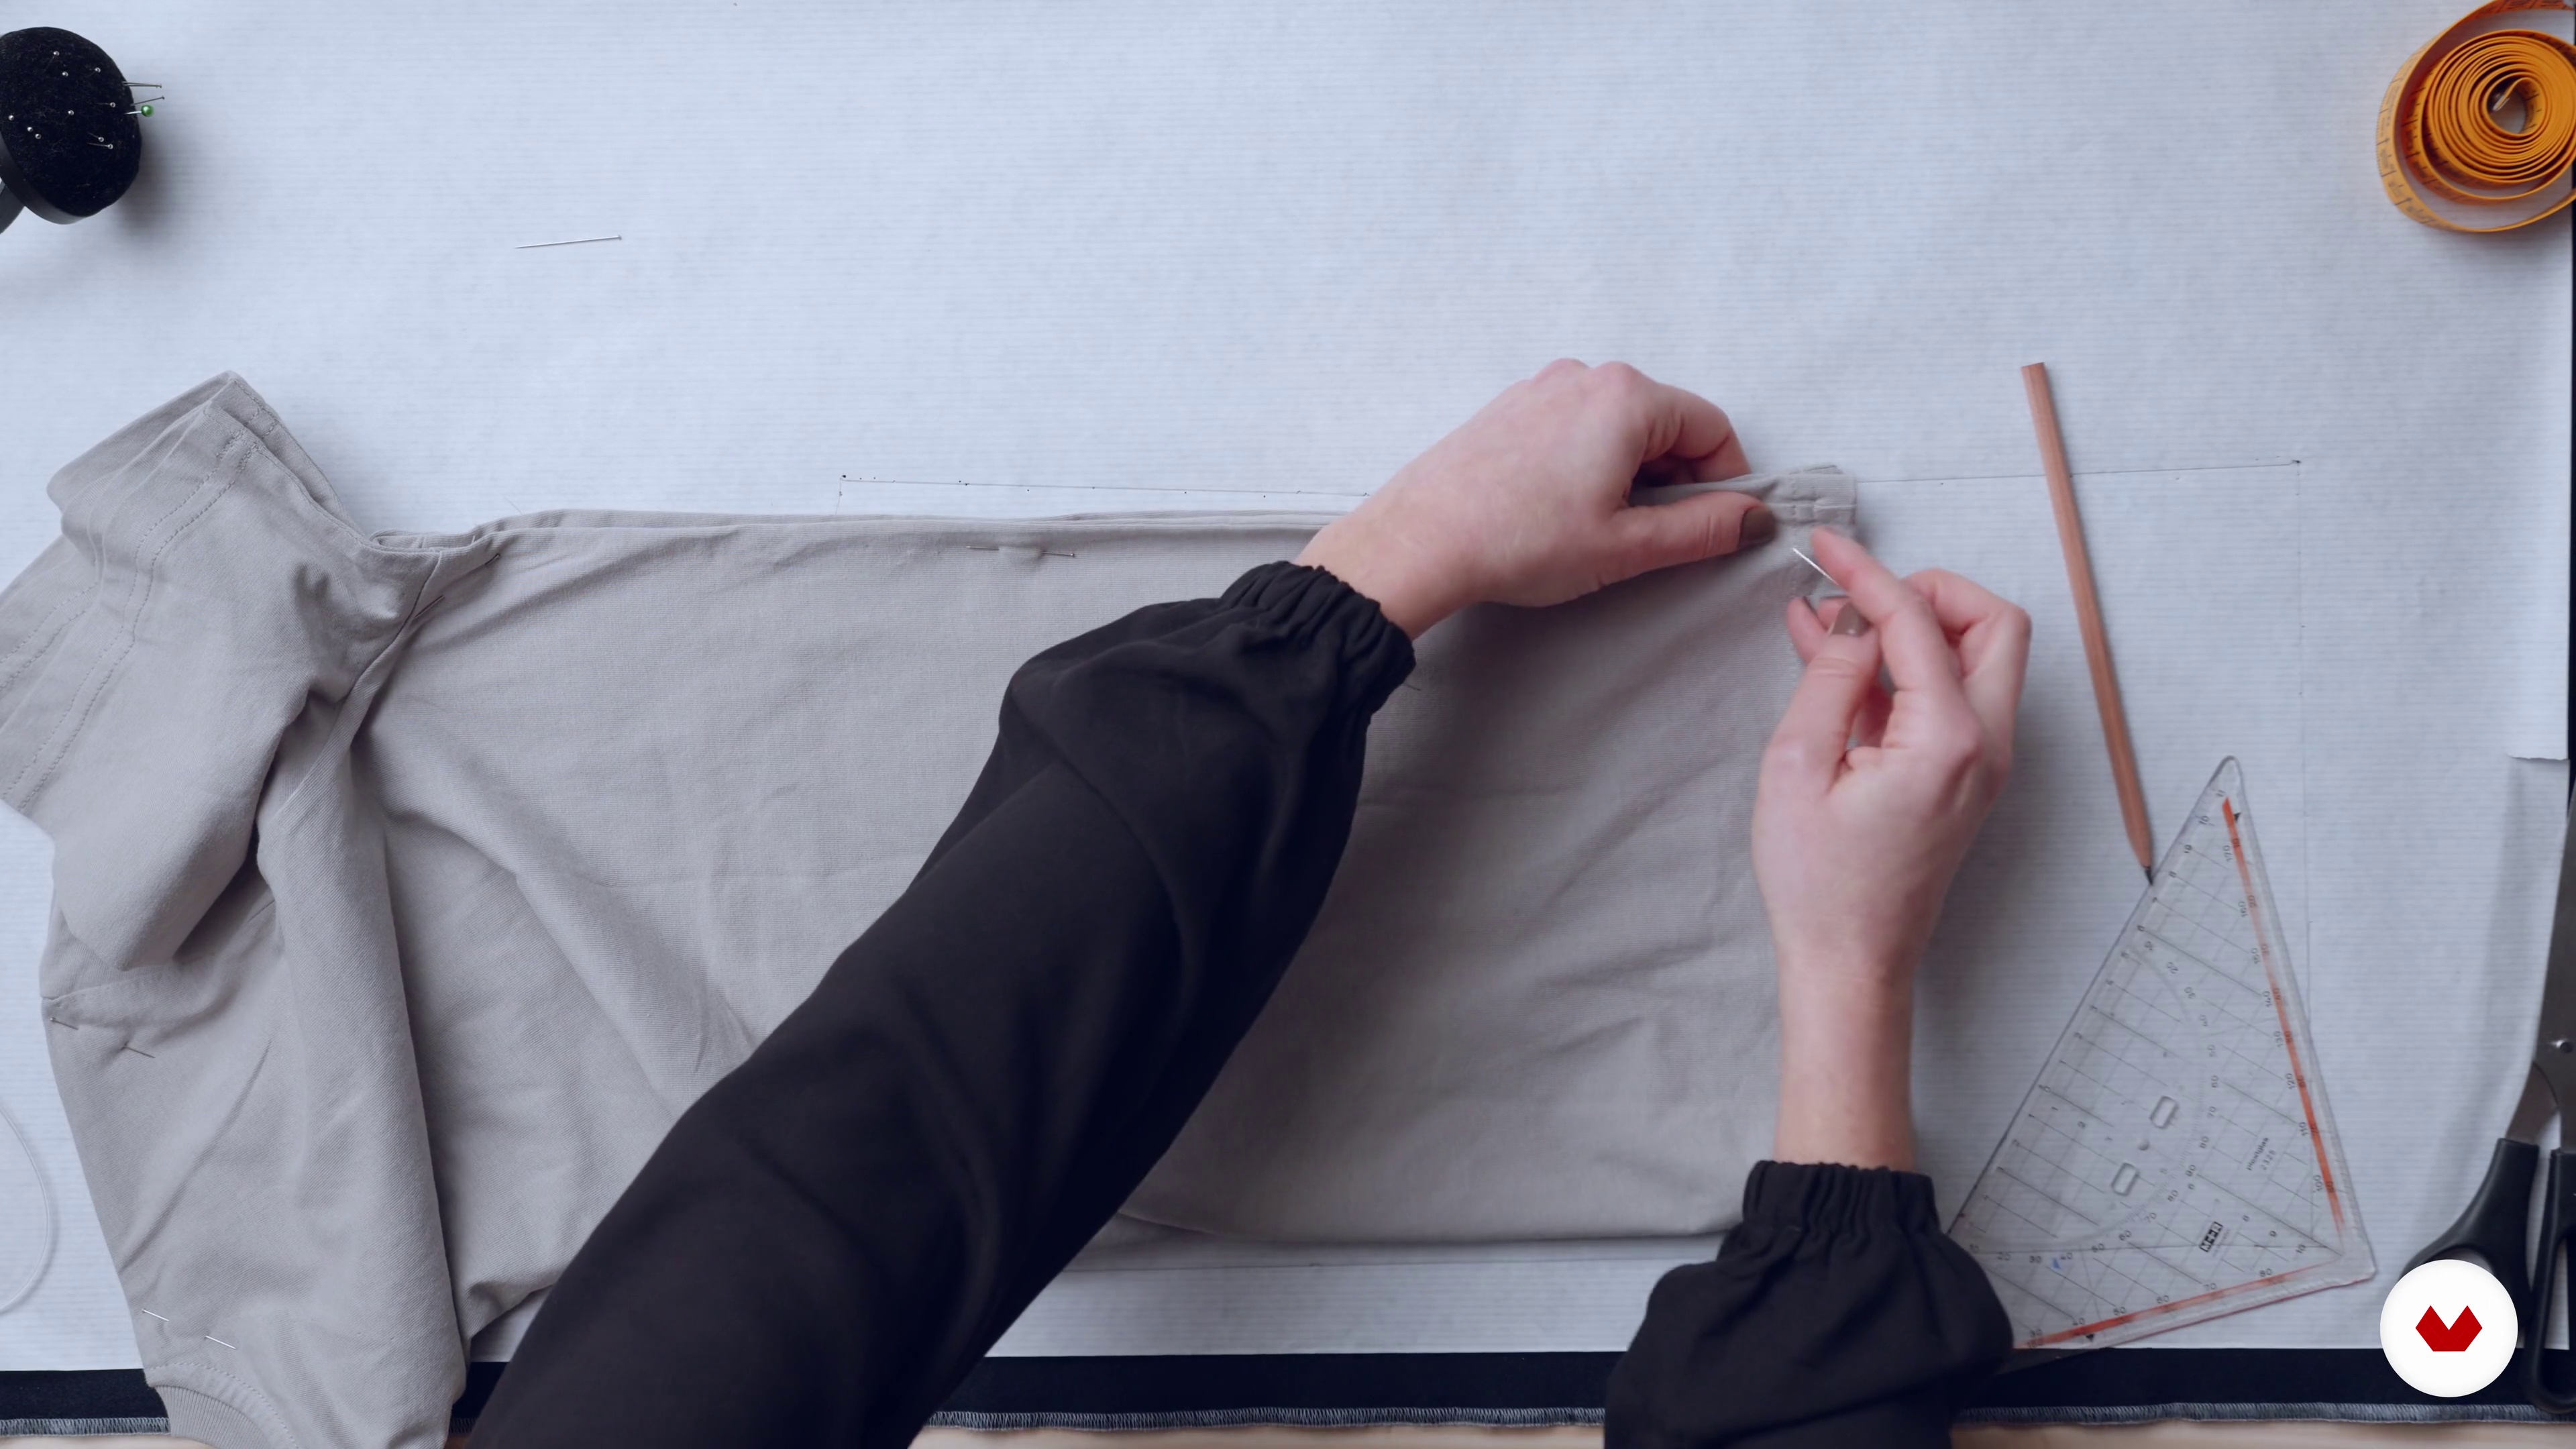
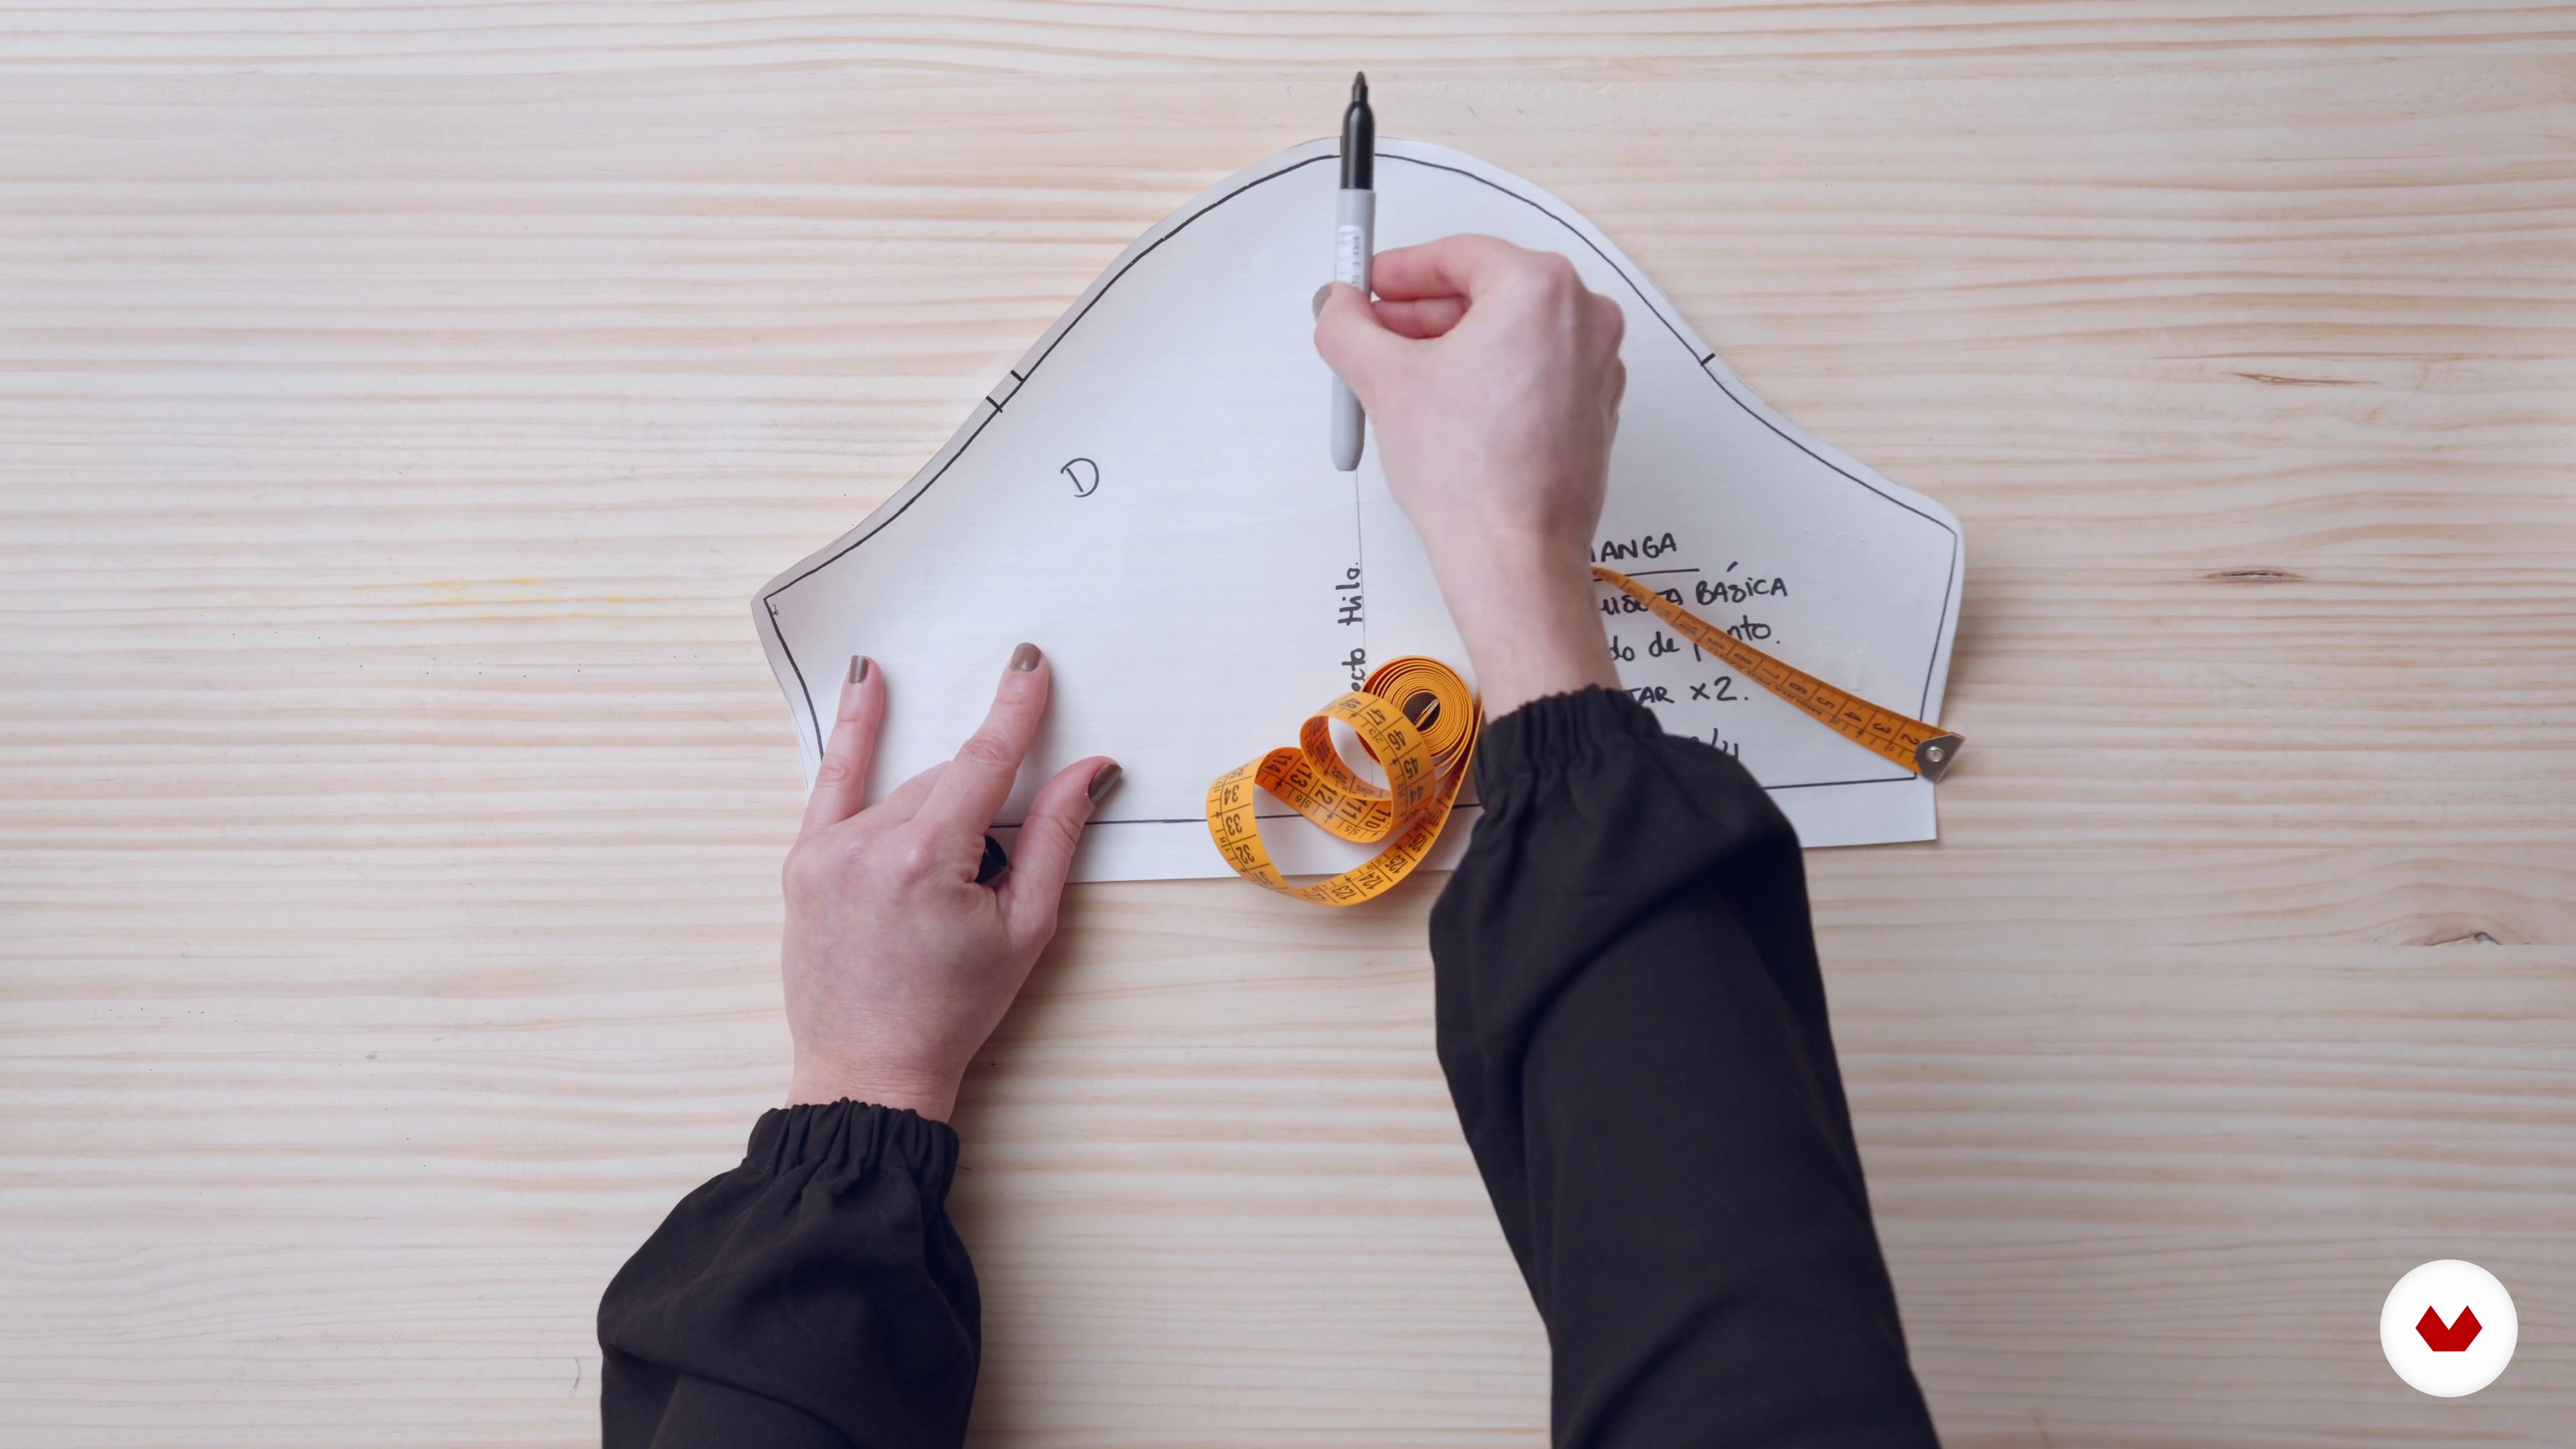
In this lesson, we'll learn how to study the garment before starting, analyzing the number of pieces it contains, how many times they will need to be cut later, etc. We'll start by making half of the front pattern, then half of the back, sleeve, and neckline. Once we have all the patterns, we'll check the measurements of the sides that sew together and add the necessary information, including notches and seam allowances, inside each pattern.
18m
 7
7Let's Reproduce a T-Shirt 2
We continue to see step by step how to make patterns for a T-shirt.
16m
 8
8Let's Reproduce Our Favorite Jeans: Main Pieces 1
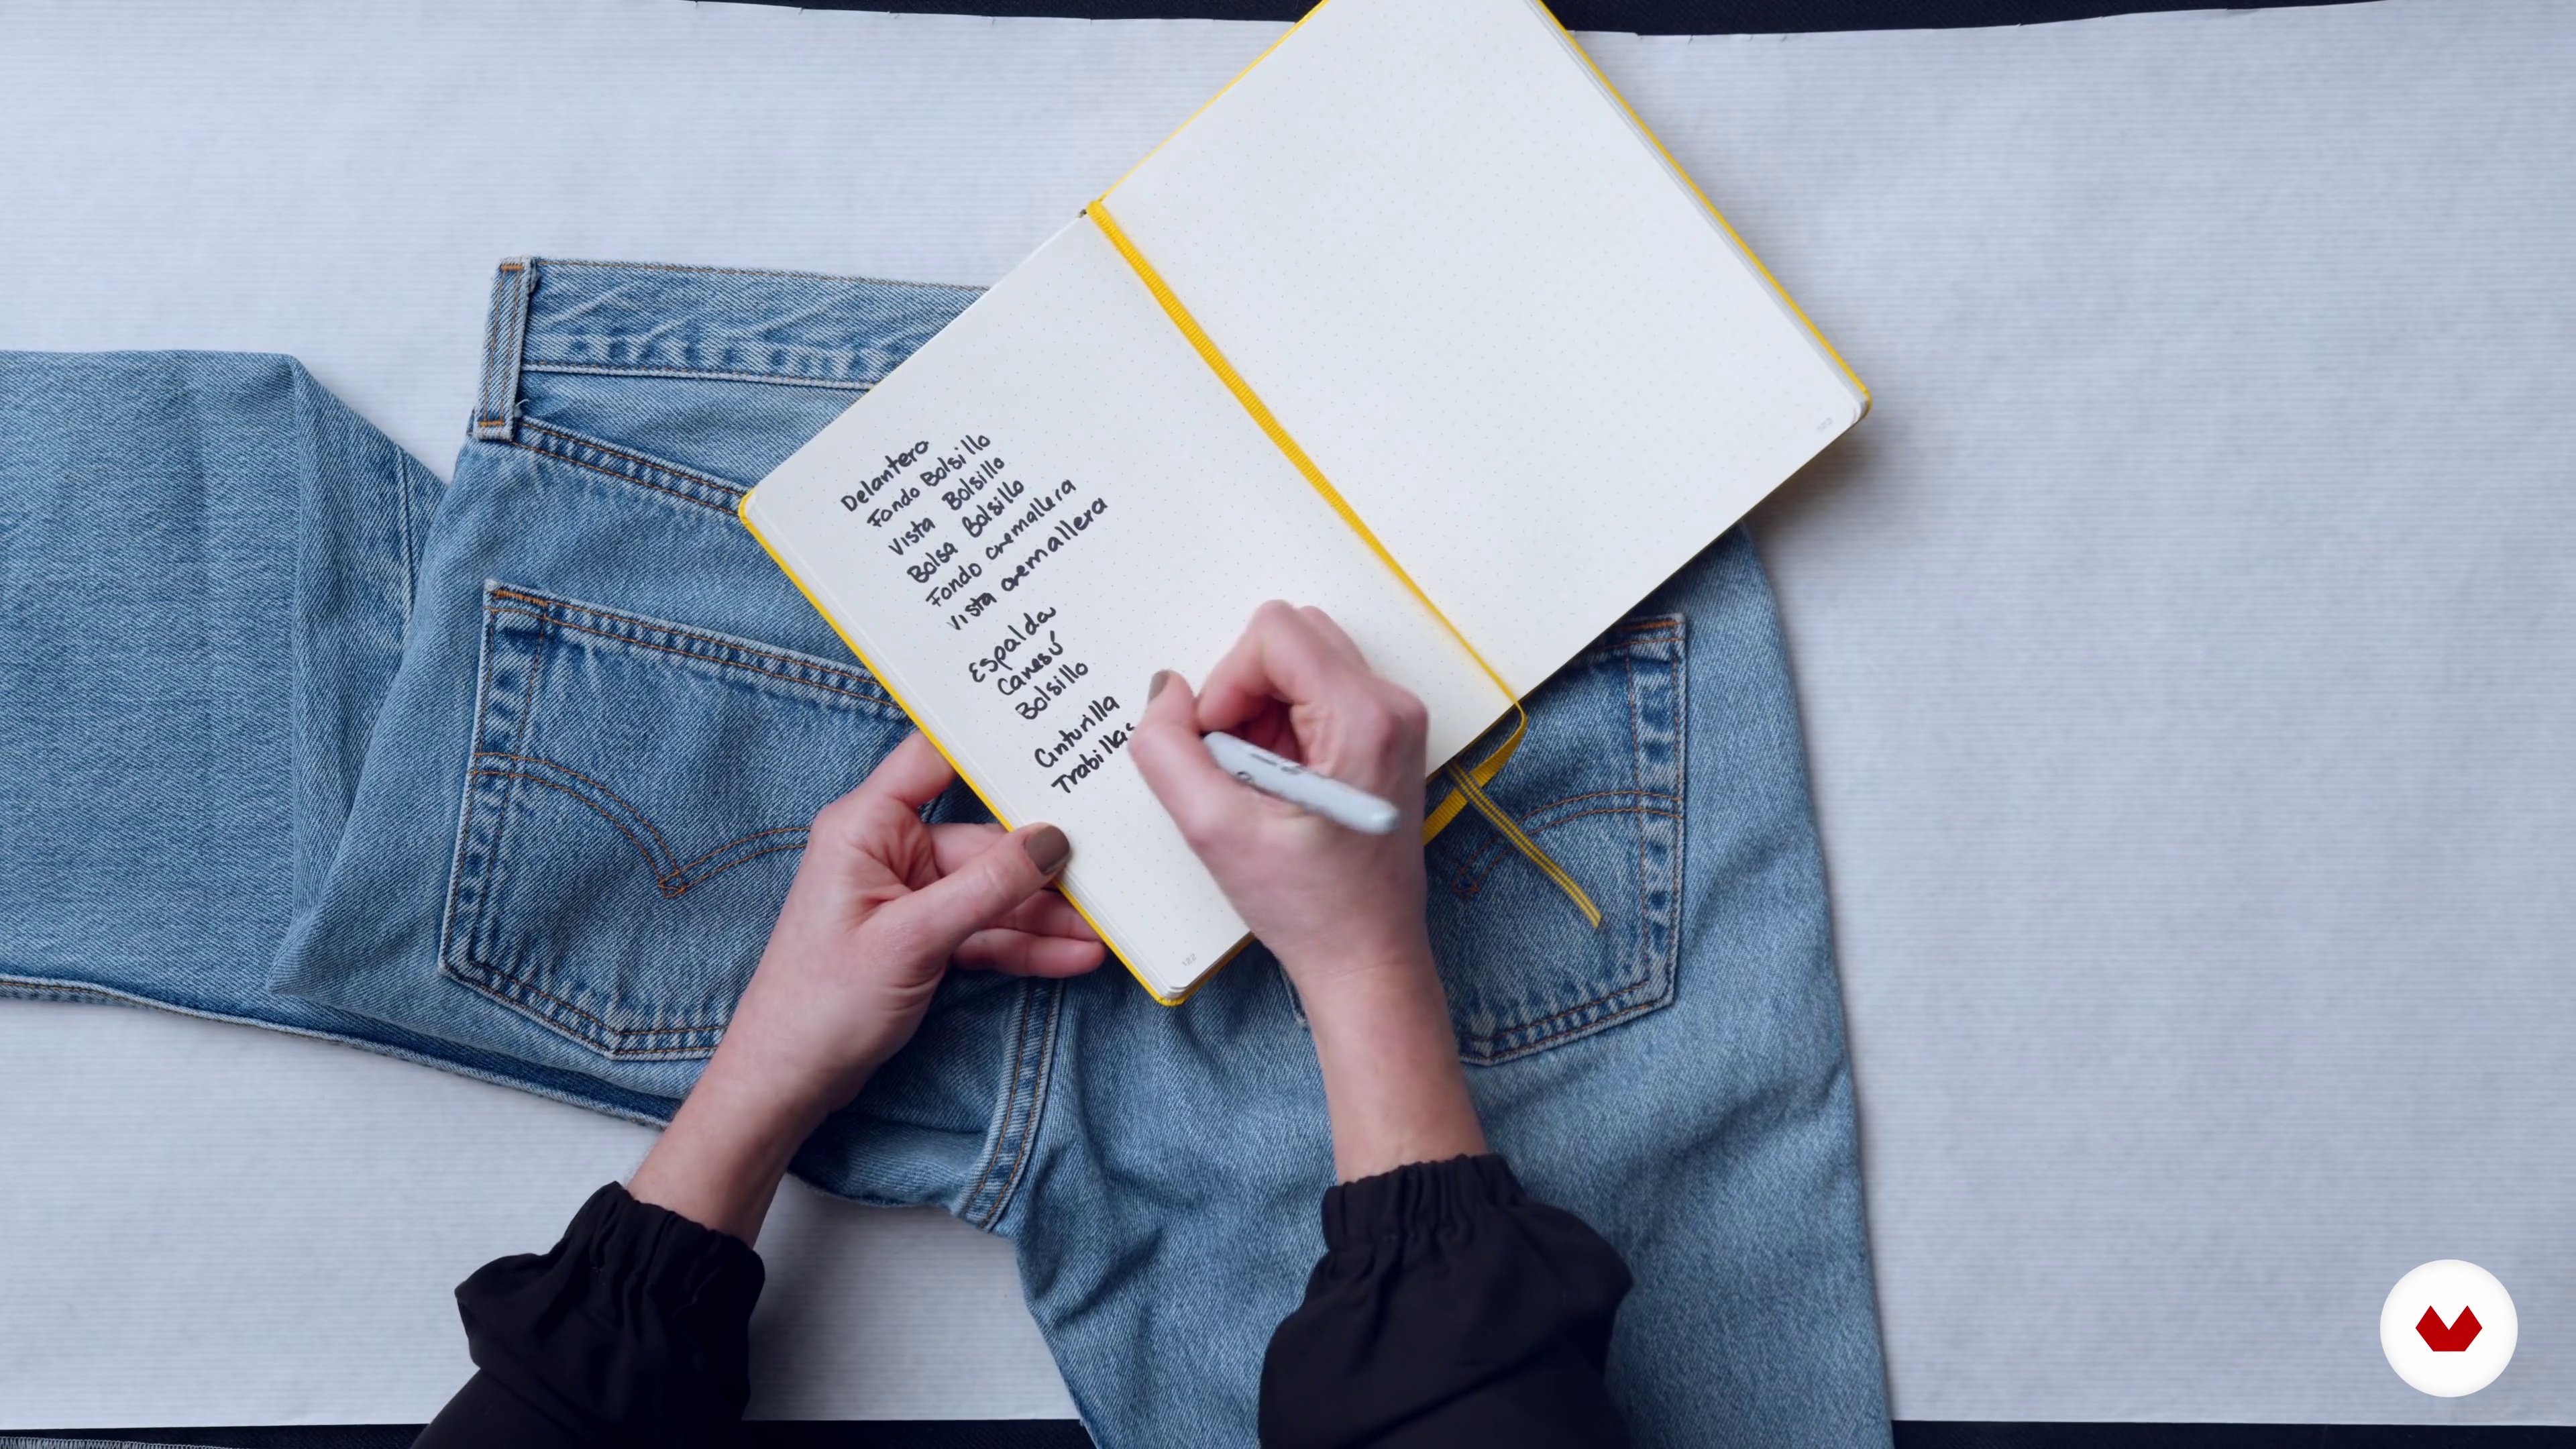
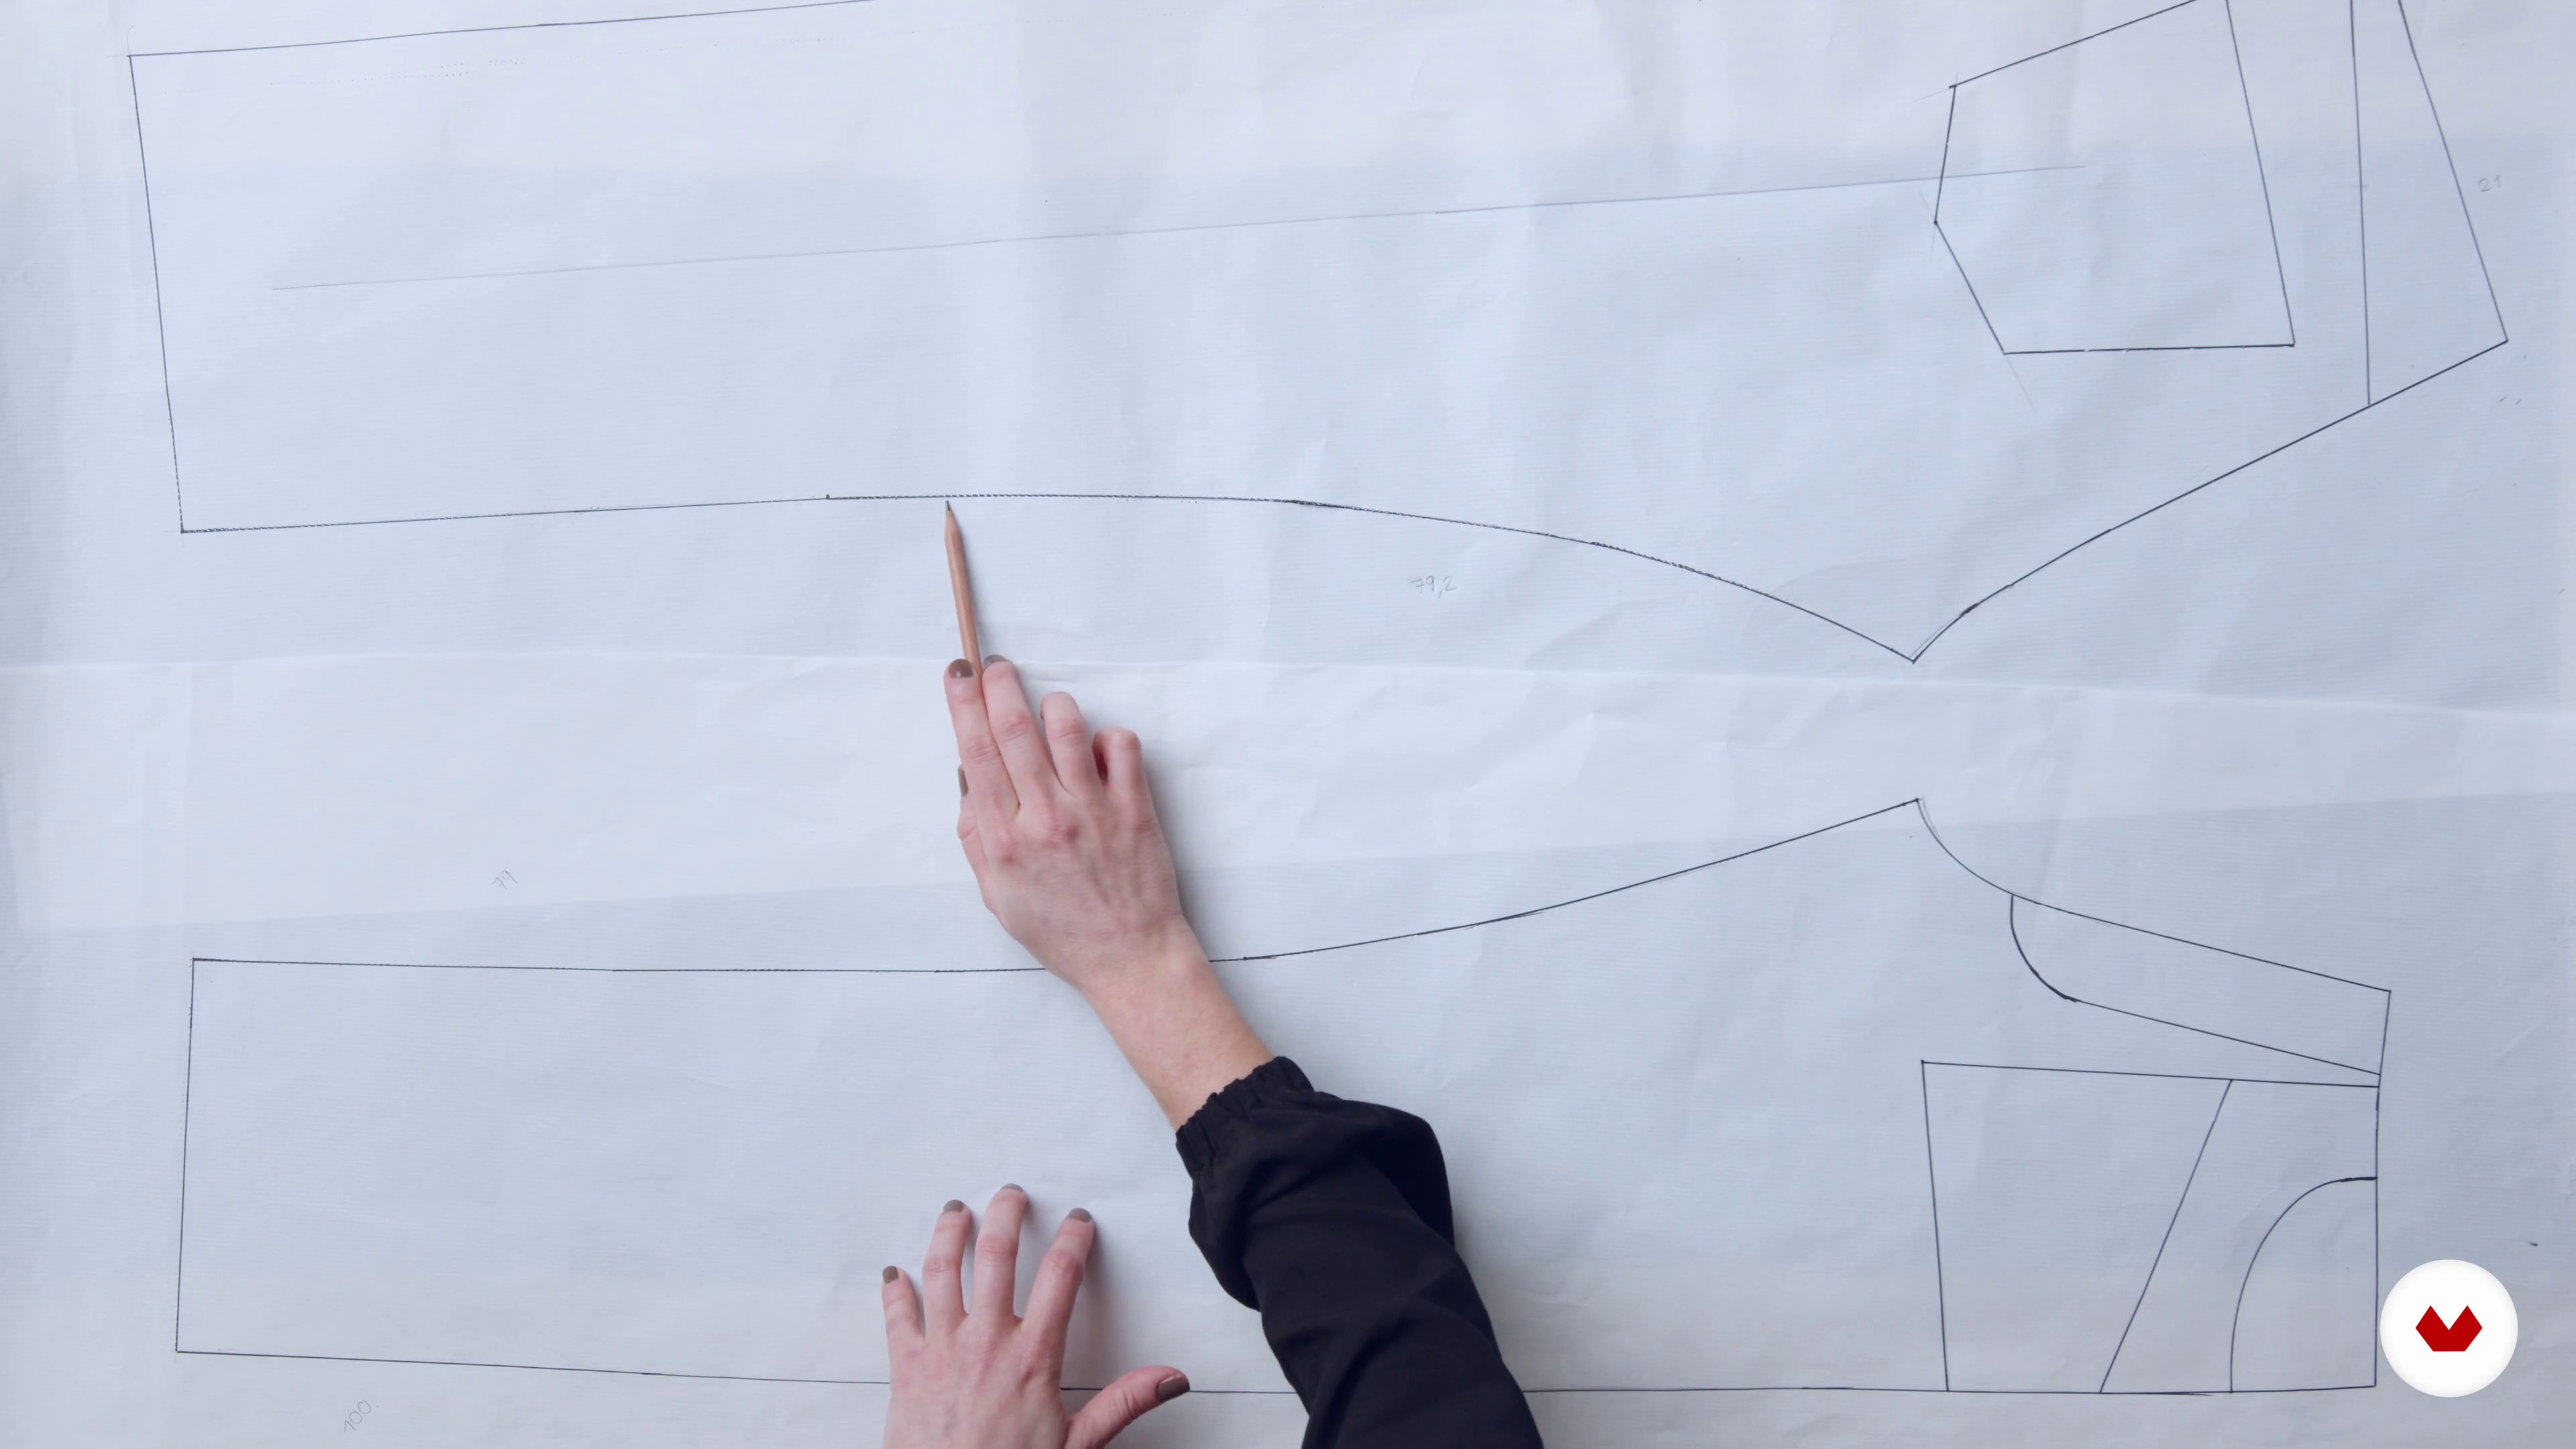
It's time to start with the jeans! In this lesson, we'll analyze and note down all the pieces our jeans include and the features to consider. We'll begin by creating the pattern from the main pieces (front and back) and mark the shape and positioning of the other pieces: pockets, yoke, and fly. Next, we'll confirm some measurements for the pieces being sewn together, mark the straight grain, and make some notches. Finally, we'll measure the waist circumference from the patterns to construct our waistband and measure the belt loops.
17m
 9
9Let's Reproduce Our Favorite Jeans: Main Pieces 2
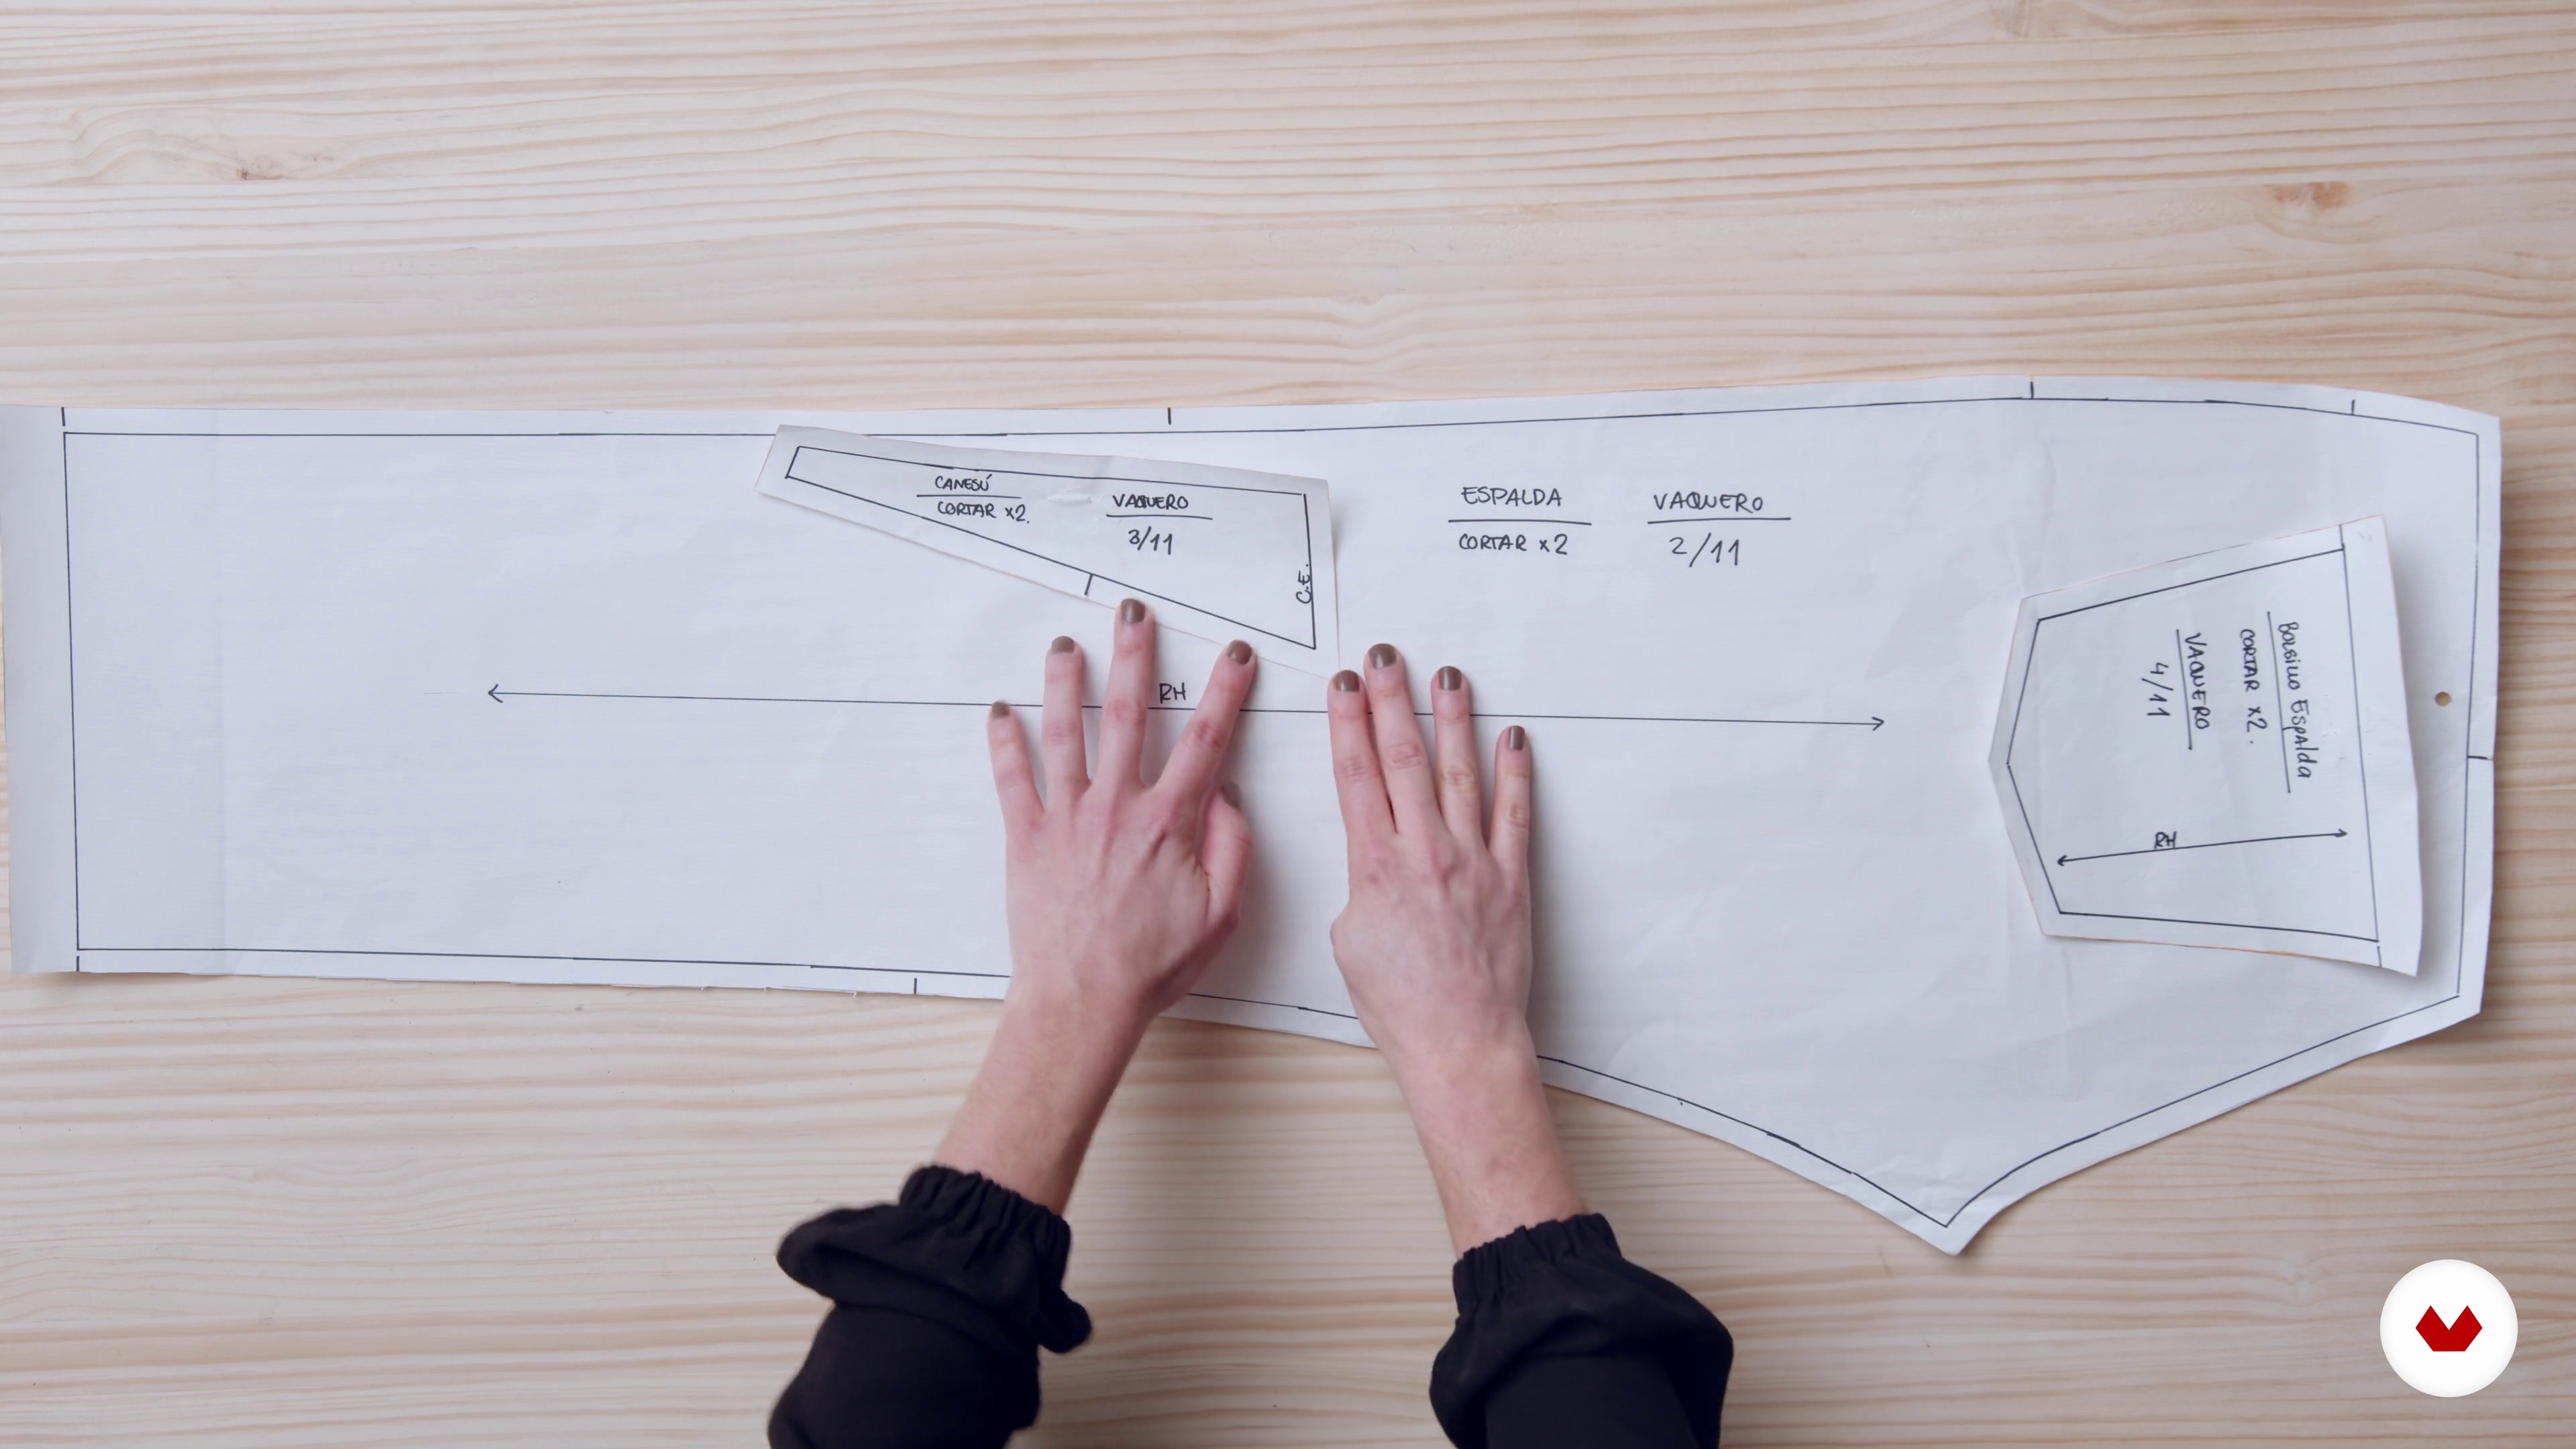
We continue learning how to make patterns for jeans.
16m
 10
10Let's Play Our Favorite Jeans - Finishing Touches
To finish the patterns, we'll trace all the pieces separately, place notches at key points, add seam allowances, and write all the necessary information inside each pattern piece. We'll also make the waistband and belt loop patterns.
15m
 11
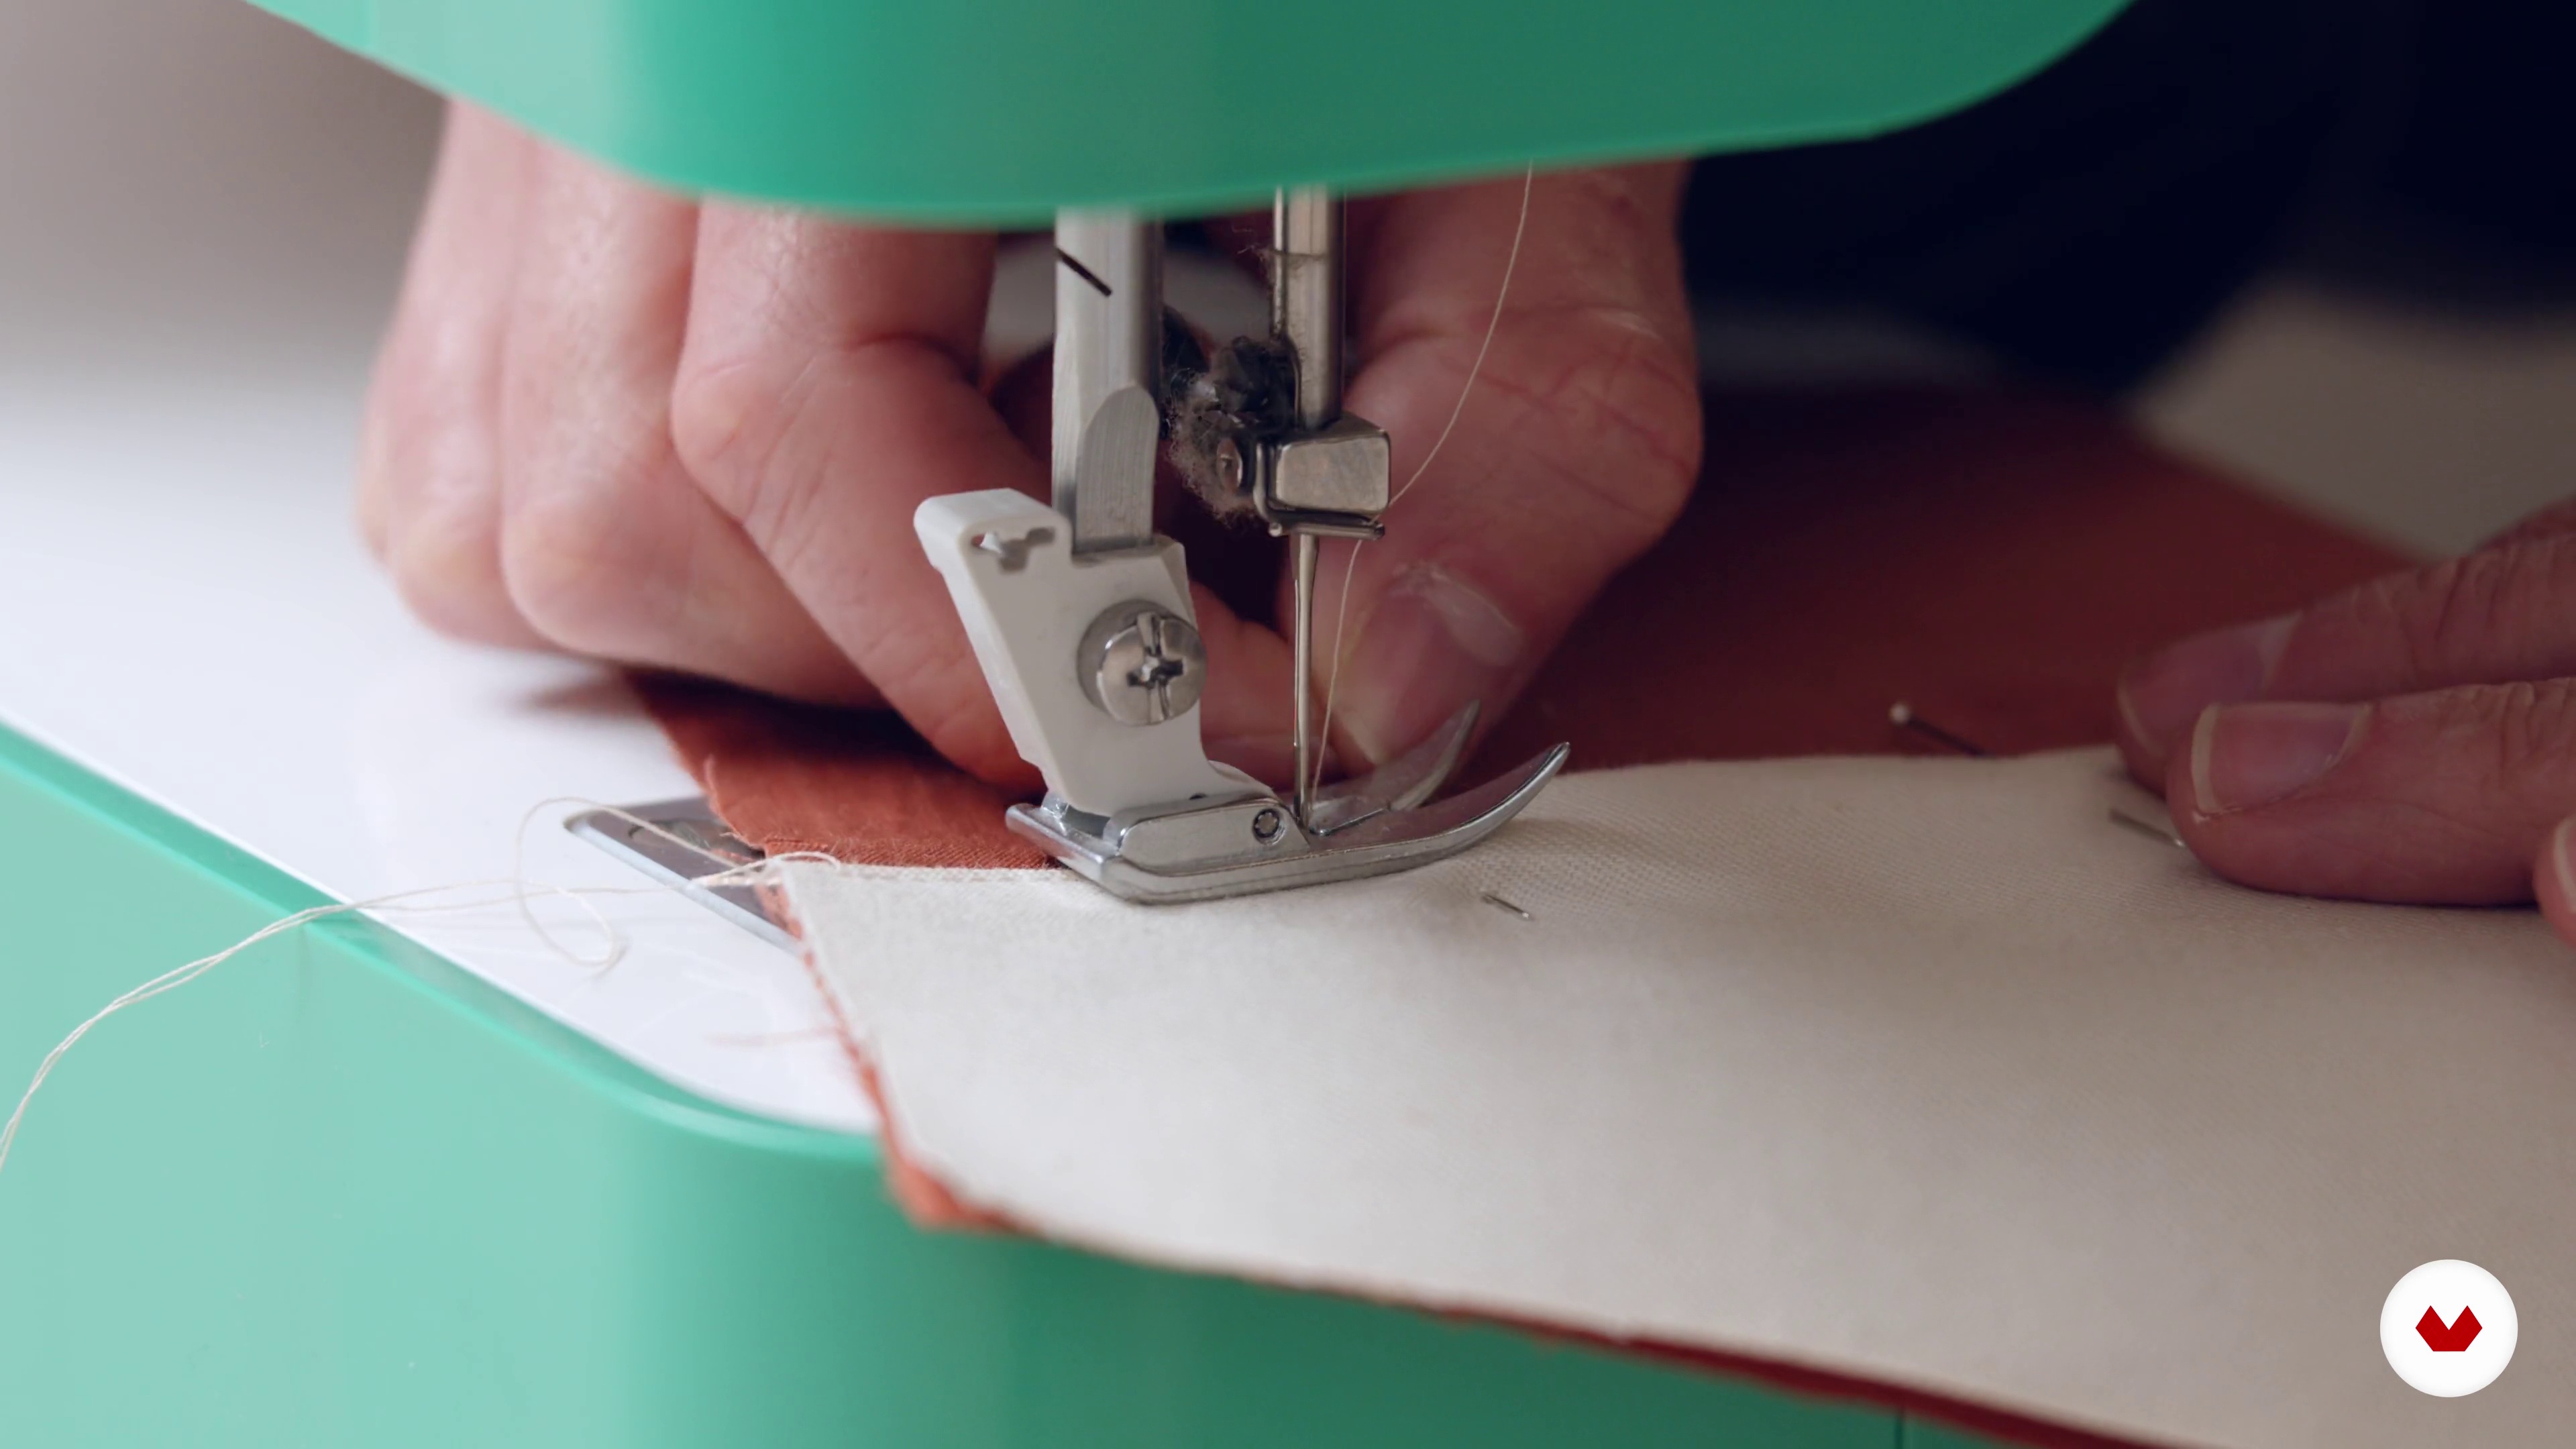
11Jeans Key Point Construction: Front Pockets
Before you start sewing, we'll briefly explain which thread and needles you should change on your sewing machine to be able to sew jeans or similar fabrics correctly. The first thing we'll make are the front pockets of our jeans. We'll learn how to sew the facings, linings, and decorative topstitching.
12m
 12
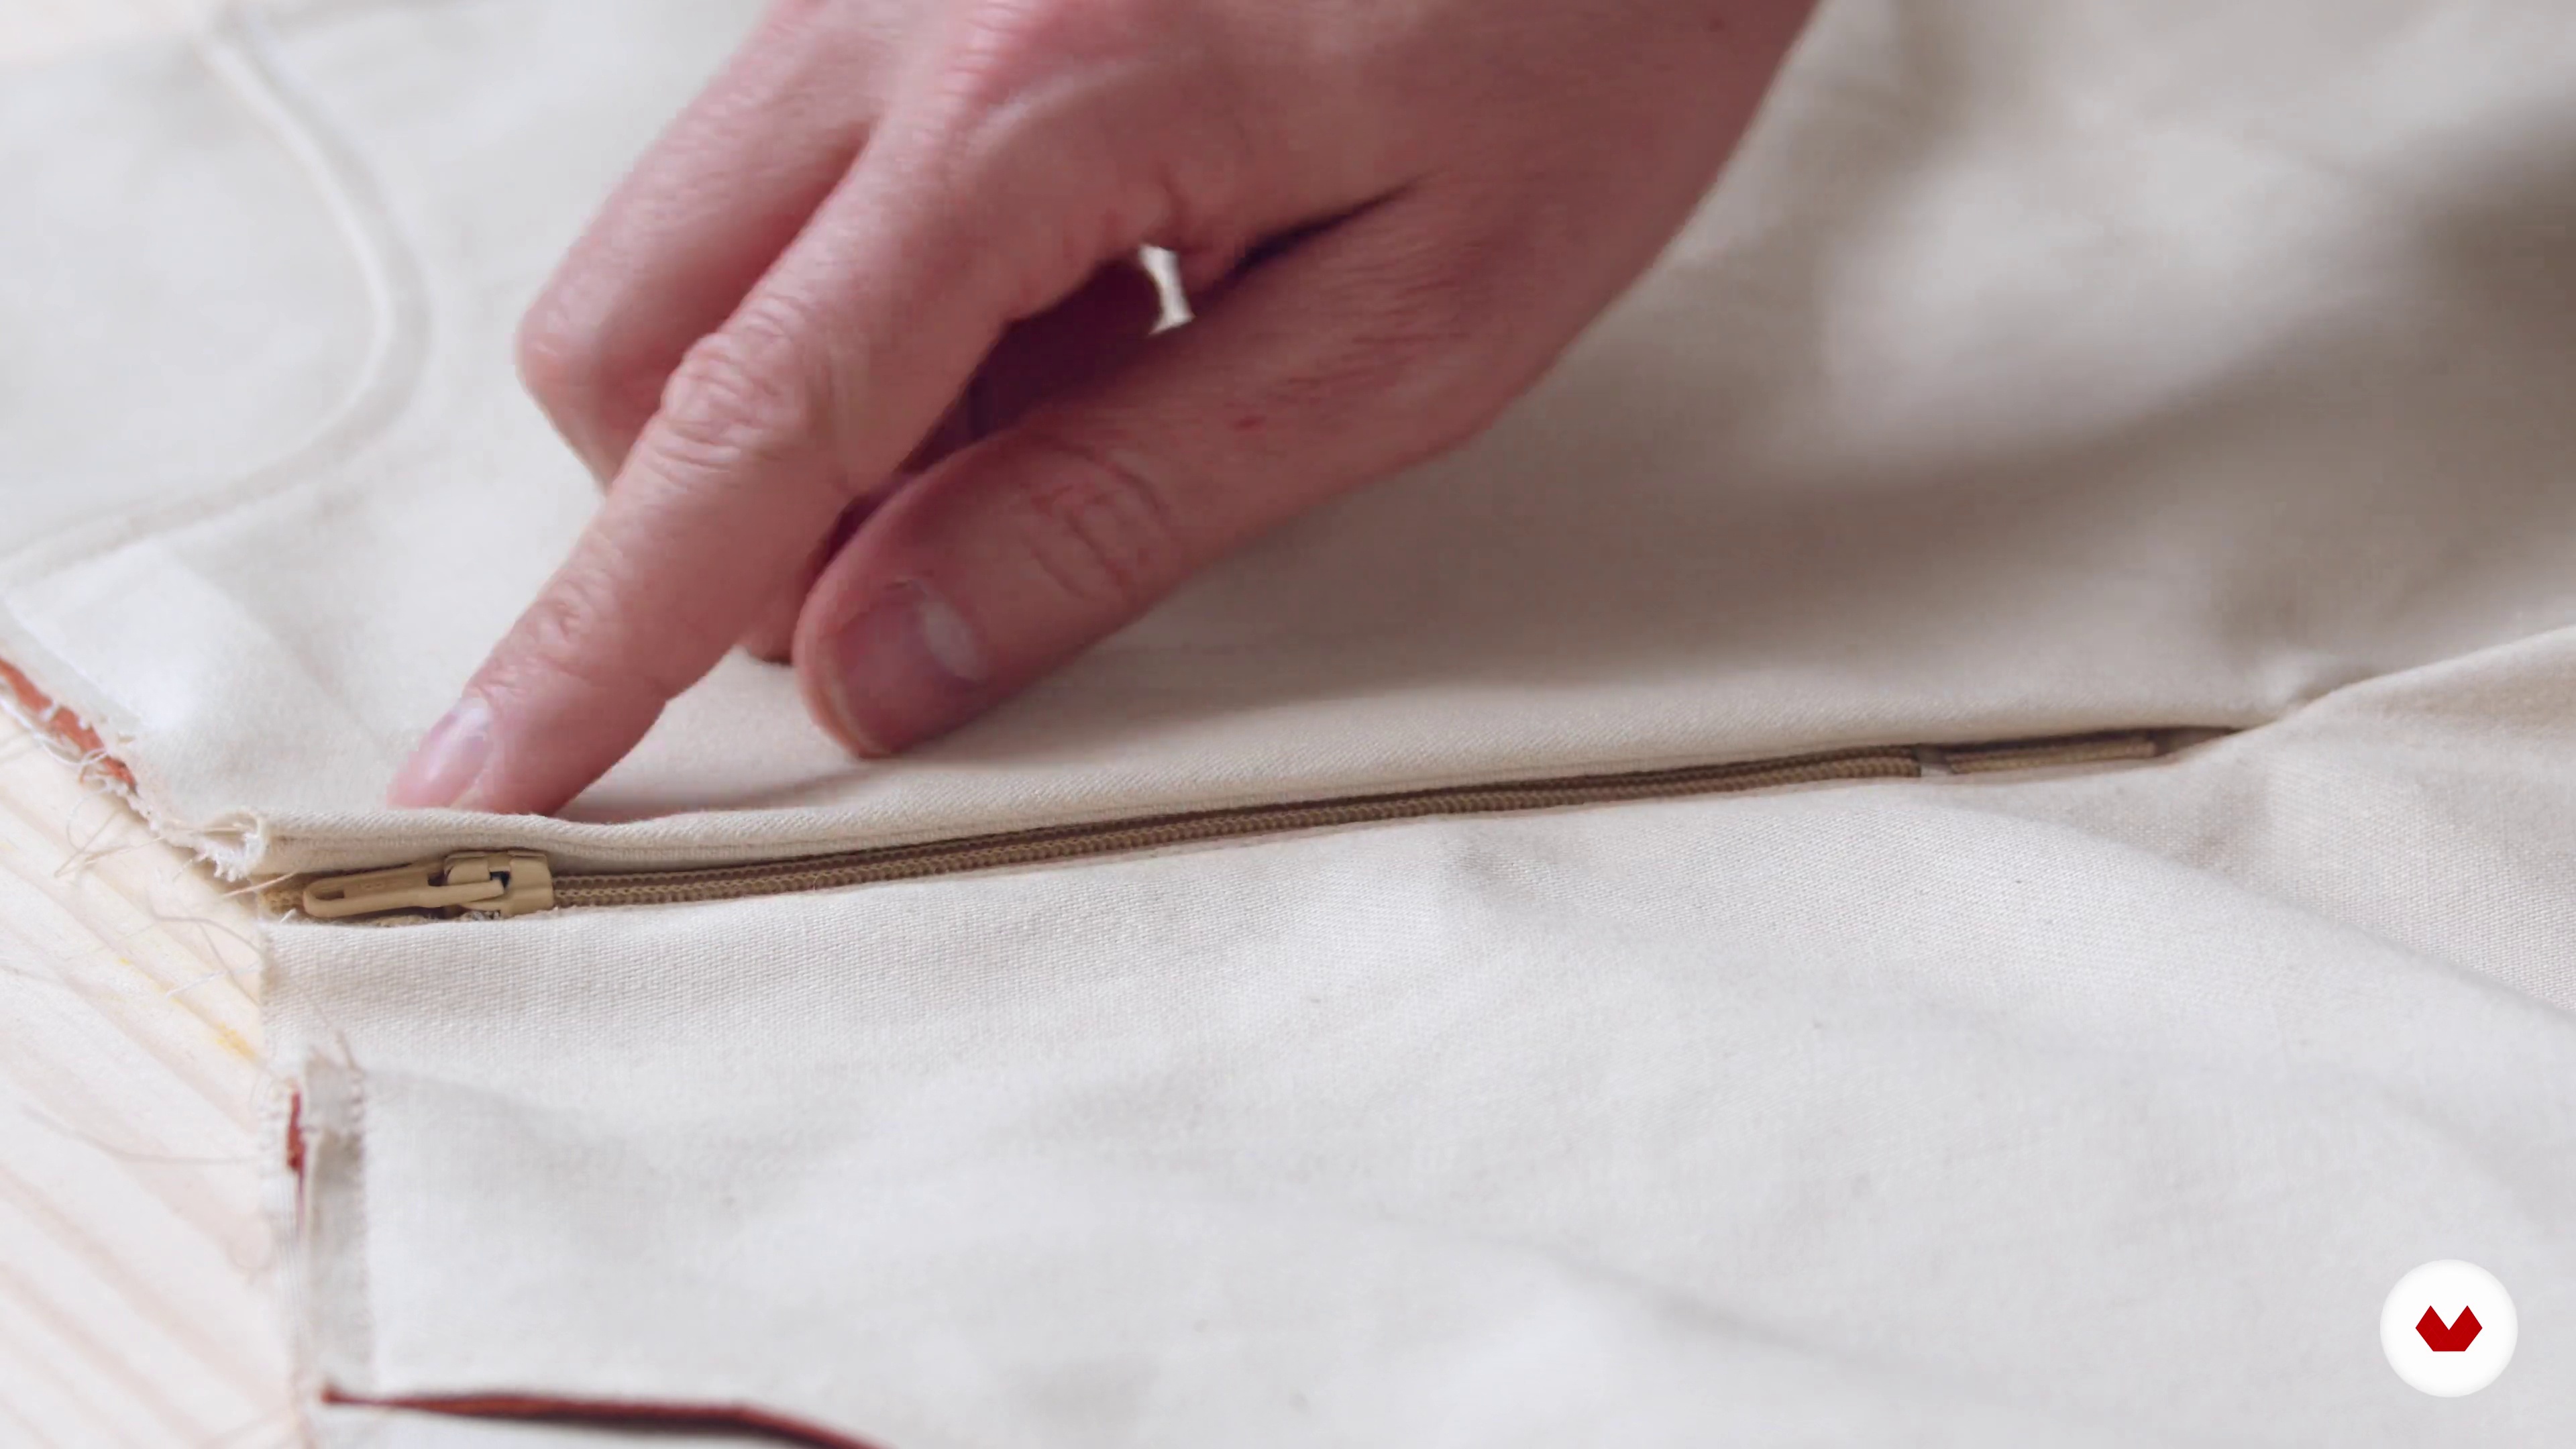
12Making the Key Points of the Jeans: The Fly
The fly is a very important part of making pants! Here we'll learn how to prepare the fly facings, sew the single zipper, and sew it to the two front pockets. We'll also see how to make the characteristic fly stitch on trousers using a template. Finally, we'll sew the fronts together at the crotch.
18m
 13
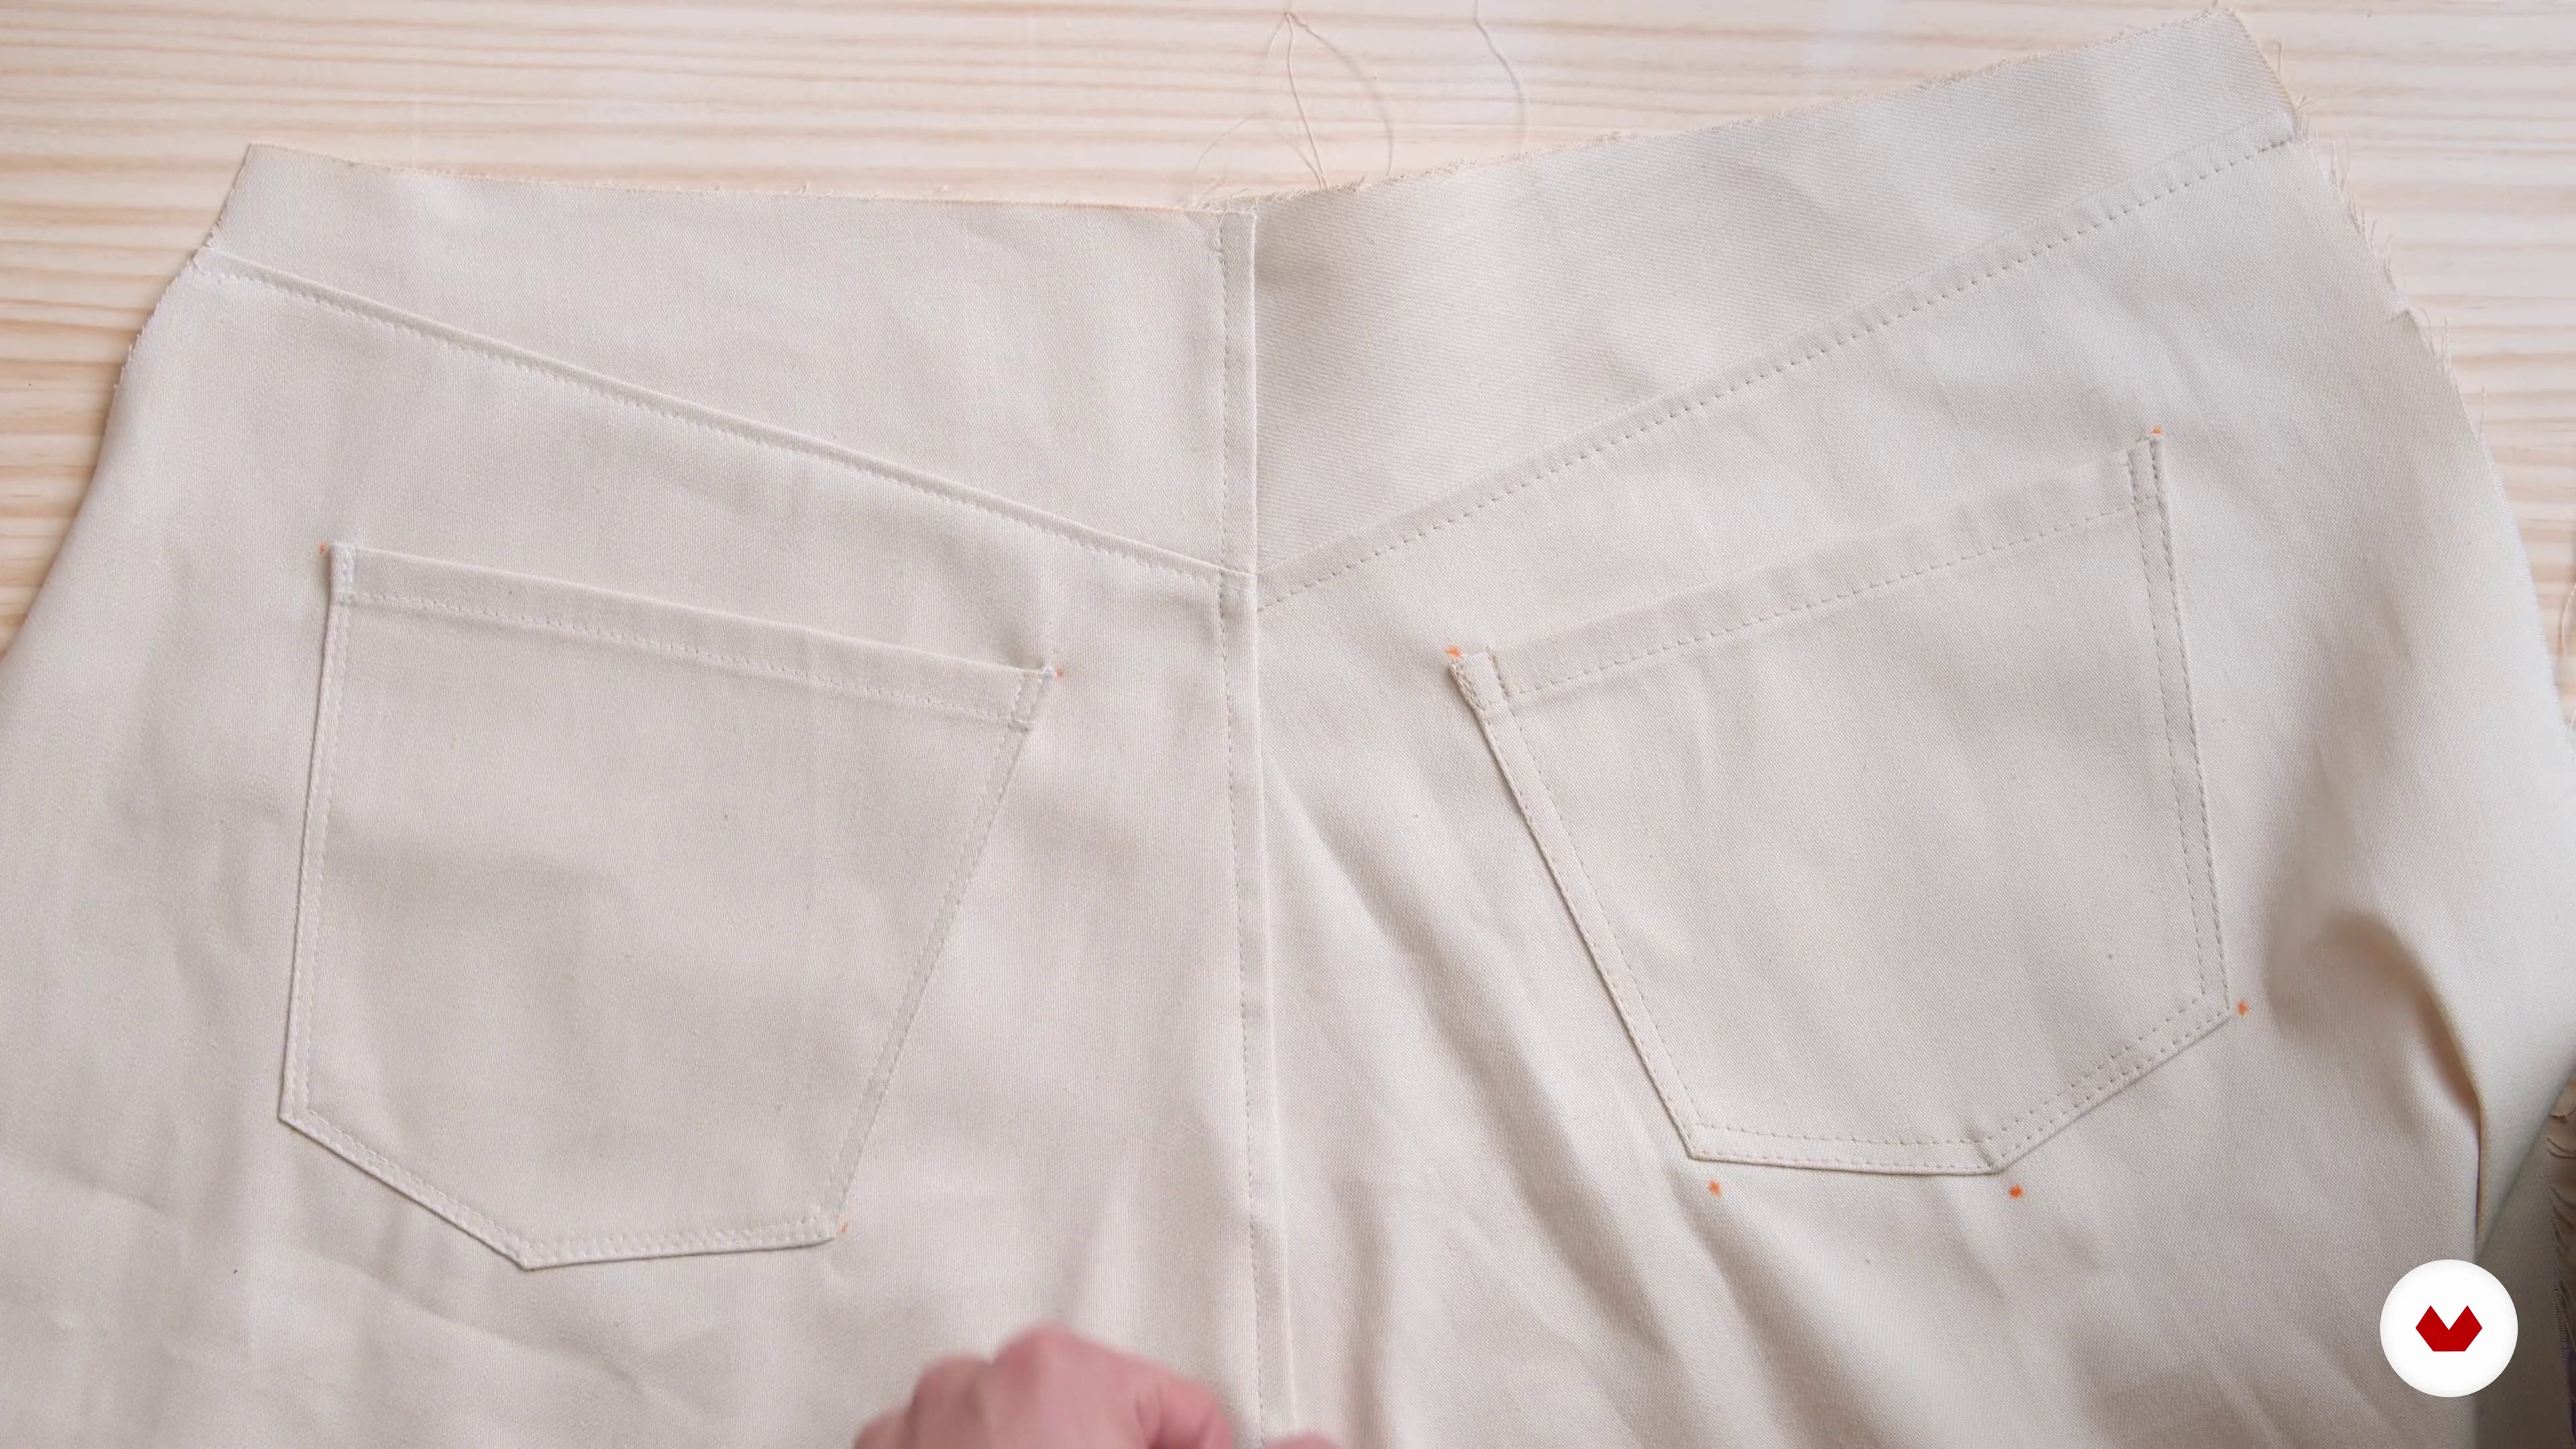
13Jeans Key Point Construction: Yoke and Back Pockets
Now it's time to prepare the back sections of the pants, sewing the classic denim yoke with its characteristic topstitching. We'll also learn how to sew the patch pockets and join the backs together at the crotch seam.
13m
 14
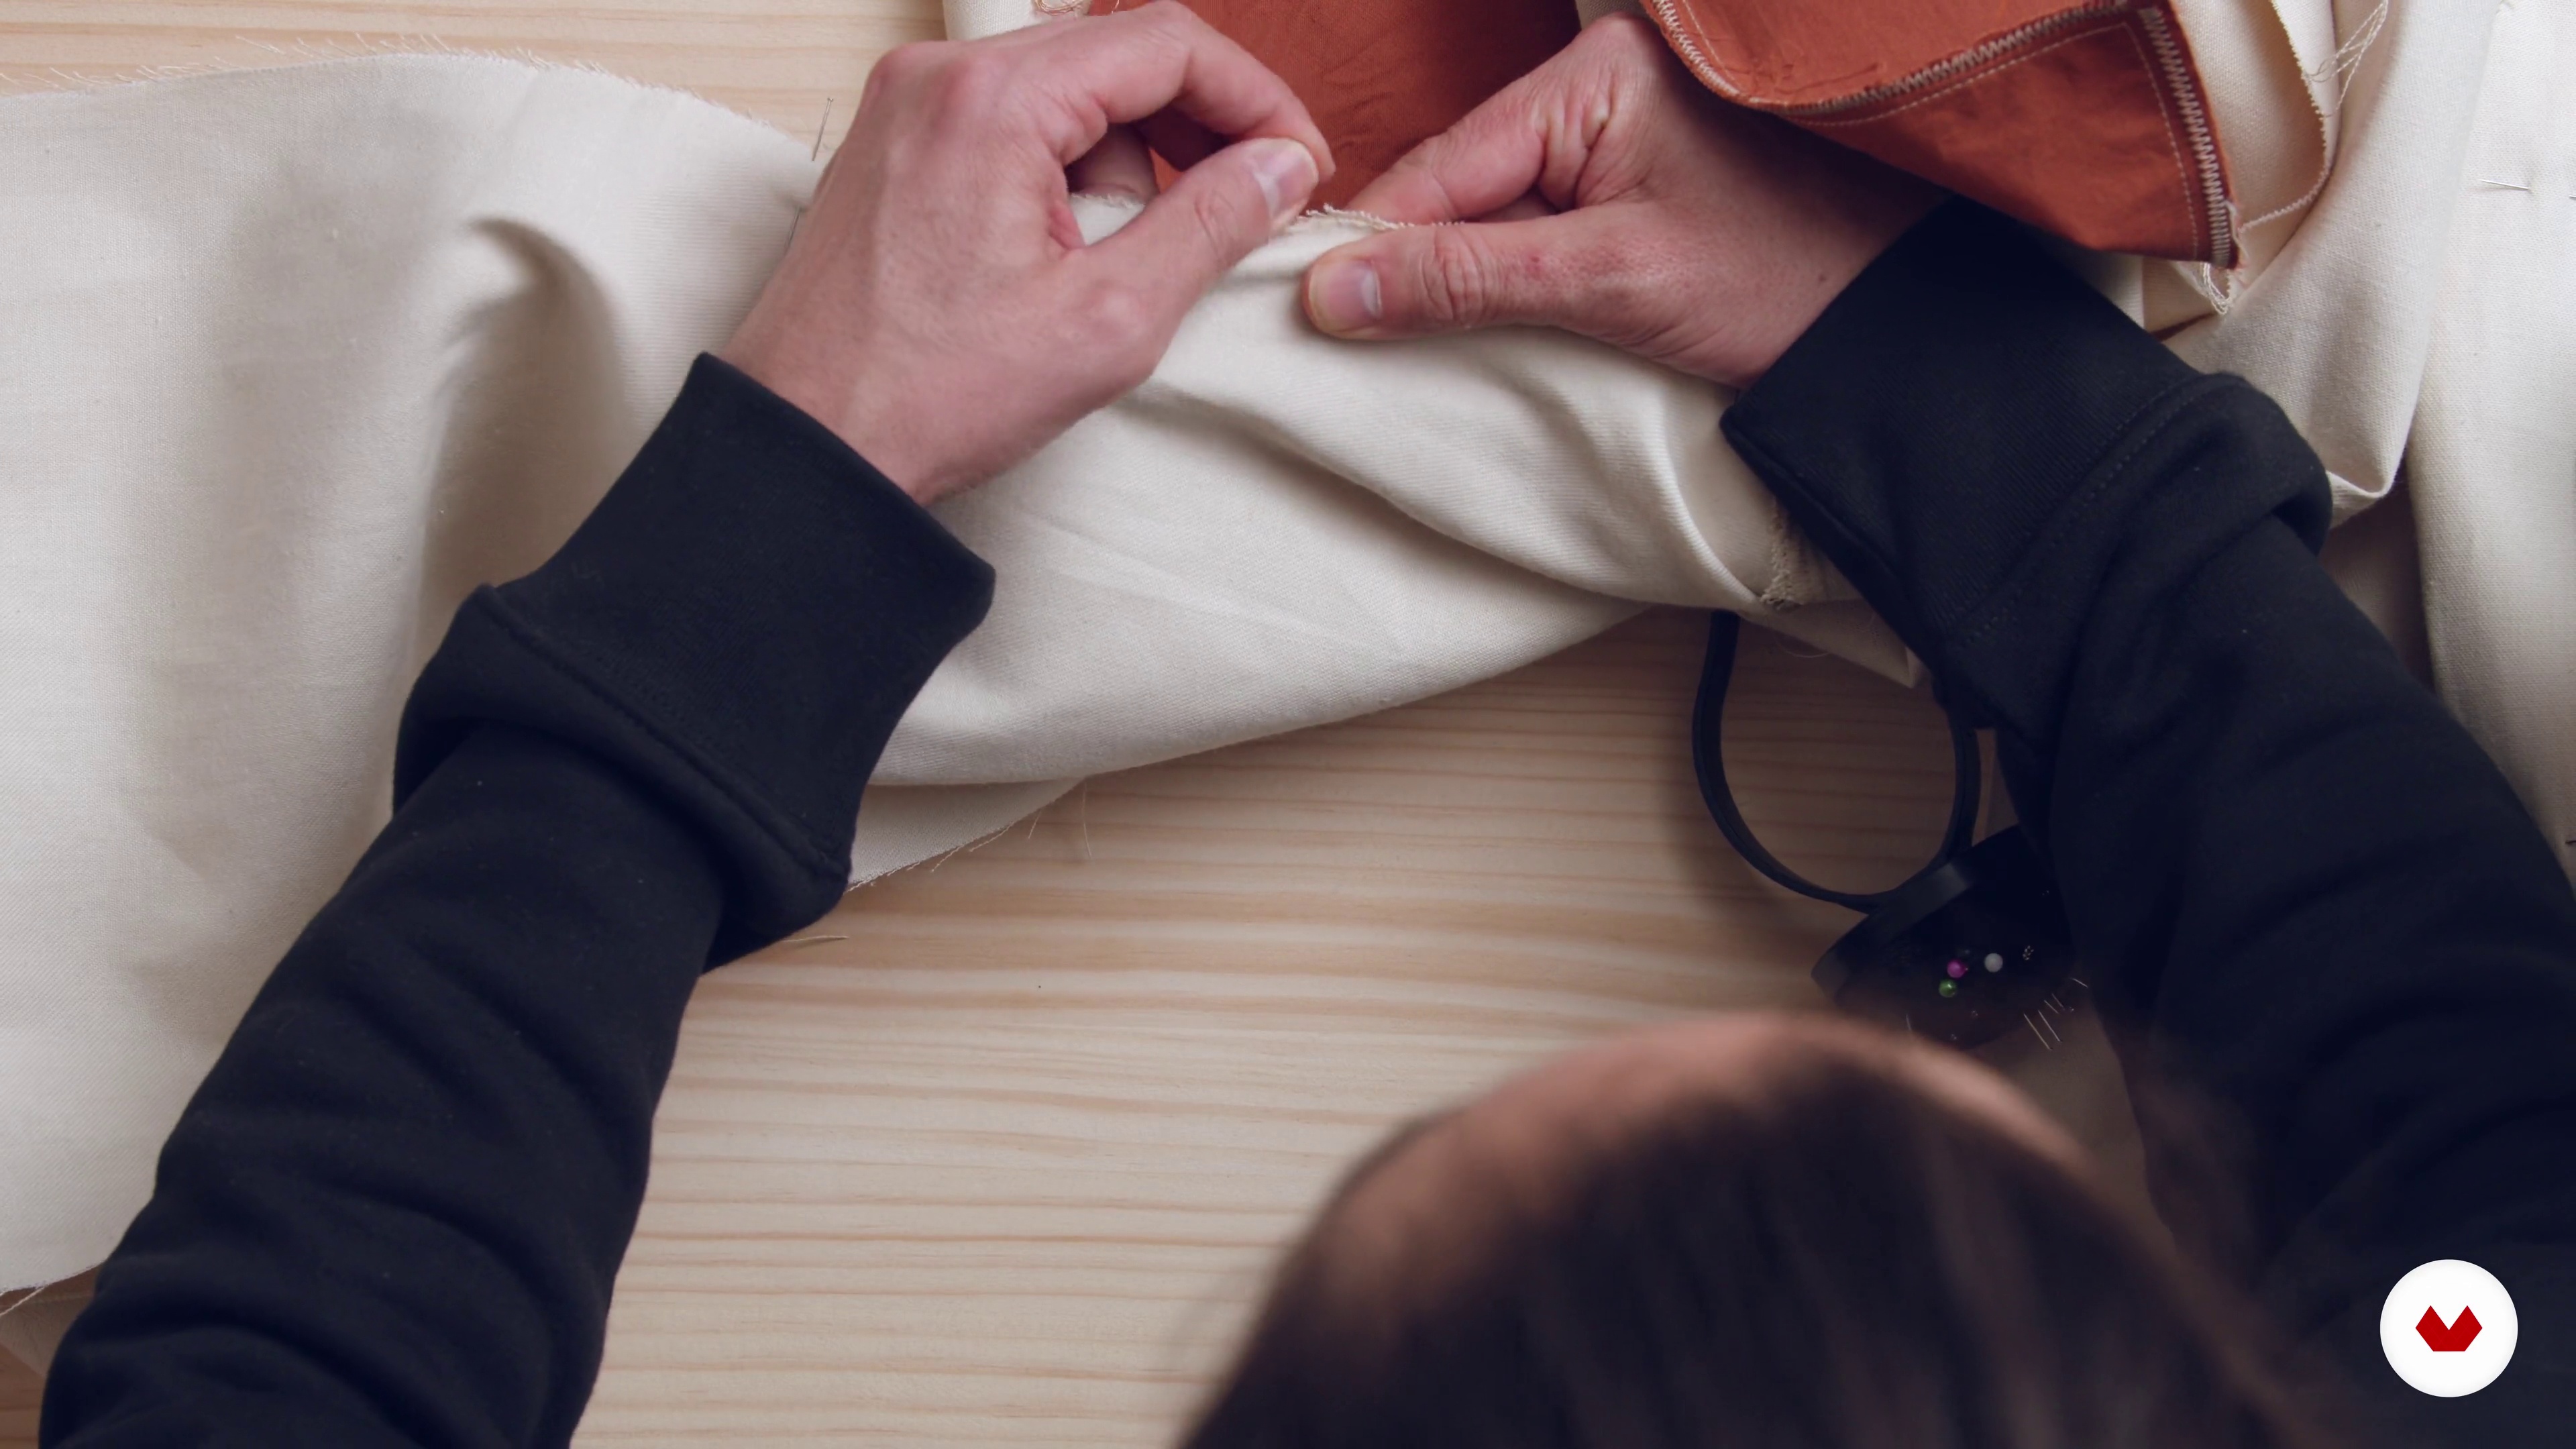
14Jeans Key Stitch Construction: Sides and Hem
Now that we have the front and back pieces ready, it's time to assemble our pants. First, we'll sew the inside seam of the legs to make the reinforcement stitching, and finally, we'll sew the sides.
8m
 15
15Belt Loops, Waistband and Hem
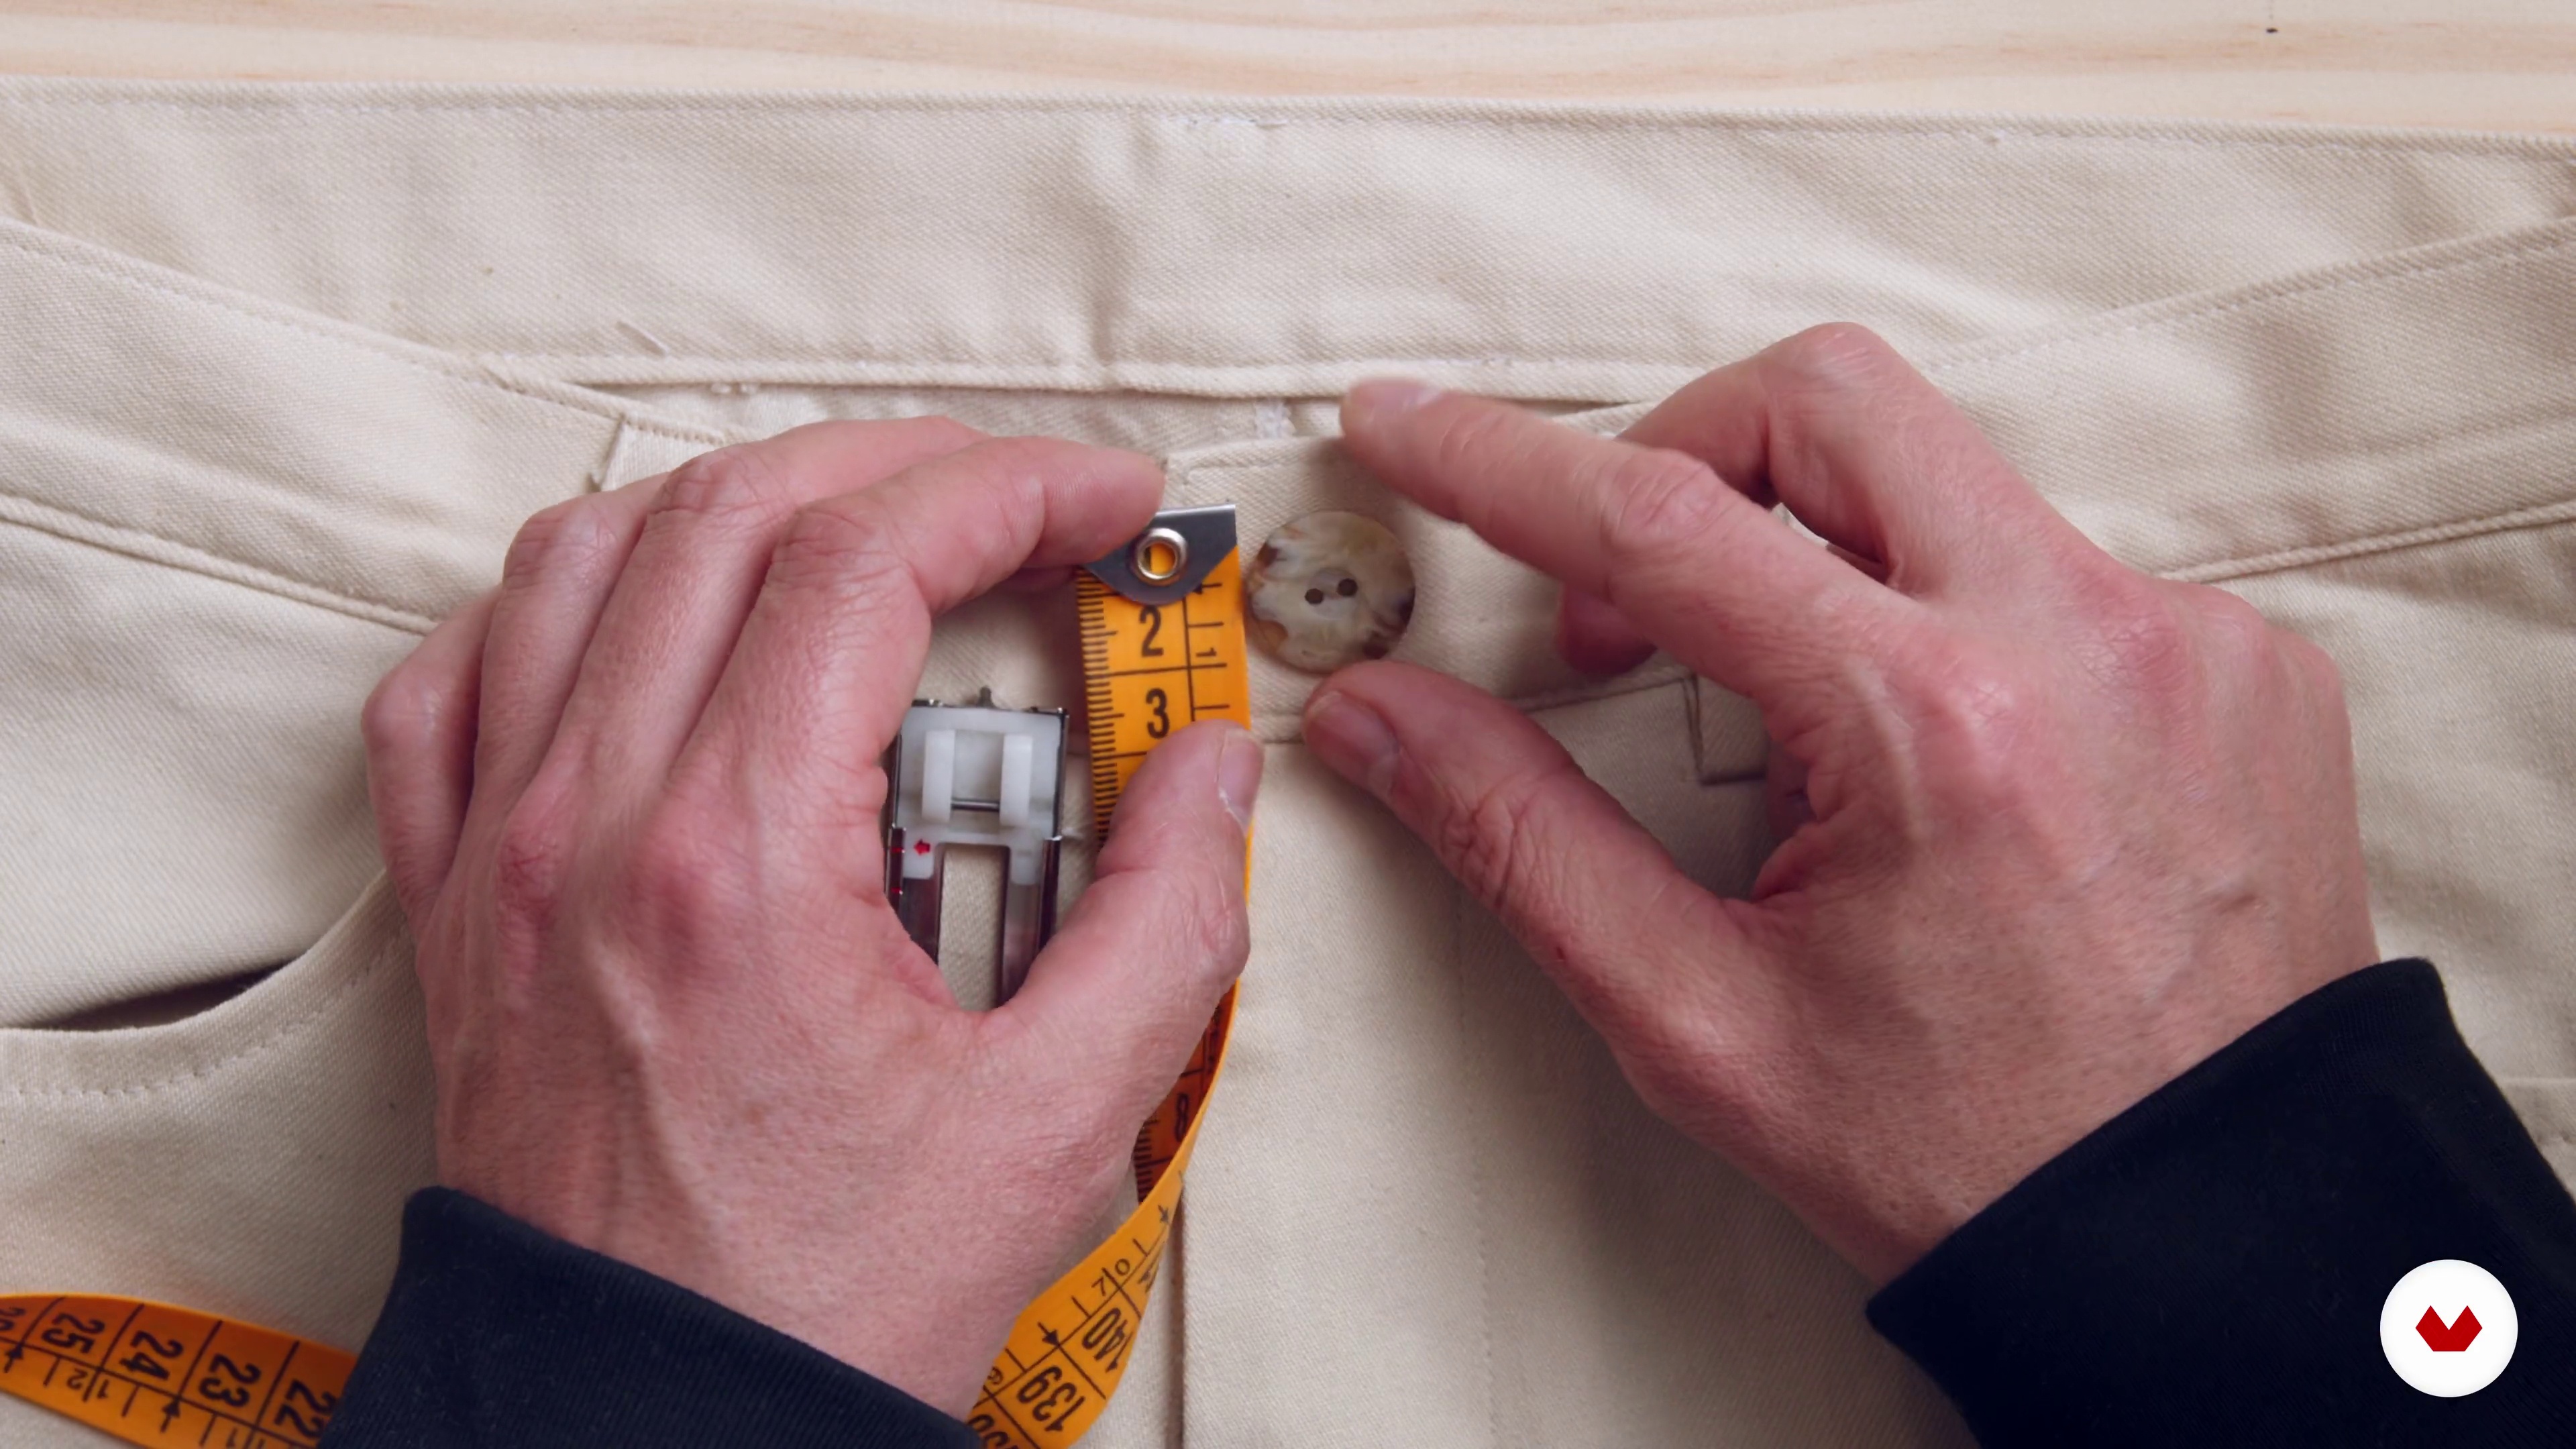
Now all that's left is to finish the pants. In this lesson, we'll teach you how to sew the belt loops and position them around the waist. Then, we'll sew the waistband, secure the belt loops, sew on the button and buttonhole, and hem the pants.
16m
 3
3Principles for creating multi-size garments
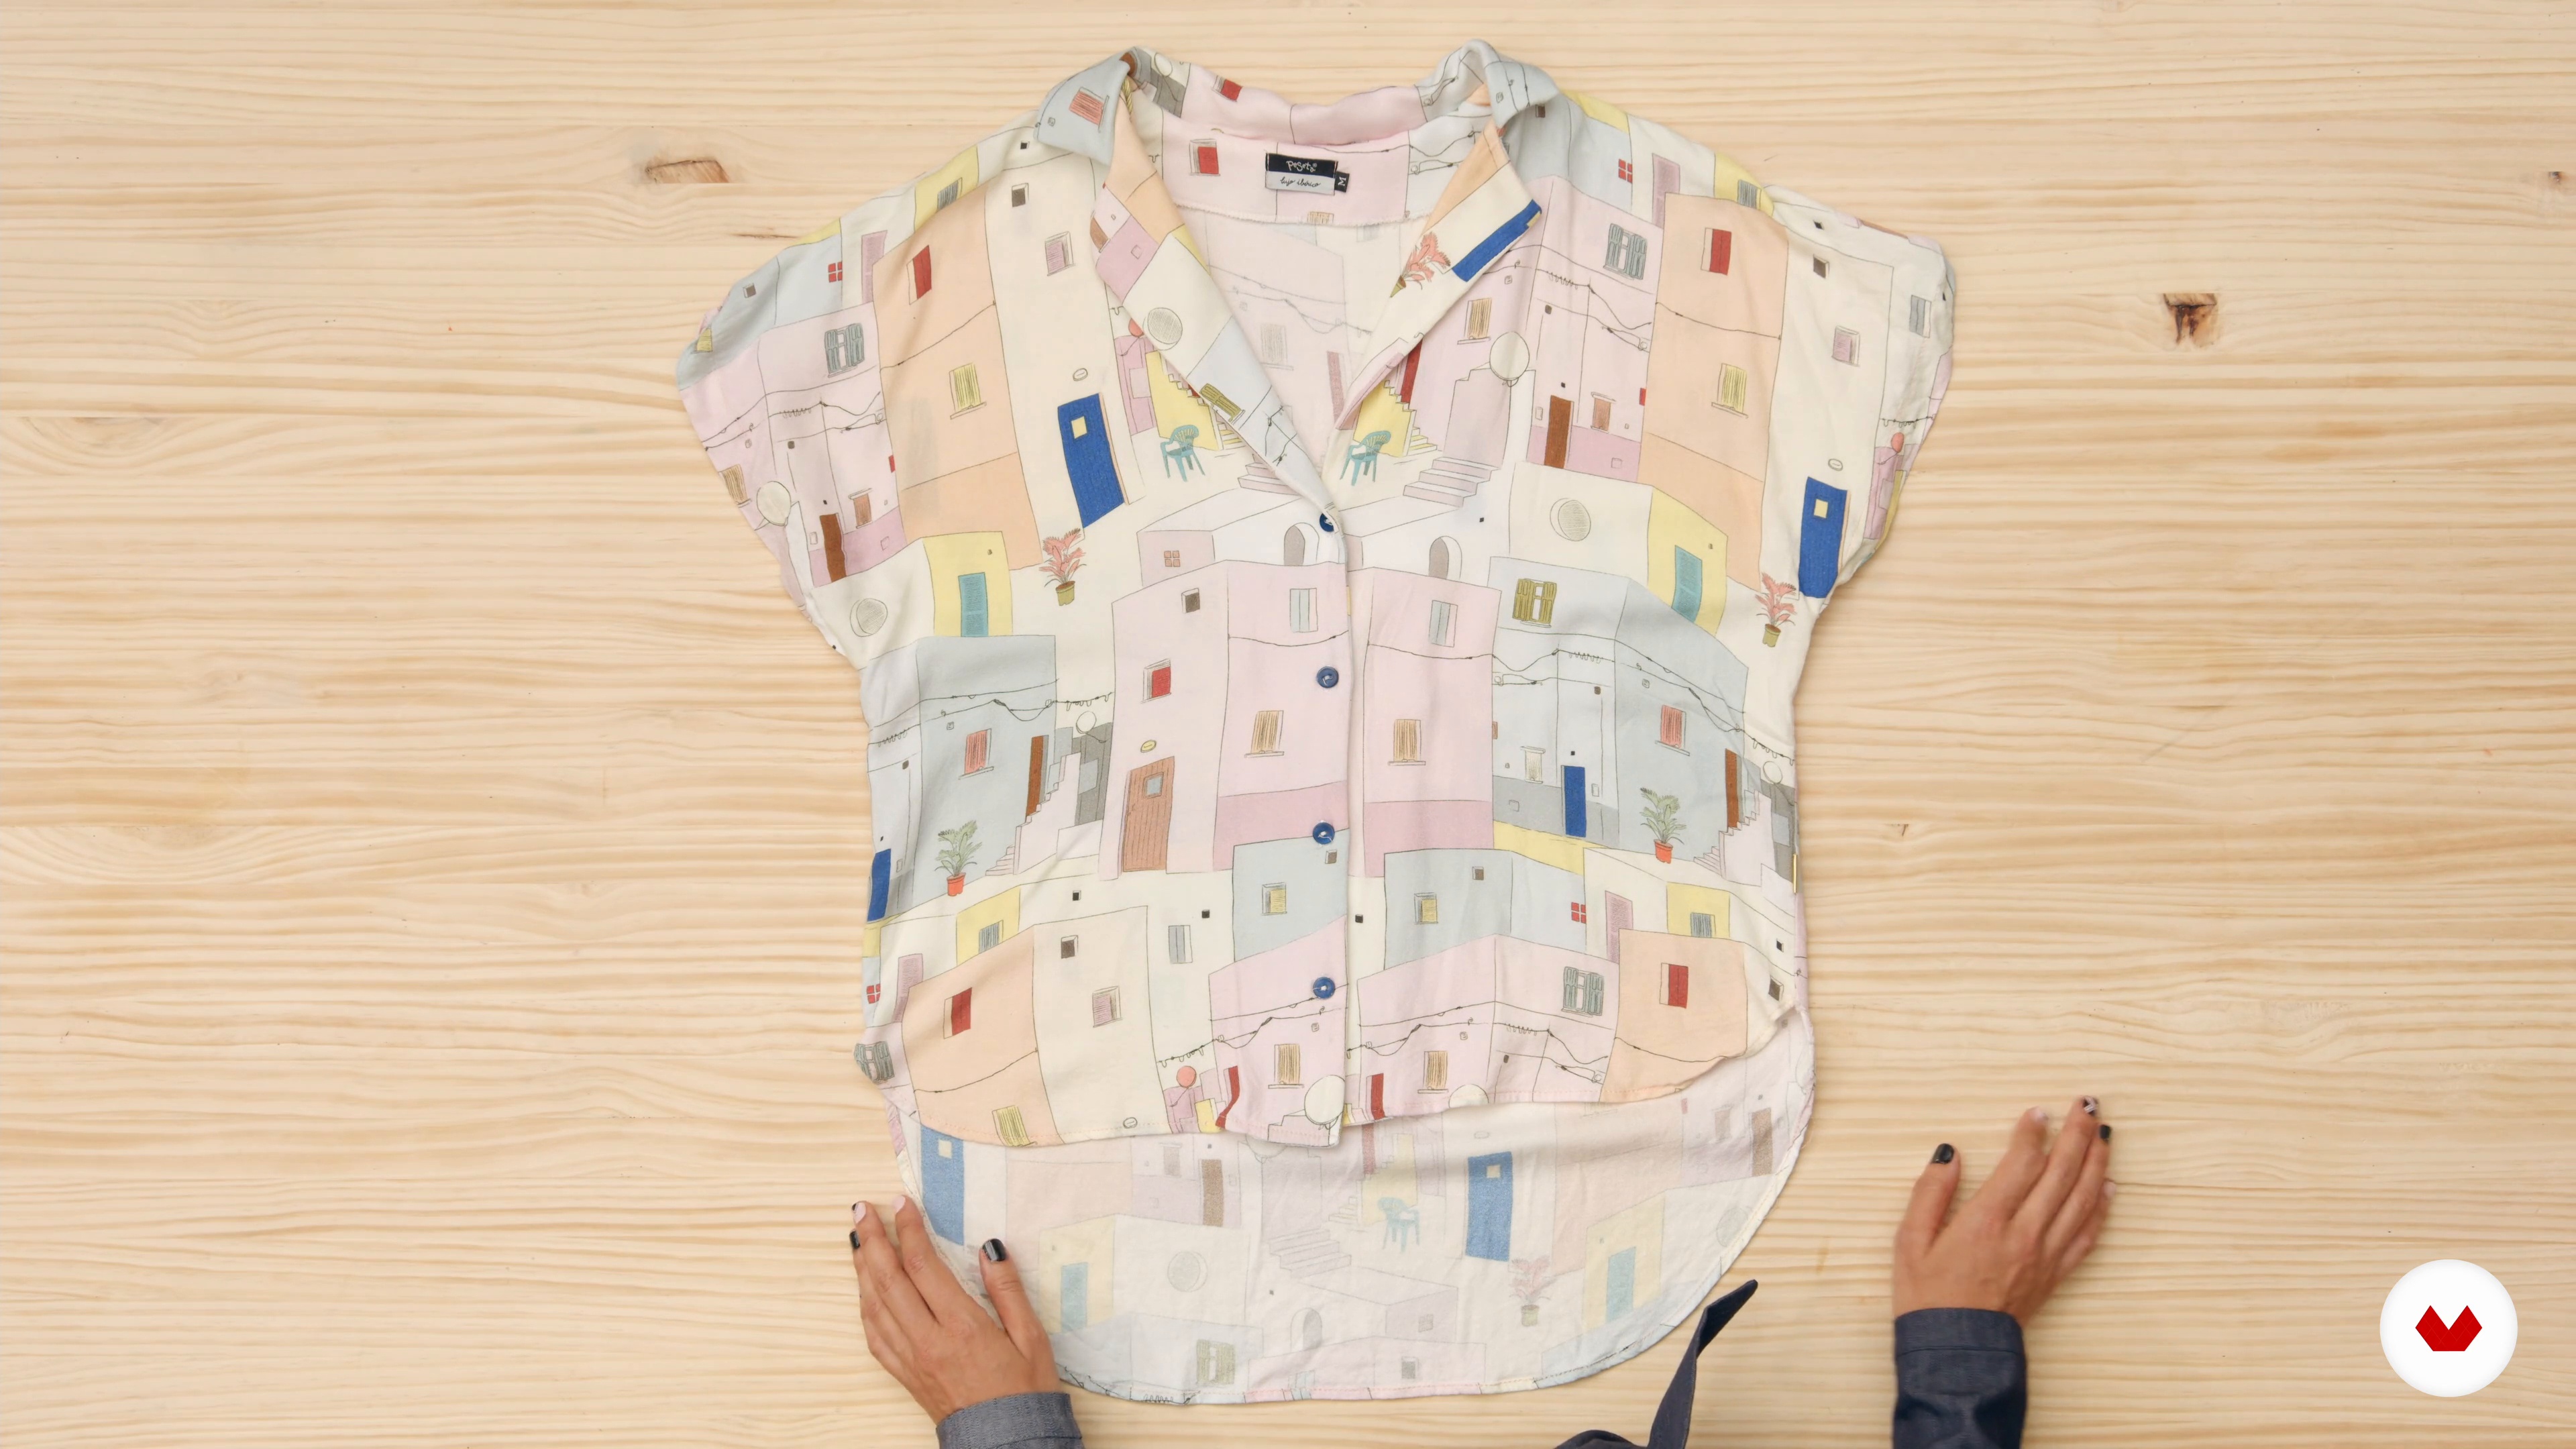
In this lesson, I'll explain what we need to consider when making one-size-fits-all garments in a very simple way. I'll show you some examples to help you understand.
7m
 4
4Materials and tools
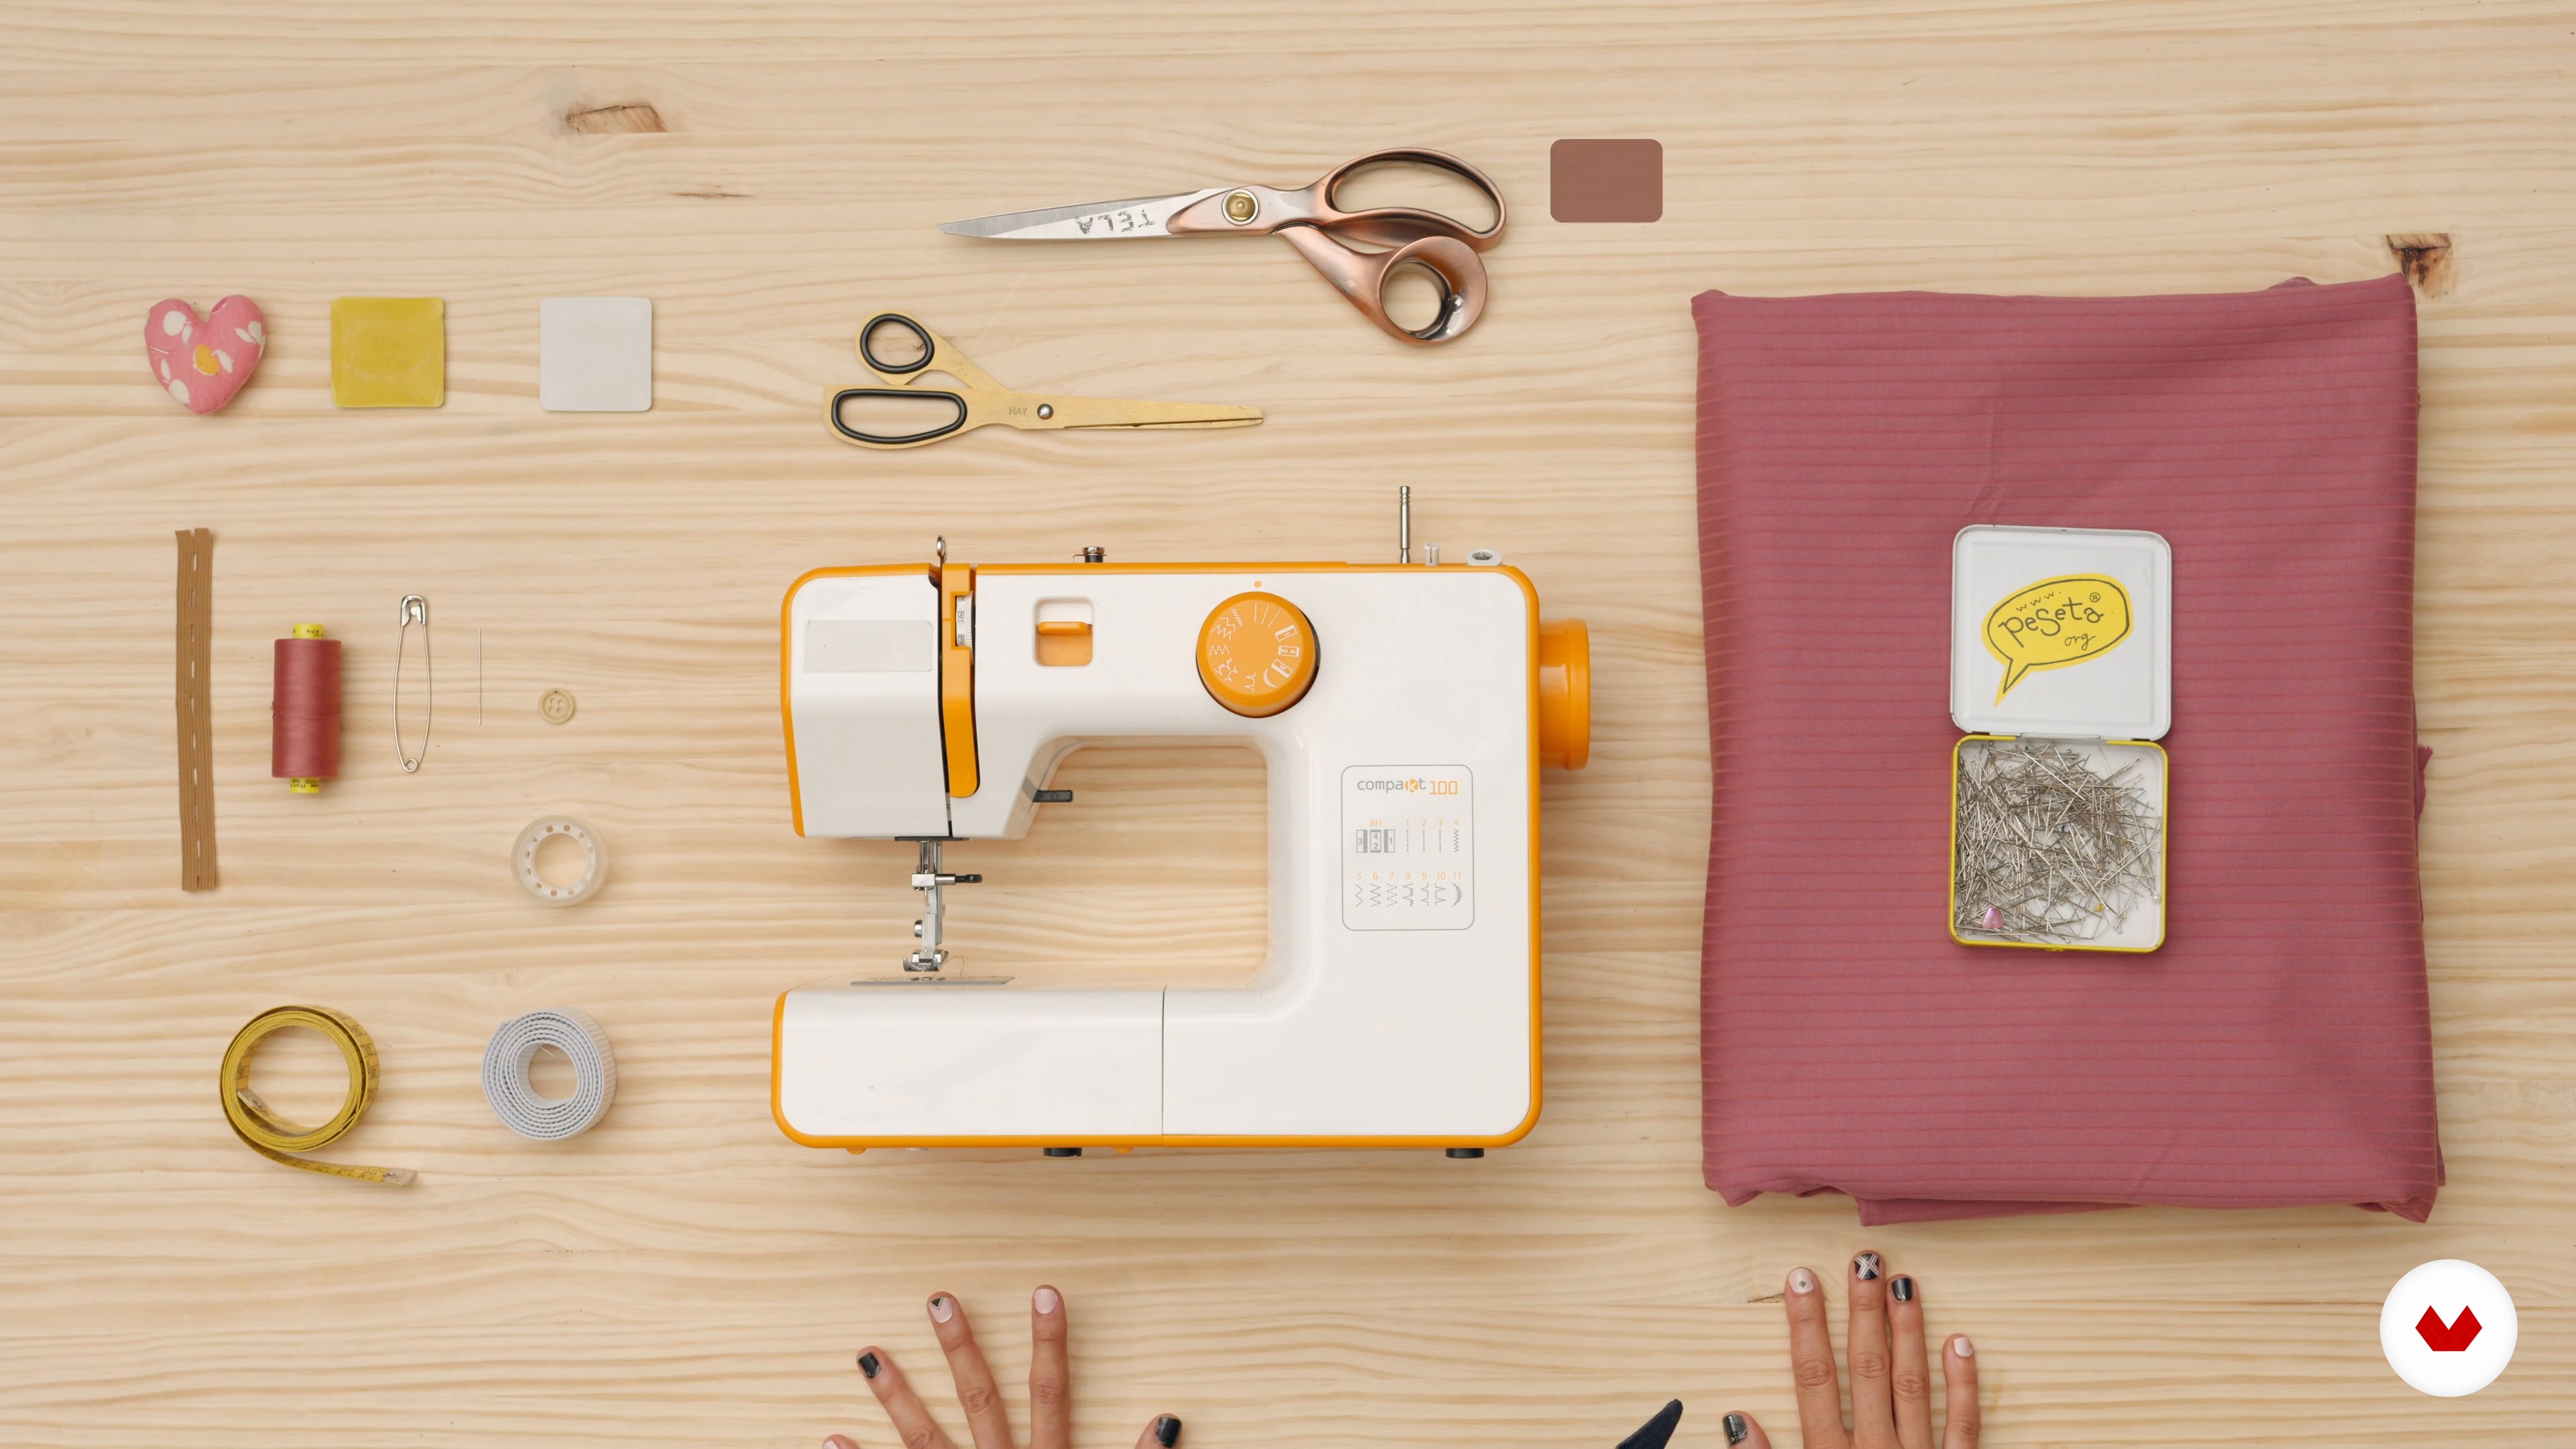
Now let's review different types of fabrics for the final project. I'll also show you some that aren't appropriate for this garment, but are suitable for other one-size-fits-alls, and I'll explain the tools you'll need to make your jumpsuit.
7m
 5
5The pattern and its modifications
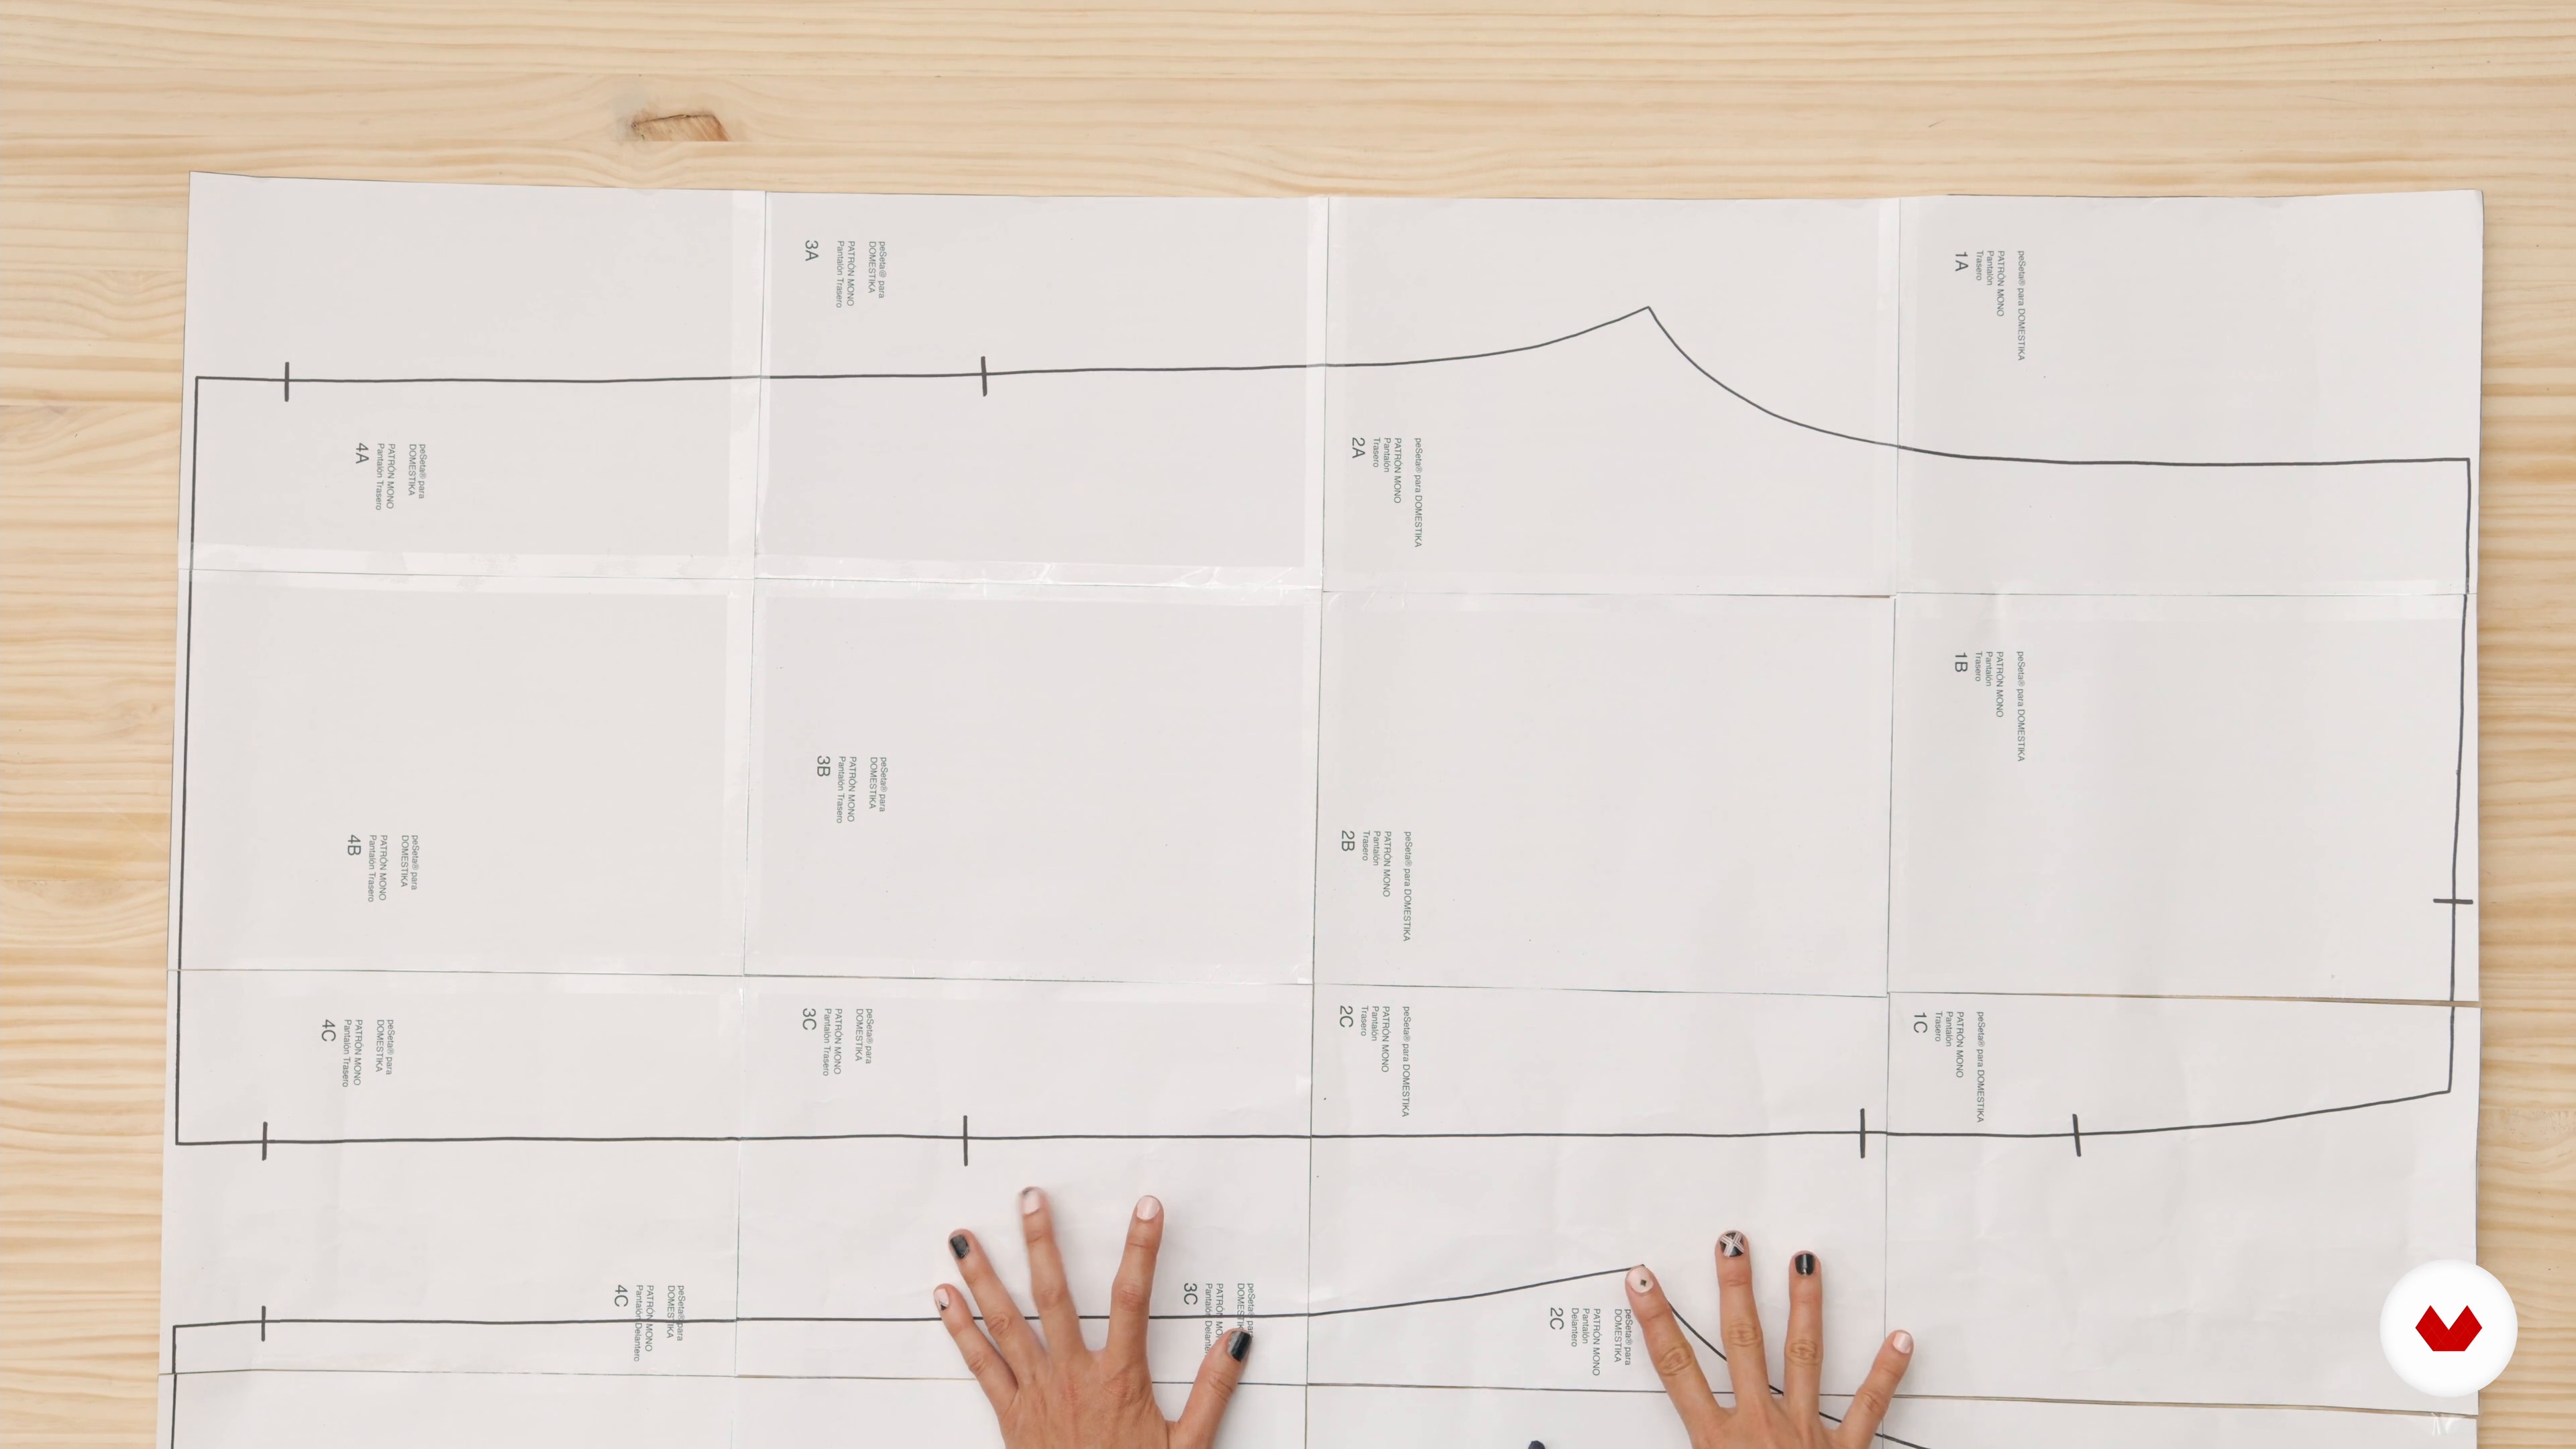
In this lesson, we'll join the sheets together to create the pattern and look at the modifications you can make to the garment.
8m
 6
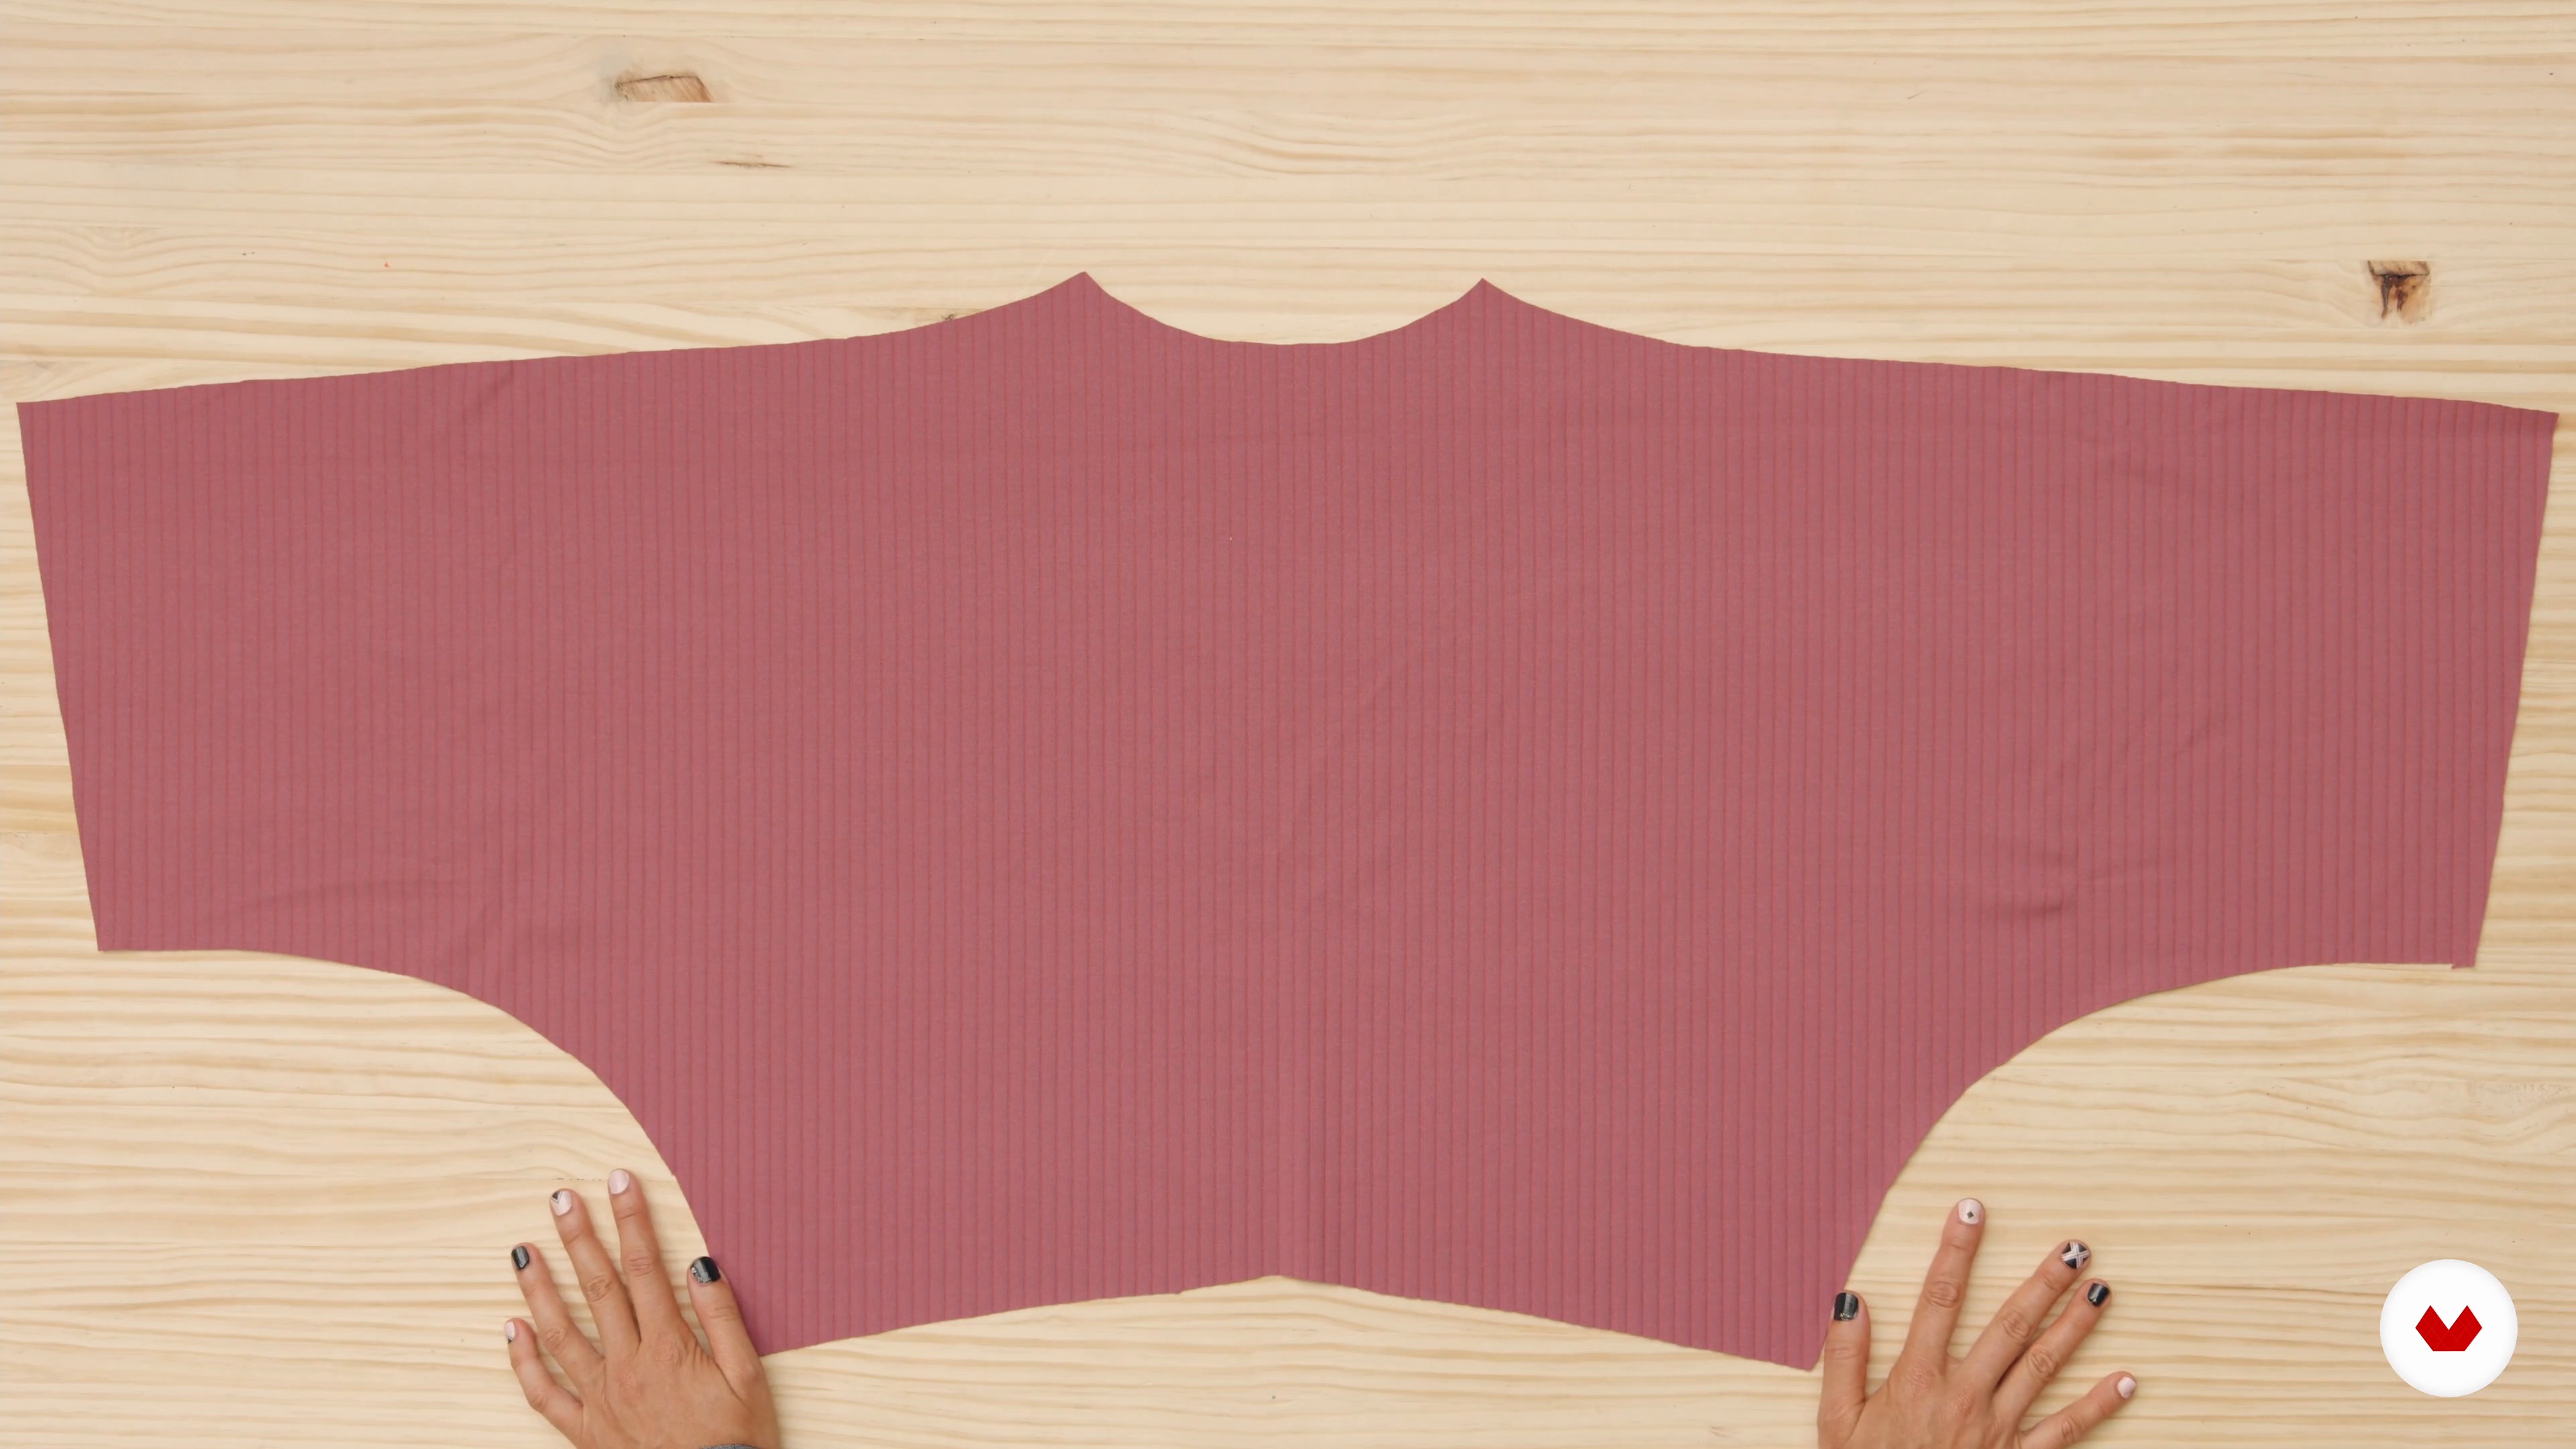
6Body cut
Now it's time to cut the fabric for the top of the jumpsuit: the body. The body contains a front and back piece.
13m
 7
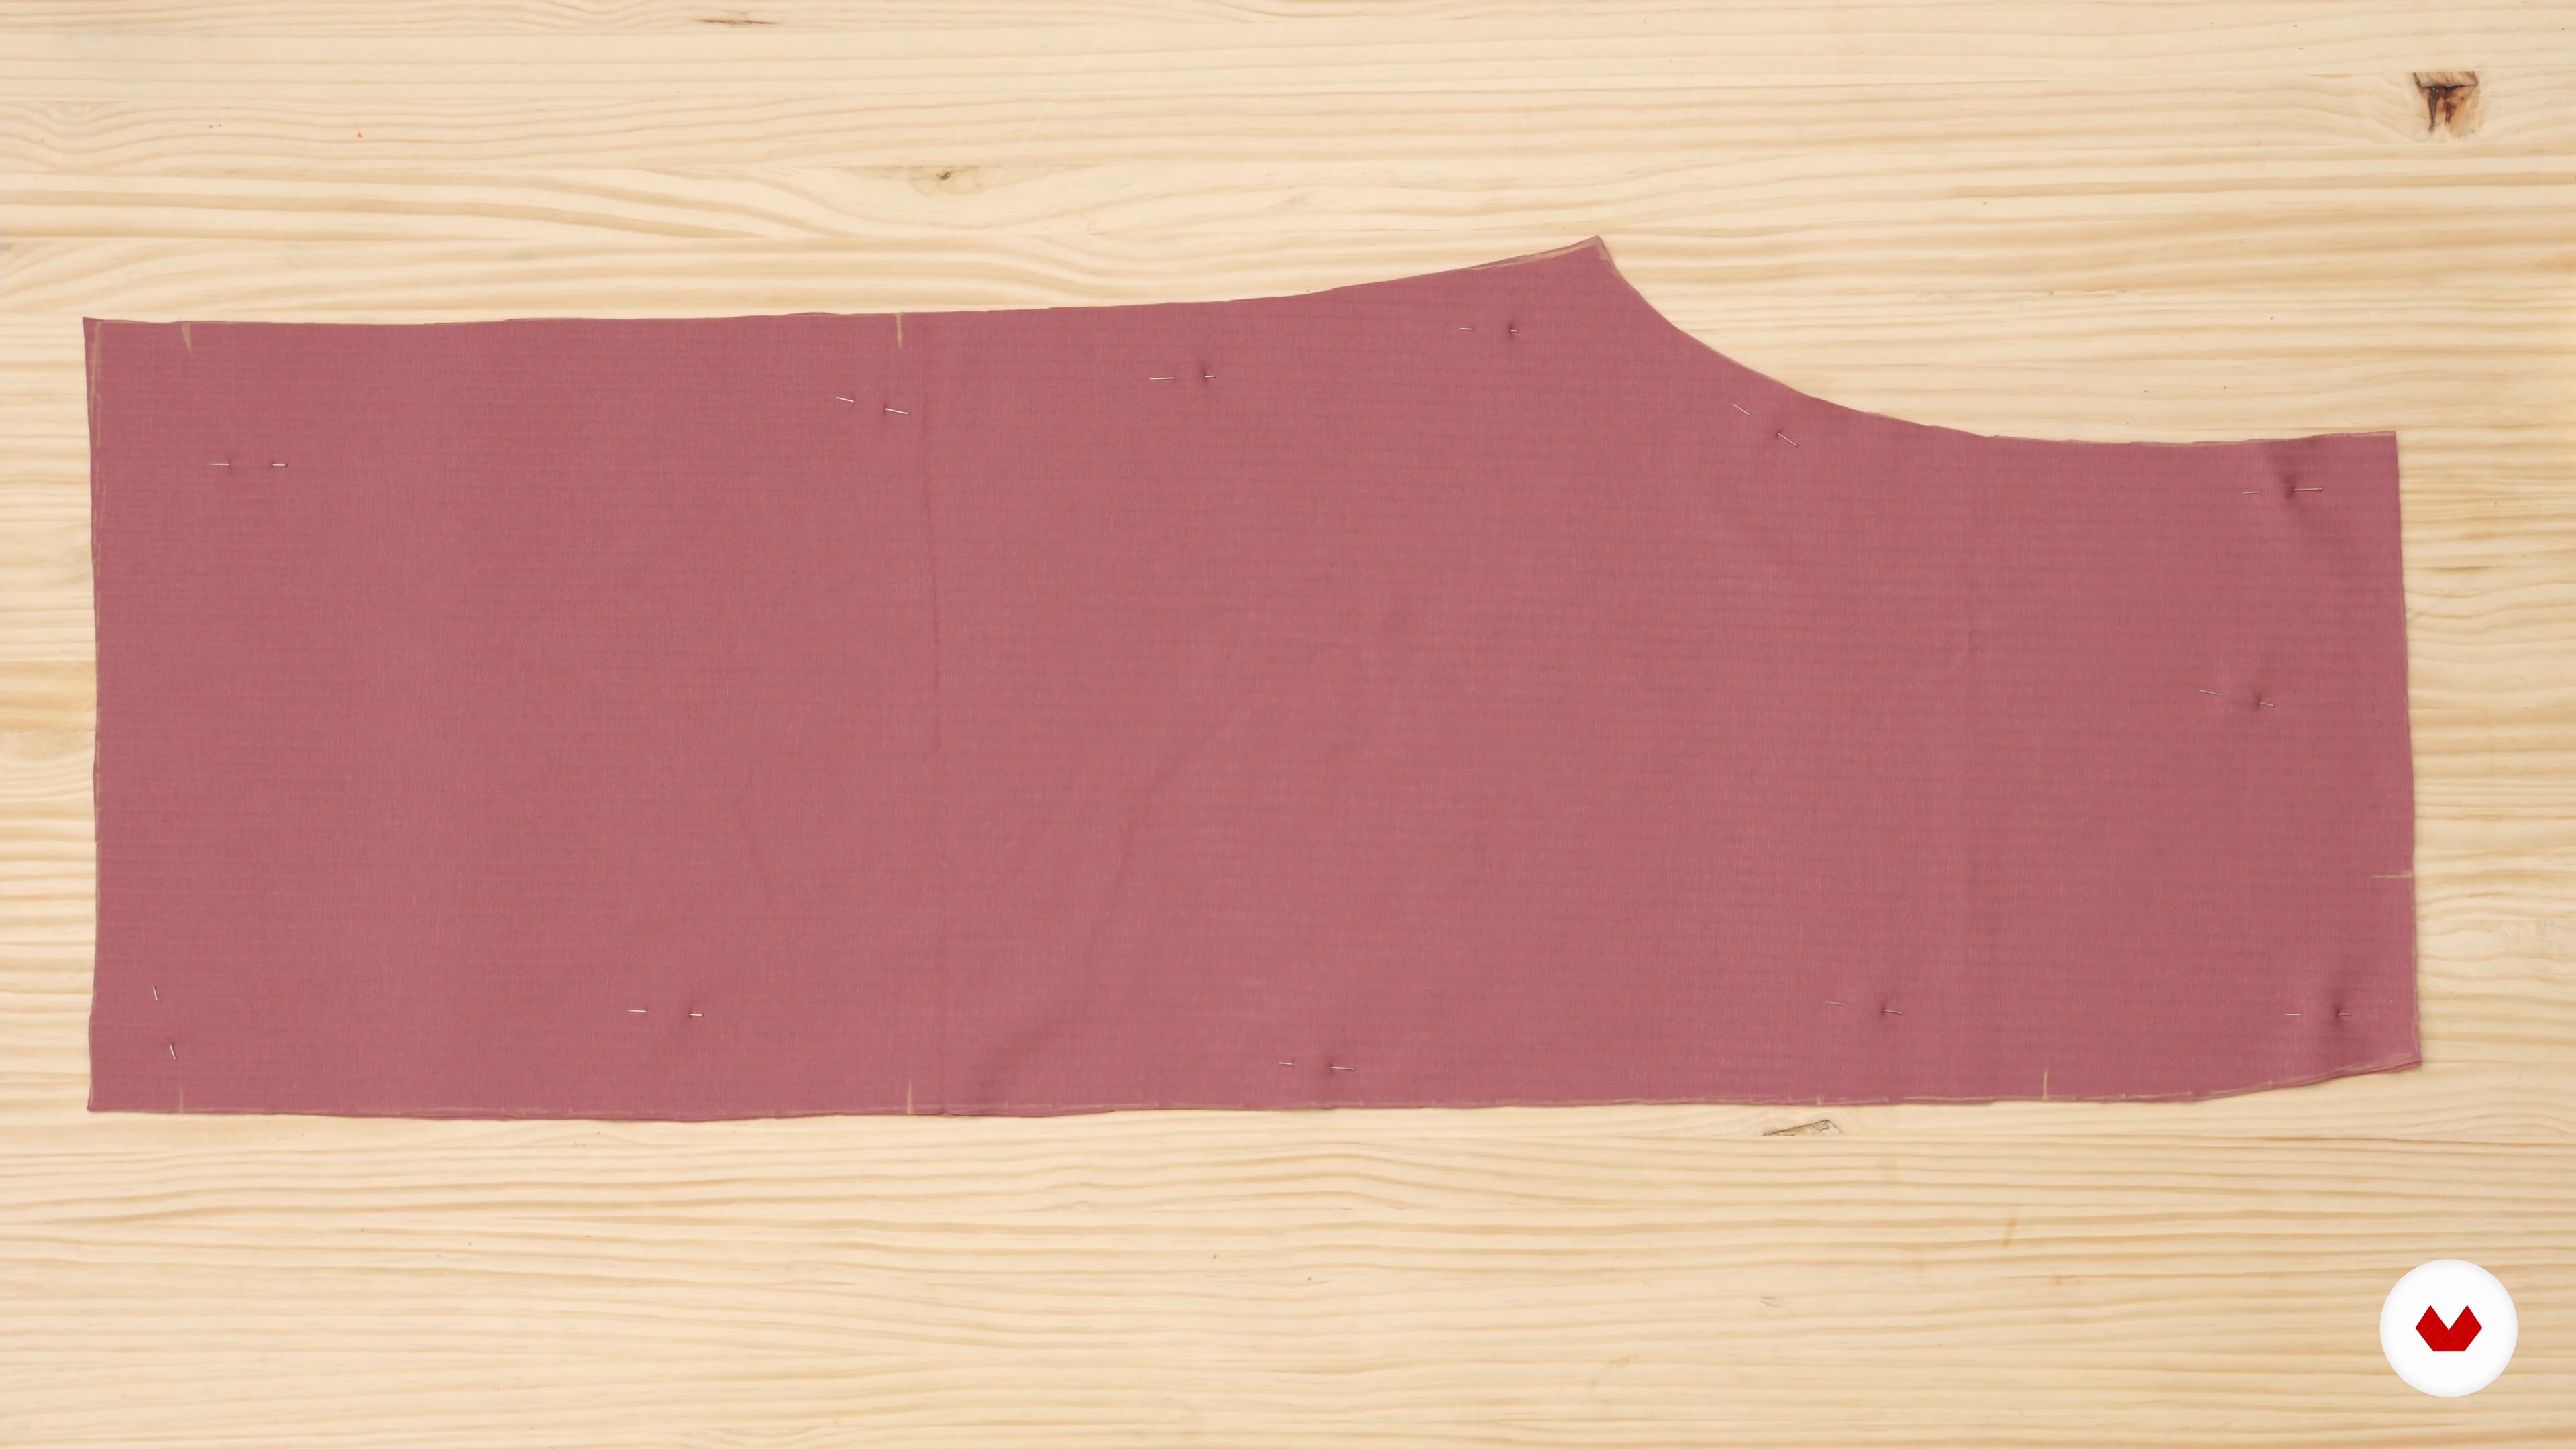
7Trouser cut
Now we're going to cut the bottom of the garment, which corresponds to the pants. The pants also consist of a front and back piece.
10m
 8
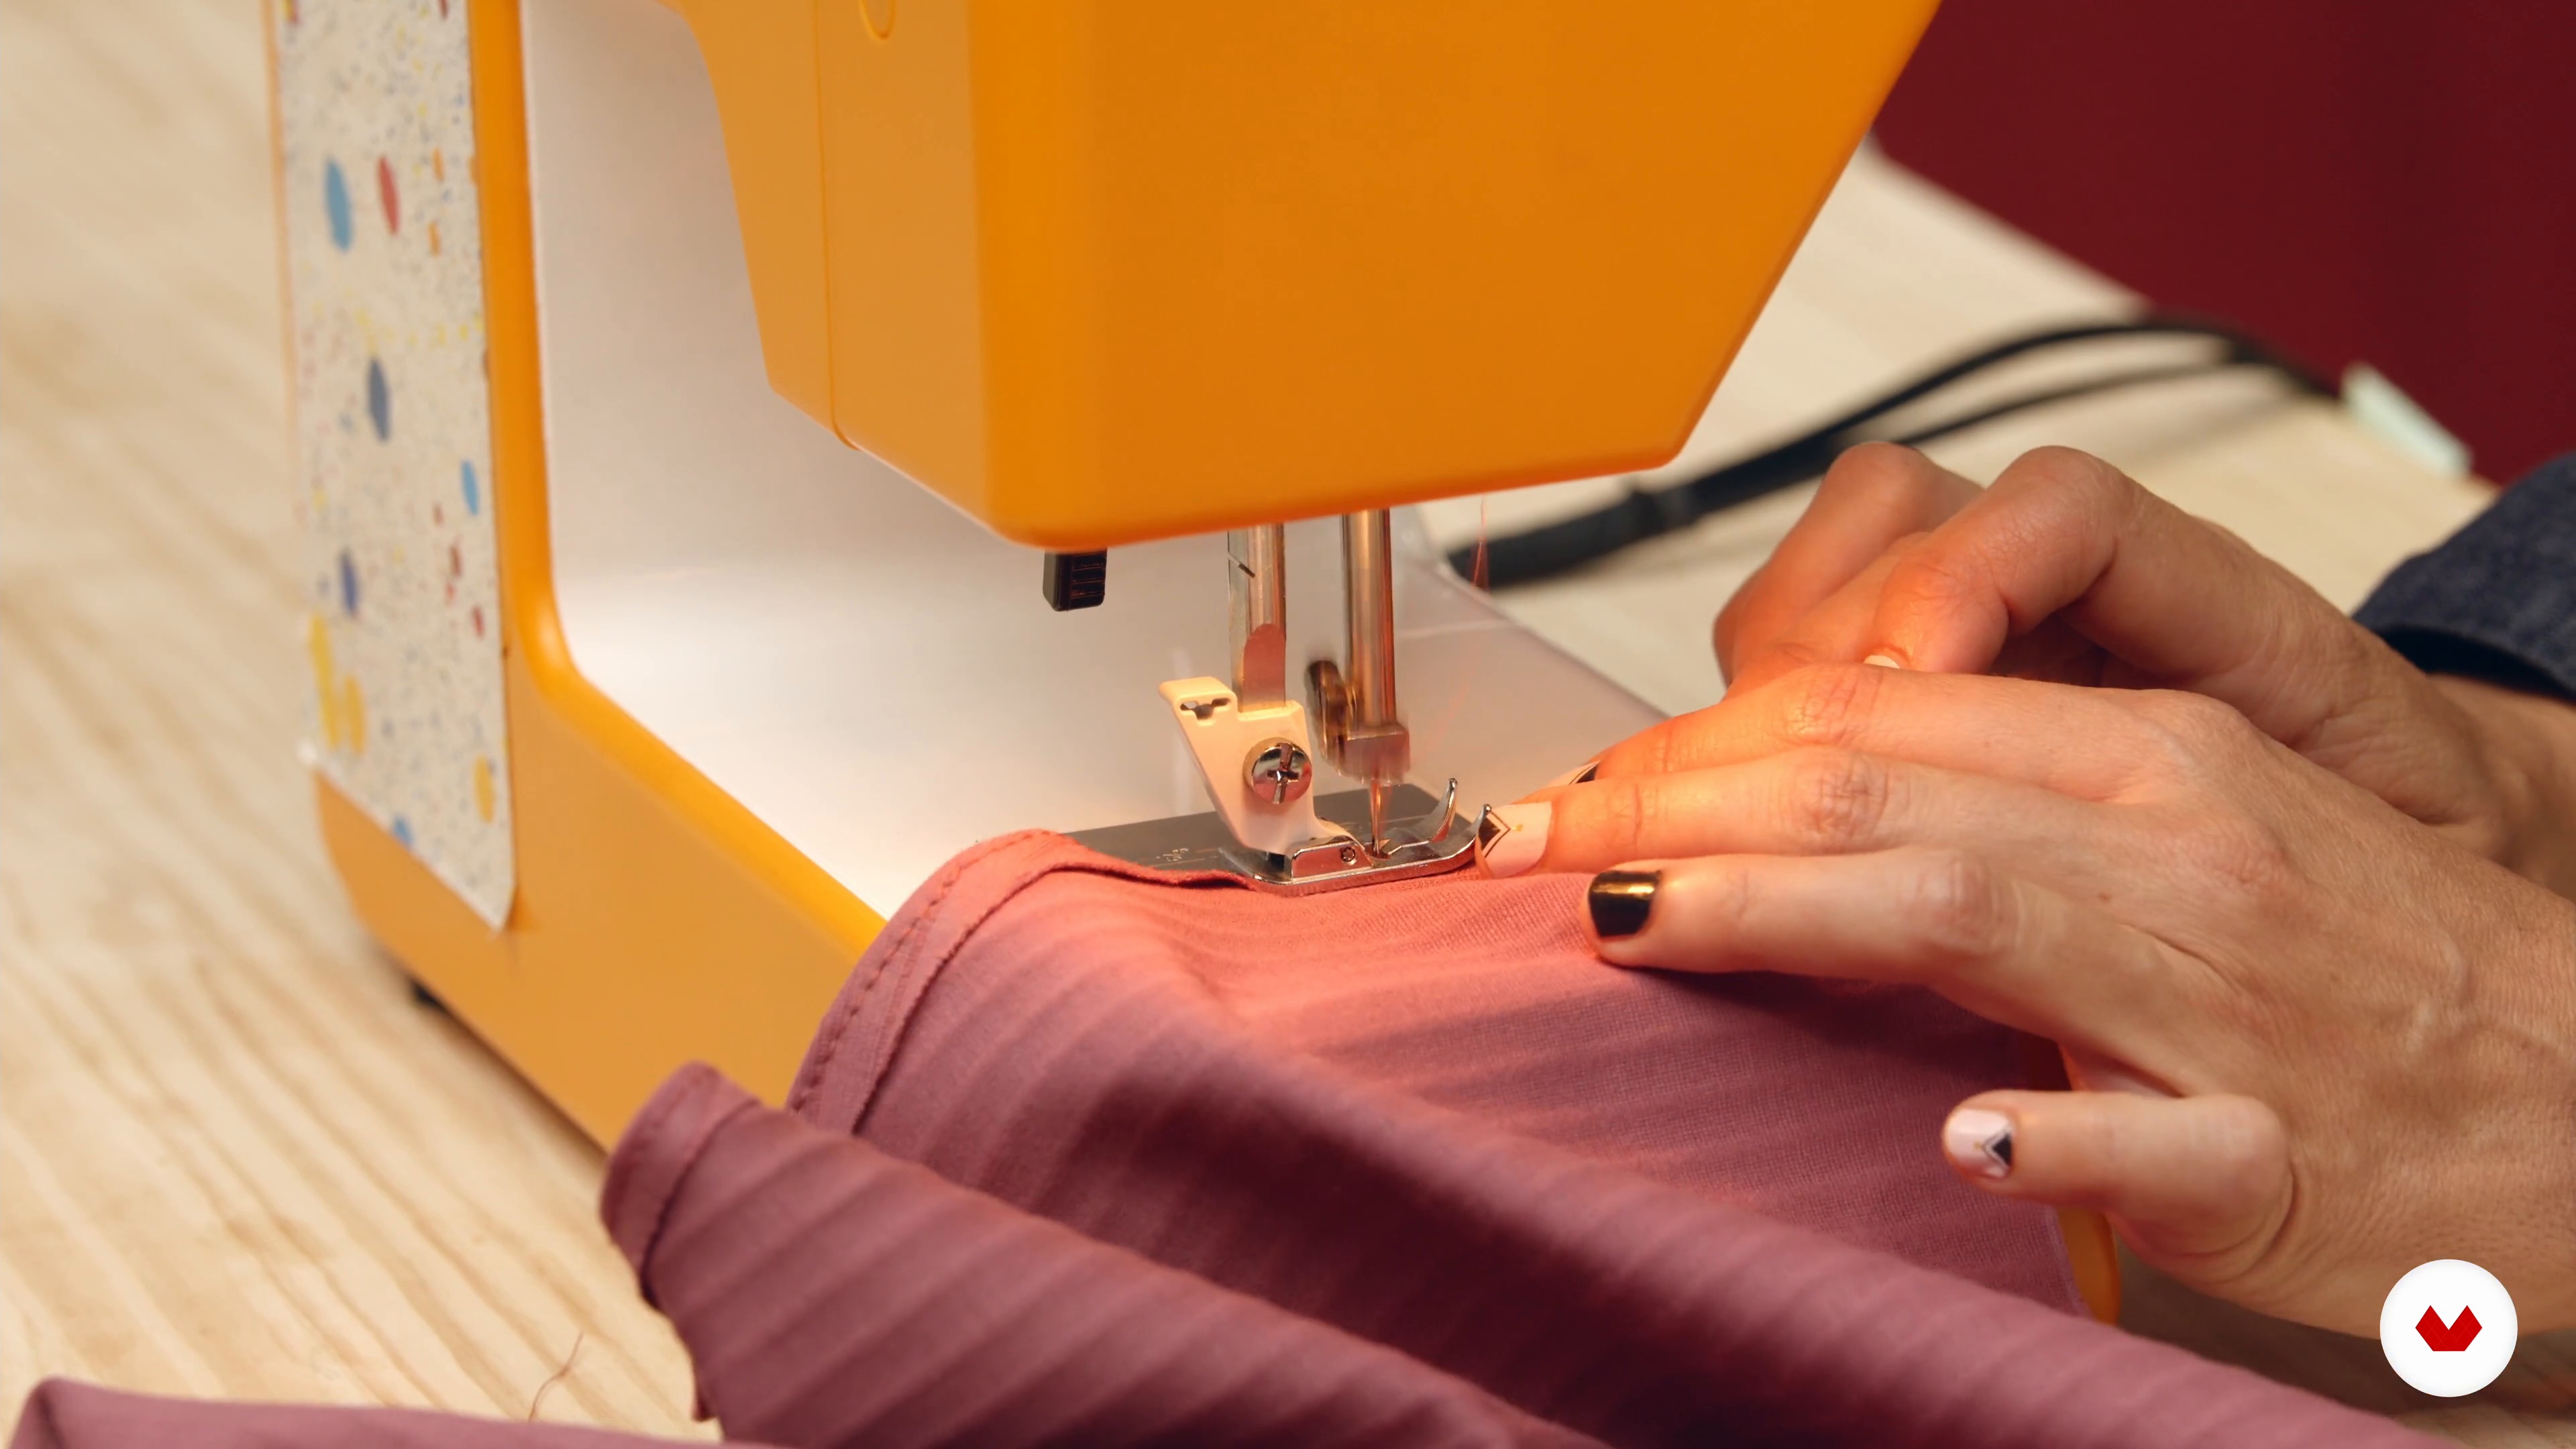
8Body seam 1
In this lesson, we'll join the three pieces of fabric we have to make the body of the jumpsuit. Now it's time to use the sewing machine!
15m
 9
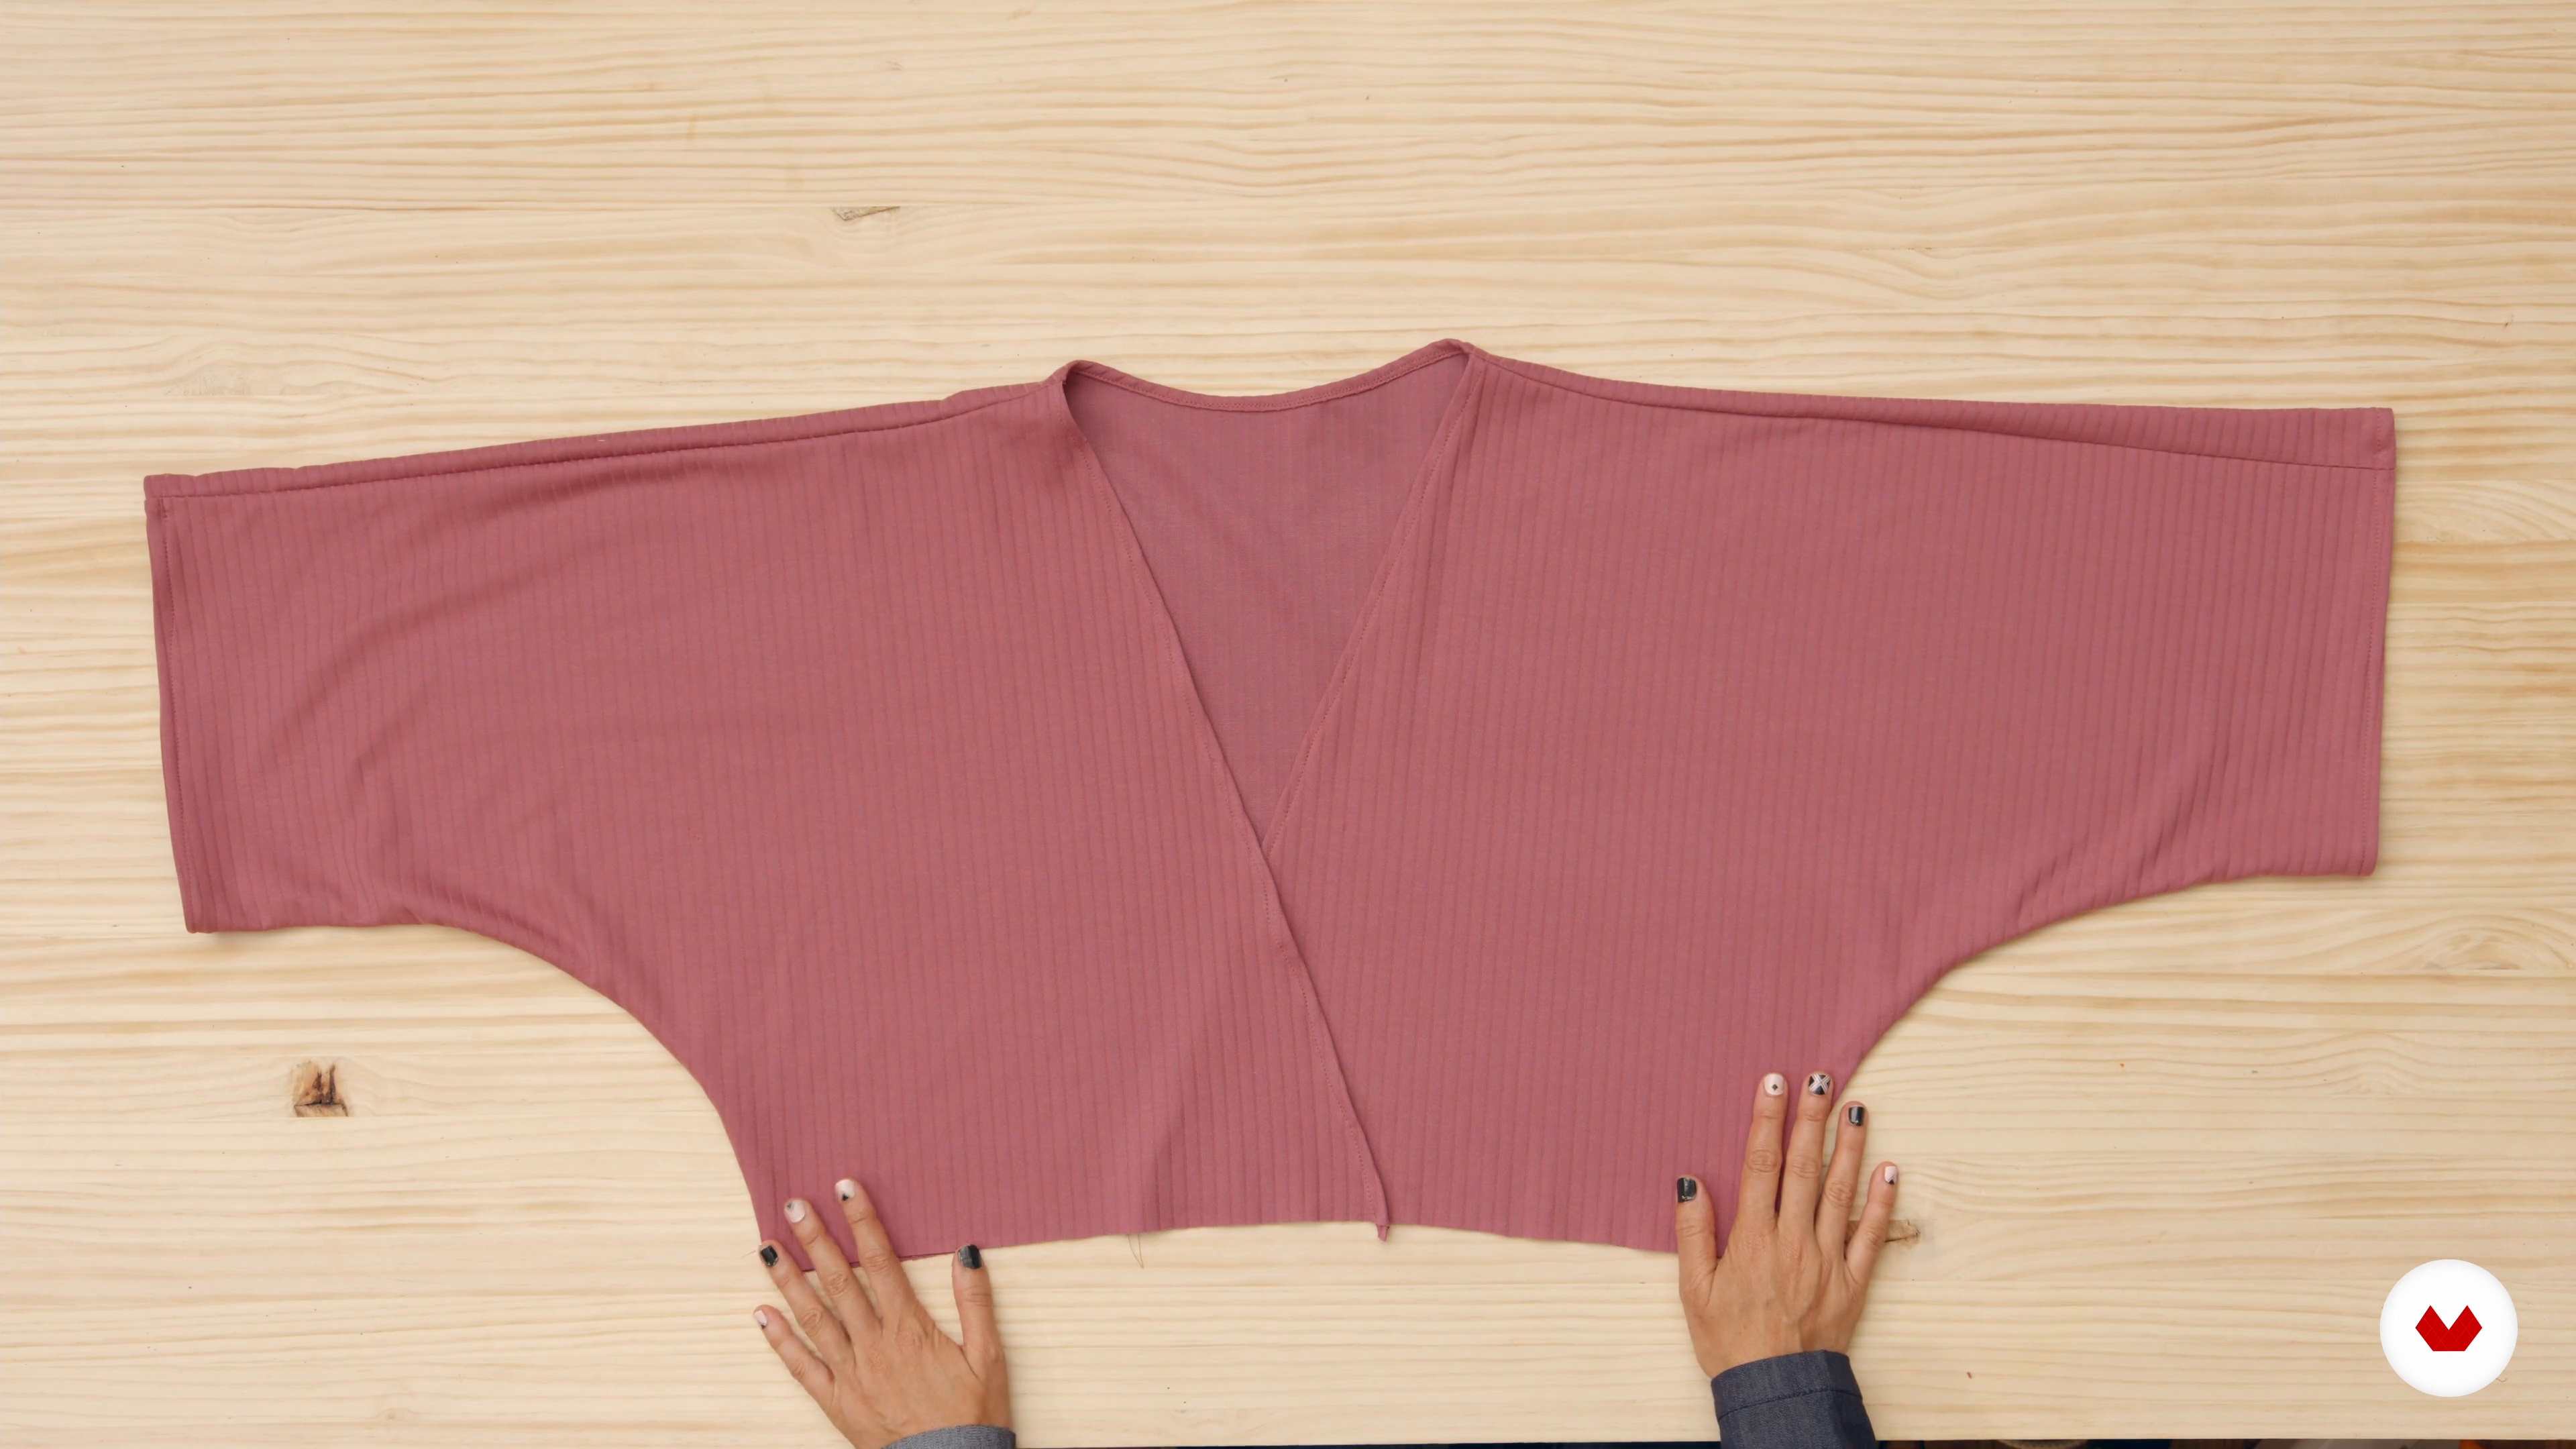
9Body seam 2
We're finishing sewing the body of our piece. Slowly and patiently, enjoy the process!
16m
 10
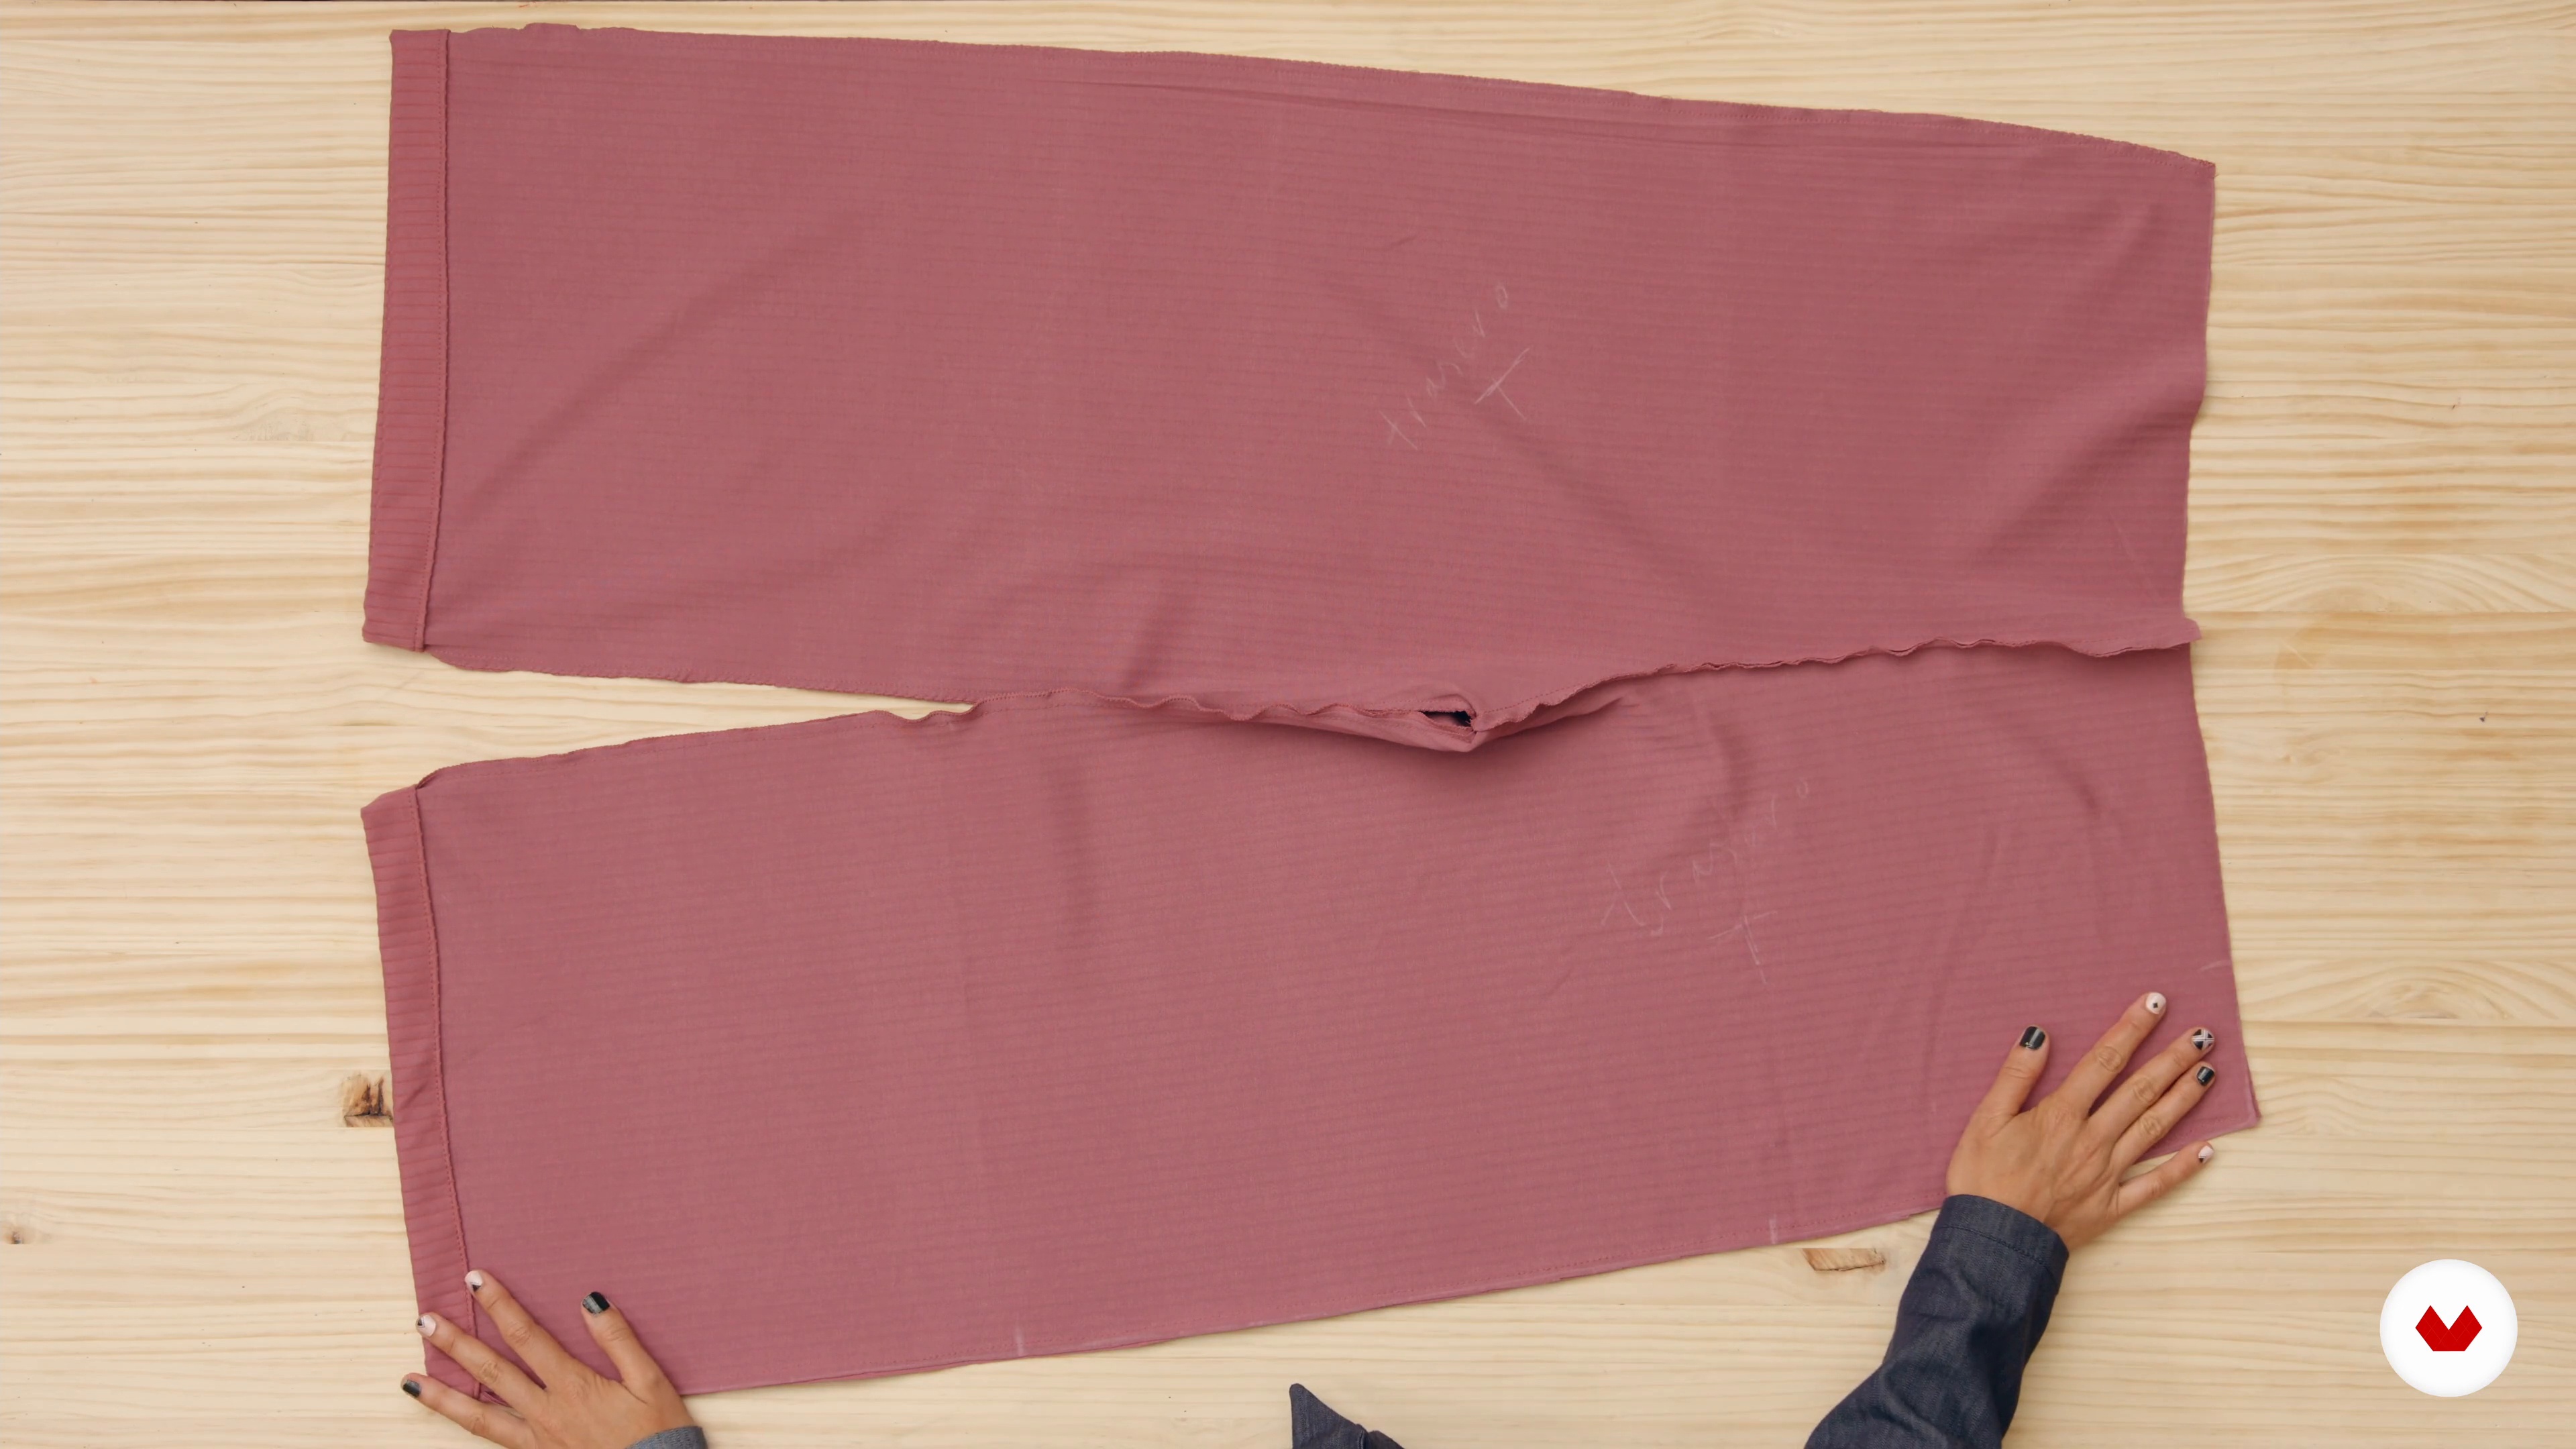
10Trouser seam
Next, we'll make the jumpsuit pants in four easy steps. These are very simple pants, perfect for learning how to sew pants.
16m
 11
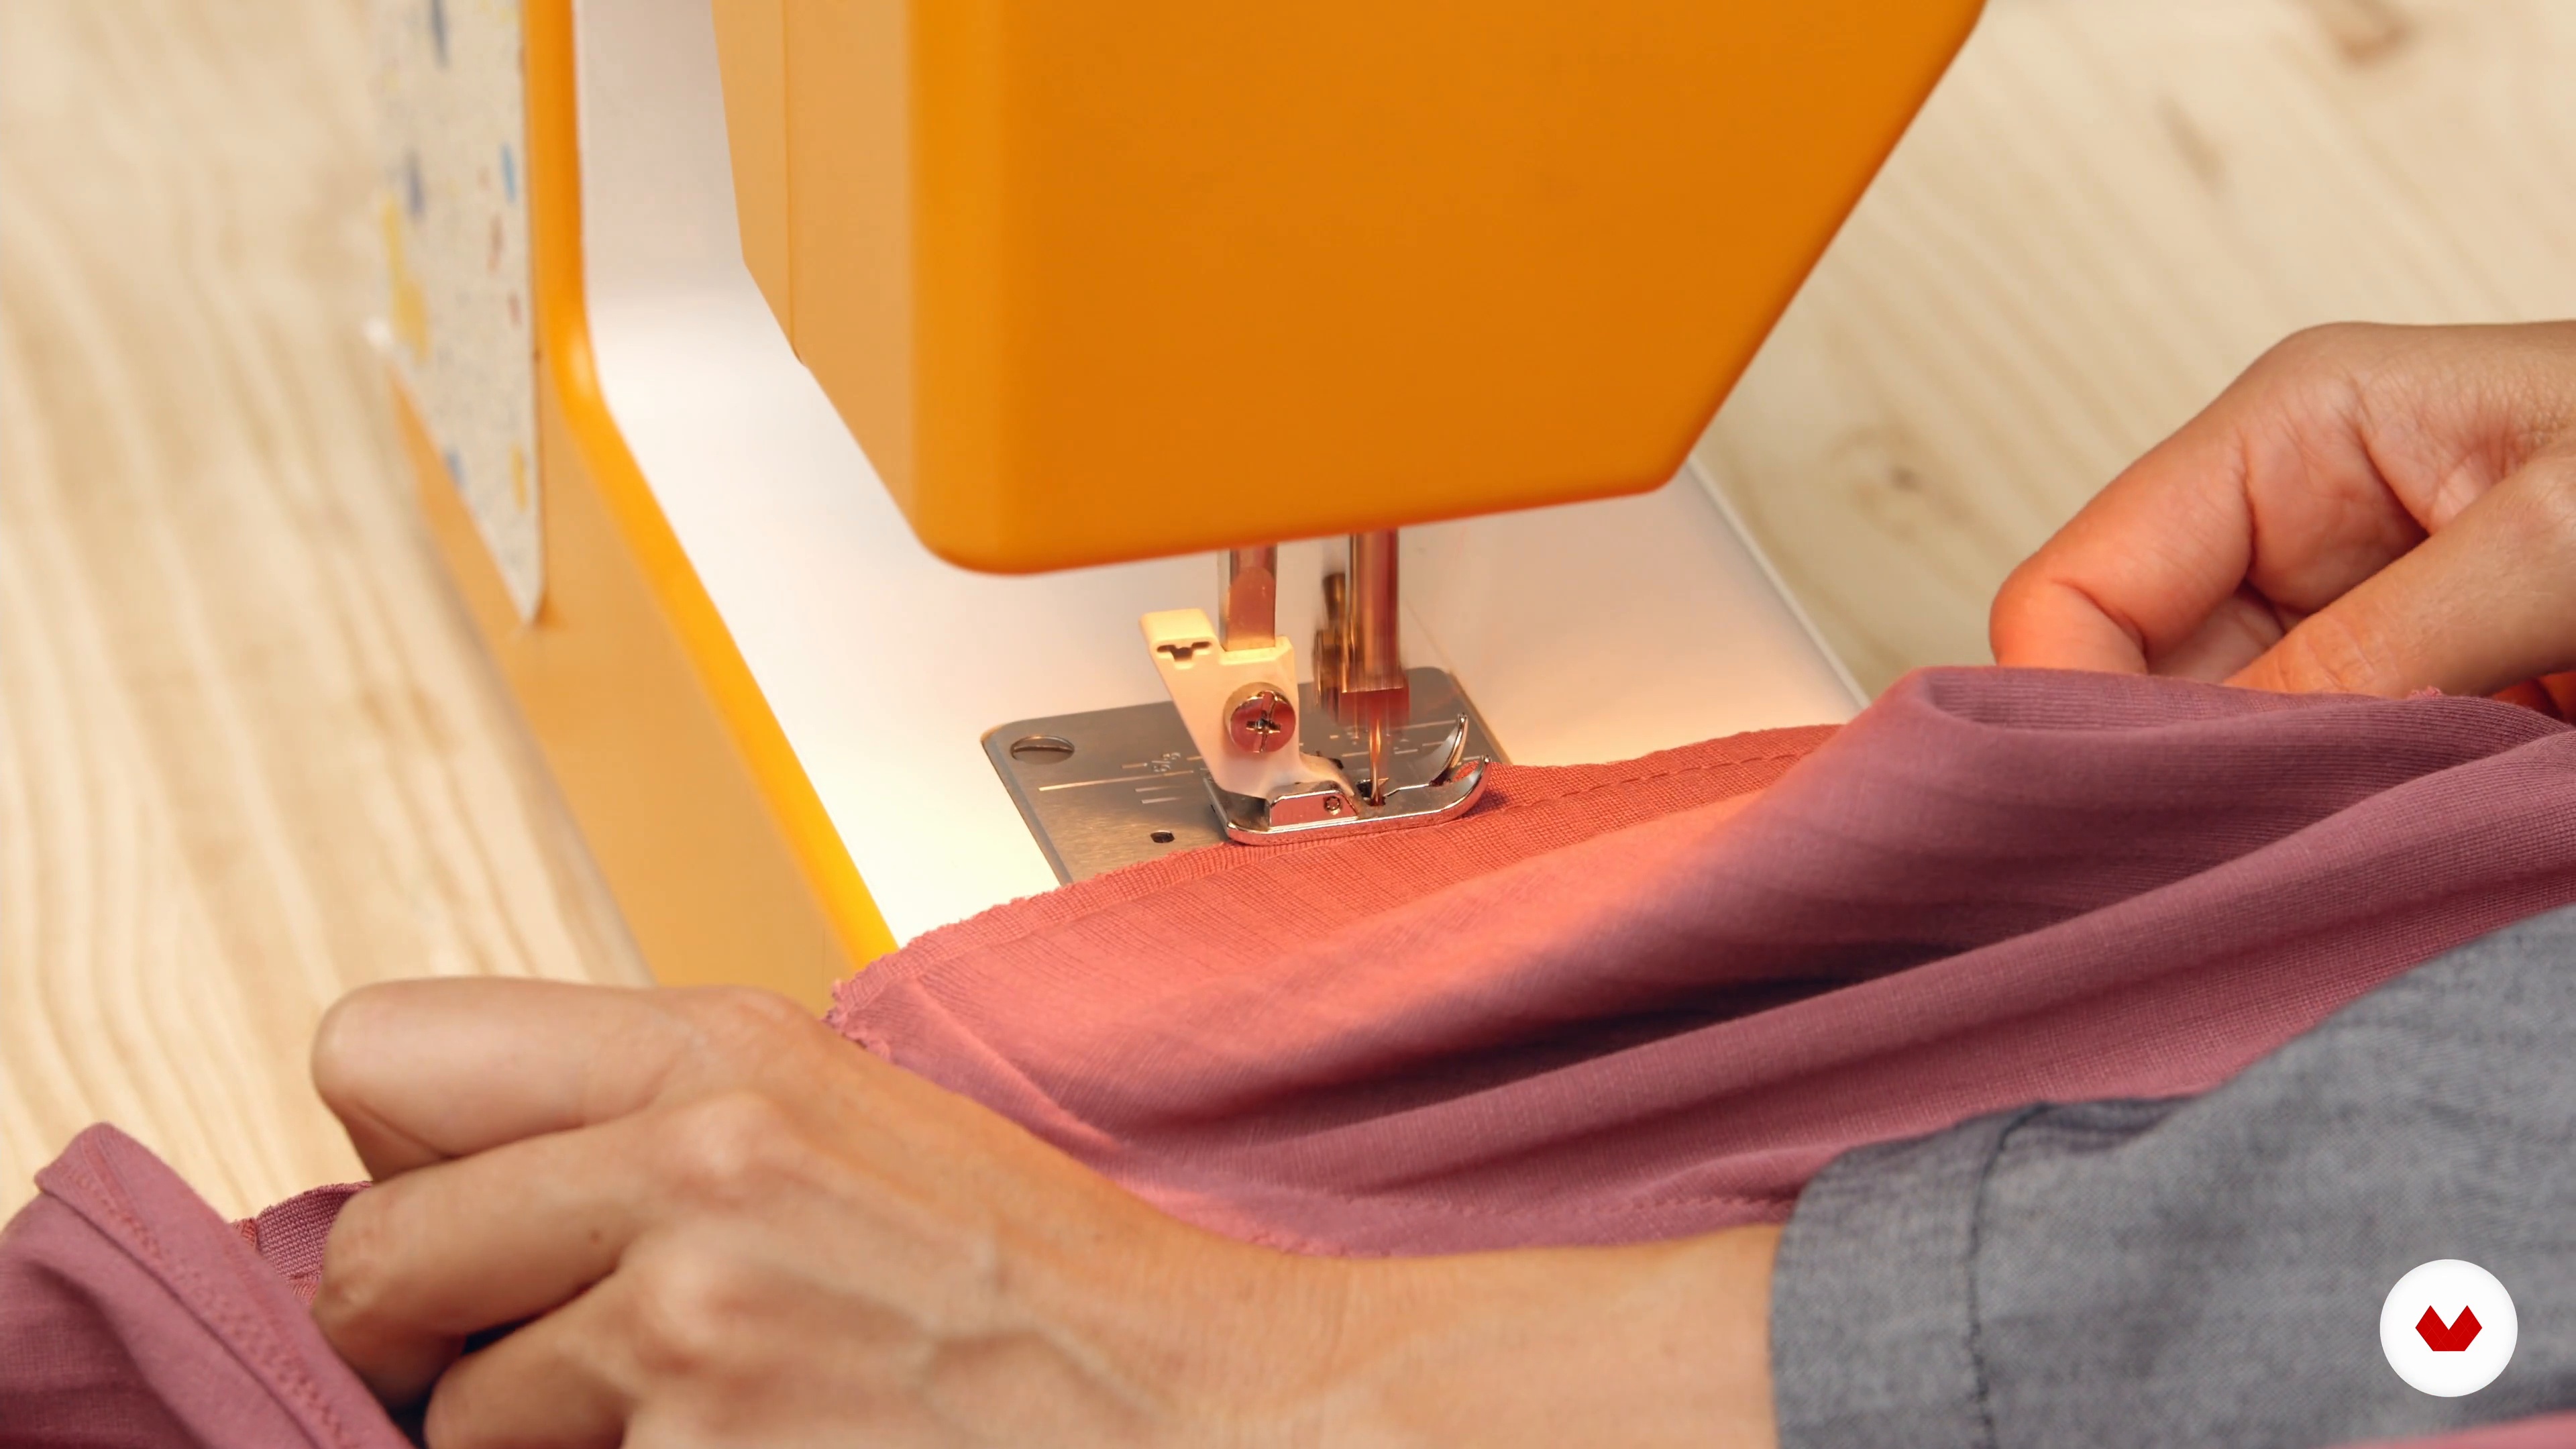
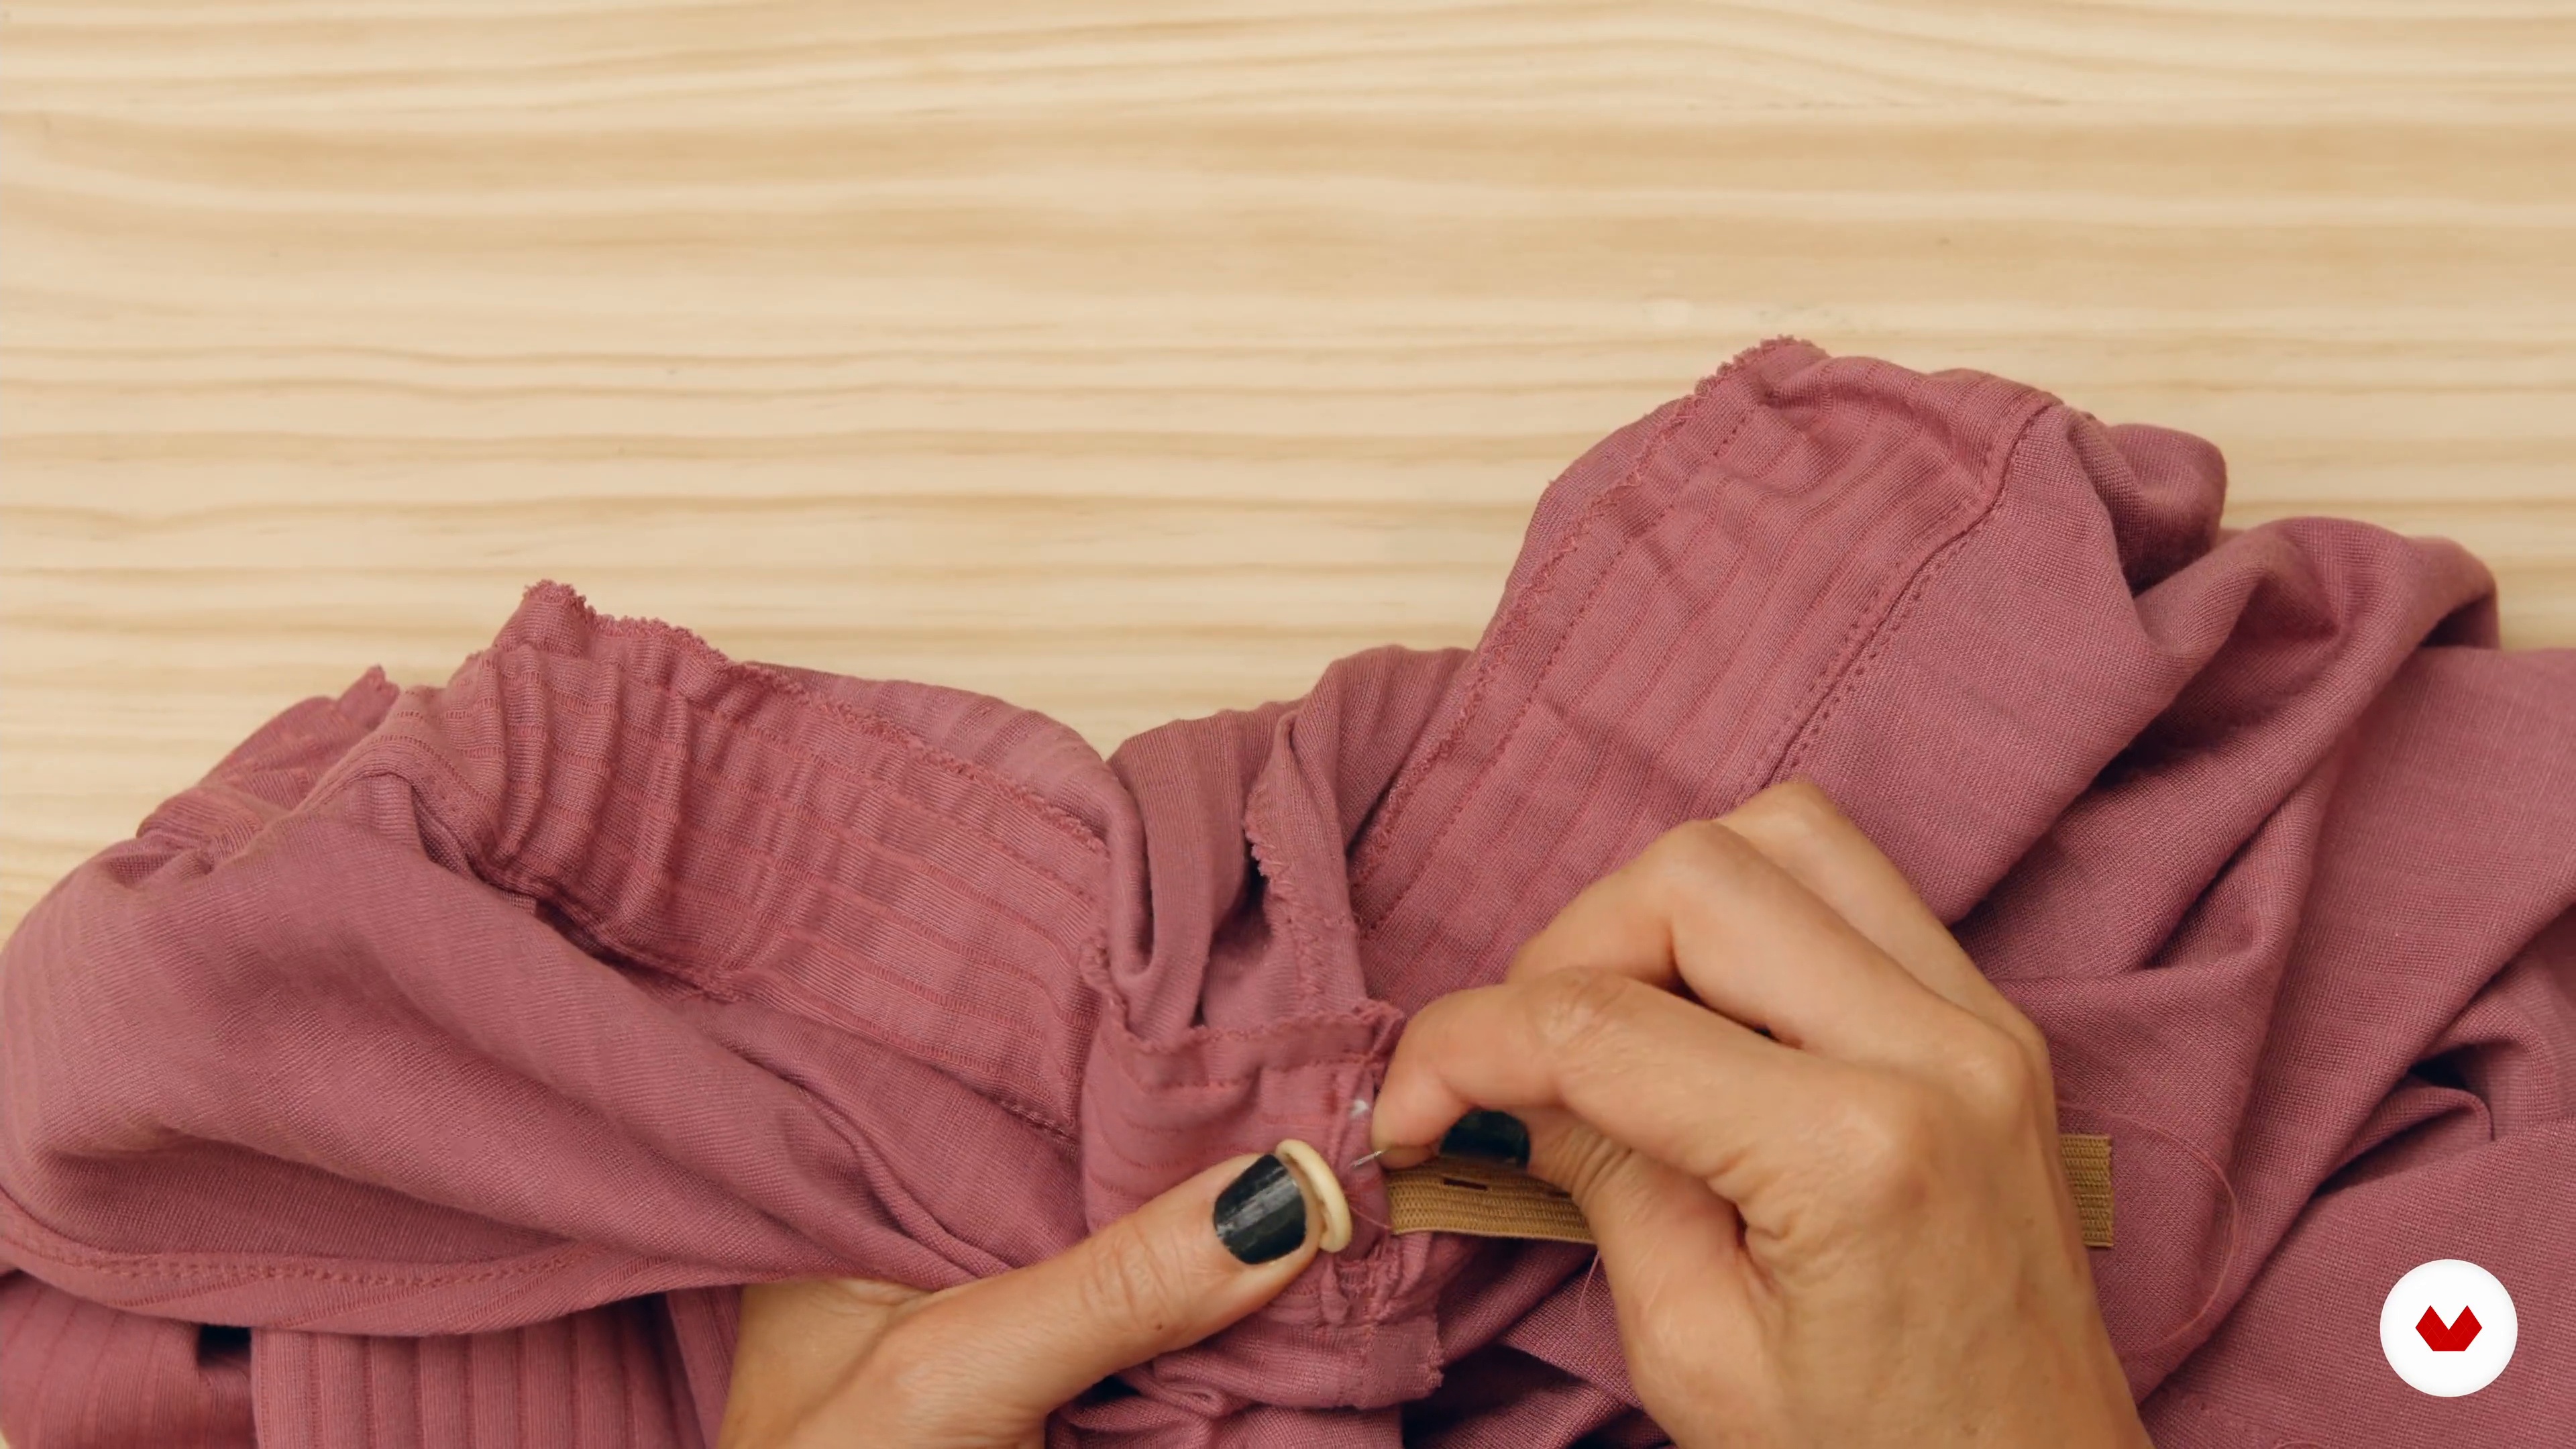
11Joining of parts and final finishing 1
In this lesson, we'll join the body of the jumpsuit to the pants. Next, we'll sew on the elastic and button that will make the jumpsuit adjustable.
12m
 12
12Joining of parts and final finishing 2
Now we're going to place the waistband strip at the junction of the pieces and give our garment the finishing touches to complete it.
14m
 4
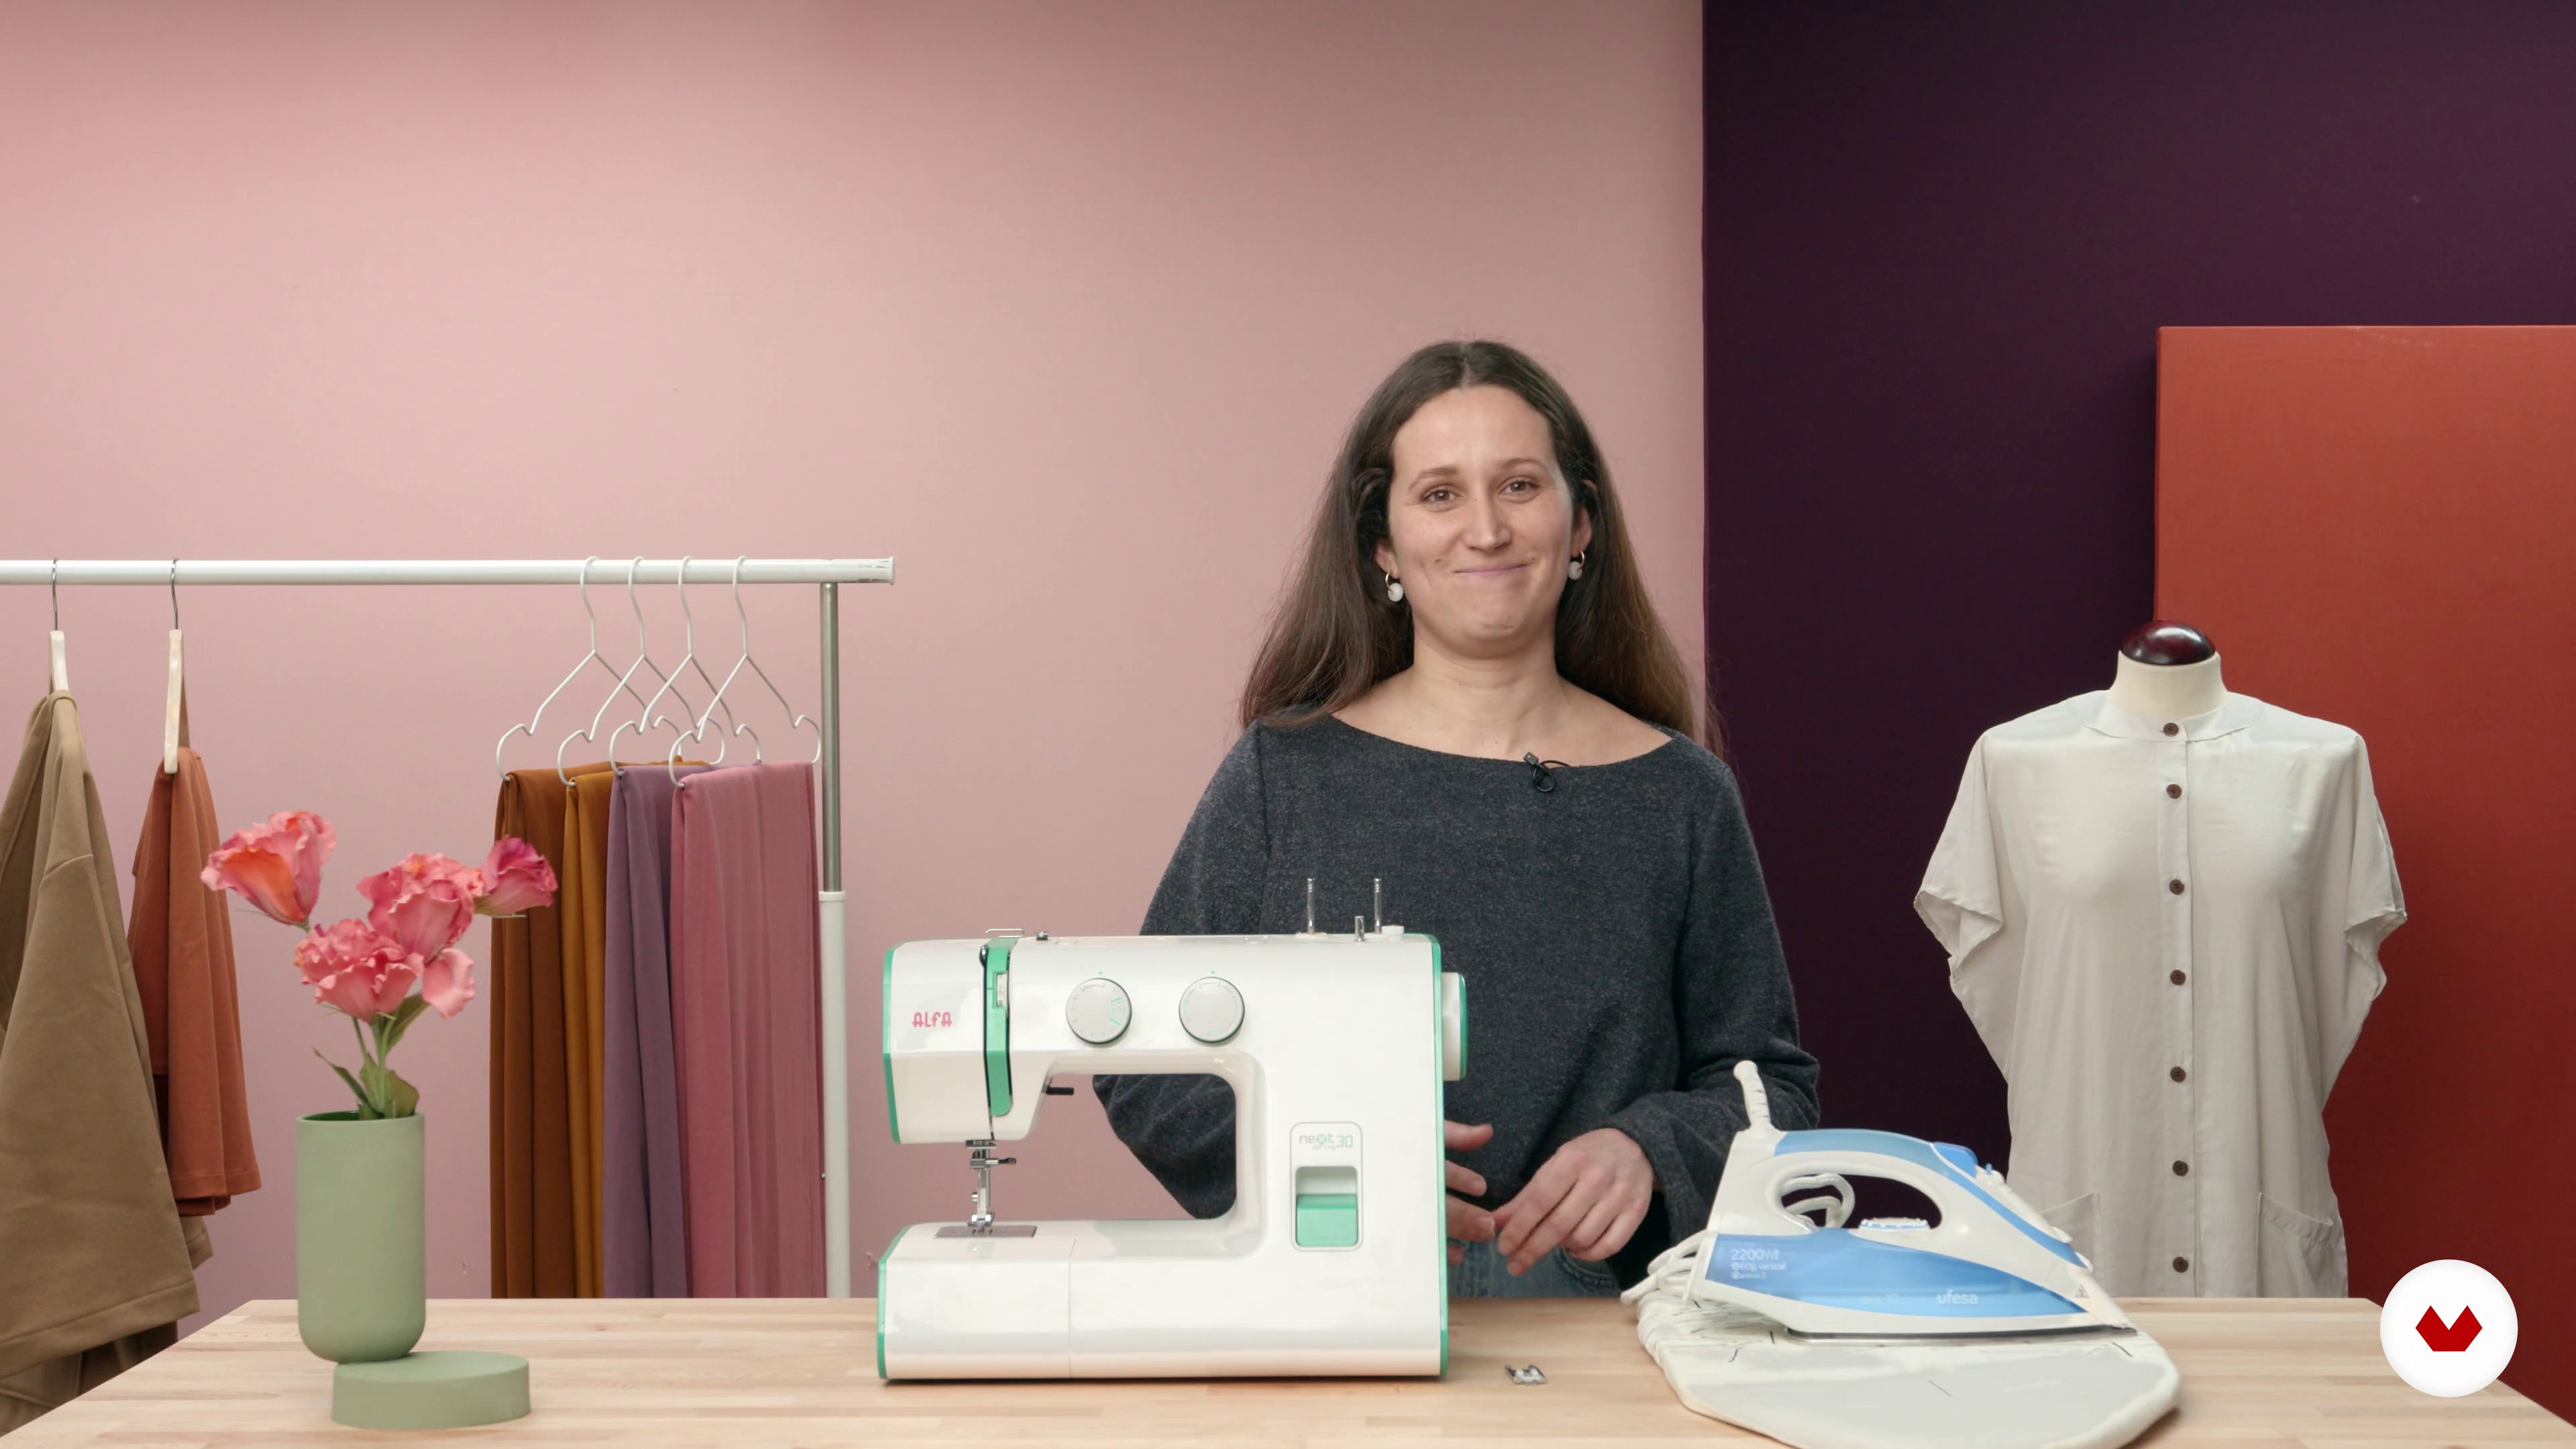
4Materials and tools
To make your shirt, you'll need some basic sewing materials and a few tools, like your sewing machine and iron. You probably already have most of these, so I'll show you what we use and what I recommend.
3m
 5
5How to choose your size, print the patterns and glue them together
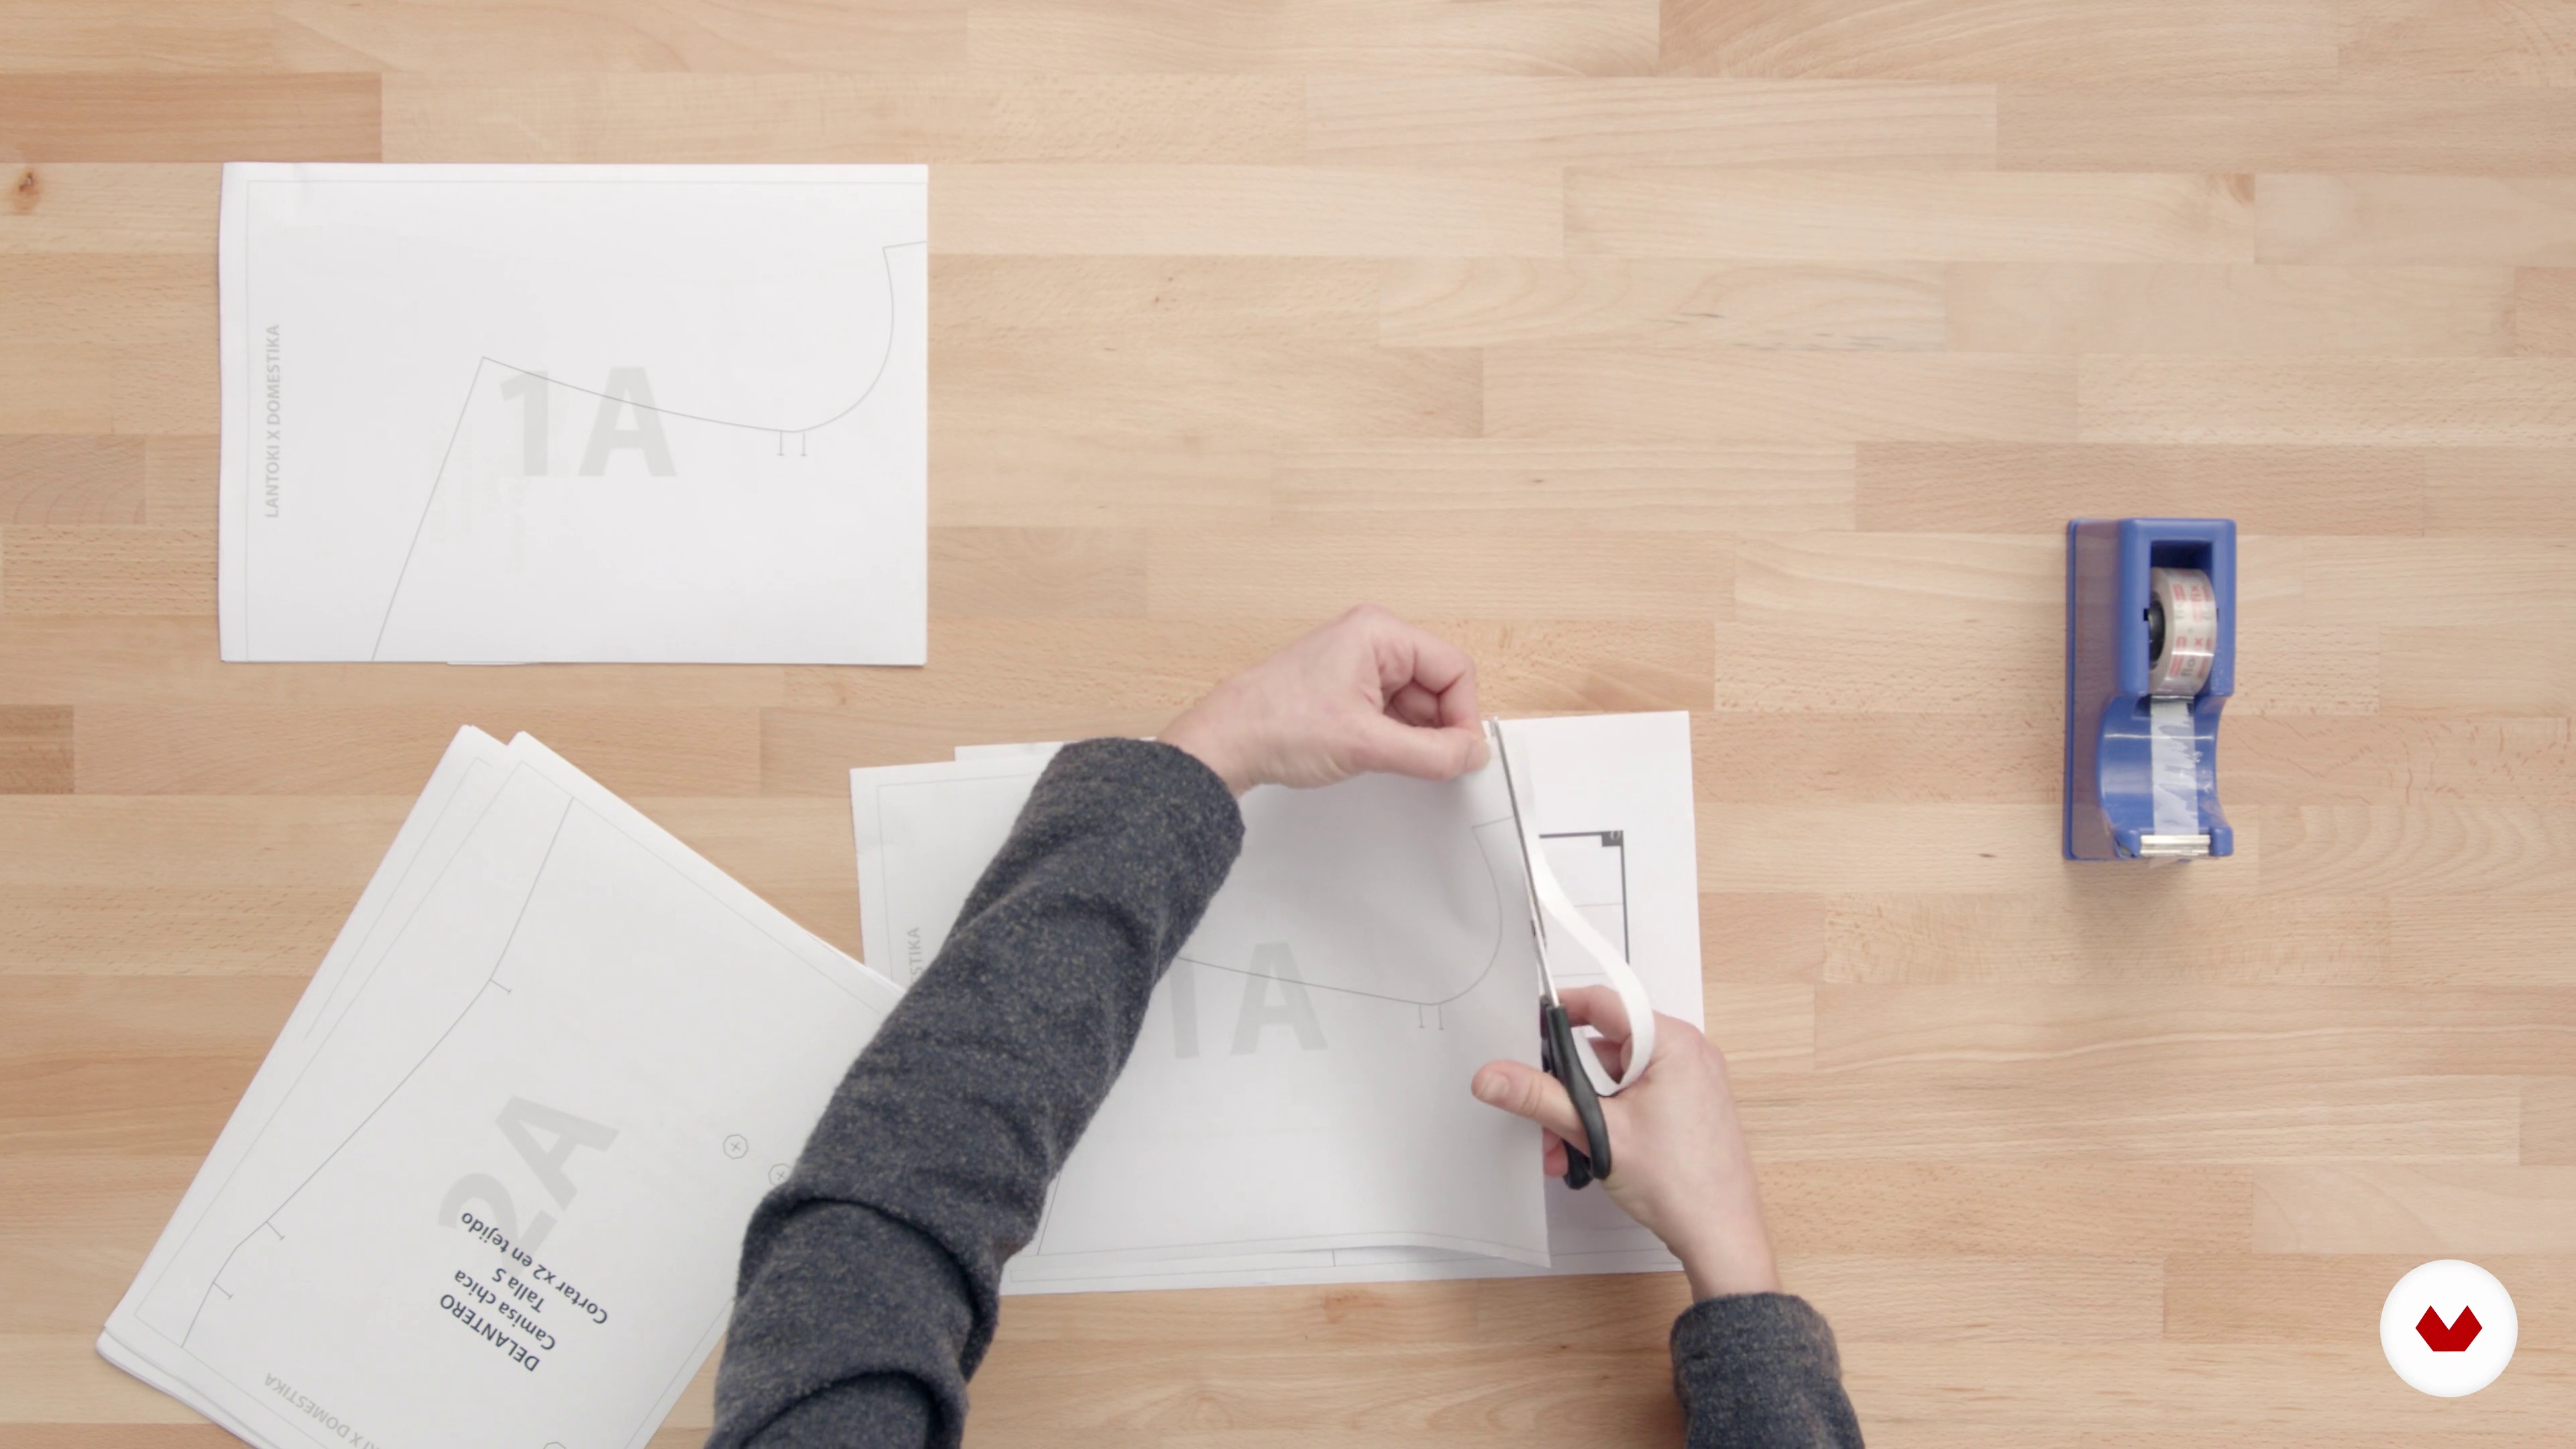
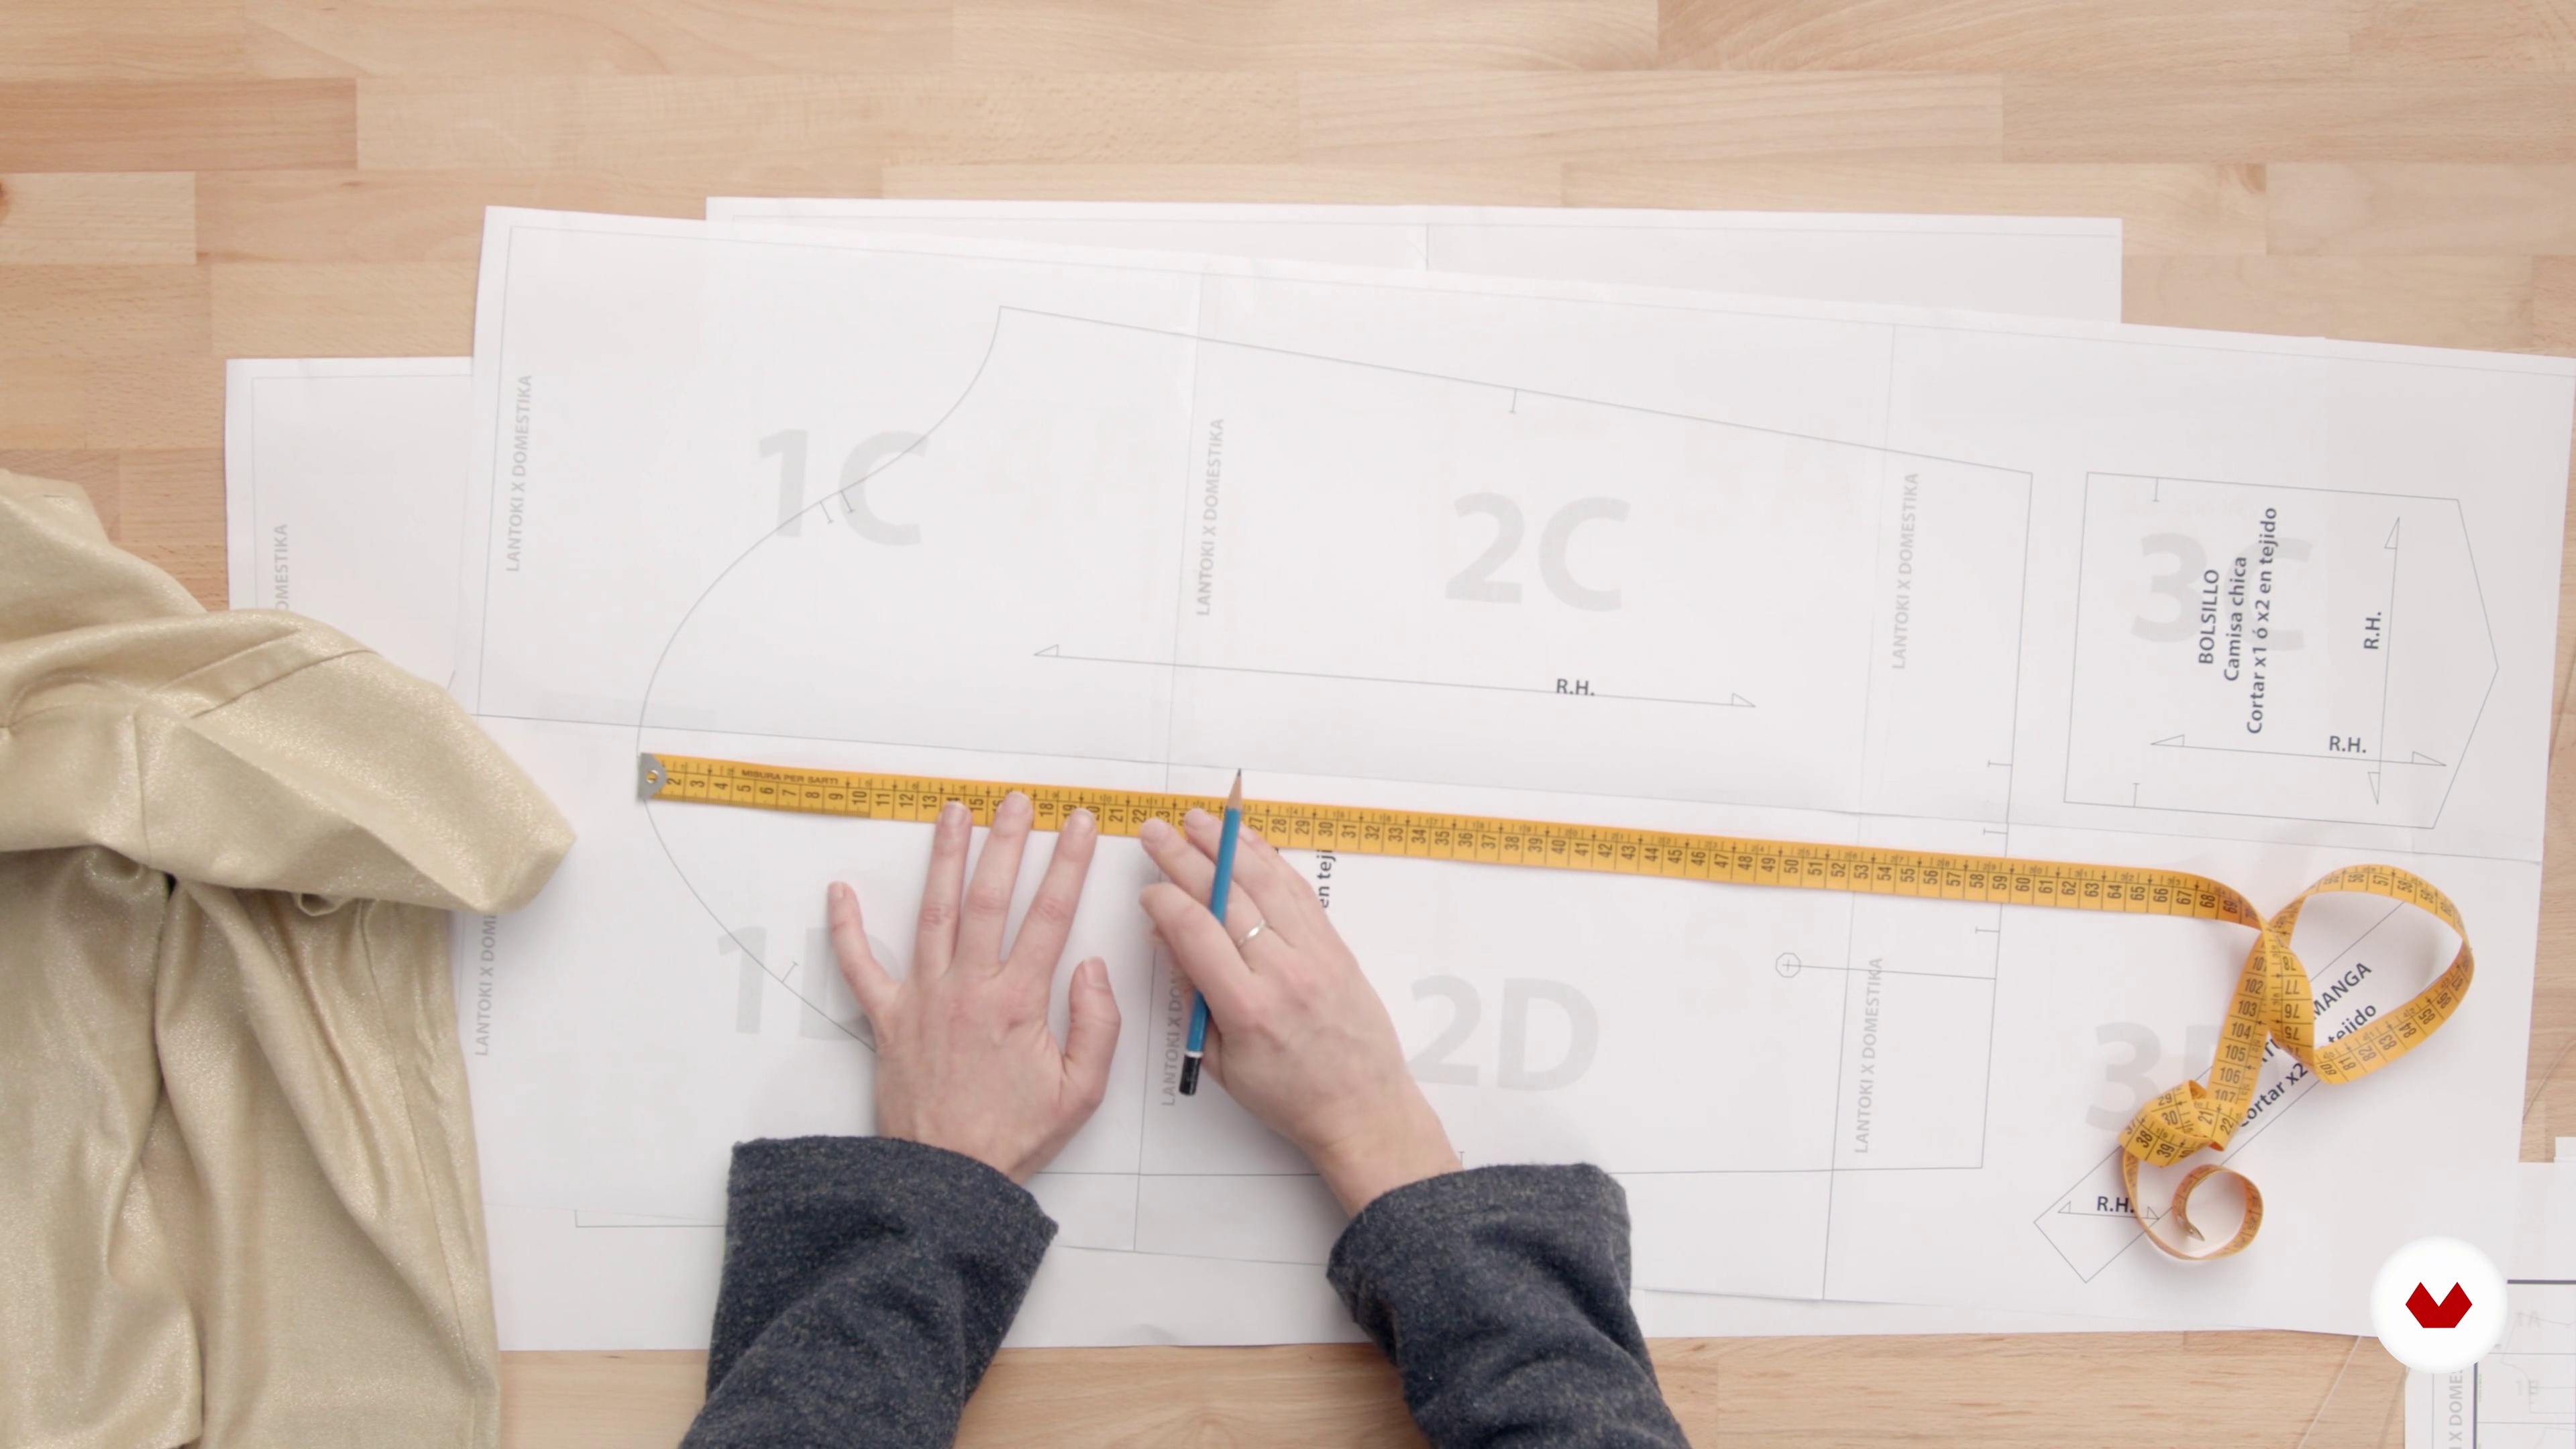
In this lesson, we'll look at the measurements you need to know to determine which size to choose and how to do it. If you have any questions about this step, feel free to write to us on the forum! From there, we'll look at how to print the patterns on a home printer and glue them together correctly to create the actual size pattern.
7m
 6
6Modifications of the pattern and tracing of the pieces
The pattern we propose is for a fitted, long-sleeved shirt with cuffs and a V-neck. To make your shirt more personal, you can easily modify these patterns: lengthening it to make a shirt dress, changing the shape of the collar or front pocket, changing the hem, shortening the sleeves for summer, fitting it with darts or leaving it loose, etc. Here's how to do it!
17m
 7
7Recommended fabrics and required quantity
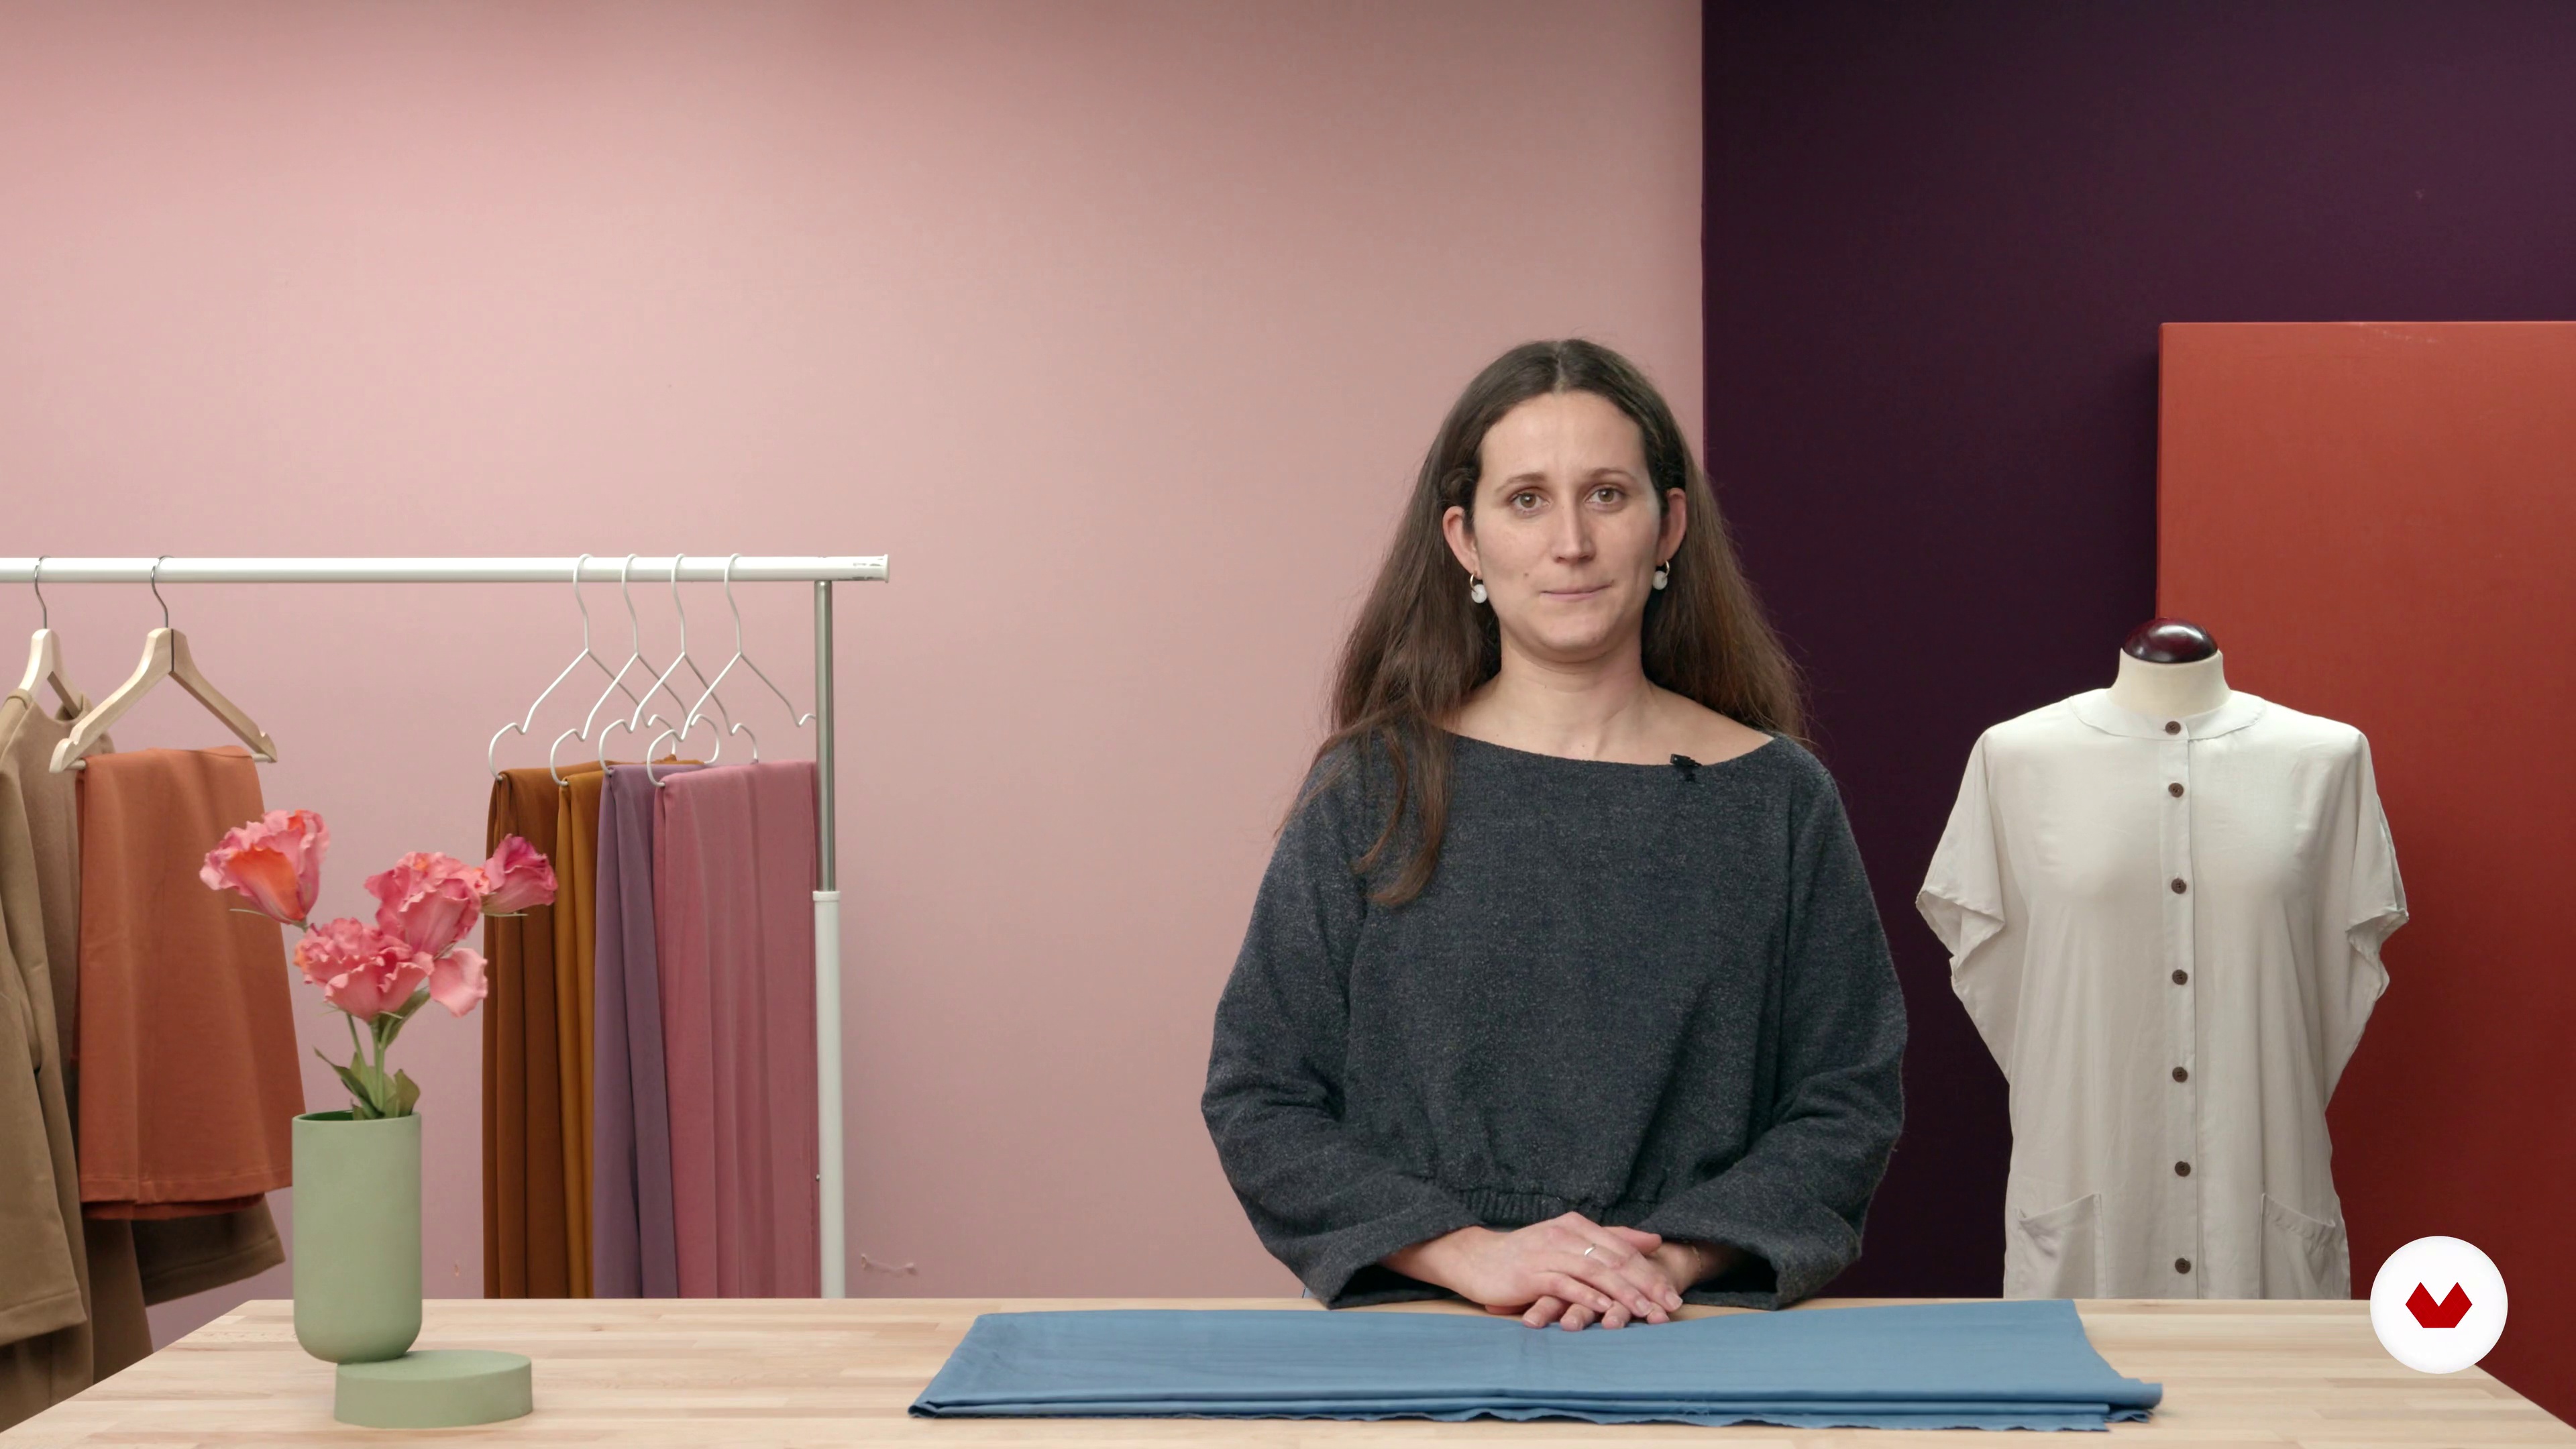
In this lesson, we'll look at the best fabrics for making shirts and what characteristics we're looking for, especially when starting to sew. The fabric we use is extremely important because it will give the garment the right touch. If the fabric is too stiff, it will create a structured effect that's not recommended. On the other hand, thin, slick fabrics are perfect for summer and loose shirts, but they're difficult to work with. Join me as I explore the fabrics I recommend to get started and achieve the best results. Finally, we will need to calculate the amount we will need, using the table attached to the resources at the end of the unit.
6m
 8
8Preparation of the tissue and positioning of the patterns
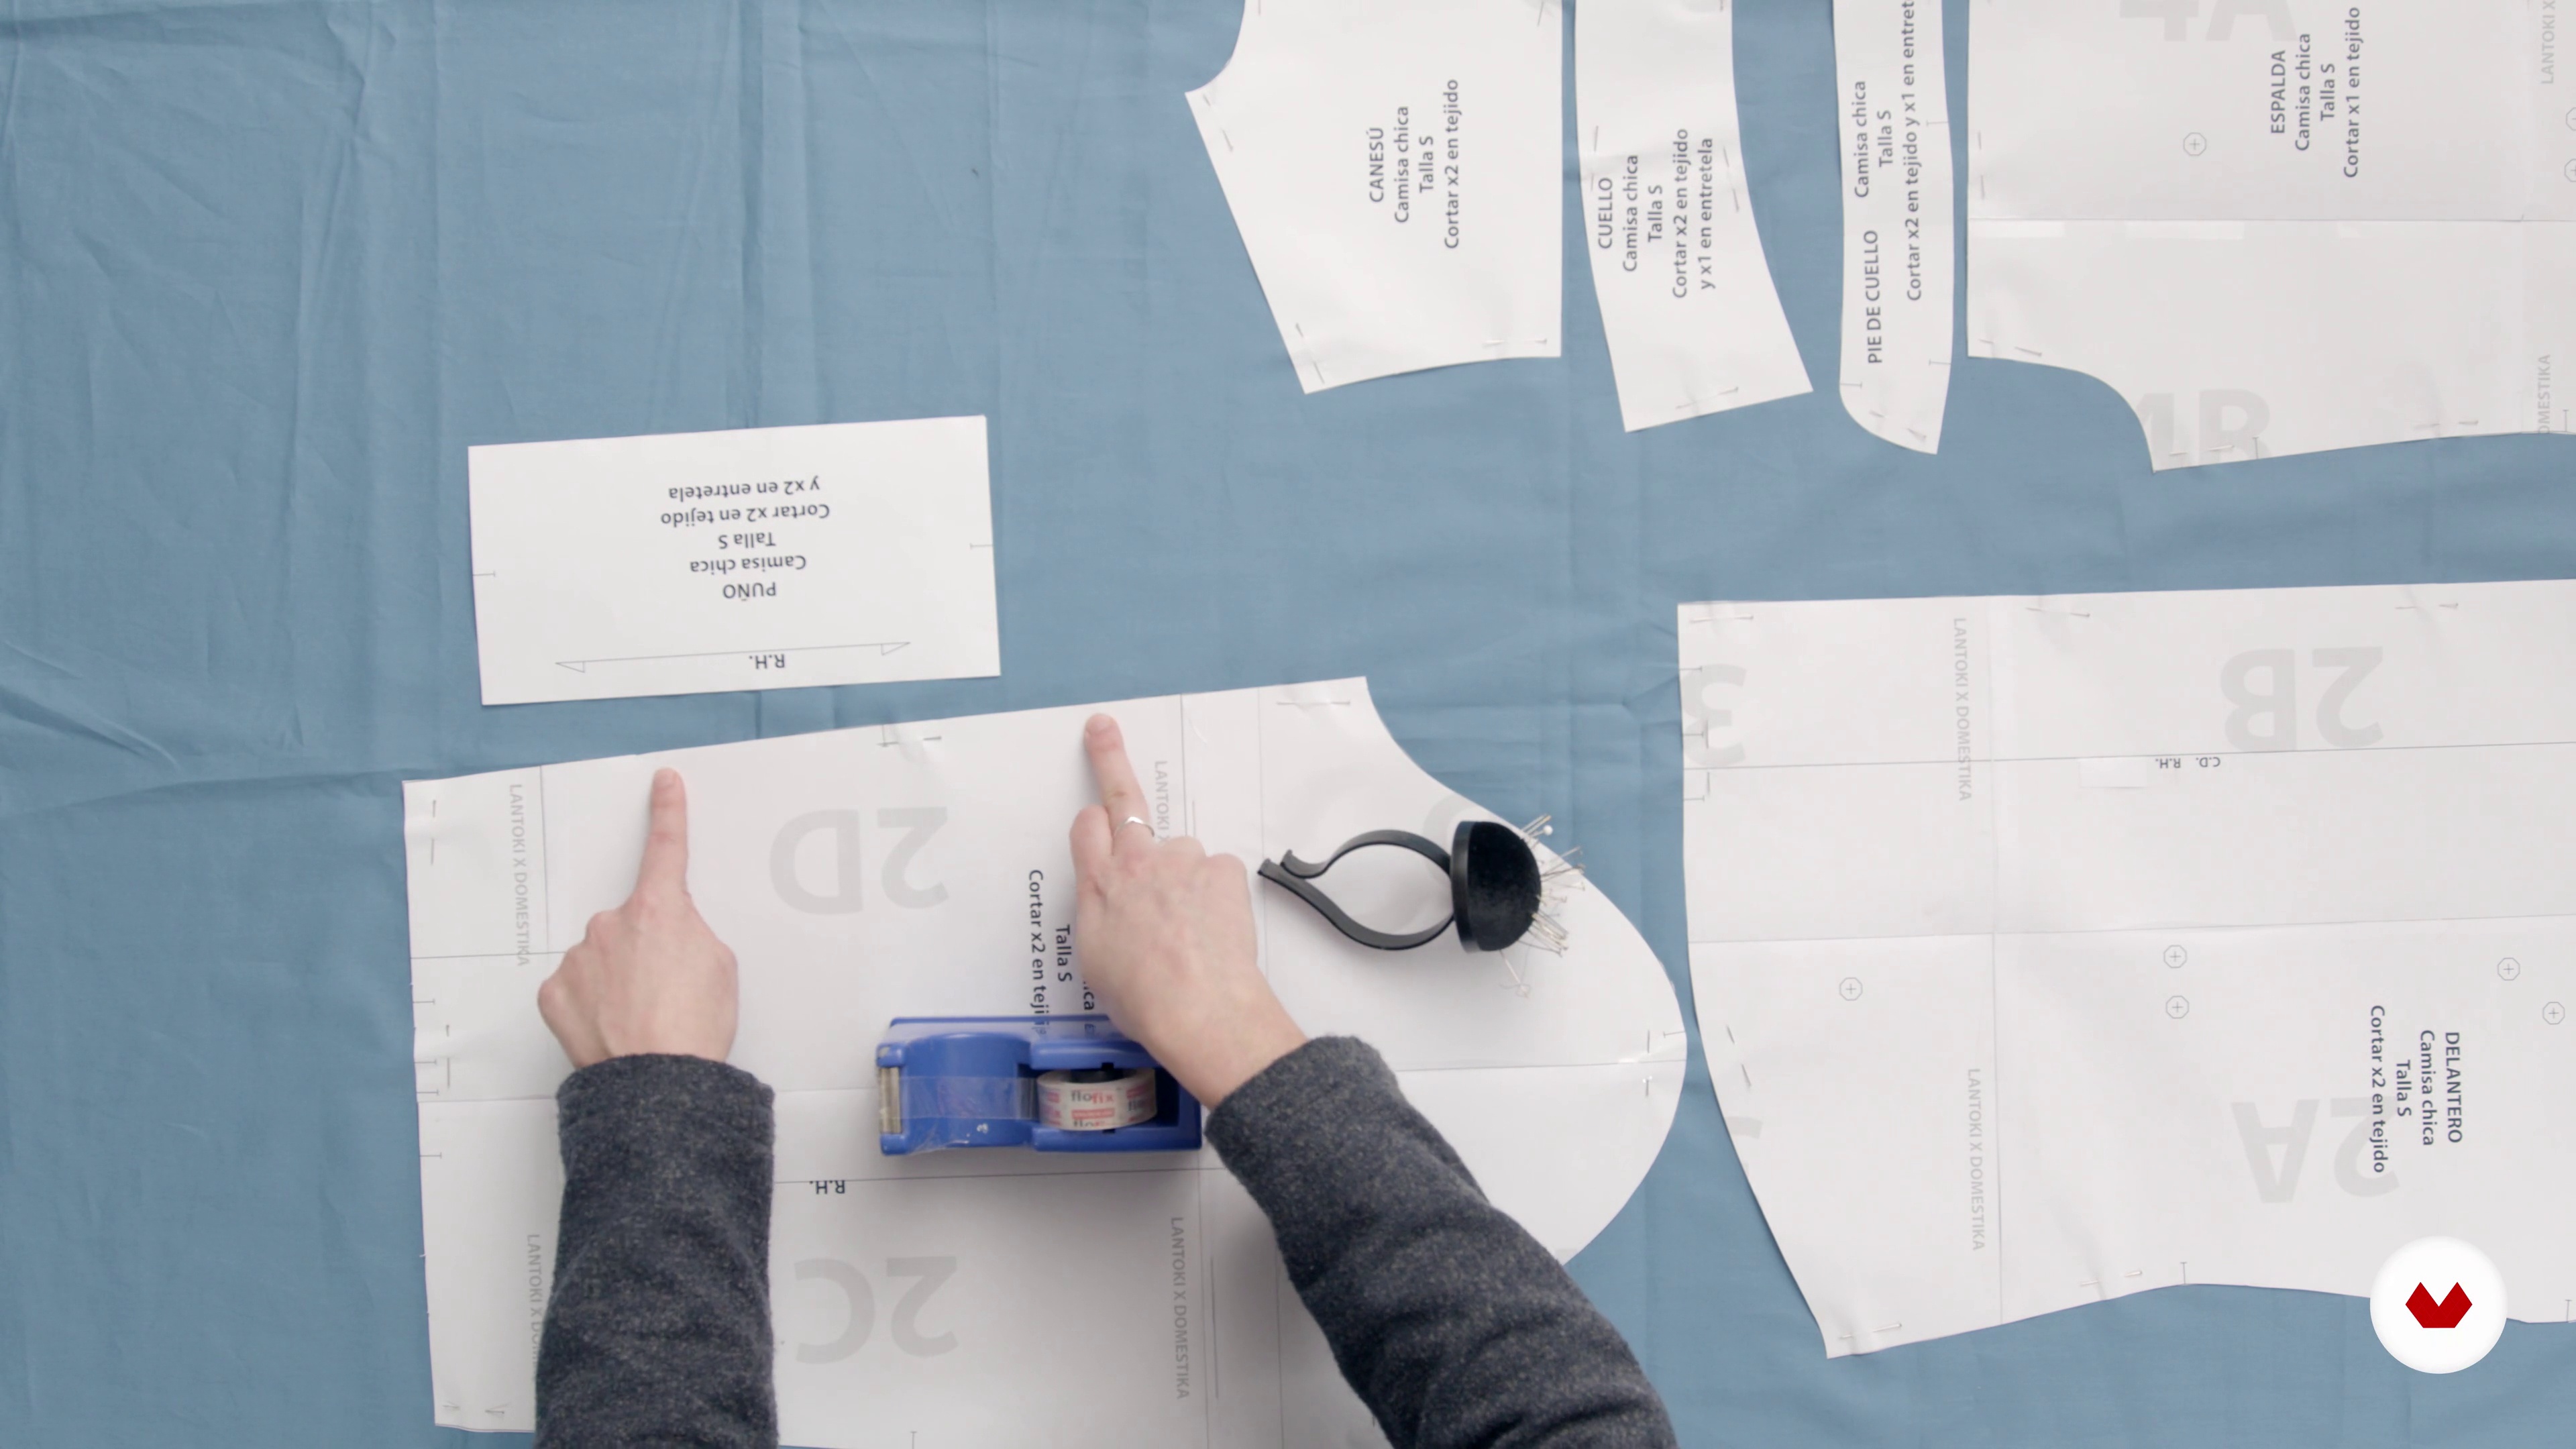
Now we have our fabric. The first thing I recommend is washing it according to its washing instructions and letting it dry well to prevent any shrinkage after finishing the shirt. Before starting to cut, it's time to check the right and wrong sides of the fabric, if it has one, what the straight thread is, and if it has any positional or shiny prints to place the patterns in the same direction. This step is extremely important for the final result of the garment. Plus, these concepts will help you with anything you want to cut in the future! You'll see how much less fear you have of cutting!
20m
 9
9Correctly cut the fabric and interlining 1
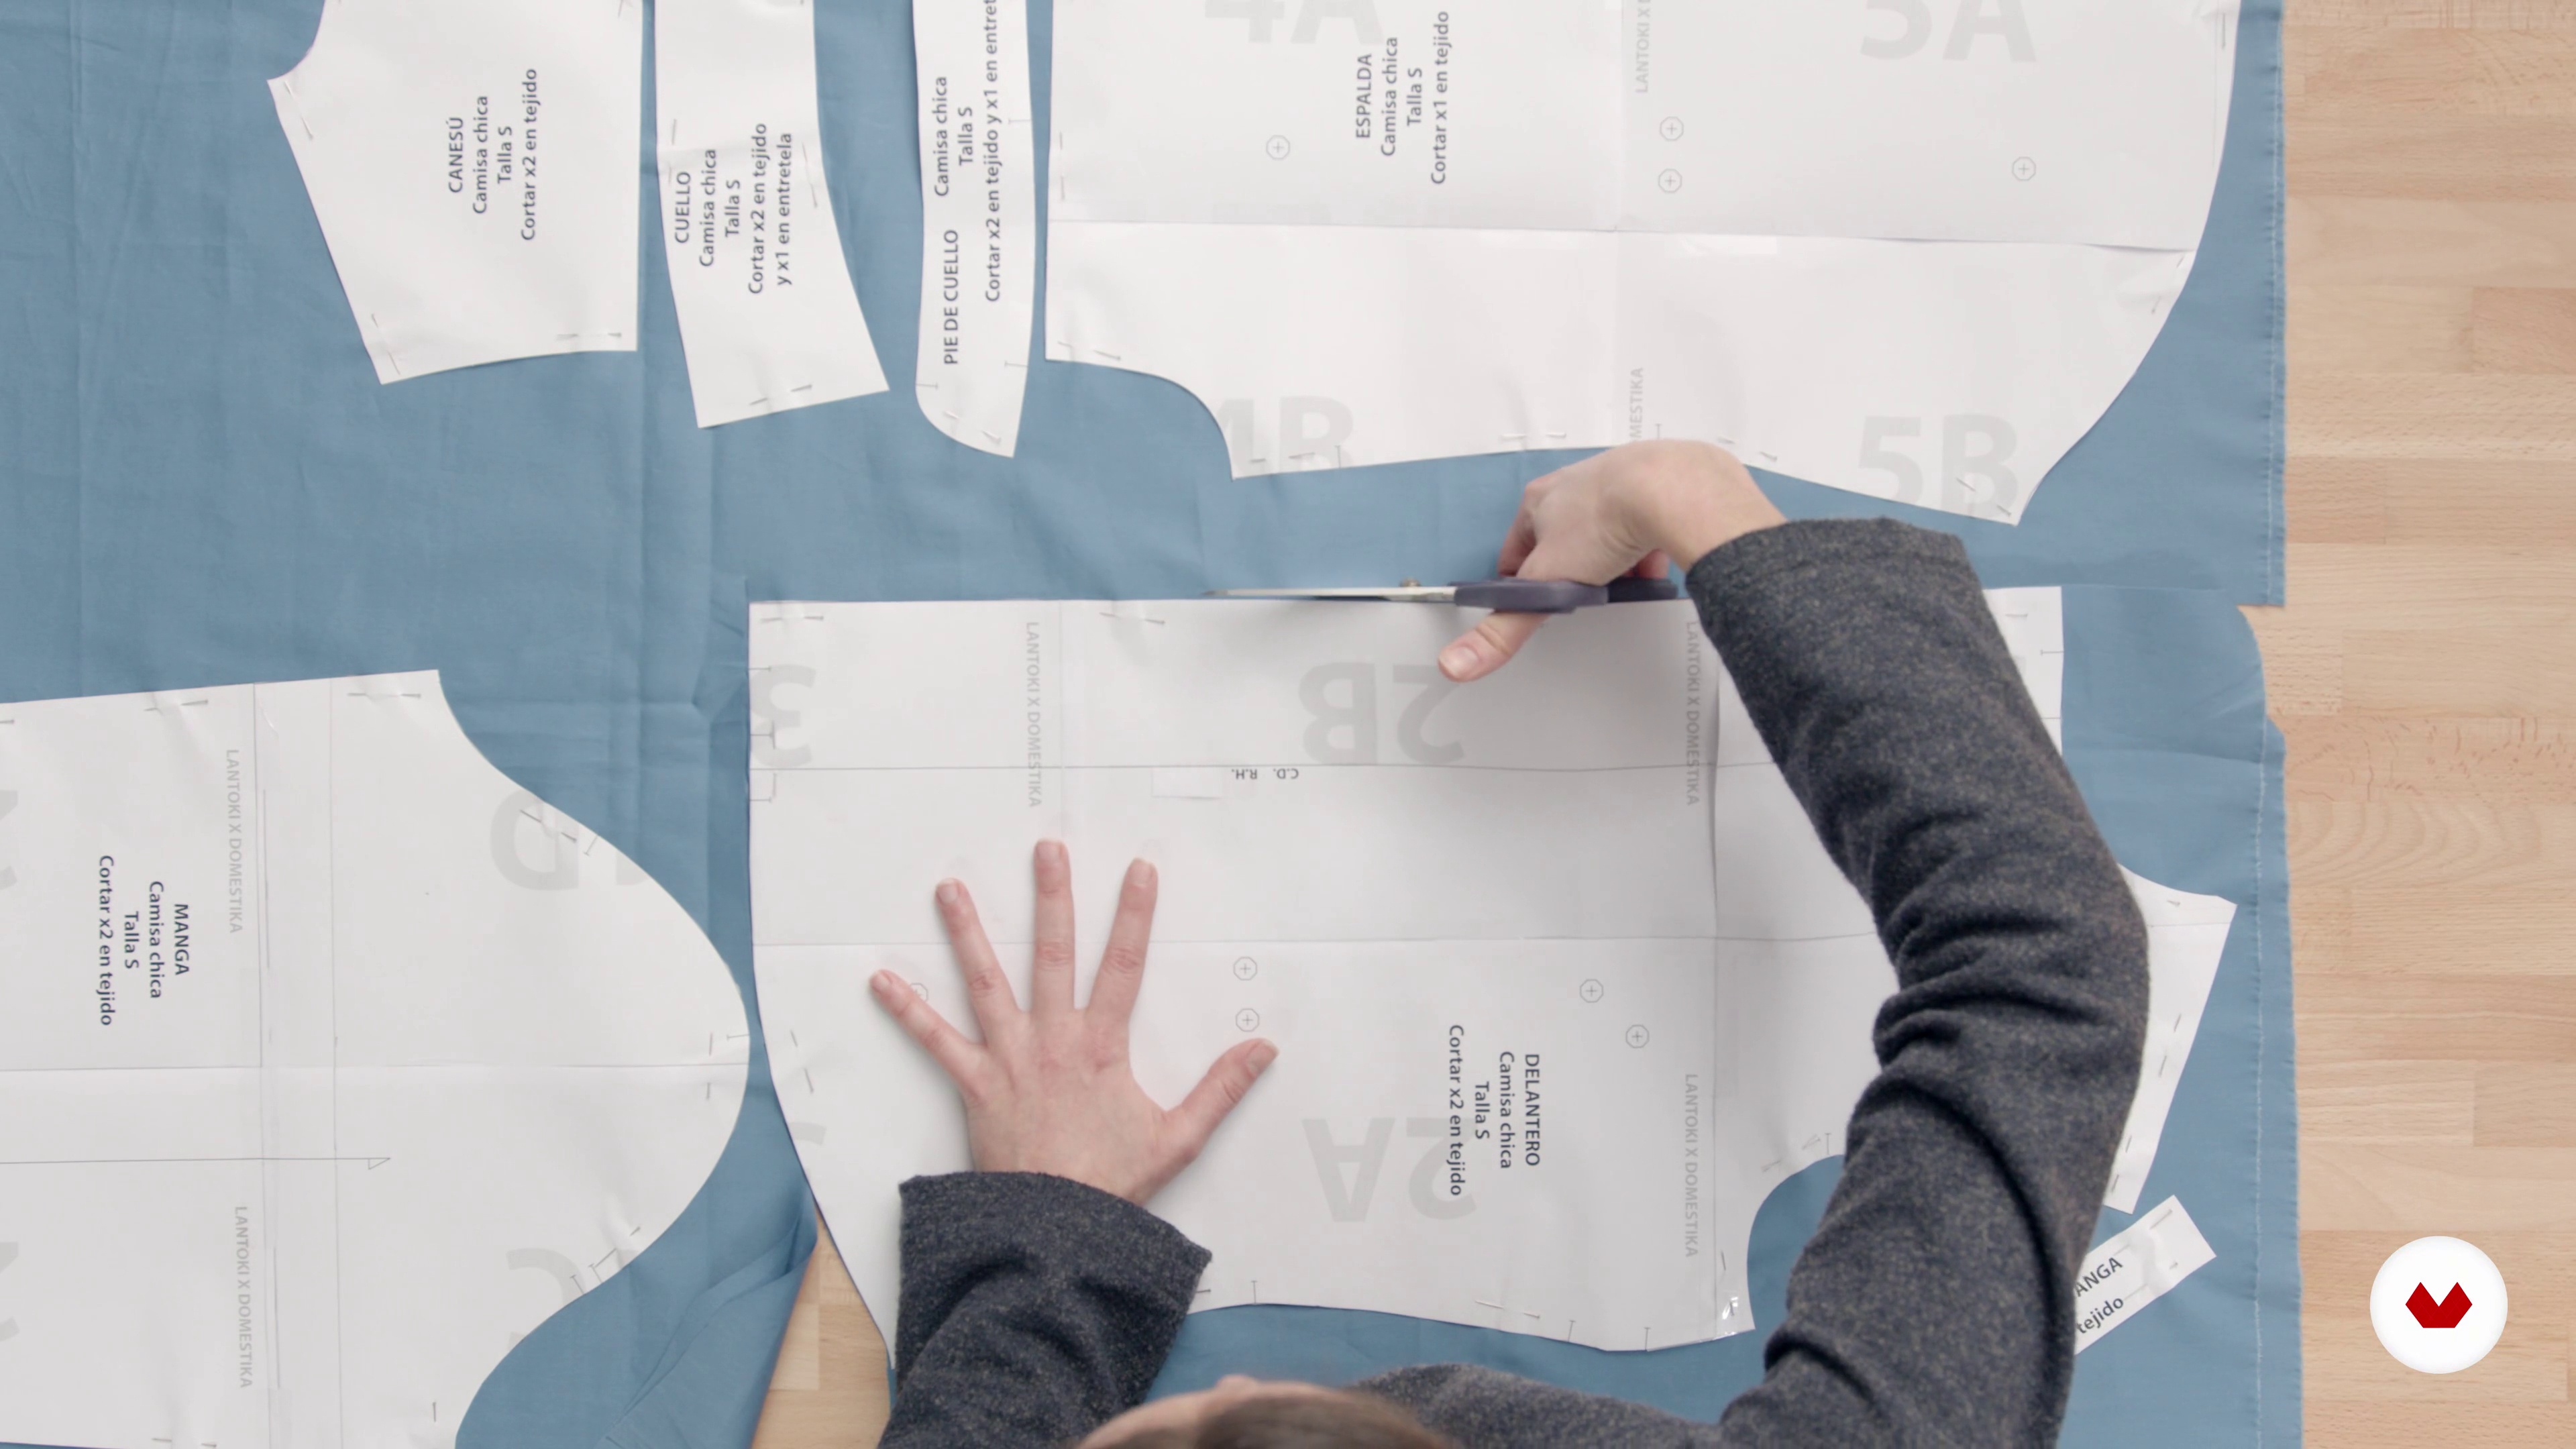
In this lesson, I'll teach you how to cut without fear and transfer all the necessary information from the pattern to the fabric, which will help us later with the construction. We'll look at what interfacing is, the different types that exist, and cut the pieces that require it. Then, you'll see how to properly iron it onto the fabric.
11m
 10
10Properly cut the fabric and interlining 2
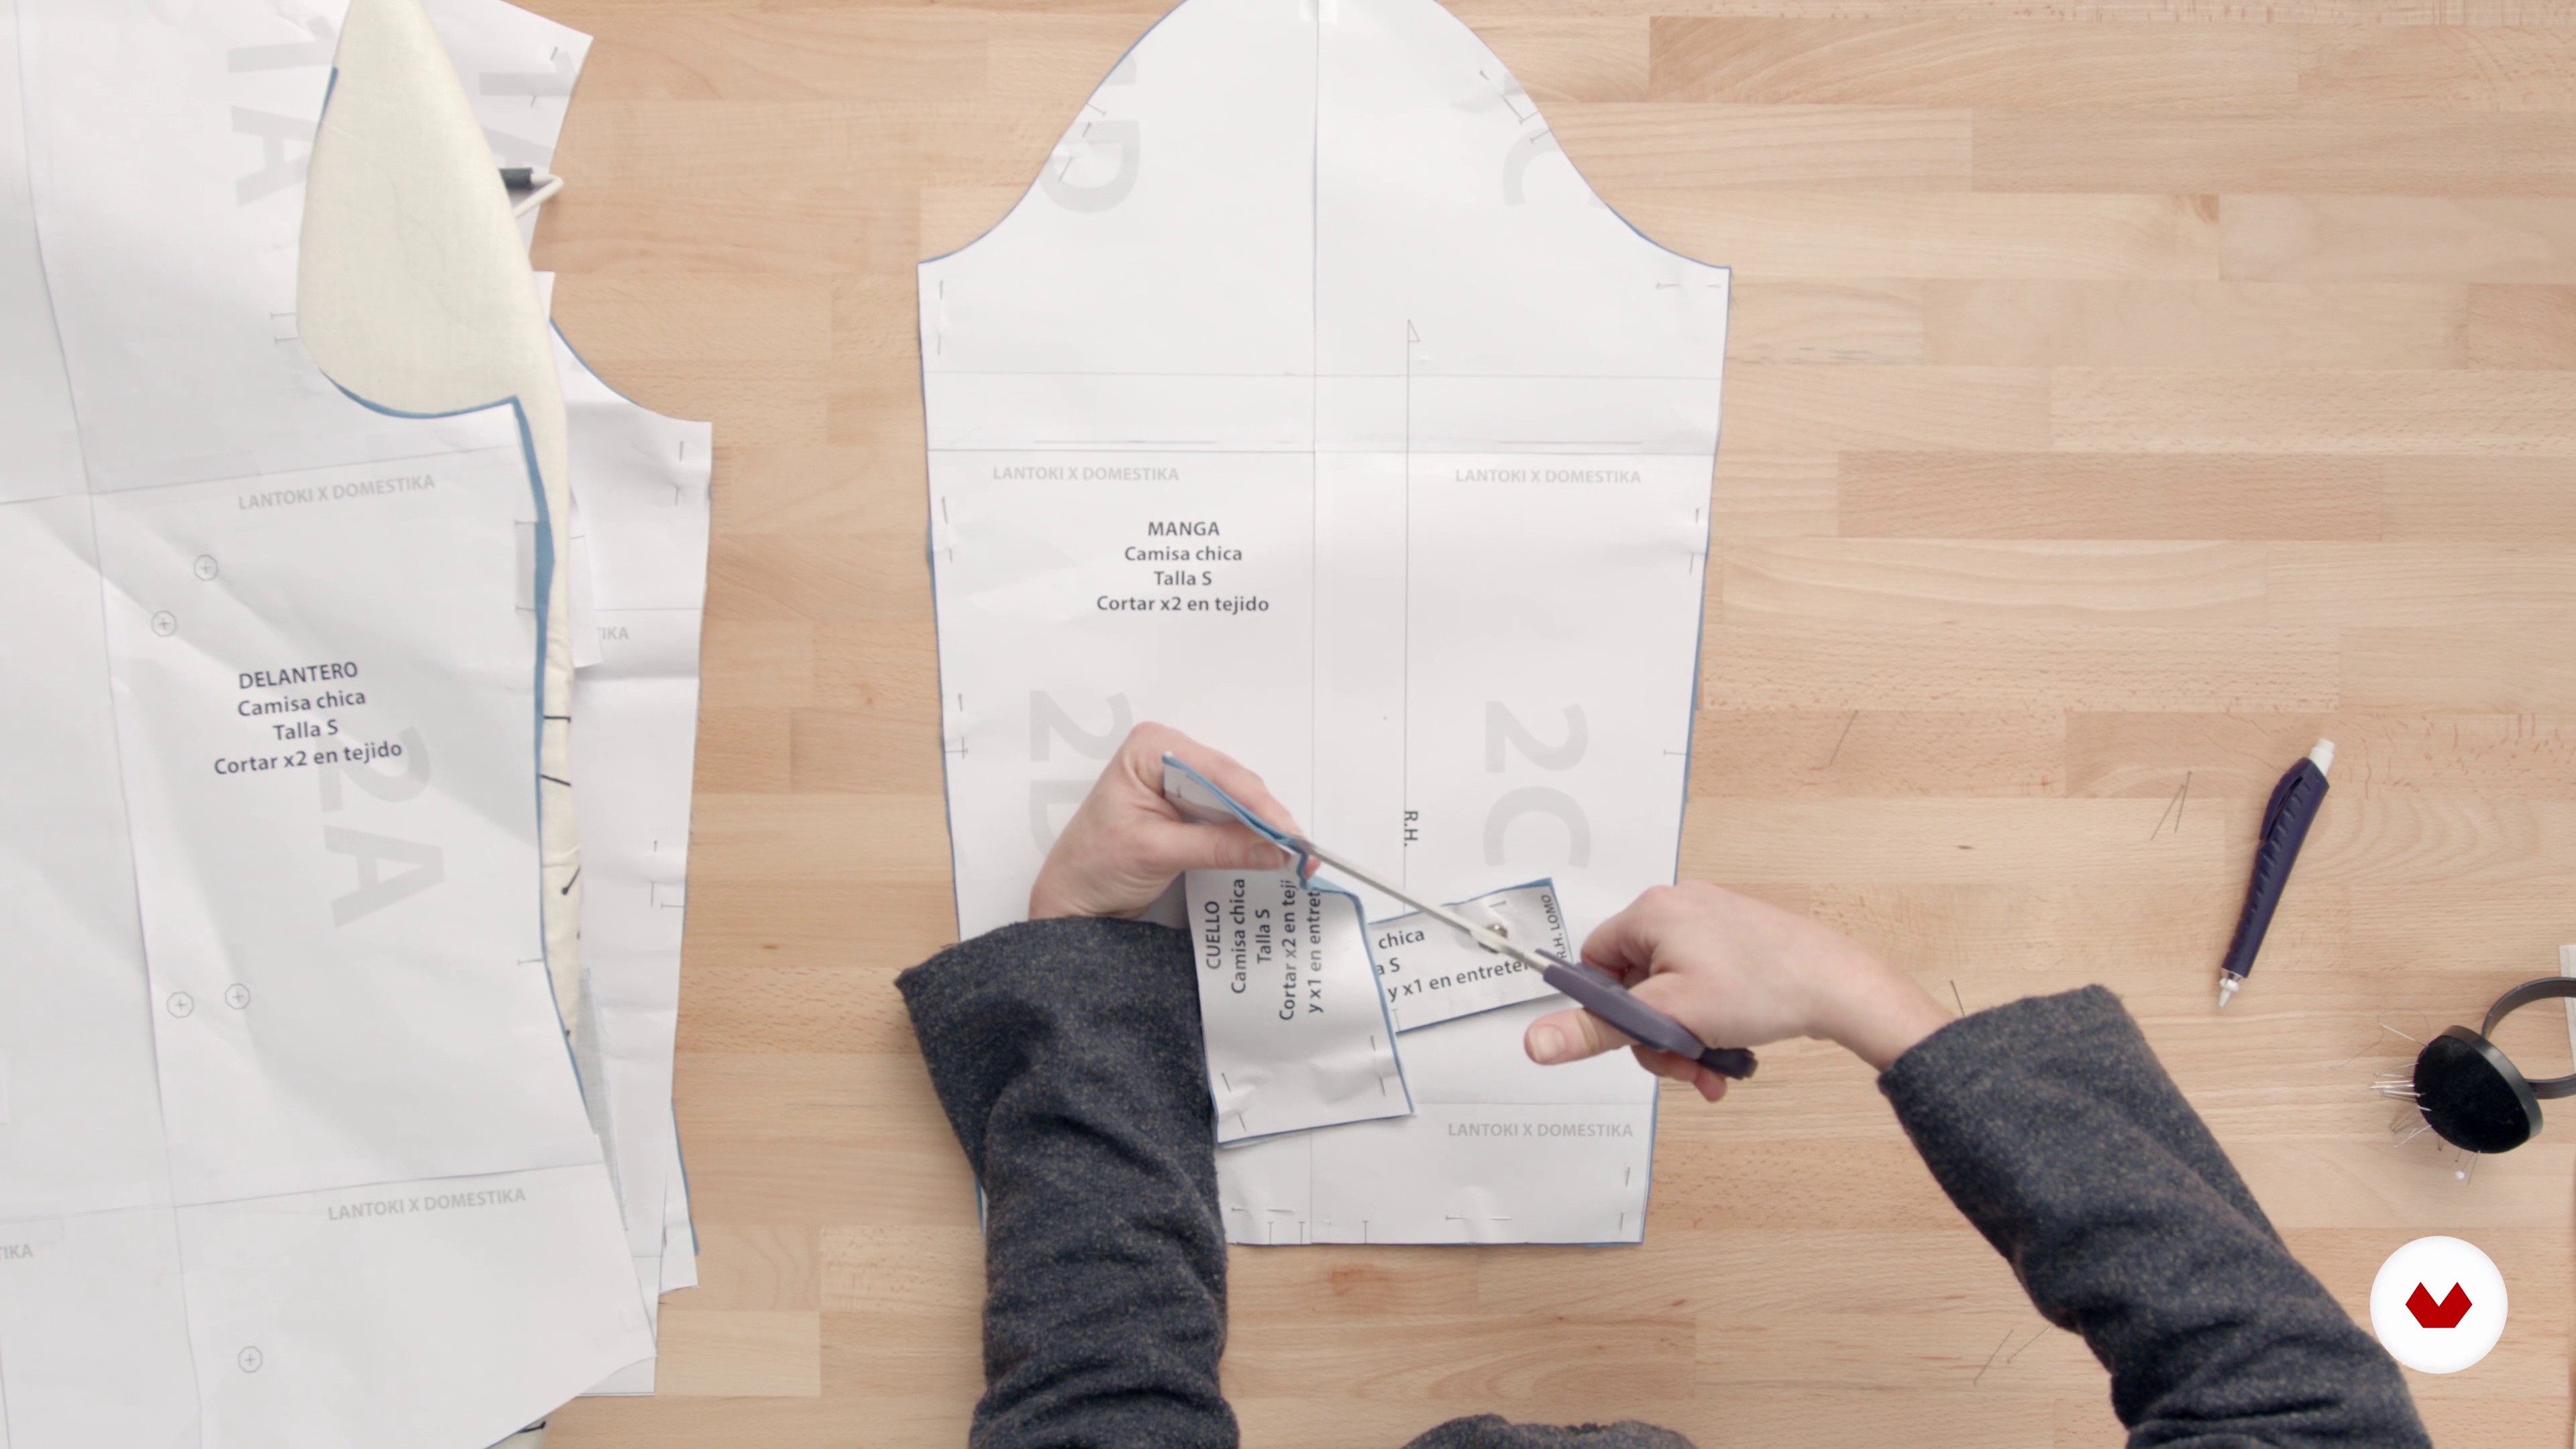
We continue cutting the fabric, learning how to do it in the best possible way.
15m
 11
11Ironing and sewing the placket
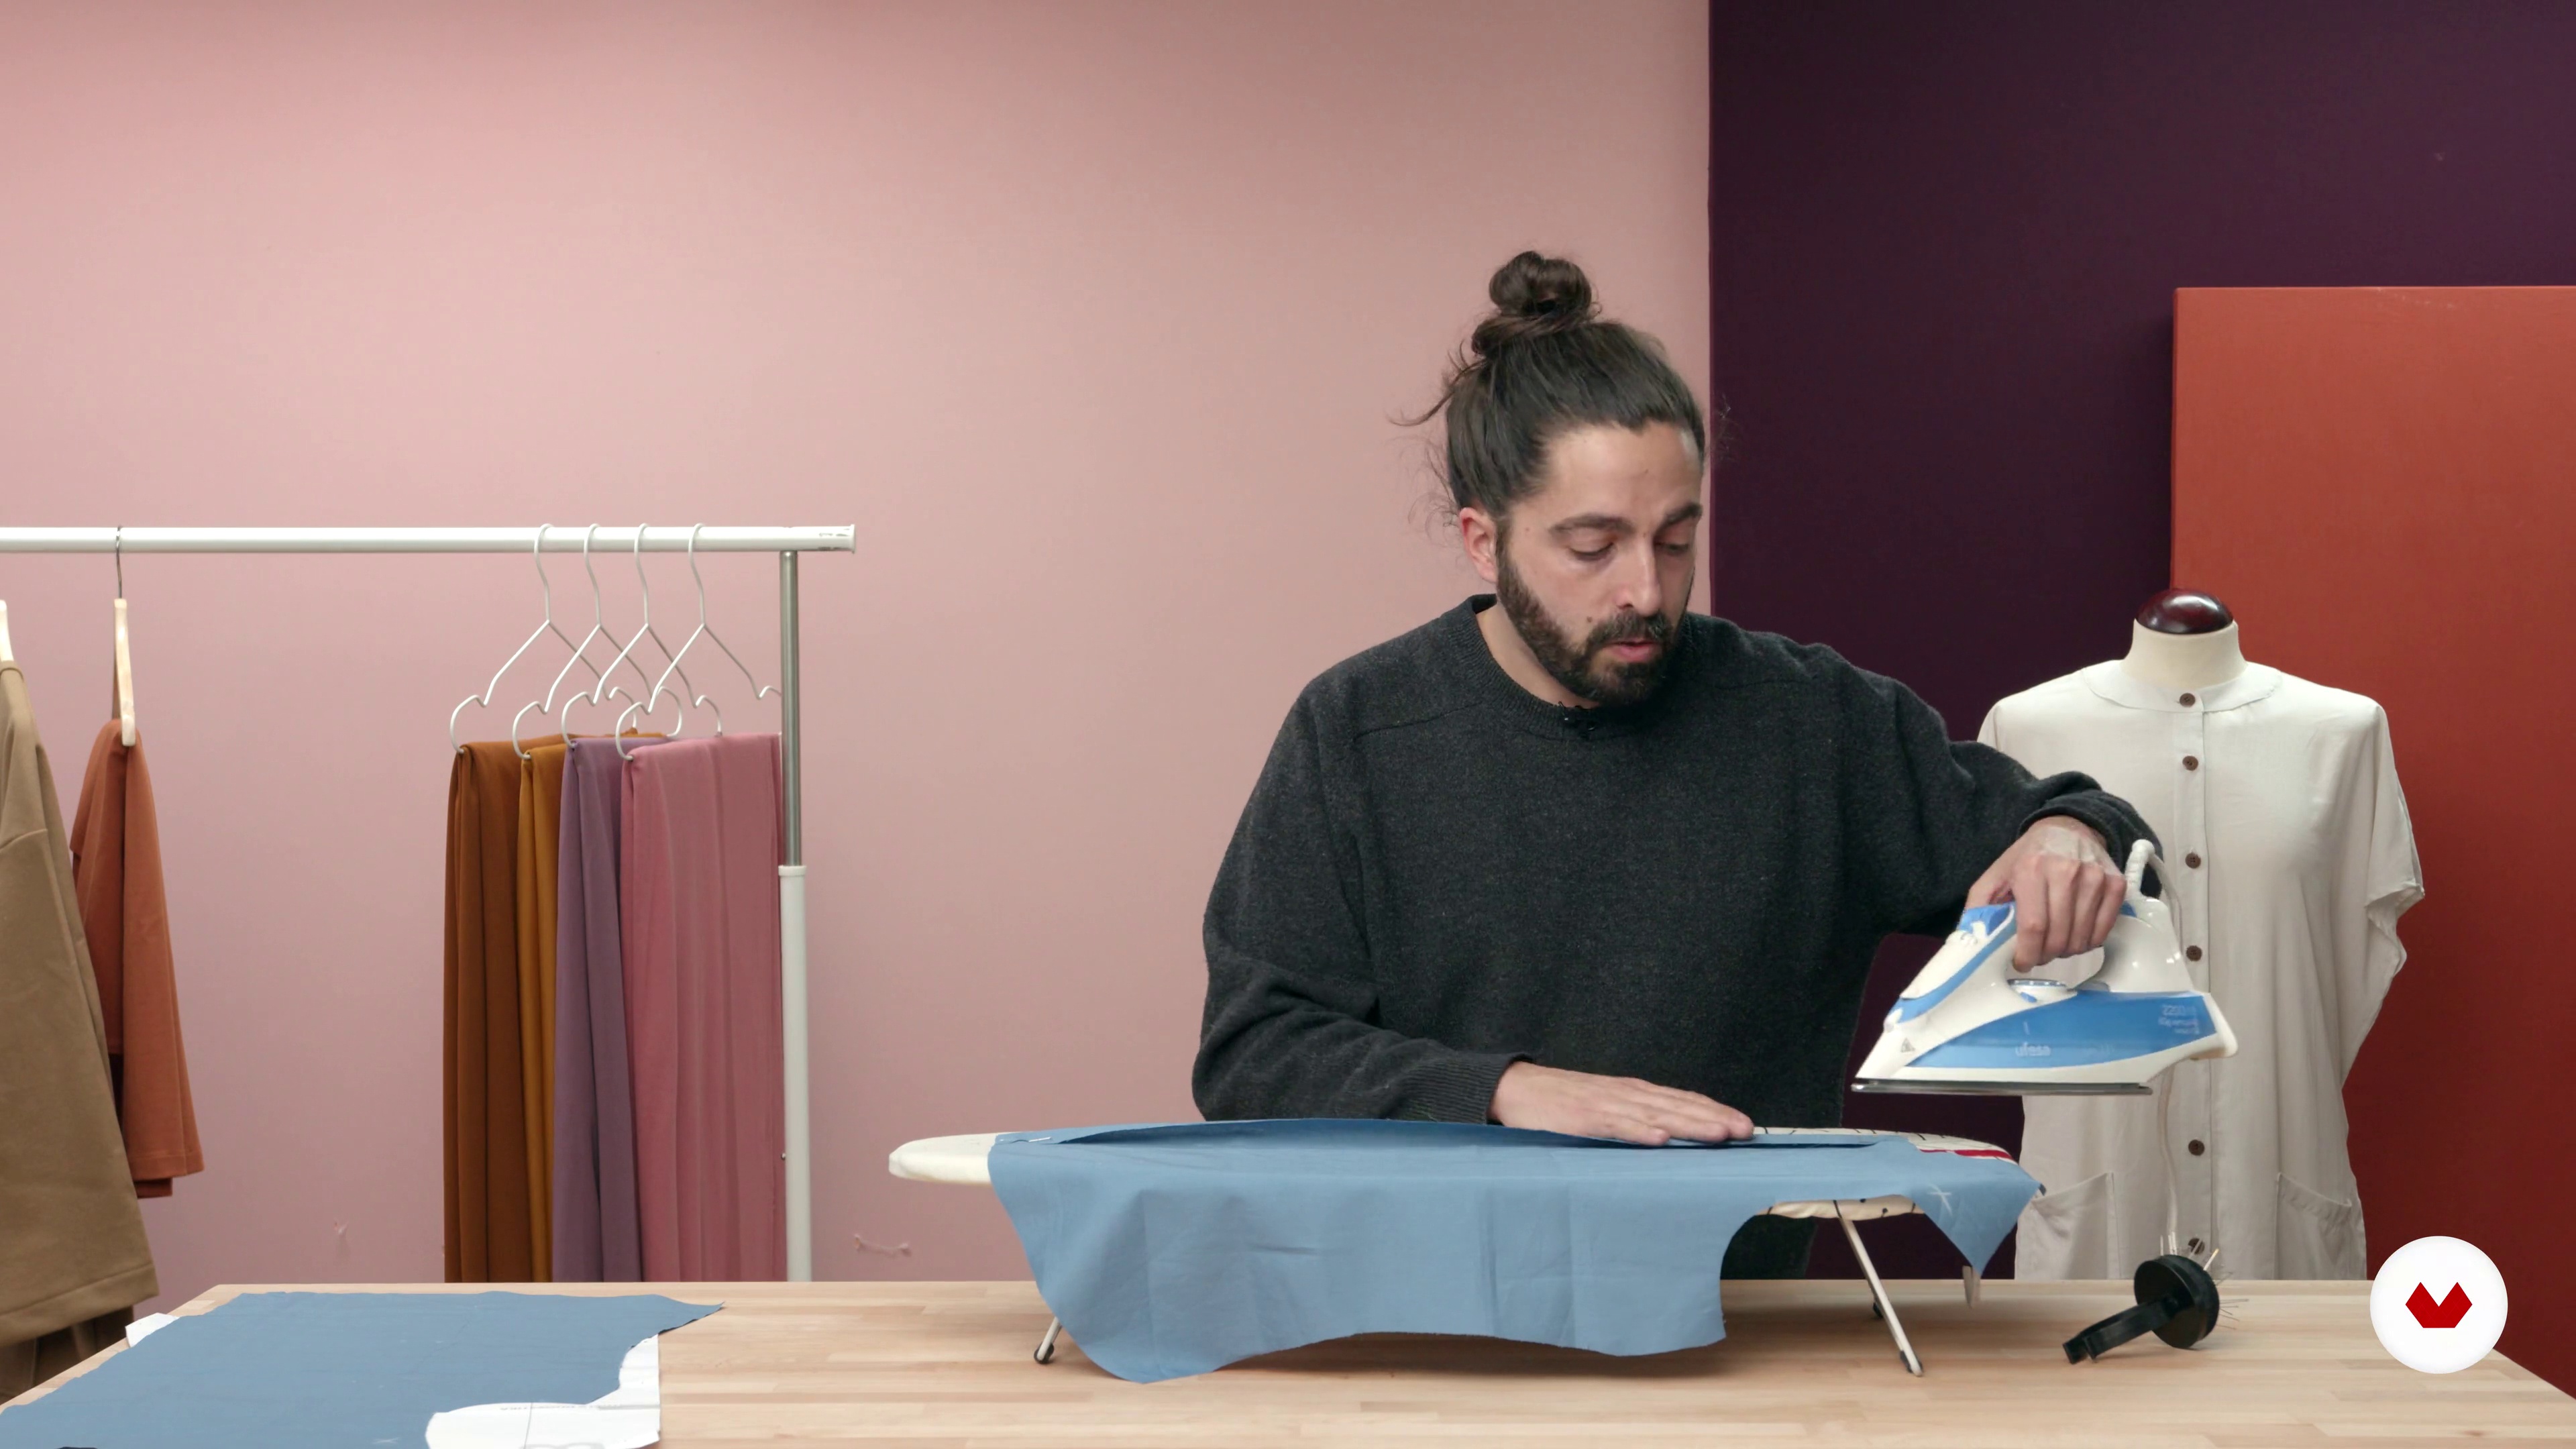
We'll start by preparing the button plackets and buttonholes. The iron is extremely important in this step. Make sure to press the plackets parallel for a professional-looking result, and keep in mind that this is the front of our shirt, meaning it's the most visible part! If you need to, first practice the topstitching on a scrap of fabric, close to the edge.
11m
 12
12Sew darts
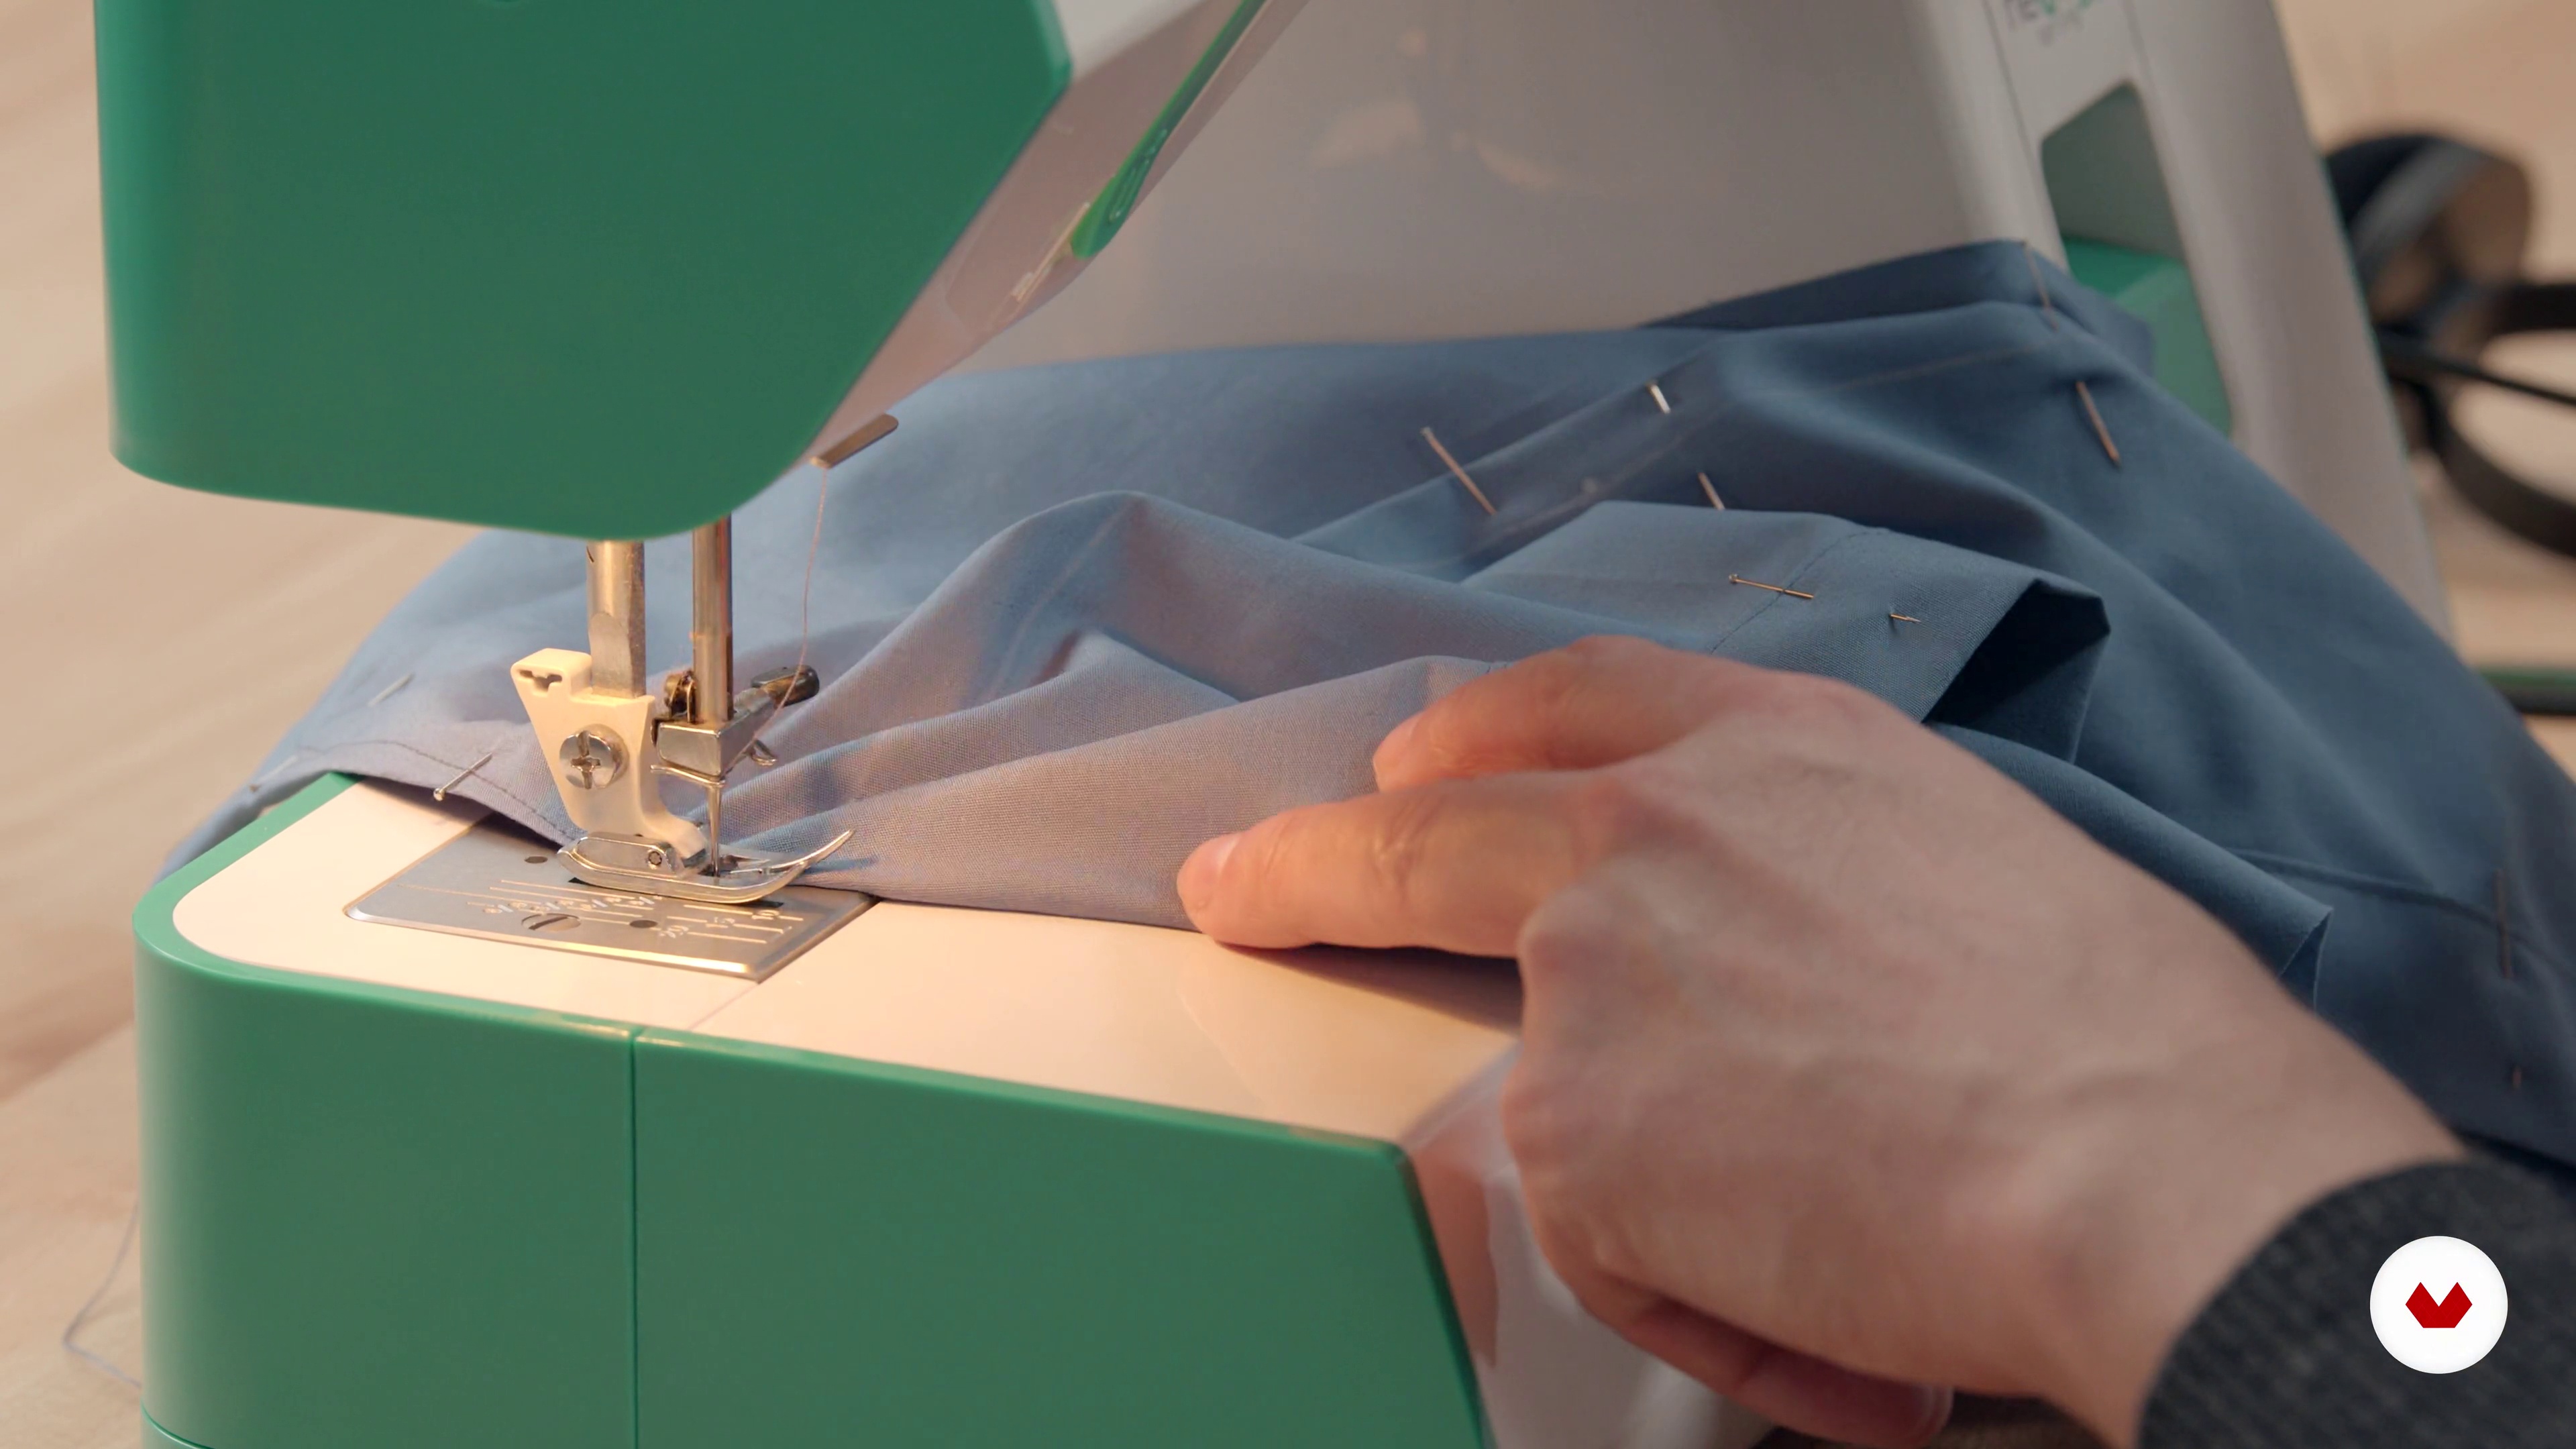
Now we'll move on to sewing the chest darts and/or the waistband; they're super easy. If you're a beginner, don't worry; you can draw a chalk line as a guide. This technique will help you with any darts you need to sew on another project. If your shirt is a boy's and doesn't have darts because you wanted to make it loose, you can skip to the next lesson.
6m
 13
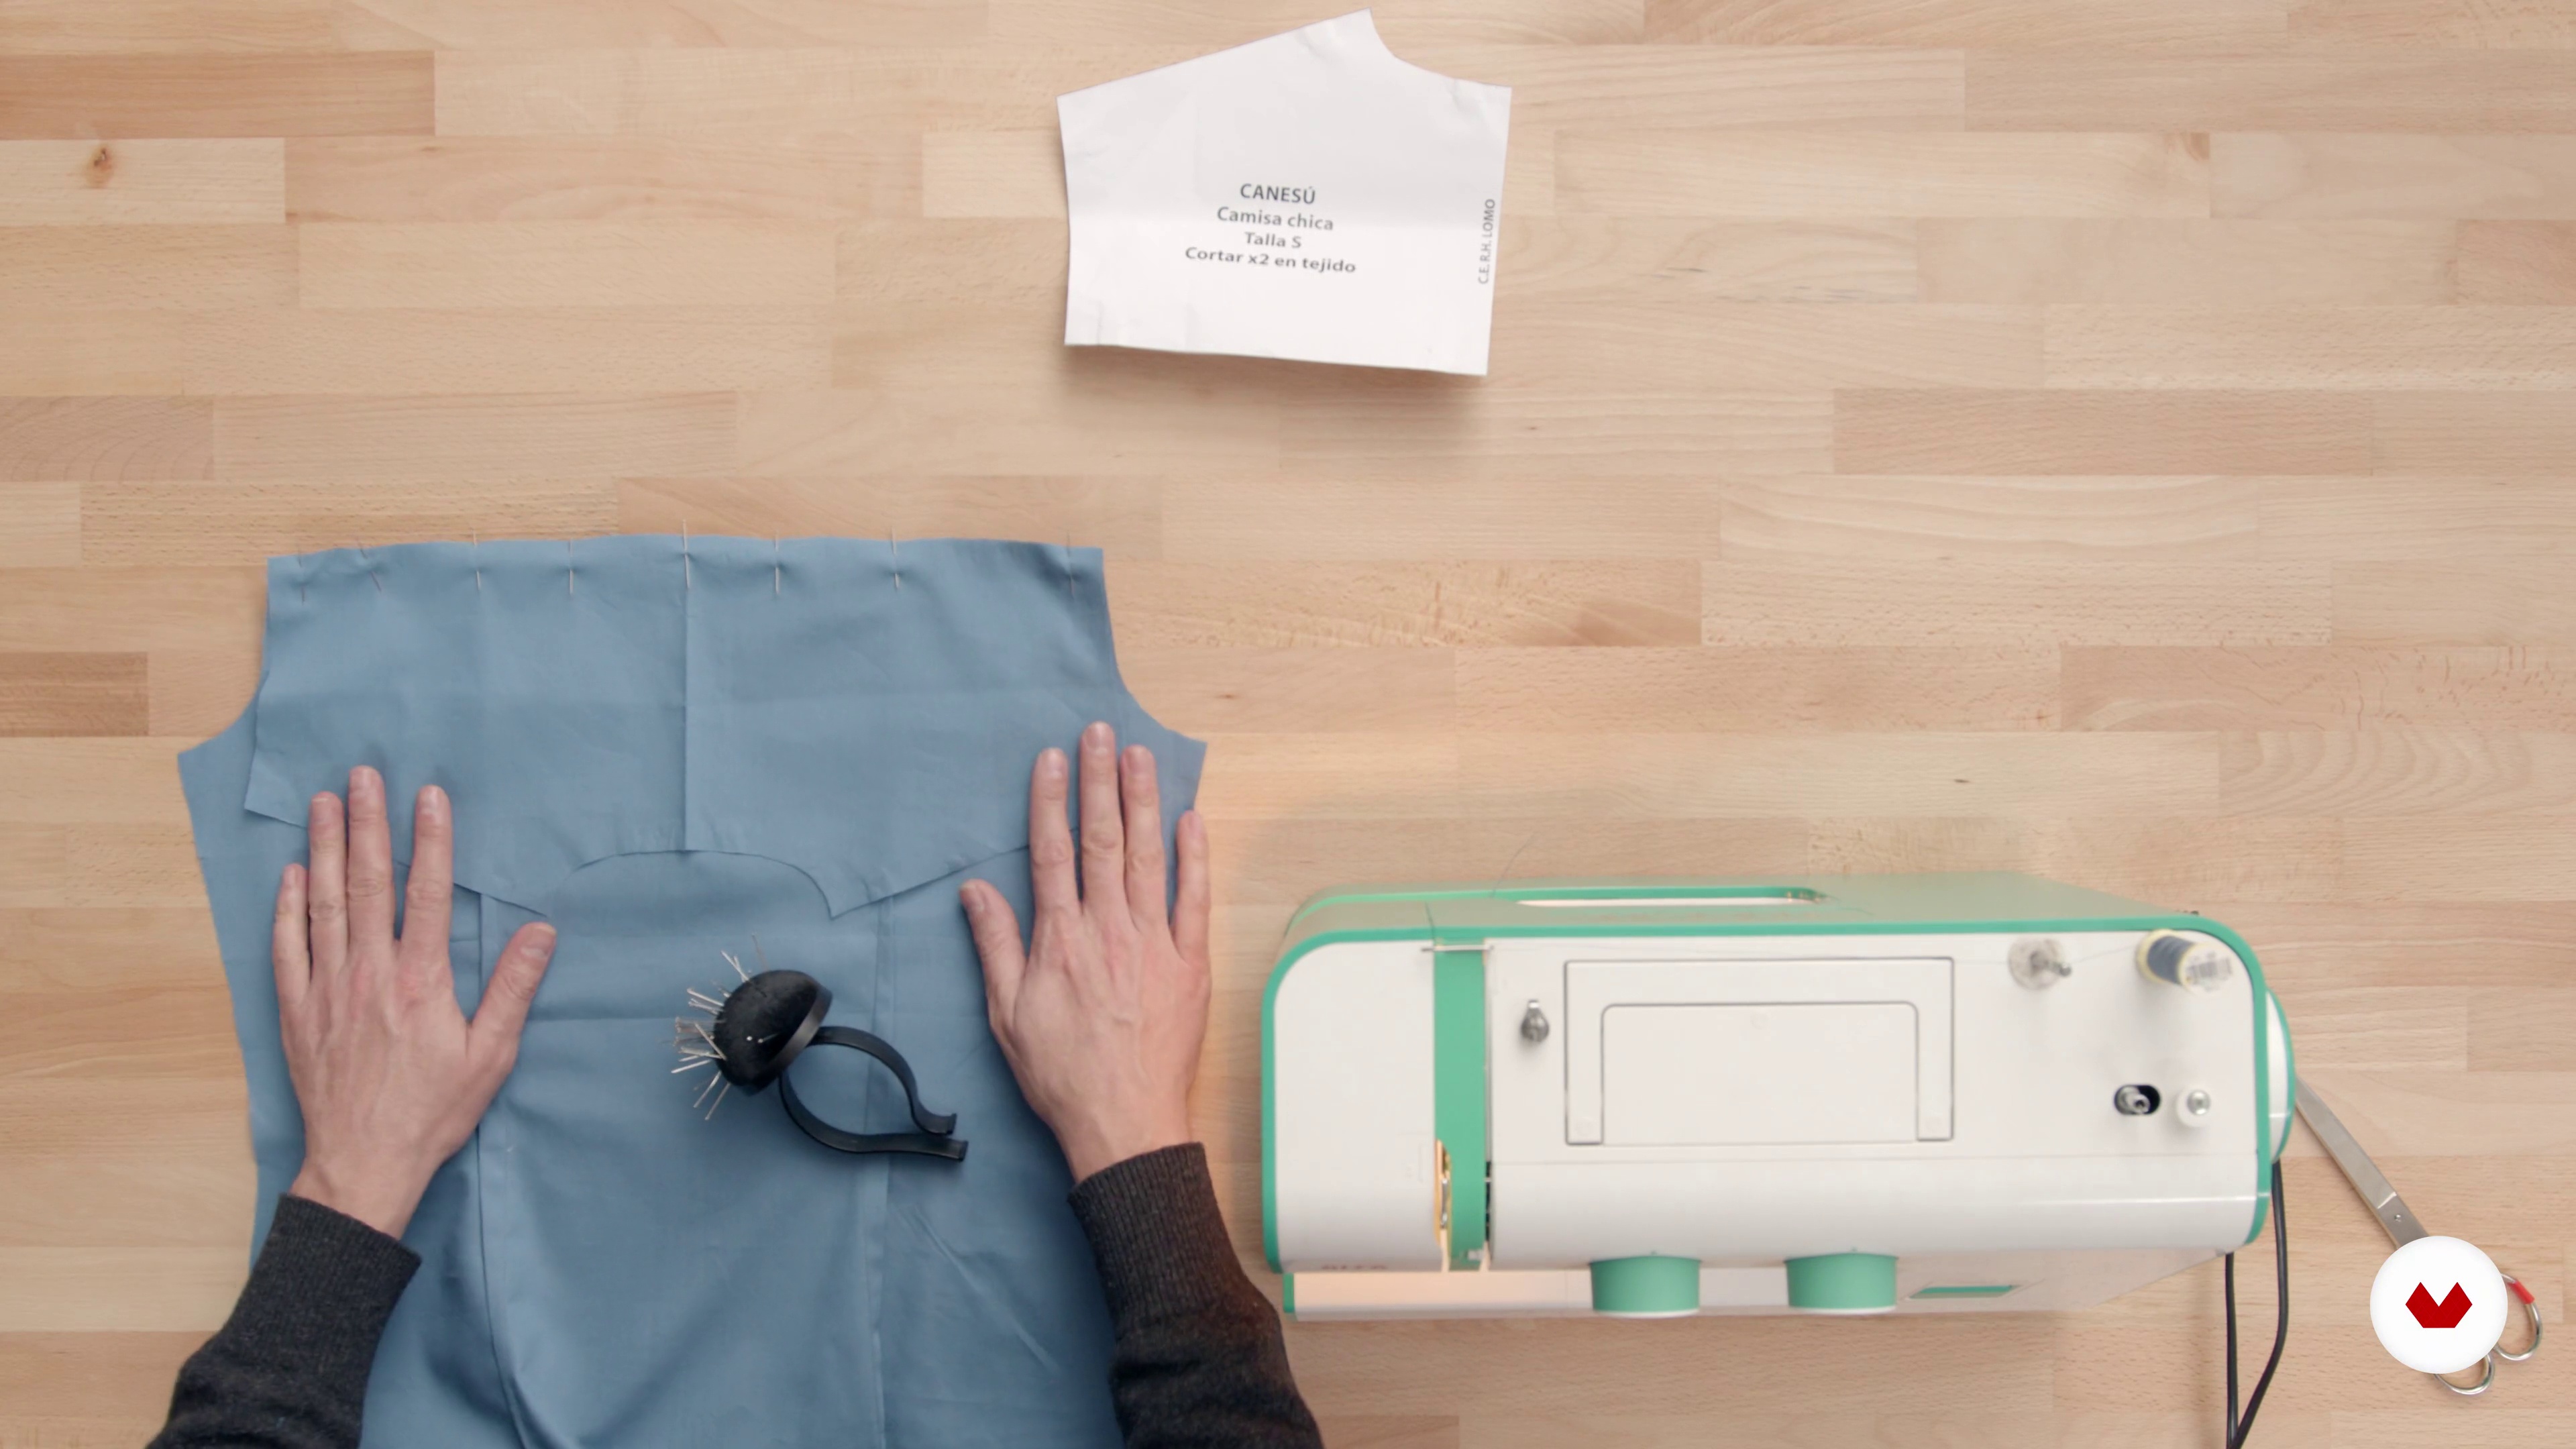
13Sew the yoke on the back
Here we'll learn how to sew the yoke. There's a trick! The idea is to have the seams between the two layers of the yoke so they're neat and hidden. Join us to see how it's done.
7m
 14
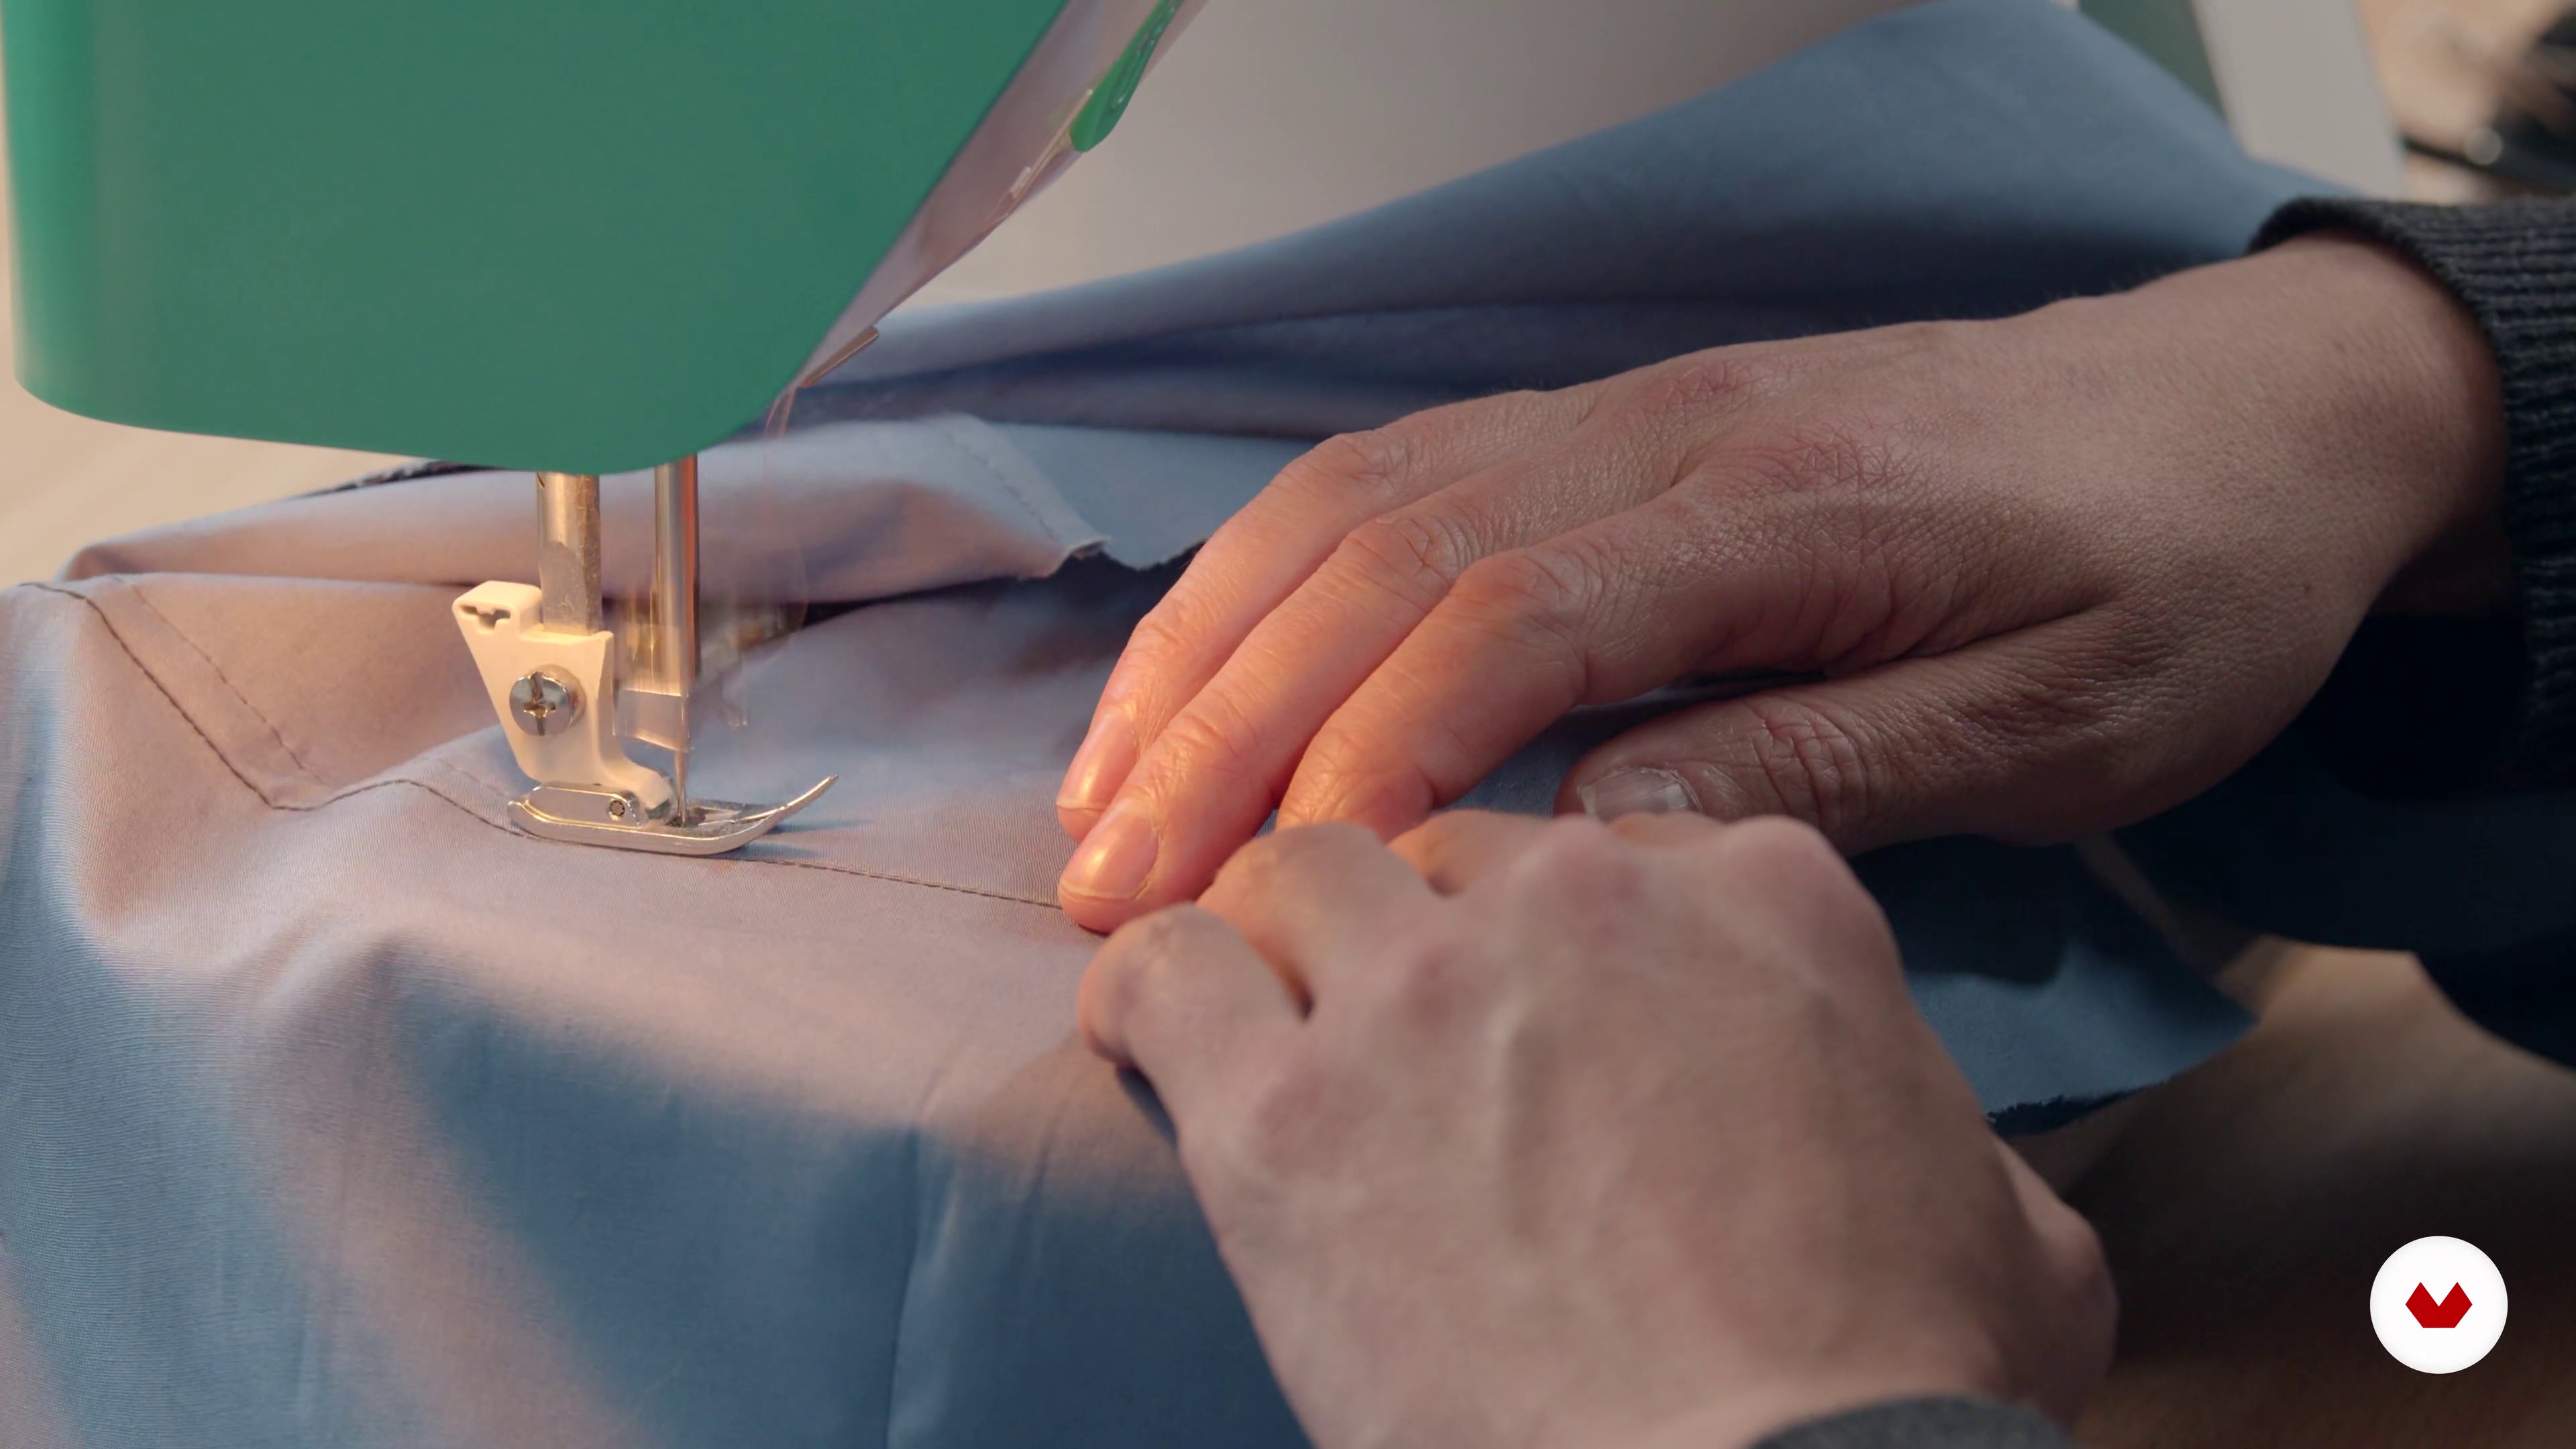
14Shoulders with yoke
This is another key point; we'll explain it step by step so there's no confusion! Just like in the previous step, the shoulder seams should face inward between the two layers of yoke, like a sandwich. It may be a little tricky to see at first, but you'll see how it turns out! If it doesn't work the first time, remember you can always unpick and try again. Once you've done it, you'll see it super clearly!
9m
 15
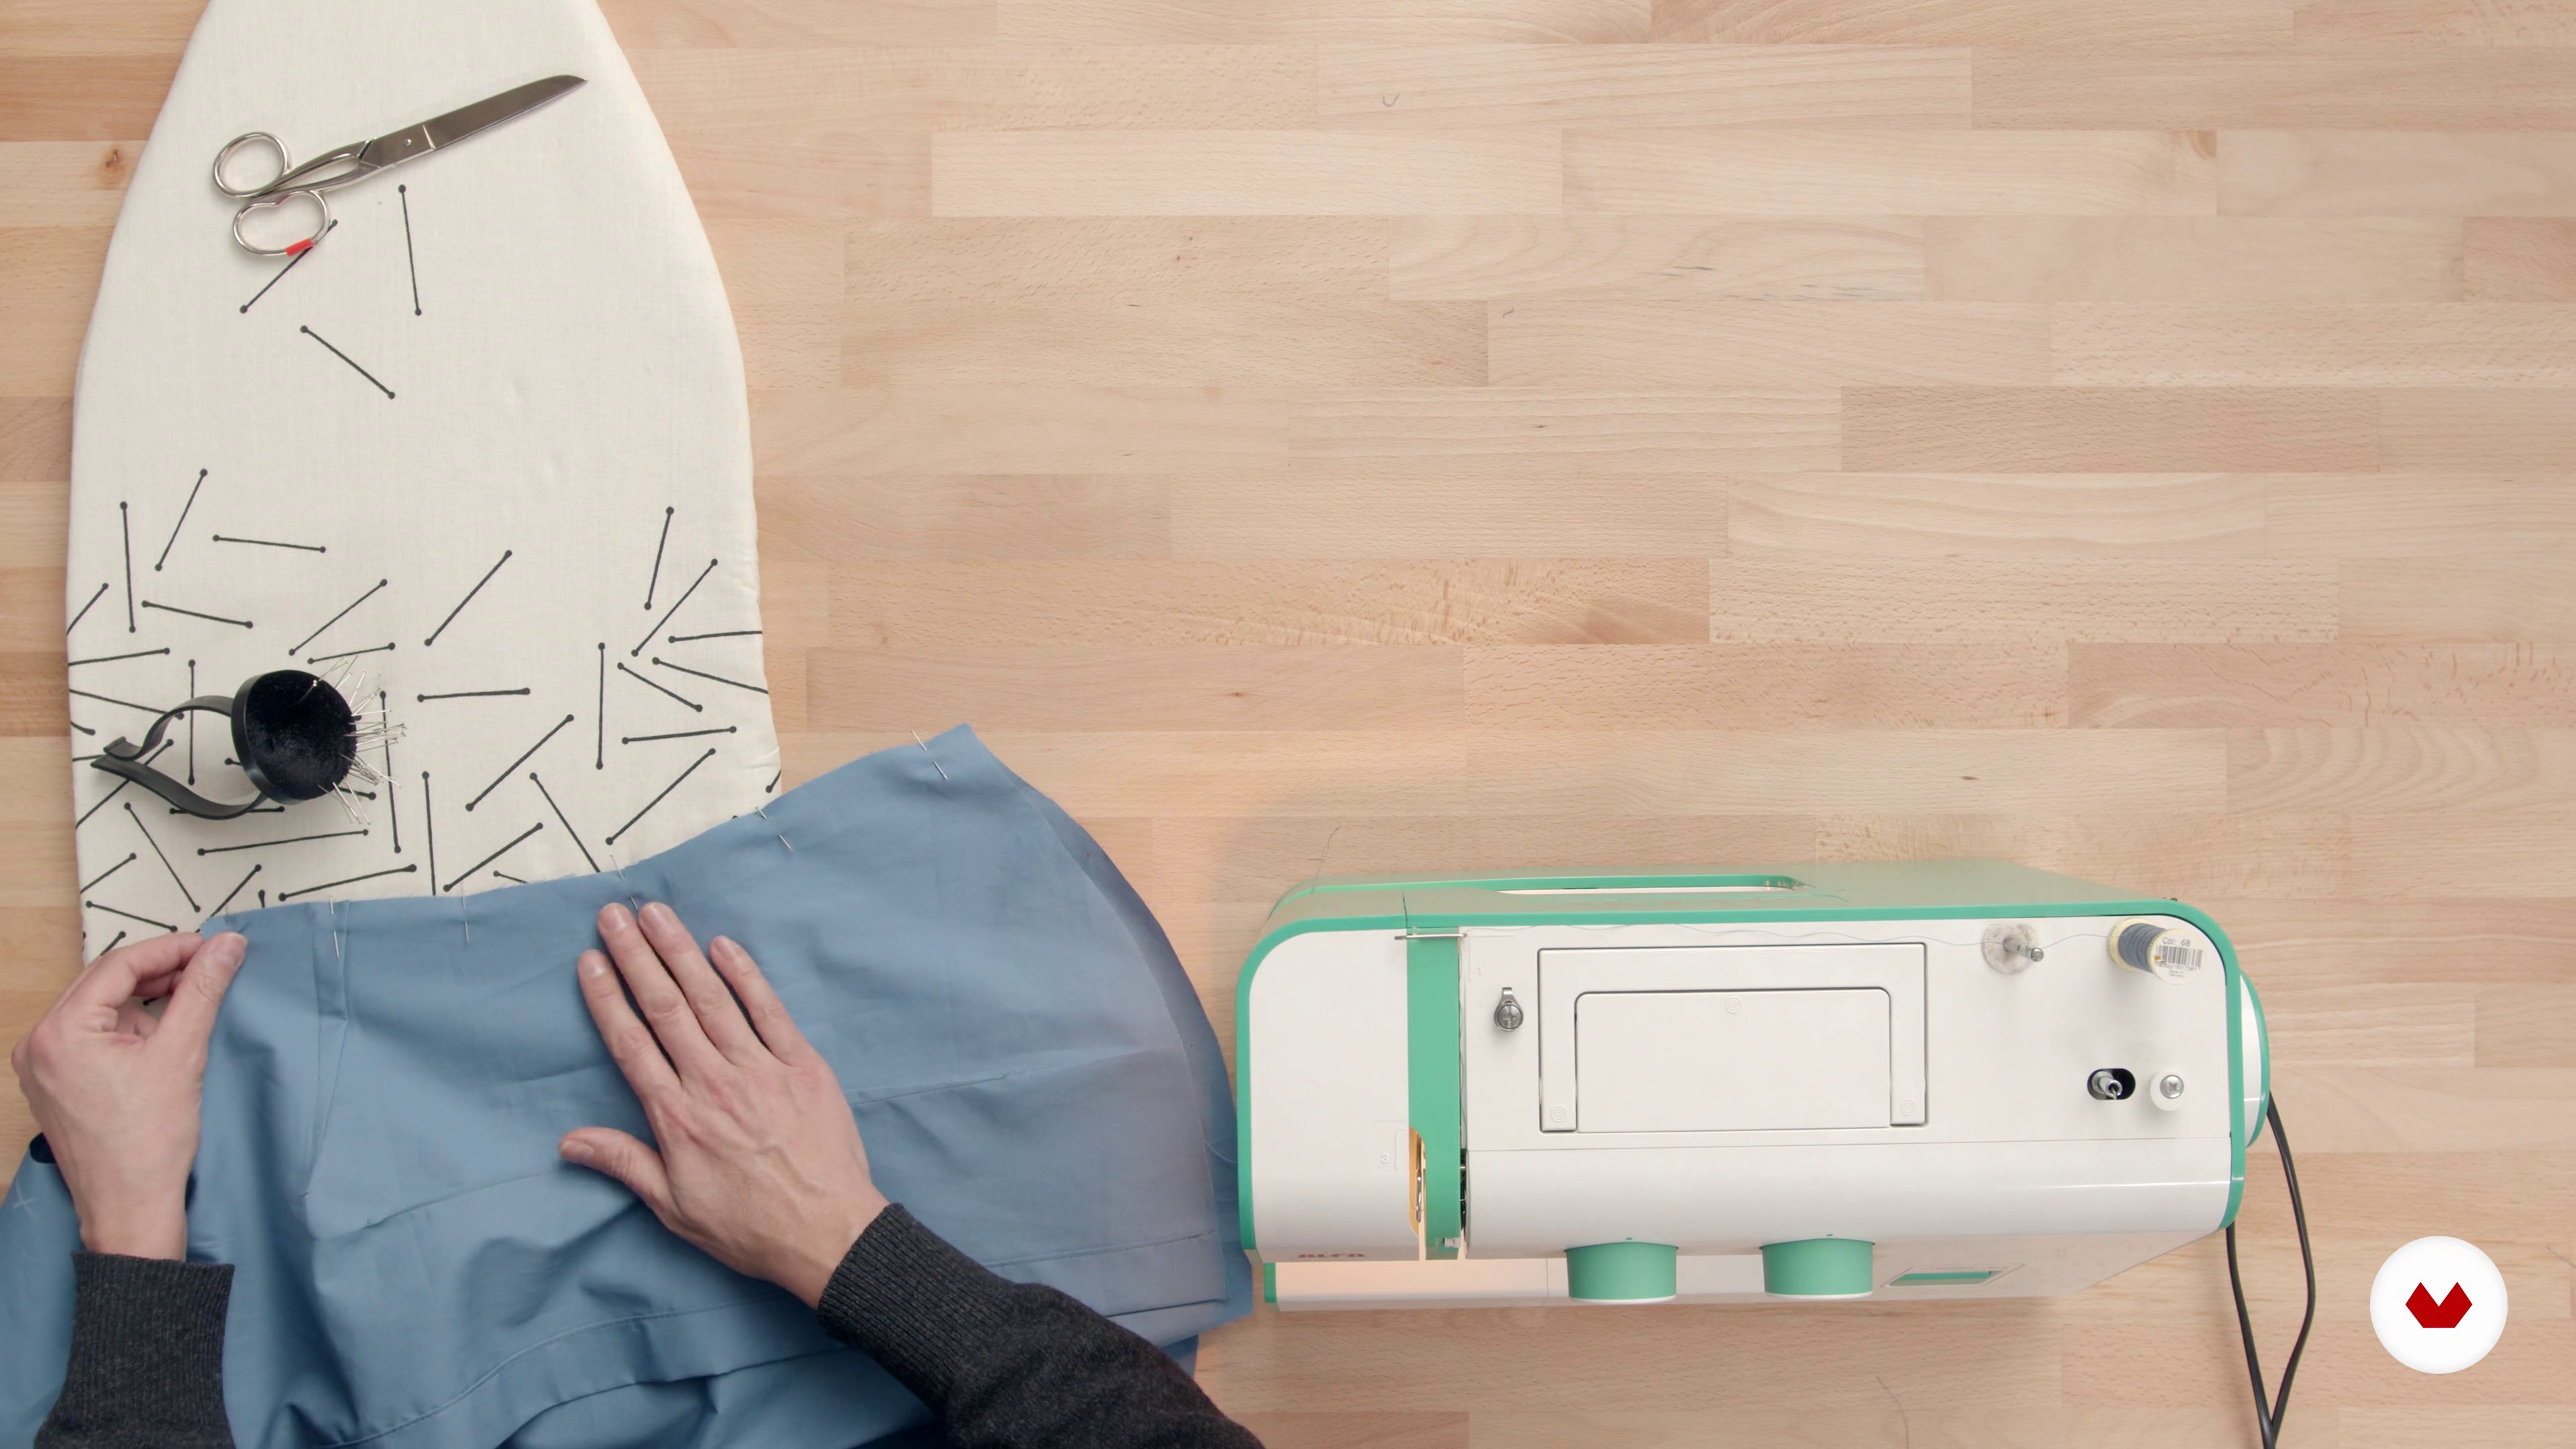
15Union of laterals
To finish the frame of the garment, we'll show you how to sew the sides. This is the first seam we make, where the edges of the fabric are visible, and as you'll probably notice, they fray, so we need to secure the seams on the inside with . If you don't have one, we'll show you how to do it with your home sewing machine and a zigzag stitch.
5m
 16
16Sew cuff opening and sleeve pleats
We'll begin by sewing the opening where the cuff will be closed using a simple and easy finish: a bias binding; this is a functional way to finish the edges and necklines of your garments. We'll also close the pleats that bring the entire sleeve volume to the gathered cuff.
10m
 17
17Preparation of the sleeves and cuffs
It's time to close the sleeves properly and secure their seams on the inside. Remember to pay close attention to the notches on the crown and your mark on the wrong side of the fabric, so you can make opposite sleeves and not both sleeves on the same side. Once each sleeve is closed, it's time to sew the cuffs in a very simple way. This same technique will work for waistbands, collars, etc.
16m
 18
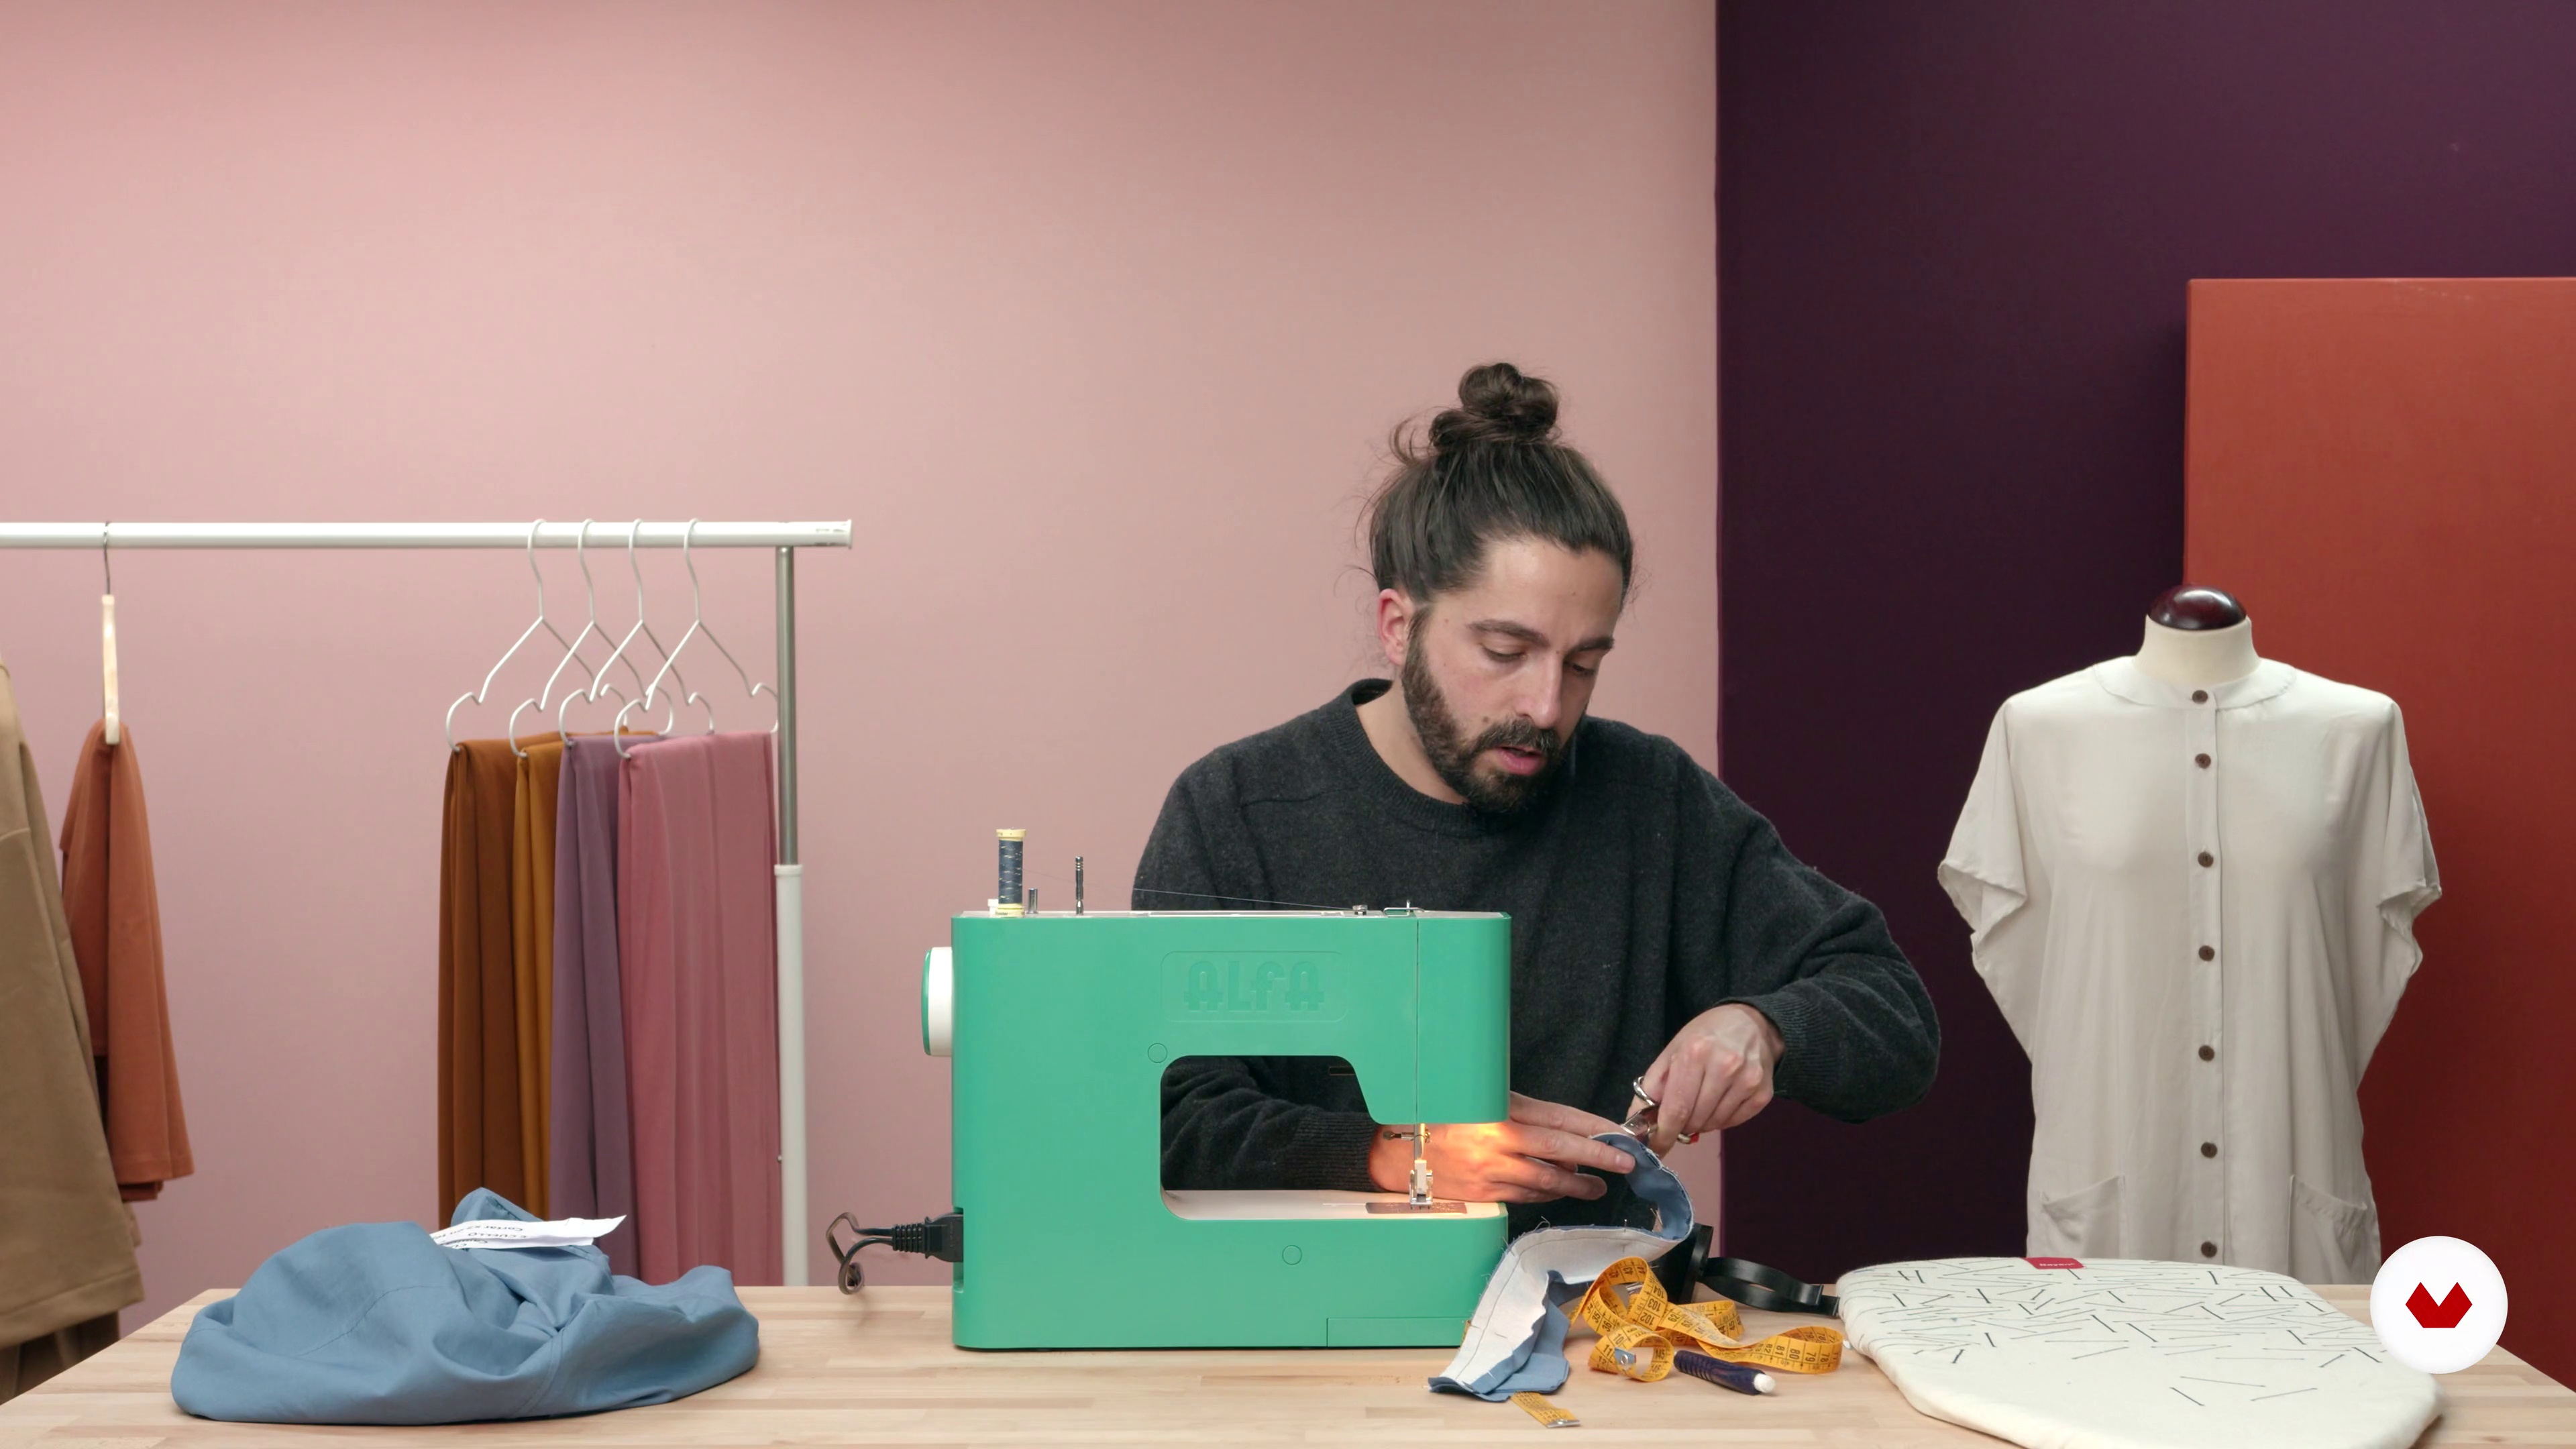
18Fit sleeve on shirt
The sleeves are now finished! We just need to attach them to the shirt. To do this, we'll carefully follow the notches, which will indicate how to correctly assemble the shirt so it looks perfect. When it comes to sewing, the sleeve can be one of the most challenging parts, as we have many pins and fabric, so remember that EVERYTHING can be unstitched and corrected if necessary. Don't worry if it doesn't come out perfect the first time. Learning all of this will help you with any manga you have to put together in the future; knowing how to interpret the pickets is vital!
10m
 19
19Sew neck and neck foot together
We'll start with the collar, another key part of a shirt, as it's the most visible part, as it's closest to our face. I recommend doing this without rushing, paying close attention to the details.
15m
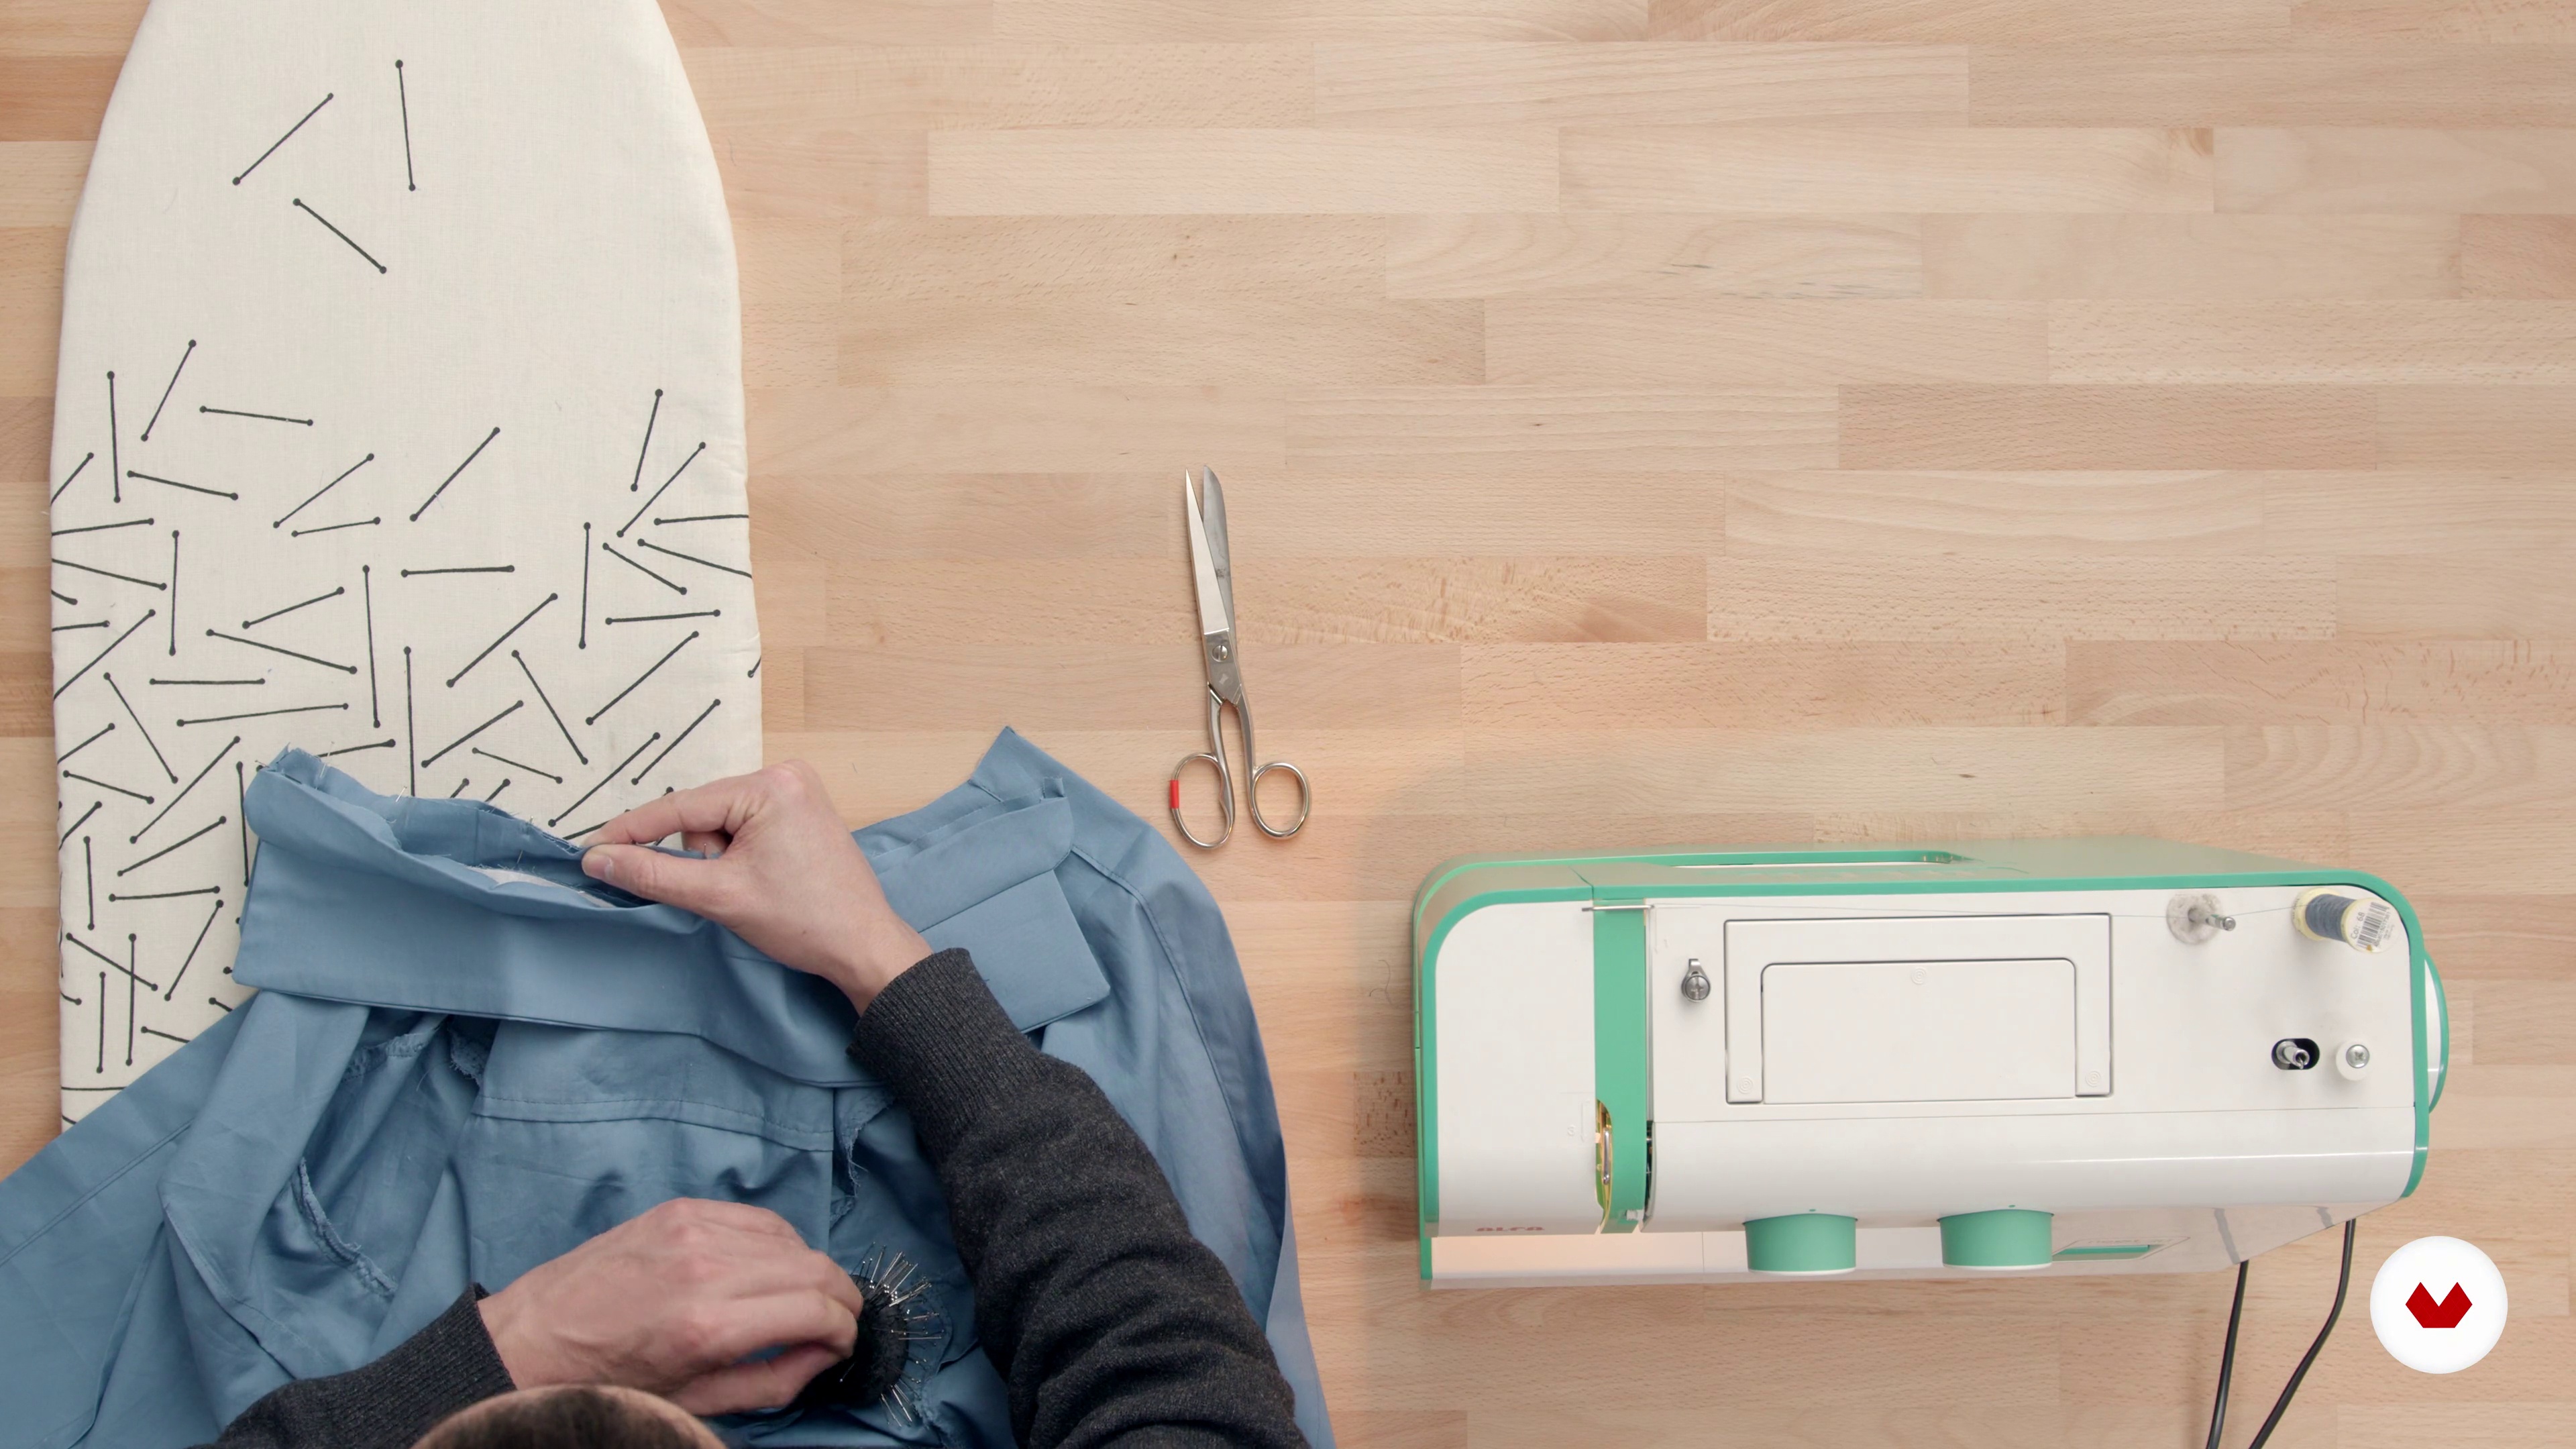 20
20Sew collar to shirt
Once the collar is finished, it's time to sew it to the shirt. The technique we'll use is the same as the one we used for the cuff, although in this case the neckline is curved. Follow our steps carefully!
9m
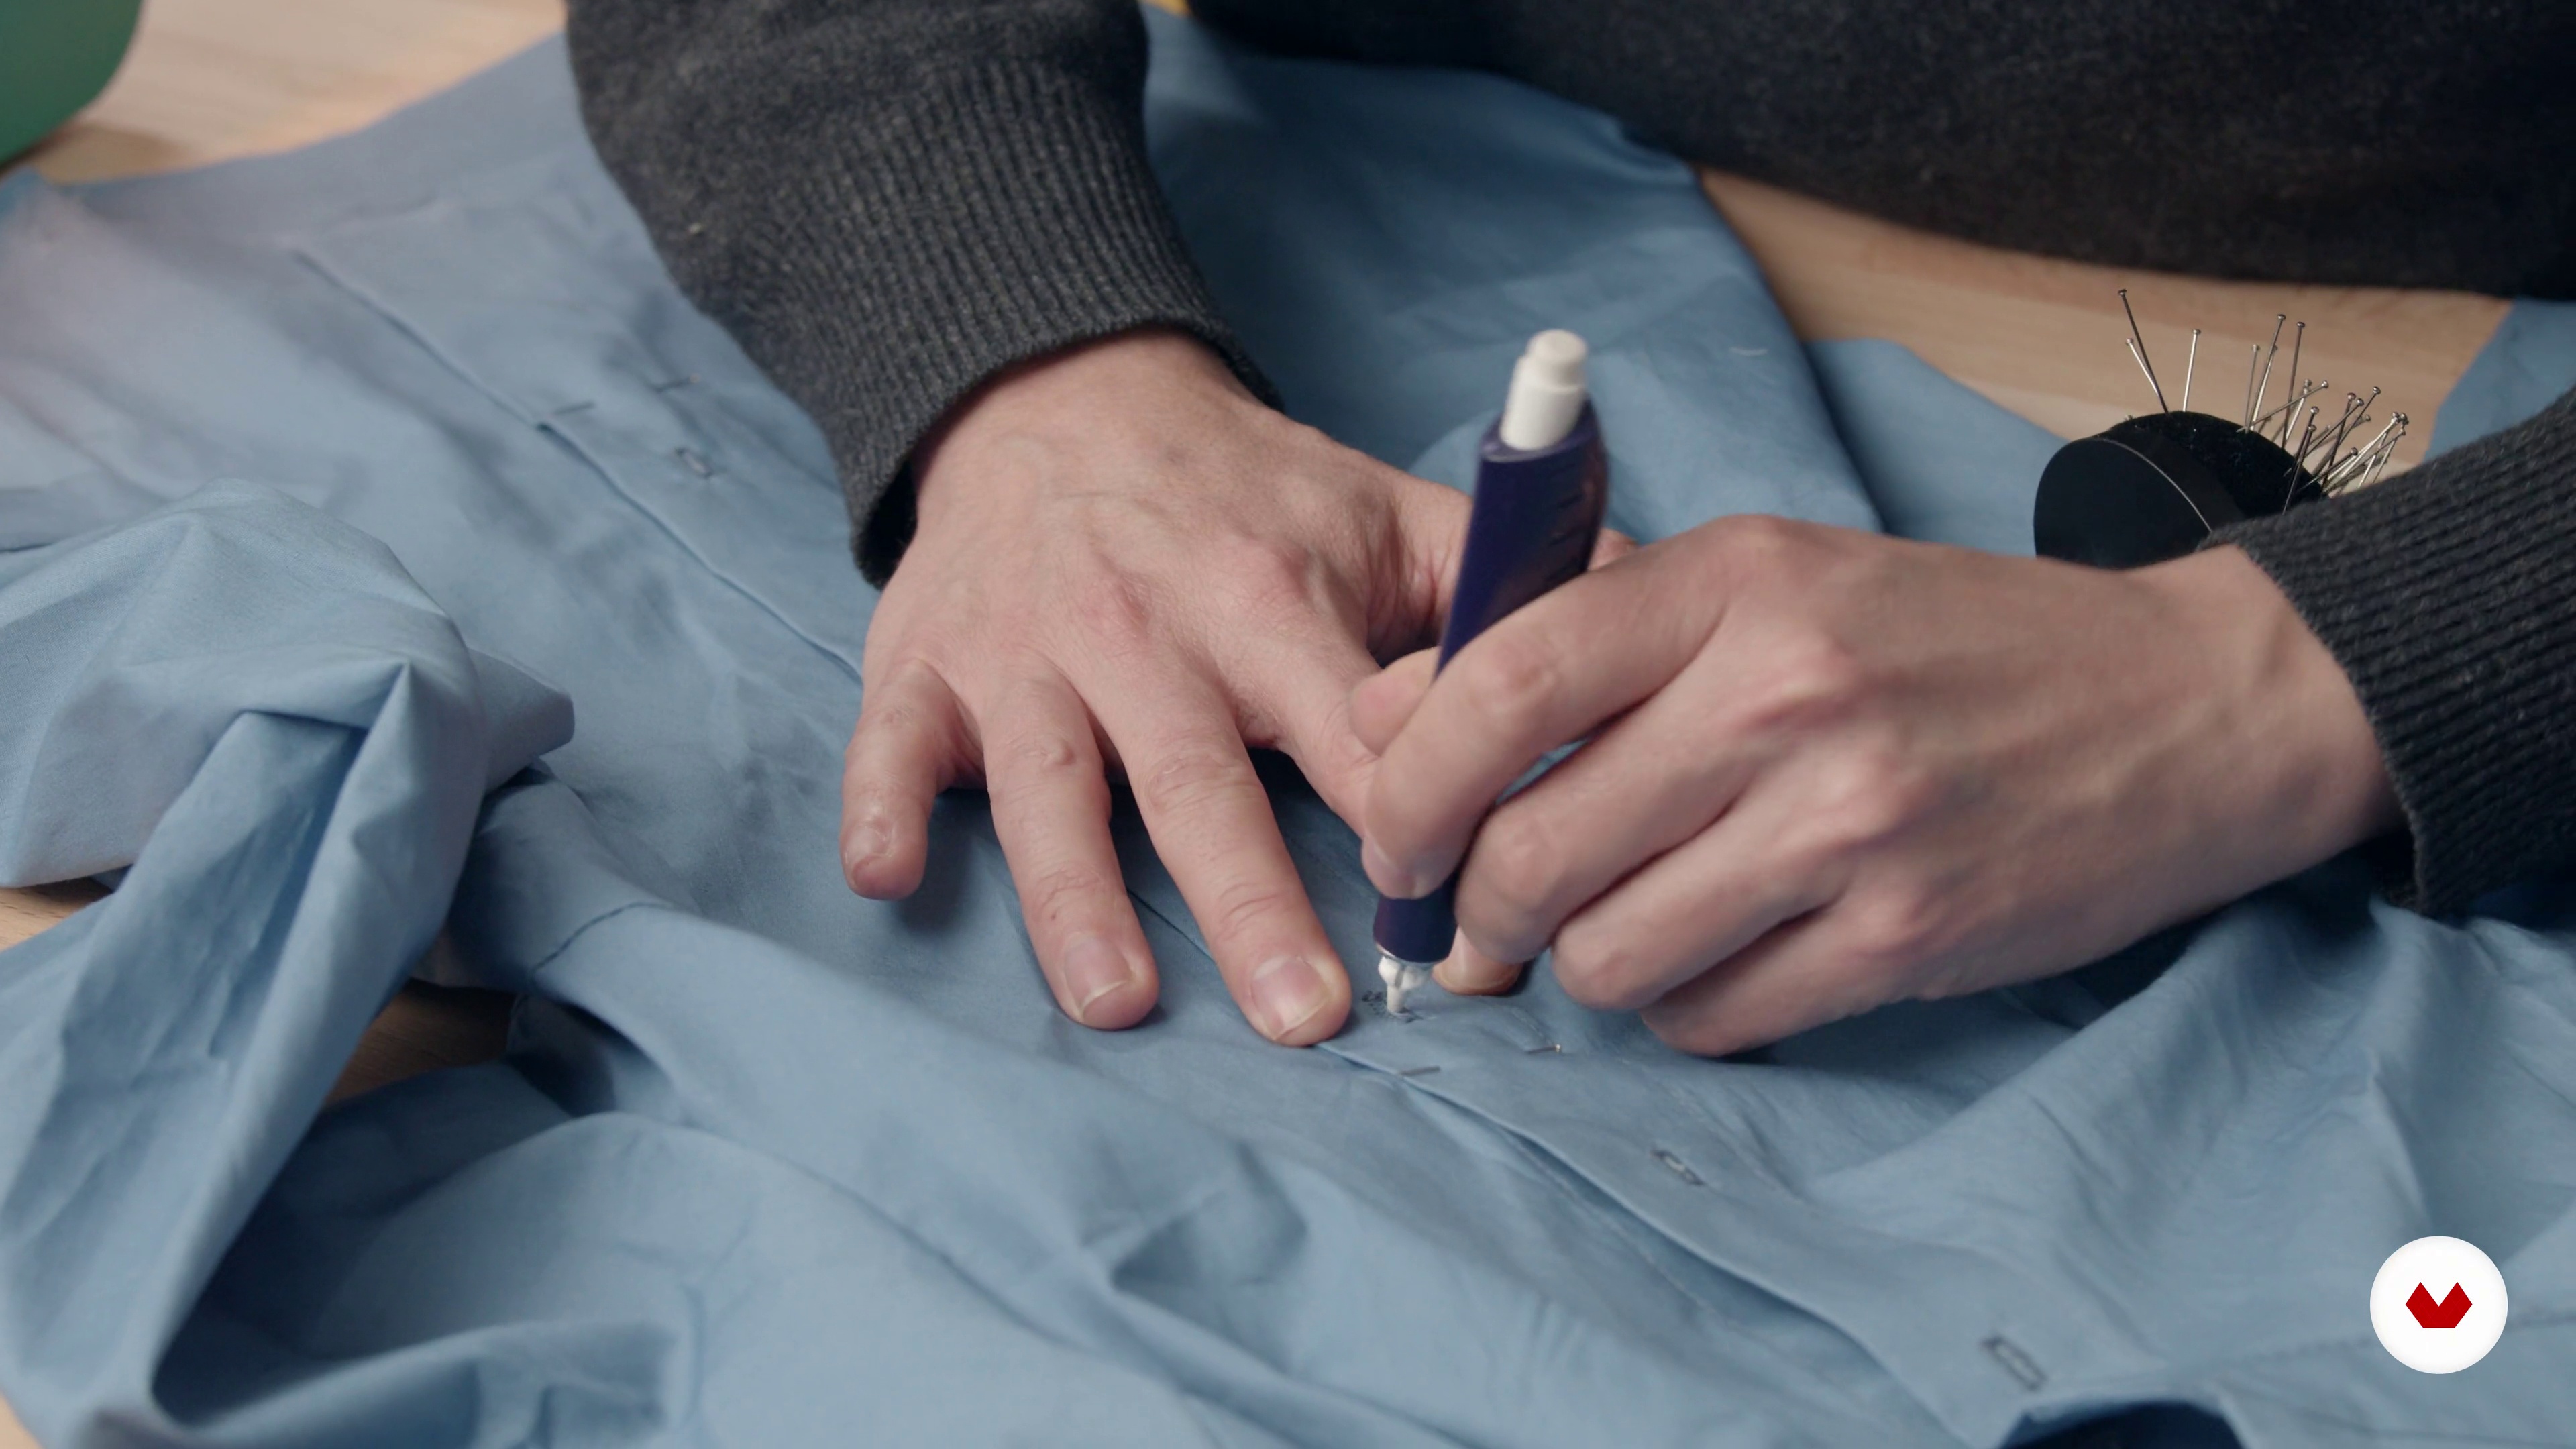 21
21Make buttonholes and buttons and sew the pocket
Our shirt is almost finished! All that's left is to make the buttonholes and attach the buttons. First, we'll measure and mark them with a fabric pencil or chalk, and then we'll show you how to make buttonholes using a machine and in the correct direction. Afterward, I'll show you how to sew on buttons by machine to save you tons of work. You'll never have to sew on a button by hand again! We'll also show you how to attach the pocket if your shirt has one.
16m
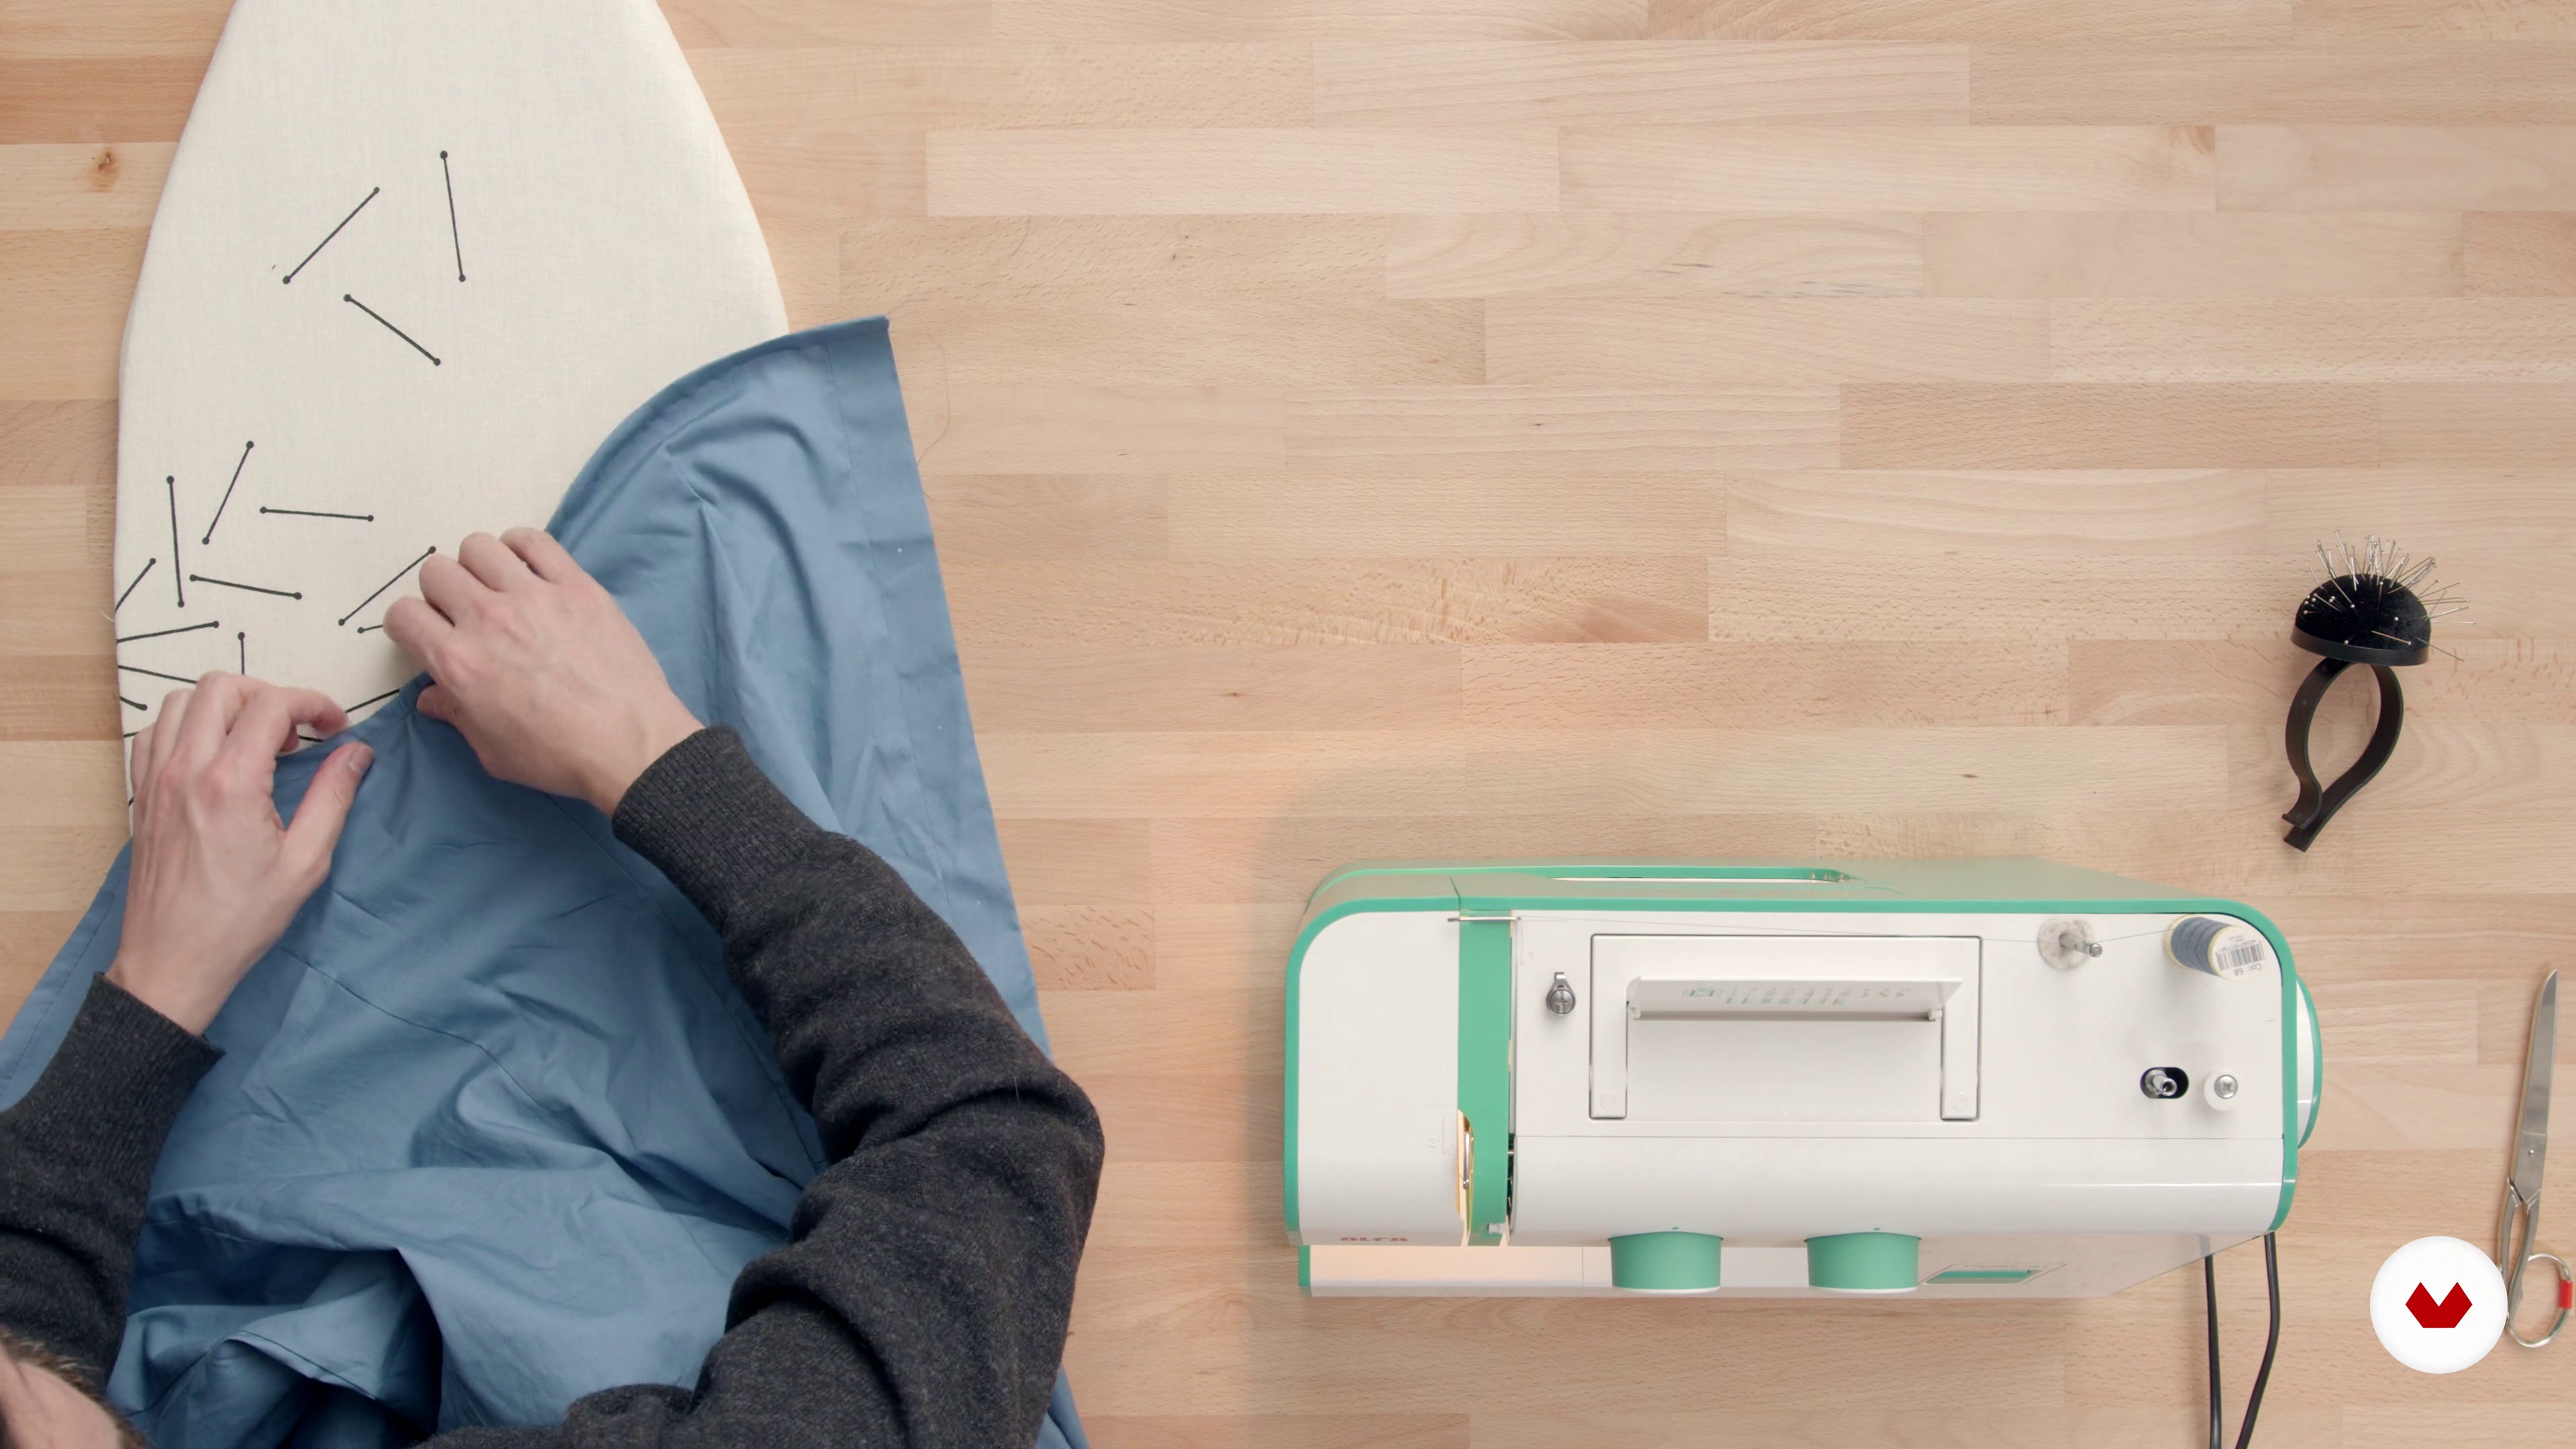 22
22Low
Done! To finish off all the work, we just need to press and sew the hem of our shirt. I'll show you how to do this whether you made it straight or curved.
8m
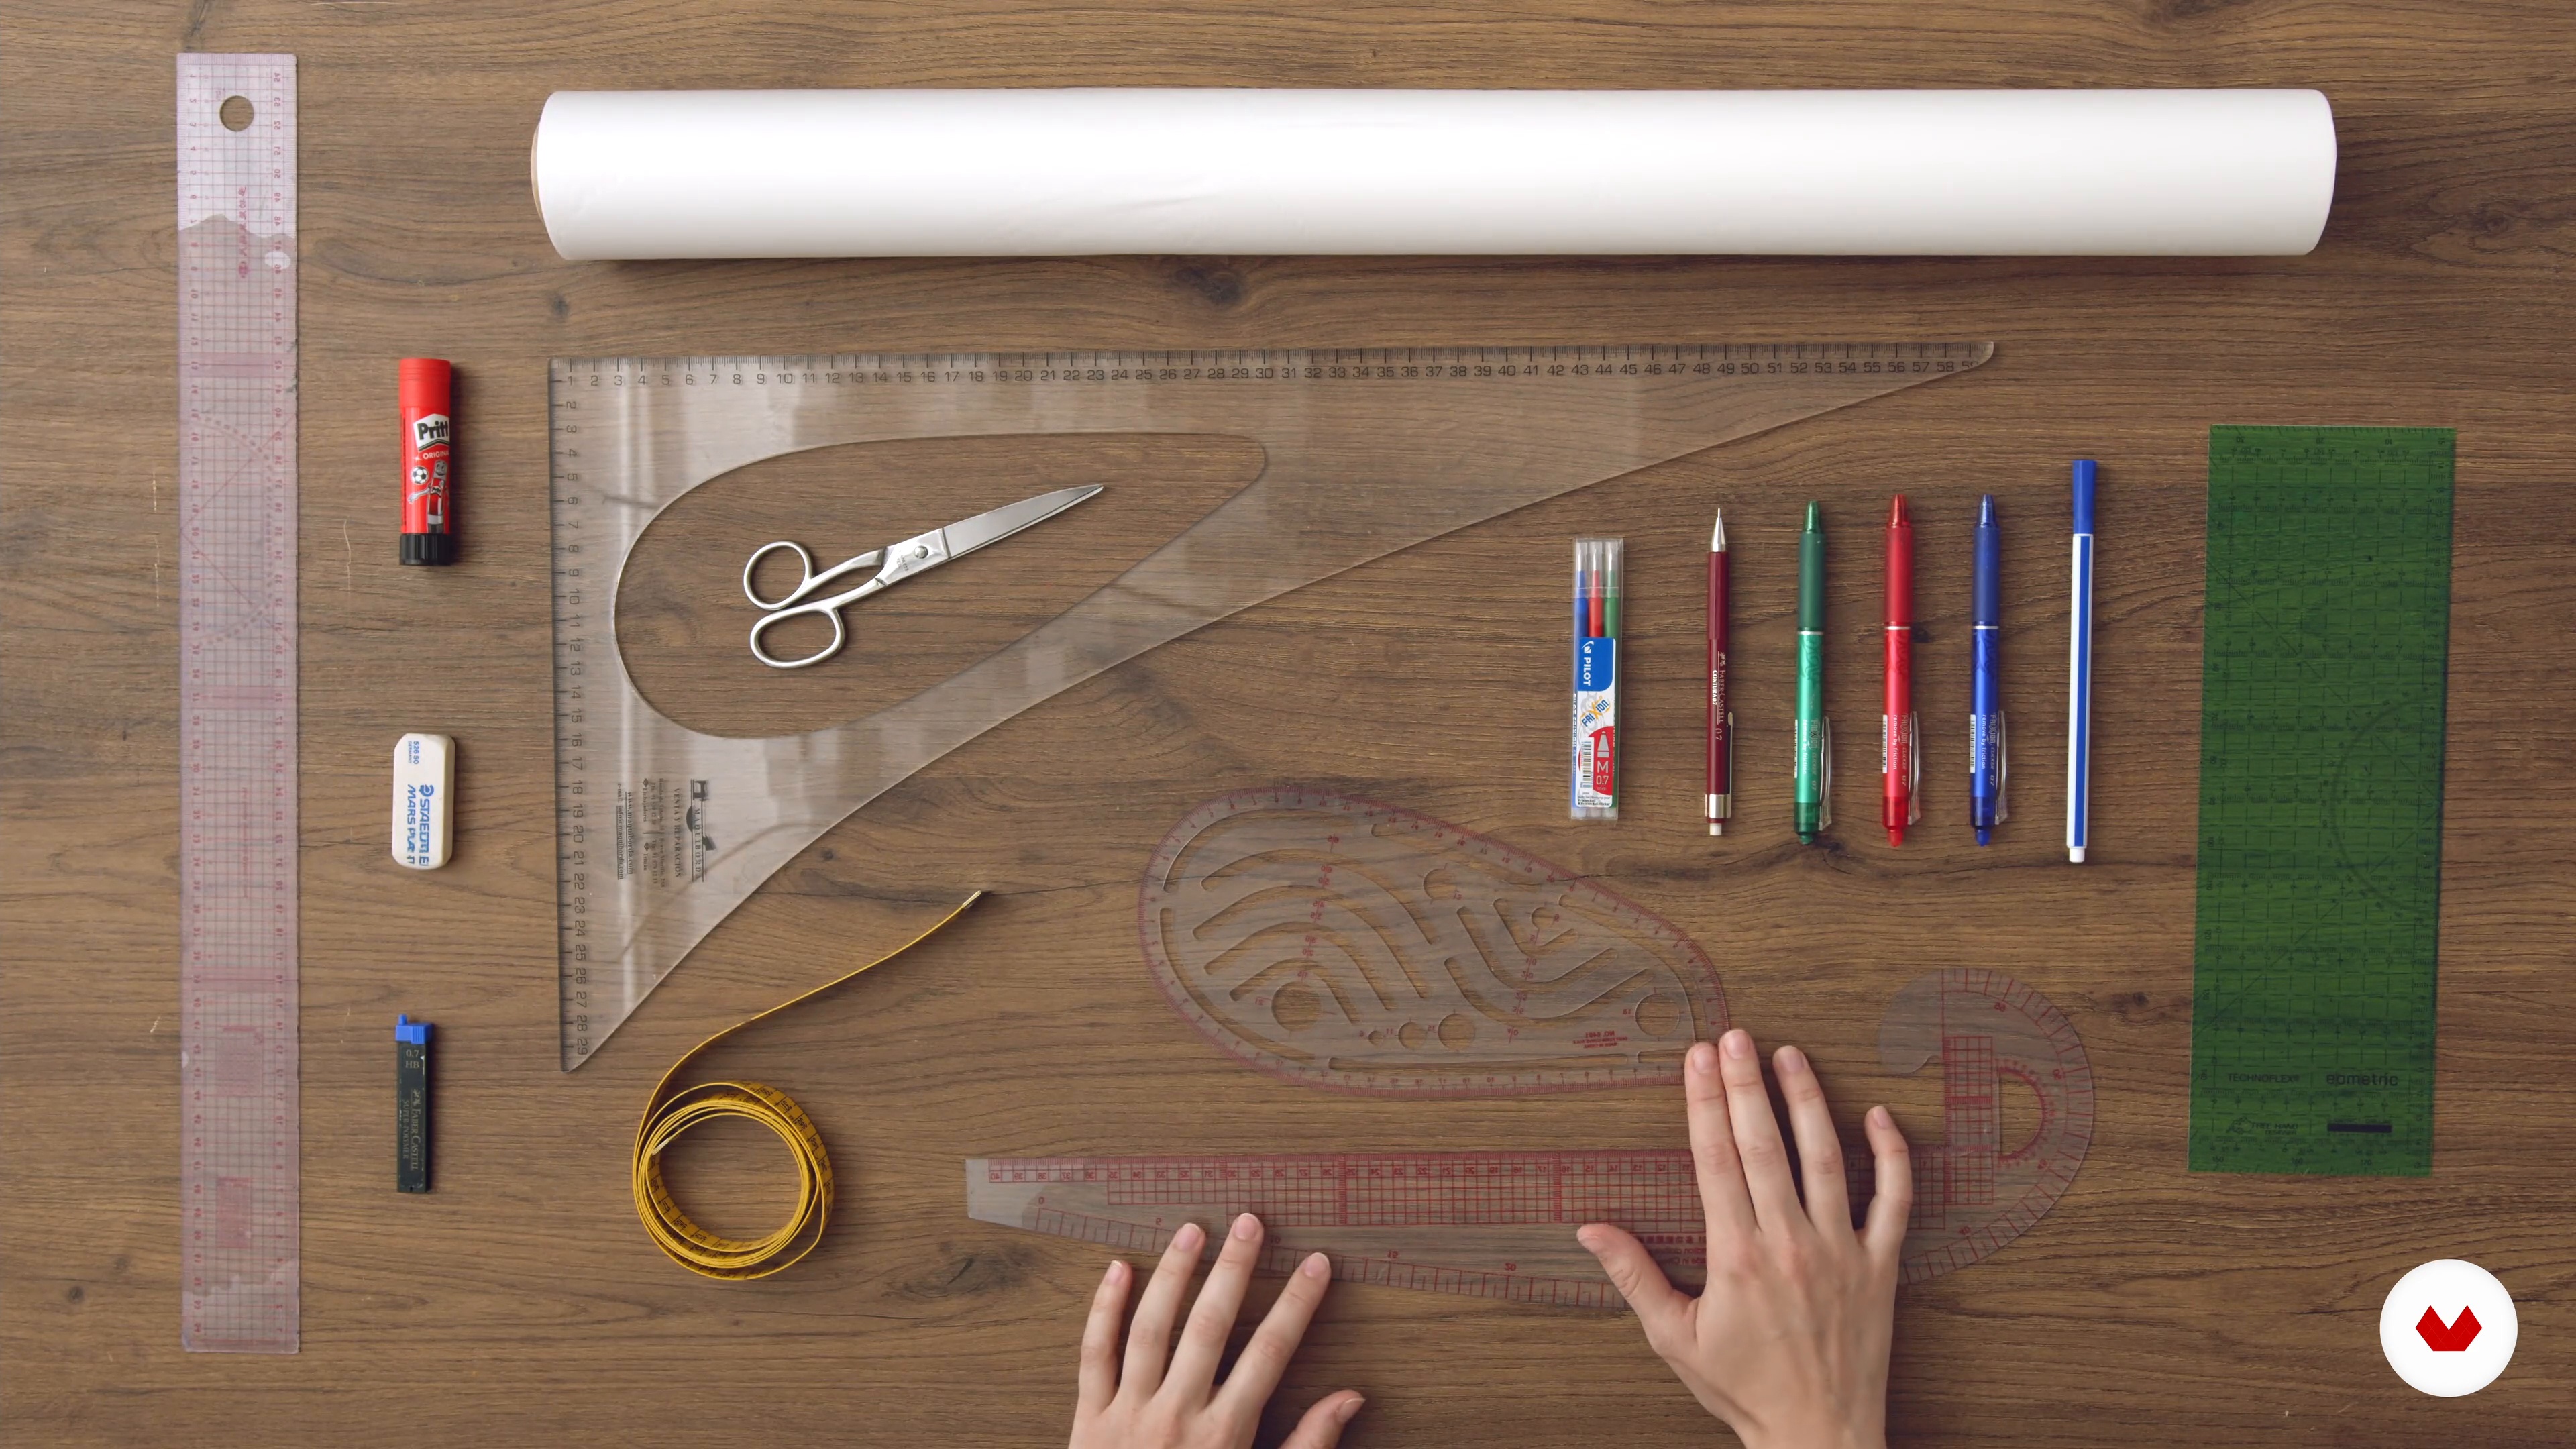 3
3Materials
In this lesson, I'll talk about the tools a pattern maker uses to create a pattern, cut fabric, and make a garment.
16m
 4
4What is a sewing pattern, skirt pattern outline and taking measurements
Next, we'll look at the necessary measurements and how to take them. Understanding the pattern and diagram before making a pattern is essential.
20m
 5
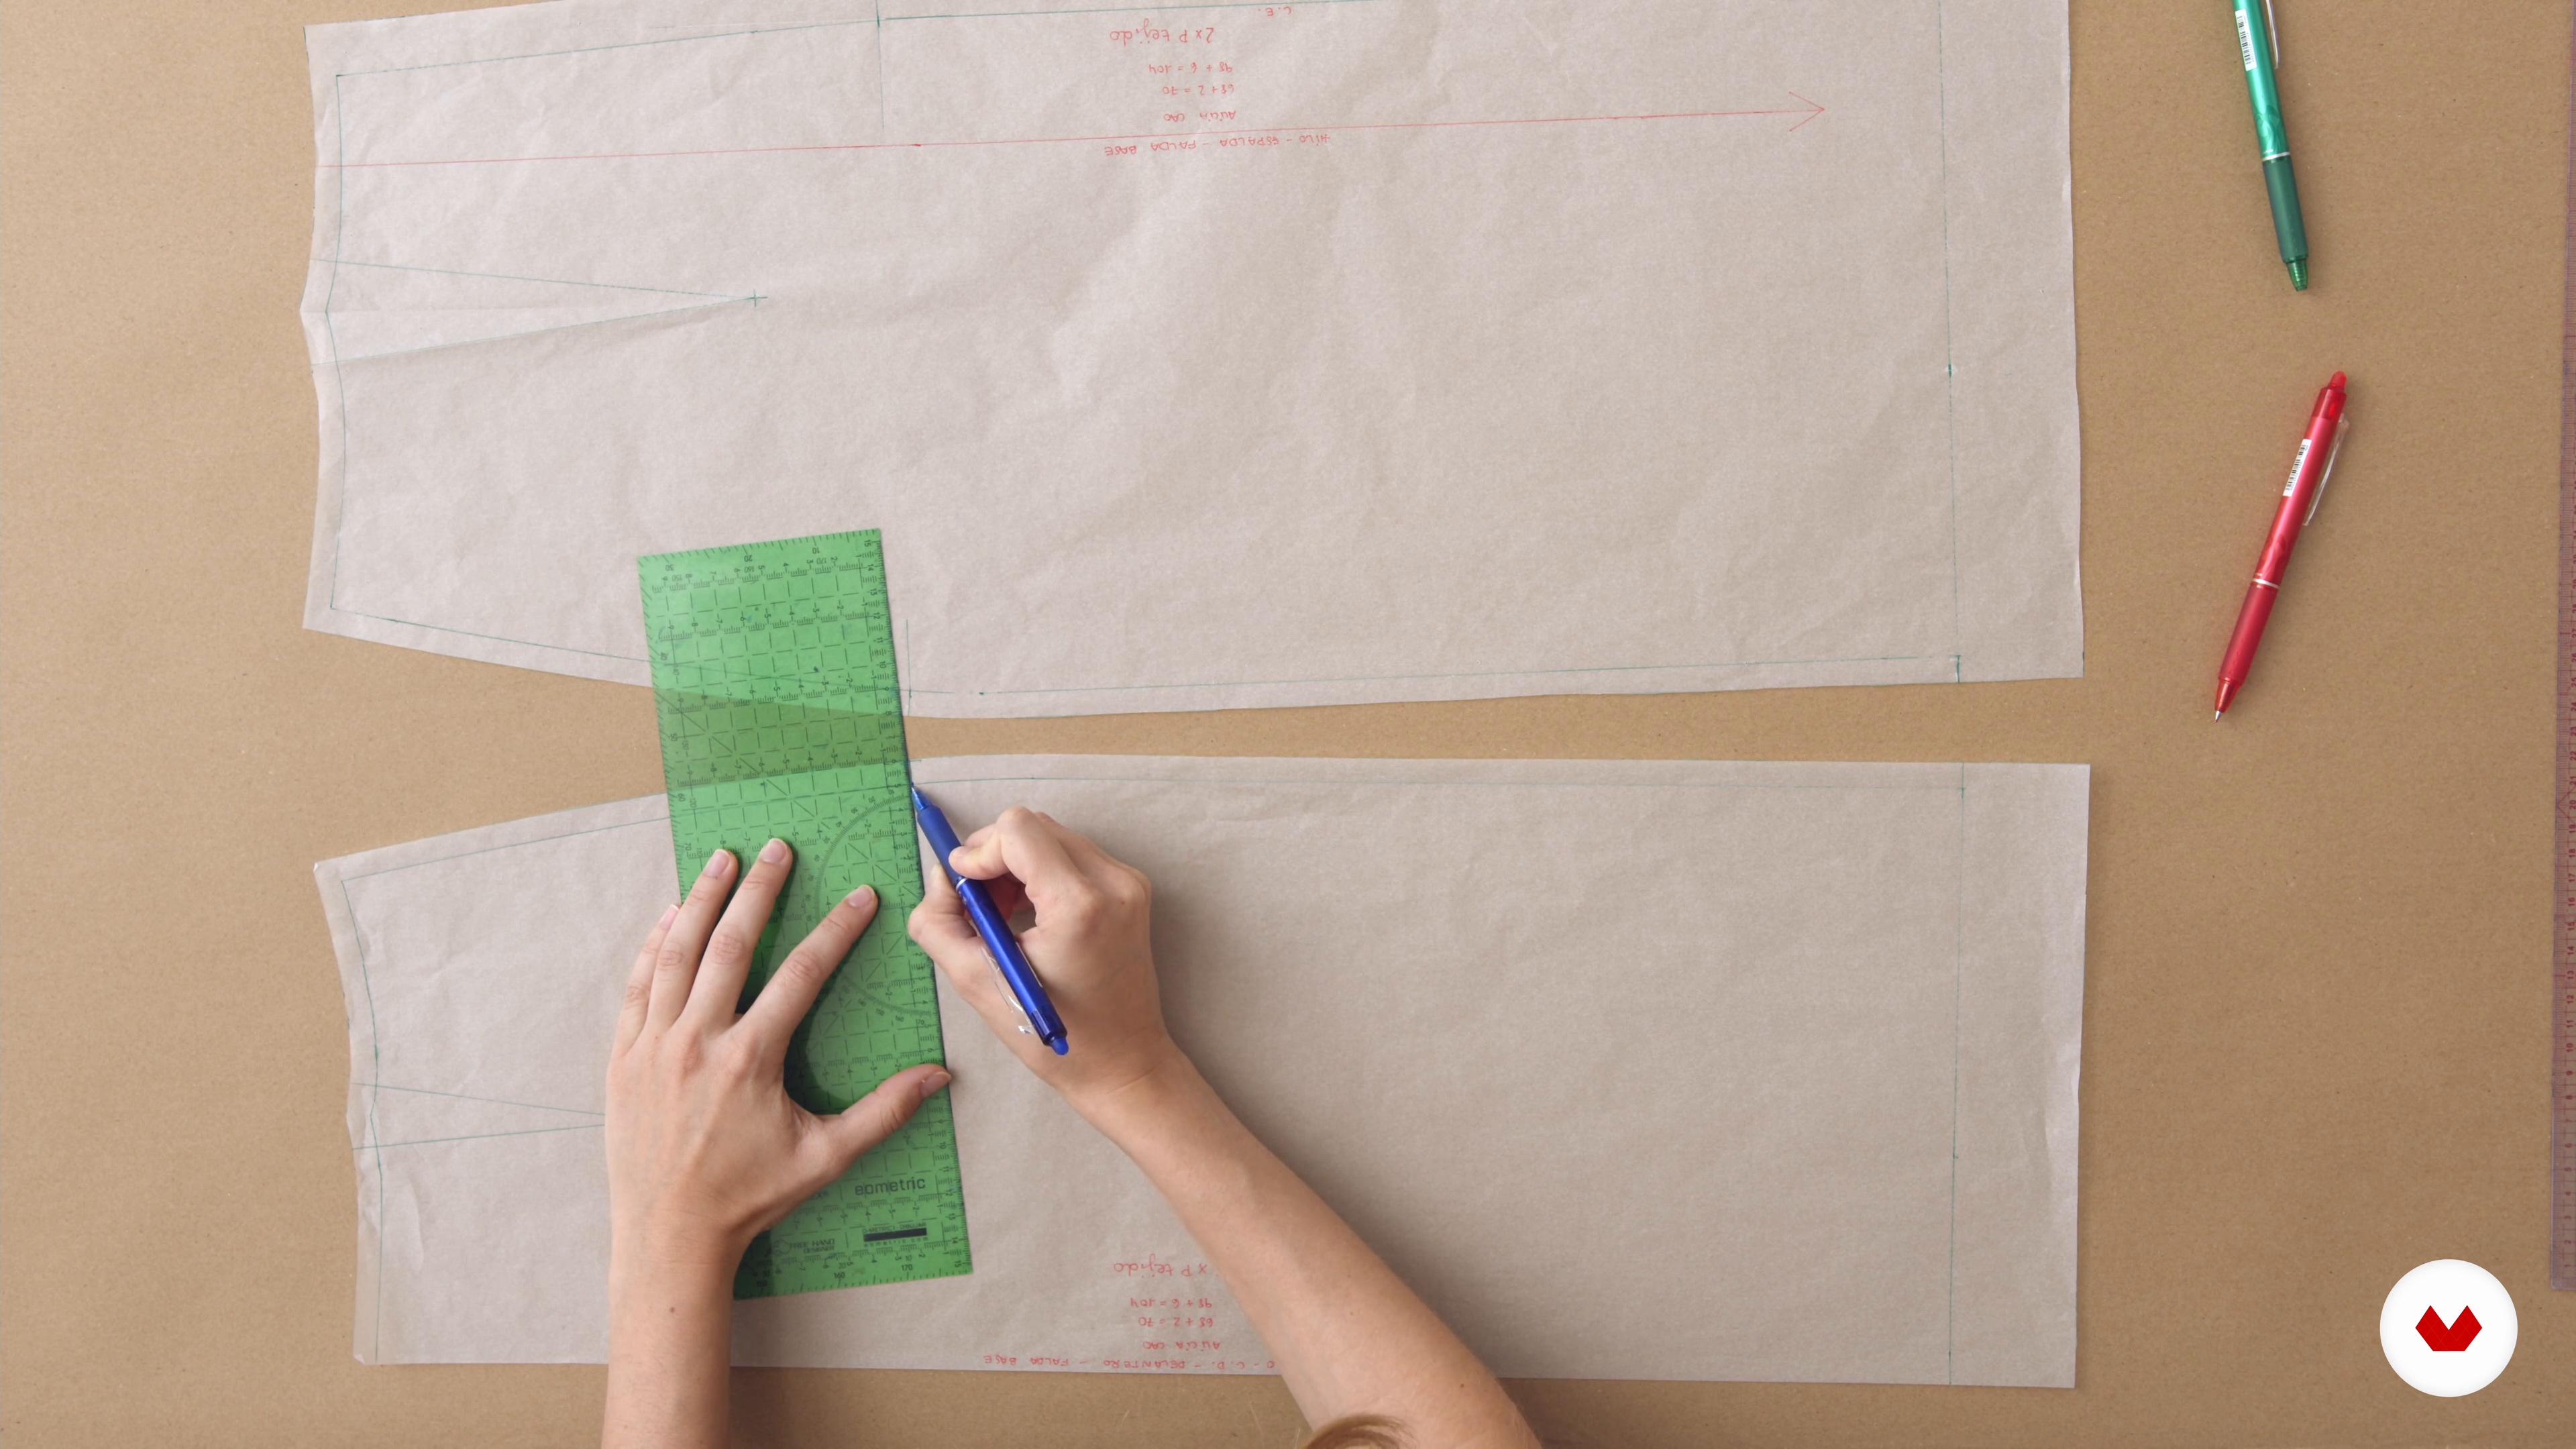
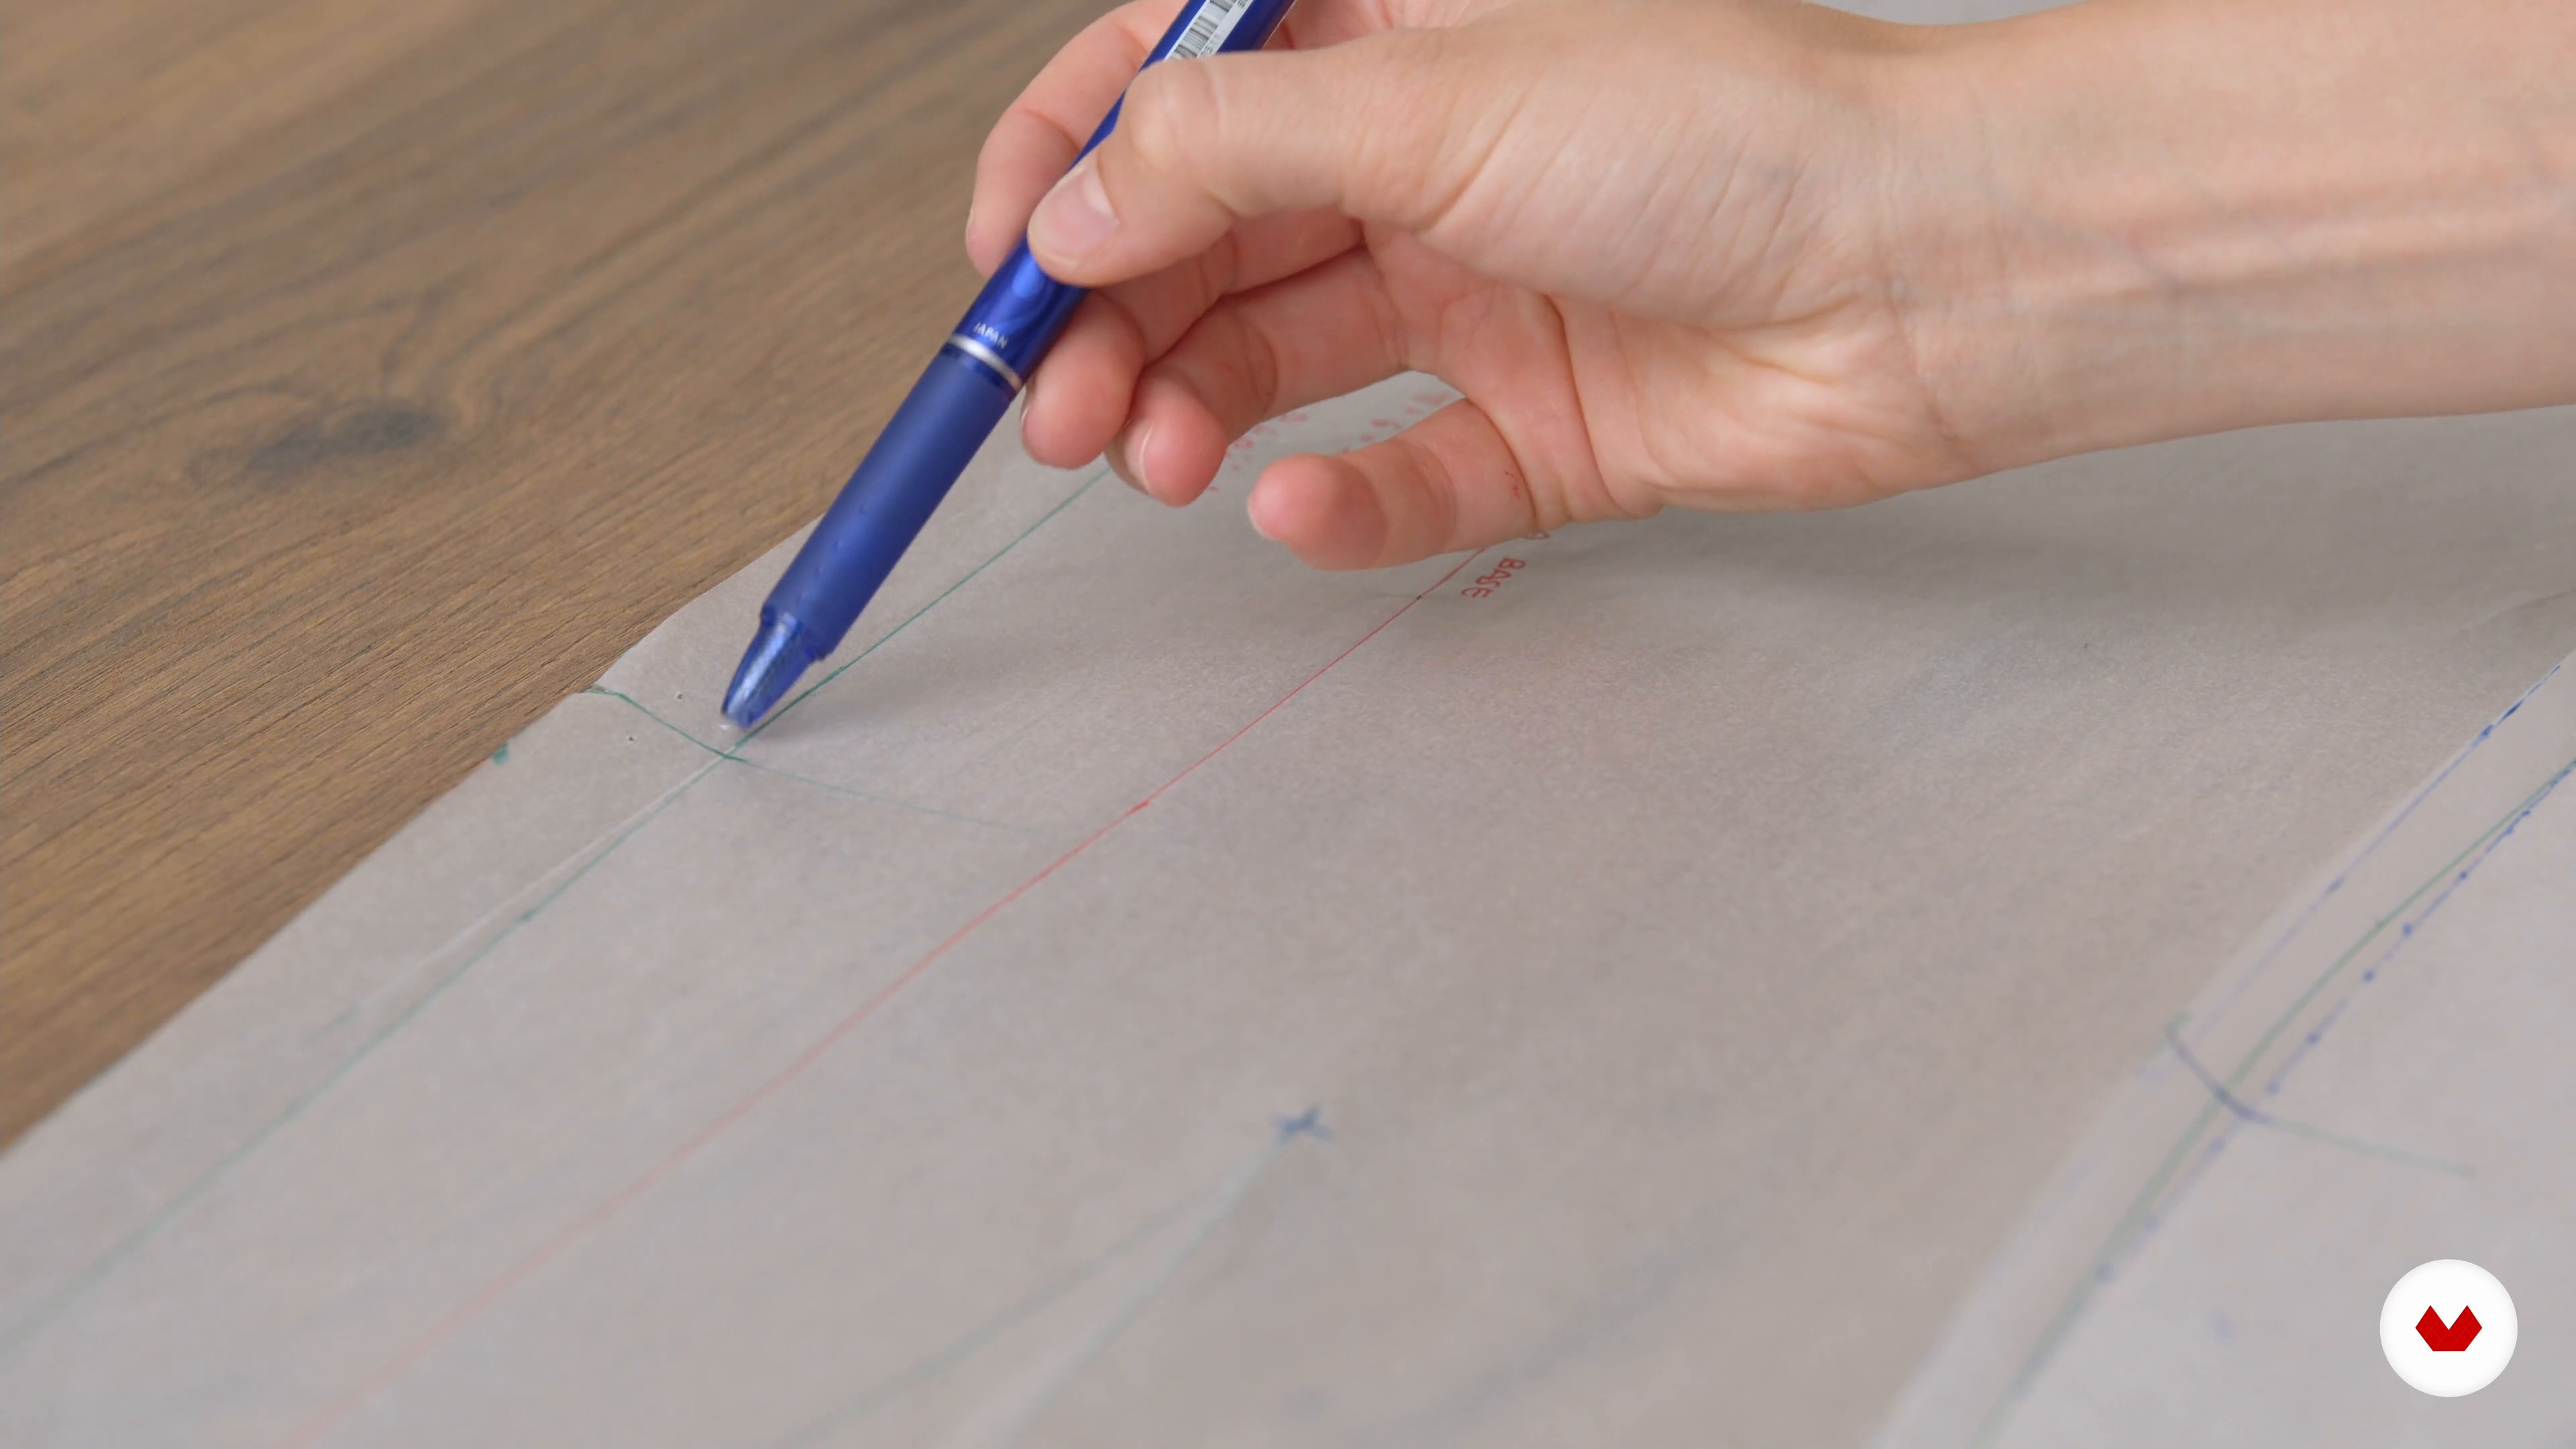
5Pattern drawing and extraction
Now it's time to learn how to prepare and trace the pattern. We'll also cover the process of extracting the final pattern with seams ready to cut.
20m
 6
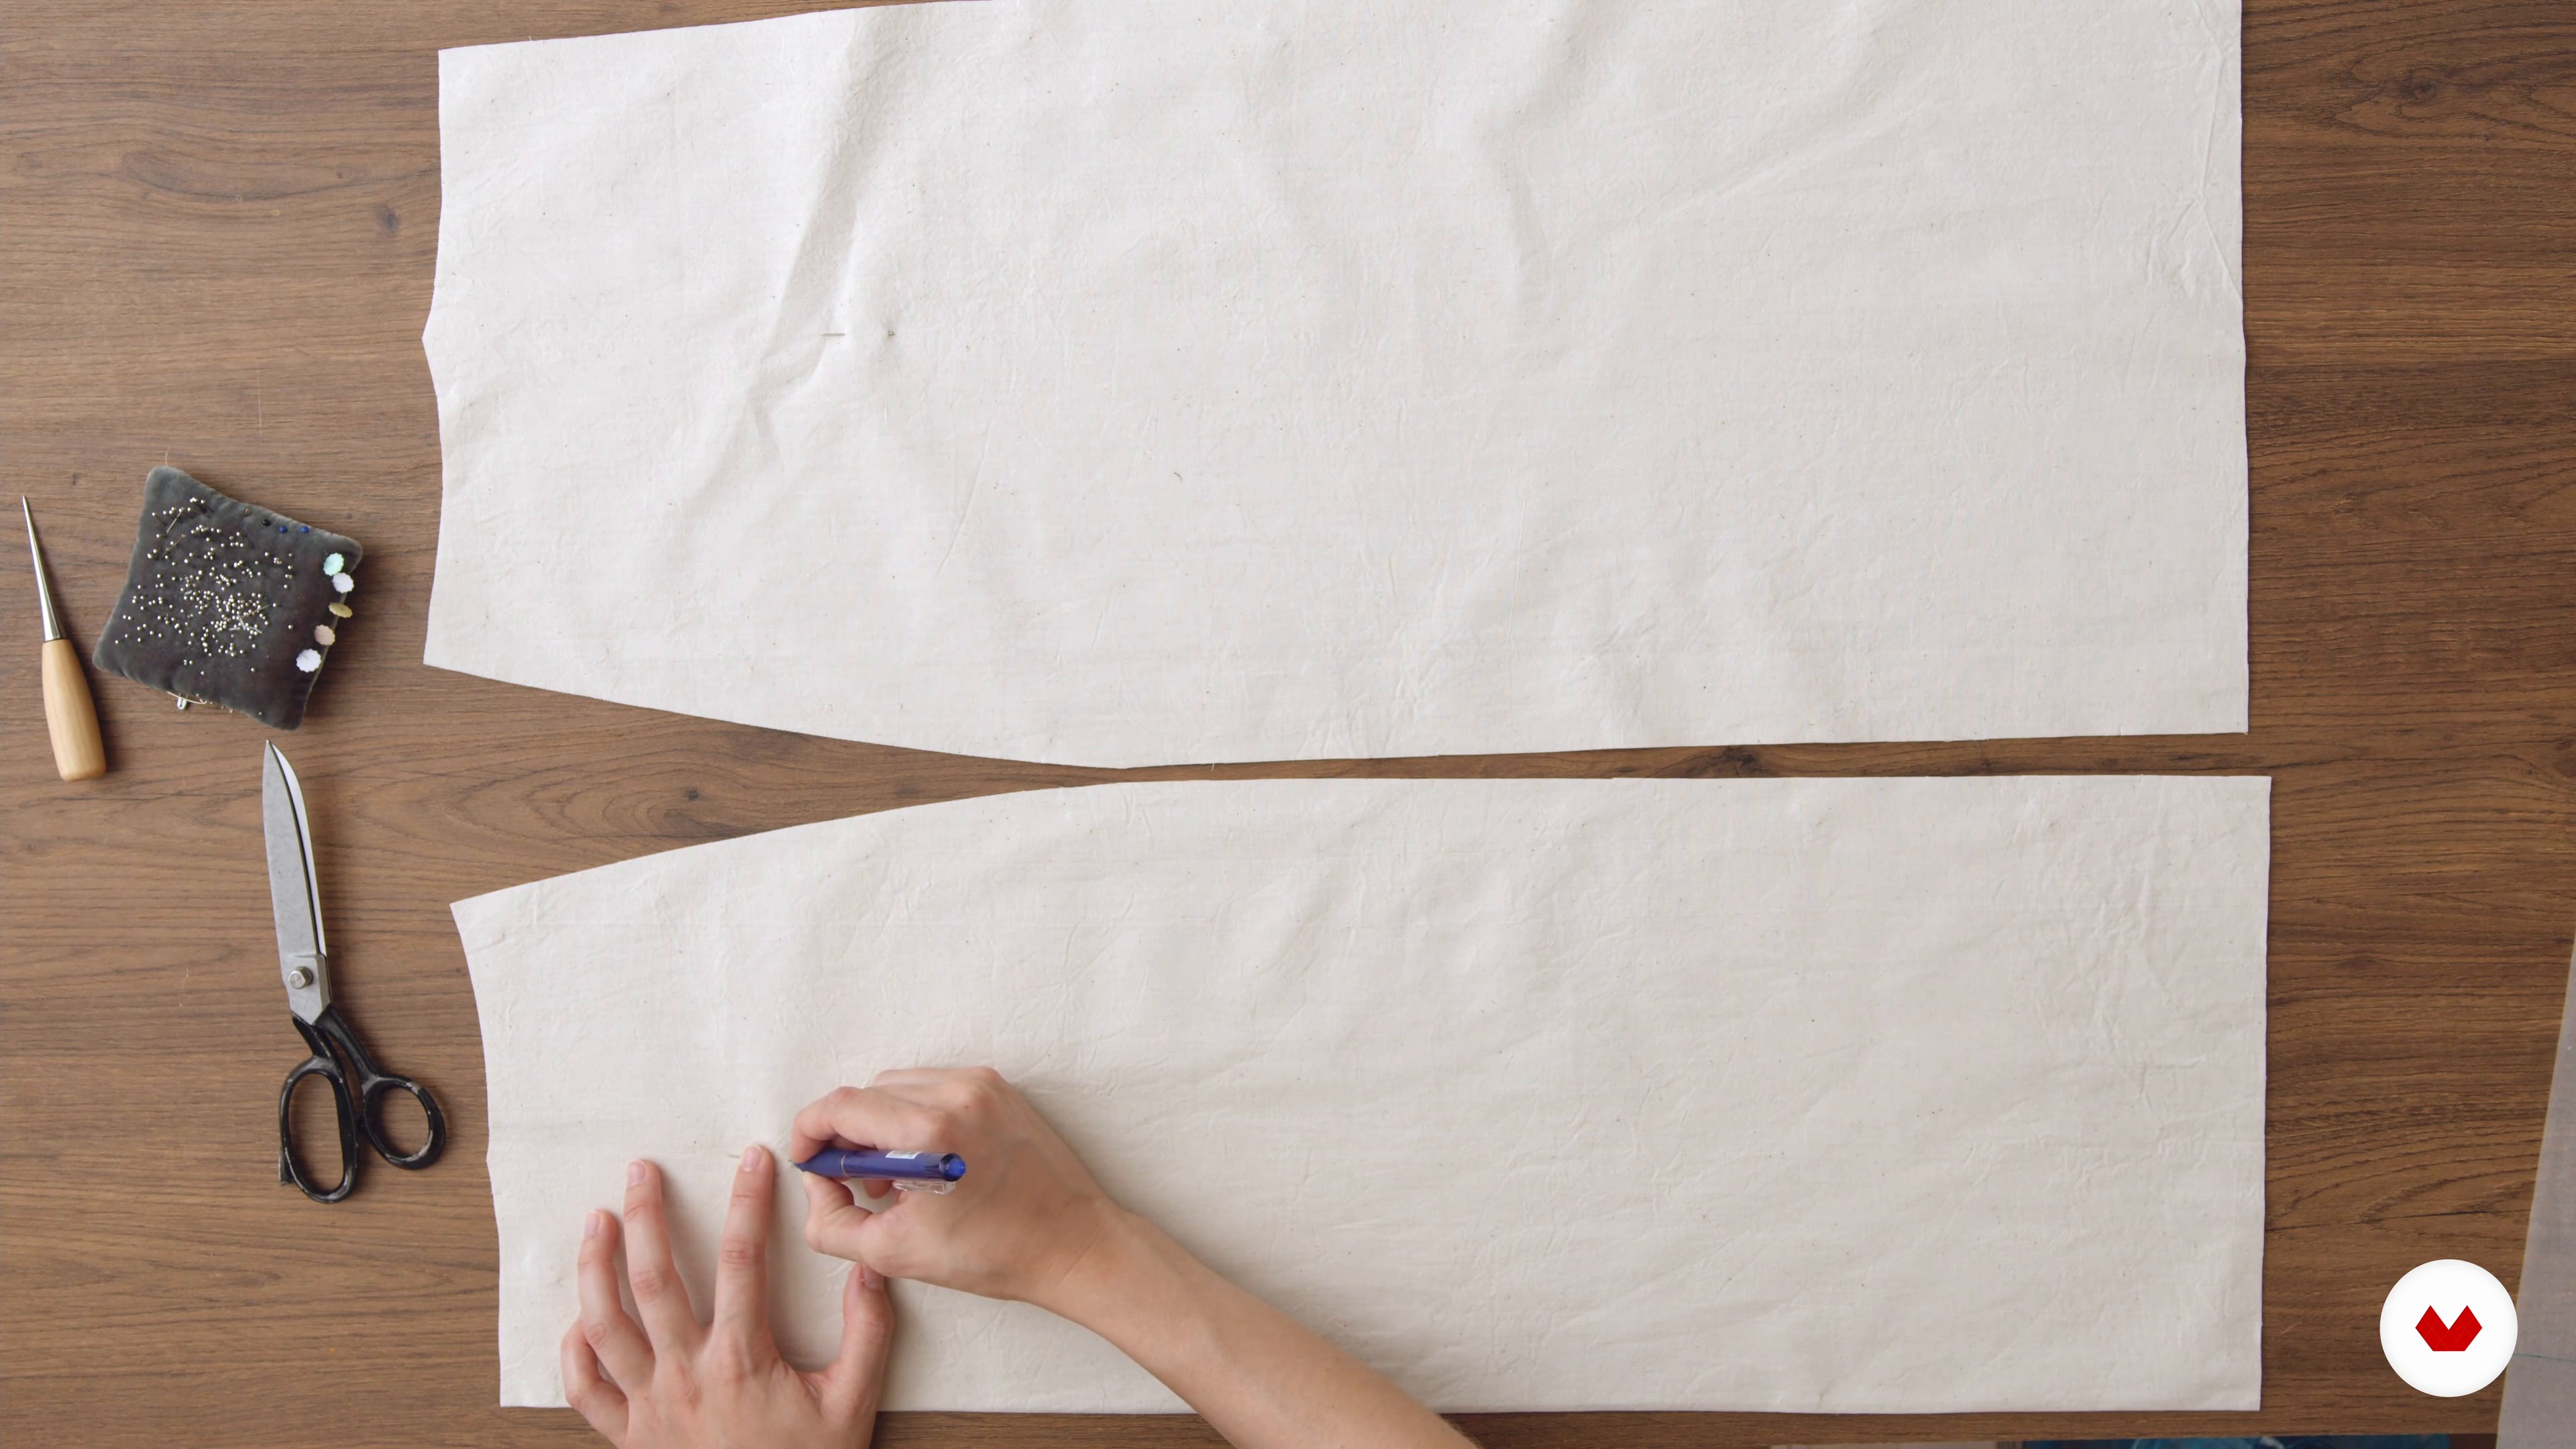
6Cutting and making of toile 1
In this lesson, I'll show you how to place the pattern on the fabric to create a toile or prototype. I'll teach you how to use scissors for cutting and the process of assembling pieces for sewing.
16m
 7
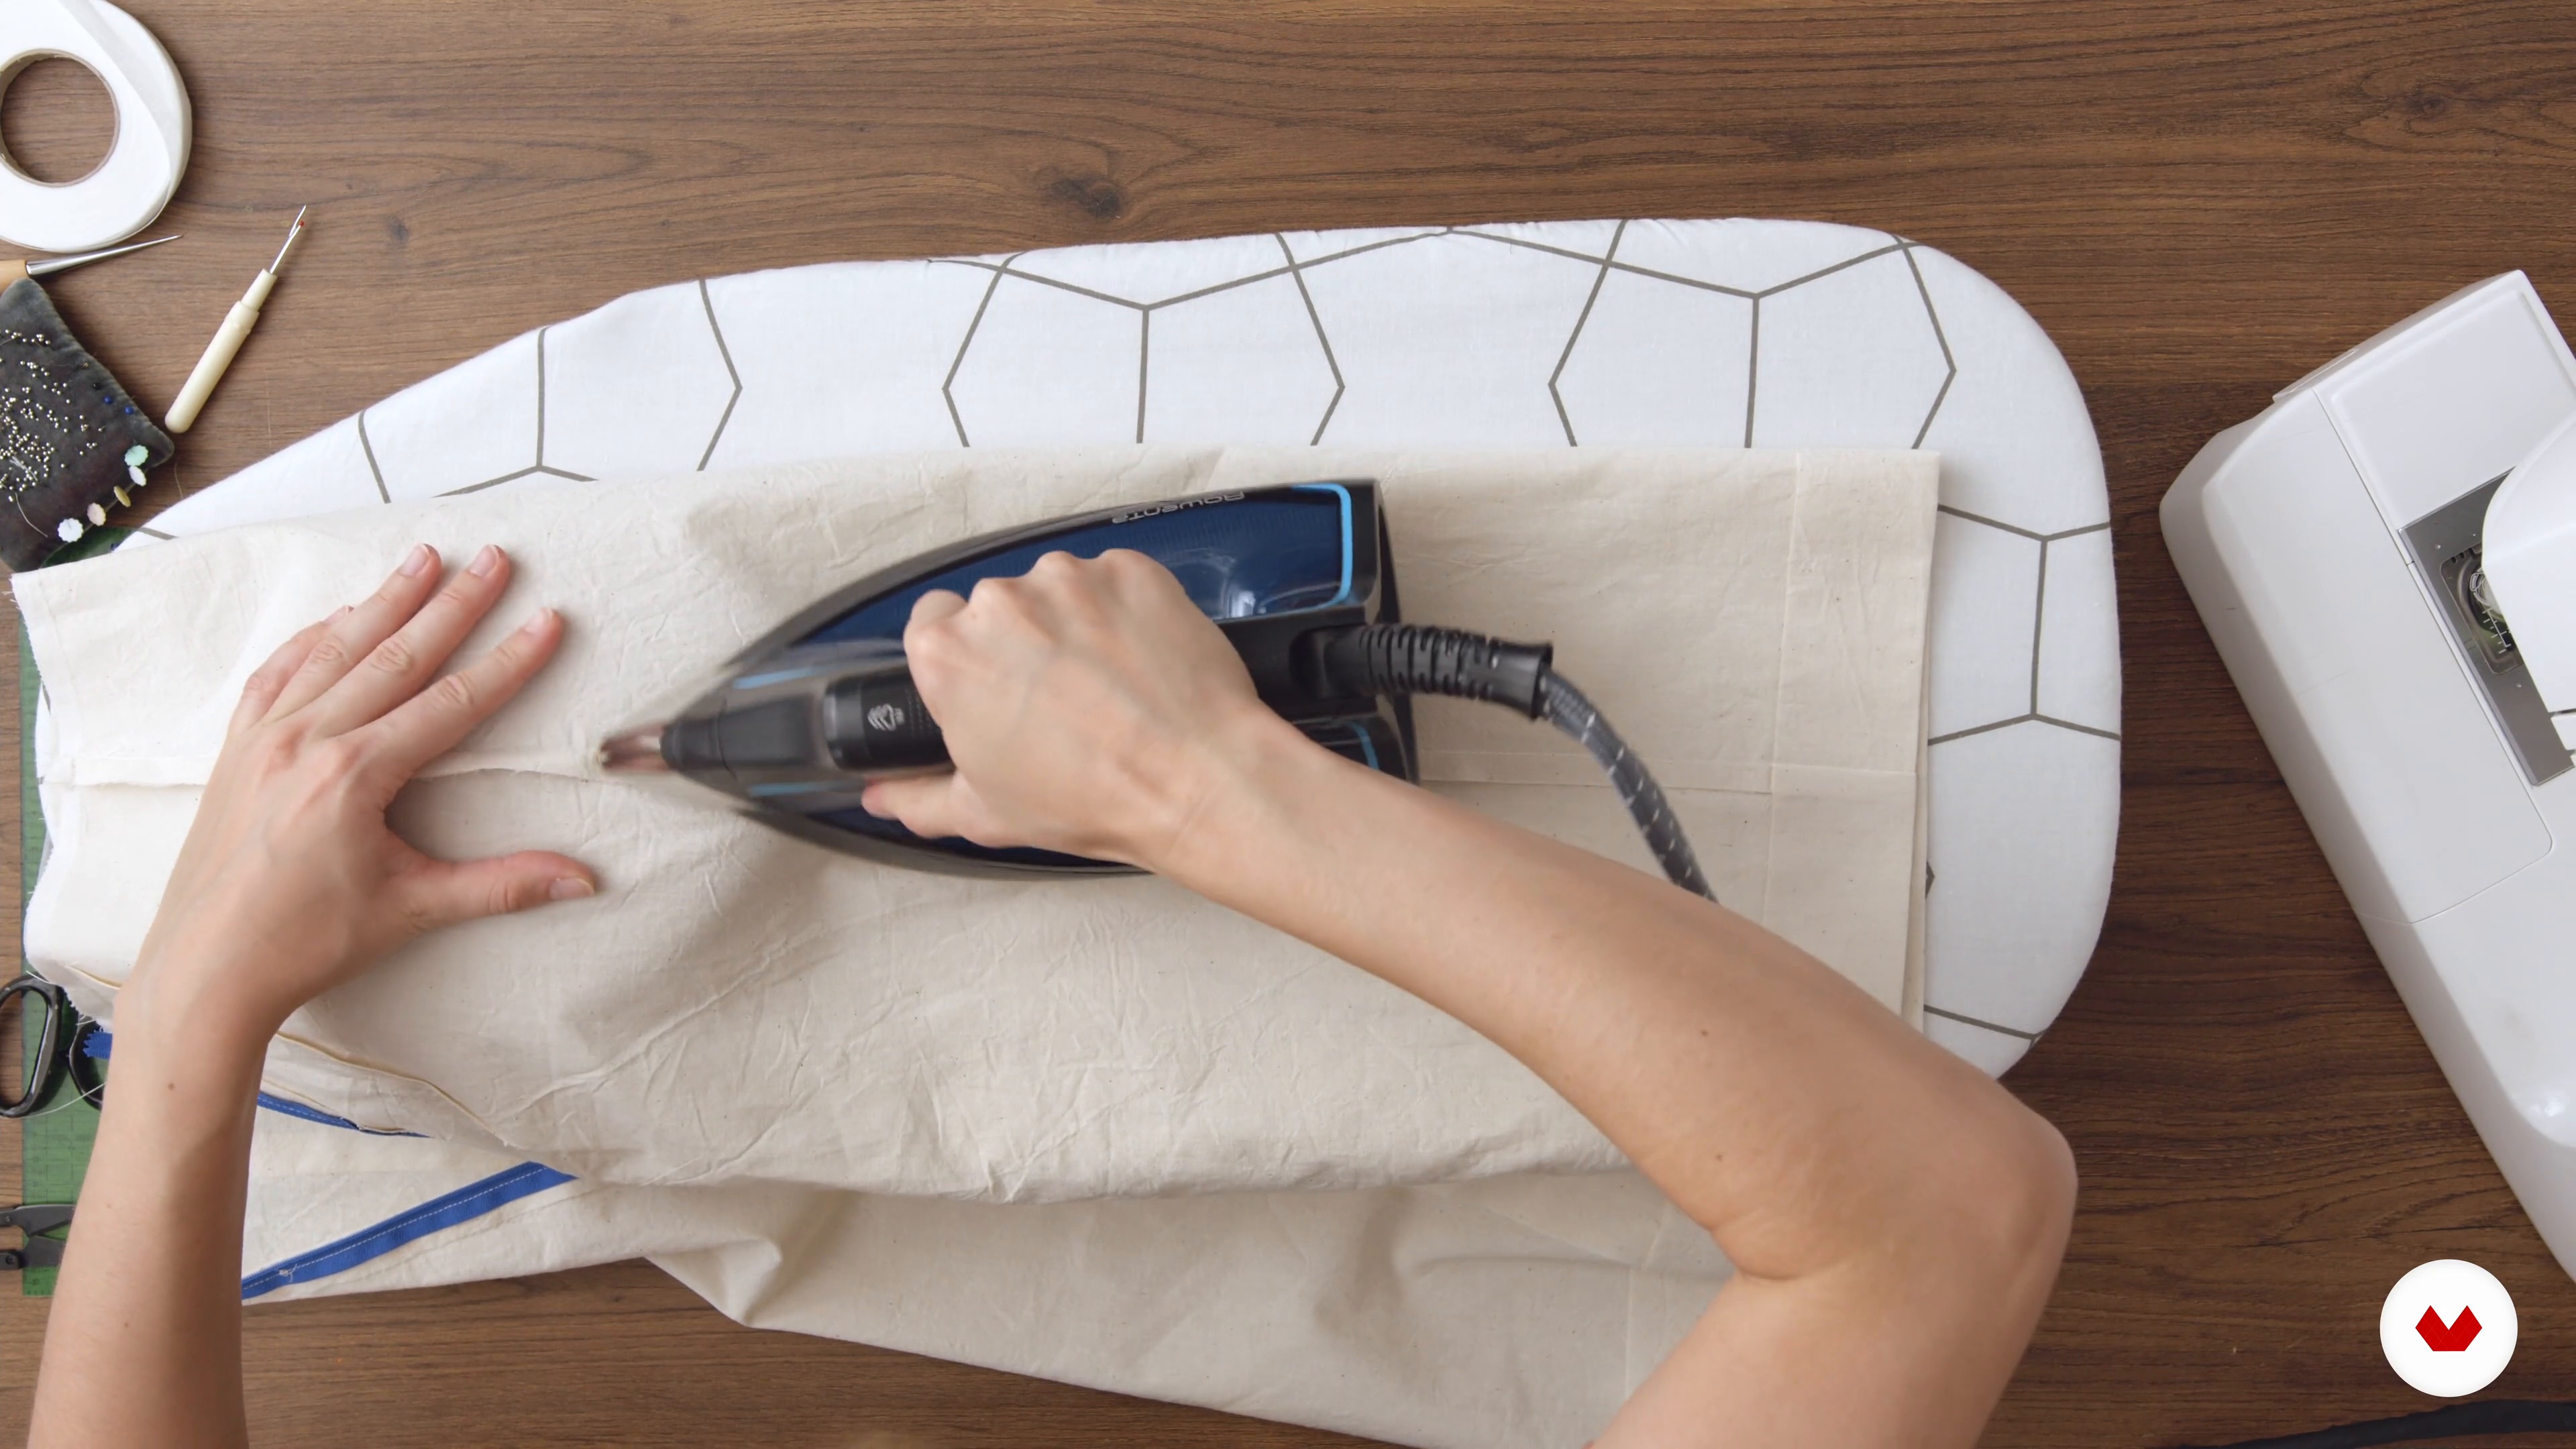
7Cutting and making of toile 2
We continue working on making the toile to finish our base skirt.
16m
 8
8Compositions and pattern correction
Now let's review the process of fitting toile onto the body. I'll make any necessary corrections while explaining the most common issues and how to fix them.
6m
 9
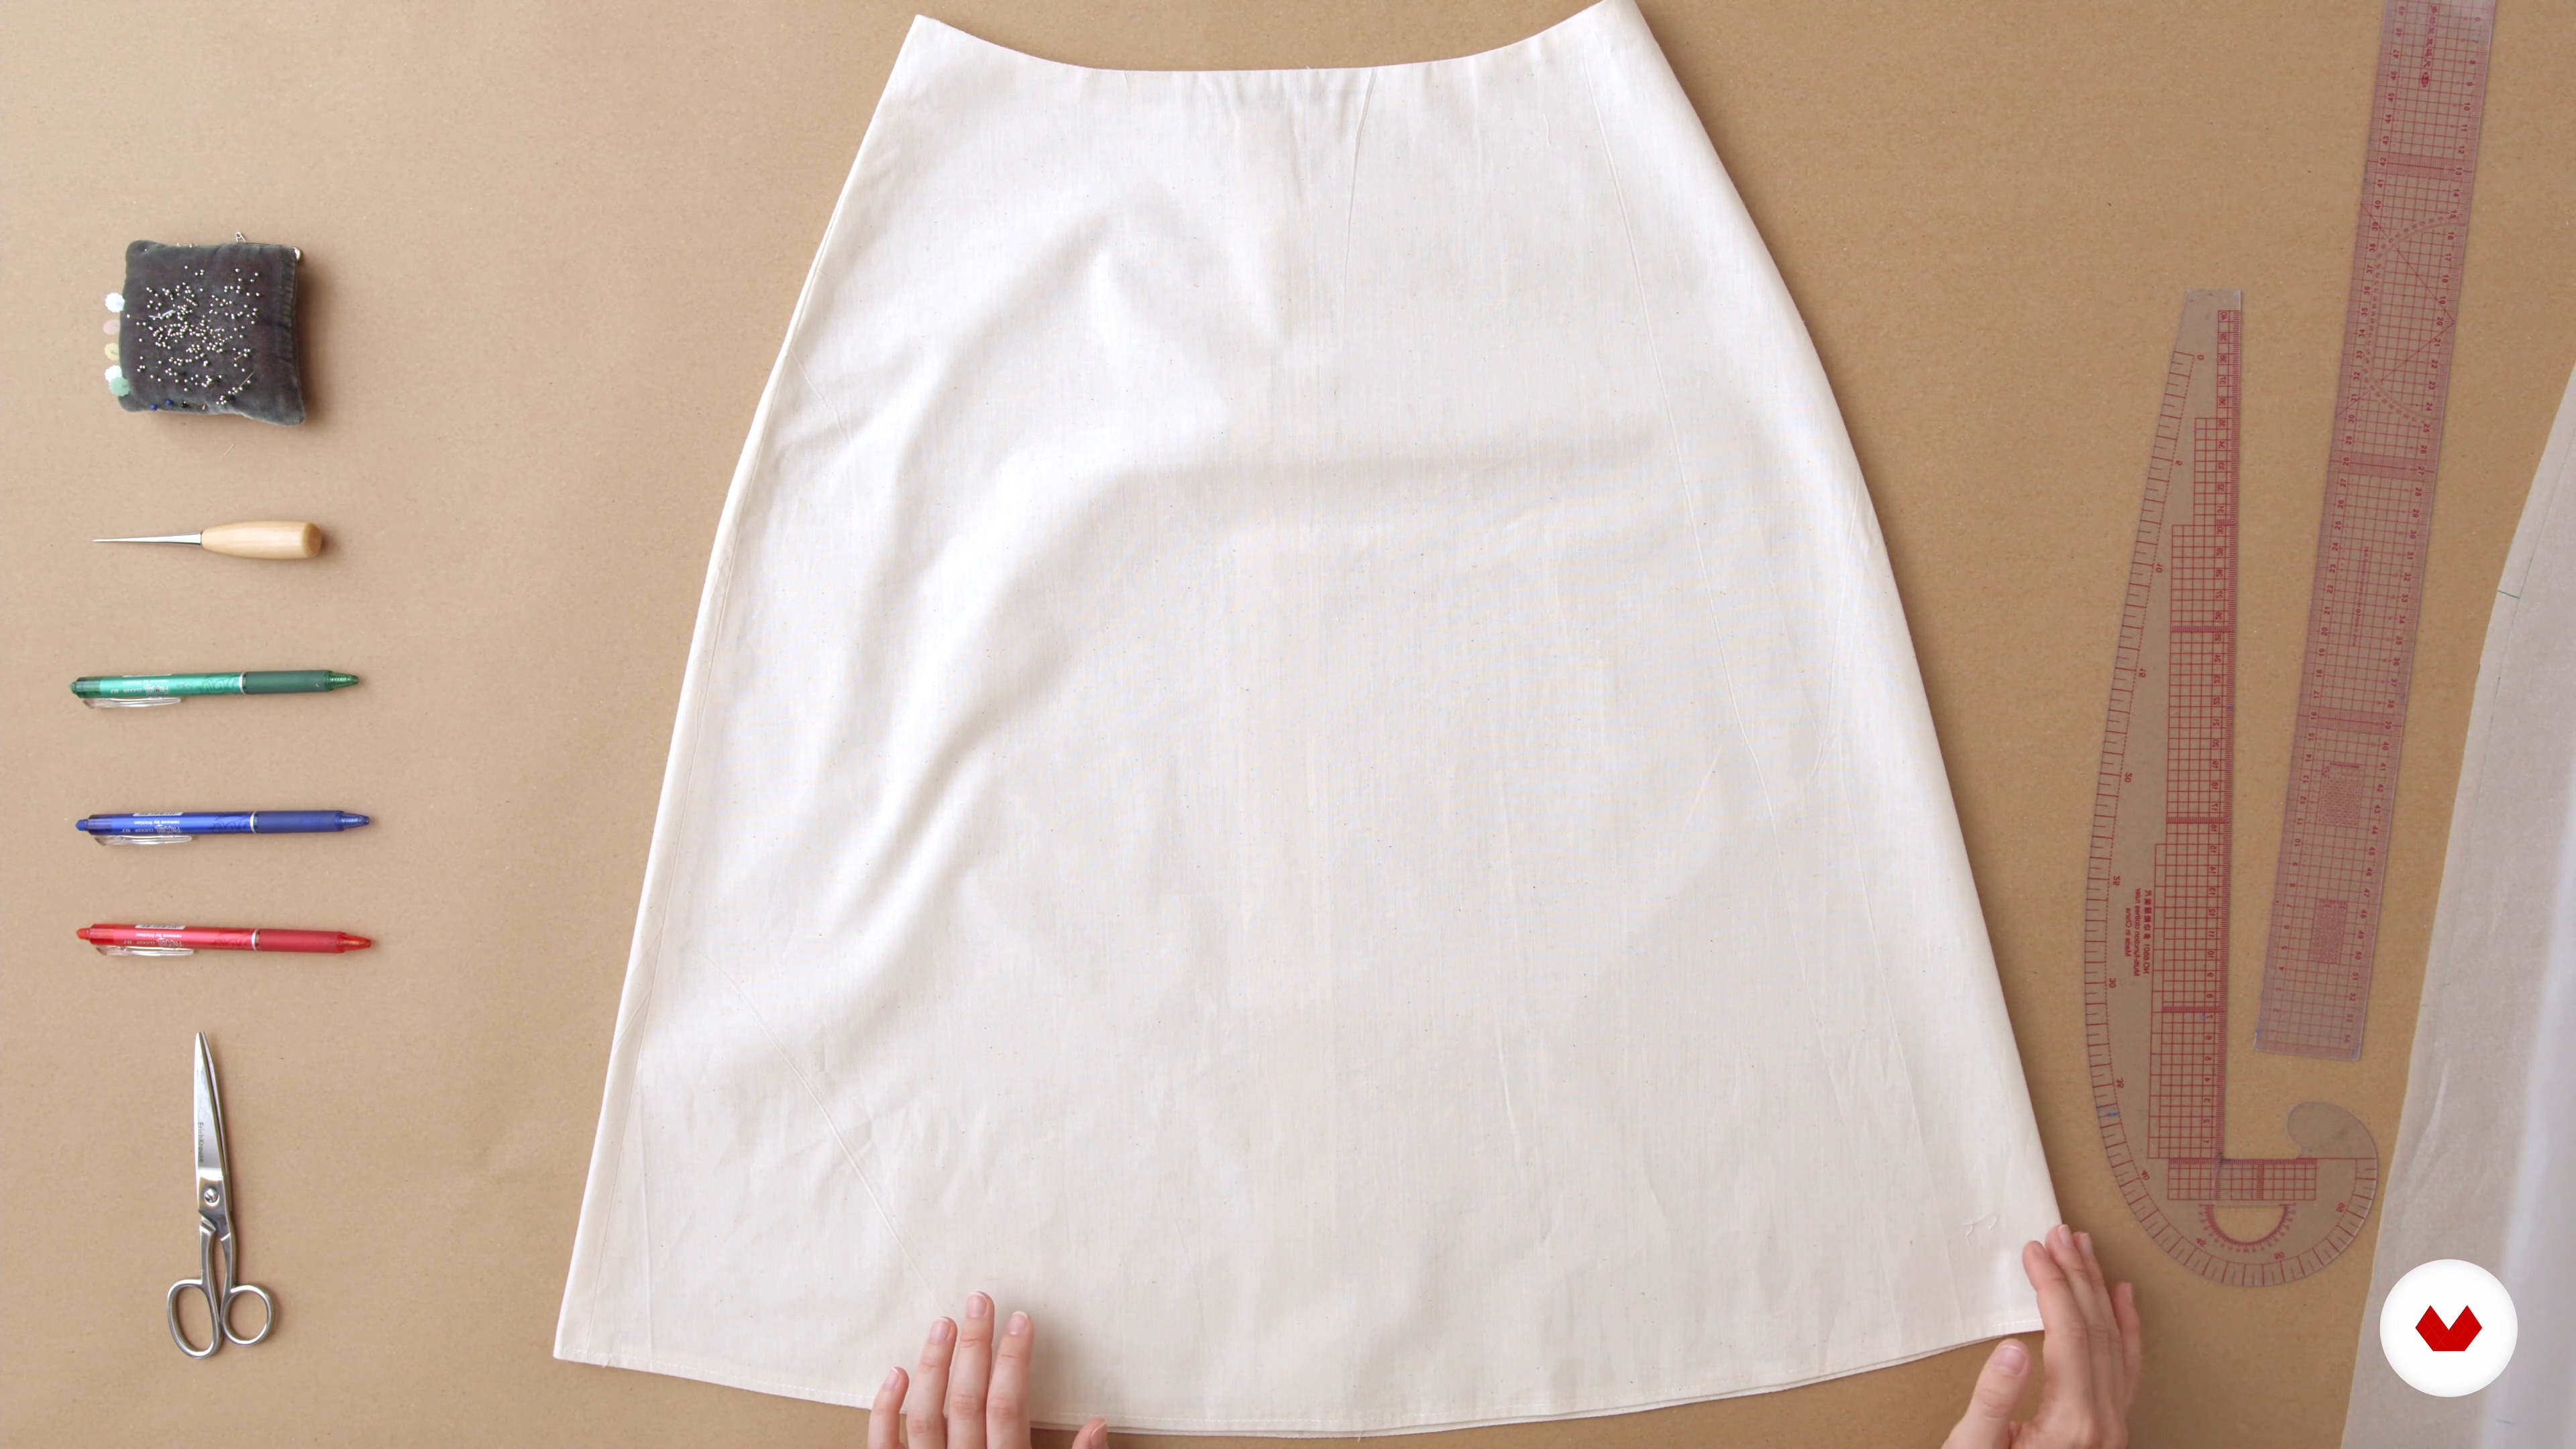
9Flared skirt
In this lesson, we're going to start with a very simple transformation: the A-line skirt. Let's get started!
16m
 10
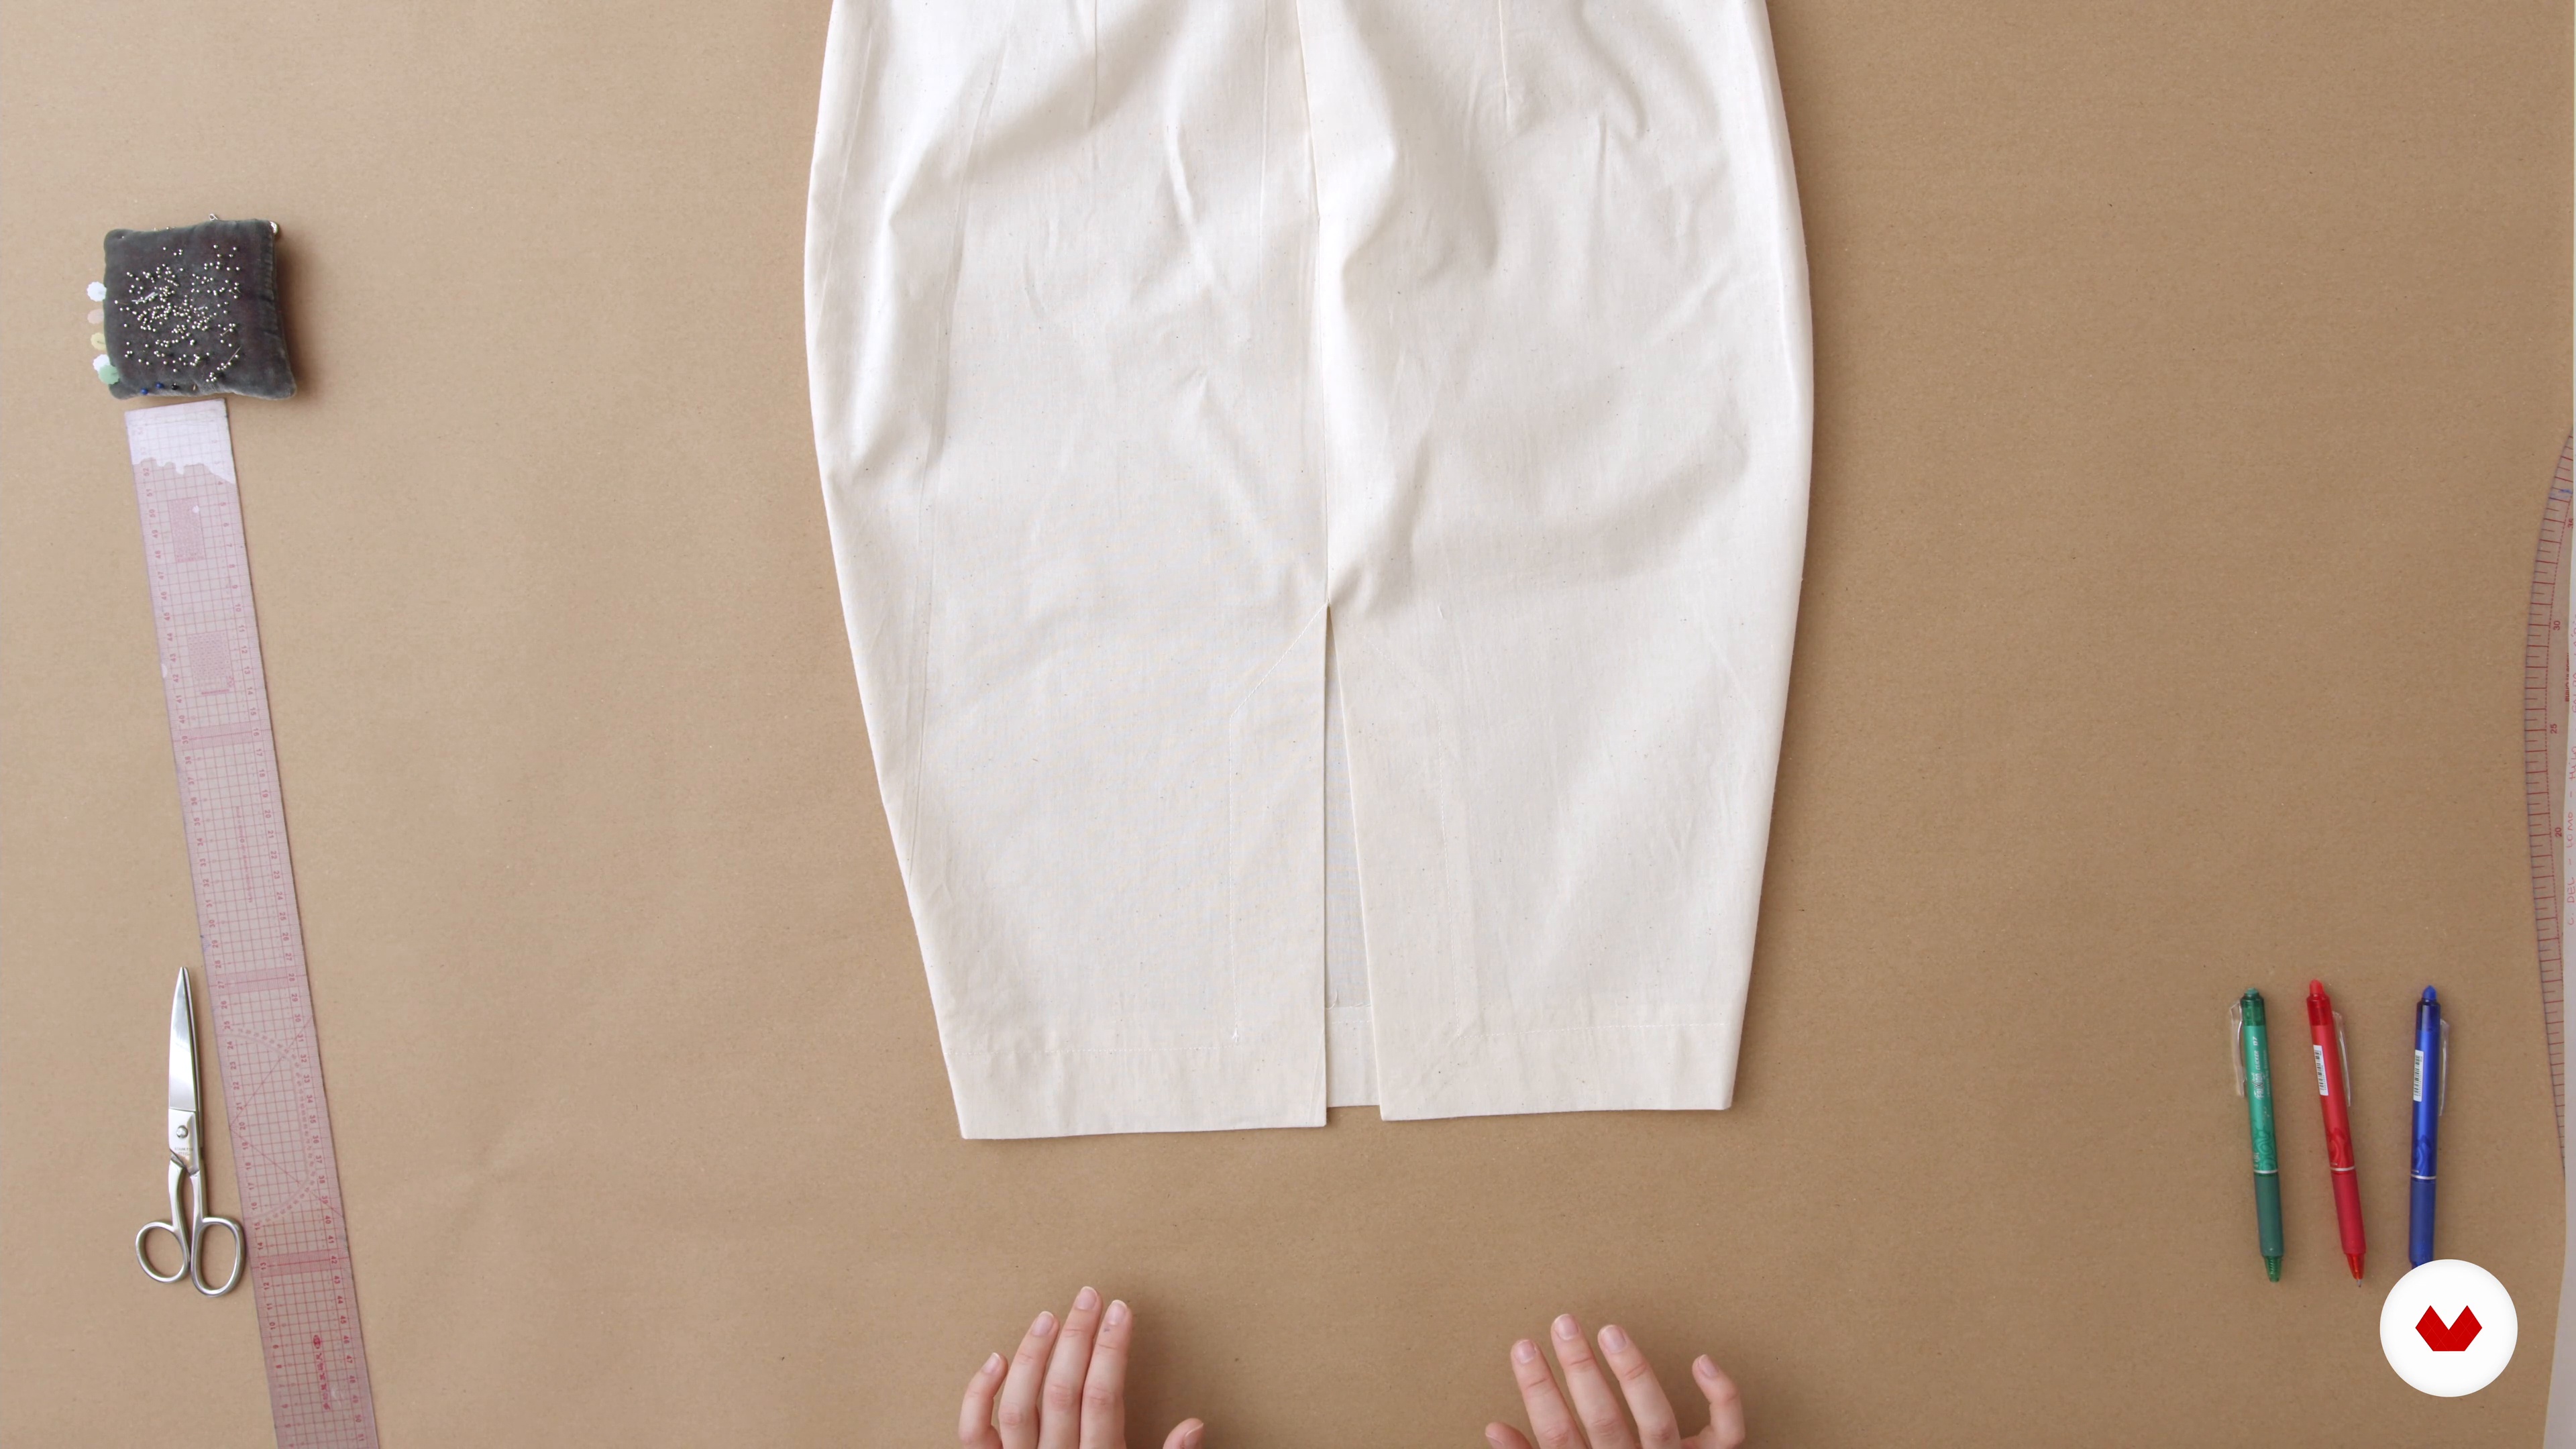
10Pencil skirt with waistband
Next, we'll follow the opposite process to the one we did in the first lesson. We'll transform the base into a pencil skirt. We'll also add a waistband that can be applied to either skirt.
17m
 11
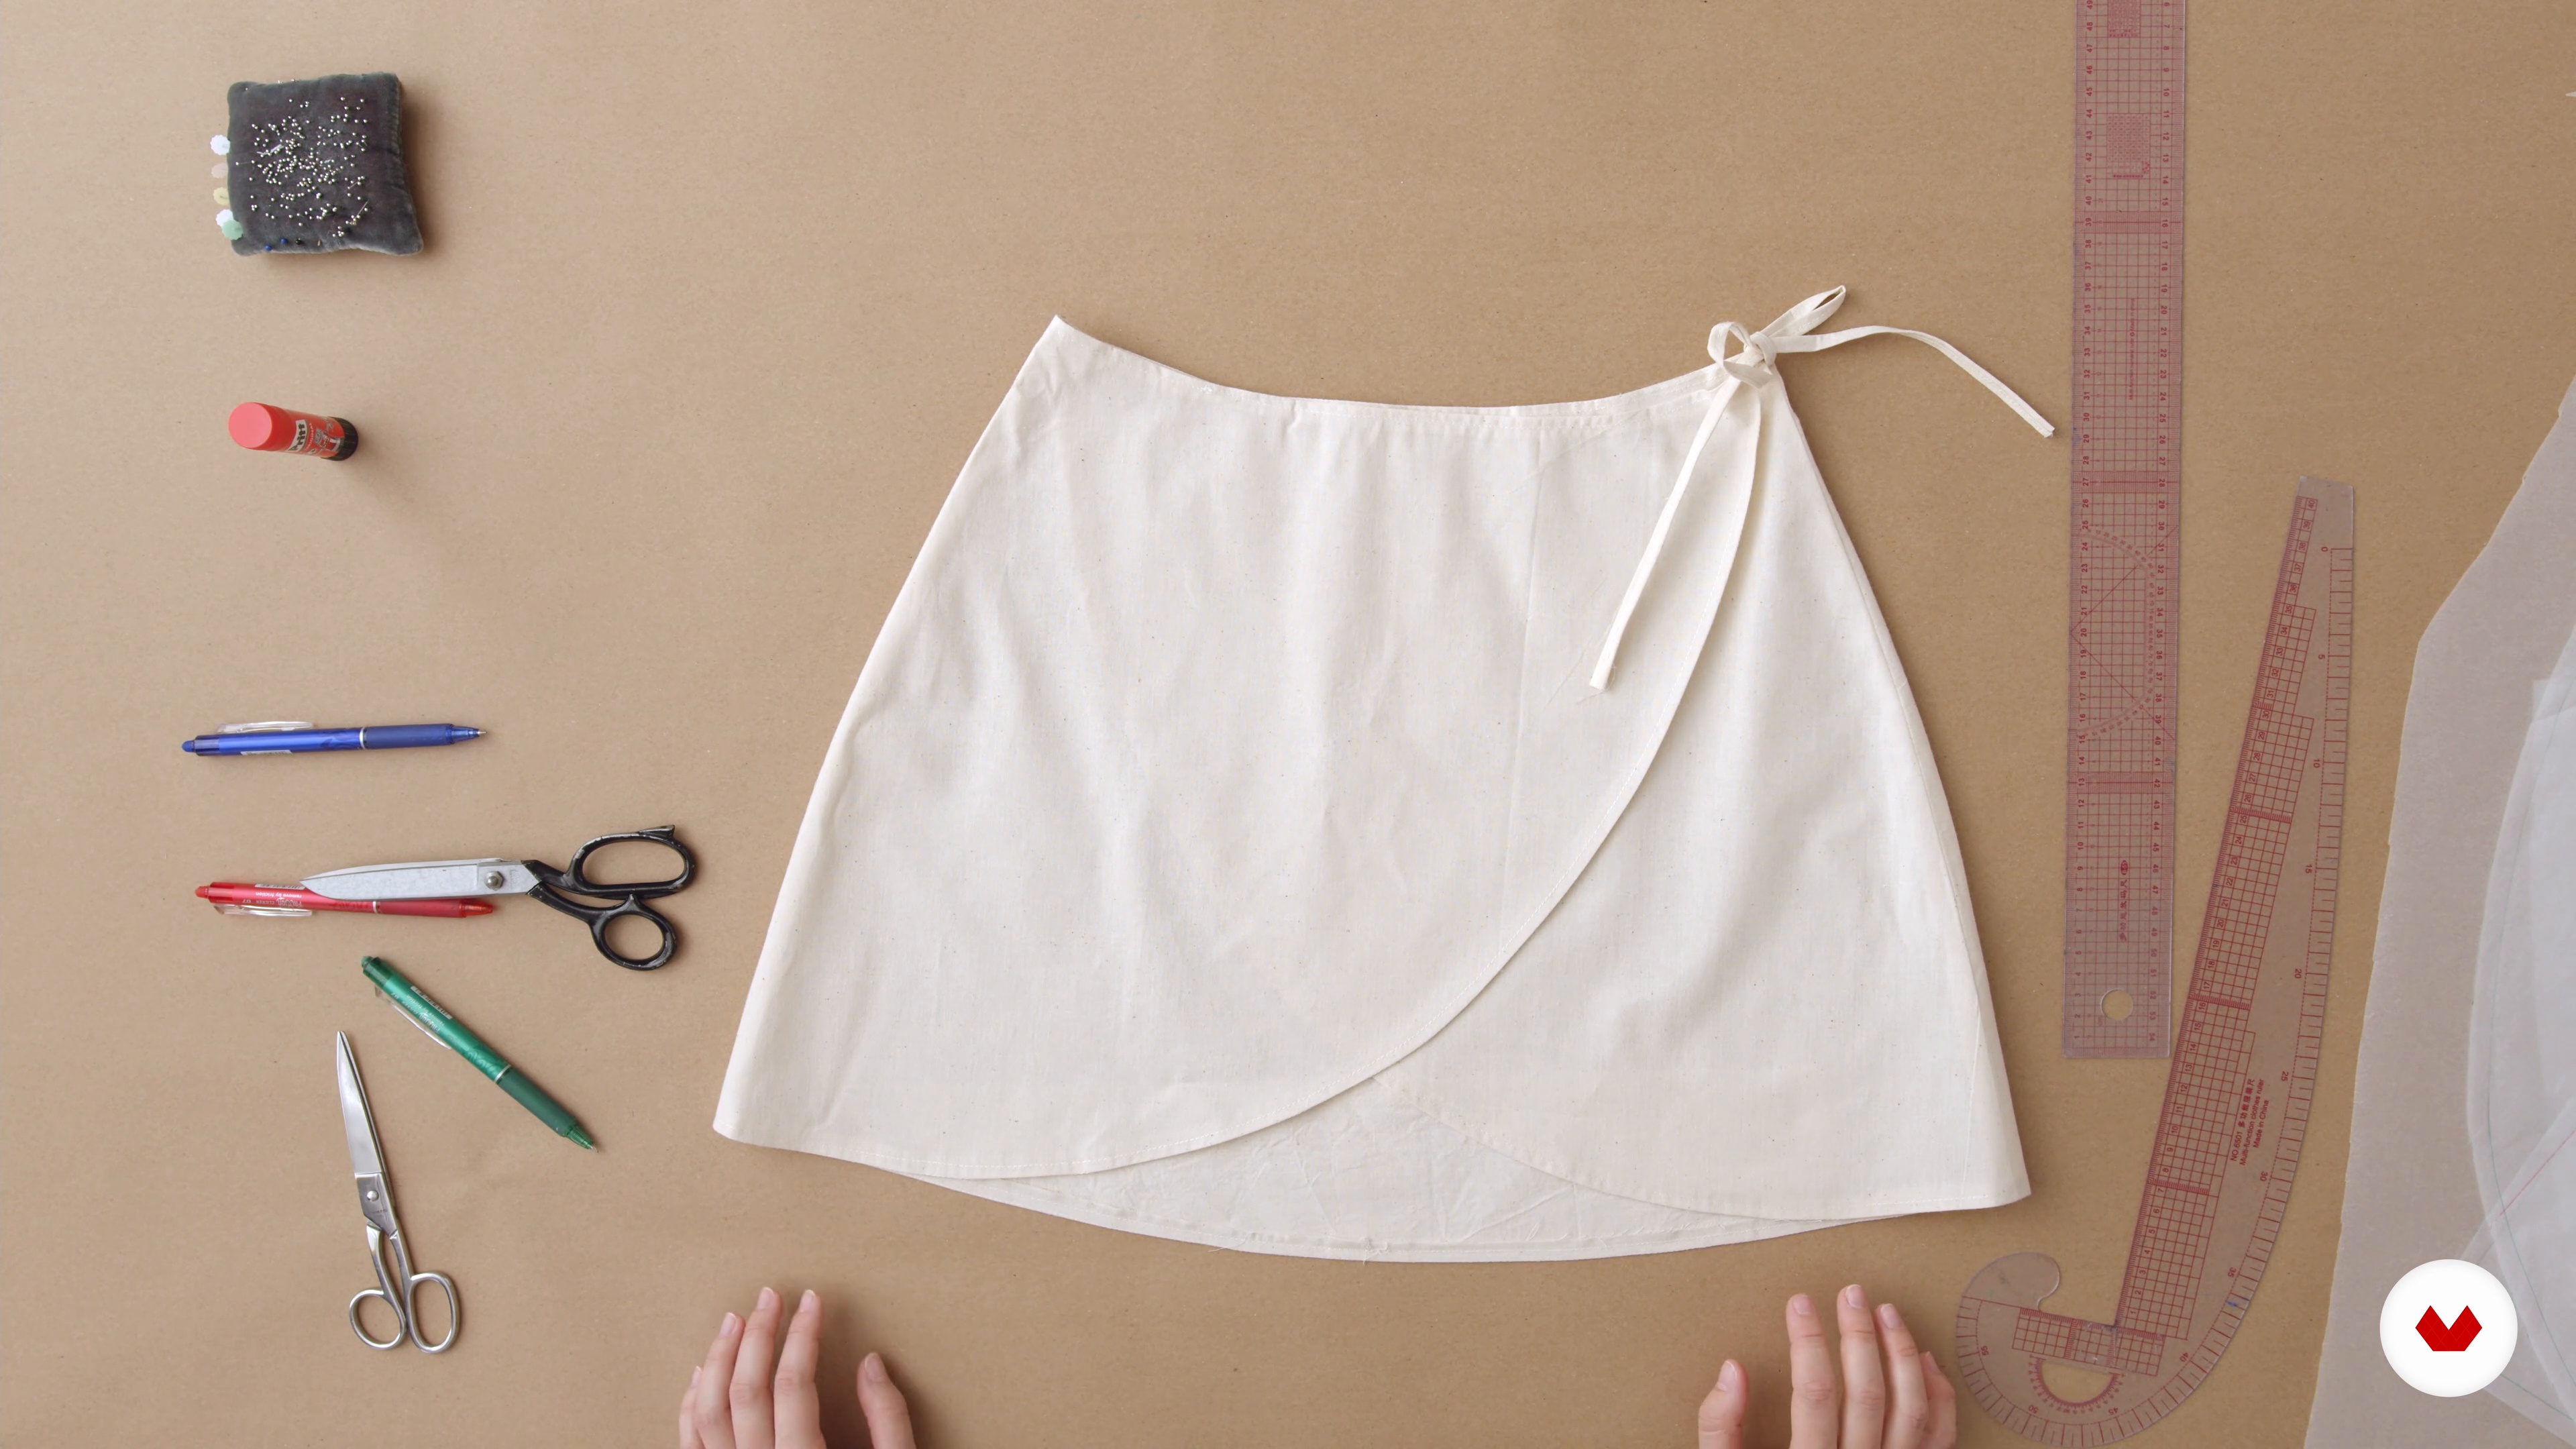
11Pareo skirt
Now let's see how to make the wrap skirt. It has a crossover front and can be made with either of the previous two skirts. In this case, I used the flared skirt.
12m
 12
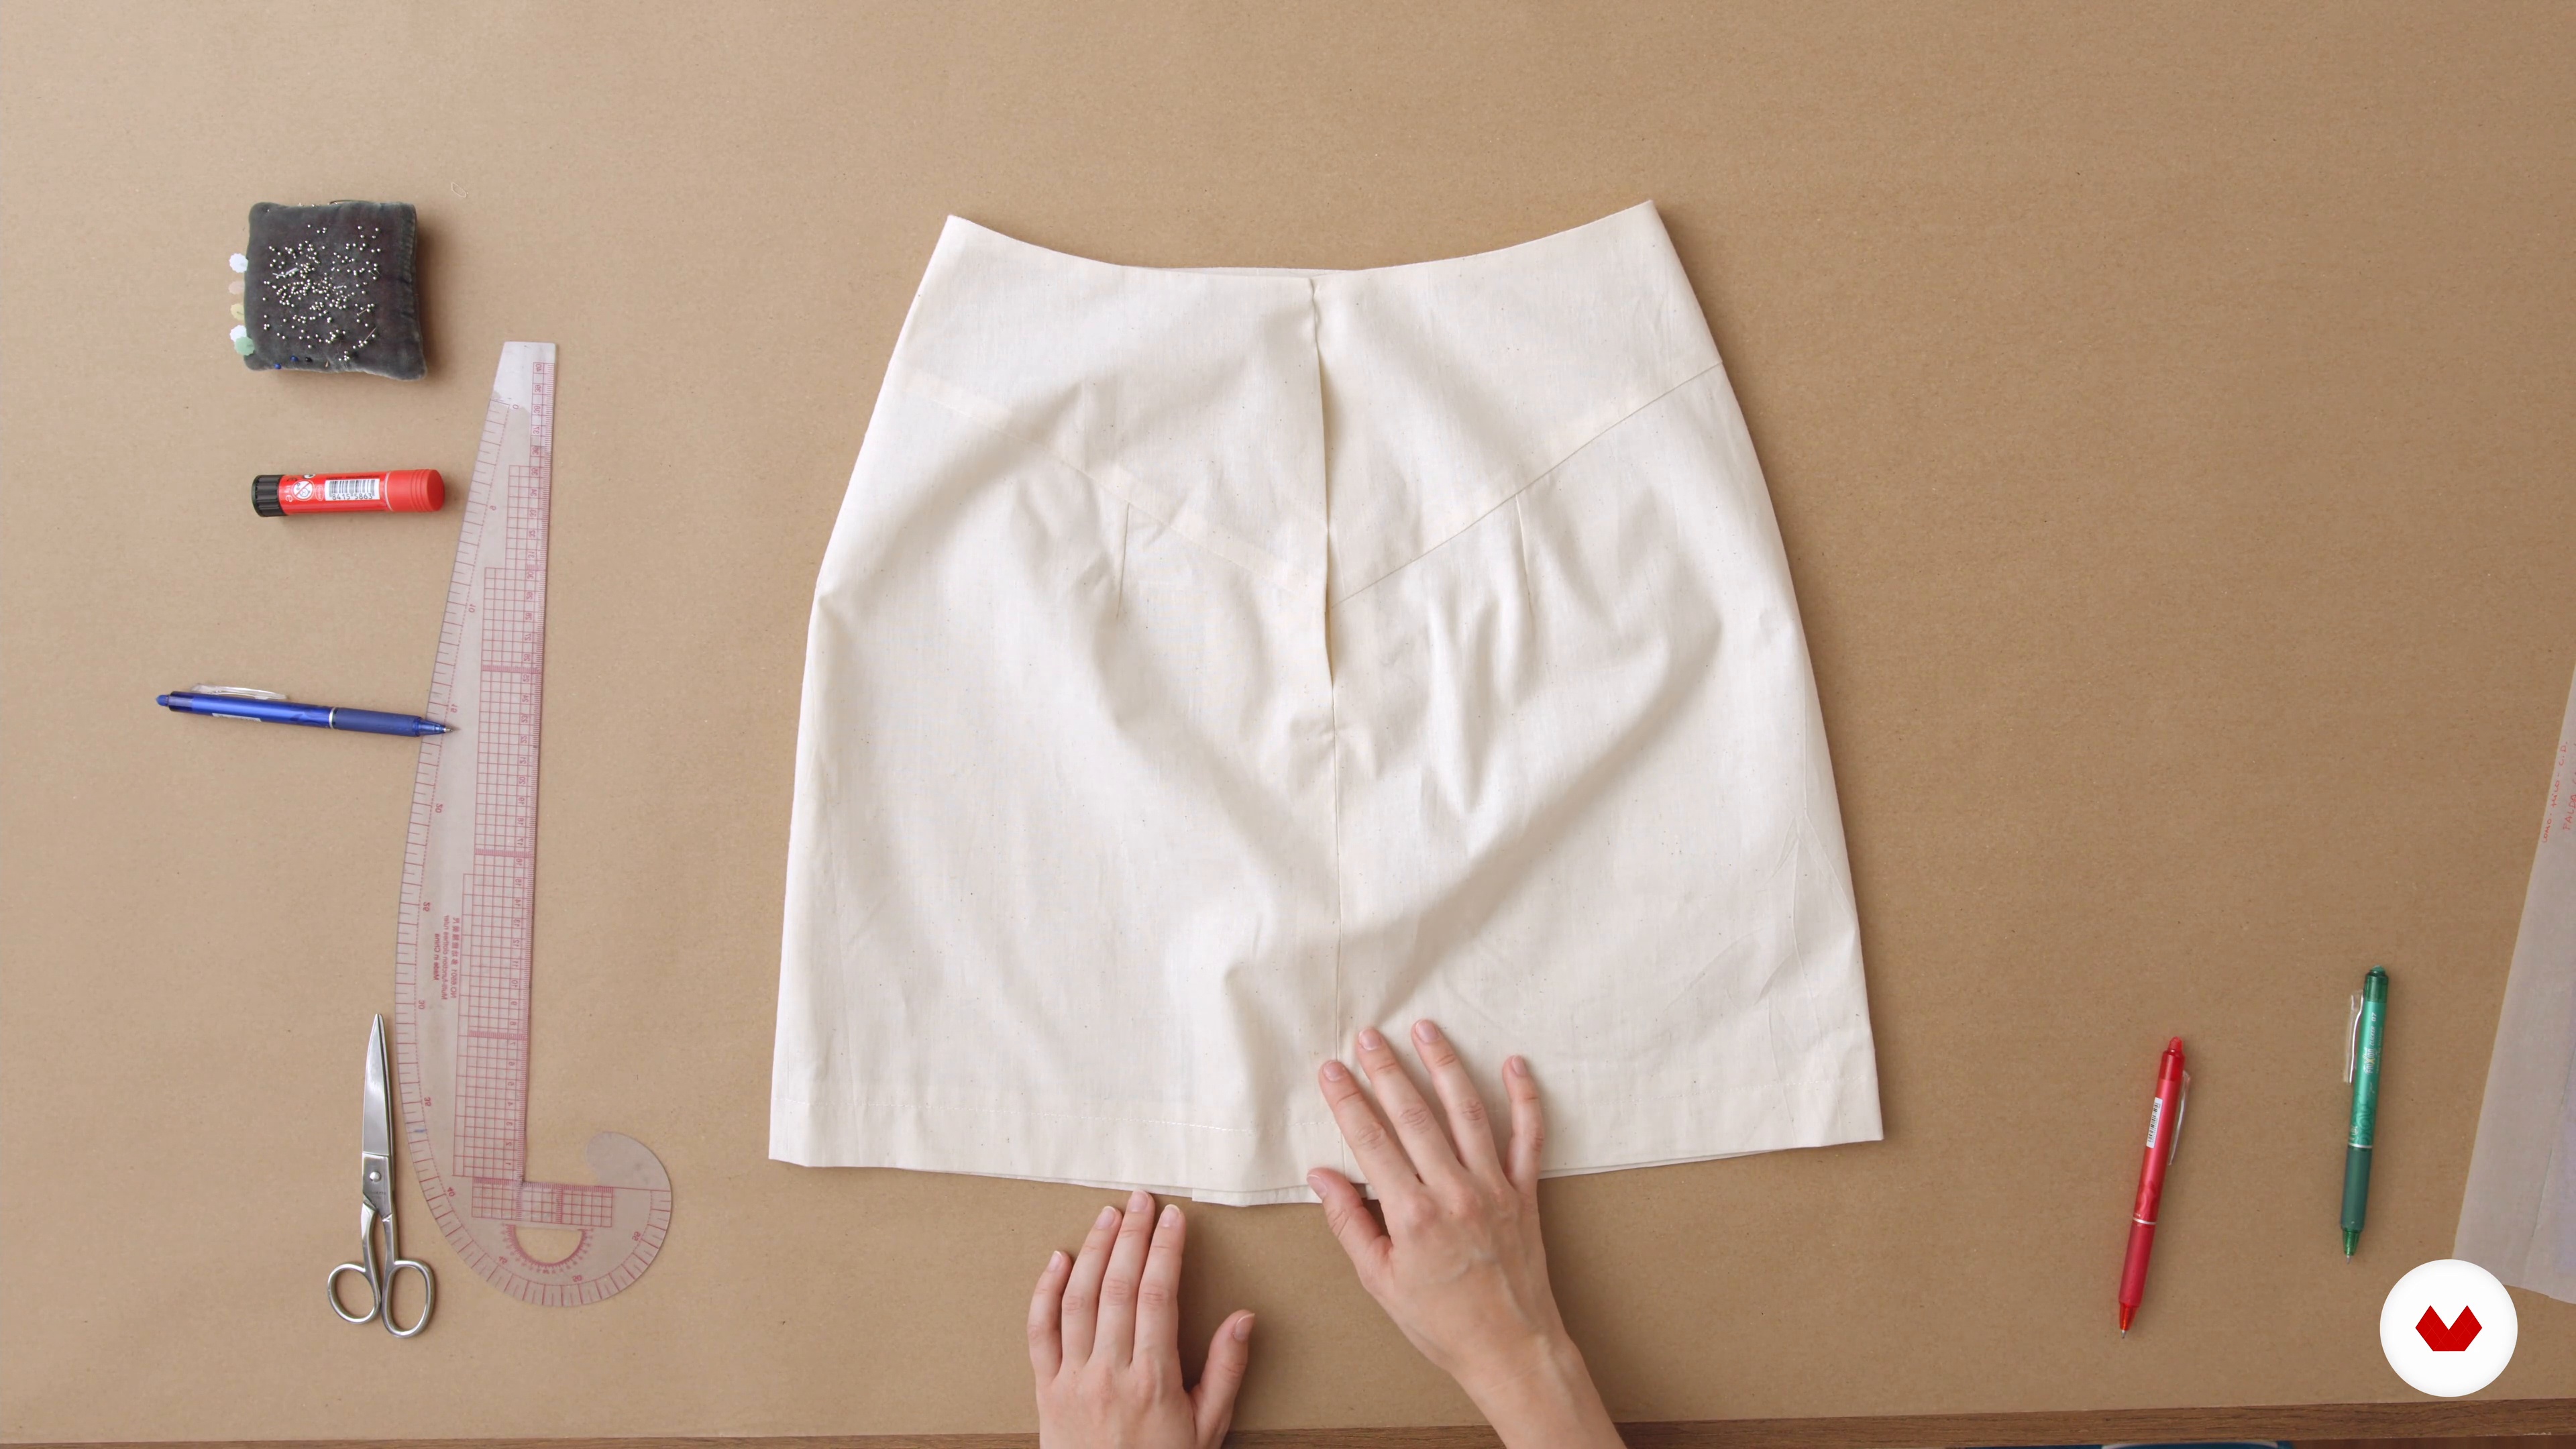
12Skirt with yoke and boards
In this lesson we will look at a skirt that combines two transformations: the yoke and a pleat found in the center front.
11m
 13
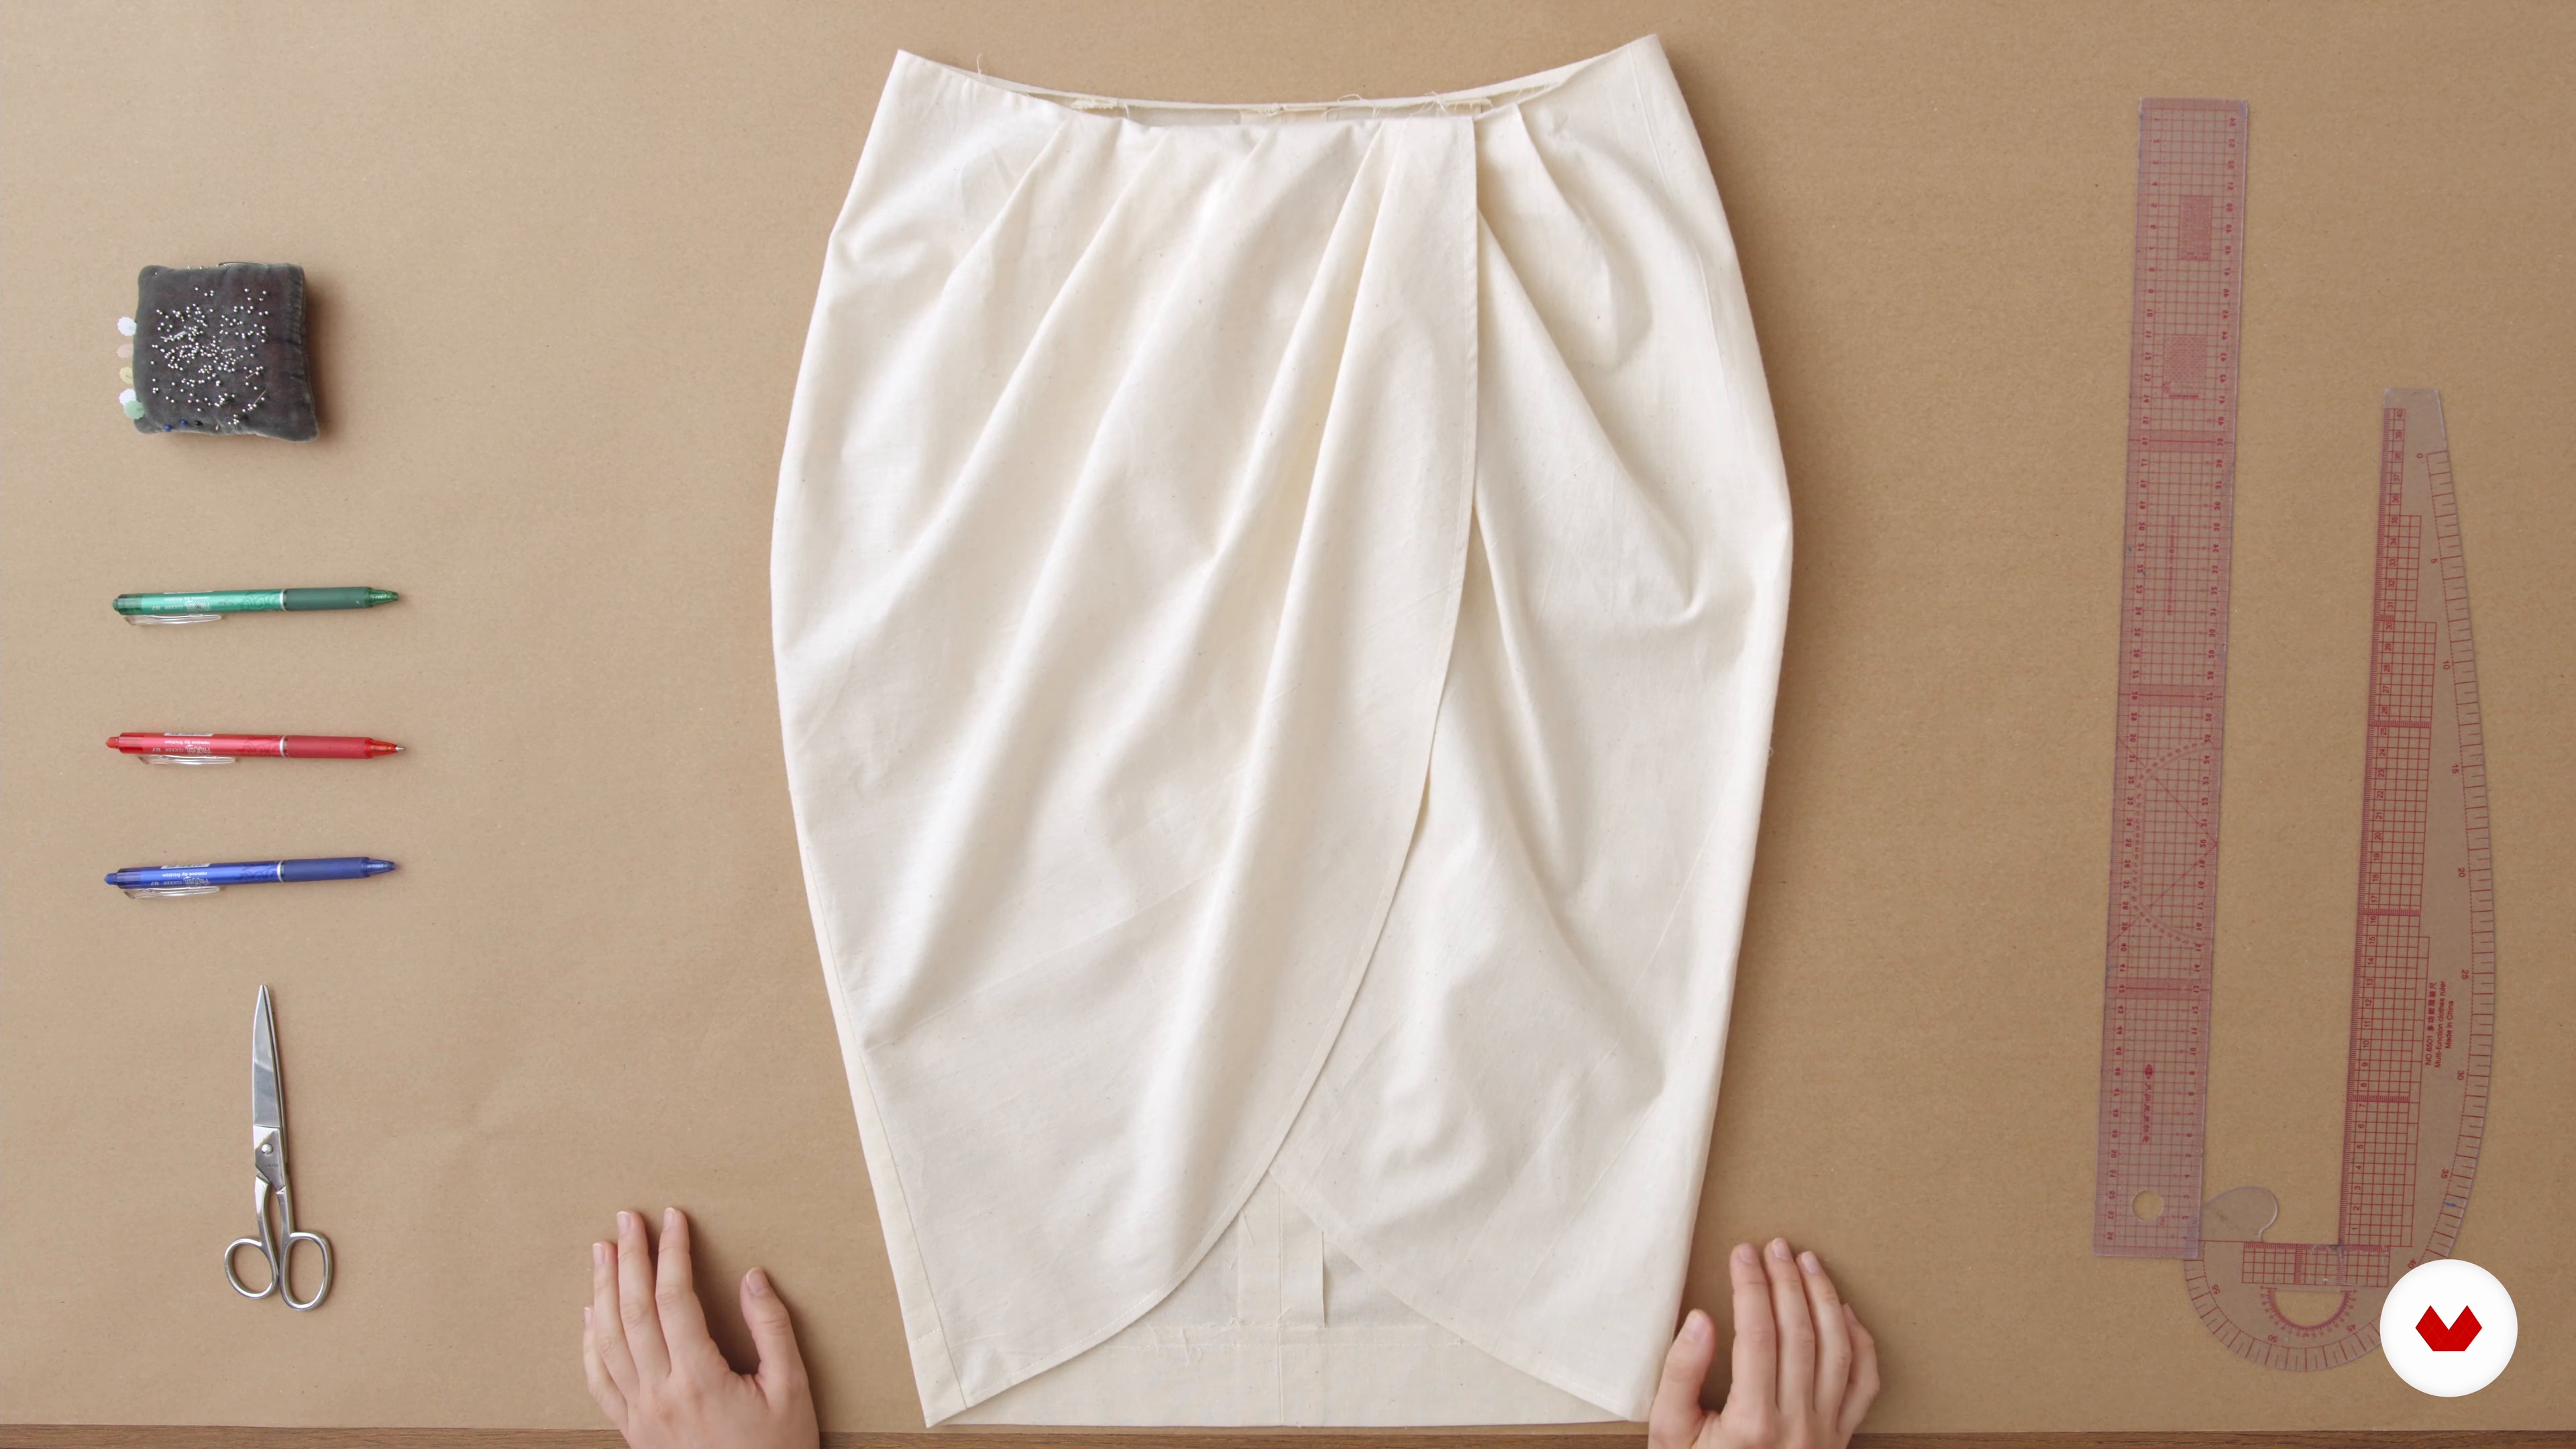
13Draped skirt
Finally, I'm going to explain how to make a draped skirt, which is similar to a sarong, but with volumes such as gathers or pleats.
12m
 14
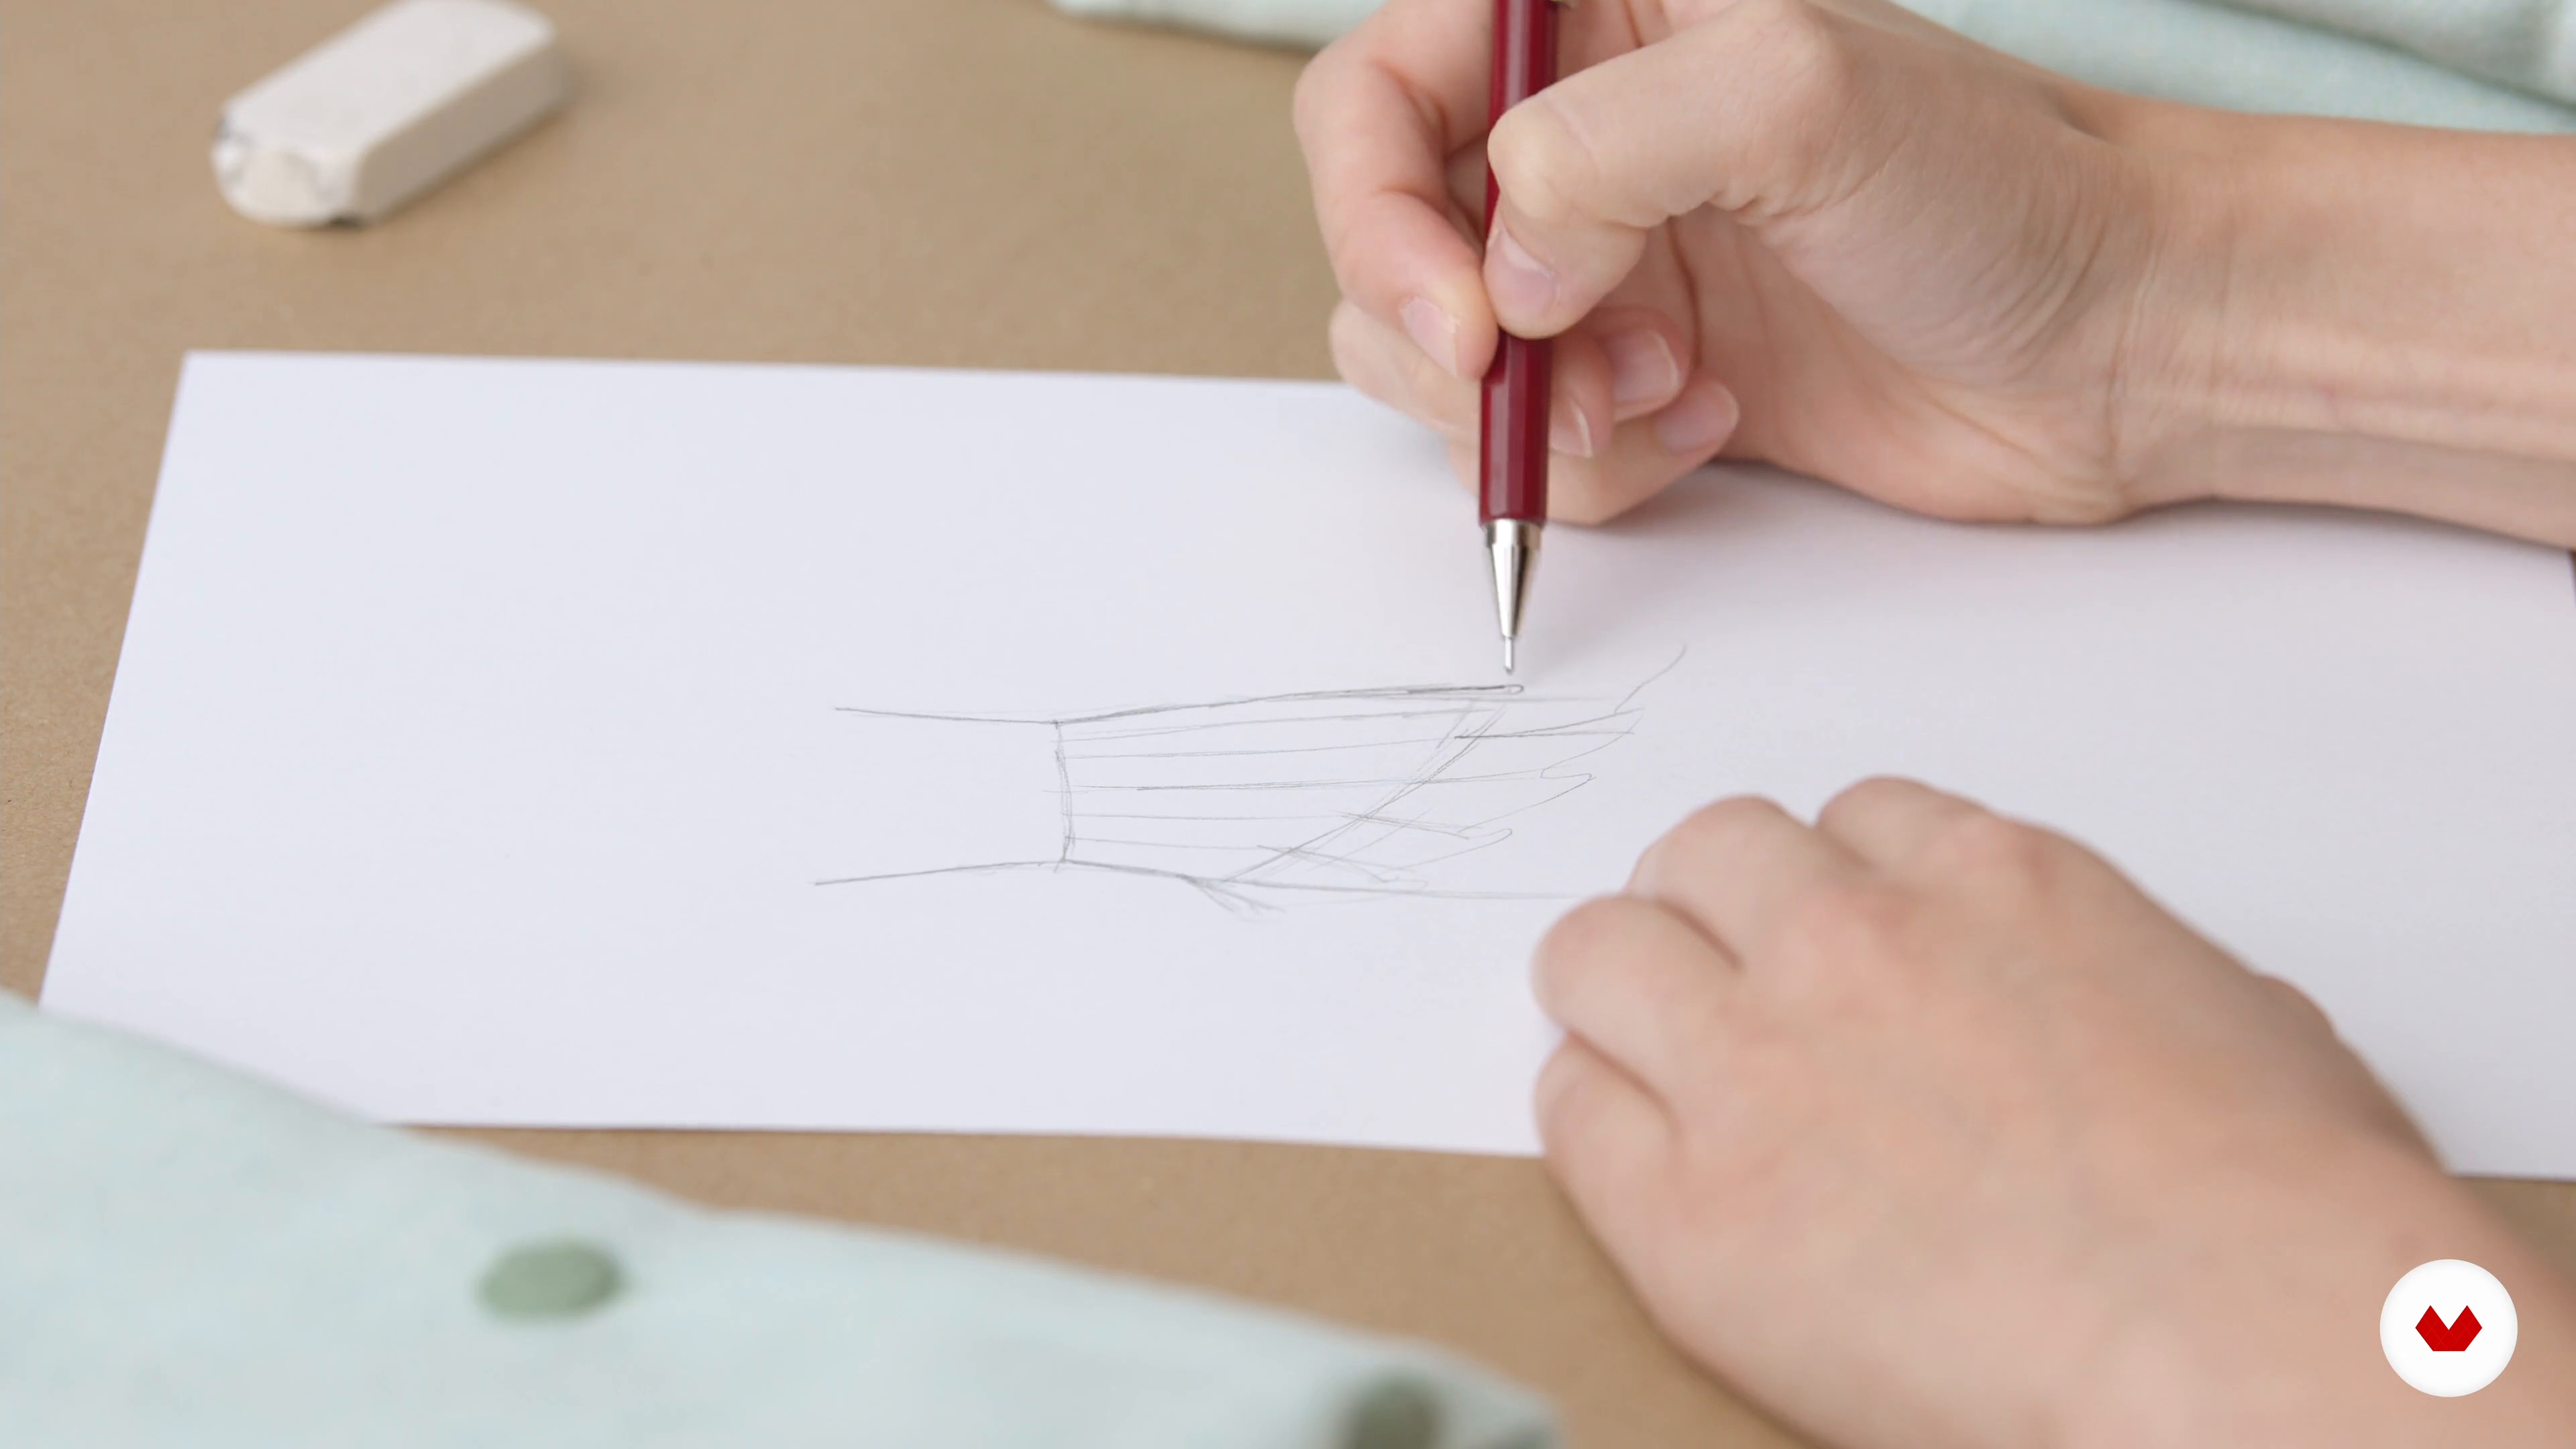
14Design and fabric
In this lesson, we'll sketch and illustrate a skirt design, and select the fabric that best suits the final result we're looking for.
6m
 15
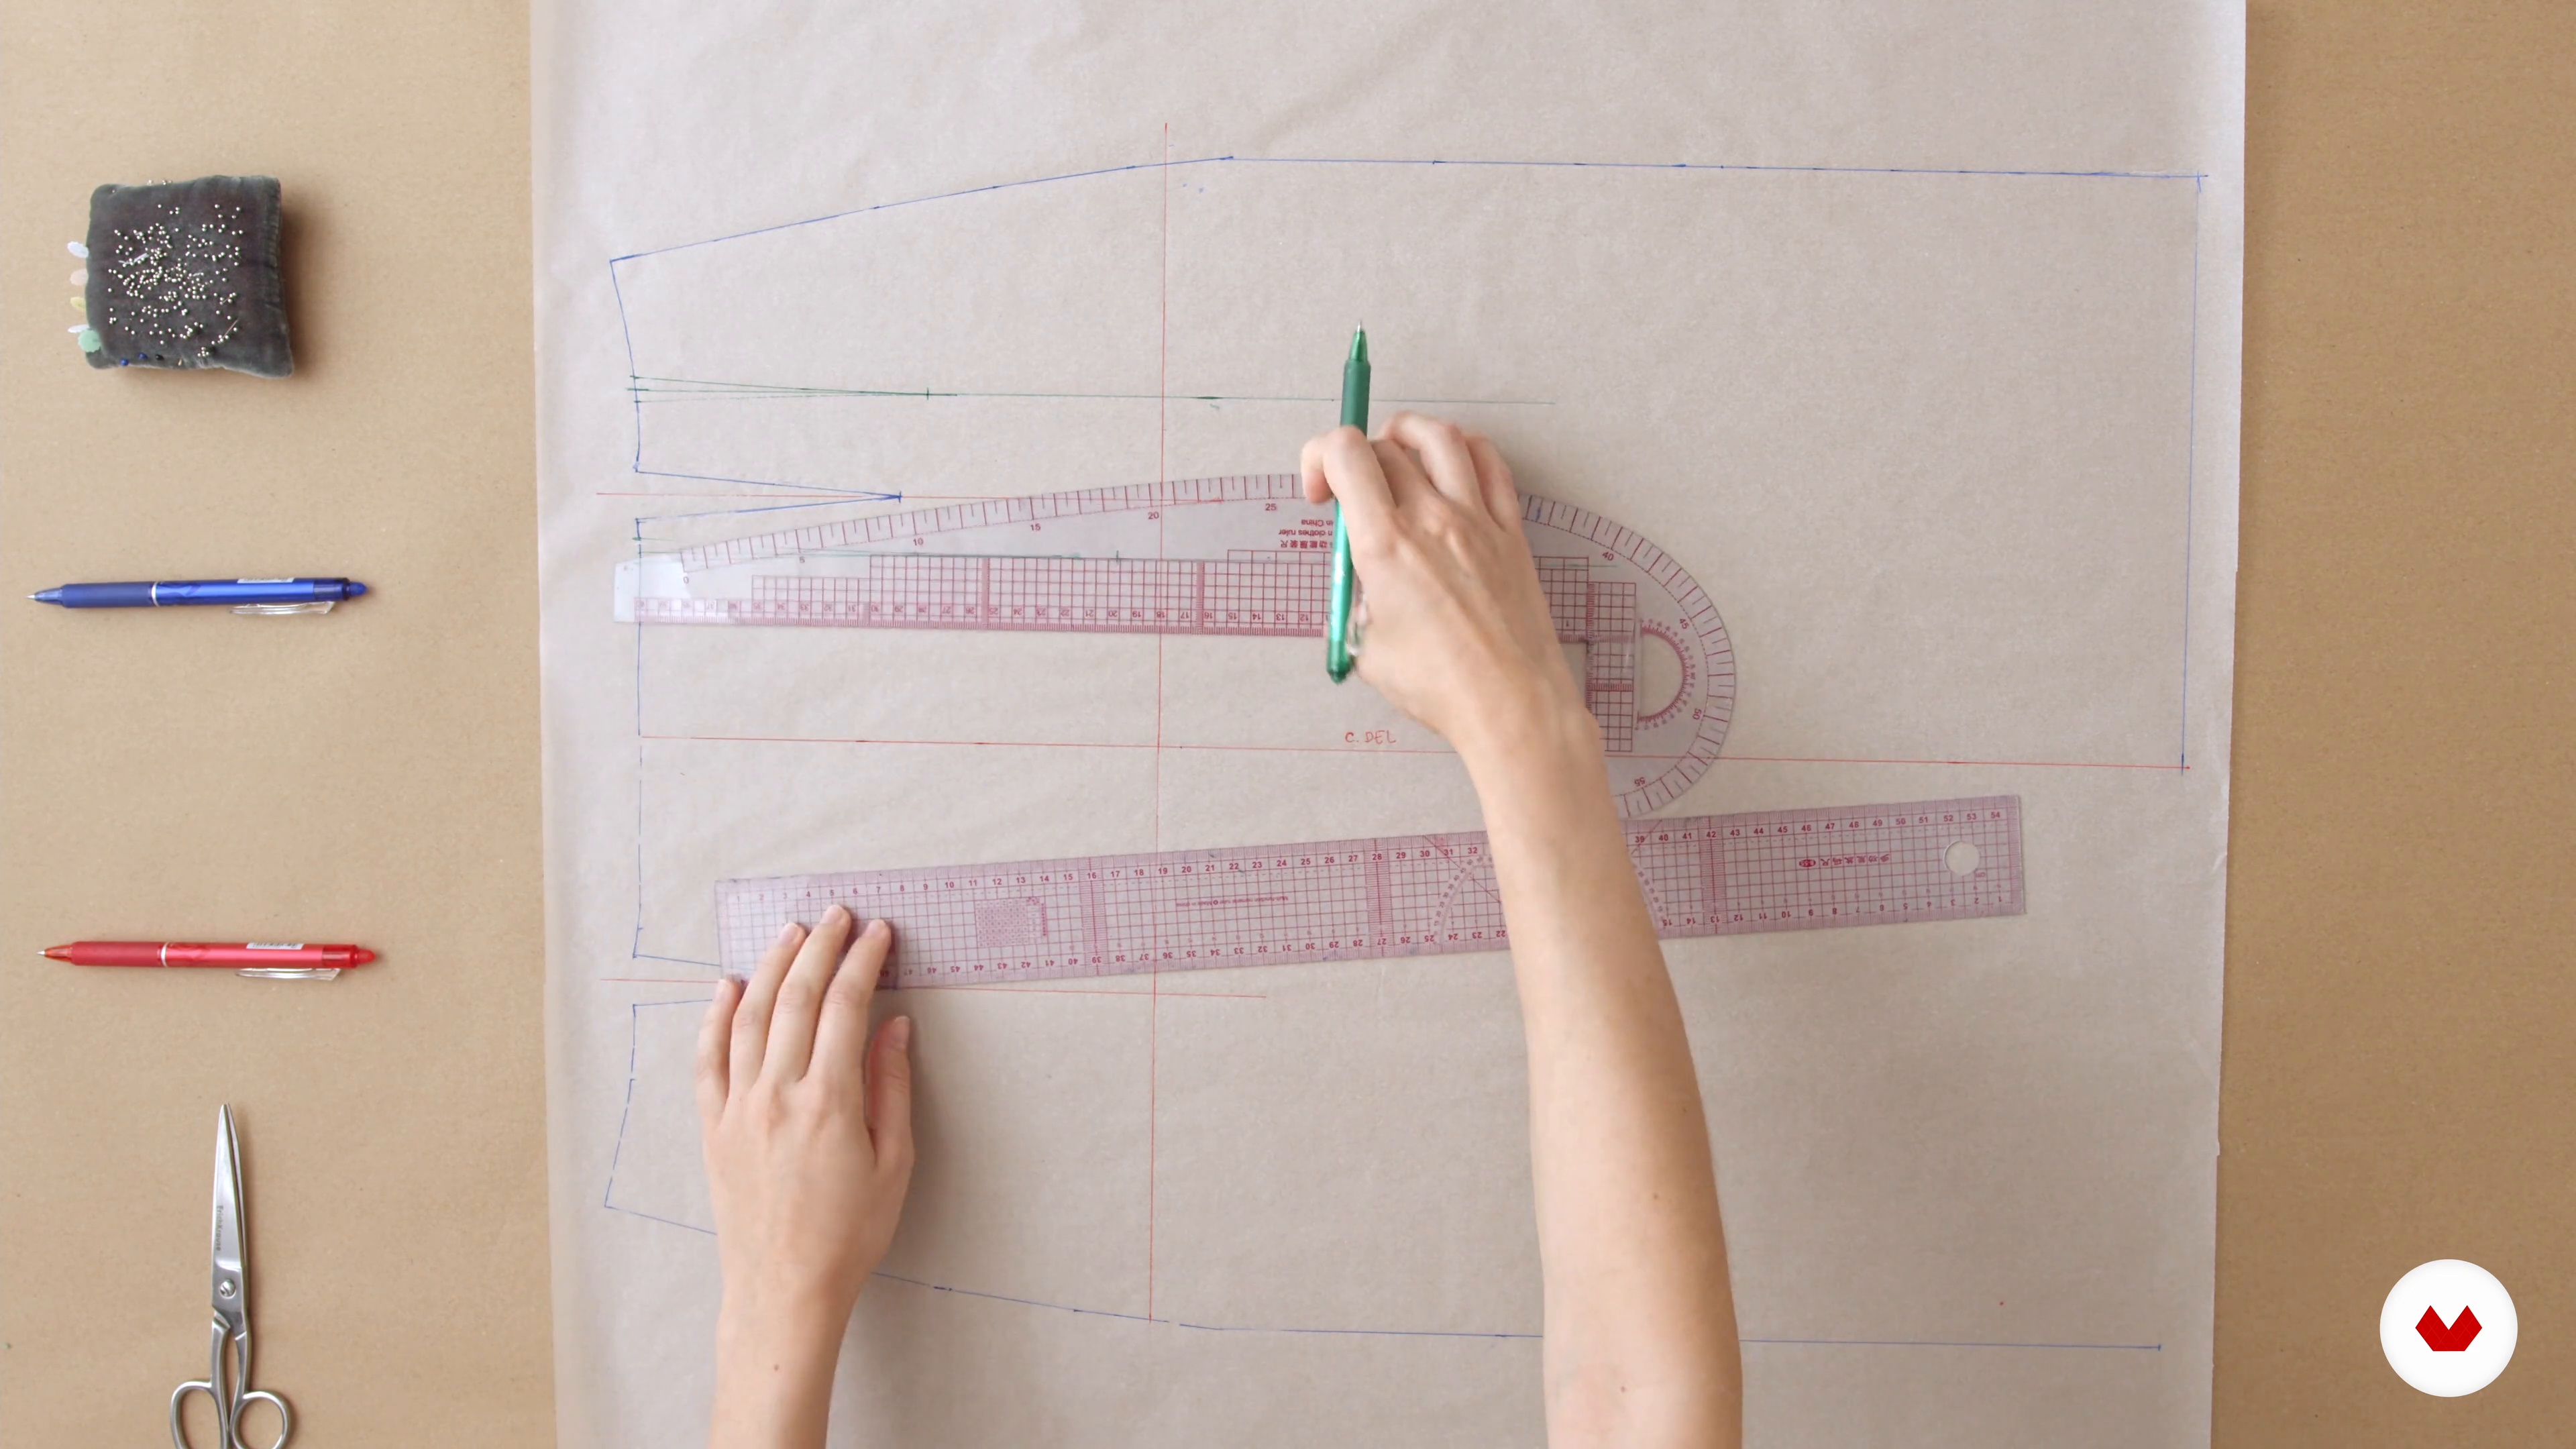
15Pattern and extraction
Next, we'll analyze the characteristic elements of design and how we can address them in pattern making. We'll trace and test-pin the pattern on paper.
18m
 16
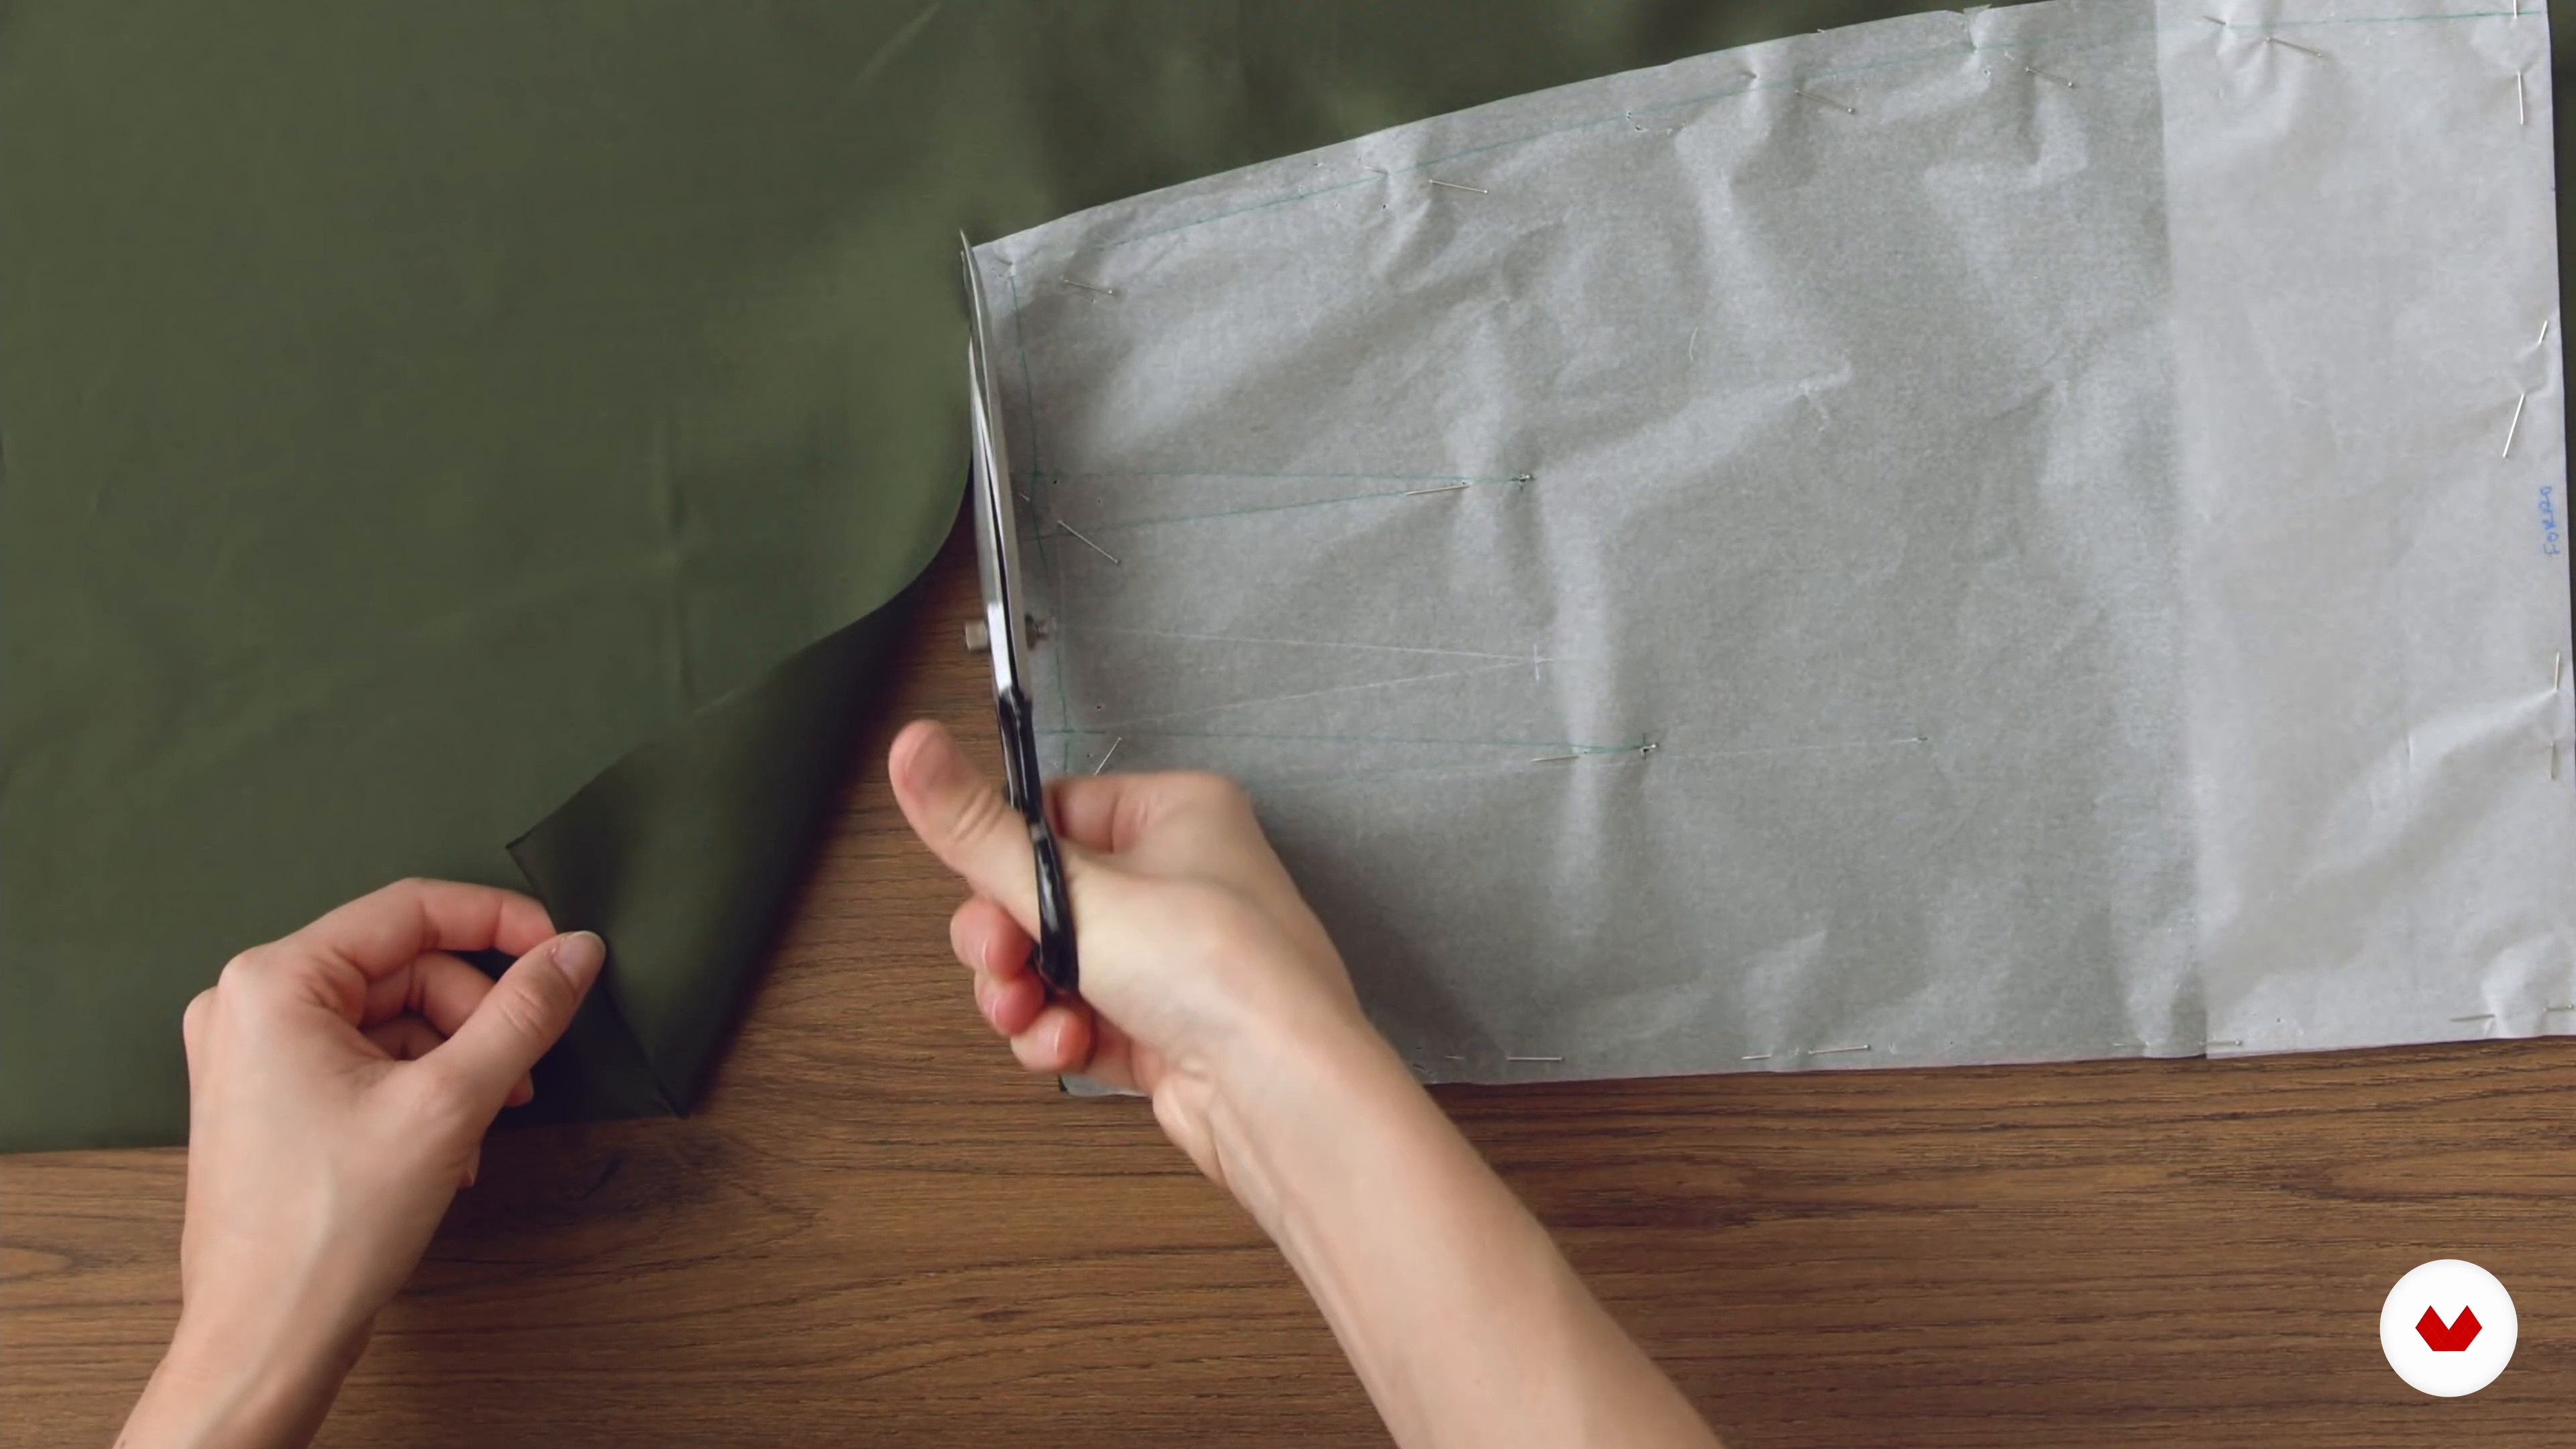
16court
Now we'll extract the pattern pieces and trace the necessary pieces for the final garment's finishes. We'll also prepare the main fabric and lining to cut all the pieces.
18m
 17
17Construction and finishes 1
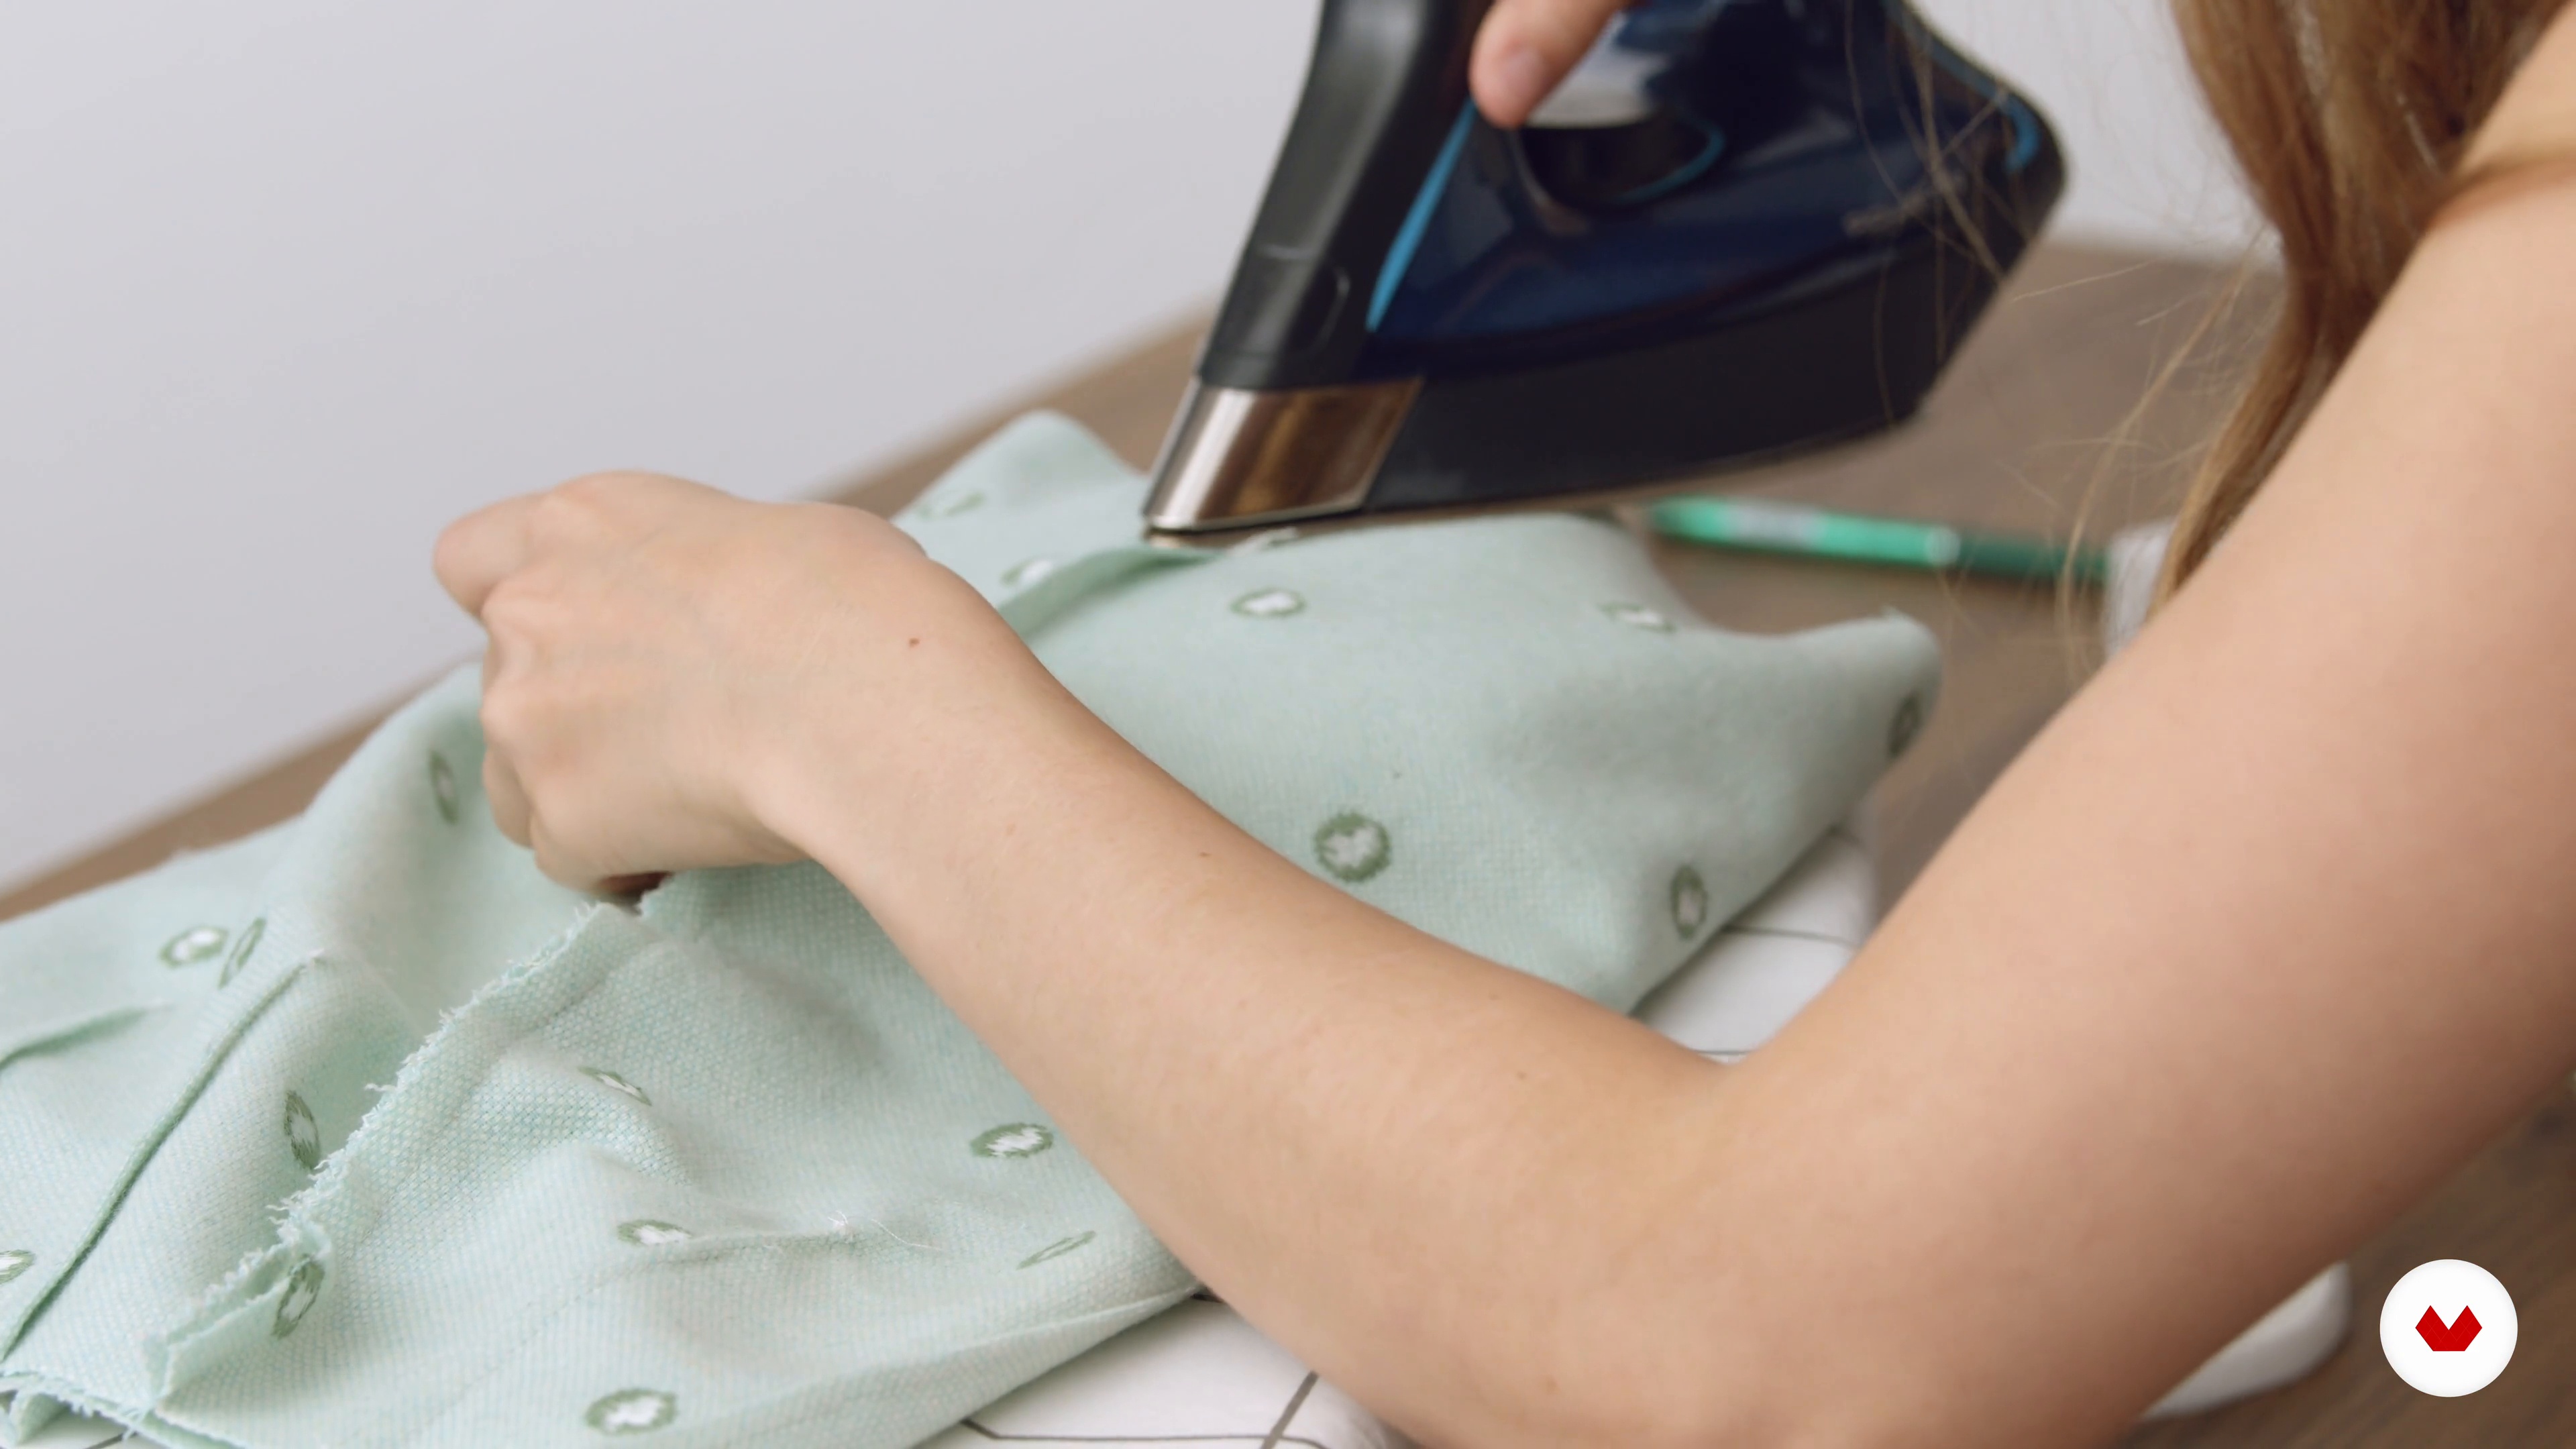
Finally, we'll assemble the skirt by joining the pieces and creating the pleats with a few simple steps that will be repeated along the garment's outline. We'll also sew the zipper, assemble the facings and lining, and finally, finish the garment with hand-finished details.
18m
 18
18Construction and finishes 2
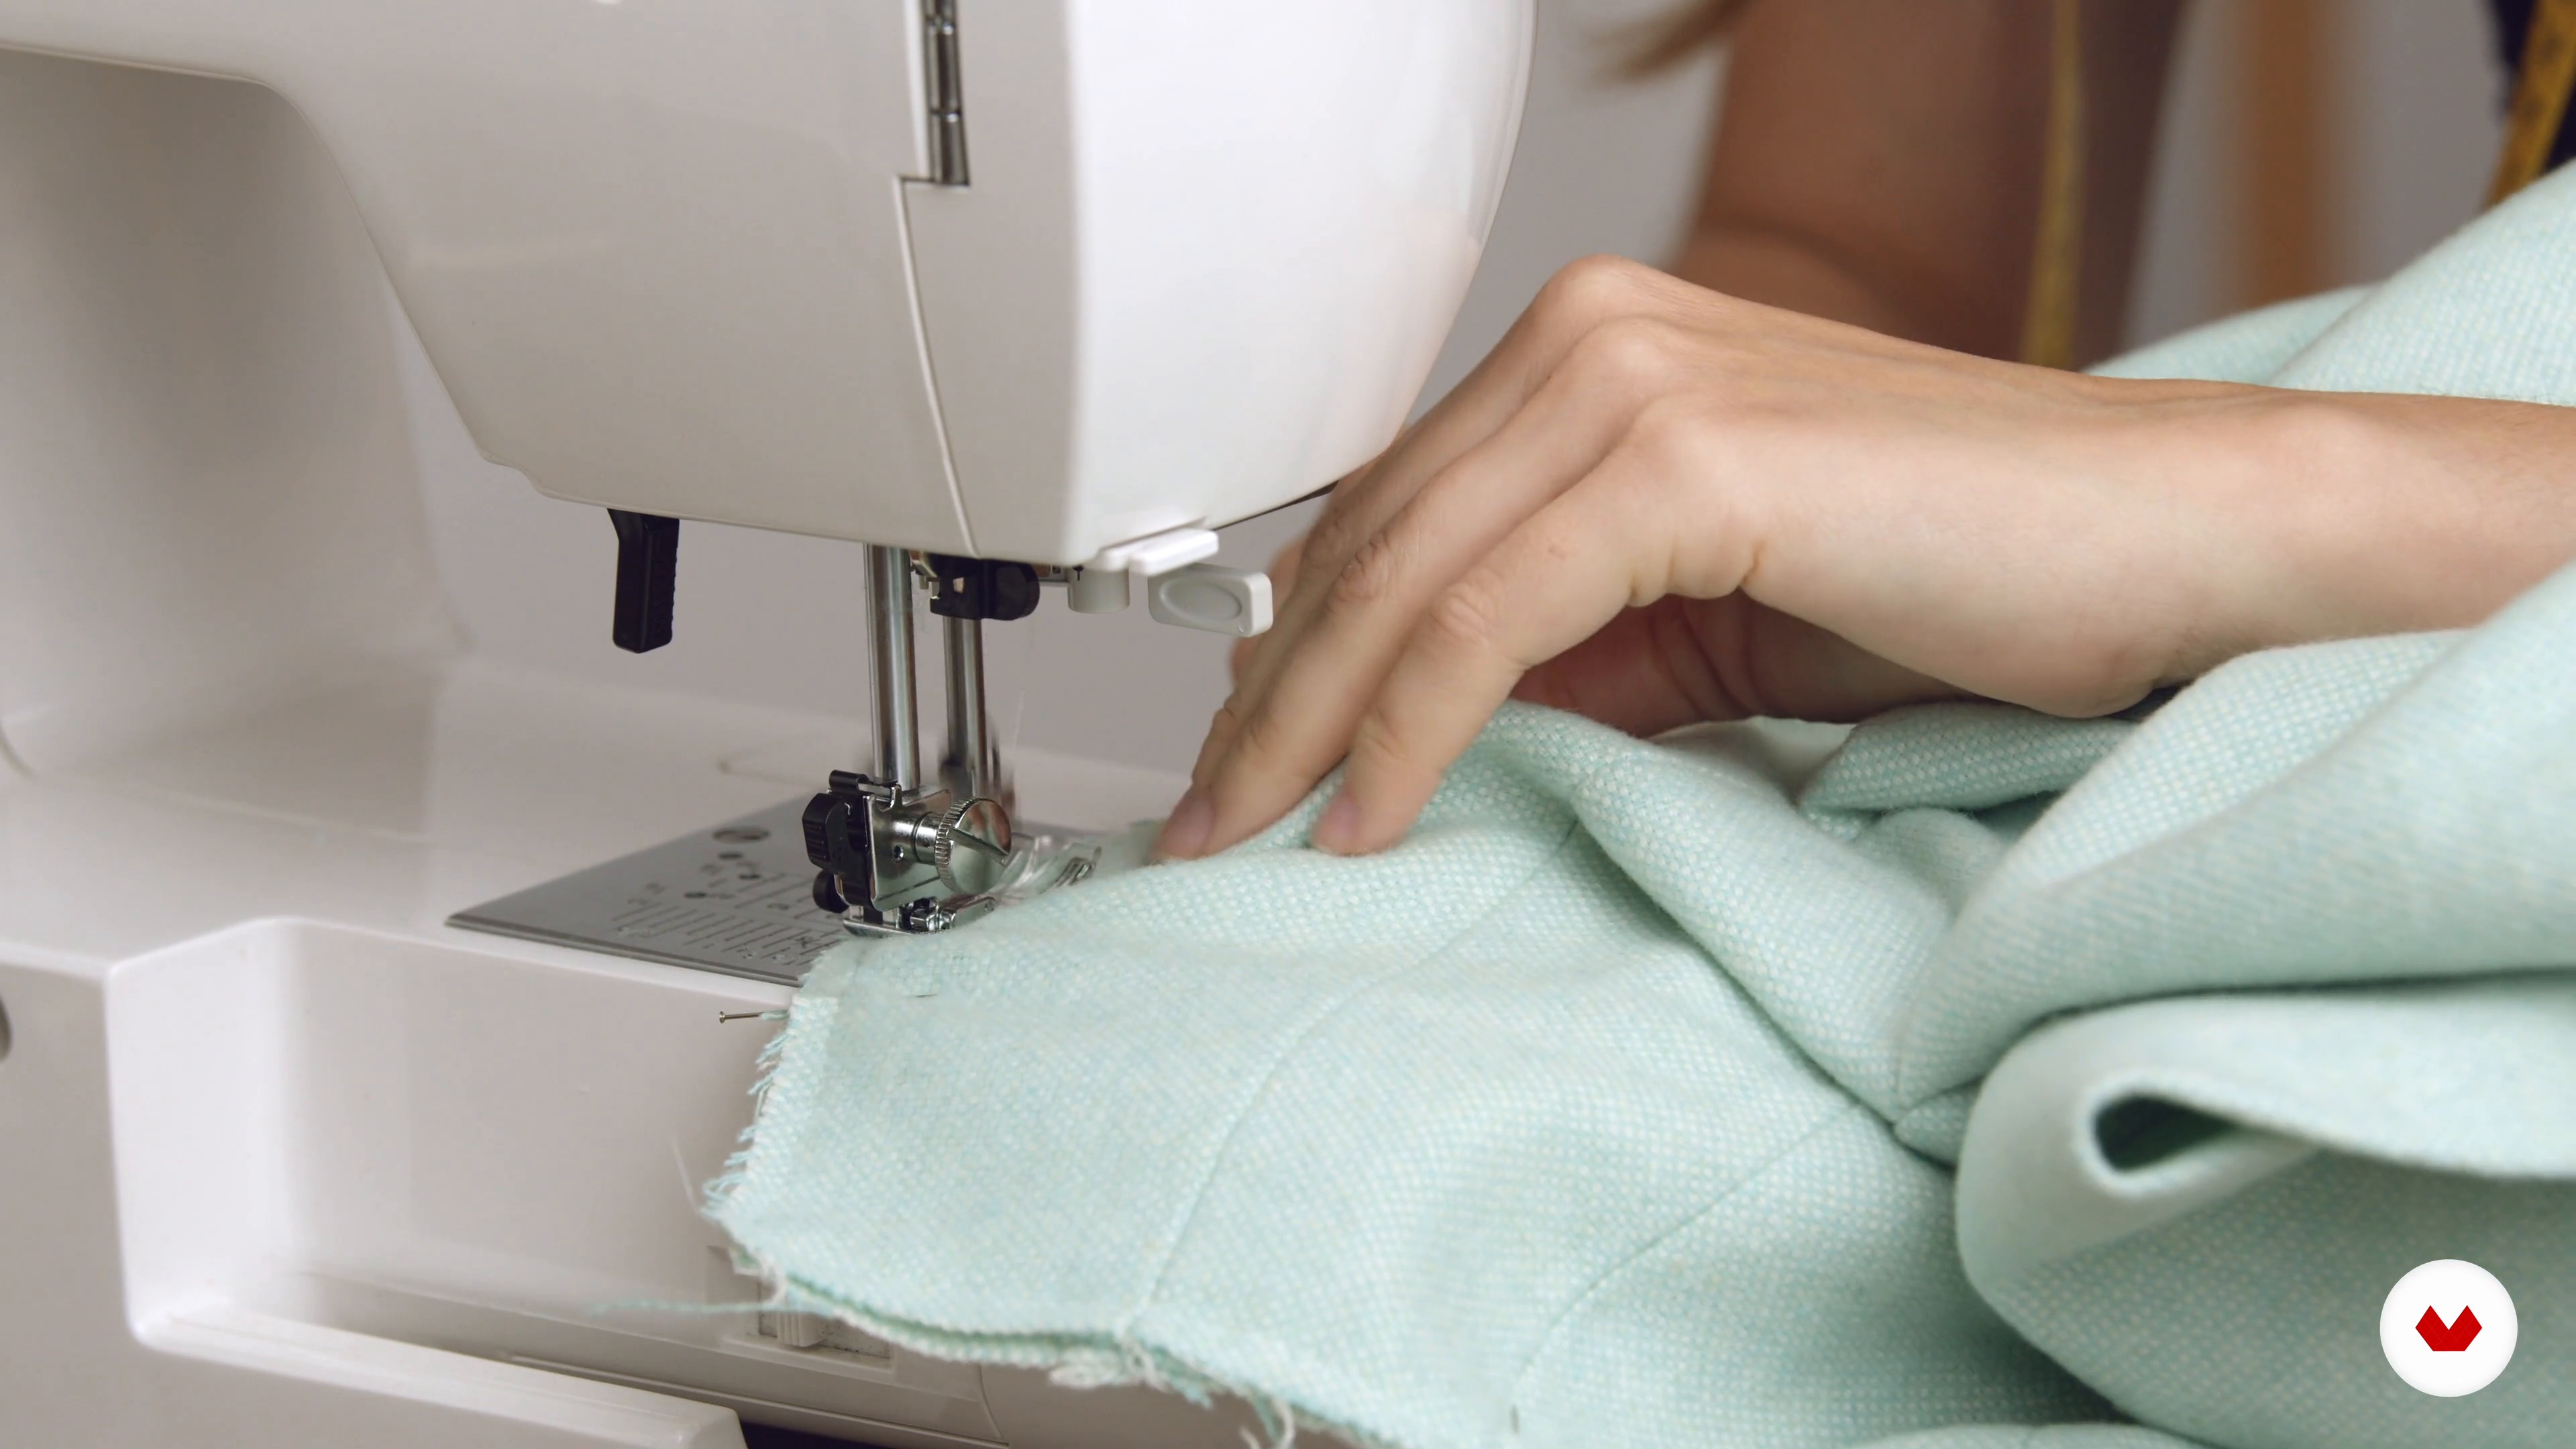
We continue making our skirt, working little by little to join the different pieces that make it up.
16m
 19
19Construction and finishes 3
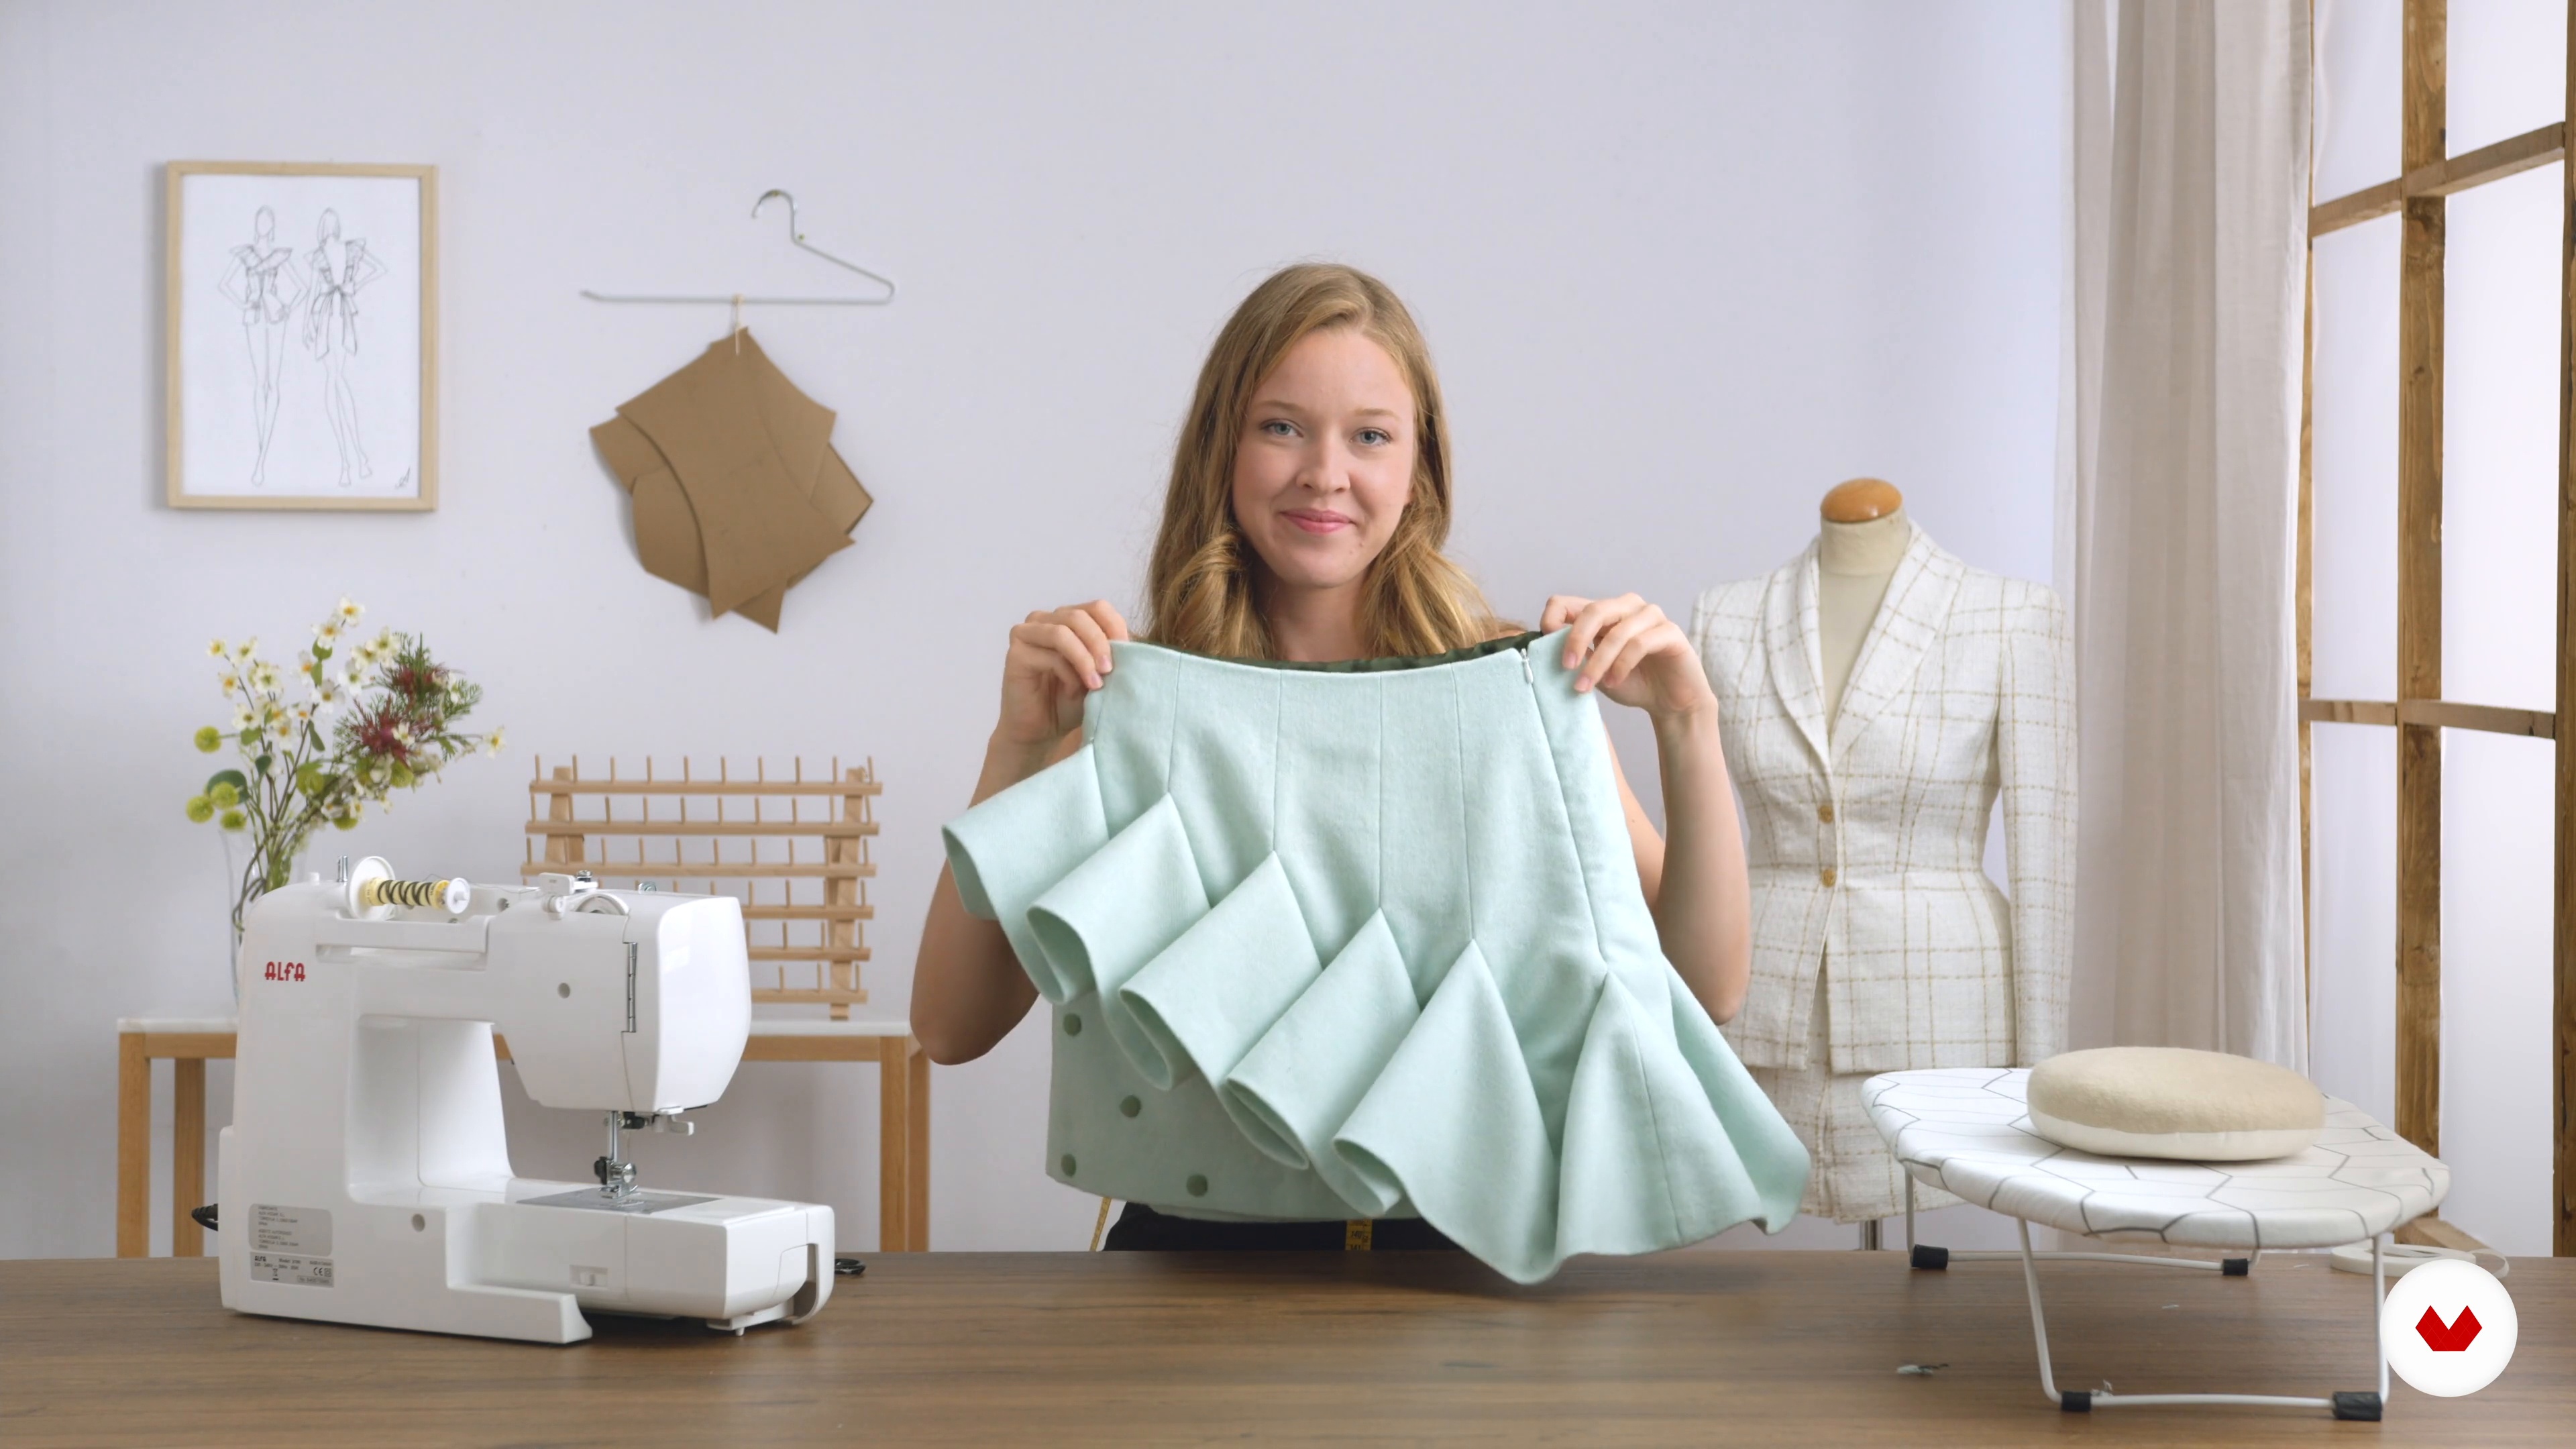
Finally, we work on the final details to complete the skirt.
7m
 4
4Materials and tools
To begin the unit, I'll tell you what materials and tools are needed to create a basic dress. I'll explain their functions and when you'll need them during the design and sewing process.
1m
 5
5Learn the basics: Pattern, silhouettes and volume
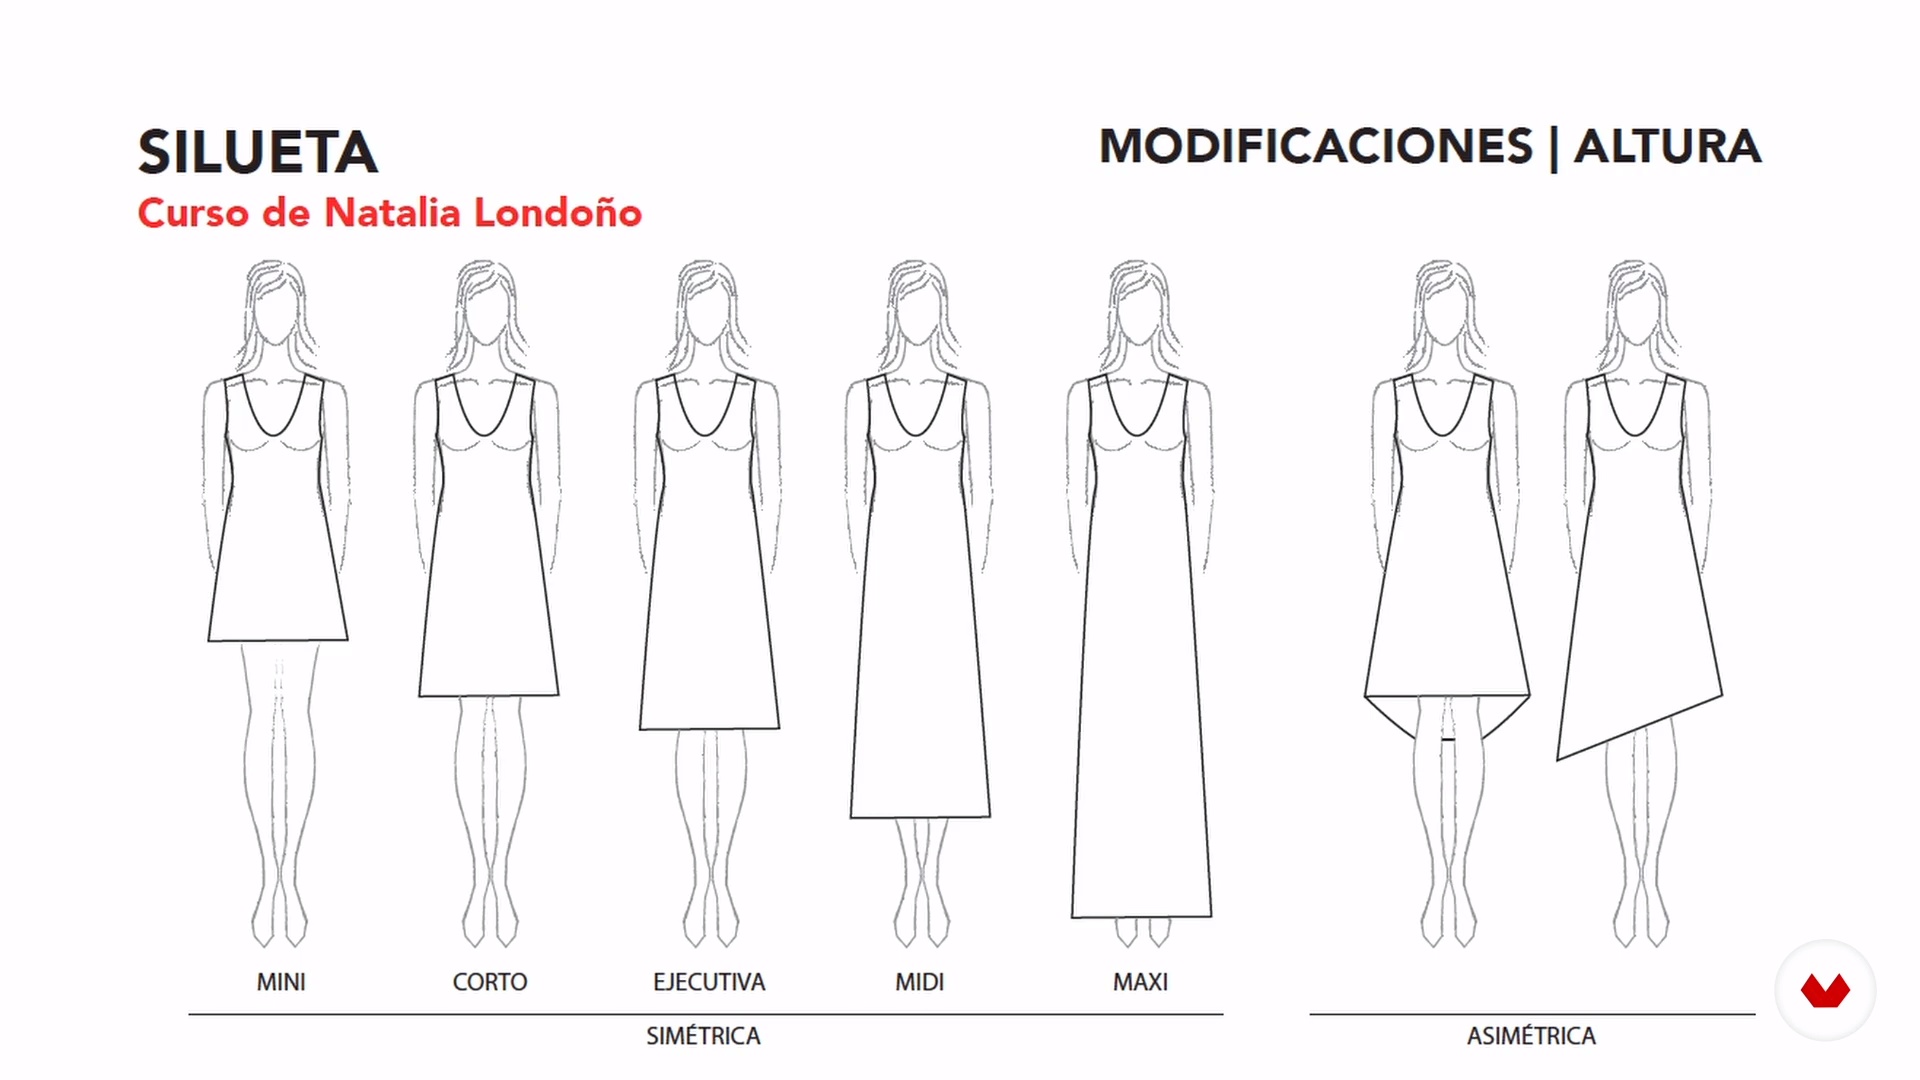
You'll learn the basics of pattern, silhouette, and volume. This will help you understand the theoretical aspects and give you a clearer, more technical understanding of the details you need to define for your own project.
7m
 6
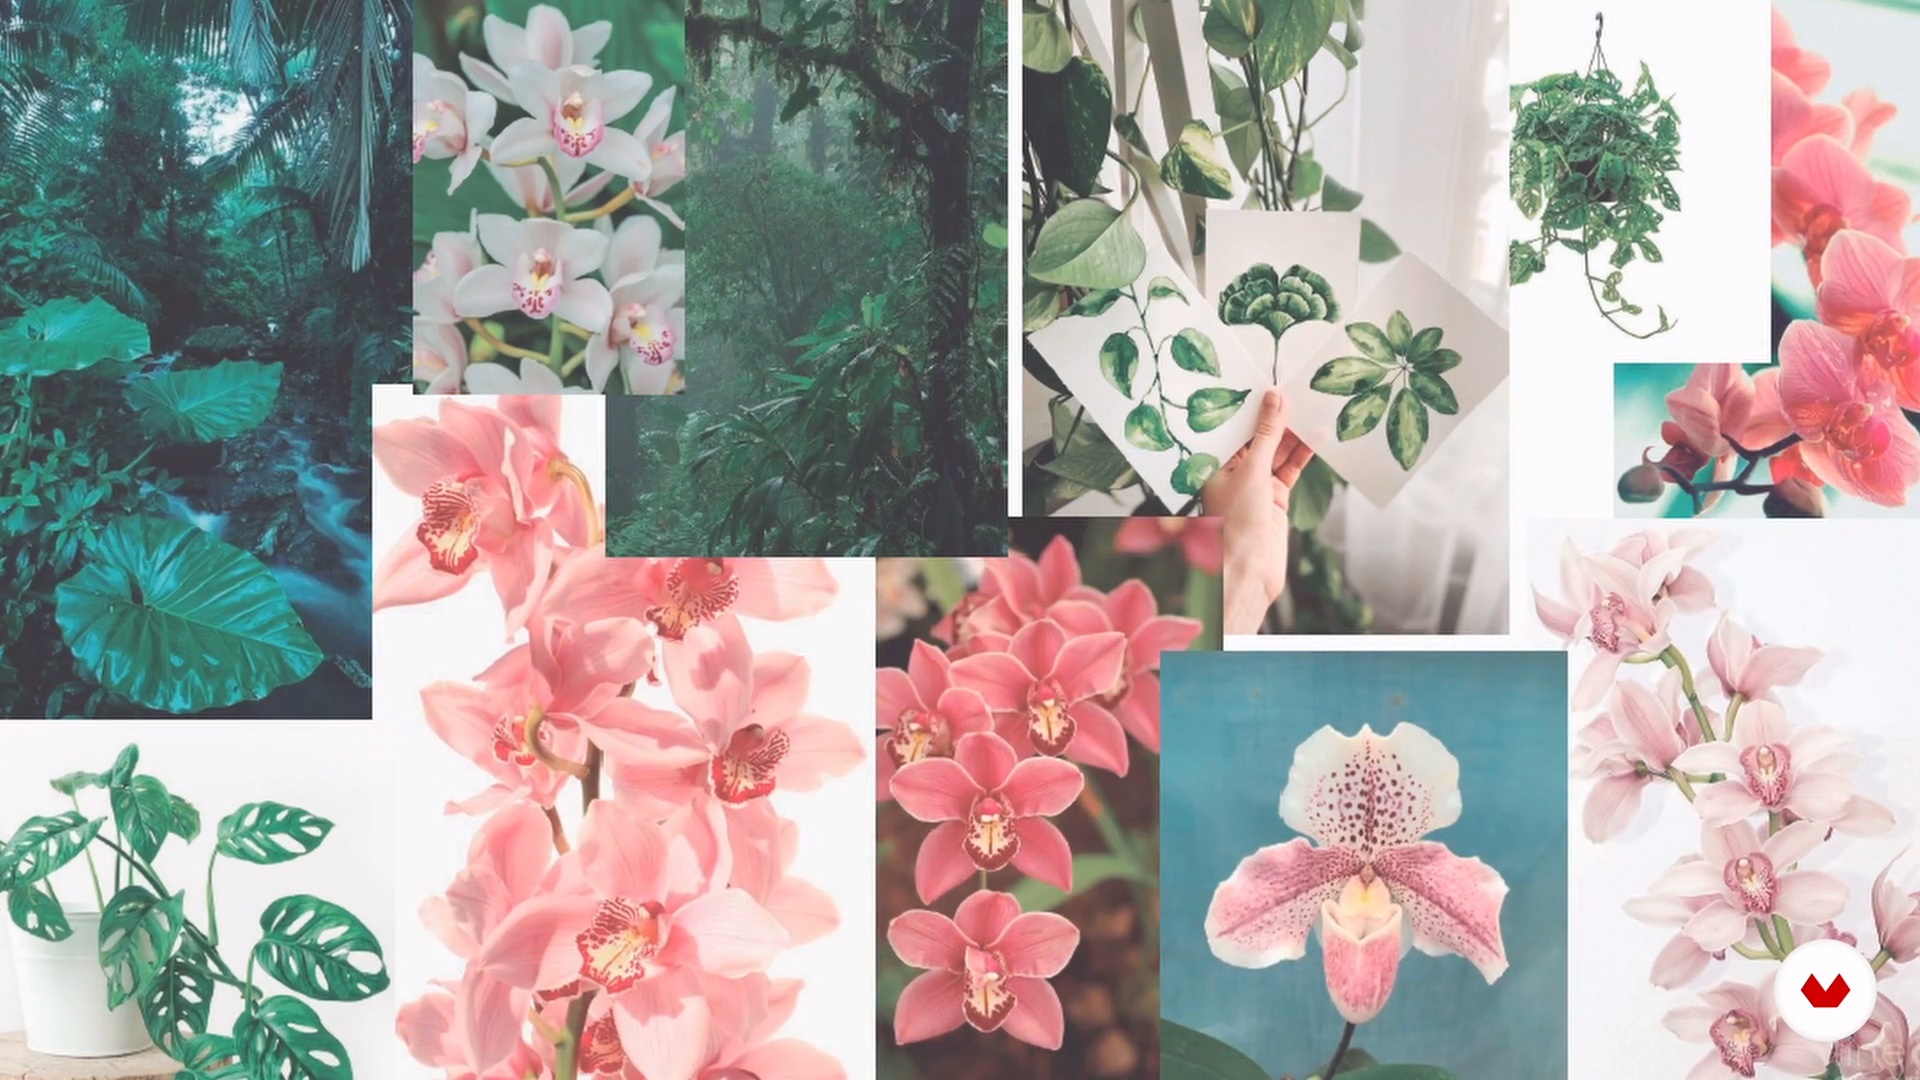
6Mood board
I'll teach you how to create a mood board by selecting a specific theme and using reference images. You'll learn how to create your own color palette and define a suitable occasion and season for your garment. I'll show you how to select textures, define graphics, and prints for your dress.
6m
 7
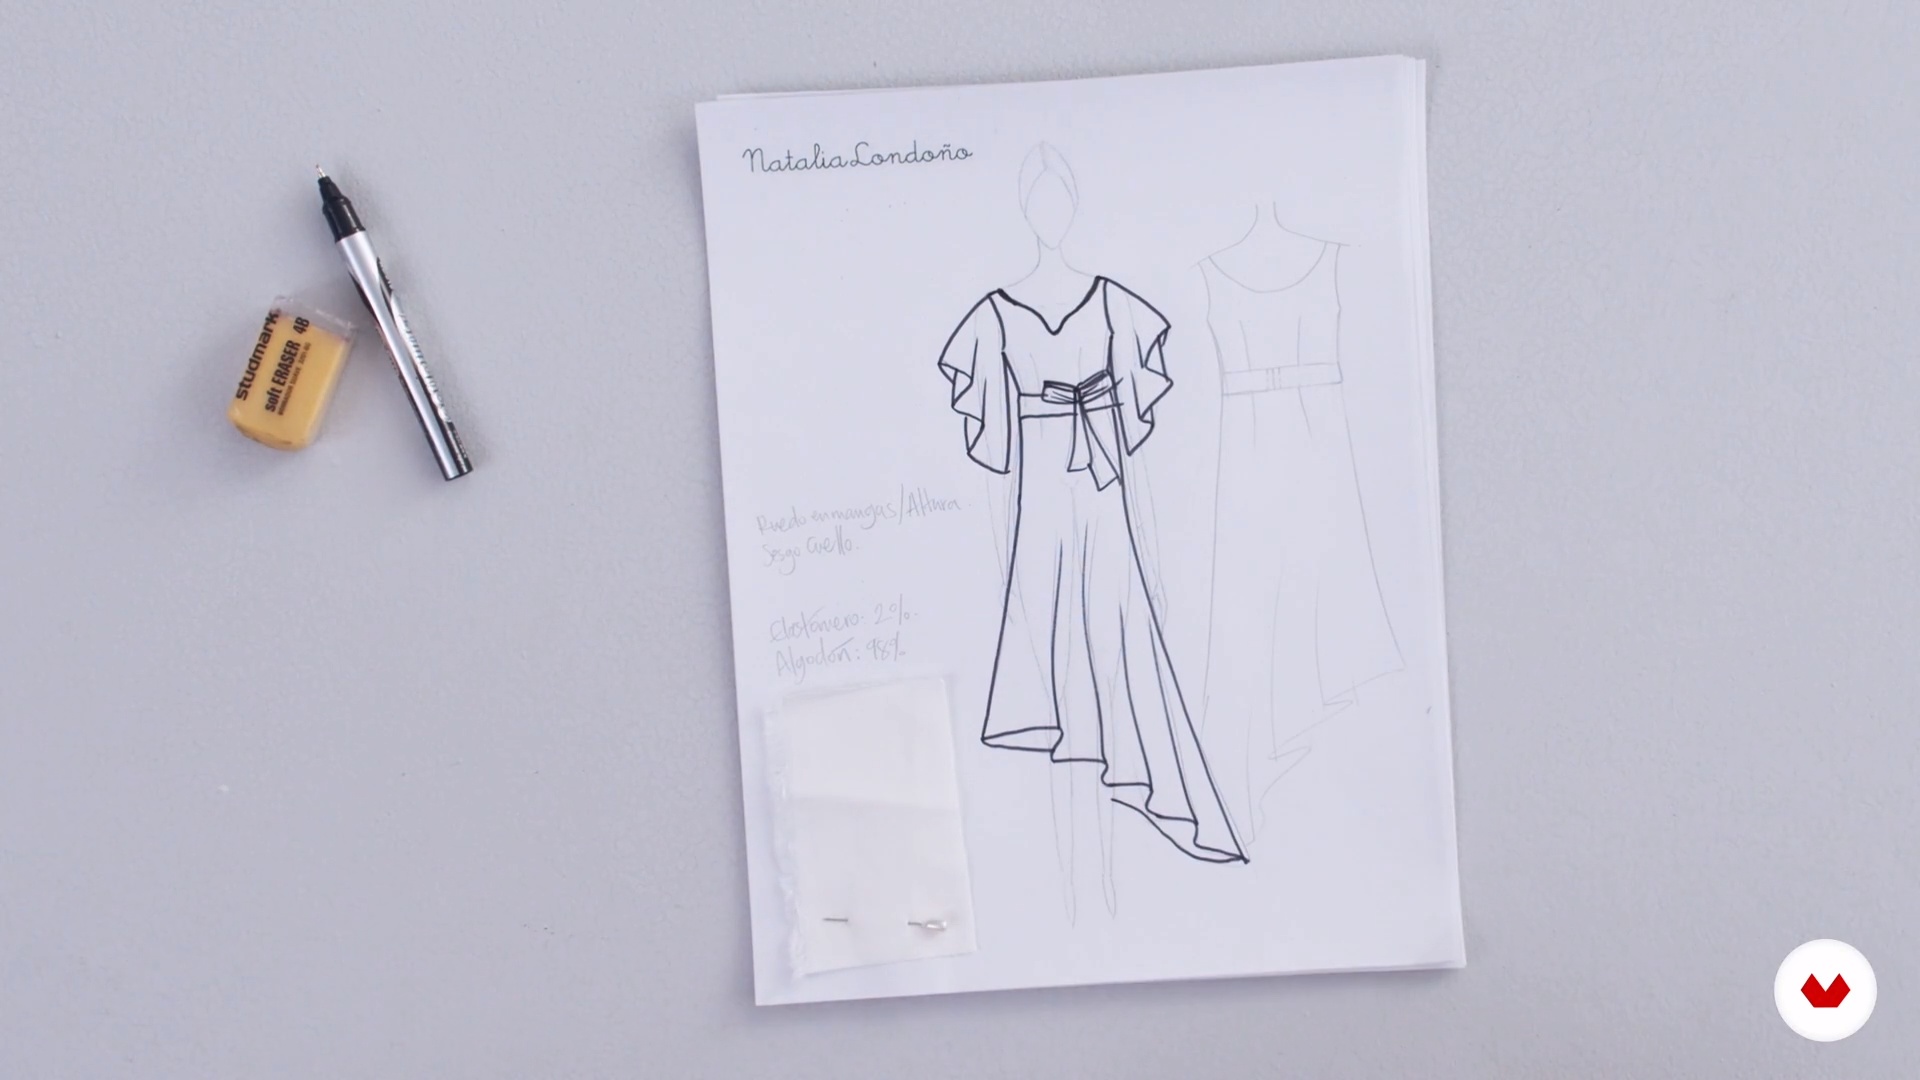
7Definition of silhouette
I'll explain how to define the silhouette of your basic dress, and you'll draw it over the silhouette of the model to give you a precise reference of the dress you want. You'll define all the details of the garment from top to bottom. This way, you'll have a clear design and can easily develop the patterns later.
6m
 8
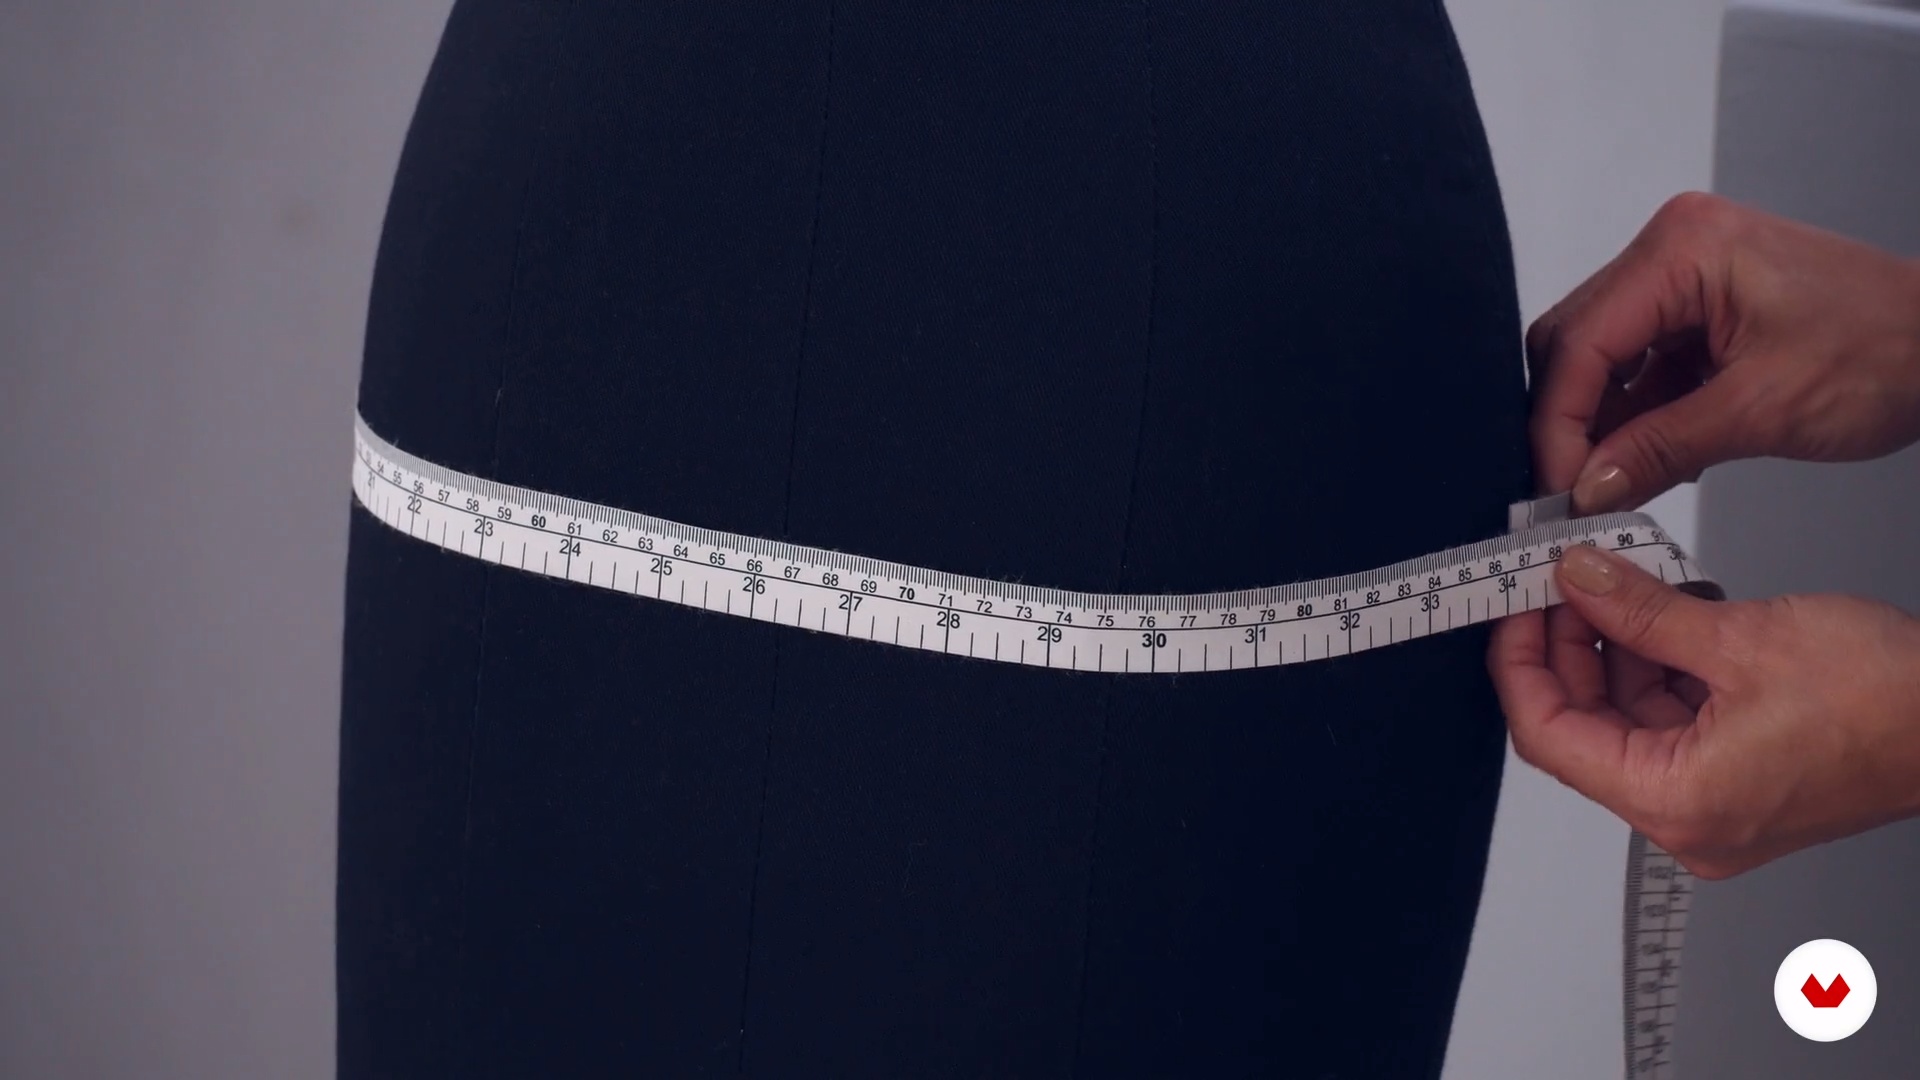
8Taking measurements
This moment will be very important, so pay close attention as I explain how to take the measurements (on a female body) necessary for developing your basic pattern and your specific pattern. I'll also show you how to apply them to developing the garment. I'll point out the advantages you should keep in mind when making the pattern and where you should increase the measurements. Are you ready?
9m
 9
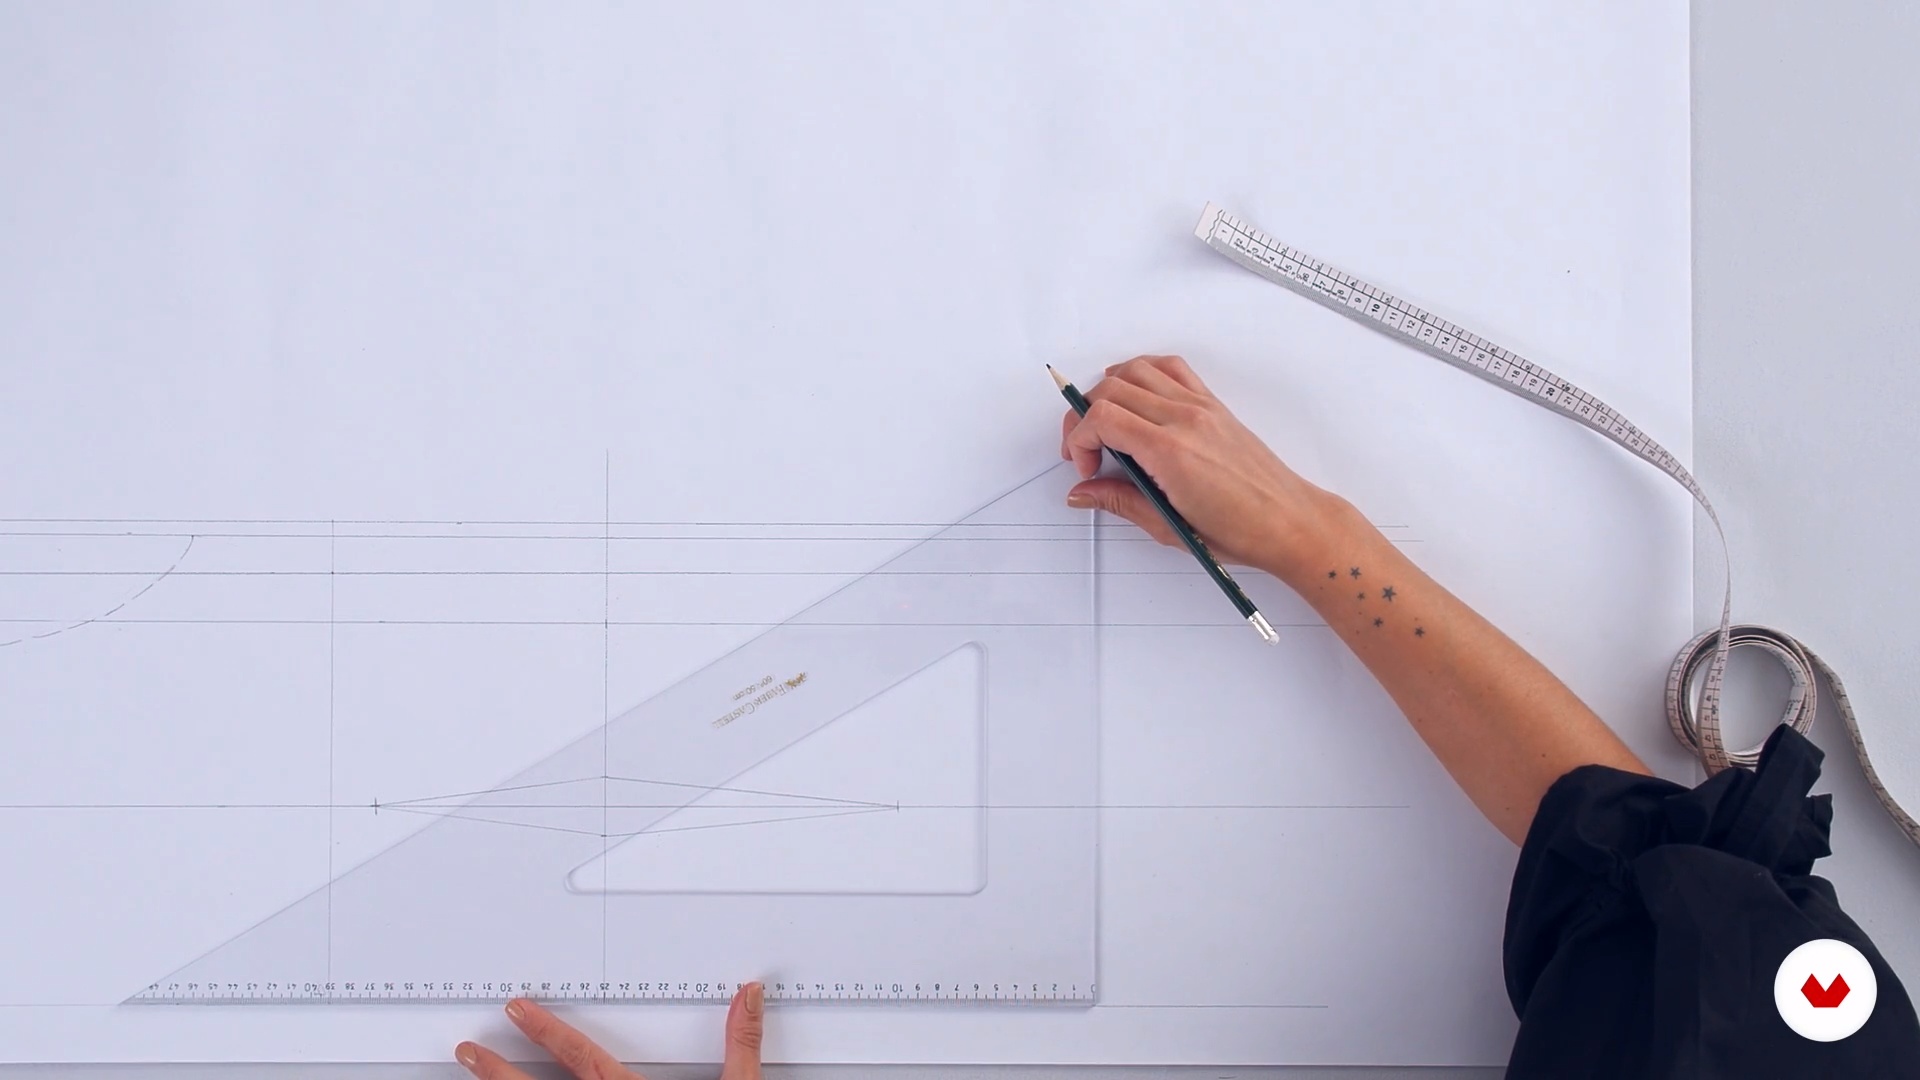
9Development of basic pattern 1
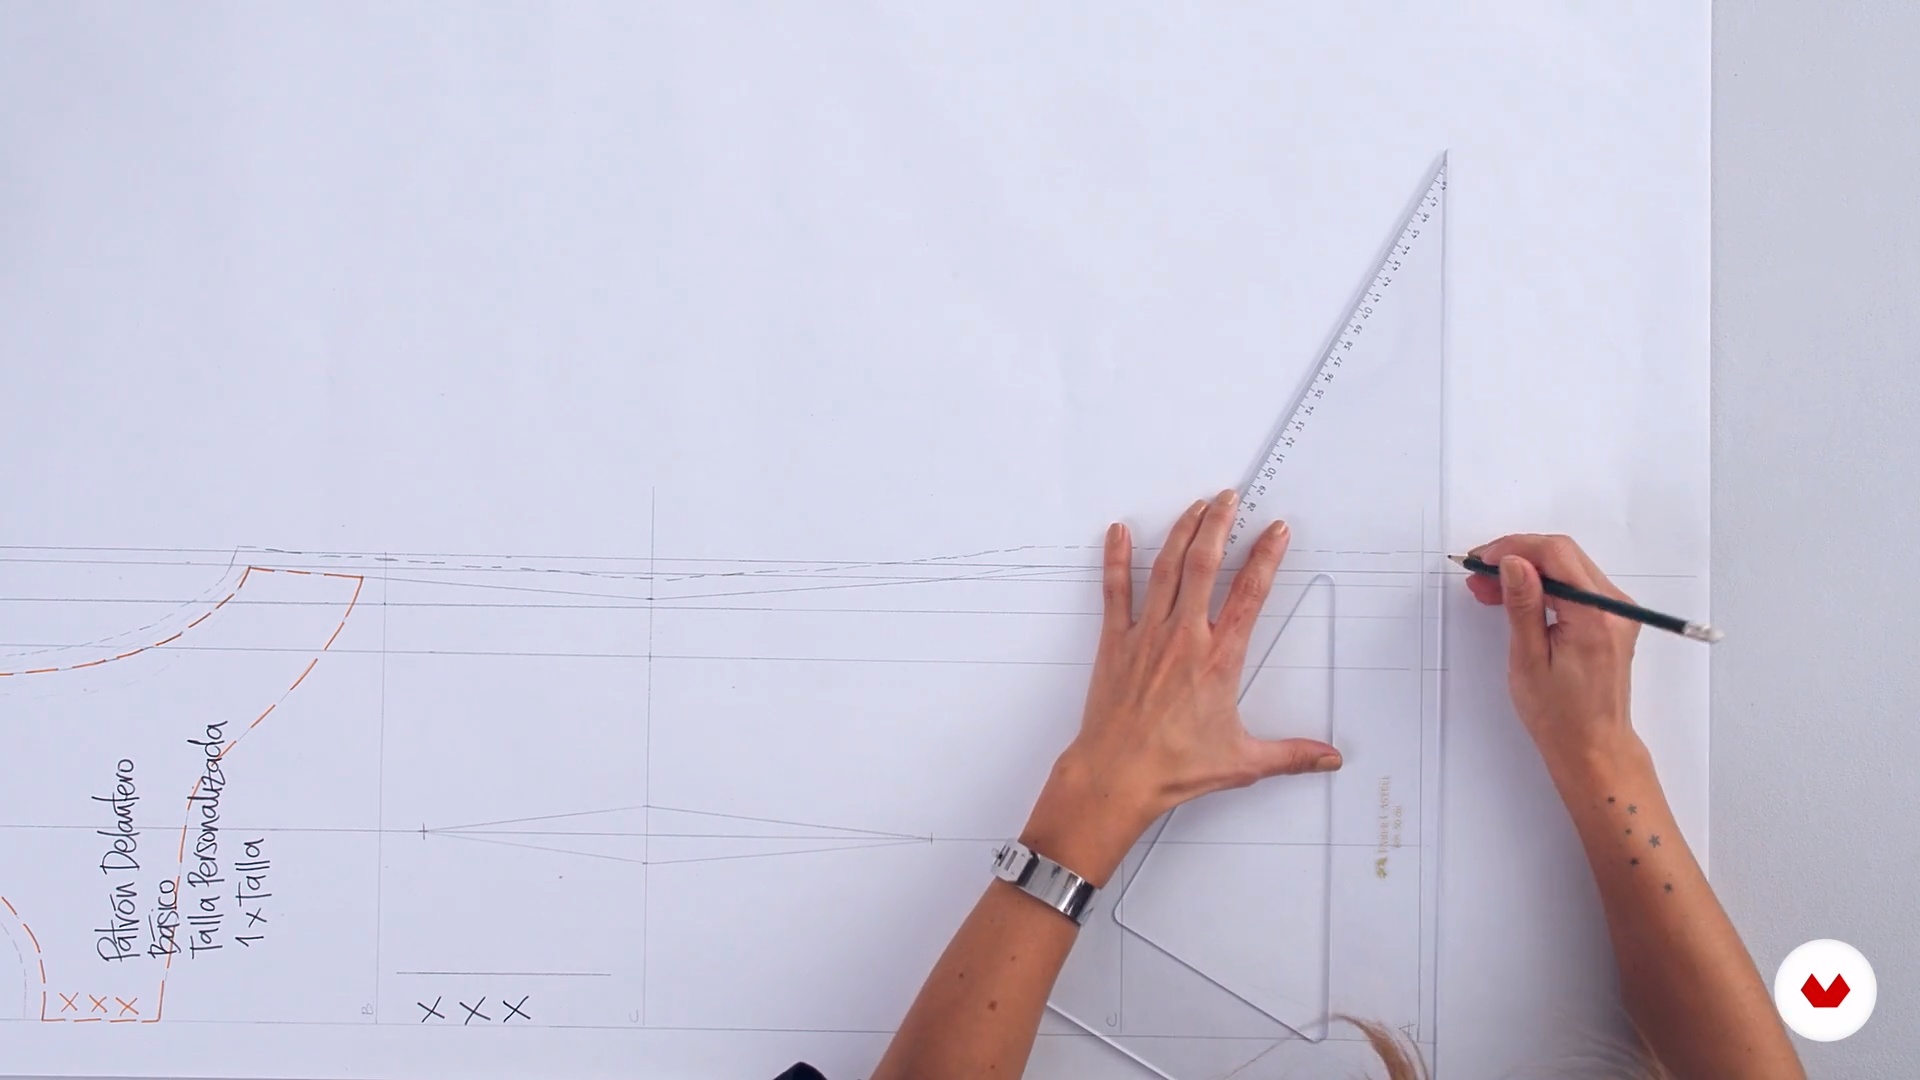
Taking into account the measurements I've taken, I'll show you how to develop a basic dress pattern that you can later modify to suit your specific garment. This pattern will help you develop other garments later and will serve as a guide to begin developing the garment. Here, you'll learn how to create the front pattern, as well as the basic sleeve pattern, which will complement and match the front and back patterns of your dress.
14m
 10
10Development of basic pattern 2
Now, I'll teach you how to make your back pattern using the front as a guide. You'll also learn how to increase the pattern for cutting and sewing. Once finished, you'll have your basic pattern finished, ready to continue cutting it on the test fabric. This basic pattern will be developed experimentally and personally. The goal is for you to understand the specific and important measurements, so you'll later learn how to modify patterns based on the combination of these measurements, also experimentally.
11m
 11
11Trial cloth cut
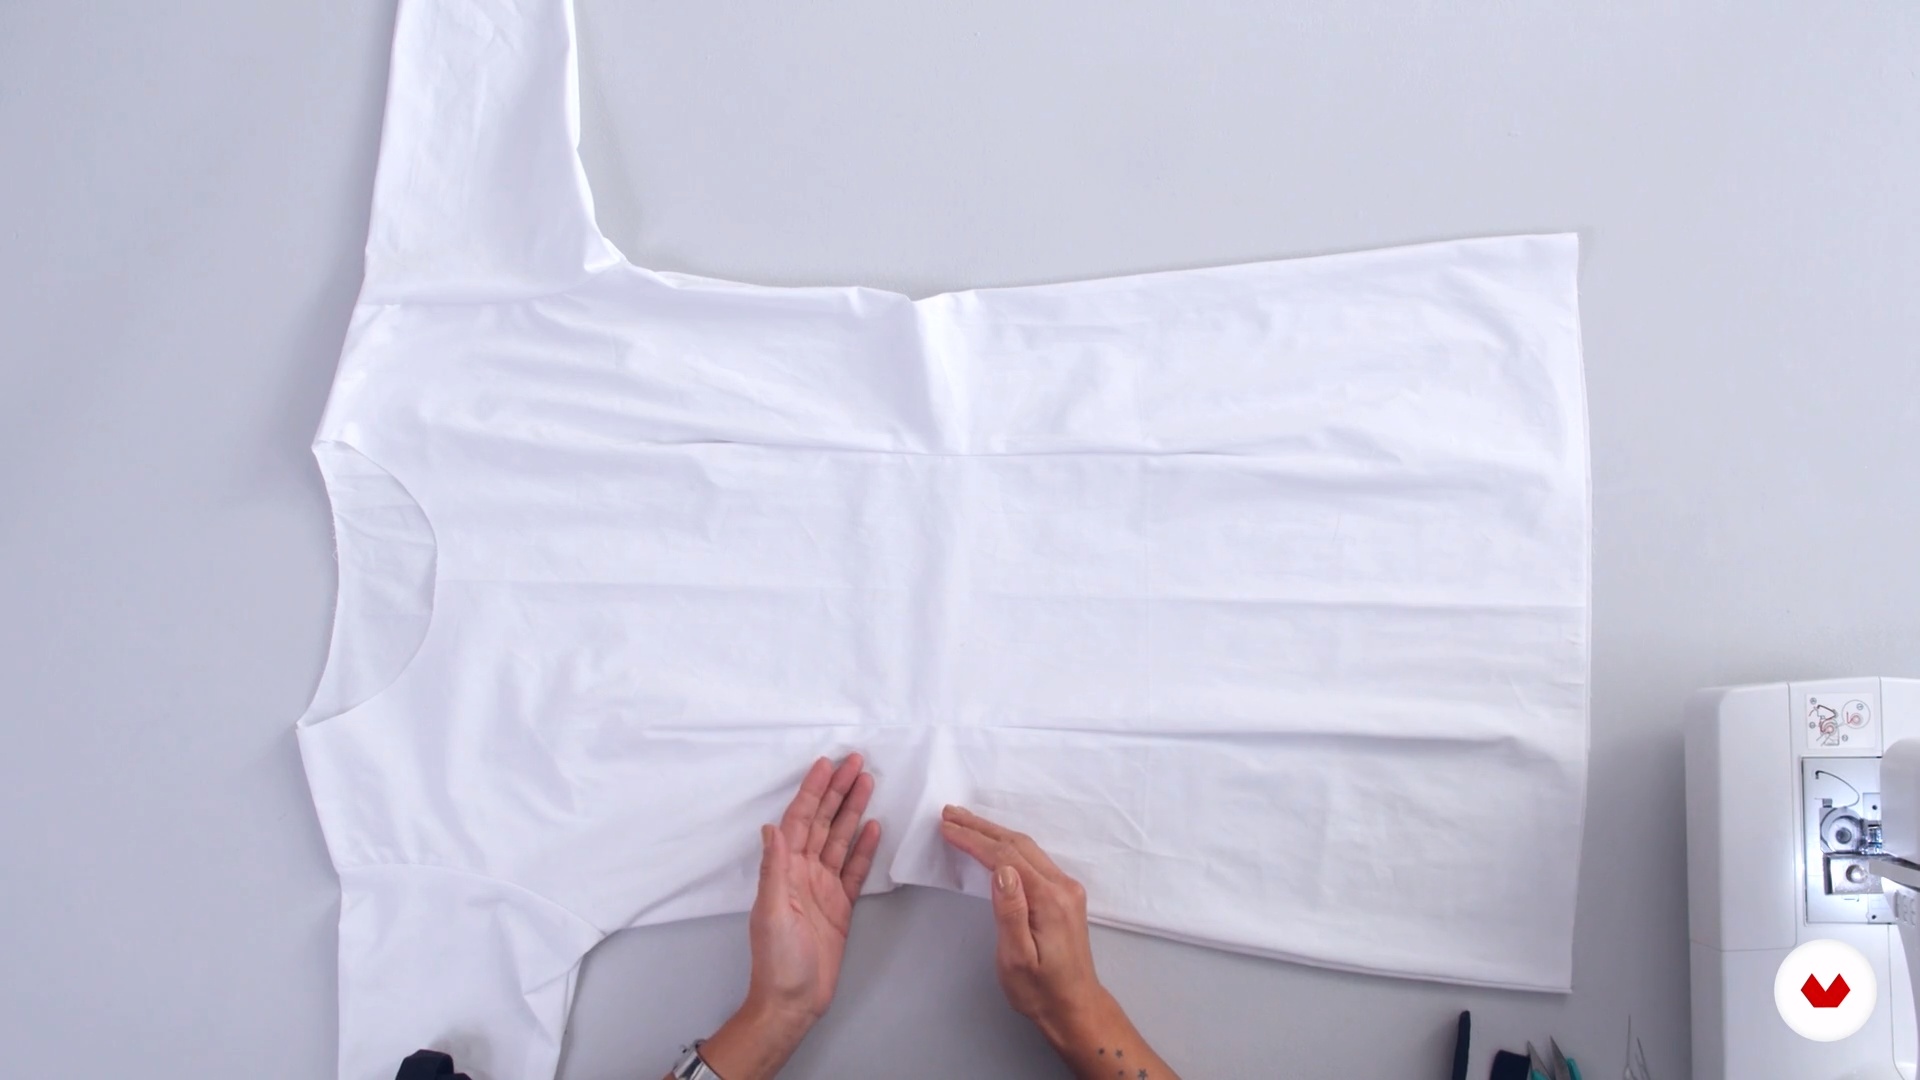
You'll learn how to cut patterns on fabric. In this case, it will be on test fabric. You'll also learn how to mark the pieces to get them ready for sewing. You'll cut the basic pattern on the test fabric. I'll teach you how to join the pieces with a basic stitch so your dress is ready. I'll explain how to do a fitting on a mannequin or real body, which will allow you to verify whether your basic pattern is well developed or if modifications are necessary. The result will serve as a basis for making future modifications and creating different types of dresses.
19m
 12
12Modifications for specific pattern 1
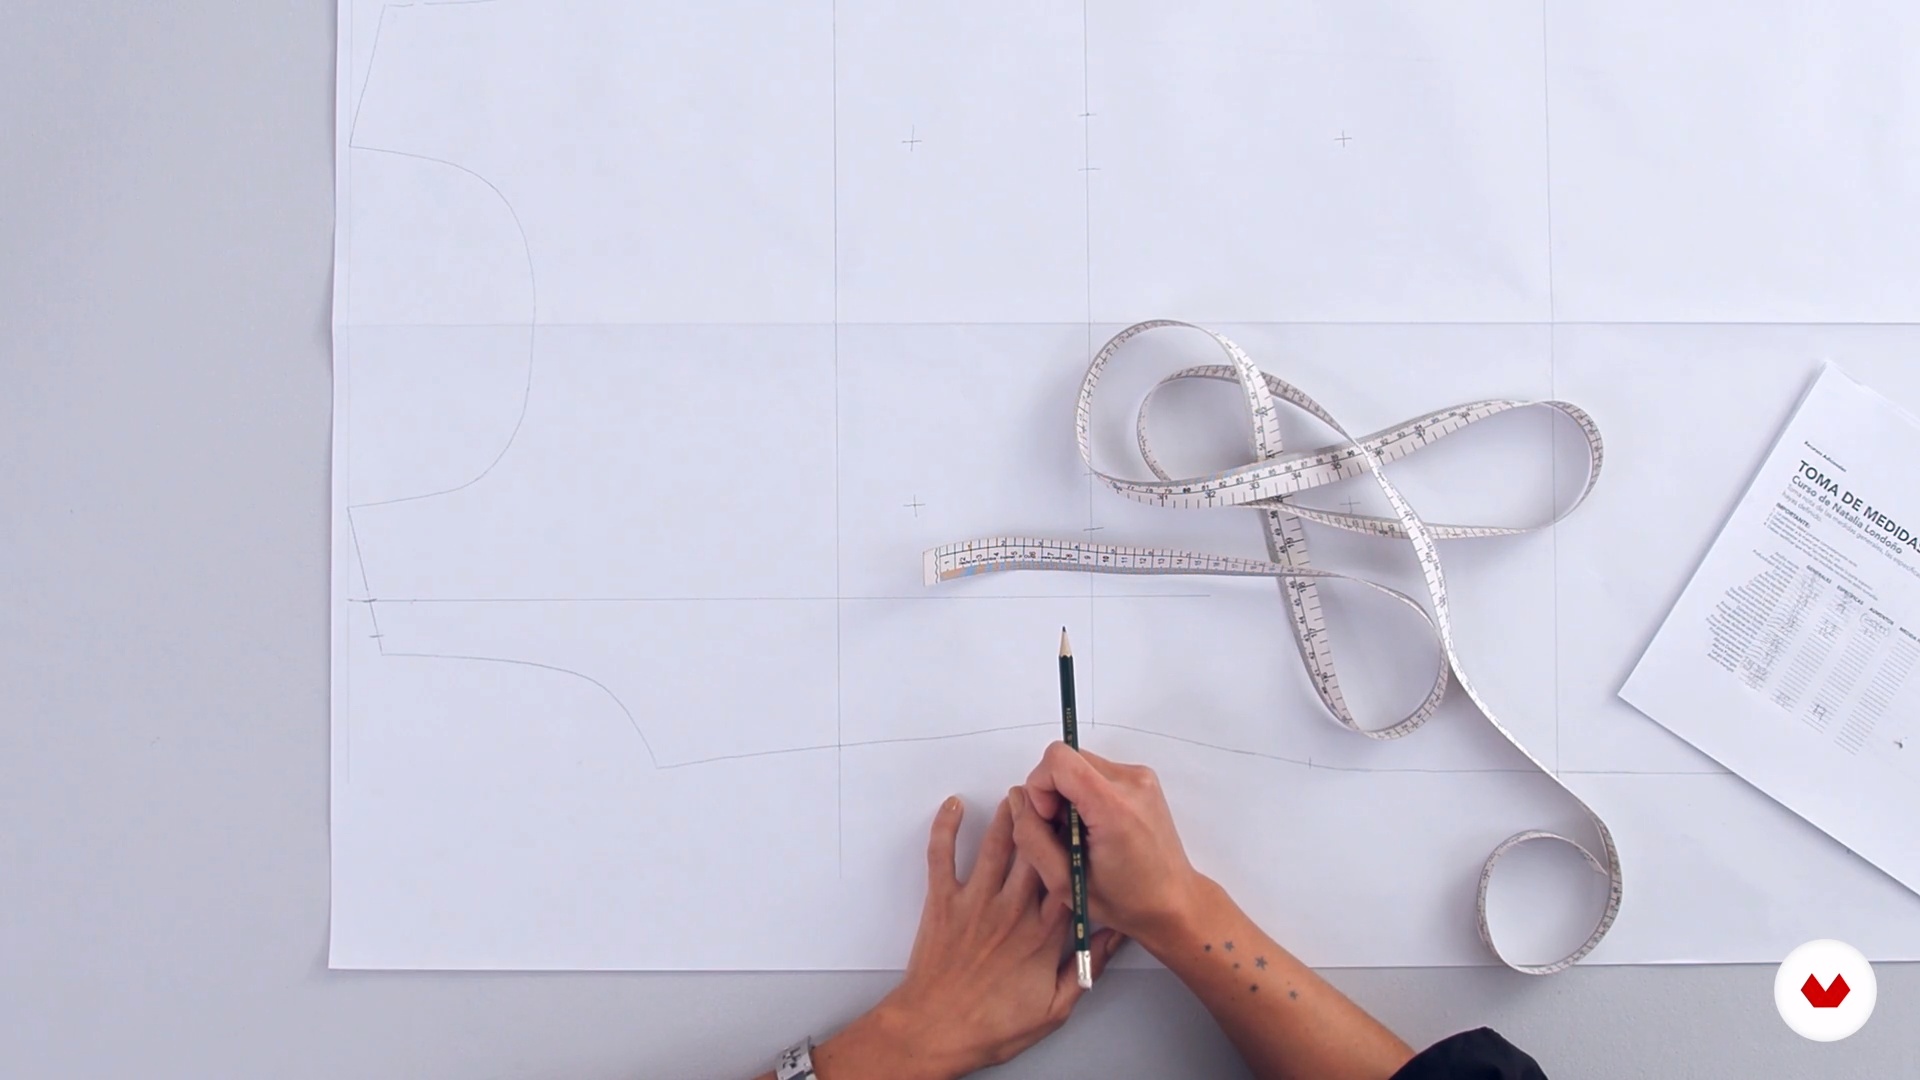
In this lesson, I'll show you how to make some modifications to your pattern. During this first part, I'll teach you how to make modifications to your pattern, so I'll show you just a few of the many modifications you can make.
19m
 13
13Modifications for specific pattern 2
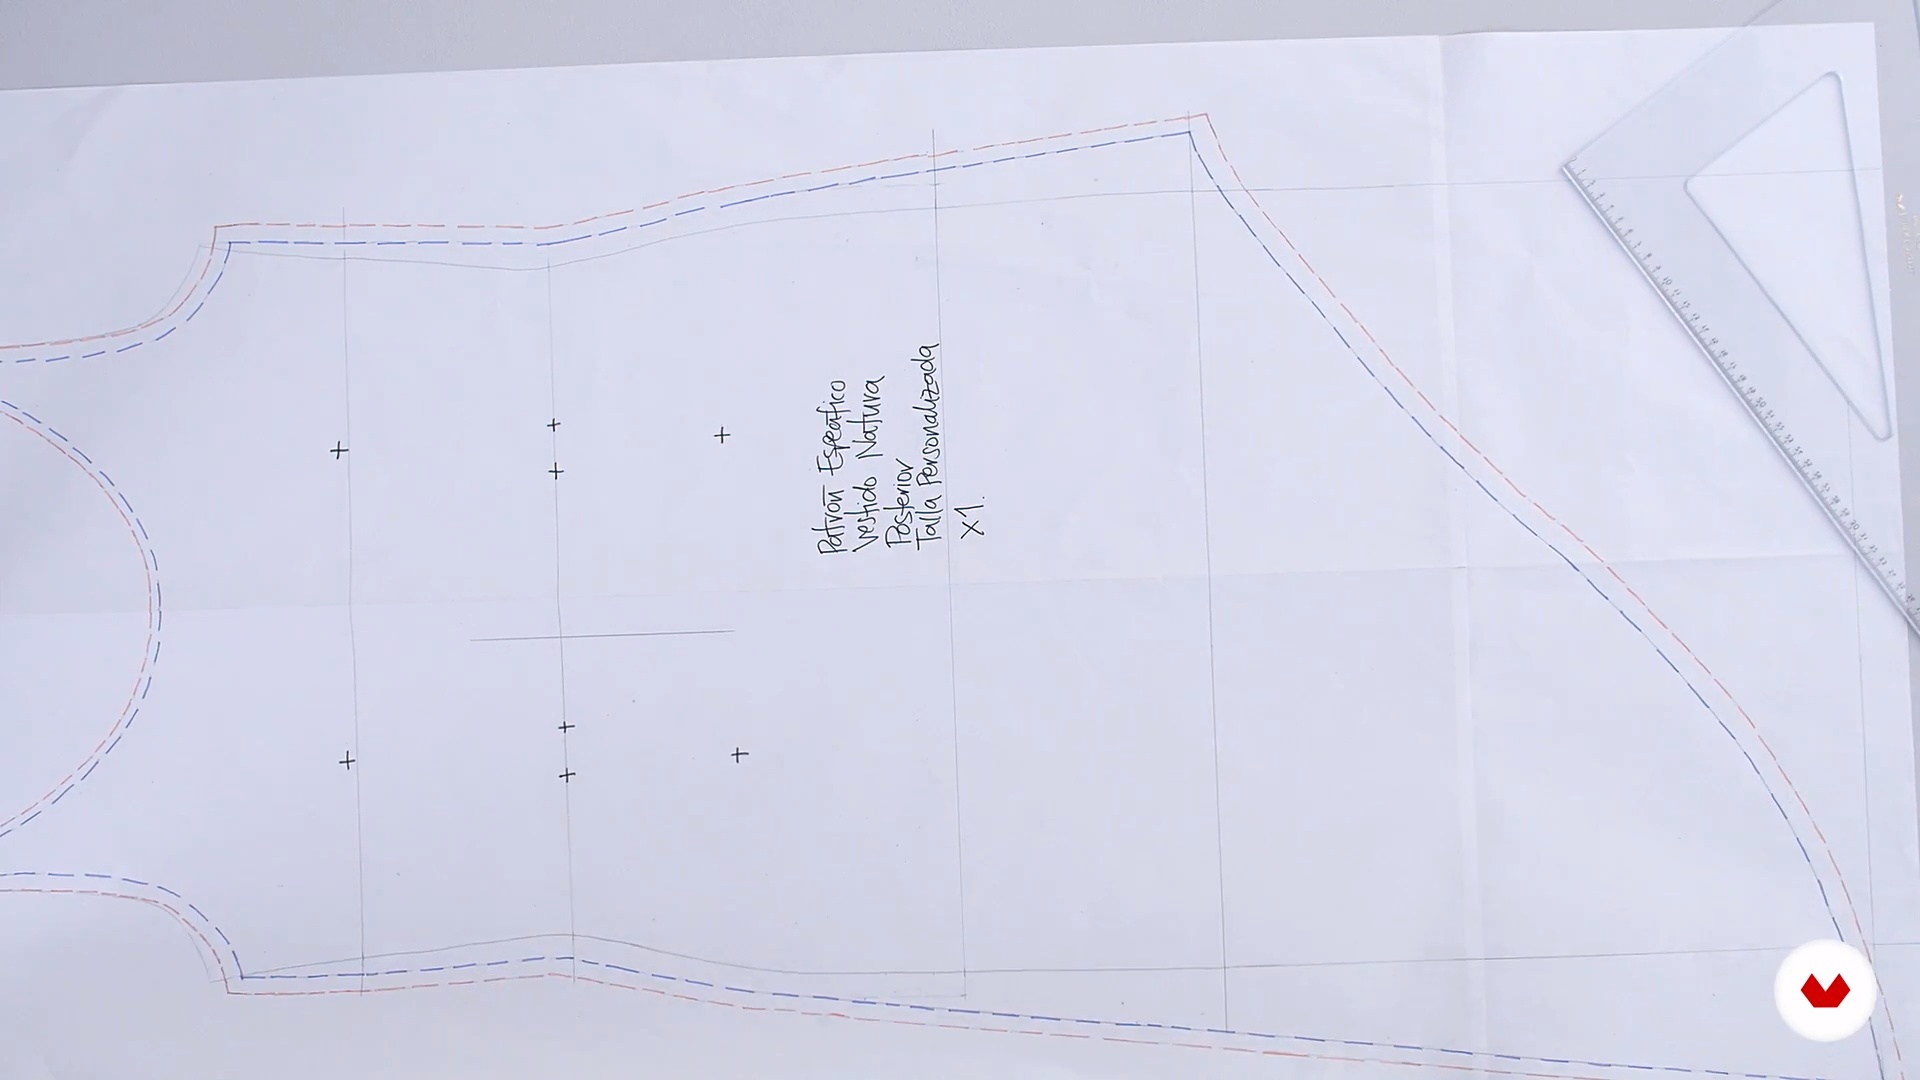
Here I'll show you how to make hip, neckline, and other alterations. I'll show you how to increase the height using the pattern, always using the initial measurements as a reference. I'll explain the precautions you should take so you don't have any problems when cutting and assembling. When you're done, you'll have your front and back patterns.
18m
 14
14Modifications for specific pattern 3
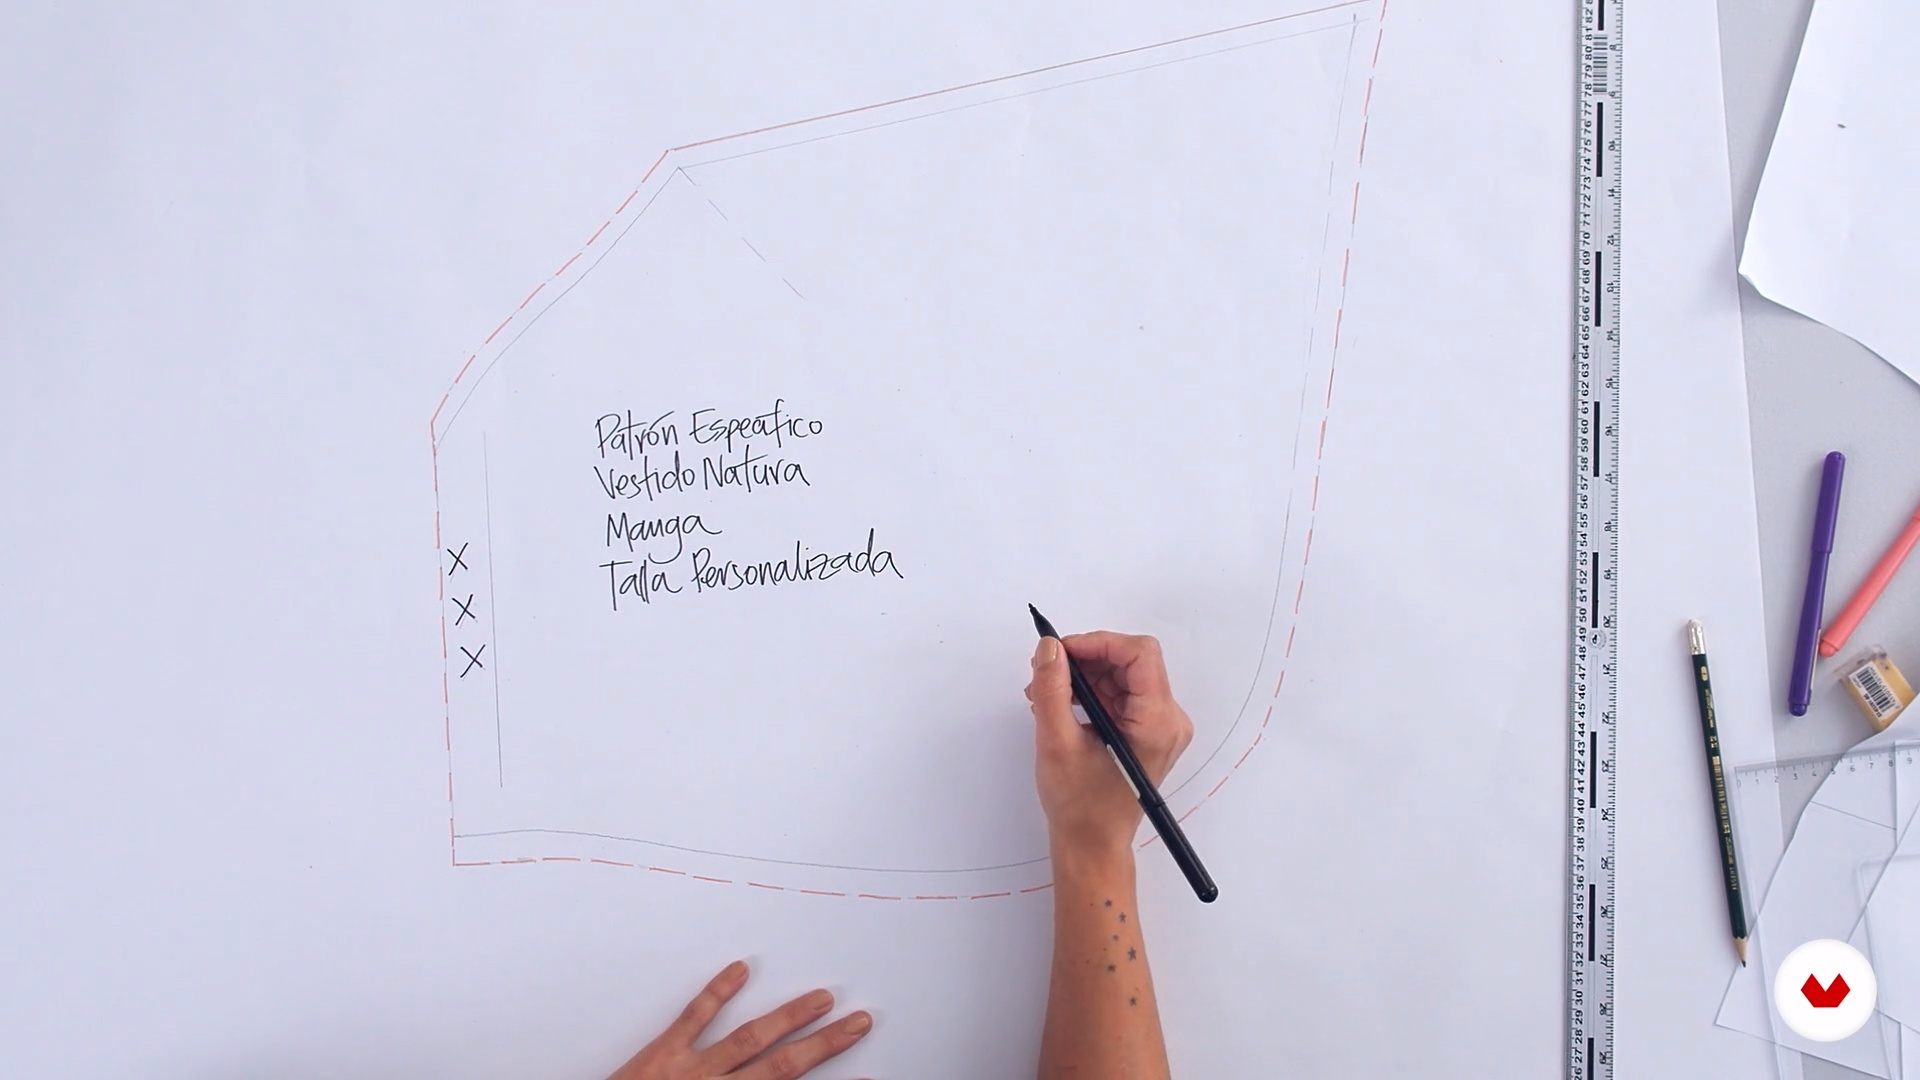
Finally, I'll show you how to work your sleeve pattern. I'll give you some tips to keep in mind when making your patterns; this will help you create a unique design. Remember that this pattern works for both sides, so I recommend that no matter how long it takes you to make it, make sure it's done correctly.
11m
 15
15Assembly and preparation of the dress
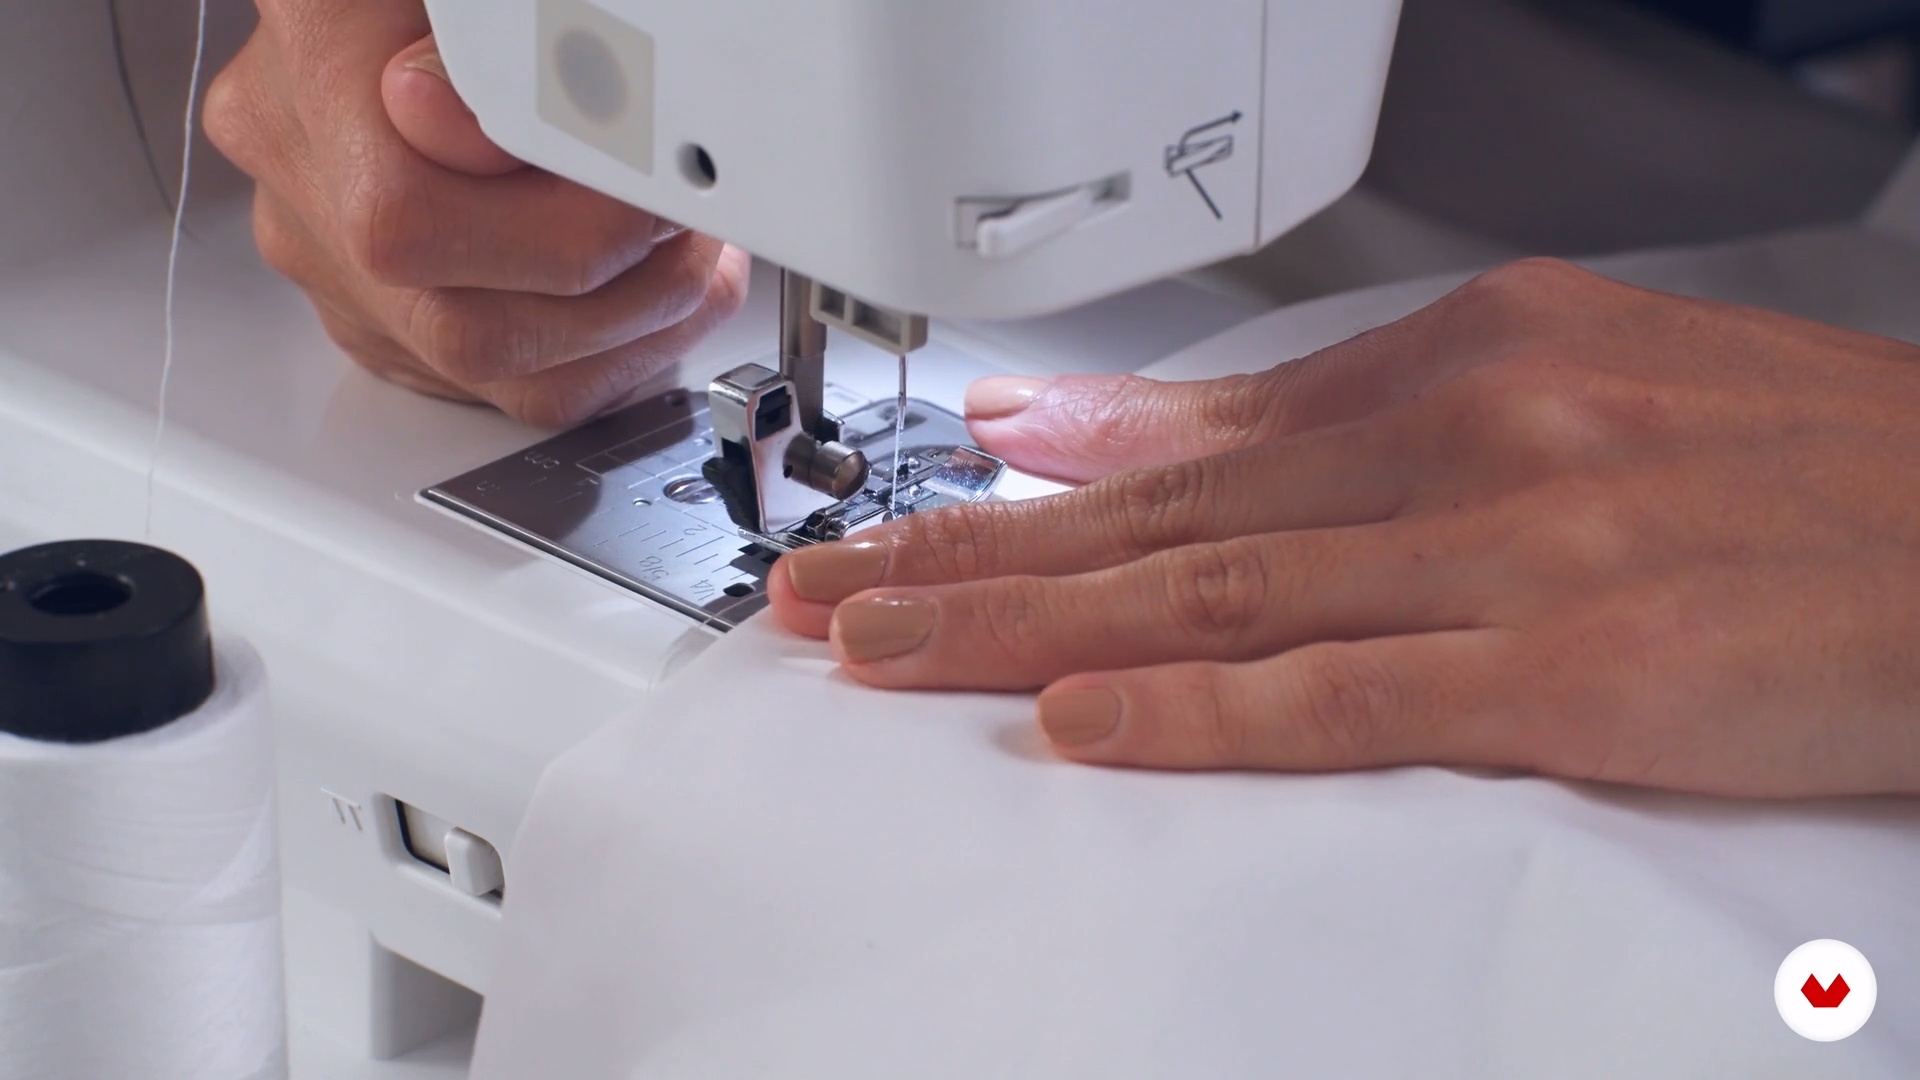
Once you have all the pieces cut from your final fabric, marked the darts and right sides of the fabric, you'll proceed to assemble the dress using the sewing machine. At the end of the lesson, you'll have a fully sewn dress (no hem, no bias, and no tags).
10m
 16
16Terminations
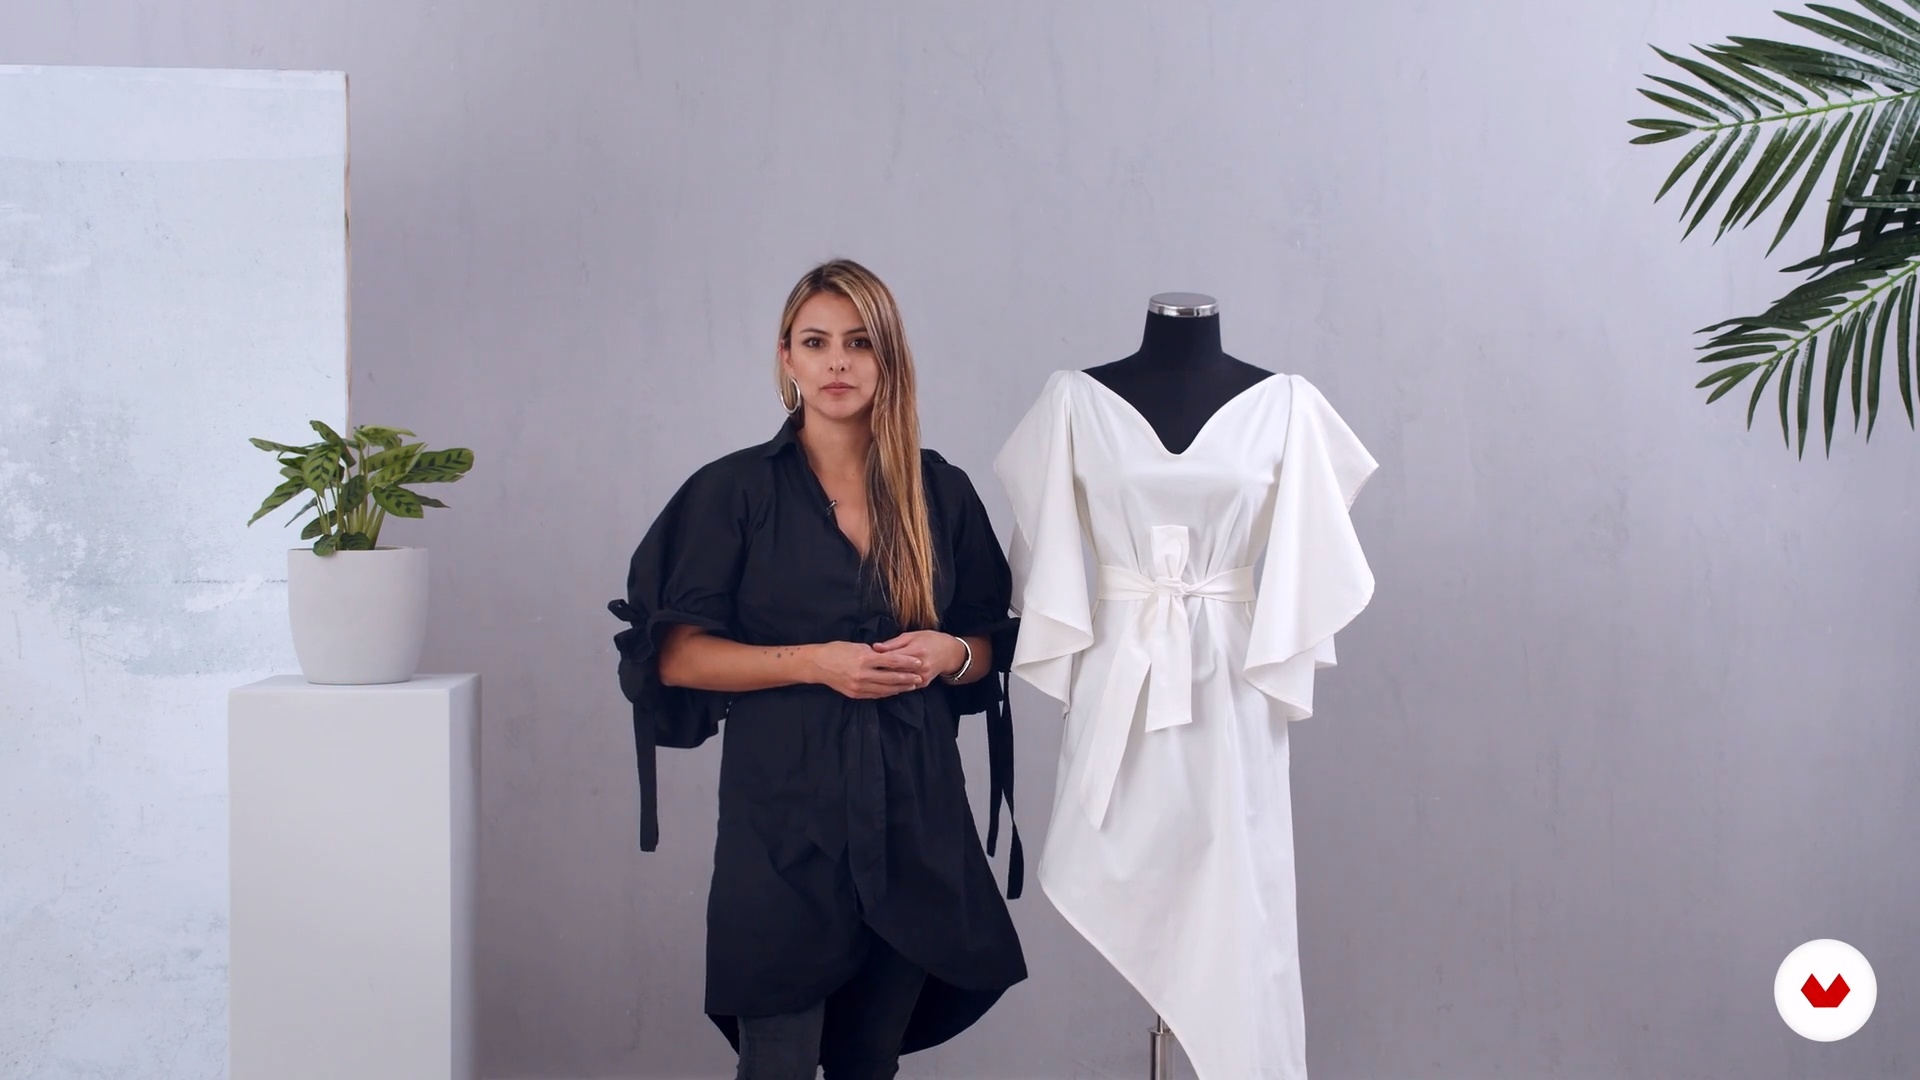
The finishing touches include hems, hems, and tags. I'll tell you how to complete these details so your garment is finished. I'll also tell you how to add a zipper to your dress and its location and size.
4m
What is this course's project?
Students will create precise patterns replicating a favorite garment using professional pattern-making techniques. By the end of the course, they will have developed the skills to accurately reproduce their favorite garments, applying detailed measurement and design processes.
Who is this specialization for?
This course is designed for people passionate about fashion and tailoring. Ideal for those seeking to develop skills in design and pattern making, from beginners to experienced individuals who wish to perfect their techniques and create unique garments with a professional approach.
Requirements and materials
No extensive prior knowledge is required. You just need access to a sewing machine and knowledge of how to use it. You'll also need an iron, buttons, thread, and fabric. Curiosity and a desire to create are essential to get the most out of it.
Reviews
- 1 month ago
Kurs yeni başlayan biri olarak beni inanılmaz etkiledi. Çok detaylı anlatımlar, en küçük işlemlerin bile detaylı gösterilmesi muhteşemdi. Ayrıca her anlatılan modülle ilgili özgün modellerim dikimlerinin gösterilmesi mükemmel.Eklerdeki dosyalar da tatmin edici. Çok güzel şeyler öğrendim bu kurstan. Herkese çok teşekkür ederim. Emeklerinize sağlık. Gracias :)
- 4 months ago
El curso es bastante completo y muy fácil de seguir para gente que se esta iniciando en la costura. Además lo puedes hacer a tu ritmo y verlo en varios idiomas.
- anel_svgPLUS5 months ago
Es excelente para familiarizarte con el mundo del patronaje y la costura
- 5 months ago
Me encanta, excelentes recursos y demasiadas tecnicas por aprender
- 6 months ago
Muy buen conocimiento y experiencia de los instructores!! Las claes son muy claras y fáciles de seguir.
Select to get to know your teachers in this specialization course


What to expect from this specialization course
Learn at your own pace
Enjoy learning from home without a set schedule and with an easy-to-follow method. You set your own pace.
Learn from the best professionals
Learn valuable methods and techniques explained by top experts in the creative sector.
Meet expert teachers
Each expert teaches what they do best, with clear guidelines, true passion, and professional insight in every lesson.
Certificates
PLUSIf you're a Plus member, get a custom certificate for every specialization course. Share it on your portfolio, social media, or wherever you like.
Get front-row seats
Videos of the highest quality, so you don't miss a single detail. With unlimited access, you can watch them as many times as you need to perfect your technique.
Share knowledge and ideas
Ask questions, request feedback, or offer solutions. Share your learning experience with other students in the community who are as passionate about creativity as you are.
Connect with a global creative community
The community is home to millions of people from around the world who are curious and passionate about exploring and expressing their creativity.
Watch professionally produced courses
Domestika curates its teacher roster and produces every course in-house to ensure a high-quality online learning experience.
FAQs
This course teaches sewing techniques, patchwork, machine embroidery, Mexican indigenous pattern making, block printing, and creating accessories like bags and cushions, blending traditional and modern methods for unique textile projects.
Yes, the course is designed for people with basic sewing knowledge who want to refine their skills and explore new textile methods and tools.
You’ll need a sewing machine, scissors, pins, rotary cutter, quilting rulers, fabrics like cotton and linen, threads, printed patterns, fabric markers, and accessories like presser feet and bobbins.
You’ll learn to make Japanese-style bags, patchwork cushions, felt food, garments with indigenous patterns, and customize fabrics with hand printing and machine embroidery.
It’s not essential, but having basic sewing skills is recommended to get the most out of the patchwork and quilting techniques included.
The course shows how Mexican indigenous pattern making maximizes fabric use, similar to Japanese kimono techniques, minimizing waste and highlighting cultural identity in garments.
Yes, the course covers how to use presser feet, buttonhole feet, quilting feet, and other essential accessories for various techniques and professional finishes.