


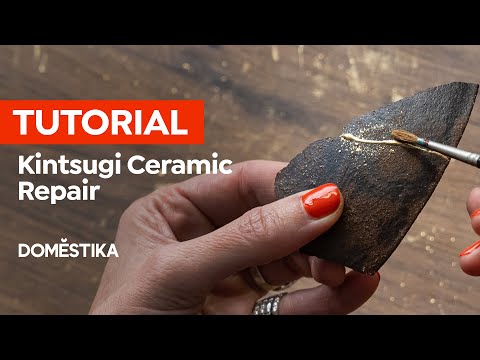
Kintsugi Tutorial: How to Glue Your Broken Bowl
Learn the basic steps to prepare the glue to stick together broken pottery using the ancient Japanese art of imperfection
Kintsugi is the ancient Japanese art of repairing broken pottery with gold, leaving visible golden lines along the seams where the cracks once were. It celebrates an object’s imperfections instead of hiding them, embracing the philosophy of impermanence and simplicity. Kintsugi is perfect for anyone looking to give a second life to their favorite pottery pieces in a unique and creative way.
You can use items that are already broken, or you can purposefully break your pottery and put it back together for a beautiful and original result. Kintsugi also has the added advantage of grounding and calming the mind as you focus on the delicate process of putting your ceramics back together.

Clara Graziolino (@claragraziolino) is a ceramic artist and Kintsugi expert based in Madrid and Turin, with over 20 years’ experience creating unique, handmade pieces. For her, Kintsugi is much more than an art form - it is a meditative practice that has helped her find inspiration in difficult times.
Join her in this simple beginner’s tutorial as she demonstrates how to glue back together the broken pieces of a bowl using the Kintsugi technique.
Materials
- 2 part epoxy glue
-Gold dust powder
-Cotton balls
- Alcohol
- Wooden skewers
- Sticks
- Gloves
- Kitchen paper
- Paper masking tape
- A disposable plate
- A broken bowl
How to Glue Your Broken Bowl
1. Clean the broken pieces
Before you begin putting together your ceramic bowl, you will need to clean the pieces. Apply a small amount of alcohol to the cotton buds, being careful to squeeze out any excess liquid, before gently cleaning each piece on both sides.
Be careful not to clean along the fracture lines themselves, as you don’t want any fibers from the cotton to get caught there.

2. Choose the order you will glue the pieces
It’s important to look carefully at the order you will glue the pieces together, so that you don’t end up with any that don’t fit.
A way to do this is through a “trial run” where you try different ways of putting the pieces together using masking tape to hold them in place temporarily.

3. Number the pieces
Once you have decided on your order, you can use some more masking tape to number the pieces in the order you will glue them.
Once you have numbered each piece, you can remove the masking tape that is holding them together, but leave the numbered masking tape as a reference for later.

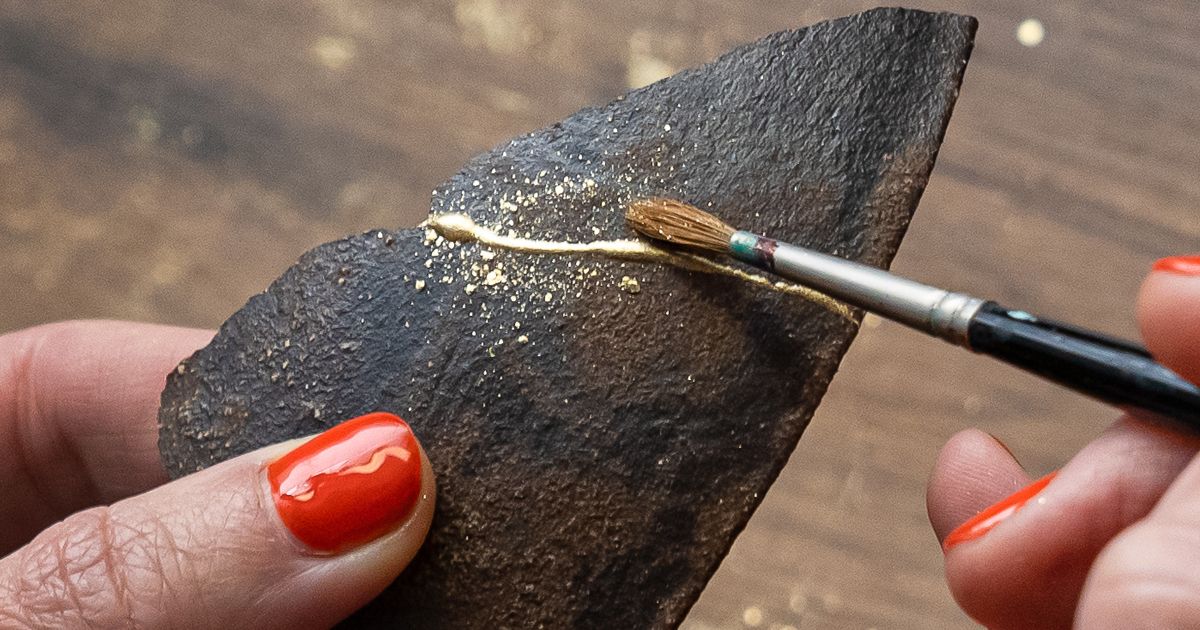
4. Prepare the glue
As the glue is quite strong, make sure you put your gloves on before beginning this step. Put a small amount of glue onto your disposable plate and mix well with your wooden stick. Make sure you apply the 2-part glue in even amounts.
Then, with another stick, apply a little of the gold dust to the glue (the exact amount isn’t important but it should only cover the tip of your stick). Mix them together for 20 seconds.

5. Apply to your bowl
Using the numbers on your pieces to guide you, begin to apply the glue evenly to the fracture of your first broken piece.
Be careful to only add the glue to the parts you are going to join. Hold your first two pieces together for around 10 minutes or until the glue is completely dry before continuing to glue the remaining pieces.

Did you enjoy this tutorial? If you'd like to learn more about this unique art form and create some beautiful ceramic pieces of your own, check out Clara Graziolino’s online course Introduction to Kintsugi: Repair Your Pottery with Gold.
You may also like:
- Free Guide: A Brief Explanation of Kintsugi Techniques
- Basic Materials for Starting Out in Kintsugi
- What is the Kintsugi Japanese Repair Technique?
- 10 Japanese-Influenced Creativity Online Courses


0 comments