


Lightroom Tutorial: How to Create Your Own Presets
Learn the steps to create personalized presets from scratch in Adobe Lightroom, with Julia Nimke
Do you know what a preset is? This feature in Lightroom is designed to speed up your image-editing workflow by allowing you to save a preset (configuration) that you made earlier. In this way, you can automate the application of adjustments to a larger number of photos, whenever needed.
Presets are used by thousands of professionals as a kind of "signature" and a way to create a cohesive look across several photos. You can even find some specialized websites with presets you can download.
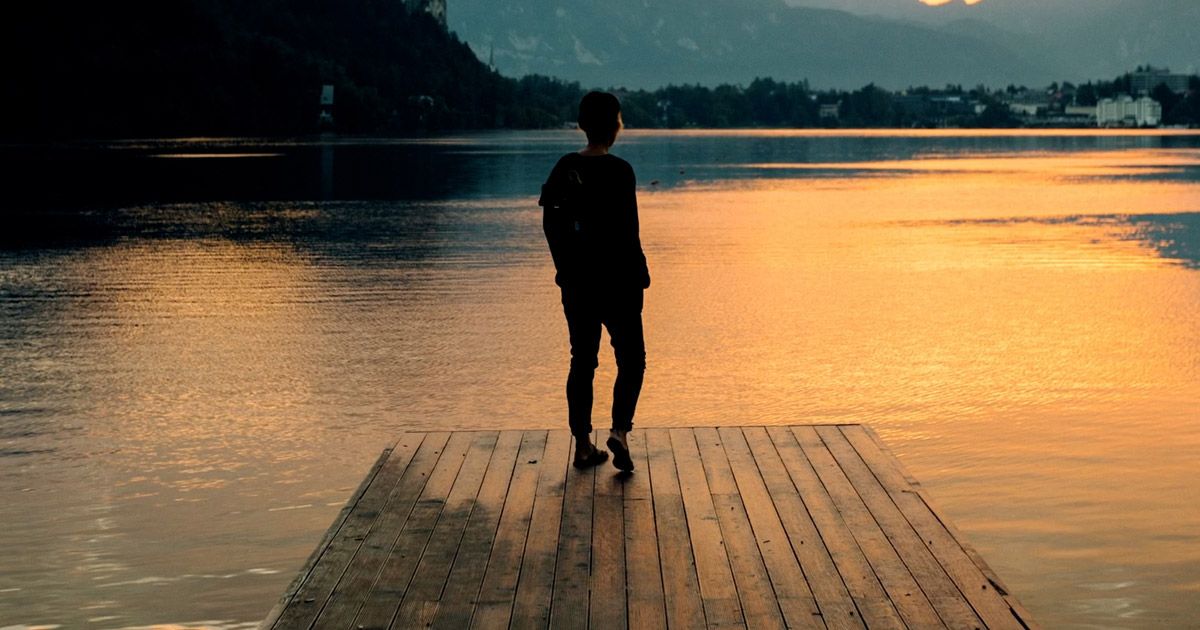
Julia Nimke (@julia_nimke) is a renowned photographer who specializes in travel photography and believes that the beauty of this medium is that it allows you to capture a unique moment that can never be repeated.
In this tutorial, Julia shows you how she creates her own presets and makes them available for download. She also teaches you how you can create and customize your own. Don't miss the video and check out the download at the end of the post.

Make basic adjustments
Julia likes to make her photos look warmer by increasing the temperature past 6,500k. This is the standard temperature for daylight, so use this information to your advantage when editing photos and establishing a visual identity.
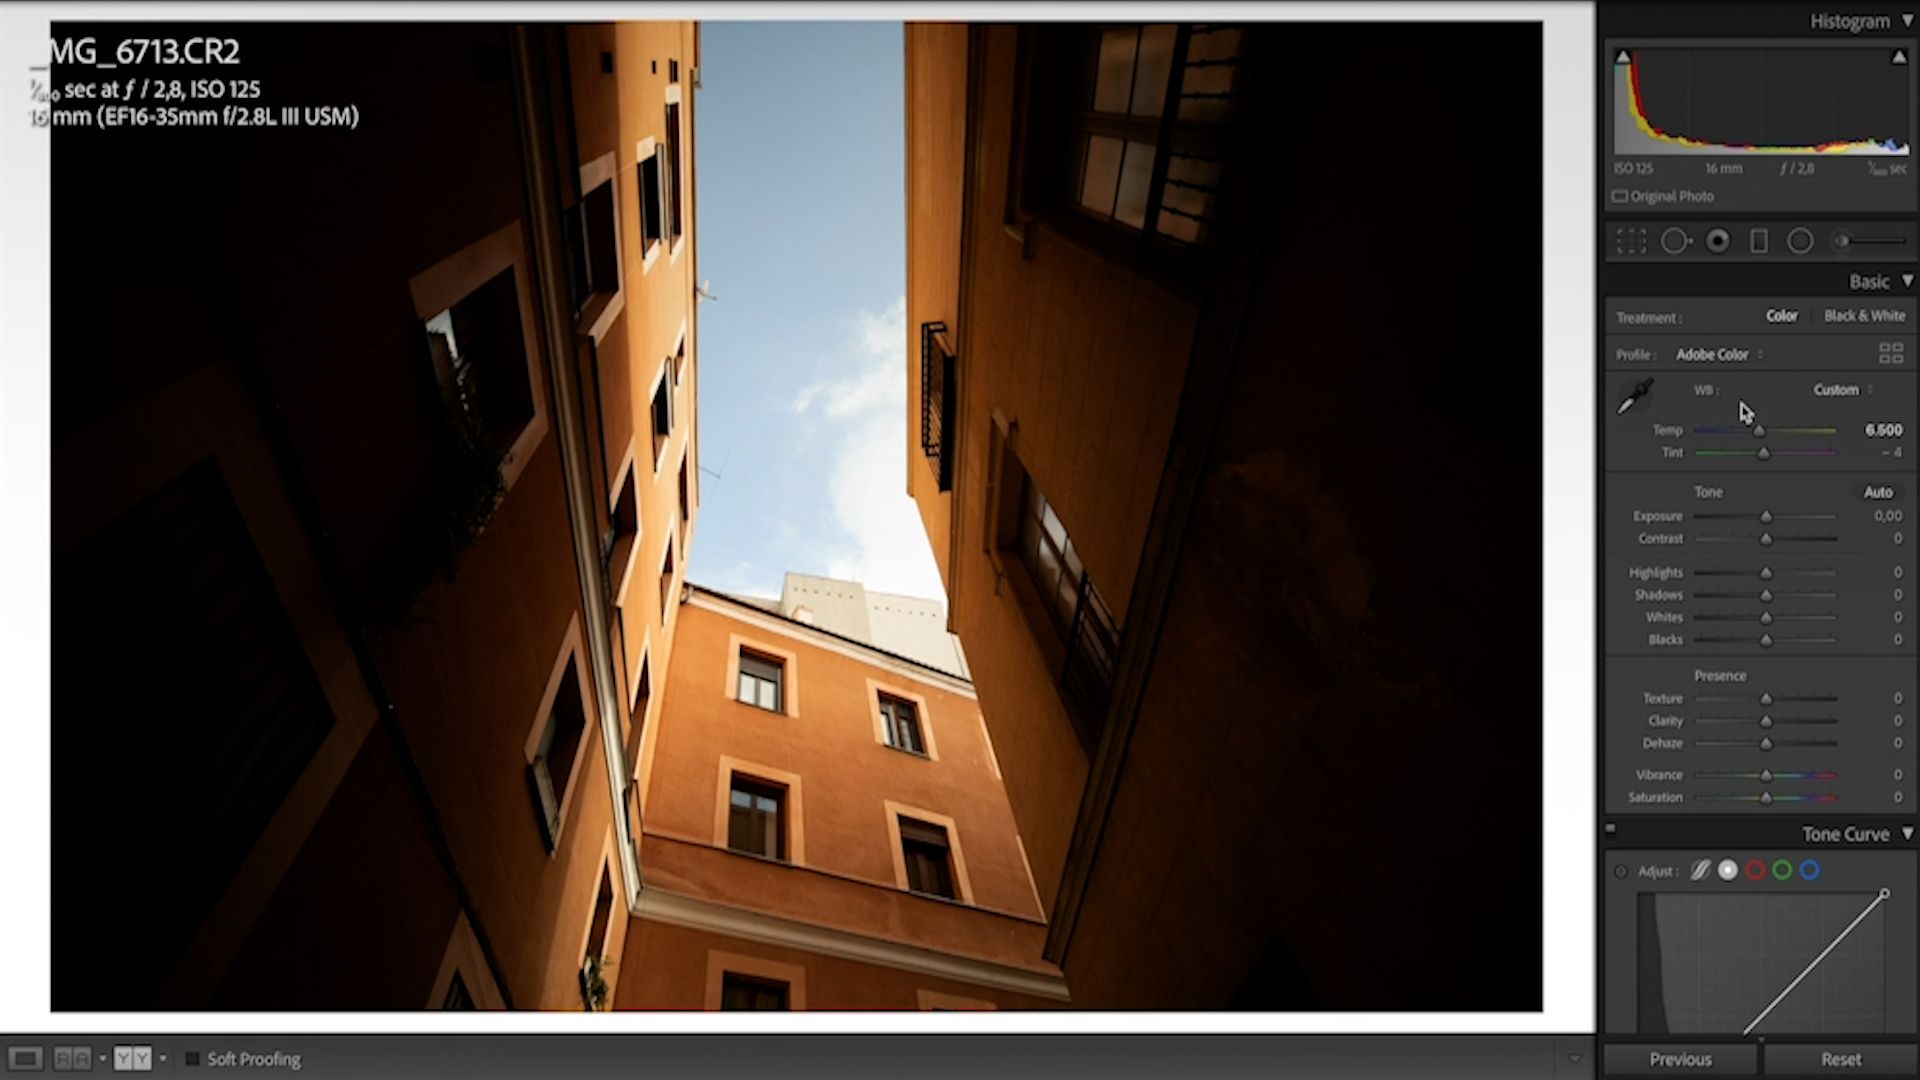
Also adjust the Contrast and Highlights to balance the light and shadows in your image. To give more texture to objects in the photo, increase Shadows and decrease Whites.
Use the HSL panel to adjust hues and colors
In this panel you can adjust Hue, Saturation and Luminance, which control all the aspects related to the image's color. Use your creativity and experiment to add your own touch to the photo, such as intensifying the color of buildings or the blue of the sky. The possibilities are endless.

After you have made these changes, check that the basic settings are still balanced. When you are satisfied with the result, save the adjustments as a preset and use them for other photos.
How to create a preset
1. Go to the left panel, click on the + button and choose Create Preset.

2. Name your preset and check the settings.
3. If everything is to your liking, click Create and save the preset to a folder on your computer.

4. That's it! Your preset has been created.
By clicking the button below, you will find a .zip file in the Downloads folder of your computer, with Julia Nimke's Presets.
Join for Free and download
Madrid_Julia_Preset.xmp
Did you like this tutorial? If you want to learn more from Julia about how to capture narrative images of different places and how to edit them, check out her online course Lifestyle and Travel Photography.


0 comments