Videography Specialization: Filming Techniques and Visual Storytelling

Learn essential techniques of filming, composition and edition with Davinci Resolve to create professional videos from scratch
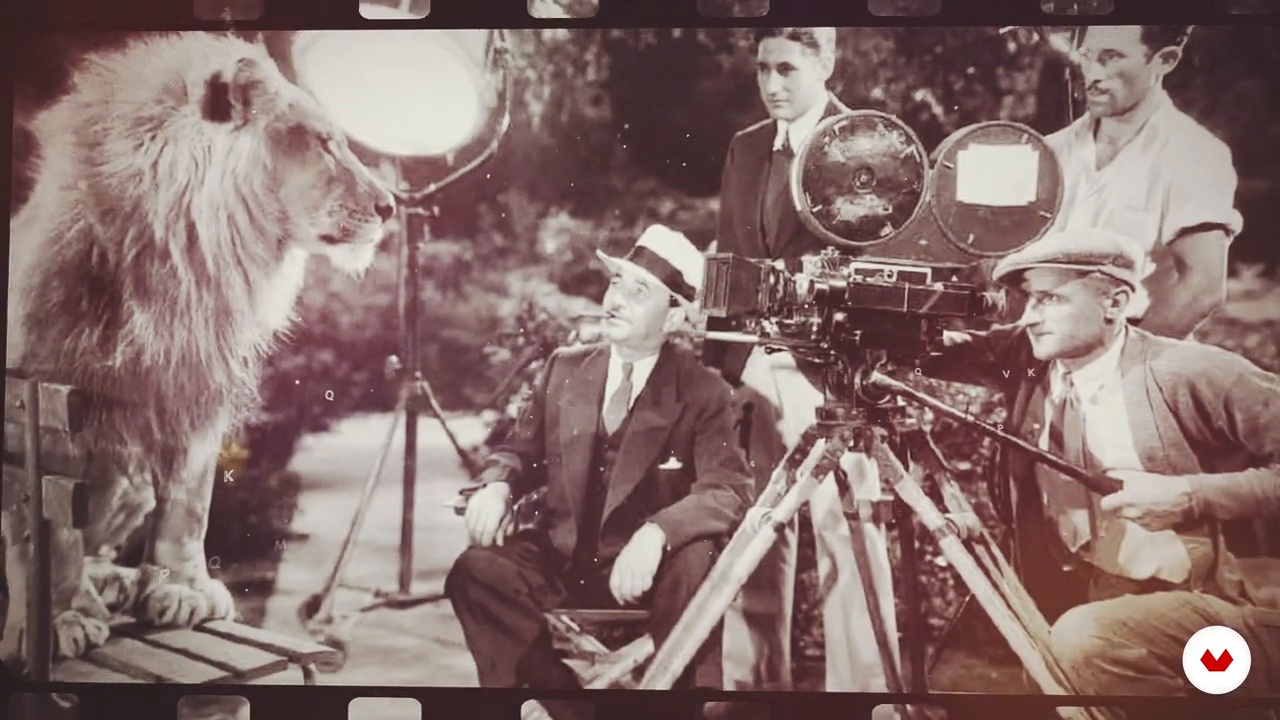
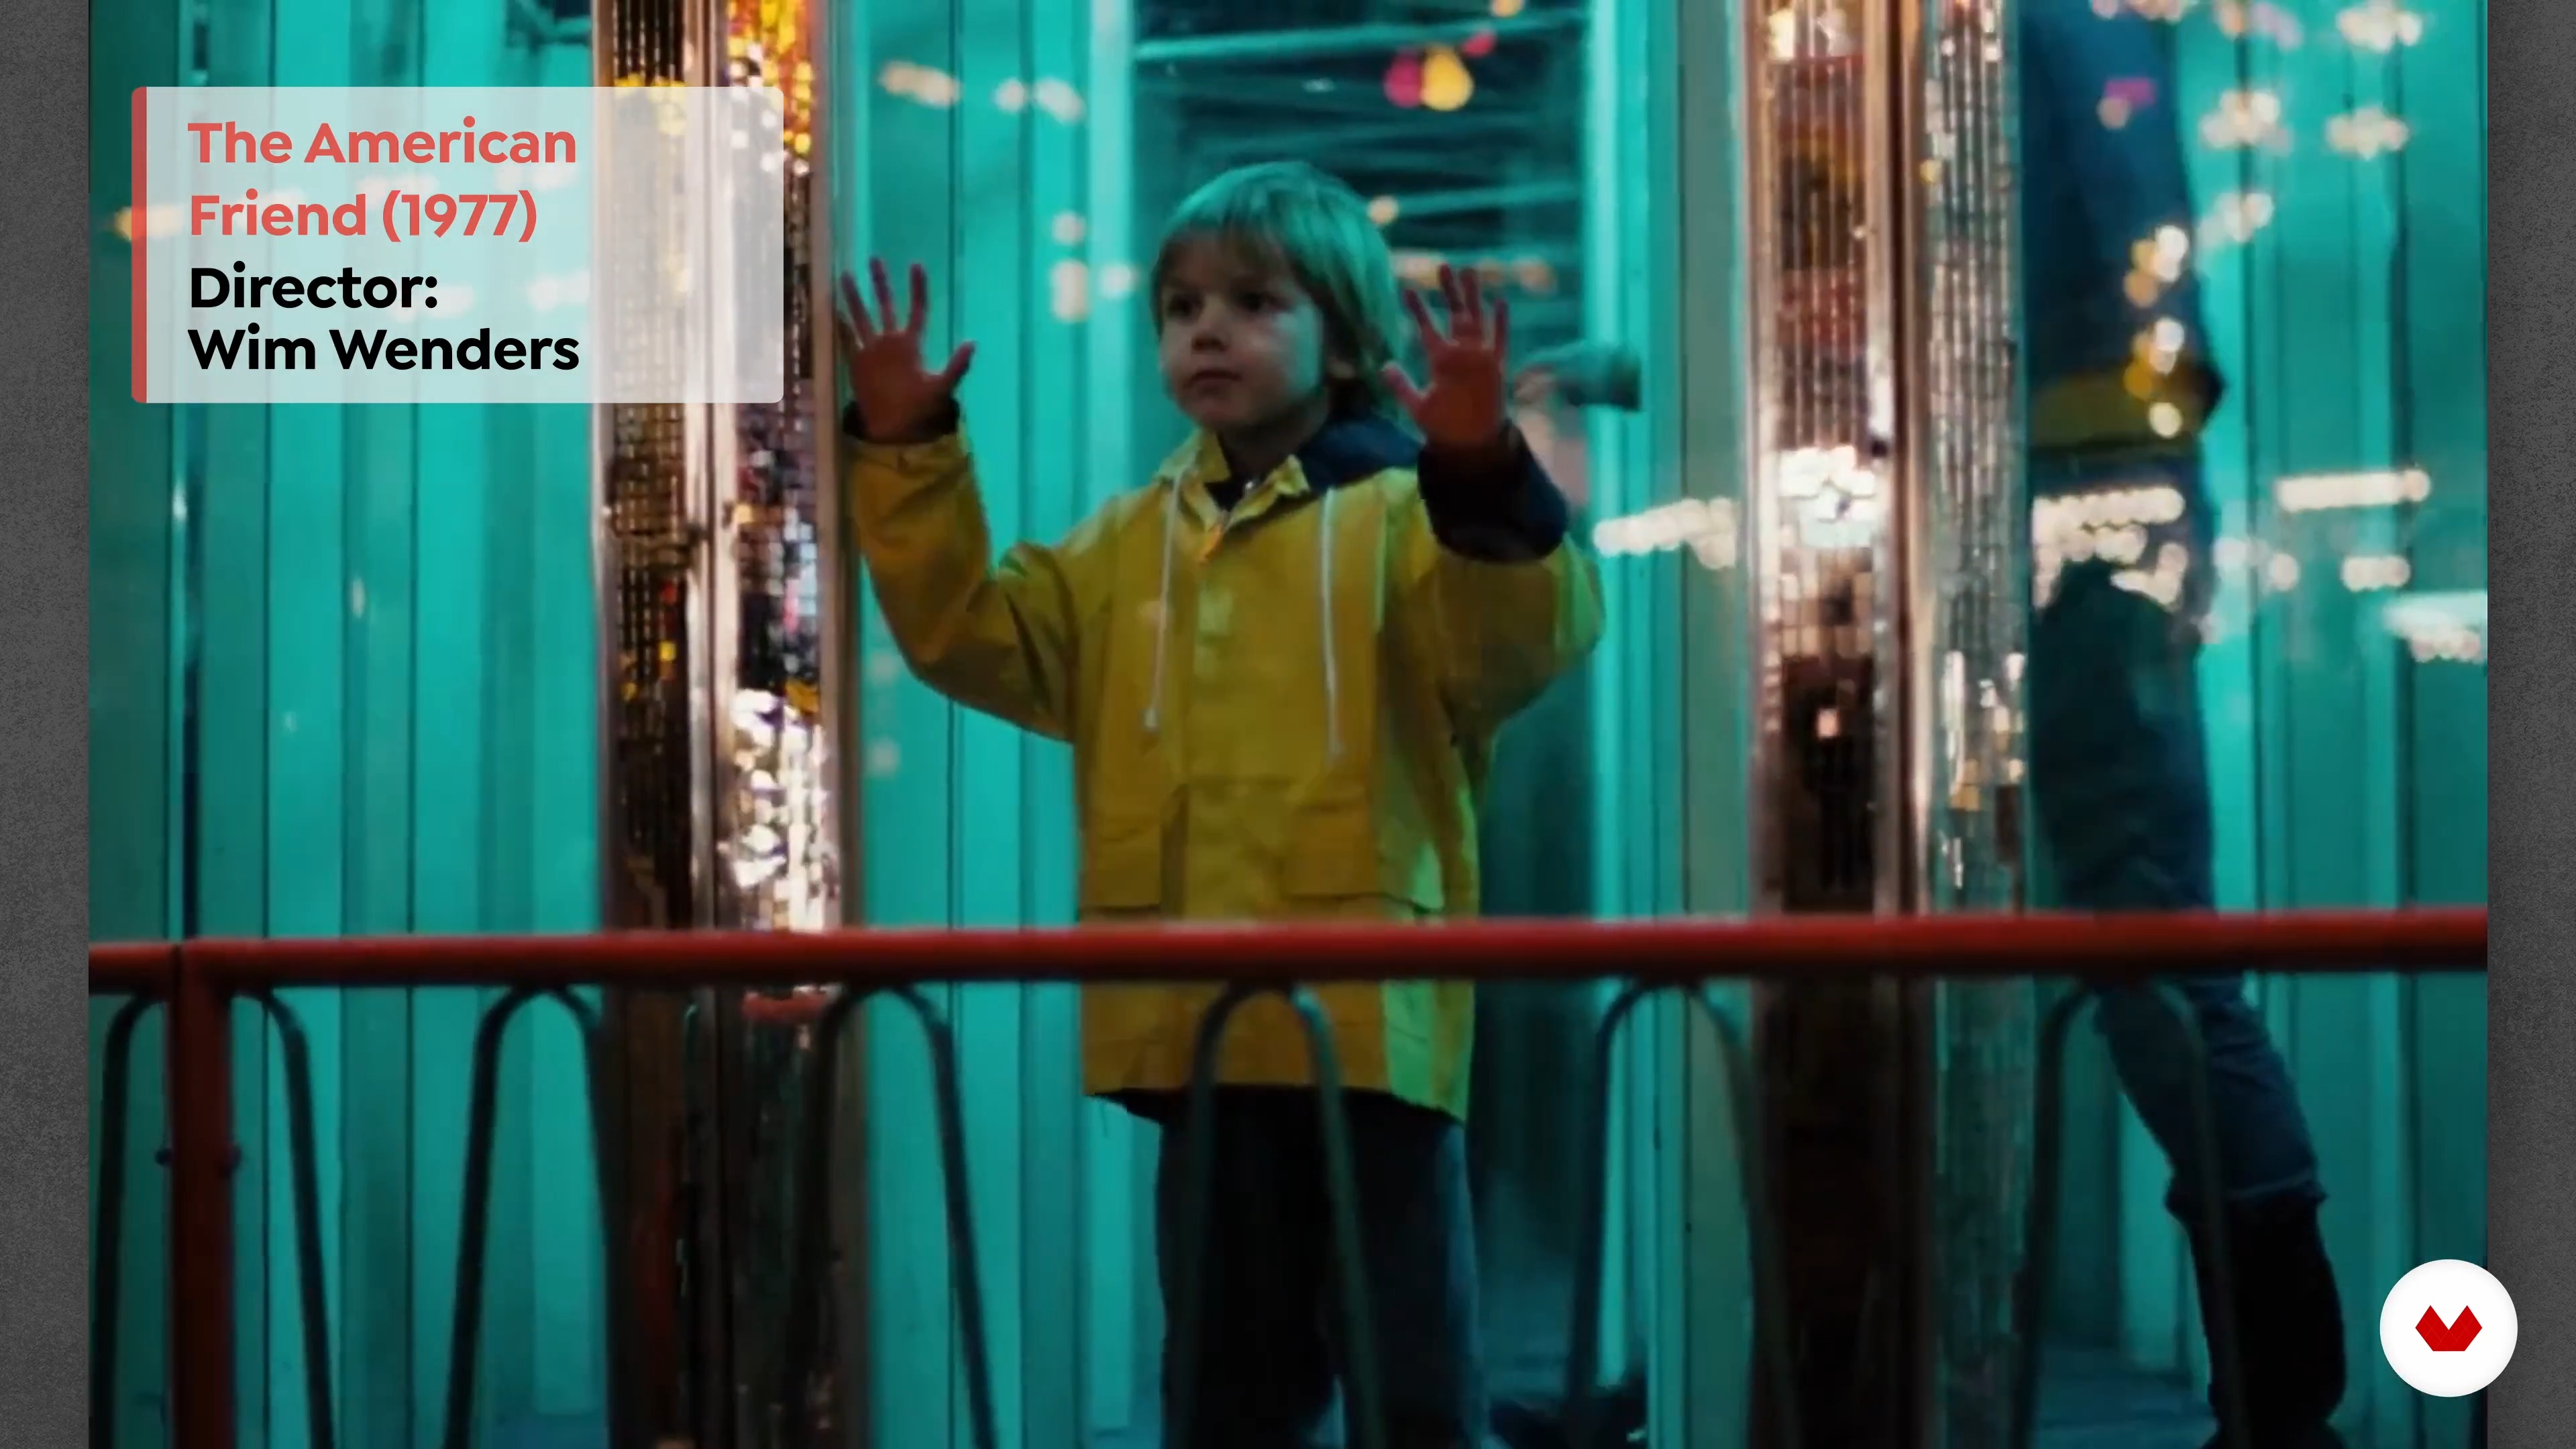
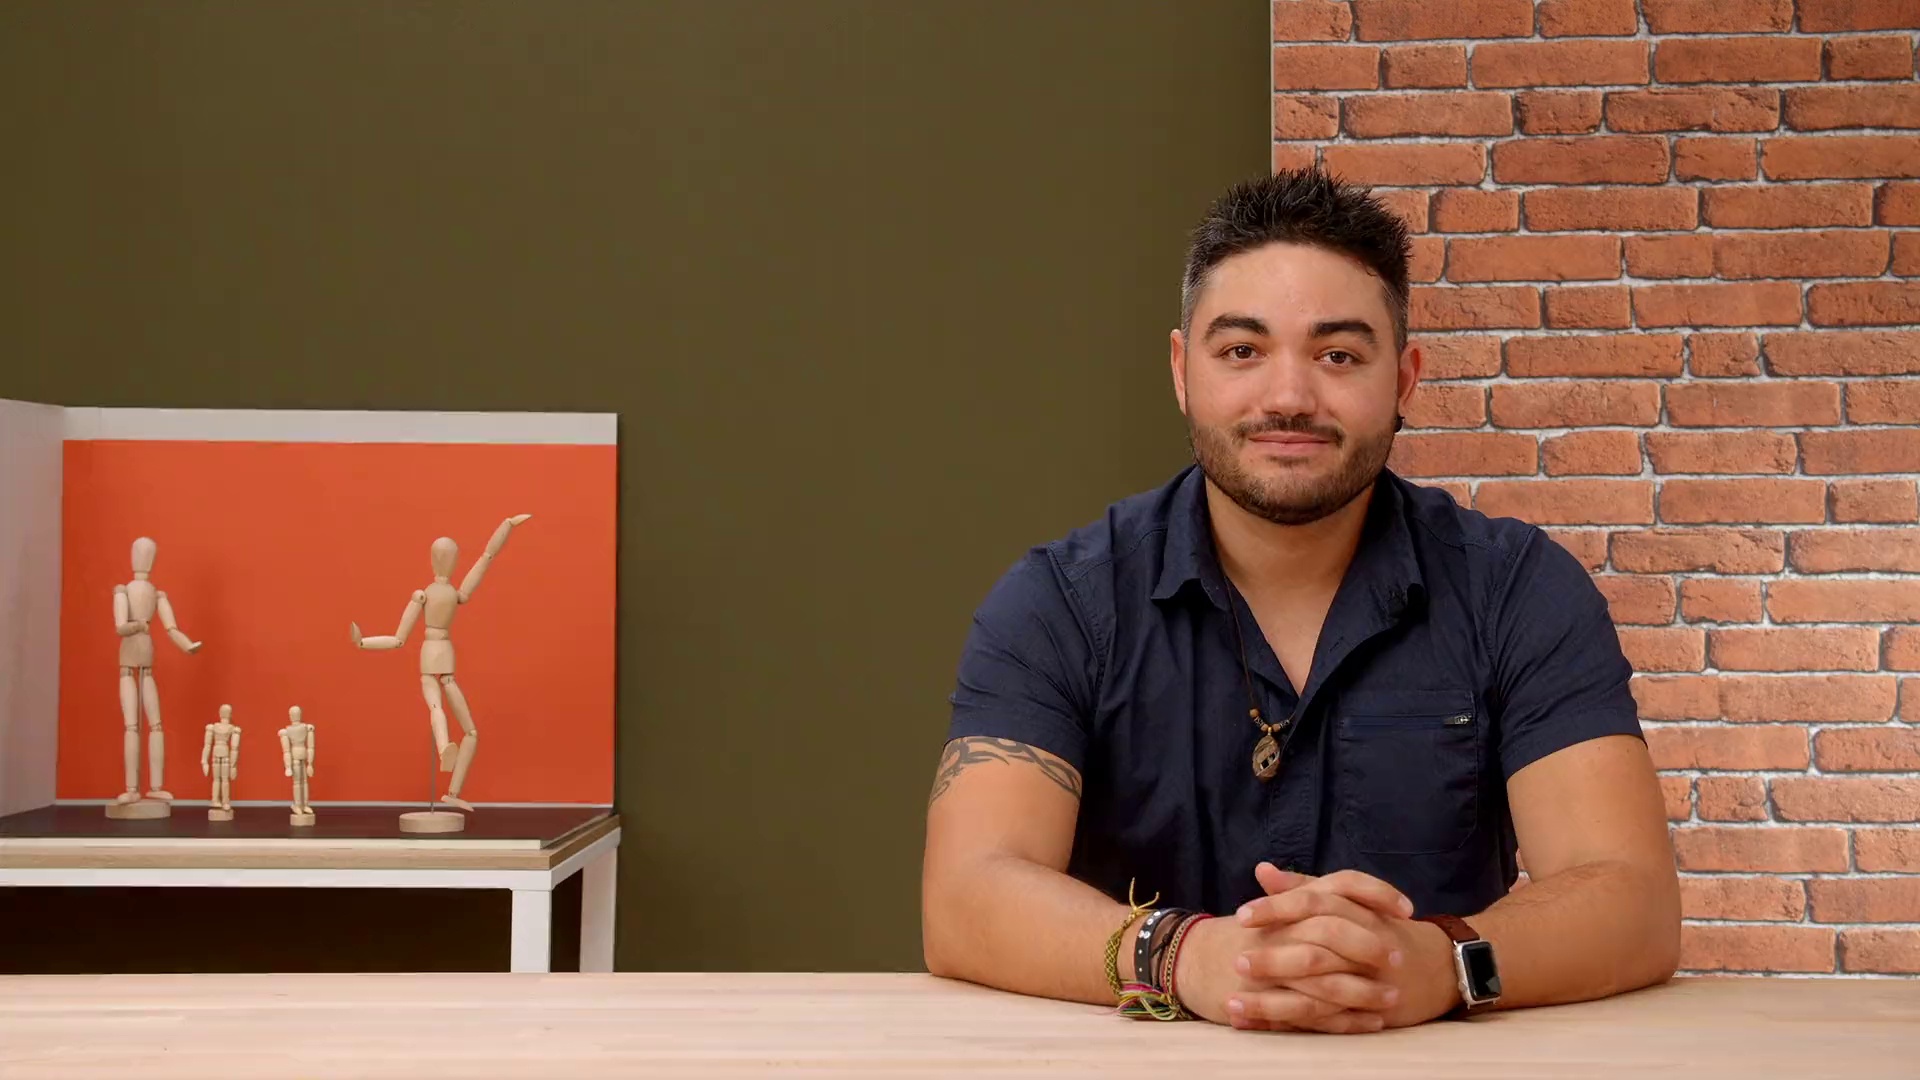
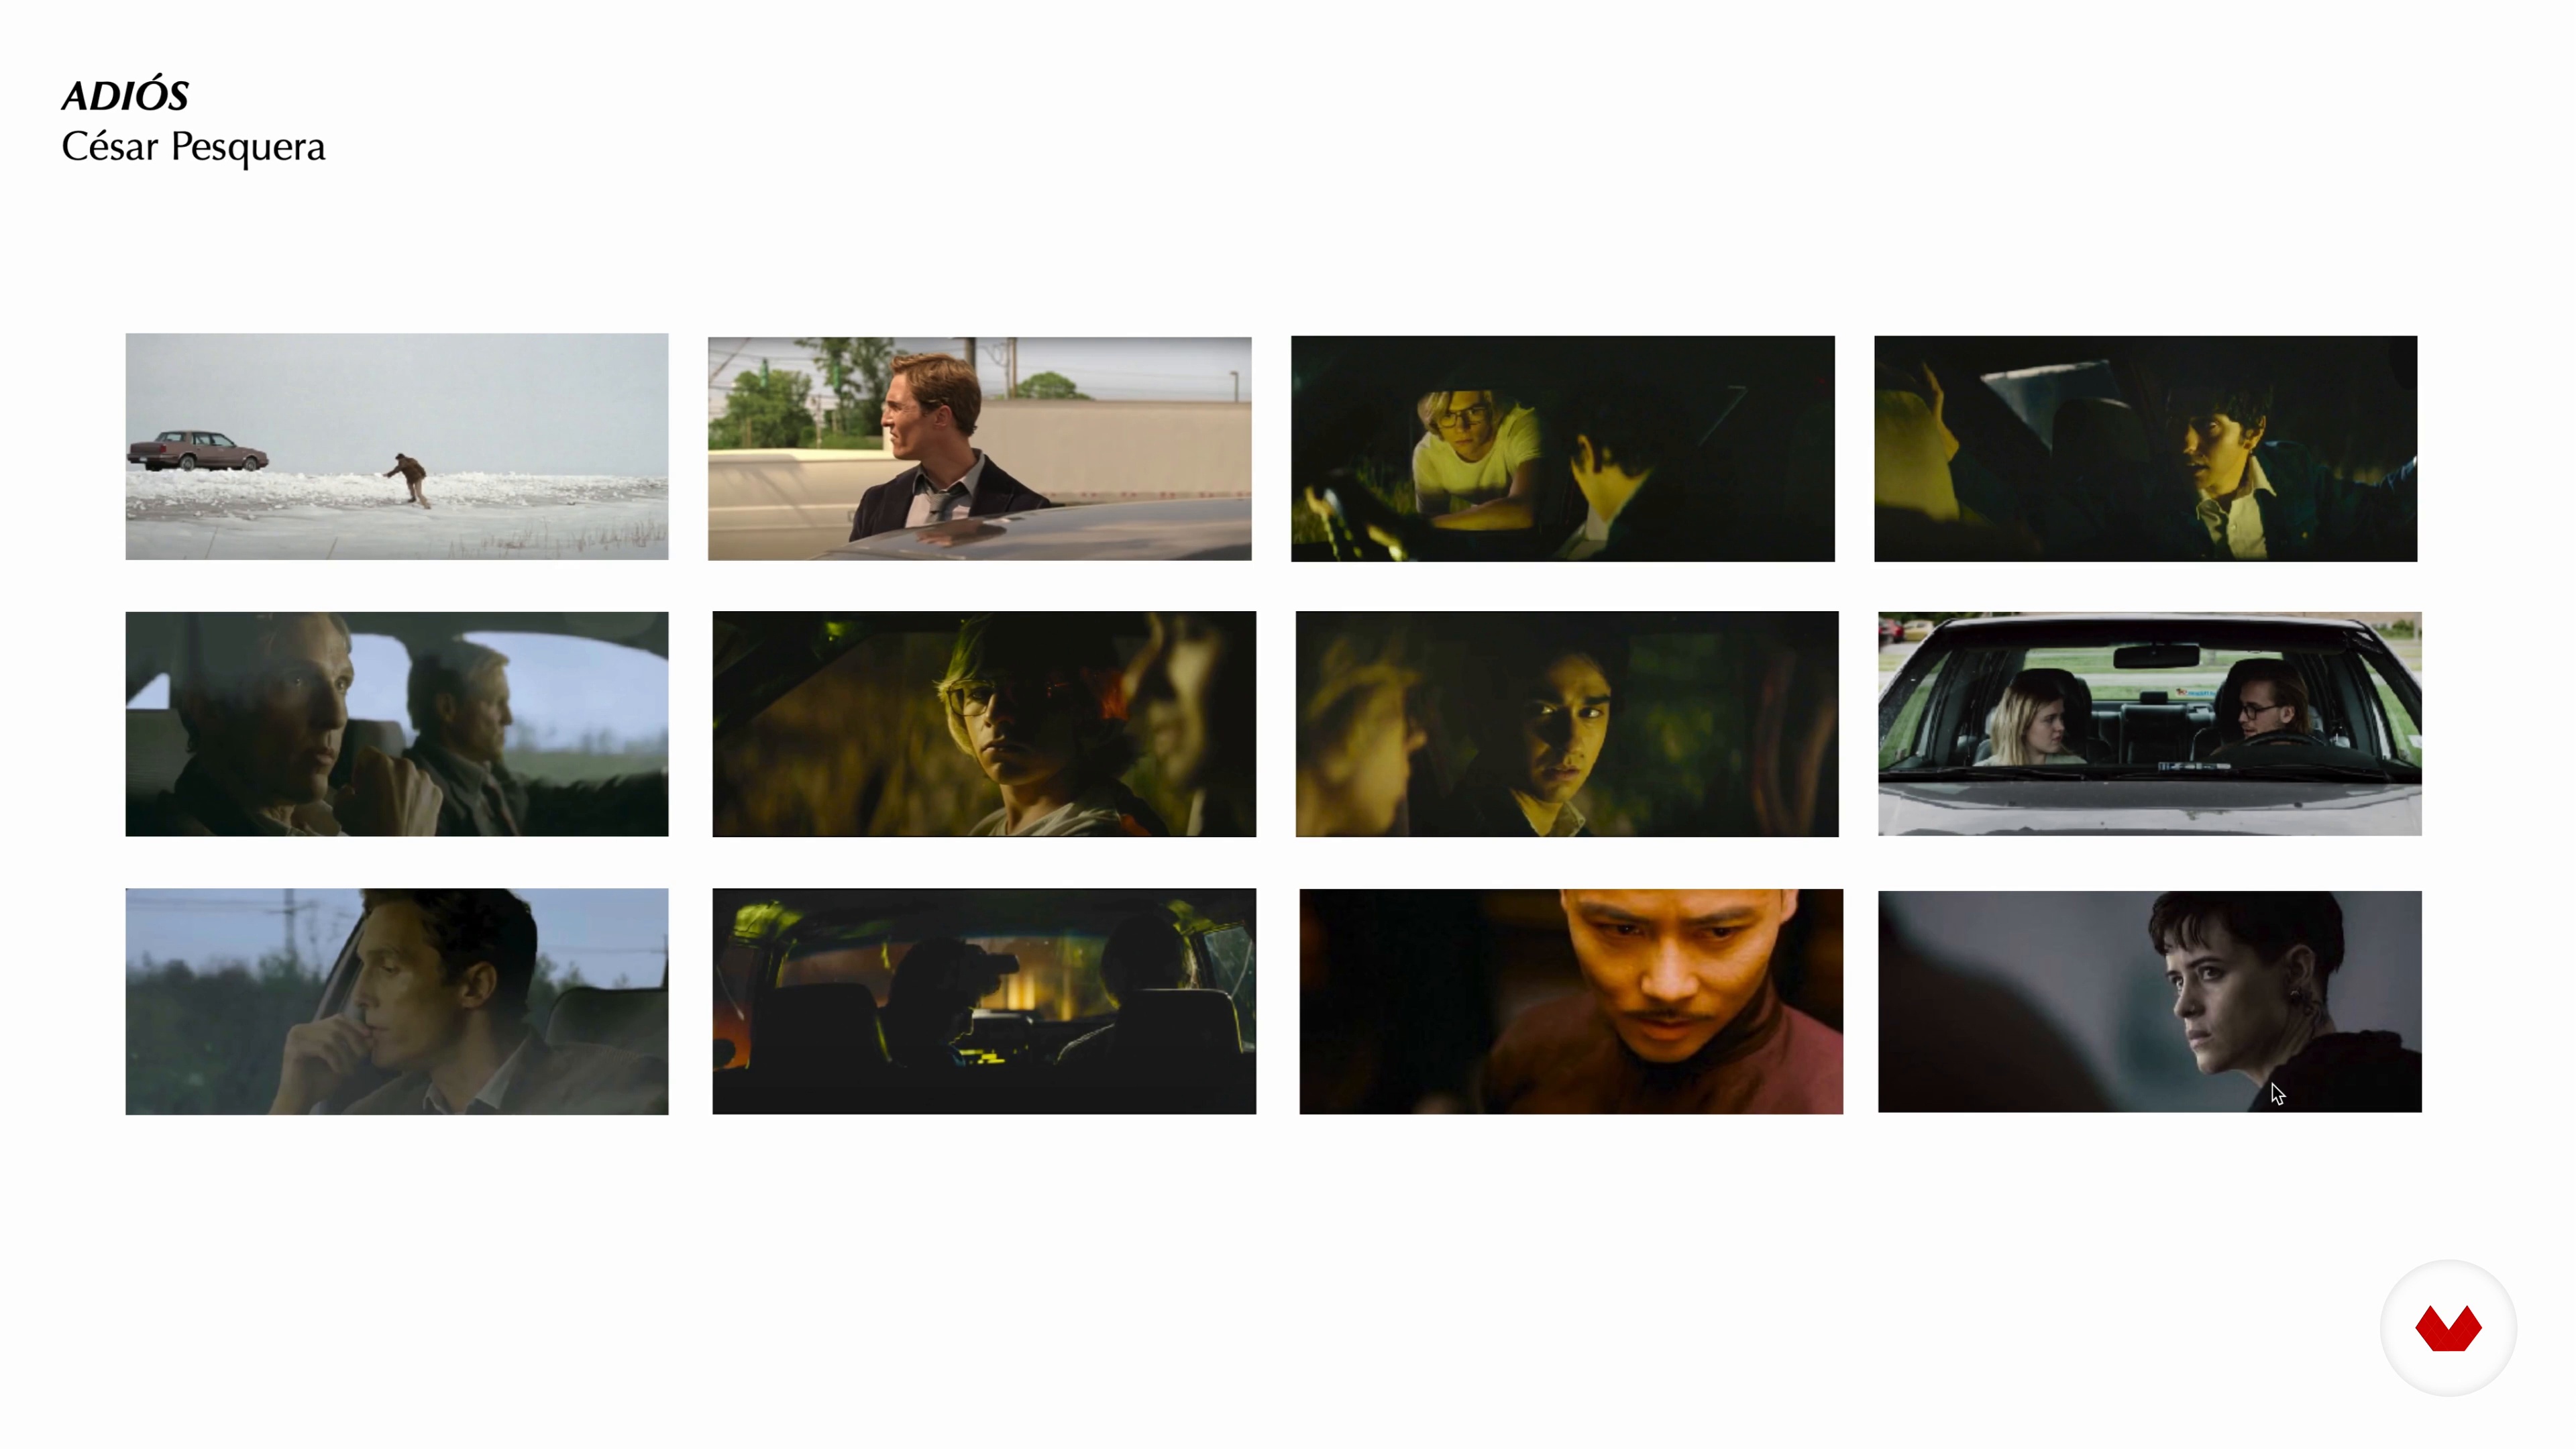
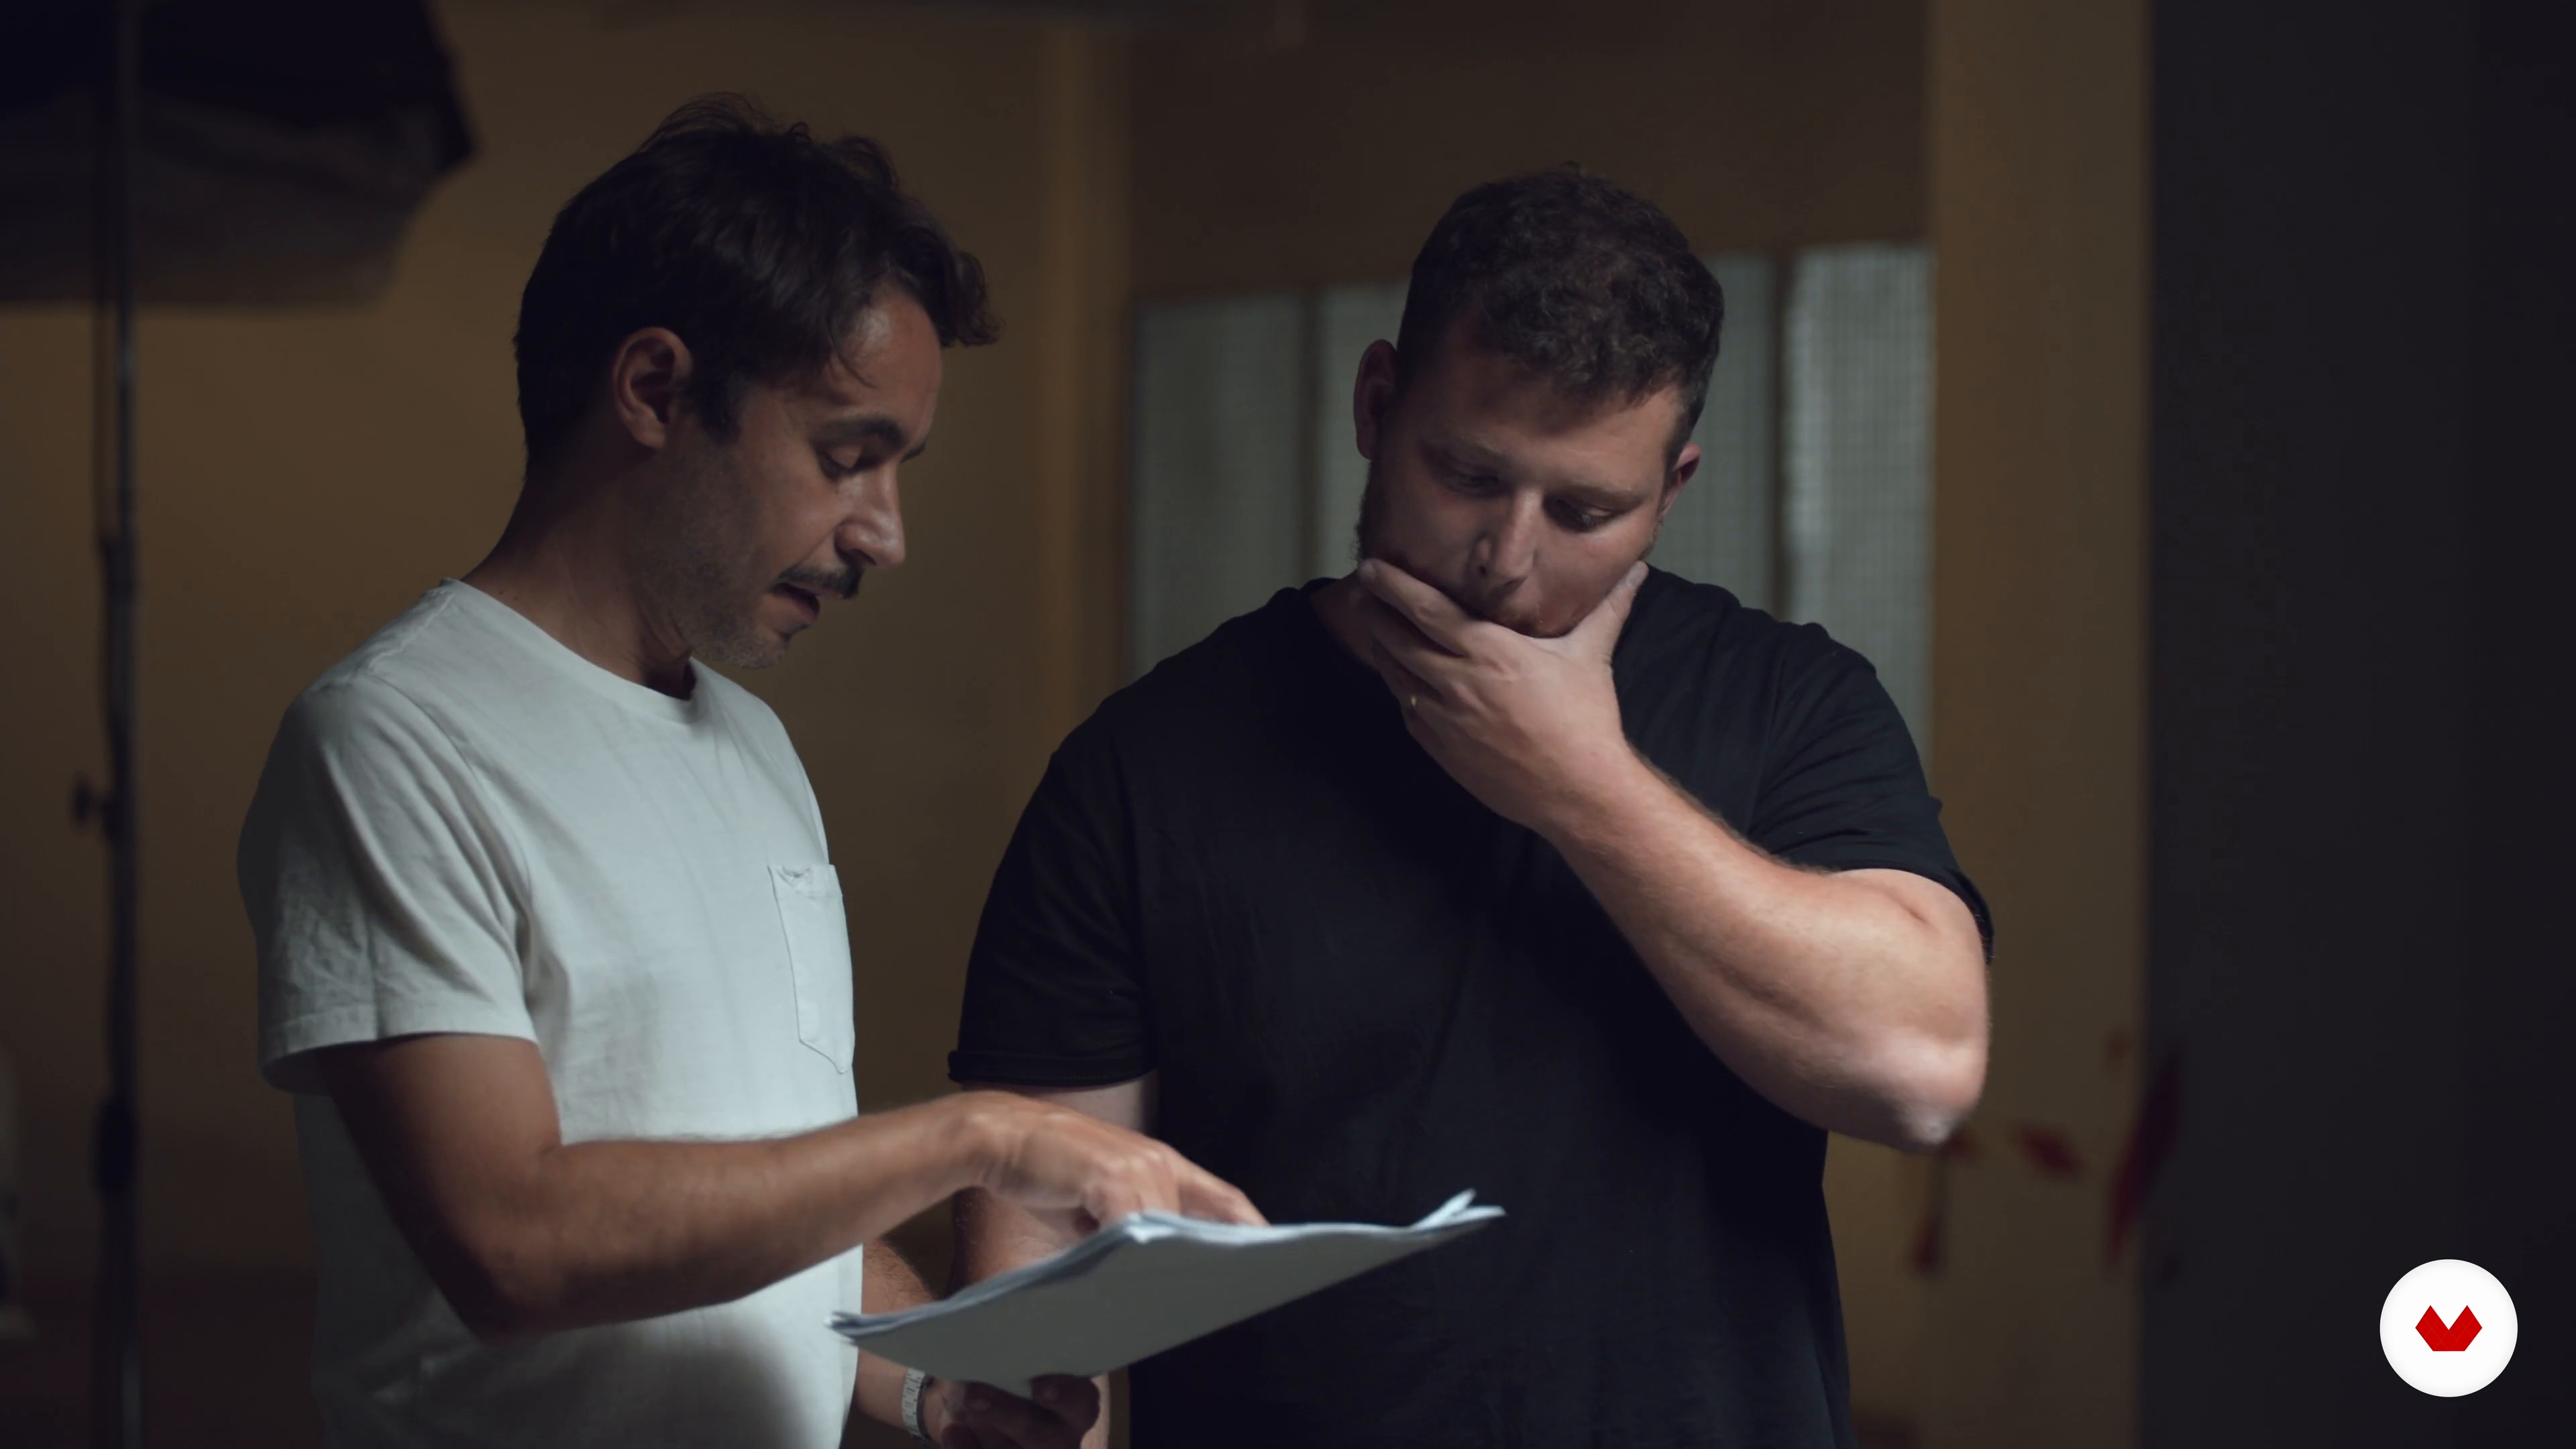
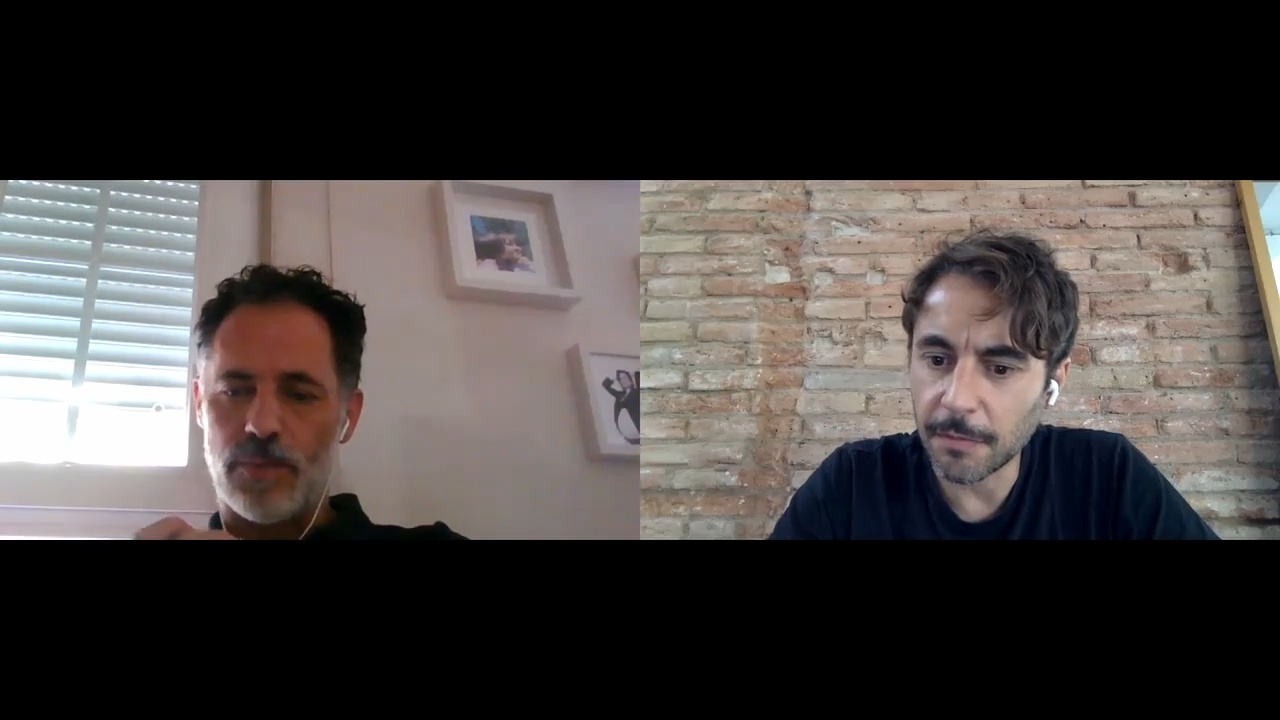
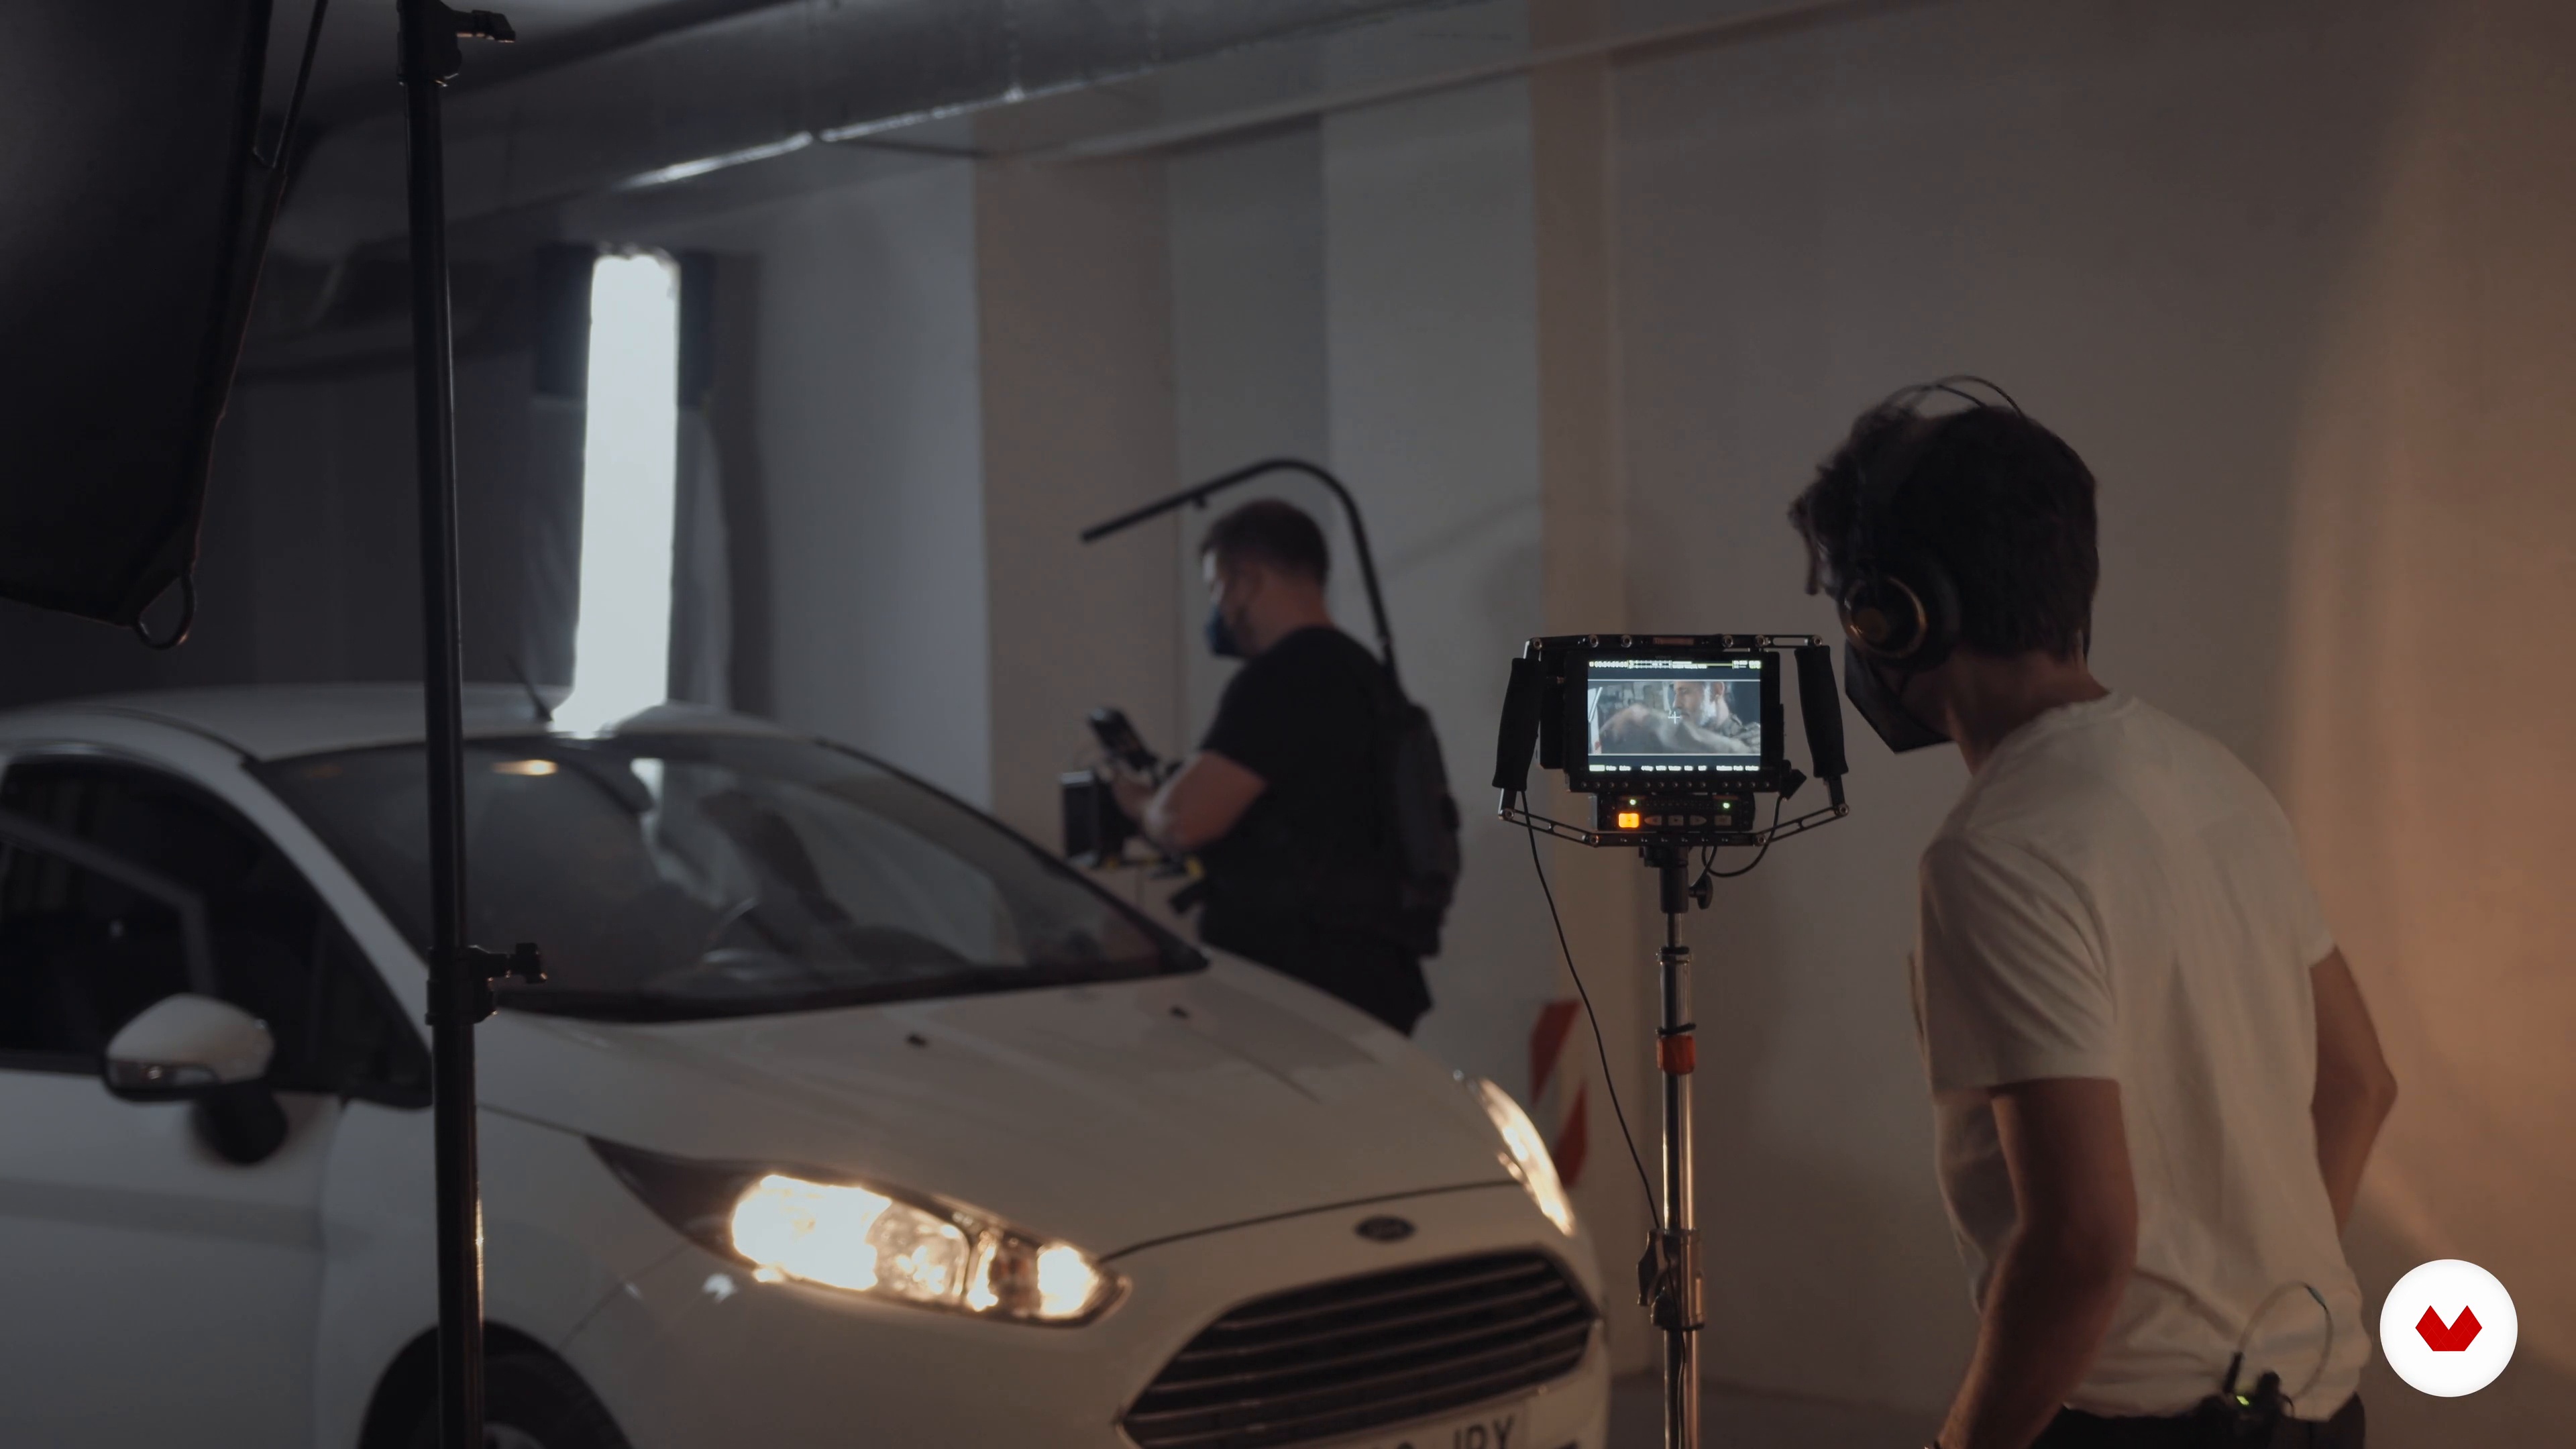
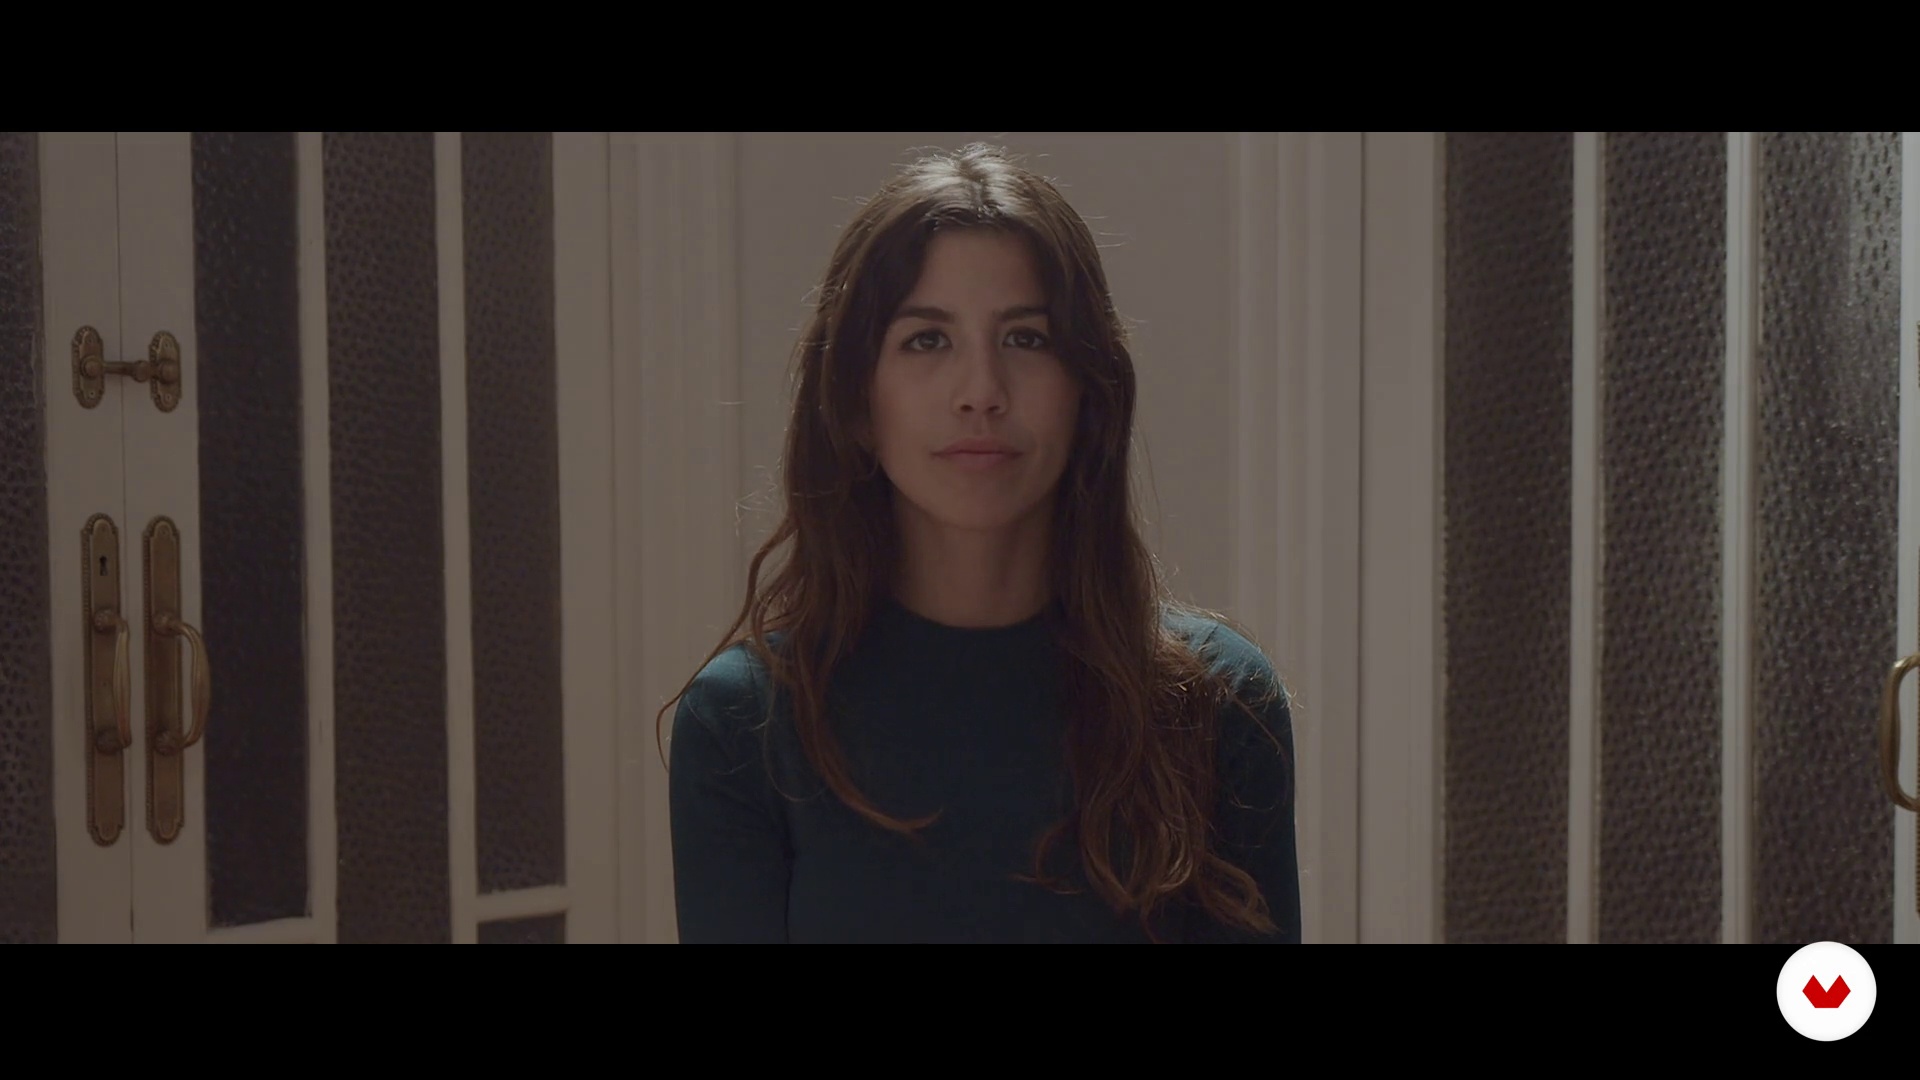
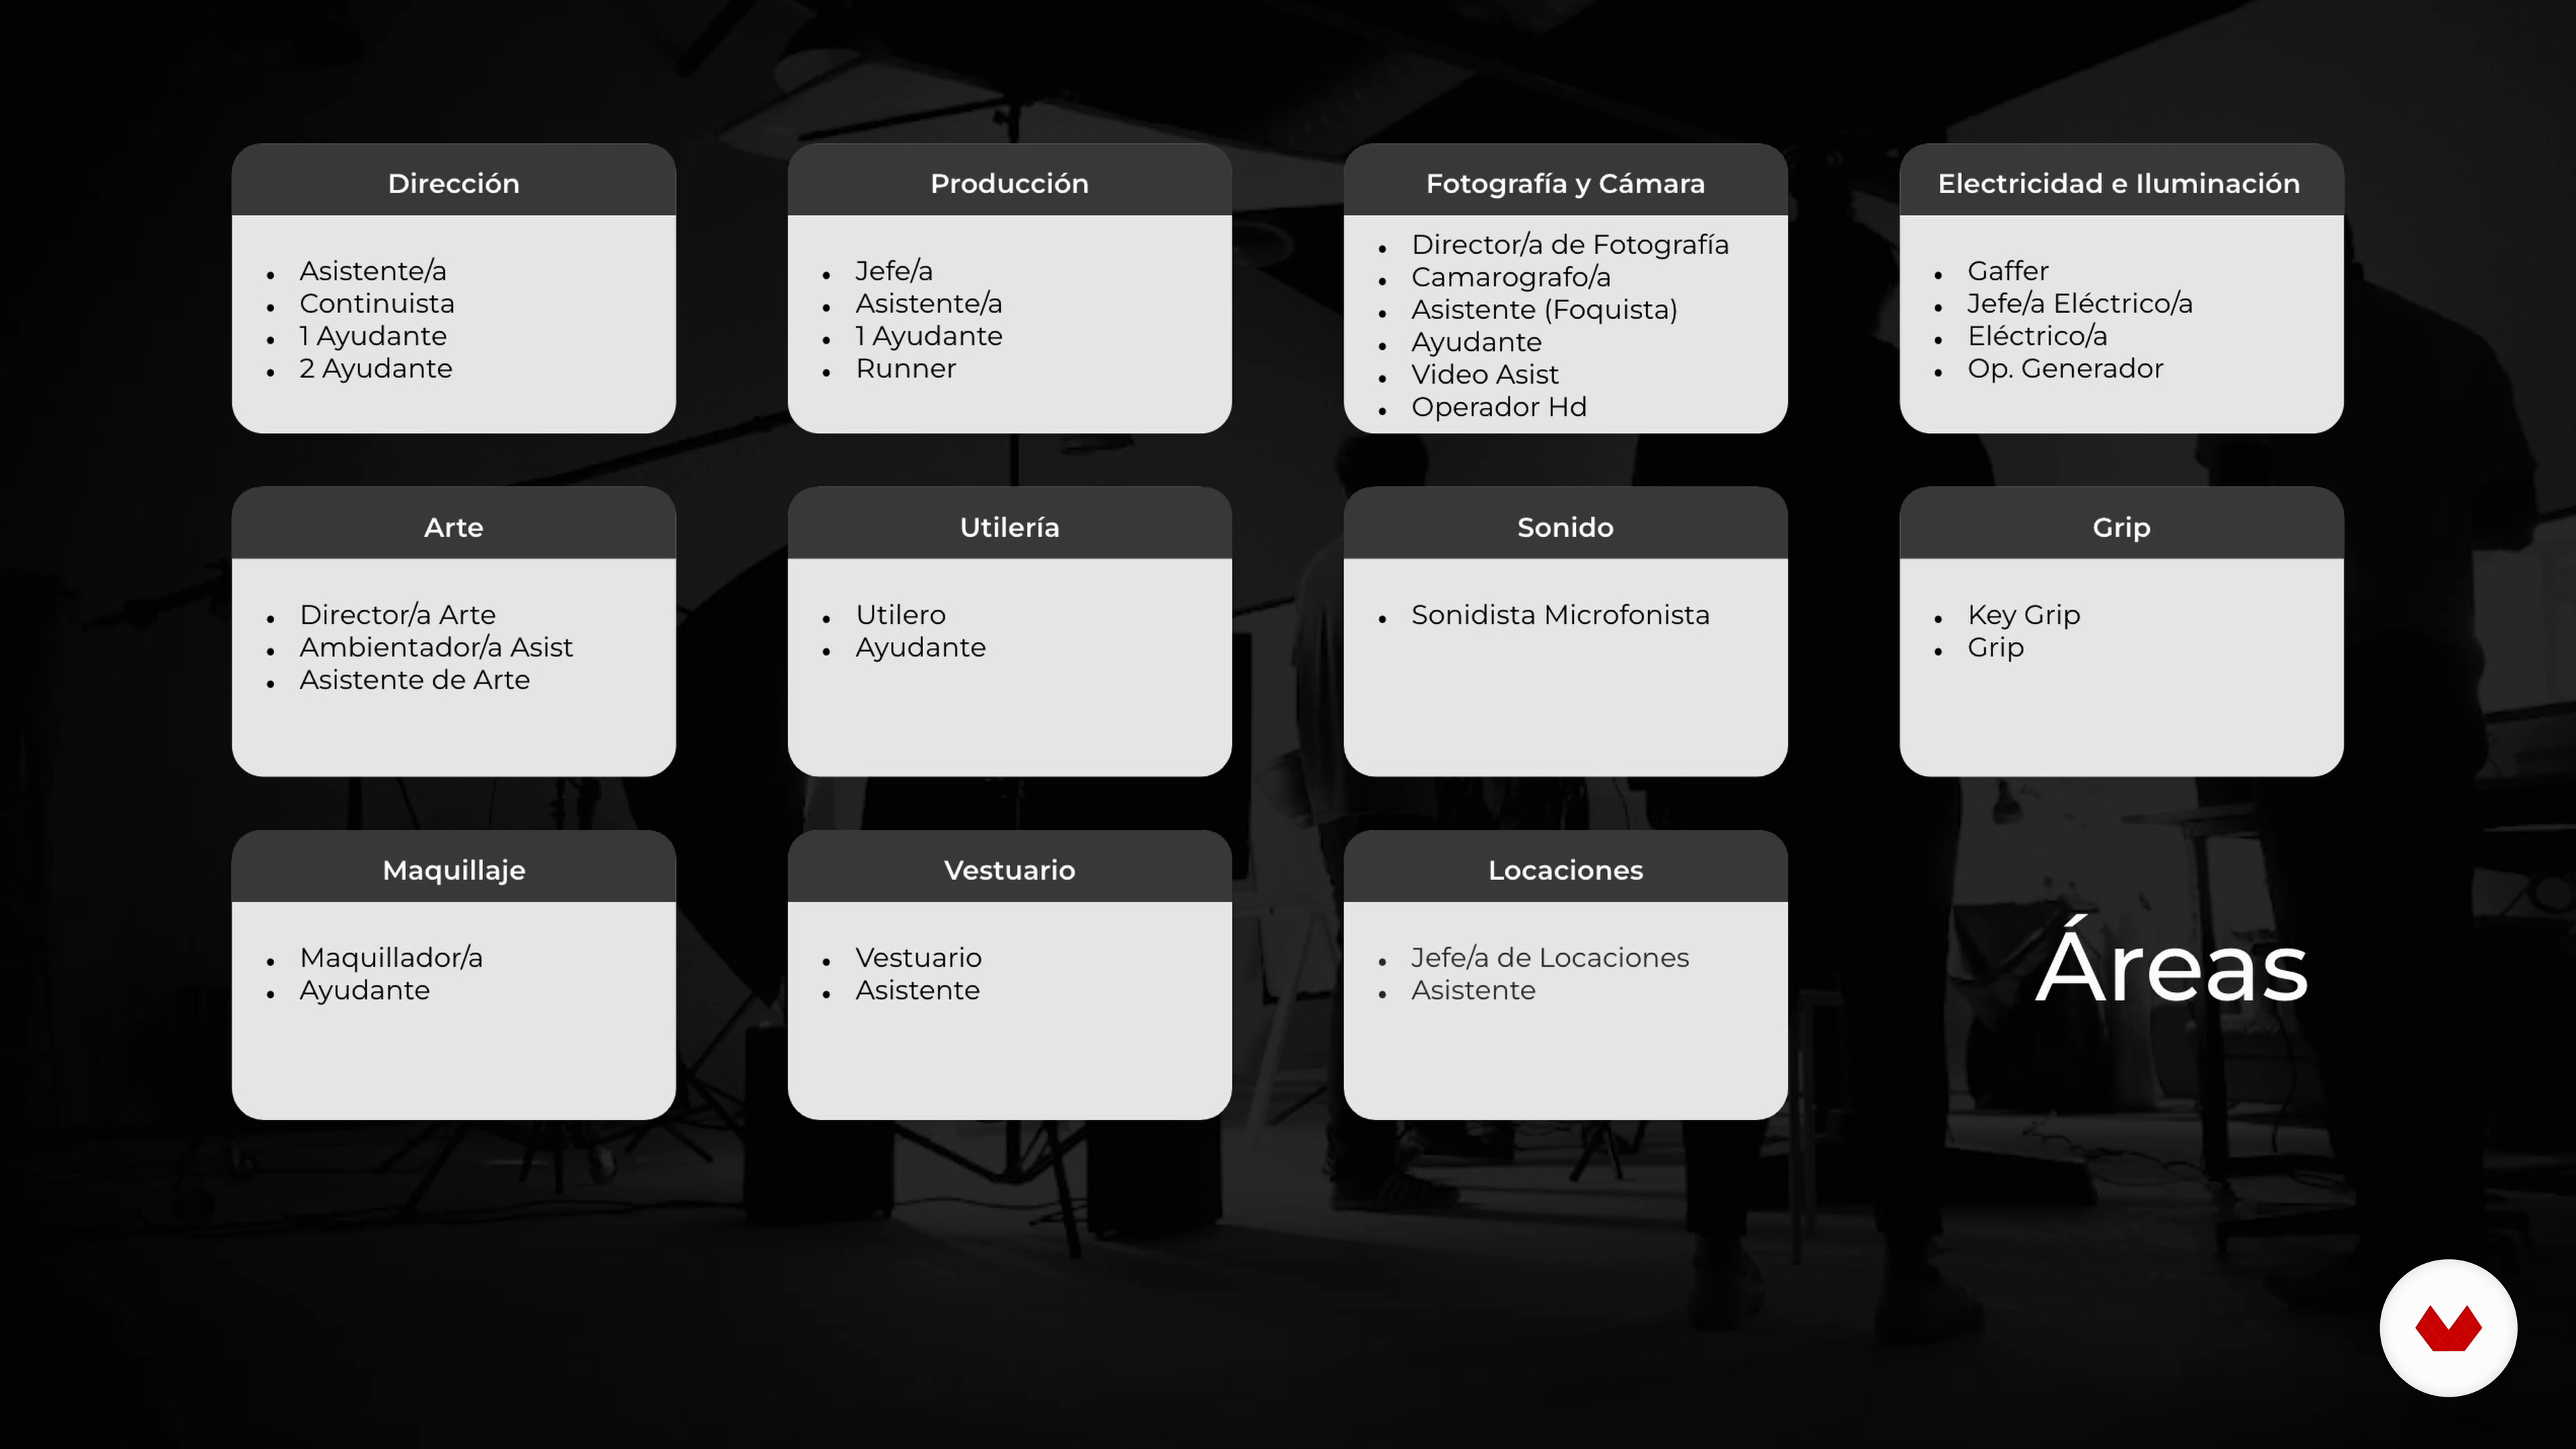
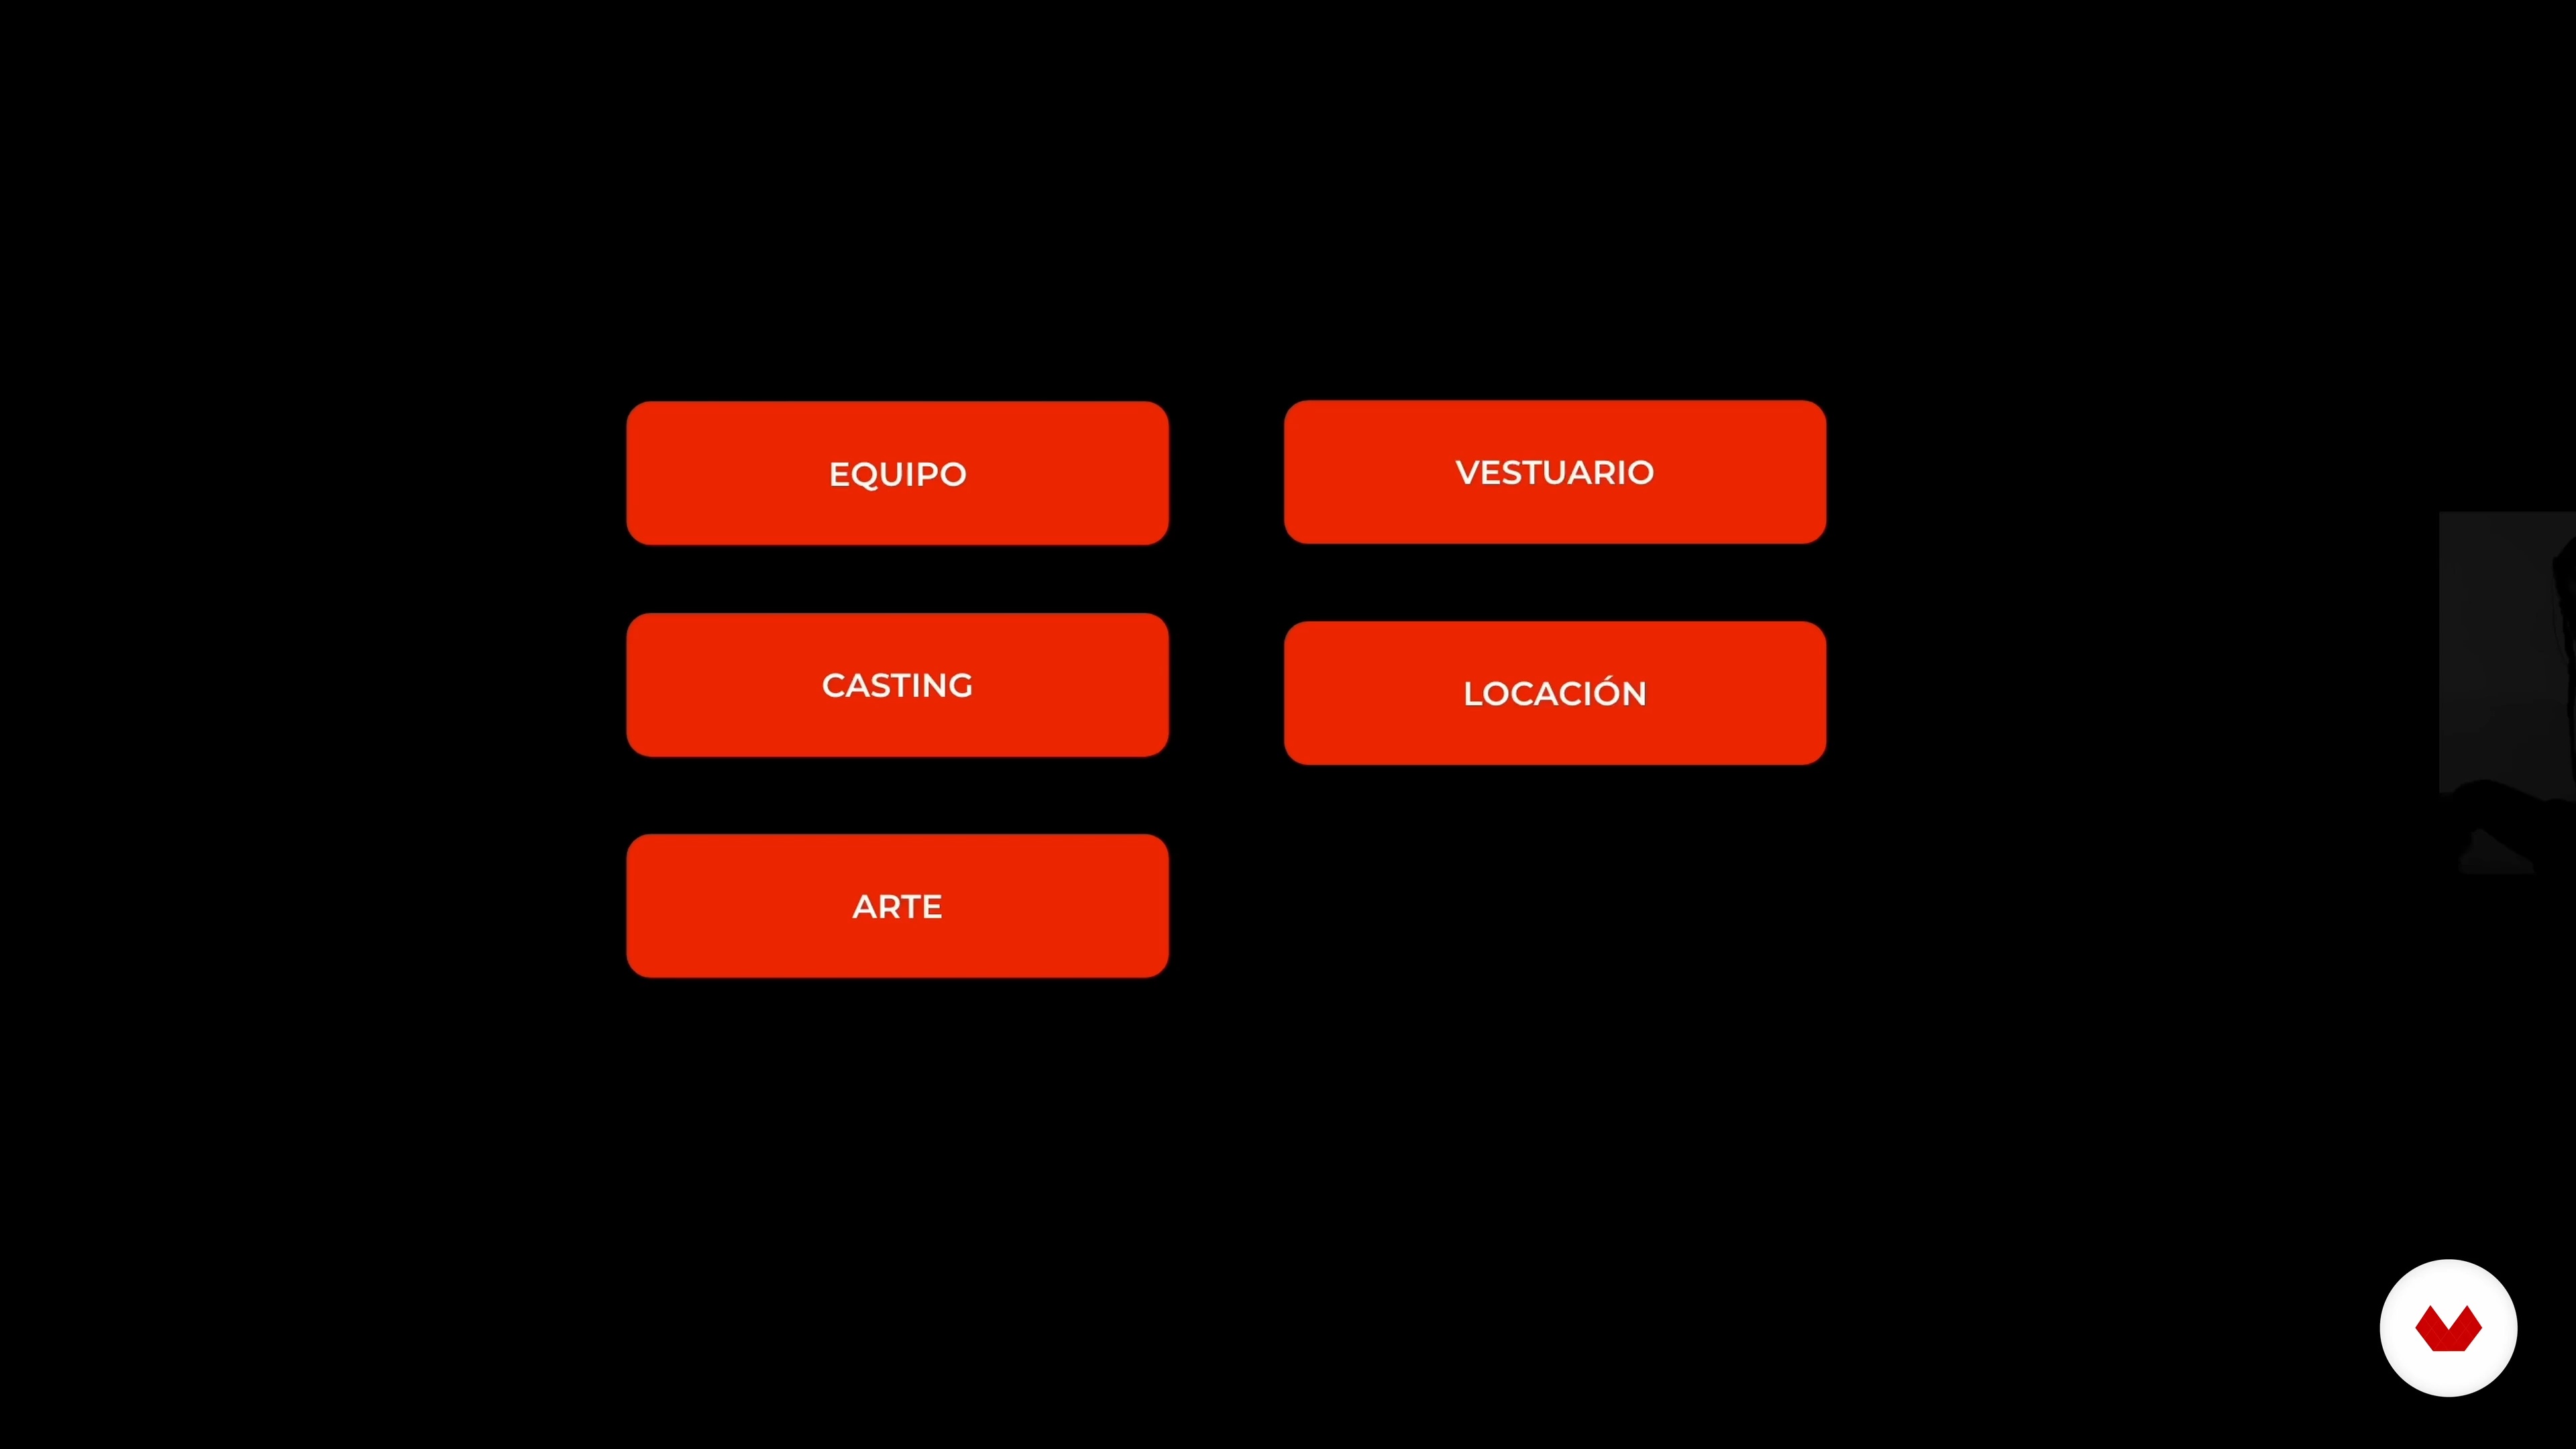
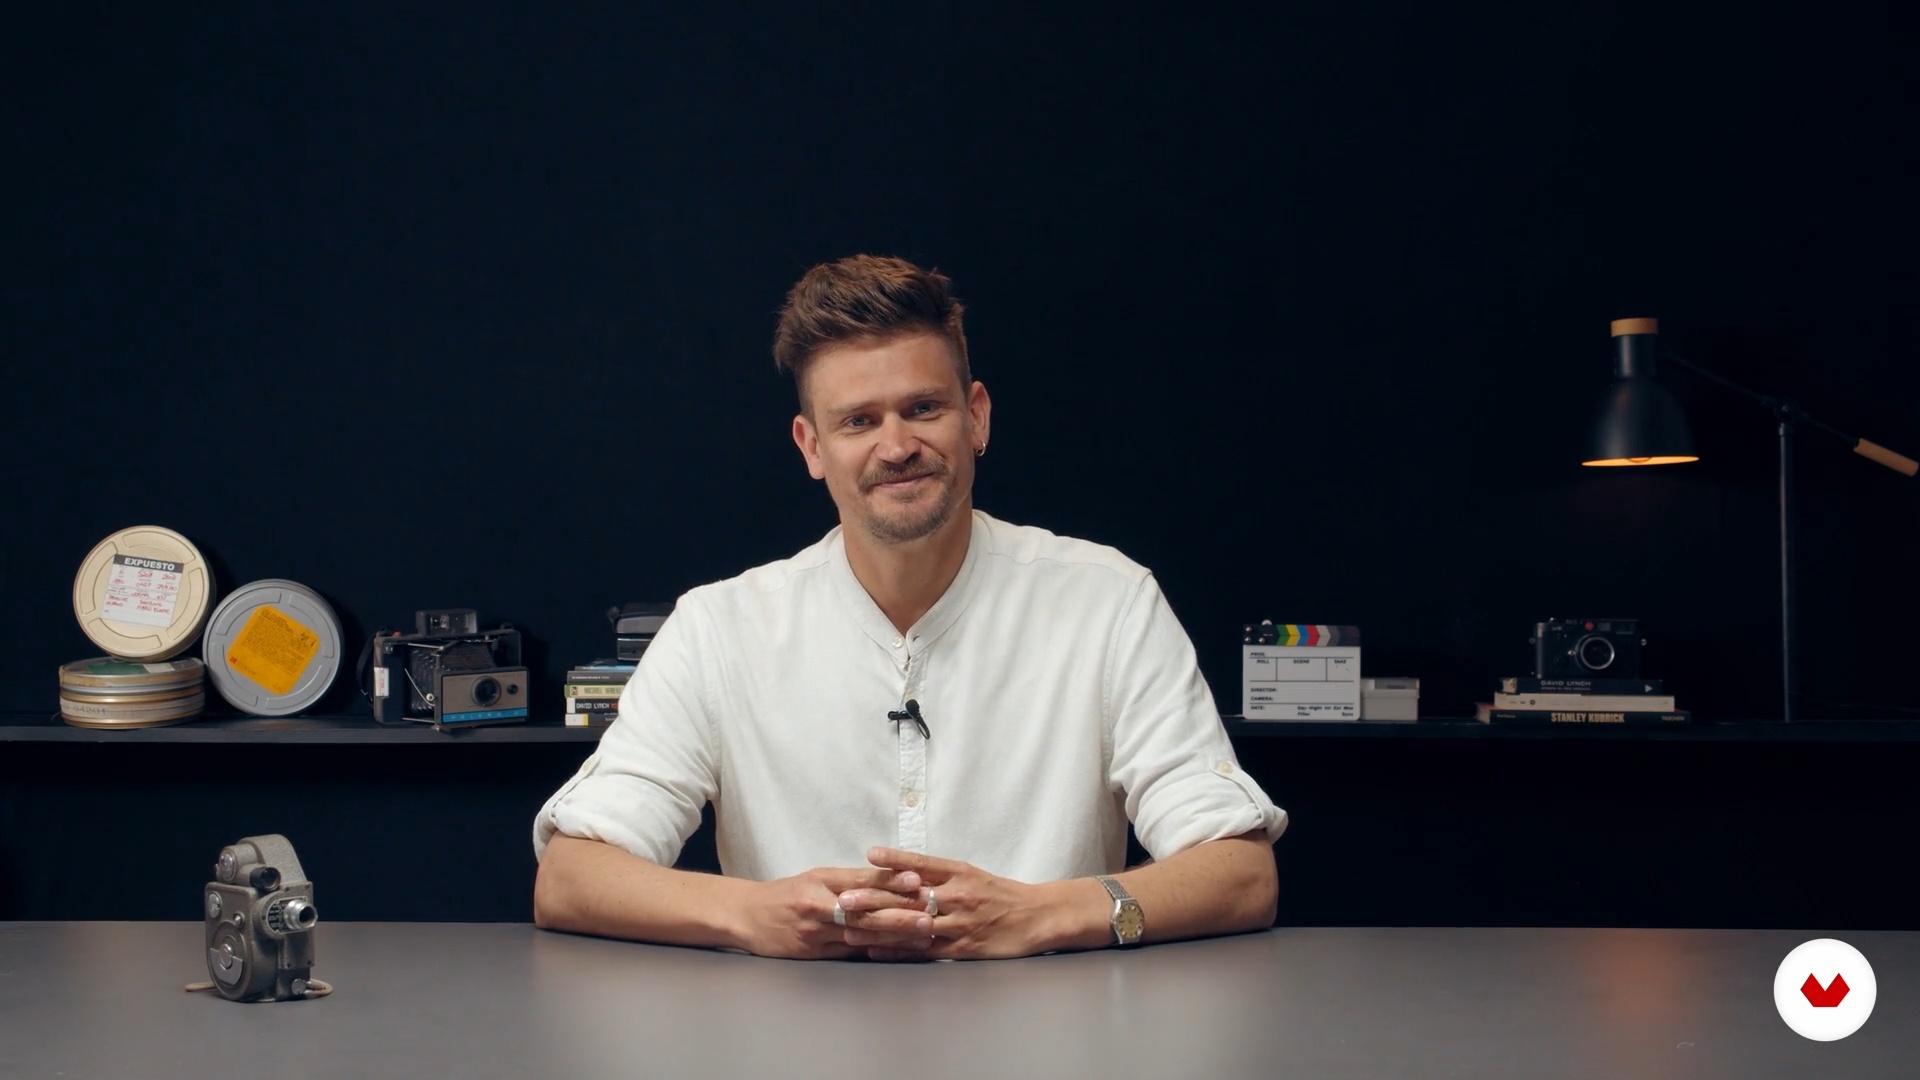
The Videography and Audiovisual Production specialization offers a comprehensive journey for those interested in exploring the world of film and visual content creation. Through five courses, students will learn essential techniques in filmmaking, film direction, lighting, production, and project development. Yeray Martín Perdomo introduces beginners to the fundamentals of filmmaking, while César Pesquera guides them through the art of filmmaking, covering script interpretation and actor direction.
Enrique Silguero teaches students how to master lighting to improve the visual quality of any project, while Dana Campanello shares valuable strategies for working as a freelance filmmaker. Finally, Sergio Castro San Martín concludes the series with a course that guides students through project creation from scratch, covering everything from character development to presentation to production companies and festivals. This comprehensive program prepares students to work in the audiovisual industry, create their own content, or develop film projects with a professional focus.
What will you learn in this specialization?


- 100% positive reviews (34)
- 4,537 students
- 78 lessons (15h 29m)
- 131 additional resources (59 files)
- Online and at your own pace
- Audio: Spanish, English
- Spanish · English · Portuguese · German · French · Italian · Polish · Dutch · Turkish · Romanian · Indonesian
- Level: Beginner
- Unlimited access forever
What is this course's project?
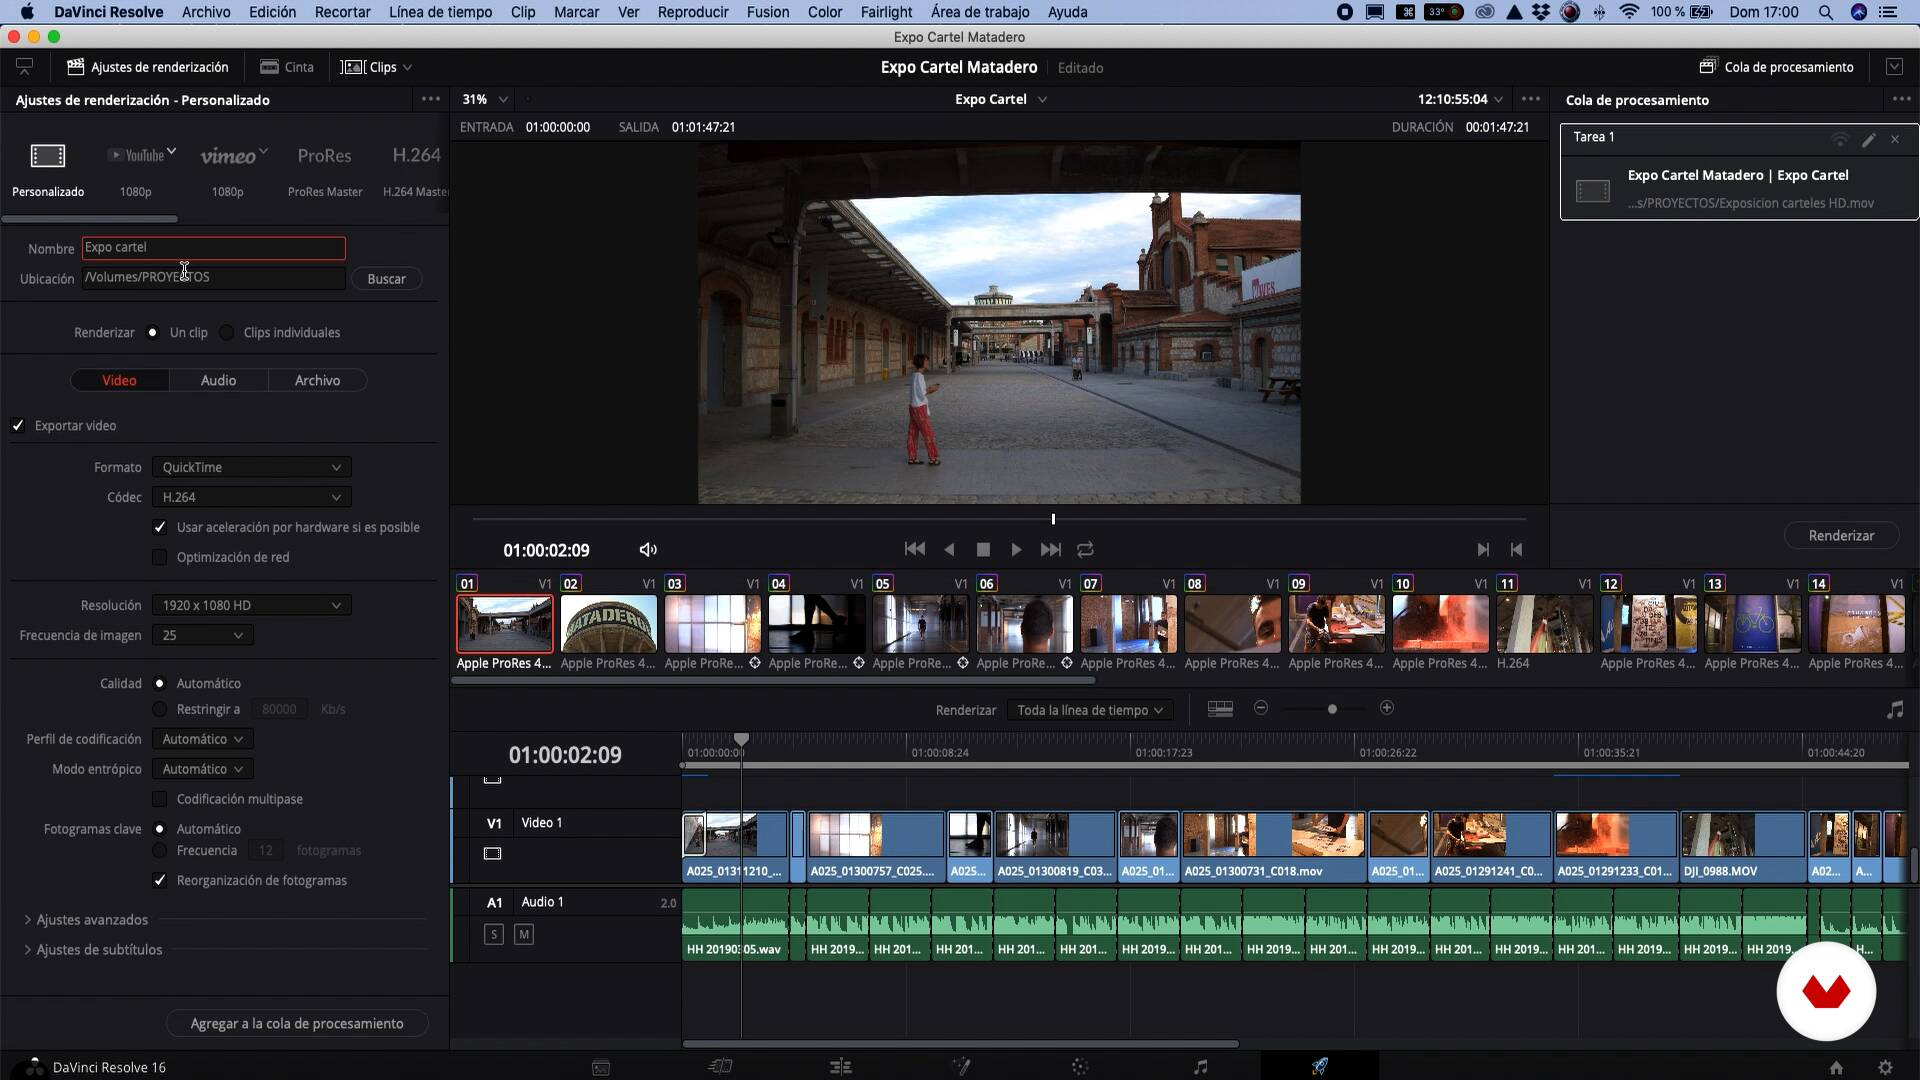
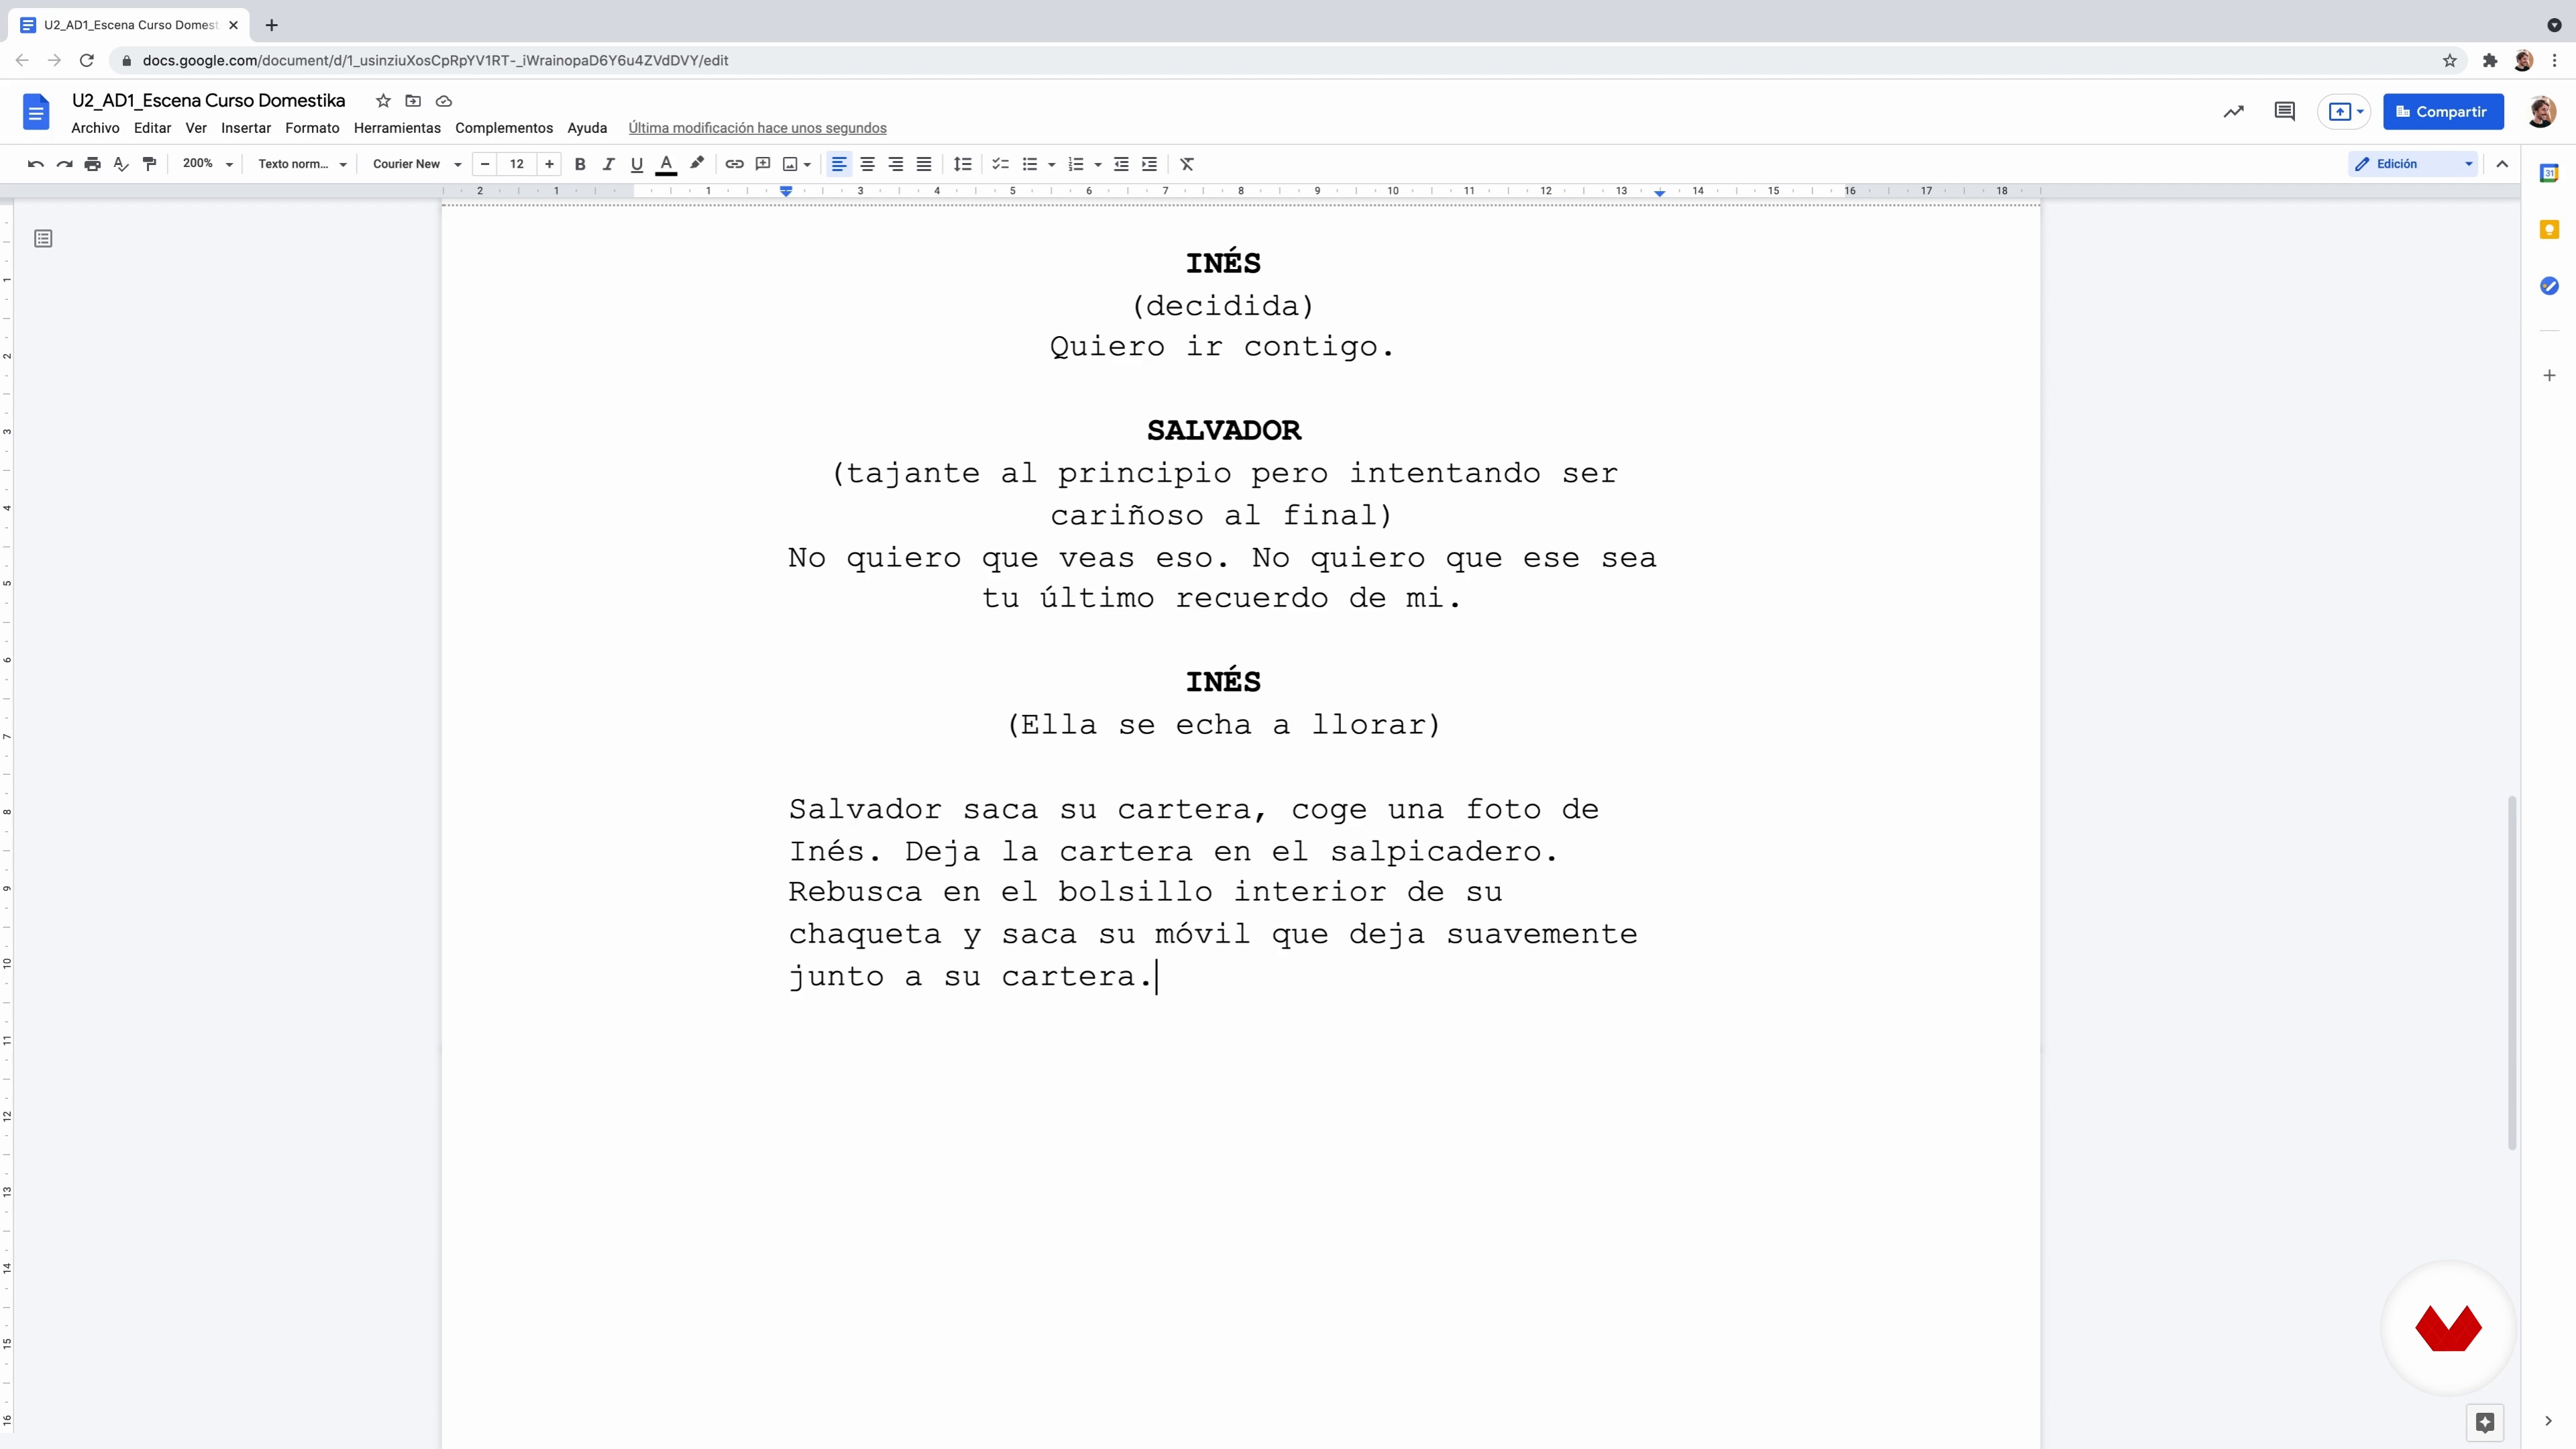
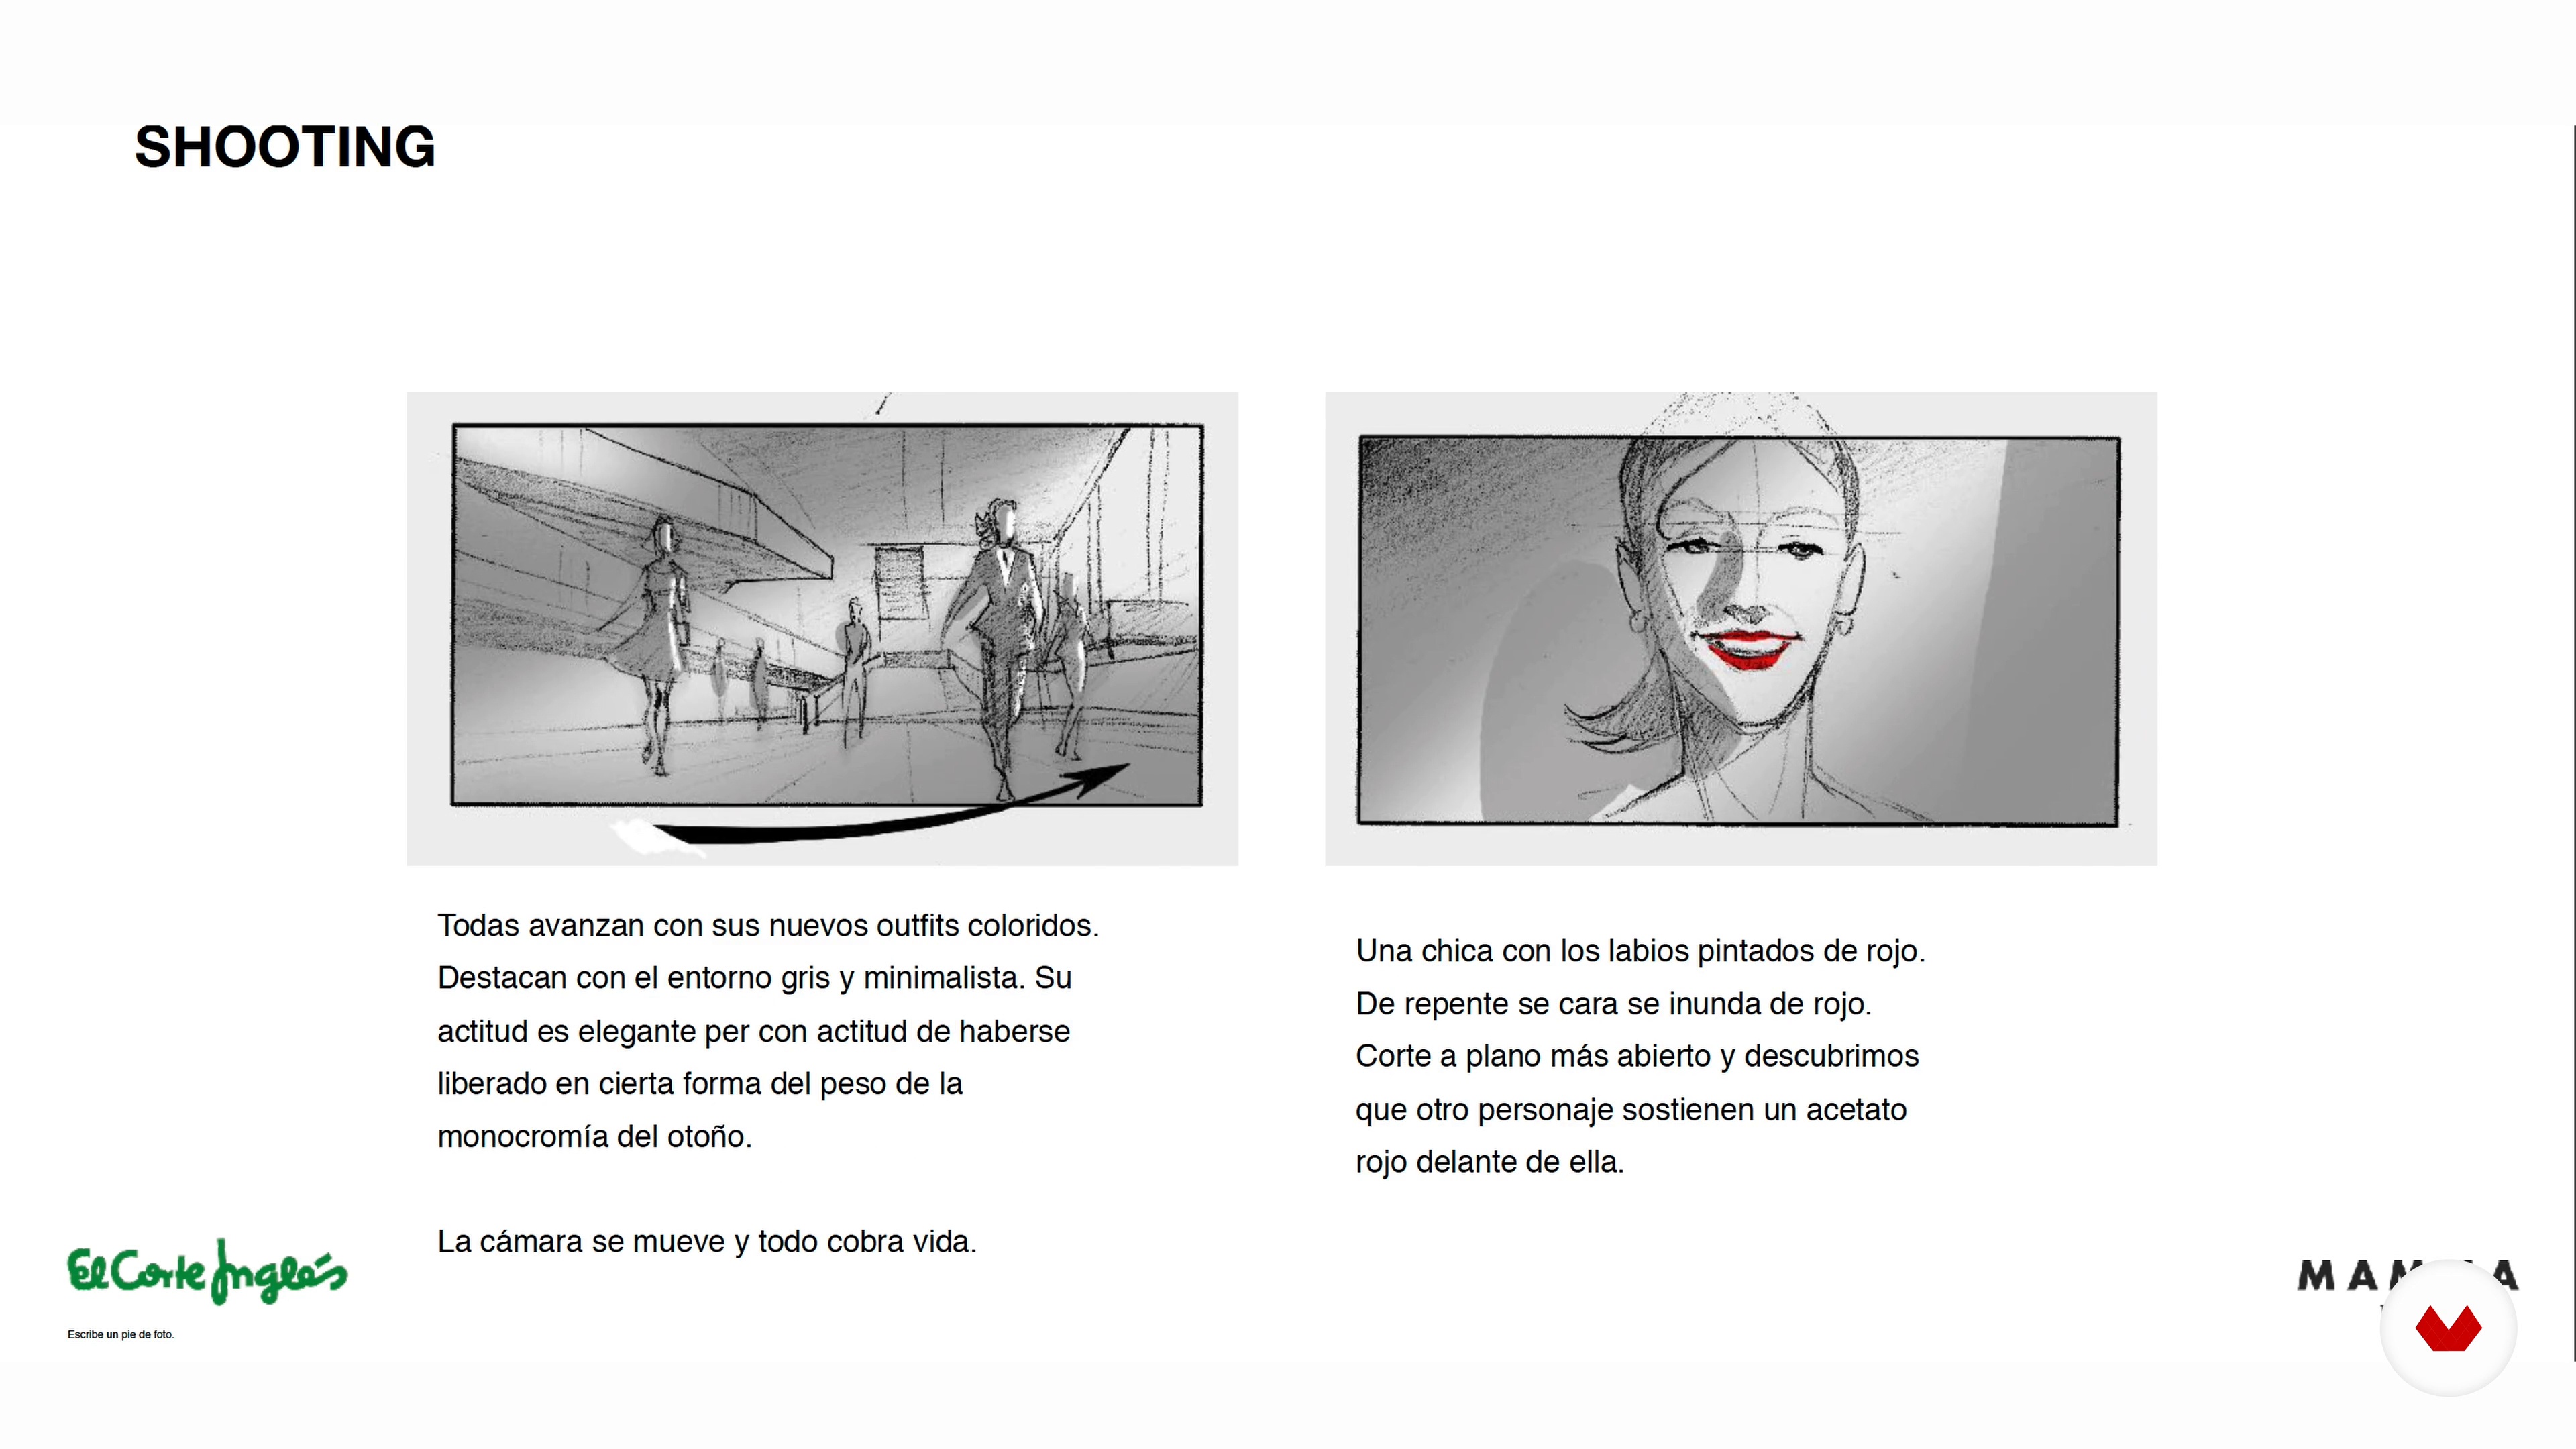
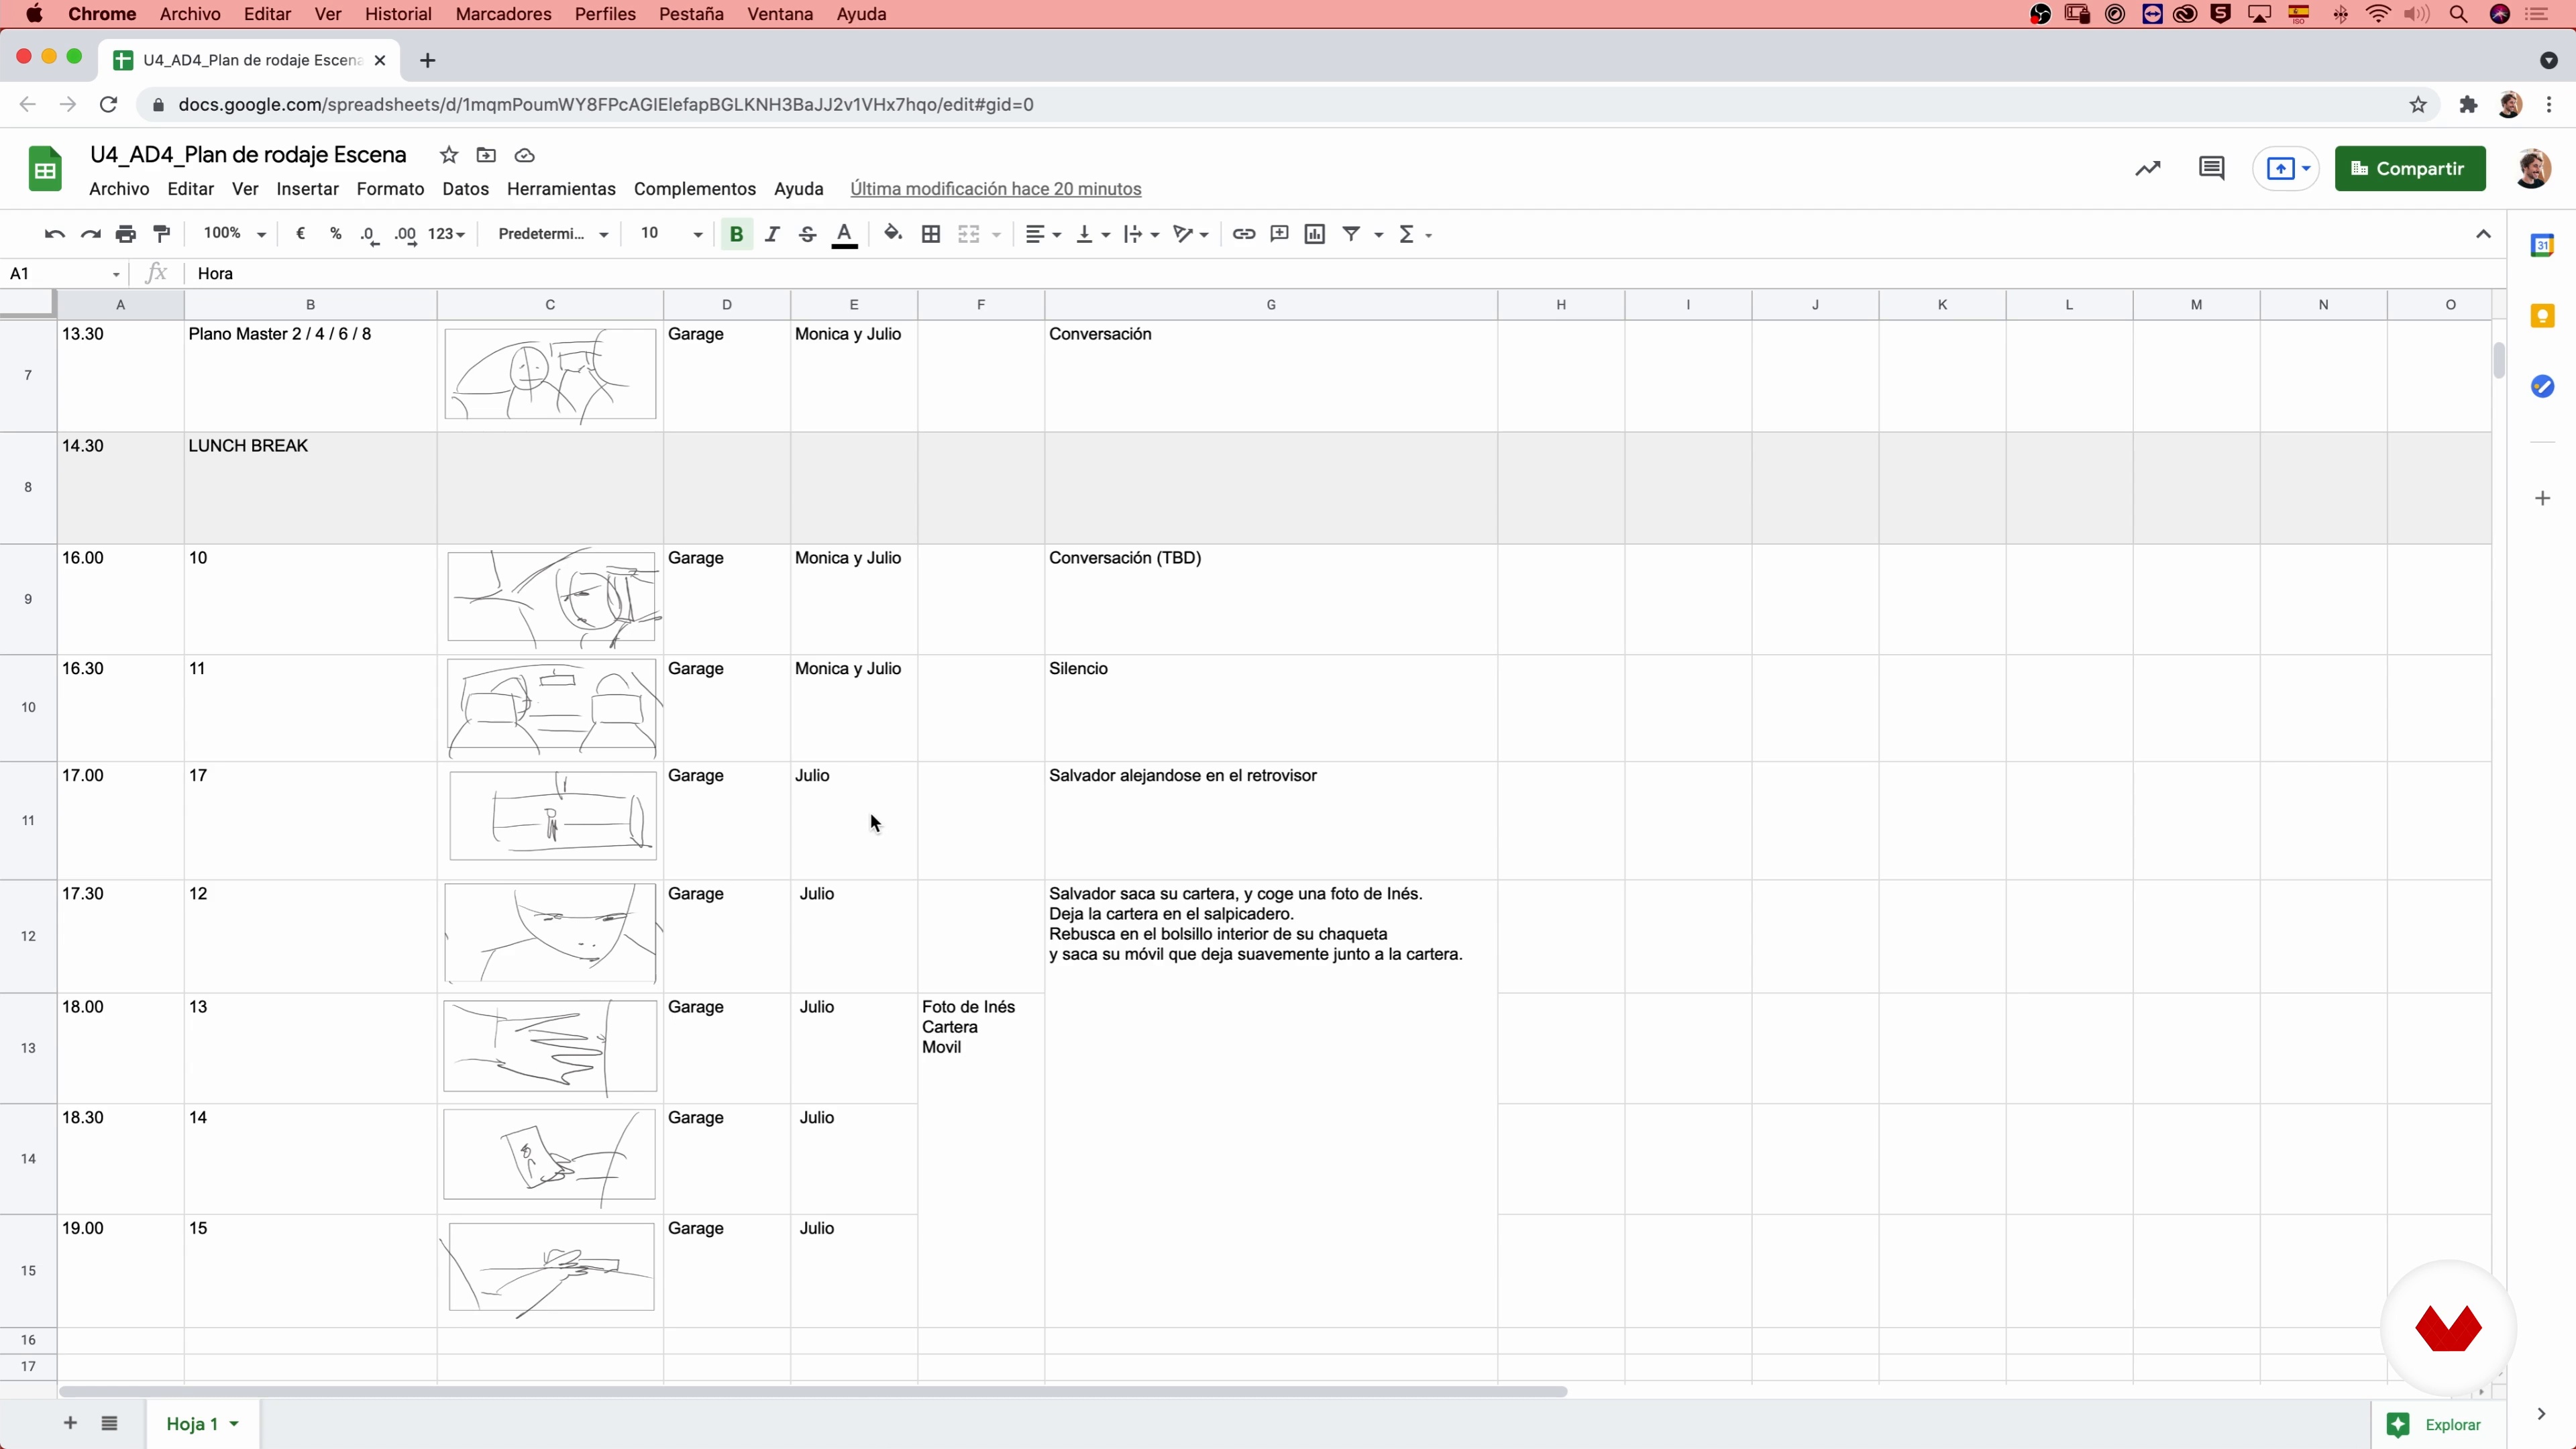
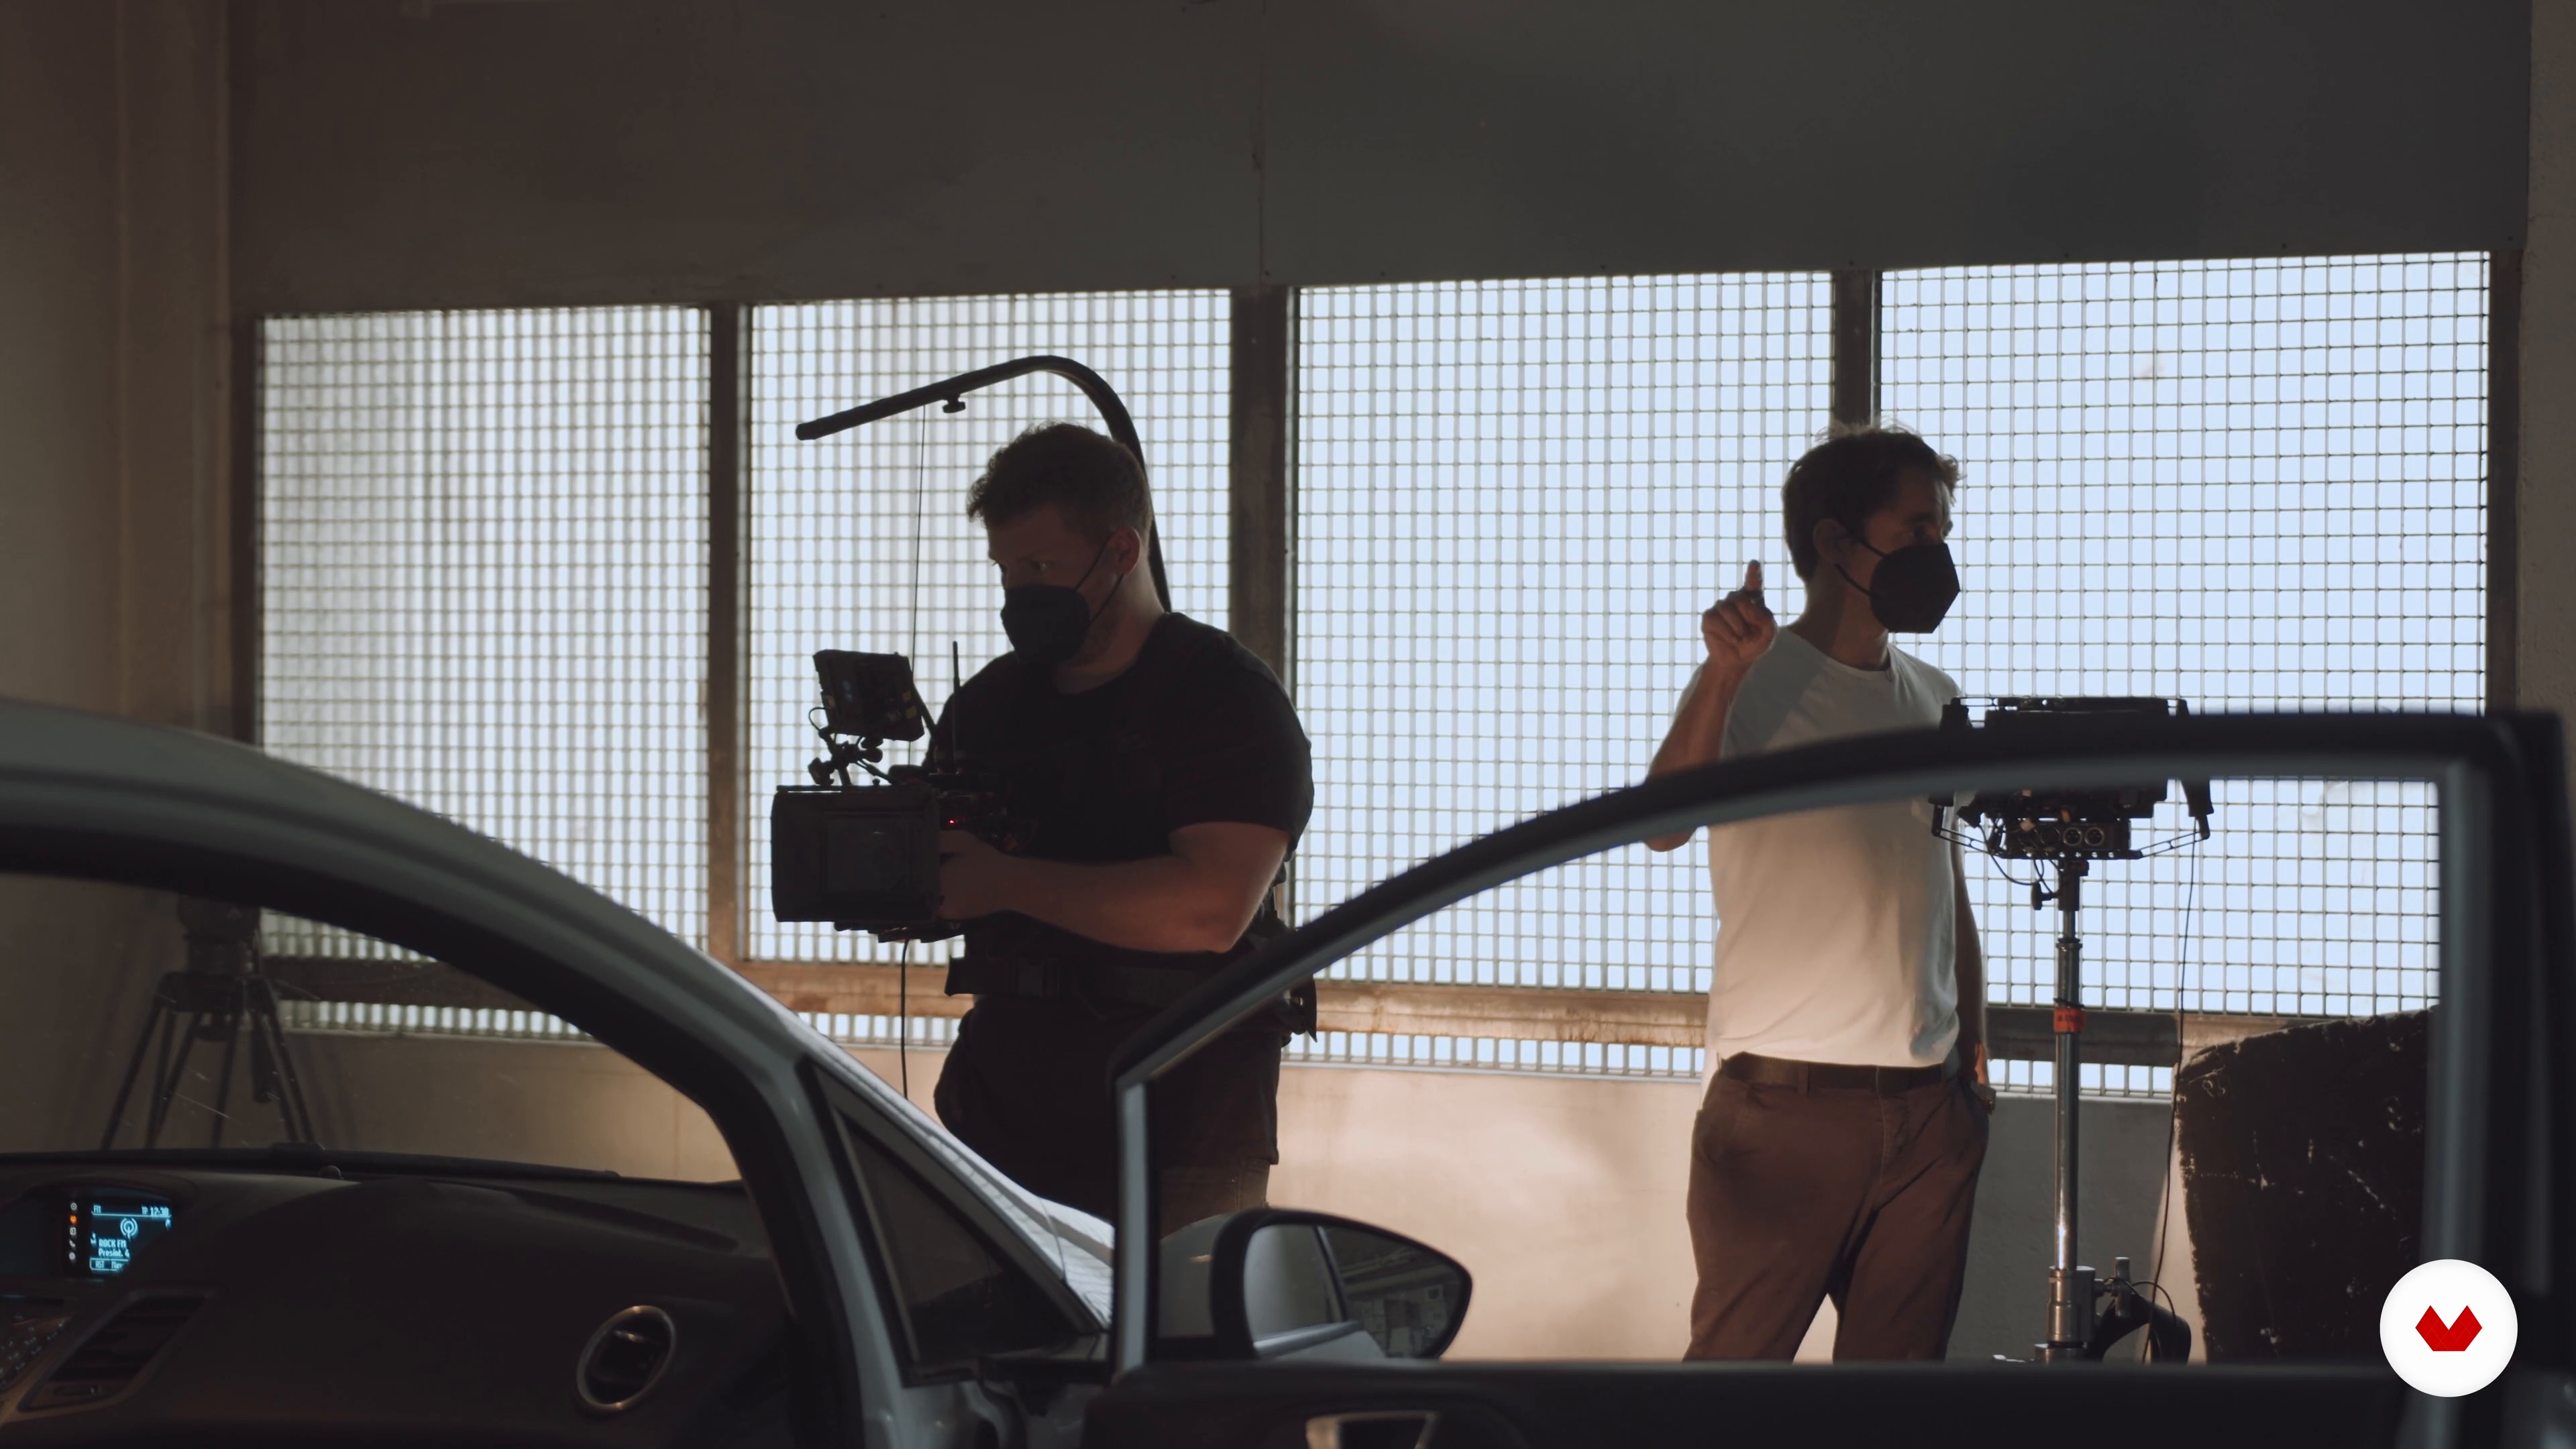
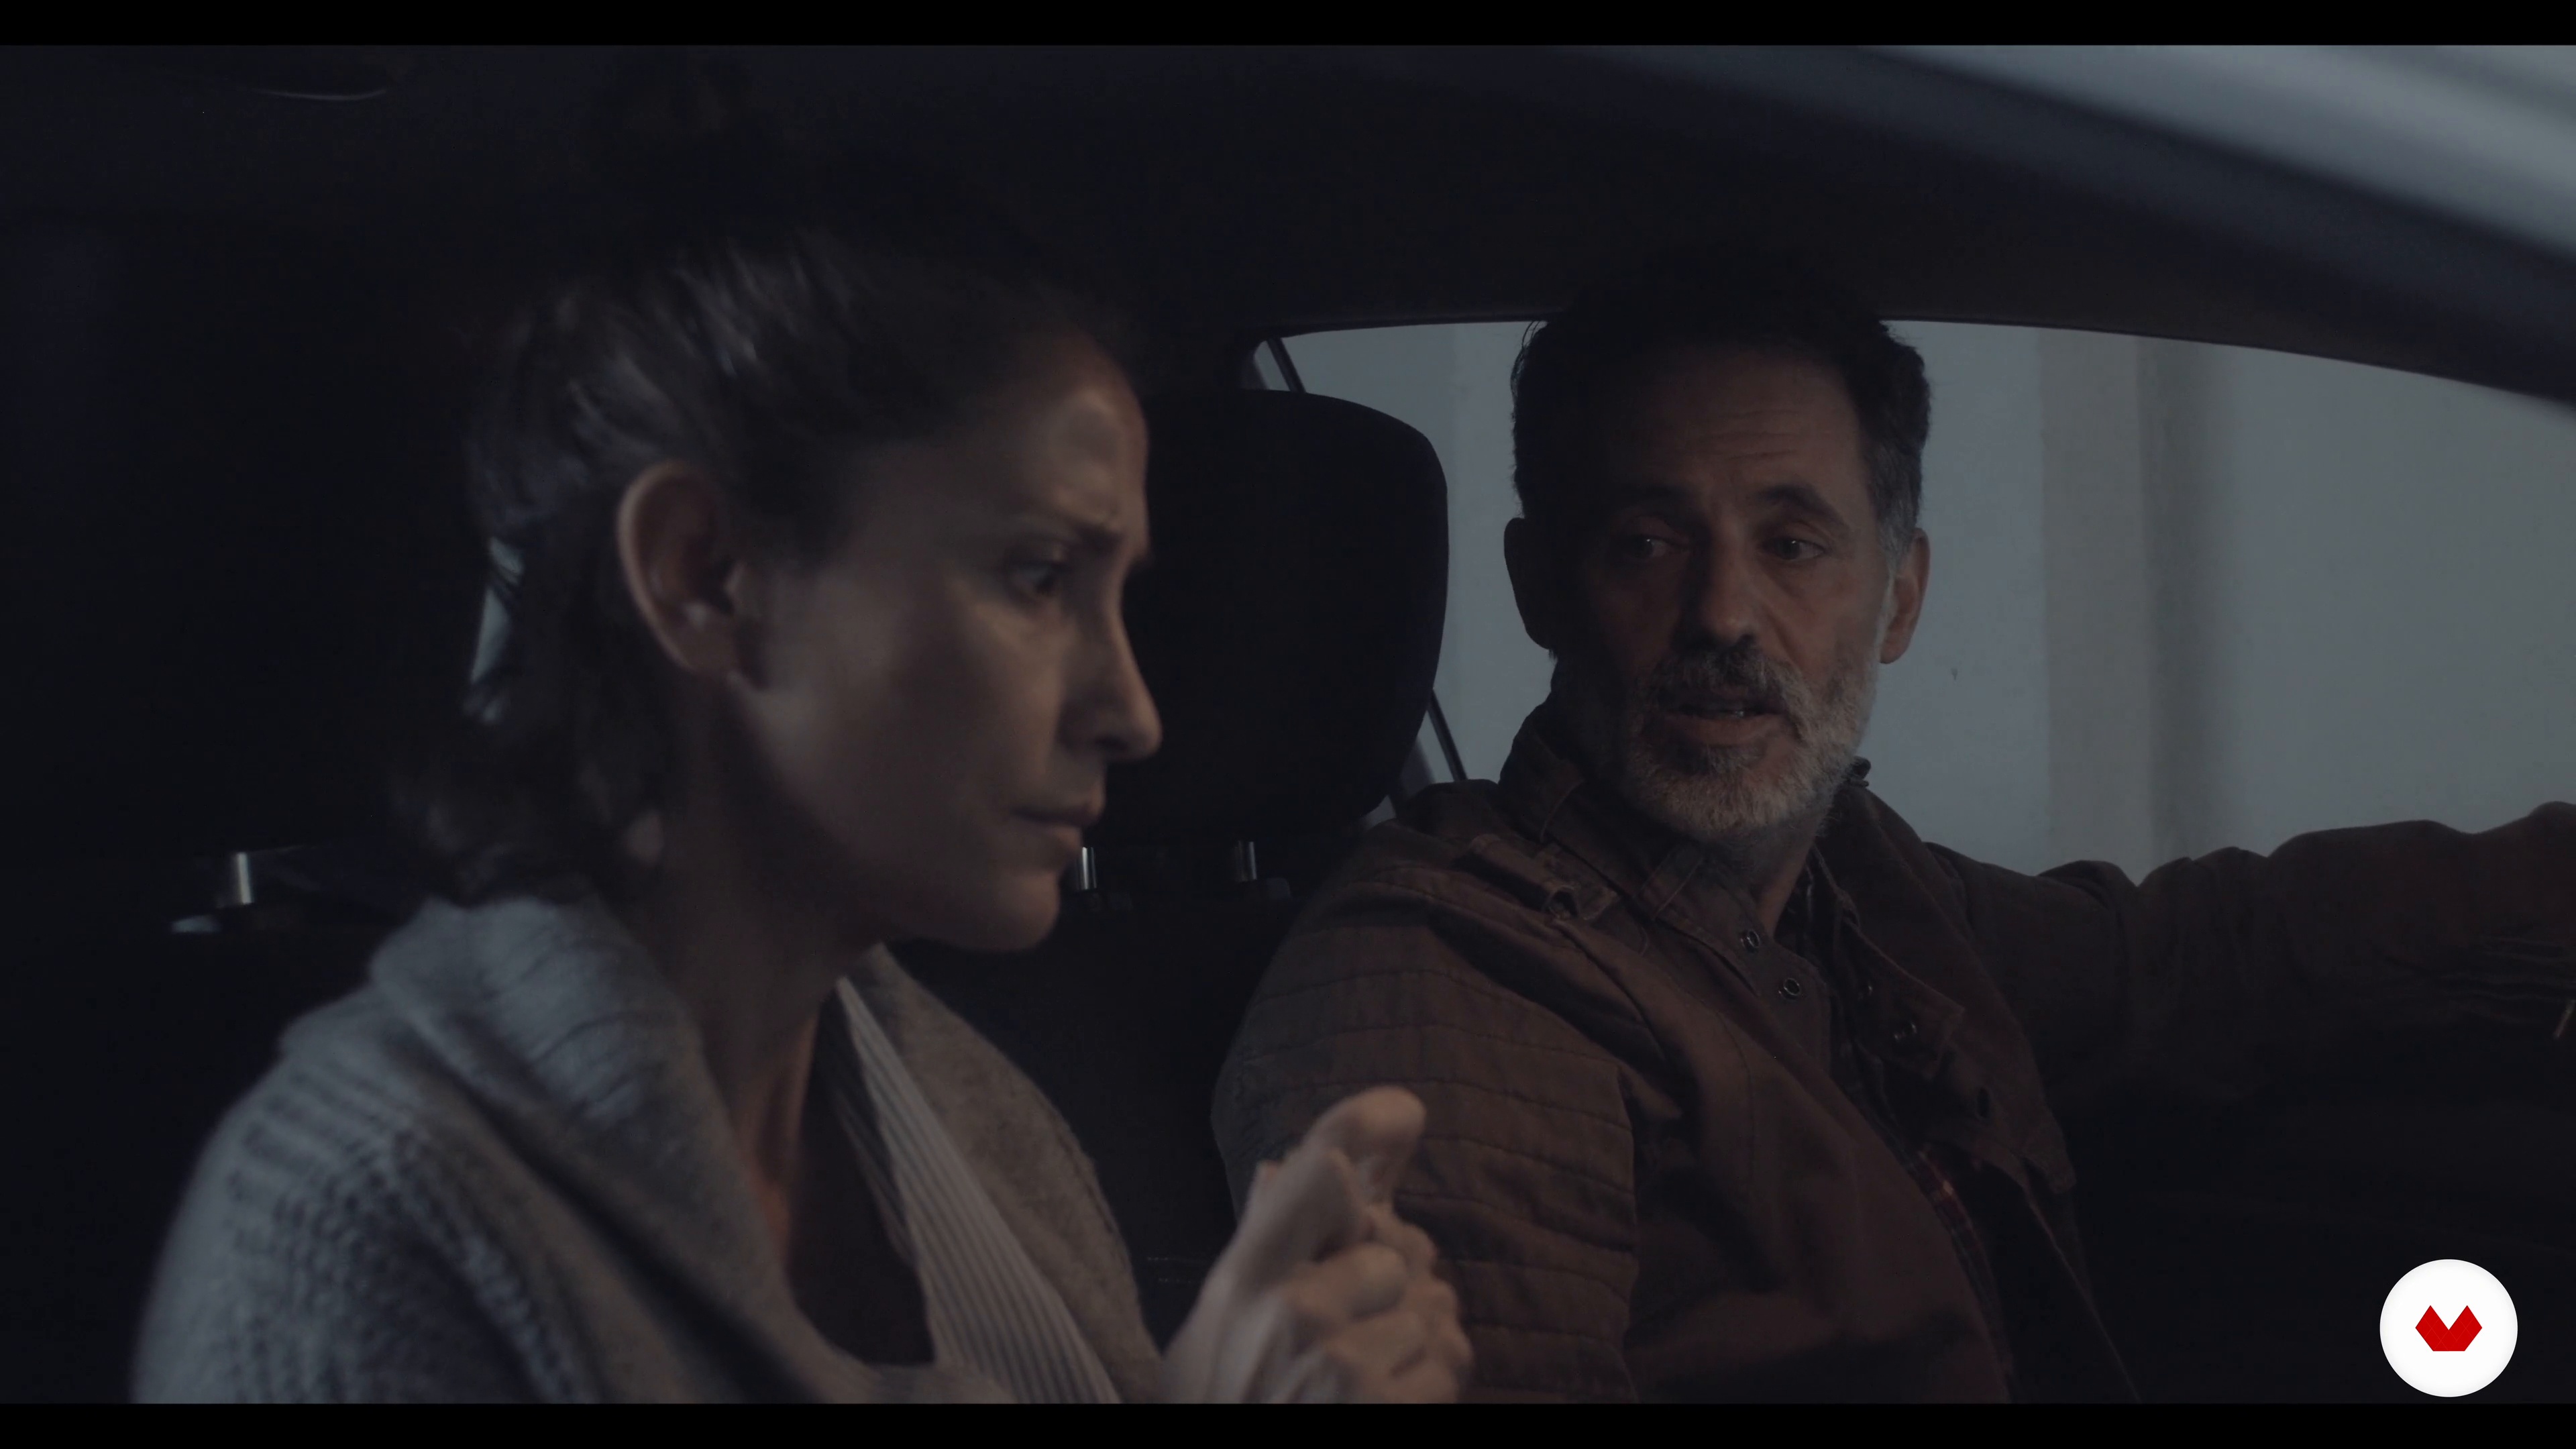
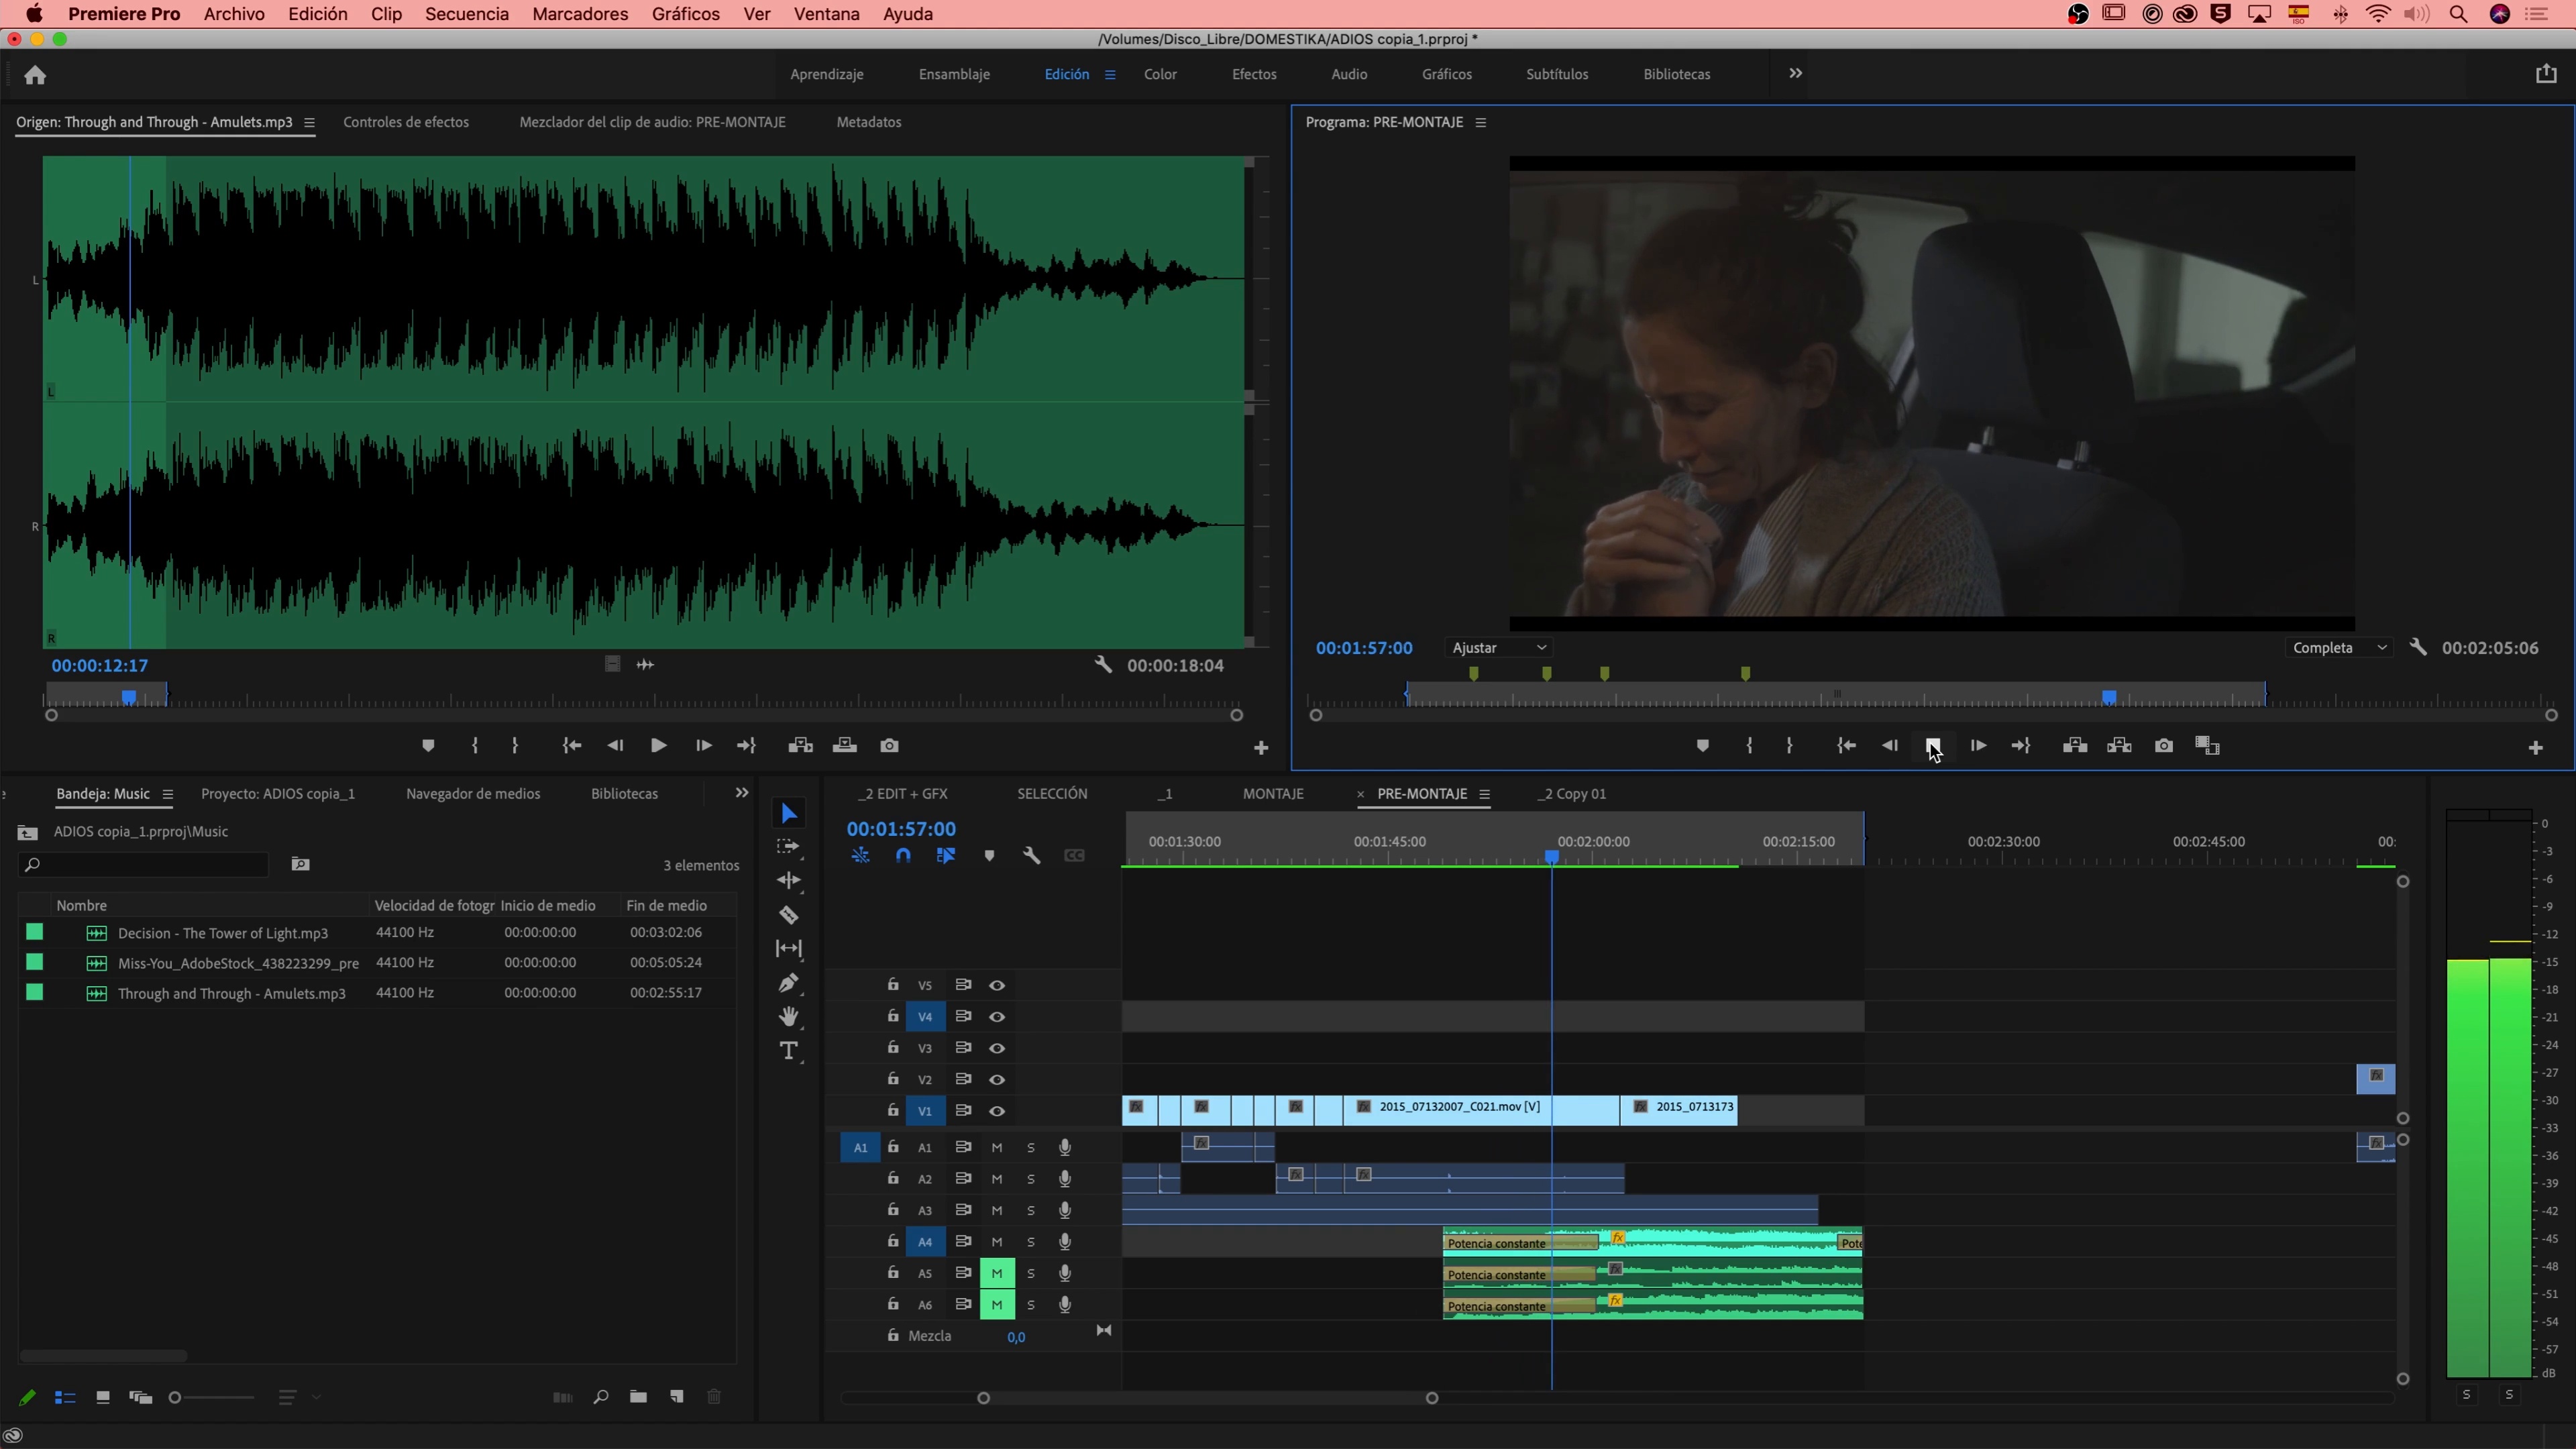
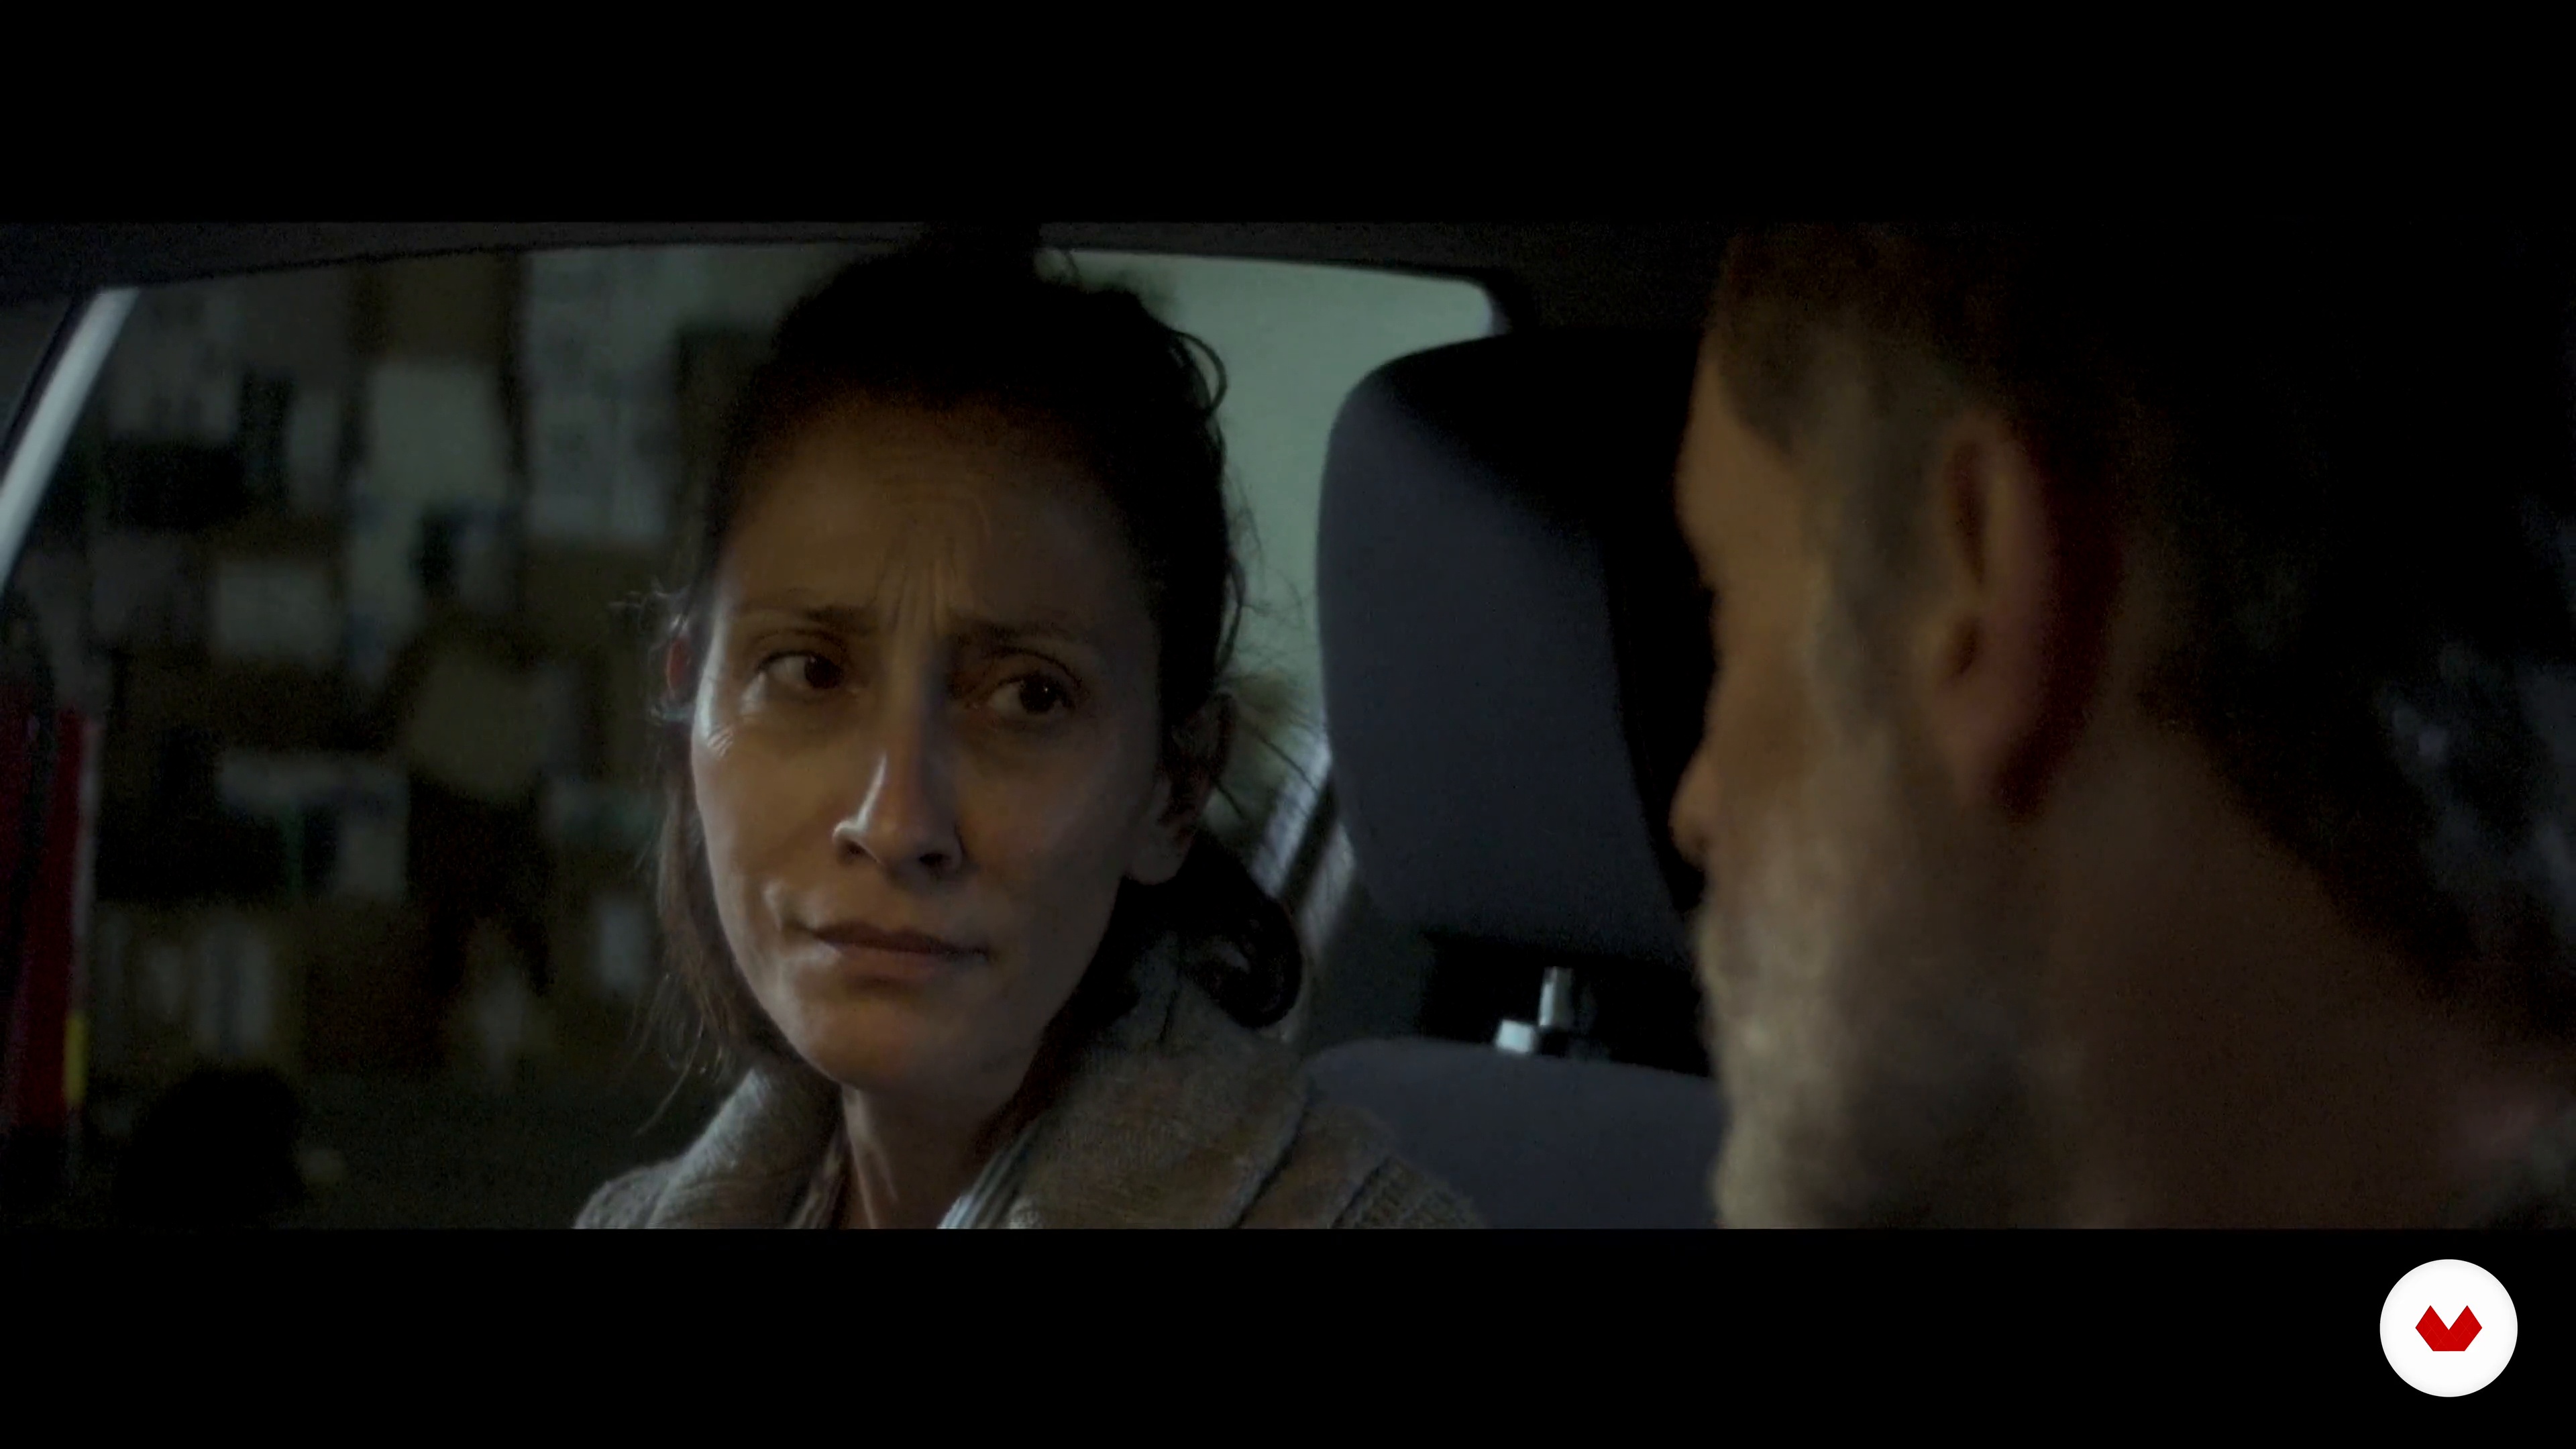
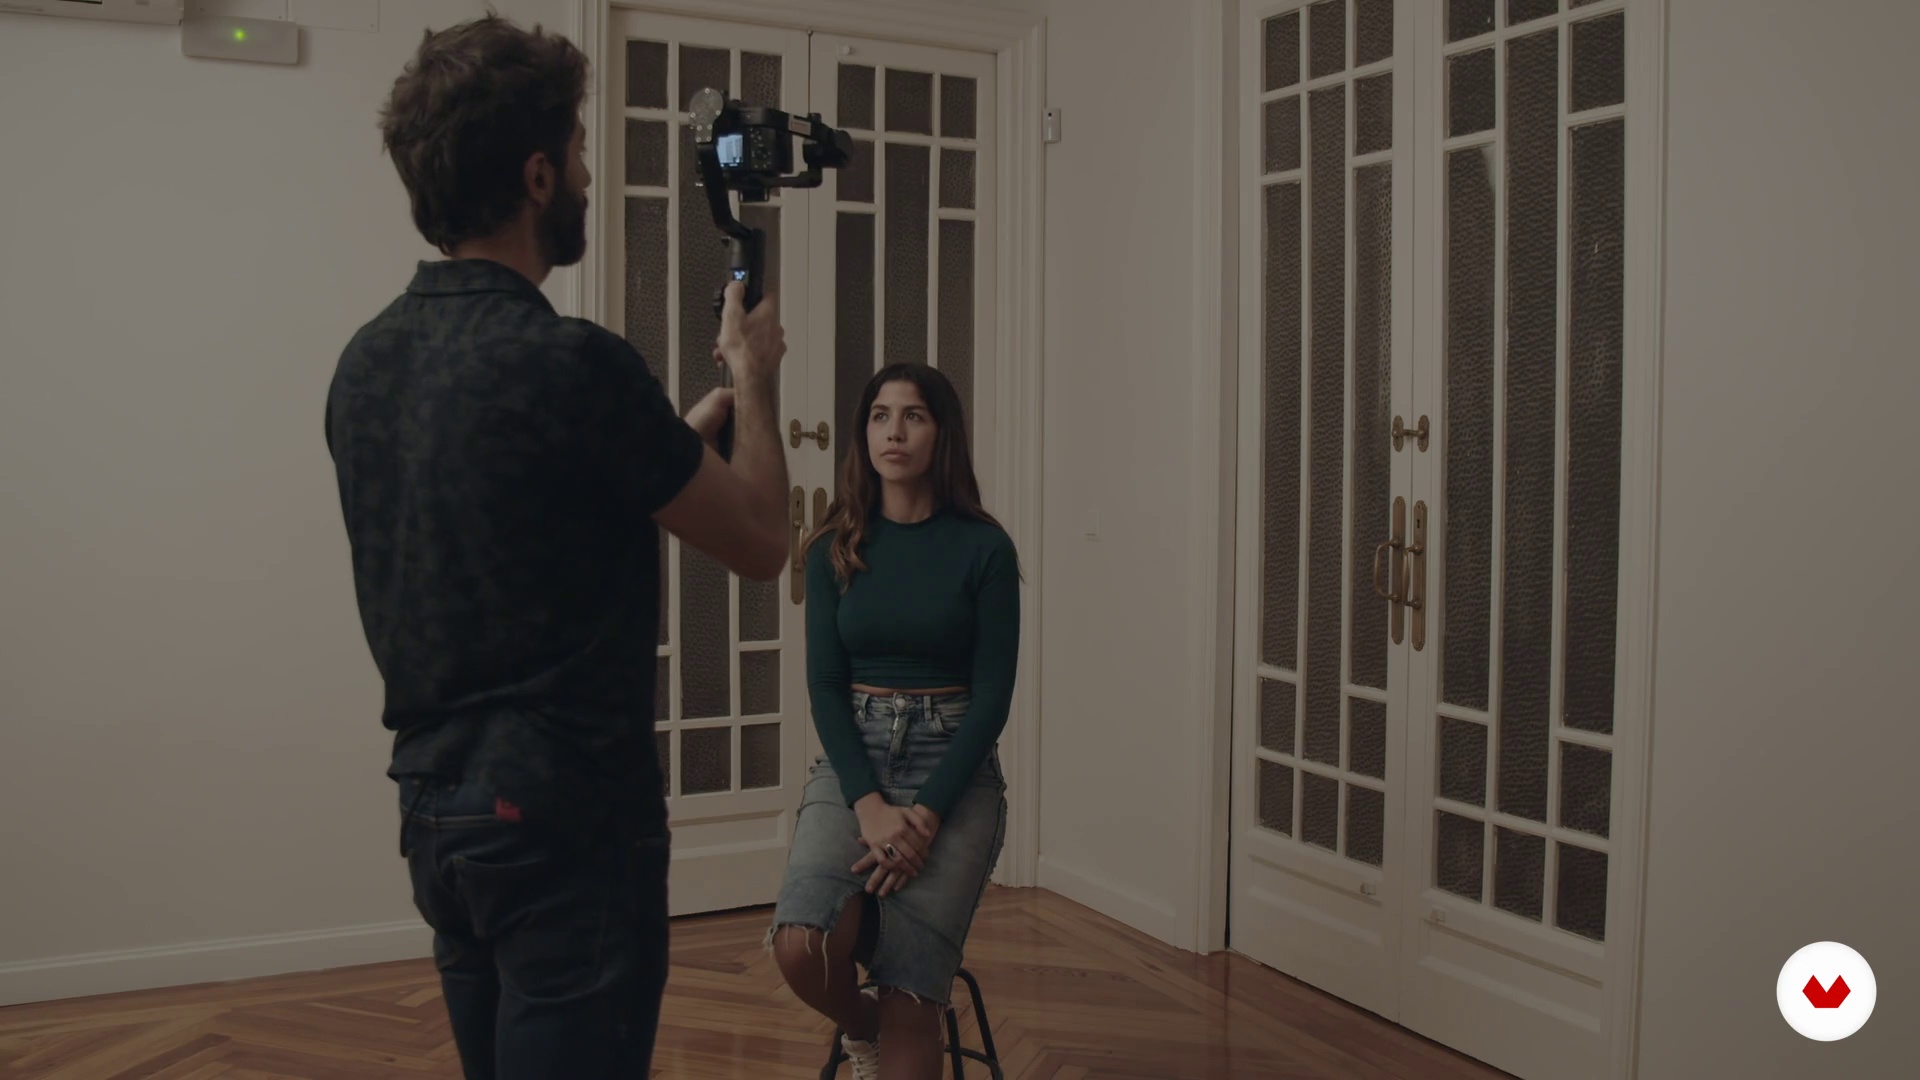
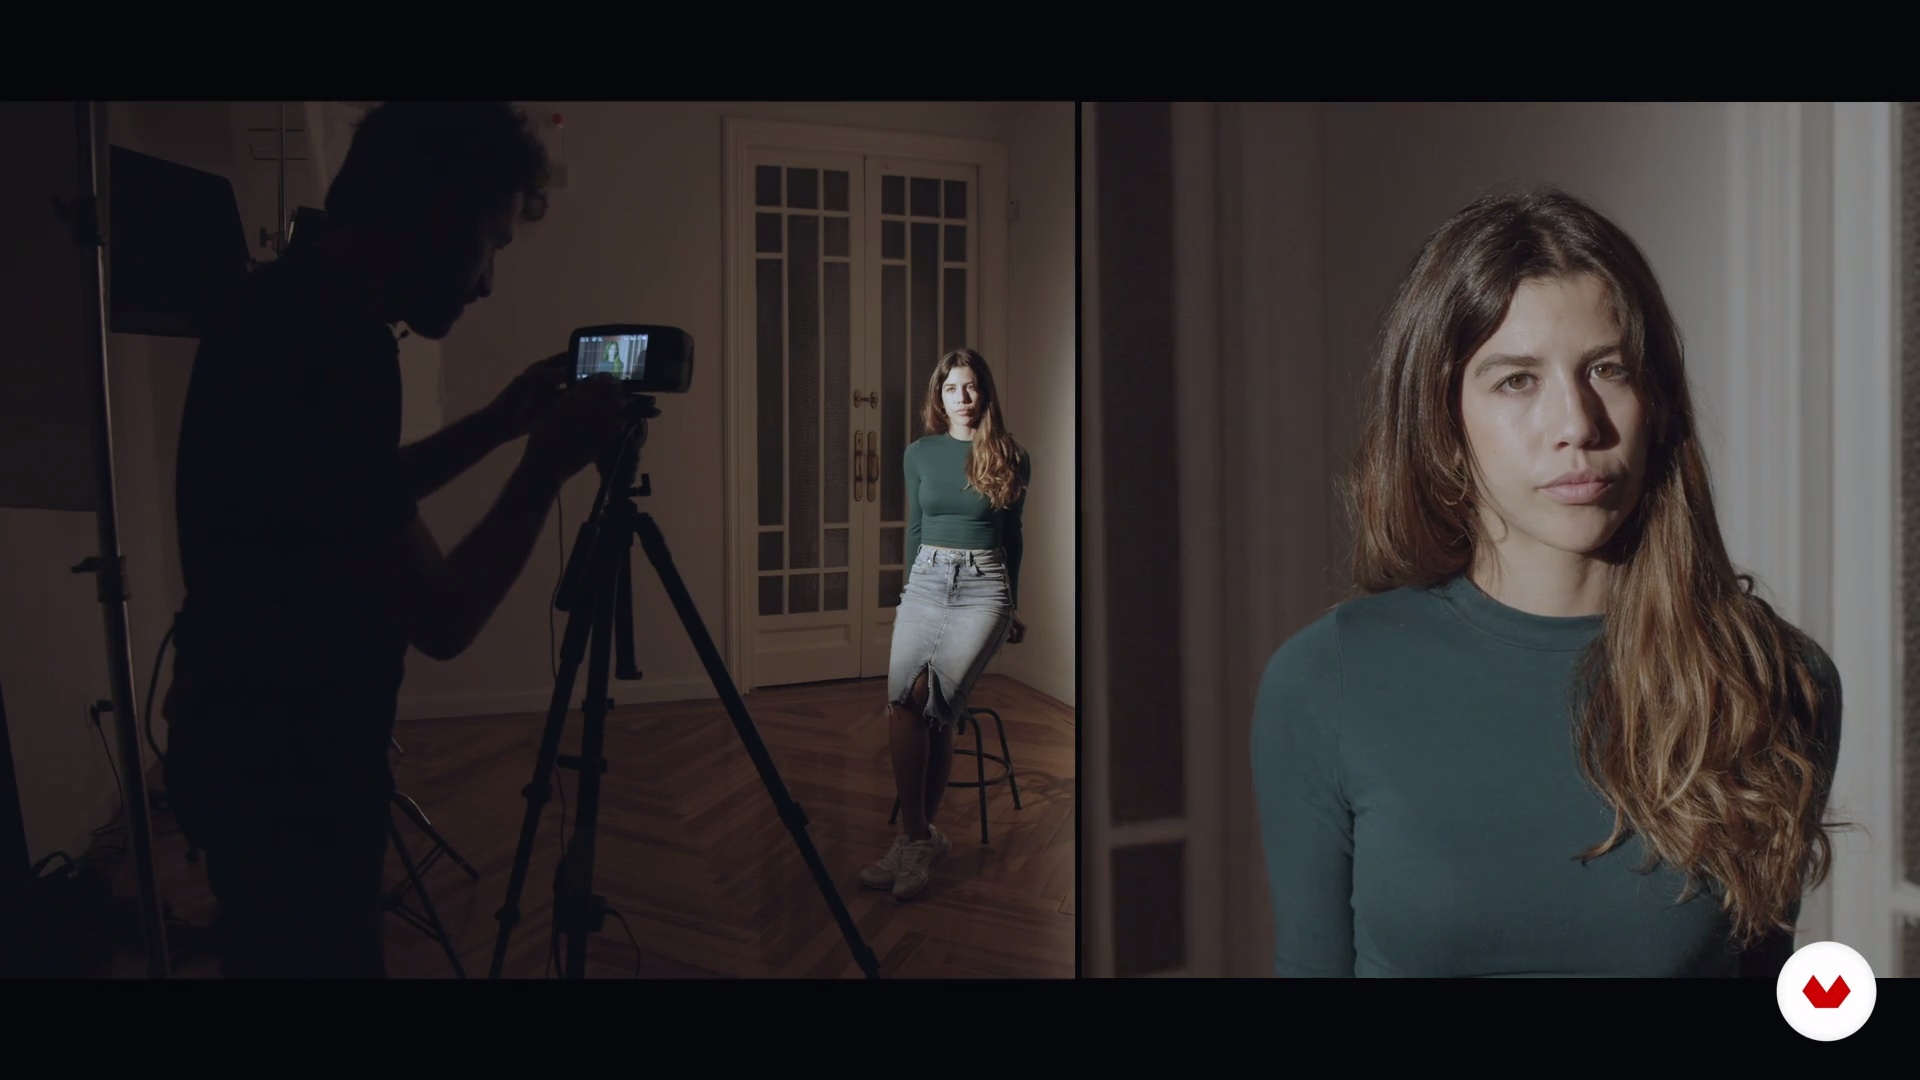
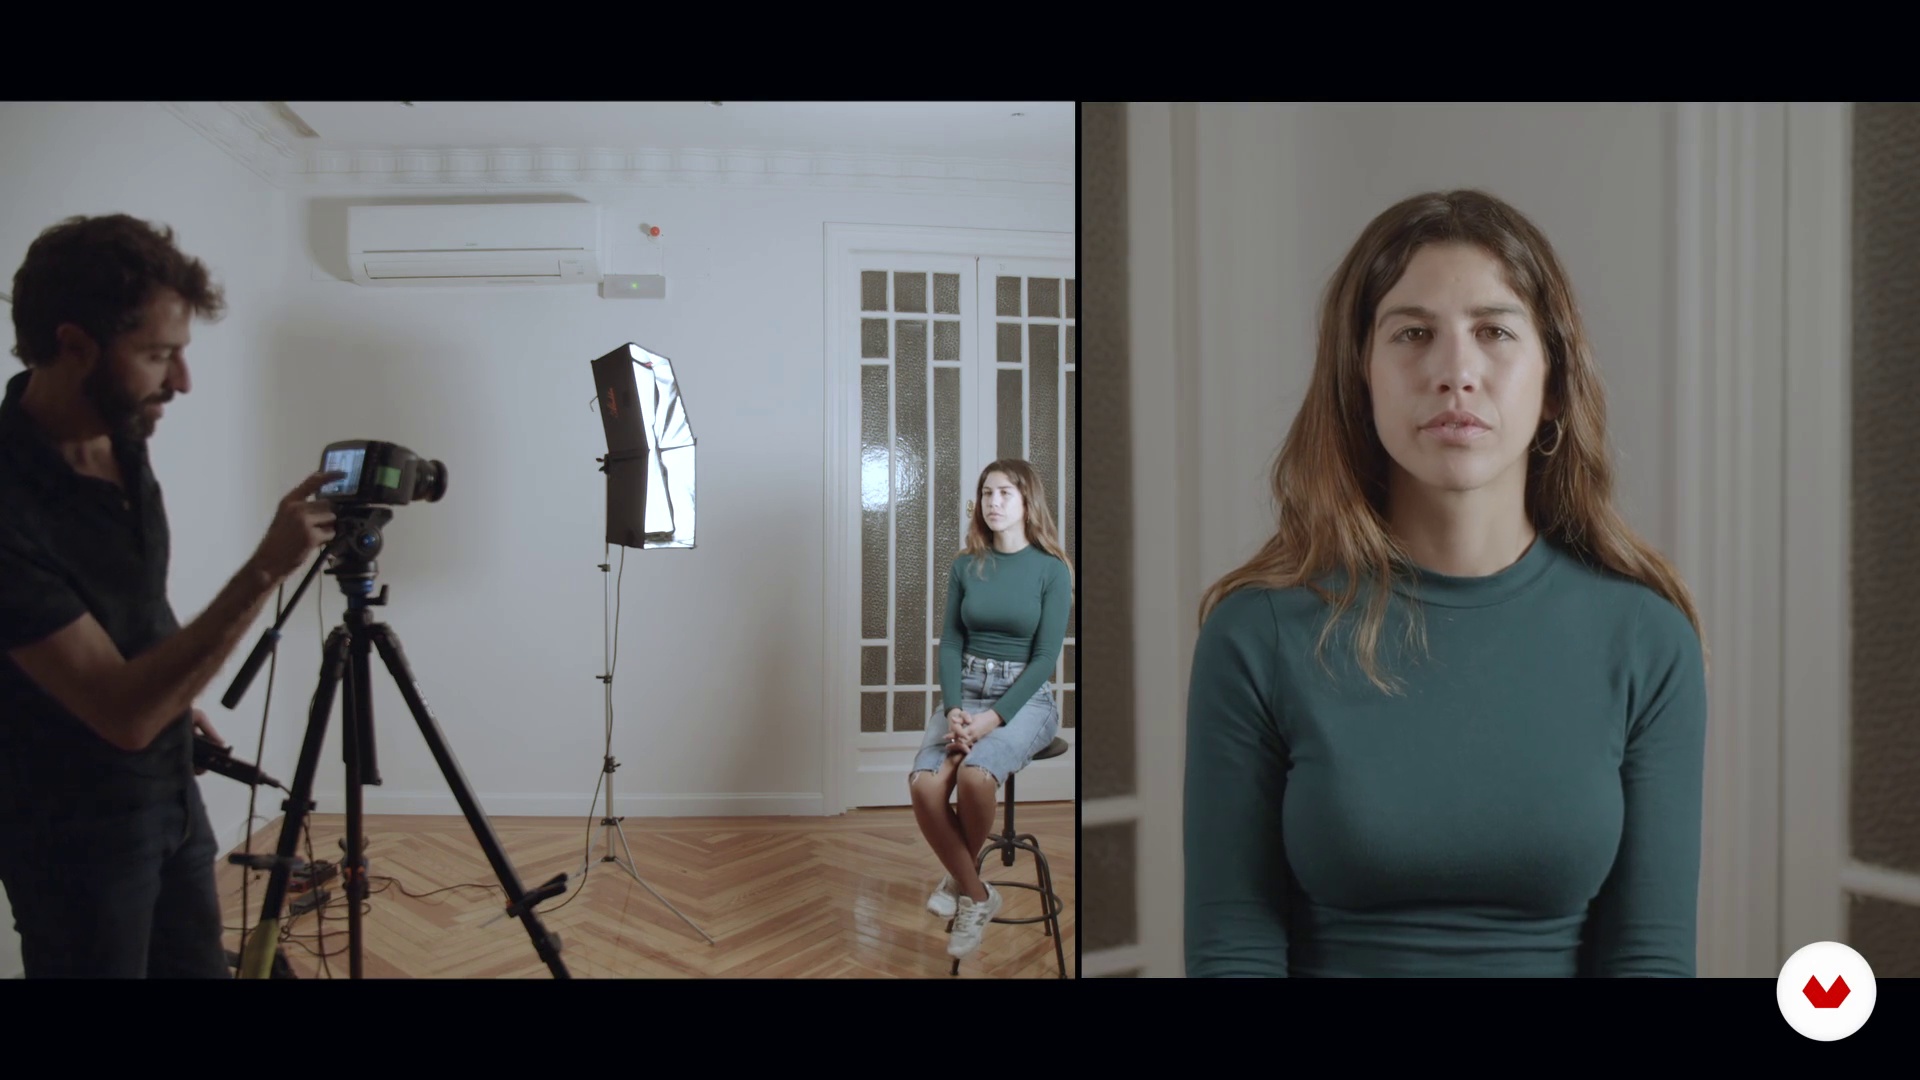
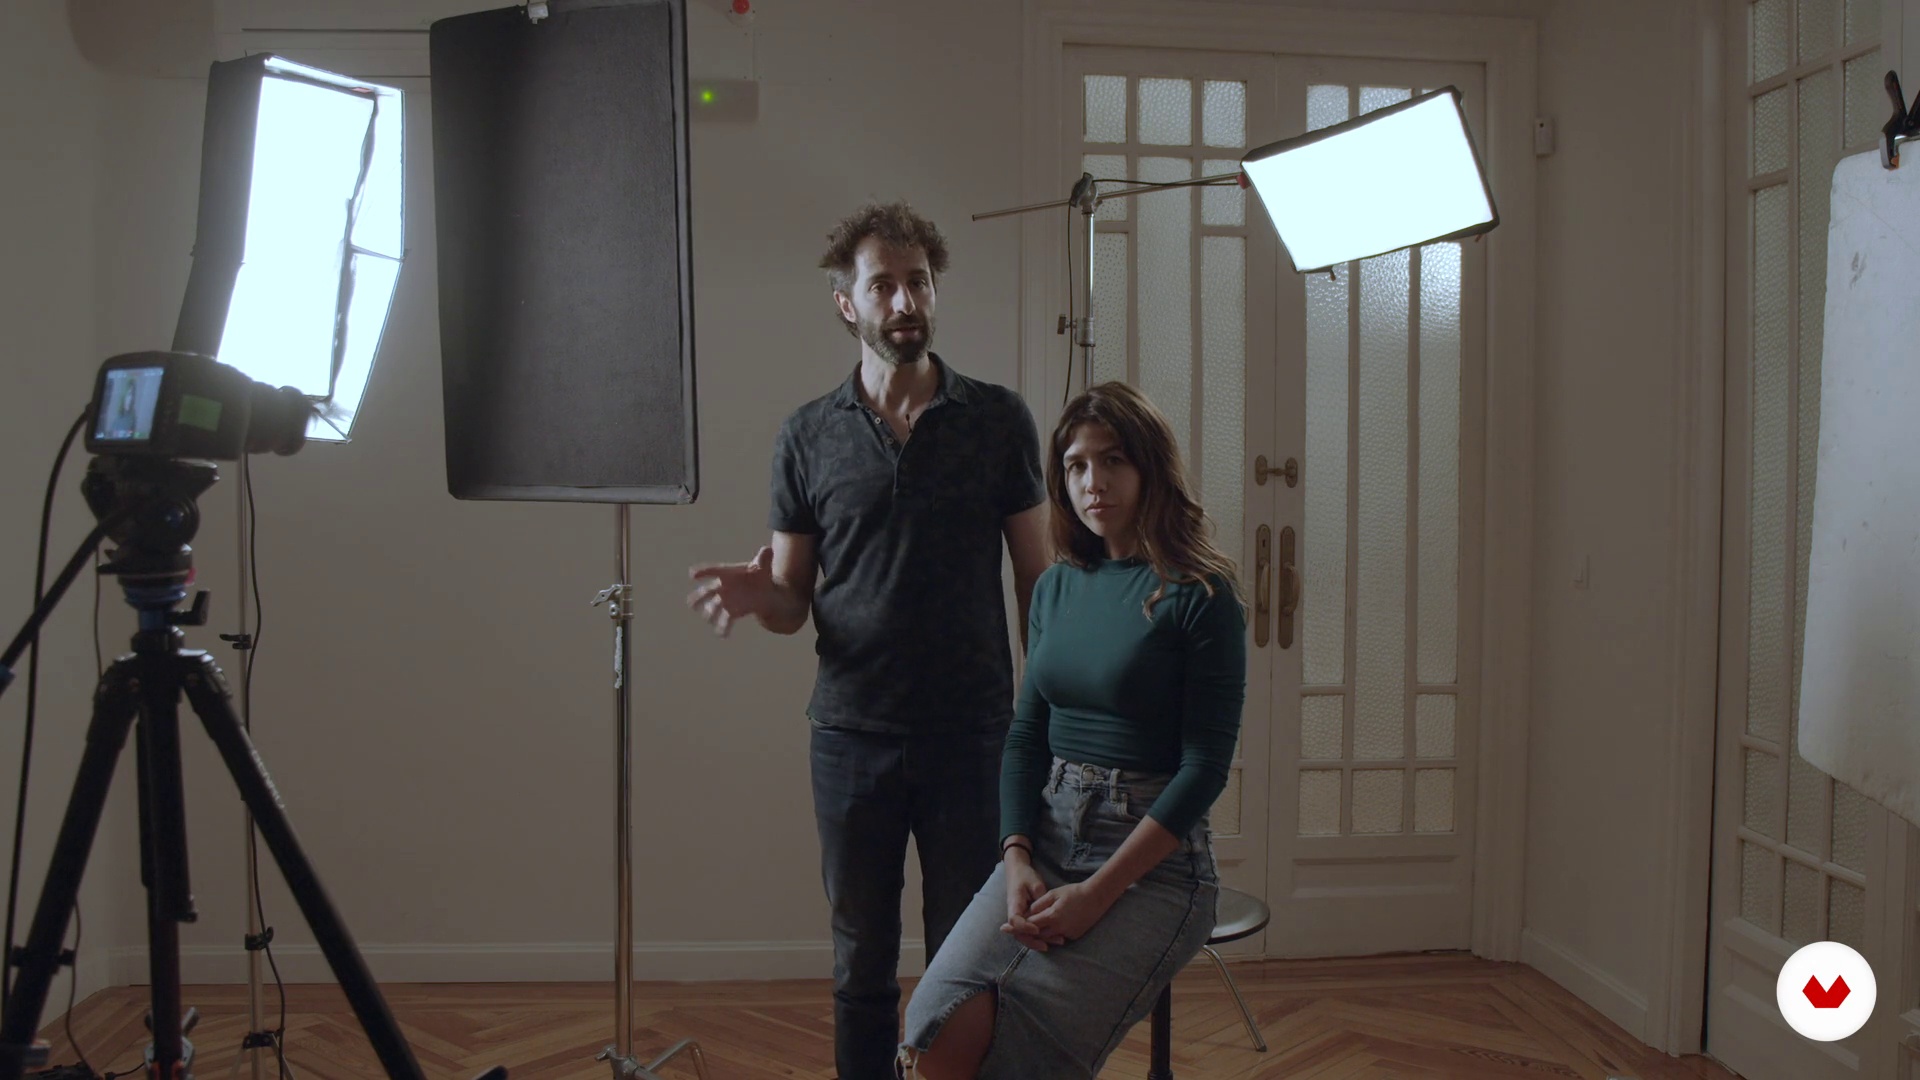
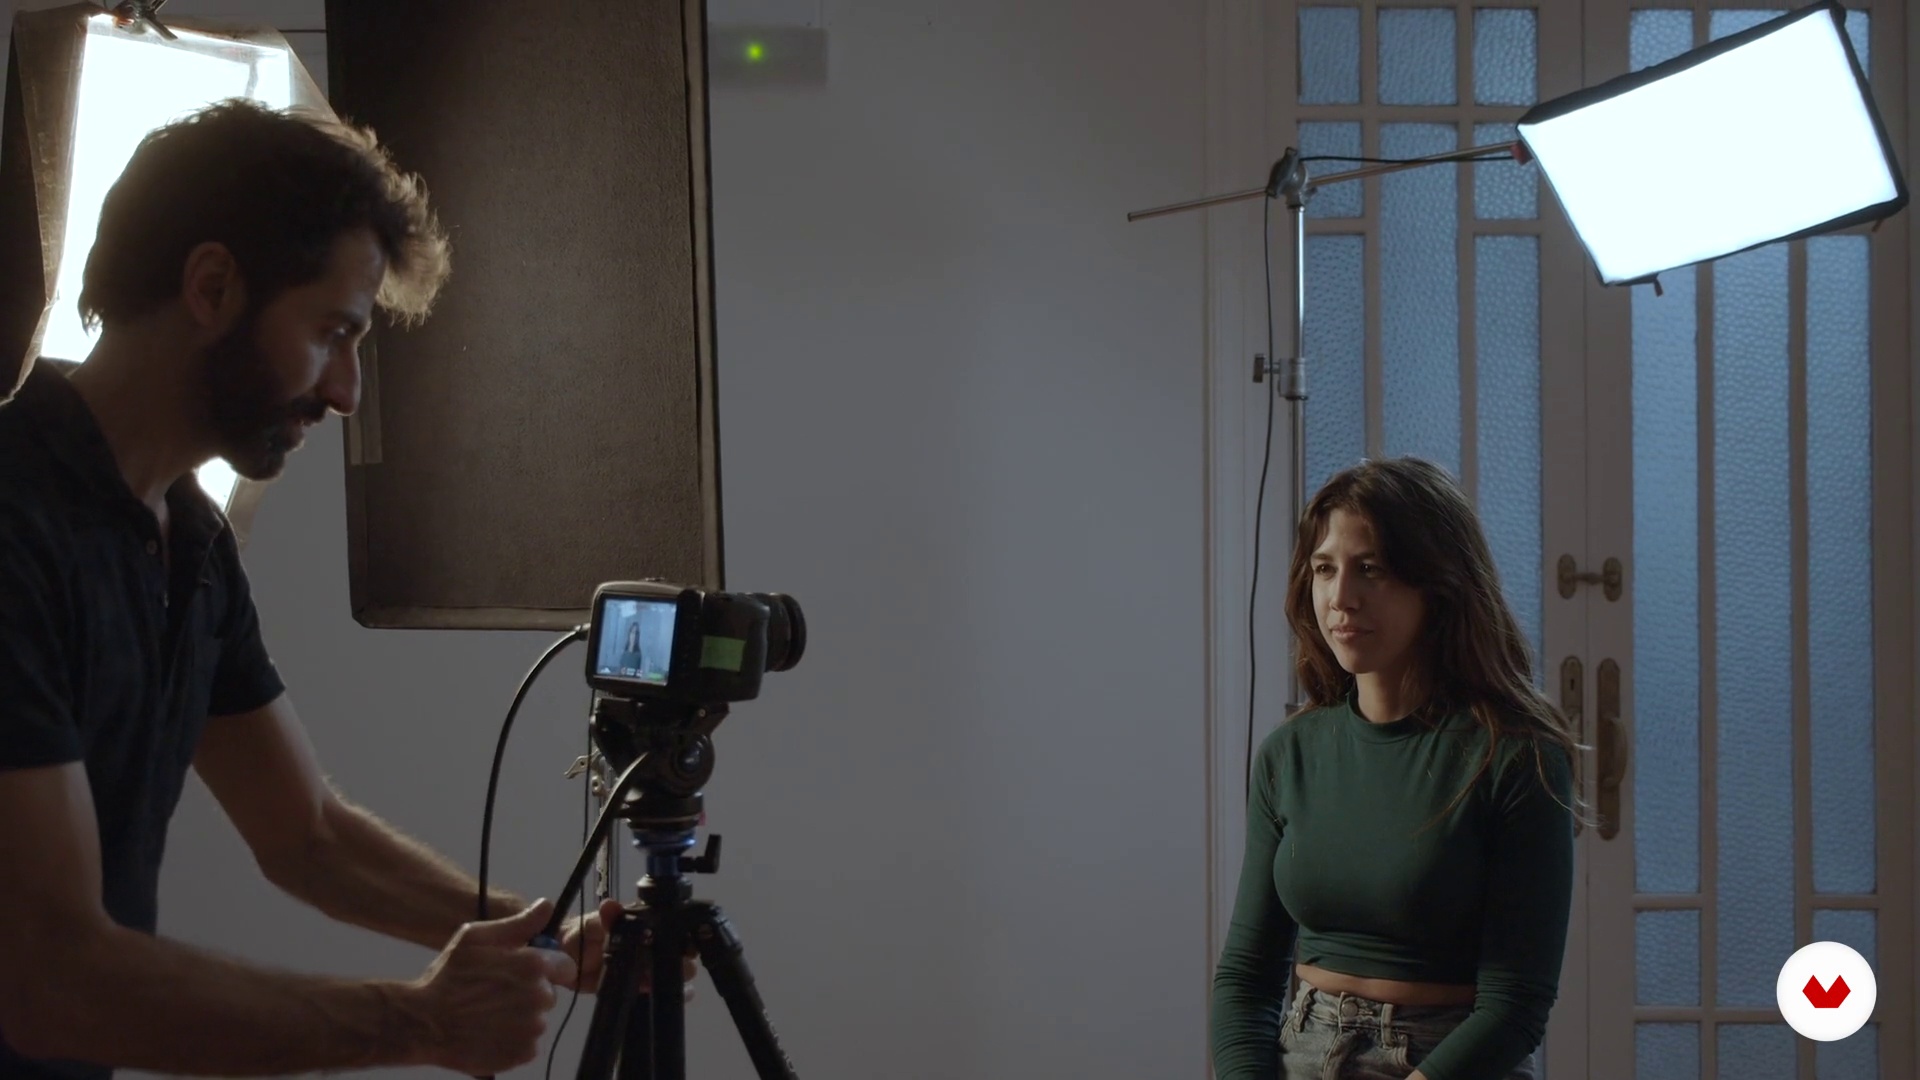
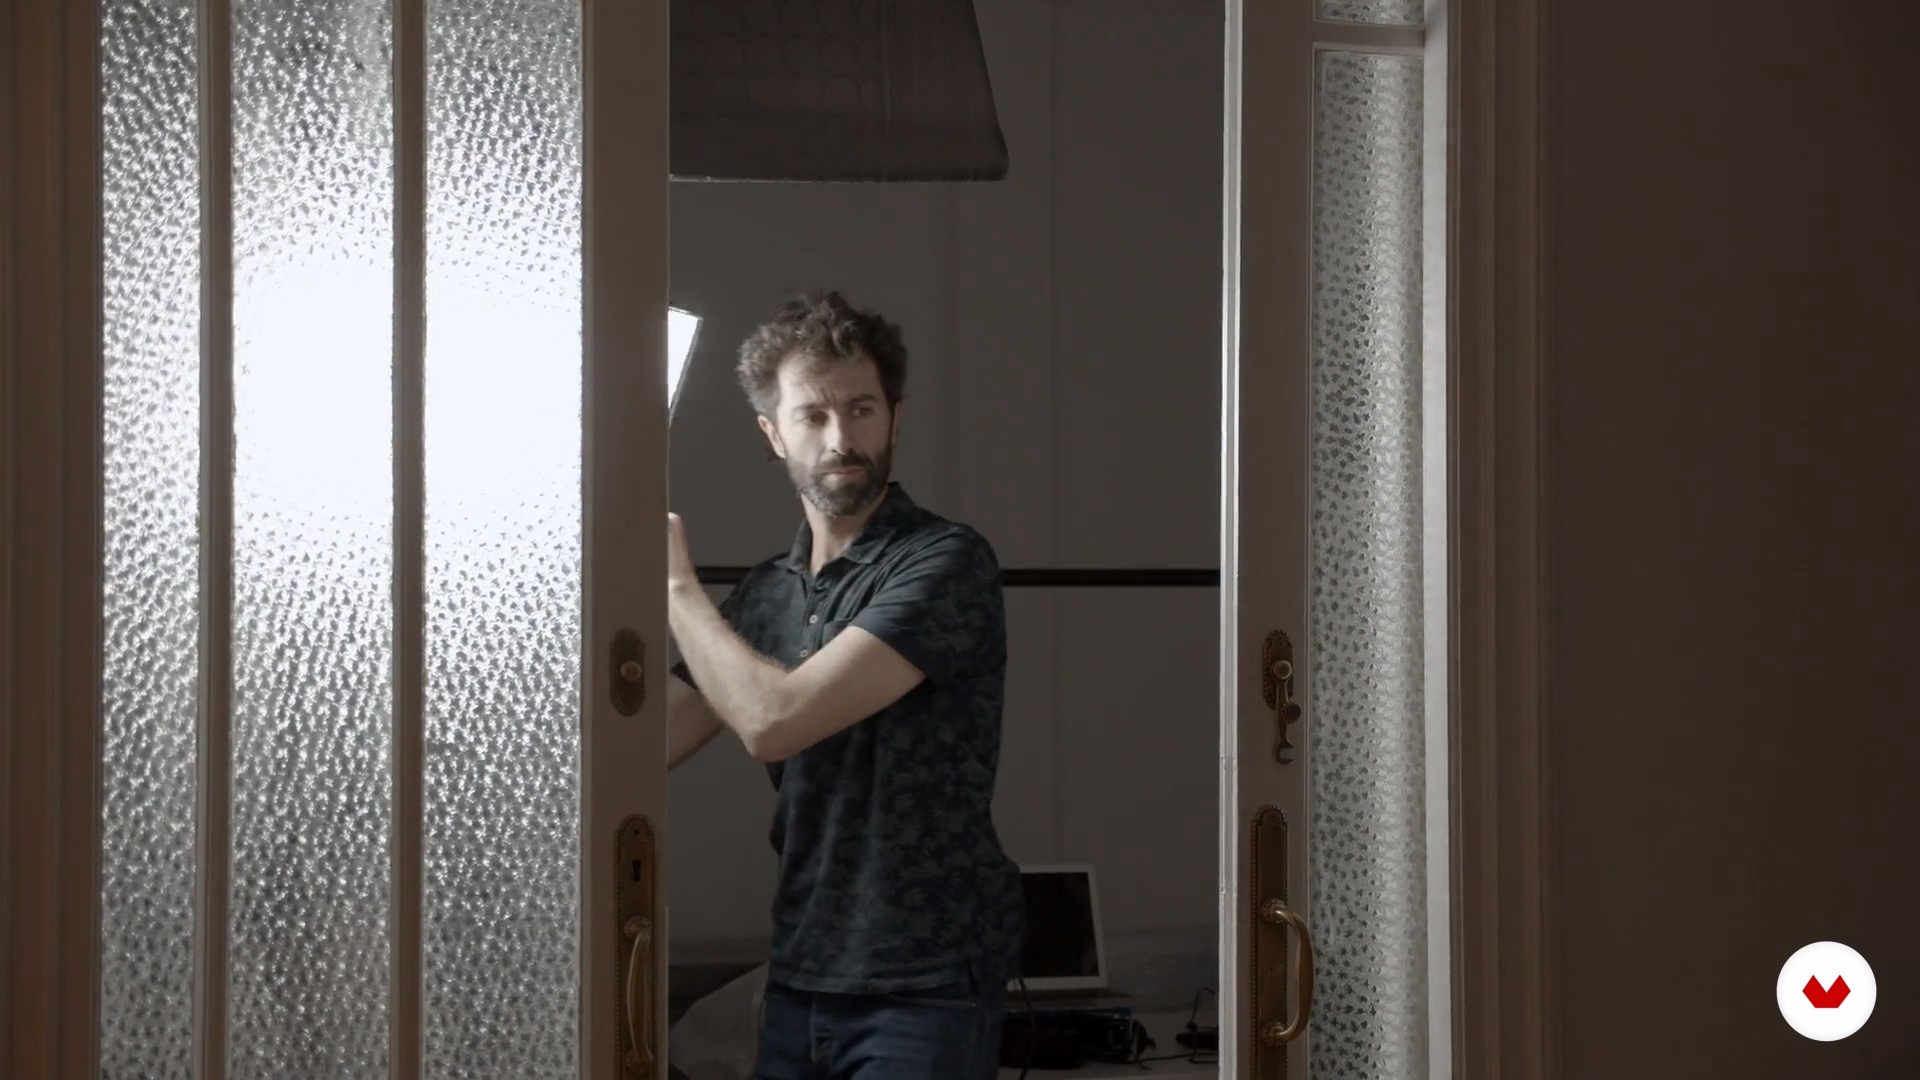
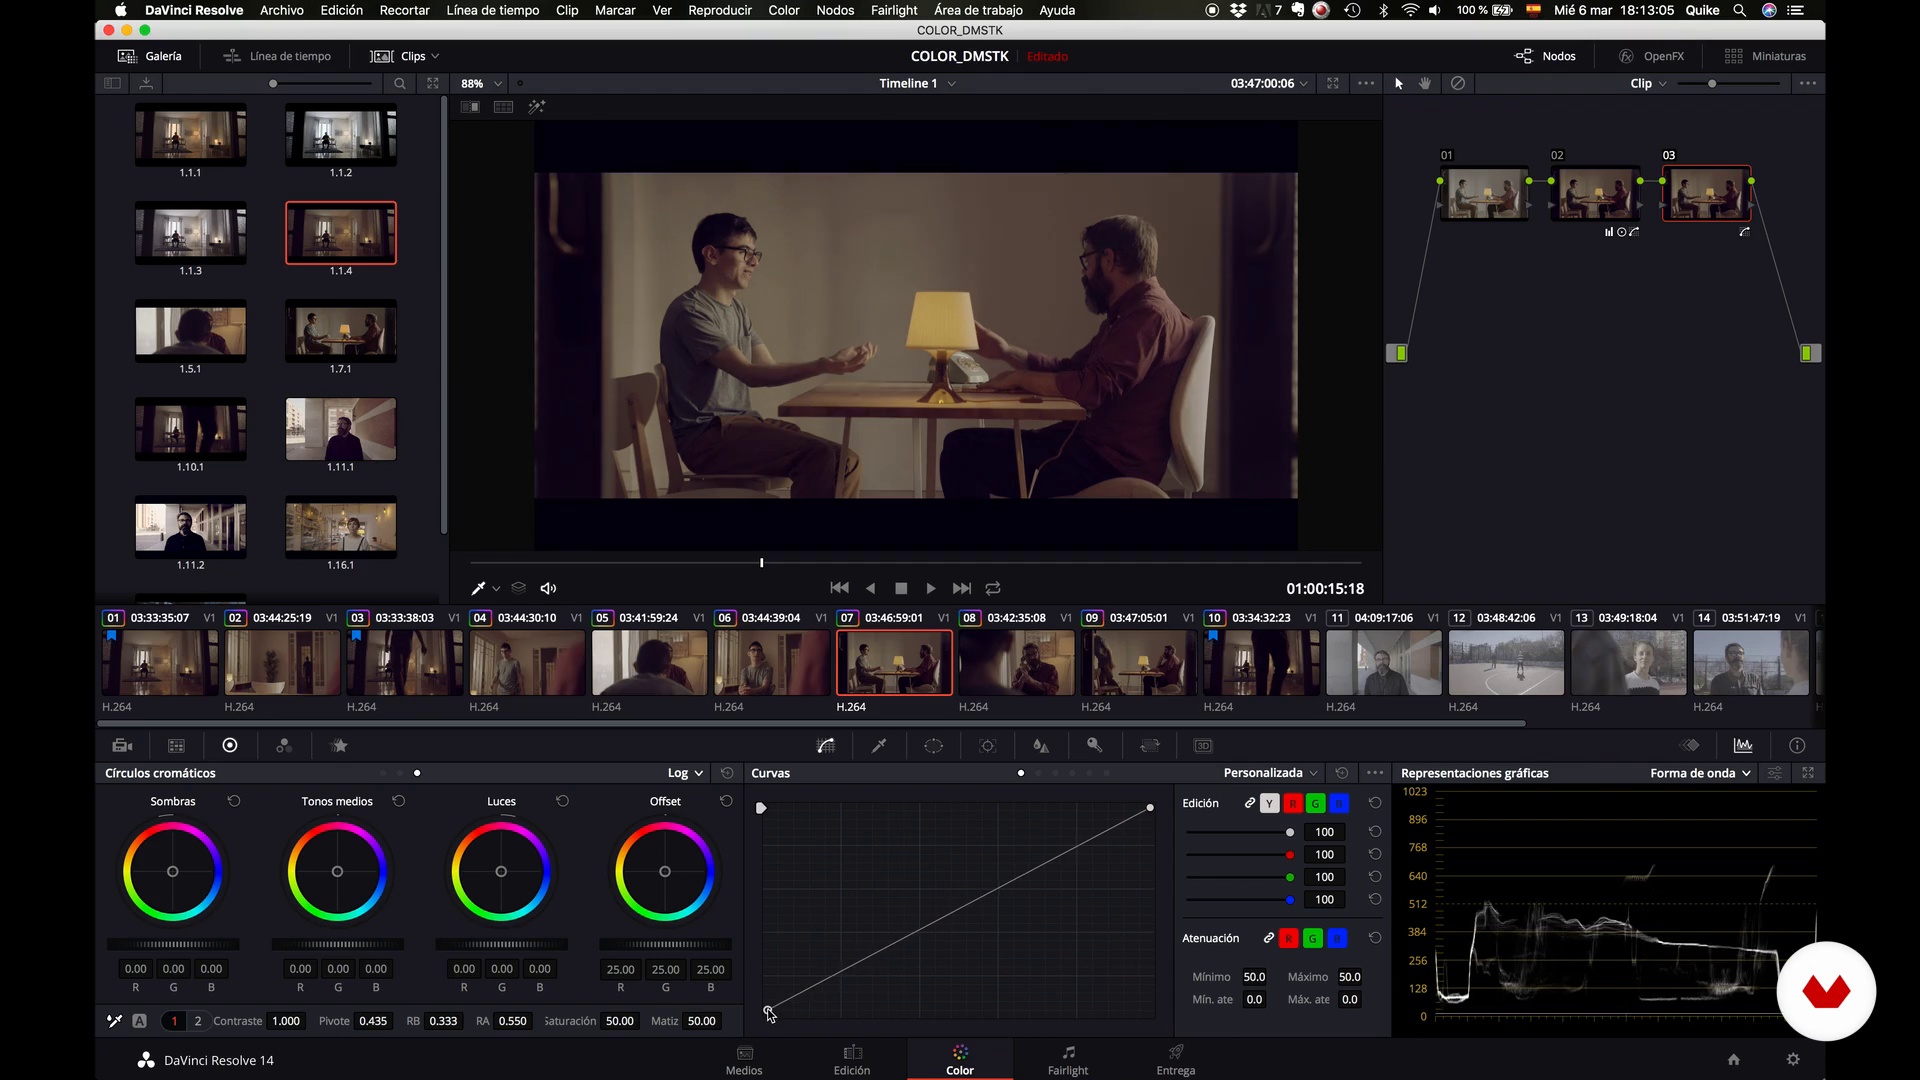
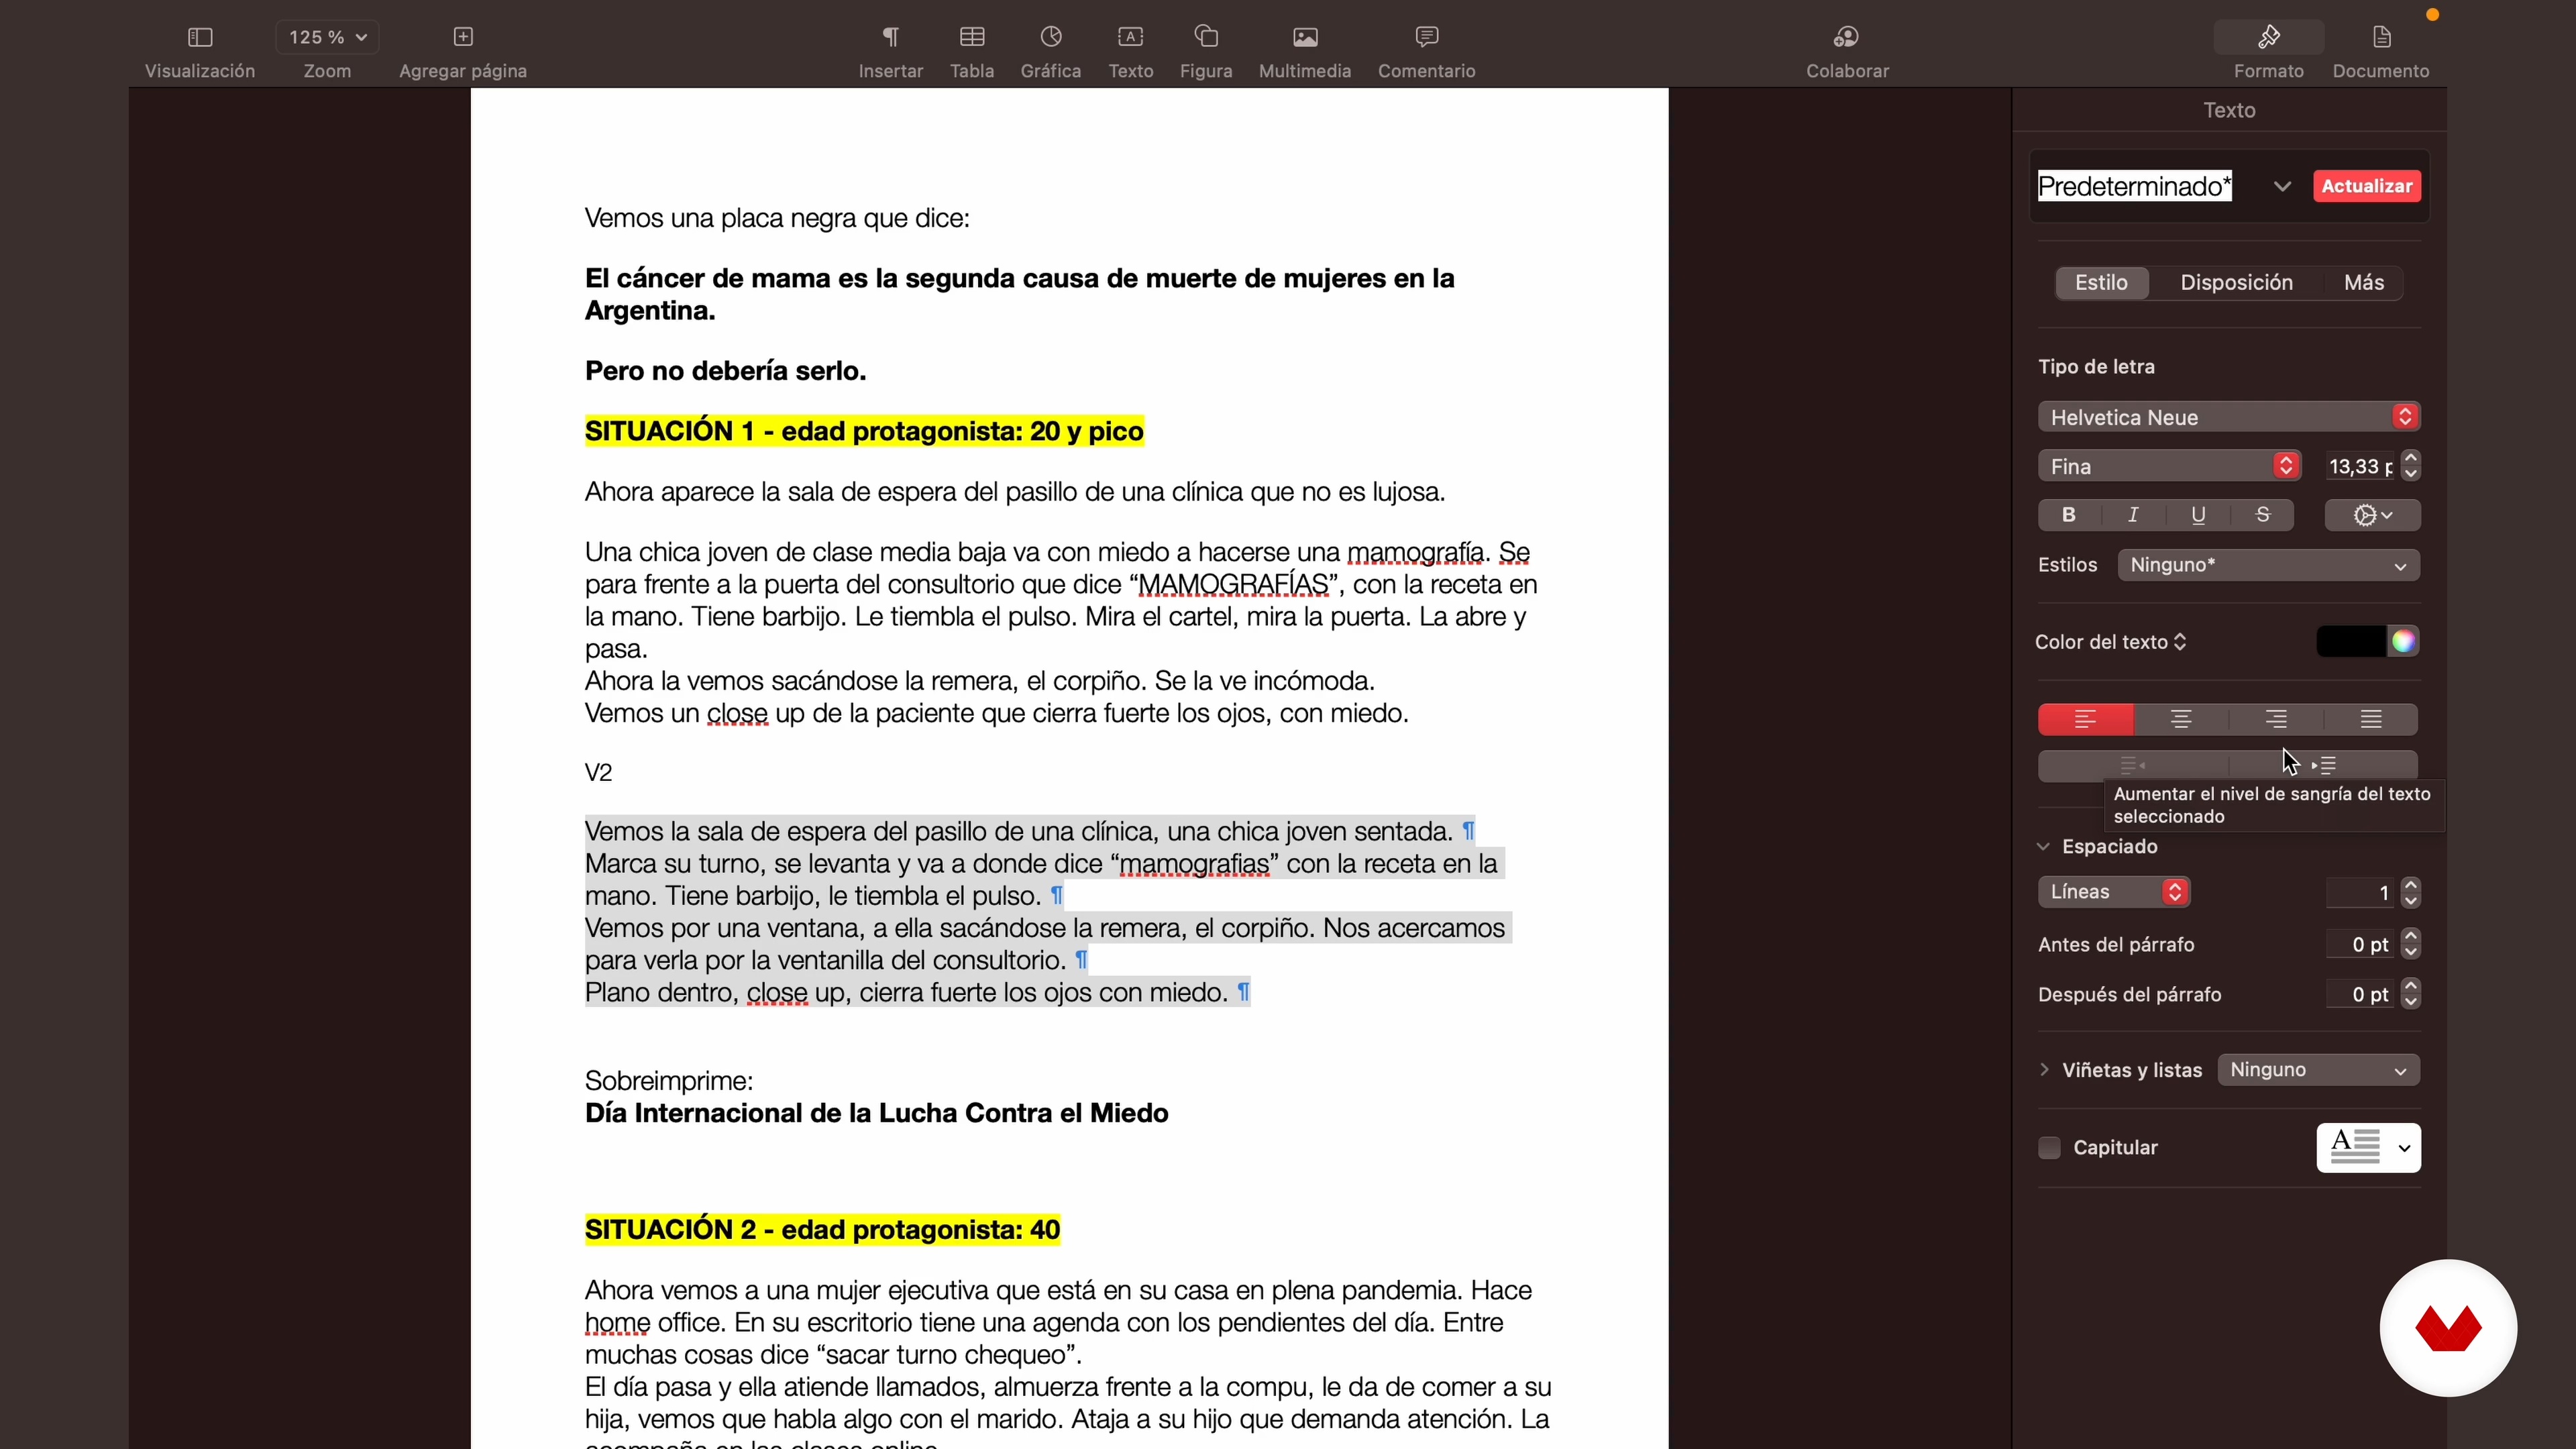
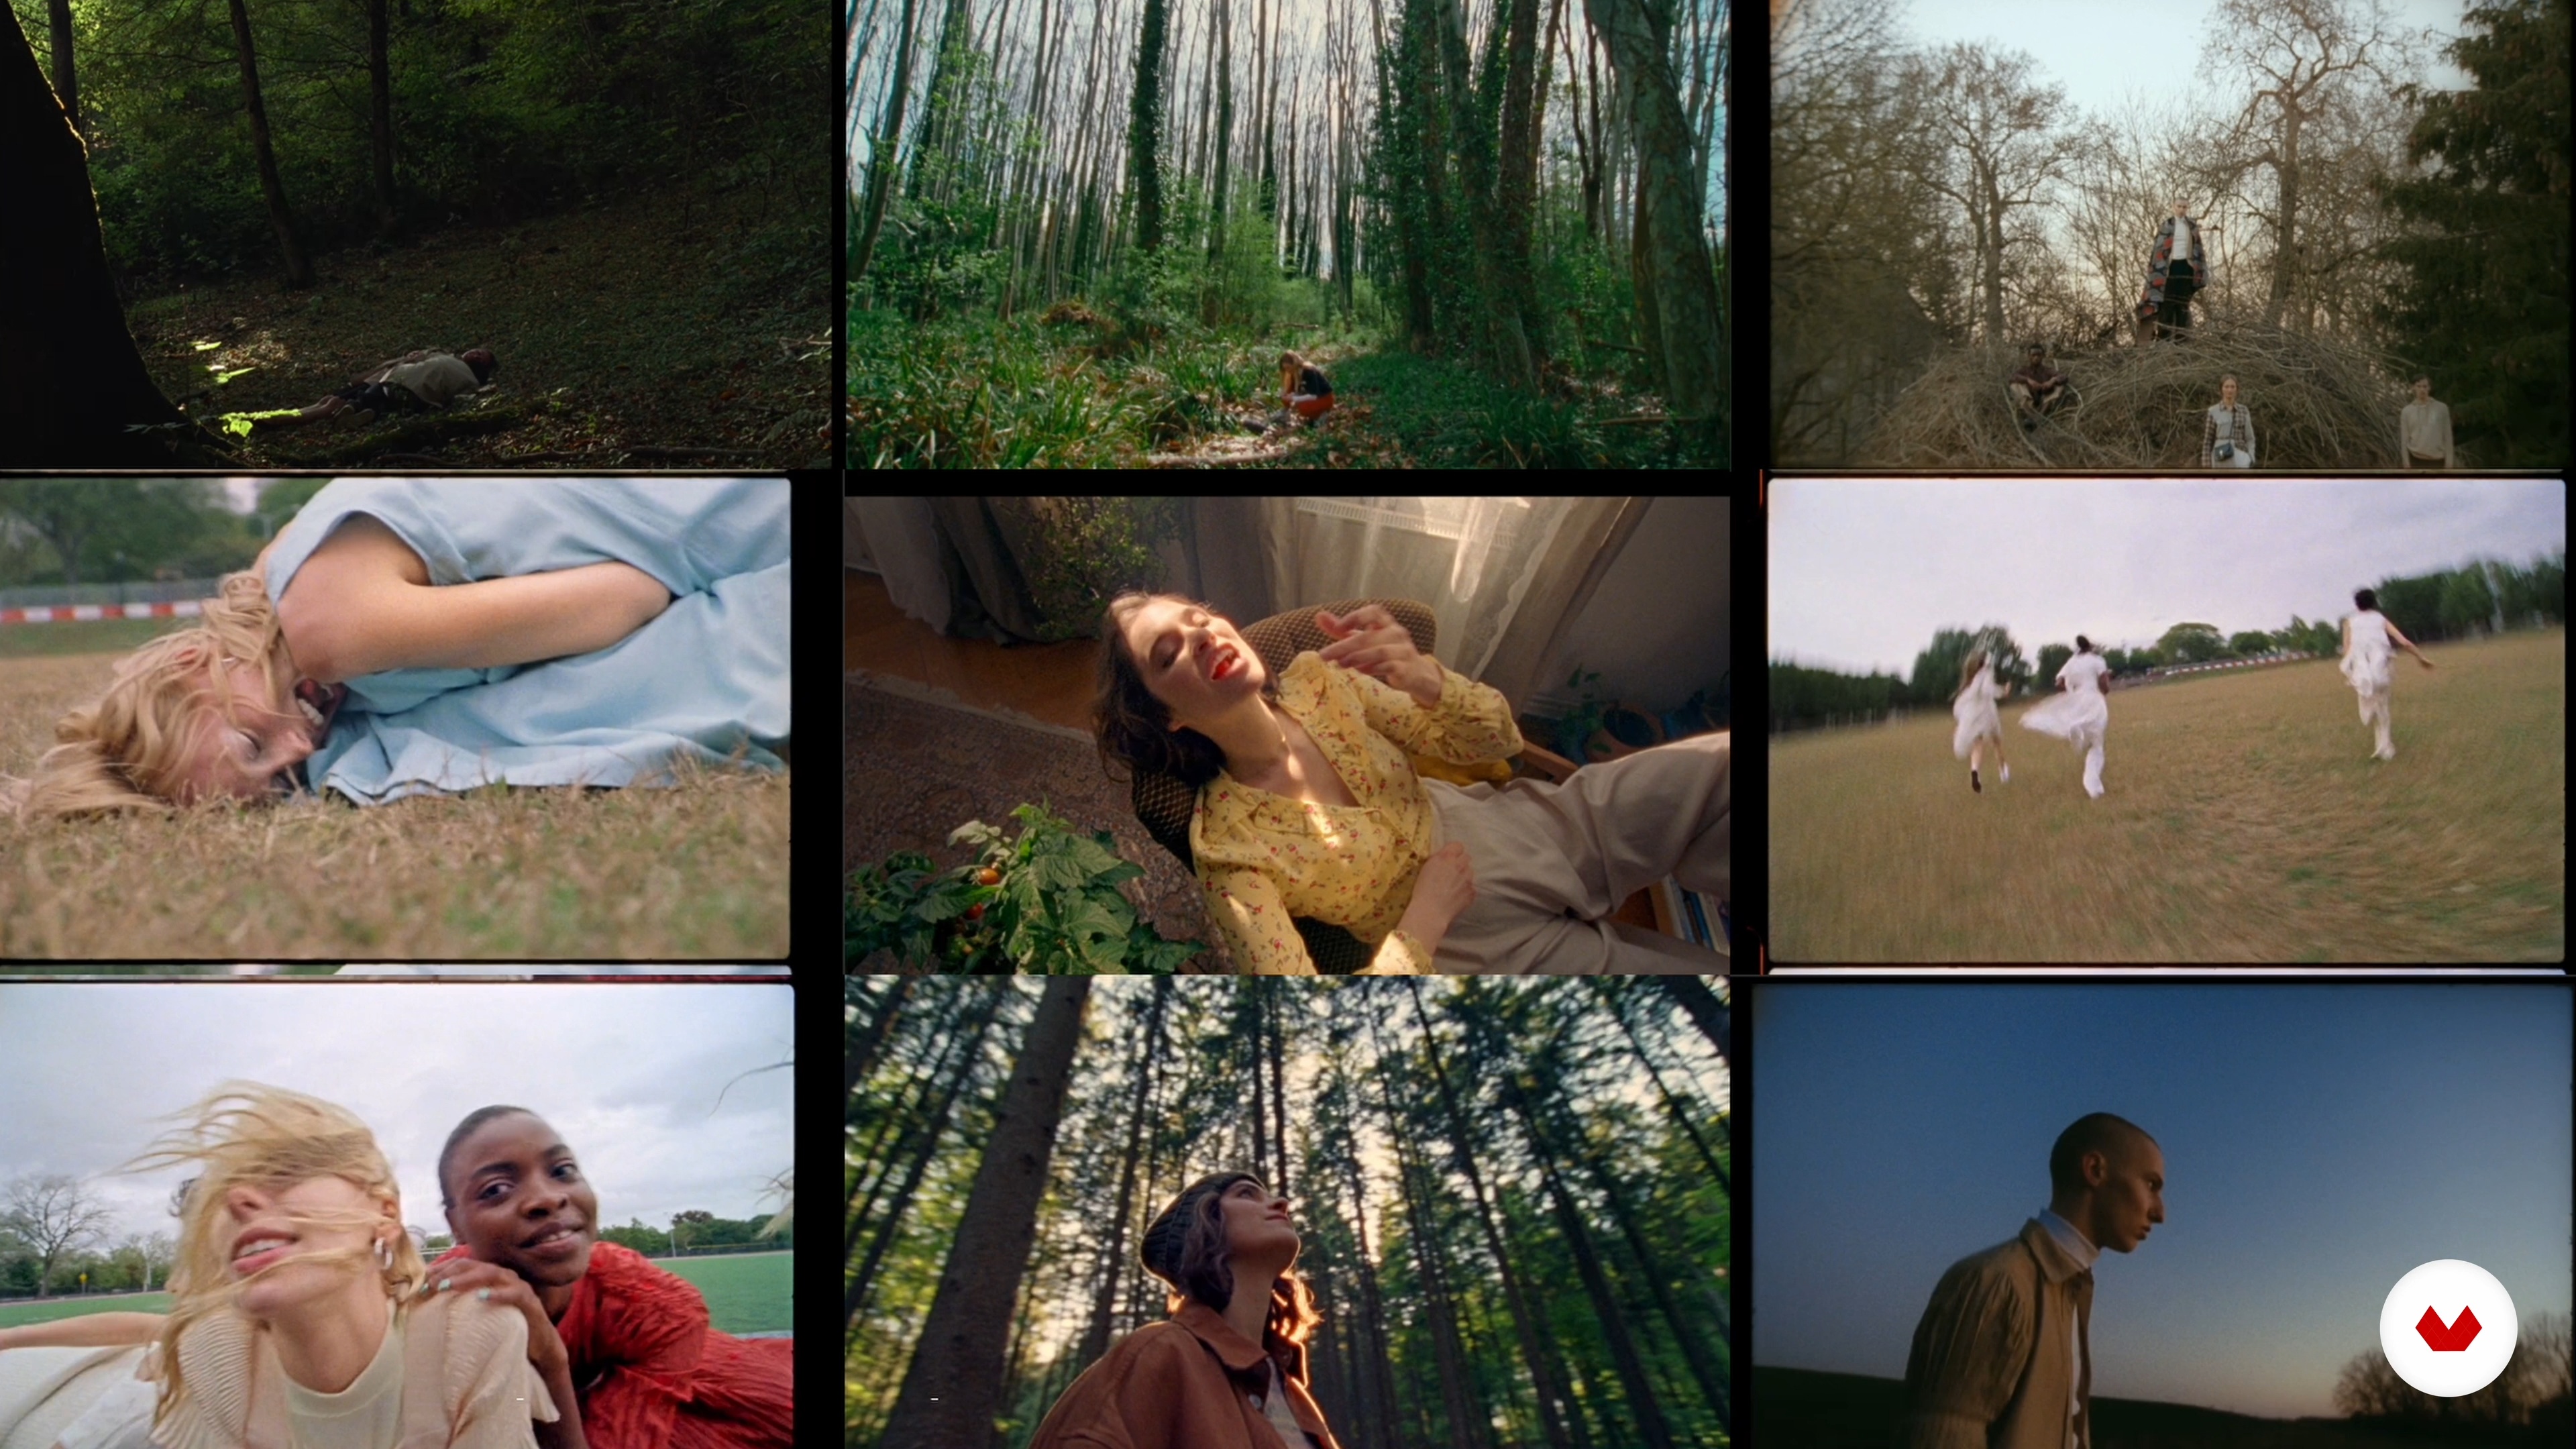
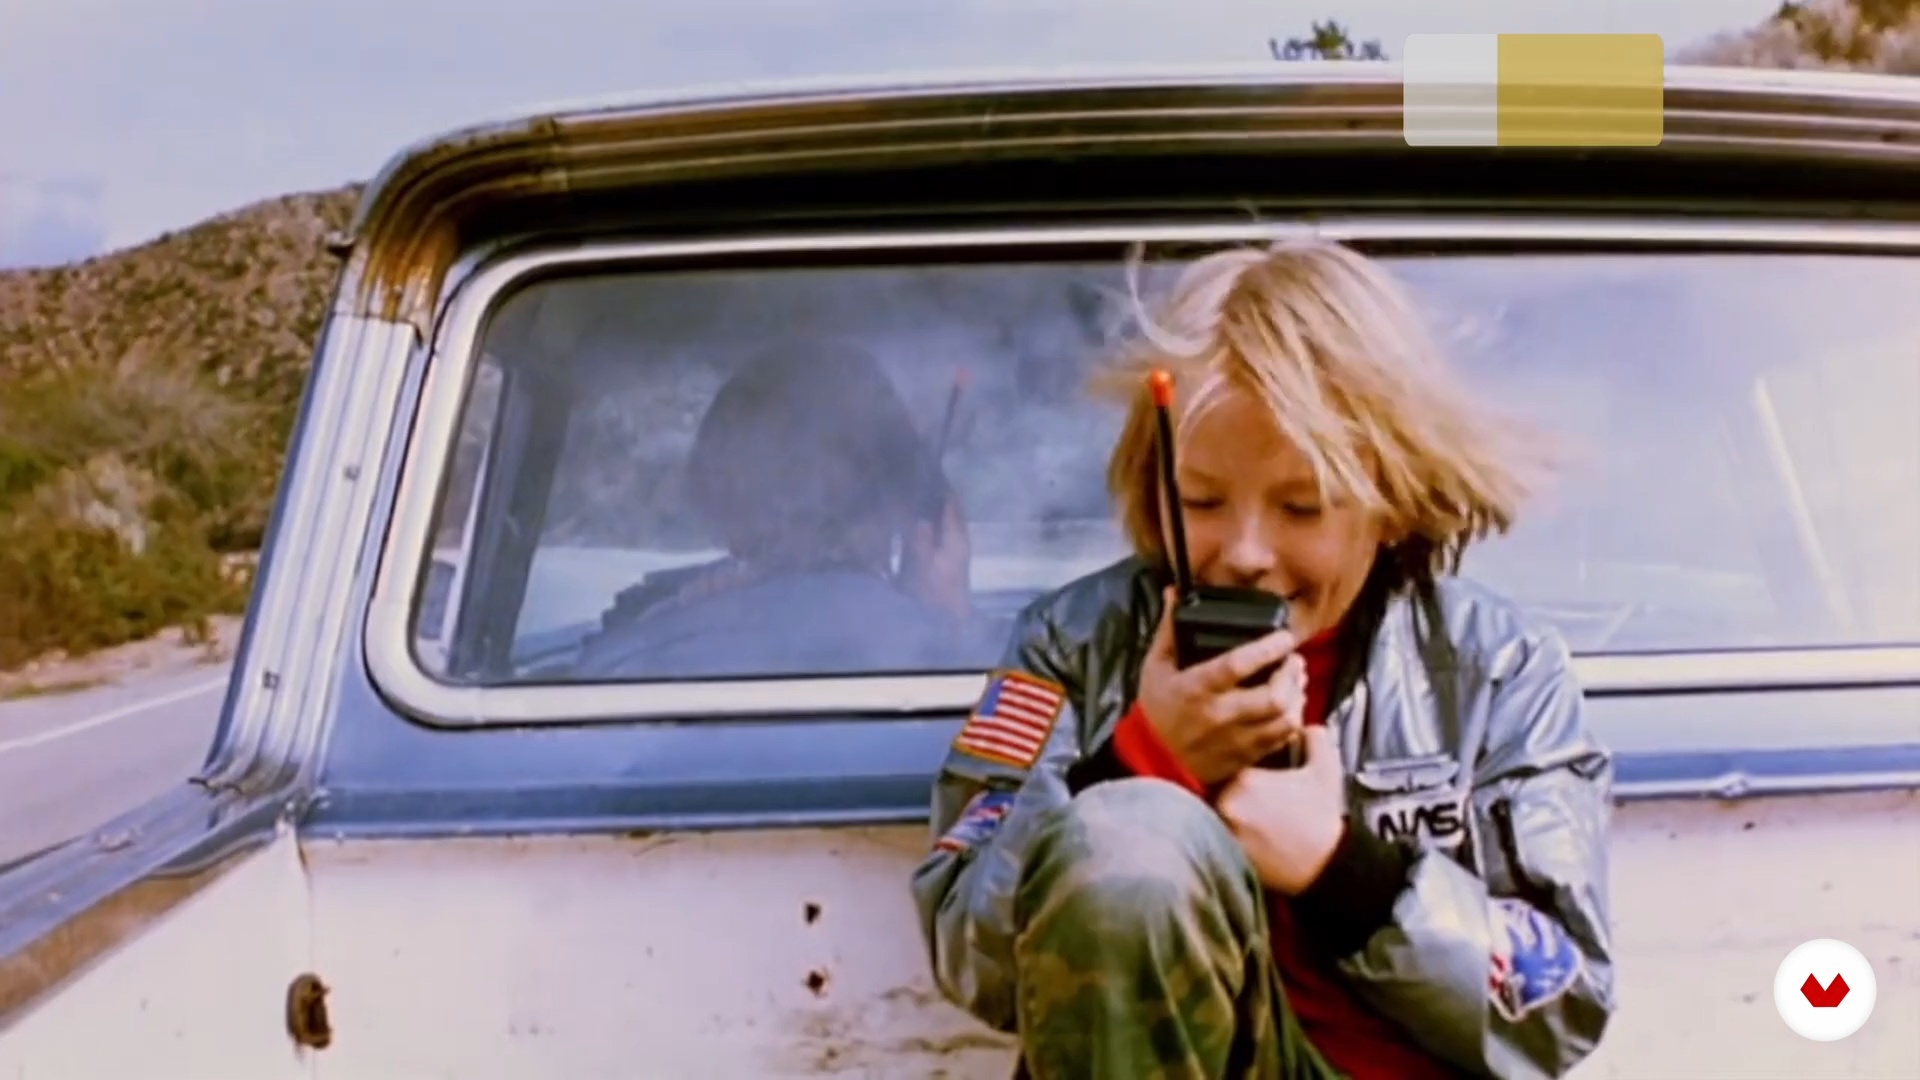
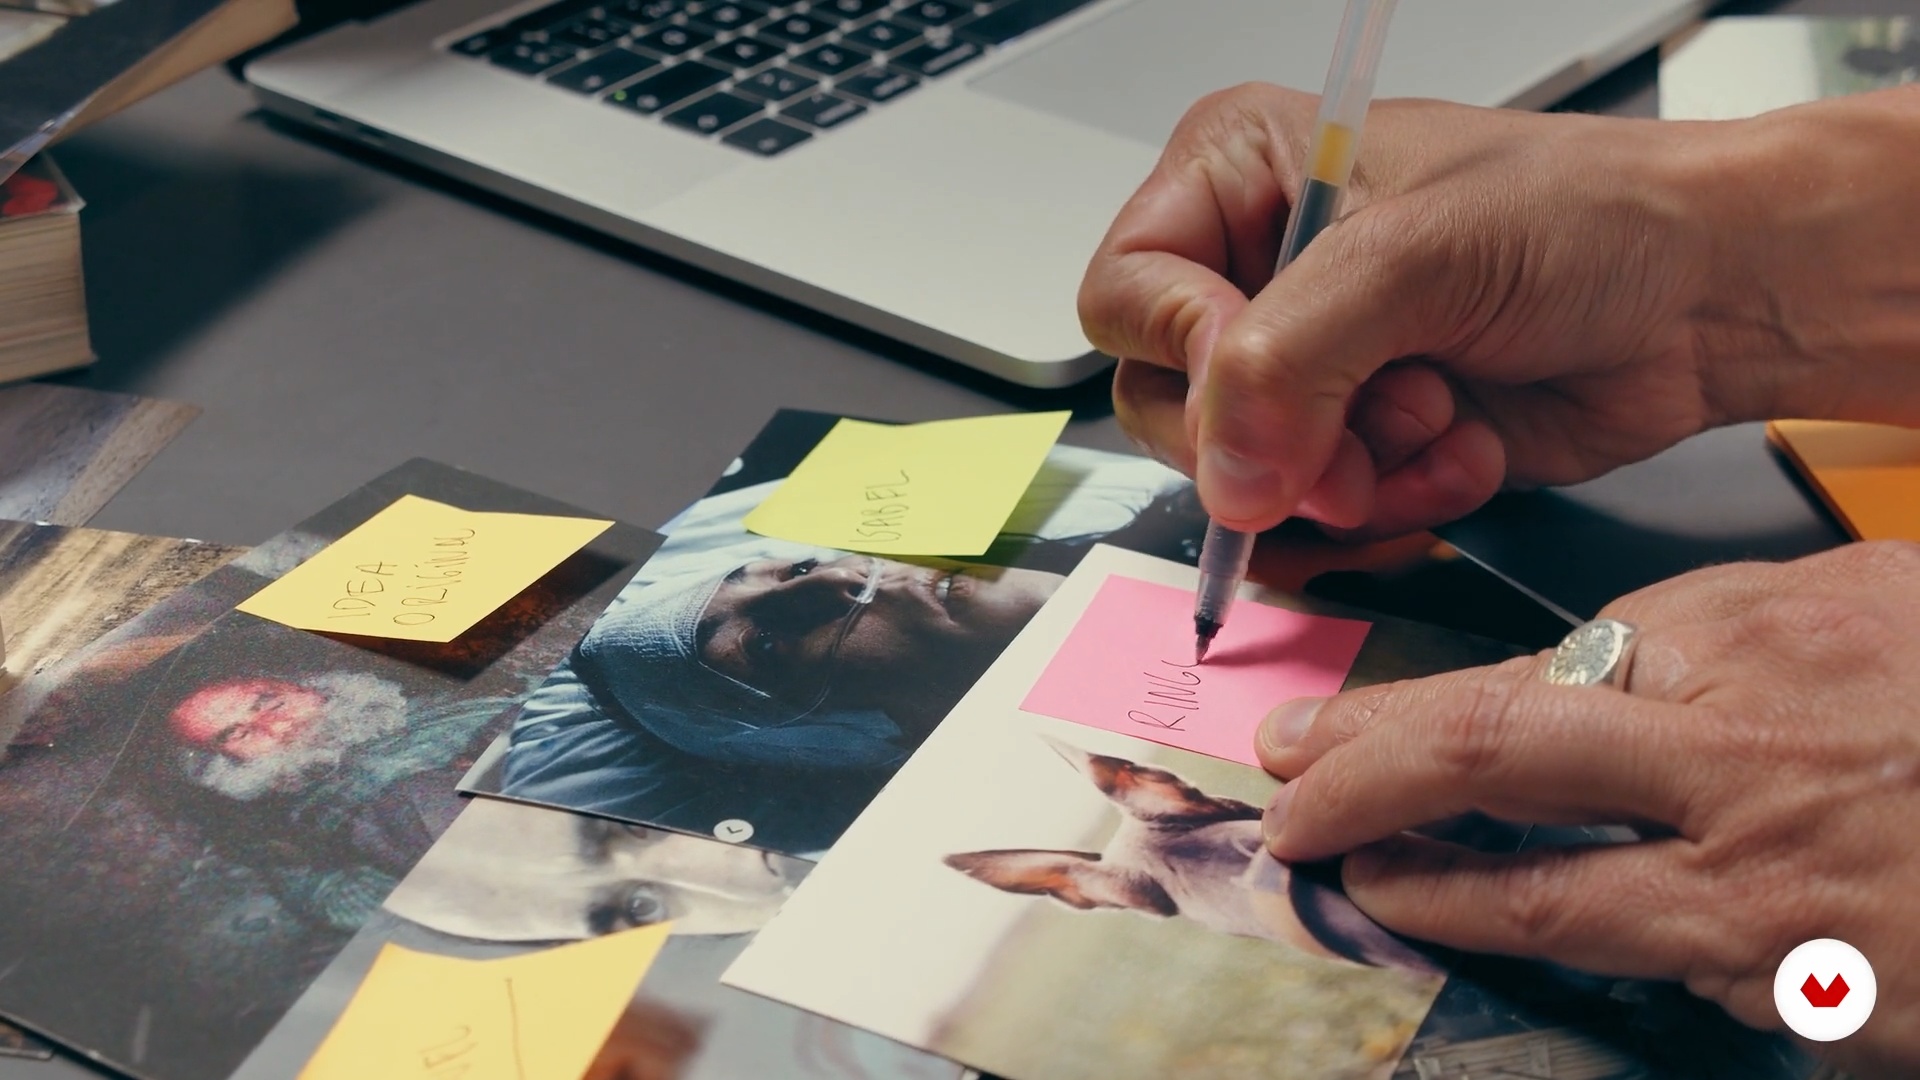
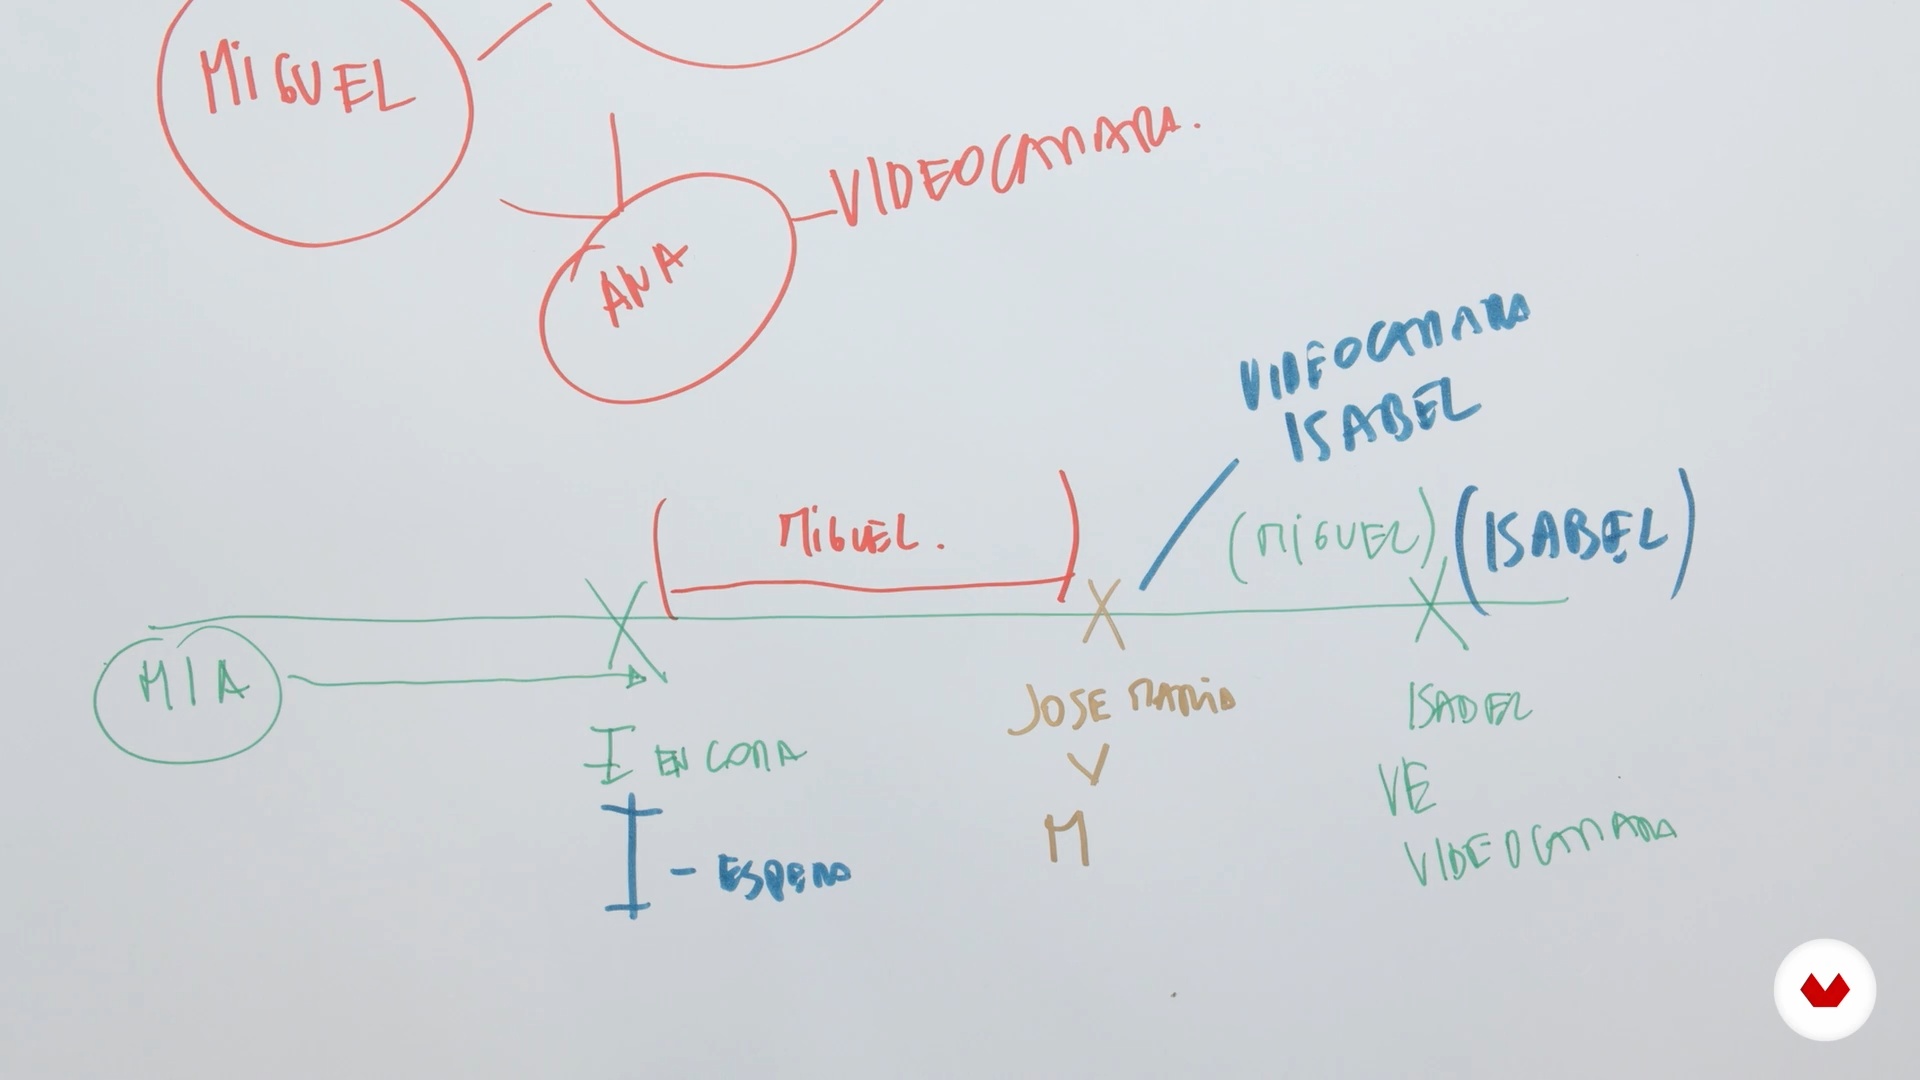
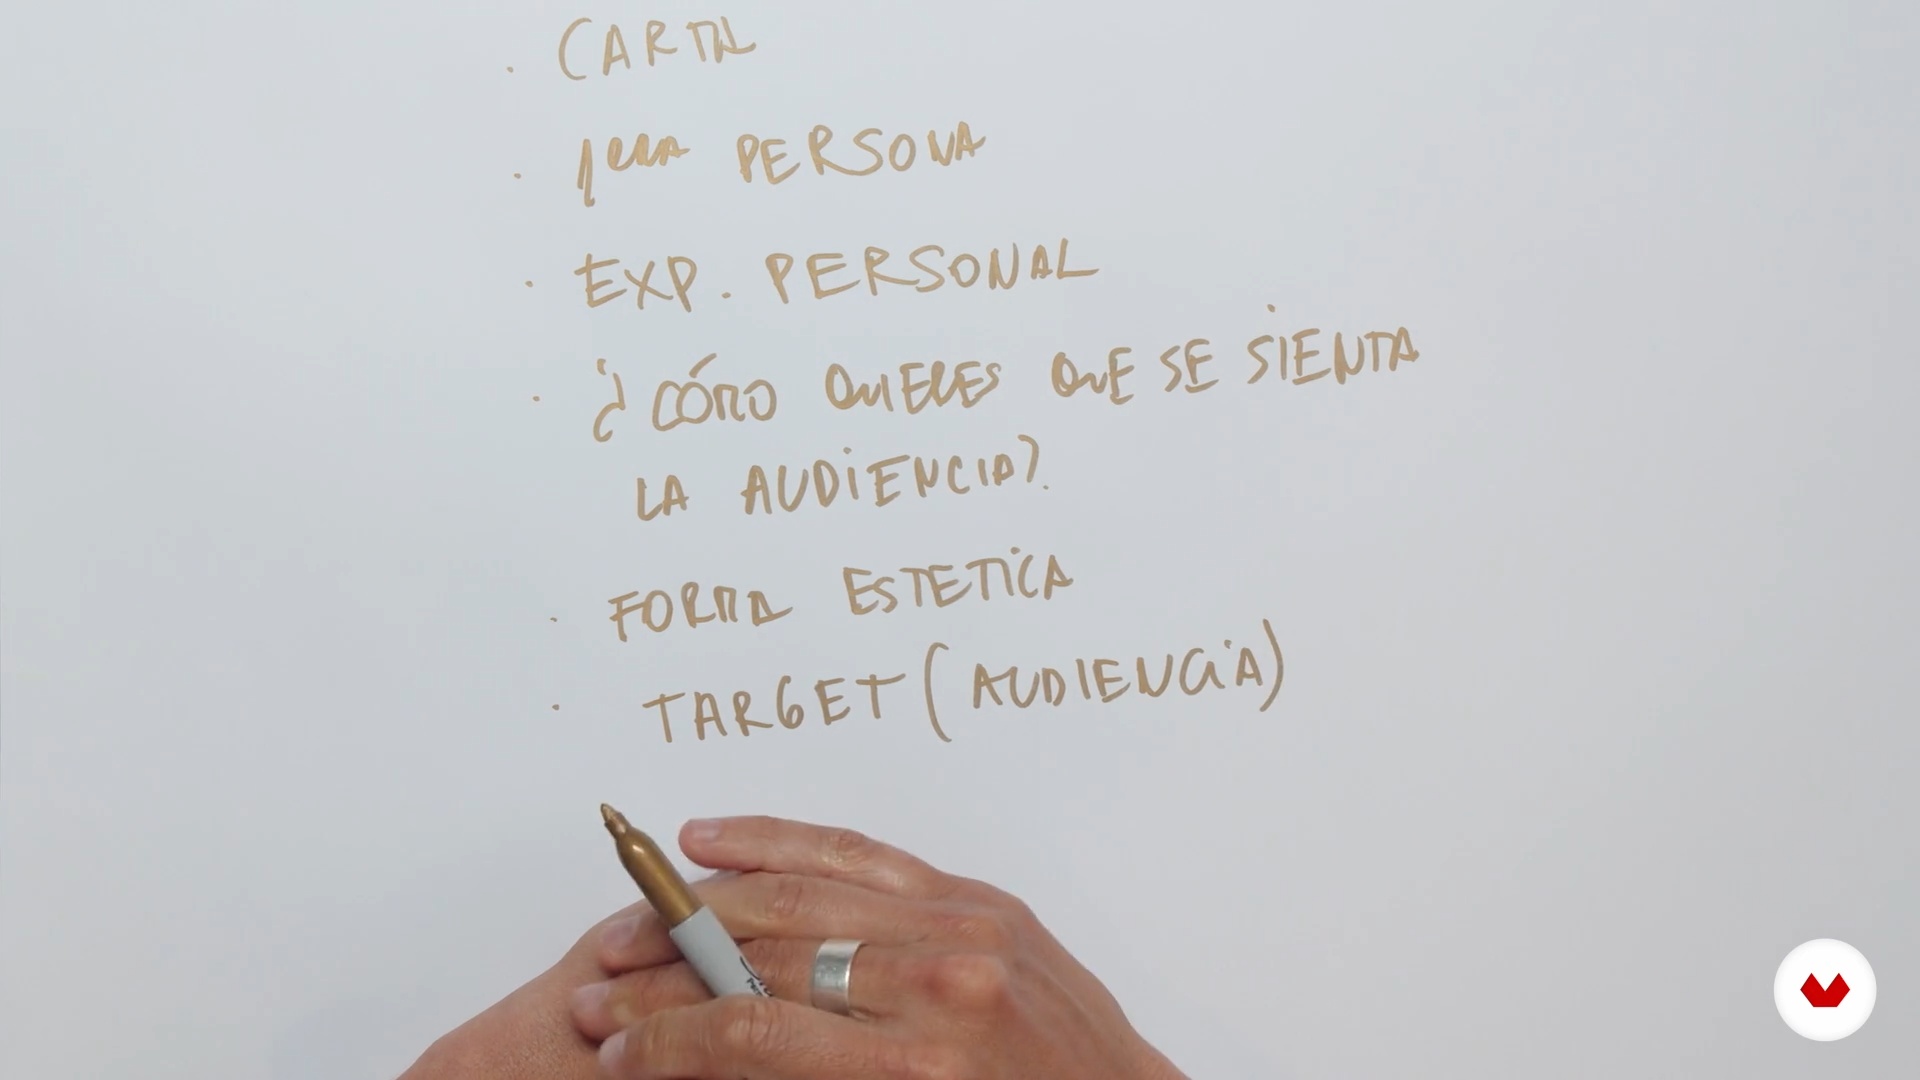
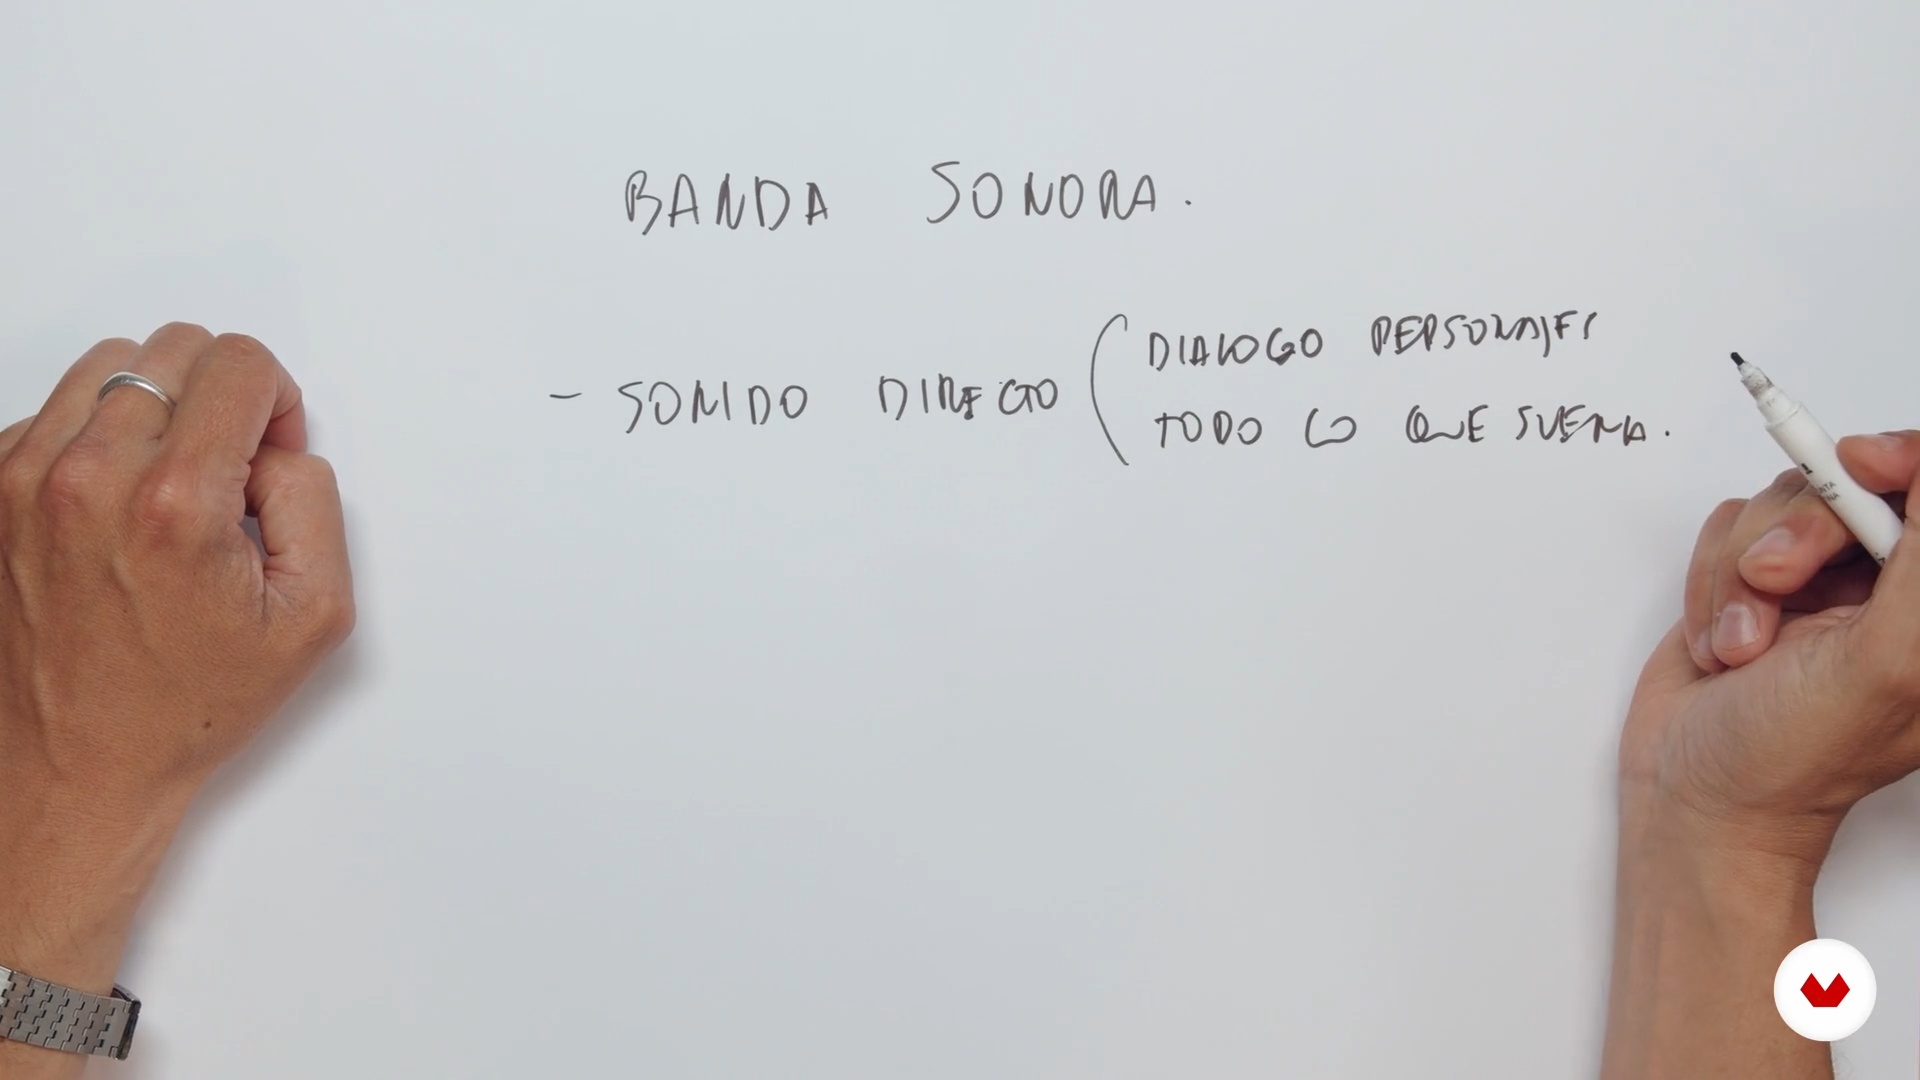
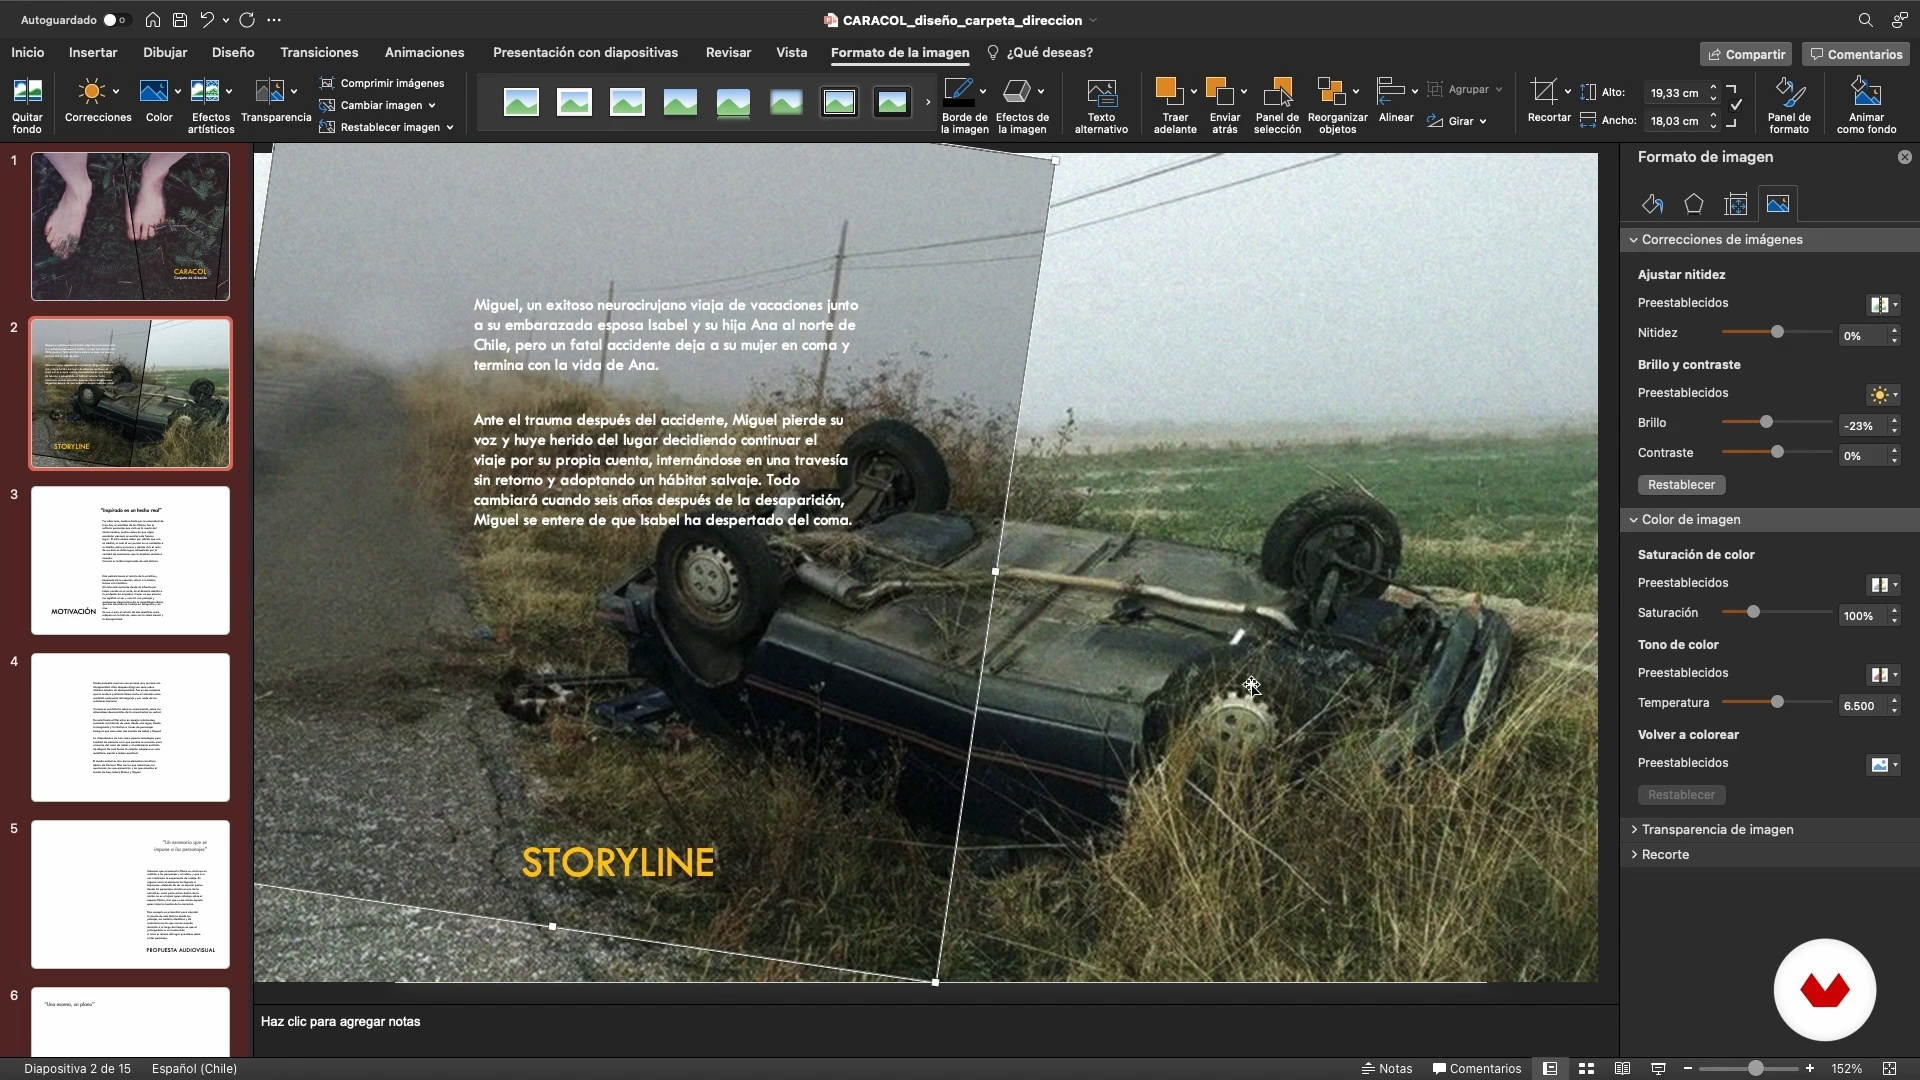
Students will film and edit a short video using principles of cinematography and color correction. They will learn how to interpret scripts, plan shots, direct actors, and create a strong visual language, as well as design effective lighting schemes to enhance visual quality.
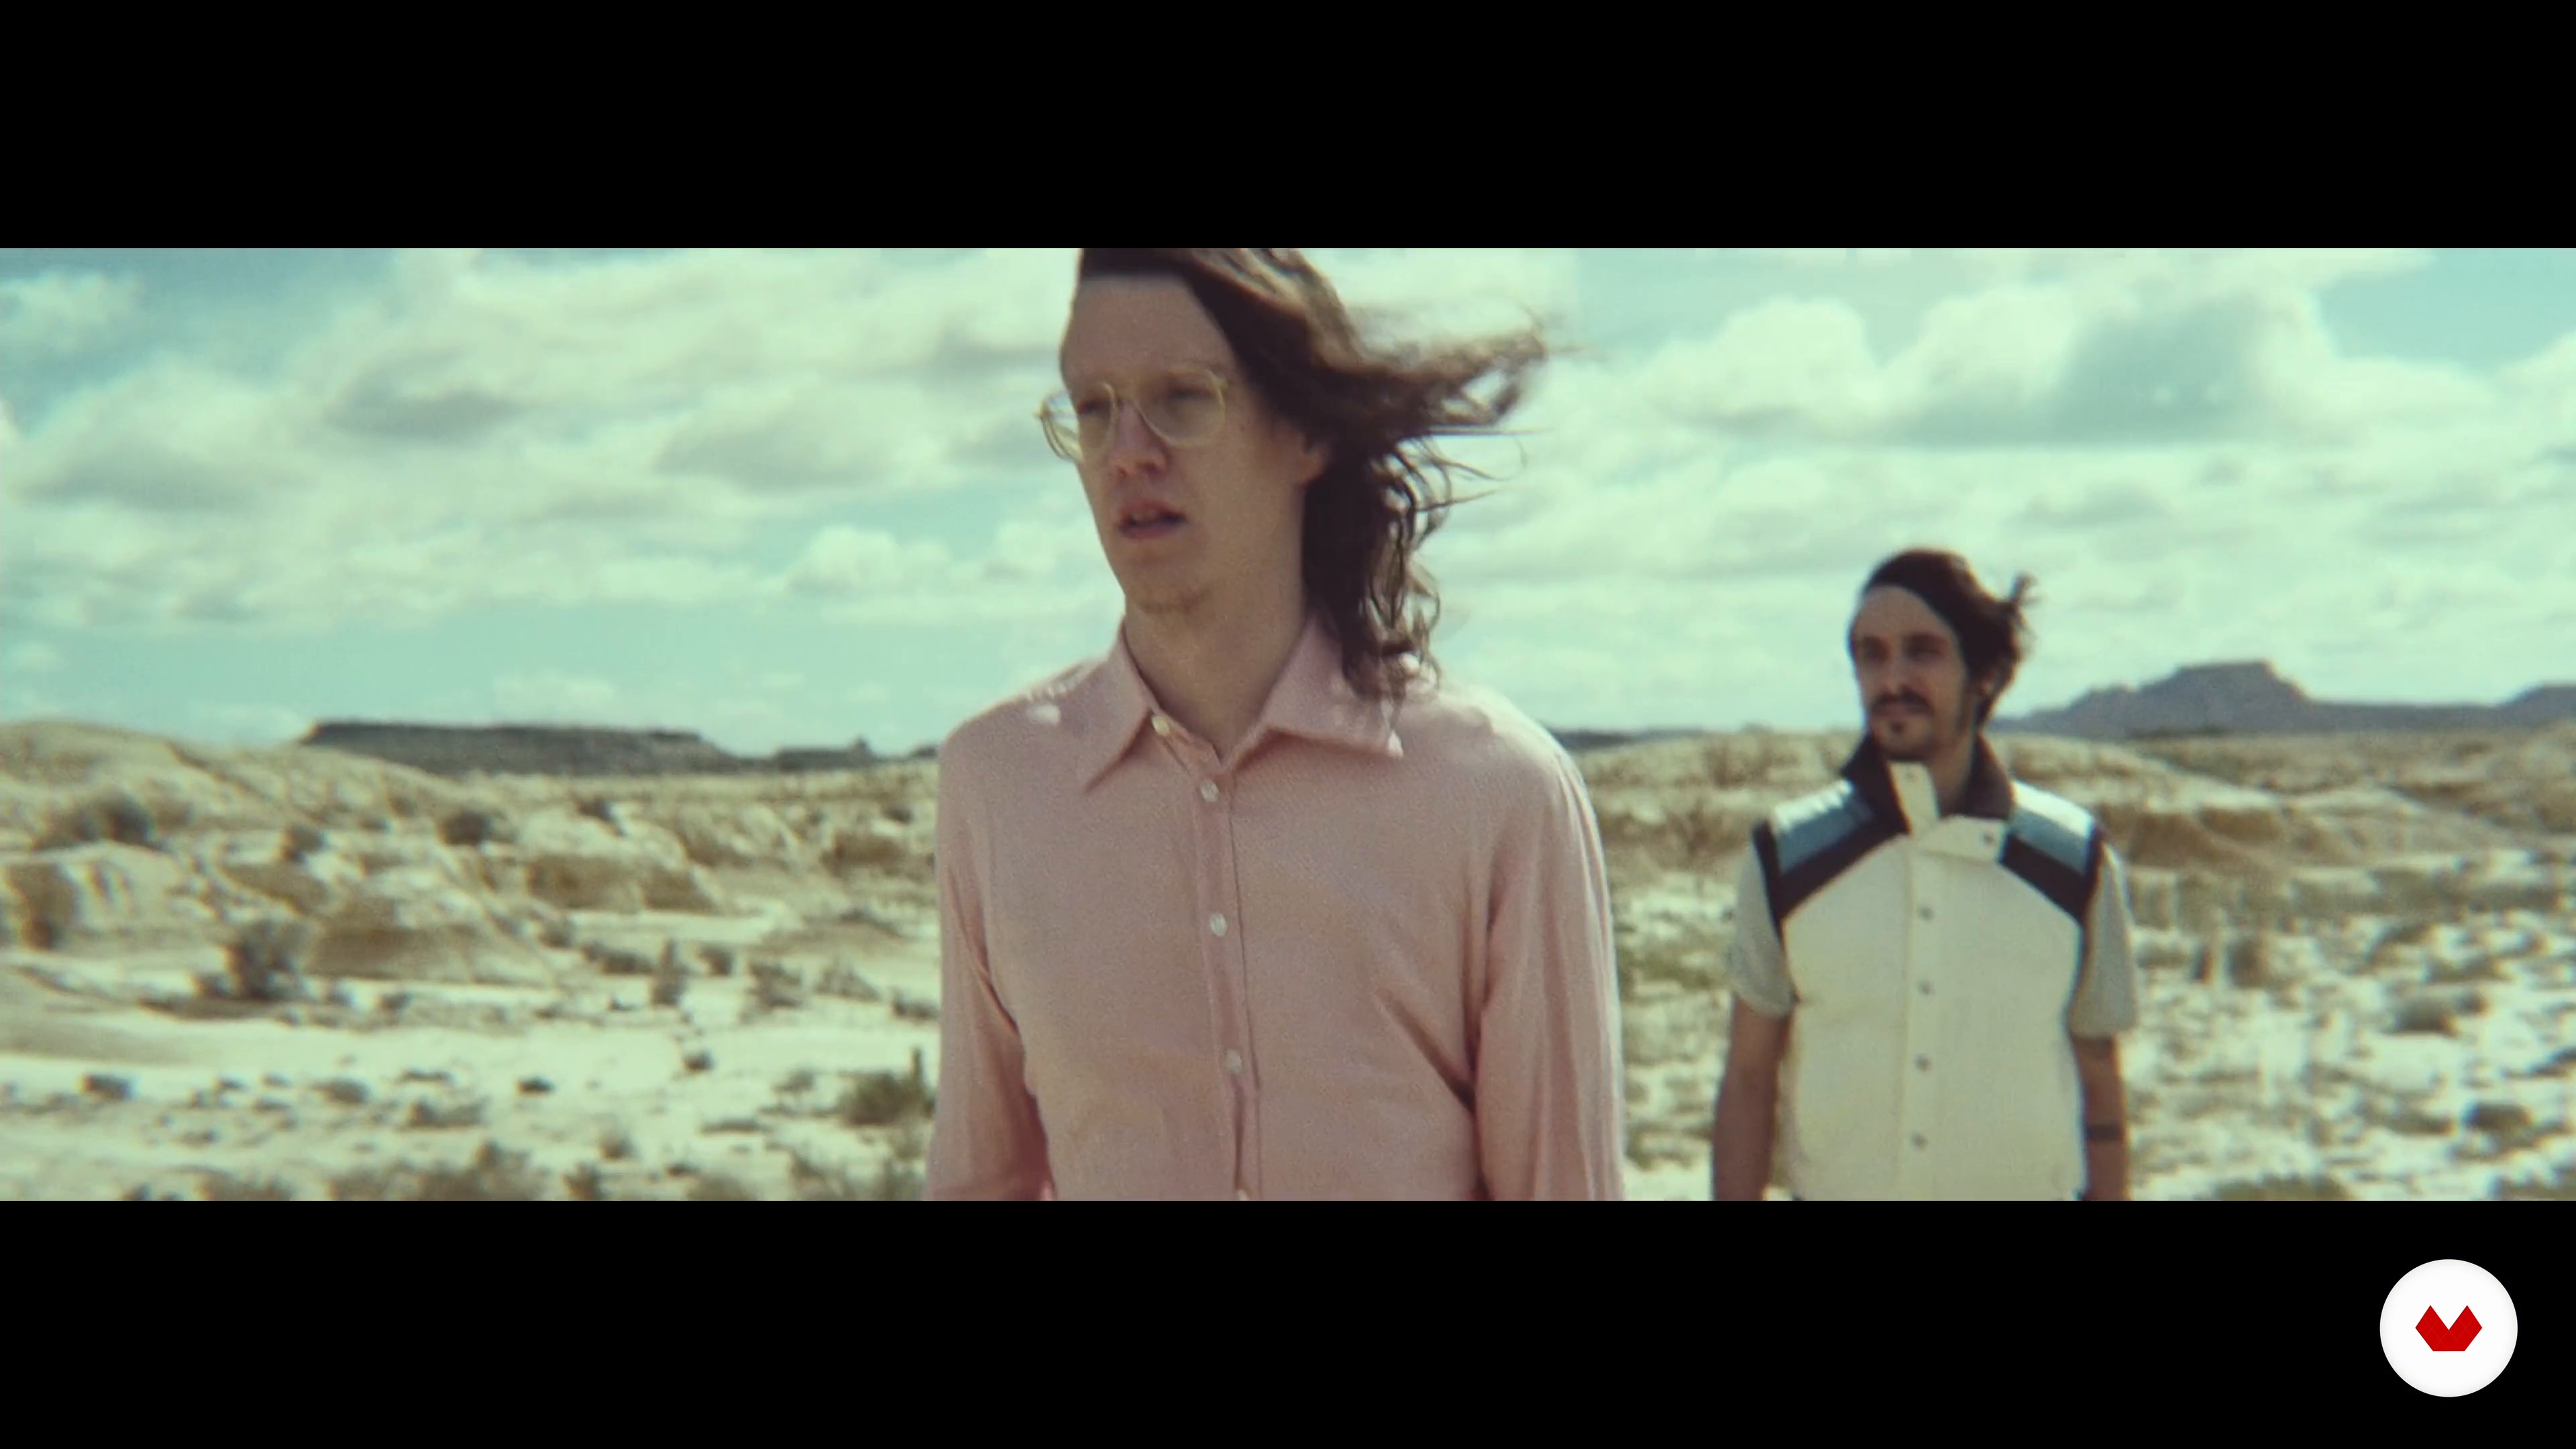
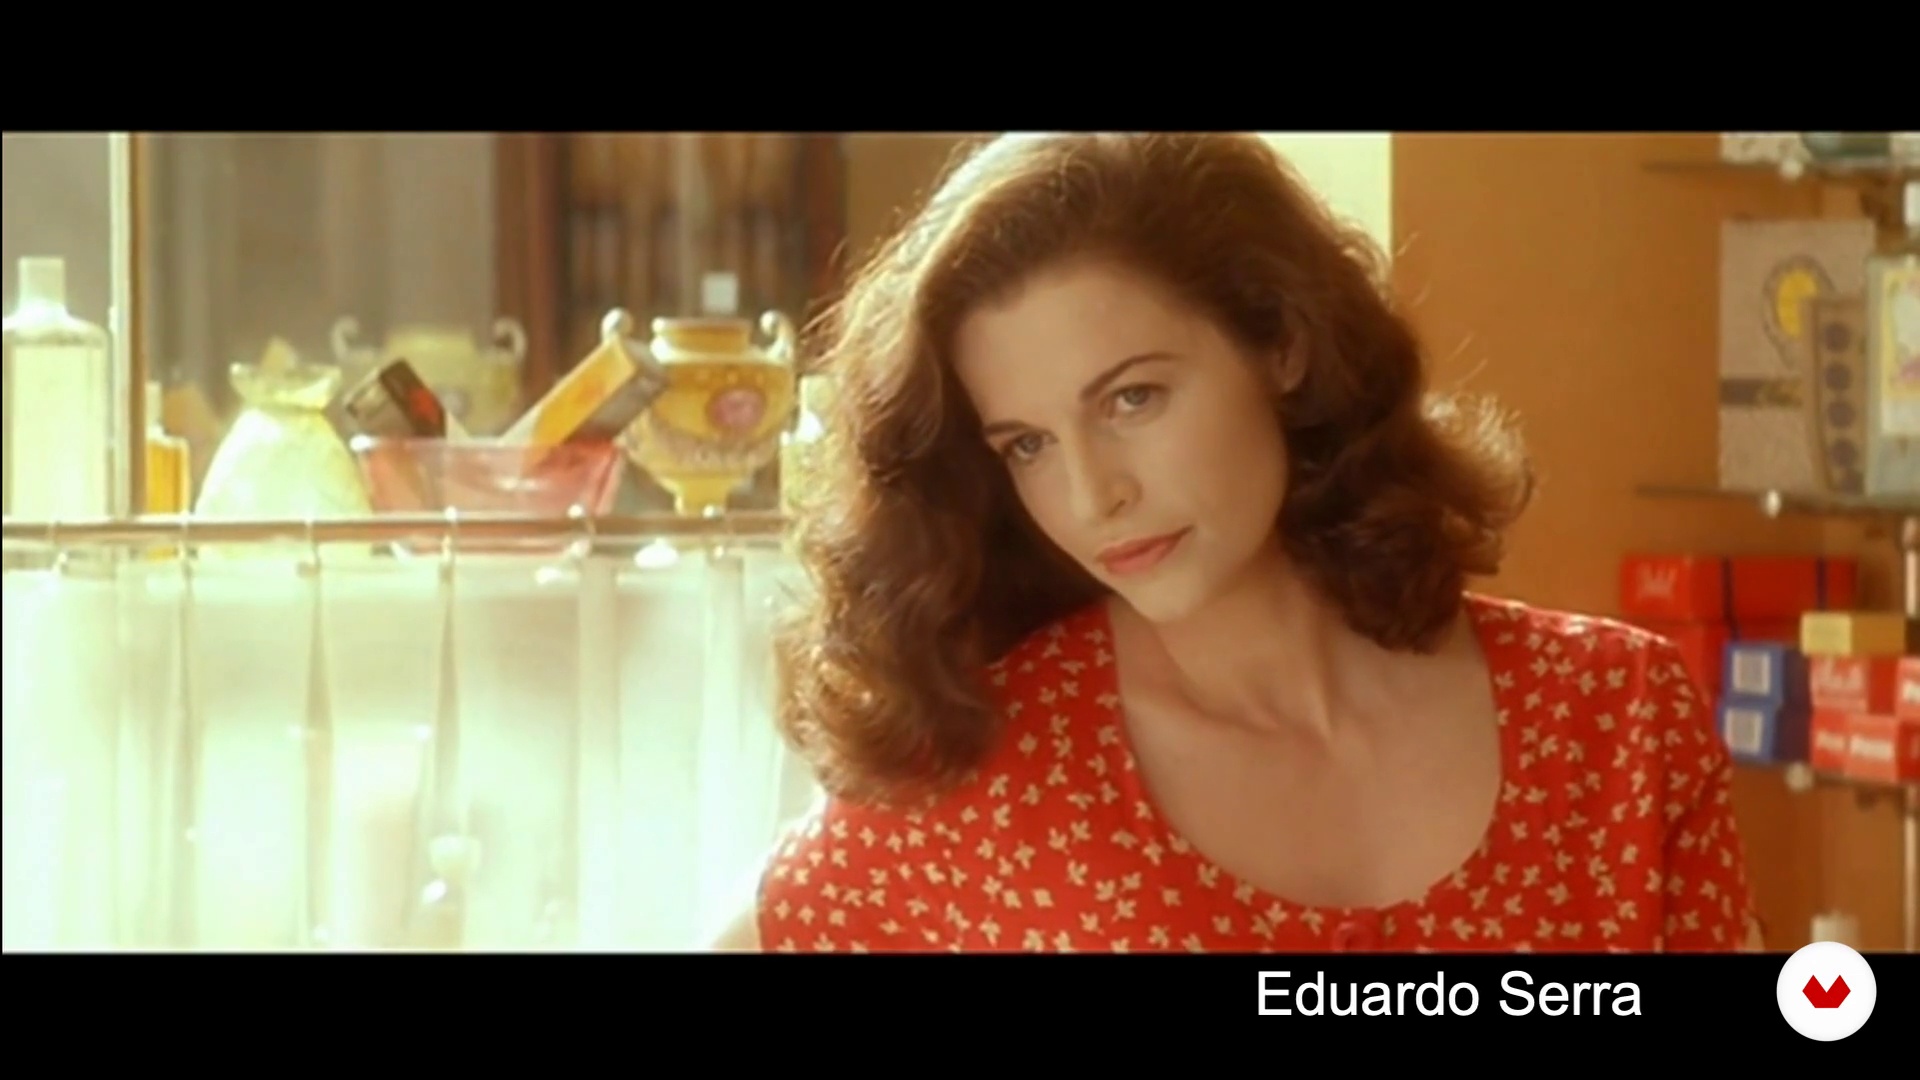
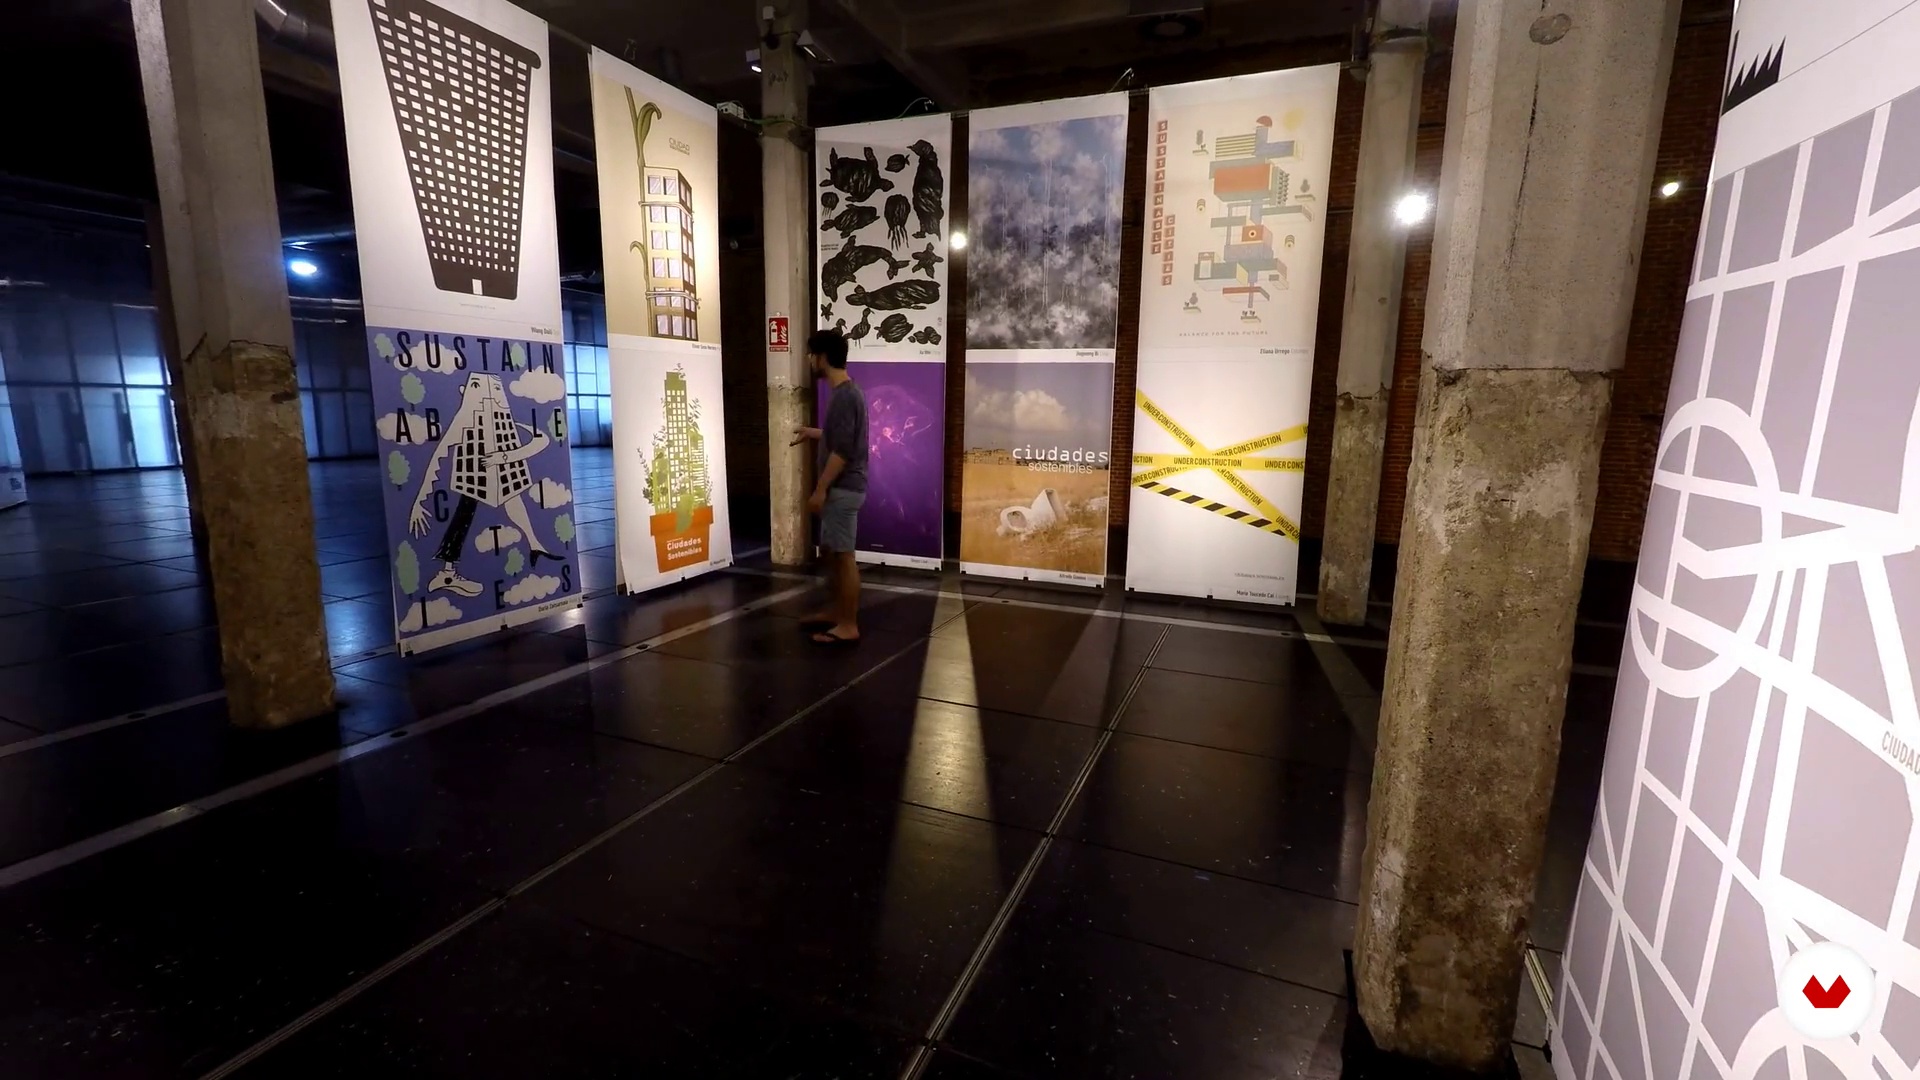
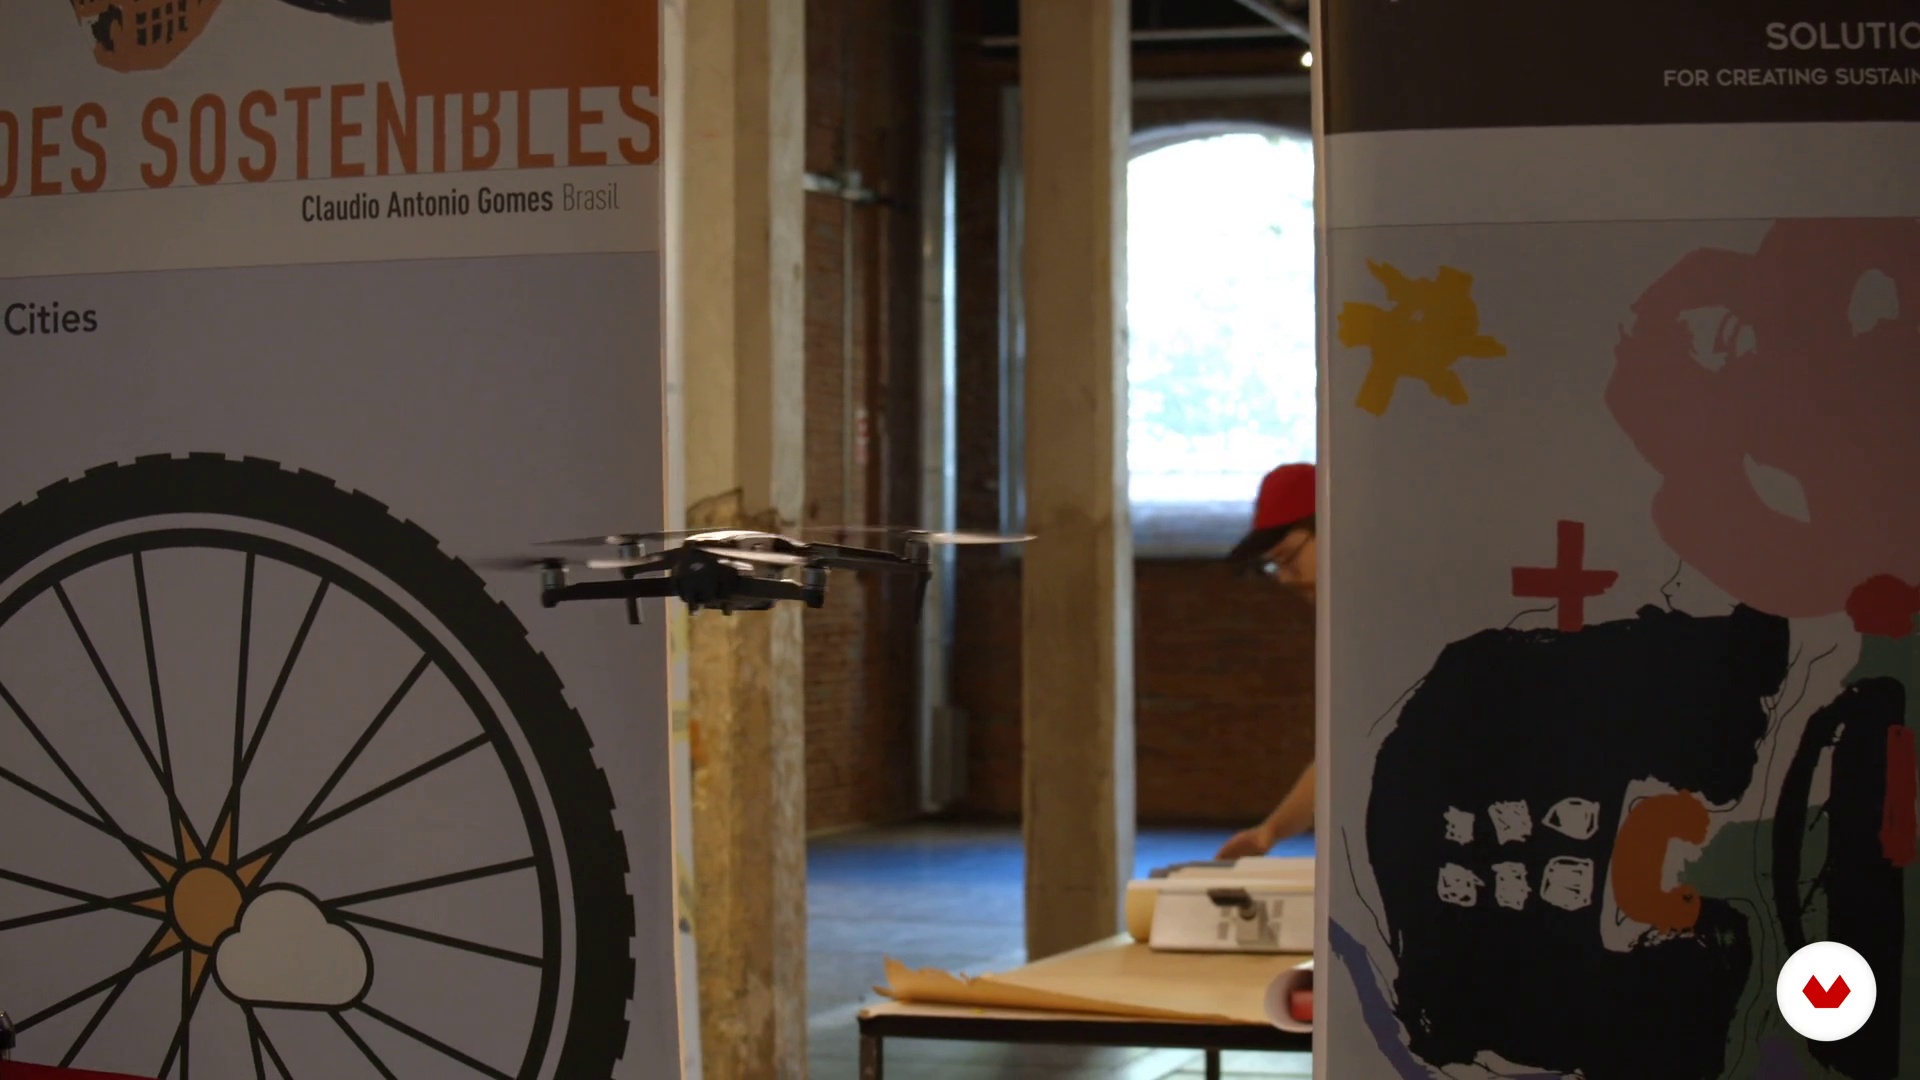
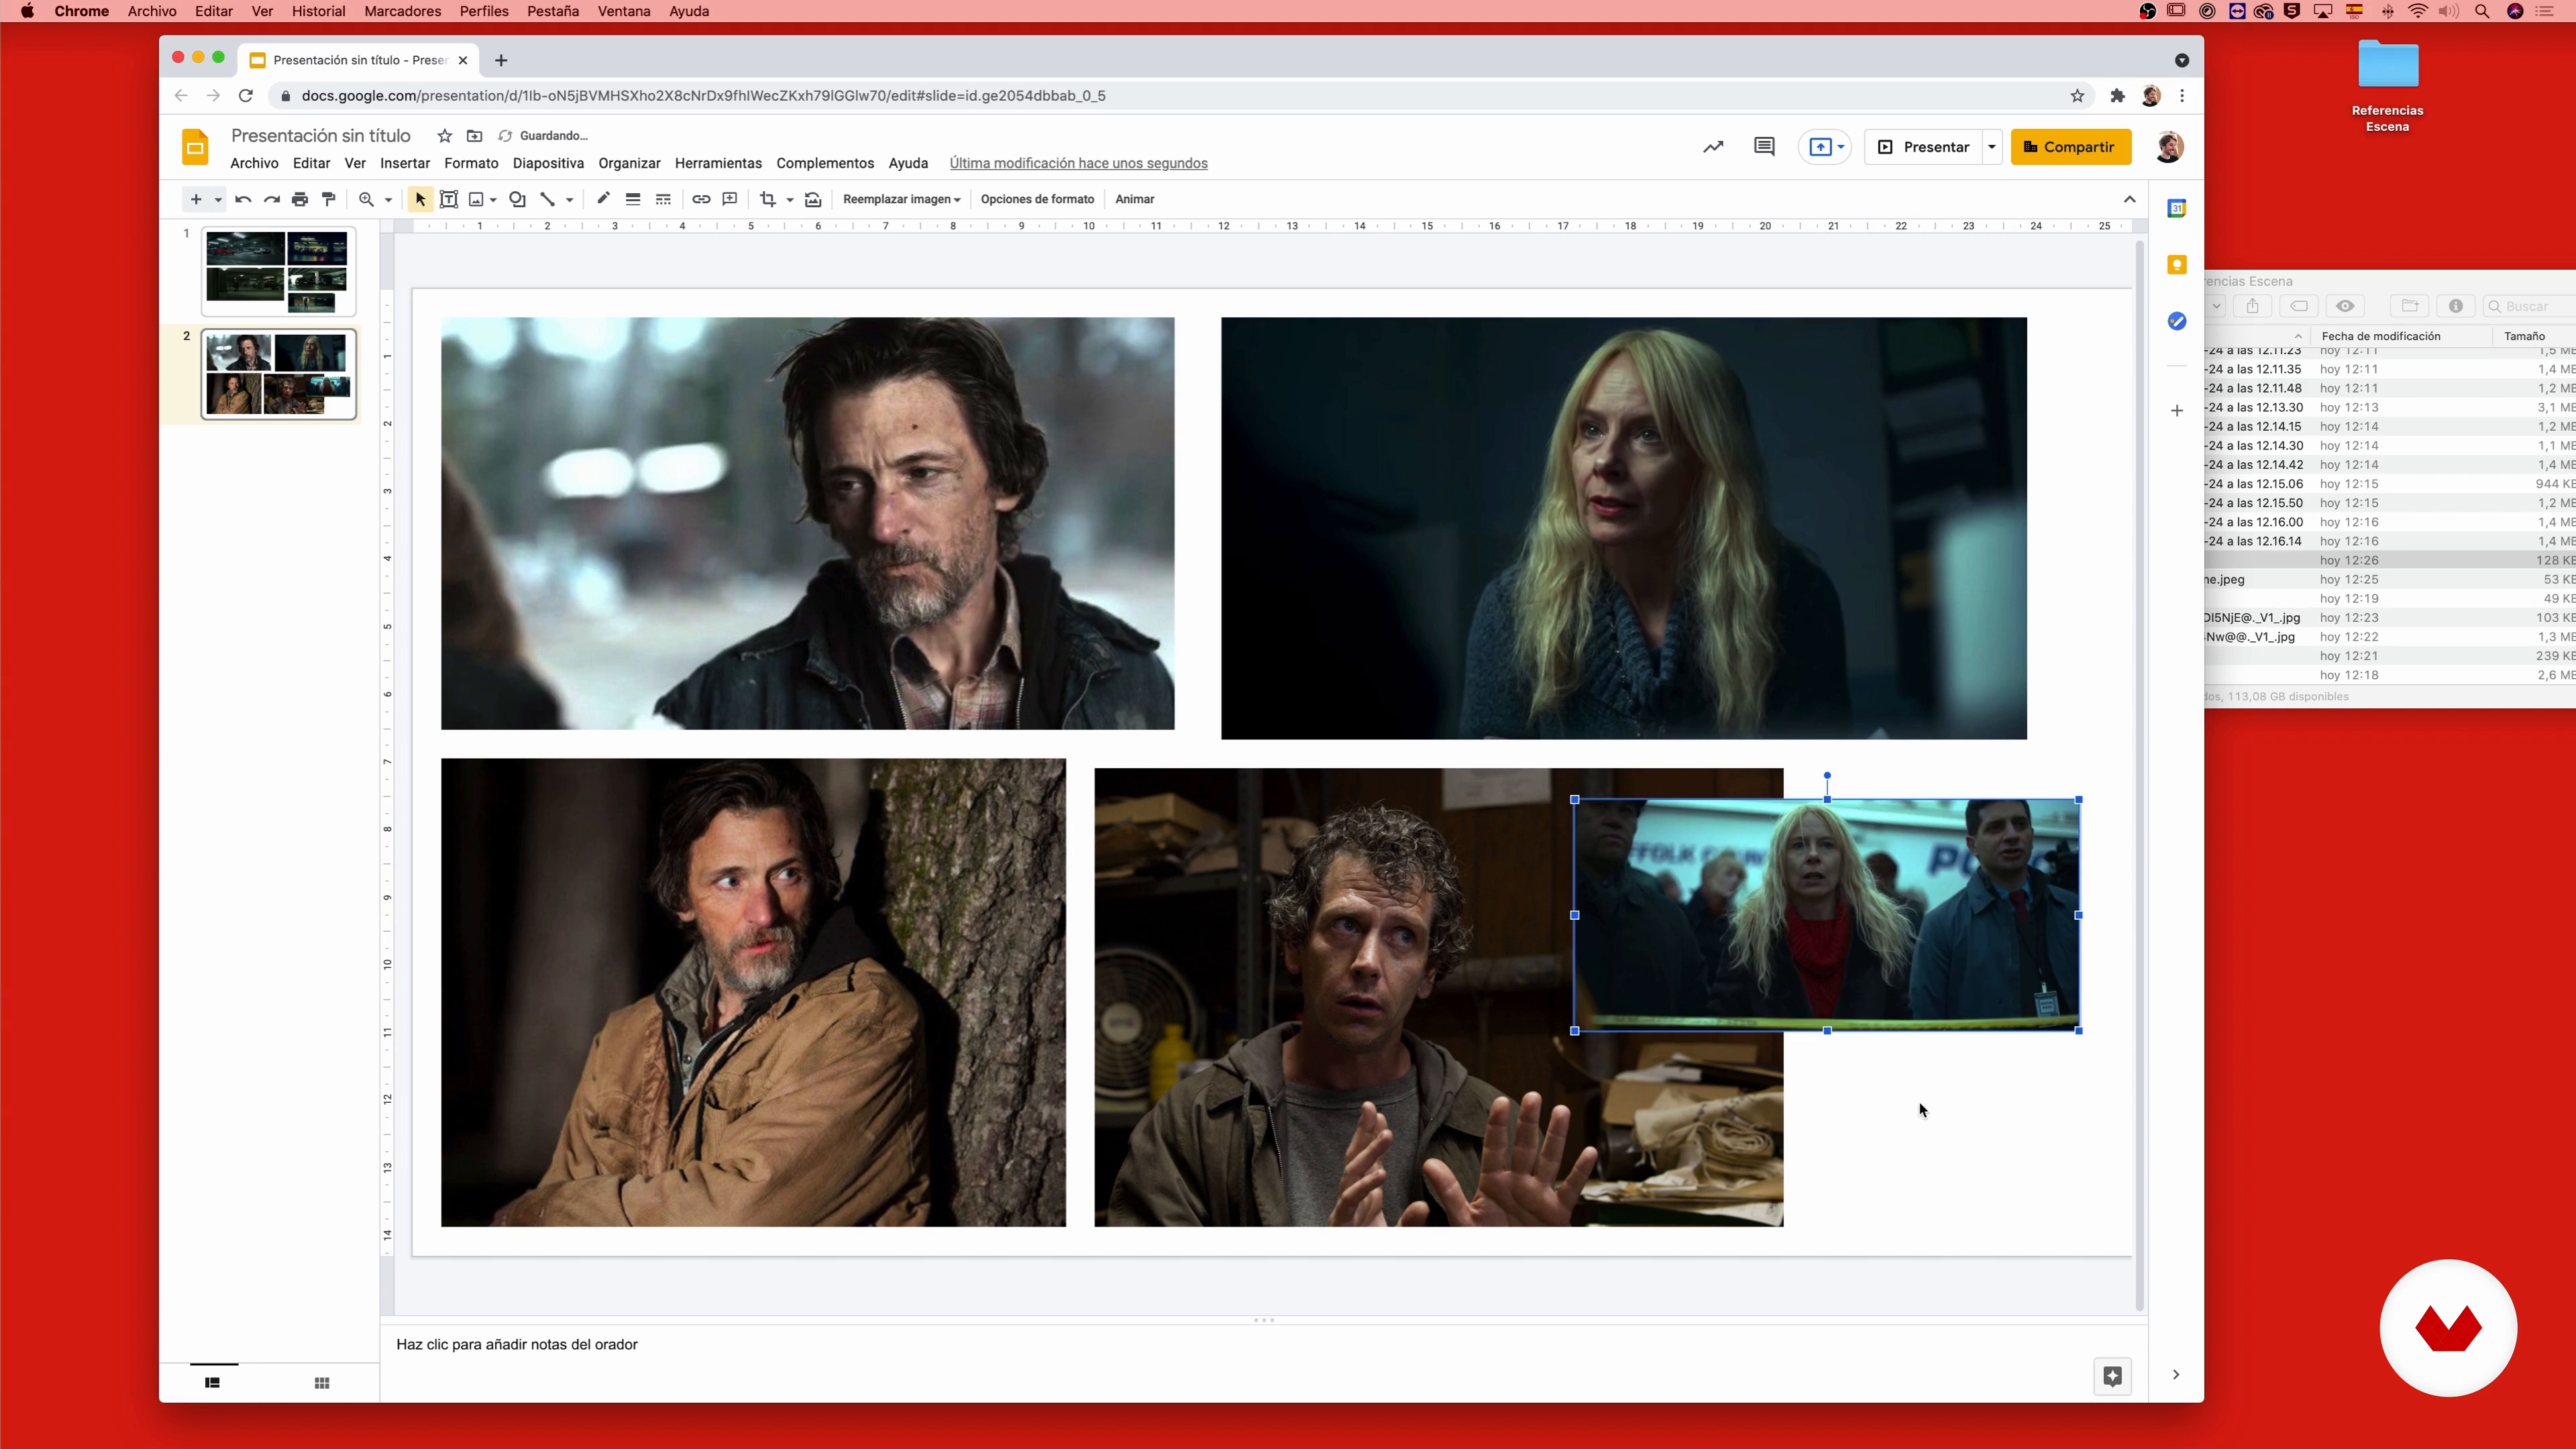
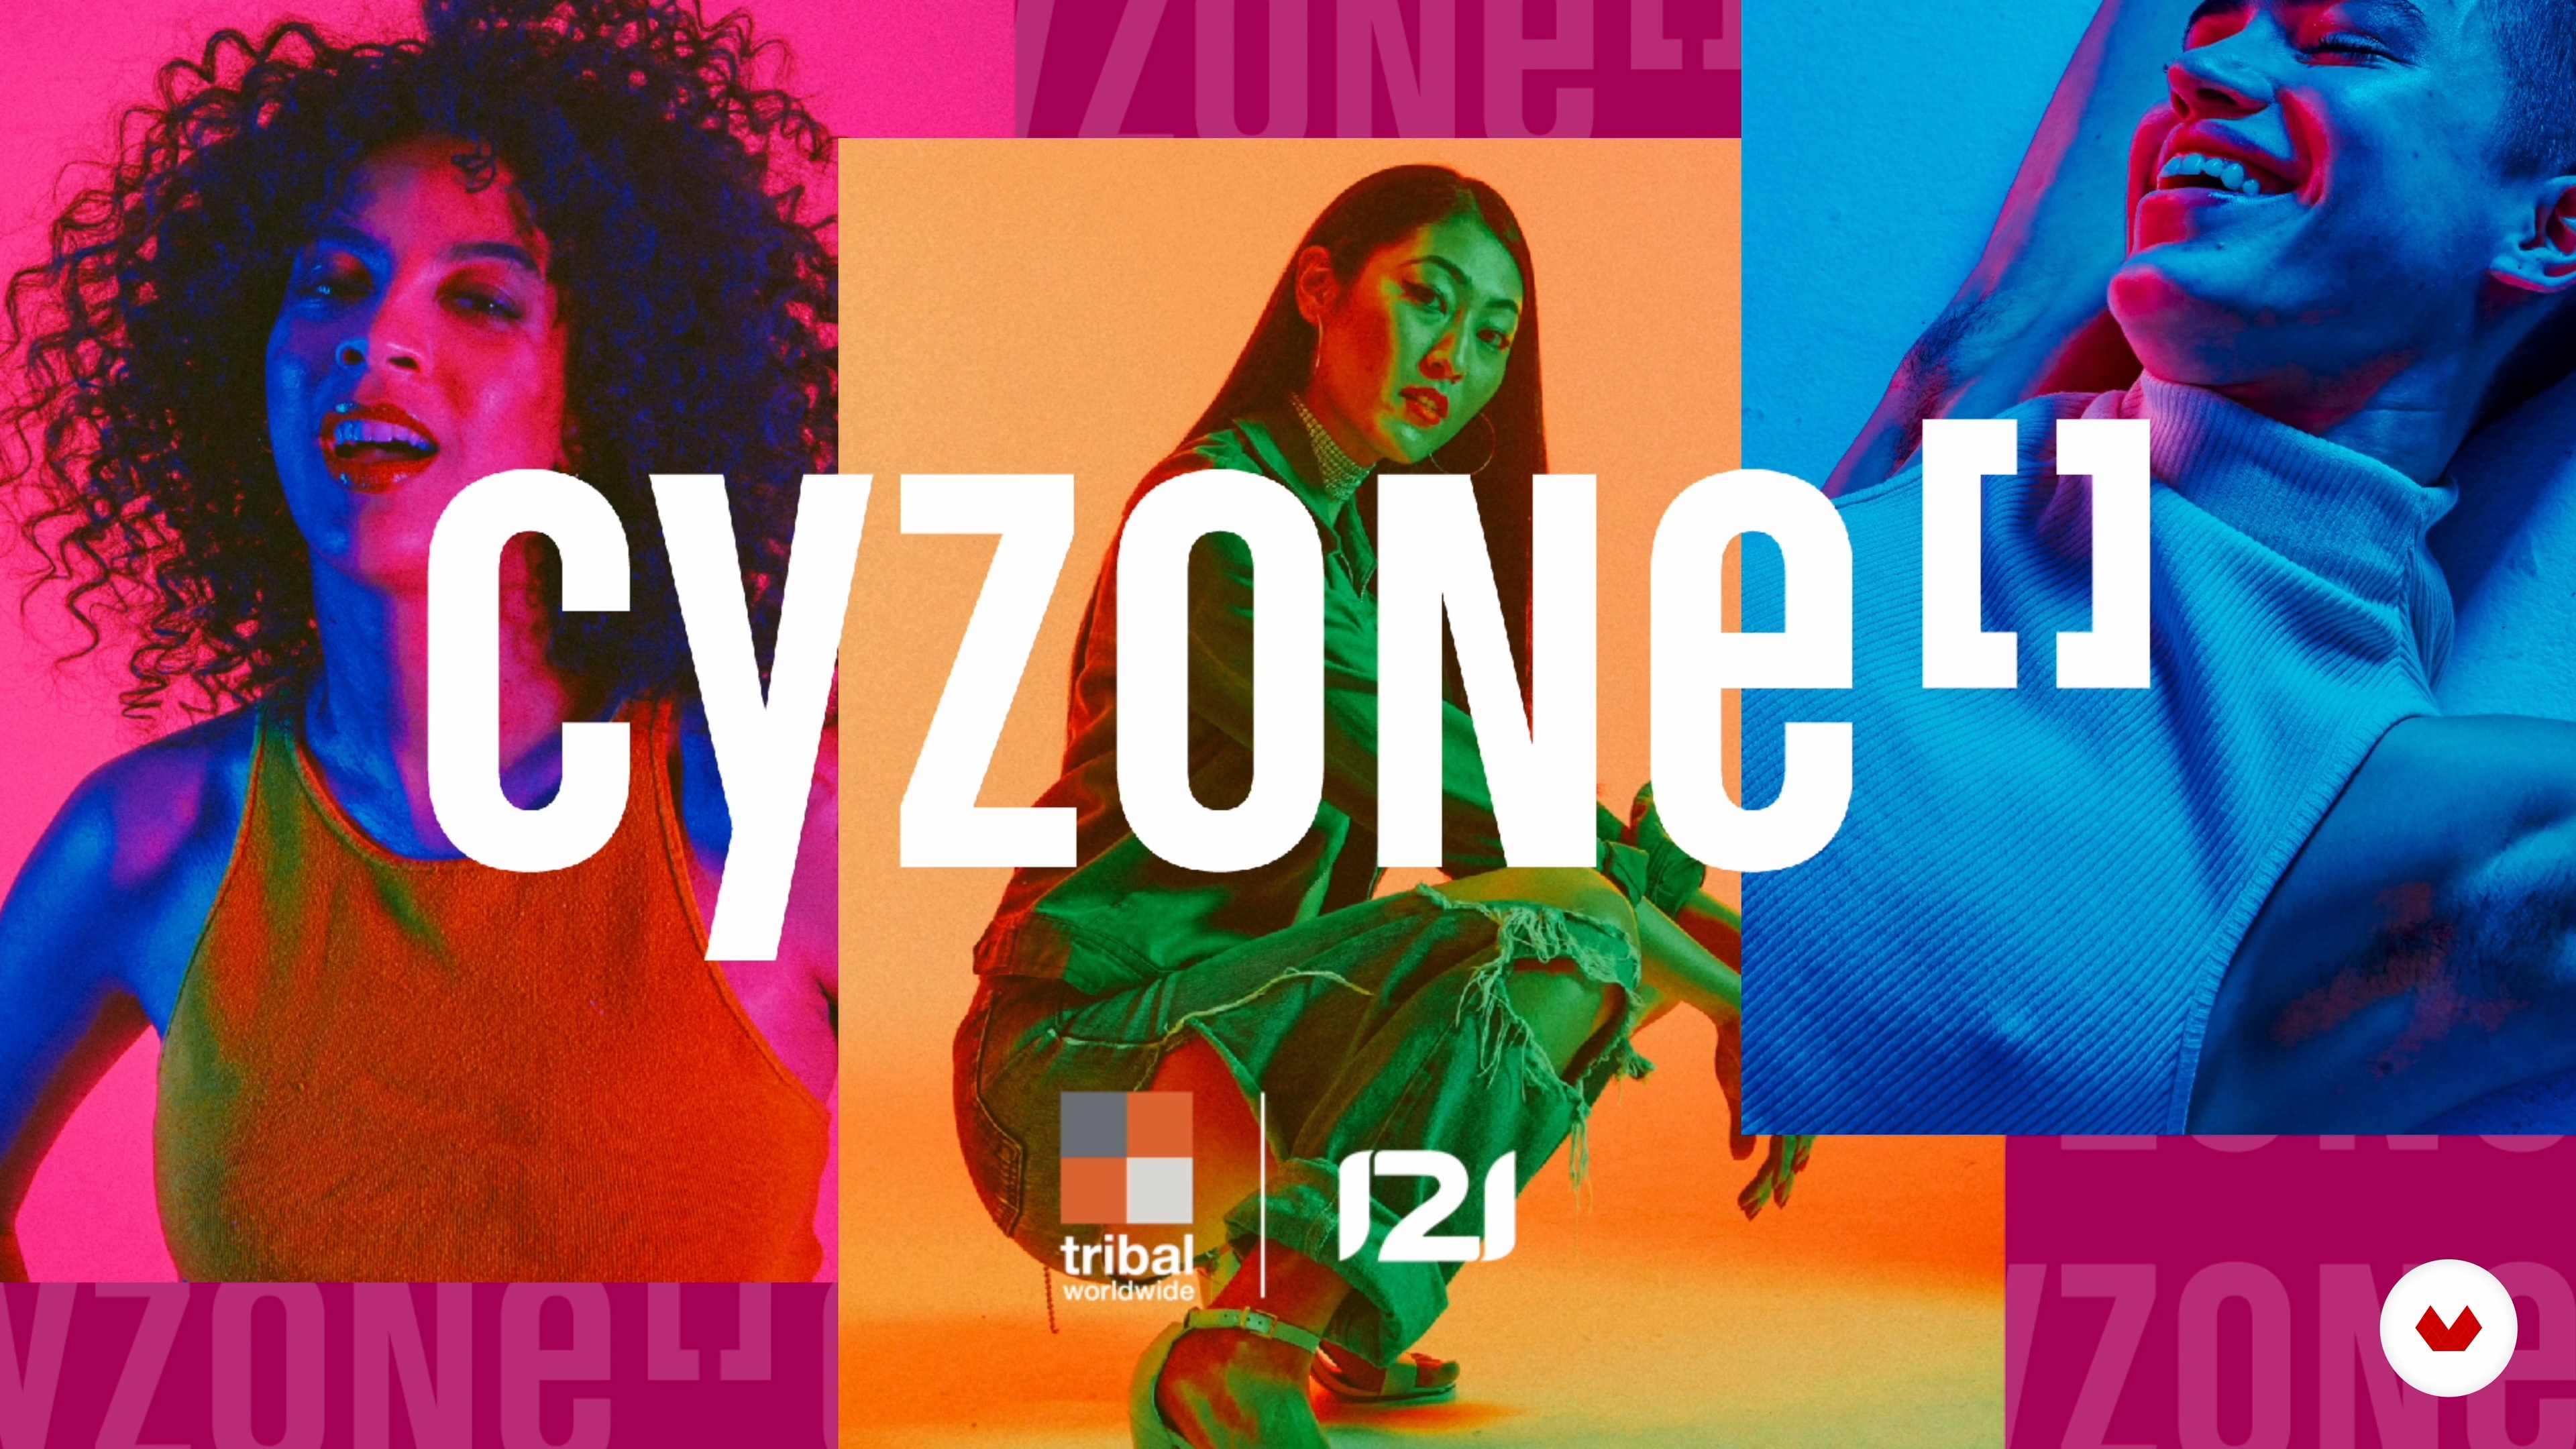
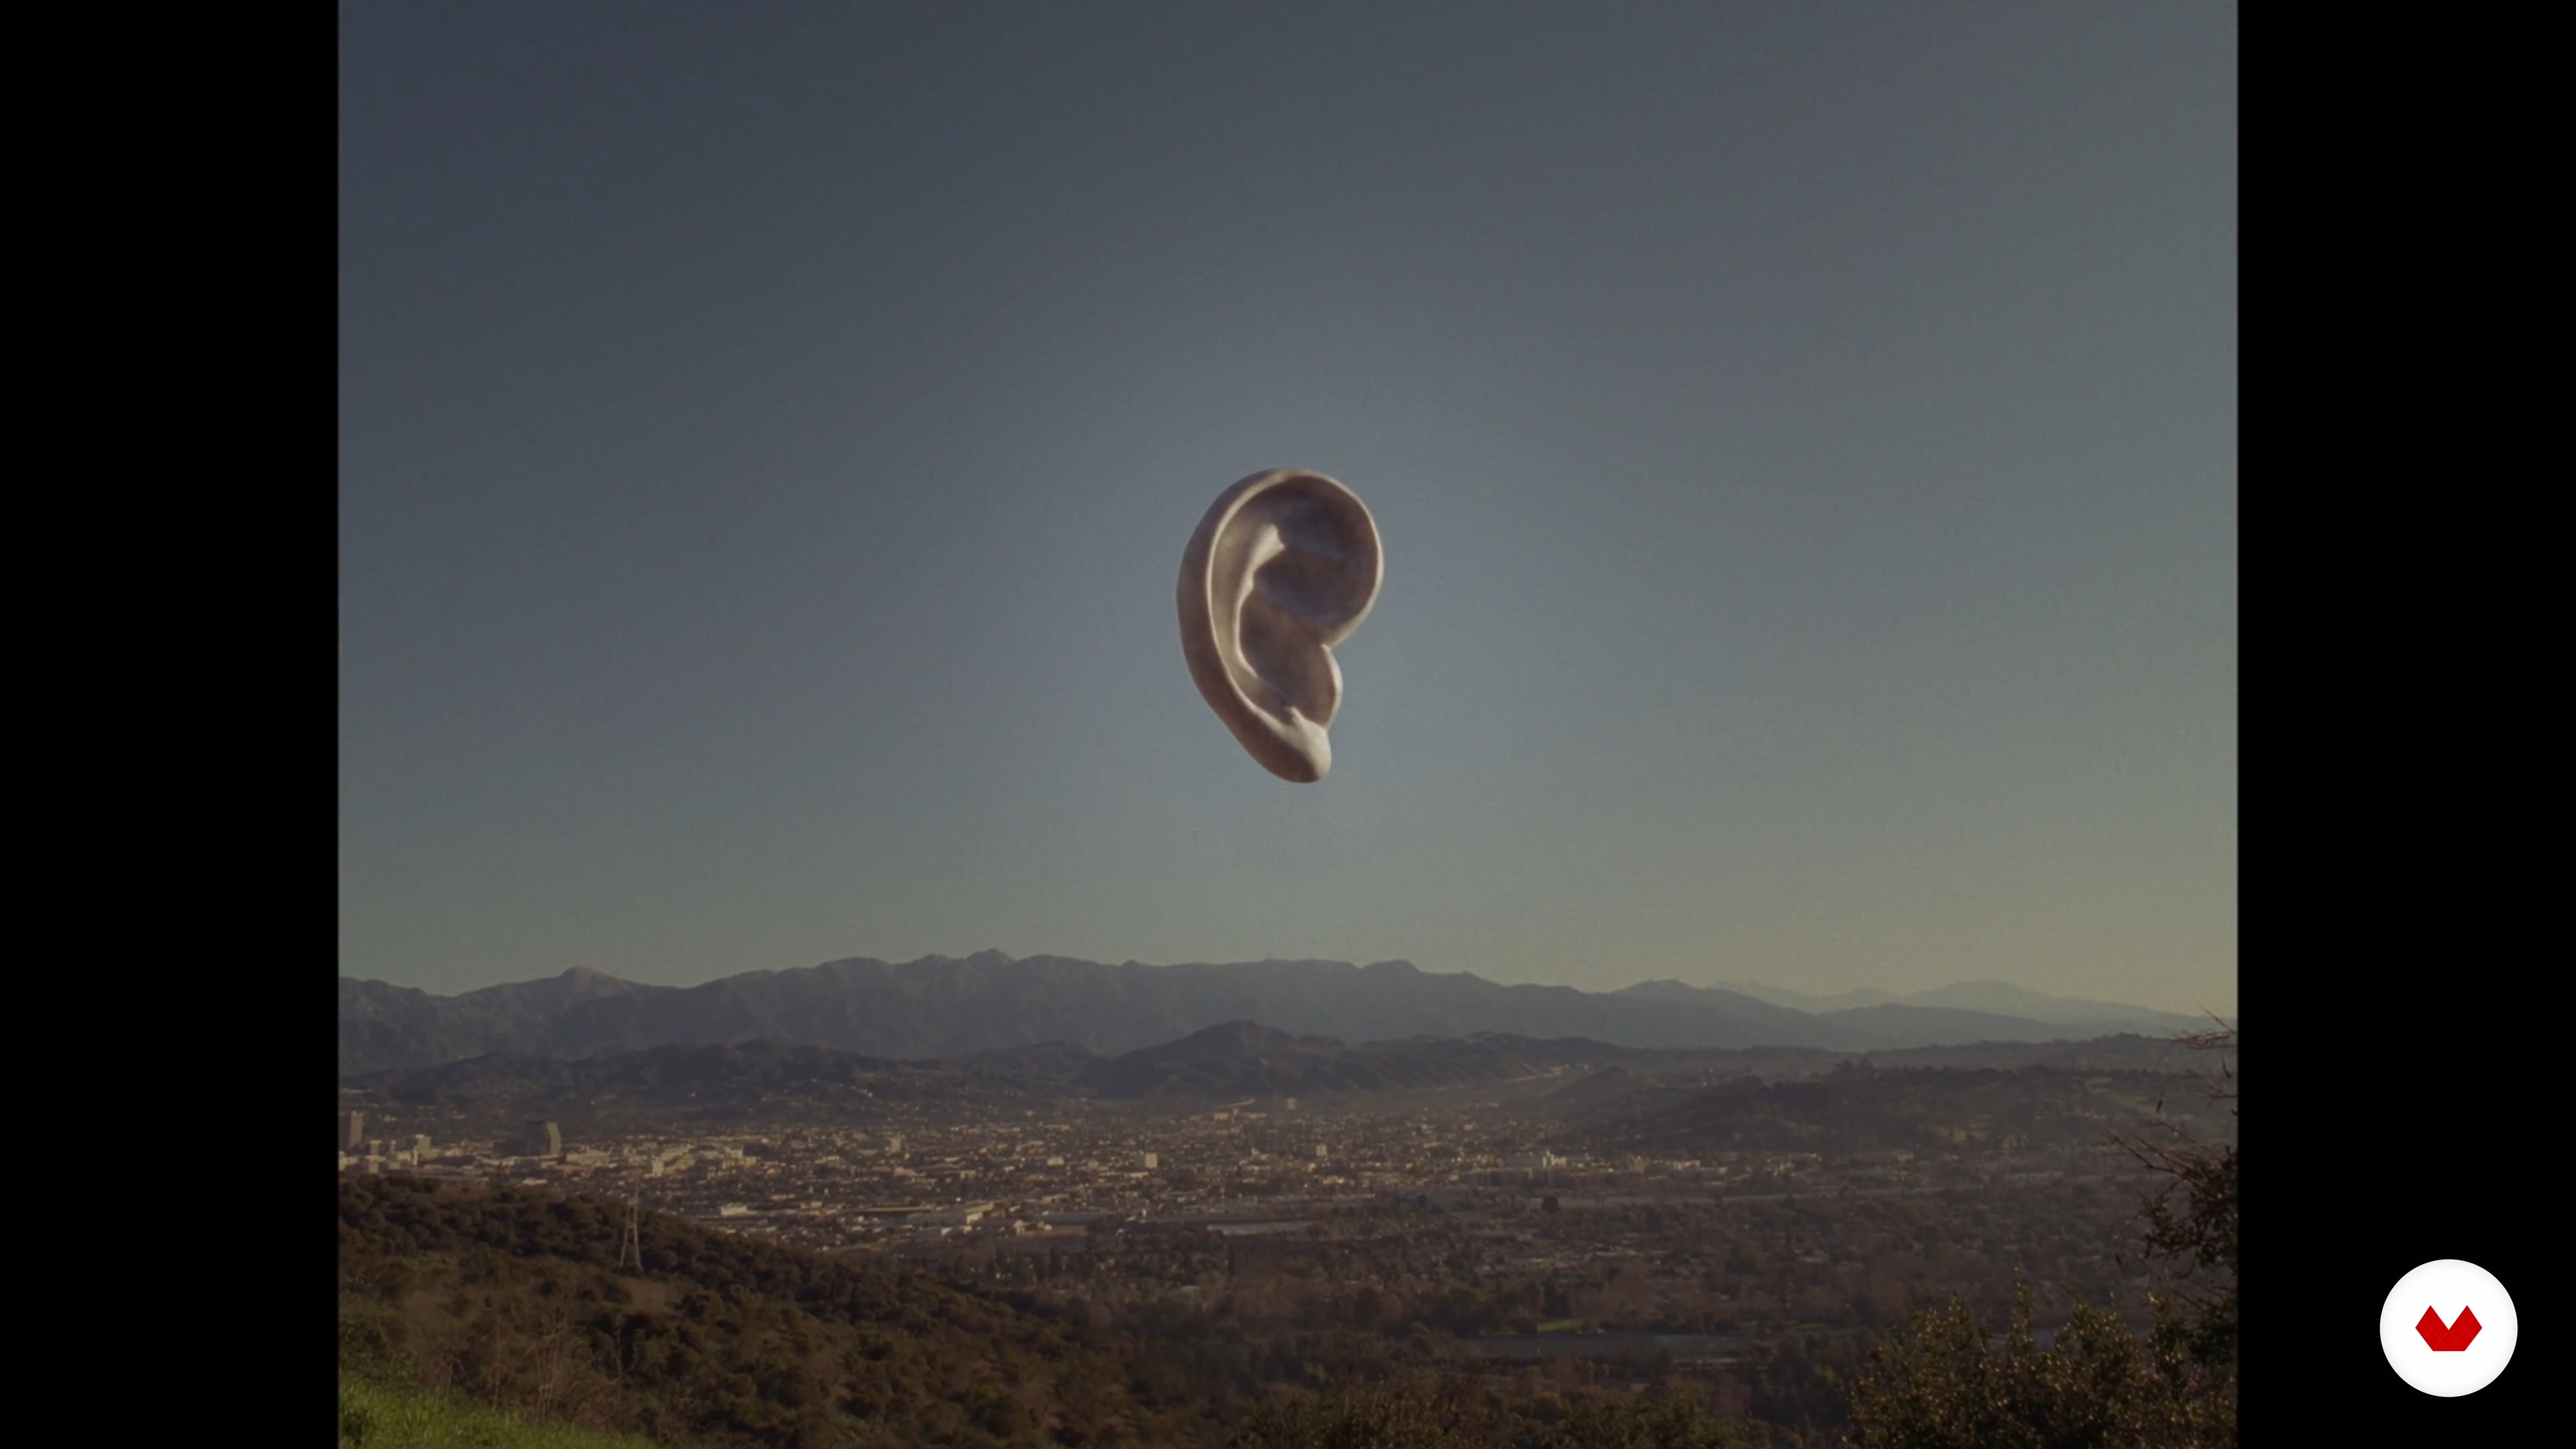
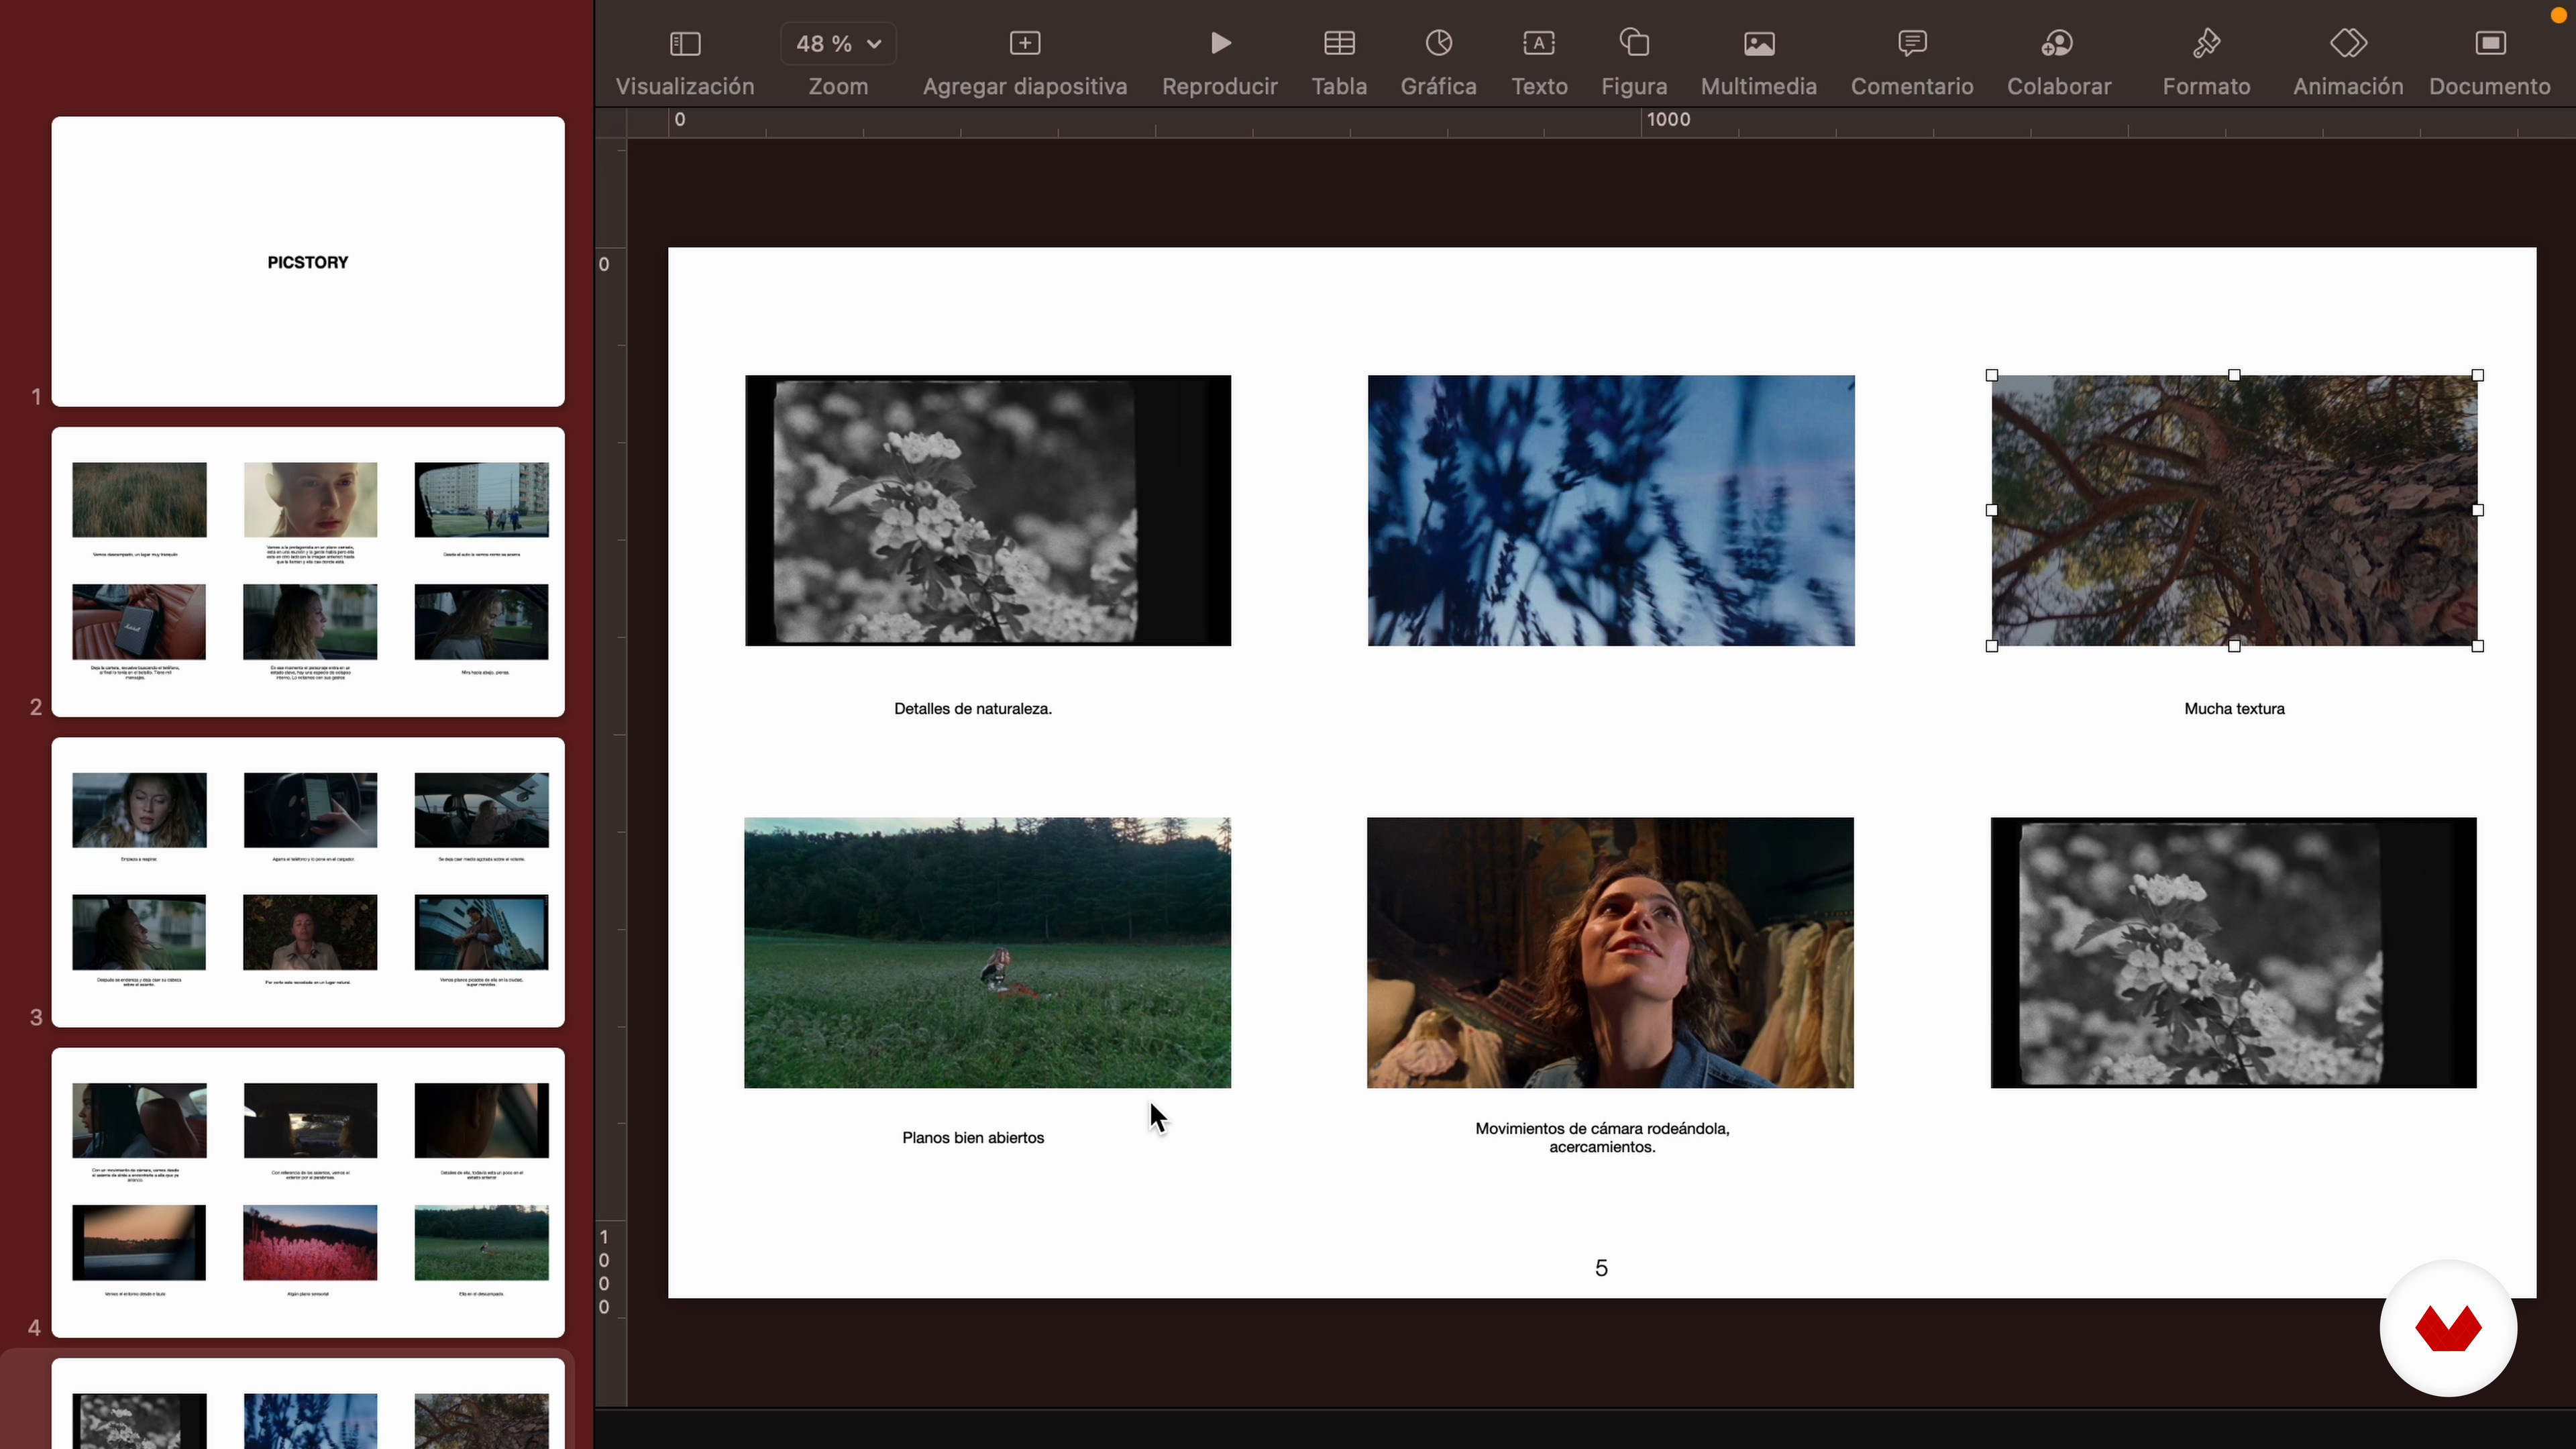
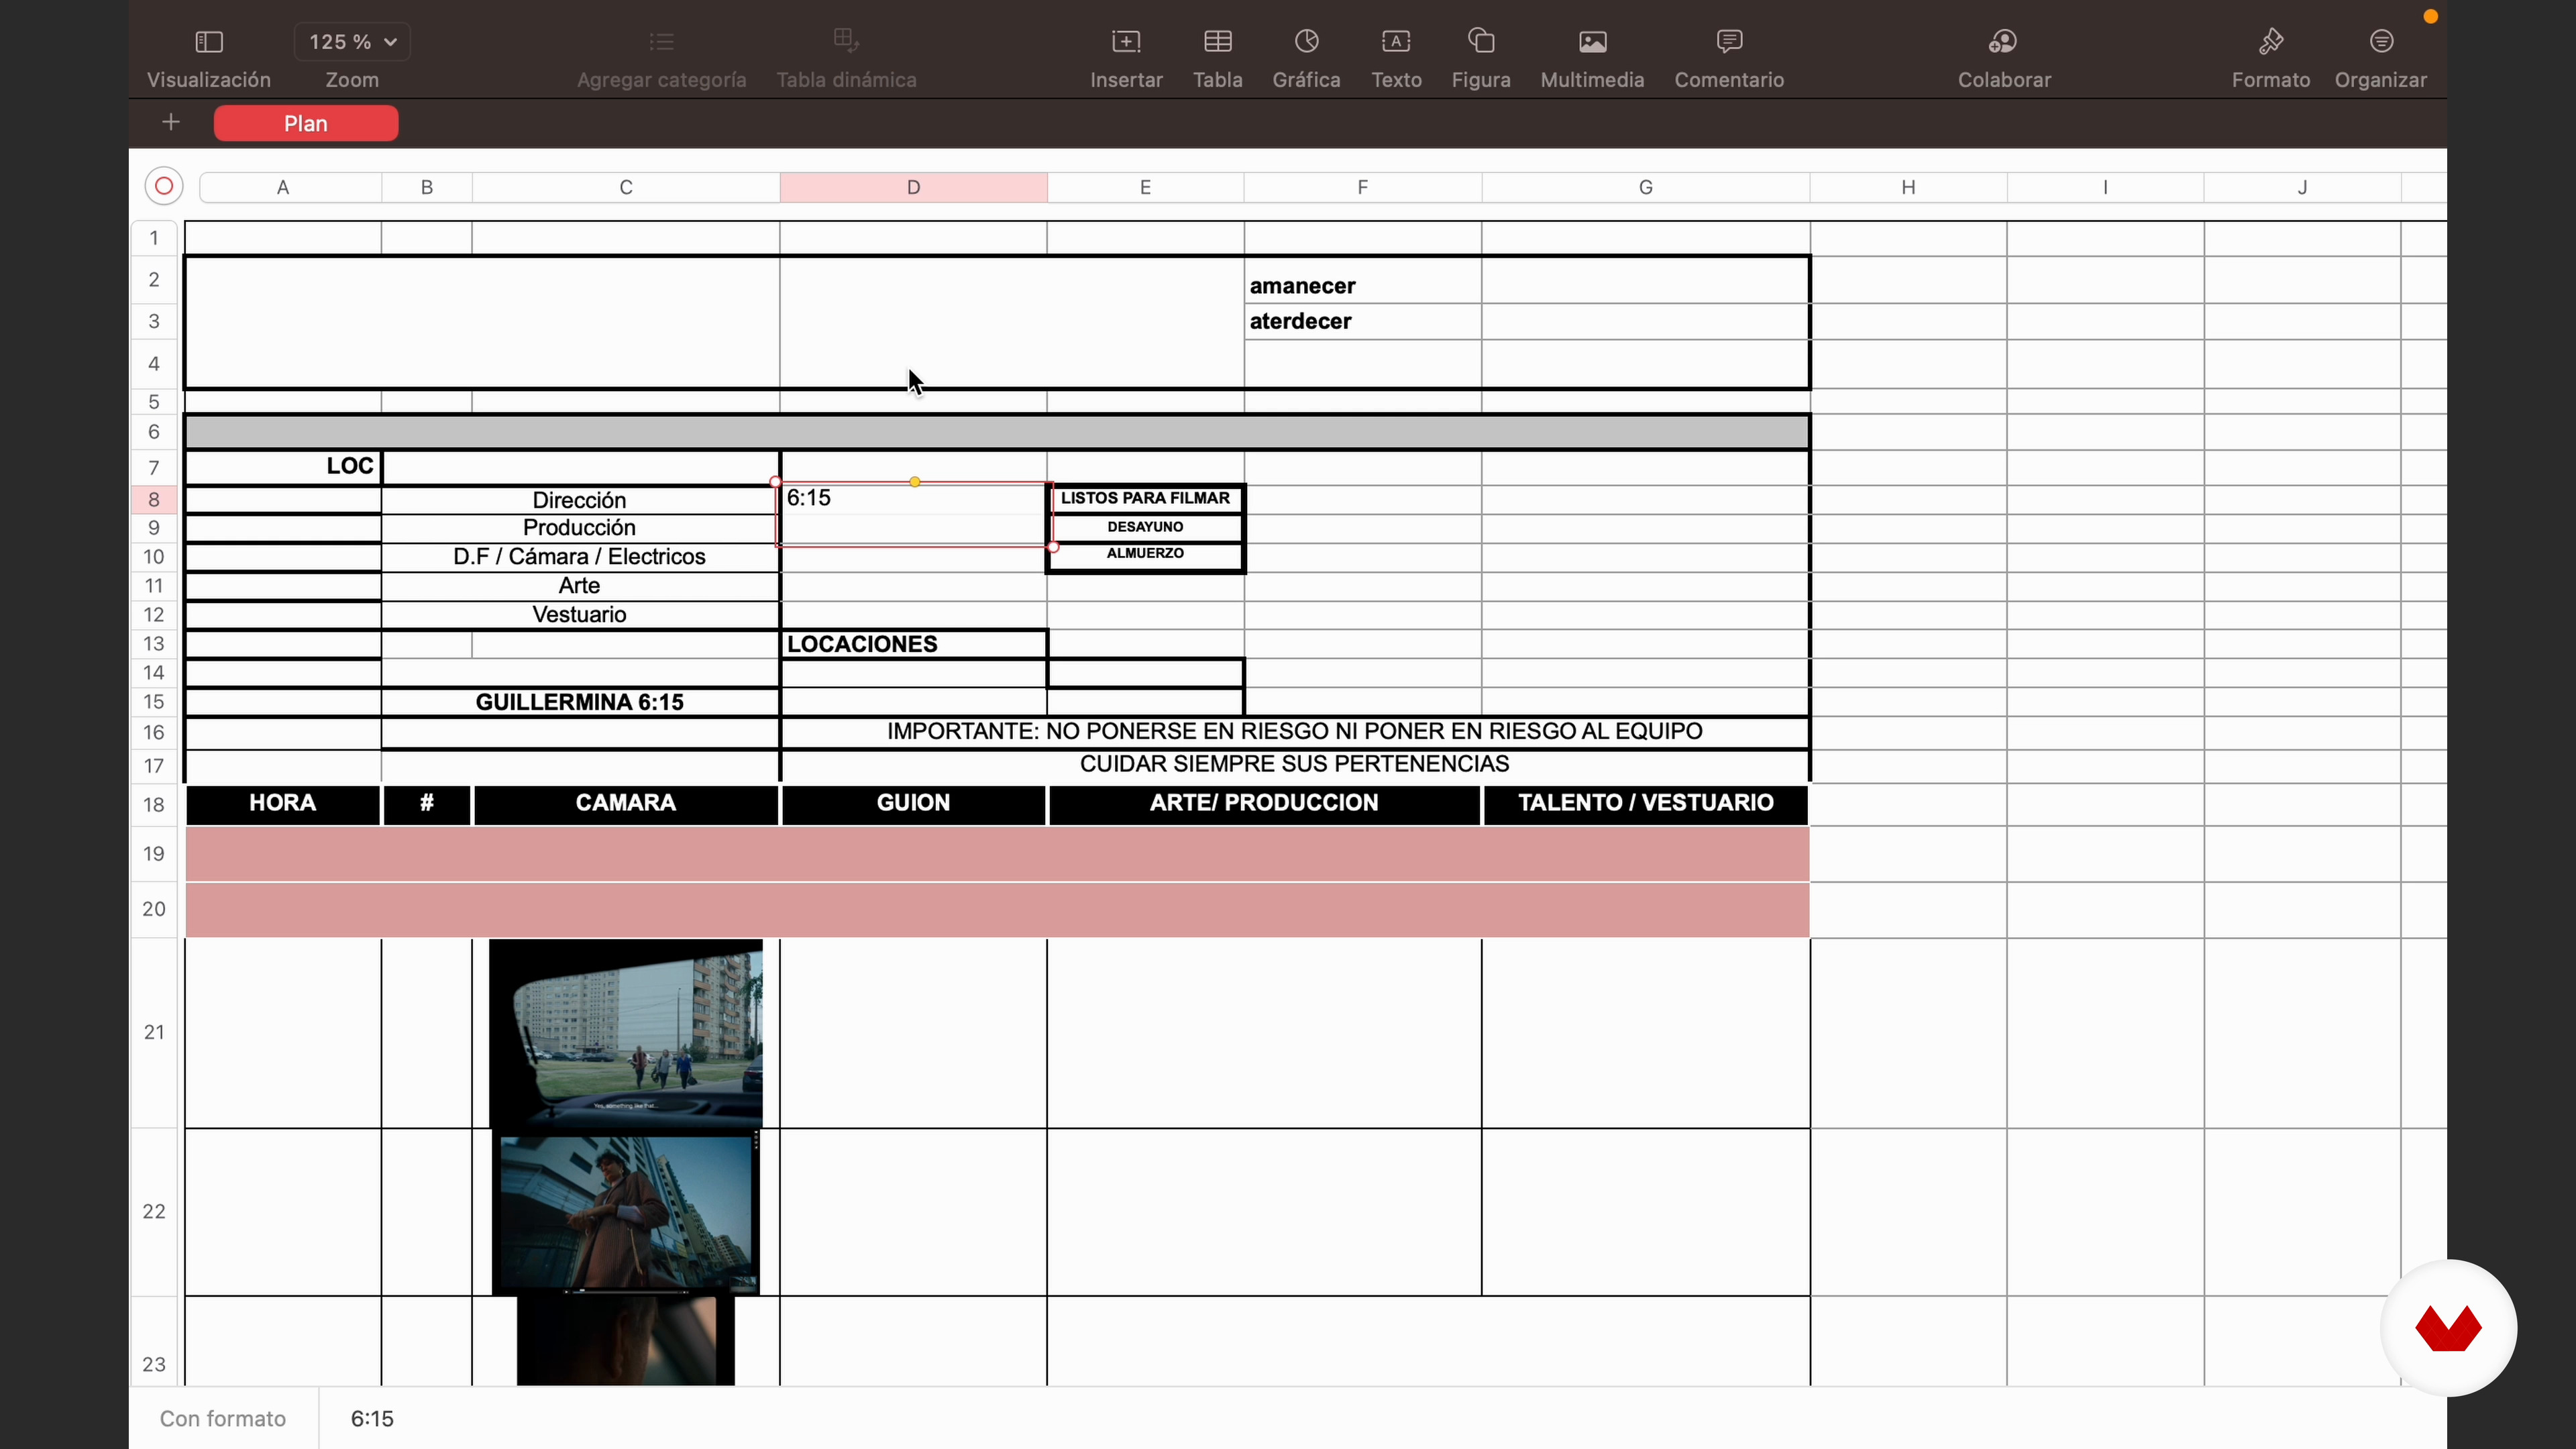
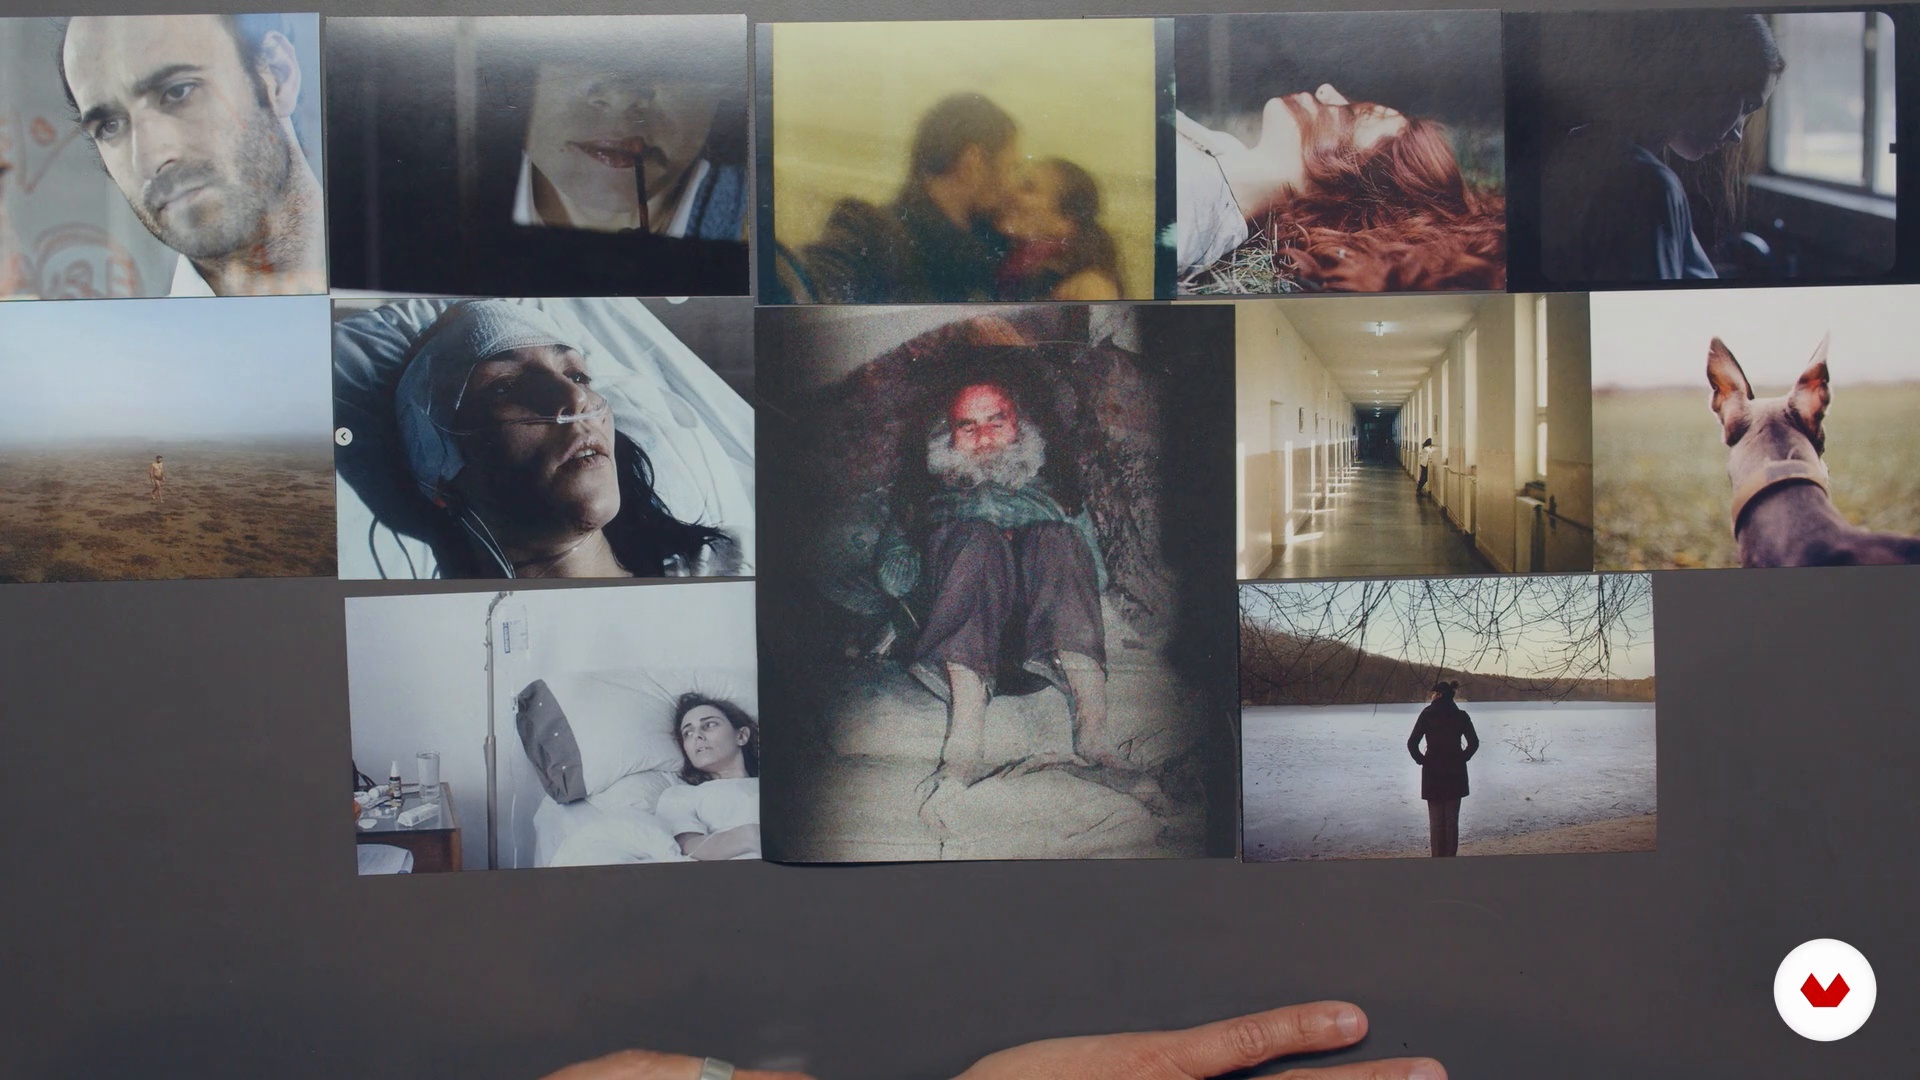
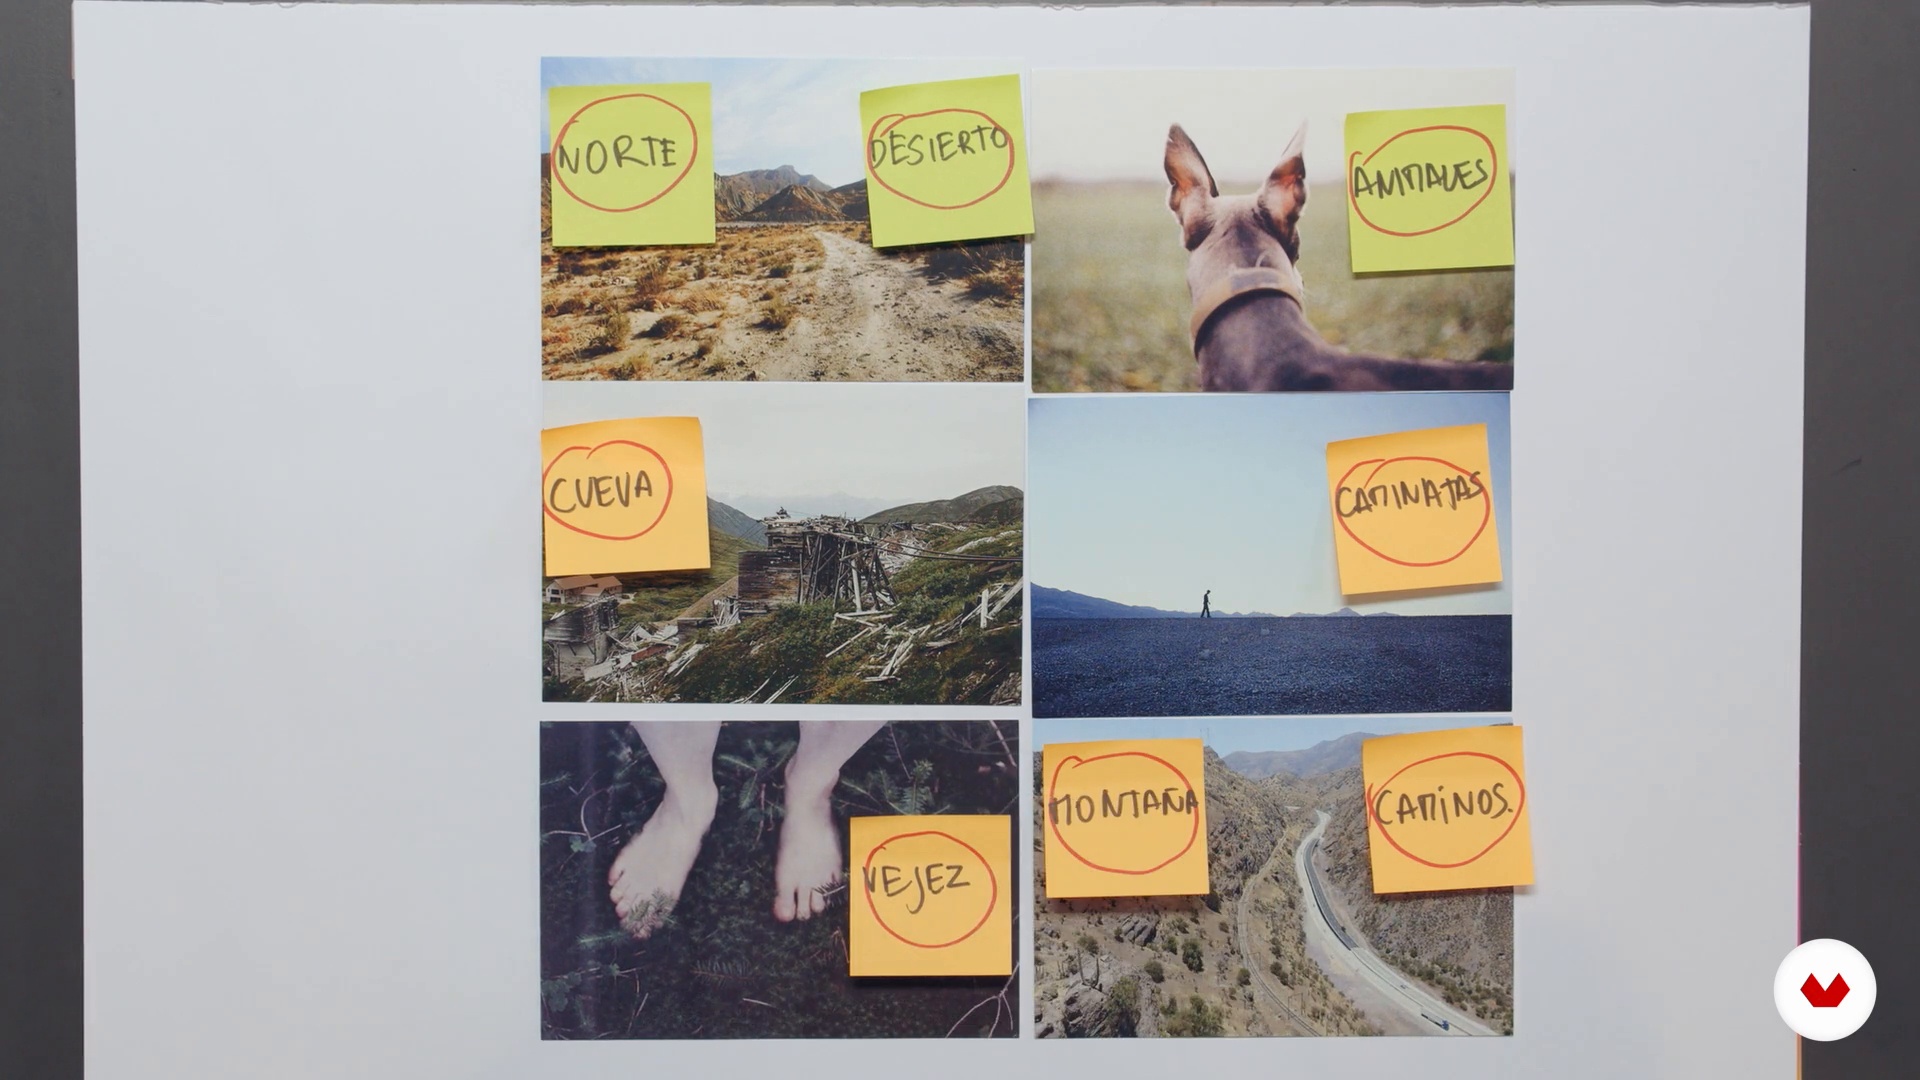
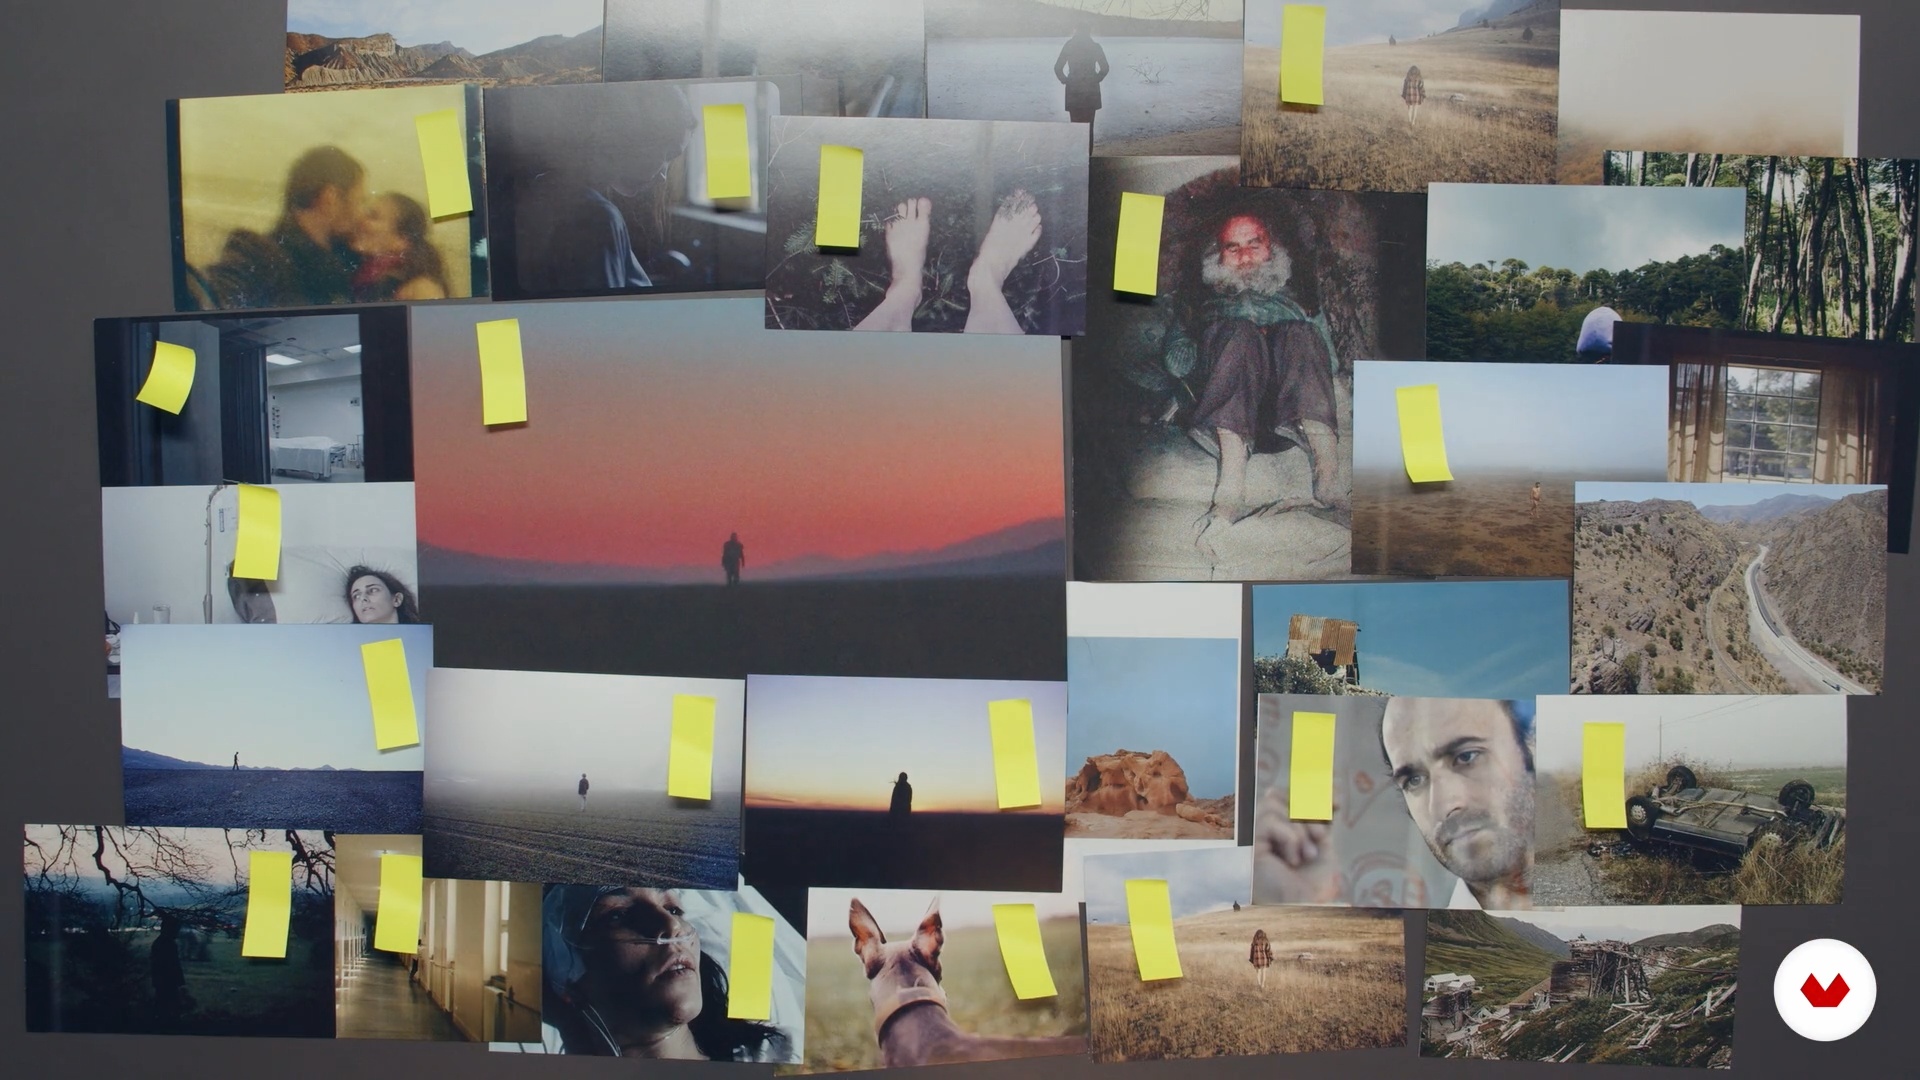
Projects by course students


Who is this specialization for?
This course is aimed at aspiring filmmakers, content creators, and video professionals looking to develop skills in filmmaking, directing, and audiovisual production. Ideal for those who want to improve their technique and gain a comprehensive understanding of the fundamentals of filmmaking.
Requirements and materials
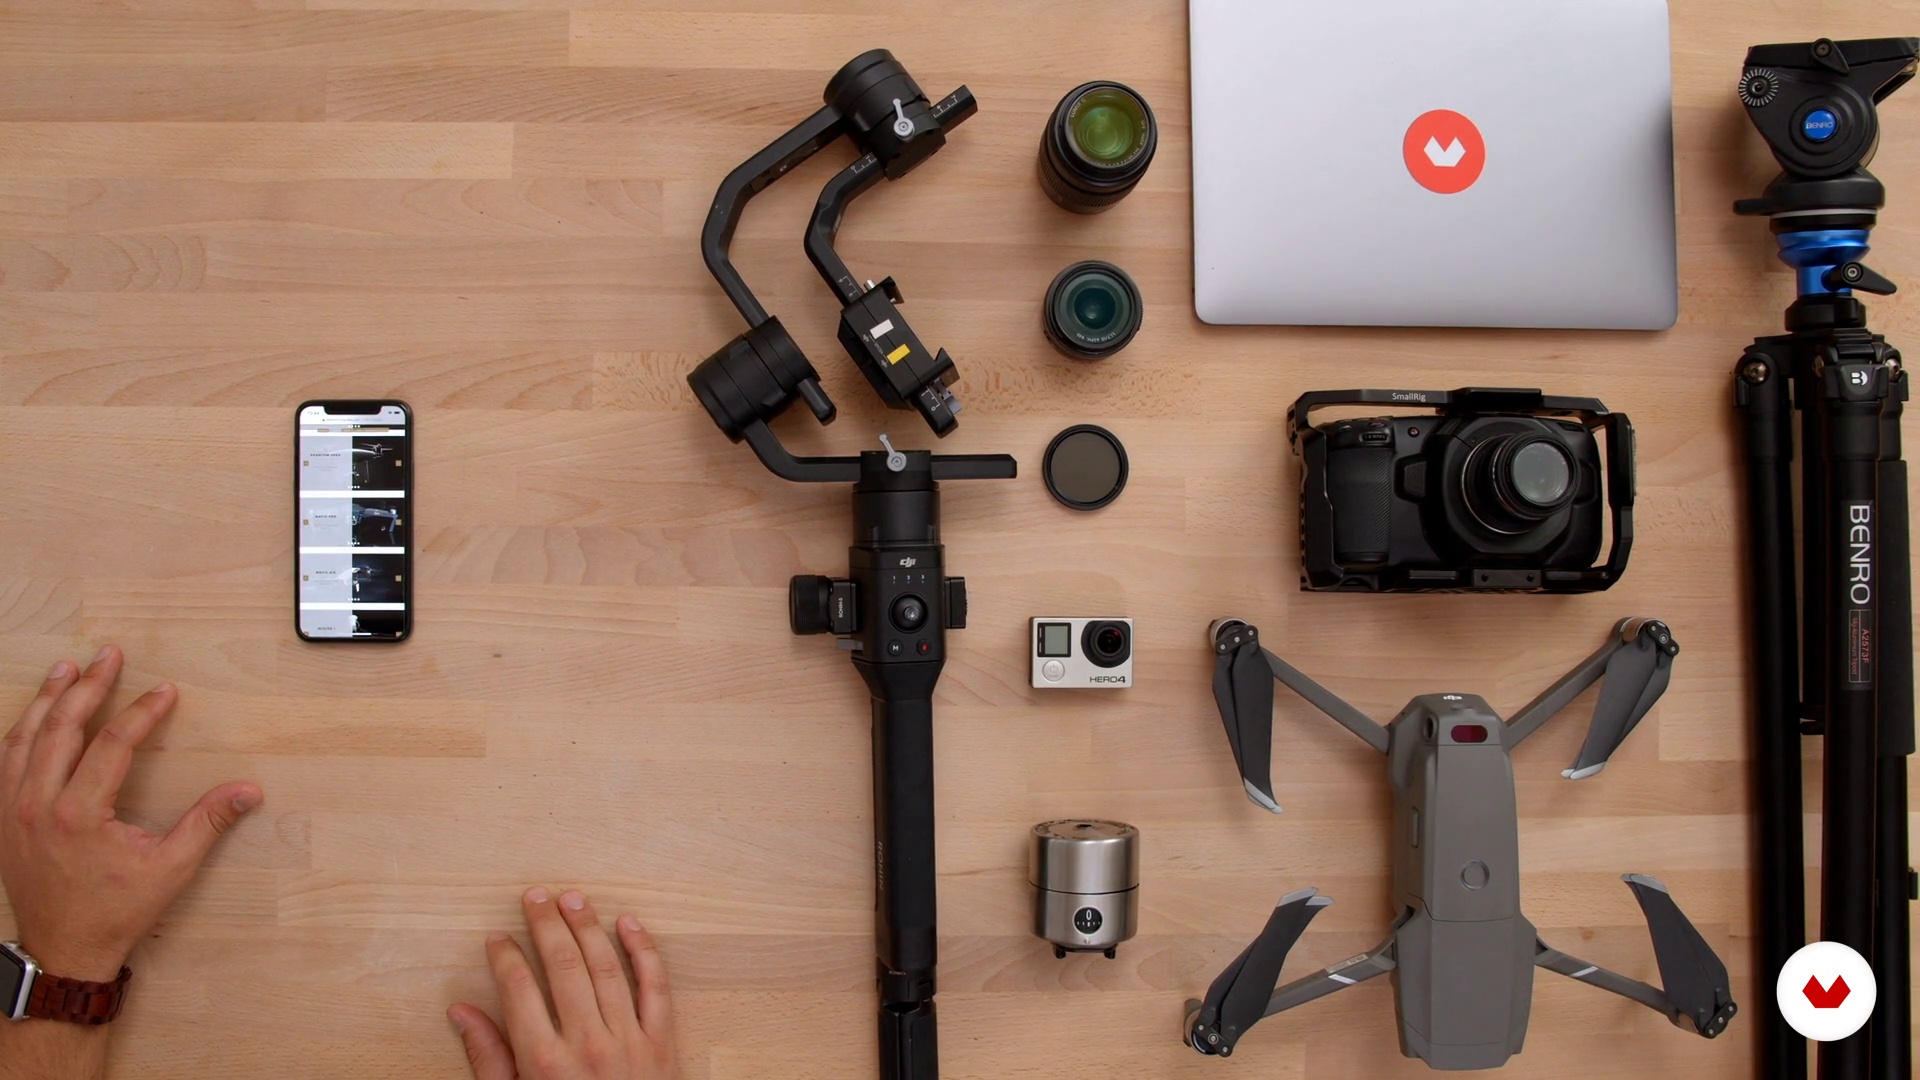
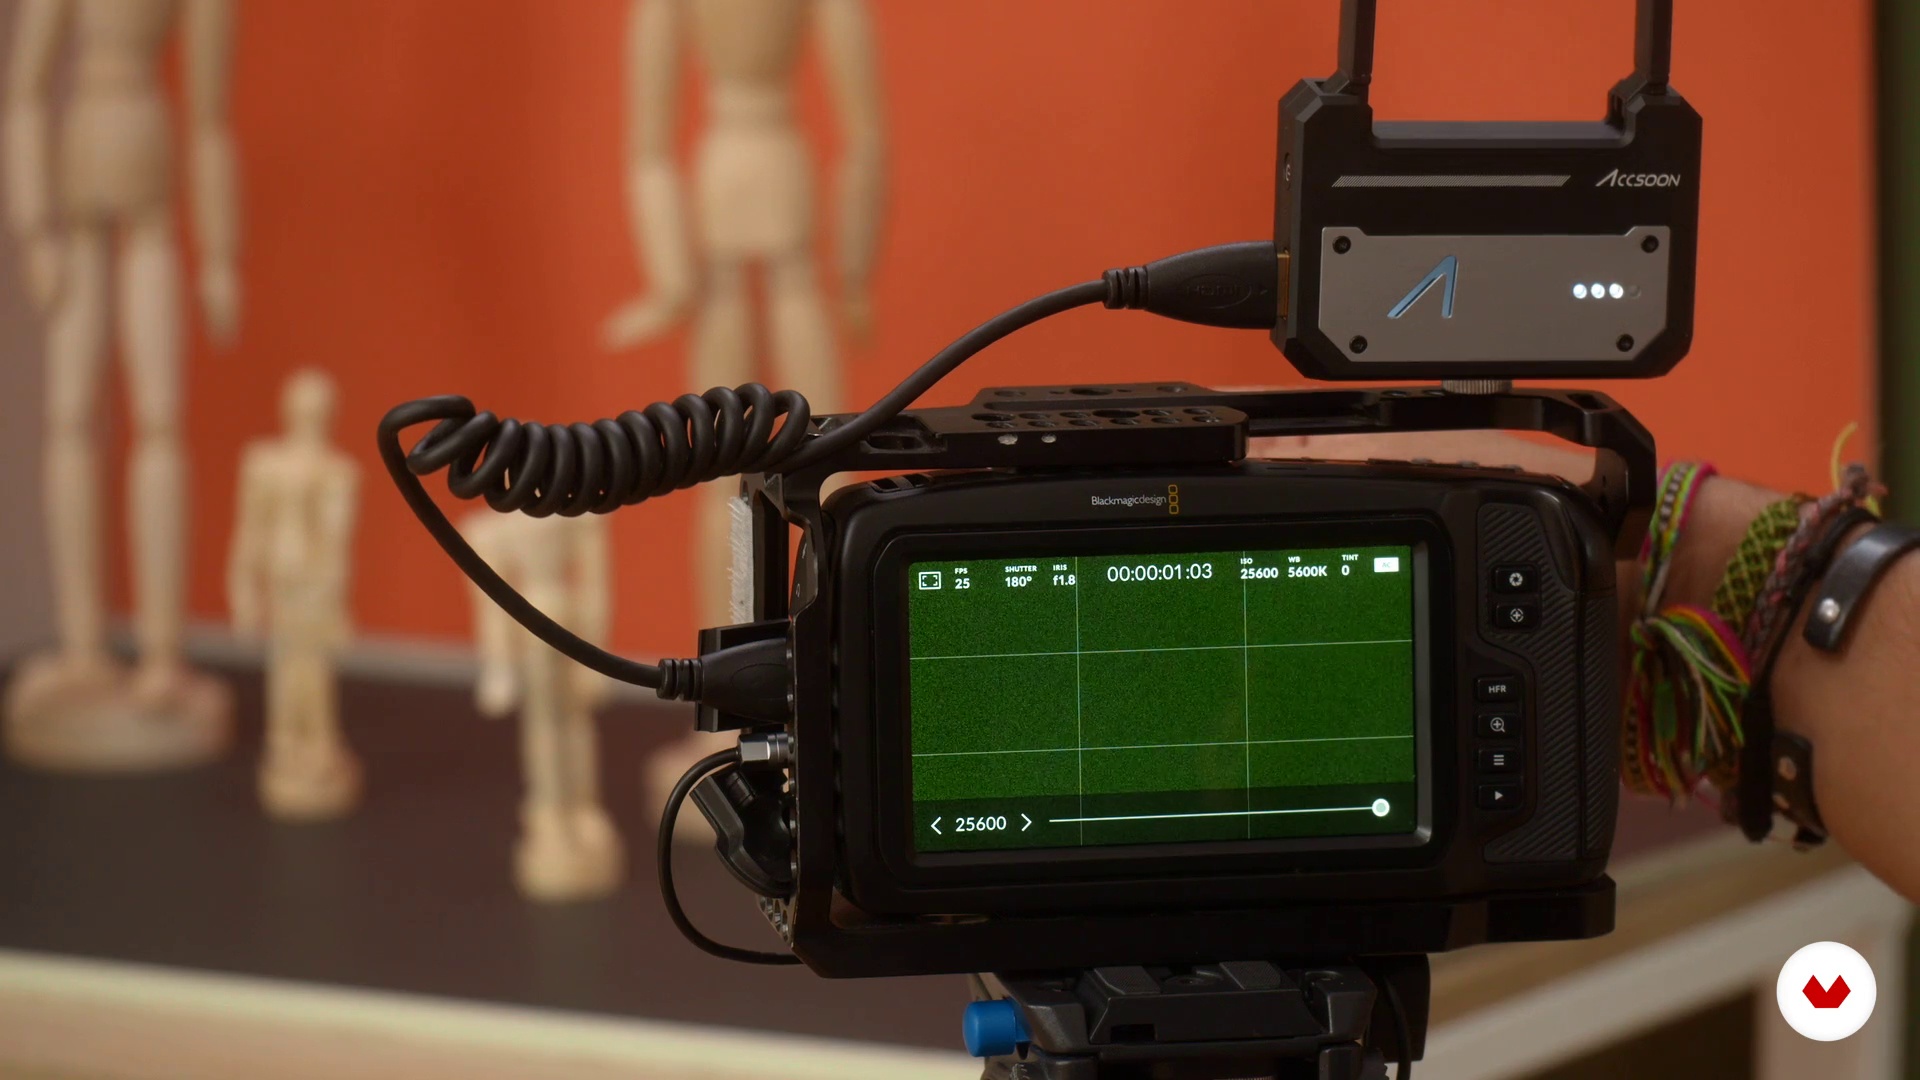
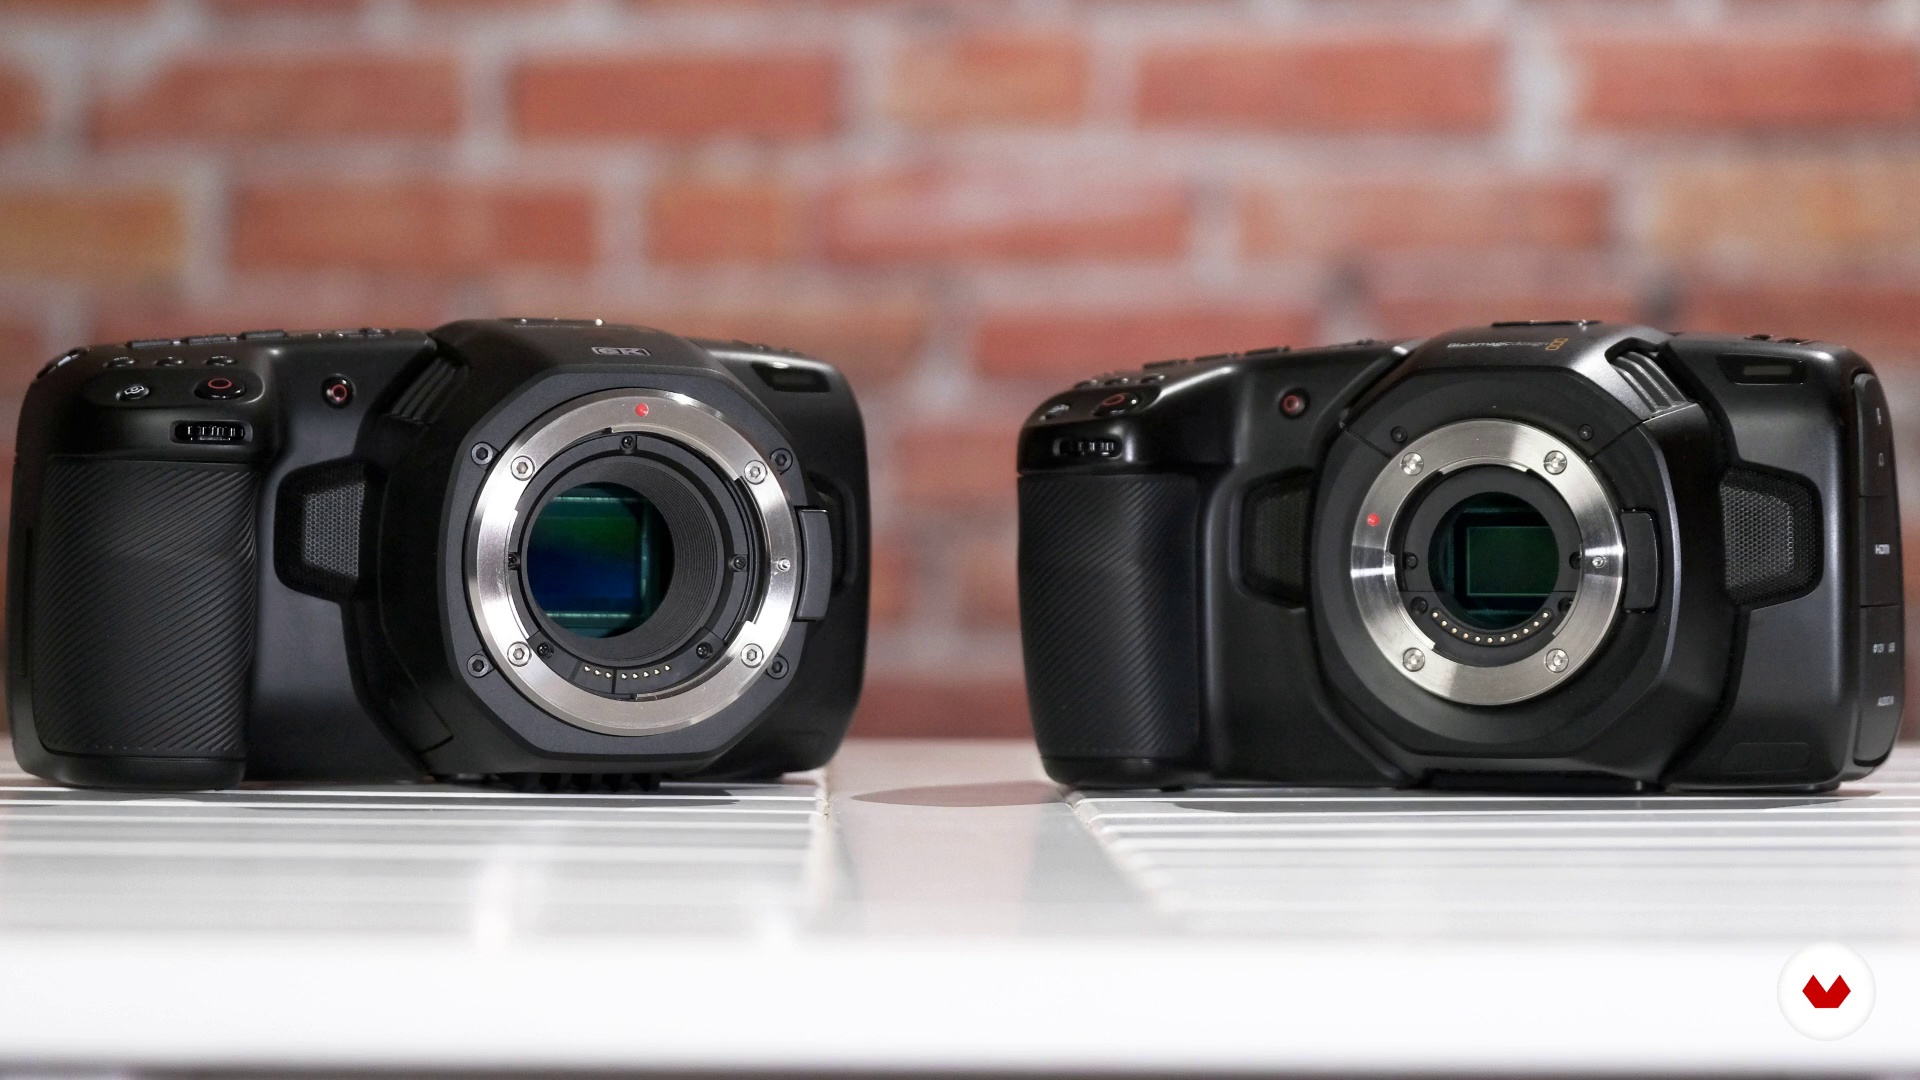
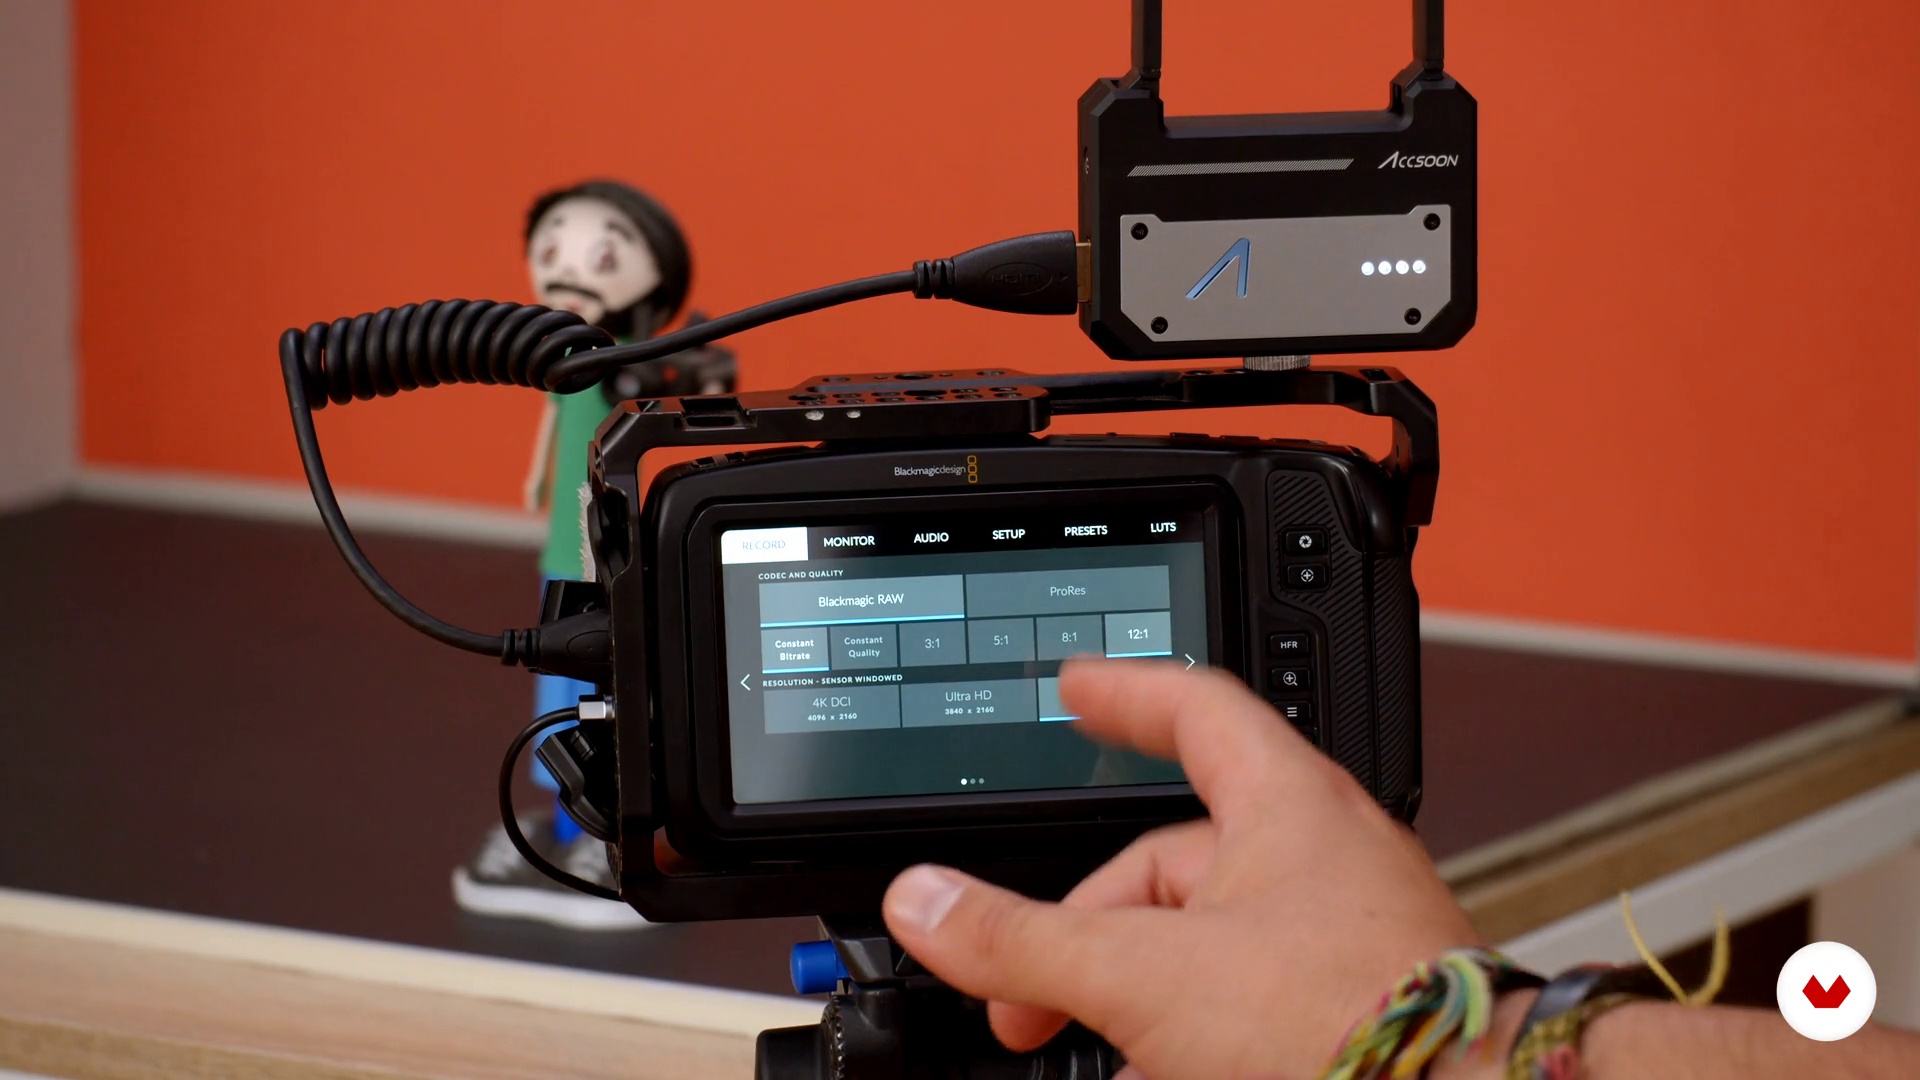
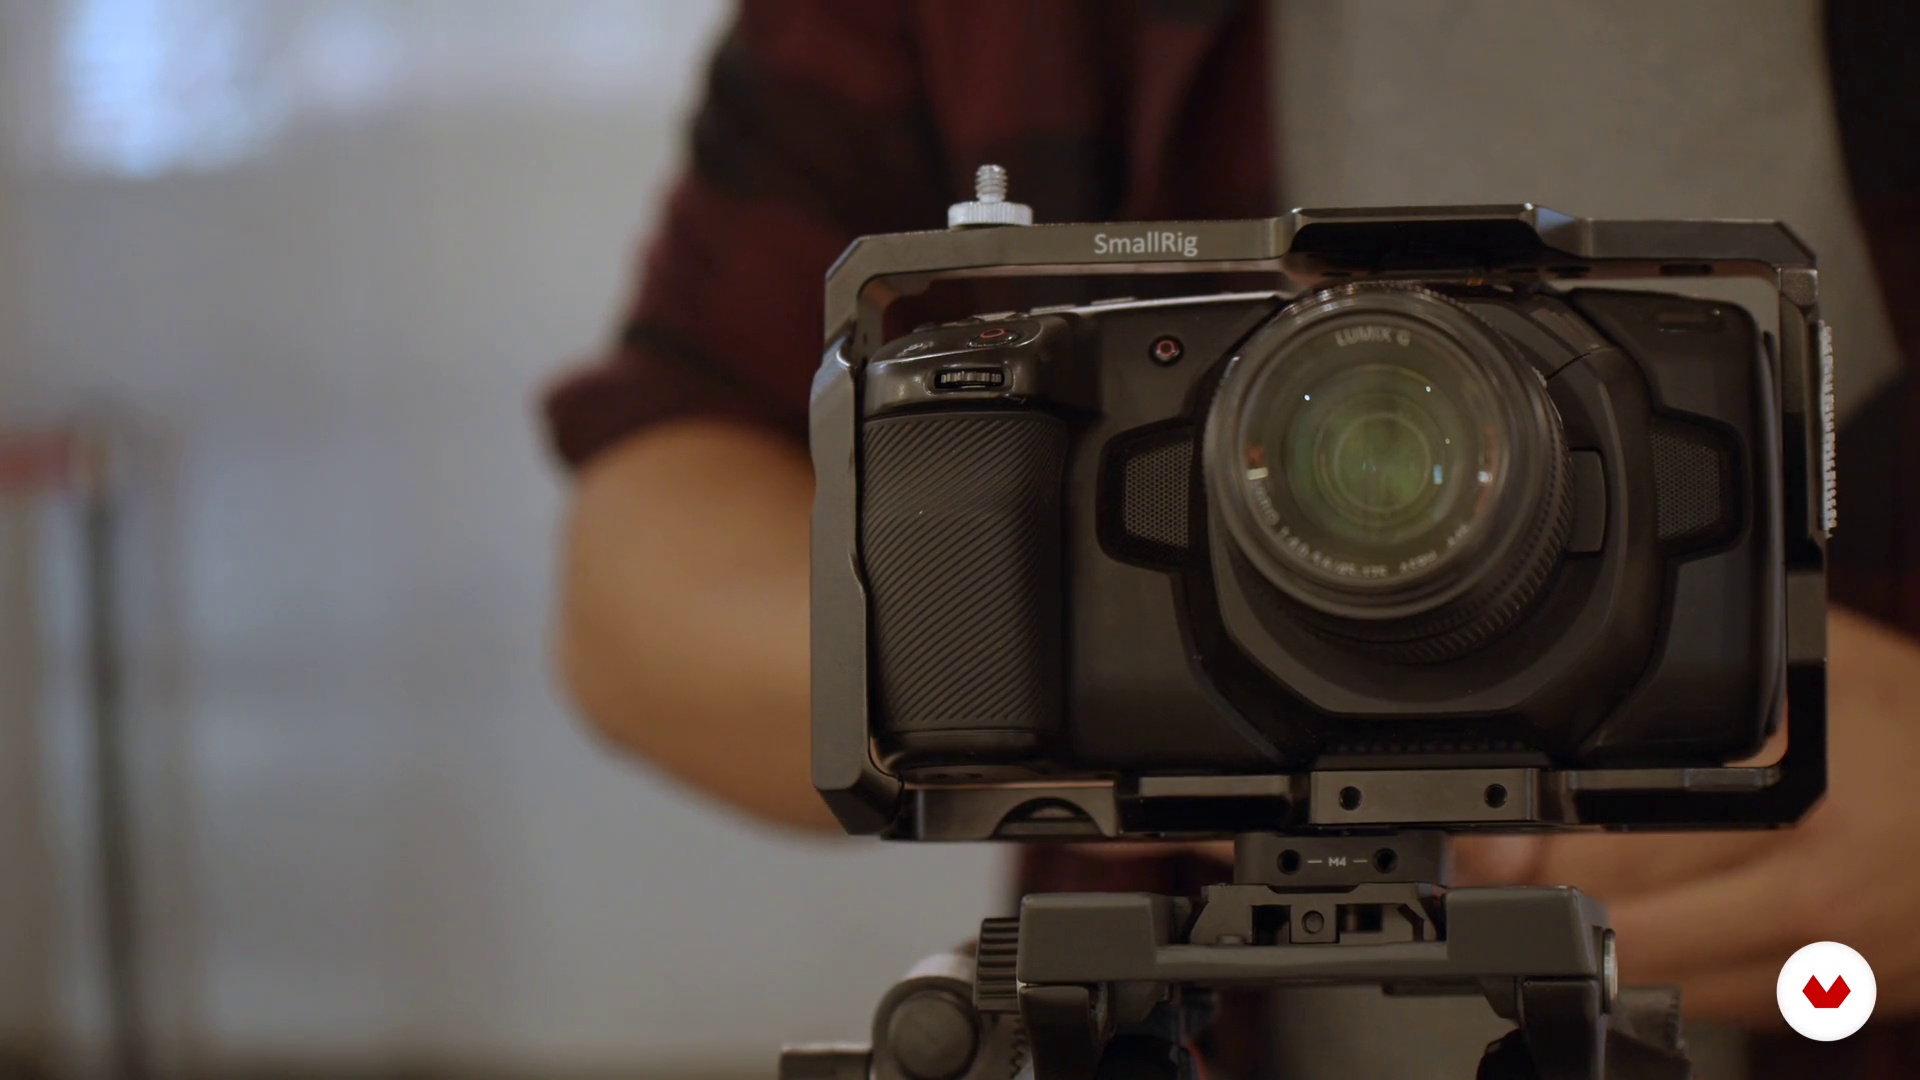
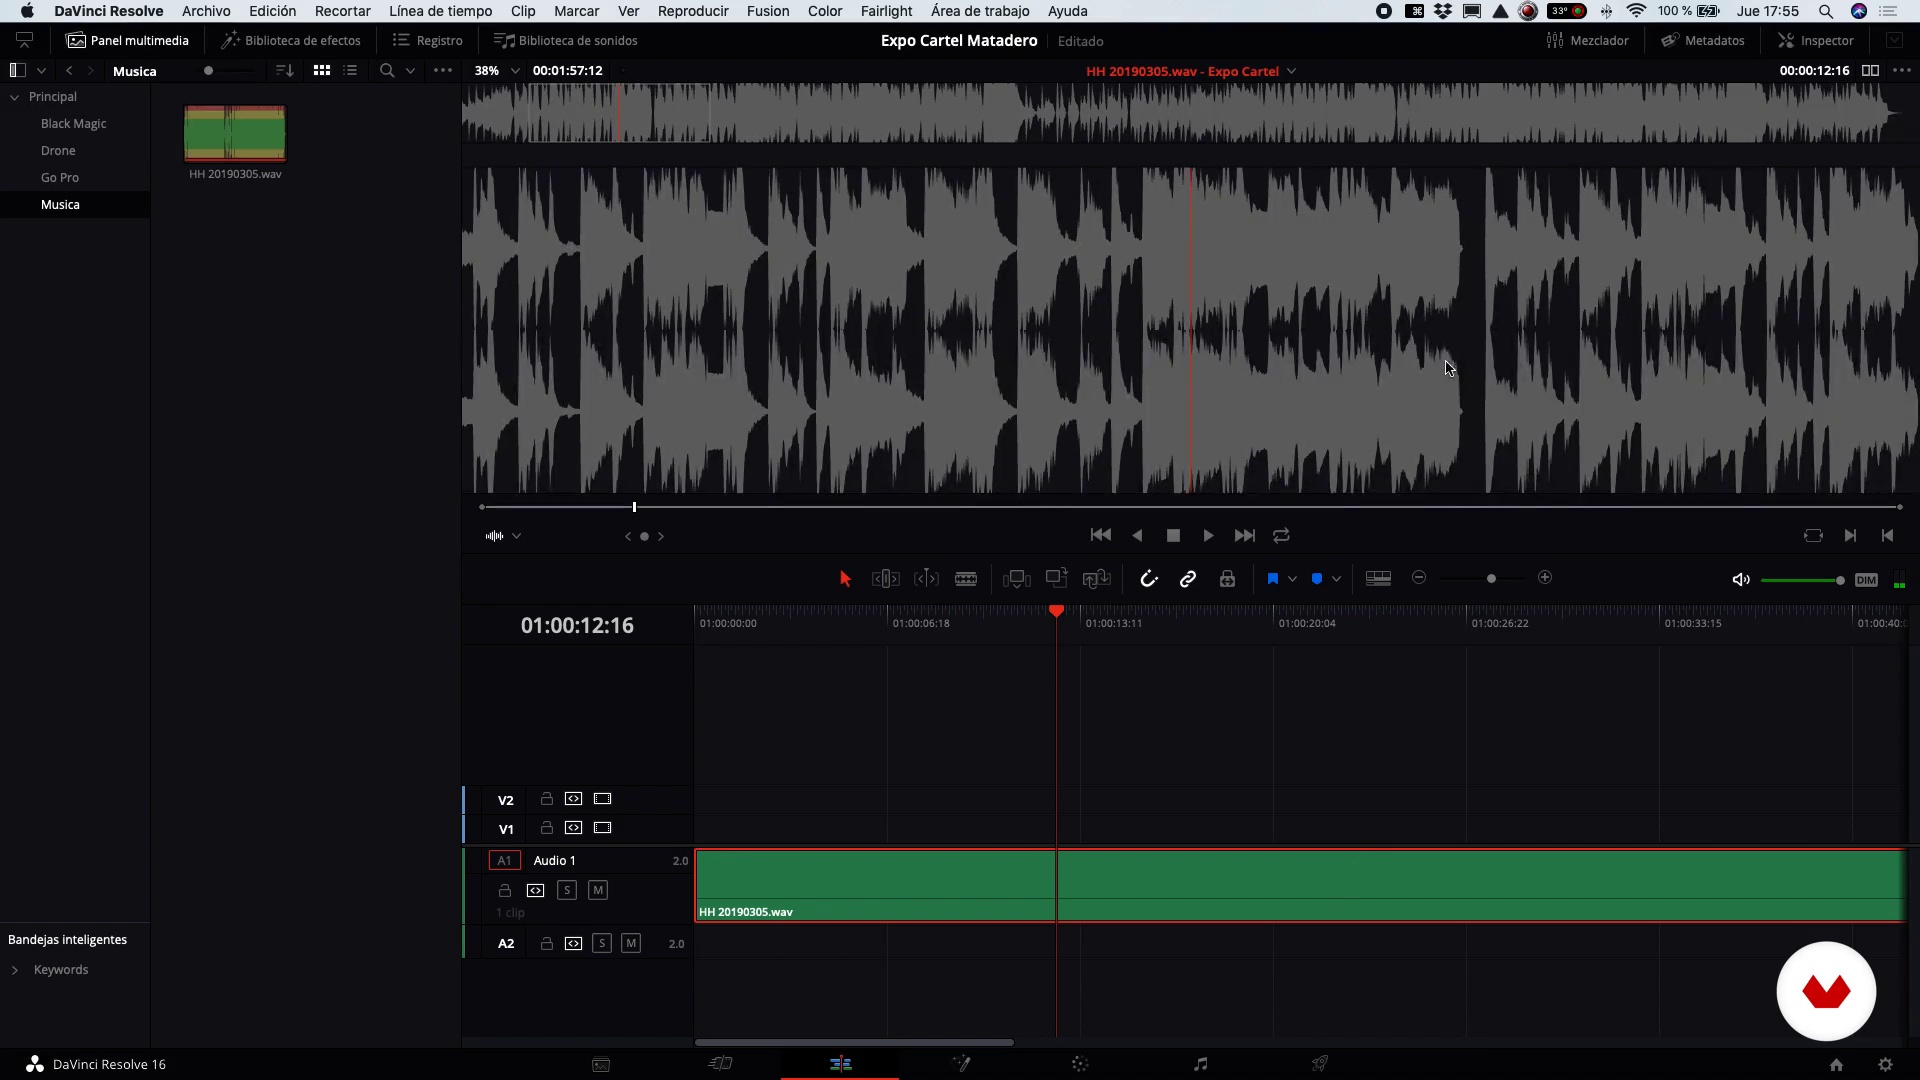
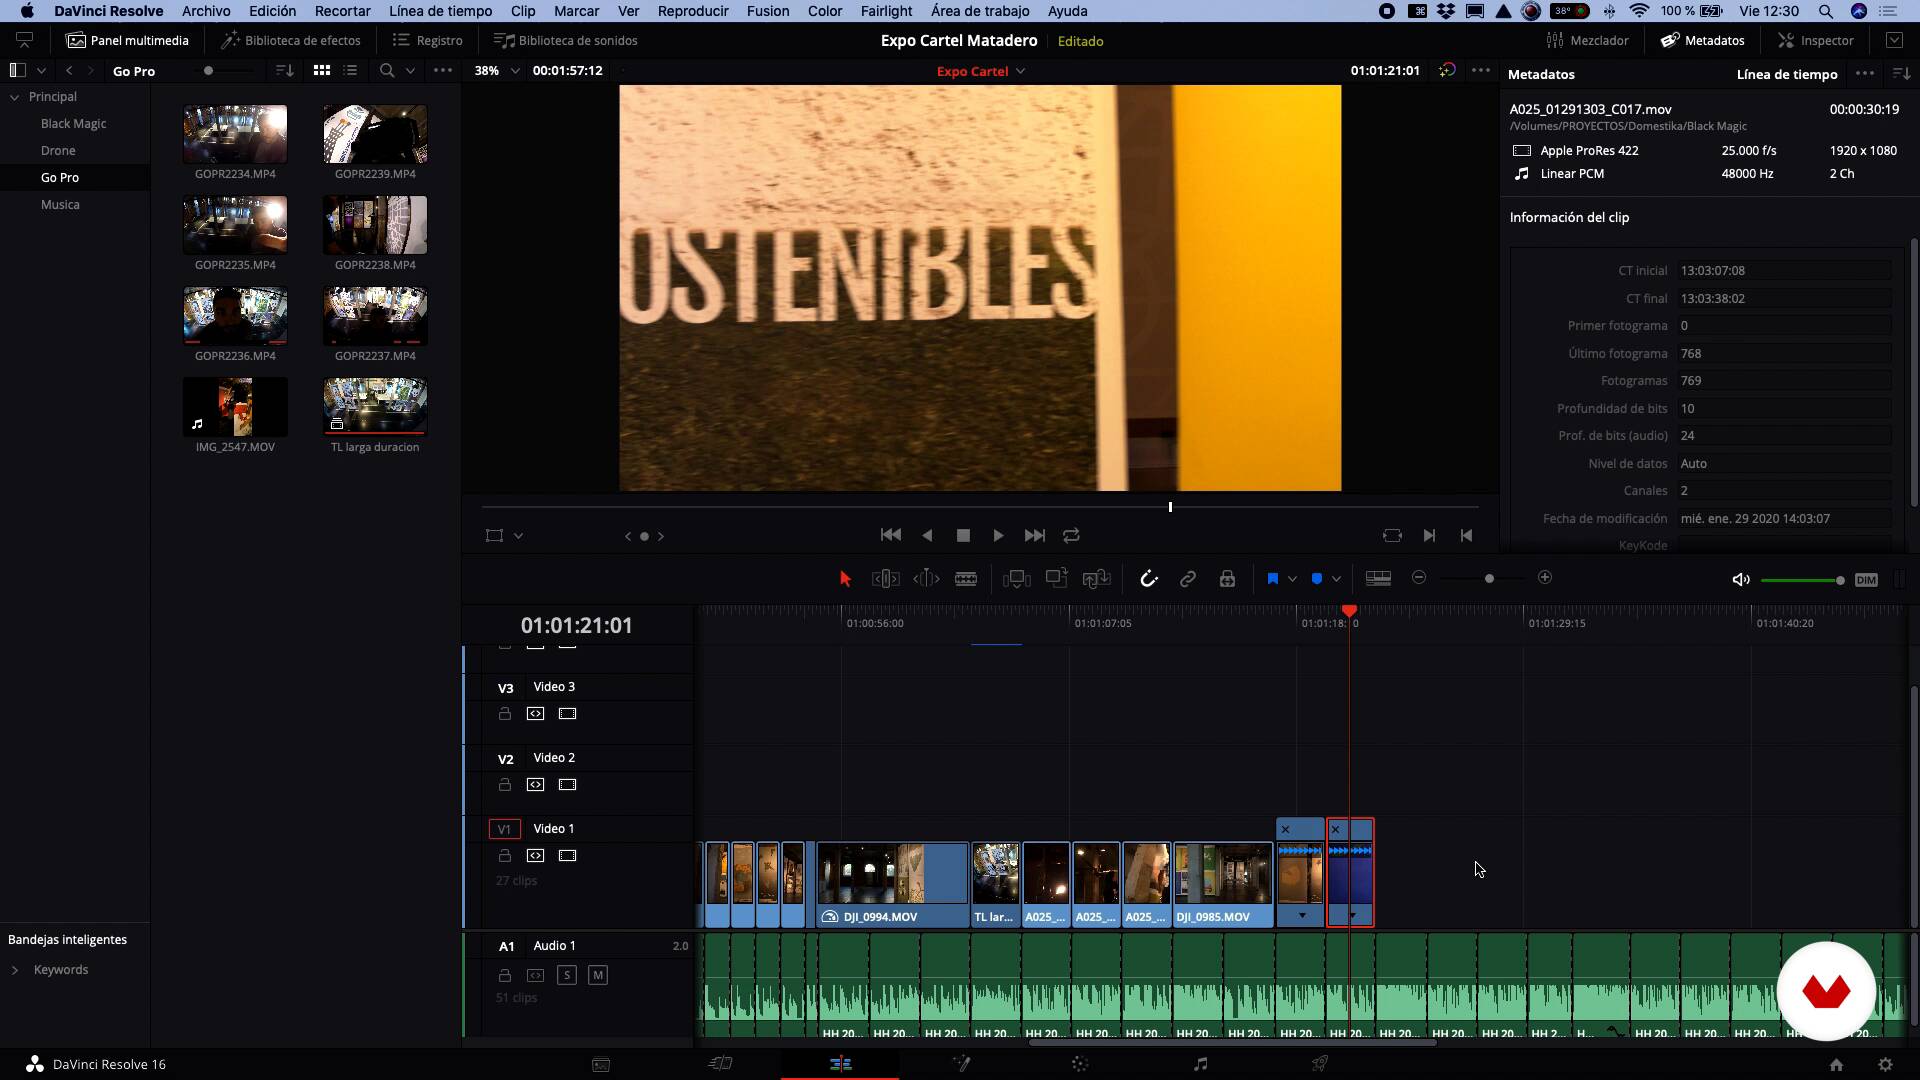
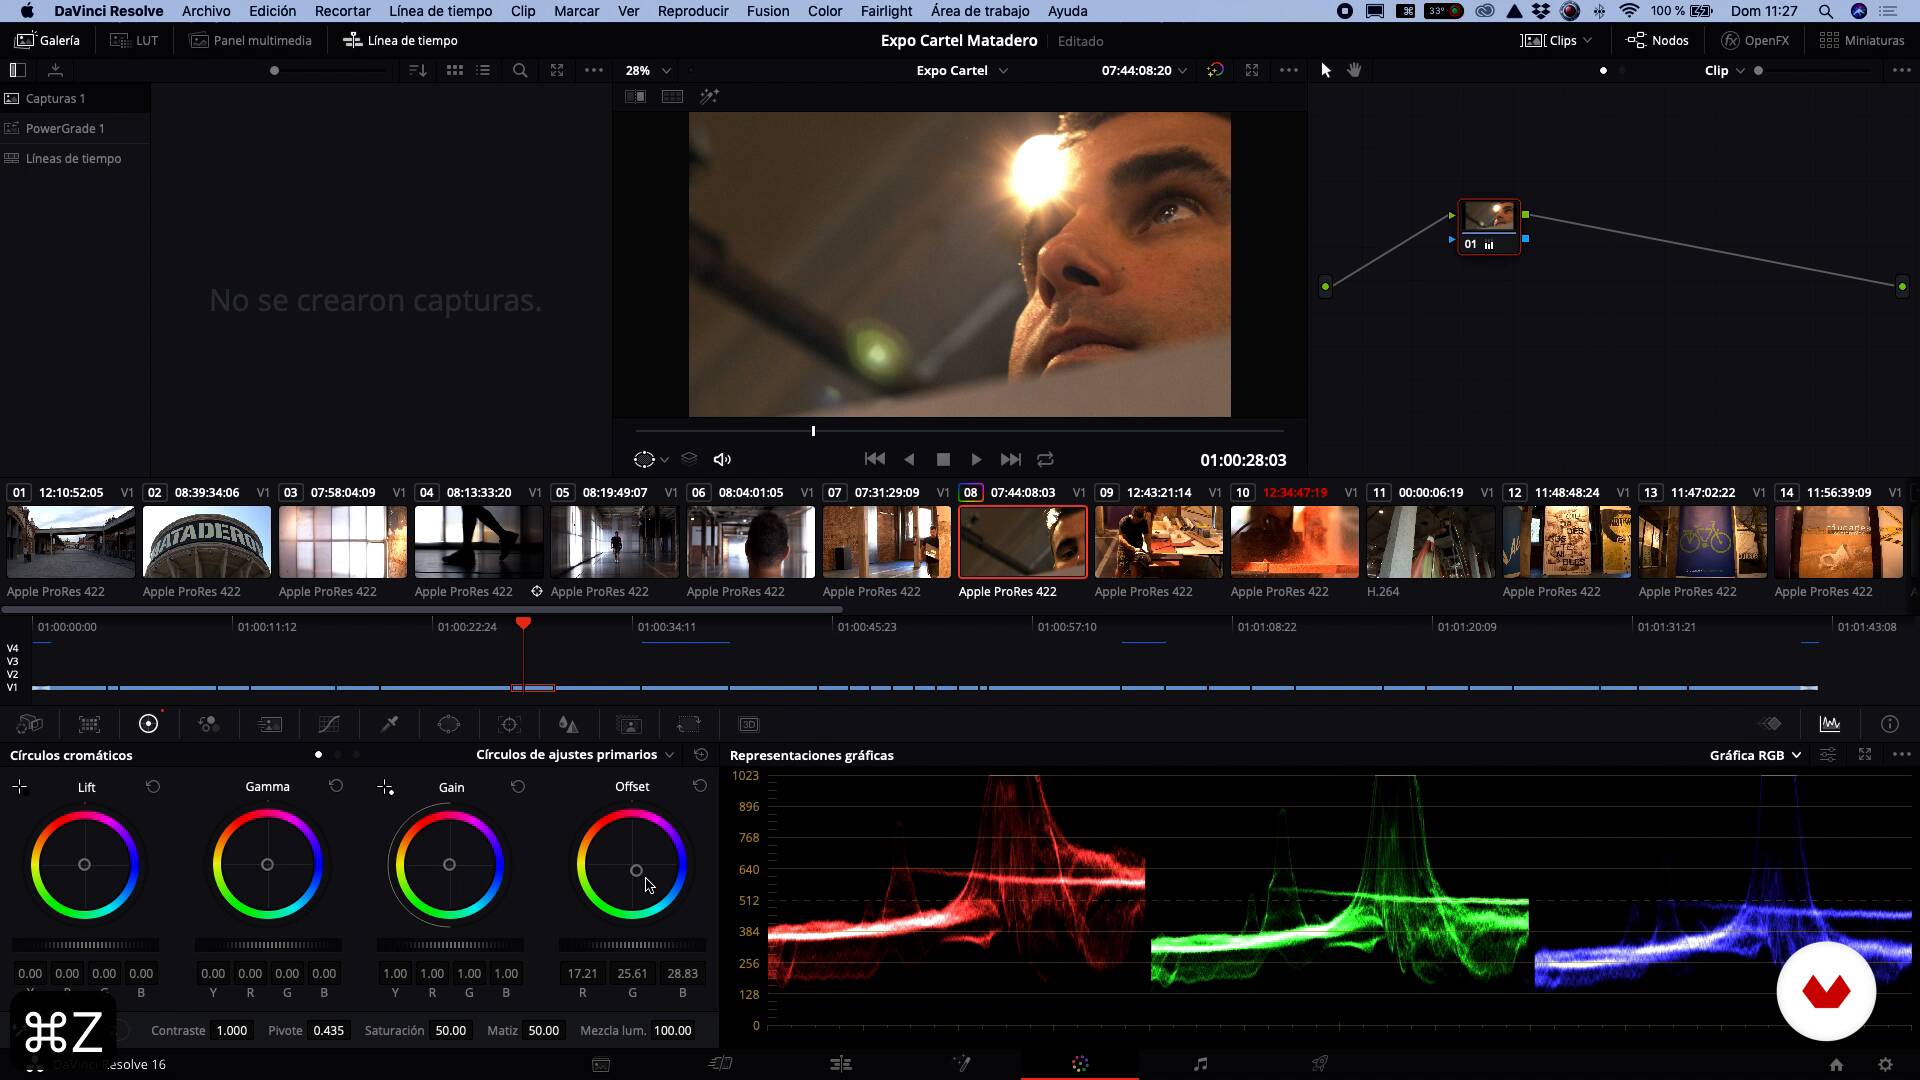
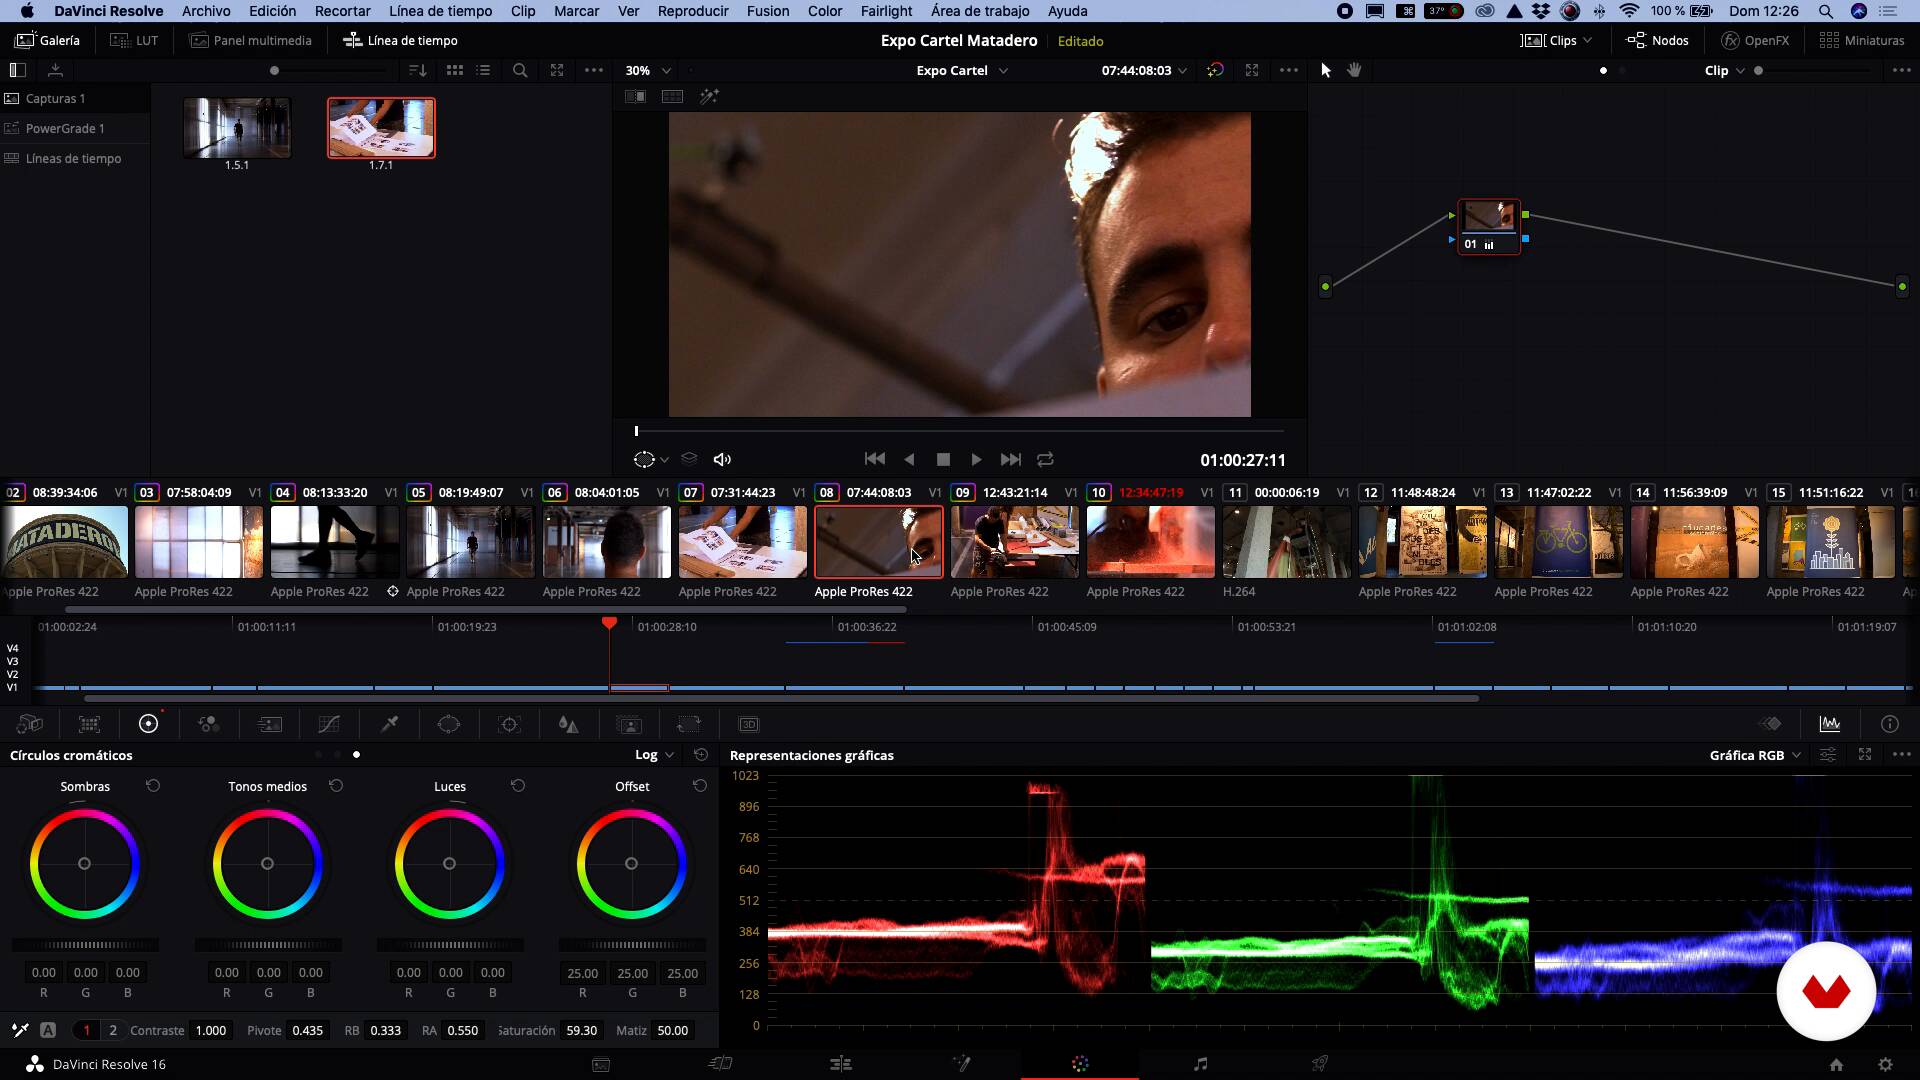
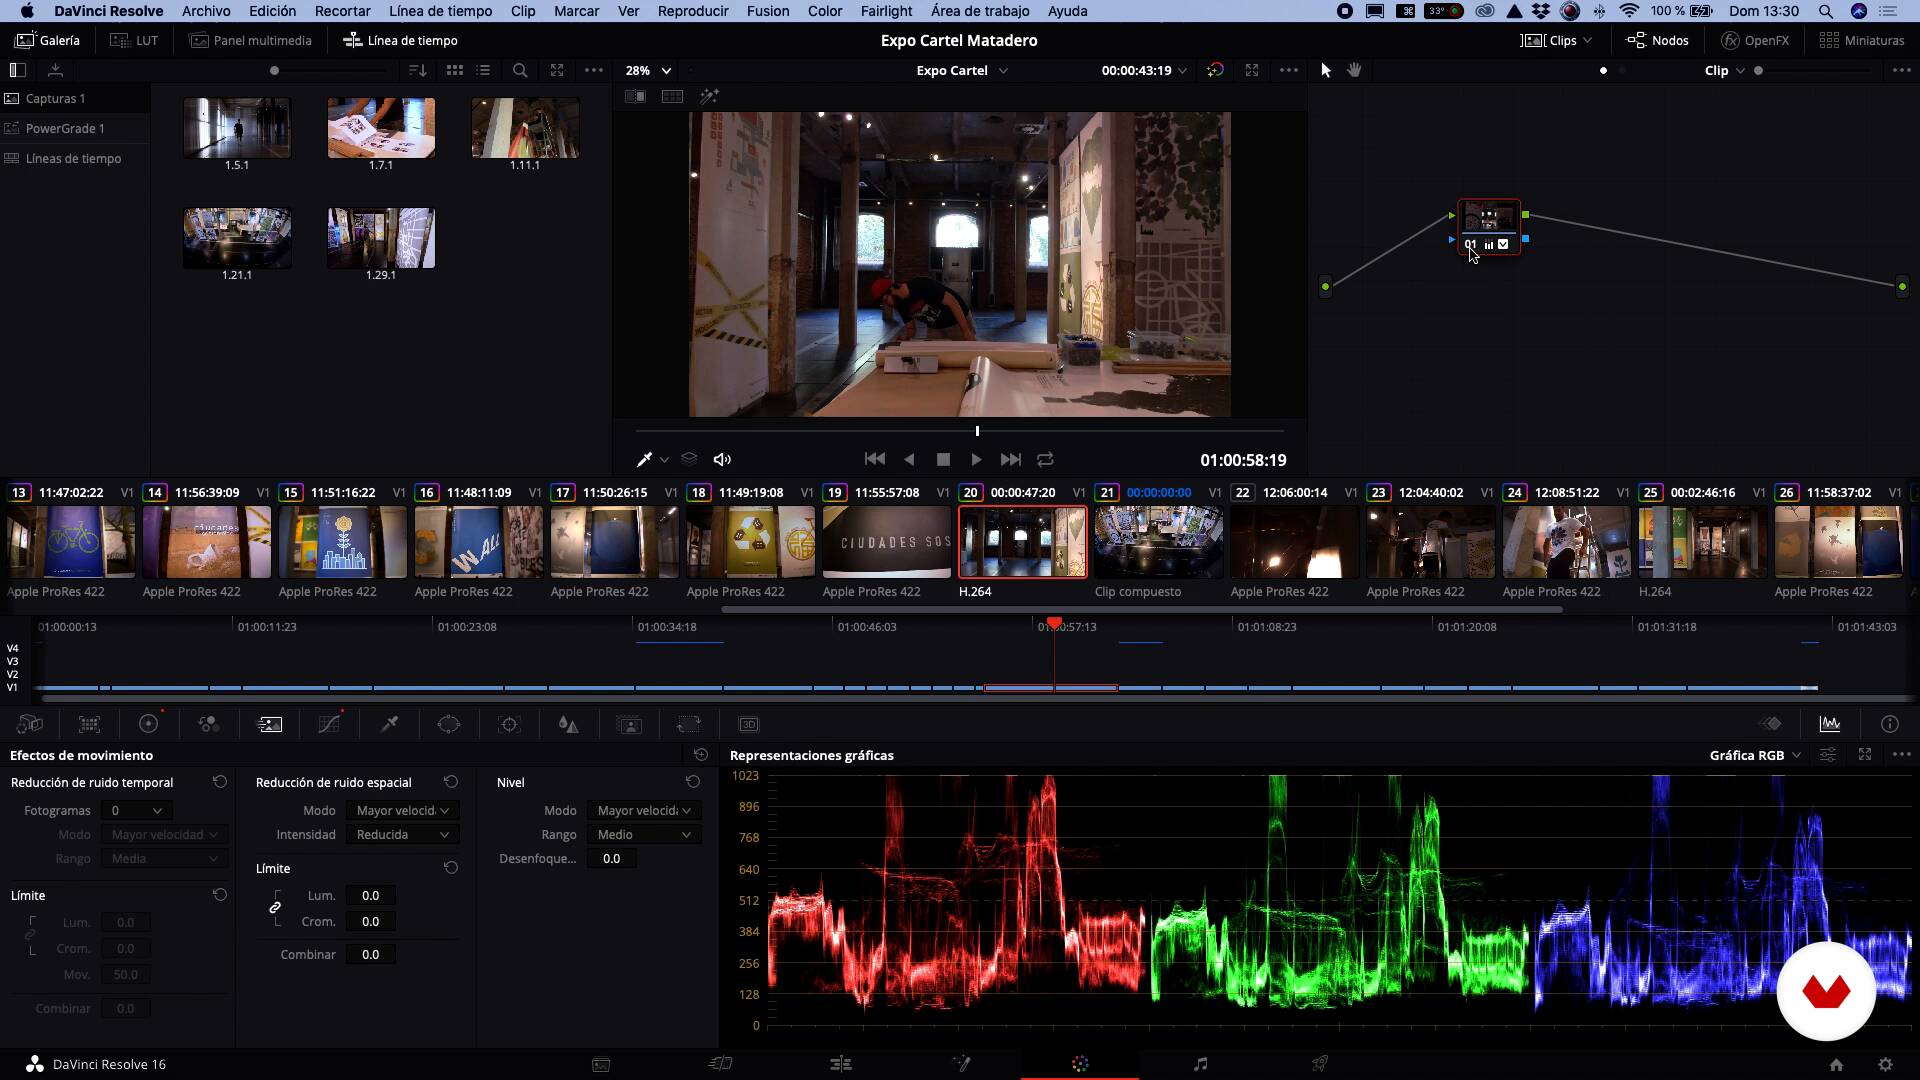
No advanced knowledge is required; just a camera or smartphone with recording capabilities and a computer with basic editing software like DaVinci Resolve. A curiosity to explore and learn about filming and audiovisual production techniques is ideal.


Reviews
What to expect from this specialization course
-
Learn at your own pace
Enjoy learning from home without a set schedule and with an easy-to-follow method. You set your own pace.
-
Learn from the best professionals
Learn valuable methods and techniques explained by top experts in the creative sector.
-
Meet expert teachers
Each expert teaches what they do best, with clear guidelines, true passion, and professional insight in every lesson.
-
Certificates
PlusIf you're a Plus member, get a custom certificate for every specialization course. Share it on your portfolio, social media, or wherever you like.
-
Get front-row seats
Videos of the highest quality, so you don't miss a single detail. With unlimited access, you can watch them as many times as you need to perfect your technique.
-
Share knowledge and ideas
Ask questions, request feedback, or offer solutions. Share your learning experience with other students in the community who are as passionate about creativity as you are.
-
Connect with a global creative community
The community is home to millions of people from around the world who are curious and passionate about exploring and expressing their creativity.
-
Watch professionally produced courses
Domestika curates its teacher roster and produces every course in-house to ensure a high-quality online learning experience.
FAQs
Yes, this course is designed for students with an intermediate level who already have basic knowledge of photography, video, or film and want to deepen their skills in advanced lighting, composition, and visual storytelling techniques.
You’ll need some prior experience in photography or video, a digital camera (DSLR, mirrorless, or similar), access to editing software like DaVinci Resolve, and ideally some basic lighting accessories for practice.
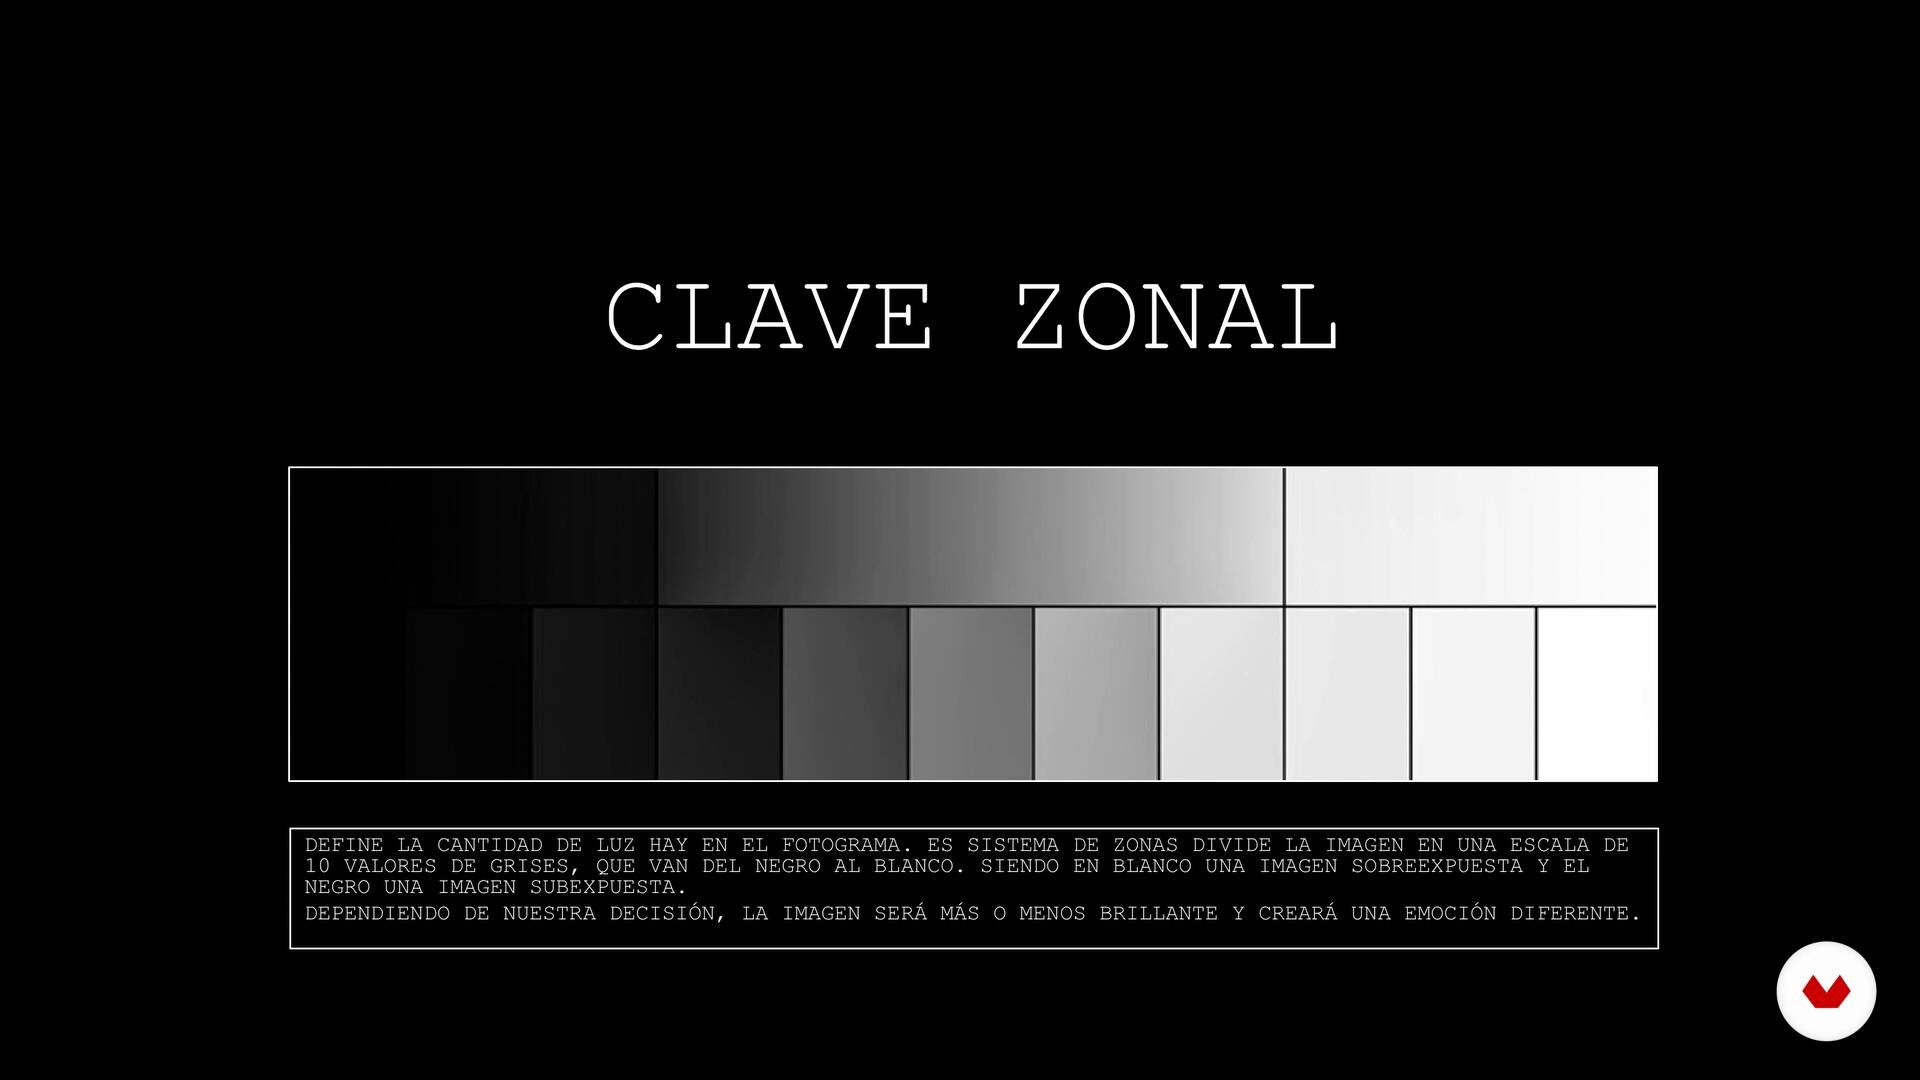
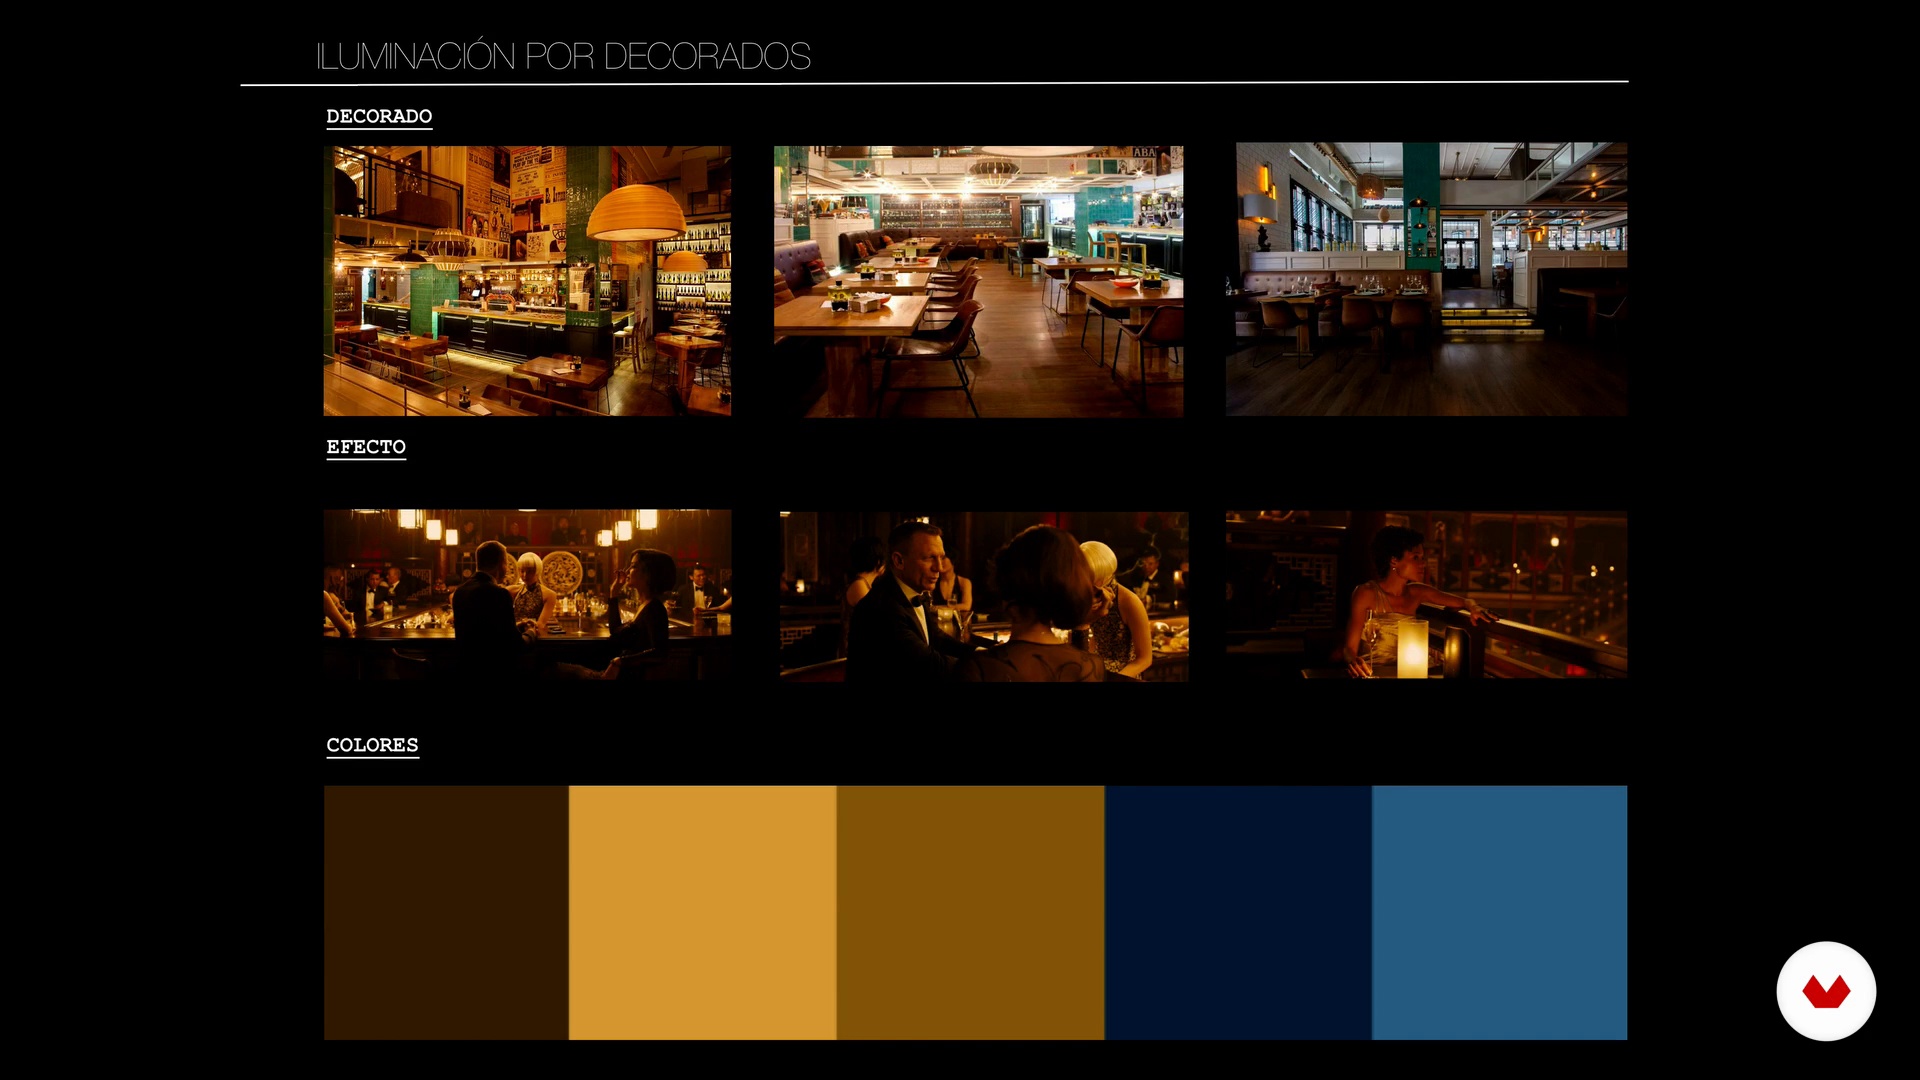
You’ll learn to analyze lighting styles, master color and light quality, apply classic lighting setups, control contrast, understand visual storytelling, and develop your own artistic judgment for audiovisual projects.
The course covers advanced lighting techniques, creative color use, composition, and visual storytelling in photography and film. It’s aimed at those looking to refine their visual language and apply artistic references to their projects.
Hard light creates sharp shadows and high contrast, perfect for dramatic effects; soft light smooths shadows and creates a more natural, immersive atmosphere. You’ll learn how to manipulate both to achieve different visual and emotional impacts.
You’ll control blur by adjusting the aperture, focal length, and subject distance. The course explains how to use lenses, aperture, and ISO to create blurred backgrounds and make your subject stand out in portraits and narrative scenes.
Natural light can produce more organic and cost-effective results but is less controllable. Artificial light offers greater precision and consistency. The course teaches how to combine and choose the best option depending on the desired effect.


super recomendado, tiene lo necesario para empezar de 0 y terminar con un buen proyecto
Muy buen curso. El modulo de "Como ser un Filmmaker" de la profesora Diana Campanello es impresionante por todo lo que muestra en el apartado financiero de un proyecto, es muy difícil encontrar este tipo de información y se agradece.
bueno
Estaba buscando como mejorar mis ángulos y escenas y me ayudo muchisimo
Me ha servido con gran eficacia sobre todo en las ténicas de rodaje y colorización.