


Knitting Tutorial: how to make a Japanese origami bag
Learn how to create step by step an amazing bag using only thread, cotton and needle, with Marta Porcel Vilchez, founder of Creativa Atelier
Knitting is one of the most versatile creative techniques there is. No matter what shape or size you are looking for, knitting garments and objects is a simple alternative for those who want to project a personal style using only yarn and needles.
If you also want to add a touch of creativity by mixing techniques, you can try knitting origami objects using basic shapes. Can you imagine being able to create a bag from a simple rectangle? It's possible! Marta Porcel Vilchez (@creativaatelier) shows you how to do it in the following video. Enjoy it!

Once you have woven the basic rectangle, use the folding diagram that Marta has prepared to shape the bag. Click on the link below to download the file in PDF format. You will find it located in the Downloads folder on your computer.
Download the file below.
Join for Free and download
Download - Marta Porcel.pdf
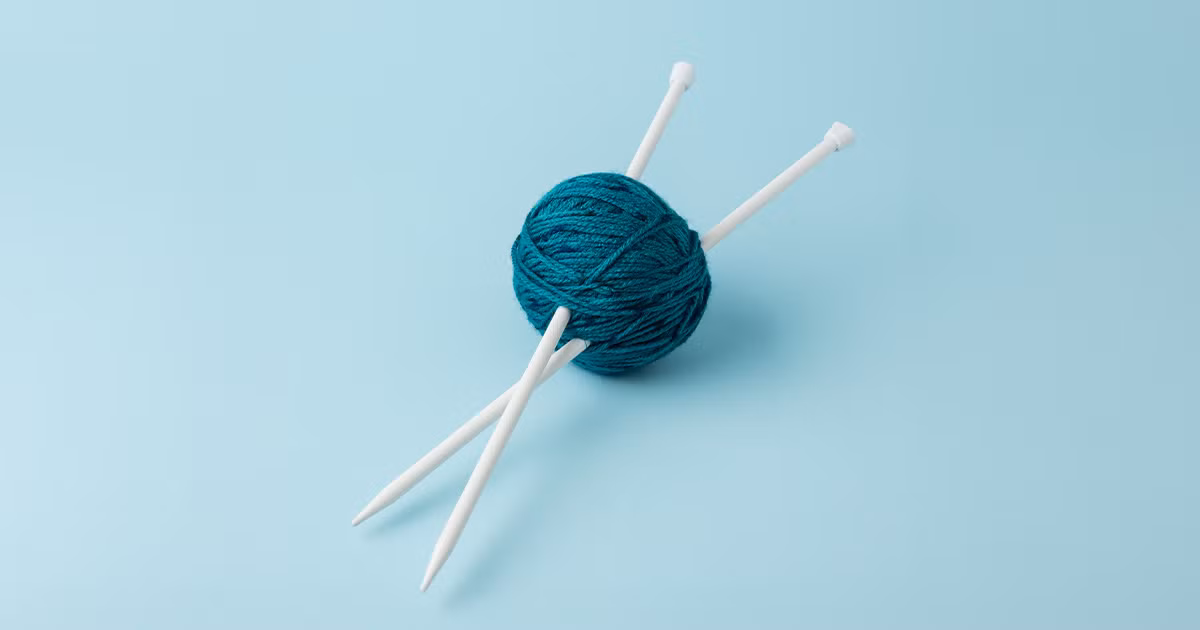
Materials:
- 9mm straight knitting needles.
- Measuring tape
- Scissors
- Wool needle
- Yarn and needle
- Extra thick cotton
[Assemble the stitches on the needle[/h]
The line should measure three times the width of the project (28 cm), so you will need about one meter of ribbon. The first thing you need to do is to create a slip knot, so make a loop, pass it down and pull the horizontal strand in the center. Then, pull the end that goes to the ball and insert it into the needle.
Once you have the slip knot, assemble the first stitches (there should be 24 in total).


[Knit a rectangle in stockinette stitch[/h]
Insert the second needle from left to right so that the needles are in the shape of a cross (the left needle should go on top and the right needle underneath) and start knitting the stitches. Once you have a sufficient number of loops, use the tape measure to measure the width and make sure it measures 28 cm. Then, continue knitting loops until you reach the full length of the rectangle, which will be 78 cm. When you finish, close the stitches as indicated by Marta in the tutorial.

3. Use the origami technique to shape the bag
Once you have the woven rectangle ready, it's time to fold. Take the bottom left corner and fold it up. Then, take the top right corner and fold it down. Finally, fold the whole thing diagonally to get the final shape of the bag. To finish, sew with the wool needle the seams on both sides as shown in the video.


If you liked this tutorial and want to know techniques and stitches to knit garments adaptable to any age, don't miss Marta's course, Knitting for children's garments.
You may also be interested in:
-What is crochet or knitting with crochet?.
- Knitting Tutorial: basic circular needle technique for beginners.
- Professional free embroidery tips for beginners
- Basic knitting and crochet techniques, a Binge Knitting course.


0 comments