Procreate tutorial: how to digitize your comic book sketches
Learn step by step how to redraw, refine and polish the vignettes that will shape your comic, with Charles Glaubitz
Nowadays, virtually all comic book artists have to know how to work both analogically, with pencil and paper, and digitally, taking advantage of the drawing tools offered by programs such as Manga Studio or, more recently, the iPad software Procreate.
Procreate allows us to import our sketches and work on them with a wide range of brushes that we can customize to our liking. Mastering it is an essential skill for any good self-respecting comic artist, and the good thing is that its simple interface makes things a lot easier.
In the following video tutorial, comic creator and multidisciplinary artist Charles Glaubitz (@mrglaubitz) shows us step by step the process to import a sketch on paper to Procreate and start working with it, to get a fully digitized comic. Discover it below:
1. Import your sketch into Procreate
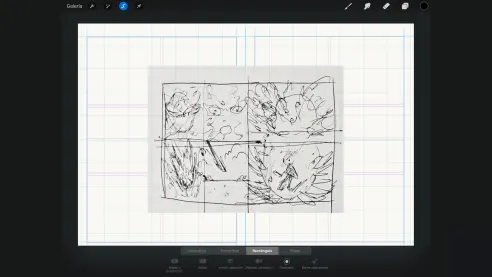
To begin with, you'll need to have a double-page comic book template ready in your Procreate interface. You can download it for free on the internet; you'll find the one used by Charles Glaubitz in his tutorial in the Additional Resources of his online course.
Once it is in place, just import your sketch into the software so you can start working with it, placing it on top of the template.
2. Create different layers to work more comfortably
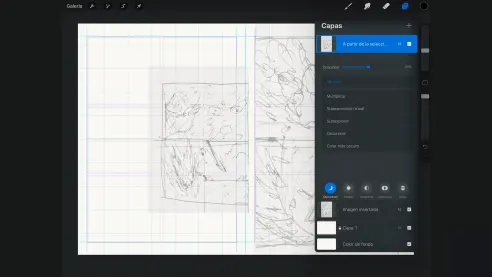
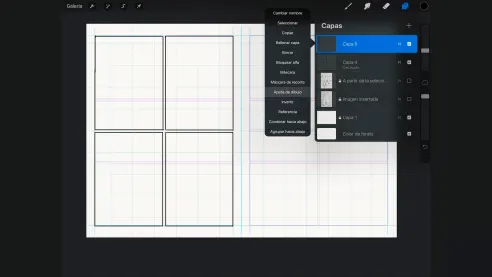
To make your work easier, the best thing to do next is to separate your two comic pages into two layers for easy manipulation. To do this, select the left page and click on Duplicate Contents in the Layers menu. Now delete the original layer. You will now have the two separate pages, each on a separate layer.
Adjust the layers to the size of the template and lower their opacity so that you can work on the sketch and also see your digital strokes. Lock the layers when they are set to your liking.
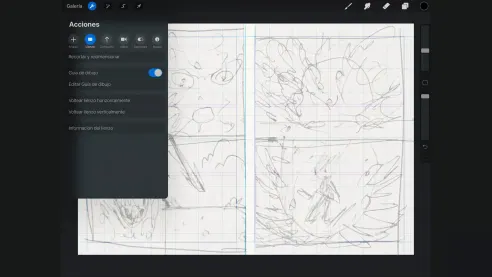
Now, create a new layer and, in the Actions menu, activate the Drawing Guide so that a grid appears to help you create your vignettes. By clicking on the new layer in the Layers menu, you can activate the drawing aid, which will allow you to draw completely straight lines taking advantage of the grid guides.
3. Sketch using Procreate brushes
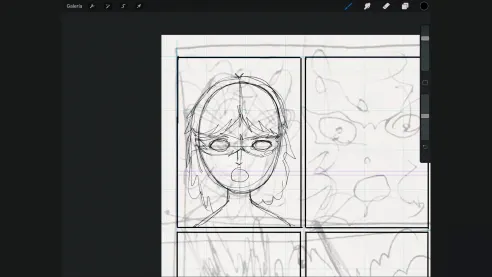
First of all draw the frames of the vignettes, taking advantage of the grid guides and using the Stylographer tool. Draw the ones on the left page on one layer and the ones on the right on another (remember that you can easily create new layers by choosing parts of the image and going to the Layers menu).
Once you have the frames drawn, it's time to get to work on the sketch itself, using Procreate's Pencil tool. Creating a new layer, start working on the sketch on the left page, planning where the shapes of the characters and other objects in the vignettes will go. You can adjust your digital sketches in terms of position or size; working on each of the vignettes on a different layer will help you to keep everything under control.
4. Rearrange and modify the original sketch
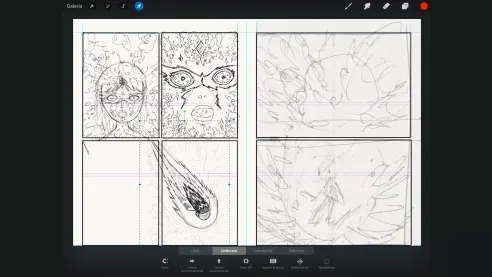
Remember that you can rearrange the original vignettes of your paper sketch, combining them or creating new ones to get other narrative effects that suit you better. You can select specific parts of the paper sketch and create new layers with them, to move them, resize them... and, as we have already said, you can do this also with all the digital sketches you create in Procreate.
Did you like this tutorial? Learn with Charles Glaubitz how to use drawing as a tool for writing with images in the construction of a comic book in his online course 'Narrative for a graphic novel'.
You may be interested in
- Manga character creation, a course by Andrea Jen
- Creating comics with Manga Studio (Clip Studio Paint), a course by Ana Galvañ
- Vector Cartoon Illustration, a course by Jorge Arévalo




0 comments