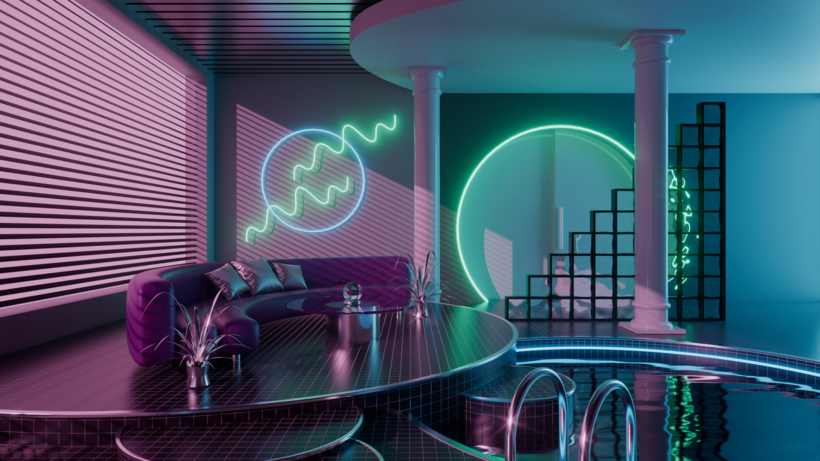
3D Interior Visualizations: Design Retro Spaces in Cinema 4D
Course final project
A course by Andrew Morgan , 3D Artist


About the final project for: 3D Interior Visualizations: Design Retro Spaces in Cinema 4D
3D Interior Visualizations: Design Retro Spaces in Cinema 4D
“Congratulations. You have reached the end of this Domestika course. Thank you for taking part and I hope you've enjoyed learning how to create your own digital space. Before saying goodbye, let's revise the necessary steps to complete your project.
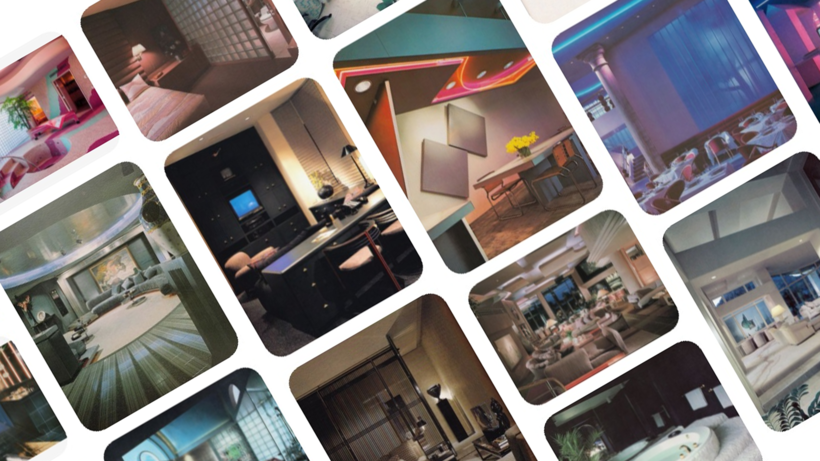
- First, get inspired. Explore books, social media, and Pinterest to build up your library of material. Choose a few key pieces that have the elements you would like to use in your environment. This may be the lighting, props, the shape of the room, or a combination of these things.
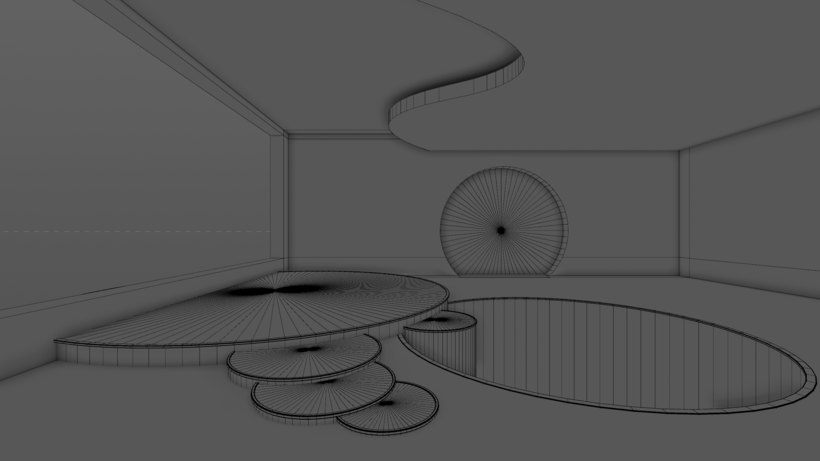
- Now, open Cinema 4D and start to block out your composition using basic shapes. Use the extrude, plane cut, and other basic modeling techniques covered in this course to sculpt your room.
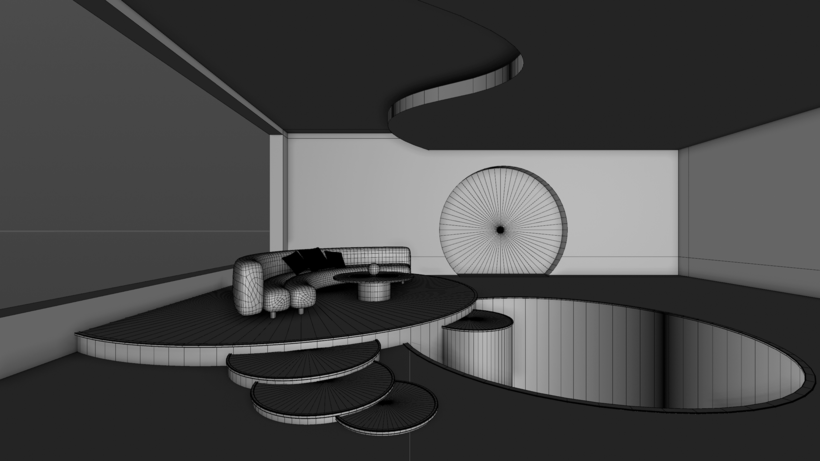
- Once you're happy with your composition, start to think about the props and other room details. If you like, have a go at modeling some props from scratch. However, if you feel this is too complicated or time-consuming, it's okay to use stock 3D models. Though I always recommend working from scratch where ever possible!
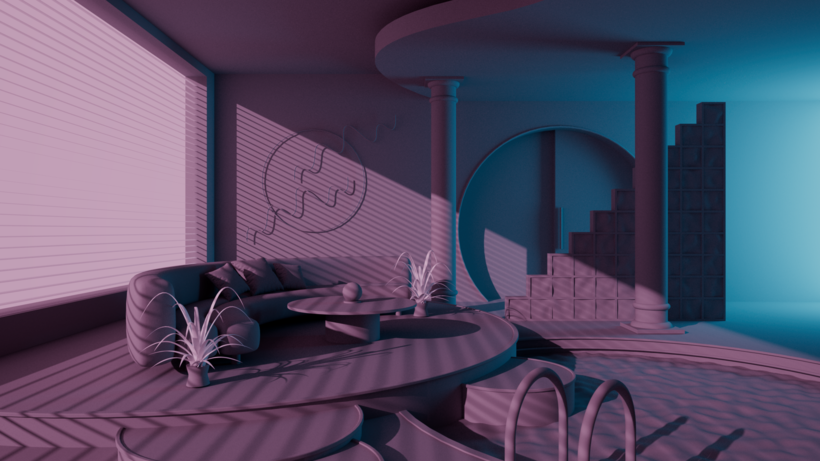
- With the construction of the room complete, open Redshift and start to light your scene. Play with the position of lights, the intensity, and colour, until you find a setup that works for your environment. Create some materials and start applying these to your scene. Pay particular attention to the shade of your materials and their reflectivity. Find the right balance to ensure a nice combination. You can also add a bump map to create the effect of a tiled or riveted surface.

- Have a final look over your environment and ask yourself if it can be improved in any way. Does it effectively tell the story of your image? Consider tweaking the camera angle, moving a prop slightly, or adjusting the lighting. Once you're happy, render the scene in Redshift and save the results. If needed, do colour and levels correction. Make sure the brightness, contrast, and colours are optimum for the image. Also, are there any additional visual effects you can add using overlays? Export the final image from photoshop as a PNG file and upload it to social media. Brainstorm some interesting titles and captions for your image and choose some appropriate hashtags.
Partial transcription of the video
“Final Project We've arrived at the end of my Domestika course on retro neon environments. I hope you've enjoyed learning as much as I've enjoyed teaching. Being able to bring to life vibrant and compelling 3D environments is a way to explore your imagination, and create architectural visualizations with a surreal twist. The beauty of working with Cinema 4D is its intuitive controls, which create a real flow when creating. To recap, here are the key steps to create your unique project. Remember, a useful place to start is by gathering your own unique reference material. This will help keep y...”
This transcript is automatically generated, so it may contain mistakes.
Course summary for: 3D Interior Visualizations: Design Retro Spaces in Cinema 4D
-
Category
3D & Animation -
Areas
3D, 3D Modeling, Digital Architecture

Andrew Morgan
A course by Andrew Morgan
Andrew Morgan is a 3D artist based in Bristol, England. He first became interested in 3D design as a teenager, when he would create new levels for his favorite video games. He went on to study media arts at the University of Plymouth, before working as a web designer for over 10 years. In search of a career that gave him more creative freedom, Andrew then started learning how to design in 3D in his spare time, and began posting his work on social media.
Now he shares his designs with over 30K followers on Instagram alongside running his brand Dreamfibre, which he started in 2017. He experiments with different kinds of media, from virtual reality to poster art, and has worked on projects including a series of 3D rendered scenes for the video game HoloVista.
- 100% positive reviews (34)
- 722 students
- 20 lessons (3h 23m)
- 14 additional resources (3 files)
- Online and at your own pace
- Available on the app
- Audio: English
- Spanish · English · Portuguese · German · French · Italian · Polish · Dutch · Turkish · Romanian · Indonesian
- Level: Beginner
- Unlimited access forever
Category
Areas

