Dyed Ceramics: Coloring Ceramic Paste
Course final project
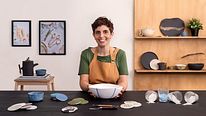
A course by Paula Casella Biase , Ceramic Artist


About the final project for: Dyed Ceramics: Coloring Ceramic Paste
Stained ceramic: staining of ceramic pastes
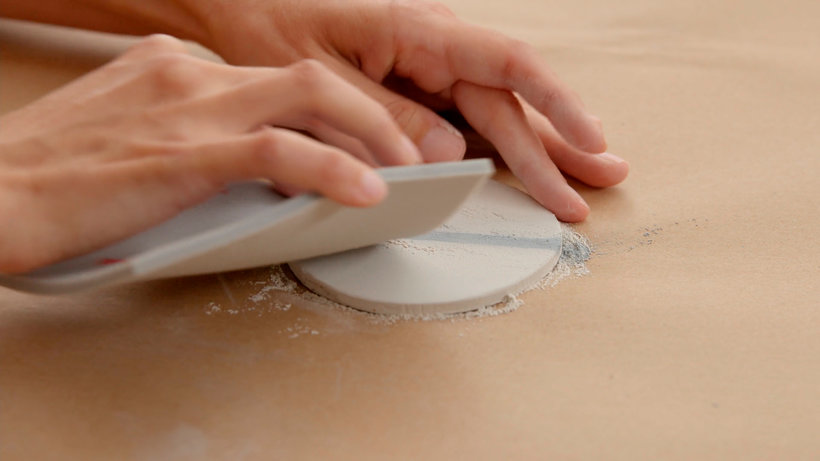
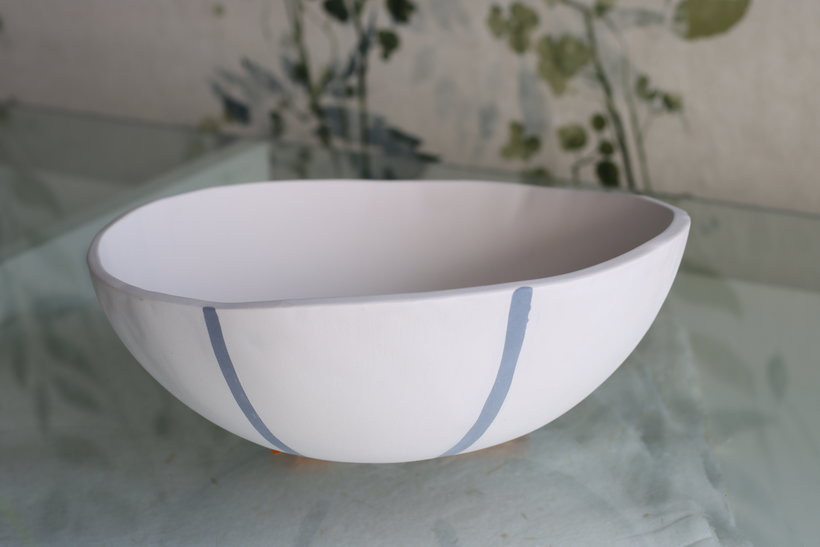
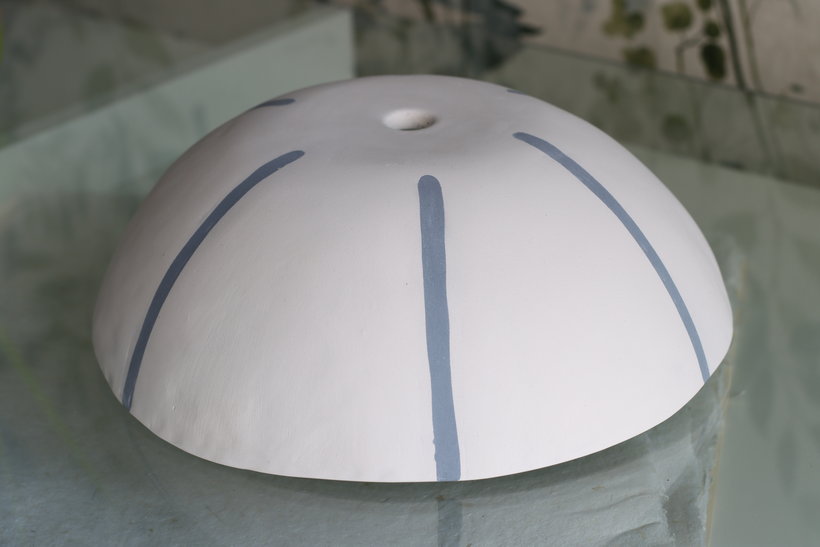
“We have reached the end of the course, and I want to thank you for being here to enjoy the clay and learn a little more about the wonderful world of ceramics. Remember that if you do not have previous knowledge, you do not need to show a modeled piece in your final project. As I was telling you throughout the course, it was designed for you to experiment and test how far your imagination can go by combining materials and techniques. I have made a final piece because I wanted to give more content to the course and because I wanted you to see that with a simple decoration a piece can be delicate and attractive, but you can show us those same results in your tile sample. Whatever you prefer! As an example, we are going to review the key phases of creating my final project. If you make a piece, it would be great if you could show me a picture of each phase and add a short explanation about what you have done in each one: My piece My piece is a large bowl. I have started from a piece already modeled, to simply show you how to execute the carvado technique. In this case I have used a white base to add the clay of another color, although, as you have seen in the lesson "My final piece", I could also have done it with a black base, it is a matter of taste. Carvado First, I have made a cross in the center of the piece with the cutter to have a reference when pulling the stripes. Then, I began to work the stripes with the carving technique, eliminating part of the surface of the original piece by making a groove. Next, I have moistened the grooves with a brush and filled them in with another mud. Afterwards, I have let the piece dry. As in the lesson, here I show you the process in the piece with a black base, but in my white piece I followed exactly the same steps.


Partial transcription of the video
“In this video. we are going to review the final project. For my final project. i crafted a large pot by employing the carving technique and blending clays of colors. I highly encourage you to practice all the techniques we've explored throughout the course to You can choose to do just one. or mix several to craft a personal and unique piece. For instance. if you like tableware. you might create utilitarian items. If sculpting is your passion. you can focus on making sculptures. The goal is to express your creativity. pieces that are purely decorative or pieces like mine. which is a pot that...”
This transcript is automatically generated, so it may contain mistakes.
Course summary for: Dyed Ceramics: Coloring Ceramic Paste
-
Category
Craft -
Areas
Accessory Design, Arts & Crafts, Ceramics, Decoration, DIY, Fine Arts

Paula Casella Biase
A course by Paula Casella Biase
Paula Casella was born in Argentina and is currently based in Spain. A fine arts graduate with a master's degree in education, she has more than 15 years' experience working as a teacher, muralist, and ceramics designer.
She is a lover of nature and cooking, and combines these two passions in her Bambucito ceramics workshop, where you can enjoy a delicious meal on her handmade crockery.
- 98% positive reviews (186)
- 10,114 students
- 19 lessons (3h 53m)
- 19 additional resources (1 files)
- Online and at your own pace
- Available on the app
- Audio: Spanish, English, French, Italian, Portuguese, Turkish
- Spanish · English · Portuguese · German · French · Italian · Polish · Dutch · Turkish · Romanian · Indonesian
- Level: Beginner
- Unlimited access forever
Category
Areas