


Watercolor Tutorial: How to Experiment with Photos
Learn how to combine techniques and color photos using watercolor, with Carine Wallauer
Photography is a powerful language that tells stories by capturing moments and people. It conveys emotion and provokes the most diverse range of sensations. Now imagine adding an extra layer of meaning by using paint to construct surreal images with unique colors and effects...
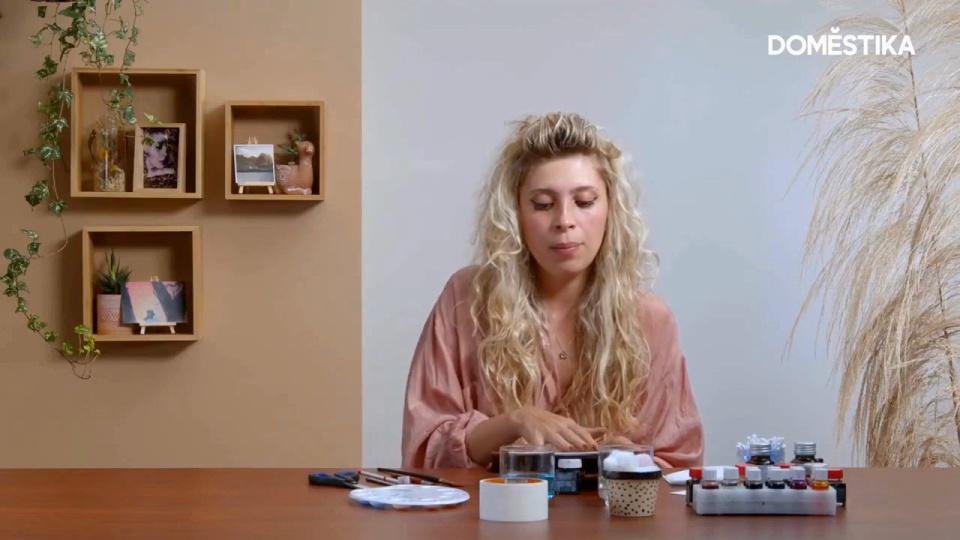
Documentalist, photography director, photographer, and visual artist Carine Wallauer (@wallauercarine) is a fan of this technique. She uses it to experiment with new emotions and play with different tones and textures in her art.
In this tutorial, Carine teaches you two photo coloring techniques to experiment with in your own work. Don’t miss her expert tips!
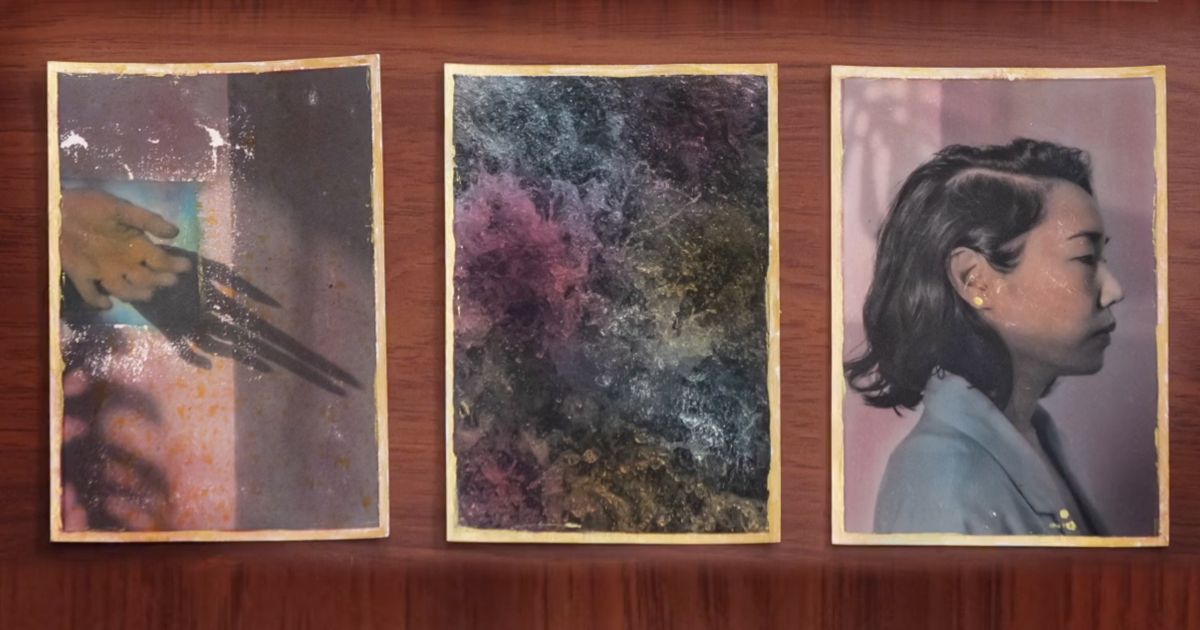
Technique 1. Color by areas
Define the areas you wish to color
Think about the areas you want to work on before starting to paint. Use masking tape to mark out the area and avoid paint spreading into other zones. The resulting framing effect will also give your work a different touch.

Then start coloring inside the frame using your desired colors. Apply several layers to achieve more intense colors.

Adjust the paint with your preferred color
Once you’ve finished painting, you can adjust the color by adding in other tones. Carine uses brown because she likes the effect it creates in her photo, but your choice of color will depend on your creative process and the result you’re looking for.

If you have stuck the tape firmly onto the image, you may see some interference when you take it off. You can use this interesting effect as a deliberate way to create the feel of an old image. Or to highlight the colored area by creating more contrast.

Use cotton to apply background watercolors
Here Carine uses pink to shade in the background and generate contrast. Use a piece of cotton to apply several layers of watercolor until you achieve the desired intensity. This will achieve a gentle tone.

Cut out a piece of paper and place it over the area you have already worked on to proceed to the next technique. This will prevent any other paint from staining your work.

Technique 2. Splattering
Use a toothbrush dipped in your preferred color to create a splash effect. The intensity with which you splatter will alter the size of the drops, so experiment to discover your preferred degree of impact.

Finish by gilding the edges with a golden paint.

Love this tutorial? If you want to learn how to hand-color black and white photos using classic photo painting techniques, don’t miss Carine’s online course: Coloring Photos with Watercolor.
English version by @studiogaunt
You may like:
- 5 Watercolor Timelapses that will Inspire You to Paint
- What is Watercolor Painting and What Materials do you Need to Start?
- Watercolor Tutorial: How to Create a Color Palette
- Botanical Watercolor: Illustrate the Anatomy of Flowers, a course by Luli Reis
- Children’s Illustration with Watercolor, a course by Juliana Rabelo


0 comments