


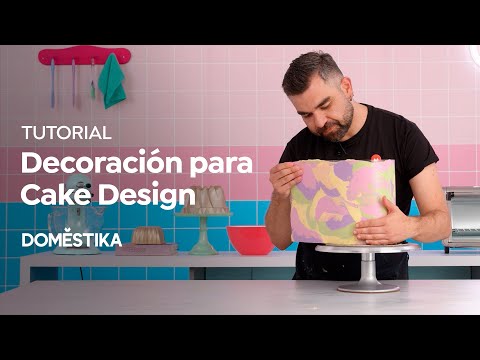
Cake Design Tutorial: How to Make Marbled Icing

Learn this simple, marble-effect, butter cream icing technique from scratch, with Julián Ángel, aka Historias del Ciervo
Marbled designs are all over social media at the moment. Simply scroll Instagram and you’ll discover a world of delicious cakes decorated with marble-effect icing. And although this technique looks very difficult, it’s actually much easier than it seems.
Julián Angel, aka @historiasdelciervo, is an international cake design instructor who teaches in over 20 countries. He’s been passionate about cake design and creative pastries since 2015. And in this tutorial, he teaches you how to create a marble effect from scratch.
Check out his delicious video!
How to Make Marble Effect Cake Icing in 5 Easy Steps
Ingredients
- Butter cream icing
- Gel coloring
- The cake of your choice
Materials
- A piece of acetate (approx 50 cm wide x 24 cm tall)
- Alcohol to disinfect the work surfaces
- A spatula
- A long palette knife
- Your refrigerator
1. Prepare the butter cream icing
First you need to get your butter cream icing ready. Take a little butter cream icing and melt it in the microwave for 25 seconds. Then mix the melted mixture with the remaining cold icing using an electric whisk, to obtain a smooth, silky mixture.
Divide your smooth mixture into four bowls to create the different colors you’re going to use to create your marbling. Mix a few drops of gel coloring into each bowl.

2. Get your acetate
Acetate is the other key element you need to create marble effect icing. Your piece needs to measure about 50 centimeters wide by about 24 cm long. You can always glue 3 sheets of A4 or letter size acetate together if you can’t find a piece cut to exactly the right size.
It’s very important to disinfect your acetate before use. So spray the surface with alcohol and wipe clean before it touches your icing.
3. Blend the butter cream icing on the acetate
Remember to give each bowl a brisk stir with a spoon to keep it smooth before placing the butter cream onto the acetate.
After beating, take a little bit of each color and spread it onto your acetate. Create your pattern by adding in each color. You can also mix things up for a more original result.

4. Check everything’s the same size
It’s really important to make each layer of color the same thickness so no air-bubbles get trapped inside the icing. The best thickness is about two millimeters and the icing needs to cover the entire surface of your acetate sheet. Use a long palette knife or a spreader to keep the layer of butter cream icing completely smooth.

5. Position your acetate
Take your cake out of the fridge and check that it’s completely cold. You need to work very carefully as one false move now could ruin all your hard work. Lift your acetate by the edges and stick it onto the cake starting at one end.
Make sure no bubbles are trapped between the cake and the acetate by pressing it to release any air and to make sure there are no gaps. Once everything is in place, rub the acetate with a cloth or paper towel, making sure you go right around the whole cake. Then finally, place your iced cake into the refrigerator and leave it to chill for 3 hours.

Love this tutorial? If you want to learn how to create textures, combine colors and generate effects to create unique cake designs, don’t miss Historias del Ciervo’s online course: Cake Design: Modern Decorating Techniques.
You may also like:
- Discover the Incredible Art of Cake Design with Julián Ángel
- Vega Hernando Talks Her first Book Eat
- 5 Instagram Accounts Sharing Food Styling Inspiration
- Food Photography in Full Color, a course by Alejandro Osses Saenz
- Introduction to the Business of Food Styling, a course by Espacio Crudo
- Online Food Design courses


1 comment
Y como se retira el acetato ???