


Photoshop Tutorial: How to Sharpen Your Images
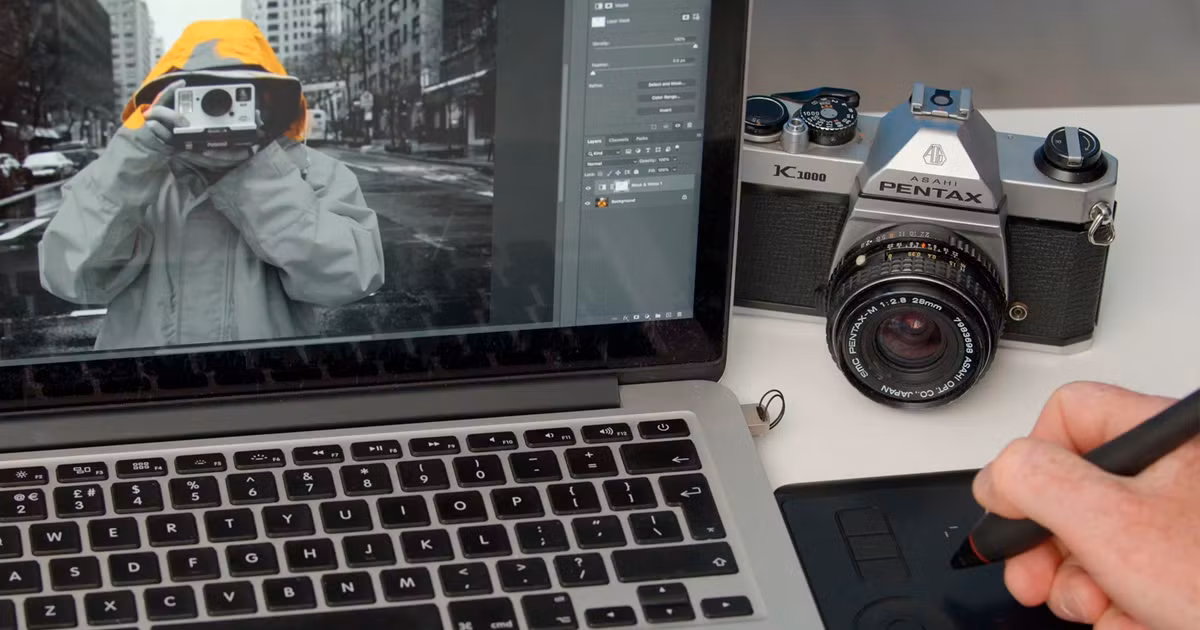
Learn how to use the high pass filter to sharpen photos easily on Adobe Photoshop, with Mikael Eliasson
There are numerous reasons why you should sharpen your images before publication: it can compensate for blurring caused by equipment, make your pictures more vivid, and make them easier to read. Remember, however, that it isn’t supposed to bring an out-of-focus shot into focus.
Mikael Eliasson runs his own photography school in East London and has had his work exhibited across Europe. In this tutorial, he shares how to sharpen an image simply on Photoshop using the high pass filter.

1. Duplicate
Duplicate the first layer of the project in order to edit the image non-destructively. You can do this using the keyboard shortcut Cmd+J (Ctrl+J for Windows). Then, convert your new layer to a smart object to make it even easier to edit.

2. Apply the high pass filter
Once your layer has been converted to a smart object, go to Filter and select High Pass. Bring the high pass radius value to the minimum value possible. This will make the texture of your image disappear. Gradually lift the high pass value until the texture is just visible.

3. Desaturate
In order to make sure you do not affect your colors as you sharpen the image, you must desaturate it by going to Image, Adjustments, Hue/Saturation, and bringing the saturation value down to minus 100. Then, change the blend mode of the layer from Normal to Overlay.
If you liked this tutorial, you can learn more from Mikael Eliasson about how to retouch and edit images to a commercial standard through a non-destructive workflow on his online course Adobe Photoshop: Beginner's Guide for Photographers.
You may also like:
- Adobe Photoshop for Matte Painting, a course by David Vega Palacios
- Adobe Photoshop for Concept Art, a course by Nacho Yagüe
- Adobe Photoshop for Photo Editing and Retouching, a course by Daniel Arranz Molinero


0 comments