


What Is and How to Create a Cinemagraph
Photography magic! We explain how to create movement in a static image step-by-step
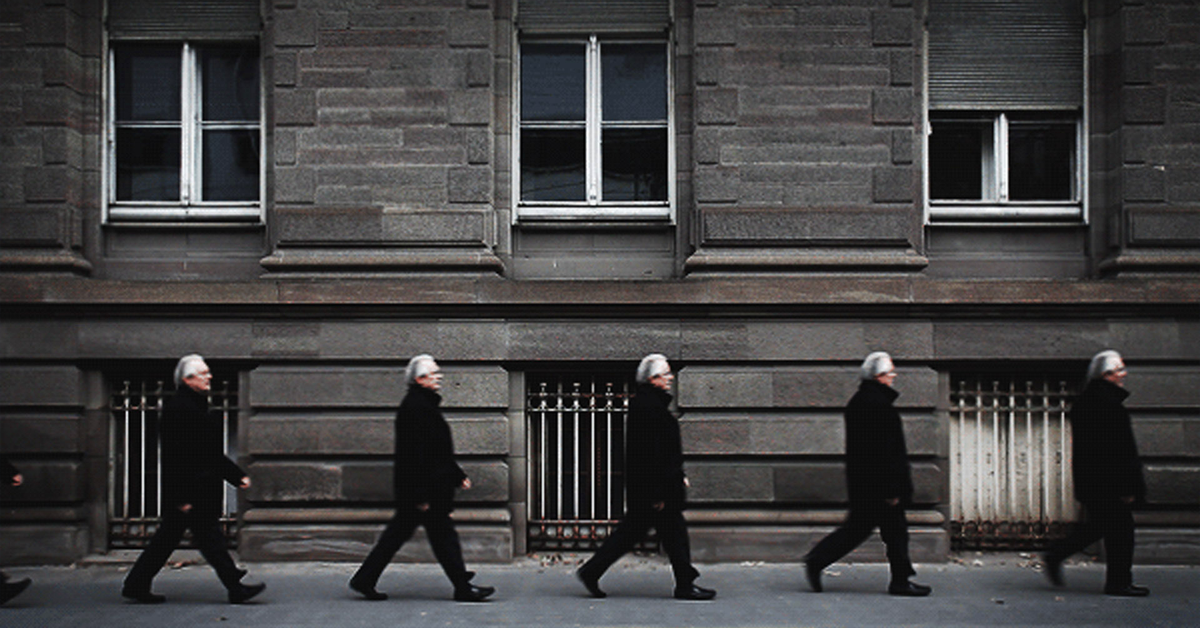
What is a cinemagraph? It's a fascinating combination of photos and videos. It usually consists of a small movement repeated in a loop within a picture, while the rest of the image remains entirely still. It results in a groundbreaking yet realistic effect.
Nowadays, standing out in the digital world is necessary, and multimedia content is more than ever a visual experience. A fantastic moving image can help you achieve that distinguishing visual end product. Cinemagraphs, with their instantaneous visual elements, attract the viewer's attention. They are small, sophisticated works of art, subtle yet sufficiently attractive, that can capture our attention among the multitude of images we consume daily.
Creating a cinemagraph is not difficult, and we’ll explain how, step by step.
This is a short tutorial, and if you want to explore this technique, Mexican photographer Fernando Montiel Klint (@fernandomontielklint) teaches it in the Domestika course Creation of Cinemagraphs:

How do you create a cinemagraph?
Cinemagraphs are incredibly versatile when it comes to focusing on subtle movement. The moving elements help attract attention to parts of the image that would otherwise be overlooked. They allow for a photo’s subtleties to be lifted up through the movement, dynamism, and life of video.
The process used to create cinemagraphs has evolved since they first appeared in 2011 and is no longer a task involving hours of painstaking video clips editing. All steps have been reduced and can be achieved with a smartphone, including techniques used in CGI to create animated movements.
The traditional method consists of filming a short video (lasting about 10 seconds), using a tripod to achieve a static image, which you will then import into Photoshop. Remember that repetitive and consistent movements are the best ones when creating a cinemagraph.

Creating a cinemagraph in Photoshop
1. Import your video. Before you start, your timeline must be visible. For this, go to Window and select Timeline. You will find a small film reel, add your video and Duplicate it to work on two layers in Photoshop. This new layer will be the fixed part of the cinemagraph: right-click on it and select Rasterize.

2. Define the video duration. You must reduce the length of the video, i.e., where the cinemagraph will start and end. It is advisable to select areas where the movement is more noticeable. If there is an element moving in the background, it can be difficult to isolate precise movements, so the result may not be ideal.
3. Isolate the movement. To determine the area in which you want the movement to happen, click Select and mask in the layer you have just created. In the Brush tool, click the third button down and, with a black paintbrush, paint the area in which you want the movement to appear. If you inadvertently paint a different area in black, you simply need to paint the same area in white to recover the image.

4. Put together the static image with the moving image. Go to the video layer, click on the Play button, and you have your completed cinemagraph. To save it, go to File, Export, Save for Web, as a gif document. Select the highest value of color (256), adjust the size to your needs, and set the Looping option to Forever!


If you’ve been captivated by the magic of photography in movement, sign up for Fernando Montiel Klint’s course Creation of Cinemagraphs, in which he’ll reveal all the secrets to master this technique.
You may be interested in:
- Art Direction and Creativity in Movement, a course by Flaminguettes.
- Content Creation and Editing for Instagram Stories, a course by Mina Barrio.
- Creative Photography for Social Media, a course by Anna Devís and Daniel Rueda.
- Audiovisual Storytelling for Social Media, a course by Josune Imízcoz.


0 comments