Adobe Premiere Pro Tutorial: Introduction to the Toolbar

Learn how to use the Adobe Premiere toolbar and its main keyboard shortcuts for faster editing from scratch, with Juanmi Cristóbal
In order to use Adobe Premiere Pro to edit our professional audiovisual projects, the first thing we have to do is become familiar with its interface and basic tools.
In this tutorial, the director of photography, editor, and colorist, Juanmi Cristóbal (@jmicristobal) gives us a quick and easy introduction to the Adobe Premiere toolbar. You can see it in the following video:
What are Adobe Premiere’s basical tools and how do they work?
We will start exploring the toolbar, which we find on the left side of our timeline, remembering that there are more tools than we can see at first glance. Some of the tools that appear on the toolbar have drop-down options that we can access by clicking on them. The existence of these options is indicated by the small triangular icon that we can see next to some of the tools.
1. Selection Tool (Keyboard shortcut: V)
This tool is the one we will use the most when using the program. It serves to select, move, lengthen, and shorten elements. If we are not doing any specific action, this is the best tool to have selected.

2. Razor tool (Keyboard shortcut: C)
The Razor Tool is the second most important tool in the video editing process. We can place the slider exactly where we want to cut and simply select this tool and click on the chosen point to cut it.
Remember that we can also cut by pressing CTRL + K and, if we want to cut several clips at once, we can press CTRL + SHIFT + K.

3. Track Select Forward (Keyboard shortcut: A) or Backward (Keyboard shortcut: Shift + A) Tool
These tools allow you to select the entire project from the left or right of the cursor, according to the tool you have chosen, and move it as a whole.

4. Rolling Edit Tool (Keyboard shortcut: N)
Rolling Edit allows you to edit the transition moment between two clips, i.e. move the moment when one ends and the other begins. For example, if we have two shots one after the other, and we decide that we want to see more of one and less of the other, with Edit Offset we can move the cut without modifying the duration of the total of the two shots.
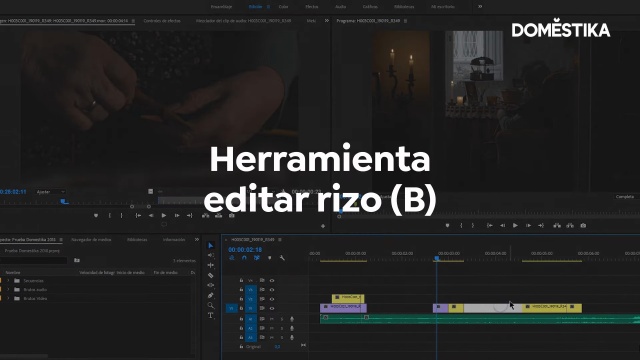
5. Ripple Edit Tool (B)
Unlike Edit Offset, Edit Ripple lengthens or shortens a clip without changing the duration of the surrounding clips.
6. Rate Stretch Tool (Keyboard shortcut: R)
This tool increases or decreases the speed of the clips and therefore the space they take up in the work area. If we want to see the exact speed of our clip after modifying it, we can check it by right-clicking on the element and selecting the Speed/Duration option.

7. Slip Tool (Keyboard shortcut: Y)
The Slip Tool allows you to change a clip's In and Out points simultaneously within your timeline while maintaining the clips duration.
8. Slide Tool (Keyboard shortcut: U)
This tool allows you to move a video clip by overwriting the previous job. Its use is very specific and it is only useful in particular contexts.
9. Pen Tool (Keyboard shortcut: P)
With the Pen, we can create nodes on the audio tracks that will allow us to increase or decrease the volume of the audio clips. On video clips, the nodes will allow us to affect the opacity of the image.

10. Magnifier Tool (Keyboard shortcut: Z)
The magnifying glass allows us to zoom in and out of the timeline. However, we can also do this by holding down ALT without having to change tools.
11. Text Tool (Keyboard shortcut: T)
We can use the Text Tool to create a text box for our video. We can then modify the duration and position of the graphic element on our timeline.

If you liked this tutorial, remember you can learn more from Juanmi about editing audiovisual projects on Adobe Premiere Pro with a workflow oriented towards the professional market on their online course Introduction to Adobe Premiere Pro.
You may also like:
- Audiovisual Editing and Narrative for Short Films, a course by Juanmi Cristóbal
- Introduction to DaVinci Resolve for Color Correction, a course by Juanmi Cristóbal
- Introduction to Final Cut Pro X, a course by Giacomo Prestinari


0 comments