


Tutorial Illustration: How to Use Shapes to Create Vector Drawings
Learn the basics of how to draw over your original sketch using the pen tool in Adobe Illustrator, with Nathan Jurevicius
Making the jump from a sketch to a digital illustration doesn’t have to be as daunting, or require as many tools, as you might think.
Using just a mouse and the pen tool in Adobe Illustrator, multidisciplinary artist Nathan Jurevicius (@nathanjurevicius) demonstrates how to create shapes which will serve as the building blocks for your vector drawings. In this video, learn how to add detail to your illustration using the pen tool, how to keep your workflow organized, and how to build on your original reference sketch.

How to Create Vector Drawings Using Shapes in Illustrator
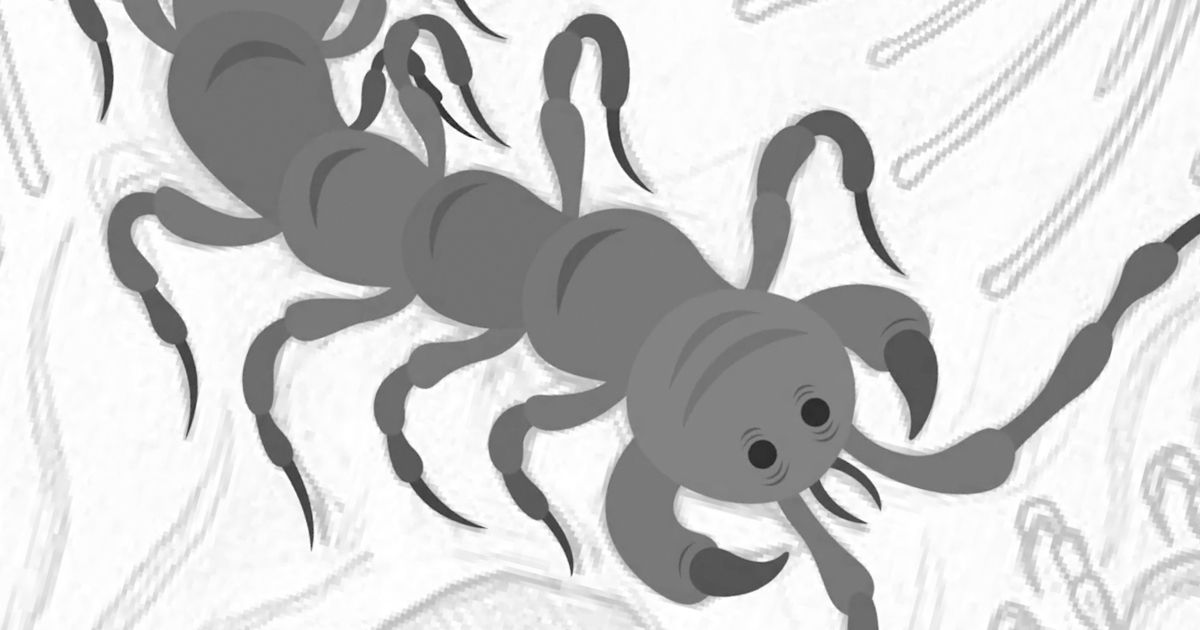
1. During this process, work exclusively in grayscale gradients. Color can be added at a later stage, but right now the focus is blocking shapes and figuring out contrast and shadows.

2. Jurevicius only uses very basic functions in Illustrator, like Pathfinder, Align, and Transform. When creating shapes for vector drawings, he almost exclusively uses the pen tool.
3. Before you begin working, create a new layer (which you will do for every different character or element) and name it. This will improve your workflow and make it easier to make adjustments or add color later in the process.

4. Begin using the pen tool to draw and fill small segments. You can use your initial sketch as a guide, but you don’t have to totally follow it, so feel free to deviate from it.

5. Zooming in, you can also use the pen tool to add detail by creating smaller shapes in different tones.

6. As you work, make each shape an individual segment, rather than merging them. This will allow you to more easily adjust not just their shape, but also their color, at any point in your process.

7. If a certain shape is repeated in your illustration, you can copy and paste it to save time.
8. Depending on personal preference, you can choose to either outline all, some, or none of your shapes.
9. Once you finish creating the shapes that make up a single character or element of your illustration, lock the layer.

10. Create a new layer for each new character or element, and lock each one as they are completed. This will allow you to easily find and adjust shapes later in the process, while also preserving your work and avoiding mistakes in areas where different elements overlap.
If you enjoyed this tutorial and would like to learn more about how to create your own unique characters, check out Nathan Jurevicius’ online course, Illustrated Character Design and World Creation.
You May Also Be Interested In:
- Creative Portrait Illustration with Procreate, a course by Samuel Rodriguez
- Composition and Color for Creative Illustration, a course by Marcos Chin
-
Digital Painting for Characters: Color and Light, a course by Joel Santana


0 comments