


Photoshop Tutorial: Digital Brushes for Flat Illustration
Illustrator and designer Willian Santiago teaches us how to use Photoshop brushes to simulate manual painting techniques, such as chalk, watercolor, pencil, and many others
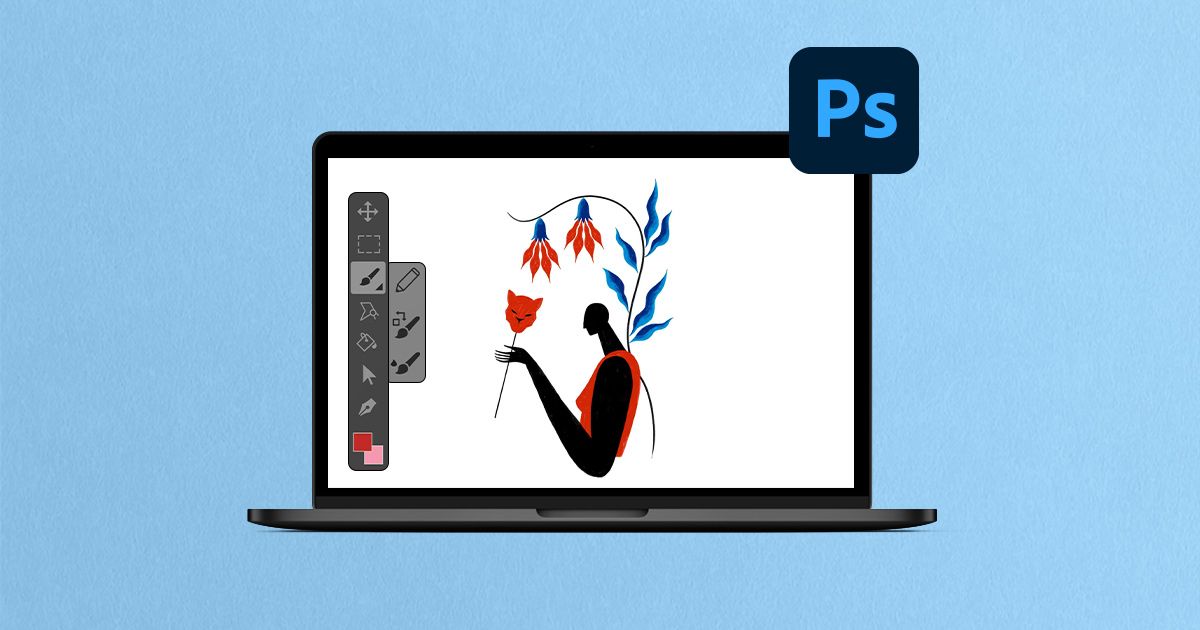
Tools like Photoshop allow a wide variety of digital illustration processes, helping to simulate effects and textures that mimic traditional techniques. To do this, we use brushes that offer different ways to customize our strokes and painting effects in our designs.
Illustrator and designer Willian Santiago (@williansantiagodg) teaches us how to use his favorite brushes, which simulate techniques such as chalk, watercolor, pencil, and a variety of other textures. Discover his tips in the video below:
1. Dry Media Brushes
These brushes are used to create effects that imitate techniques that are considered "dry". In addition, we can use pressure on a digital tablet to create different results: the greater the pressure, the more intense the mark you will make and the effect of the brush will be.

You can also switch up your brushes and techniques to achieve different results. Among these brush effects are those of ordinary colored pencils, pastels, chalk, and normal pencils.
2. Watercolor Brushes
As their name suggests, these brushes simulate the effect of watercolor. By pressing the tablet, you can create an effect of overlapping layers of paint or the texture of watercolor paint on paper, as well as other unique watercolor features.

The possibilities for creation are endless, so you should experiment as much as possible to find the effect you like best.
An important tip: save your favorite brushes for easy reference and use while working.
3. KyleBrush
KyleBrush is a brand of brushes made for Photoshop, created by the famous illustrator Kyle T. Webster. Currently, all KyleBrush brushes are available to Adobe Creative Cloud subscribers only.

The brushes in this range offer endless possibilities for textures and effects, and the Megapack is the best starting point for those who want to start experimenting. Book a day or an afternoon to study each brush, its applications and possibilities. Only then will you really be able to determine which suits your work and your illustration technique best–after all, there are many options that may seem confusing at first but are worth trying out.

Ideally, for each composition, you should use 3-4 brushes at most, keeping the amount of textures in your illustration to a minimum so that the result is balanced.
You can also mix different types of brushes, such as watercolor and gouache, or chalk and oil paint. It is also important to take your time making these mixes, as you are sure to discover amazing combinations. The secret is not to limit yourself!
Have you enjoyed these tips? Discover all Domestika's Photoshop courses.
You may also like:
- Adobe Photoshop for Illustration, a course by Gemma Román, illustrator
- Pictorial Portraits Using Digital Techniques, a course by Alex de Marcos García, illustrator
- Adobe Photoshop for Digital Painting, a course by Kamui MG, graphic designer


0 comments