


Photography Tutorial: How to Create Droplets With Glycerin
Learn how to create droplets with glycerin and place them in your sets when shooting macro photography with Sergi Gomez
When we use macro photography to take pictures, it is useful to have an element in the foreground that allows us to create a blur effect. If we are working in the studio, sometimes it is necessary to artificially manufacture that first element to achieve more complex compositions and explore different visual options with our camera.
Sergi Gómez García (@sergi2g), photographer and retoucher, teaches us in this tutorial how to create round drops with glycerin to place them in our studio photo sessions to achieve different and interesting effects in our compositions All you will need is water, glycerin and a syringe with a very fine needle. You can watch the video here:

5 keys to using glycerin drops in your macro photography
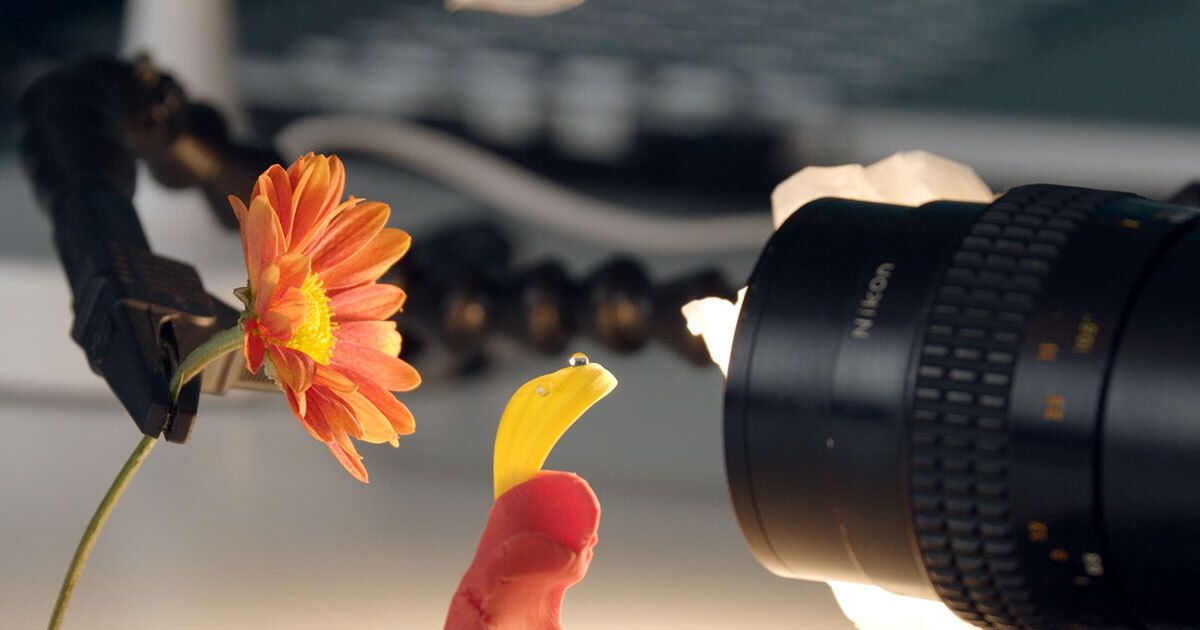
2. Mix the water with the glycerin
The drops of water that we place in our compositions (for example, on the petals of a flower that we are photographing) should be spheres that are as perfect as possible so that the reflection of the background that we have composed can be distinguished as clearly as possible.
To do that, we will mix water and glycerin in equal parts. The glycerin will work as a thickener and will help to maintain the spherical shape of the drops.

2. Place the drops with a syringe
Although you can create a spray effect by using them in a spray, the most effective way to create a perfect composition is to place a few drops in the exact position that we are interested in.
To do this, use a syringe with the finest needle you can find: the finer it is, the smaller the drops can be made. Moreover, if the size is not convincing, we will always have the option of using it to inject more liquid and thus make the drop larger.
When using the syringe, take into account that the needle is cut diagonally, so when we add our mixture to our set, we will try to position ourselves in a comfortable way so that the drop falls vertically from the syringe.

3. Don't forget to compose the set to your liking
Thanks to the syringe, we will be able to control the size of the drops, so we will start by placing a few larger drops to make them the focal point of our composition. Once we have placed them, we can place smaller drops of different sizes around them to give a more natural result.

4. Take advantage of the reflections in the drops
Once the drops have been placed, they invert everything we see through them. The closer to the bottom of our composition we place the drops, the more accurate the image we can see in them, so we can play with their positions to get different results.

5. Adjust the shot to get the best result .
Once we have placed all the drops we want in our photo, it will be time to observe the shot we prepared. We can reposition the camera and lighting until we achieve the desired result.

Now you know how to create droplets with glycerin for studio photography, you can with different sizes, effects, and lighting to find your own style.
If you liked this tutorial, you can learn more about focus stacking and find a world behind the little things in Sergi Gómez's course Introduction to Macro Photography.
You may also like:
- Creative Studio Photography with Scale Models, a course by Felix Hernandez Dreamphography
- High Speed Product Photography, a course by Paloma Rincón
- Photography of Shiny Objects and Lighting Tips, a course by Martí Sans


0 comments