What Is Cloning in Photoshop?

The Photoshop clone stamp allows naturally retouching an image as if you were working with a brush
When we talk about cloning in Photoshop, we are talking about an image retouching tool that allows you to copy an area of the image exactly, and paint it in a new place with the brush. This tool is often used to remove unwanted objects within an image, soften shadows or textures, edit photographs, or create a natural transition between tones and textures.
The clone stamp: a powerful retouching tool
The clone stamp is one of the favorite tools of those who work in photo editing using Photoshop since it allows them to retouch and edit the image from samples taken of the original photograph, thus achieving a perfect result.
Since it works as a digital brush—its size, hardness, and shape can be modified—it is very easy to adapt it to each project. This allows editing the smallest details without the viewer noticing that the image has been manipulated.

How to use the clone stamp in Photoshop
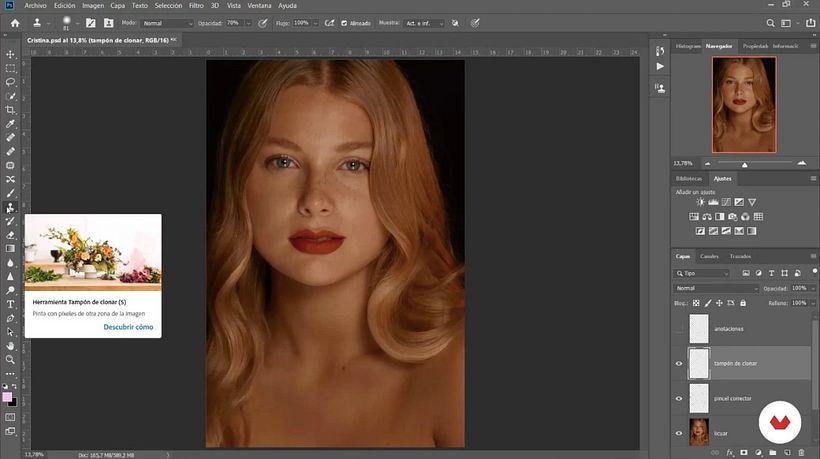
You'll find the clone stamp tool in the Photoshop sidebar or activate it by pressing the 'S' key. You can select the different modifiers and experiment with them in the upper panel until you find the one that best suits your project's needs.
The first thing you should know when working with the clone stamp is how it works. It is a tool that copies a selected sample area, so the first step is to tell Photoshop which area you want to clone.
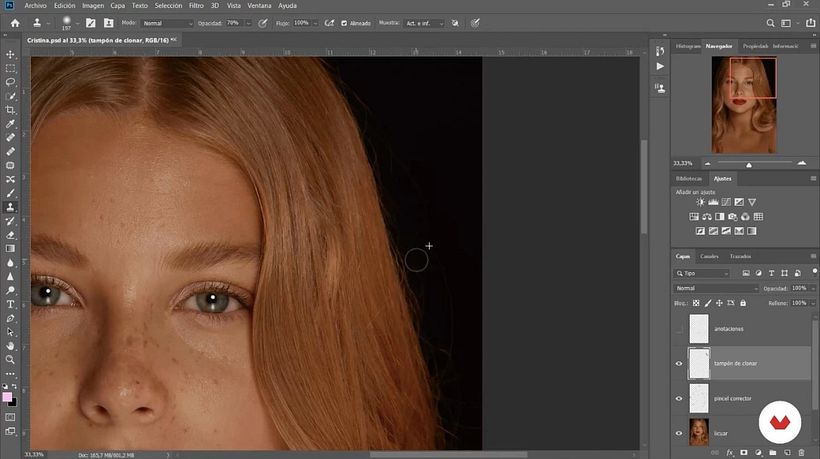
To collect the sample, you must press the 'alt' key while clicking on the area of the image that you want to use as a source. From that point on, the sampling area is constantly indicated by a cross that moves on the image as you paint with the clone stamp.
The most efficient and non-destructive way to use the clone stamp is to apply it to a new layer that is different from the original. This way, you will be able to erase any mistakes you make.
You should also know that there is an option to modify the intensity of the clone stamp so that the effect is more or less visible, not completely painting over an element from the image, but simply tinting or softening it.

Getting the best results with the clone stamp
When working with the clone stamp in Photoshop, it is important to constantly select the sampling area to avoid mixing areas with different luminosity or the same color, that would generate an unnatural result.
Working with smooth backgrounds is easier. However, that does not mean that a gradient background makes it impossible to use the clone stamp. You need to pay close attention to placing the stamp at the same level where the sample is being collected tomaintain the same color and luminosity.
Knowing the blending modes of the clone stamp can also help you get better results. In addition to working with the clone stamp in "normal" mode, you can also combine it with Photoshop's powerful layer blending modes. For example, if the "darken" mode is selected, the clone stamp will only work on areas that are lighter than the original sample; the "lighten" mode, meanwhile, will produce the opposite effect, cloning only the areas that are darker than the selected sample.


2 comments
Thanks!
Helpful article for photo editing in photoshop.
@colorexpertsindia :) Thank you fir your comment.