


@harry_davies
Tips for Highlighting Brightness and Reflections in Product Photos
Karina Meza shares how to take advantage of light and shade in your photos using Photoshop
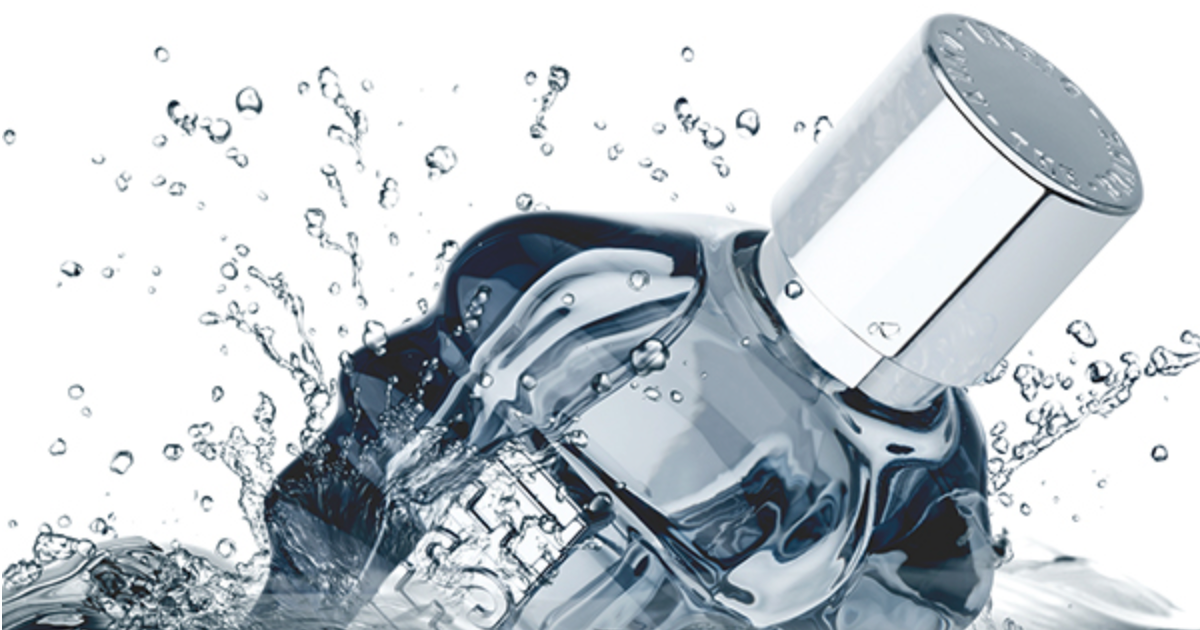
Karina Meza (@karinameza) is a photographer with 15 years experience in digital retouching, specializing in advertising still lifes. She knows that special attention should be giving to retouch brightness and reflections for product photos, as much as to contrast. These details greatly influence the product’s final look.
Below, she gives three basic tips you should consider when editing these elements on Photoshop.

Curves and layers: your allies
More specific and complex retouches should always be made using vector tools and the adjustment masks determined by the brush stroke. This will allow you to edit the shapes independently.
Each layer will only contain the level settings, and you can make modifications to brightness and lighting on them. You can always view and modify the shape of the mask by using the alt key and clicking on the layer you are editing.
The layer selections with vectors can be adjusted during the retouch:

By pressing alt and clicking on the editing layer, you will be able to see the area you are editing on.

Brightness and reflection give texture and volume
One of the main objectives of retouching is to amplify textures, the smooth reflections and clean feeling of the product packaging. Playing with light and shade can always add volume and will enhance the finishes of your photos.


Contrast before color
Use the blacks of a photo to achieve more depth and a cleaner image.
In any digital retouching work, contrast should be adjusted before color. To balance the contrast, avoid leaving areas without black and white information by adjusting the meters of the graphs so that these empty areas are eliminated.
Fix the color treatment zone:

Adjust the contrast levels and remove zones without information:

Adjusting the contrast will allow you to work optimally:

If you would like to know more about amplifying the visual potential of an image through volume, textures, colors, and lighting, sign up to Karina Meza’s course Photo Retouching for Advertising Still Lifes.
You may be interested in:
- 5 Courses to Get Your Project or Personal Brand Online
- What is a Flat Lay Photo and How to Shoot It
- The Best Photo Editing Apps


0 comments