


How to Get an Image Ready for Print in Photoshop
Learn some tricks from The Nobody Photography when finalizing your editorial photo for your client
Fernando Rodríguez, better known as @thenobodyphotography, is a fashion, beauty, and commercial photographer. His photos have been featured in various outlets all over the world, and exhibited in Mexico and the United States.
Here, he will share his tips for finishing a photo, including how to set the final post-production details and delivery formats. Once a client has approved the photo, follow these steps to release your final product according to the medium where it will be published.

1. Complete the final touches
Fernando likes to apply some final changes at the end of the whole post-production process. For instance, he reduces the brightness on the face with a luminosity mask.
2. Group the layers
As an option, you can group the layers. Open a layer in Merge mode and Multiply in the blending mode.
3. Add Noise
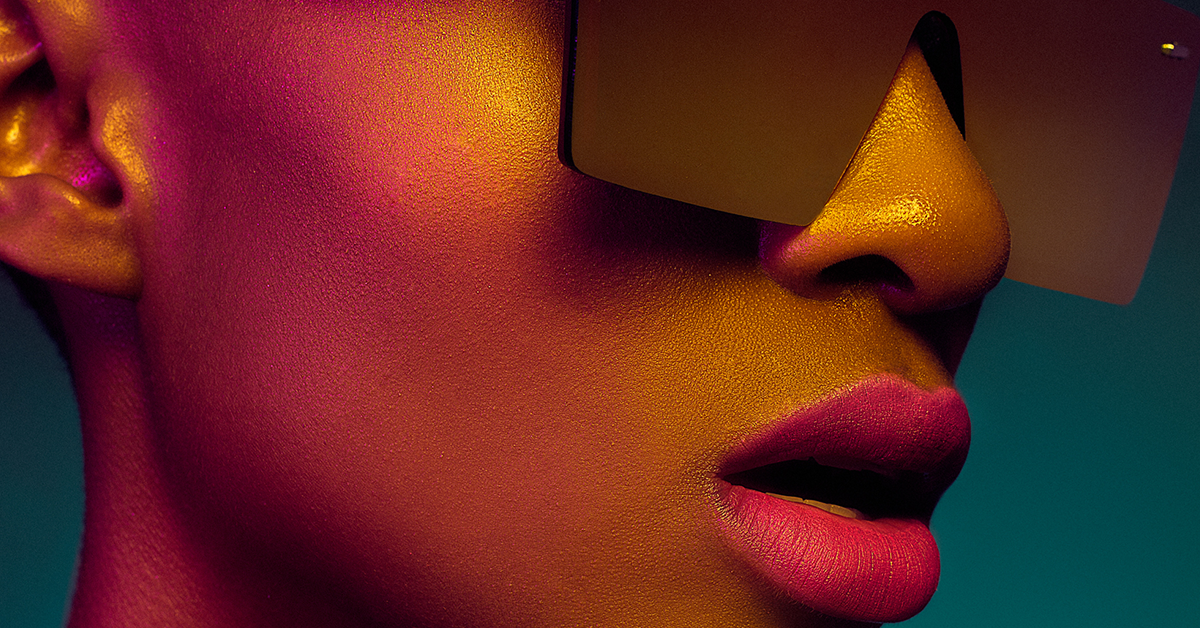
You can add another texture layer to add life to the photo. By adding Noise, the skin acquires a uniform and attractive appearance. In the example here, he used a monochromatic distribution.


4. Final merge
Select all layers and press Command + E to merge down all layers.
5. Save the file
Always save your personal files and portfolio images in high resolution and printing quality. This will be useful if you need to print the images or use them otherwise at a later stage. In this case, Fernando saved the photo at 4000 x 6000 pixels and 300 dpi.
6. Convert the file to high resolution according to requirements.
From the main file, convert the image to the size requested by the client.
7. Adjust the color profile
For printing purposes, Adobe RGB or ProPhoto RGB are best to adjust the color profile. It’s more convenient to use Adobe RGB to ensure the printer is compatible with the color profile you will assign. It is good practice to ask for the printer’s profile so you can calibrate your computer to achieve a realistic outcome.


If you want to learn more from Fernando, sign up to his course Editorial Photography for Beauty and Digital Retouching, in which he reveals his secrets of lighting, color, and post-production.
You may be interested in:
- 7 Tips for Photographing Amateur Models
- Photopea: Tips for Beginners
- How to Select Hair in Photoshop


0 comments