Photopea: Tips for Beginners


Tips for using Photopea: a free online advanced photo editor
Photopea is a free application for advanced photo editing. It works with both vector and raster graphics so that you can work with files in various formats. This software came from the mind of the young Czech programmer Ivan Kurtskir, who initially created it as a school project.
Get to know some of its main functions, how they compare to other photo editors and how it can help you to your design process.
How does it work?
It is often called the “free alternative to Photoshop,” and that’s close to the truth. You’ll find an interface very similar to the Adobe editor, in terms of tools, menus, and usability. This is a big improvement on other free options like GIMP, whose interface isn’t so friendly.
You don’t have to pay anything to use Photopea. Nor do you need to install anything. Simply enter the site and edit online (you can continue working on the program even if you lose connection).
Just like Photoshop or Sketch, it works completely on your device and doesn’t publish your pictures on the internet. The disadvantage? Ads while you work.
Main characteristics
- All the files save in RGB in 8 bits and work well in this format
- It works in all kinds of computers, tablets, and phones. A mouse or stylus will obviously make thing simpler
- It works on all operating systems: Mac, Windows, Linux, and even Chromebook.
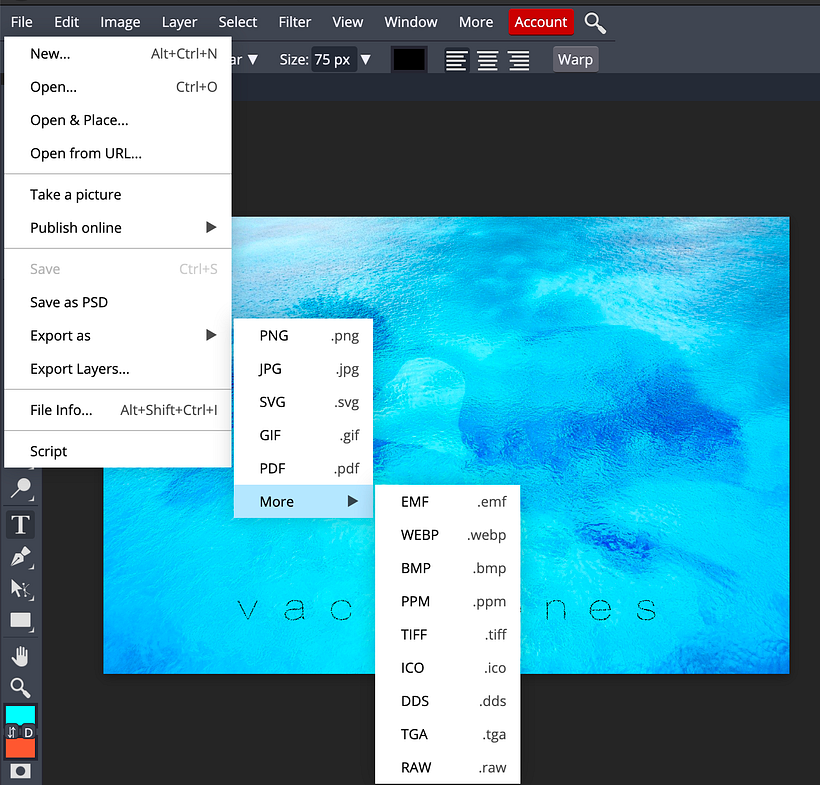
- Usable file types include: PSD, JPG, PNG, Sketch, RAW, PDF, XCF, SVG, TIFF, GIF, TGA, etc.
Available tools
As you’ll see, it has many of the basic characteristics of Photoshop:
- Editing with layers
- Editing with masks and intelligent objects
- Selections and transformations with layers
- Brushes (basic and intelligent).
- Text
- Vector editing
- Actions, scripts, guides and snapping
- Color spaces
- Slices
- Animations
- Color settings (brightness, contrast, saturation).
- Filters
- Swatche
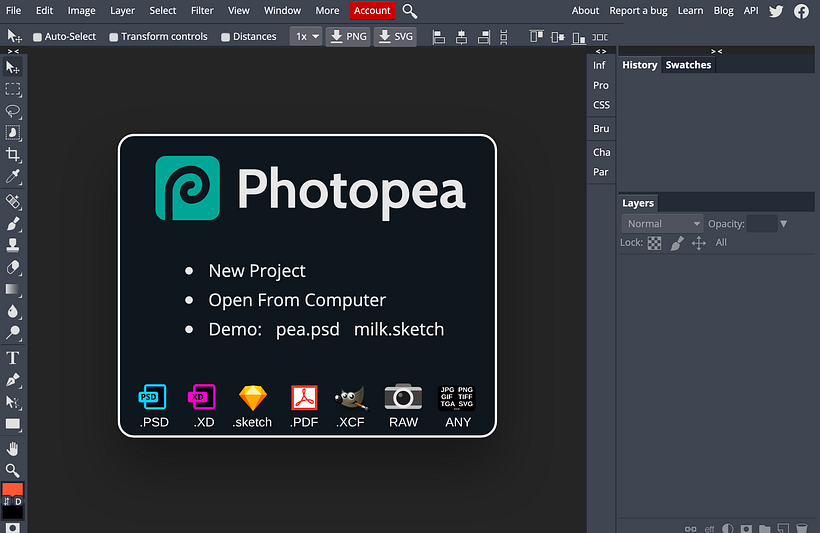
[hHow to use Photopea for Beginners[/h]
Below, we share a simple guide for its basic tools and uses. You will find demonstrations with .psd and .sketch files on the site.
1) Open the program online. You can begin with a blank canvas (which opens a menu for choosing the size of the canvas) or import an image. For this guide, let’s import one.
2) You can add layers and duplicate or flatten them, as well as execute other functions such as rasterizing or creating intelligent objects. You can also edit with masks. In this case, we’ll use the Invert function in the image settings.
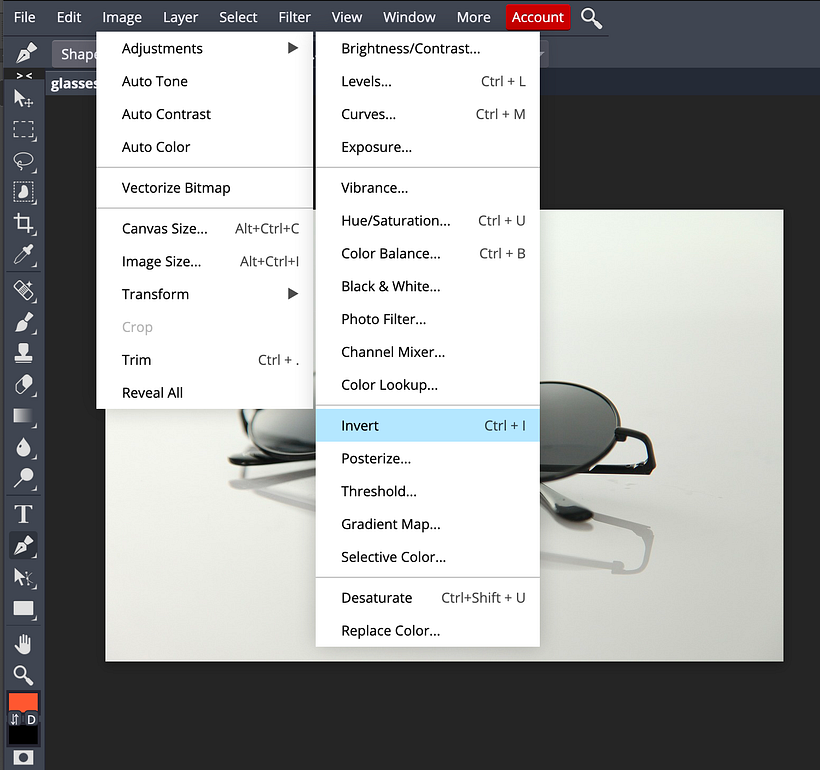

3) Start to edit the image. In this example, we use the Pixelate filter and then Blur.
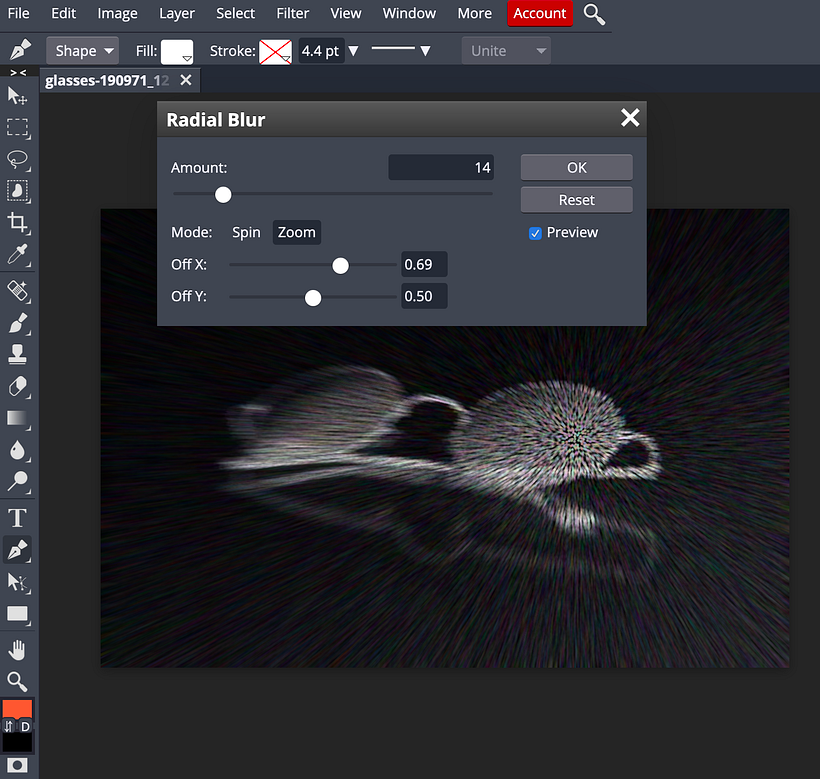
4) Try more tools on your composition. Here we use the Magic Cut function from the Select menu to isolate the glasses in the background in a new layer.

5) Make a new composition. We make another layer mask with another existing image.
6) Adjust it once more and try more tools. Here we use the curve settings from the image and settings menu to modify the glasses once more.
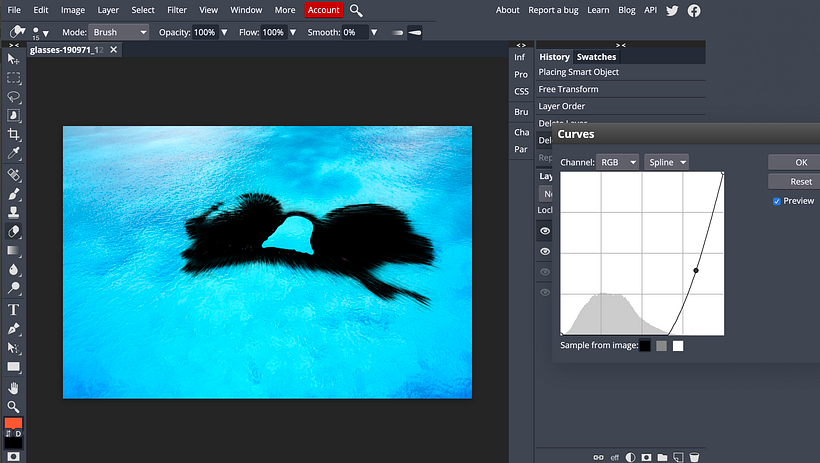
7) Explore the layer tools. Here, we used the Overlay function to blur the glasses in the background. Finally, we add text.
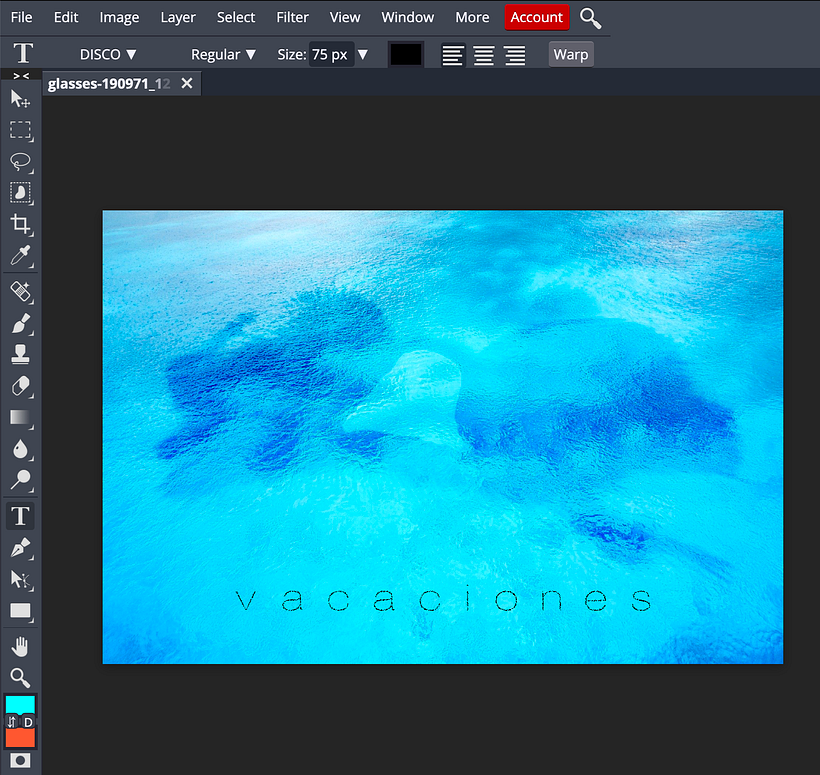
8) You can save the final image directly to your device as a .psd to edit it later in layers. It will also allow you to export the image in a wide variety of formats.
You may be interested in:
- How to cut an image in Photoshop
- Photoshop, Illustrator, or InDesign: Which is Best for Your Projects?
- [url=https://www.domestika.org/en/blog/3401-photographic-composition-9-basic-principles-you-should-know]Photographic Composition: 9 Basic Principles You Should Know[/url


0 comments