


Illustration Tutorial: Basic Proportions of a Face
Learn how to make a guide for the basic proportions of a face with Carlos Rodríguez Casado
Making a portrait is no easy task. A person's face can determine their age, background, and personality so we need to pay special attention when drawing them. All good work needs a solid foundation, that's why it's vital to learn these techniques to draw a balanced face.
Editorial illustrator Carlos Rodríguez Casado (@carlosrodriguezcasado) explains how to make a basic guide for composing a face in this tutorial. With these tips, we'll learn a series of traits and proportions common to almost all faces that will help us in our illustrations.
You can watch the tutorial below:
4 steps to draw a face from the front
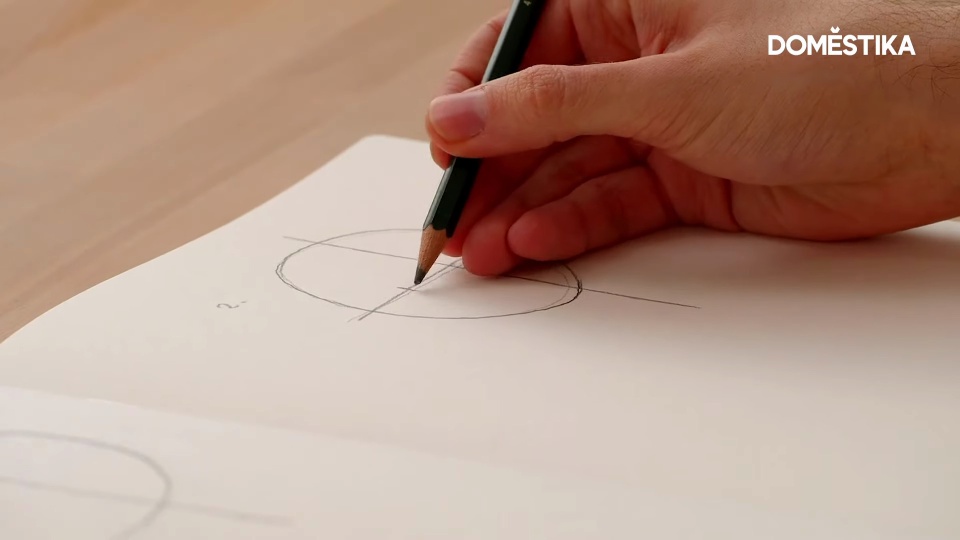
1. Draw an outline of the face
To draw a face straight on, start with a simple circle. It's important to ensure it's not too wide nor too long as this circumference will determine where we place all the other parts of our portrait.
Draw a straight line down the middle, this will serve as the axis of our face. The line will stretch beyond the bottom of the circle as this will show us where to put the chin, the next element which will form part of the structure of our face.
After drawing a vertical line, divide the face in two horizontally.

To draw a face that looks slightly to one side, we'll do the same but, this time, the vertical line will go on the side our face is looking, creating two different sized parts.

If we're drawing a profile, the line will go right on the edge of the circle, as opposed to crossing it.

2. Place the chin
In the next step, we will divide the two lower quarters of the circle with two new vertical lines.
From these two guides, we will draw a rectangle that will go down beyond the bottom of the circle. The end of that rectangle will define the height of the chin, while its intersection with the vertical guide will mark its exact position.

If we are drawing a face turning slightly away, we will follow the same steps, adapting them to the sizes created by the vertical and horizontal axes.

In the case of the profile face, when we have marked the vertical and horizontal lines, we will widen the circle a little to make it more oval horizontally, as the skull is wider from the side than from the front.

3. Start placing the features
Now that we have the main lines of the face, it is time to start placing the main features using our guides as a reference.
We will place the eyebrows just below the horizontal line that divides the circle and inside the rectangle we have previously drawn.
Under the eyebrows we will draw three horizontal arcs of the same size: this will determine where the eyes will be placed and the distance between them.
Just above the point where the vertical line crosses the bottom of the circle, we will place a small line that will determine the end of the nose.
Finally, at the midpoint of the space between the bottom of the circle and the rectangle, we’ll draw a small horizontal line that will mark the position of the lower lip, just at the point where the chin begins.

In the case of the face looking slightly away, we will draw the features in the same place but we will adjust according to our guide, for example, the size of the eyes and the space between them.

In the profile portrait, on the other hand, there will be only one eye visible, which we will draw slightly apart from the vertical line we drew at the end of the circumference.

4. Complete the face with the ears and jaw
Finally, we will add the ears and jaw to complete the shape of the face.
We will mark the space that the ears will occupy by drawing a discontinuous horizontal line at the level of the arcs of the eyes, and another in line with the tip of the nose. The size of the ears is always determined by this space. However, if we are drawing a frontal portrait, we will draw the ears a little smaller to take perspective into account.
Finally, we will finish the shape of the face with the jaw by drawing a curve from the ear lobe to the place where we have marked the position of the chin.

If we make a lateral or profile portrait, the size of the ear can be adjusted exactly to the space between the tip of the nose and the eyes.


Now that you have learned these basic guidelines, you will be able to internalize the proportions of a face much more easily than before. Remember that you can apply them to any type of face and perspective, so experiment, practice, and master the portrait.
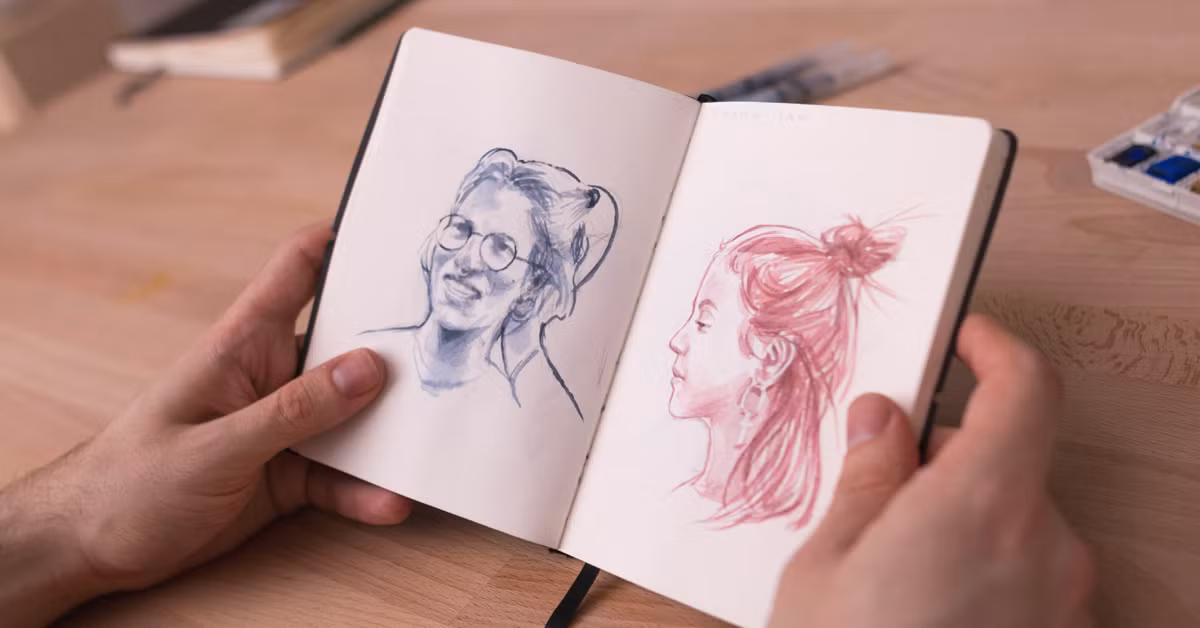
If you want to learn the techniques of drawing and watercolor to create spontaneous portraits anywhere, discover Carlos Rodriguez Casado’s online course Watercolor Portrait Sketchbook.
You may be interested in:
- Caricature in Watercolor, a course by Carlos Rodríguez Casado
- Artistic Portrait with Watercolor, a course by Ale Casanova
- Illustrated Portrait in Watercolor, a course by Ana Santos


2 comments
Hola, intento acceder al curso para suscribirme, pero no encuentro la manera.
@dennismateis ¡Hola! Encontrarás la información del curso Cuaderno de retratos en acuarela en este enlace. En este enlace hallarás información sobre cómo apuntarte a un curso. ¡Saludos!