

Macramé Tutorial: how to dye a textile tapestry
Discover the basic steps for dyeing natural fiber laces and the procedures for handling dyes with Pluumbago
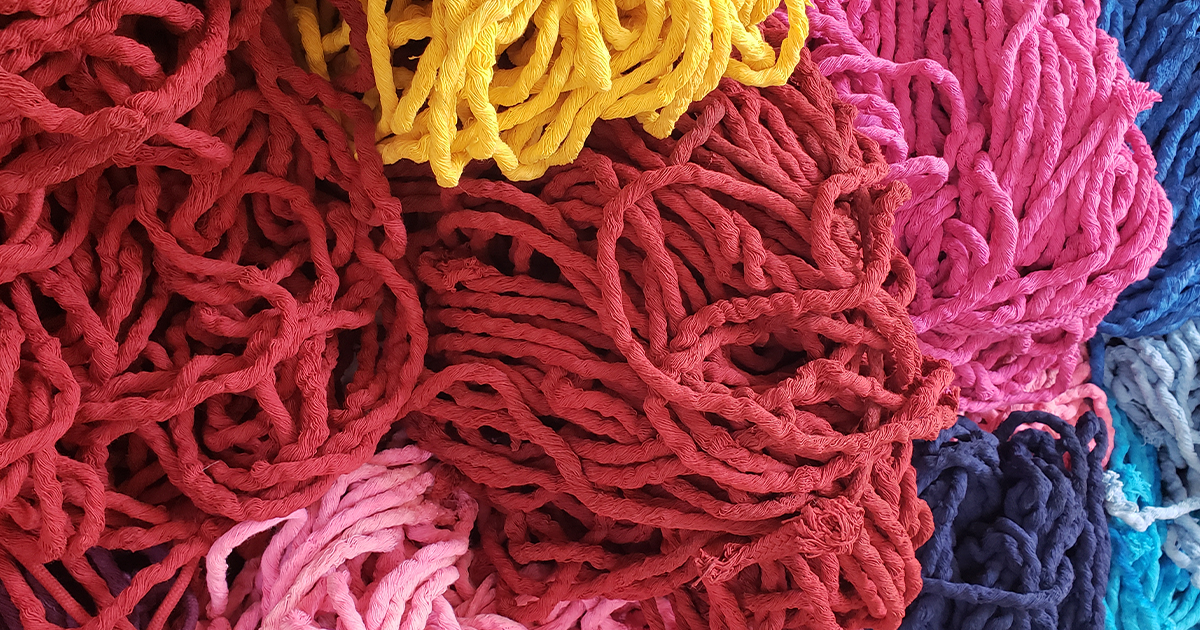
Water, fire, dye and the fibers that will receive the color. Although it does not require much, the dyeing process has its secrets, mainly if the idea is to obtain different tones and textures, as well as mixed, copper or opaque colors and other effects that differentiate your work.
In this tutorial, Mexican textile artist Ixchel Yué (@pluumbago), founder of the Pluumbago brand, shares her basic tips on hydration of the strips, temperature and time on fire, as well as the materials needed for an ideal dyeing of cotton fibers.
Materials needed
Before you begin, please note that you will need to gather:
- A sketch of the work you will do with the dyed strips, in which you establish the amount of fiber that will receive each color
- Water and a bowl to pre-hydrate the strips
- A pot
- Dyes of the desired shades
- A tweezers to handle the fiber and a tongs to handle the fiber and remove it during the part on the fire
- A cloth to clean the work area
- An apron
- Salt or dye fixative

6 steps for a perfect dyeing of cotton fibers
1. Calculate the dyestuffs according to the material to be dyed

In the sketch, determine the exact amount of fiber you will dye with each color. Generally, one sachet of dye corresponds to one or two liters of water, that is, enough for a small or medium pot. If the idea is to dye a large number of fibers, you will have to use a larger pot, add more water and, consequently, more sachets of dye. And, as Pluumbago reminds us, if you want a uniform color, never dye the fibers in batches. "Do it all at once, to avoid natural color differences," she teaches.
2. Moisturize the fibers well

Hydrate the strips well beforehand, while preparing the pot and dyes and heating the dyeing water. To prevent the naturally light material from floating and not getting wet, use a weight to keep it submerged. Caution: avoid leaving the cotton soaking for many hours, so that the fibers do not release their natural light coloring and become stained with yellowish tones.
3. For cotton, boiling water

Each fiber has an ideal dyeing temperature. For cotton, Pluumbago recommends water at 100 °C. When it starts to boil, add the dye and dissolve it well, stirring it with the tweezers. If you don't have a commercial dye fixative, don't worry: add a teaspoon of salt to the water. Before dipping the fiber, make a sort of hook or ring around the bundle. You will use it during the process to hold the cotton while you stir it in the water and then to hang it up to dry.
Attention: do not tighten the ring too much around the strips, so that they are always loose and with enough space for the dye to penetrate them homogeneously.
4. Dye for half an hour

If you are looking for a homogeneous effect, leave the cotton fibers submerged for at least half an hour. Remember that there is a risk that the color will not adhere to the inner layers. To verify this, do a simple test: with tweezers, separate the fibers a little and check if there are still white parts. Obviously, if you are looking precisely for a faded effect or one that evokes a somewhat tie-dye pattern, remove the fibers when you obtain the desired shade.
5. Wait for it to cool

After cooling, you can work the fibers. If the piece you will create with them is for everyday use - a blanket or a garment - it is important to rinse the yarns well, until they release all the excess paint. If not, and to obtain a very vivid tone effect, it is enough to wait for it to dry completely.
6. Dry in the shade

Whatever the case, always dry the fibers in the shade. The sun burns and stains dyed fibers. Use the hook or ring you created before dyeing to hang the bundle of fibers from a rope or clothesline. After complete drying, you will see the actual shade of your fibers. You will then be able to understand what changes to make for the next dyeing, if you are looking for a stronger or weaker tone, as well as faded or blended effects: adding more or less dye sachets to the water, mixing colors and leaving the fibers more or less time on the heat.

Did you like this tutorial? Remember that you can learn with Ixchel Yué to dye, knot and weave threads without needles to create tapestries full of color and texture in her course 'Macramé: wrapped weaving techniques'.
You might also be interested in:
- Macramé: basic and complex knots, a course by Mariella Motilla.
- Introduction to macramé: creation of a decorative tapestry, a course by Belén Senra
- Macramé knots sampler, a course by Belén Senra


0 comments