
Master packaging design from fundamentals to sustainability, creating visually striking solutions that respect the environment
Discover the art of designing packaging that not only protects and sells products, but also respects the environment and connects emotionally with consumers. From the fundamentals of design to the latest trends in sustainability, this specialization guides you step-by-step in creating innovative and creative solutions. Learn to combine aesthetics and functionality, reflecting the essence of the brand and forging an emotional connection with customers. Experts from After, FIBRA, Arcal Studio, Tatabi Studio, and Paulina Carrizosa will accompany you on this learning journey.
Explore how packaging design can be a powerful ally for brand identity. Develop cohesive packaging systems that reinforce each brand's personality and values, using professional and sustainable methodologies. Acquire the skills necessary to create sustainable packaging systems for e-commerce and discover how innovation in materials and processes can transform your designs into visually impactful solutions. By the end, you will have a portfolio that demonstrates your ability to create innovative and sustainable proposals, preparing you to work with clients or develop your own brand.
What will you learn in this specialization?
 1
1Introduction
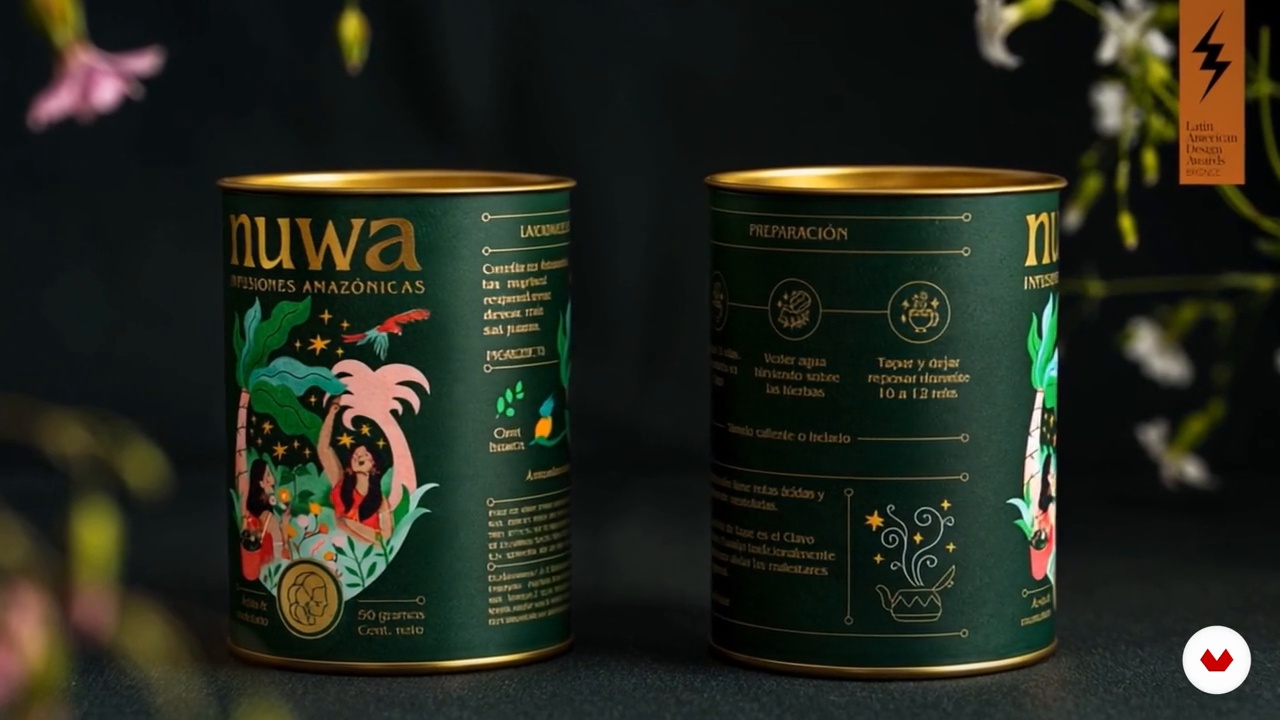
Much more than just wrapping: packaging is design, identity, and emotion all in one. In this journey, you'll discover how form, function, and sustainability can come together to transform a brand. From innovative materials to disruptive ideas, get ready to create packaging that cares for the planet… and captivates the user at first glance.
2m
 2
2Influences | After
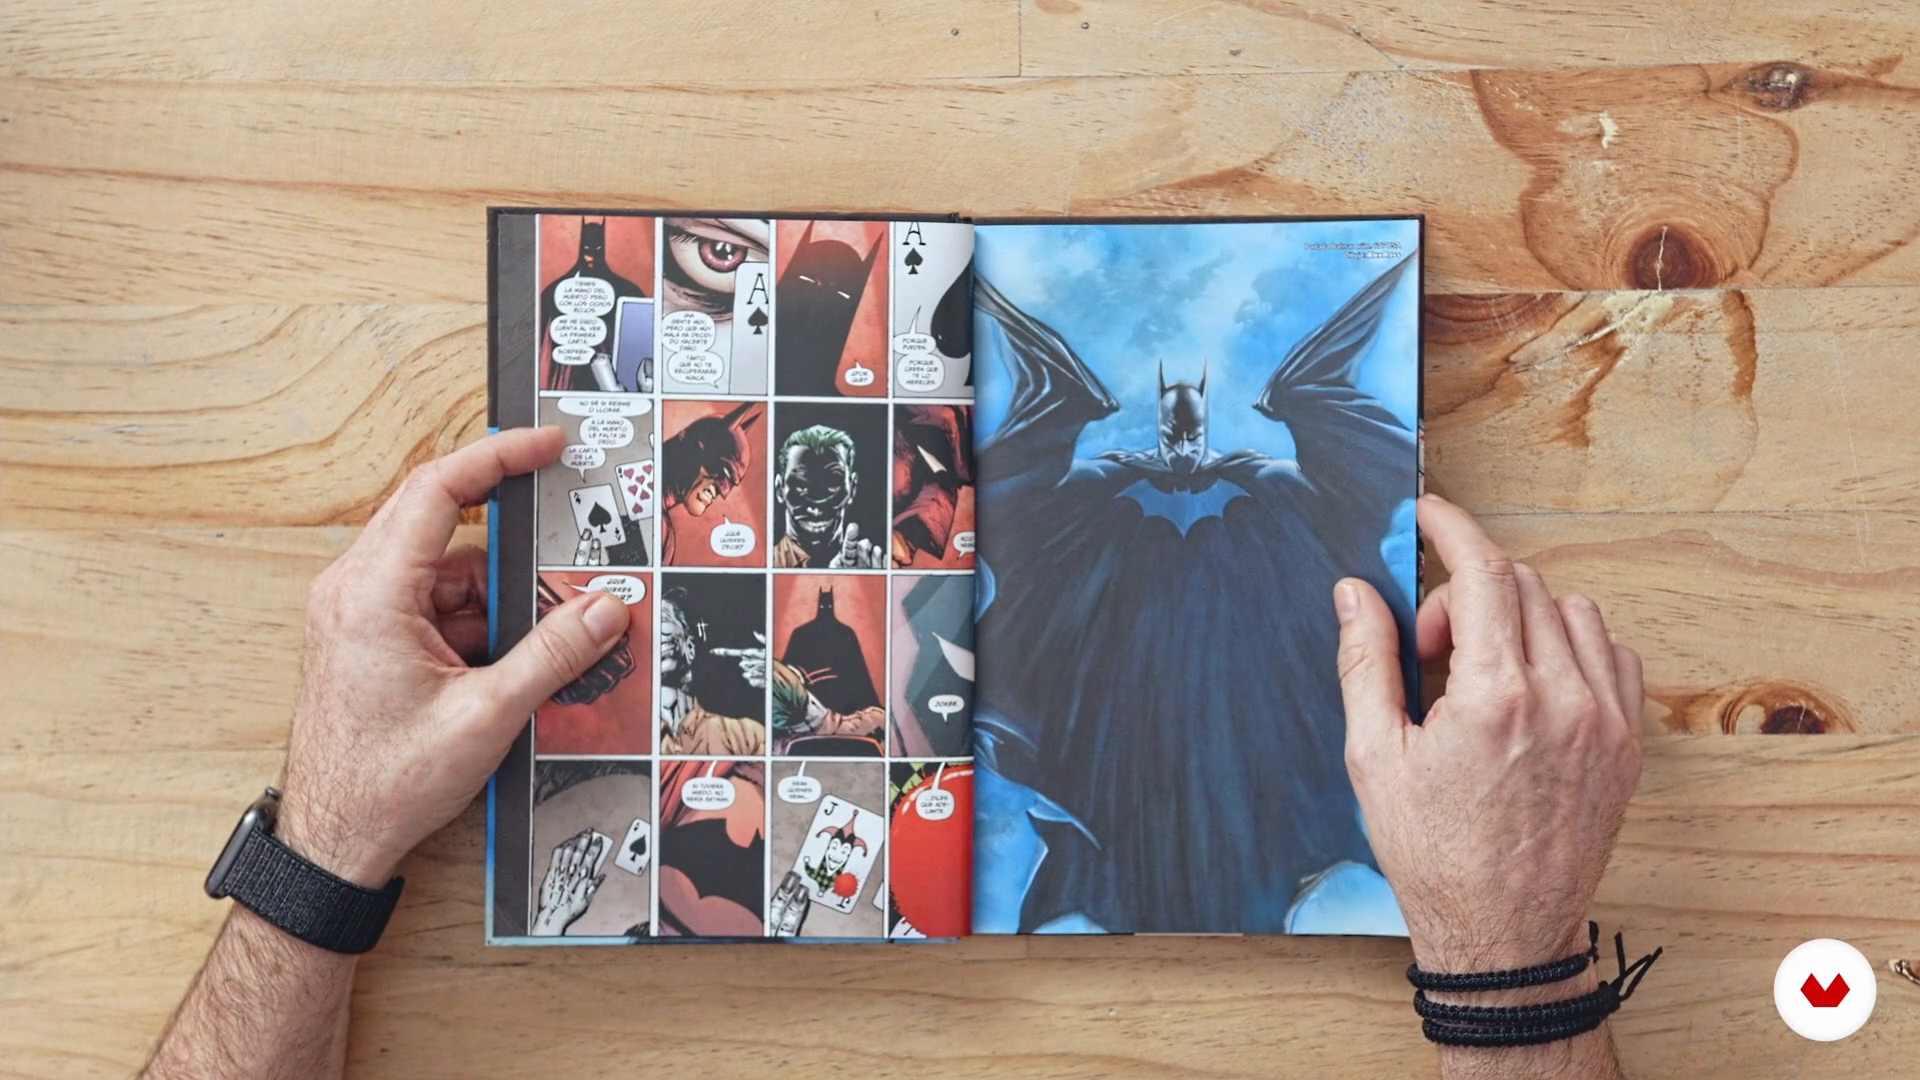
In this lesson I will tell you what my influences have been since I was a child, also what are the branding studies that I most admire, what I have learned from them and how they impact my work. Finally, I'll tell you about how I found inspiration in simplicity through a filmmaker.
8m
 3
3Influences | FIBRA
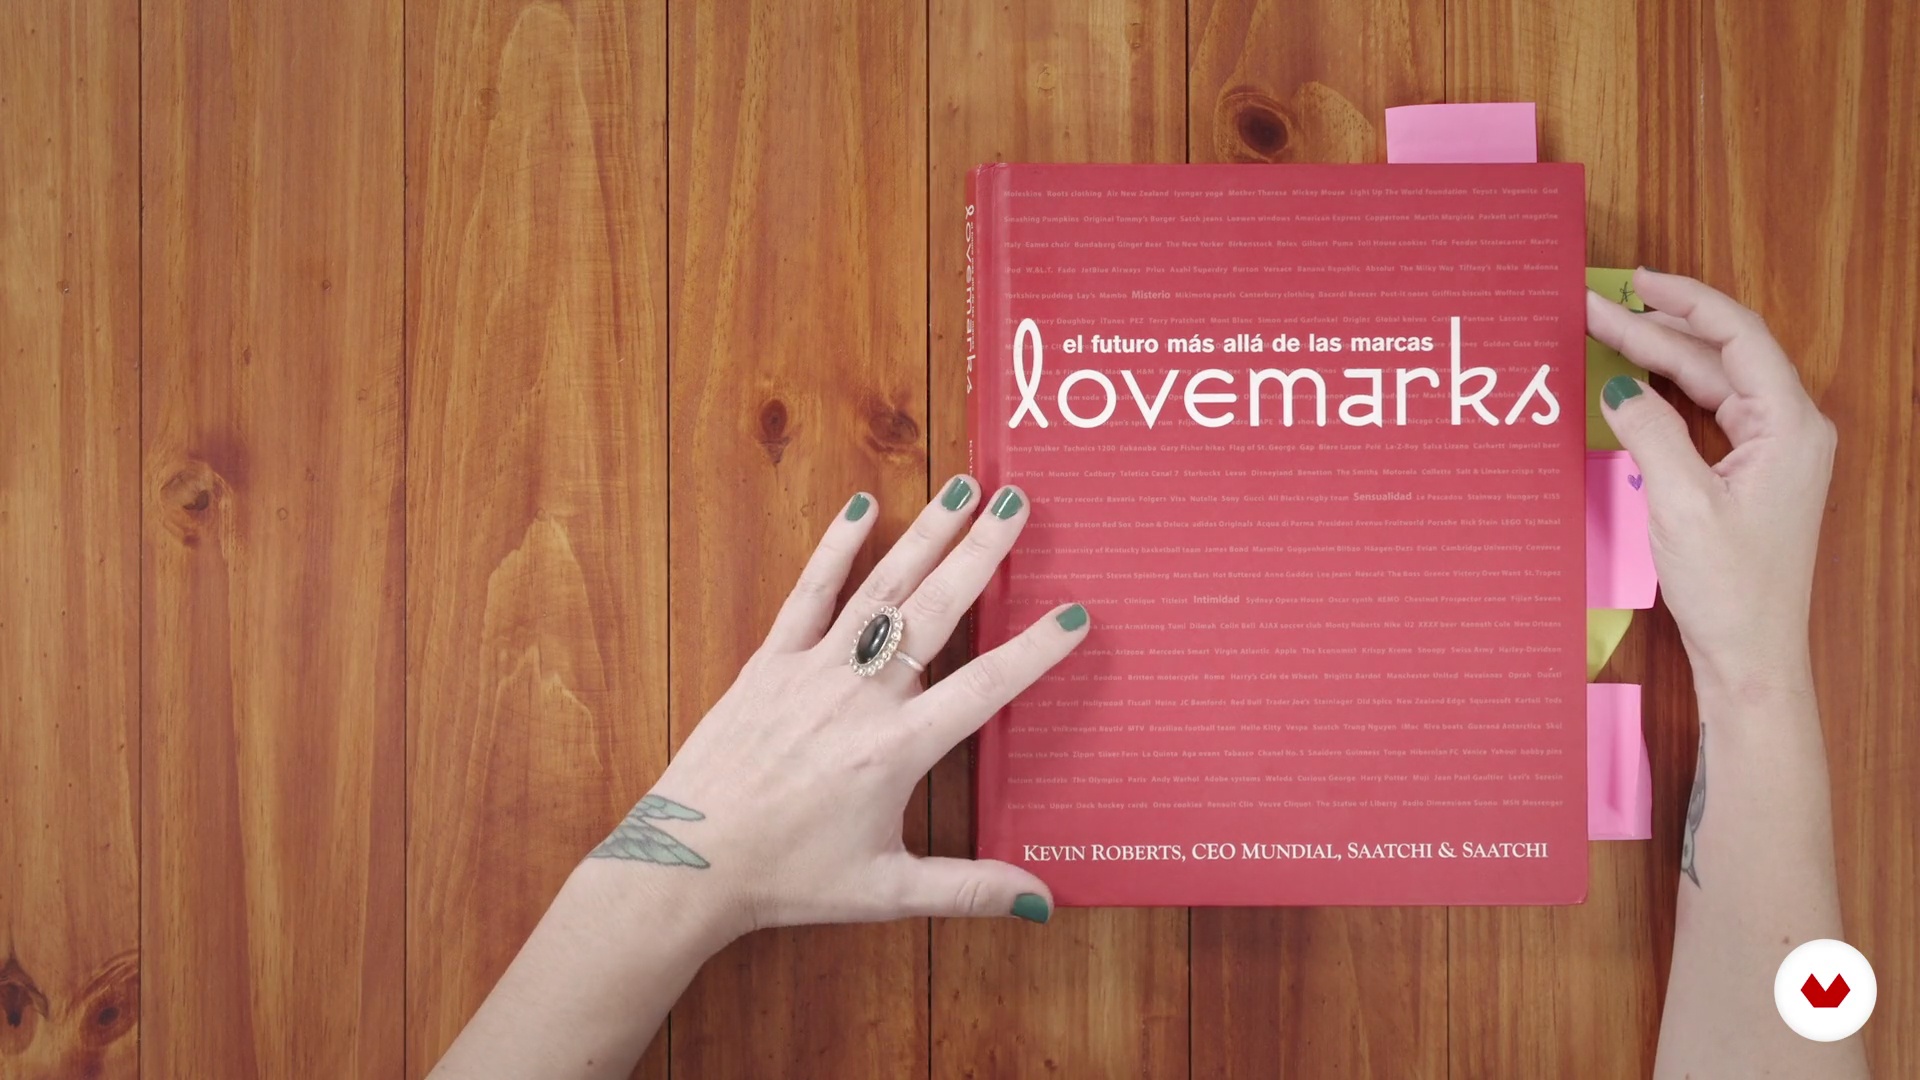
In this lesson we will show you some books that inspire us to think differently.
9m
 4
4Influences | Arcal Studio
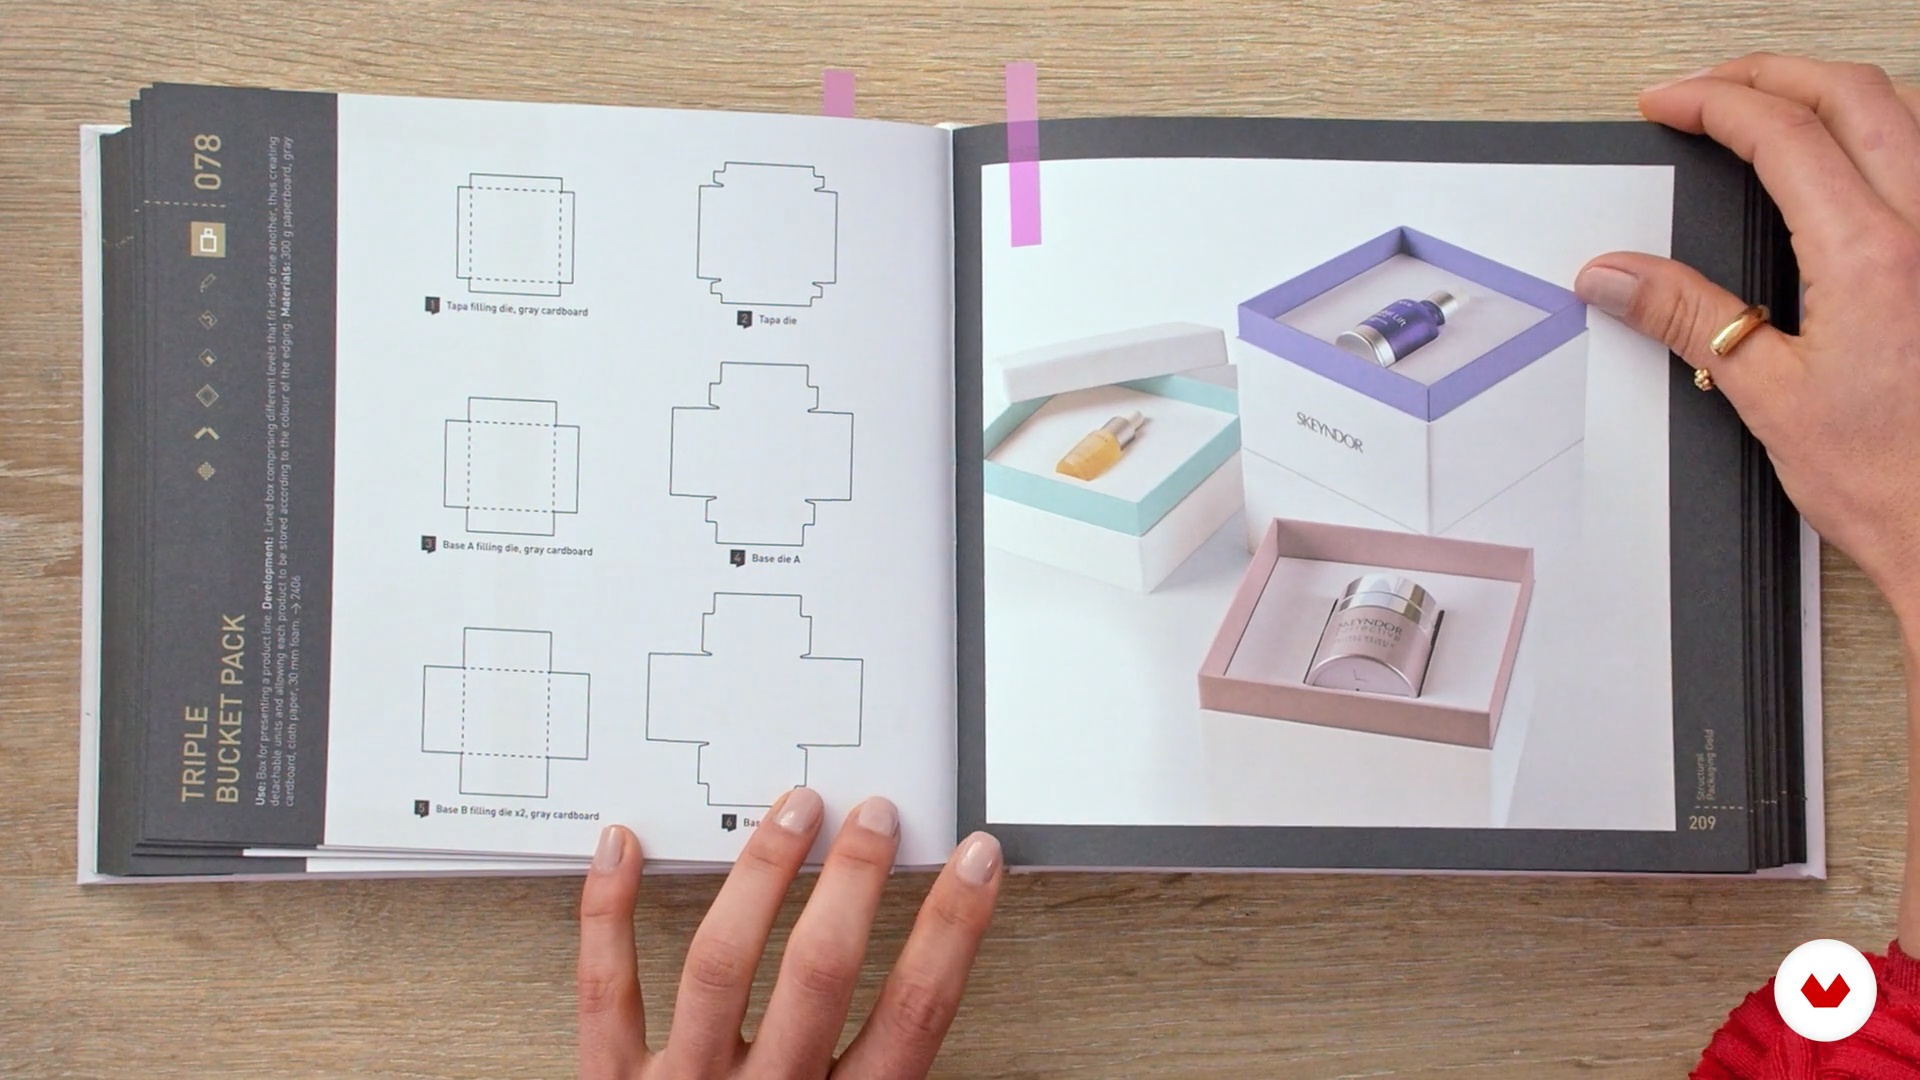
Now that you know our history, we are going to talk to you about our most important influences and we are going to explain how they have helped us to give our work a unique touch. We will also talk to you about the things that inspire us and that nurture us as creatives.
4m
 5
5Influences | Tabatti Studio
Next, I will show you examples of some brands that are doing a good job creating sustainable packaging with a careful design. Projects that I like and inspire me.
7m
 6
6Influences | Paulina Carrizosa
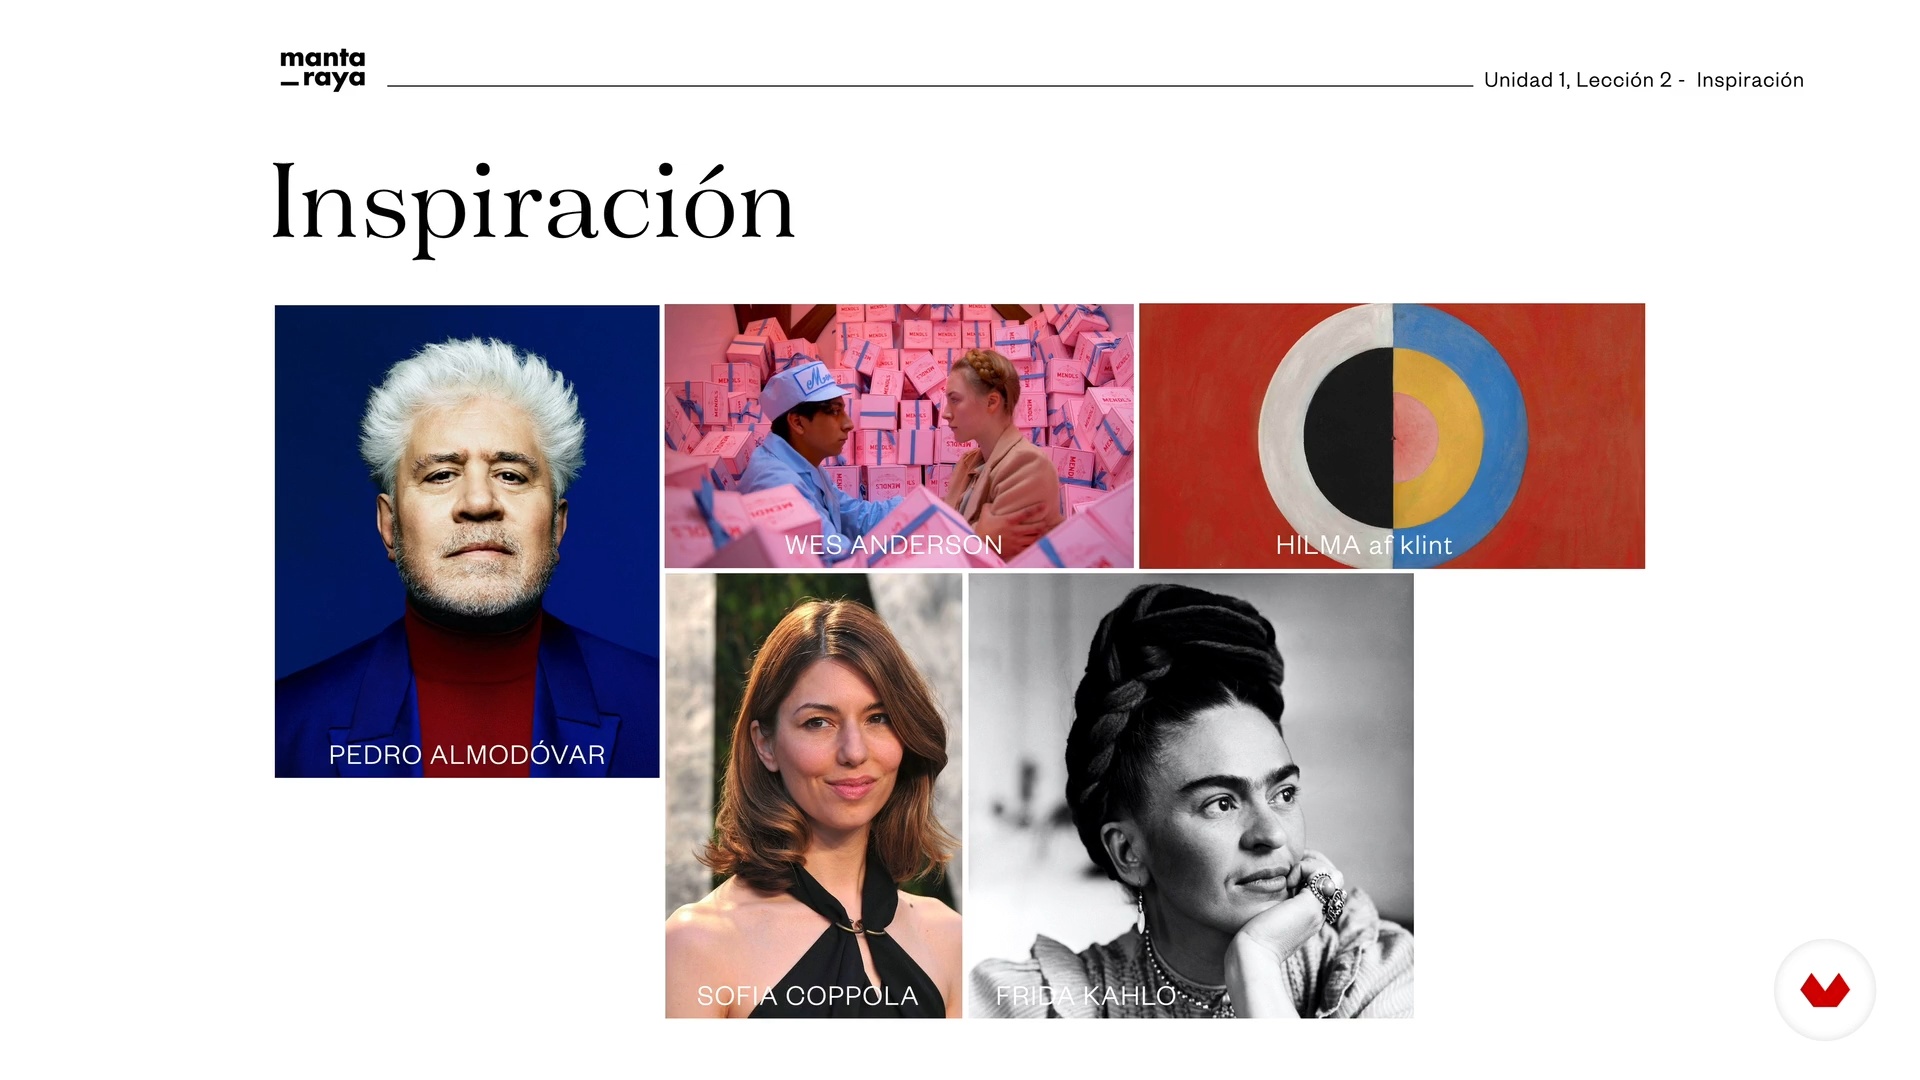
While I could mention many more influences from all artistic fields, I'll now introduce you to some of my references from art, design, and other disciplines that inspire my work today.
3m
 3
3Brief history of packaging
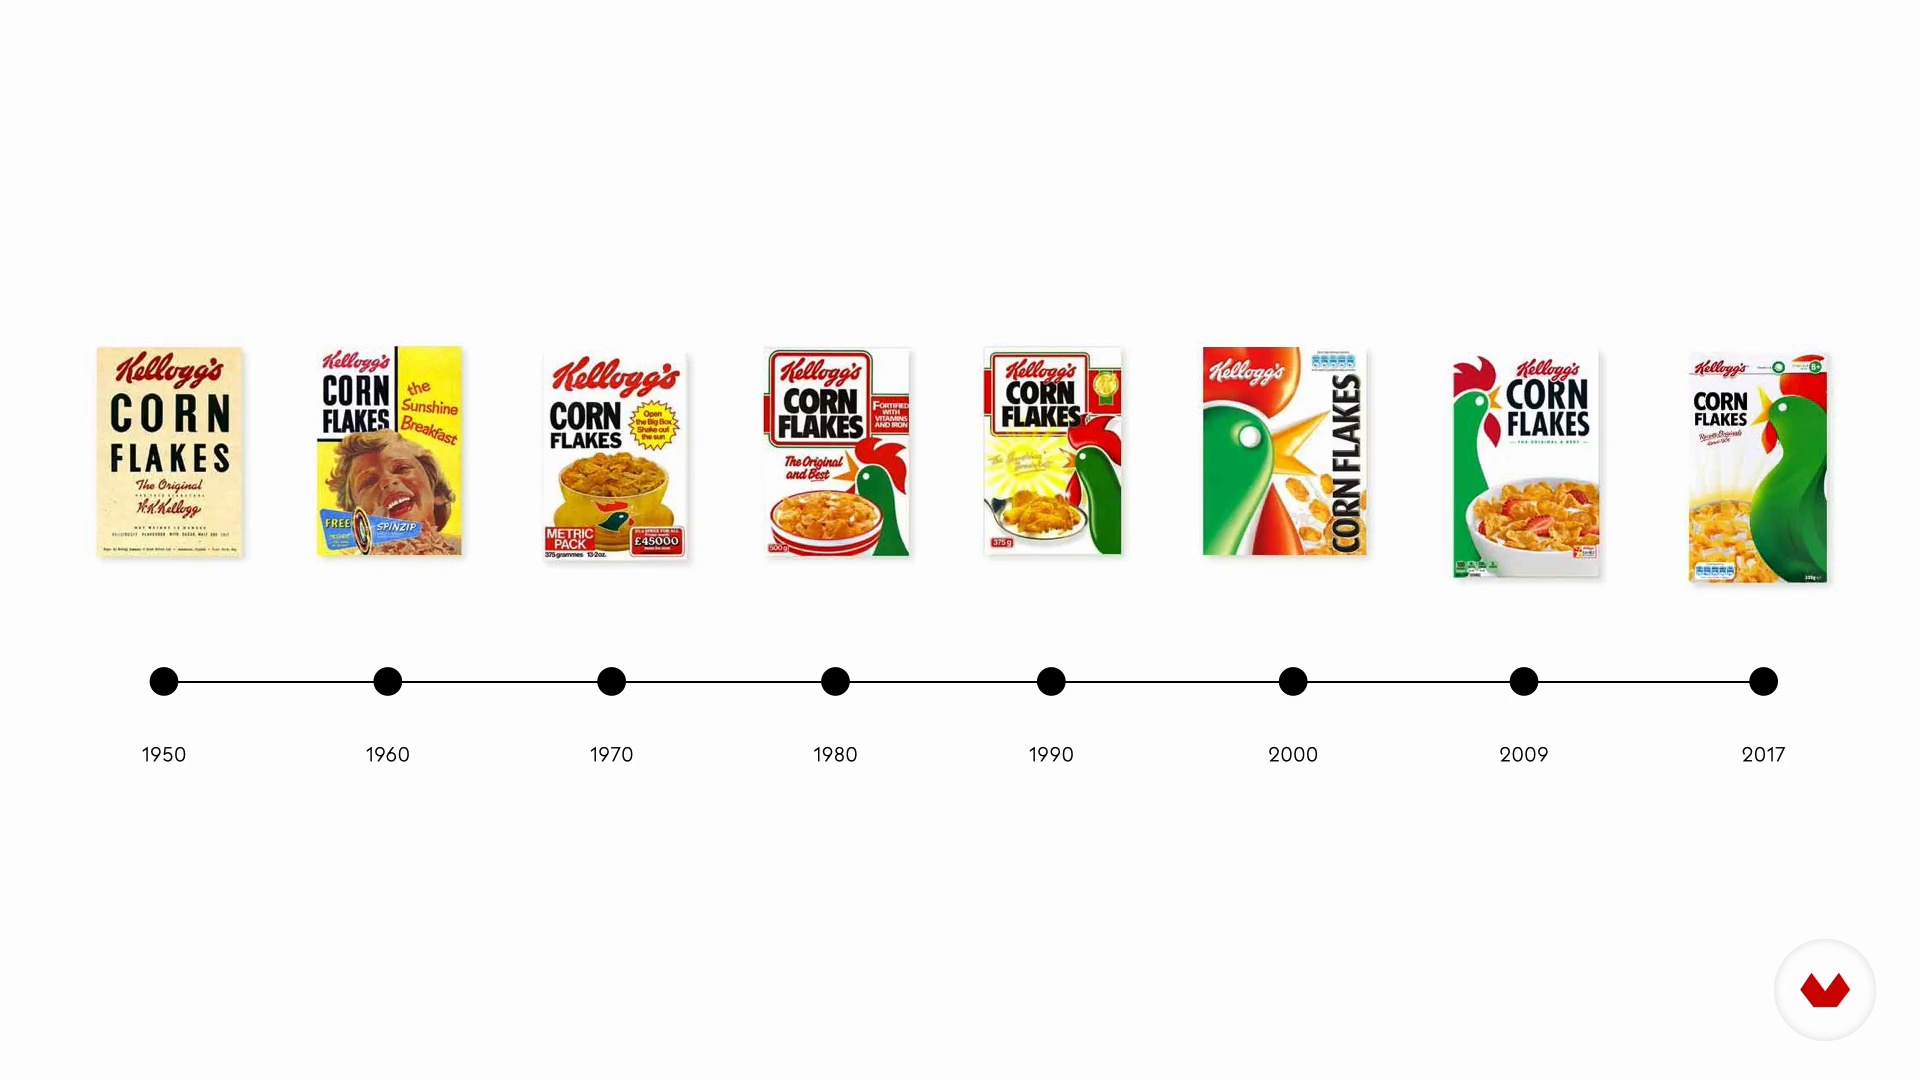
Have you ever wondered where it all started? In this lesson I will take you on a brief tour of the history of packaging. It is not a history class but it does seem important to understand a little what happened so that today we recognize brands so much for the designs of their packaging.
5m
 4
4Audit
In this lesson you will learn the importance of analyzing before designing. The best way to understand your client's needs is by doing research, because it will help you a lot to support your designs and to understand the behavior of your brand and your competition. Investigating you will discover things that even your client had not noticed and that will contribute to making your work feel more professional. There are always things to discover in a brand audit.
5m
 5
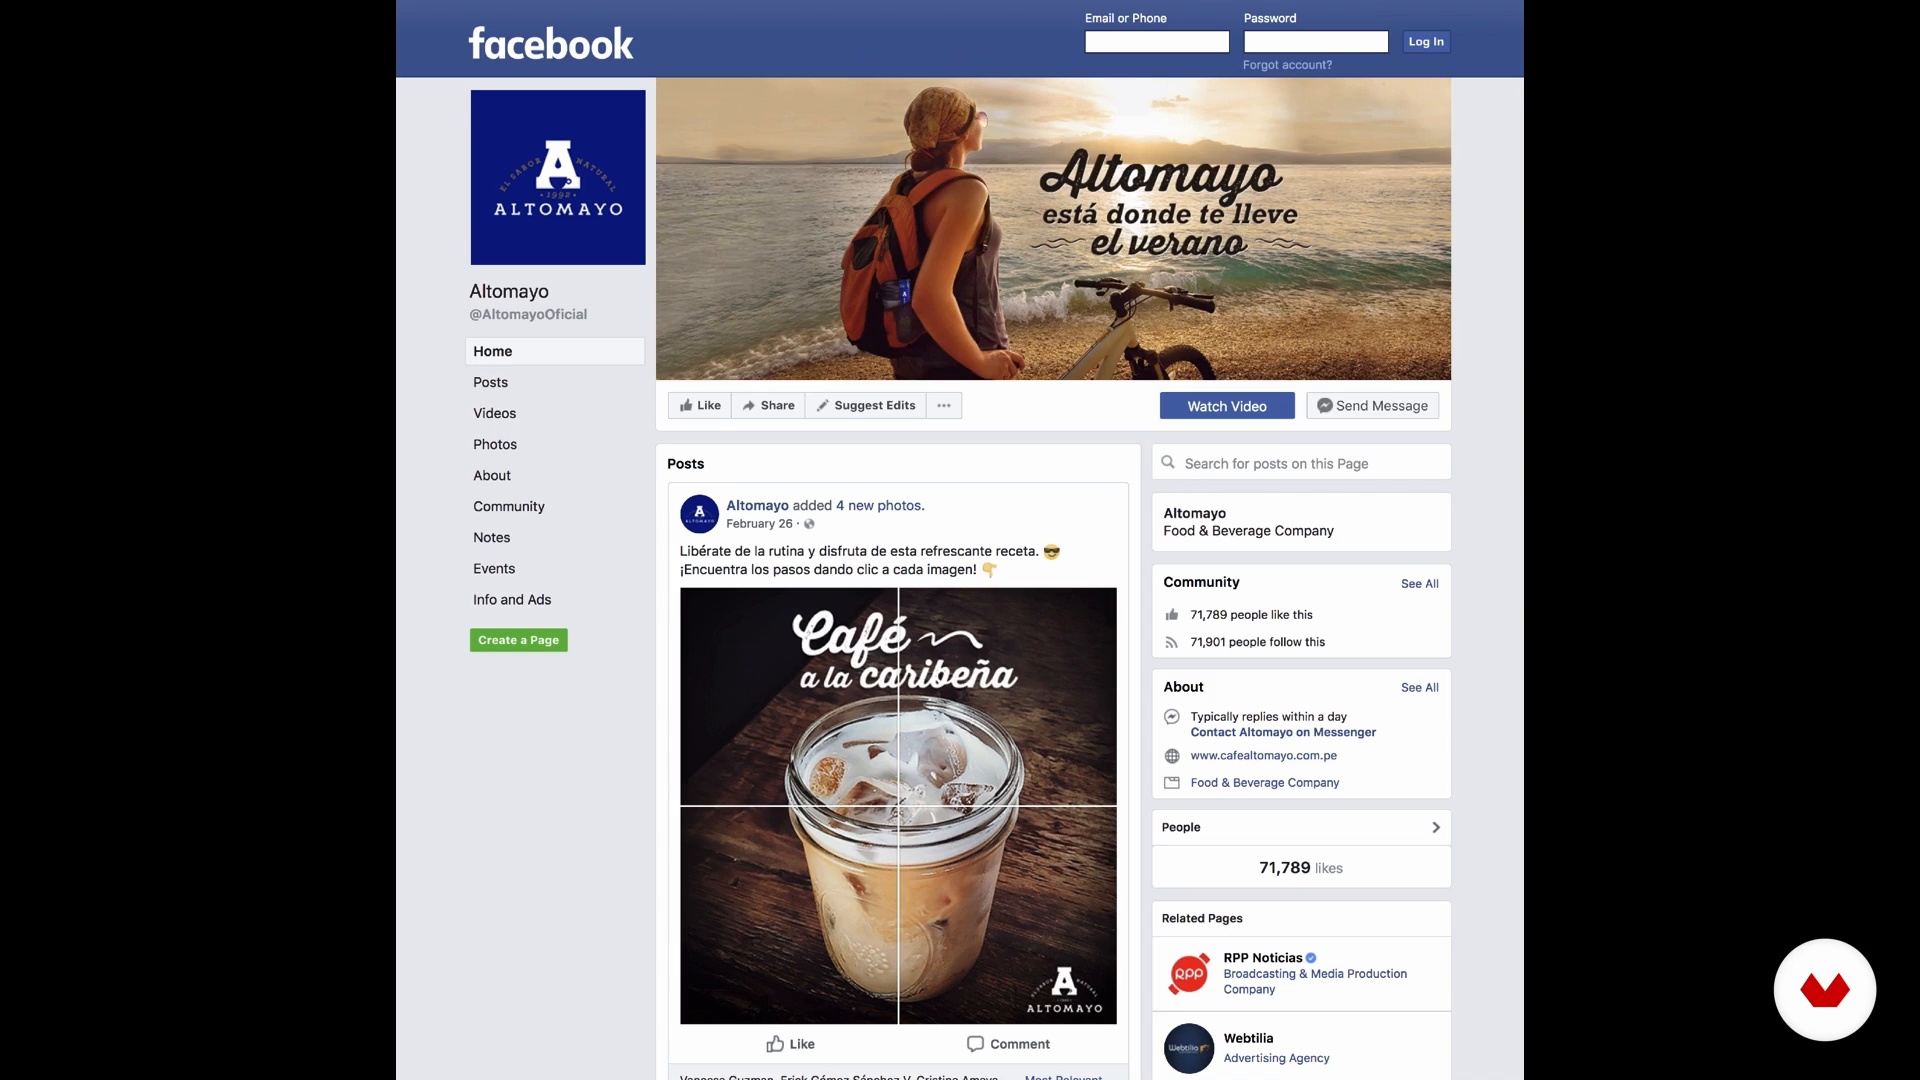
5Radiography 1
Here you will learn the importance of analyzing a package in detail. If you are facing a redesign, this tool is essential to realize what are all the elements that go into the composition of a package.
15m
 6
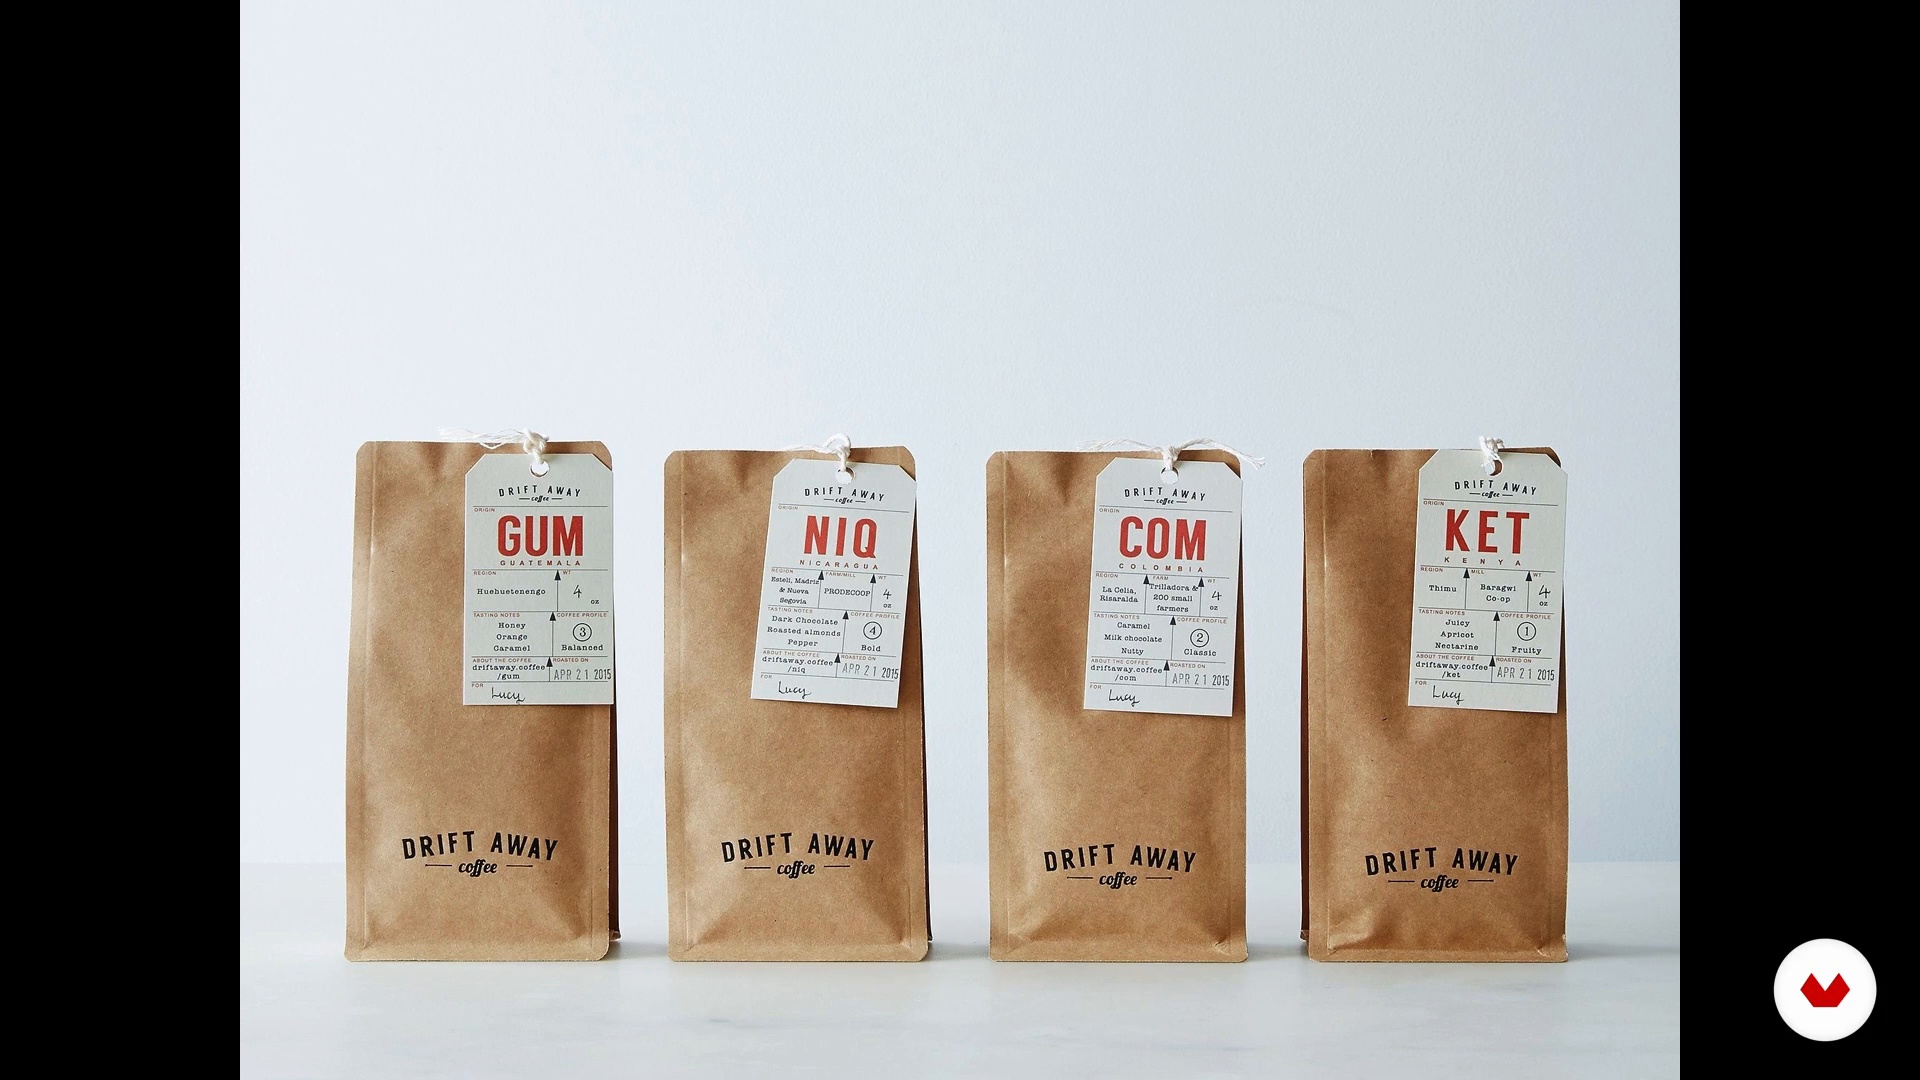
6Radiography 2
This methodology will help you so that both you and your client can understand the way forward towards the final design.
13m
 7
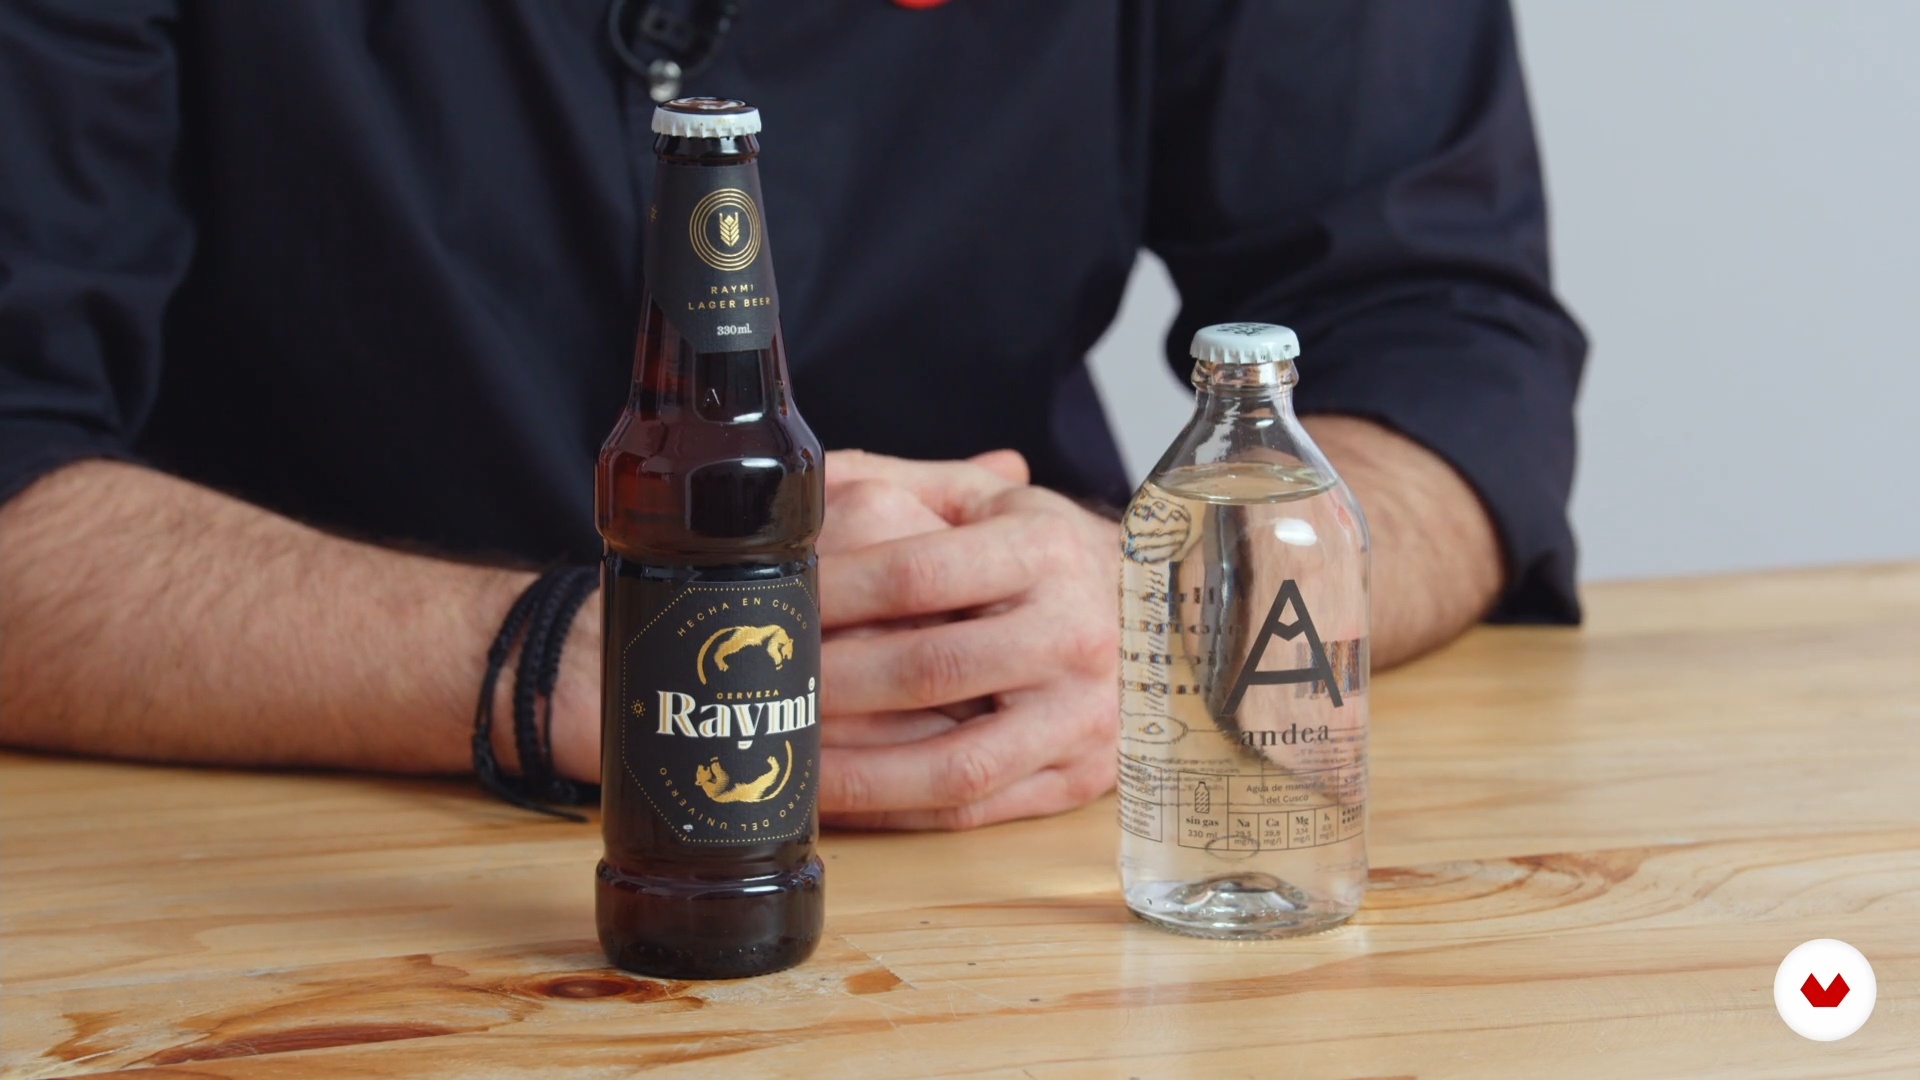
7Territory
This is one of the most important tools that you can use to your advantage in your presentations, because it will allow you to make clear the path you want to take when designing and also the path you do not want to travel. Your client will be calmer and so will you because they will agree before starting to design.
4m
 8
8Materials and types of printing
Here you will learn the importance of choosing the right materials for your design proposal since the success of your project depends on it. When you take into account from the beginning the material on which you are going to print, you will know before designing what elements you have to consider, for example: whether or not you can include photographs, illustration, number of inks, font size, etc.
13m
 9
9Concept
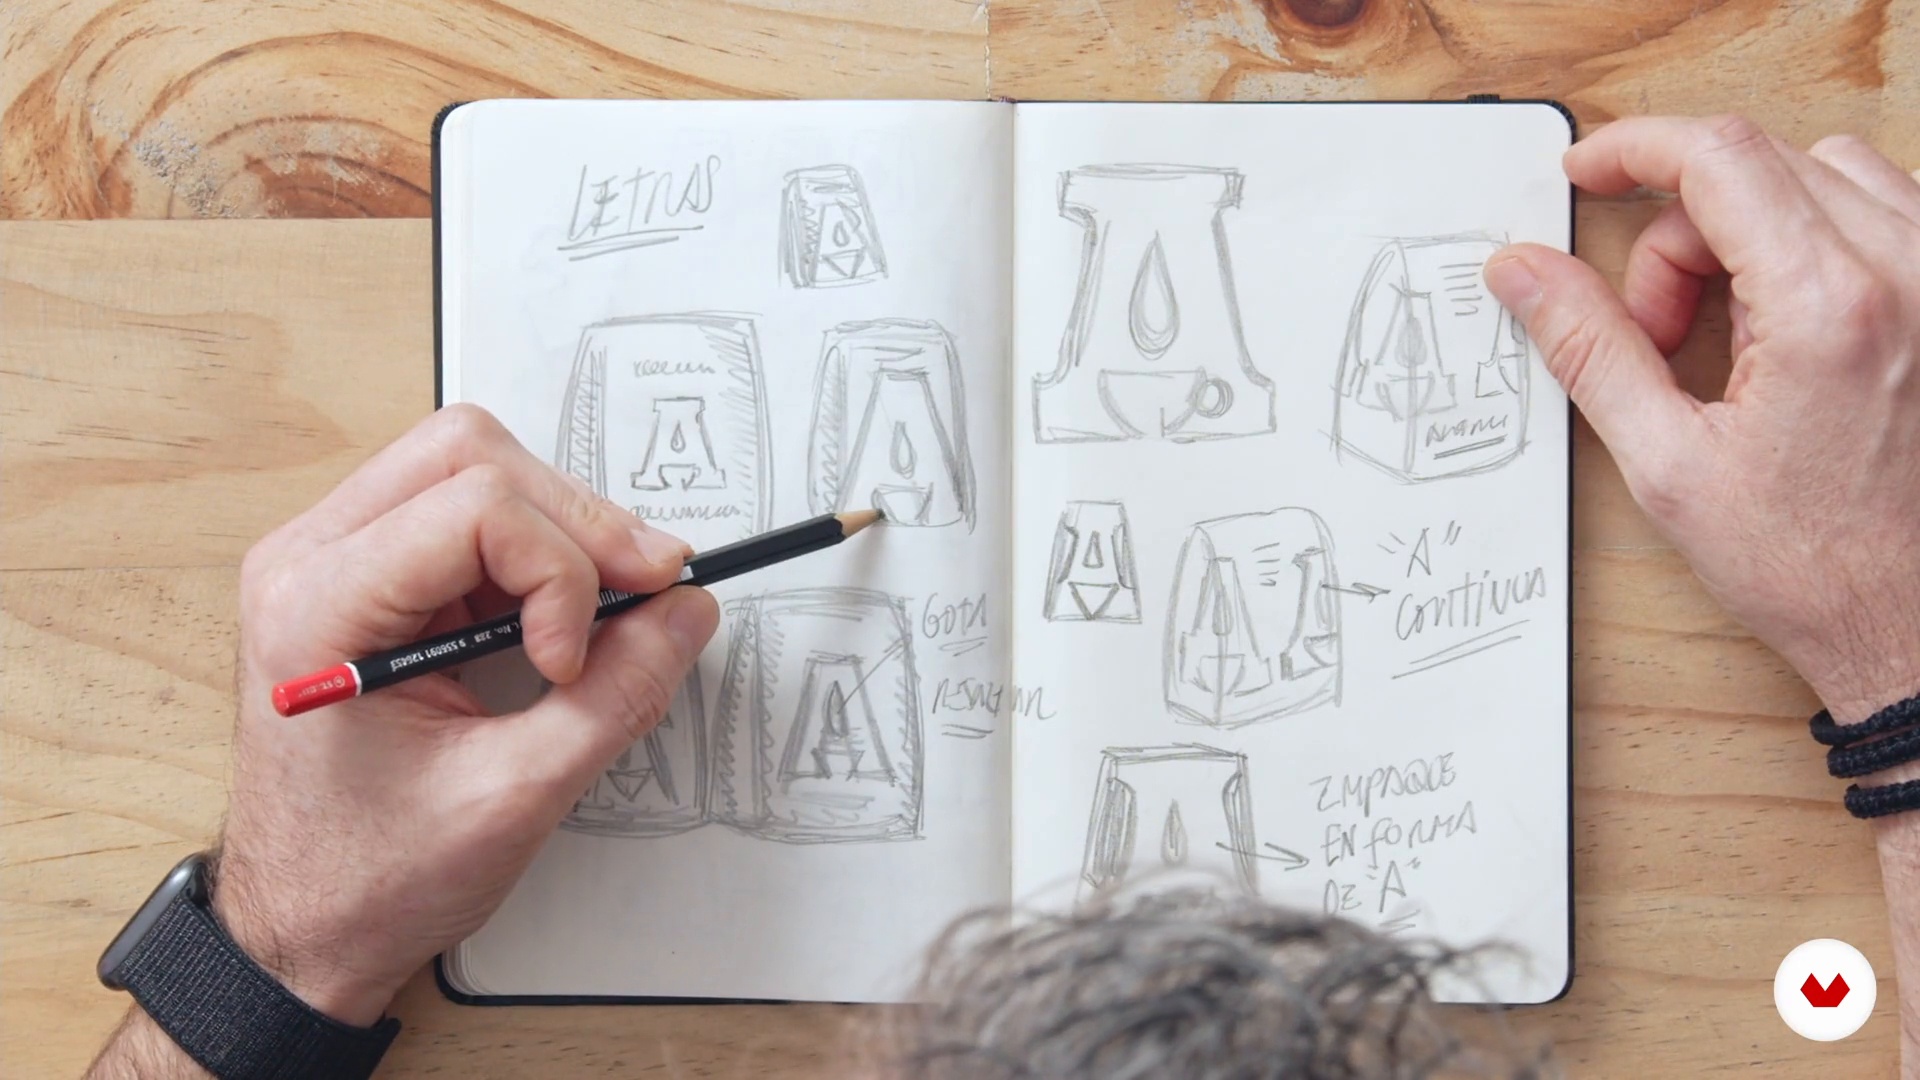
In this lesson you will learn to focus your ideas until you find the ideal one for your project and to achieve this you will have to use a pencil and paper. Forget about the computer, it's about you and your imagination. From a pencil and paper came the great ideas of humanity and yours has to come from there as well. Everything that comes to mind you will draw because one idea feeds the other and you will make a selection by territories to organize yourself.
6m
 10
10Proposals
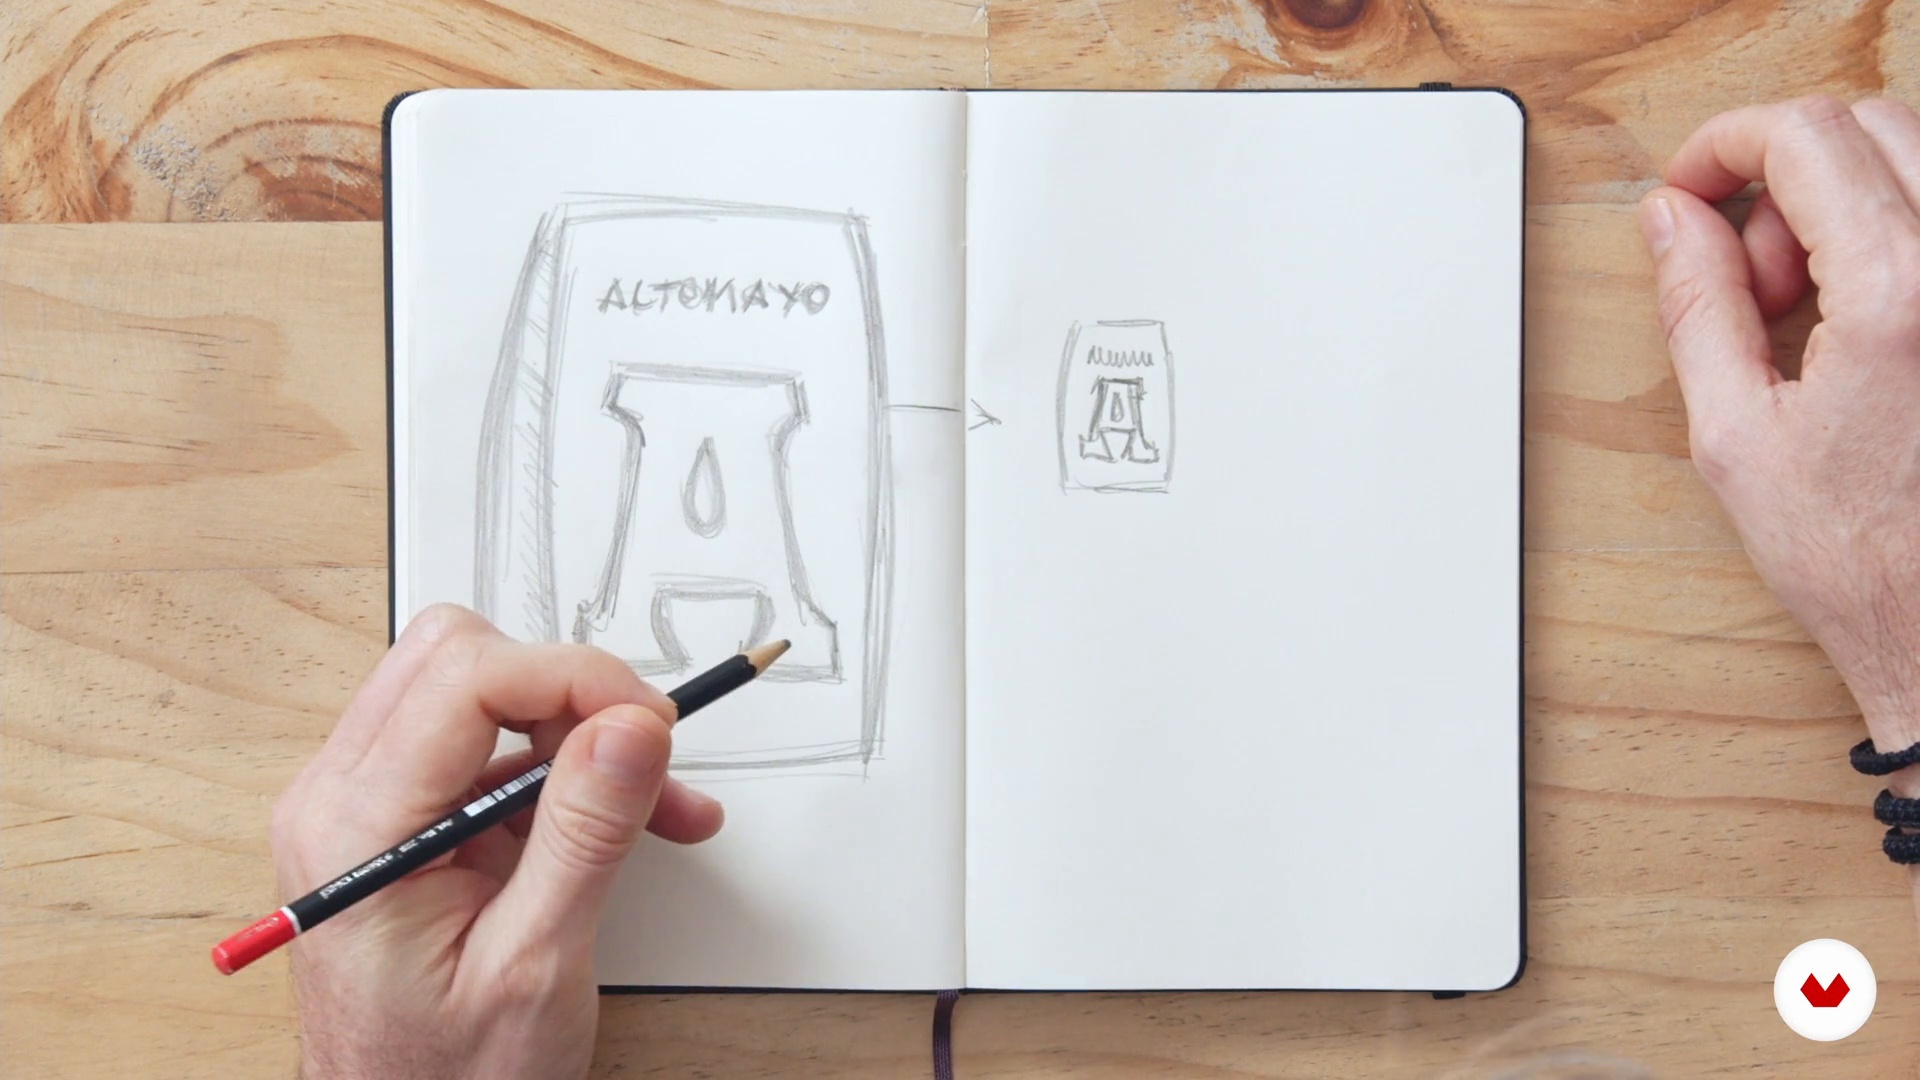
Once you have the ideas in pencil and you have chosen where you are going to go, you will make a more specific outline that will help you to have a clearer path and not be rehearsing to see what comes out. With a clear north it is much easier to make the sketch.
4m
 11
11Packaging design
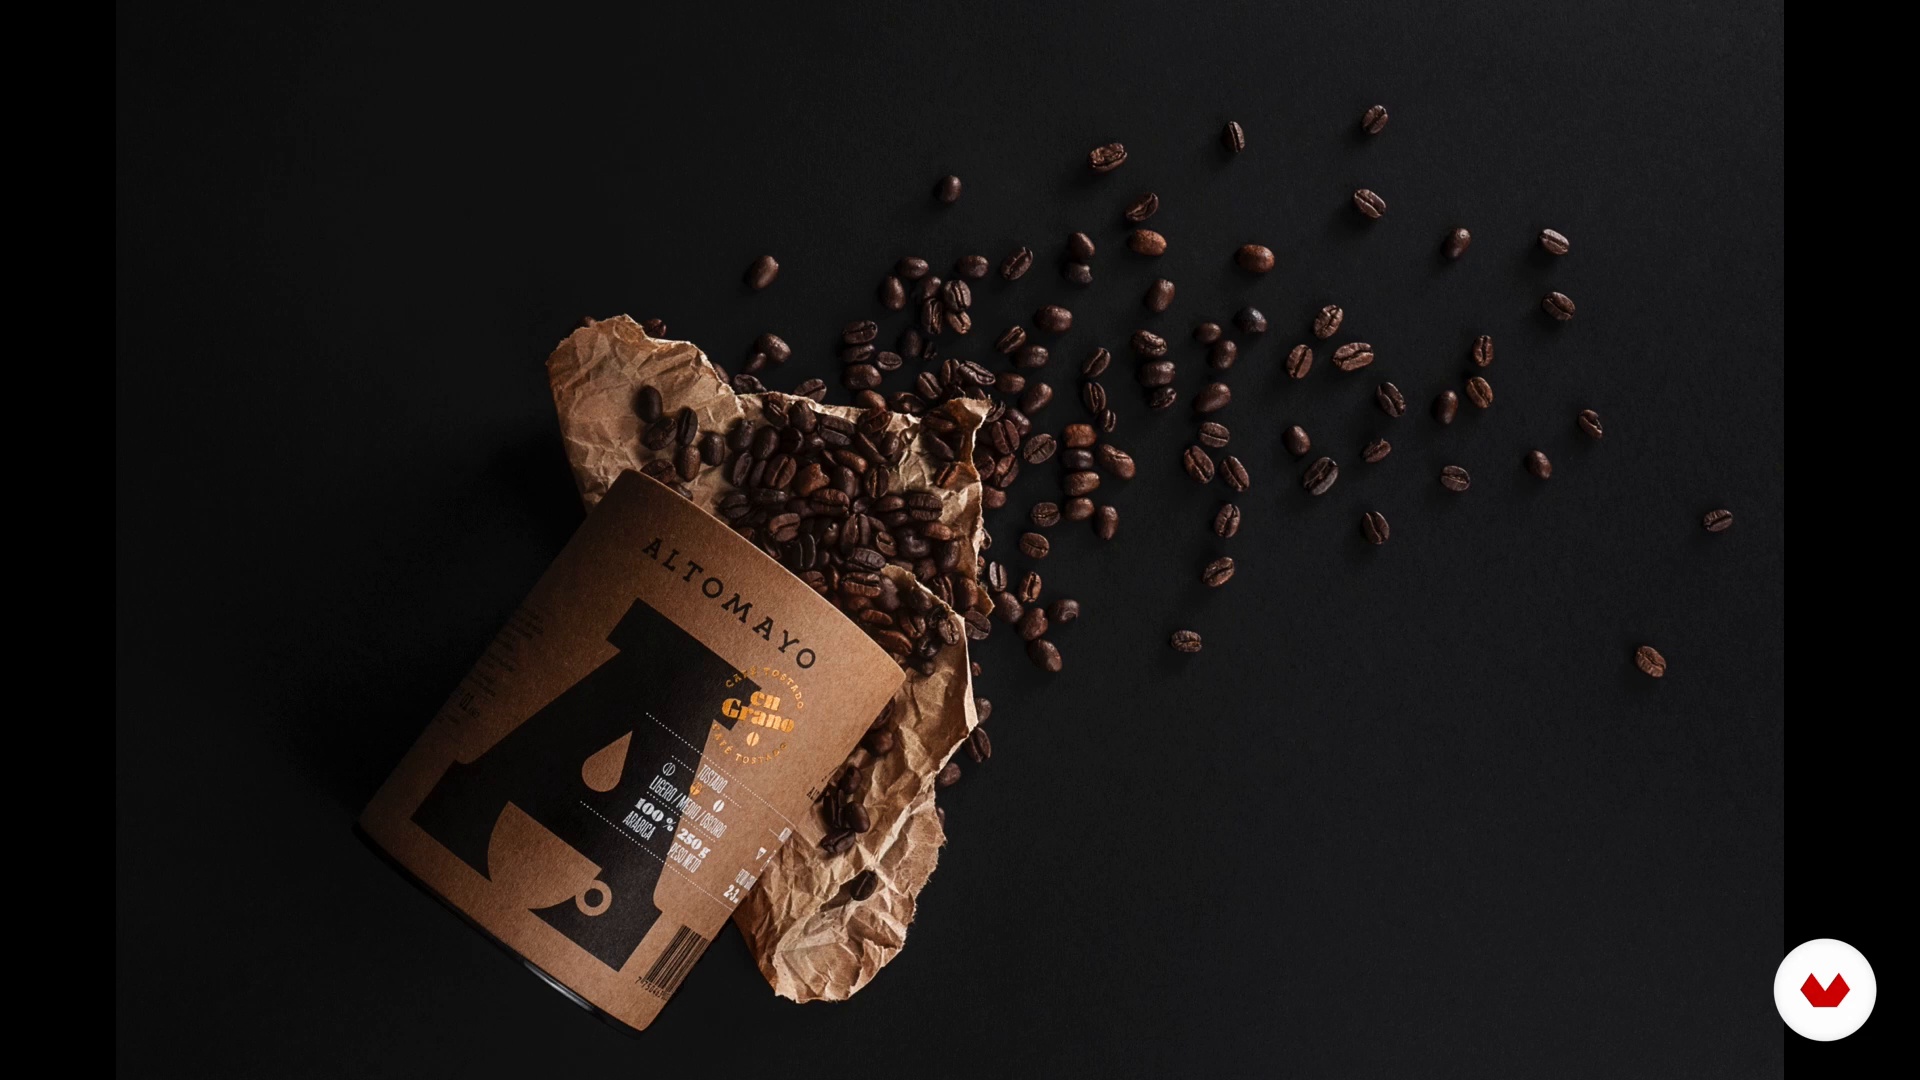
Now your idea will begin to materialize and you will take your sketch to digital. Here you will have to choose which color palettes you are going to use (first being guided by the material you are going to print on), you will also choose fonts and the appropriate sizes.
11m
 12
12Mock-ups
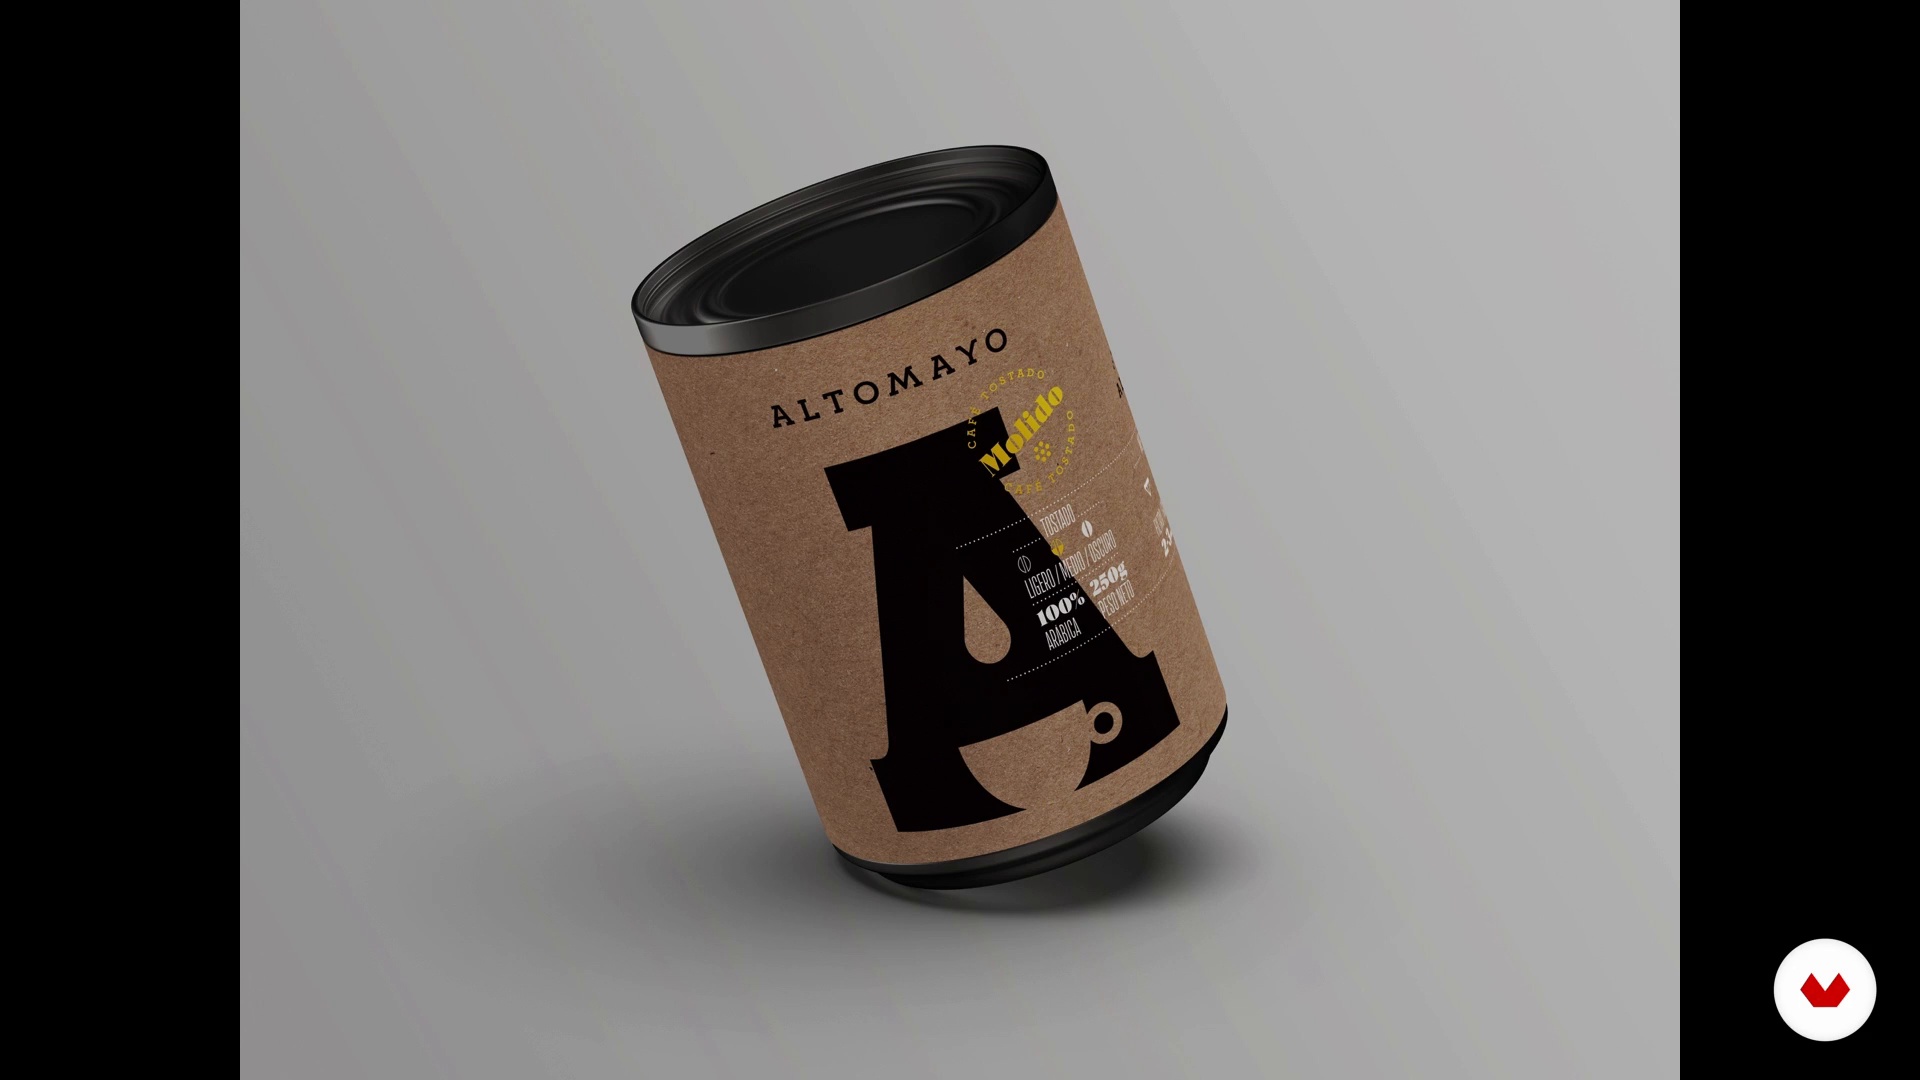
In this lesson you will learn how to capture your design in the most realistic way possible. This will help you sell your proposal better and your client will be more confident that what they are seeing will look a lot like the final result.
5m
 13
13Client presentation
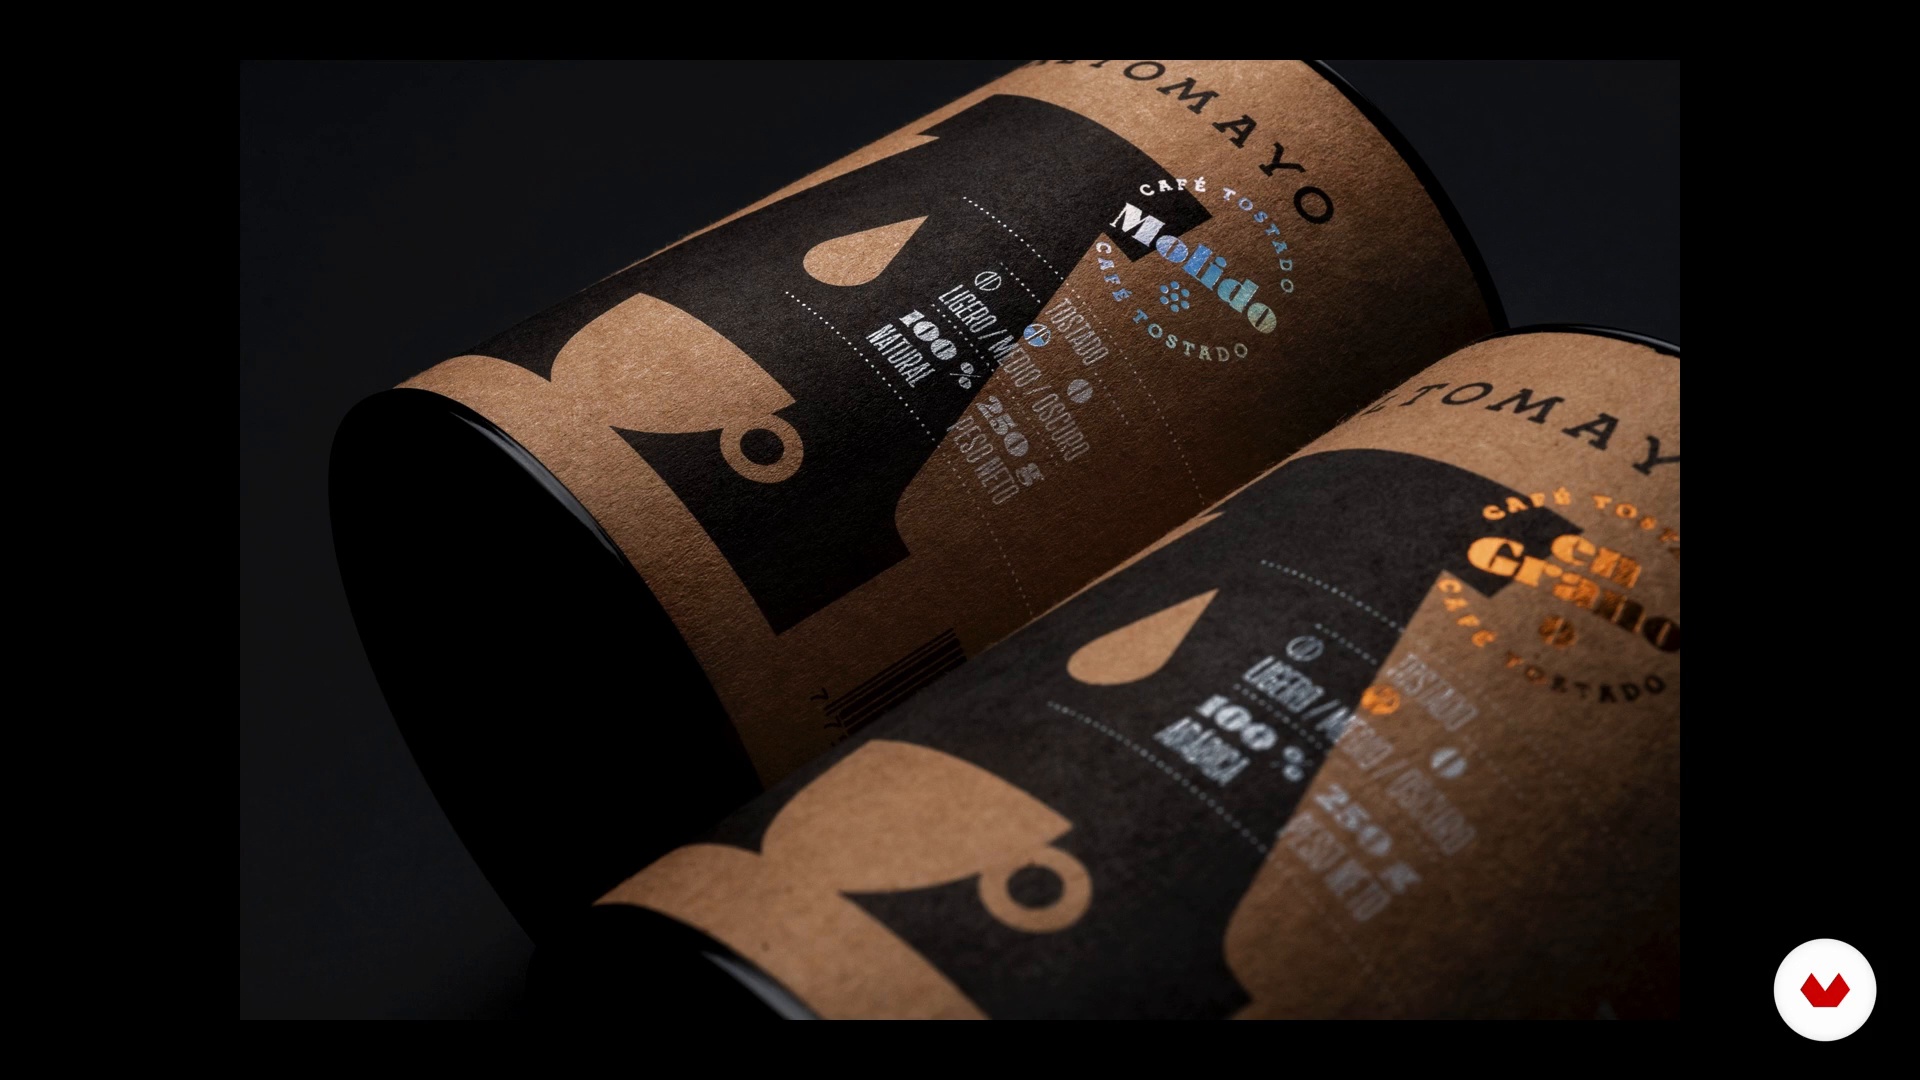
Finally, you will learn to focus on the most relevant and appropriate topics so that your ideas are perfectly understood. A good presentation usually ends with good results, but it is important that it has an order and a sequence that allows your client to understand the decisions you made and better appreciate the project.
4m
 14
14How to document your project
In this lesson you will learn how to choose the best way to document your project for your website. This will help you to show your work as well as possible and look more professional. The final finish is essential for your future clients to get a better idea of what you are capable of doing for them.
7m
 4
4Brief written
In this lesson we will explain why it is important to have a good Brief and why, in addition to containing questions closely related to the business, it should contain more personal and even existential questions about your client.
10m
 5
5Customer visit
Something that is important to us is visiting our client's facilities. Here we can find traits of the company culture, see what type of packaging they use, what limitations they have, etc. In this lesson, we will tell you what to observe and ask when visiting your client's facilities.
3m
 6
6Briefing meeting
In this lesson, we will explain why it is necessary to make the customer a bit uncomfortable. What and how you should ask and for what.
5m
 7
7Contrabrief
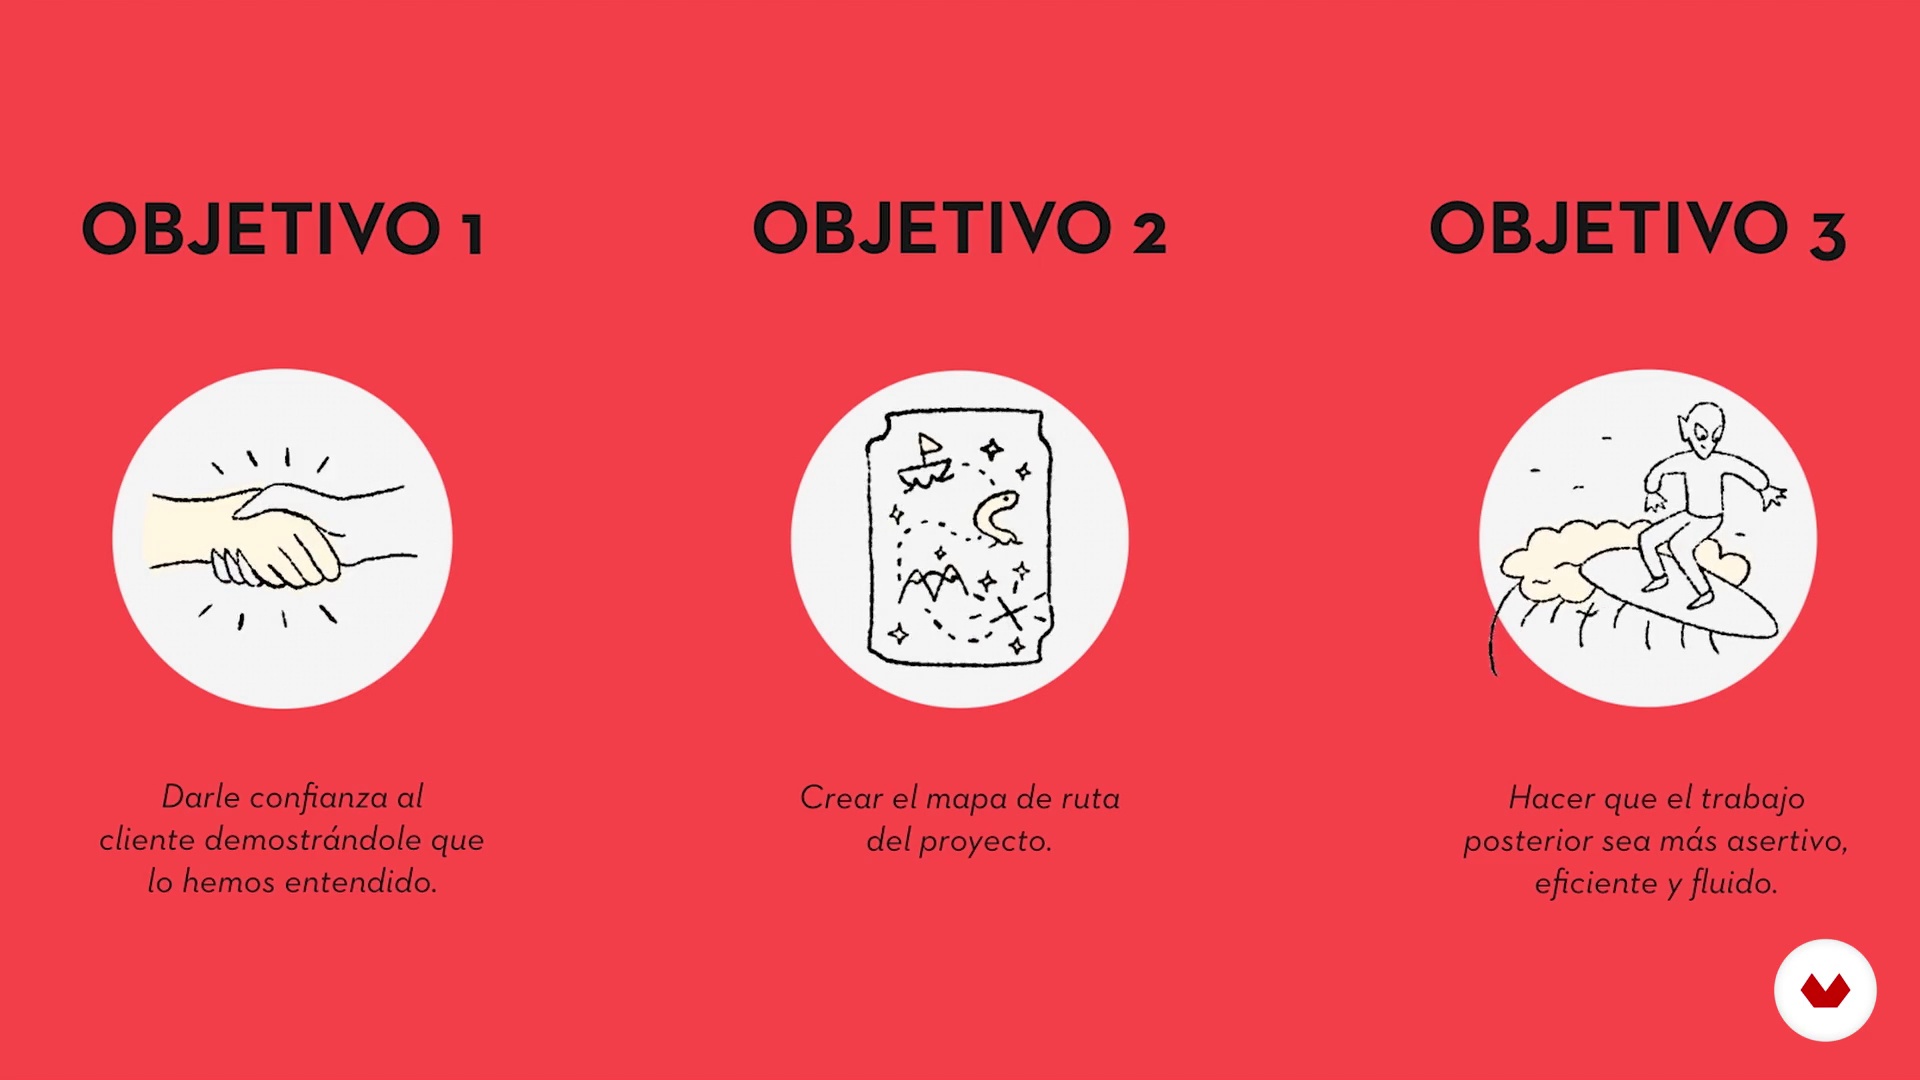
In this lesson we will explain why it is important to confront what the client says he is, with what we have seen, both during the visit and at the meeting. The objective of the Contrabrief is to stay with what the brand really is. From this exercise the Core of the brief should come out, which will be the true roadmap of the project.
8m
 8
8Competitor analysis
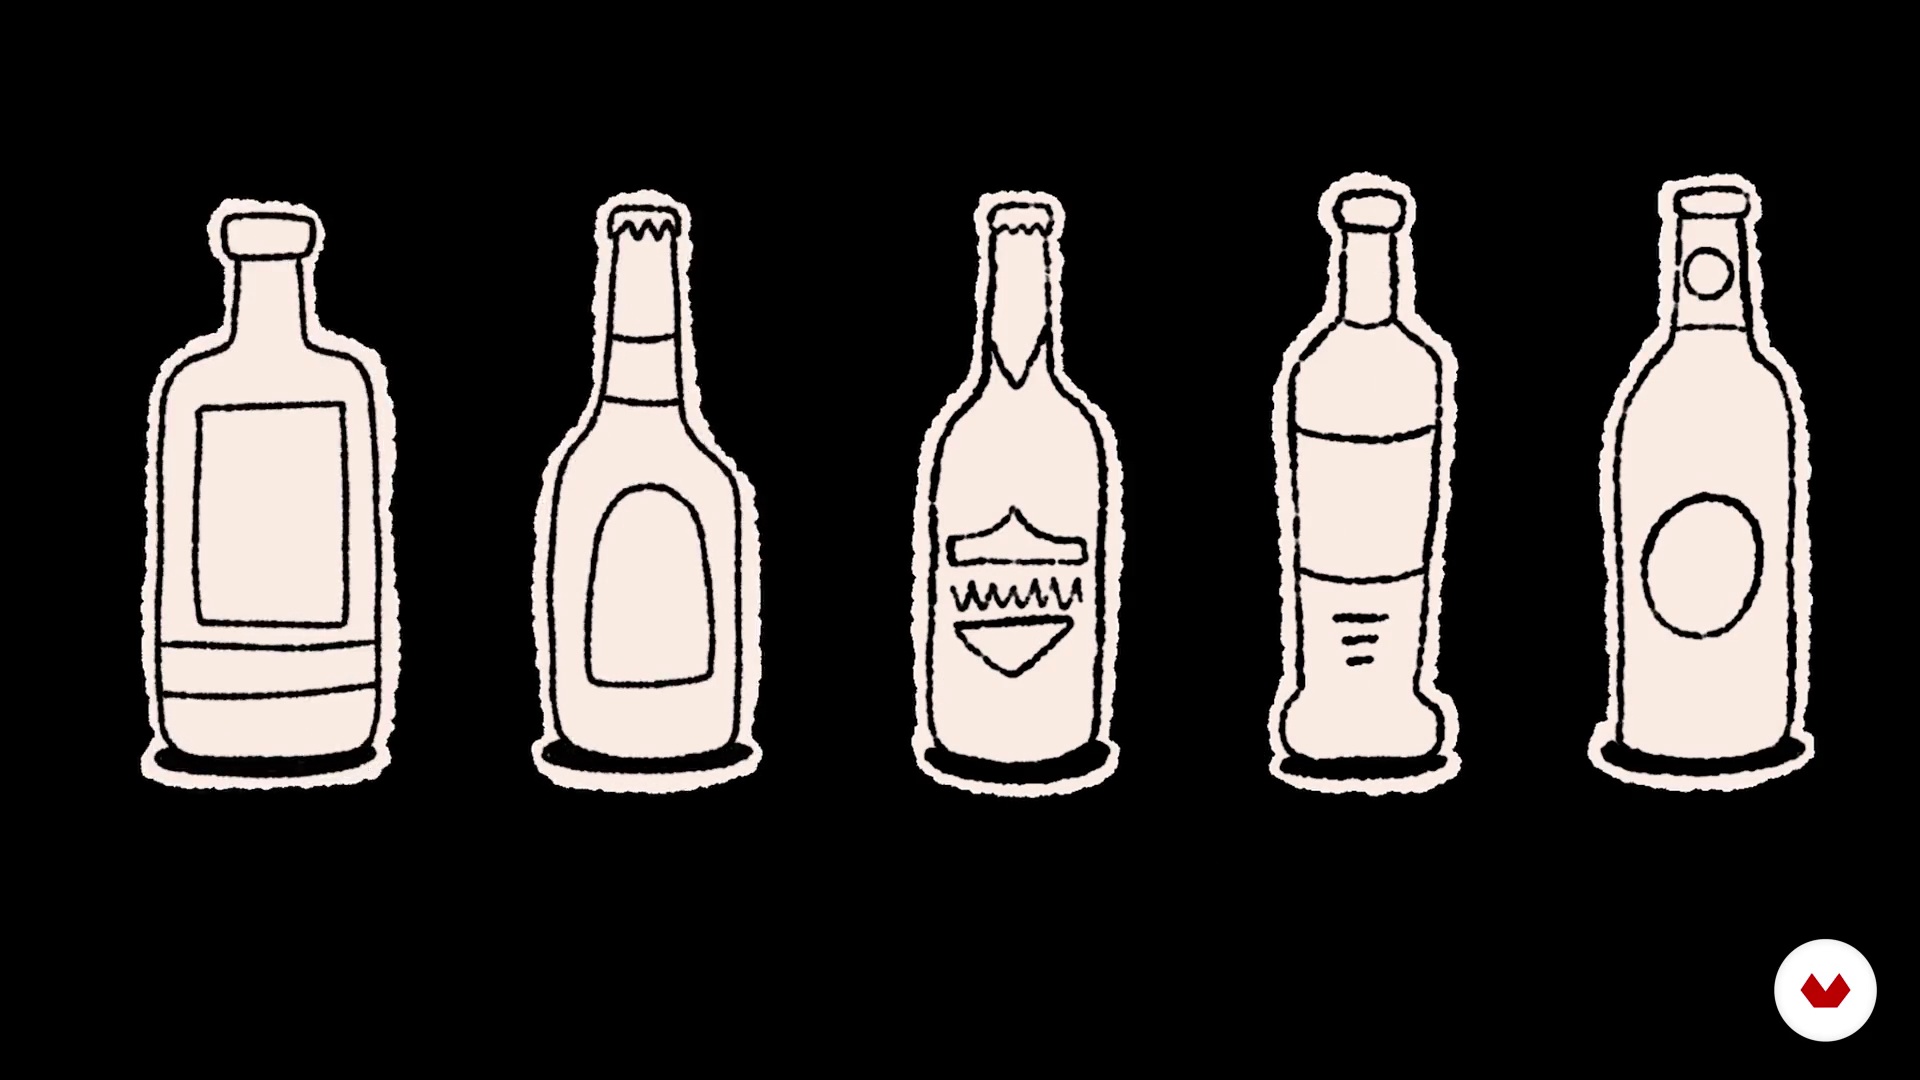
In this lesson we will teach you to reduce the competition in three words.
4m
 9
9Map of territories
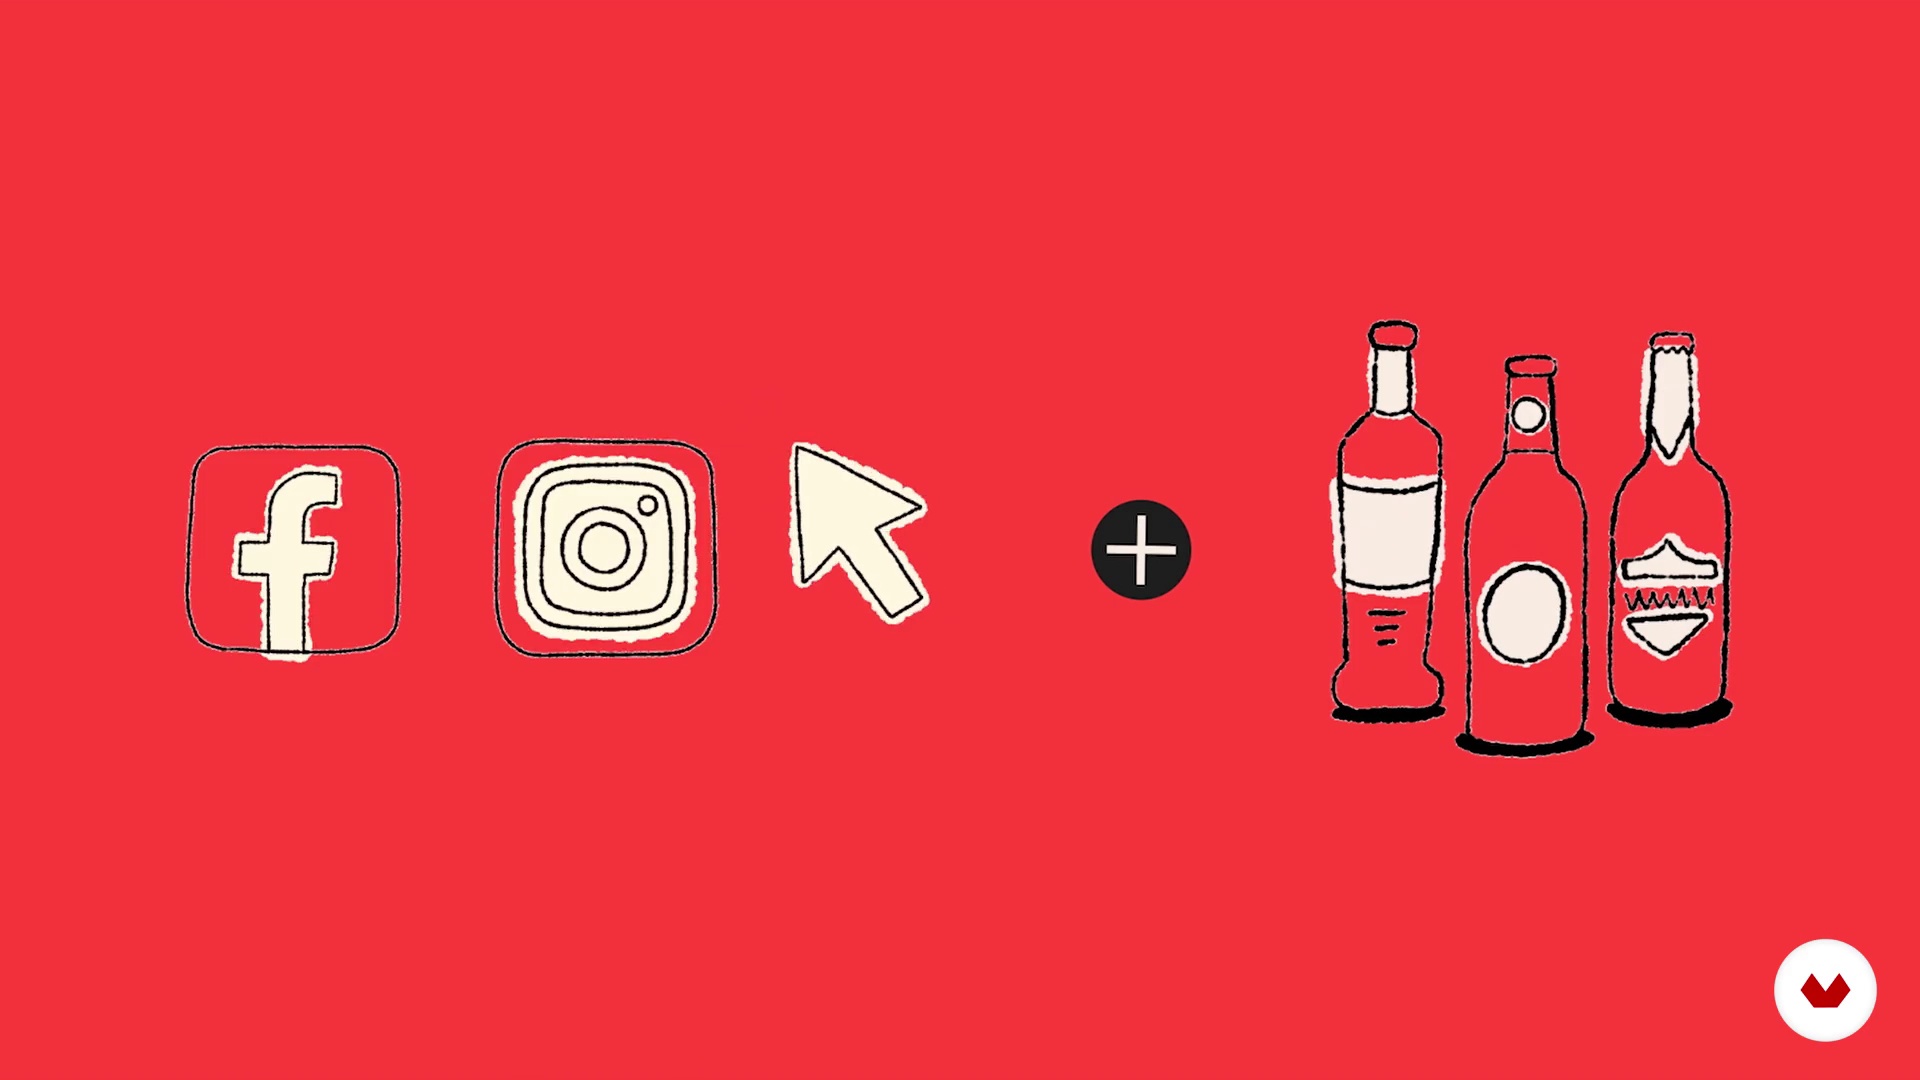
In this lesson, you will see how to create the map of competitors before the arrival of your brand.
3m
 10
10Golden circle
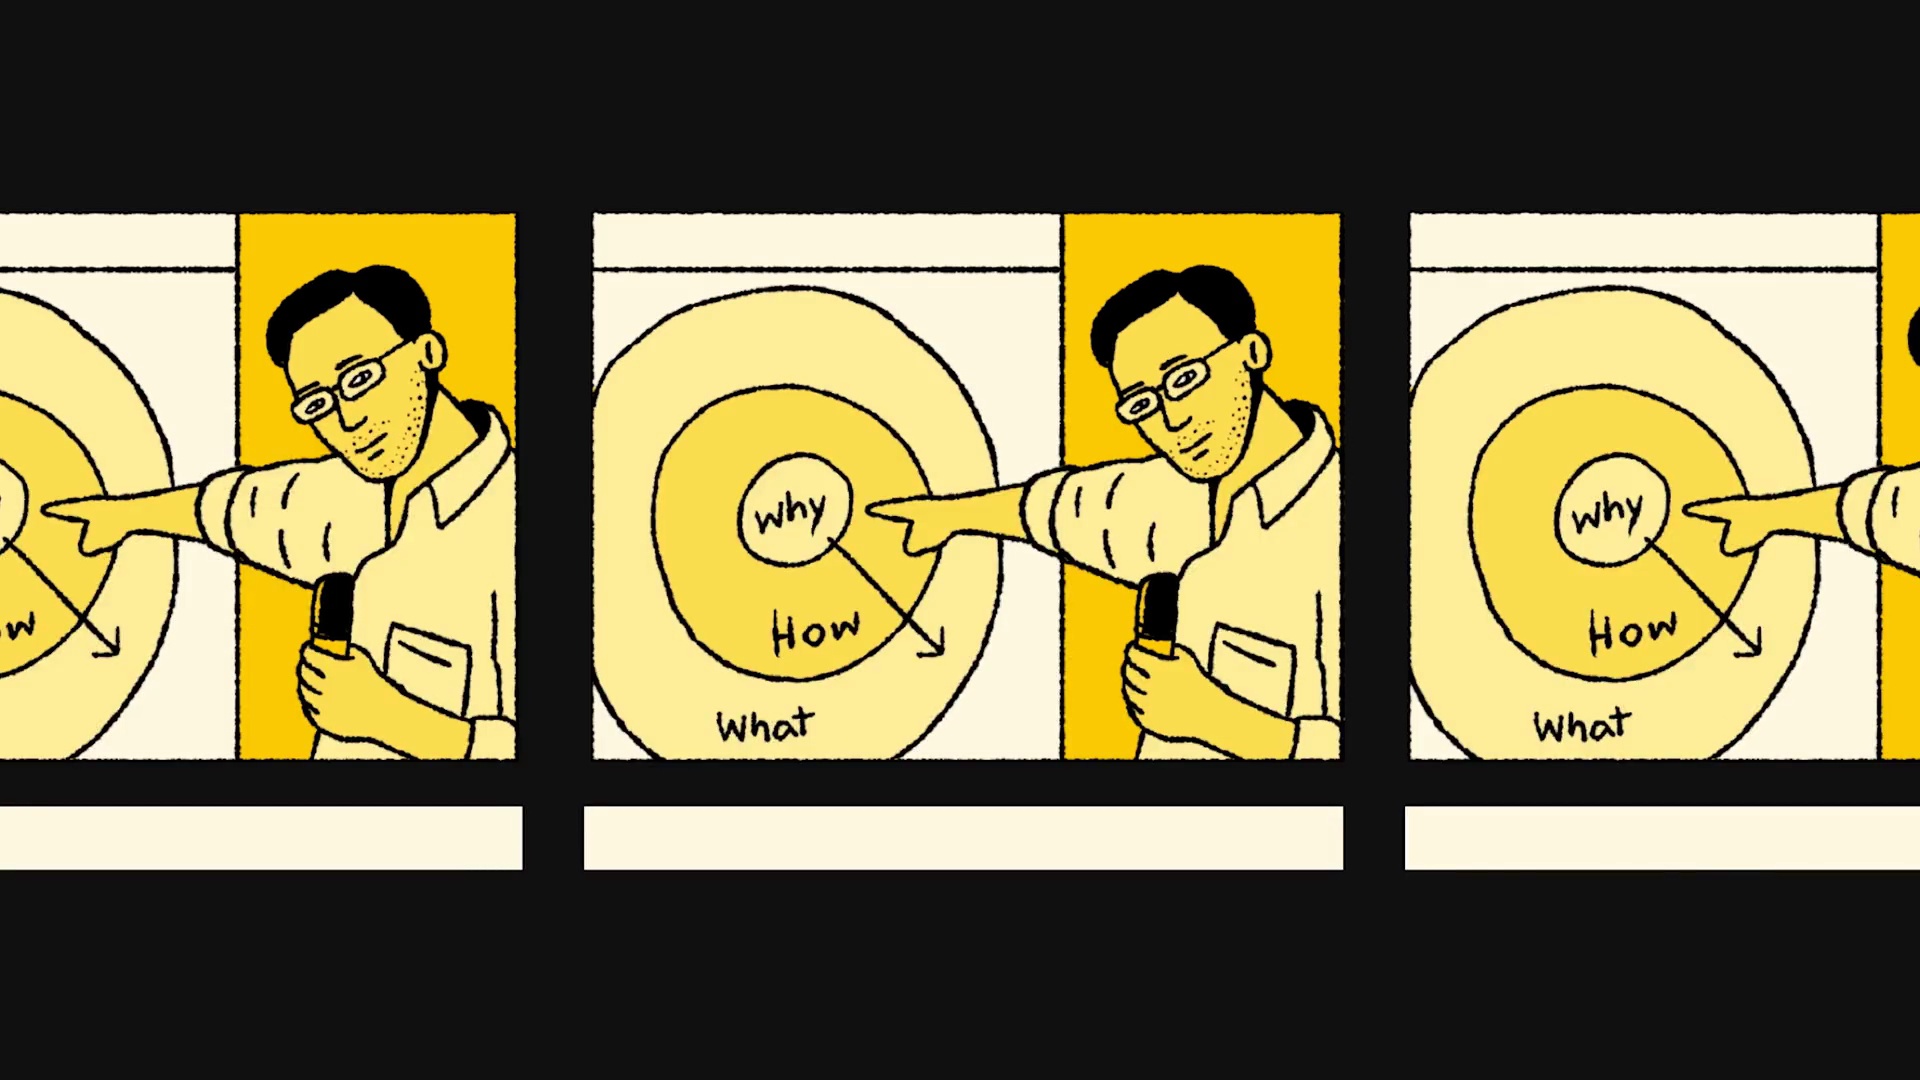
In this lesson you will understand what Simón Sinek (creator of the concept Golden Circle ) says has to do with our process.
3m
 11
11Our territory
2m
 12
12Brand personality
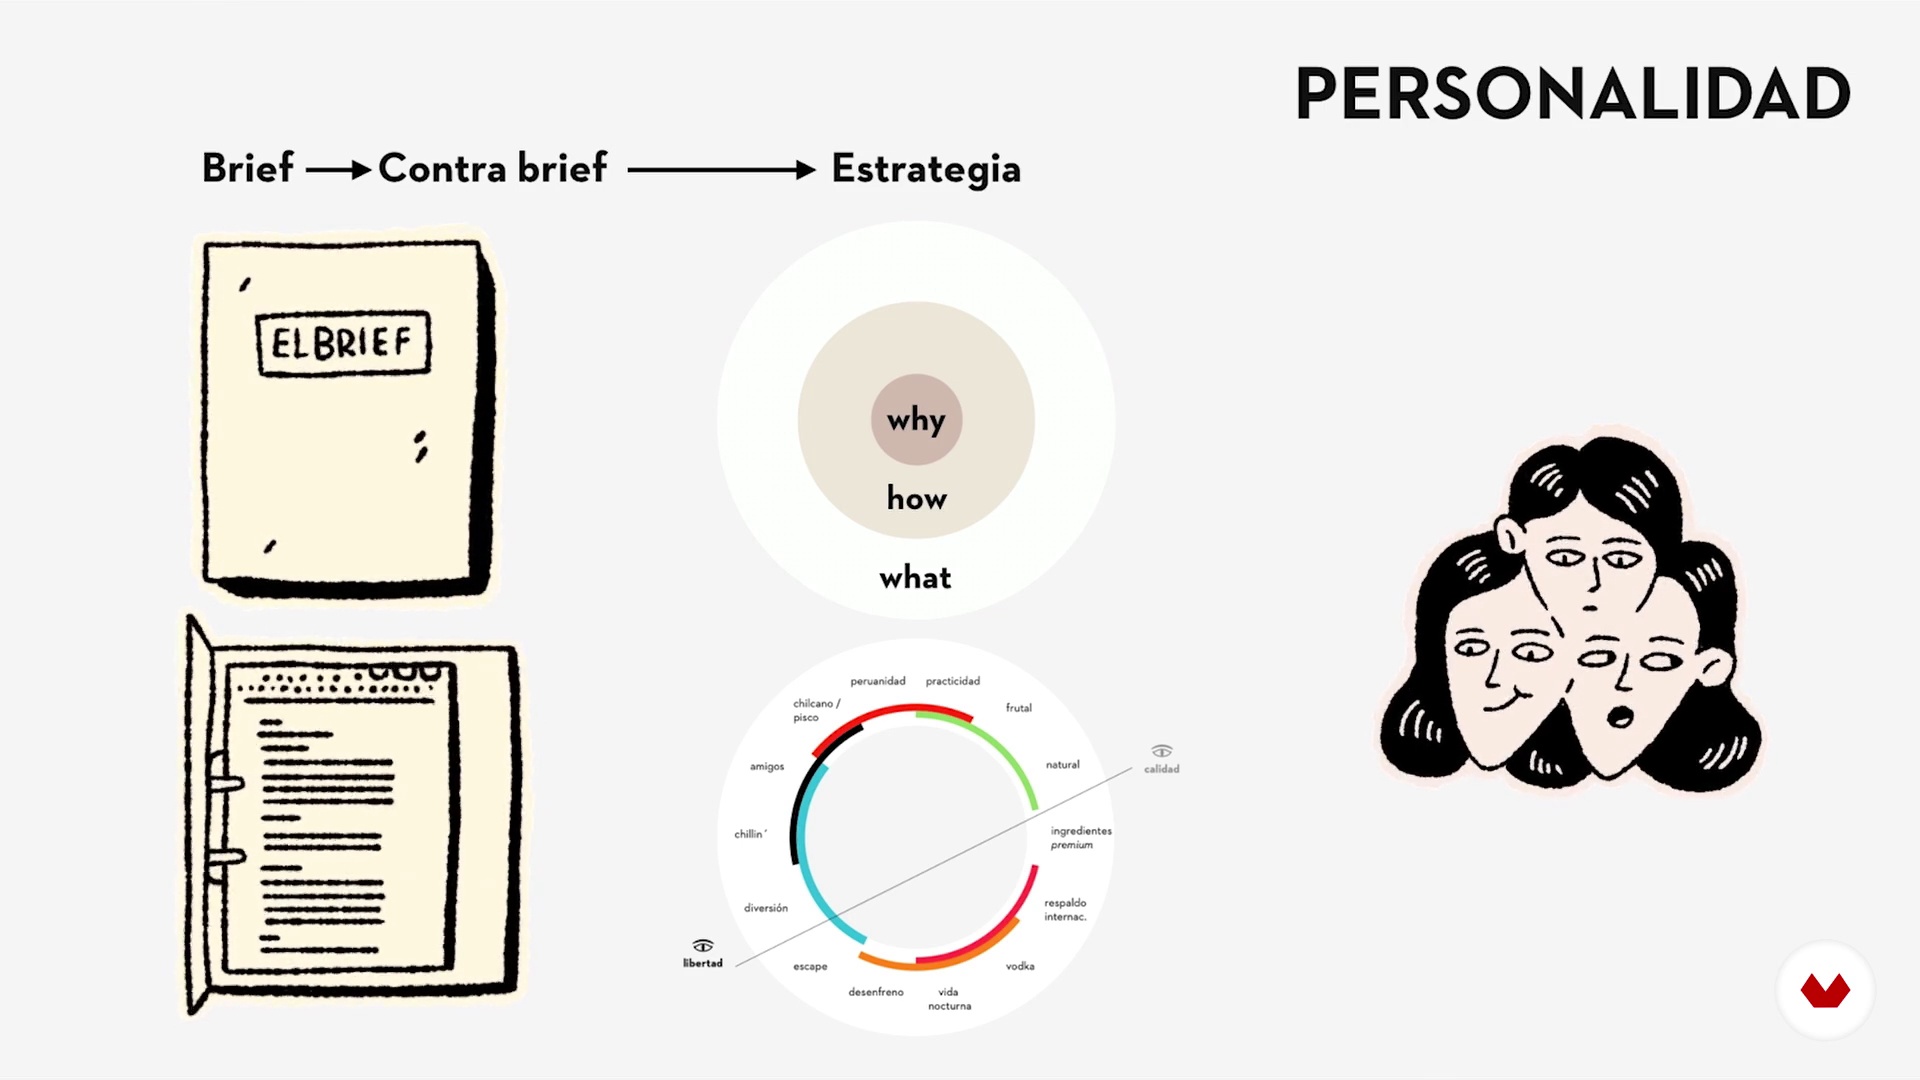
Once the brand's territory is defined, we are in a position to develop its personality. In this lesson we will see how we combine the brand's personality with the territory and purpose that we have developed.
2m
 13
13Big idea
In this lesson, you will learn to find an idea that supports all creative communication.
4m
 14
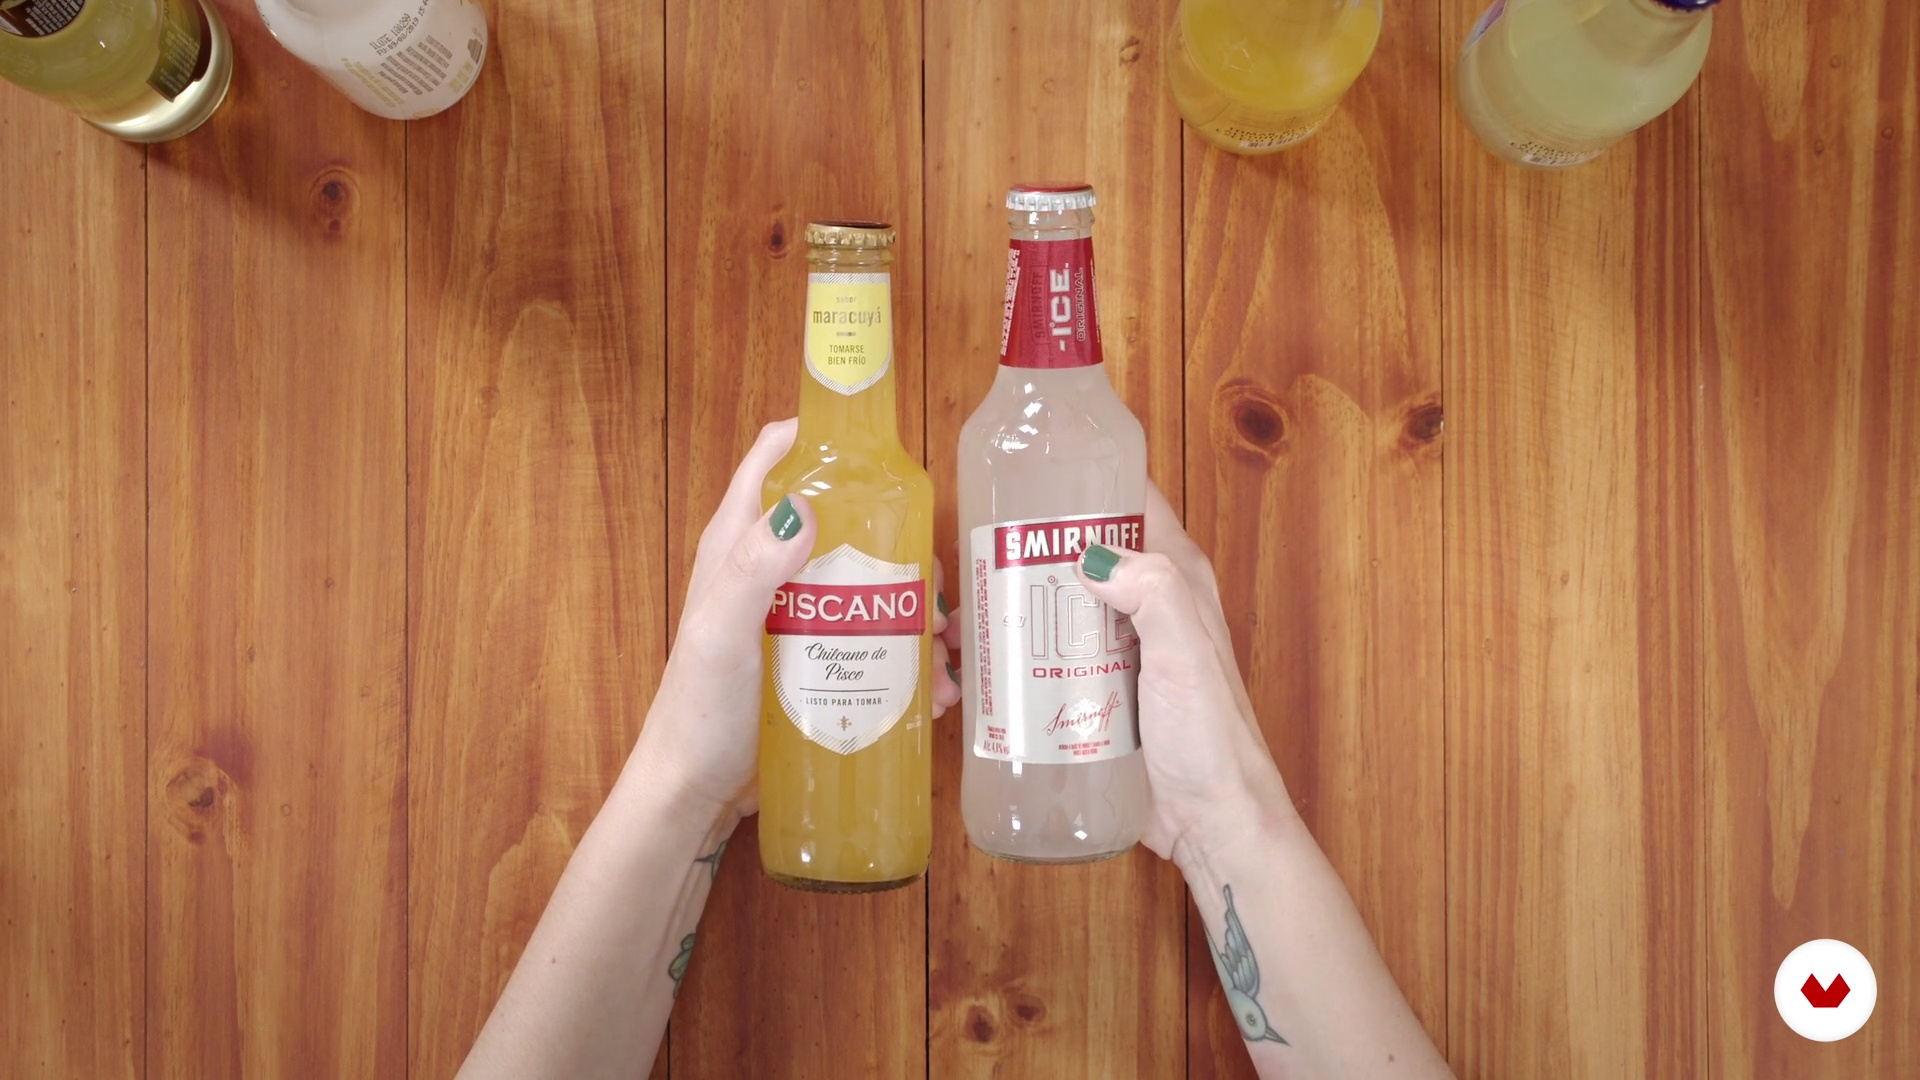
14Graphical analysis of the competition
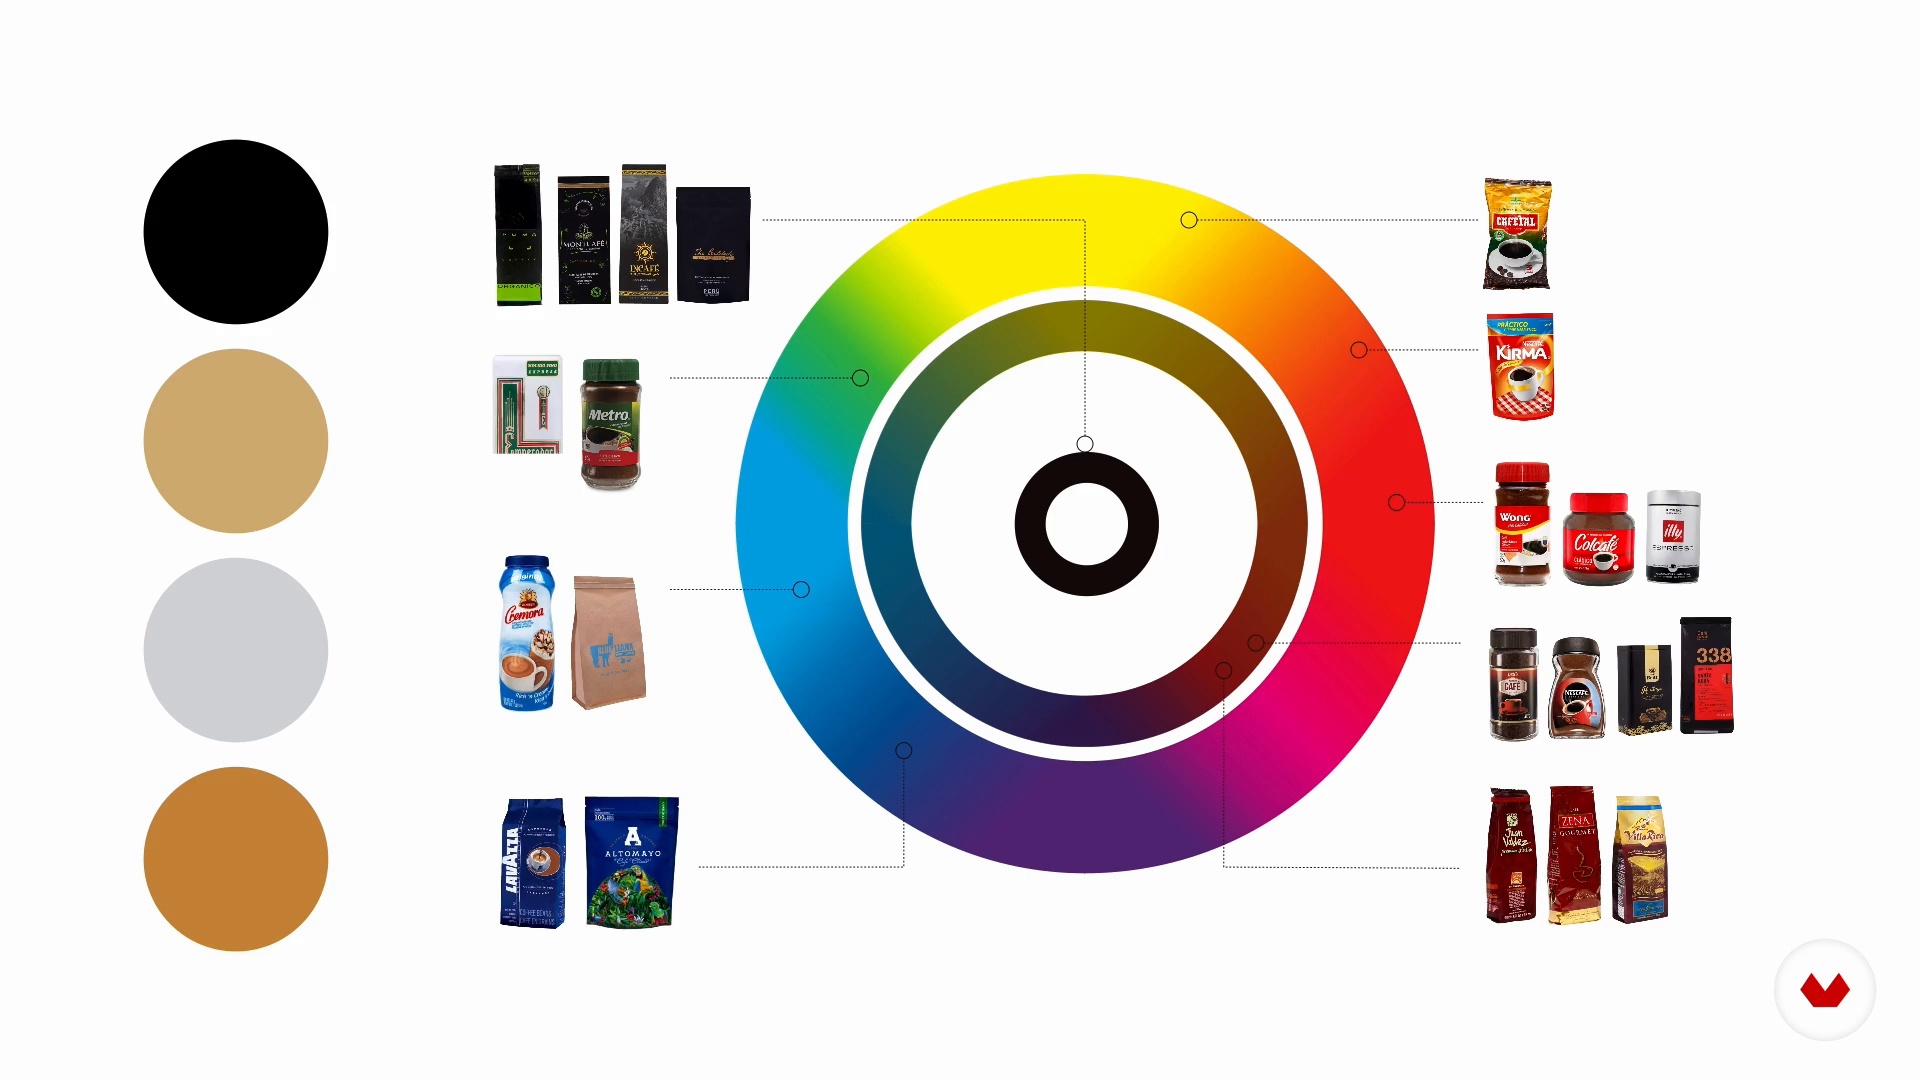
In this lesson, we will do a graphical analysis of the competition at your point of sale. This stage serves us mainly to see what graphic spaces the competition is occupying.
7m
 15
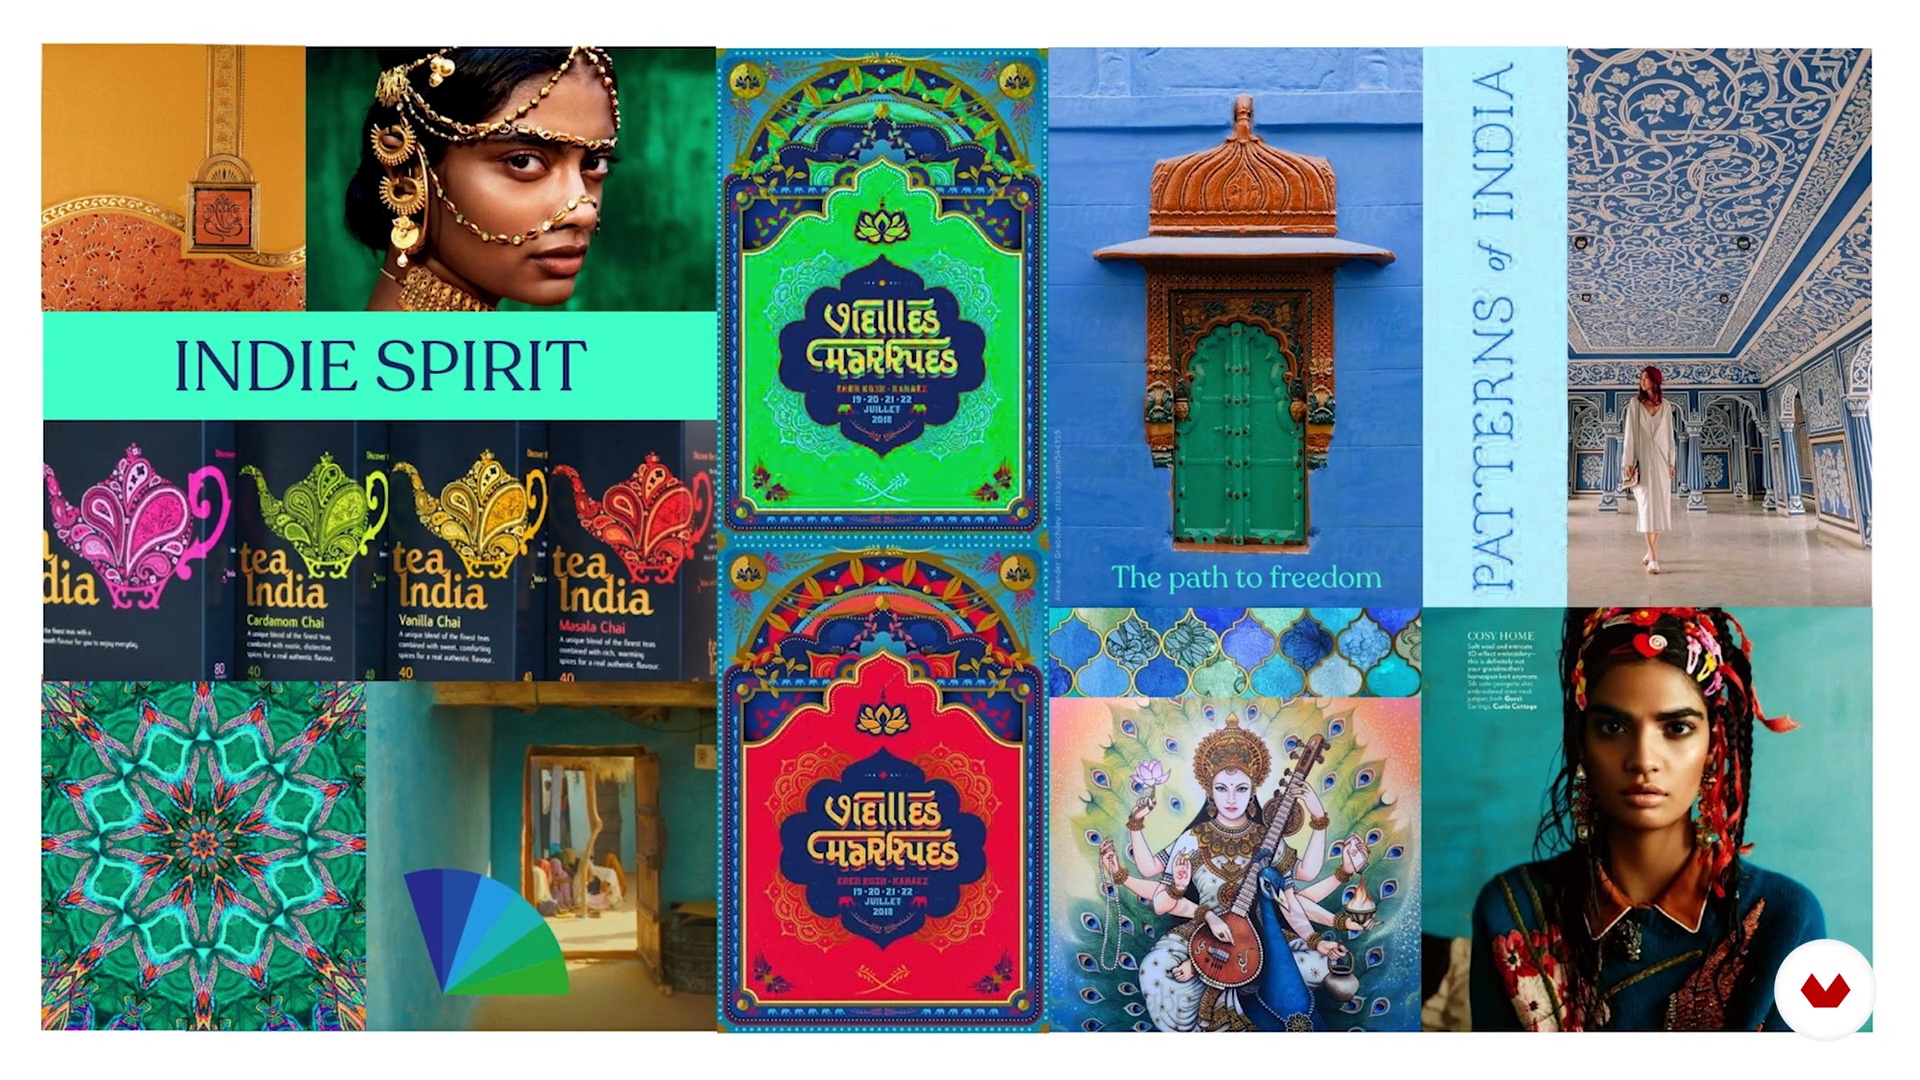
15Moodboard and budgets
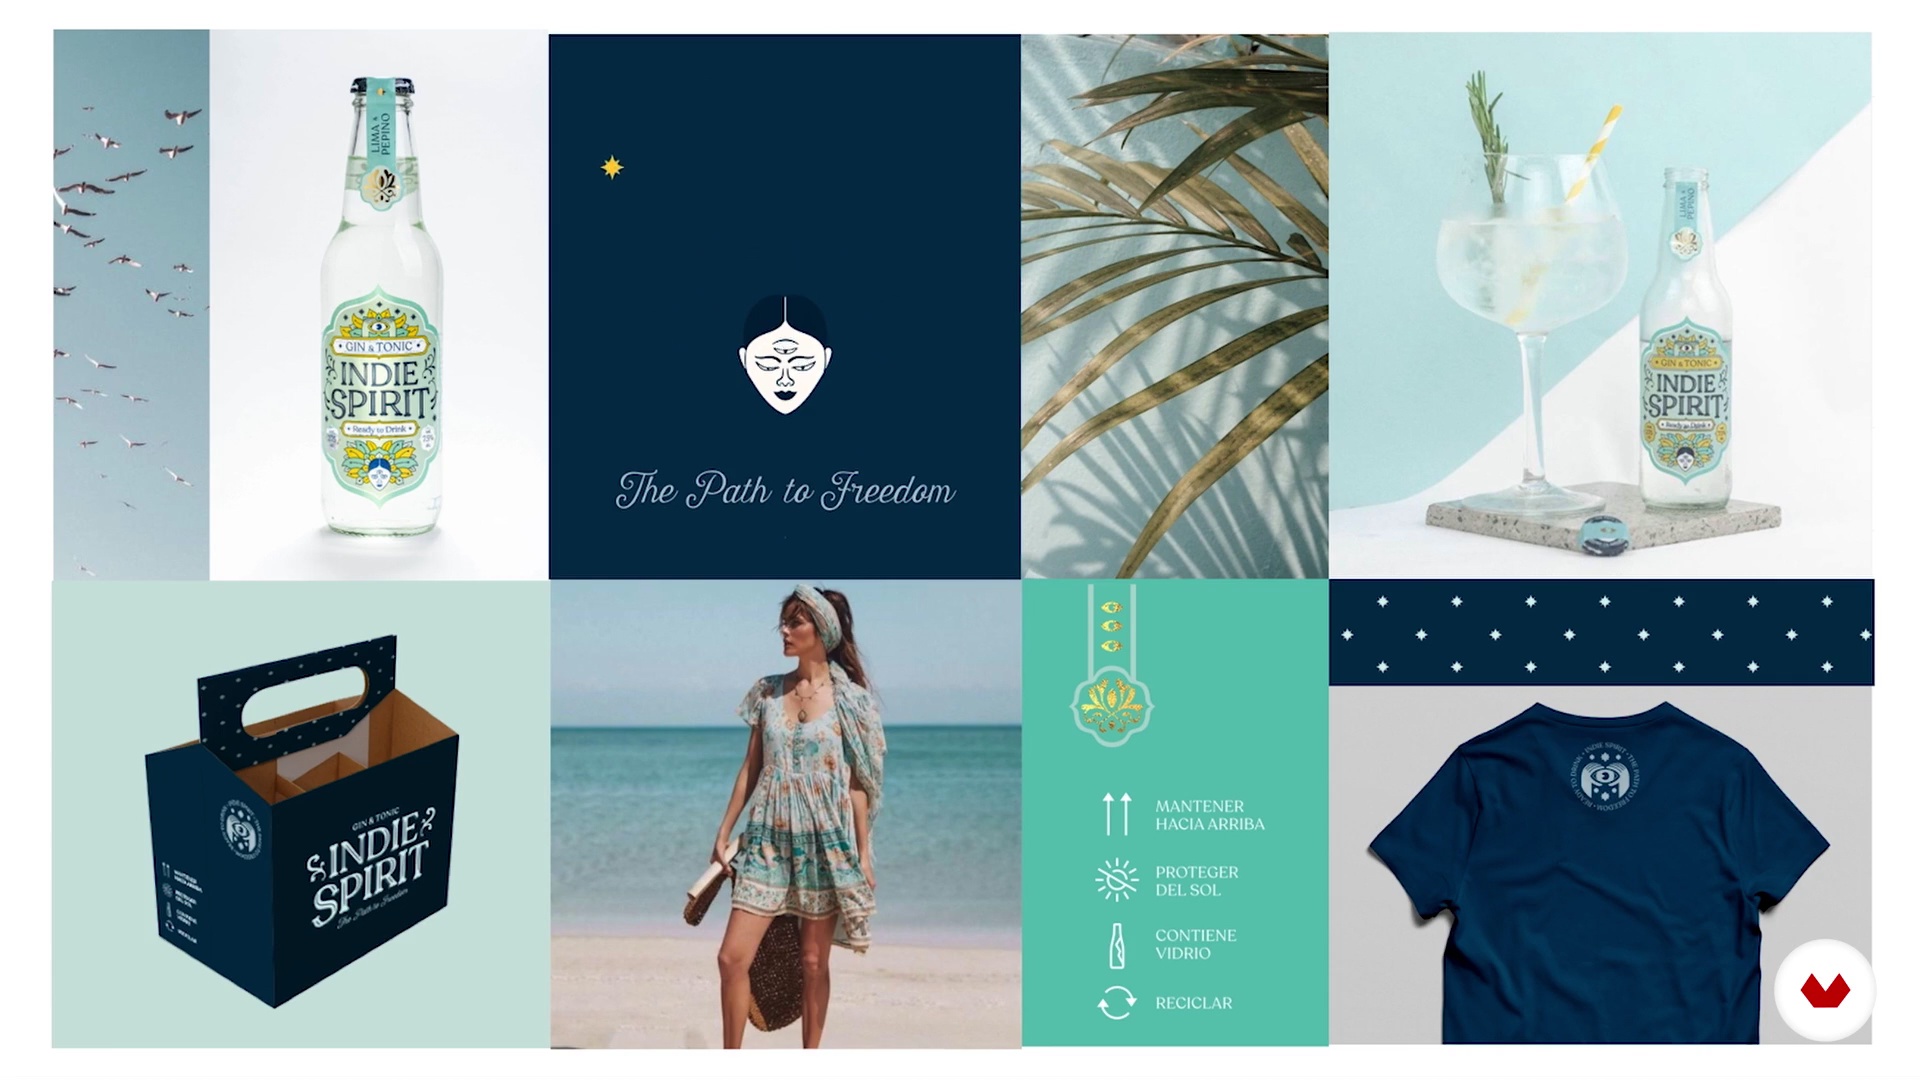
In this lesson, we are going to see in pictures everything that we have worked on so far. This moodboard must be 100% aligned with the conceptual part.
4m
 16
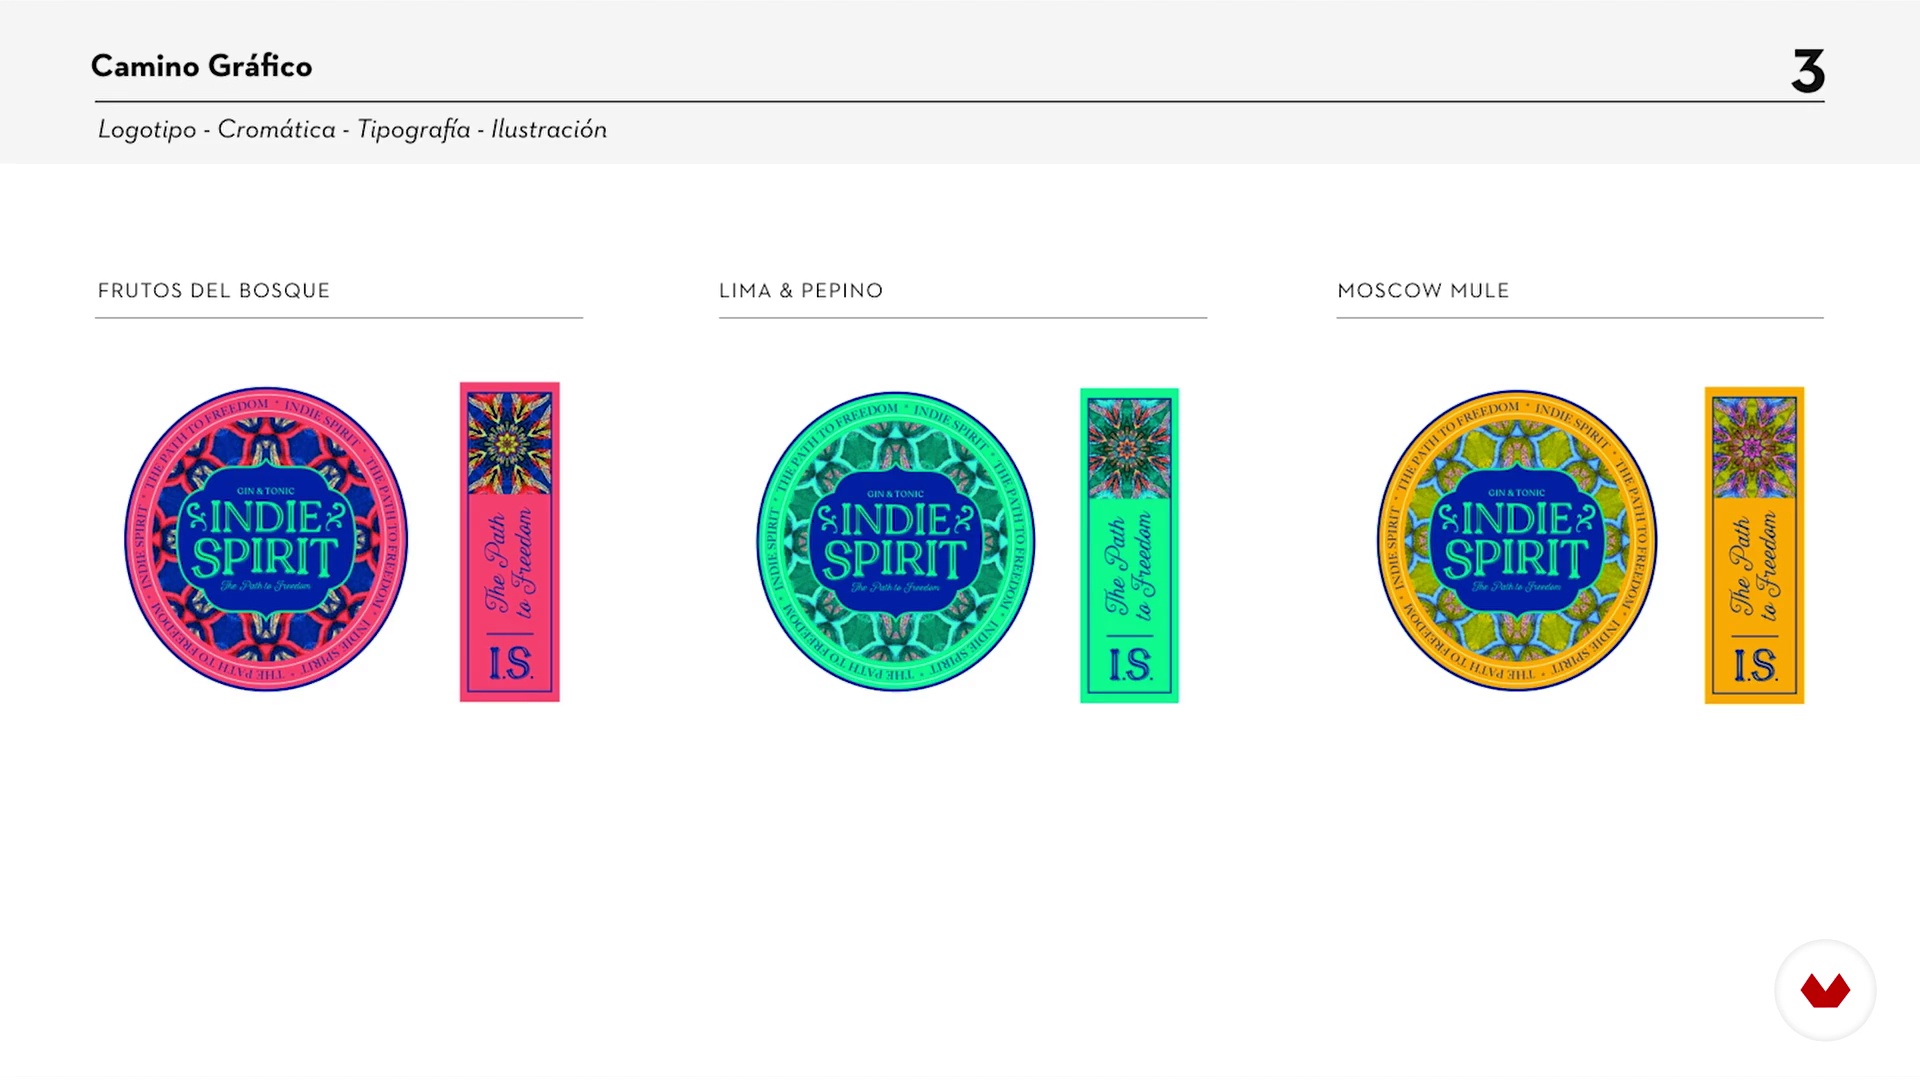
16Graphic path
At this stage you will just put your graphic execution to the test with your client. Learn how to deal with it!
2m
 17
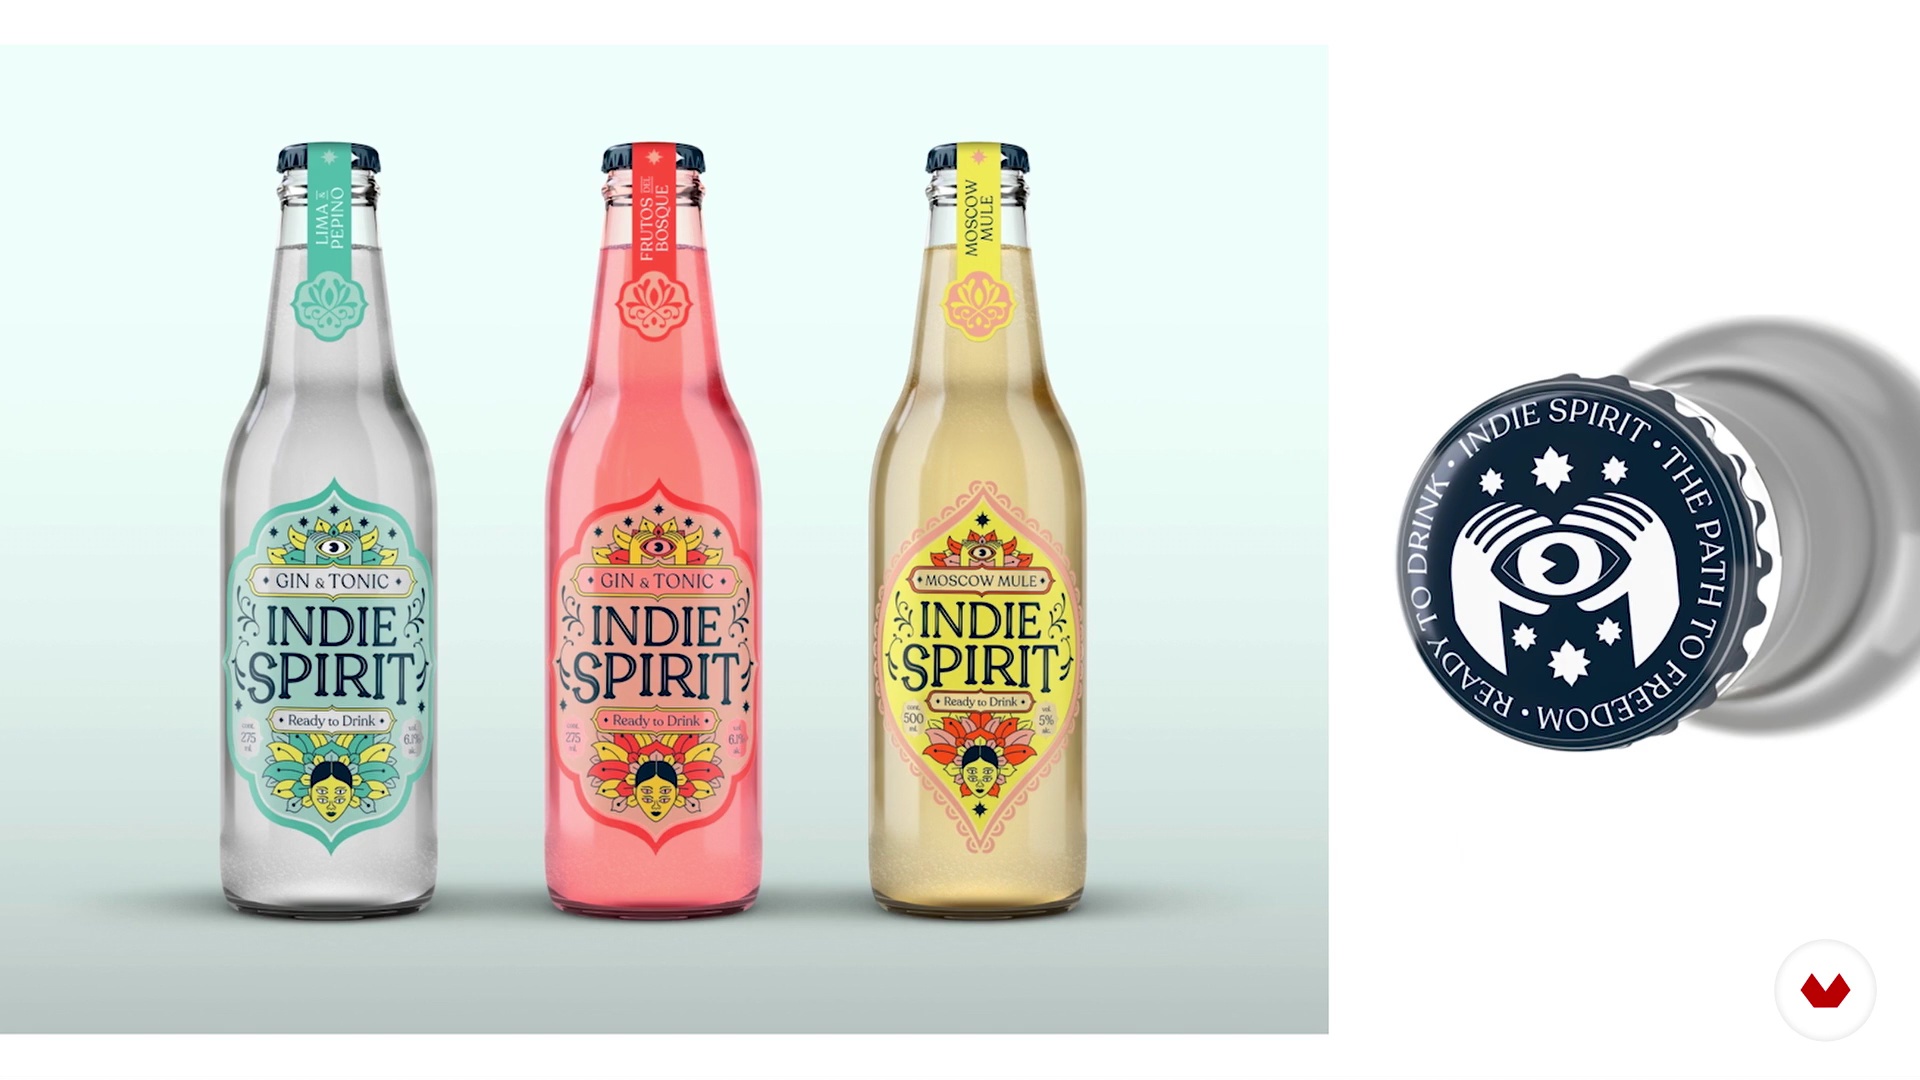
17Packaging design
In this lesson, we will tell you what things you should keep in mind and what mistakes you should avoid, before developing the packaging design.
3m
 18
18Definition of the graphic system
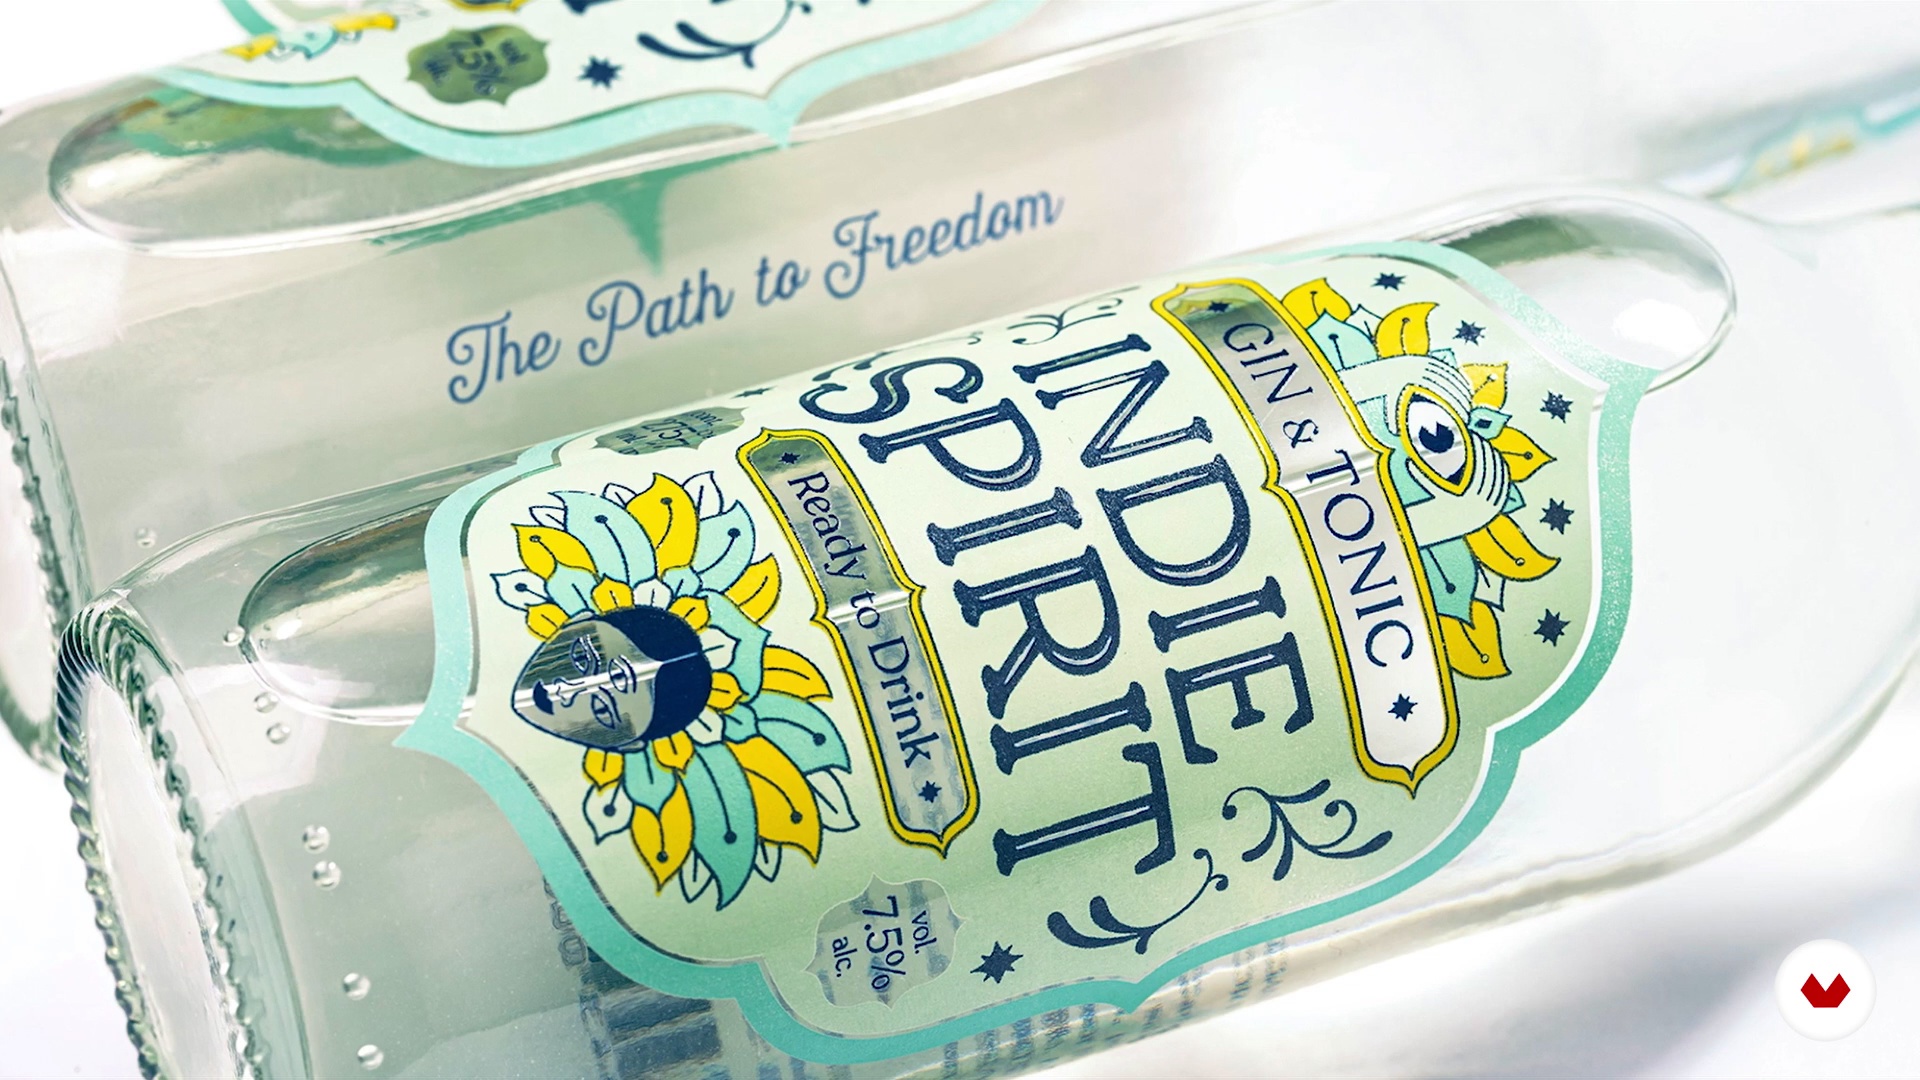
It is necessary that you present the graph applied to different formats. In this part you will see how a range of possibilities is opened from a package.
1m
 19
19Project closure
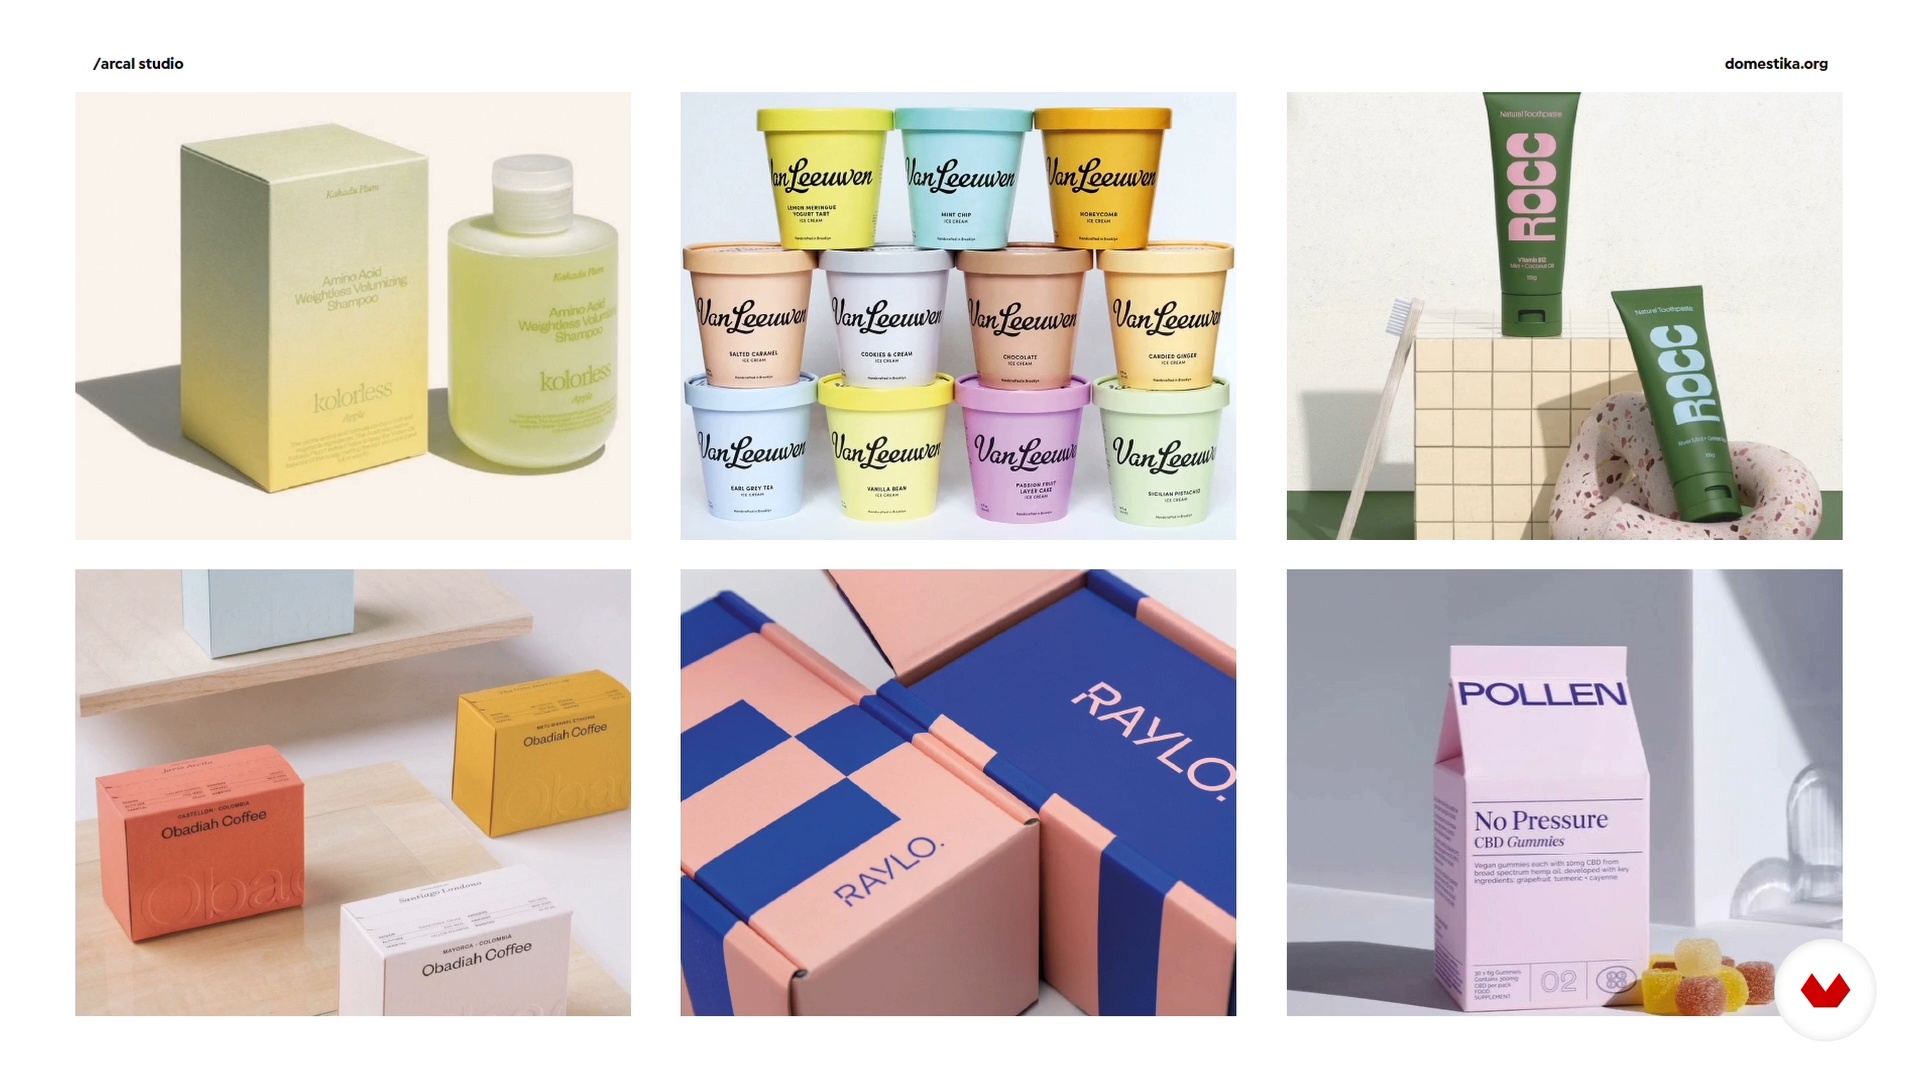
In this lesson you will understand that you were not designing a product but defining yourself.
2m
 3
3Importance of Packaging
In this lesson we will talk about the project you will do in this course. We will also explain the importance of having good packaging.
3m
 4
4To Plan
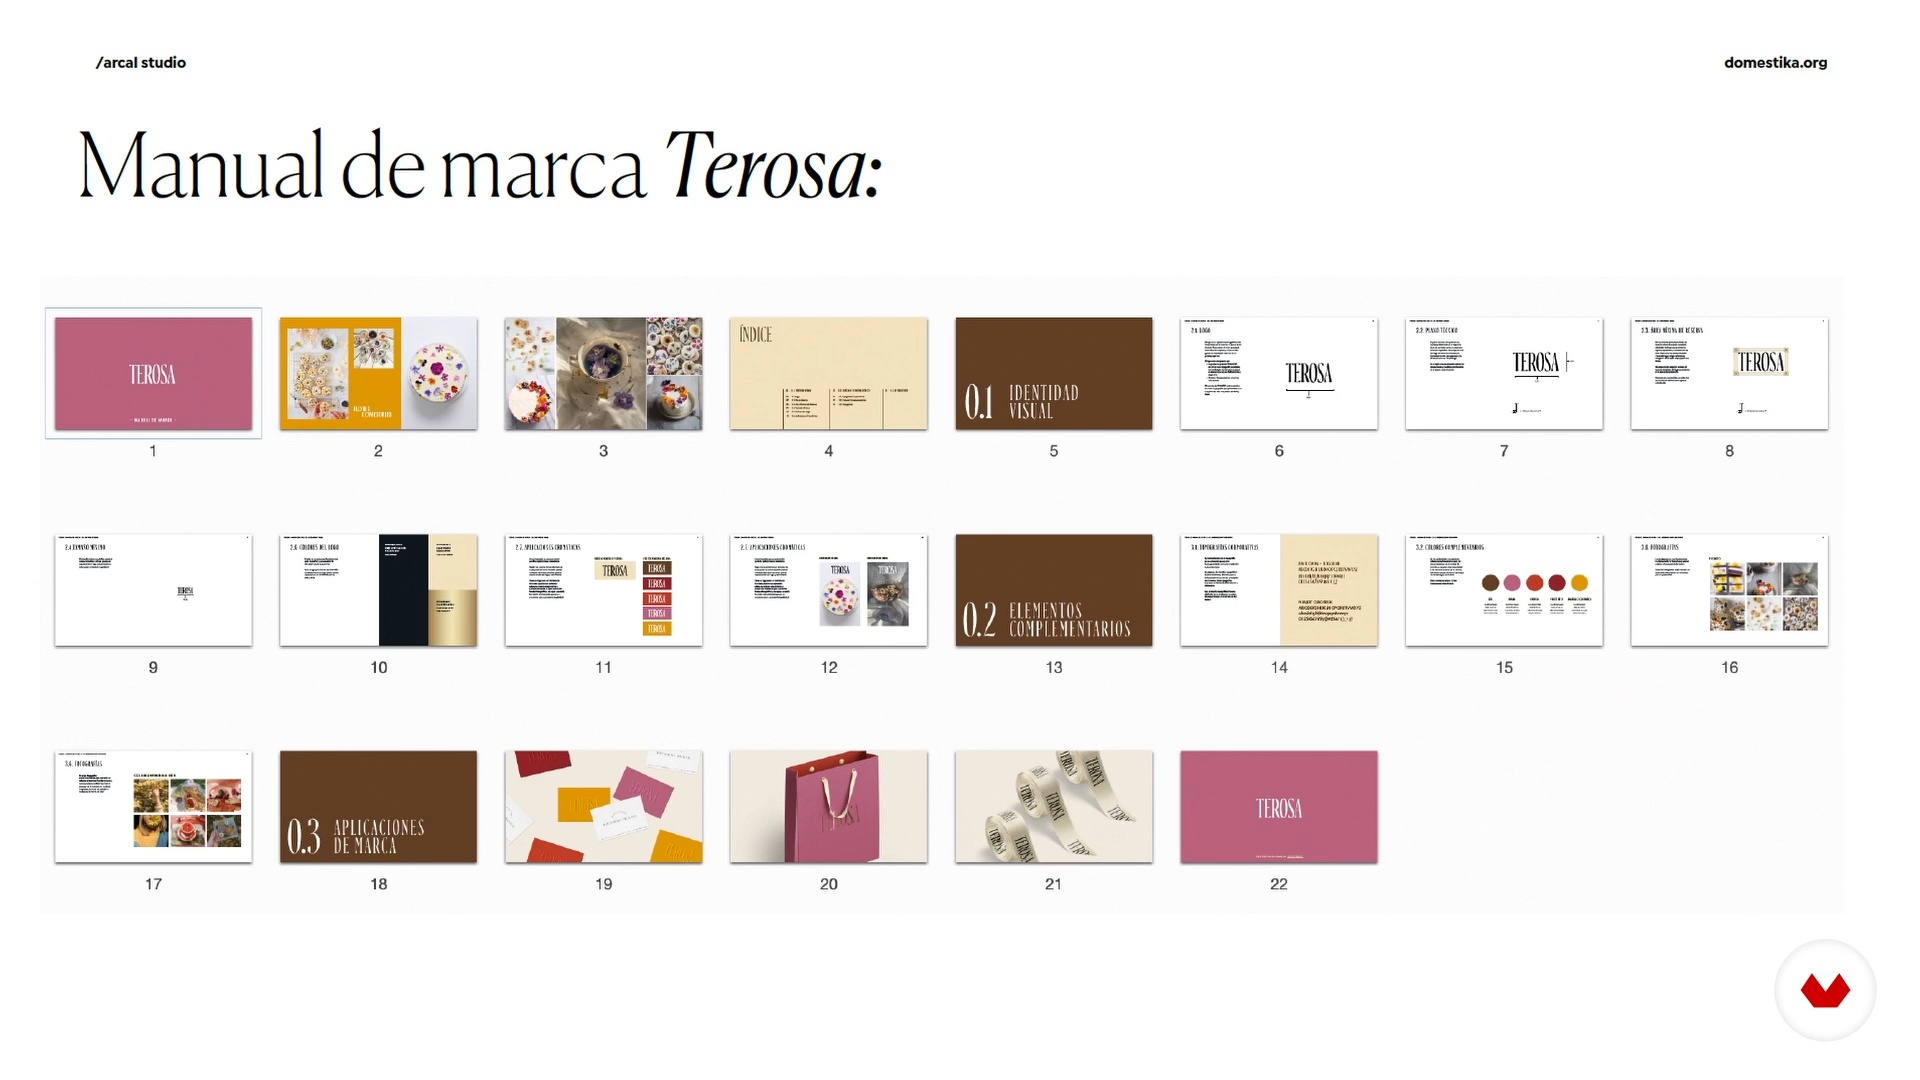
We come to the first stage of the packaging creation process: planning. In this lesson we will explain how to read a brief and how to follow the rules of a brand manual.
5m
 5
5Research
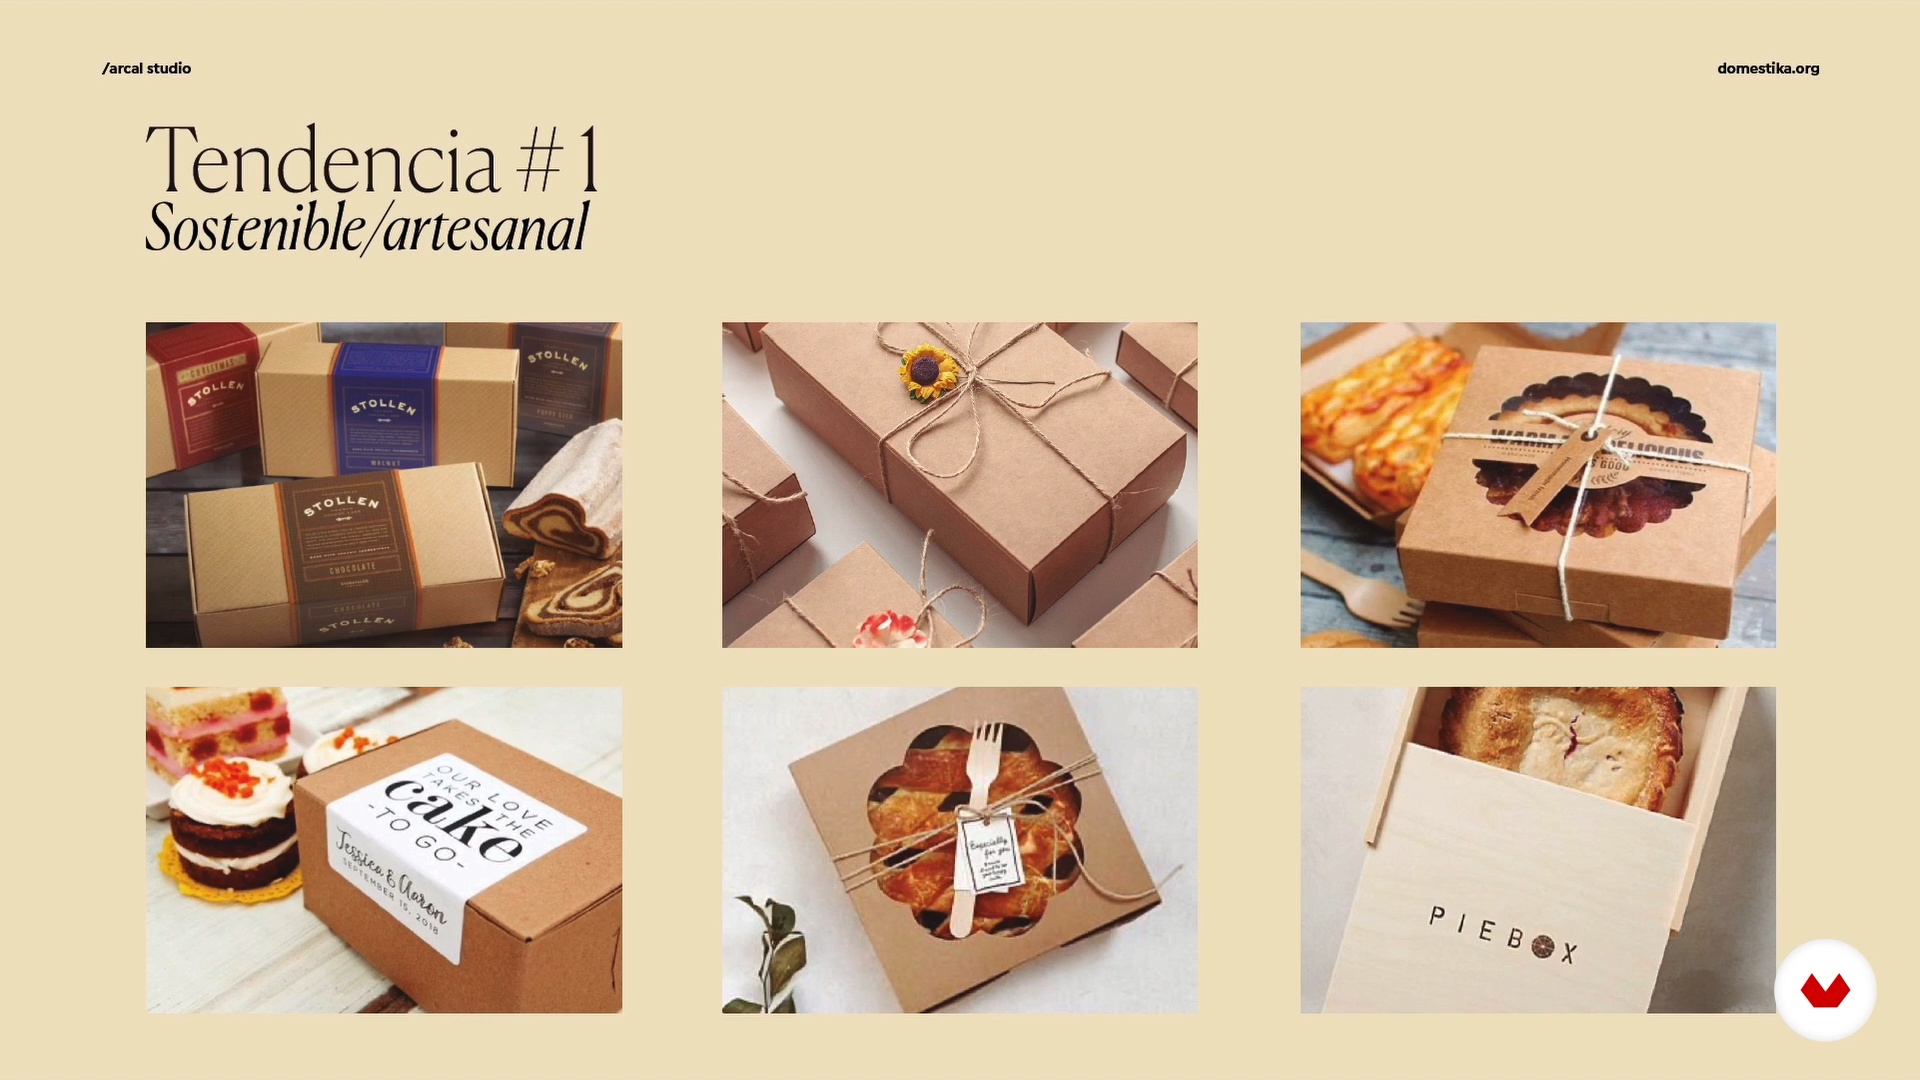
Now we are going to start the investigation stage based on the information in the brief. At this stage you will immerse yourself in the world and industry of the product.
4m
 6
6Mood Boards
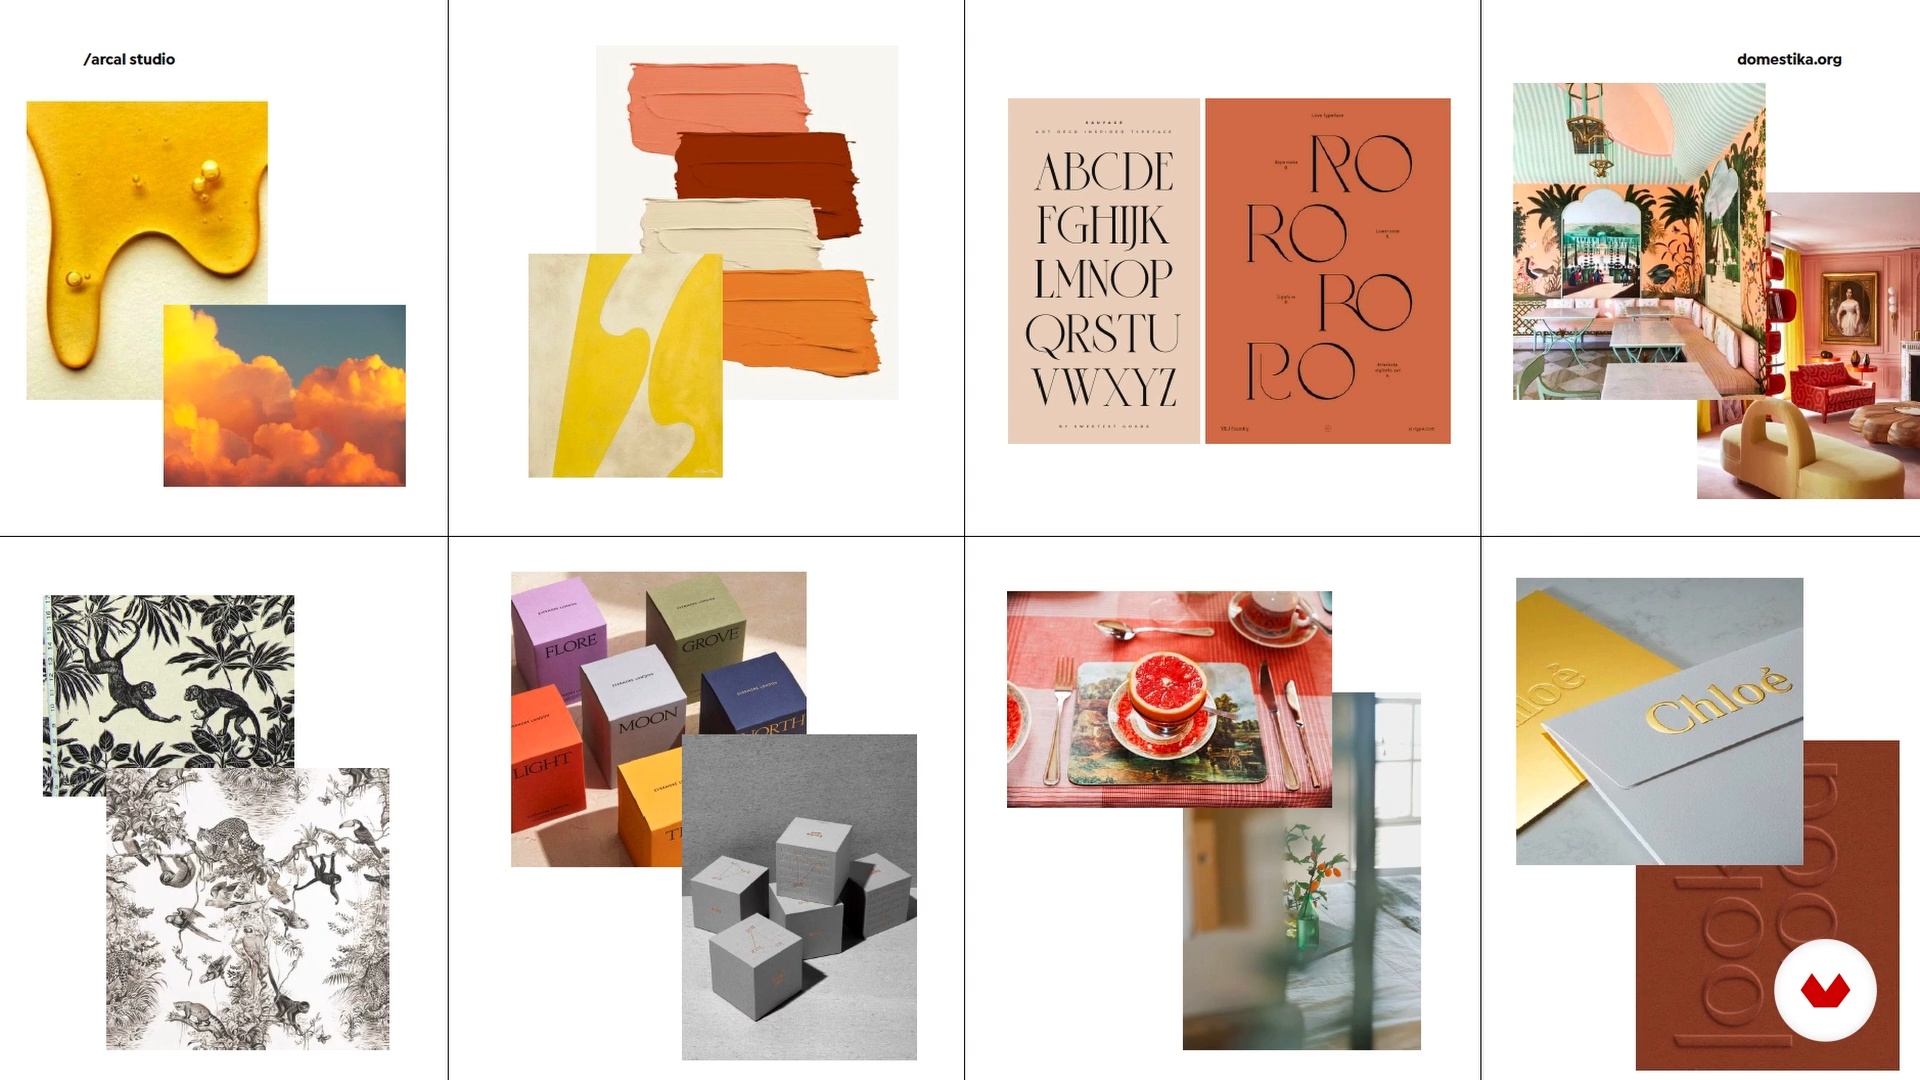
To start this unit, we will tell you what a mood board is and we will explain how to create it digitally.
5m
 7
7Formats and Types of Packaging
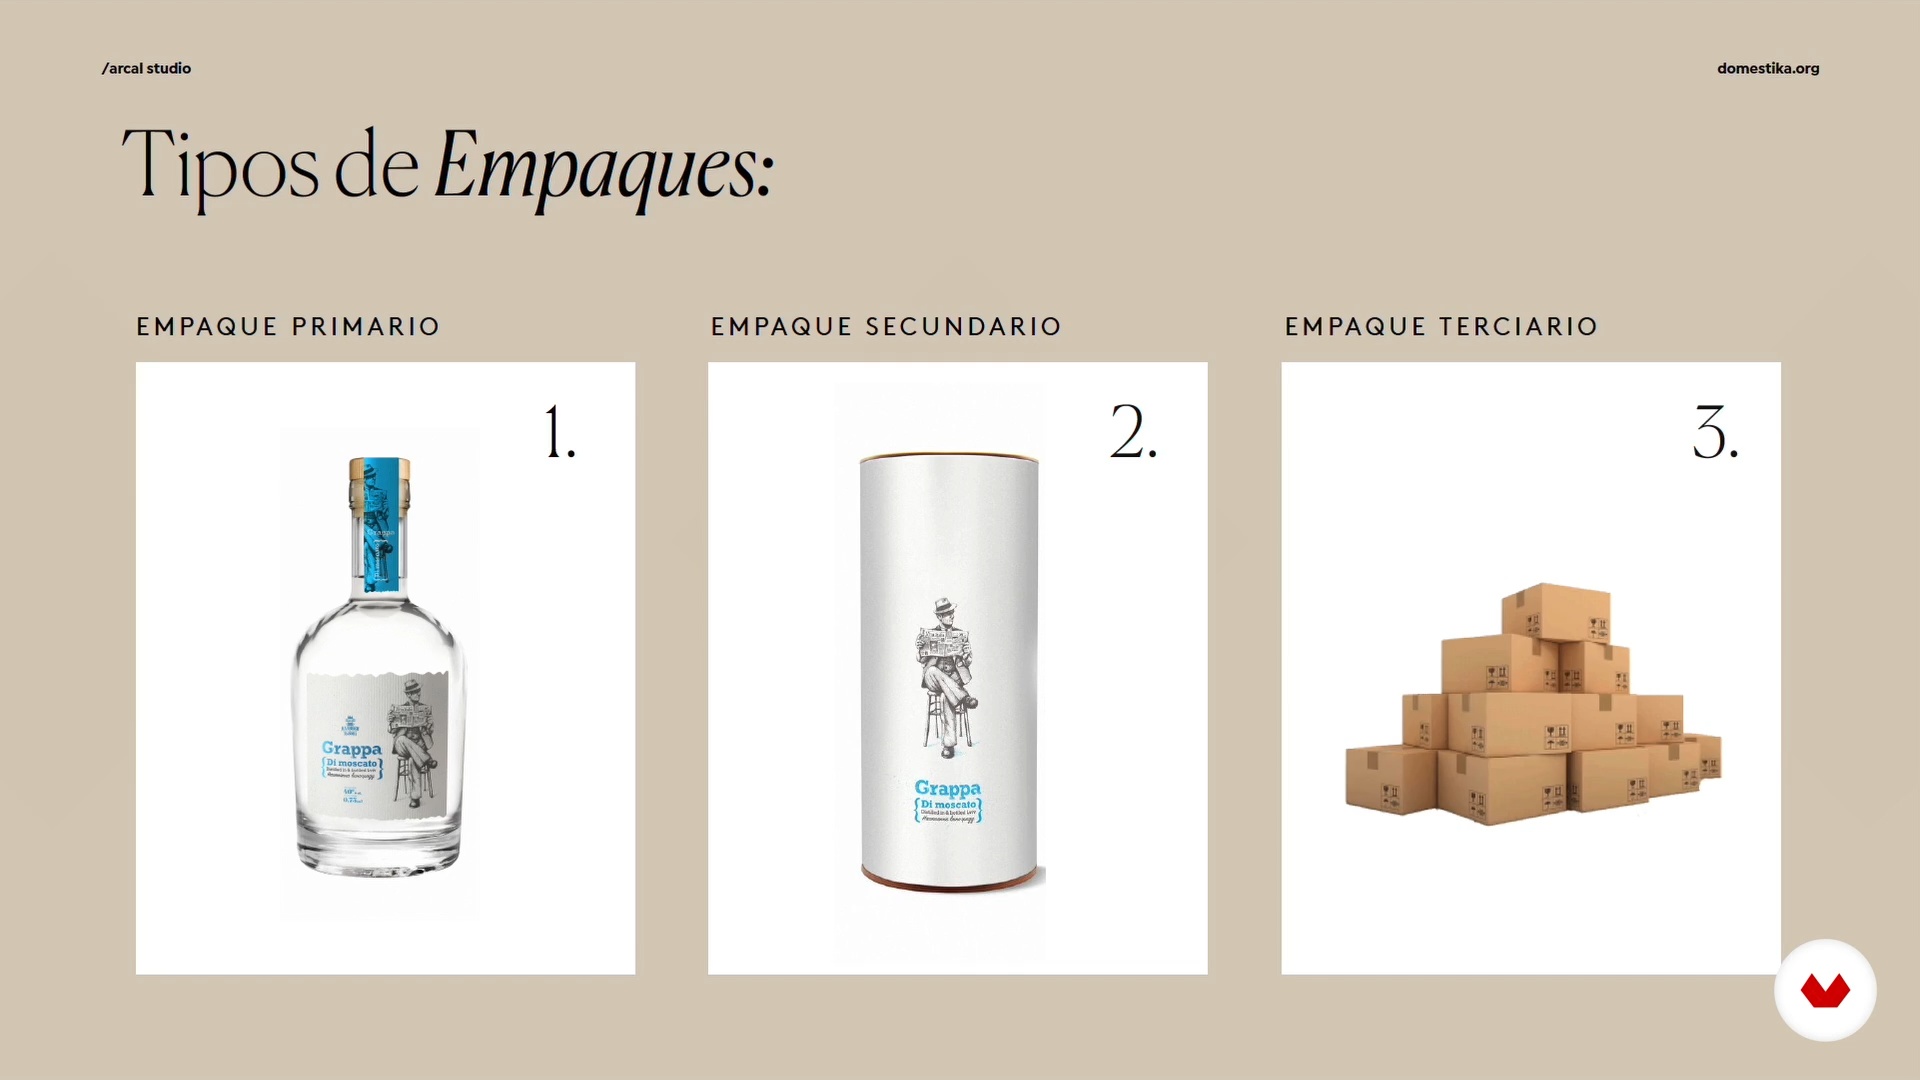
In this lesson, you will see how we analyze different types of packaging and formats for our packaging. We will also show you how to choose the most suitable one.
2m
 8
8The Fonts
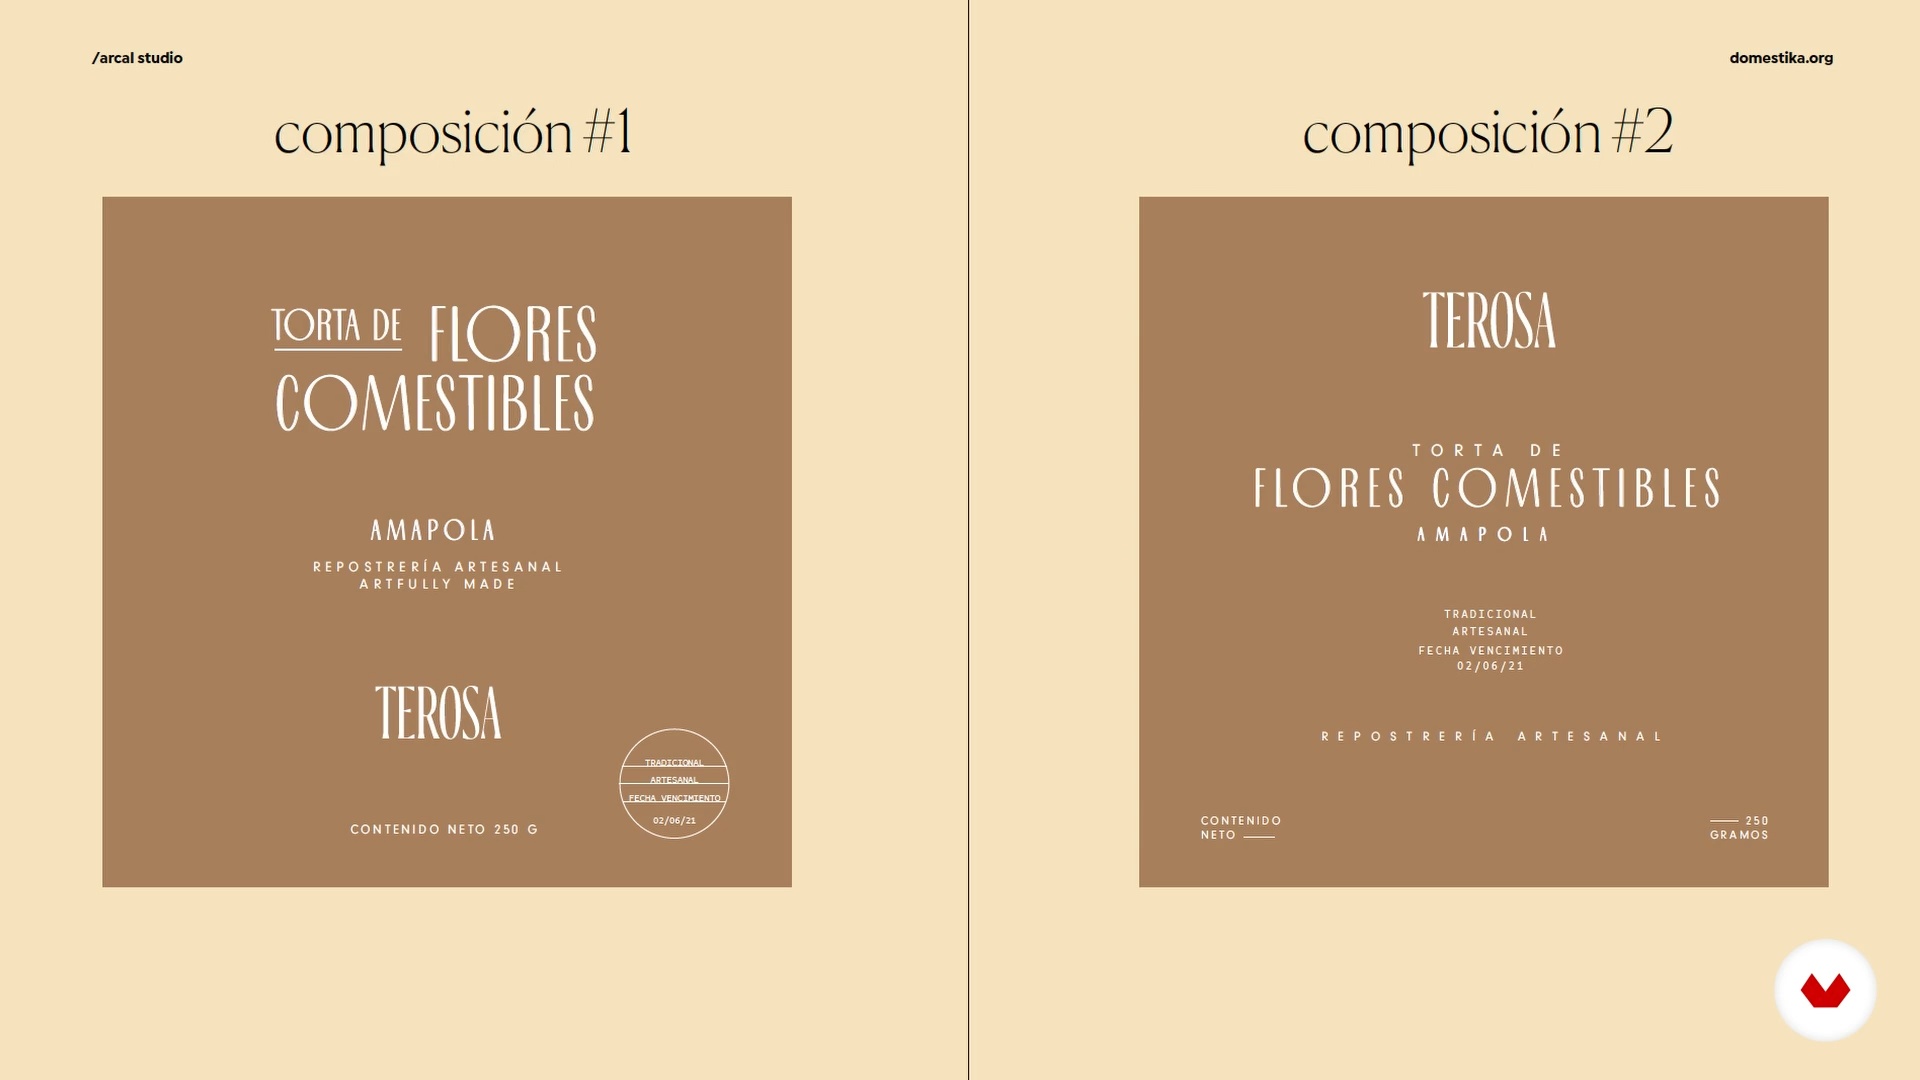
Now we are going to give you some basic notions of typography and we will recommend our favorite sites where you can search for font families. We will also talk about hierarchies and typographic compositions and, finally, you will see which ones we selected for our case study.
8m
 9
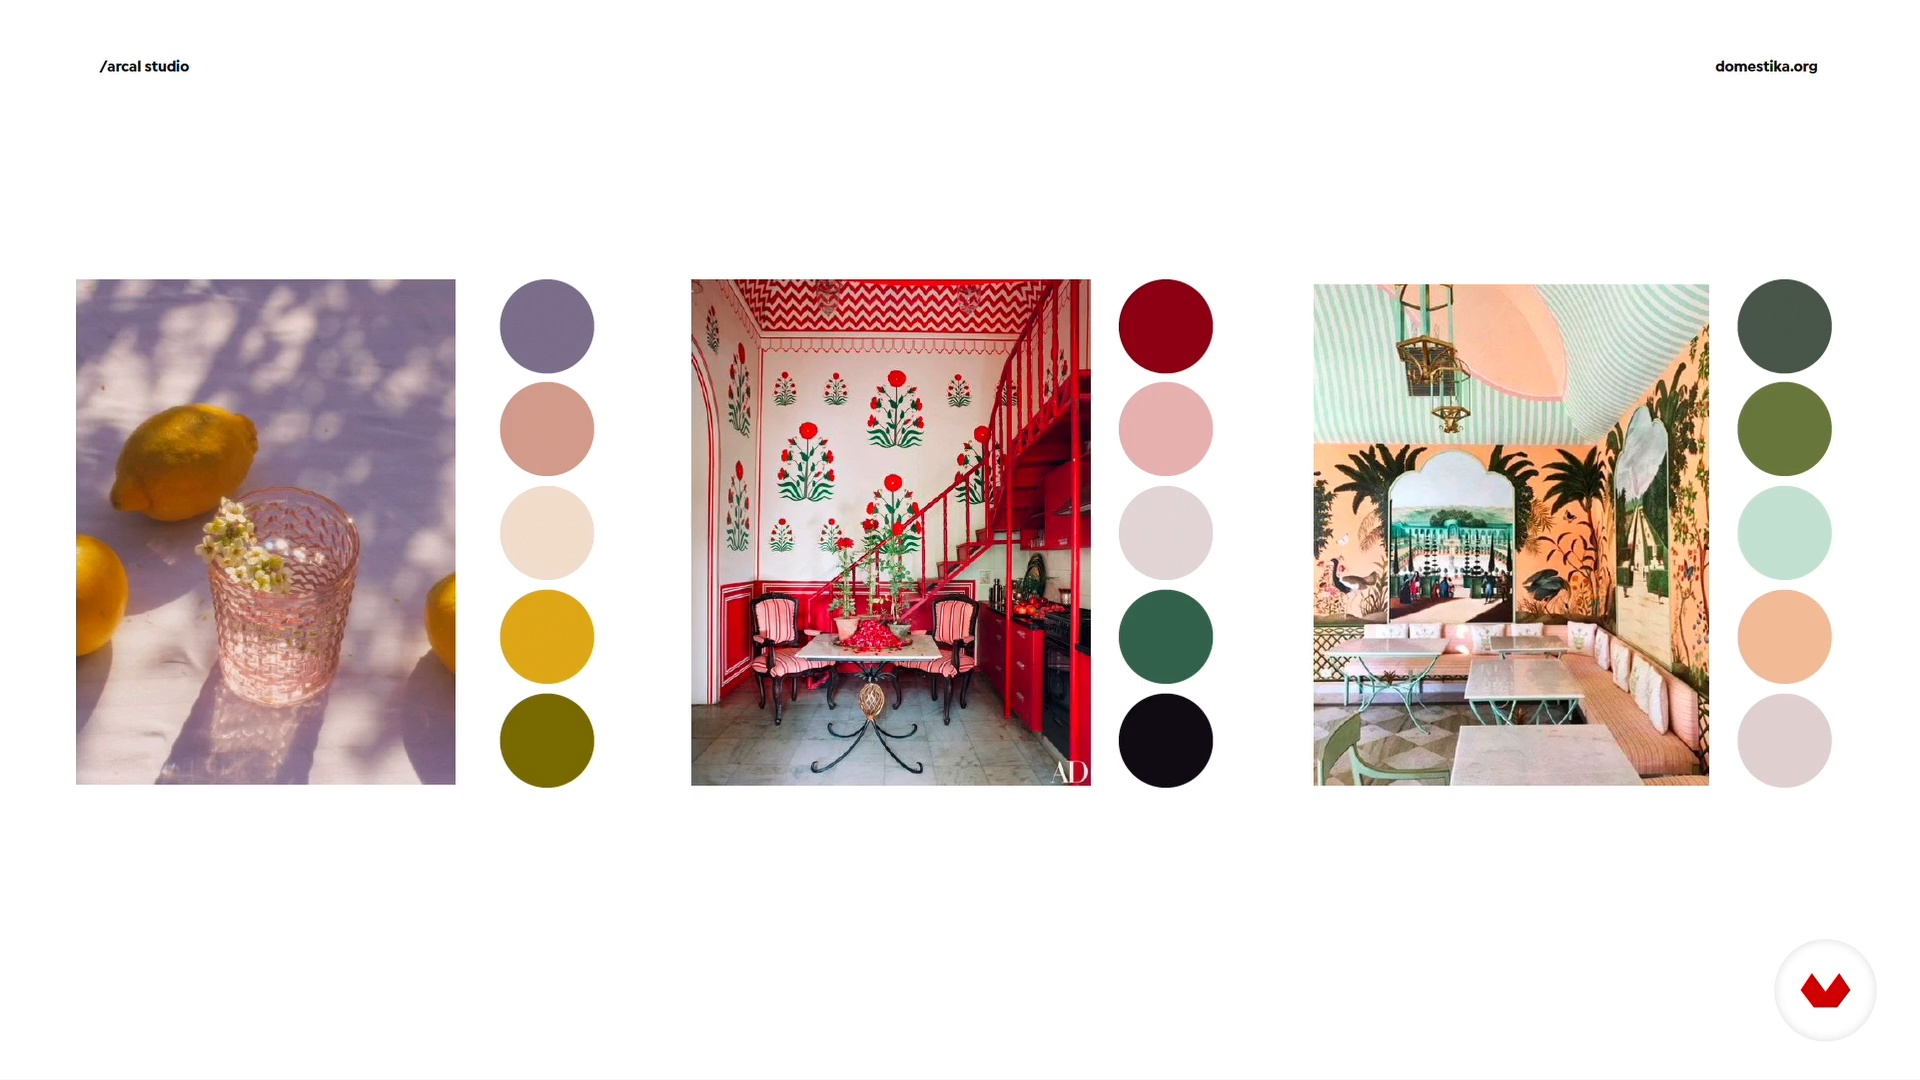
9Explore Color
In this lesson we will talk about the importance of color and the psychology behind it. In addition, we will give you tips to choose the right color for your packaging.
3m
 10
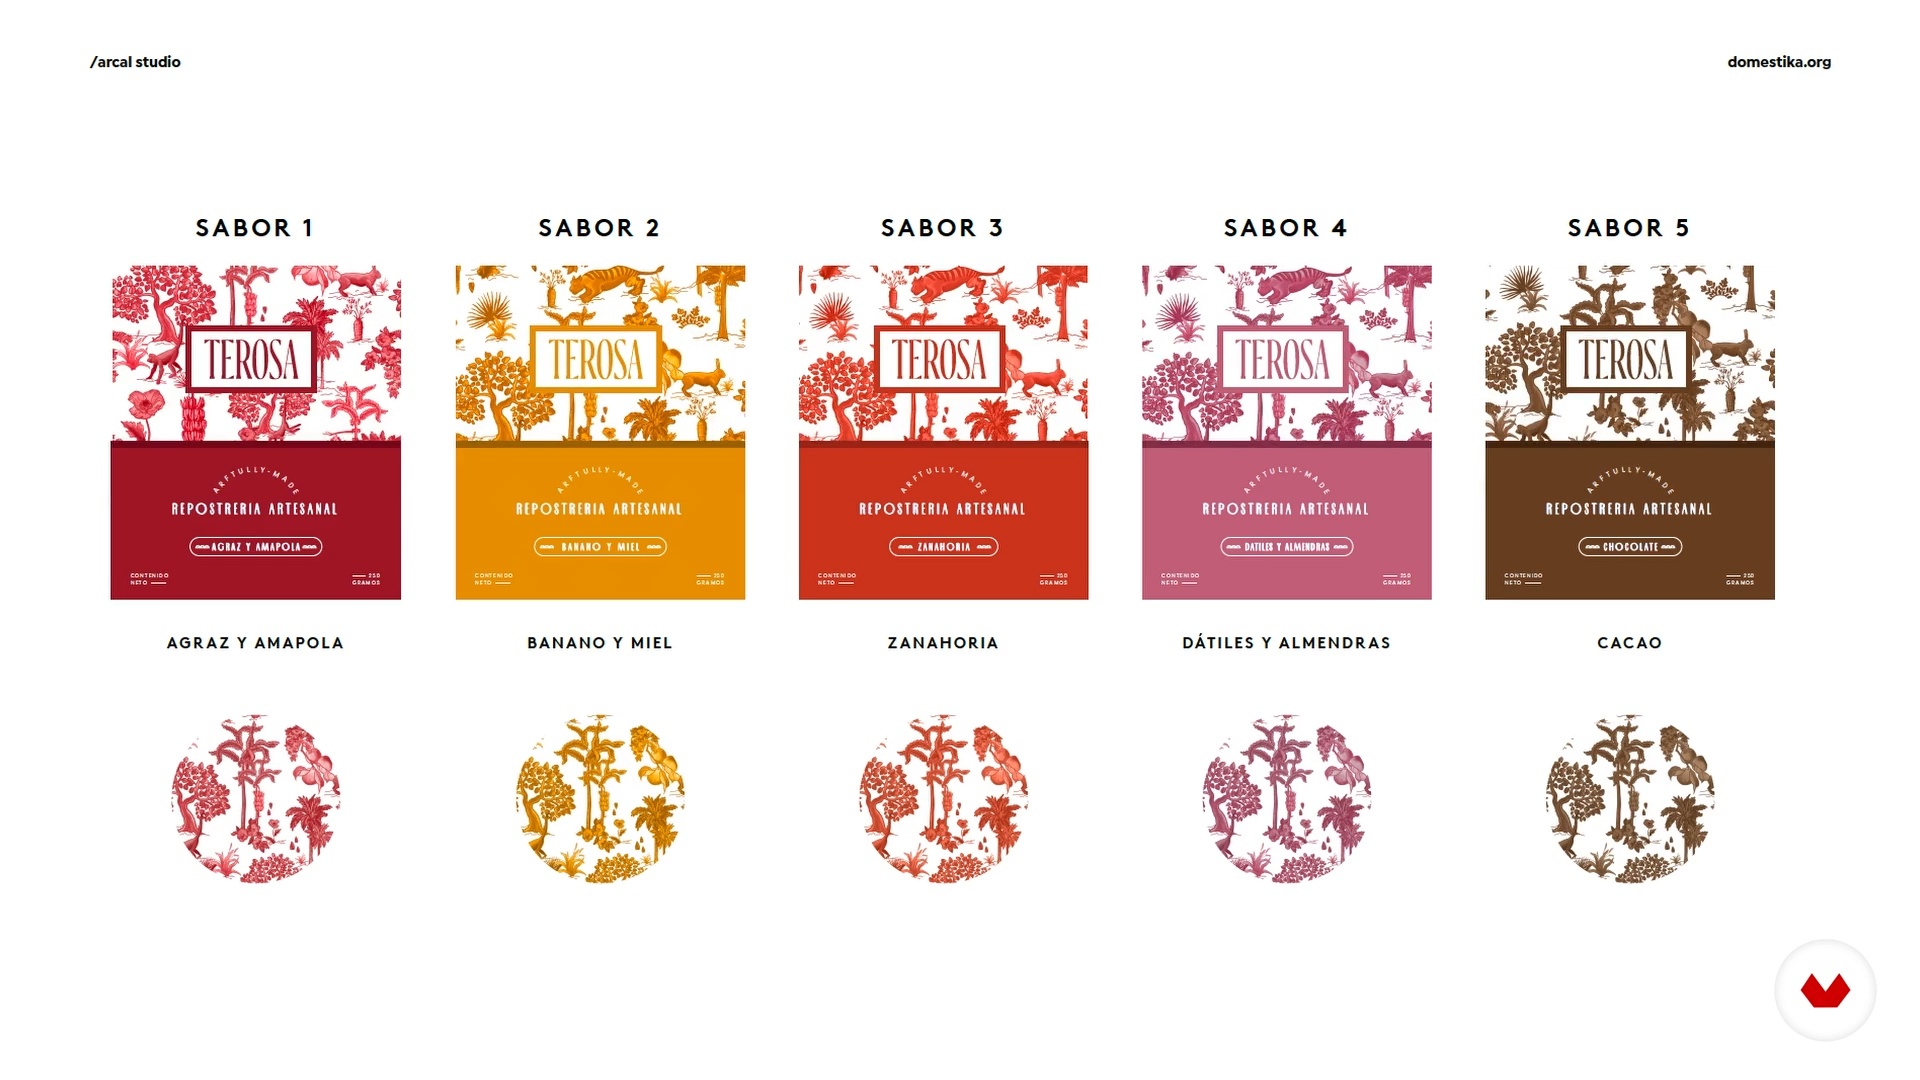
10Explore the Graphic Elements and Create the Visual Universe
Finally, we will talk to you about the complementary graphic elements and you will see how to start composing the visual universe of the packaging.
15m
 11
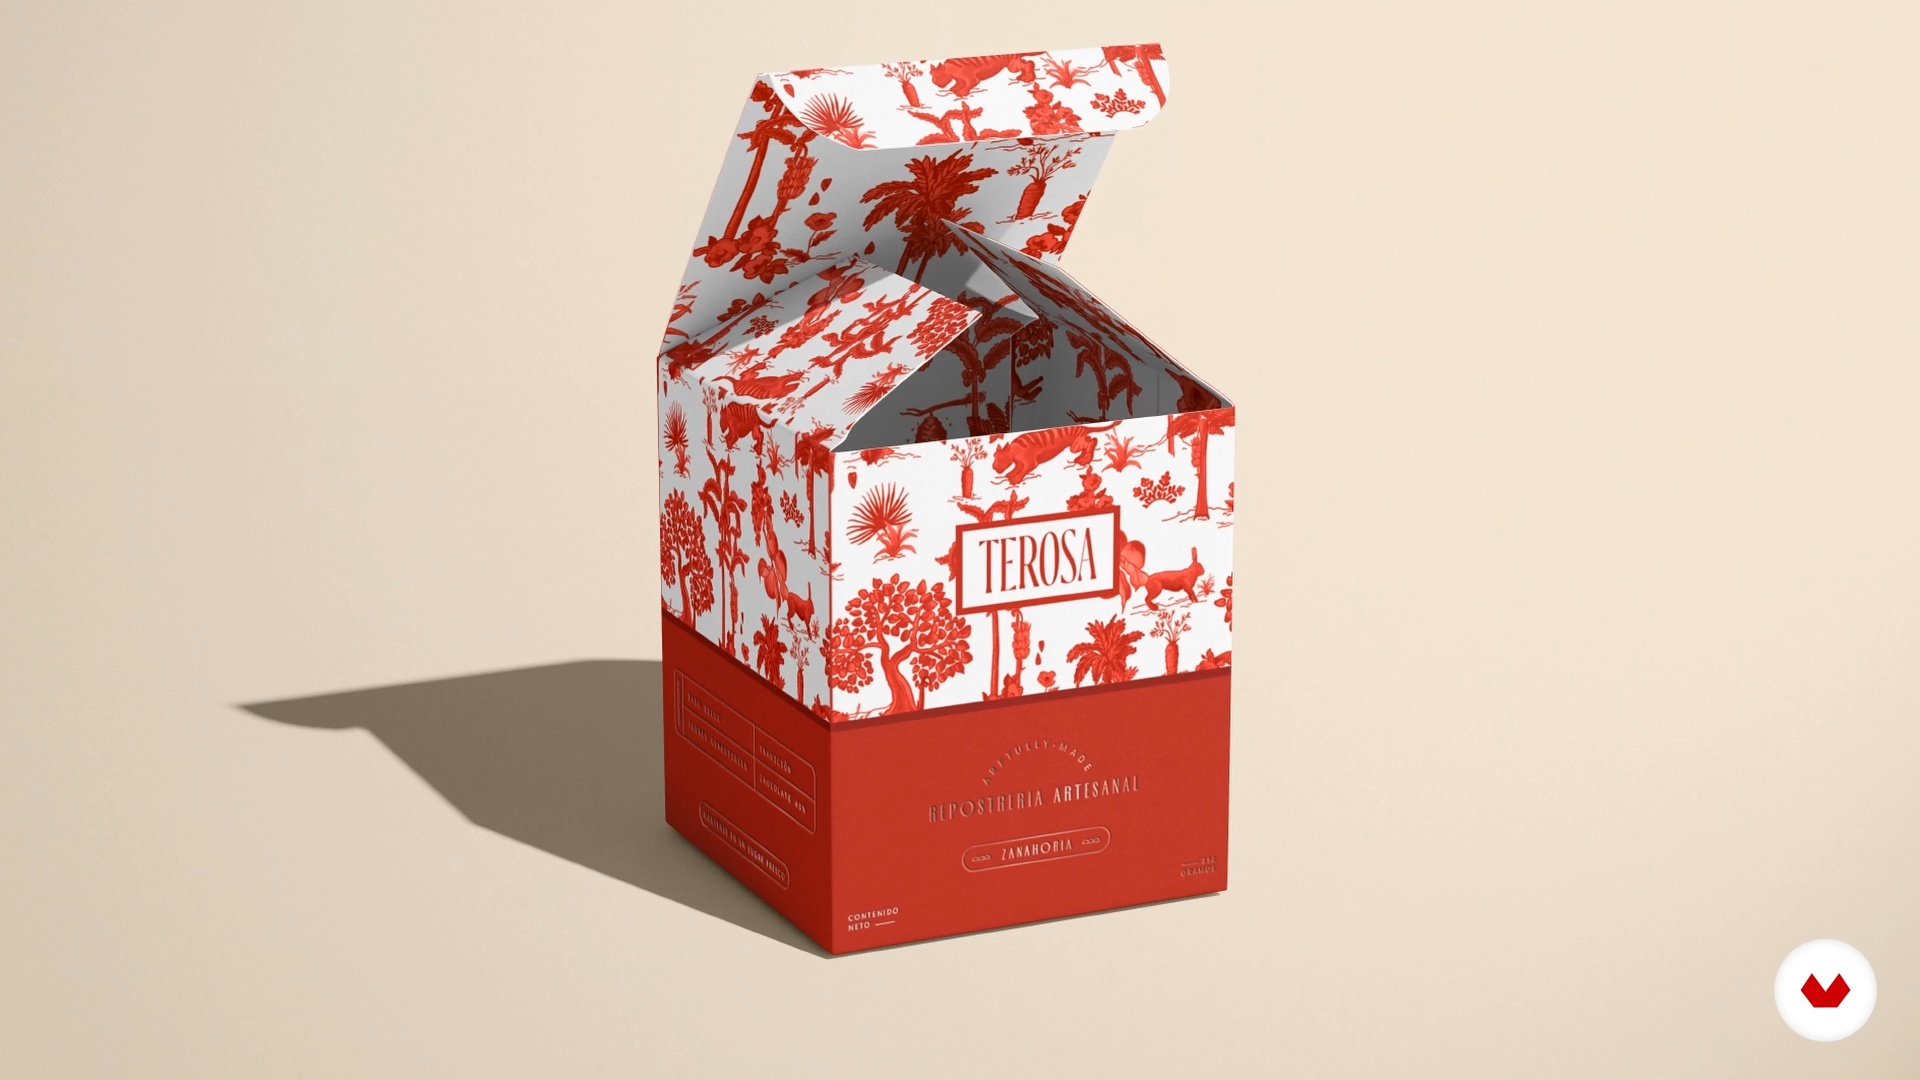
11How to Present to the Client and Create Mock-ups
In this lesson we will show you the scheme we follow to present our designs and we will share with you some resources that will make your presentation shine. We will also talk about what mock-ups are and why they are so important when showing the client your designs.
8m
 12
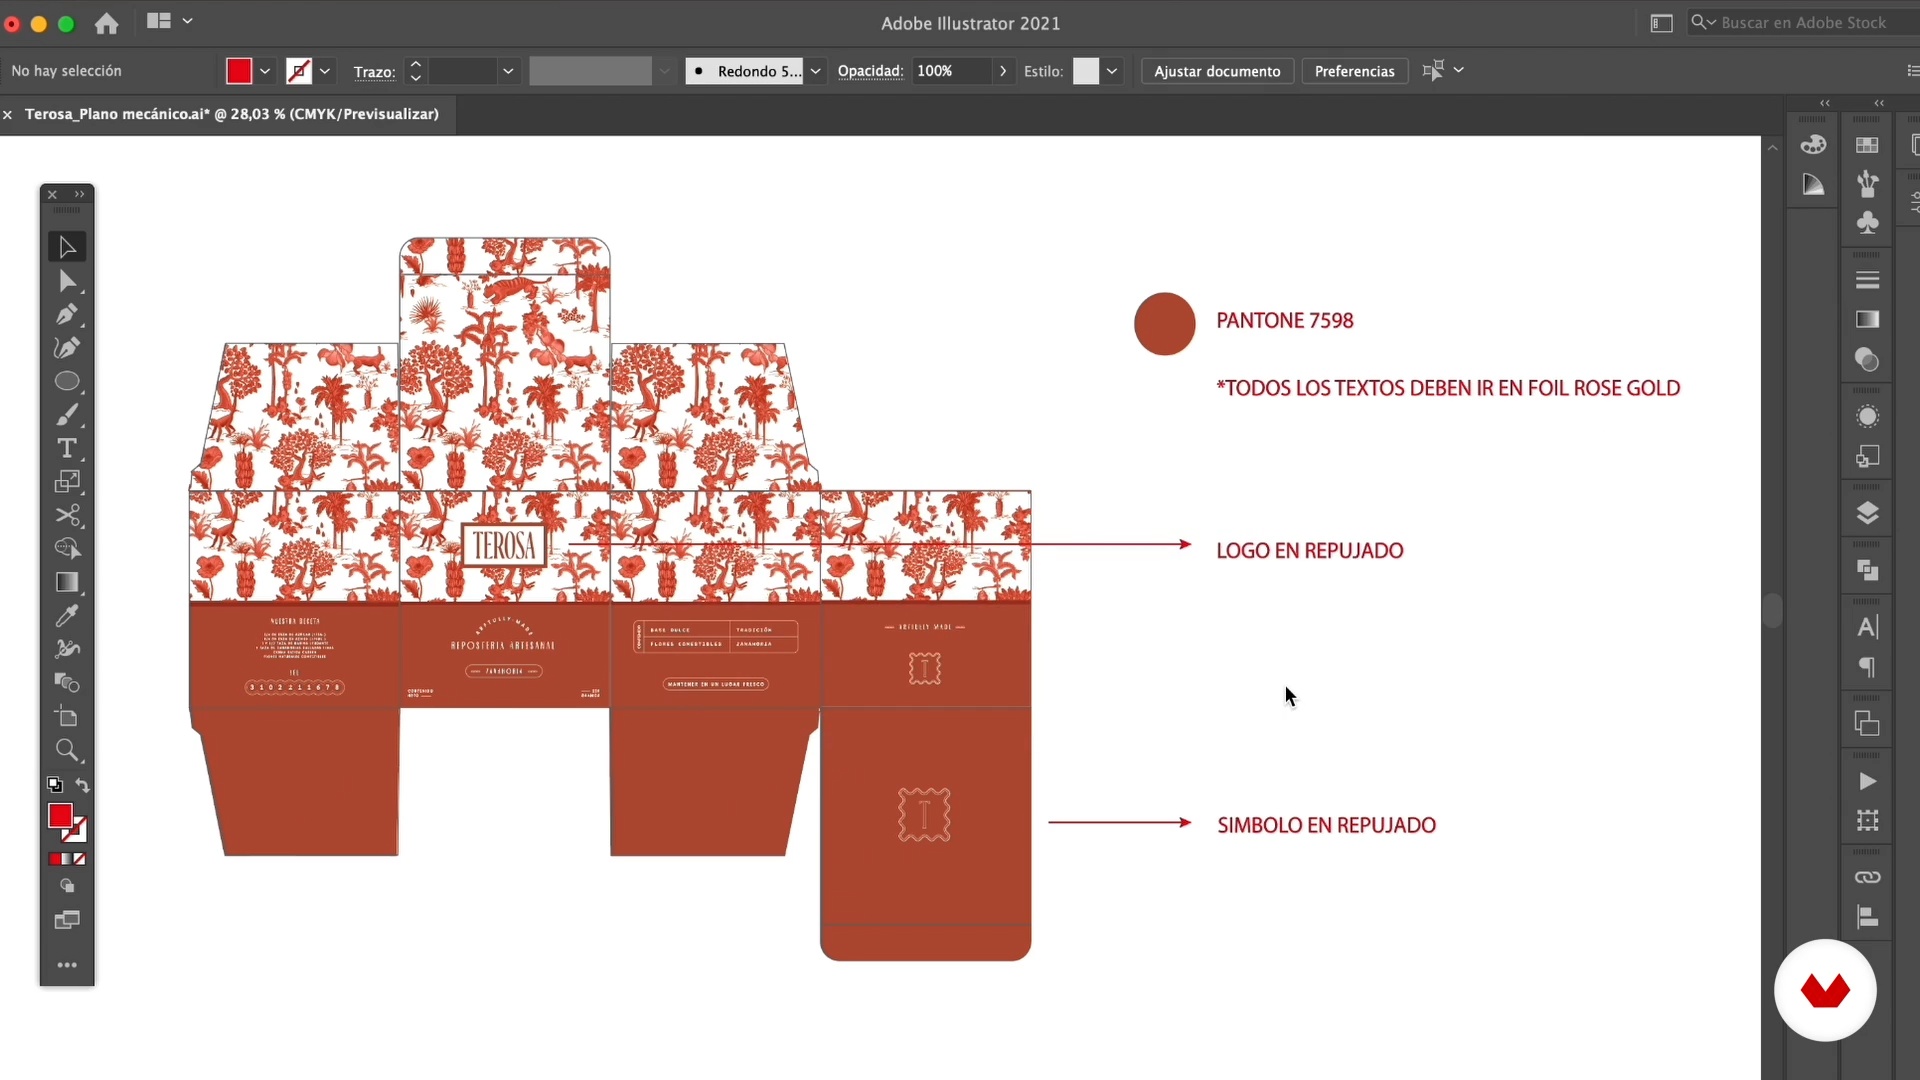
12Mechanical Drawing and Prepare the Final Art
Next, we'll explain what a mechanical blueprint is, how to fit your design to this document, and how to prepare your final print-ready artwork.
6m
 13
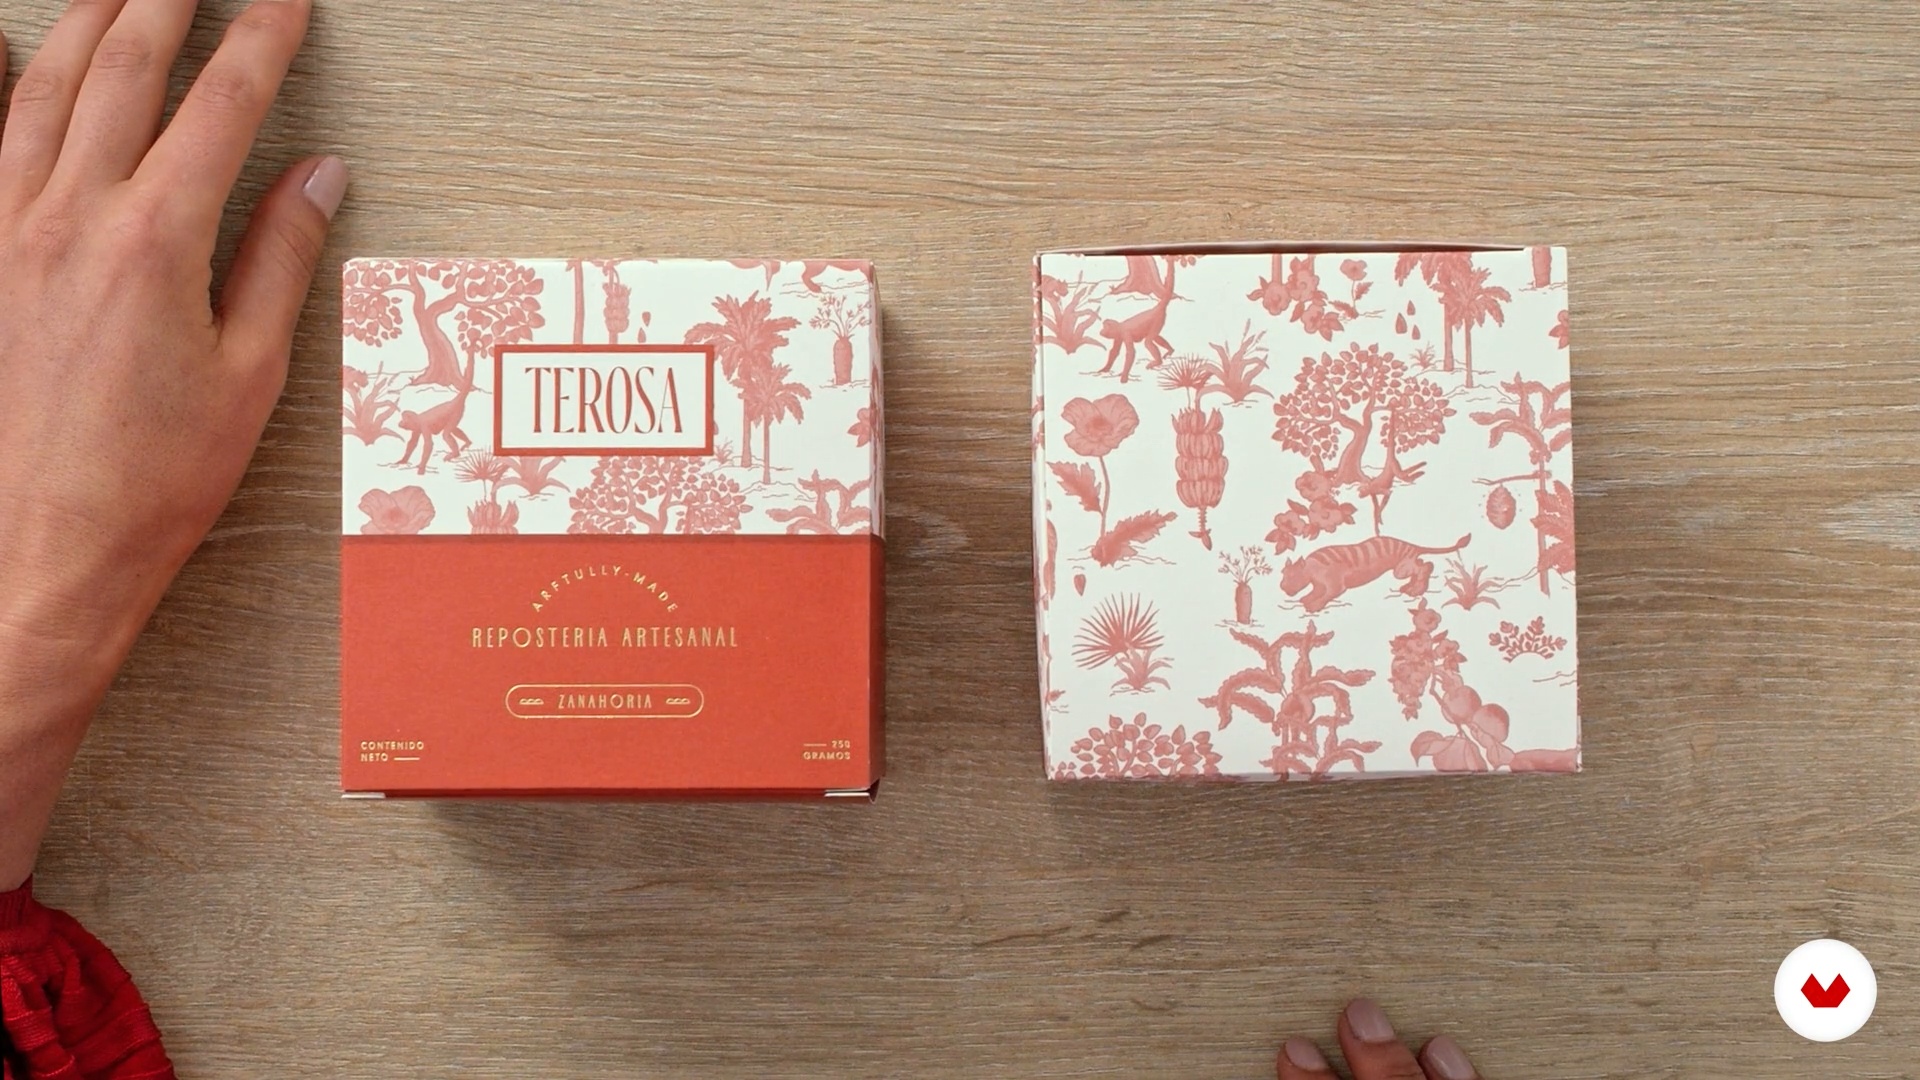
13Printing Techniques and Finishes
Finally, in this lesson we want to show you our favorite printing techniques and finishes with examples that we have done in our studio.
6m
 4
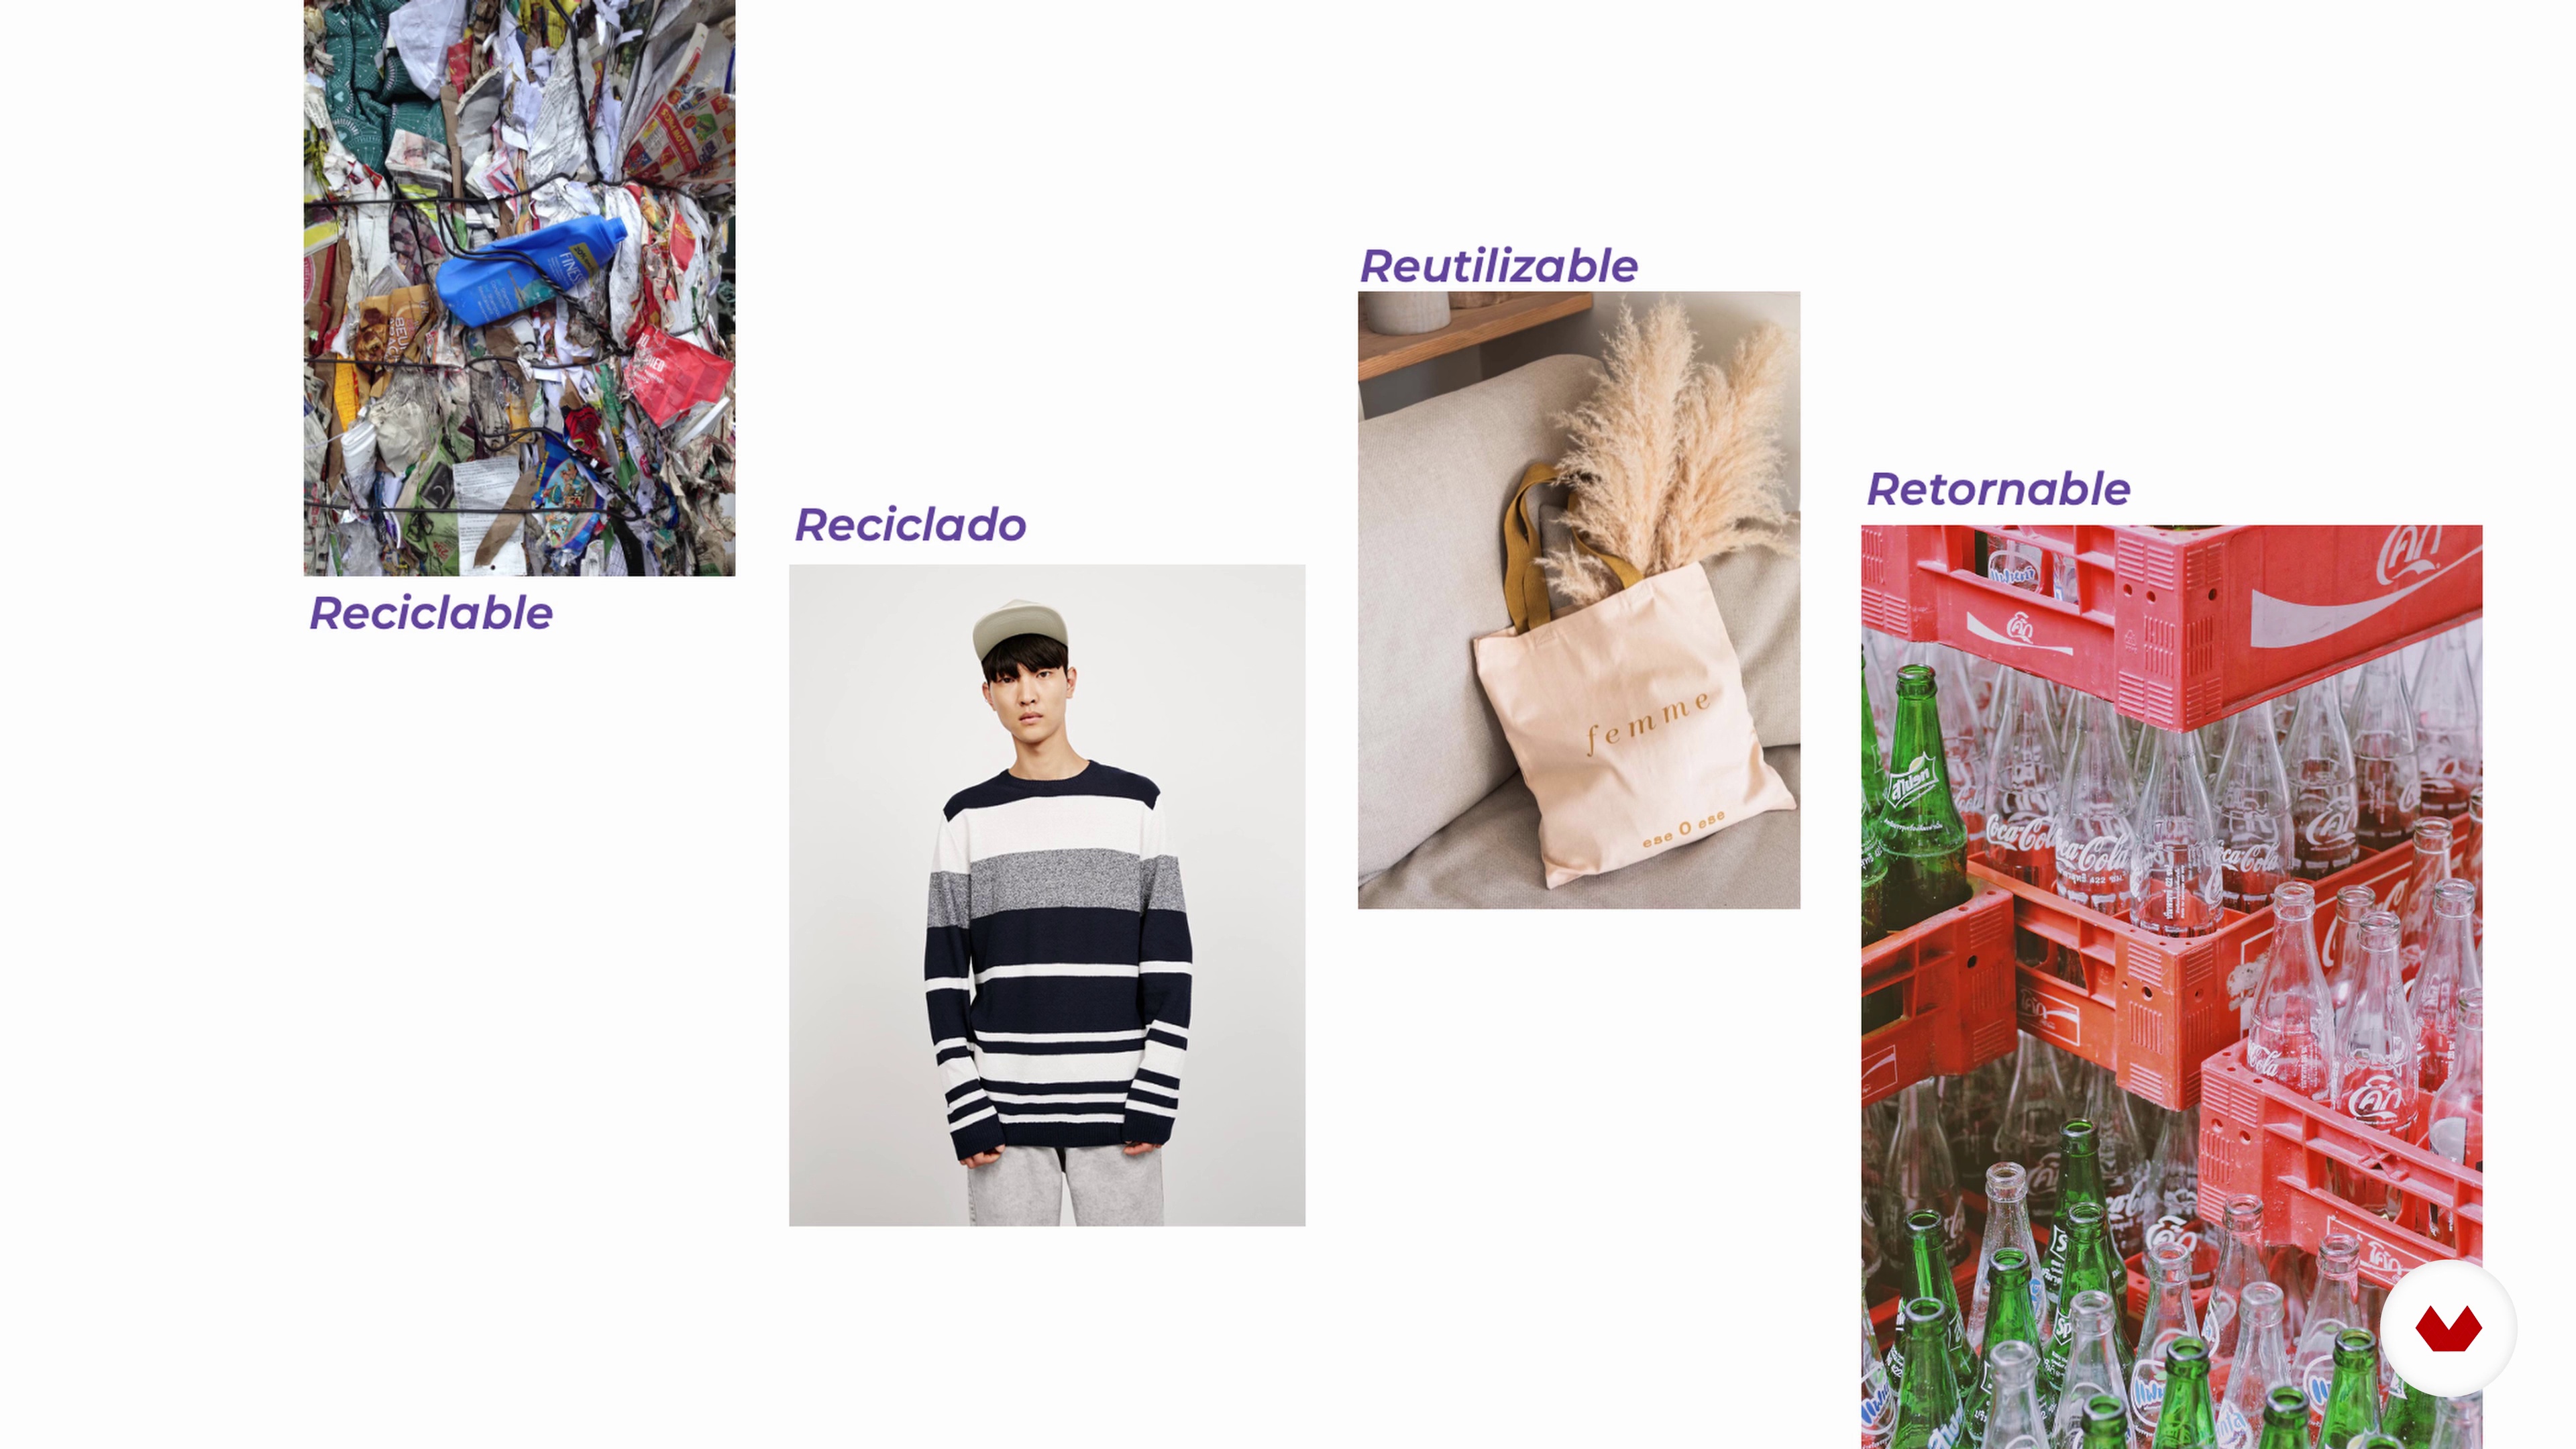
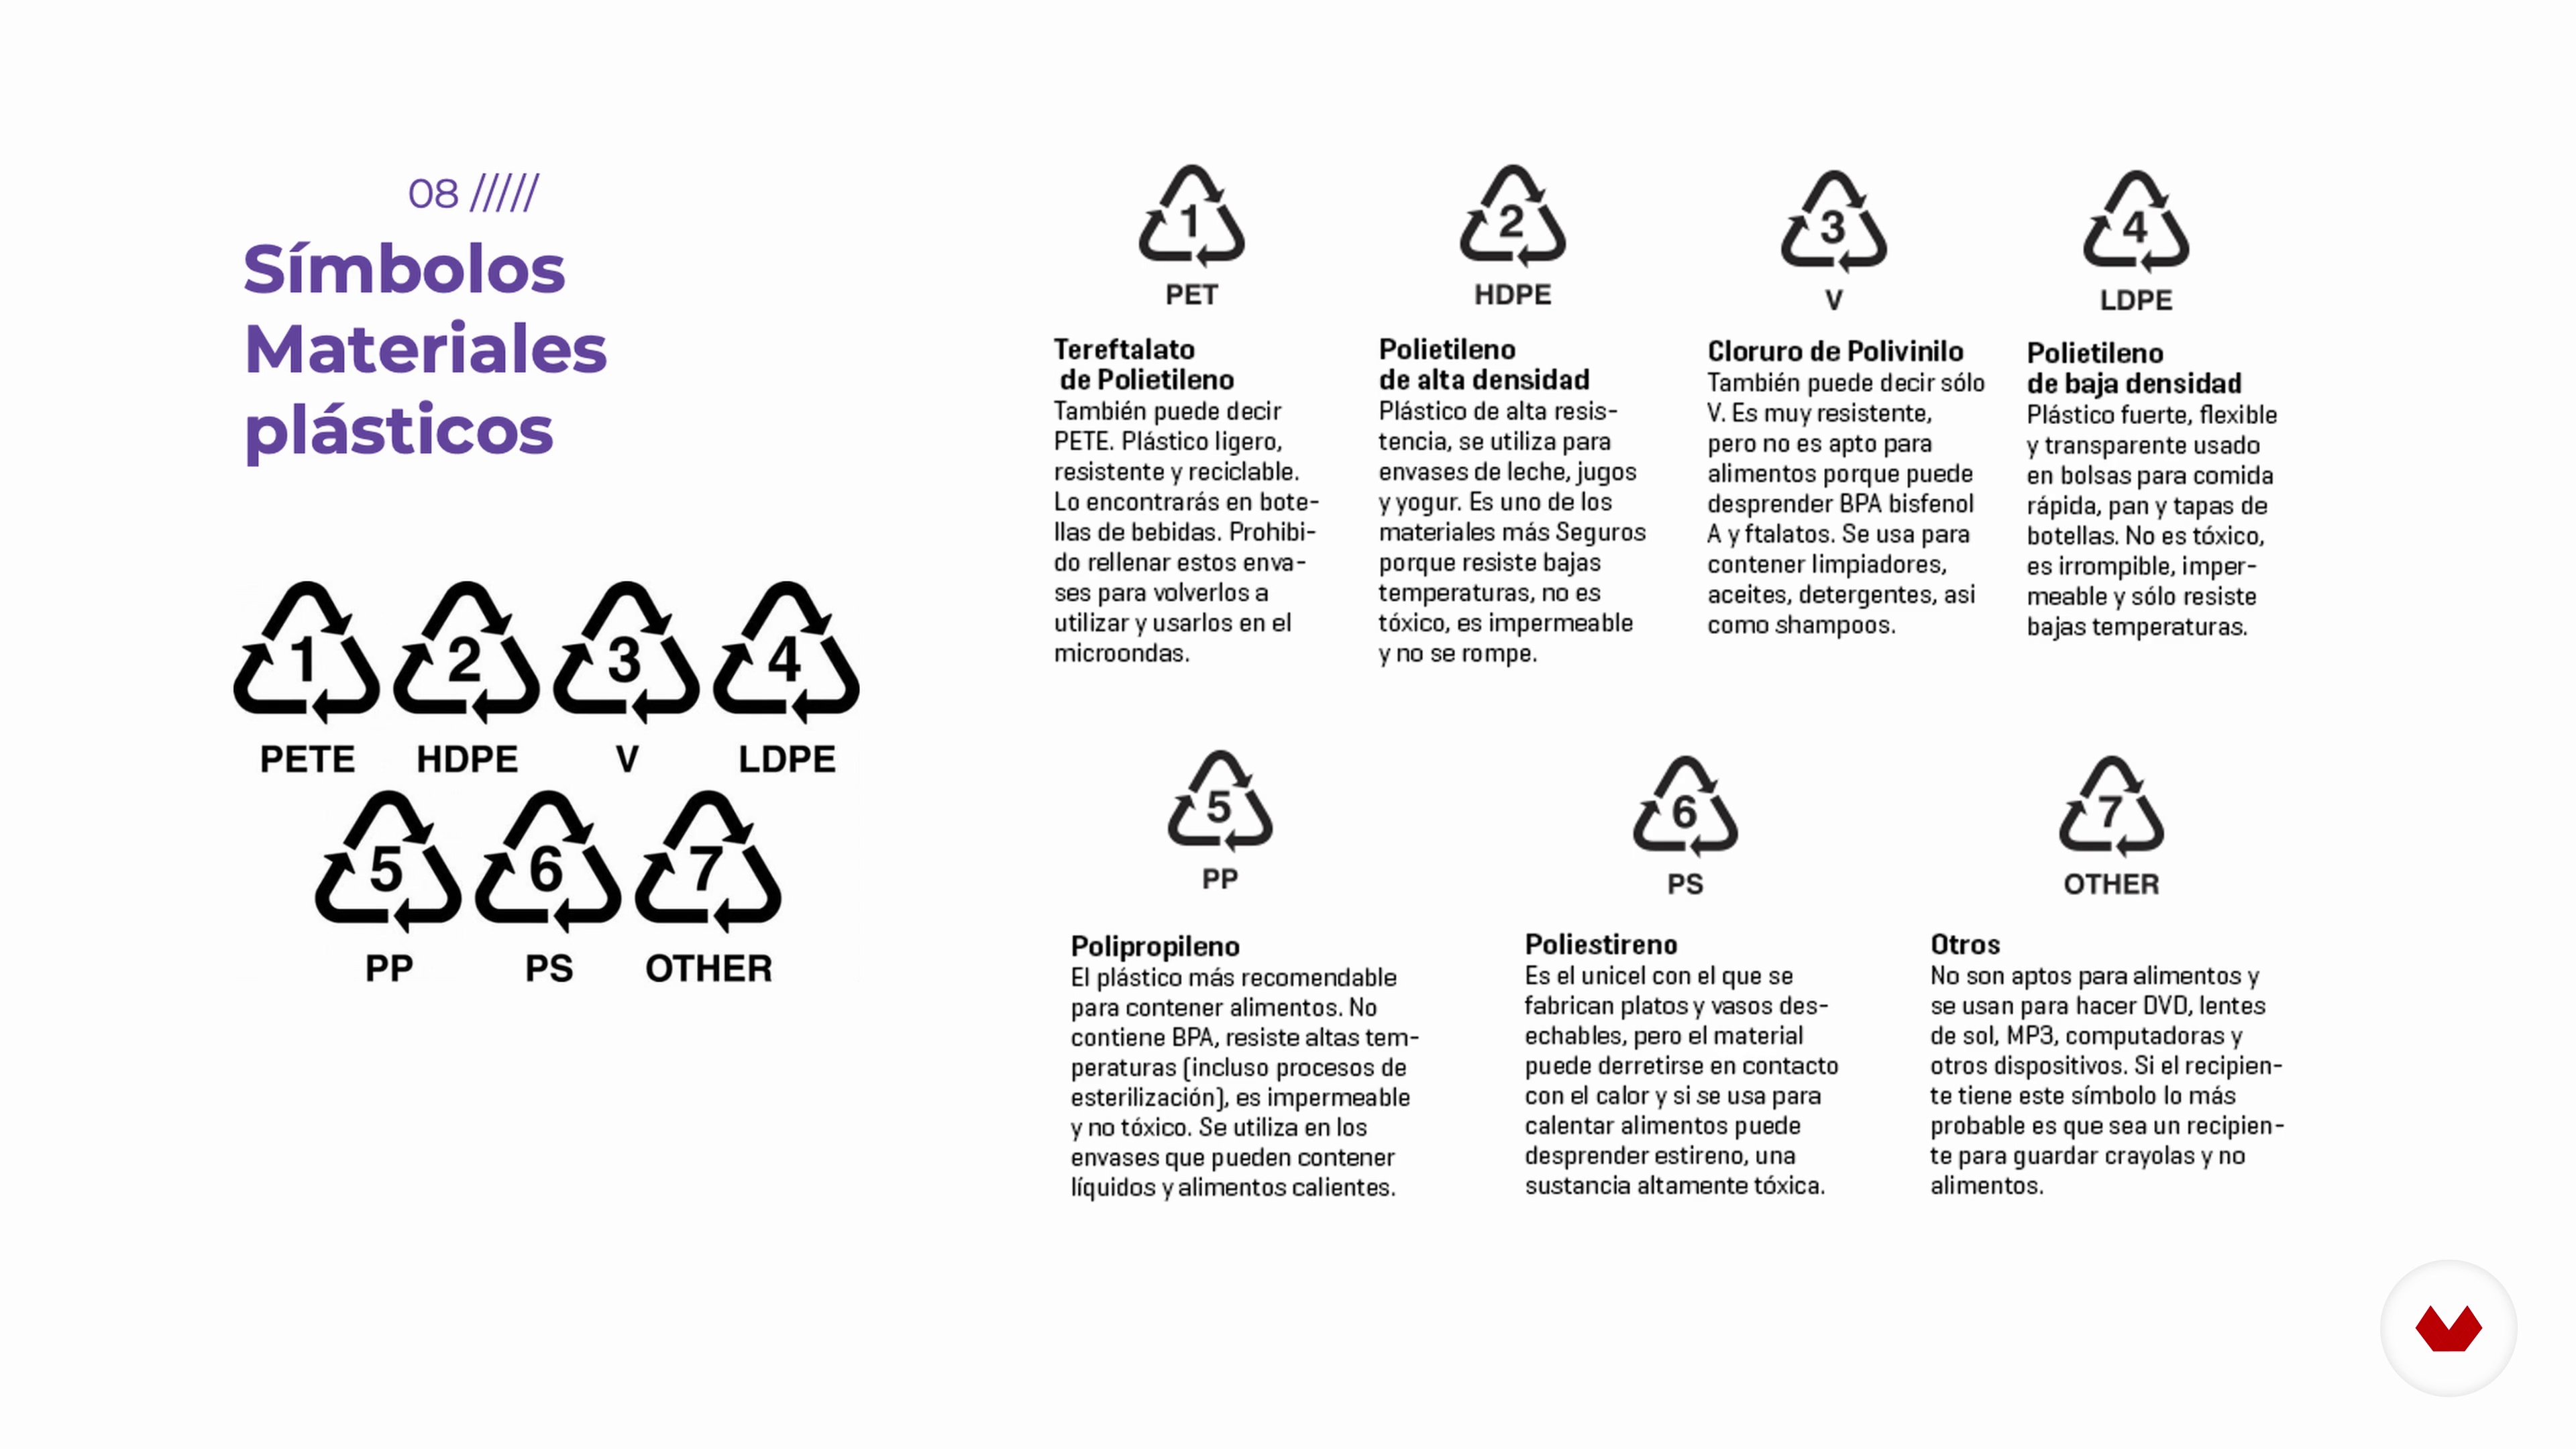
4Ways to Be Sustainable
The eco trend can be overwhelming and confusing because of the amount of concepts out there. In this lesson I will explain the most important ones and we will see the different options you have to create an eco-friendly packaging to sell products online.
8m
 5
5The Bases of the Project
Before starting to design the packaging, it is important to think about certain important aspects of the project and gather the appropriate information. Now I will explain a key piece of the process: how to prepare a good briefing.
11m
 6
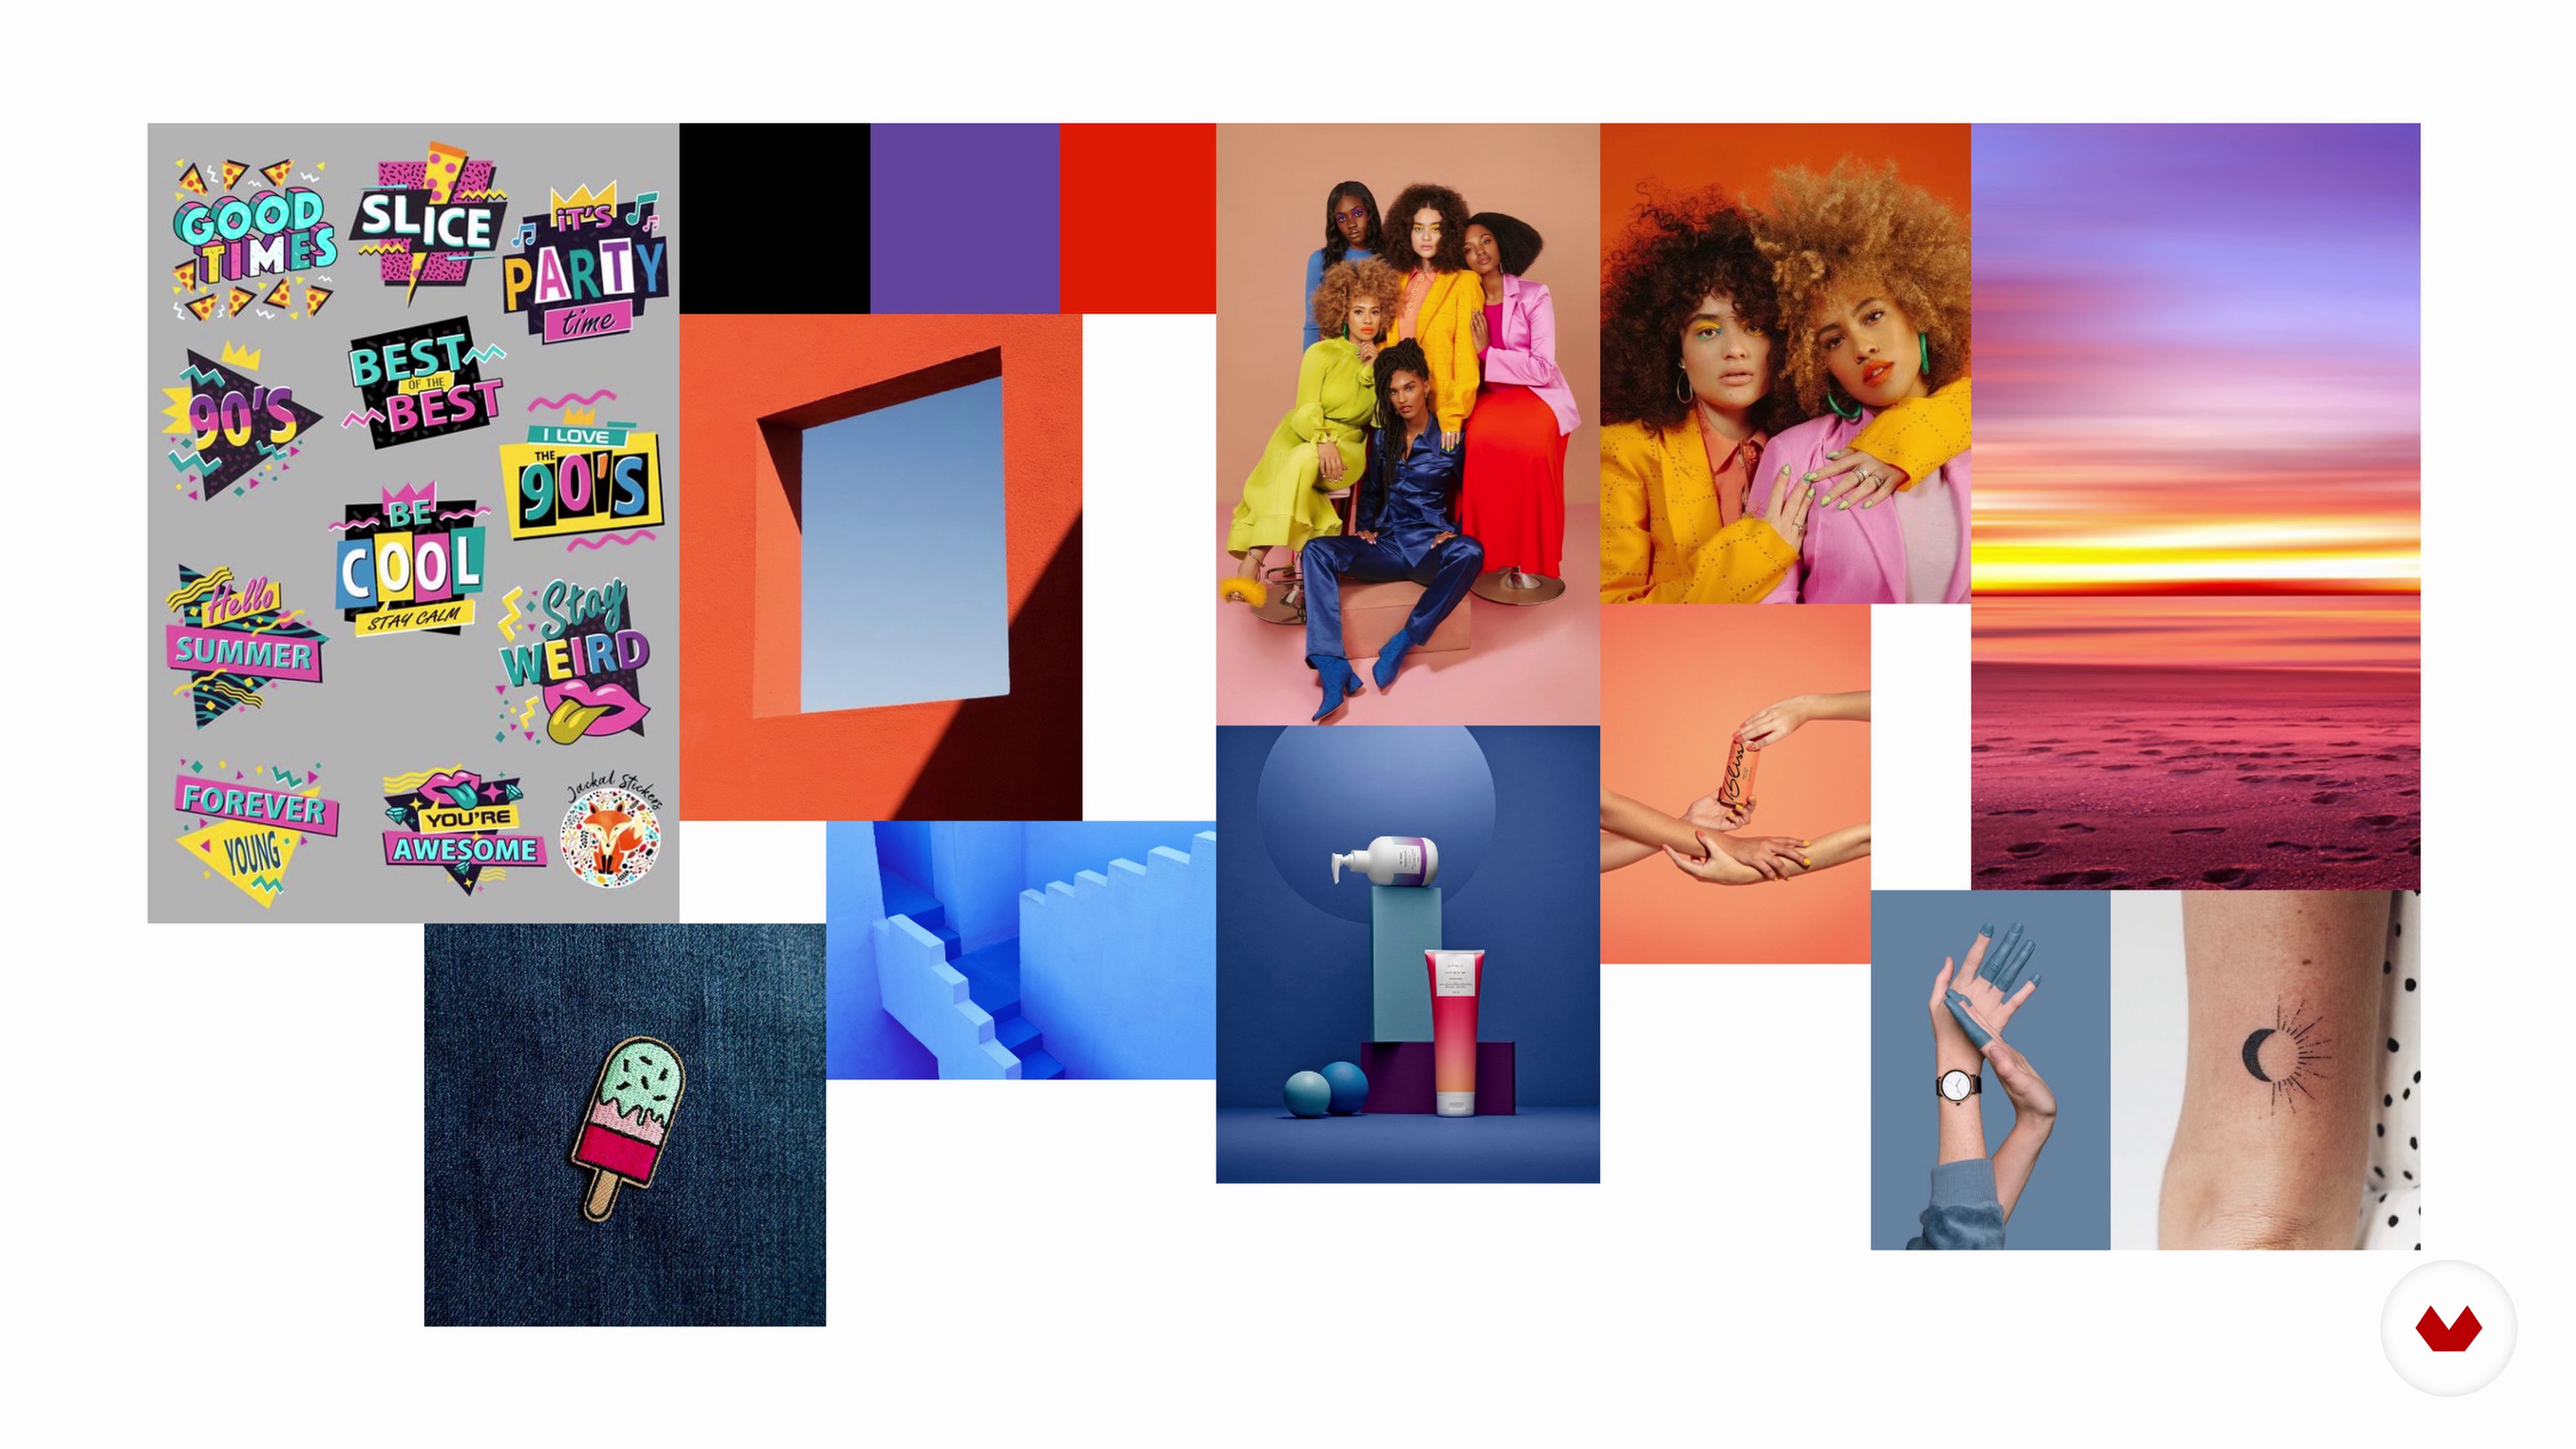
6The Concept and Aesthetics
In this lesson, we will decide on the concept and the brand personality. Based on these values, we will look for references and prepare a mood board to define the general aesthetics of the project. A collage that will be very useful for you to take the next steps!
8m
 7
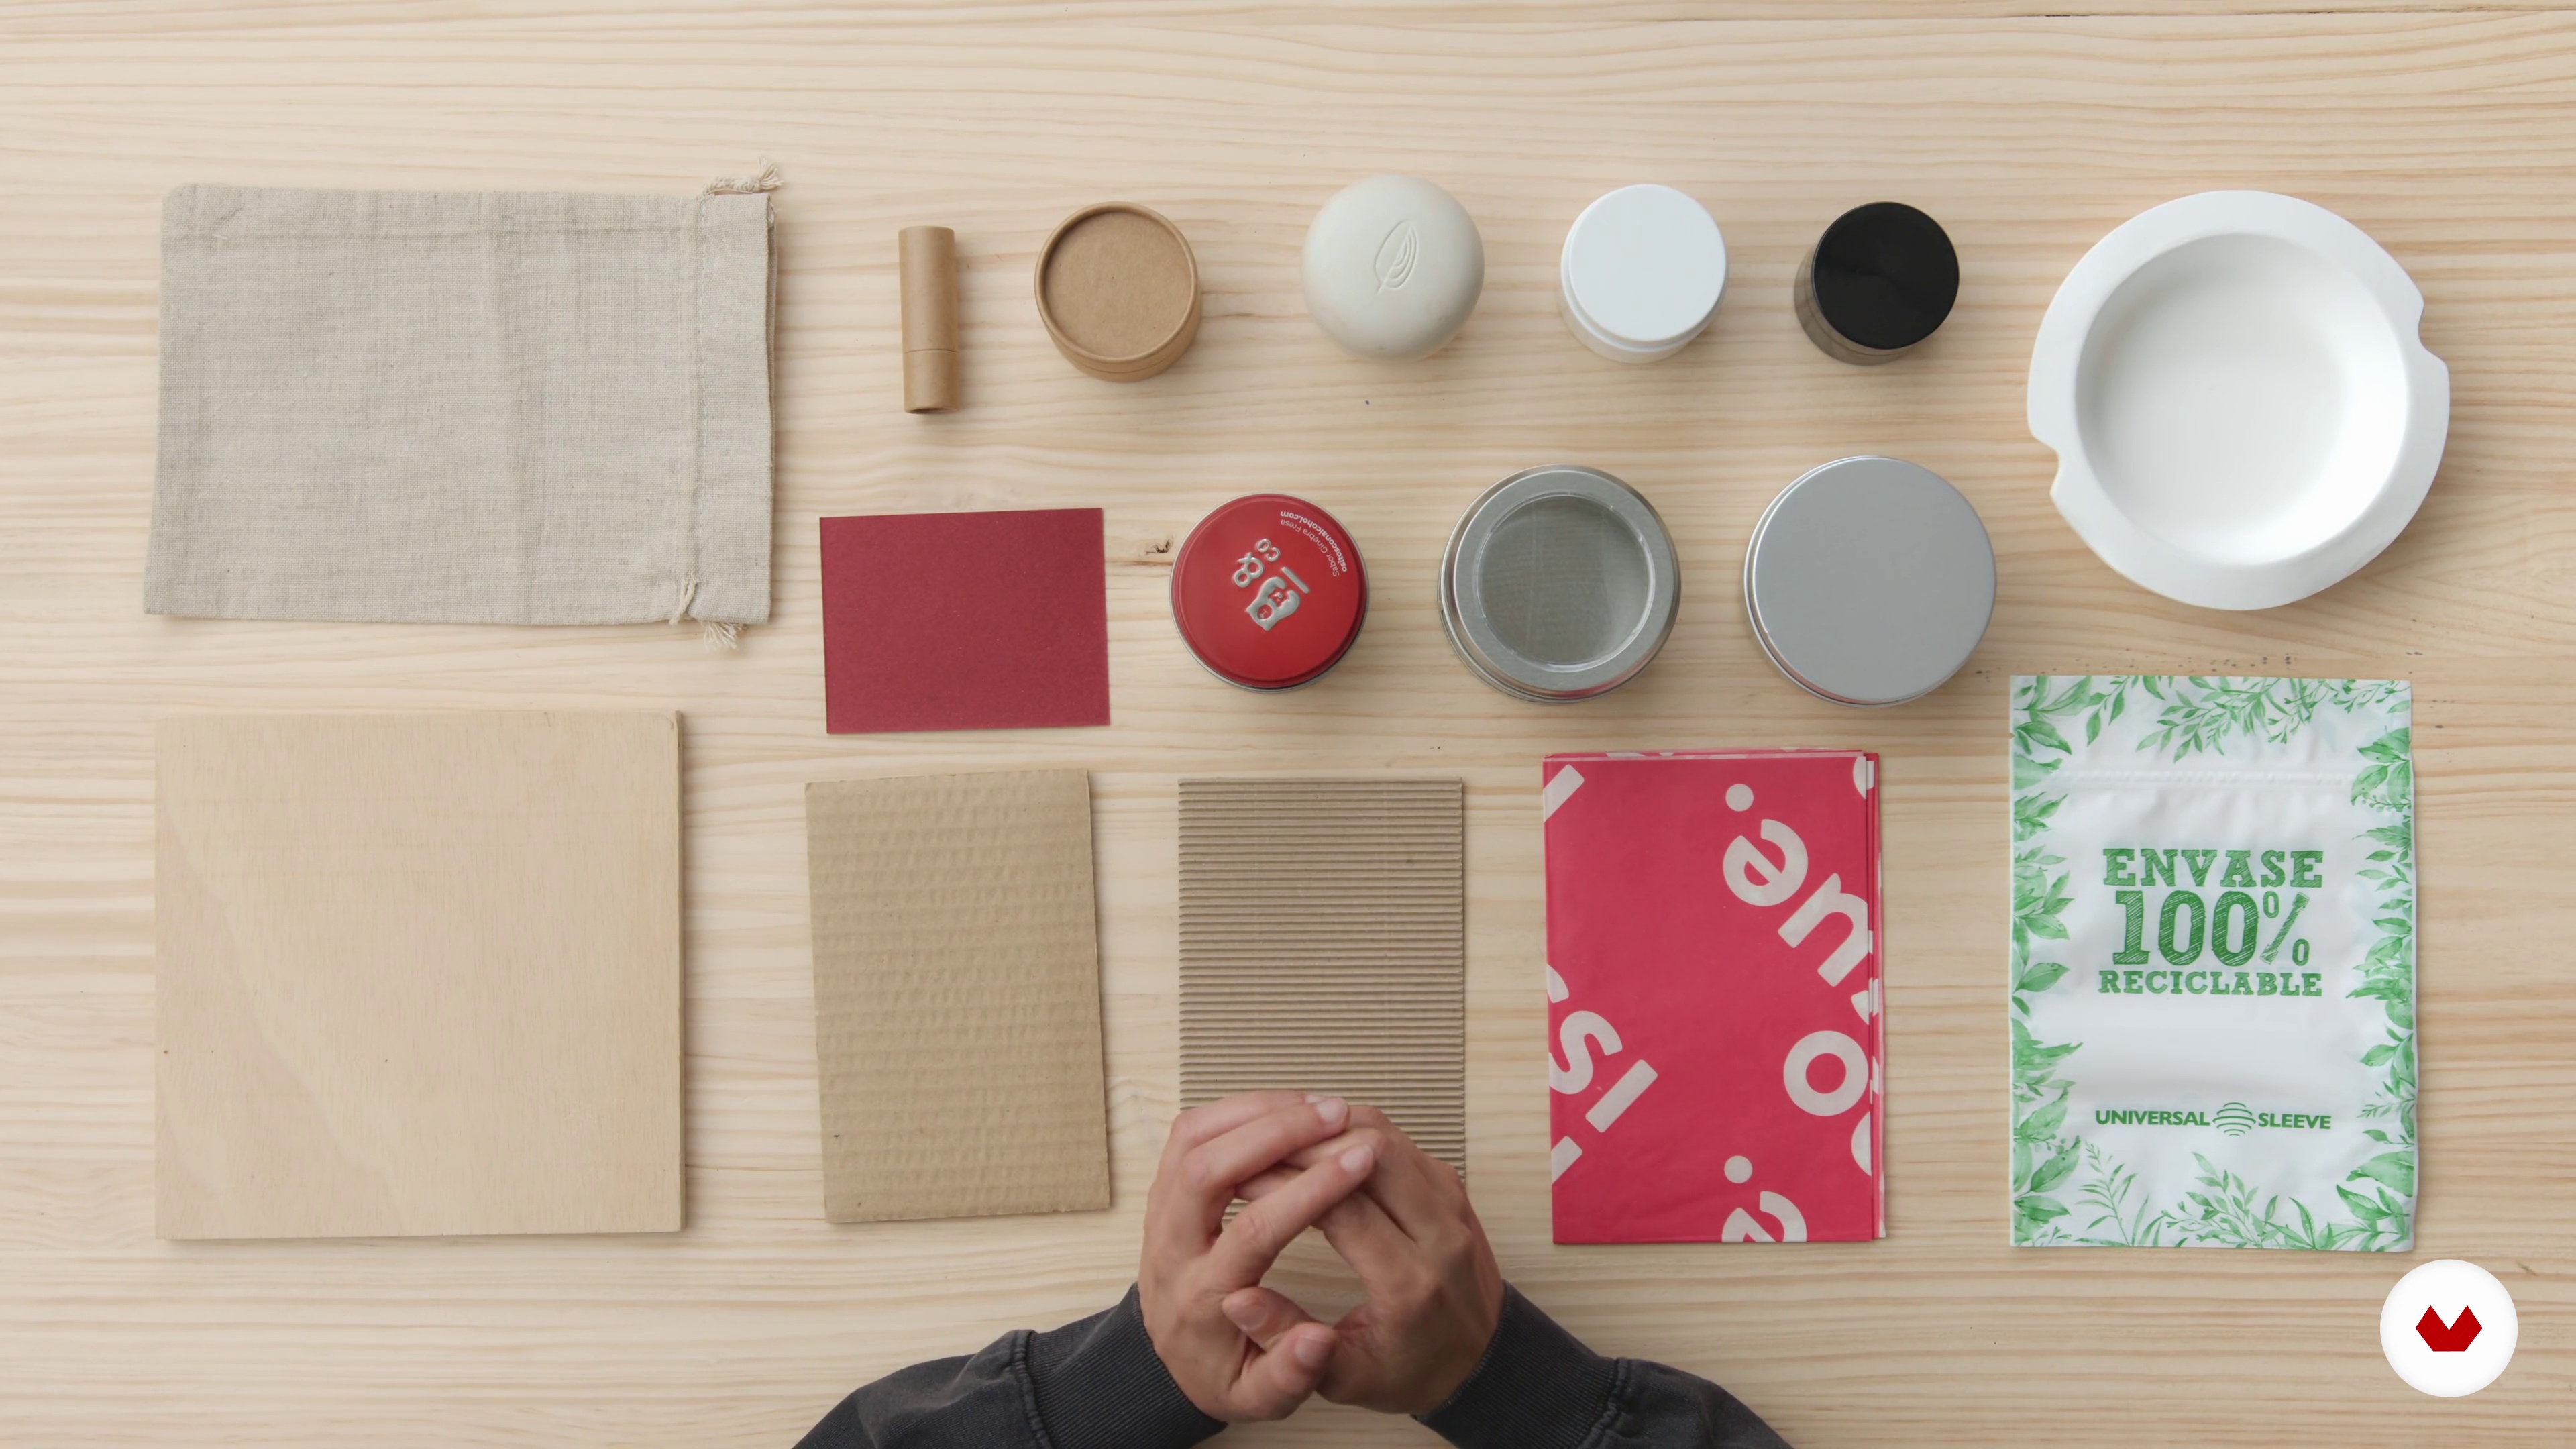
7Available Materials
We are already very clear about the concept and aesthetics of the brand, and we have to materialize it in packaging. In this lesson I will show you some sustainable materials that are on the market.
7m
 8
8We Decide Materials and Suppliers
Next, we will decide what packaging and materials to use in the project, prepare a cost plan and show you some suppliers that you can use for your project.
18m
 9
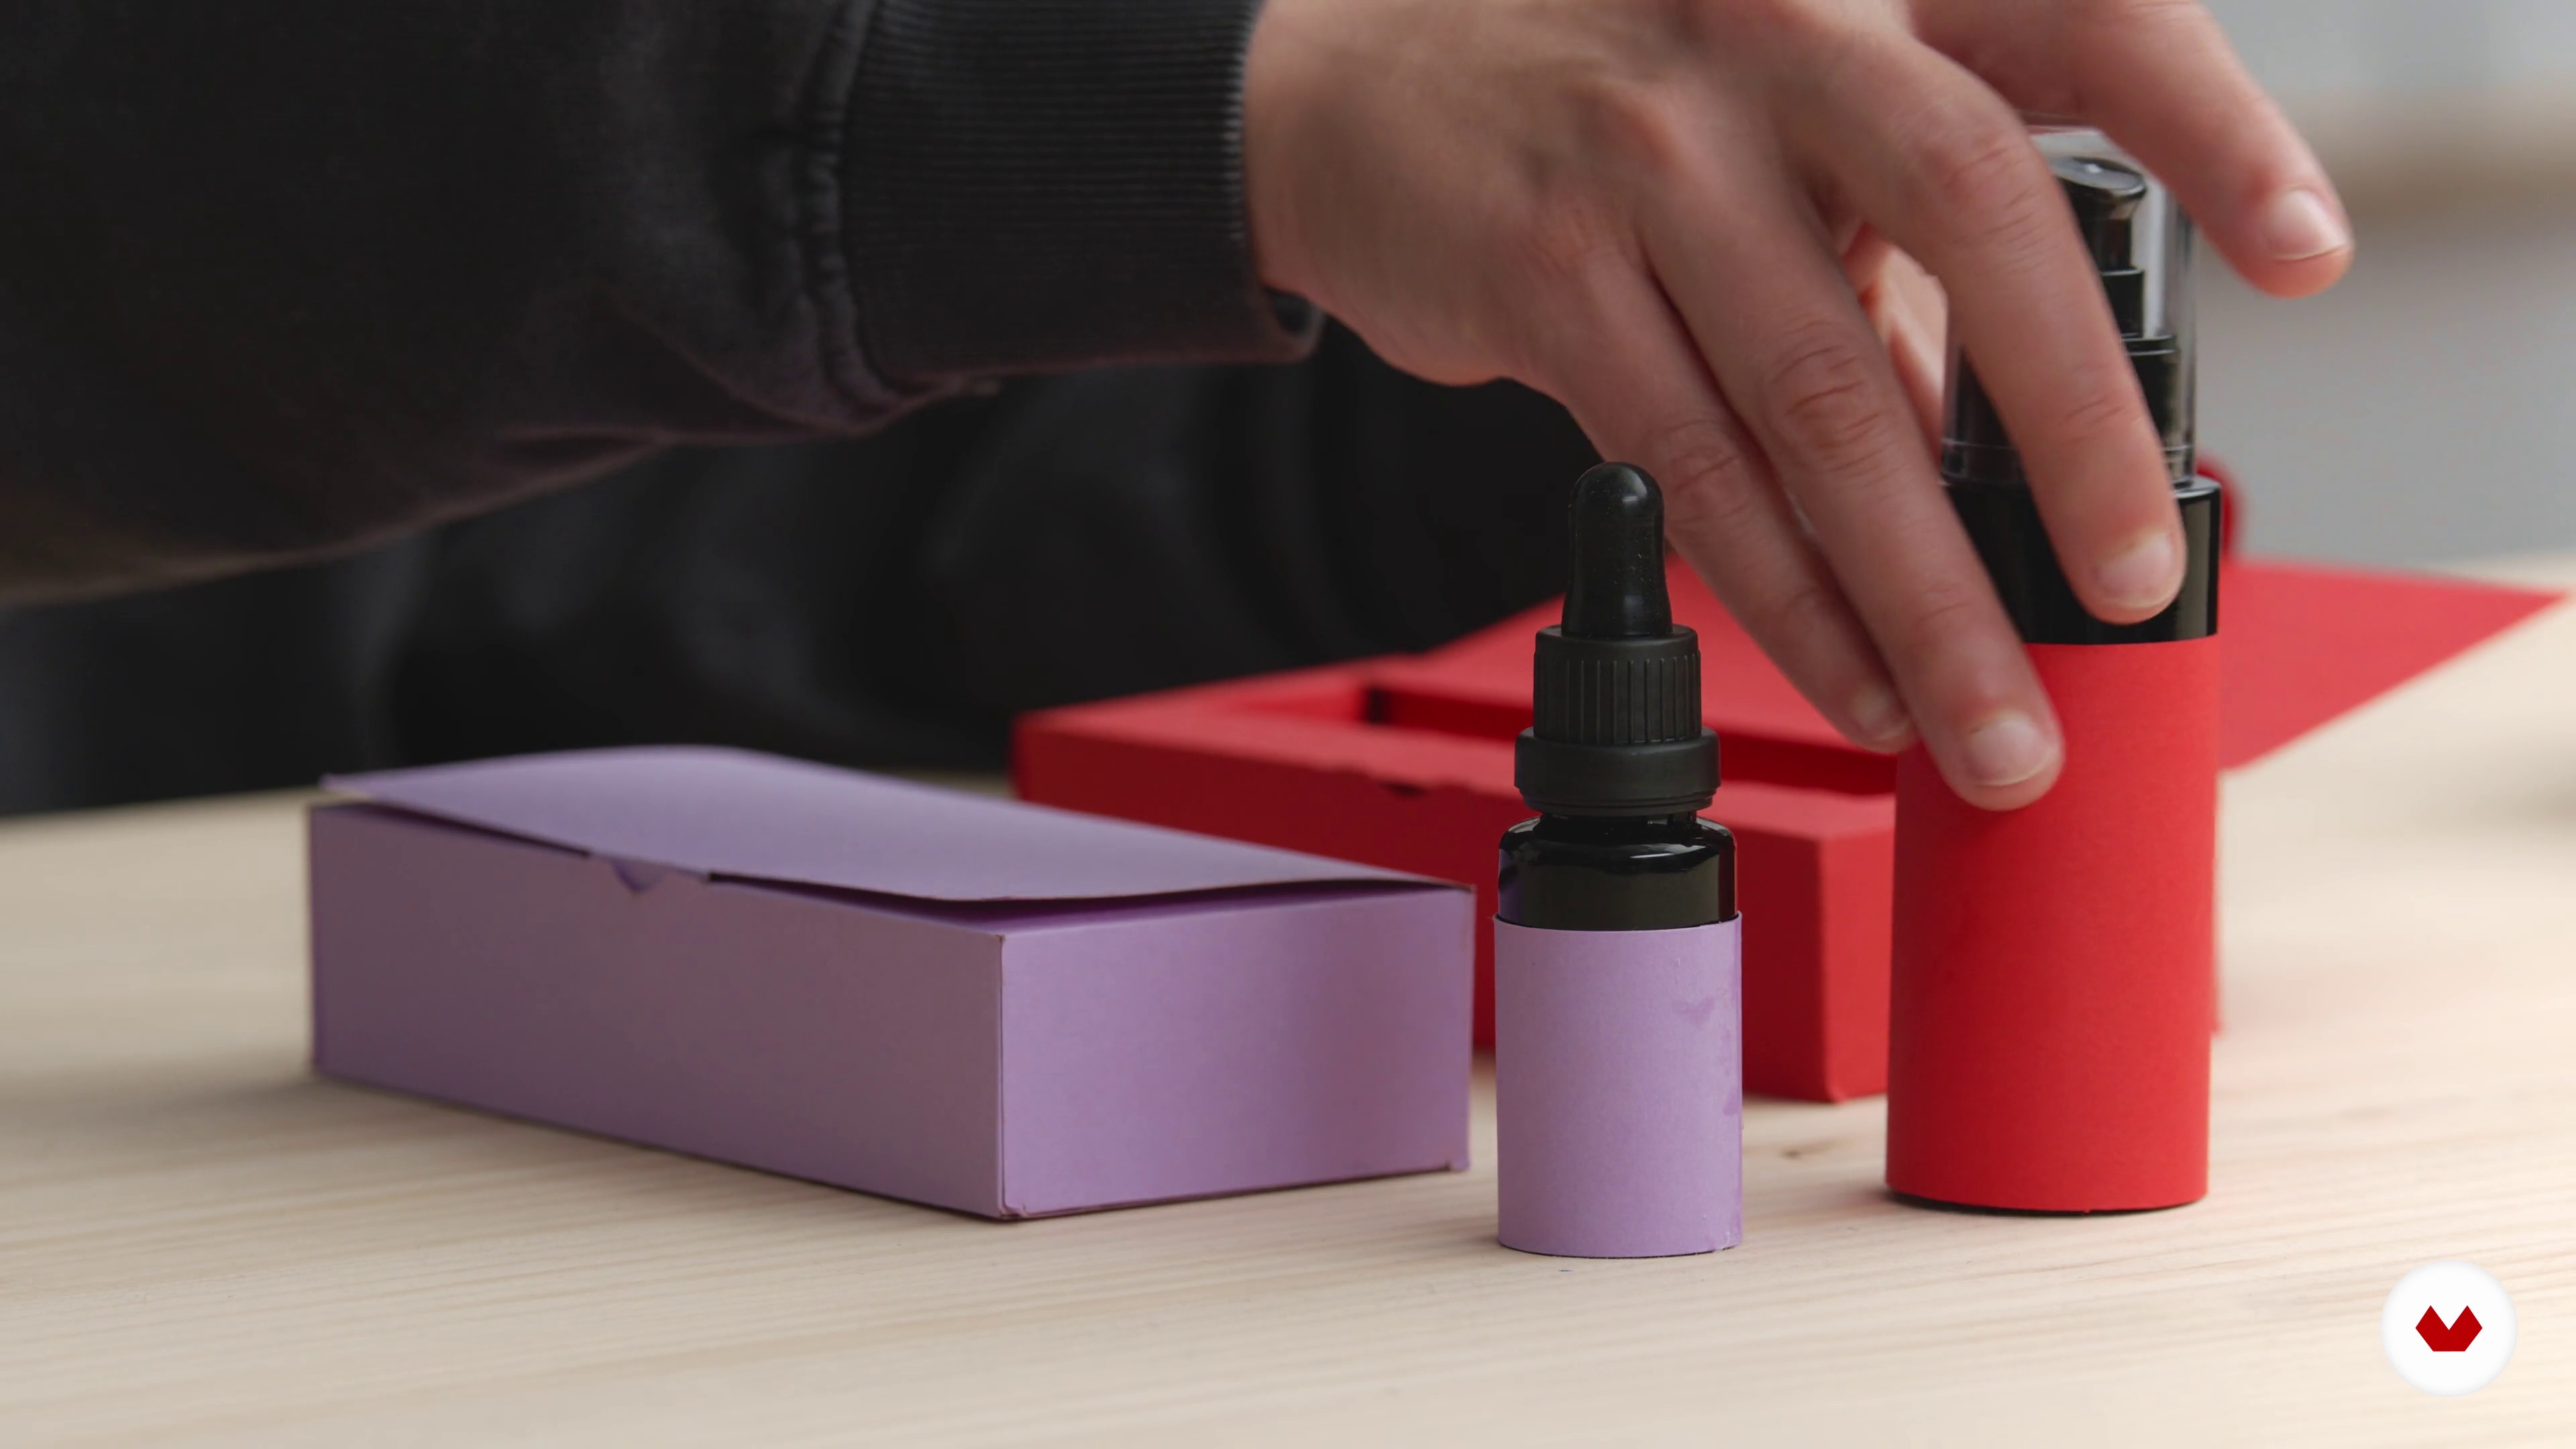
9Receipt of Samples and Final Decision Making
We receive the packaging samples to begin to take definitive measurements, make models and tests. It is a crucial moment in the process, since at this point you can detect and correct small errors.
11m
 10
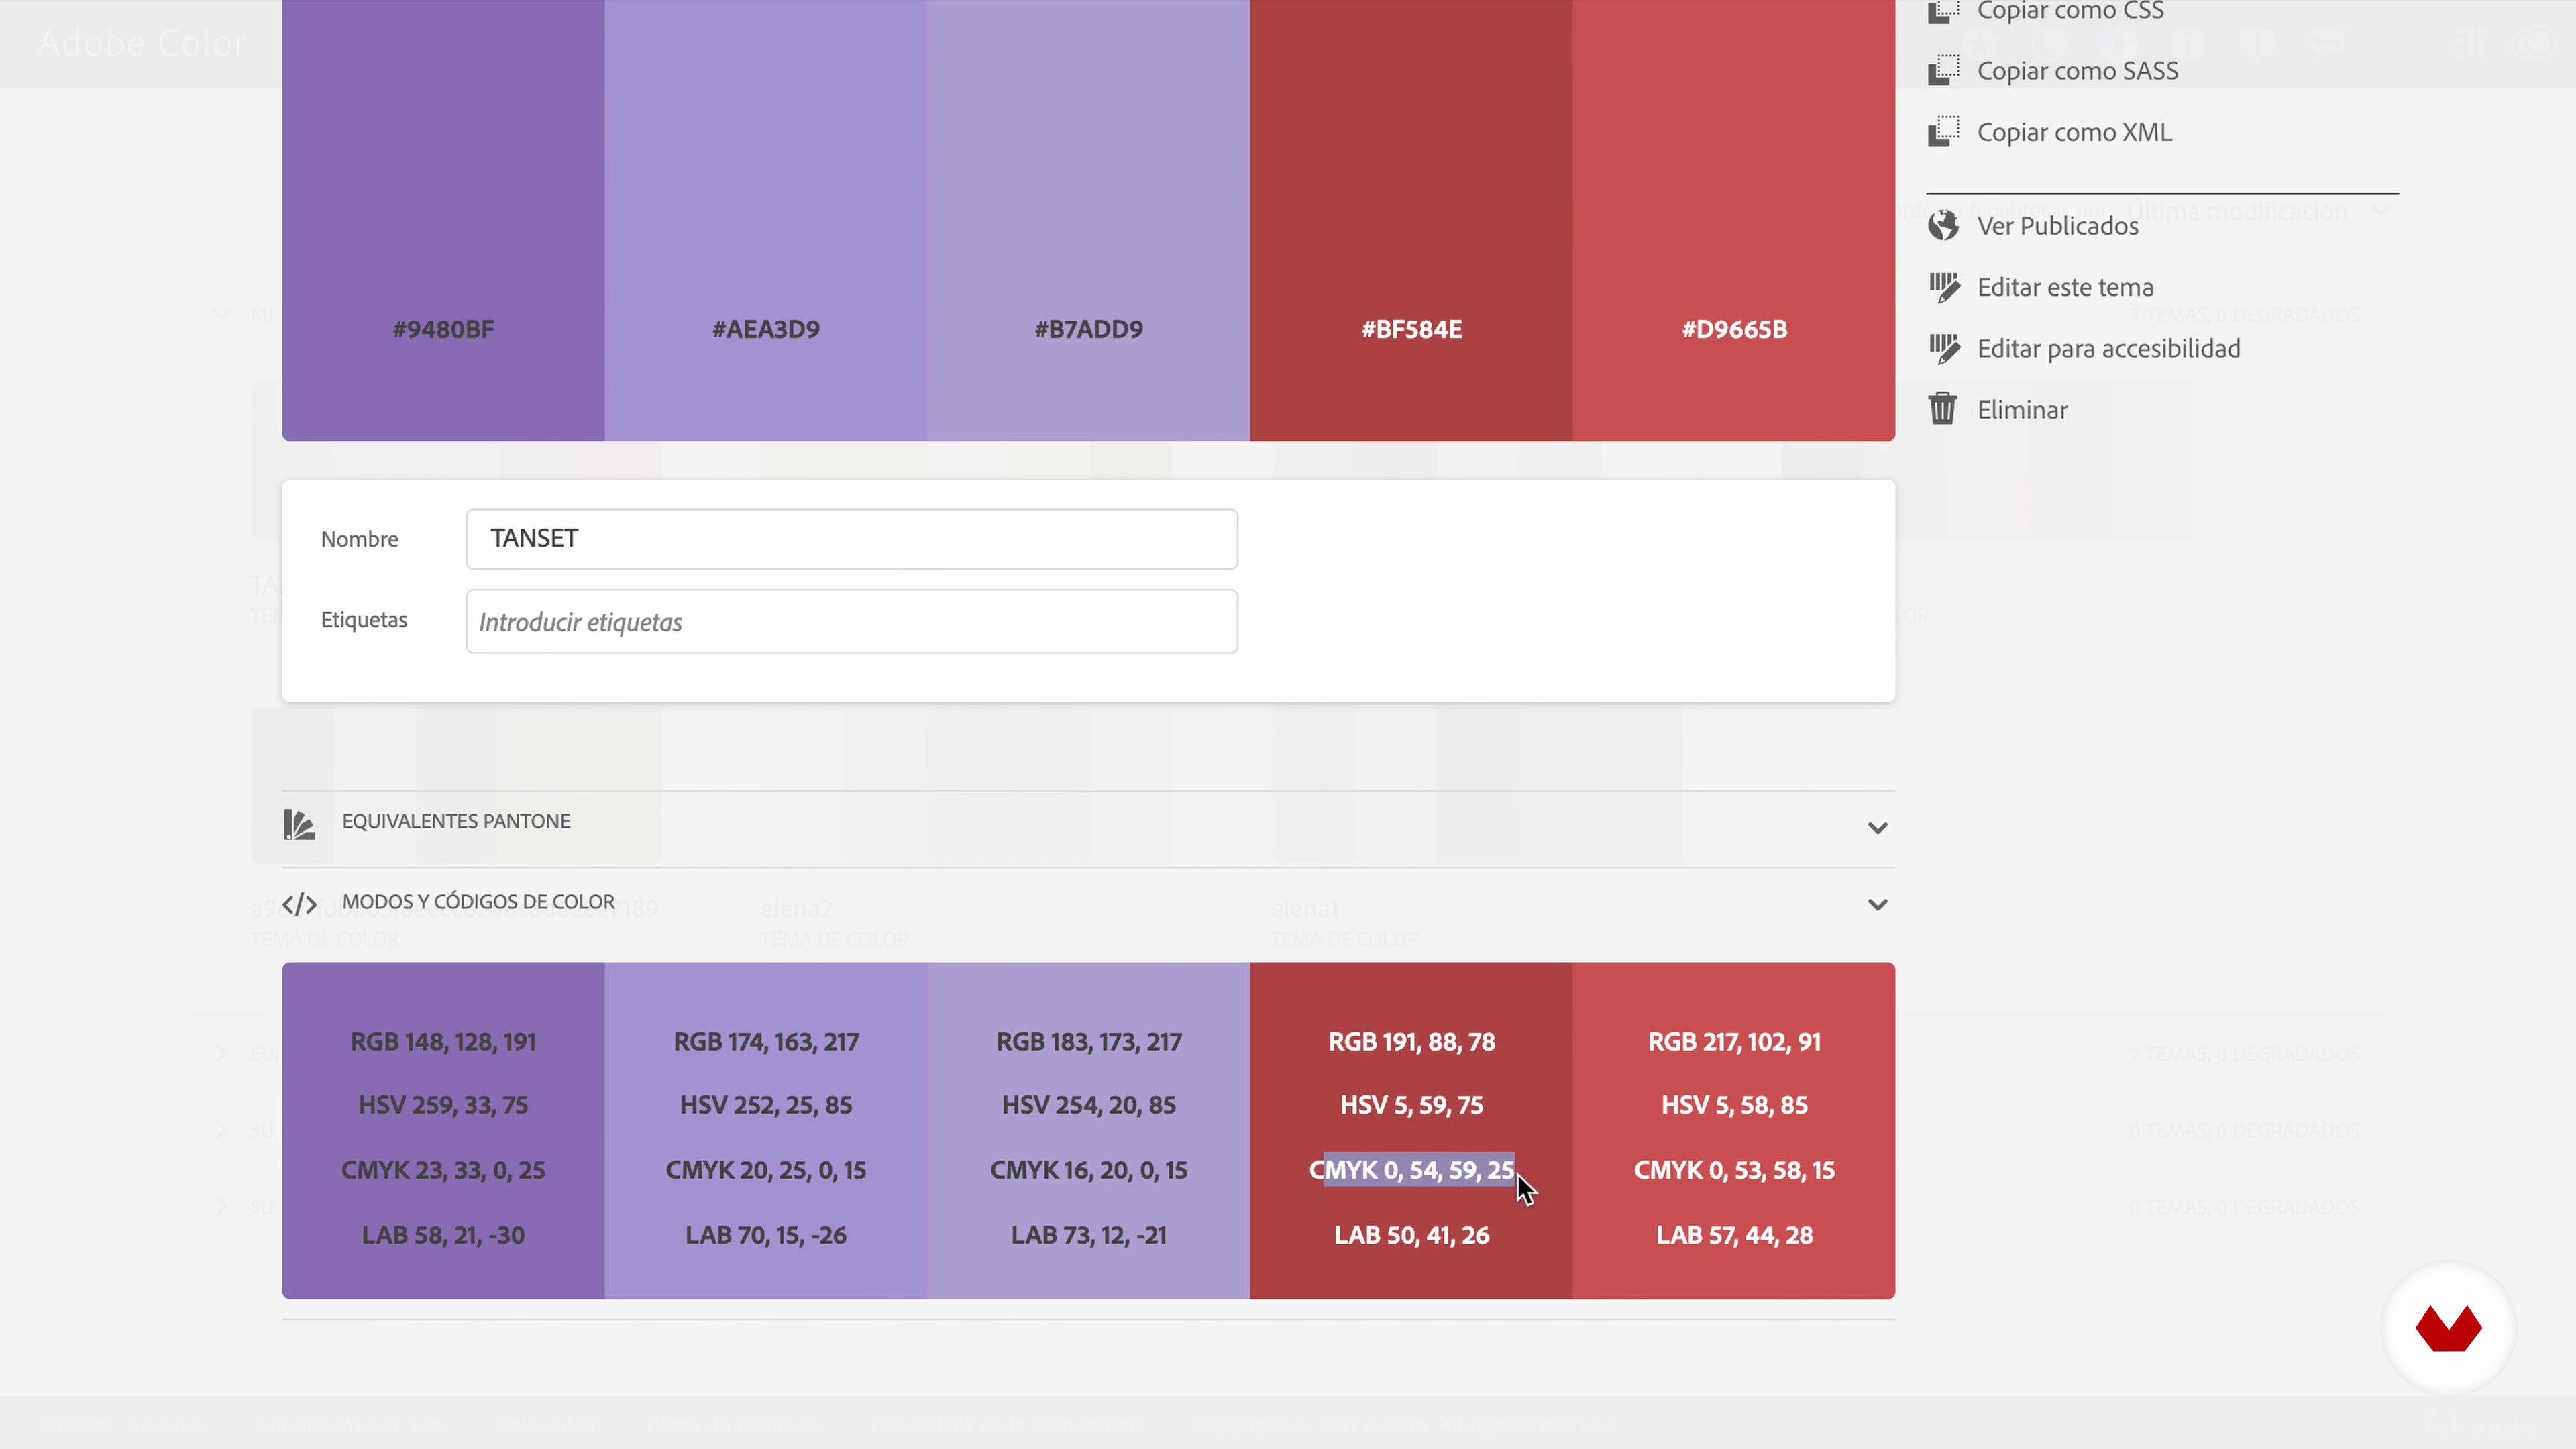
10Development of the Graphic System
In this lesson we will select colors, fonts, dies and composition to define our graphic system.
13m
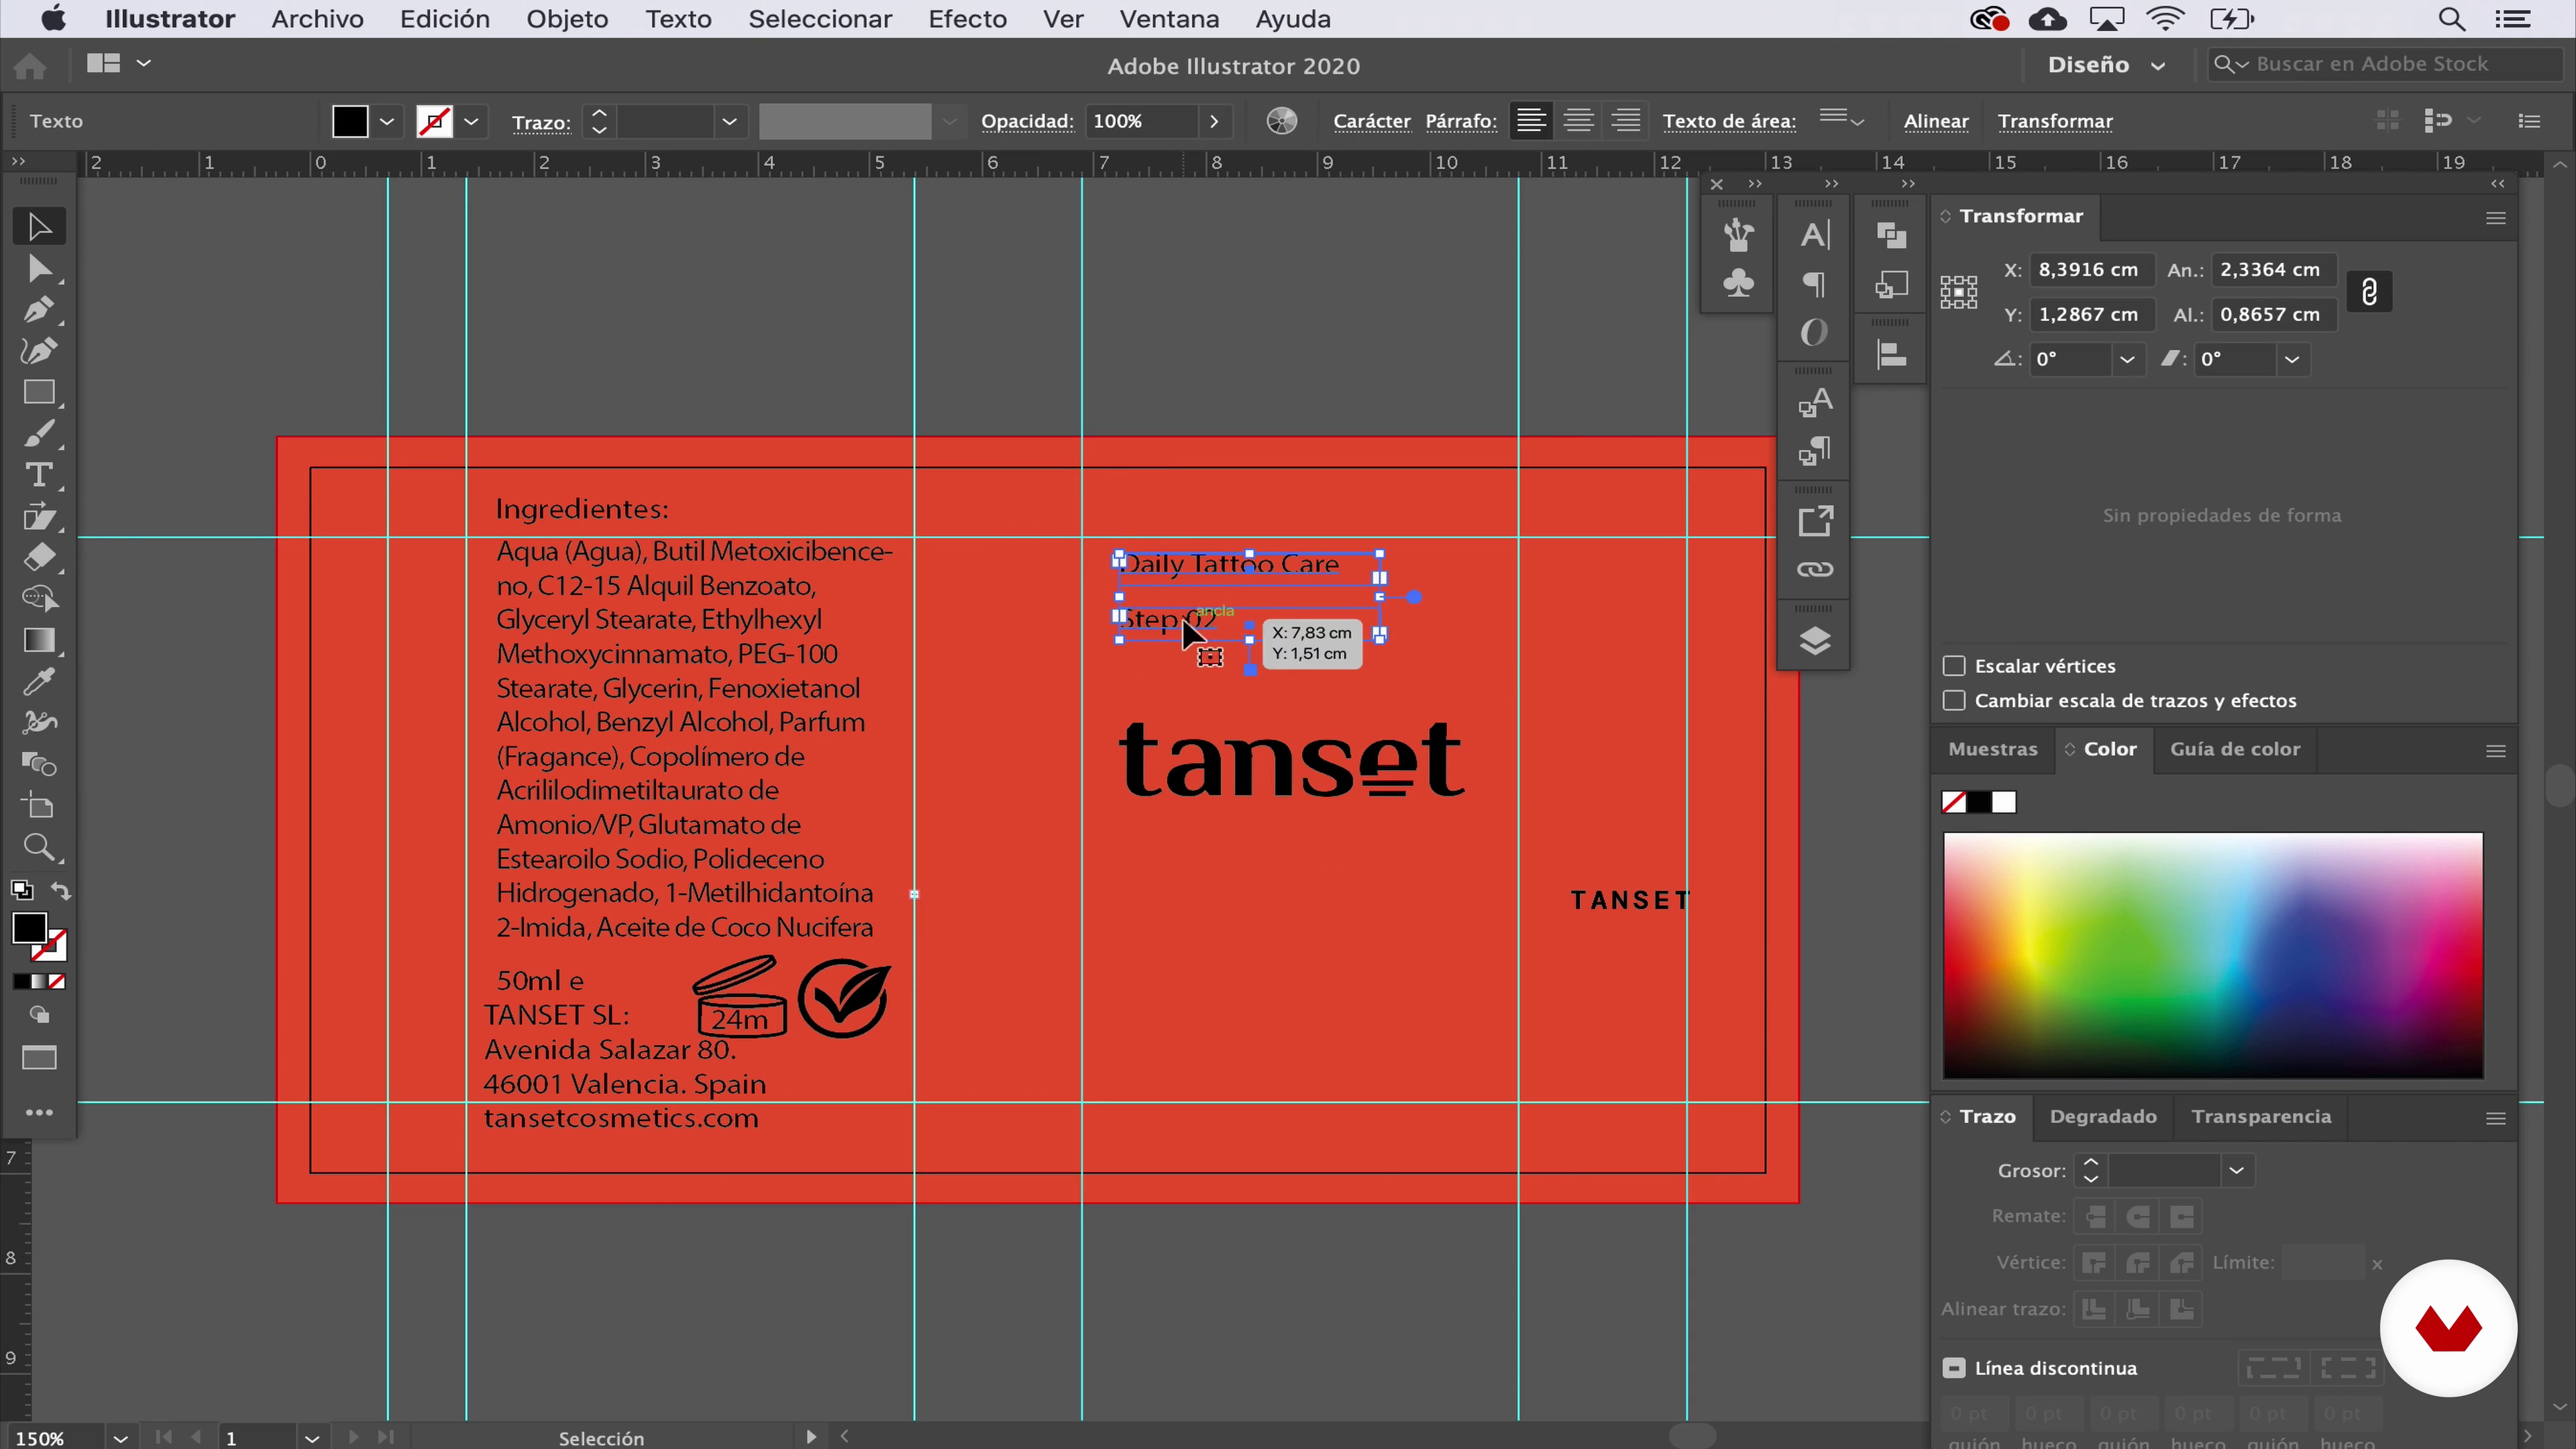 11
11Primary Package
In this lesson I will explain how to design the primary Package: the stickers of the jars that contain the cream.
17m
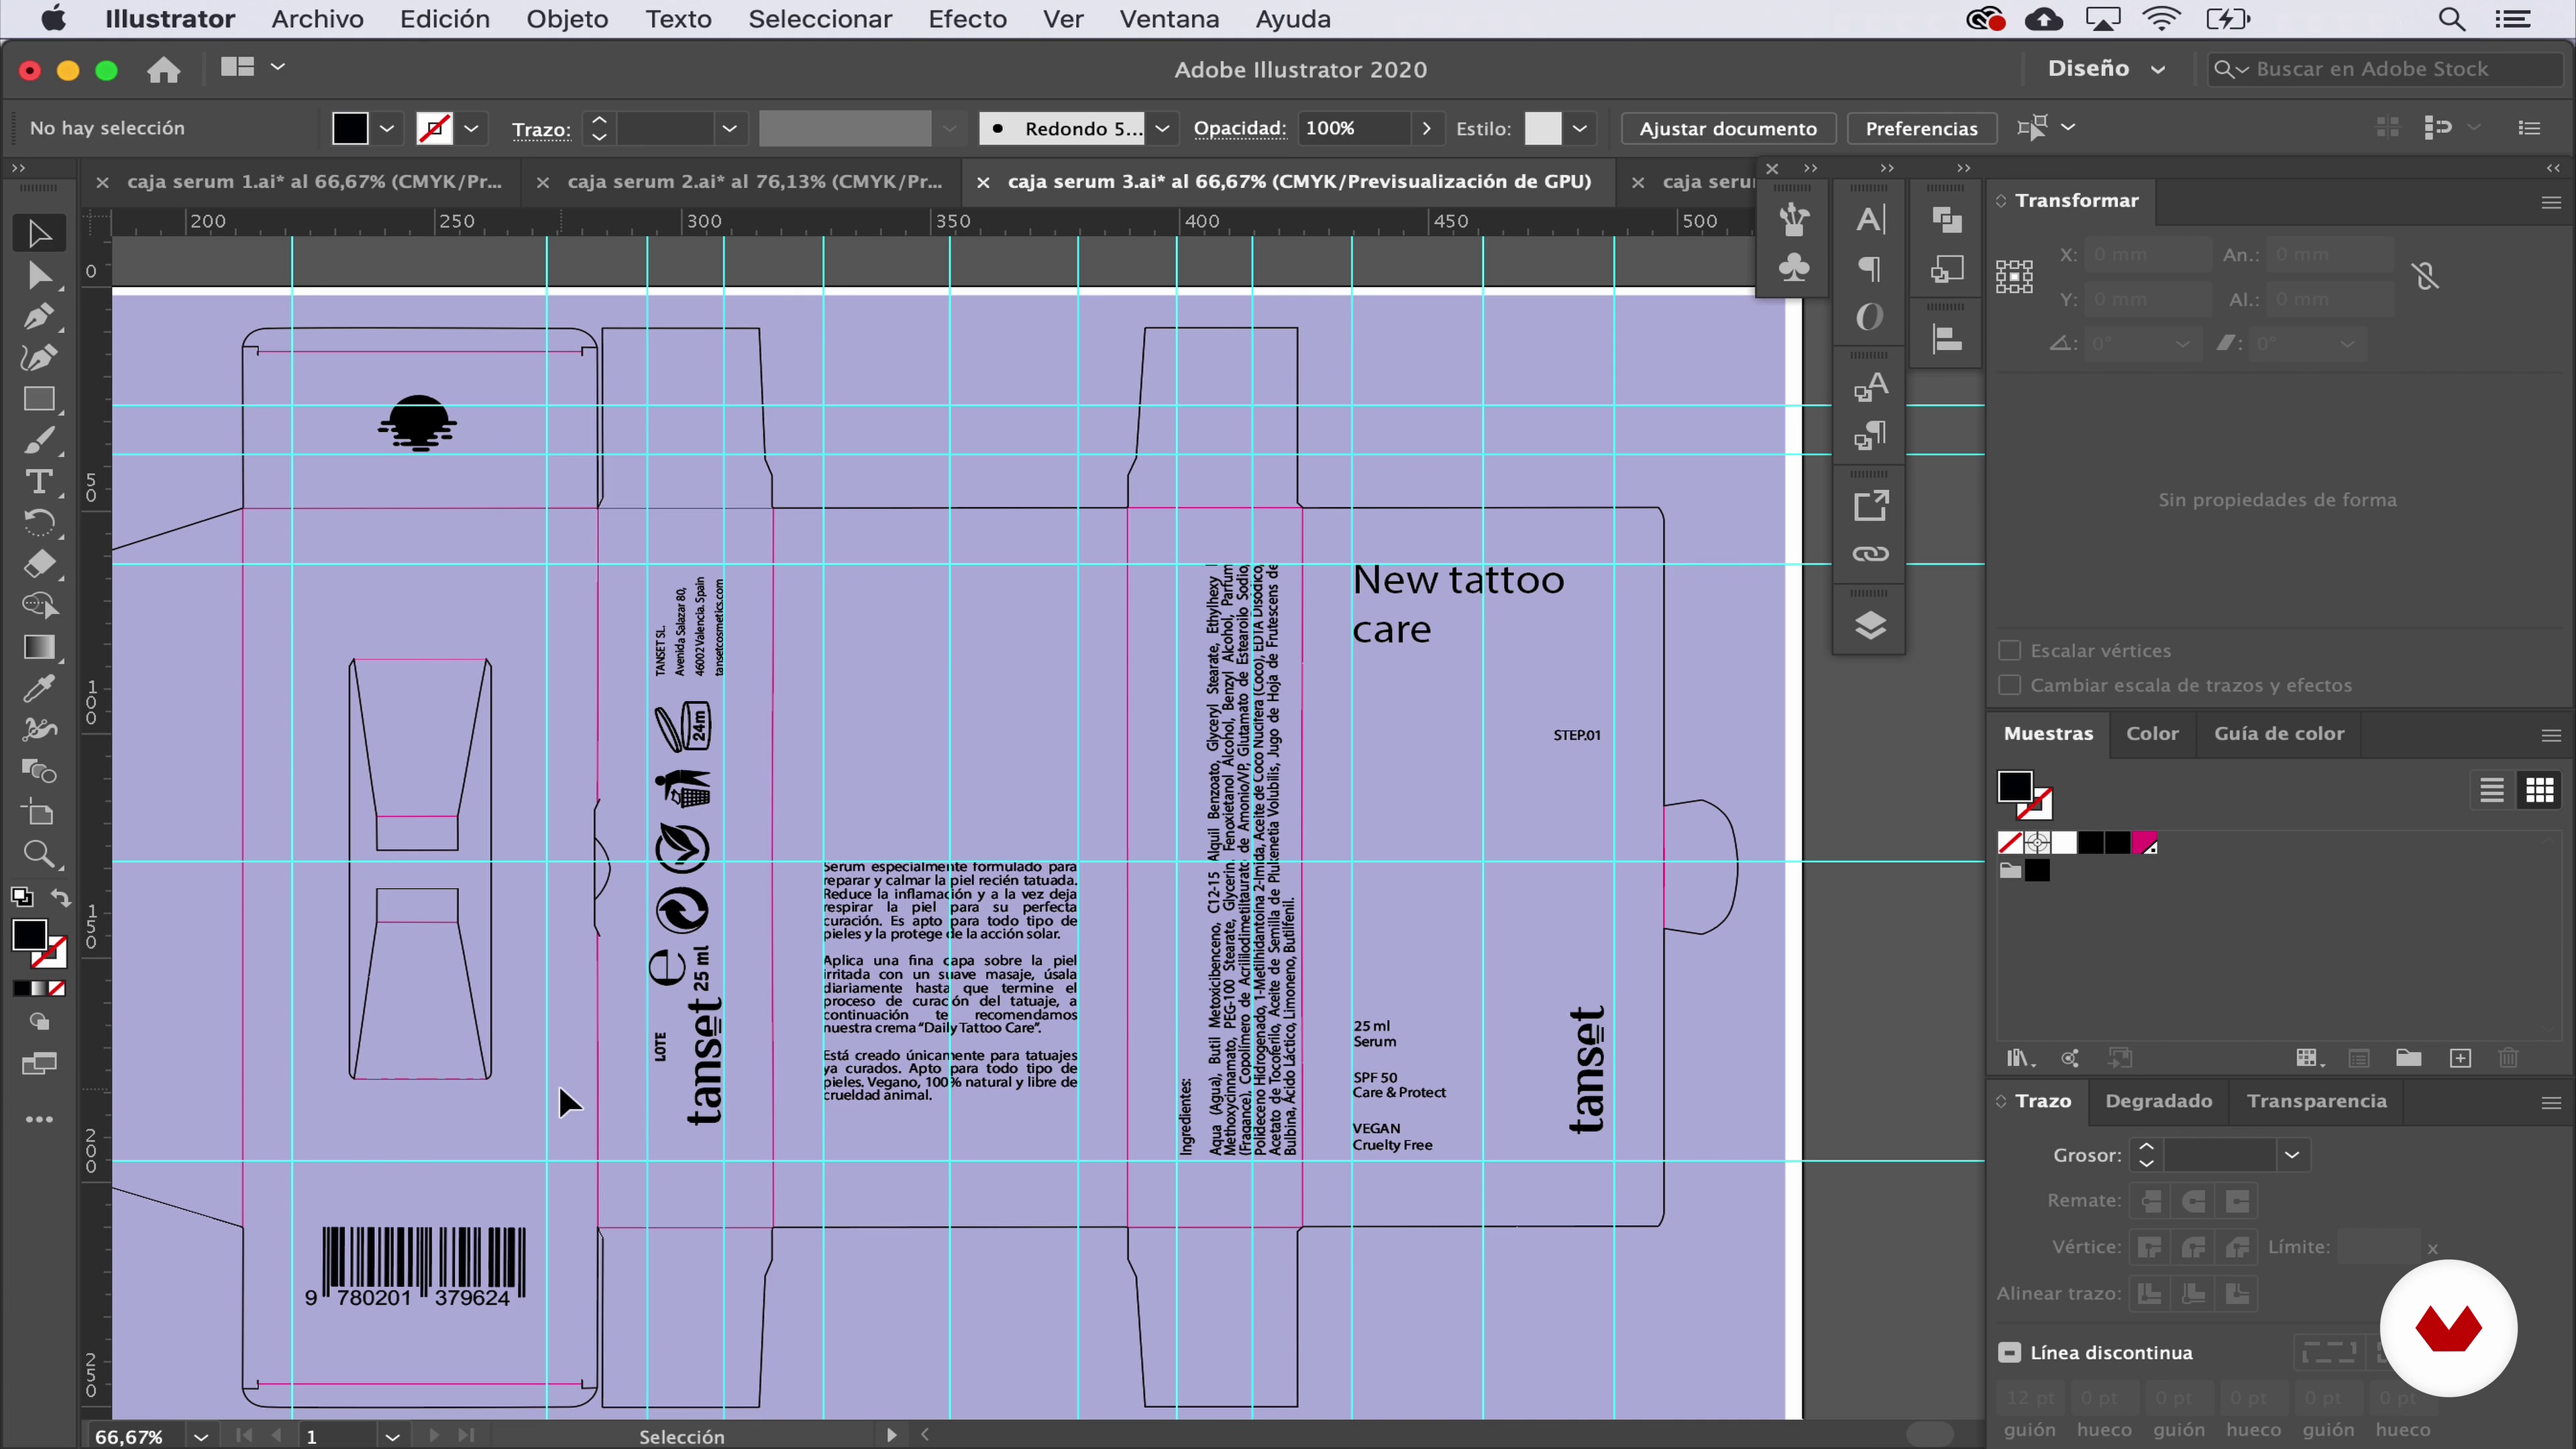 12
12Secondary Package
Next, we will design the secondary Package: the boxes that wrap the cream jars.
18m
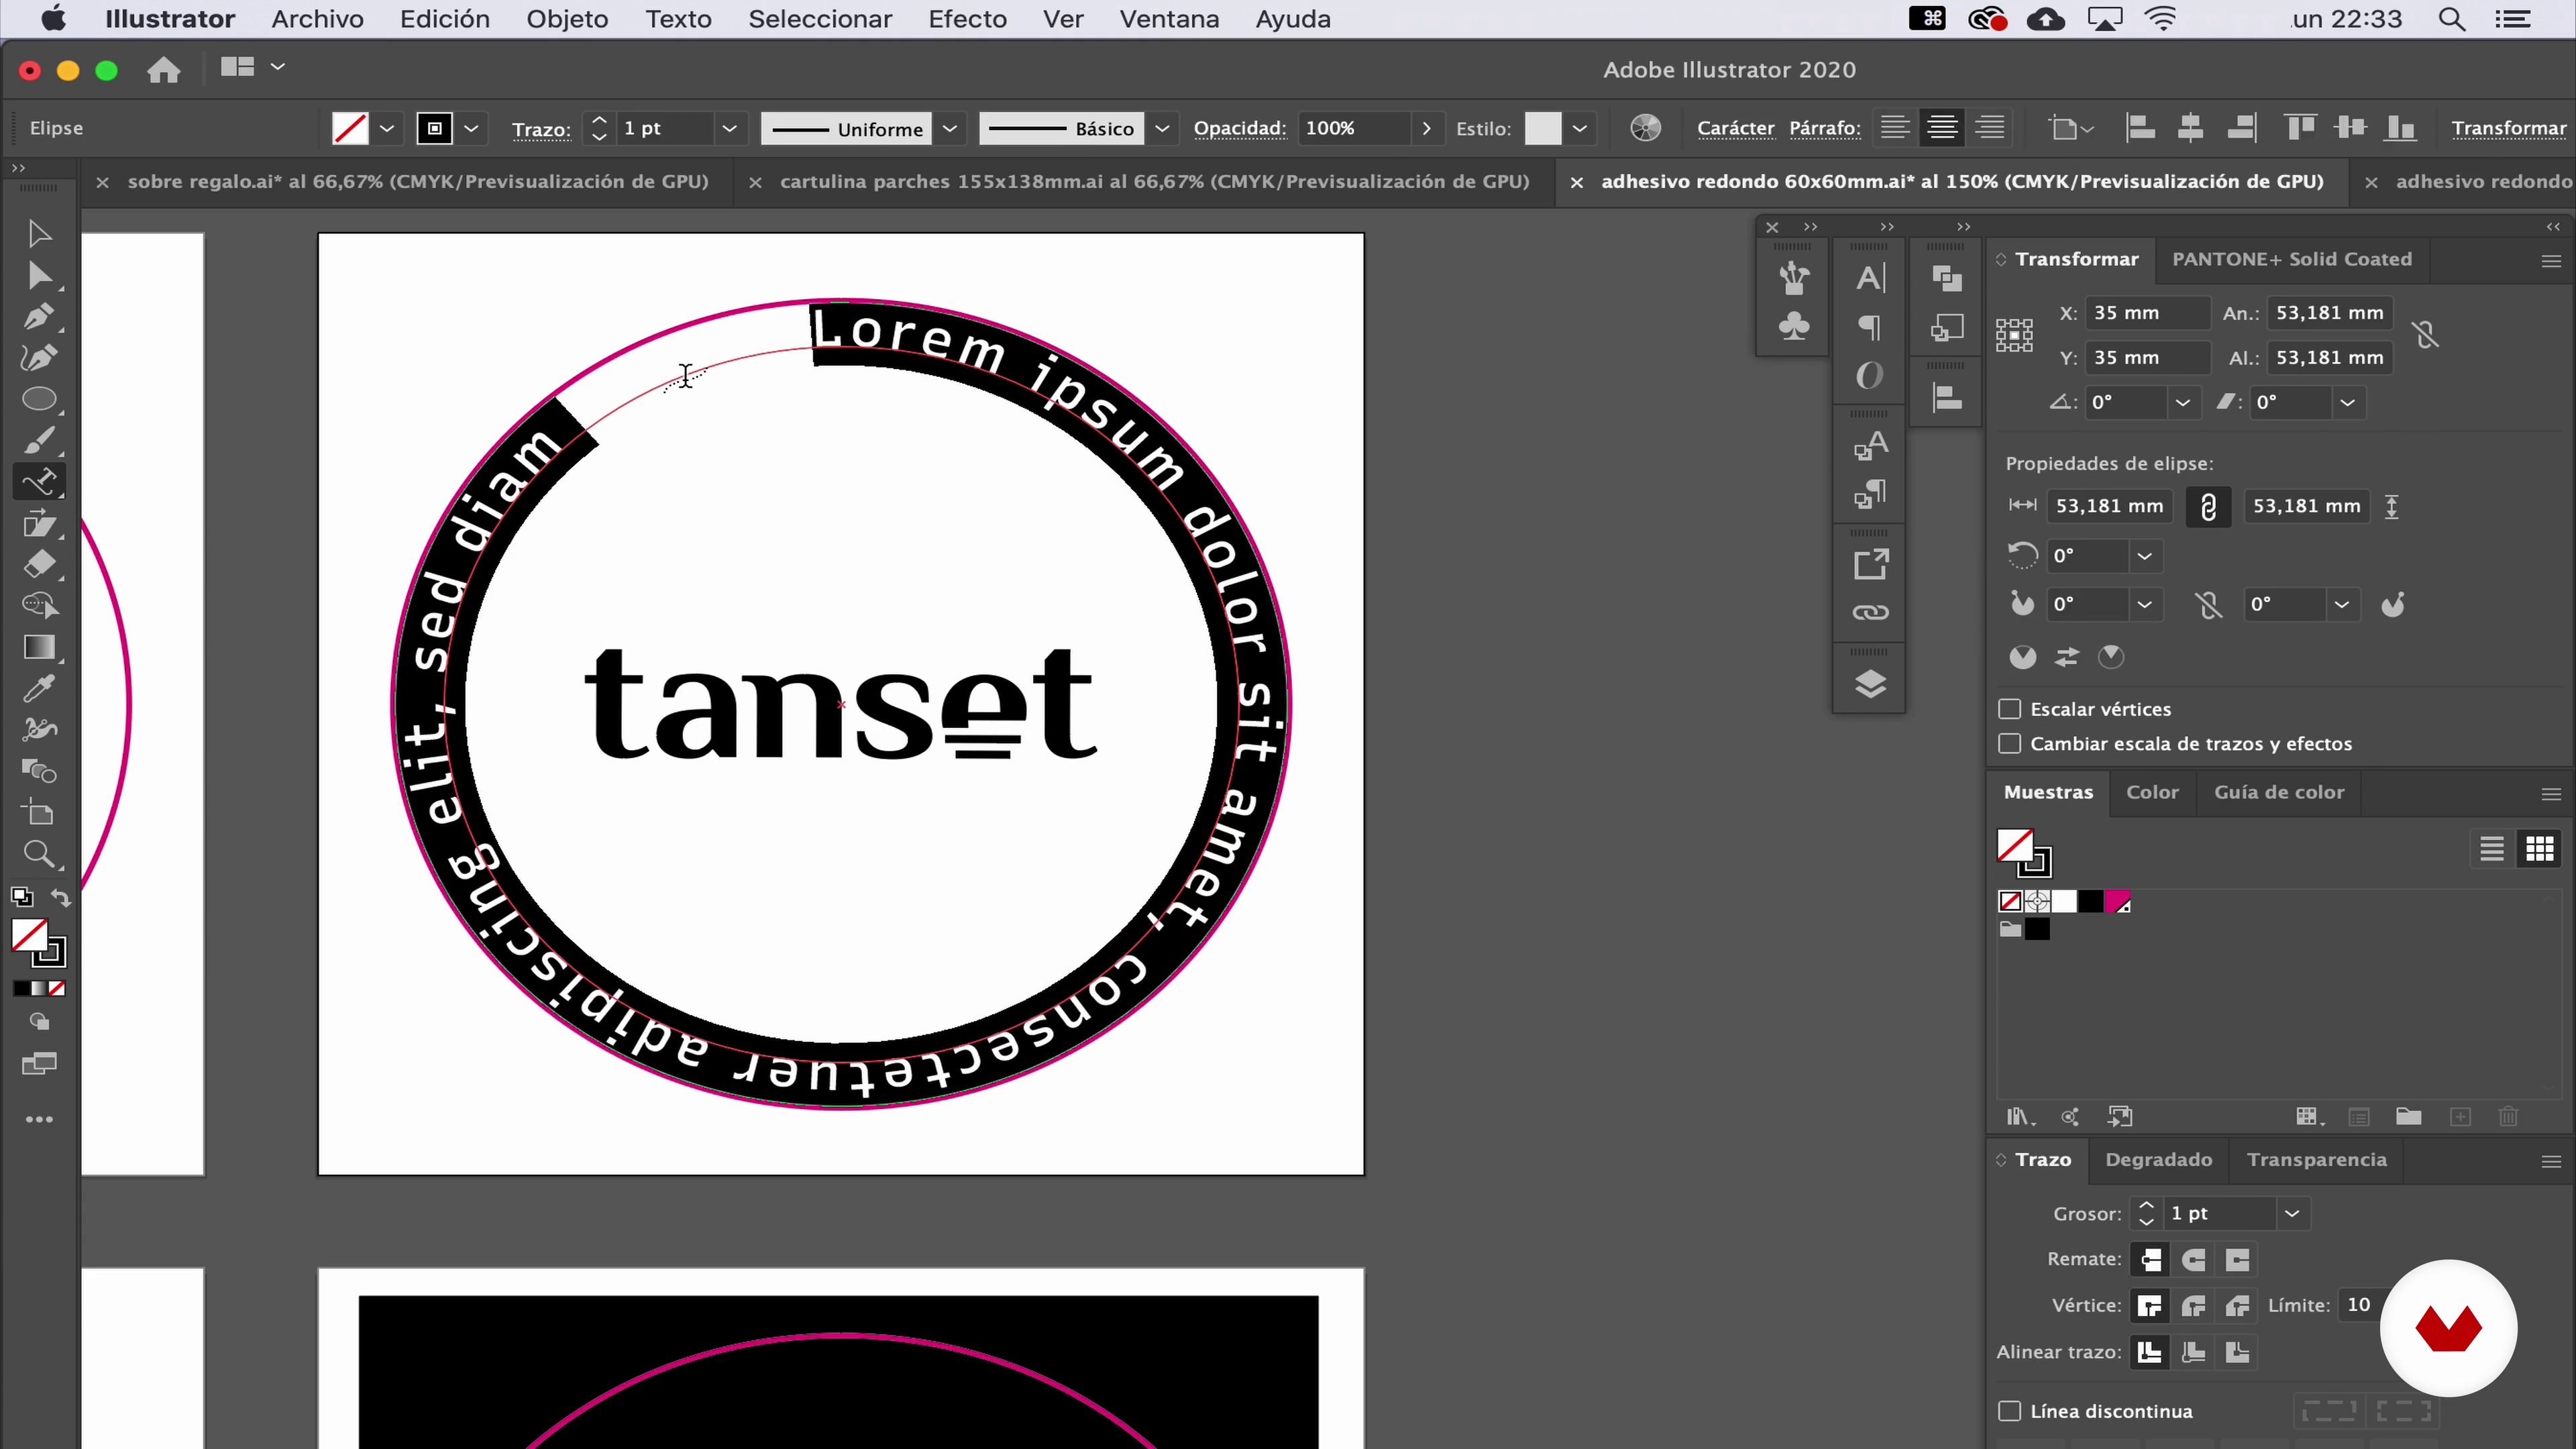 13
13Tertiary Package and Packaging
Now we will design the tertiary package and packaging. In my case it will be a toiletry bag, gift envelope and transport packaging.
12m
 14
14Final Artwork for Printing 1
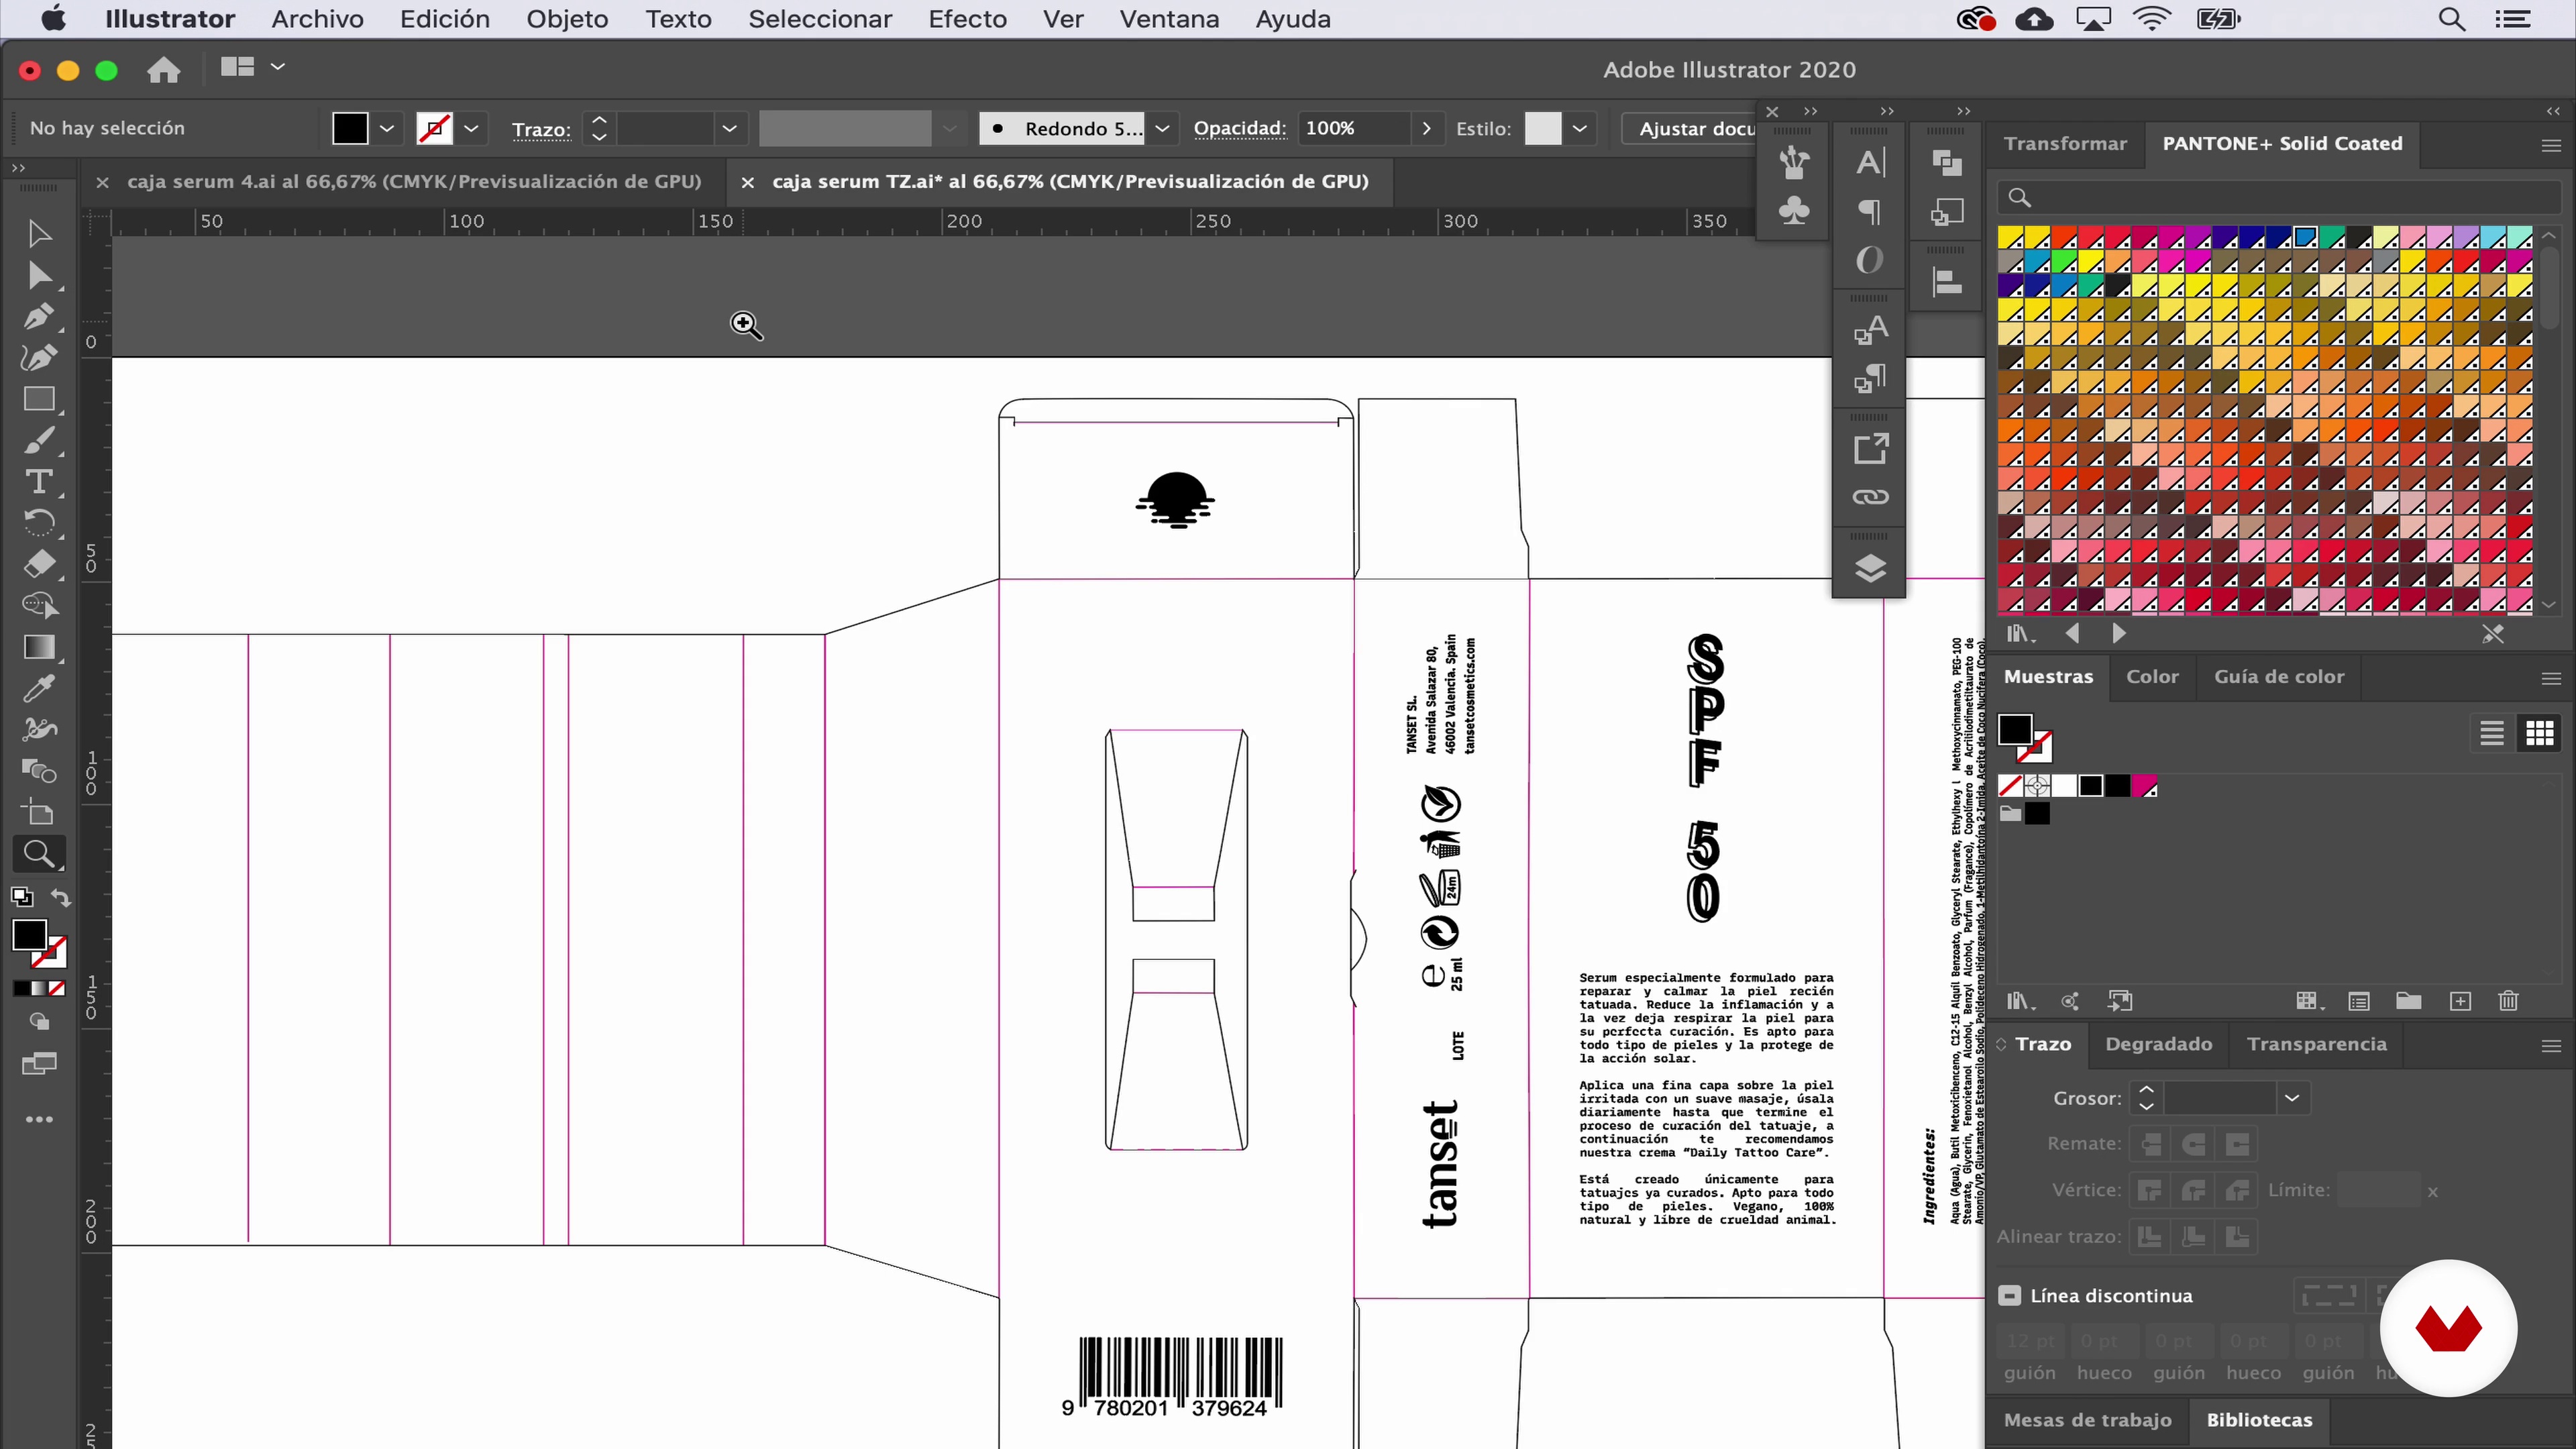
In this lesson we will prepare step by step the final art of the designs to send it to the press.
15m
 15
15Final Art for Printing 2
We continue to review the steps necessary to prepare our final artwork before we go to print.
13m
 16
16Receive Your Packaging
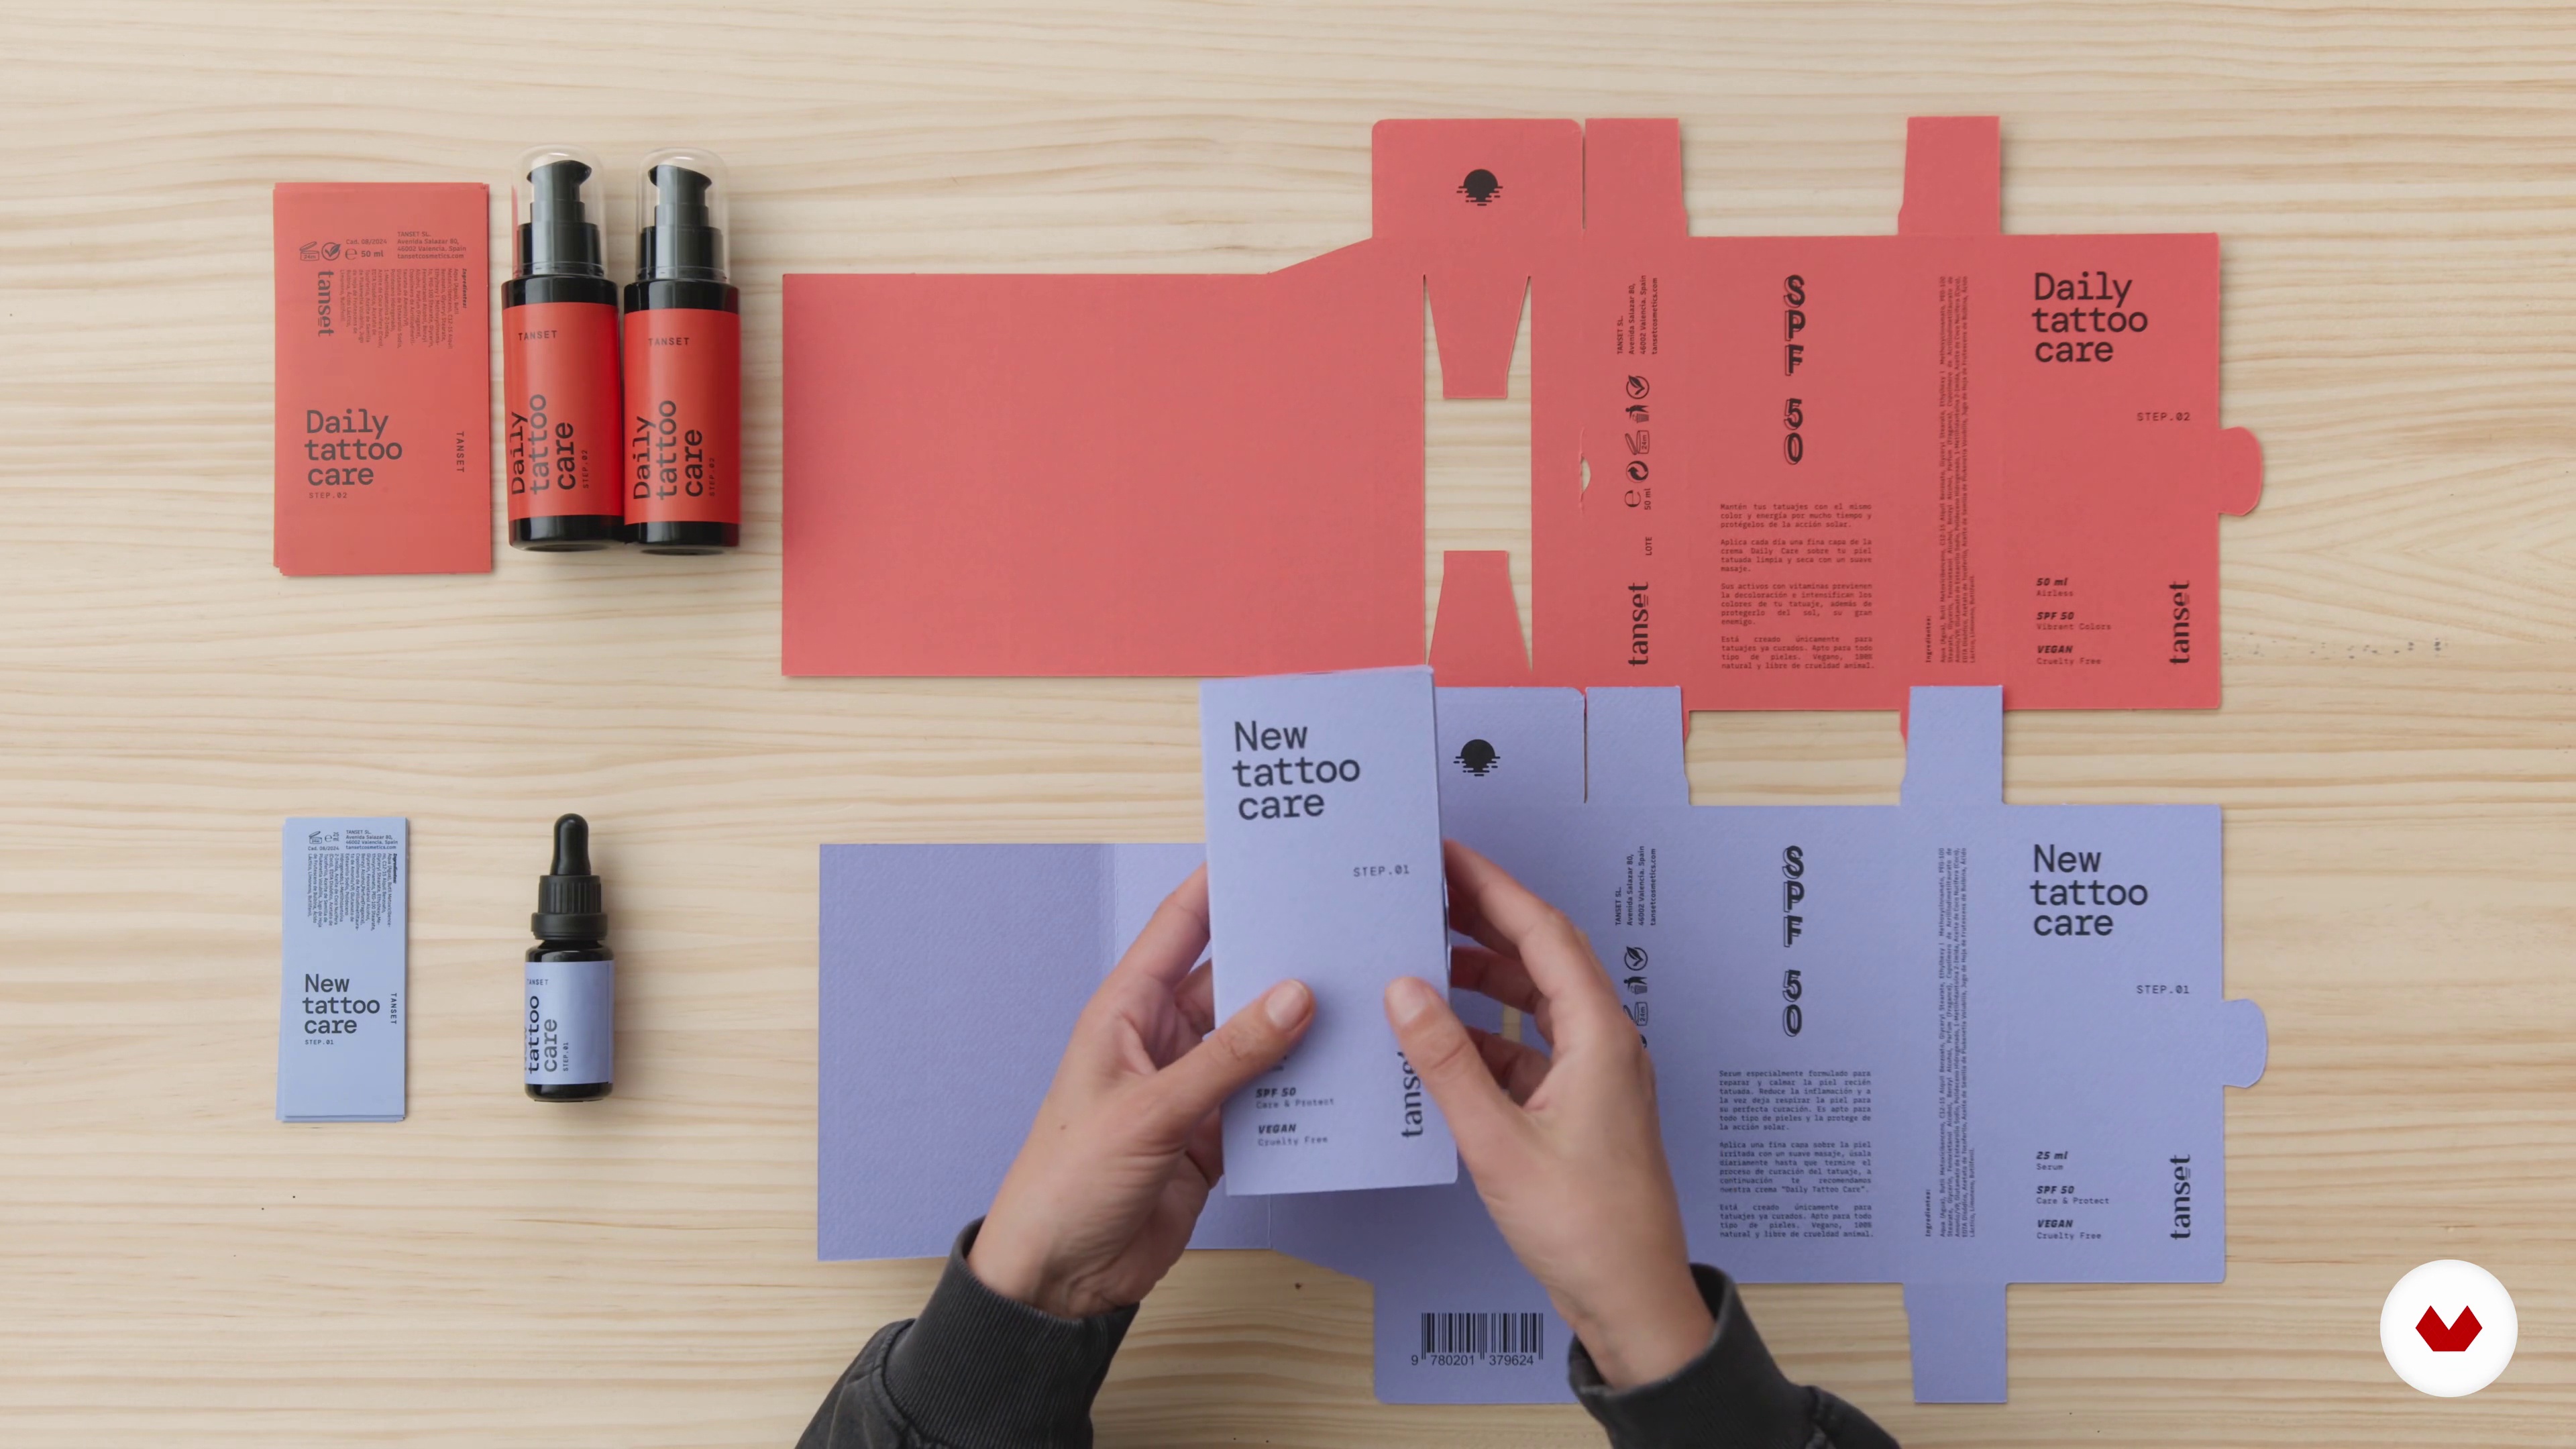
In this lesson I will receive the packaging, make some final corrections and assemble it to see the final result of the eco-friendly packaging for Tanset. Now you can start selling in your online store!
8m
 3
3The pieces of desire and sustainability
Let's start with the basics! In this lesson, I'll talk about packaging, desire pieces, and sustainability. I'll explain the different functions packaging can serve and how it can stand out from competitors' offerings.
6m
 4
4Study the brief
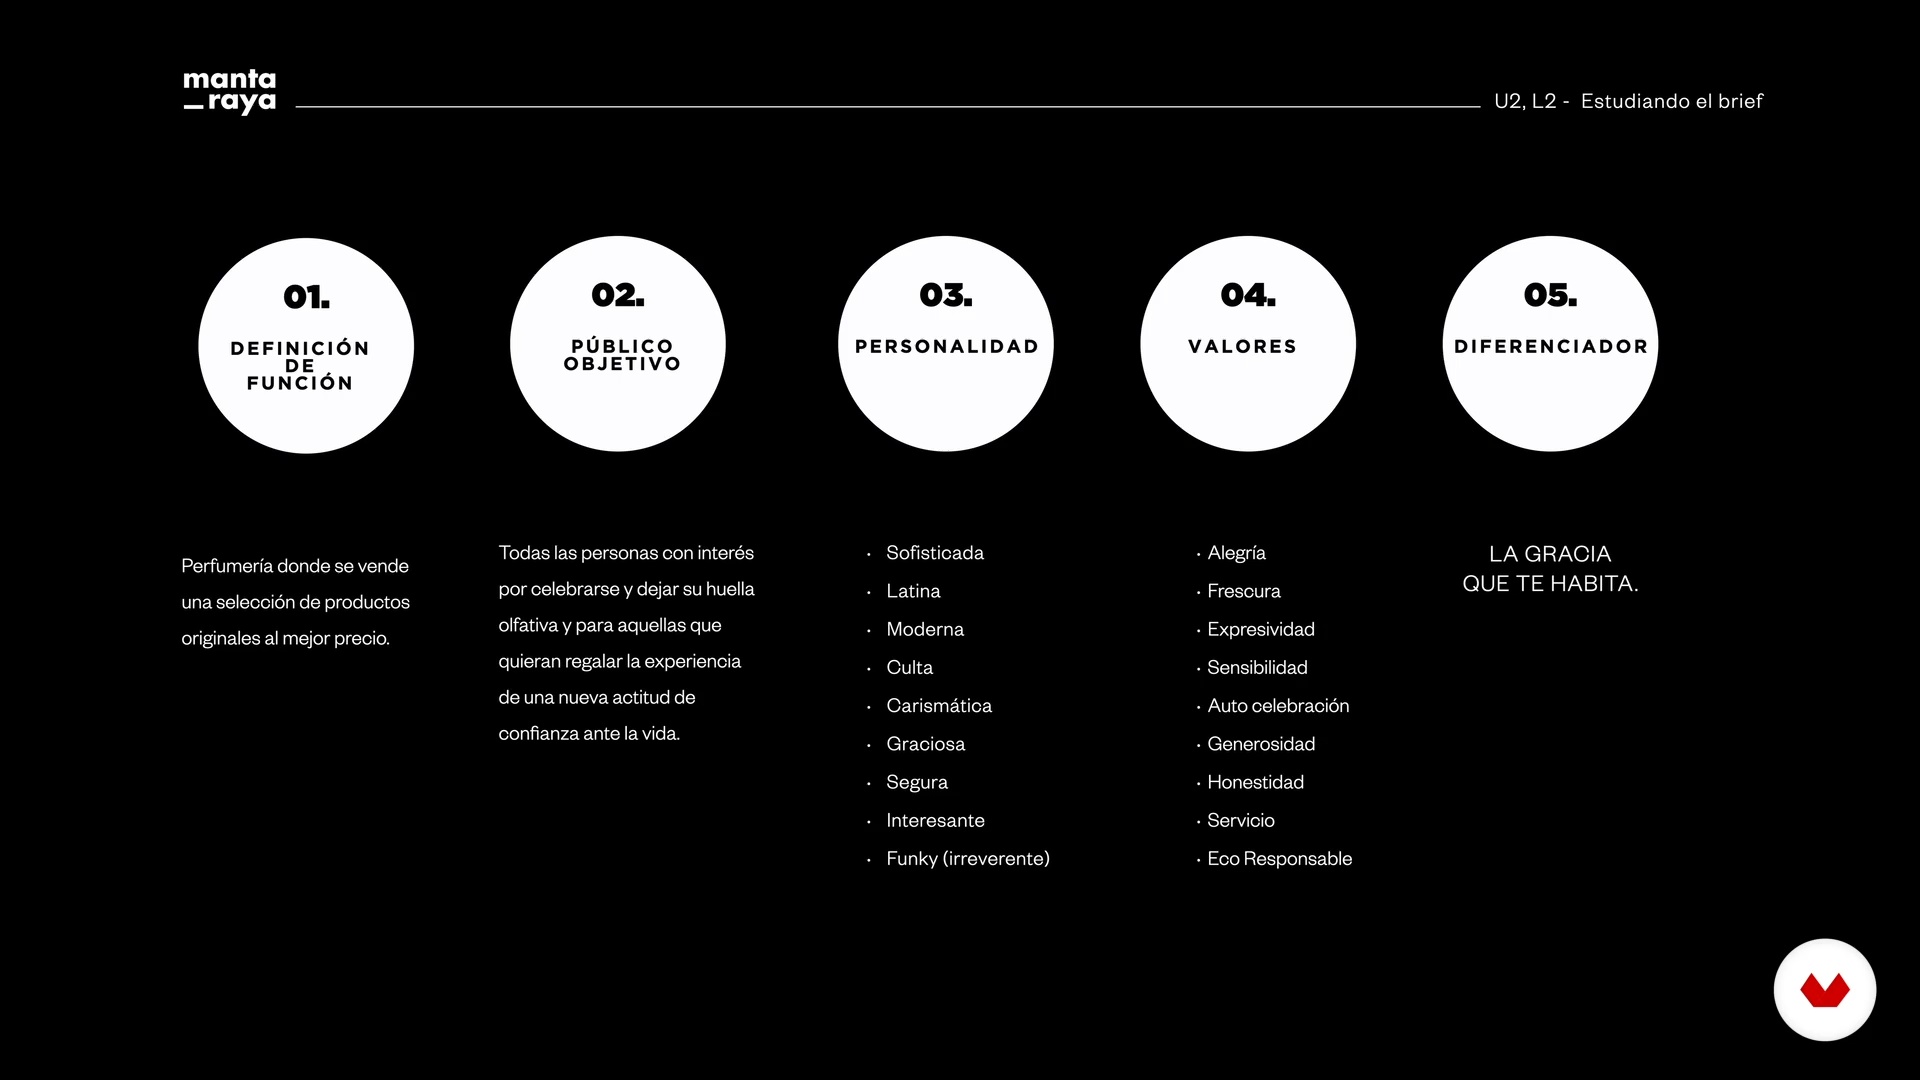
Now I'll review the core values the client wants to convey through their brand expressions to successfully translate them into the final piece. To understand the project and how to help your client achieve their goals, you should talk to them and define the brand's essence through a brief. I'll talk more about this in this lesson.
9m
 5
5The visual language of a brand
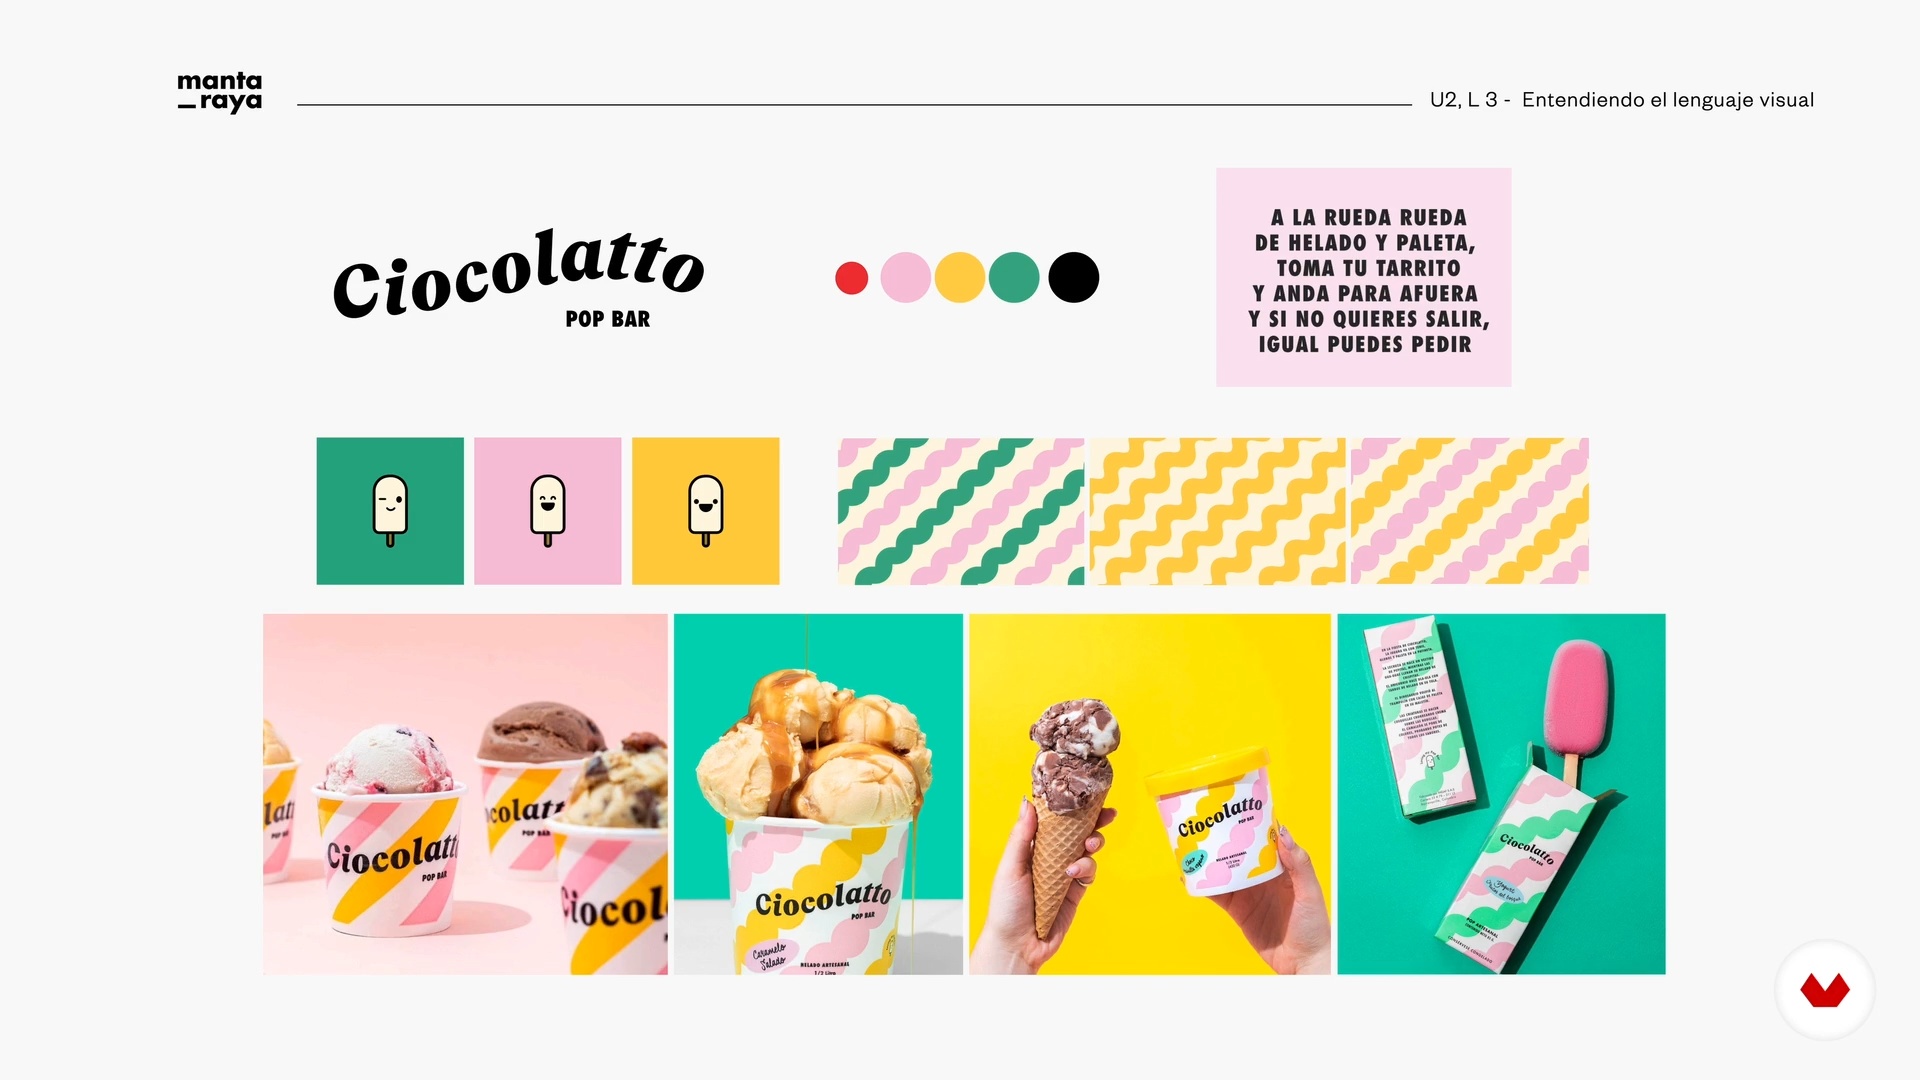
Here I'll talk about the elements that make up a brand's visual language, so you can use them to design the final piece. I'll show you different examples so you can more easily understand how I've applied visual language to real brands.
5m
 6
6Elaboration of spellings
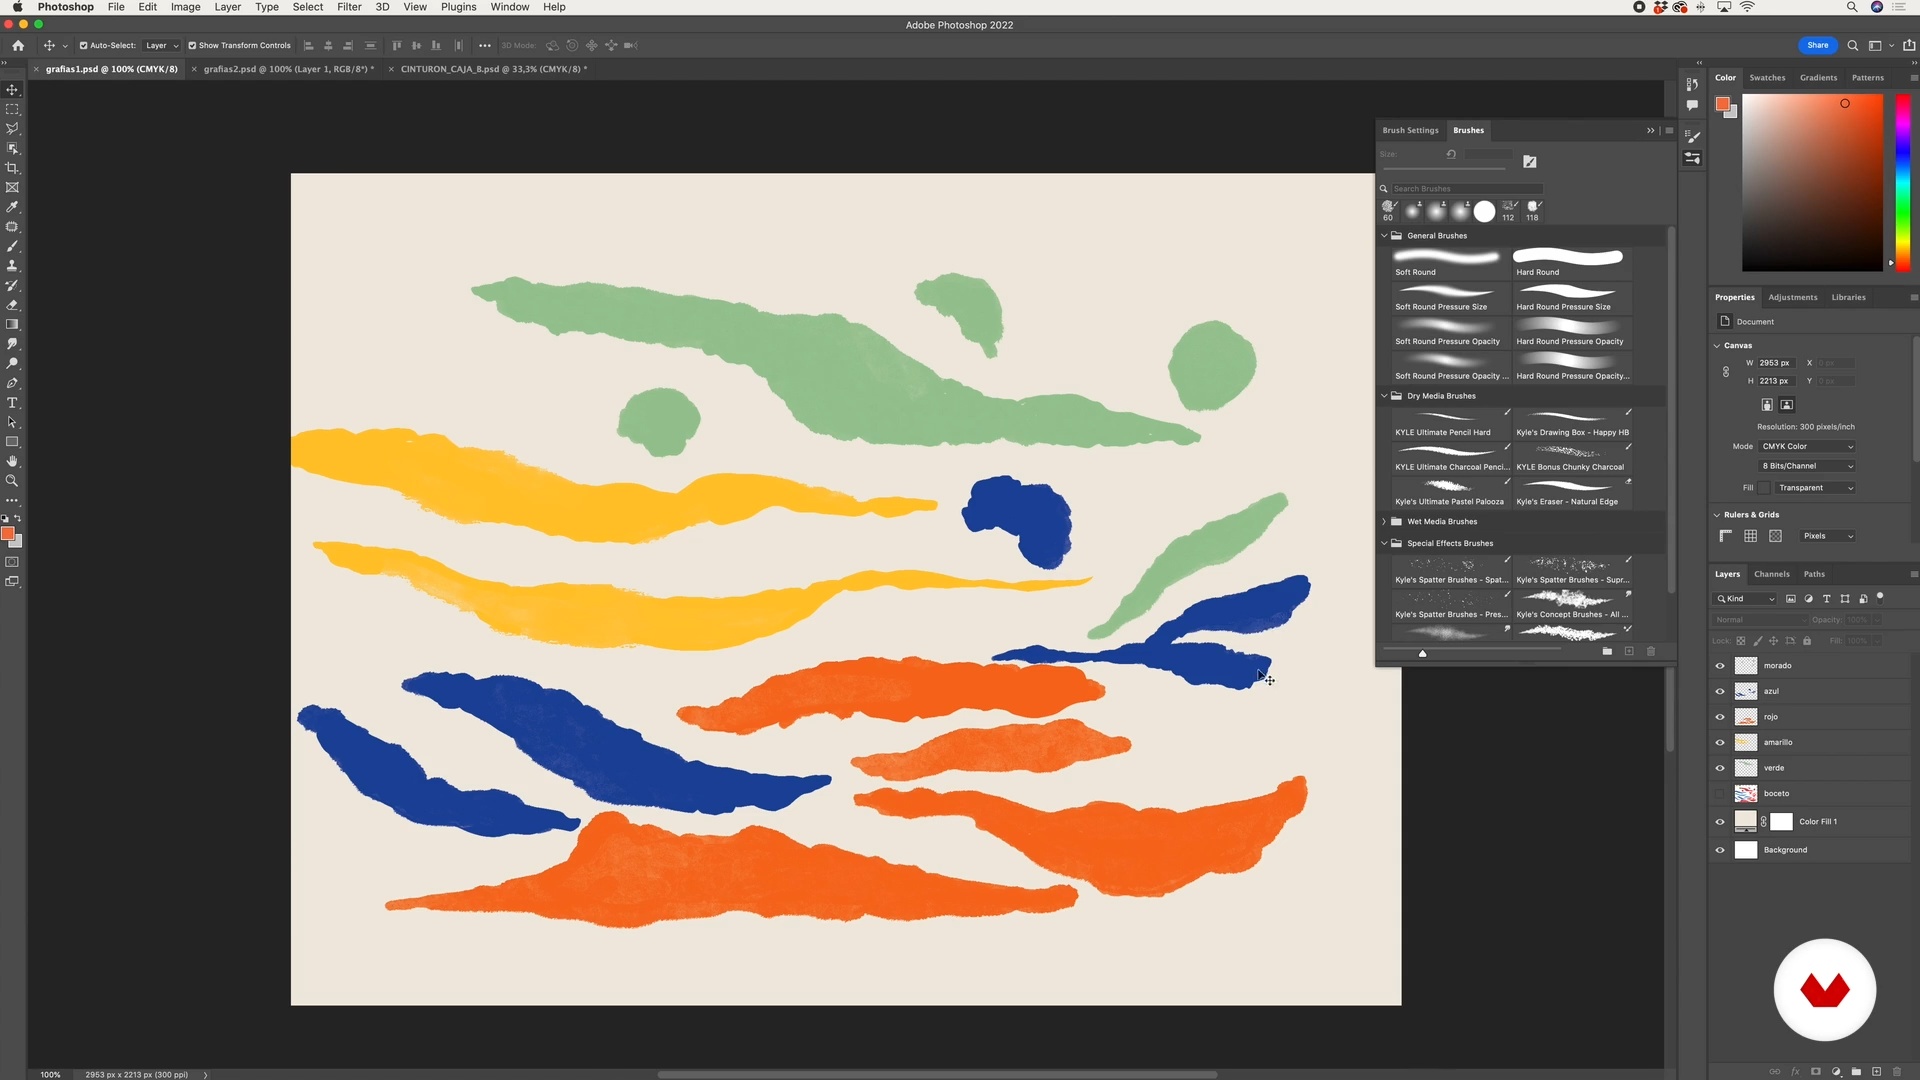
Now I'll show you how to create the illustrations or graphics that will graphically enrich your brand's universe. I'll continue using the example of Cocotte to illustrate the creative process I followed for the brand, from hand-drawn sketches to the final digital illustrations in Adobe Photoshop.
8m
 7
7Creating mood boards
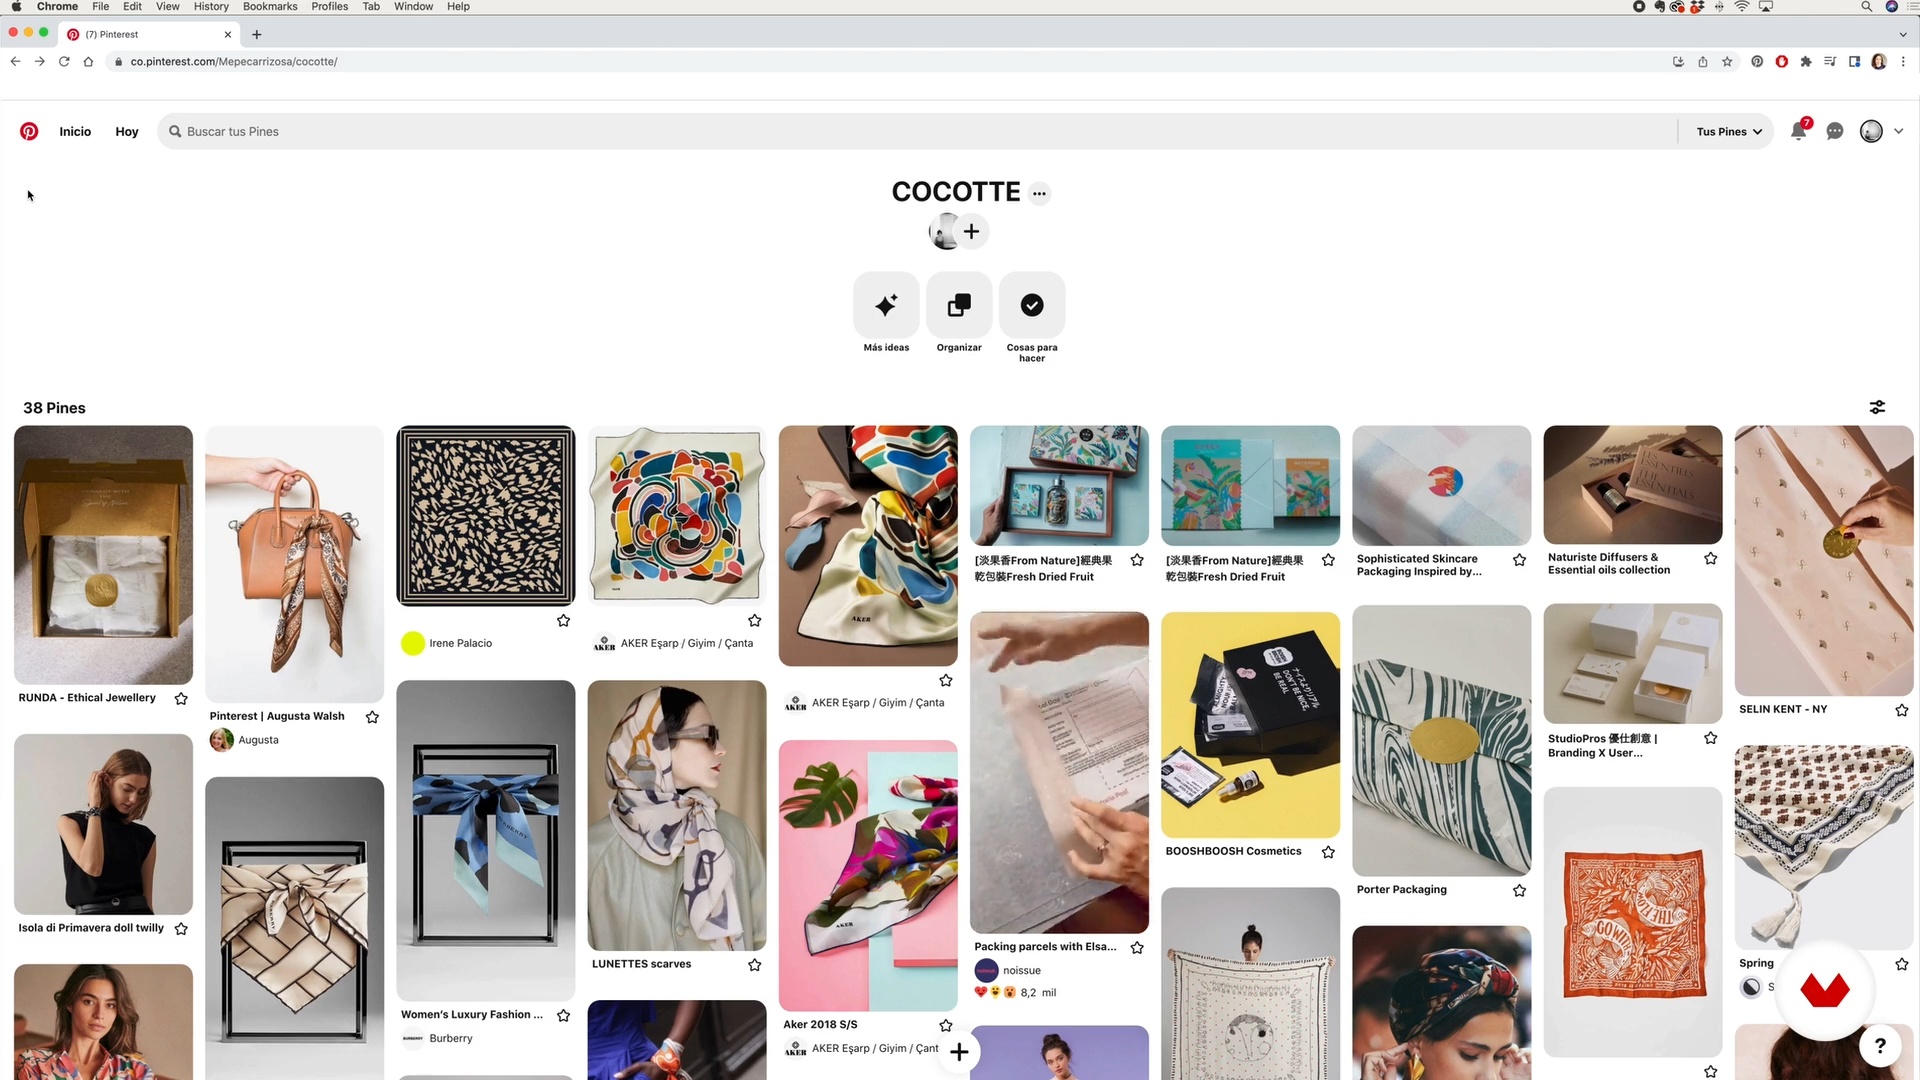
In this lesson, I'll narrow down my ideas and define a clear path. To achieve this, I'll show you how I use Pinterest to organize my ideas, always keeping in mind my client's brand values and what I want my final dream piece to look like.
10m
 8
8Design of graphic piece 1
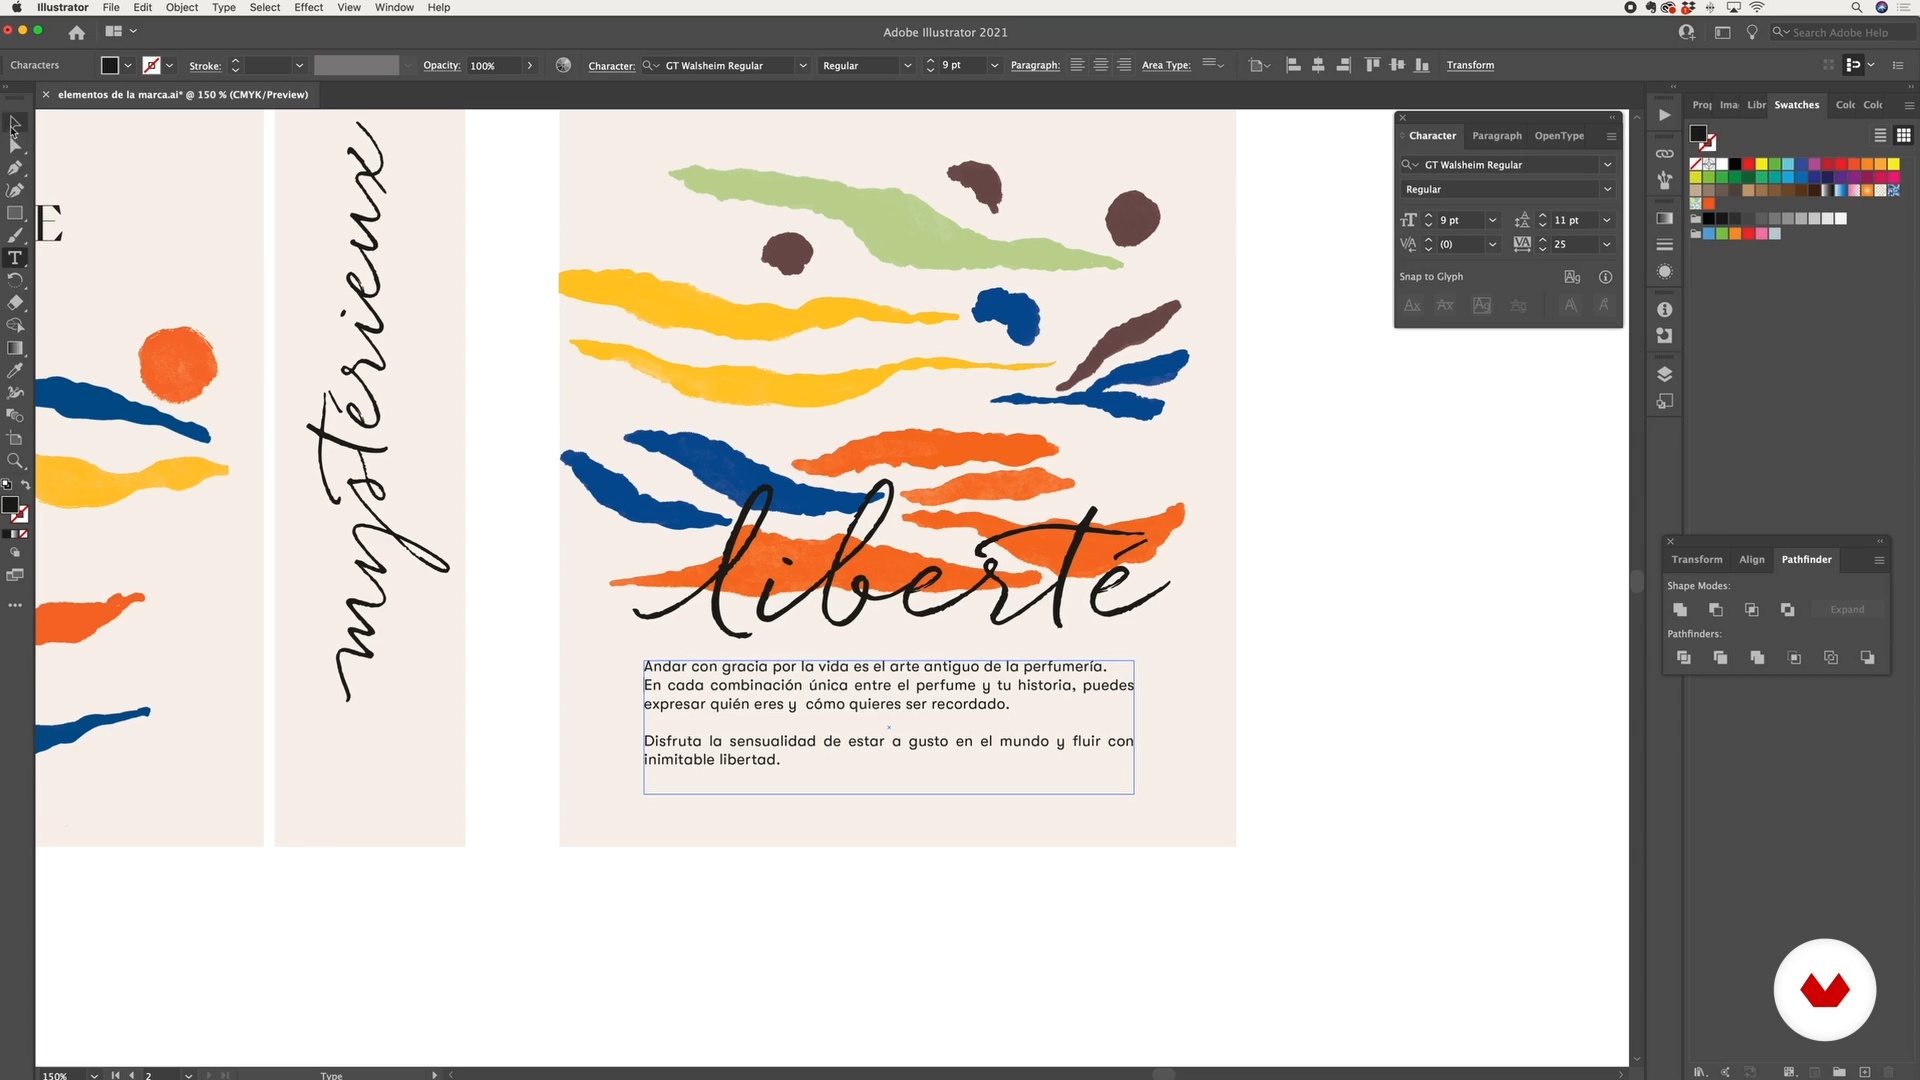
It's time to get started! Now you'll learn how to design the final pieces by uniting the elements that make up the brand. The logo, colors, text, and their fonts and graphics are ready. Based on the final product, I'll dynamically design each product. For now, I need to have a general look and feel, and then I'll refine the design.
10m
 9
9Graphic piece design 2
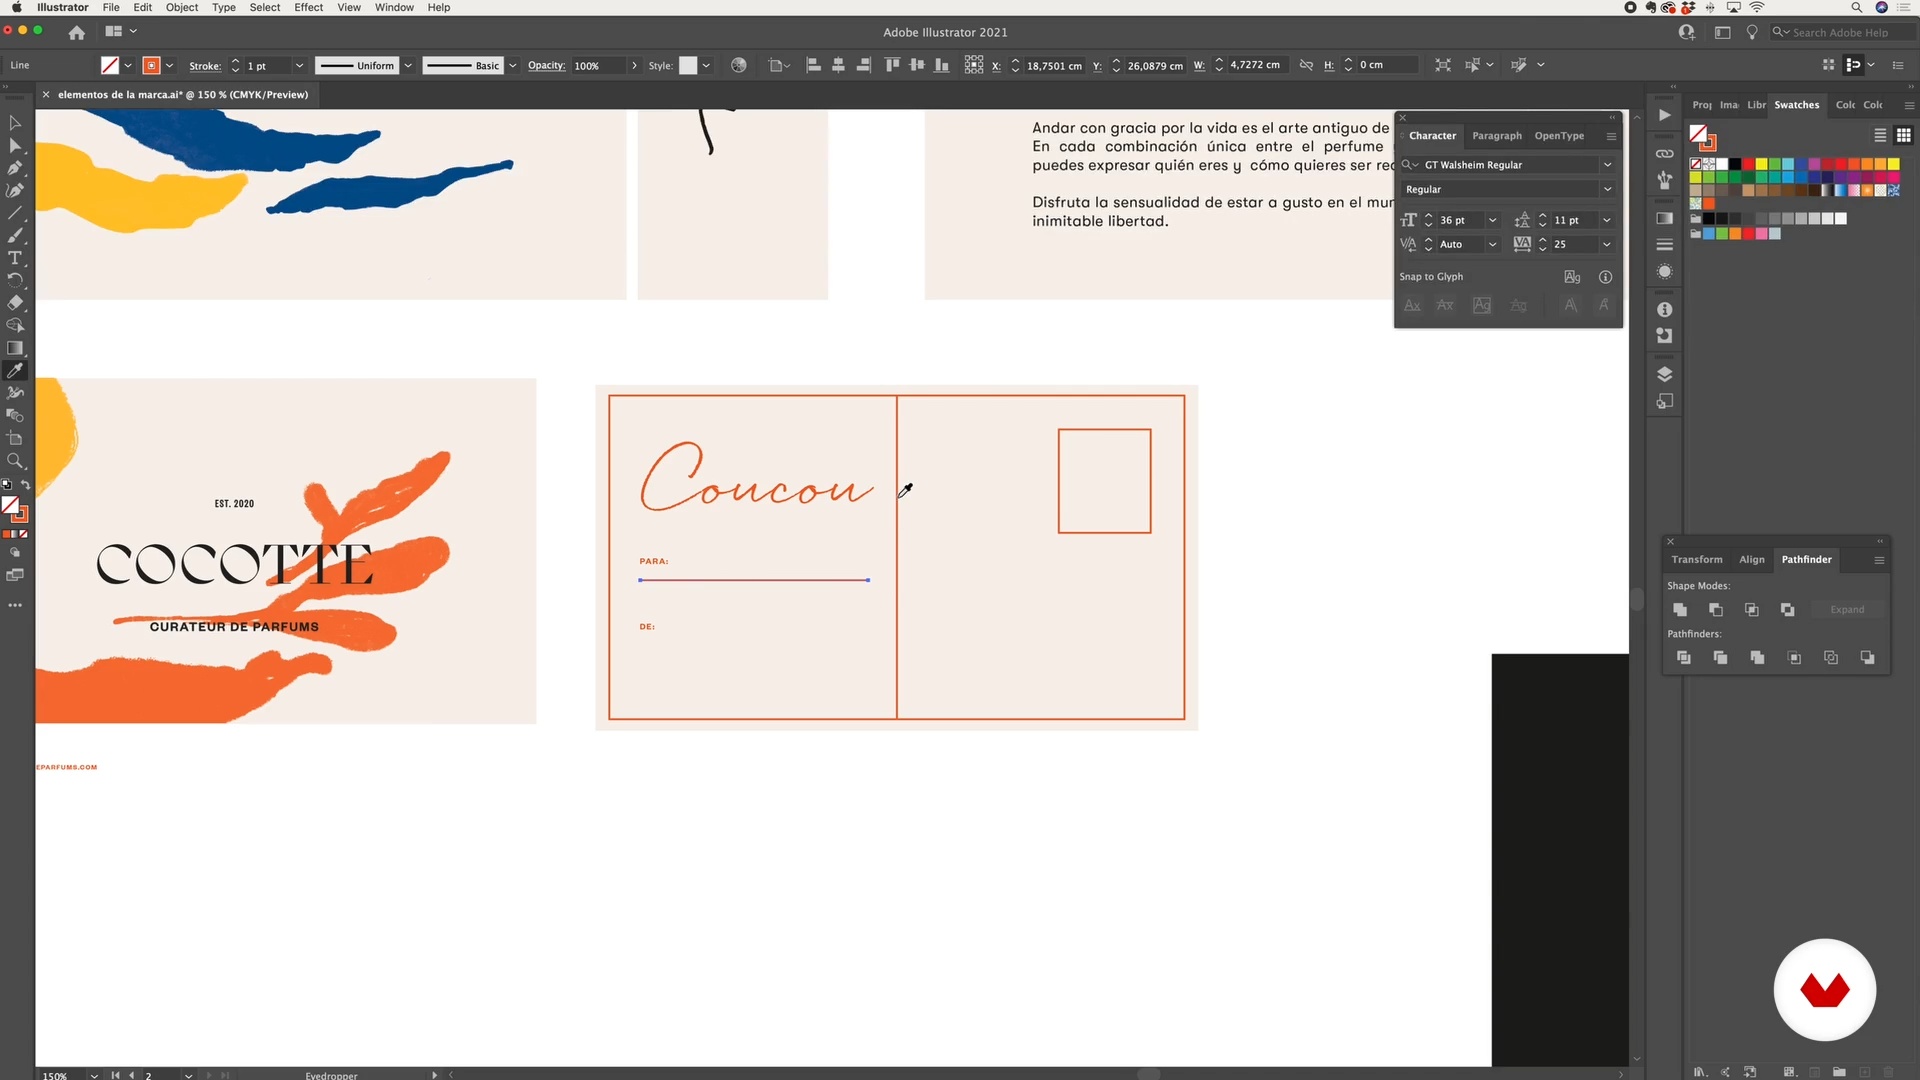
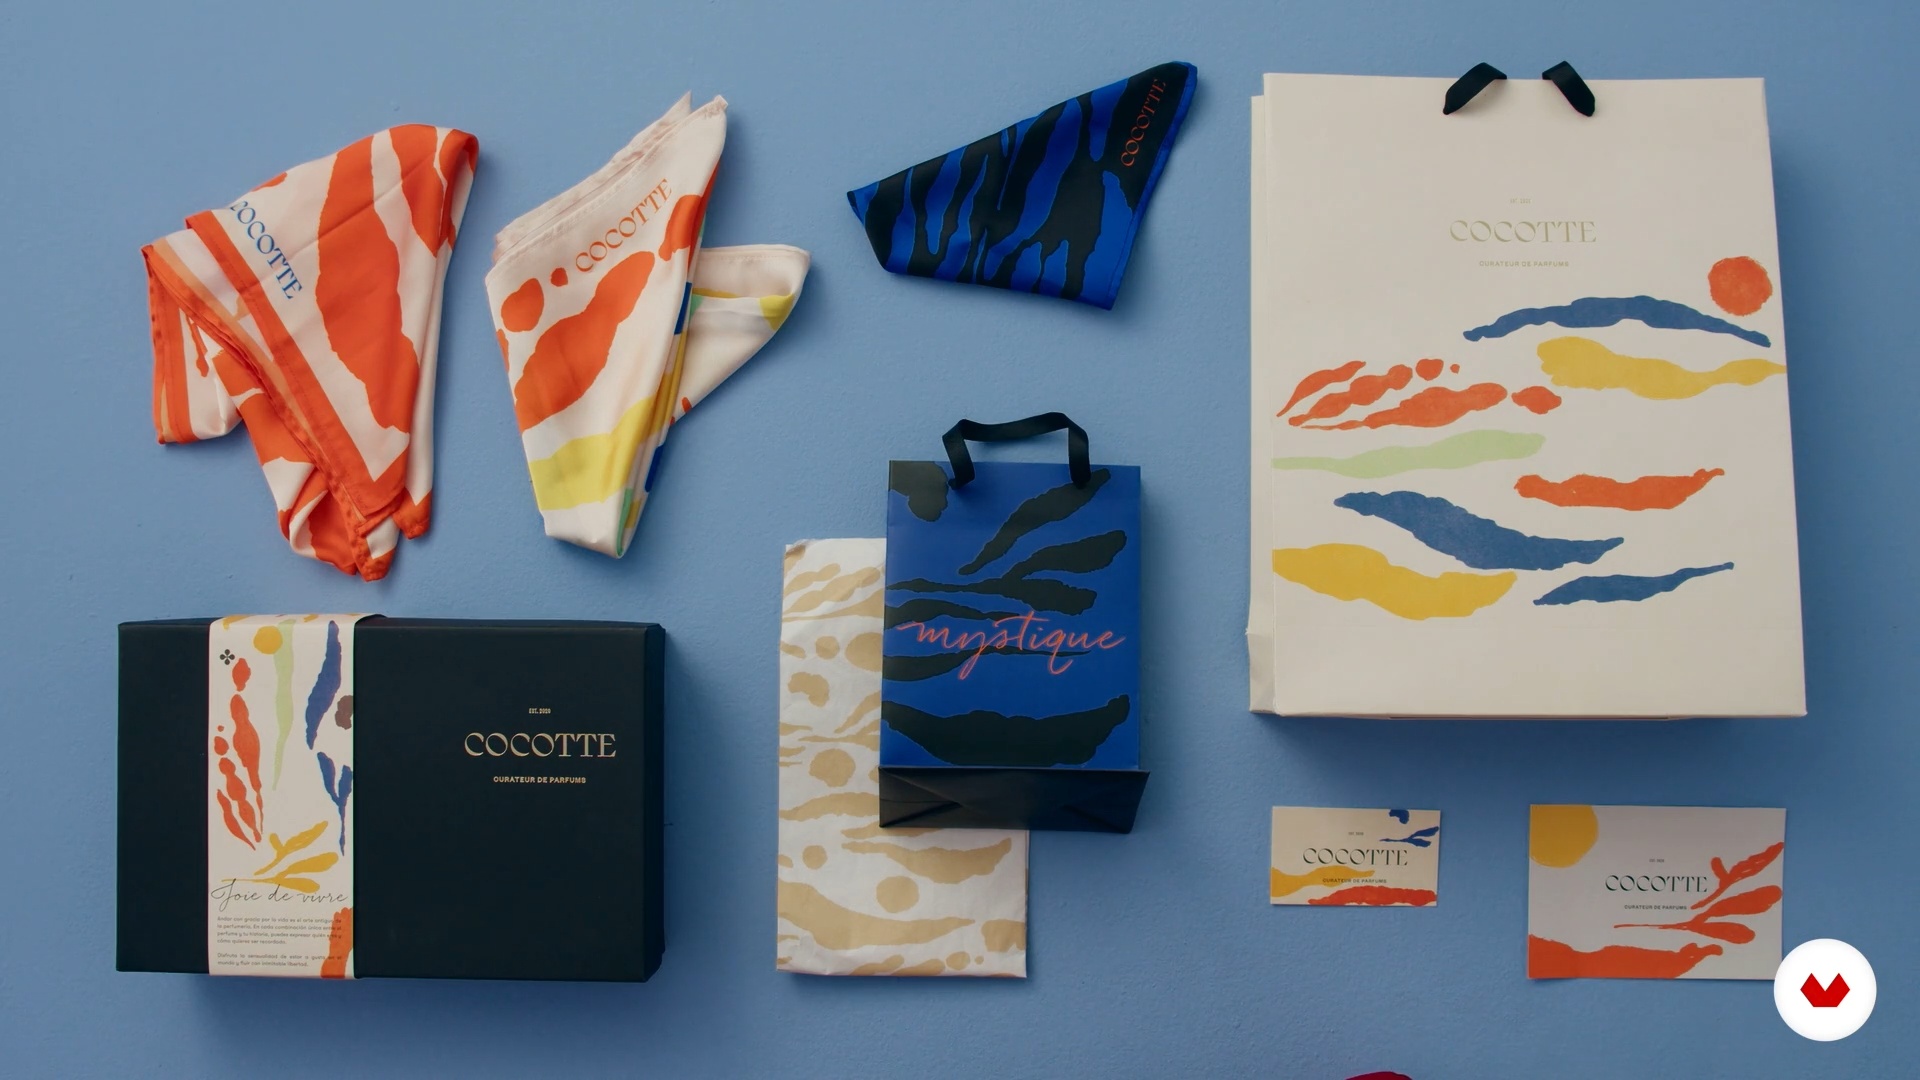
I've already finished the design for the Cocotte bag, both right and wrong sides. Now I'll move on to the rest of the wish pieces. In this lesson, I'll show you how I put together the postcard design, the box belt, and the two scarves.
15m
 10
10Materials and the definition of packaging
It's very important to know how to choose materials and finishes that are consistent with the brand's message and that also fulfill the function of being durable and sustainable. In this lesson, I'll teach you how to choose the material for your piece, considering the product's characteristics.
4m
 11
11Creation of mock-up pieces and presentation to the client 1
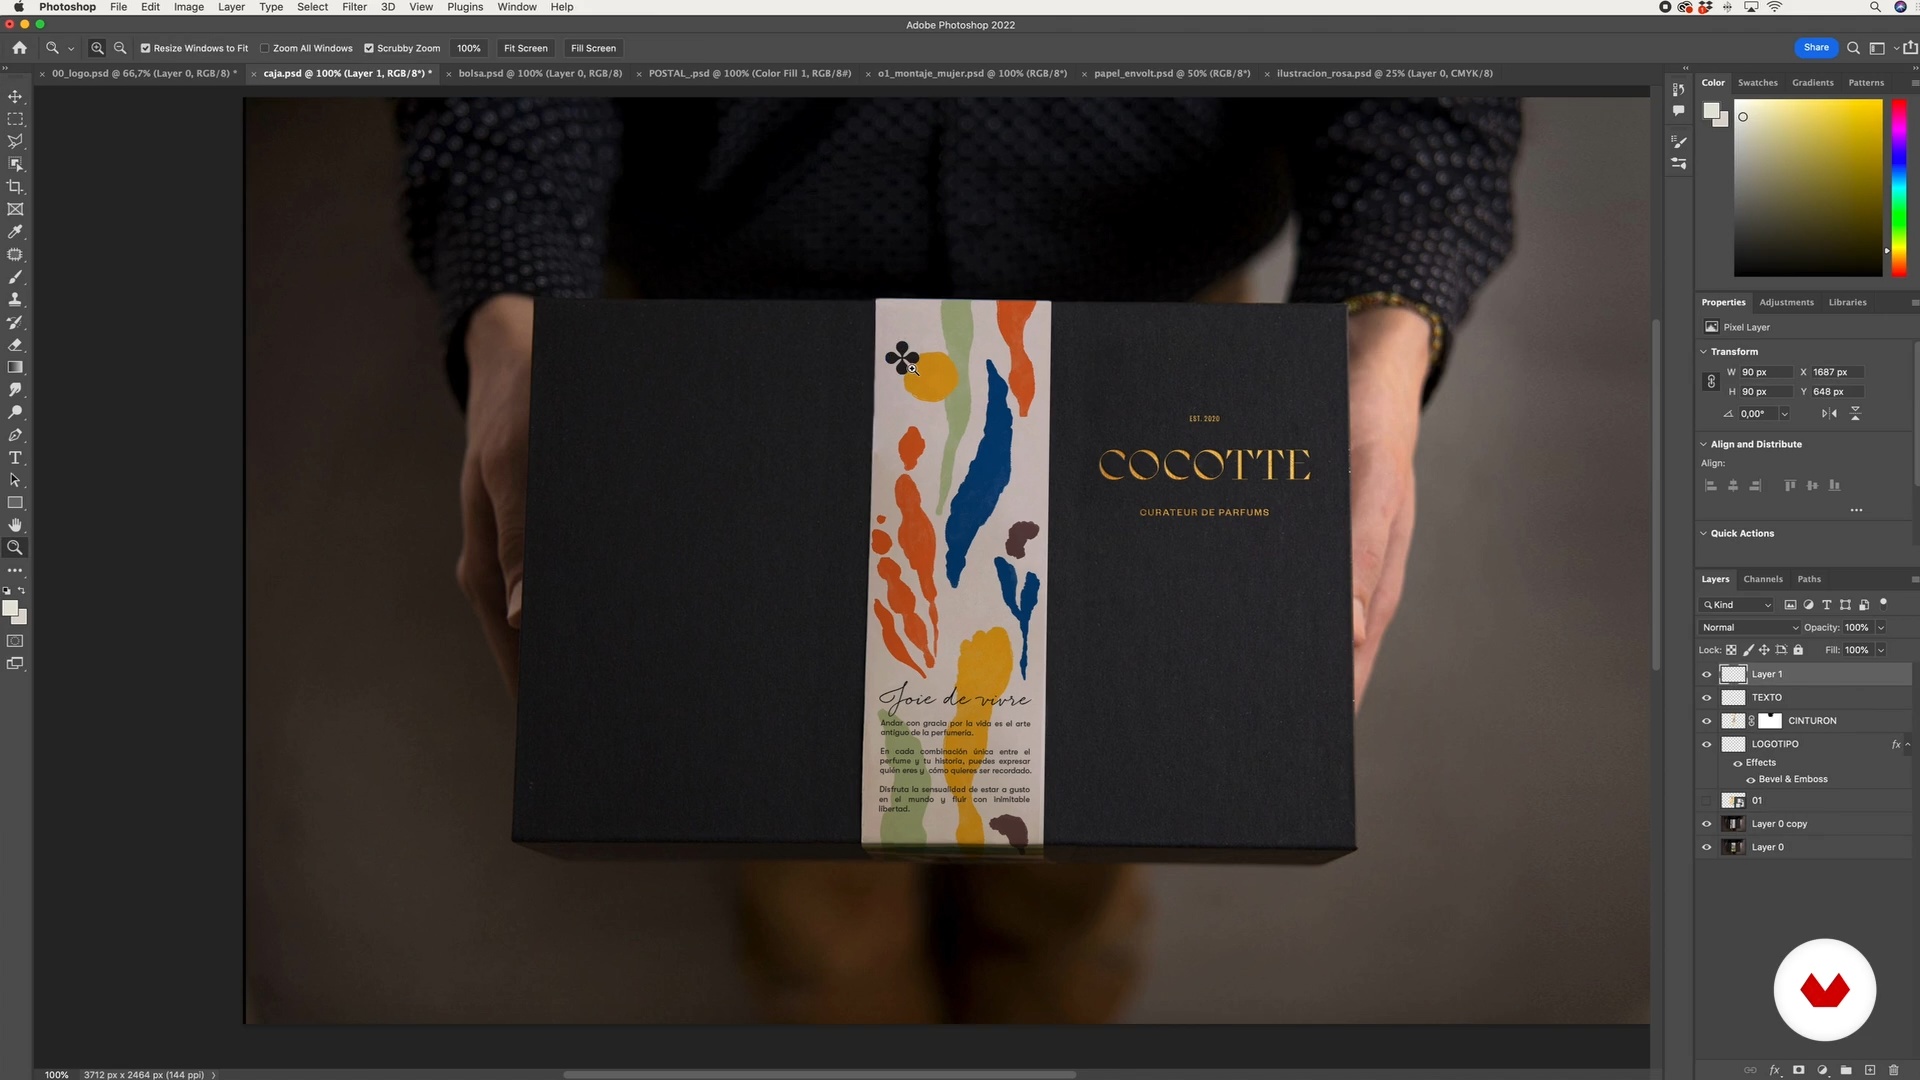
Now I'll show you how to preview your designs in a mockup, so that both you and your client can fully understand what the final result will look like. First, I'll search the internet for images that will help me achieve that final visualization. I'll delete any elements I don't need or don't want visible from that image. Then, I'll transfer my design to Photoshop to begin visualizing the final result.
9m
 12
12Creation of mock-up pieces and presentation to the client 2
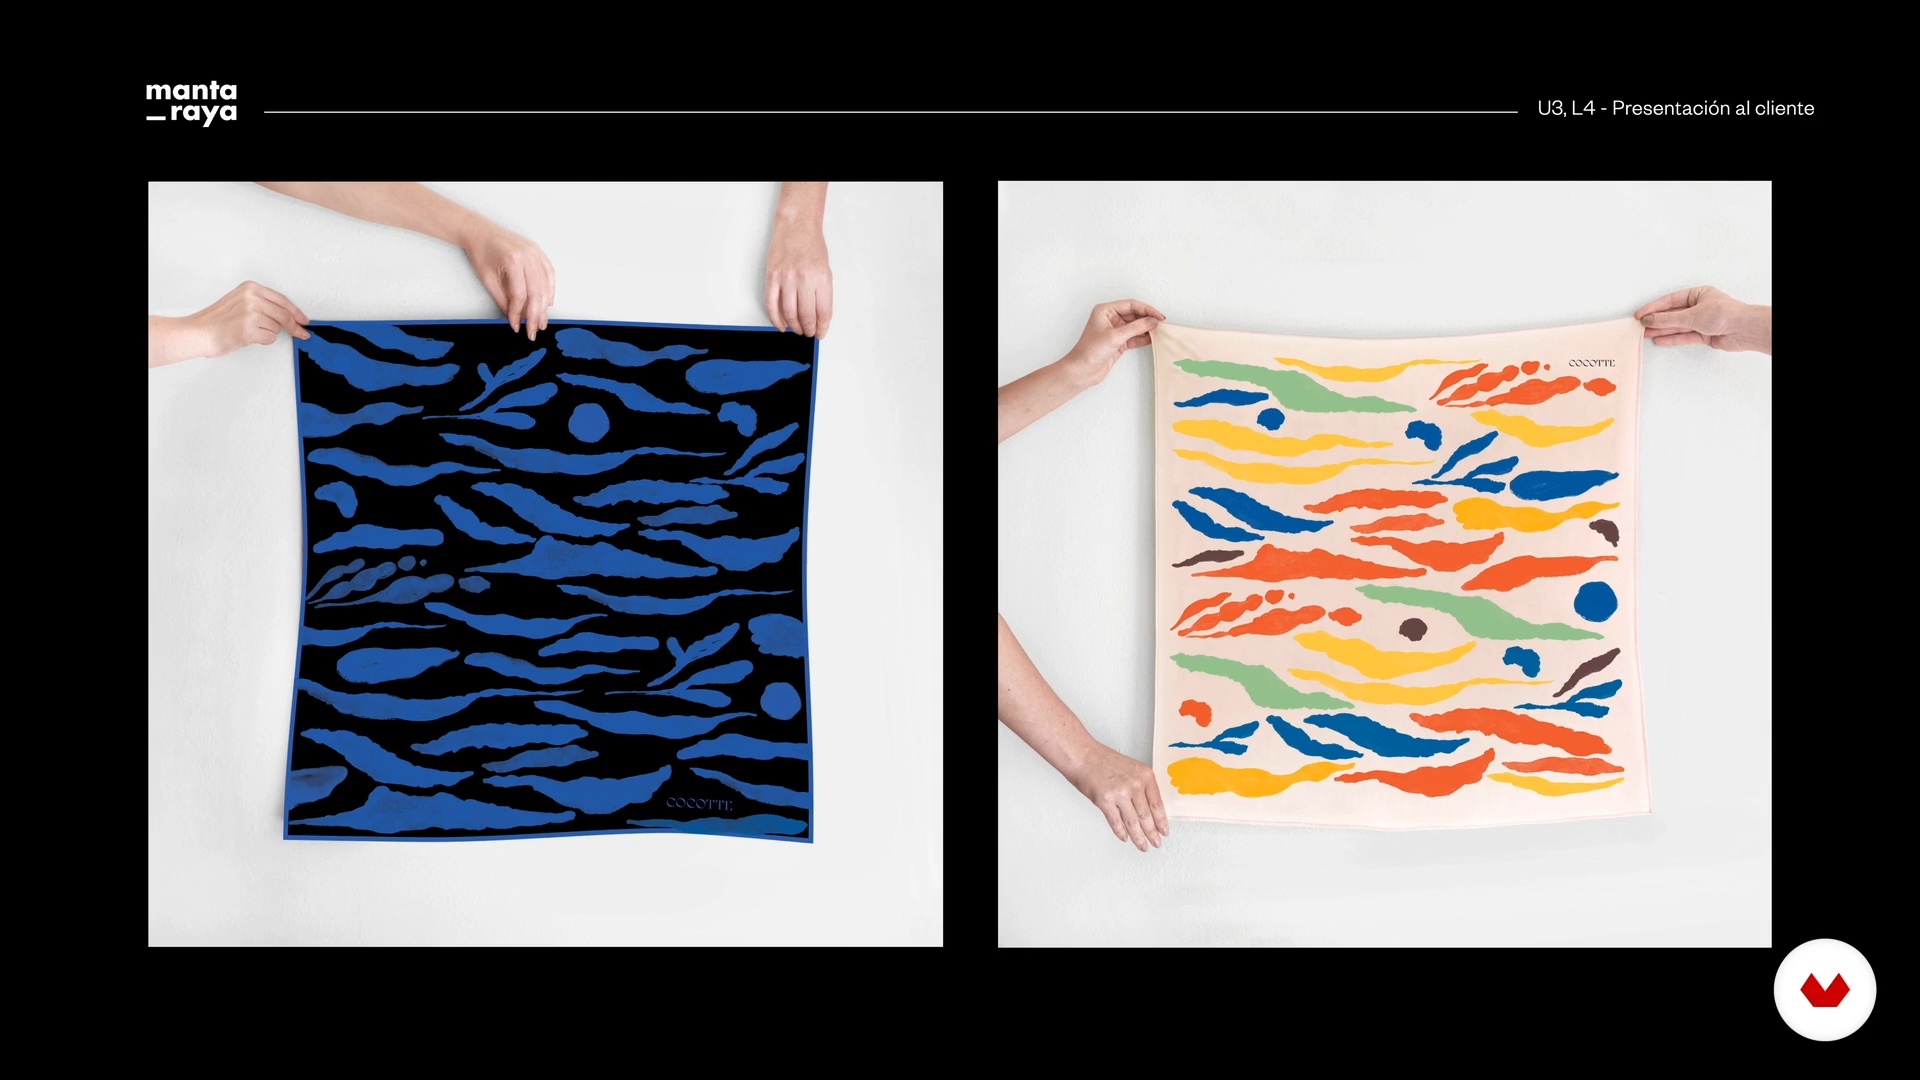
I've already created the mock-up of the box for Cocotte using an image I downloaded from the internet, so now I'll continue by creating the mock-ups for the other pieces: the postcard and the wrapping paper. Next, I'll give you some helpful tips to keep in mind when presenting your project to the client and getting their approval.
13m
 13
13The quote for printing
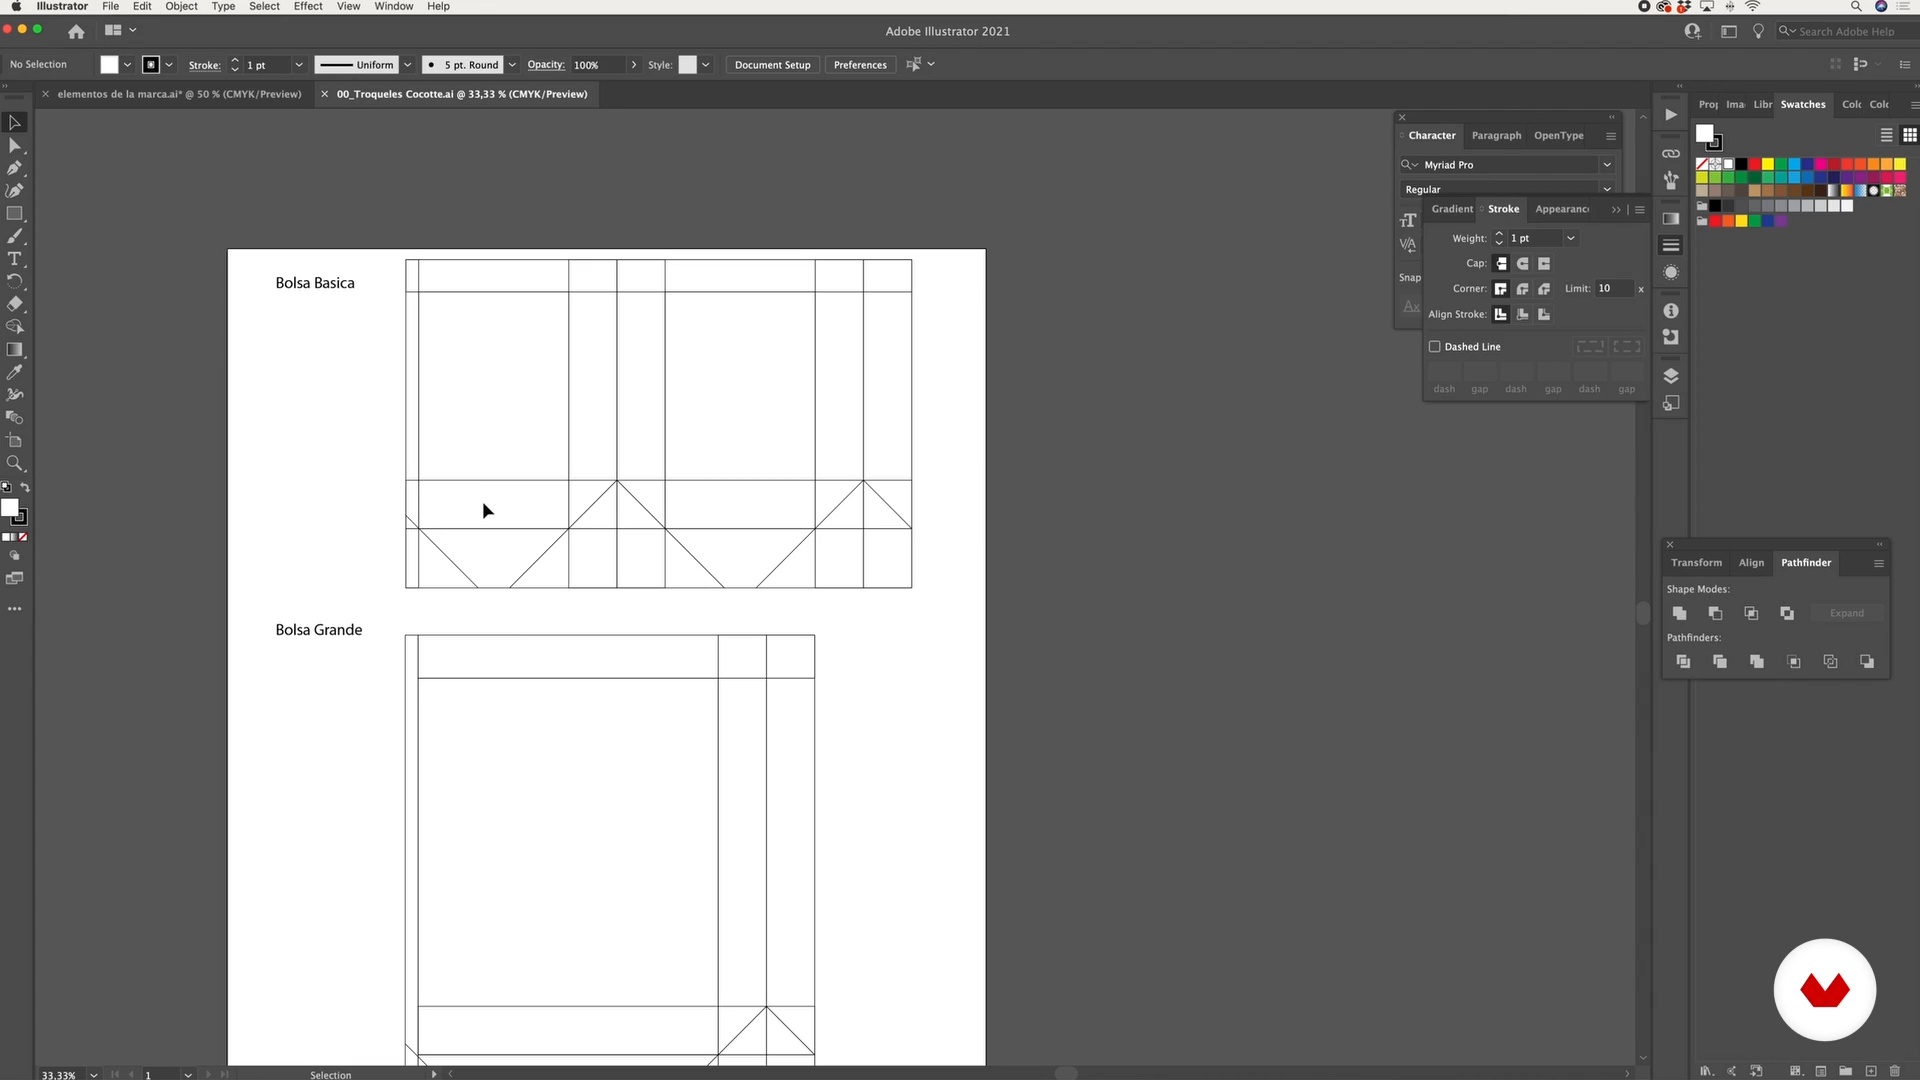
Once your client has reviewed and approved each piece, each final artwork must be prepared so that the entire production process is as clear as possible. This step is essential whether you work in a studio or are independent, as you will be responsible for ensuring that both the budget and the final delivery match your expectations.
6m
 14
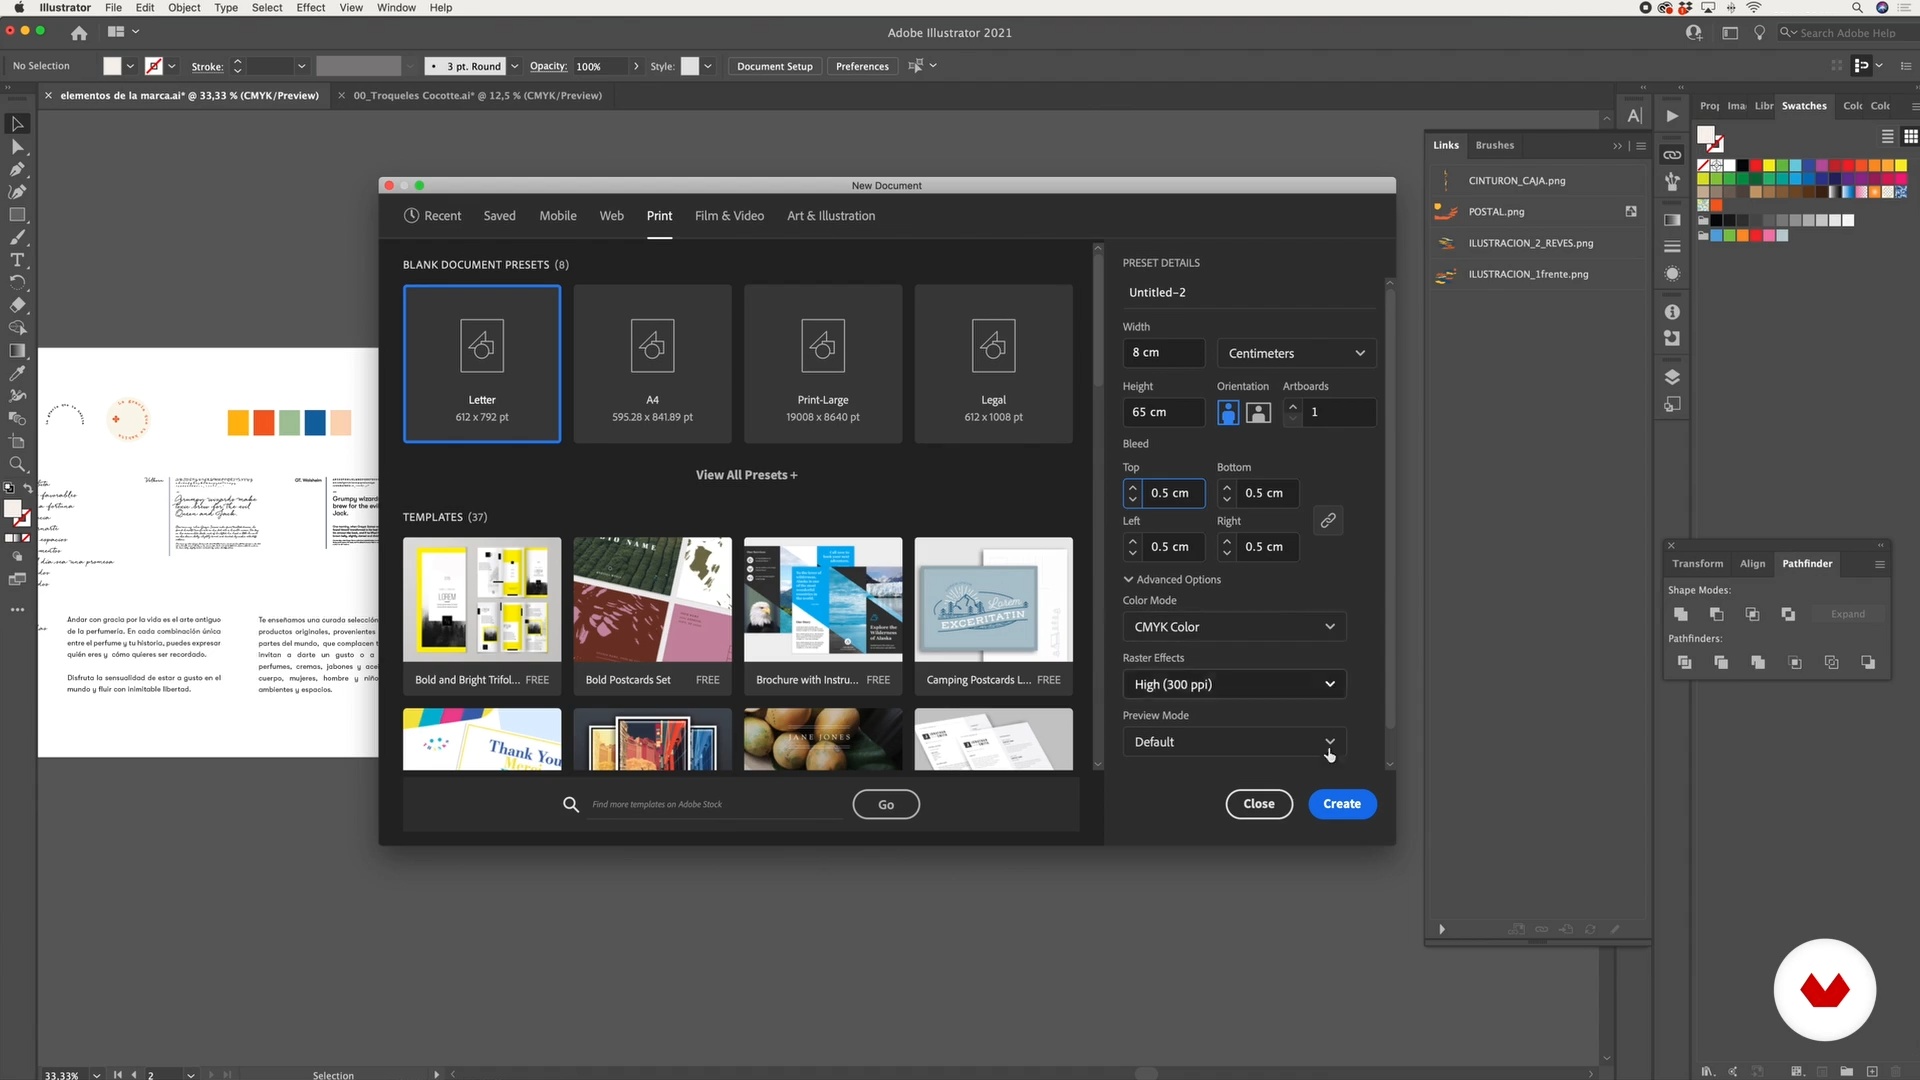
14From mock-up to production
It's time to bring your digital artwork to life! In this lesson, I'll show you how to create final artwork for print production.
9m
 15
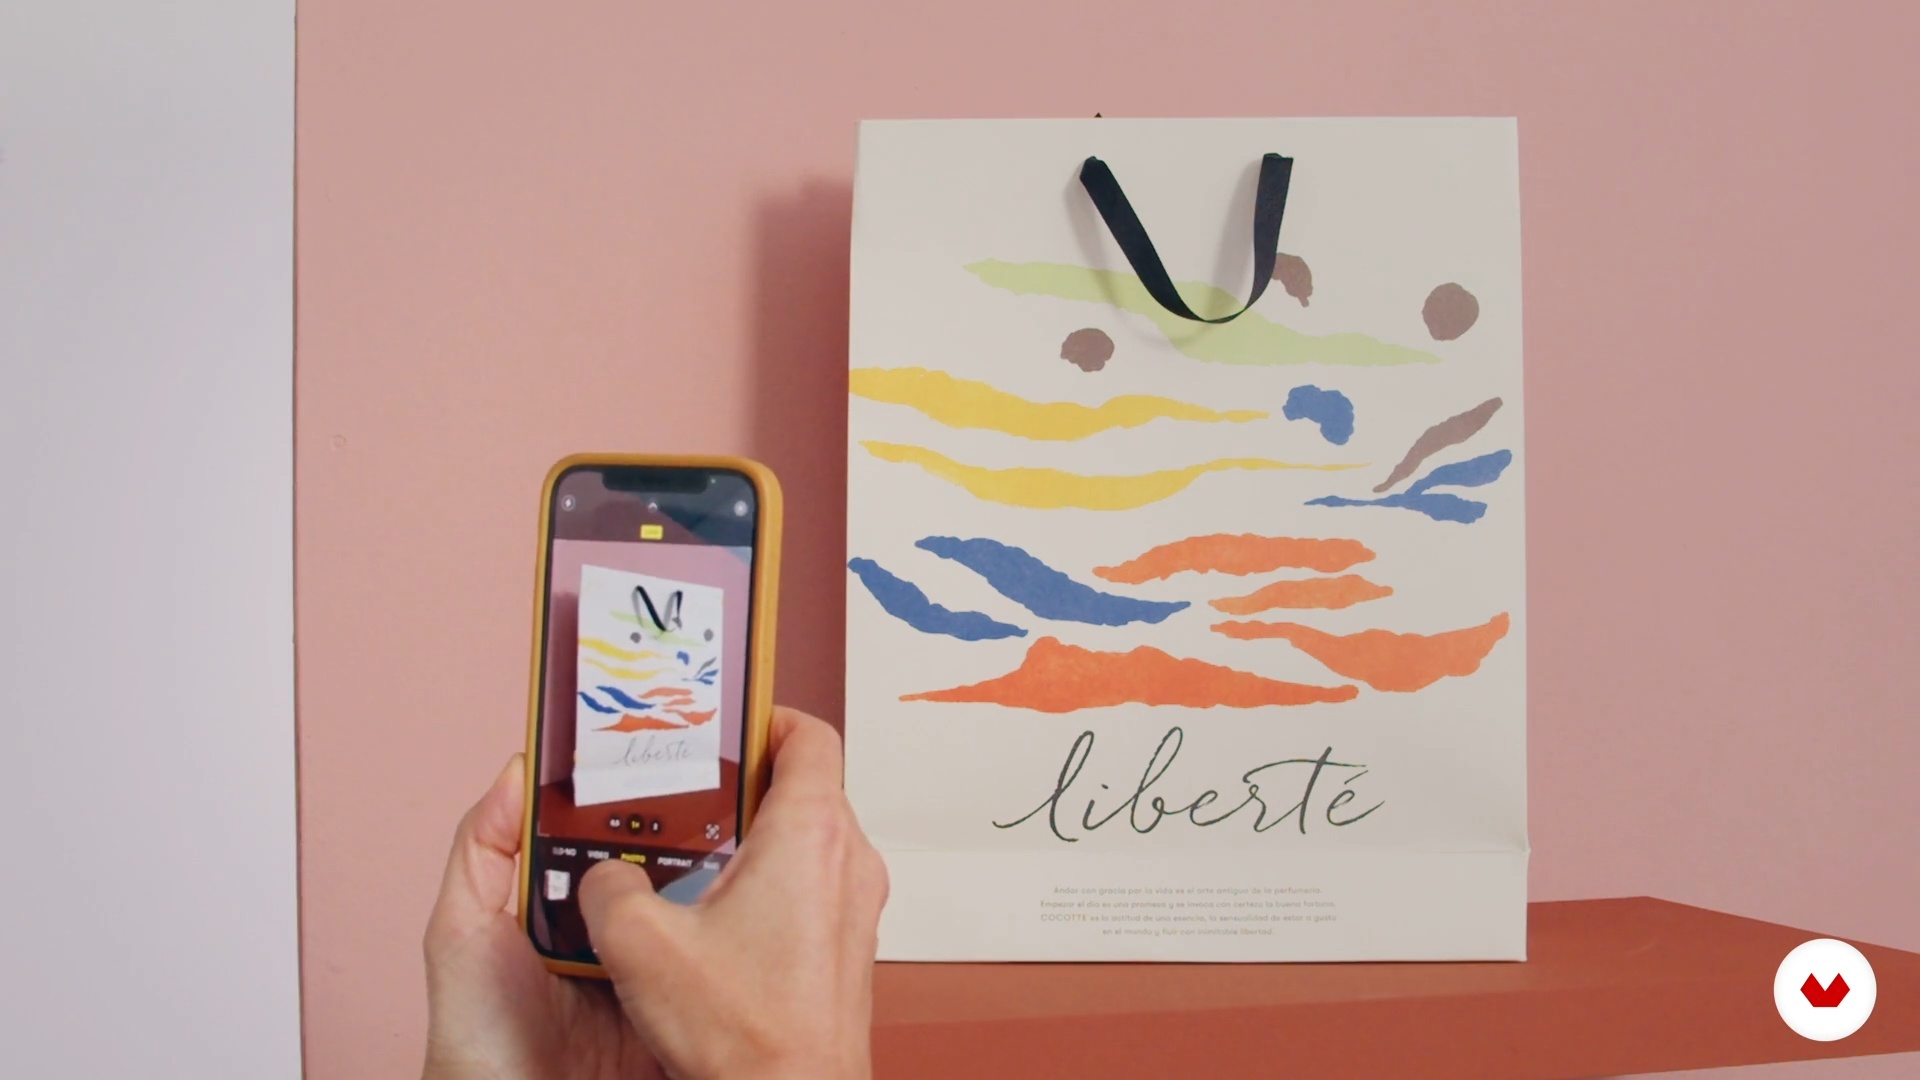
15Publishing your pieces
To publish your pieces on social media, you can use your mockups or, even better, take photos of each product. I try to take photos for most projects, as it's much more realistic than posting mockups. In this lesson, I'll give you some tips on how to do it.
1m
Recommended software & tools for this course
What is this course's project?
The course project involves creating a sustainable packaging system for an emerging brand. This includes product research, visual identity development, design of primary and e-commerce packaging, extension to multiple products, and detailed technical documentation.
Who is this specialization for?
Designers passionate about packaging who seek to innovate in sustainability. Creative professionals interested in transforming ideas into functional and aesthetically appealing packaging. Ideal for those who want to improve their understanding of brand design and eco-friendly solutions for e-commerce.
Requirements and materials
No extensive prior knowledge is required. You will need a computer with basic design software such as Illustrator or Photoshop, a sketchbook, and a pencil. A smartphone with a camera is also helpful for documenting your creative process.
Reviews
- 4 months ago
Adorei o curso,senti só um pouco de falta de ter um modulo que ensinasse de fato a começar no Illustrator a criar a embalagem em si, começando pela arte, como encaixar no projeto e finalizando a embalagem
- yuktaaaaaPLUS4 months ago
Amazing course, tells you exactly what you need as a beginner. Takes you upto expert level of understanding.
- 5 months ago
Very clear and detailed. I created my brand packaging as a professional packaging specialist due to this great course.
- 5 months ago
Me gustó el curso porque es claro y bastante completo. Explica bien los conceptos básicos de packaging y cómo se relacionan con la marca. También me sirvió para conocer mas sobre packaging sustentable. ¡Super recomendado!
- 6 months ago
Reflexões muito importantes sobre ecologia e pequenos empreendedores, que precisam tanto de embalagens mas não possuem tantos recursos. Design é isso: adaptação ao contexto!
Select to get to know your teachers in this specialization course


What to expect from this specialization course
Learn at your own pace
Enjoy learning from home without a set schedule and with an easy-to-follow method. You set your own pace.
Learn from the best professionals
Learn valuable methods and techniques explained by top experts in the creative sector.
Meet expert teachers
Each expert teaches what they do best, with clear guidelines, true passion, and professional insight in every lesson.
Certificates
PLUSIf you're a Plus member, get a custom certificate for every specialization course. Share it on your portfolio, social media, or wherever you like.
Get front-row seats
Videos of the highest quality, so you don't miss a single detail. With unlimited access, you can watch them as many times as you need to perfect your technique.
Share knowledge and ideas
Ask questions, request feedback, or offer solutions. Share your learning experience with other students in the community who are as passionate about creativity as you are.
Connect with a global creative community
The community is home to millions of people from around the world who are curious and passionate about exploring and expressing their creativity.
Watch professionally produced courses
Domestika curates its teacher roster and produces every course in-house to ensure a high-quality online learning experience.
FAQs
You’ll learn how to create memorable brands using emotions, iconography, typography, competitive analysis, and strategies like the Golden Circle. The course covers everything from the brief to visual application and sustainable packaging.
Yes, this course is designed for those with intermediate knowledge in design or branding who want to deepen their skills in brand building, competitive analysis, and advanced visual strategies.
It’s recommended to have basic experience in graphic design, branding, or related fields to get the most out of this intermediate-level course.
You’ll need access to graphic design software (like Adobe Illustrator, Photoshop, or similar), a notebook, internet access, and the ability to analyze visual references and create presentations.
A written brief is a questionnaire that gathers key information from the client and project. It serves as the foundation to understand needs, set goals, and structure the branding proposal.
The course teaches you to identify and apply core emotions and brand values to build deep connections and create authentic, memorable love marks.
The Golden Circle is a method that helps define the 'why,' 'how,' and 'what' of a brand, aligning purpose, values, and offerings for a consistent branding strategy.