Studio Lighting 101
Course final project
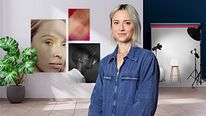
A course by Julia Robbs , Photographer


About the final project for: Studio Lighting 101
Studio Lighting 101
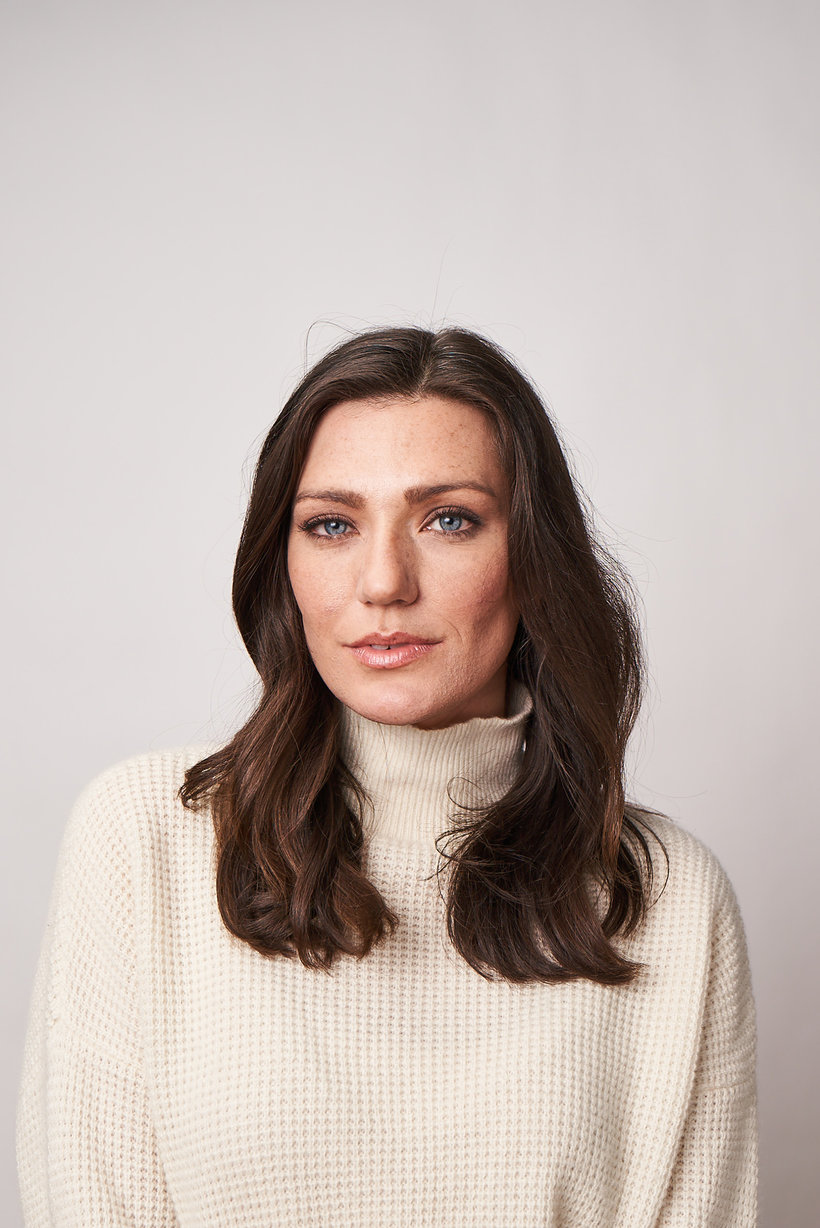
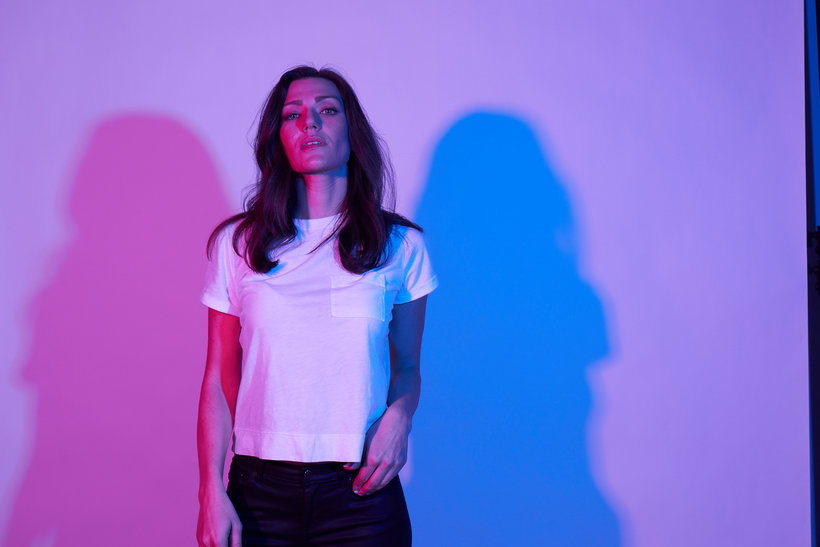
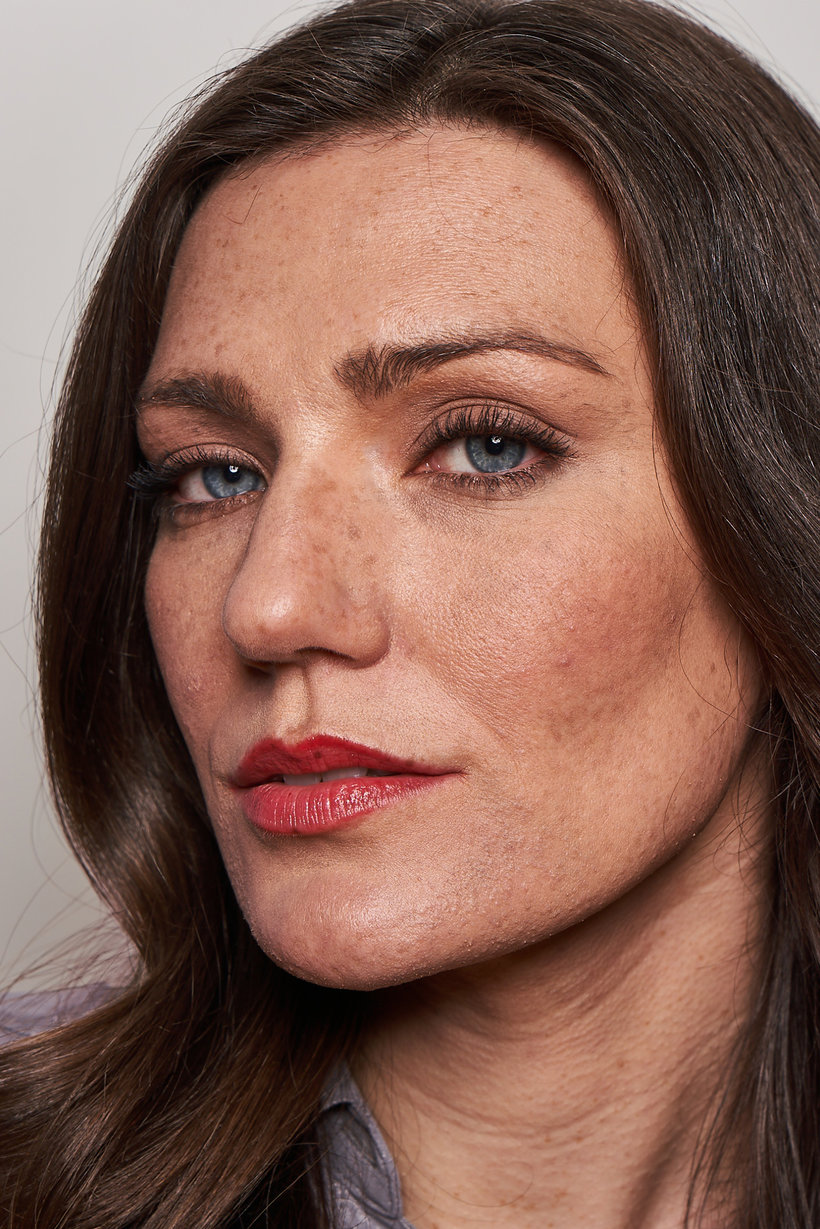
“ First of all, thank you for making it to the end of my course! I hope you learned a little something and had some fun. We covered a lot of ground, so let’s review everything. First, we talked about the fundamentals of lighting- distance, direction and shape. The Distance between your light source and subject will make an impact on the fall off of your light and also on the intensity of your light on your subject. You will have to make decisions on what to set your camera settings based on the distance of your light. The direction of you light will be important for where you want your highlights and shadows to be. And finally, the shape of your light impacts your overall mood of you photo, and the intensity of your shadows. A soft diffused light will give you soft and light shadows, whereas a strong bright light will give you strong hard shadows. Next we talked about mood boards, and how they are an important way to communicate your photoshoot ideas. When working with a team of people, it is important to have a visual representation of what you want to achieve with your photoshoot. Moodboards can include lots of different things, including other reference photos, color ideas, moods, style references etc. We then moved into the fun part- photoshoots! In all we did 3 different lighting scenarios in studio. The first scenario we did was replicating natural daylight using a large and soft diffused light source.
Partial transcription of the video
“Final Project Hey, we've reached the end of this course. Thank you for accompanying me on this journey. I enjoyed sharing my studio lighting techniques for photography. I hope you learned something and had fun. We covered a lot of ground. In this lesson I'll review all the steps that I took to make my final project, so you work on your final project with more confidence and inspiration. I took you from the beginning to the end of a studio photo shoot experience, working on a series of portraits. We started by understanding the three fundamentals of light: distance, direction, and shape. The...”
This transcript is automatically generated, so it may contain mistakes.
Course summary for: Studio Lighting 101
-
Category
Photography & Video -
Software
Adobe Photoshop, Capture One -
Areas
Digital Photography, Photographic Lighting, Photography, Studio Photography

Julia Robbs
A course by Julia Robbs
Julia Robbs is a commercial photographer based in New York City. Before moving to NYC, she was raised in France and studied photography in Chicago and Atlanta. Her work aims to be clean, polished, and thoughtful, while remaining authentic to her subjects.
Julia’s photography allows her to travel the world while developing her craft, and covers a wide range of fields, including lifestyle, portraiture, beauty, and fashion. Her client list includes Erno Laszlo, Odette NY, Refinery29, Etsy, Dropbox, Armand de Brignac, Urban Outfitters, Mailchimp, and more.
- 89% positive reviews (38)
- 1,699 students
- 13 lessons (1h 50m)
- 16 additional resources (4 files)
- Online and at your own pace
- Available on the app
- Audio: English
- Spanish · English · Portuguese · German · French · Italian · Polish · Dutch · Turkish · Romanian · Indonesian
- Level: Beginner
- Unlimited access forever
Recommended software & tools for this course
Category
Areas