


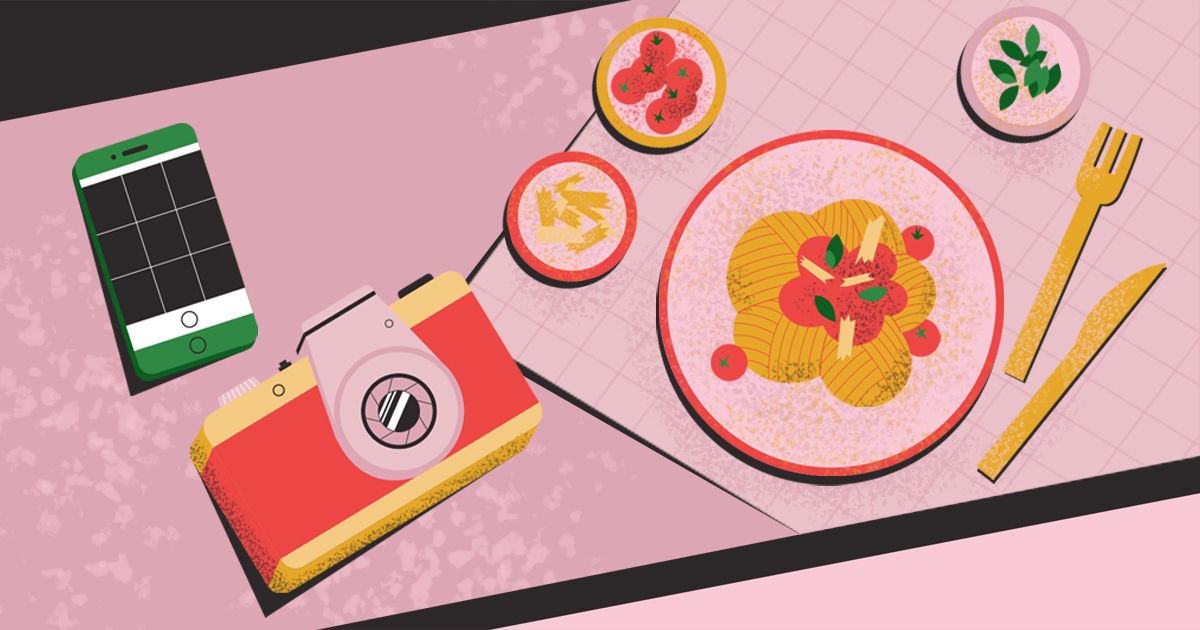
What Is Food Styling? 6 Tips for Taking Delicious Photos
Learn everything you need to know about designing and presenting food imagery, and bring your dishes to life
Since the dawn of Instagram, one of the most popular types of post to pop up on our feeds has been the infamous food photo. What someone had for lunch, the cake they baked for a birthday, or the banana bread loaf they mastered over lockdown.
Through every trend that comes and goes on the platform, food photography is here to stay. Why? Perhaps the fact that food is such an essential part of life. Perhaps because it plays a large role in our social interactions, like meeting with friends over a meal. Whatever the reason, we love to share our fave food snaps with the world.

Having worked with clients such as KitchenAid, Waitrose, and Bio&Me, Kimberly Espinel (@kespinel) is someone who takes this love of food photography to the next level. A food stylist, photographer, and self-described foodie, she captures stunning images with vivid colors, sustainable vegan food, and abundant feasts. “Mother Nature is the ultimate color artist,” she says in her course on food styling and photography for Instagram.
Here, she shares her approach to food styling: what it is, which core principles we should consider when taking photos, and why some images don’t work. Let’s dig in…
What is food styling?
Food styling is a culinary art form, based around photographing food. The key difference between food styling and simply photographing your lunchtime sandwich is that the shots are composed. The goal is to make the foods look as fresh, bright, and delicious as possible. These photos can look magical, even surreal, but always capture the beauty and excitement of the food.
According to Kimberly, food styling is there to “communicate something you’ve created” with the goal of making it “look as good as it tastes”. The great challenge is that, of course, viewers cannot actually taste the food. This means a stylist needs to communicate texture and flavor using images alone. The dish needs to be elevated, and trigger our brains to want a bite! As you become more experienced, your photographs can even develop a personal stamp and sense of your style. Perhaps you like to focus on warm colors, or dark and moody backgrounds, or something else that stirs emotion around your creations.

Where to find examples of food styling
Food styling shows up almost everywhere, from ads to restaurants, but here are a few sources you can look to build a bank of inspiration…
- Cookbooks. Find chefs you love and see how they present their food.
- Food magazines. Look at how the food tells a story and matches with the articles.
- Advertising. Think of how succulent fast-food chains make their food look! It is carefully staged to encourage you to visit their restaurants.
- Films and TV. Food can be used to communicate a scene’s mood or the personalities of the characters.
- Social media. This is where amateur food photography has really taken off. Now anyone can share their creations using hashtags like #instafood, #foodstagram, #foodphotography, and more.
So, once you understand the goals of food styling, and have some sources for motivation, how do you actually get started? Kimberly identifies six important principles to keep in mind, and explains how each one works to make a successfully eye-catching image.
The six principles of food styling
1. Motion
Even though photos are essentially still life artwork, Kimberly notes that “we want the photos to look and feel dynamic.” This means including elements like swirls or lines of crumbs. The goal is to ensure something is happening in the scene. The movement you choose to create will also guide the viewer’s eye, and move them around the image.

2. Texture
Sometimes, texture is already present in food. Kimberly demonstrates with figs: smooth on the outside, but when you tear them open they are full of bobbly texture that will catch the eyes of a scrolling Instagram user. If your food doesn’t have a lot of natural texture, try using a garnish. Sauces, dips, seeds, and other sprinkles can very quickly build the impression that the food is crunchy, chewy, or any other texture you like.
3. Contrast
Here, Kimberly tells us to choose a key object to pull from the frame. Perhaps it’s a slice of fruit, or the irresistible oozing chocolate in the middle of a pudding. Highlight this chosen element by darkening or muting the background, or other food in the image. If you can contrast a muted plate with a vibrant food, you will instantly inject drama into your composition.

4. Abundance
For Instagram, it’s important to remember that you are staging the food. For a lush and enchanting effect, Kimberly explains that the food must look, “fit for a king or queen”. You want that sense of luxury to shine through, so try using a range of colors, shapes, and sizes of food, as decoratively as you can.

5. Color
Color is arguably the most important element to consider for a feed post. When someone is scrolling, you have seconds to capture their attention—so demand it! Use seasonal ingredients and editing to pop out noteworthy hues. If you have a soft, muted backdrop or props, make sure the food or relish has a poppy, glowing color that leaps off the screen. Emotive hues like red work well.
To help you get started working with color, it helps to learn the basics. In her course, Kimberly goes over the color wheel and introduces basic combinations: monochromatic, analogous, and complementary colors. All of these will have a different effect on the viewer.

6. Shapes
Finally, the shapes you create from the food layout are essential to crafting an effective overall scene. Like motion, shapes can guide the eye and create points of focus. This could be the way you cut a cake or vegetable, for example, or it could be how you arrange many small parts to make an interesting whole. Some shapes you might consider include a line, swirl, circle, triangle, or crescent moon.

What doesn’t work?
When you don’t consider the above principles, your posts may go unnoticed on social media. For example, placing small, plainly-colored food on a large white plate will not only create a flat image without contrast, it will also lack abundance and make the portion size look unappetizing. Smooth objects, like apples in a white bowl, will also look boring and lack the sensory appeal of texture. Finally, piling food on a plate without thinking about shape or focal point will make the image look messy and confusing.
Food Styling has many core principles to consider when you start out. Kimberly encourages following inspiring accounts, reading books, and beginning some reference boards on Pinterest to motivate you and help find your sense of style.
Want to find more inspiration before you get snapping your snacks for Instagram? Check out these food photography courses. And to learn more about food design, including cakes and confectionery, you can also explore this wide range of food design courses.
You may also like:
- 7 Food Styling and Photography Books You Need to Read
- What is Food Design, and What Does a Food Designer Do?
- Dark Mood Photography for Culinary Projects, course by Dácil Fernández
- 6 Online Food Design Courses to Get Started at Home
- Food Styling: The Art of Plating, course by Jodi Moreno


0 comments