


Fashion Design Tutorial: Tips to Achieve Perfectly Finished Seams without an Overlock
Learn step by step how to sew perfectly finished seams without an overlocker, by dressmaking duo Lantoki
So many things in life are about the little details, and the world of sewing and dressmaking is no different. Getting the perfect finish can mean the difference between creating a piece that even Gucci would be proud of, or your design completely unravelling - along with your patience.
An overlocker, or serger, is a special type of sewing machine that sews over the edges of your fabric, creating the perfect finishes for edging, hemming, or seaming. While they are popular for their versatility and speed, there are still plenty of ways to practice seams on your garments using a regular sewing machine that will give you a professional-looking finish without the added expense of buying an overlocker.
Designers Urko Martinez and Sandra Liberal, founders of sustainable fashion store and sewing workshop Lantoki (@lantoki), are expert taylors, designing and making pieces that combine style with quality, comfort, and practicality. In this step-by-step tutorial, they demonstrate two ways to add seams to your garments using a sewing machine instead of an overlocker.

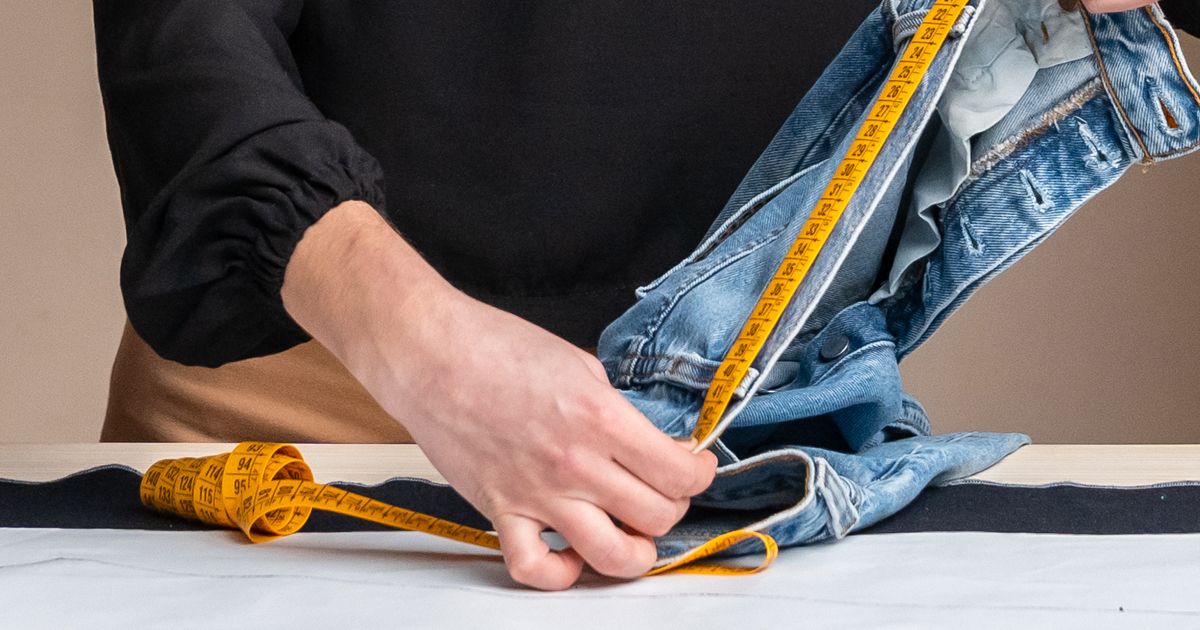
You will need:
A sewing machine
Ironing board
Iron
Scissors
Pins
Two pieces of fabric for each exercise
Some scrap fabric to test the temperature of your iron

1: French seam
A French seam encloses the seam on the inside of the garment so that no raw edge is visible, giving a perfectly neat finish. It is ideal for lighter fabrics or garments which do not have any lining.
To create a French seam, follow these simple steps:
Take your two pieces of fabric and place them together, with the reverse sides facing each other.

Set your sewing machine to “straight stitch” and set the stitch length to 2.5.
Stitch your seam, leaving a 1cm gap between your seam and the raw edge of the fabric. Remember to always finish off the seams at the beginning and end.

Take your stitched piece and carefully cut along next to your seam so that you take around half a centimeter off from the raw edge.
Open up the fabric and place it seam-side up on your ironing board so that the seam sticks up like a peak in the middle.
Take your iron and test the temperature on a scrap piece of fabric before applying it to your seam. Iron so that the insides of the seam are pressed outwards and flat onto the face of the fabric.

Fold your piece in half along the middle of the seam, with the reverse sides facing outwards so that the seam is concealed inside of the fold. You can use a pin to hold it in place.

Using your sewing machine, sew another seam 1cm away from the edge of your fold.
Open up your piece on the ironing board, reverse side up, and iron your piece flat. This will leave you with a neat, French seam.

2: Felled or flat-fell seam
Felled seams consist of folding one edge over another edge of fabric, and then stitching the fold down. They are ideal for items of clothing that need a stronger hold than a French stitch, such as jeans or shirts.
To create a felled seam, follow these simple steps:
Start by placing together your two pieces of fabric back-to-back in the same way as you did for your French seam.
Leaving a 1cm margin from the raw edge, use the machine to sew your first seam.
Open up your fabric and place it seam-side up and fold each side of the seams outwards. Now, take the fabric from the right-hand side of the seam and cut along parallel to the seam so that you are removing approximately half of it.

Iron the seam flat so that each side is pressed outwards onto the fabric. Then take the longer side of the seam and iron it so that it is pressed flat over the shorter side.
Set your iron to one side, and using your hands, fold the longer side of the seam over the shorter side and then iron down flat, being careful not to bring the iron too close to your fingers.

Taking your sewing machine again, sew a line along the edge of the fold so that it is stitched down onto the fabric. You will be left with a “double seam” showing two lines of stitching.

Did you like this tutorial? If you want to learn more about designing and creating your own clothing to fill your wardrobe with unique, handmade garments, check out Lantoki’s online courses Pattern Making Techniques for Recreating Your Favorite Garments and Dressmaking: Design Your Own Dress Shirt.
You May Also Like:
- Sewing Machine 101: Make Your First Dress a course by Juliet Uzor
- 8 Online Courses for Creating Fashion Garments Easily
- What Are Patterns, Silhouettes, and Volumes in Fashion Design?
- Basic Sewing with a Sewing Machine a course by Julia Reyes Retana


2 comments
esmeralda05
Hola chicos de DOMÉSTIKA Y profesor REAGAN EVANS, está en inglés. Yo estoy aprendiendo el idioma y me sentiría más cómoda si toda información estuviera en castellano. Gracias.
marialui40460
Hola,no puedo leerlo está en inglés y no tengo ni idea de lo que pone