


Discover the Different Types of Clay to Make the Perfect Tiles
Learn about the different kinds of clay and the best types to make and decorate beautiful Portuguese-style tiles
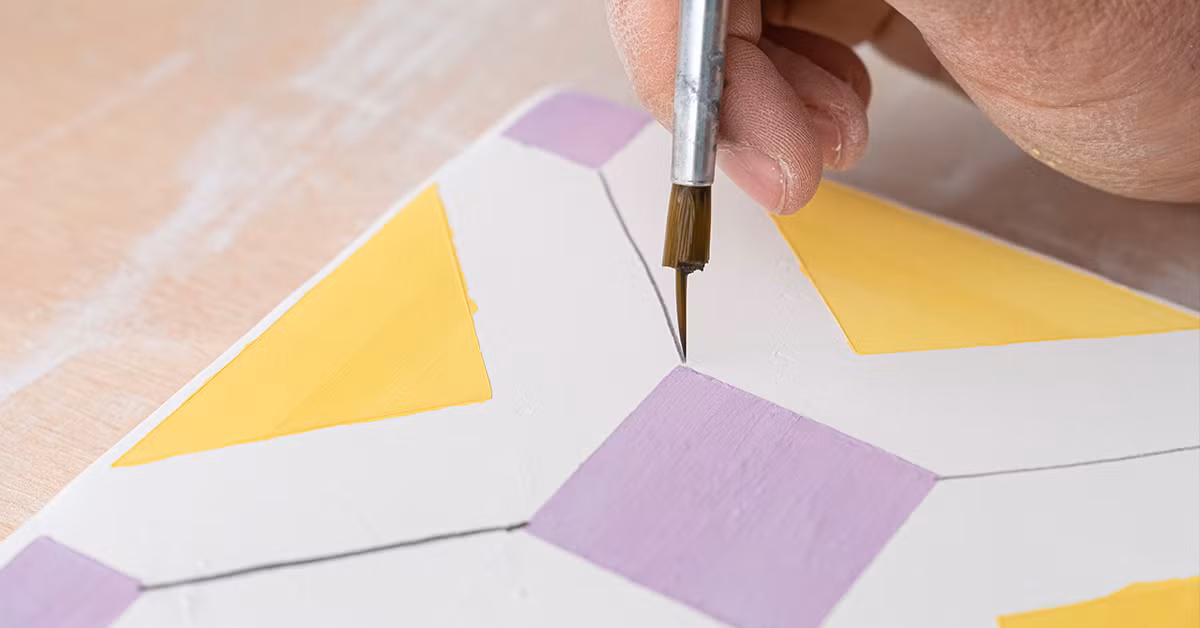
There’s nothing like vibrant, colorful, handmade tiles to add unique and charming touches to your home, or to any space for that matter.
This is an area where you can really let your imagination go, with endless designs and patterns inspiring you to create beautiful decorations. But before you get started, it’s important to know a little bit about the process of making the tiles themselves, as well as the properties of clay as a material.

The word "tile" has its origins in the Arabic word "azzelij", meaning "small polished stone". They were developed in Europe by the Spanish, Dutch, and Portuguese, but due to their expense, were originally only used by royalty and the clergy for churches and major construction works.
Nowadays, they continue to be popular for their variety of prints and colors, as well as for their revival of the vintage aesthetic.
Watch the video below to discover how tiles conquered the world!

Types of clay
Domestika teachers Marisa and Alba are experts in the designing and making of traditional Portuguese tiles and, in 2016, founded leading handmade tile manufacturer Gazete Azulejos (@gazeteazulejos) in Oporto, Portugal.
In this article, they’ll explain the different types of clay that exist, as well as give you expert tips and advice for making and drying your tiles.

There are several types of clay, which vary in terms of texture, composition, plasticity, and firing temperature. Clay also contains water, so will shrink both when it dries and when it is fired. This is known as “shrinkage” and will again vary depending on the type of clay you use.
Earthenware
Earthenware is the oldest type of clay and highly plastic. This means it is easy to work with. It is fired at a low temperature, somewhere between 850 and 1200℃, which means it is also cheaper to fire and has the lowest shrinkage percentage of approx. 5-8%.
The disadvantages of earthenware are that it is fairly porous and more fragile.

Stoneware
Stoneware is more resistant when fired and also waterproof. It is less plastic than earthenware, which makes it more difficult to work with.
It is more expensive to fire, at between 1200 and 1300℃, with a shrinkage percentage of approx 11-13%.

Porcelain
Porcelain is strong, durable, and water resistant, but the least plastic of the three.
It is fired at the highest temperature too, somewhere between 1300 and 1450℃, making it the most expensive to fire with a shrinkage percentage of approx 14-15%.

Which one should you use?
While any type of clay can be used to make tiles, we recommend either earthenware or stoneware as they are more plastic, fire at a lower temperature, and have historically been used more than porcelain.
Remember that the glaze is different depending on the type of clay and the firing temperature.

The stages for making your clay tiles
Your clay will go through 5 states, from wet to glazed. It is important to know about each of these stages so that you can successfully make, fire, glaze, and then decorate them.
Wet/Plastic - The clay is humid and ready for molding to create the clay slabs.
Leather Hard - This is the best state for making clean cuts in your tile as the clay has dried slightly without being sticky.
Bone Dry - The clay has dried and is ready to be fired, but it is very fragile at this stage so handle with care. If you are not sure whether the clay has dried or not, we recommend holding it to your cheek. If the clay feels room temperature, it is ready for firing, but if it feels cold, you will need to wait a little longer.
Bisque - Your clay has been fired once and is now a ceramic. This is the stage where you can glaze and then decorate your tile.
Glazeware - This is earthenware that has been glazed for a second time. It is shiny and water resistant.

Tips for drying your tiles
Drying your tiles correctly is important in order to prevent cracking and deformation. There are several things to consider when drying, such as the thickness of the tile, the season, or the environment. For example, the thicker your tile, the longer it will take to dry, while a drier season or environment will speed up the drying process.
Here is a simple step-by-step approach:
- Cut your tiles and leave them on a wooden board to dry. Cover them with plastic if they are in a drier environment so that they dry slowly and evenly.

- Watch them daily to check they do not "warp". If they do, you can turn them over.
- After a week, stack them with a weight on top and leave for a further 1-2 months to dry.
- To check that they are bone dry, touch them to your cheek. If they feel at room temperature, they are ready for firing.

If you want to know more about creating your very own tiles by exploring clay modelling and traditional painting techniques, check out Marisa and Alba’s online course Design and Create Portuguese Ceramic Tiles.
You may also like:
- Domestika Diary: Gazete Azulejos
- What is the Kintsugi Japanese Repair Technique?
- Ceramic Tutorial: How To Make A Pinch Pot At Home
- Creating Your First Ceramic Vessel, a course by Lilly Maetzig
- Introduction to Mosaic Artwork, a course by Gary Drostle


0 comments