


Illustration Tutorial: How to Create Texture With Gouache
Learn how to create gouache texture with a range of brushstrokes, and how to process your work in Photoshop with Giovana Medeiros
Illustrator Giovana Medeiros specializes in using paint as her starting point or to complement digital designs. In this tutorial, she teaches you how to create textures using a brush and gouache and how to to process your work in Photoshop, so that they become elements you can use in as many ways as your mind can imagine.
Watch the video:
5 Steps to create textures with a paintbrush and gouache and how to use them in Photoshop
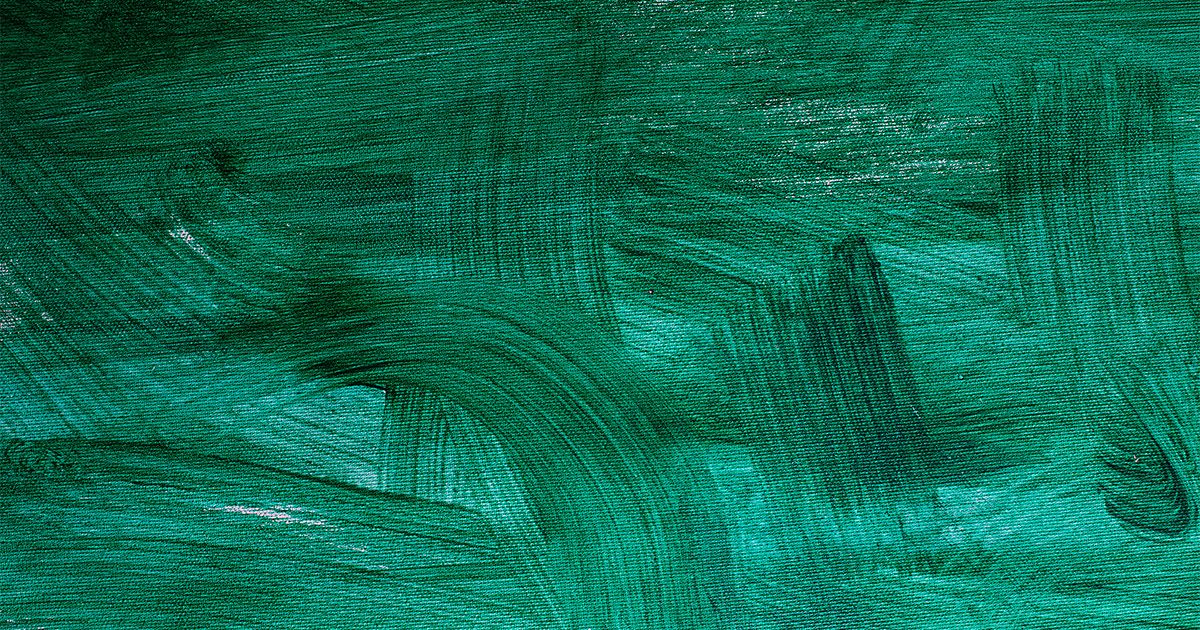
1. Use a flat brush

Flat brushes allow the bristles to make a decent mark. The aim is to achieve darker areas alongside sections in which the paint is barely visible. This will be useful when you move into digital.
2. Create quick, dry brushstrokes

You don’t need too much paint when you’re creating textures. Apply the paint onto the paper using rapid brushstrokes and extending your movements over a wide area to create a range of strokes and to allow the bristles to make their mark.
Try using a range of brush sizes and painting in several directions.
3. Scan your work in high resolution

Giovana recommends saving your scans with a resolution of at least 600 dpi. This will allow you to make better use of the texture details.
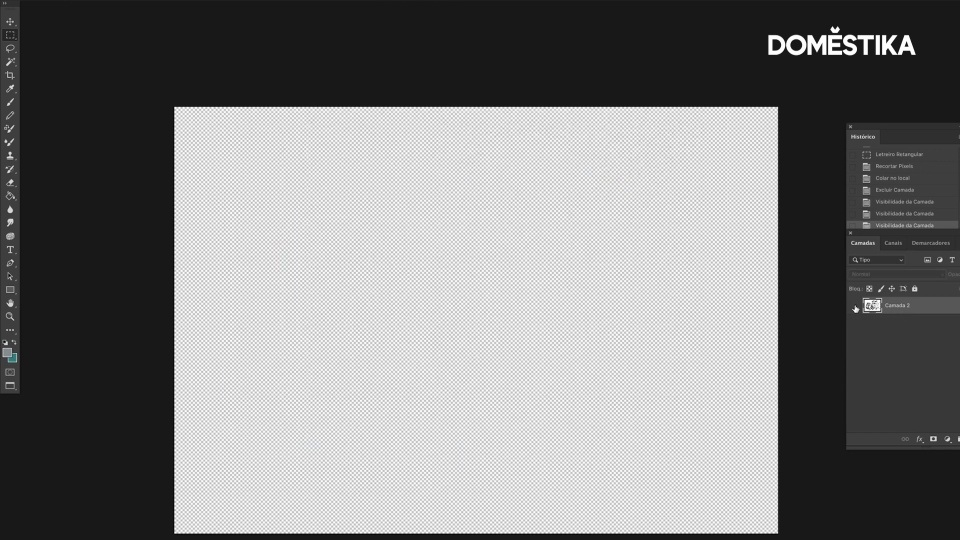
Now create a new layer in which you will work on your chosen area. This allows you to keep the original intact. Use the bow tool to separate out and work on a single section, as this will make it easier to manage.
4. Test the contrast and shine

Giovana recommends increasing the contrast between the white background and the dark brushstrokes to make the brushed textures you created stand out. Select Multiply in the right hand menu and increase the contrast. Use Images > Settings > Shine/Contrast to remove any blurriness and you can also try changing the curve to accentuate the contrast still further.
5. Select the darkest area


Use Select > Color range to separate the white background from the dark brushstrokes and copy the darkest areas. Paste it onto the layer you’re working on and you’ve generated a block of high-contrast texture that’s totally editable. This means you can change color, deform it and make it suitable for use in your digital illustration.
Like this tutorial? Remember you can learn how to adapt a classic story from an illustration or sketch to creating a final work in her online course: Illustrated Children’s Stories: Characters and Settings.
English version by @studiogaunt
You may be interested in:
- Pictorial Sketchbook with Gouache, a course by Maru Godas.
- Creative Drawing with Ink and Gouache.
- Illustration Techniques with Watercolor and Gouache, a course by Alinailustra.
- Introduction to Illustration of Characters with Gouache and India Ink, a course by Andonella.


0 comments