How to Use the Pathfinder Tool in Illustrator

Discover how to use the basic Pathfinder options to speed up your workflow
If you are familiar with vector illustration, or even if you are just starting out in Adobe Illustrator, one of the tools that you'll find more useful is the Pathfinder tool. By learning how to use it, you will be able to quickly do many designs and streamline your workflow. Discover its essential functions below.
What is the Pathfinder tool for in Illustrator?
This useful tool allows you to quickly manipulate different shapes and strokes to create other, more complex shapes and combine them without having to redraw. It is handy when you want to combine several shapes.
Find the tool
To start using Pathfinder, go to the Main Menu, then to Window, and then Pathfinder to make it visible. You can also use the Shift + Ctrl + F9 commands on PC, or Shift + Cmd + F9 on Mac.
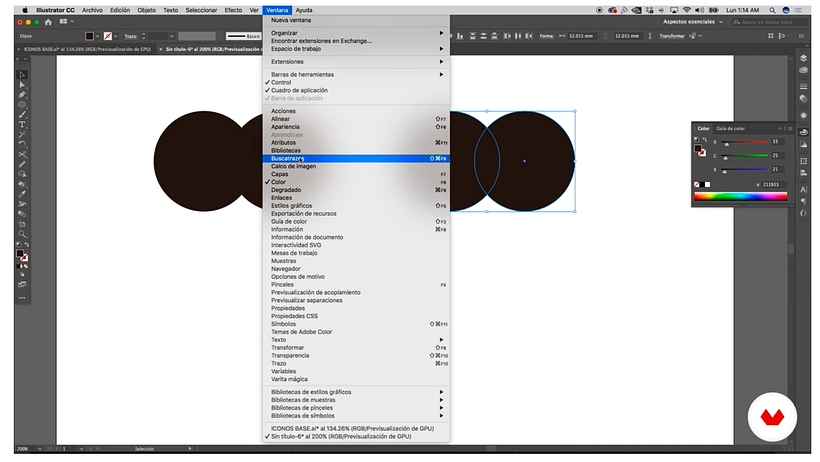
This will activate a small window with the tool's different options.
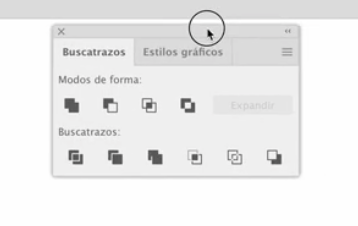
Start using Pathfinder
Create a new shape on your canvas so you can understand the different functions. You can use something simple like two geometric figures, or something more complex, like a pattern composed of numerous figures. Ungroup the figure elements to understand the functions, although the tool can also be used while working with grouped elements (the program will interpret them as if they were a single object).

Shape Mode
It allows you to generate new shapes by combining objects according to how we want them to behave with each other.
Unite
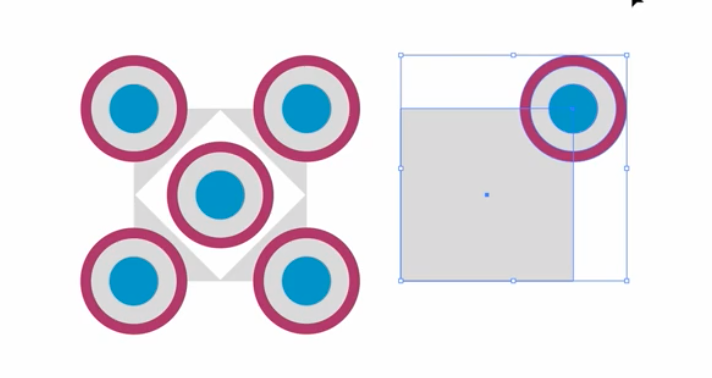
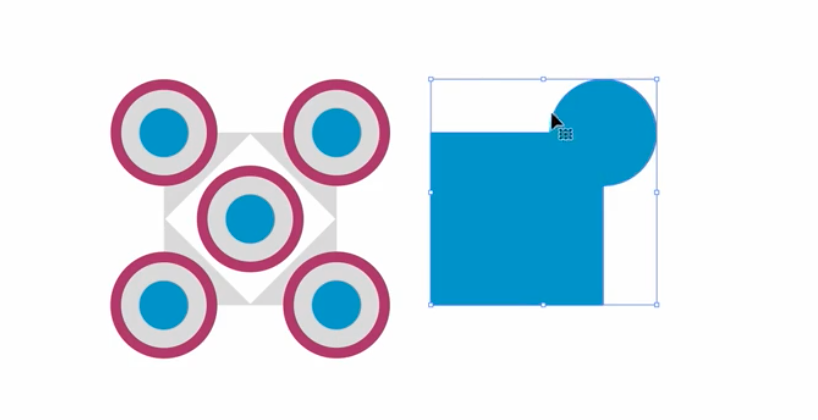
Select the items you want to modify, and click the Unite option in the Pathfinder menu. The tool will join them in a single element or shape. If you repeat this process by pressing Alt when you click Unite, the original elements' shapes will be preserved. You can see it in action in the example below, with unitedforms in blue.
Minus Front
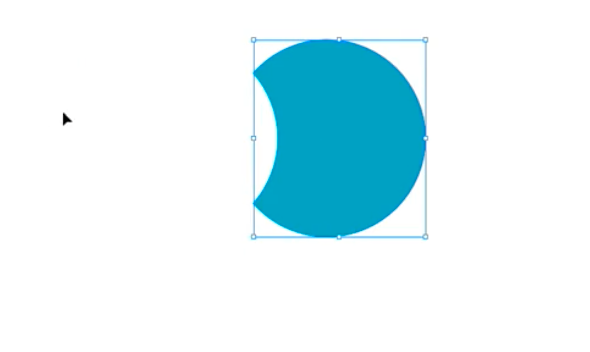
This option is used to remove the element that is at the front (above) of the composite shapes. In this example, we see that the blue circle is in front of or above the black one:
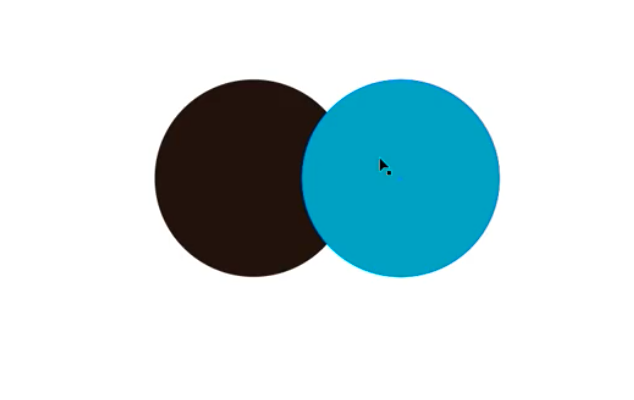
Remember that you can organize the objects to bring the one you want to the front with a right-click. Then click the Minus Front option, and the items will be subtracted, like a cut:
Intersect
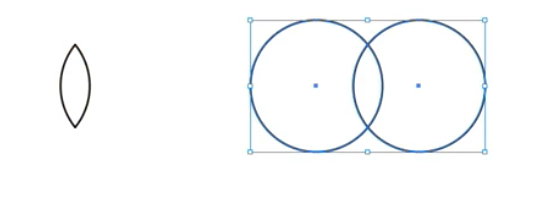
With this tool, you can create a new shape from the intersecting areas of the previously selected objects. Select your two shapes (in this case, the two circles), and click on the third option on the Shape Modes menu, called Intersect. A new object will be created in the shape of the overlapping area of both:
Exclude
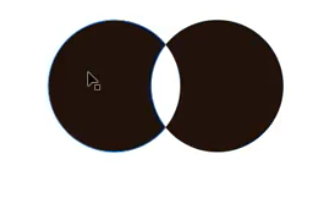
It is the opposite of Intersect. It eliminates the intersection and leaves the rest of the shape. To use it, click on the fourth option on the Pathfinder menu, Exclude.
If you want to learn to master Illustrator like an expert, sign up for Aaron Martínez's Domestika Basics course, Introduction to Adobe Illustrator, or Valeria Dubin's Domestika Basics, Adobe Illustrator for Graphic Design.
English version by @angeljimenez.
You might also be interested in:
- 7 Free Tutorials: Color Theory to Understand How to Use Color in Creative Projects
- Illustrator Tutorial: 3 Basic Drawing Techniques
- How to Create a Charismatic Character


0 comments