


Watercolor Tutorial: How to Fix and Avoid Mistakes on Wet Paper
Learn how paint reacts to water on paper so you can avoid mistakes, blooms, and ineffective layering and fix any errors you do make, with Sarah Stokes
Water can be a watercolor artist’s best friend and worst enemy: it allows us to blend and spread pigment to create our paintings but can just as easily spoil a picture if not used properly.
Watercolorist and wildlife painter Sarah Stokes has had her work exhibited on luxury cruise liners and sold by major retailers such as Amazon and Next. In this tutorial, she explains a collection of different watercolor effects and how to achieve them.

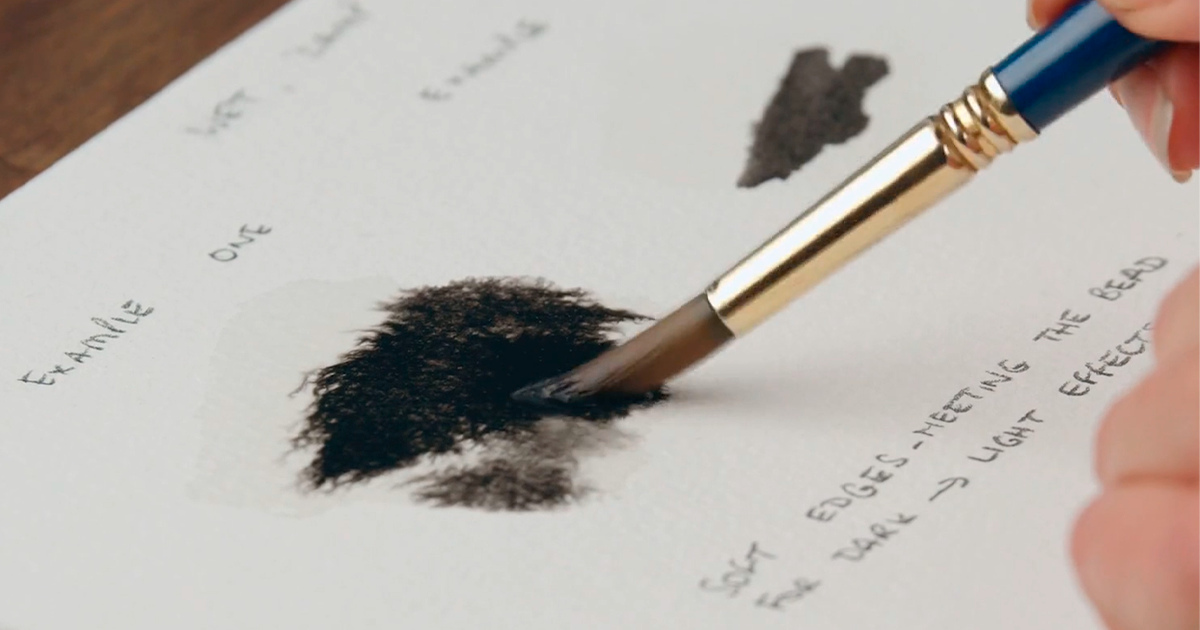
1. Paint on wet paper
Paint on wet paper will spread of its own accord. If you add another layer of paint while the paper is still very wet, the new layer will push the pigments of the original layer away as it dries. This will lead to blooming which leaves a sort of cauliflower effect on your piece.
2. Paint on damp paper
When the paper is only slightly wet, the paint is unlikely to bloom but could spread more freely. You can add another layer of paint to your piece though, simply make sure that you have a higher concentration of paint than water on your brush when you do so. No blooming will occur if what is on your brush is thicker than what’s on the paper.
3. Paint on dry paper
Dry paper gives you a lot more control and you will be able to create more effective layering if you wait for each layer to dry.

If you liked this tutorial, check out Sarah Stokes’s online course, Artistic Watercolor Techniques for Illustrating Birds to learn how to bring vivid wildlife compositions to life by exploring modern methods of watercolor painting.
You may also like:
- Architectural Sketching with Watercolor and Ink, a course by Alex Hillkurtz
- Illustrating Nature: A Creative Exploration, a course by Laura McKendry
- Artistic Portrait with Watercolors, a course by Ale Casanova


0 comments