


Illustrator Tutorial: 3 Basic Drawing Techniques

Learn the Adobe Illustrator techniques that allow you to draw, draw in the background and draw inside a frame with Marmota vs Milky
Adobe Illustrator is the most popular software for vector illustrations. It’s widely used by professionals around the world because of its infinite resources. Fabi and Carlos, the designers behind Marmota vs Milky (@marmotavsmilky), used this package to create major impact projects for clients including Adidas, Ben & Jerry’s and Havaianas.
In this tutorial, Fabi teaches us the three most basic ways to draw characters in Illustrator.
Watch the video:
3 basic Illustrator drawing techniques
1. Normal drawing


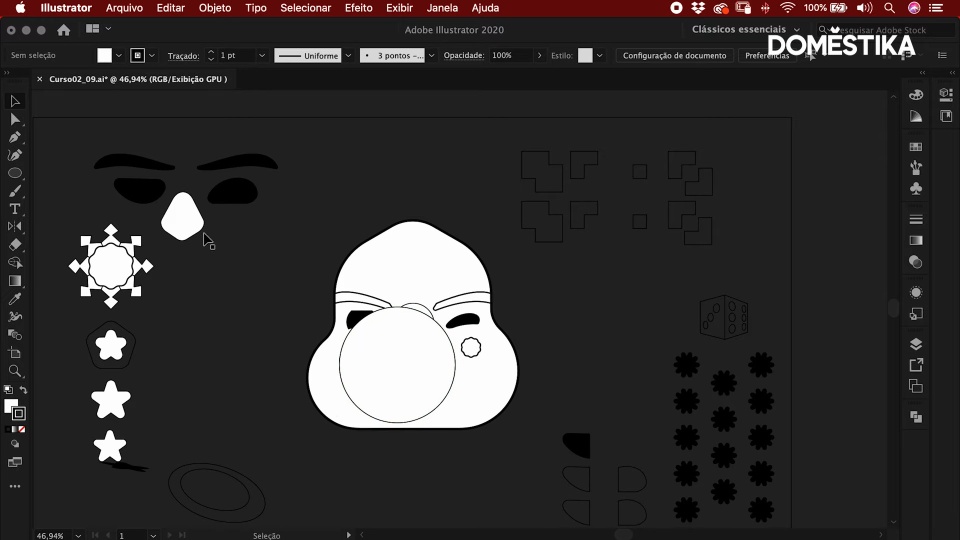
In the Illustrator toolbar, select drawing mode and use the Shift + D shortcut to switch between the three drawing modes. Choose normal mode: this will allow you to draw in the blank document or on the objects in your clipboard.
2. Draw behind
As the name suggests, this mode allows you to draw elements behind other objects already included in the project. You can select it in the toolbar menu or using the same shortcut: Shift + D.
3. Draw inside


This allows you to draw details inside specific objects in your project. First you need to select the object you want to work on. Use a double click to select the object, which prevents any changes from interfering with the rest of your drawing.
If you want to create different elements that have to connect with each other to form a single set (as Fabi demonstrates in the final images below), use the shortcut Cmd + 8.
Like these tips? Remember that Marmota vs Milky teach you how to master this leading digital illustration package and create professional graphic works in their online course: Adobe Illustrator: Vector Illustration From Scratch.
You may also like:
- Doodle-Style Vector Illustration, a course by Mauro Martins
- Dynamic Vector Illustration, a course by Pietari Posti
- Adobe Illustrator: Graphic Design for Beginners, a course by Gilian Gomes


0 comments