


Photoshop Tutorial: Step-by-Step Tips for Retouching Skin
Learn the techniques you need to retouch skin quickly with Nina Bruno
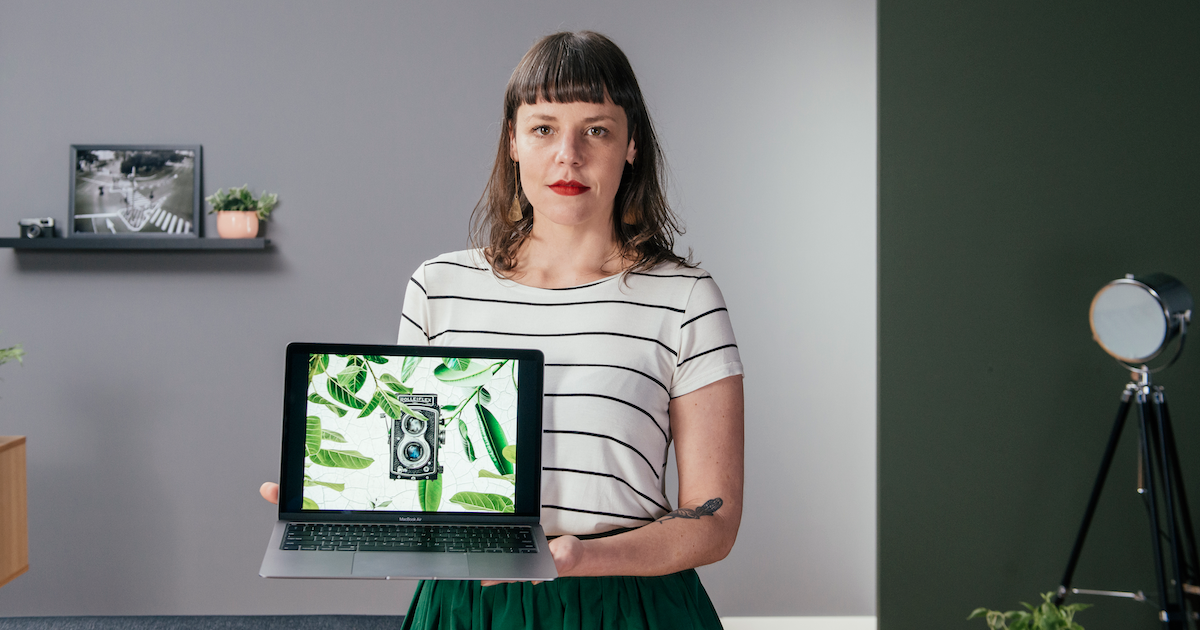
Adobe Photoshop enjoys huge popularity as a portrait editing and retouching tool. An expert at using this program, photographer and graphic designer Nina Bruno (@ninabruno) has all kinds of tips for beginners looking to add a professional finish to their photos.
Whether you want to reduce shine or dark circles under the eyes, in this photography tutorial, she shares five foolproof tricks to easily retouch using Photoshop:
1. Use Liquify
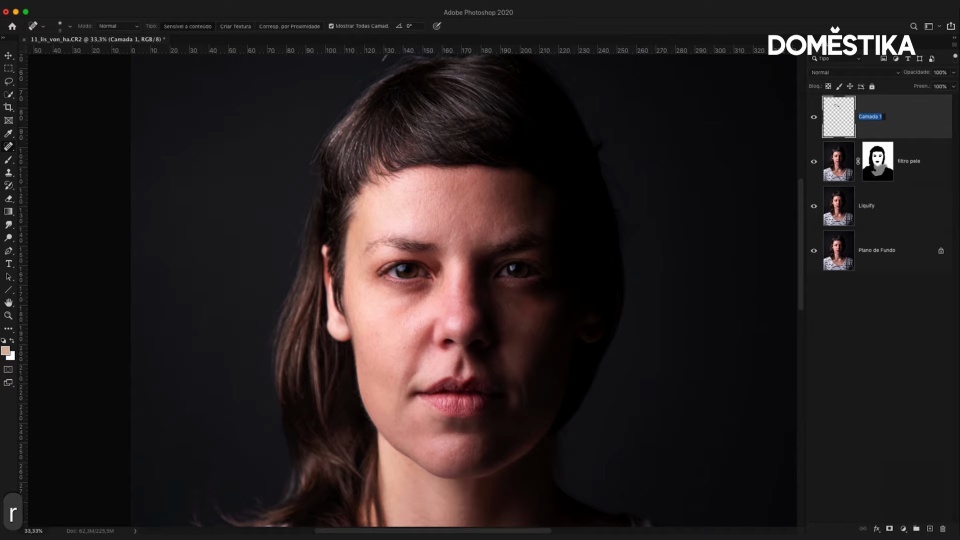
Use the Cmd + J (Ctrl + J in Windows) shortcut to duplicate the background and, then, Menu > Filter > Liquify.
Then duplicate the Liquify layer so you can another filter over the skin called Surface Blur. Then create a mask for this filter, to recover the original texture in particular sections. Use a black brush to paint over areas like the eyebrows, eyelashes, or any other section you don’t want to retouch.

2. Use Layer Opacity
This tool allows you to create a homogeneous image after de-focusing and recovering sections of the original texture. Create a transparent layer and select the Band-Aid tool to start retouching. This allows you to remove any spots or other imperfections, such as grey hairs.

3. Use Alt or Background Image for before and after comparisons
This step is very useful throughout the process, as it allows you to compare your changes.


4. Create a new layer to work on skin tone
Rename your retouch layer to avoid confusion with your original image and create a new transparent layer to work on skin shine and tone, for example around the eyes.
Set your toolbar paintbrush to a very low opacity (around 10). Press Alt to turn it into a dropper. Then copy a "model" area of skin. Click, and notice how that color is applied automatically to the paintbrush/dropper. Use it to paint over under-eye bags, add shine or work on any other area. You can always use the rubber to soften your retouch if you go too far.

5. Don’t exaggerate
Even with a low opacity, the paintbrush tool builds up. Make sure you haven’t overdone it, because too much retouching removes all skin texture. Nina recommends using just a few layers to soften under-eye shadows and imperfections, as this will create a more natural finish.

Like these tips? Remember you can learn how to master the best photo editing software and obtain professional results in Nina Bruno’s online tutorial Adobe Photoshop for Professional Photo Editing.
You may also like:
- Advanced Adobe Photoshop, a course by Carles Marsal.
- Adobe Photoshop for Photographers, a course by Oriol Segon.
- Introduction to Adobe Photoshop Lightroom Classic, a course by Juan Achiaga.
- Creative Retouching for Portrait Photography, a course by Mikeila Borgia.


1 comment
Your critical analysis of the photo retouching tutorial struck a chord with me. But if you Learn More on, I have something that will clarify everything. I sincerely appreciate it.