


Sketching Tutorial: How to Create Stone Textures With Pens and Markers
Learn how to create stone texture using pens and markers with Fran Molina
Simple lines and marker shading can transform a flat drawing into one full of volume. All you need to do is play with thicknesses, add texture and shade specific areas to stand out.
Want to learn how? Product designer and illustrator: Fran Molina (@franmolina) reveals the keys to adding stone textures to your designs in this tutorial. Watch the following video:

6 fail-safe tips on adding stone texture
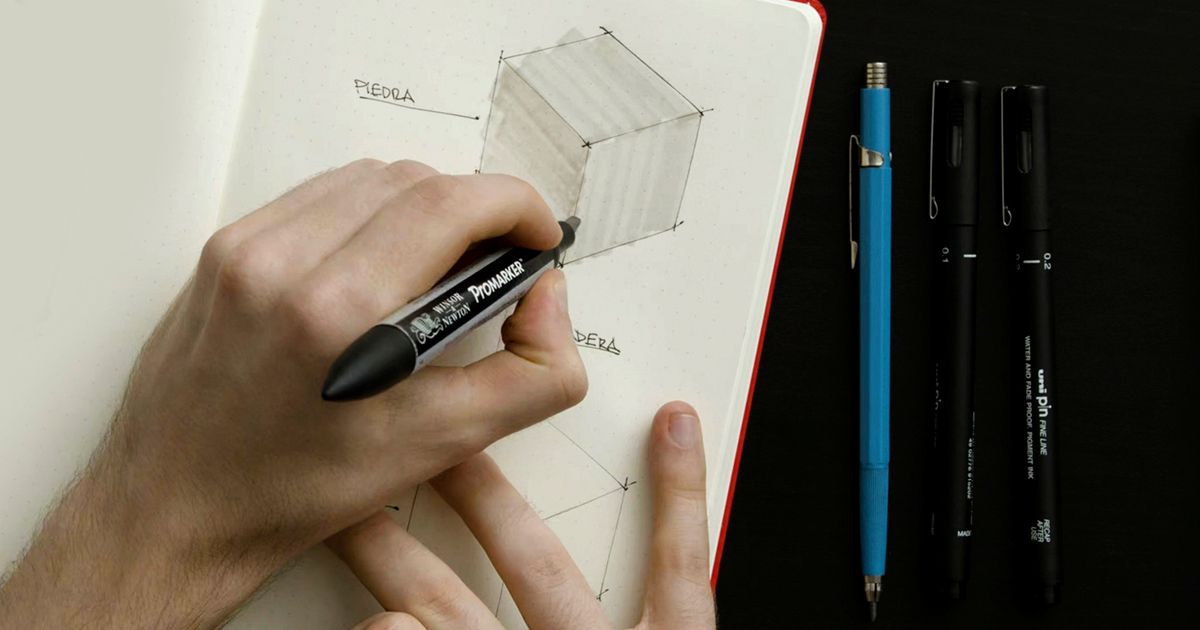
1. Gather your materials
You’ll need the following materials to create stone texture:
— Markers in various shades of grey. (Here Fran Molina used shades 2 and 3.)
— Pens of varying thicknesses for outlining.
— A mechanical pencil for texture details.

2. Start painting your design
Shade each side using your lightest marker (shade 2). Follow the direction of the surface. Then use shade 3 to go over one of the sides and create more shade. Next, pick up your shade 2 marker again and go over the neighboring face. Your cube is already starting to acquire volume.

3. Go over your design to give it shape
Once you’ve colored your design, it’s important to give it a more realistic texture. Let’s take pen 01 and go over the outline, creating what look like imperfections. Imperfections seem more natural.

4. Exaggerate the shaded area
Next take your shade 3 marker pen and exaggerate the shaded area. Once again, go over the outline and the internal lines using pen 01. Add details, dents and little specks with the fine tip of your shade 3 marker. These imperfections help your design look more organic.

5. Create shade with your mechanical pencil
Now’s the time to use your mechanical pencil to shade the details you created with the marker. Draw horizontal lines on each side to carry on making your stone look natural.

6. Create projected shadow
Like any 3D object, your stone also needs to project a shadow. Use your 01 ballpoint pen to create fine lines on the lower area. Then use marker 03 to add shadow.

Finally, go back over the exterior lines using a 02 ballpoint pen to add extra thickness.

If you liked this tutorial, remember Fran Molina also teaches the basics of sketching to help you present your product attractively, in his online course: ‘An Introduction to Sketching for Product Design.’
You may also be interested in:
— What is SketchUp? a course by Alexandra Proaño
— The Art of Sketching: Transform Your Doodles into Art, a course by Mattias Adolfsson
— Urban Sketching: Express Your World in a New Perspective, a course by Lapin


0 comments