


Ceramic Tutorial: How to make a rock-shaped flower pot from clay

Learn this simple technique step by step to turn a ball of clay into a rocky shape, with Xènia Bas
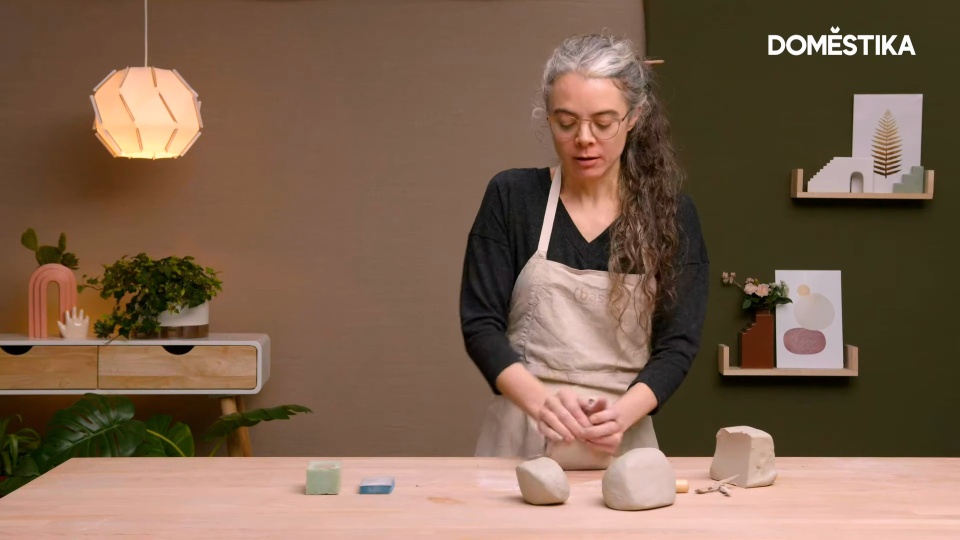
Xènia Bas (@xenia_bas) is a ceramic artist and co-founder of Bas, a ceramic workshop in Barcelona. She likes to think that a good flower pot not only houses and provides support to a plant, but also enhances its beauty.
One of the simplest and most practical forms you can give to a flower pot with clay is a rock. As well as being easy to mould by hand, it gives a lovely finish and allows many variations, as Xènia will show us in this tutorial:
5 steps to create a rock-shaped flower pot in using clay
1. Cut the clay block into different parts

If you want to create more than a flower pot from your block of clay, use a very simple tool, a thread tied to two cables - which can be two parts of a piece of clothing, for example - to cut it. To create pots of different sizes, remember not to cut the block into equal parts.
Si quieres crear más de una maceta a partir de tu bloque de arcilla, utiliza una herramienta muy sencilla, un hilo atado a dos cables –que pueden ser las dos partes de una pinza de ropa, por ejemplo–, para cortarlo. Para crear macetas de diferentes tamaños, recuerda no cortar el bloque en partes iguales.
2. Knead each of the blocks well

This is a fundamental stage, which allows you to prepare the clay thoroughly. If some parts are drier than others, the kneading will enable you to even out the material.
Contrary to what one has to do to prepare bread dough, for example, where we have to introduce air to the base, here we have to remove it. To do this, try to work in a way that deliberately condenses the body of the material, using the base of the palms of the hands and adding a certain centripetal force.
Remember to perform the kneading process over a porous surface, like wood, to avoid bits of clay getting stuck to your work area.
3. Start to mould the exterior of the piece

If you’re sculpting a flower pot, a statue or a plate, you always have to start from the outside part. Later on you can carve out the interior of the piece to create any gaps, nooks and crannies that you want.
With a well-kneeded base, keep moulding it by hand until you find a form that suits you. Remember to remove any cracks that form, searching for the maximum homogeneity possible.
The best thing about making a flower pot of clay, says Xenia, is when it takes a random shape: you don’t have to mould everything into a uniform style.
But remember: when you’re dealing with a flower pot, what you do need to do is mould a stable base that allows it to remain upright while holding a plant.
Recuerda: al tratarse de una maceta, lo que sí debes hacer es moldear una base estable que le permita mantenerse en pie a la vez que sostiene una planta.
4. Let the piece dry a little before continuing

If you keep manipulating it indefinitely, the piece will lose the shape you’ve given it, because it’s still quite soft and loose. Leave it to dry for three or four hours before starting the moulding process.
5. Start the moulding process


Accentuate the flat sections and the curves of the external part of your piece, which will by now be drier, by rubbing it a little on the surface of your work area. Choose the face that will be the ‘hole’ of the flower pot and begin hollowing it out.
Use a modelling tool to remove the material bit by bit. Be careful that the gap you’re making has walls of a similar thickness and avoid making holes in the piece while you hollow it out. If by any chance you make a mistake and you finish up creating a crack or a hole, all you need to do is fill them in with more clay and mould the zone again to give it evenness.
One thing to bear in mind is that, on the whole, very thick parts in a ceramic parts run greater risk of exploding while being heated, whether it be due to the presence of air or humidity in the piece. So make sure you create walls that are sufficiently slim to avoid this but, at the same, are thick enough to stay firm and not break easily.
Remember you can reuse the pieces of clay you remove from the inside of the flower pot and, by kneading them well again, you can create new pieces.
Wait until the piece is a bit drier and then use a sponge to give it a more defined shape, smoothing the flower pot completely.
Have you enjoyed these tips? Remember you can learn with Xenia Bas to create the ideal support for your plants in her online course 'Ceramic Plant Pot Design'.
You may also be interested in:
- Creation of Molds for Ceramic Reproduction, a course by Xènia Bas
- Ceramics: Modeling and Decoration, a course by Paula Casella Biase
- Ceramics at Home for Beginners, a course by Paula Casella Biase


2 comments
alsu
Thank you for this very thorough and informative lesson!!!
sergiofelizardo
@alsu Thank you for watching!