Essential Shortcuts for Working in ZBrush

Work faster when modeling in ZBrush and download a guide with the most useful and basic shortcuts
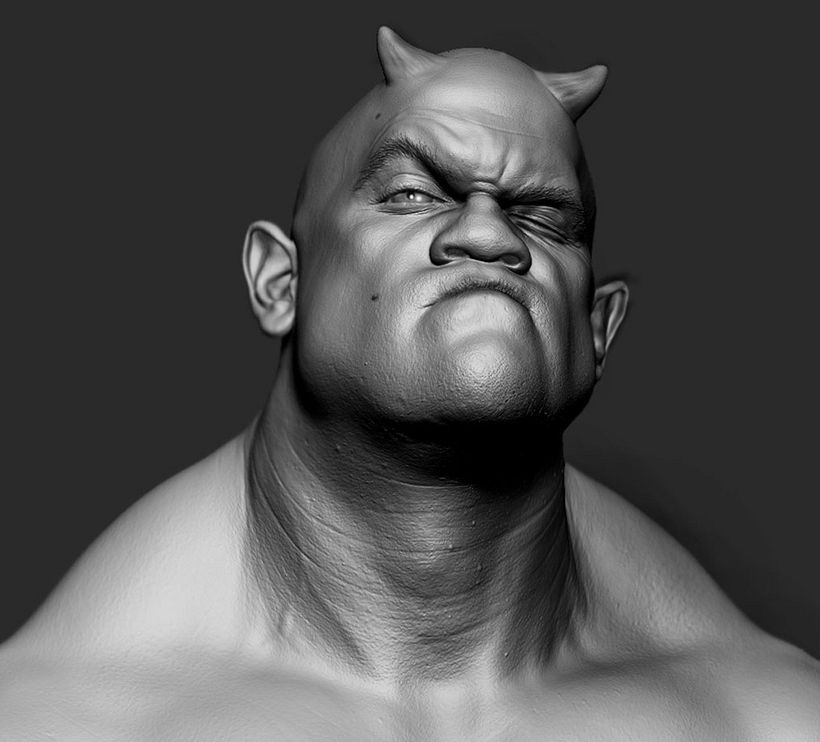
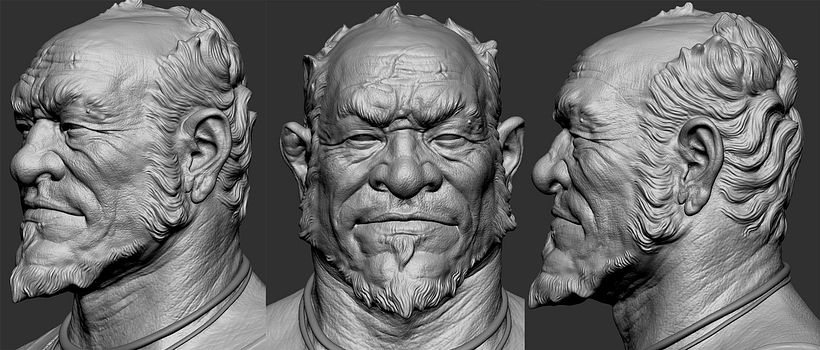
ZBrush is one of the most used 3D modeling, digital sculpting and painting software in the world, so it is no surprise that the best 3D artists of the moment have it installed on their computers. Its potential is such that you can create incredible three-dimensional objects with an incredibly realistic appearance that seem to jump out of the screen.
Here is a list of shortcuts that will make your ZBrush work process more efficient. You will be able to download the hotkeys in PDF format at the end of this list.

Basic ZBrush Shortcuts
Open project → ⌘ + O
Save Project → ⌘ + S
Undo → ⌘ + Z
Redo → Shift + ⌘ + O
Show quick menu → Spacebar or right click
Show/Hide floating palettes → TAB
Show item description → ⌘ + cursor over item
Show alternative item description → ⌘ + alt + cursor over item
Assign custom hotkey → ⌘ + alt + click on item
Show tools → F1
Show brushes → F2
Show strokes → F3
Show alphas → F4
Show textures → F5
Show materials → F6 with cursor off canvas area

Lightbox and Spotlight
Show/Hide Lightbox → ,
Load selected item → Double click on Lightbox thumbnail
Turn on/off Spotlight → Shift + Z
Show/Hide Spotlight Dial → Z
Edit mode navigation
Free Rotate → Click & drag
Background Move → Alt + click + drag background
Constrain to 90º rotation → Shift + click + drag background
Scale → Alt + click, release Alt, drag background
Rotate around Z-axis → Shift, click, release shift and drag

Sculpting and painting
Draw Size → S
Focal shift → O
RGB intensity→ I
Z intensity → U
Increase Draw Size by set units → ]
Decrease Draw Size by set units → [
Turn Edit mode on/off → T
Draw → Q
Move → W
Resize → E
Rotate → R
Toggle ZAdd and ZSub → Alt
Color
Select Color under cursor → C
Switch Color → V
Stroke
Lazy mouse → L
Replay last stroke → 1
Record stroke → 3
Replay all recorded strokes → 2
Curves
Smooth curve → 6
Snapshot curve → 5
Delete a curve → Alt + draw across curve
e clonado en MoGraph.

3D Models
Save Tool → Shift + ⌘ + T
Fit Mesh to view → F
Perspective → P
Floor Grid → Shift + P
Activate Symmetry → X
Show/Hide polyframe and polygroups → Shift + F
Point Selection mode → Shift + ⌘ + P
Set pivot point → ⌘ + P
Clear pivot point → Shift + P
Snapshot a version to canvas → Shift + S
View Xpose → Shift + X
ZSpheres
Preview Adaptive Skin → A
Draw mode:
Add a child ZSphere → Drag ZSphere
Delete ZSphere → Alt + click ZSphere
Add a child ZSphere at same size → Click + drag, press shift
Add a child ZSphere and scale Link Spheres → Click + drag to size new ZSphere, press ⌘ + drag
Insert ZSphere → Click + Link-Sphere
Move mode:
Move ZSphere → Drag ZSphere
Pose → Drag Link-Sphere
Move chain → Alt + drag Link-Sphere
Scale mode:
Scale Zsphere → Drag ZSphere
Inflate/Deflate chain → Alt + drag Link-Sphere
Scale chain → Drag Link-Sphere
Rotate mode:
Spin chain → Drag ZSphere
Control twist → Alt + drag Link-Sphere
Rotate chain → Drag Link-Sphere
ZSpheres – ZSketch
Activate ZSketch Edit mode → Shift + A
Preview Unified Skin → A
Canvas and 2.5D
Reverse 2.5D brush effect → Alt + hold down
Crop and Fill → Shift + ⌘ + F
Grab Texture from document → Shift + ⌘ + G

Timeline
Place a new keyframe → Click on the Timeline
Select an existing keyframe → Click on the keyframe dot
Move selected keyframe → Click + drag dot to new position
Store new data in existing keyframe → Shift + ⌘ + click on the keyframe dot
Delete keyframe → Click + drag dot out of the Timeline
Copy selected keyframe → Shift + click on the Timeline at the point where you want the copy
Copy multiple keyframes → Shift + click on all the keyframe dots to be copied, shift + click the Timeline at the point where you want the copies
Create transition keyframe → ⌘ + click on an existing keyframe dot
Create rigid keyframe → Alt + click on an existing keyframe dot
Go to Previous Camera keyframe→ Left arrow
Go to Next Camera keyframe→ Right arrow
Play the Timeline → Shift + click on the Timeline cursor
Stop the Timeline playing → ESC
Record the Timeline as a movie → Shift + ⌘ + click on the Timeline cursor
Render
Best Preview Render (BPR) → Shift + R
Render All → Shift + ⌘ + R
Cursor Selective Render → ⌘ + R
ZScripts
Load ZScript → Shift + ⌘ + L
Reload ZScript → ⌘ + U
Show/Hide ZScript window → H
English version by @acesarato.
You may be interested in:
- 50 Basic Shortcuts for 3D Studio Max
- Get Inspired by 7 3D Artists and CG Illustrators
- Cinema 4D Tutorial: Modeling From Simple Pieces


0 comments