


Photoshop Tutorial: Rendering Hair and Eyes
Learn from Bearbrickjia how to use rendering techniques for hair and eyes in Photoshop
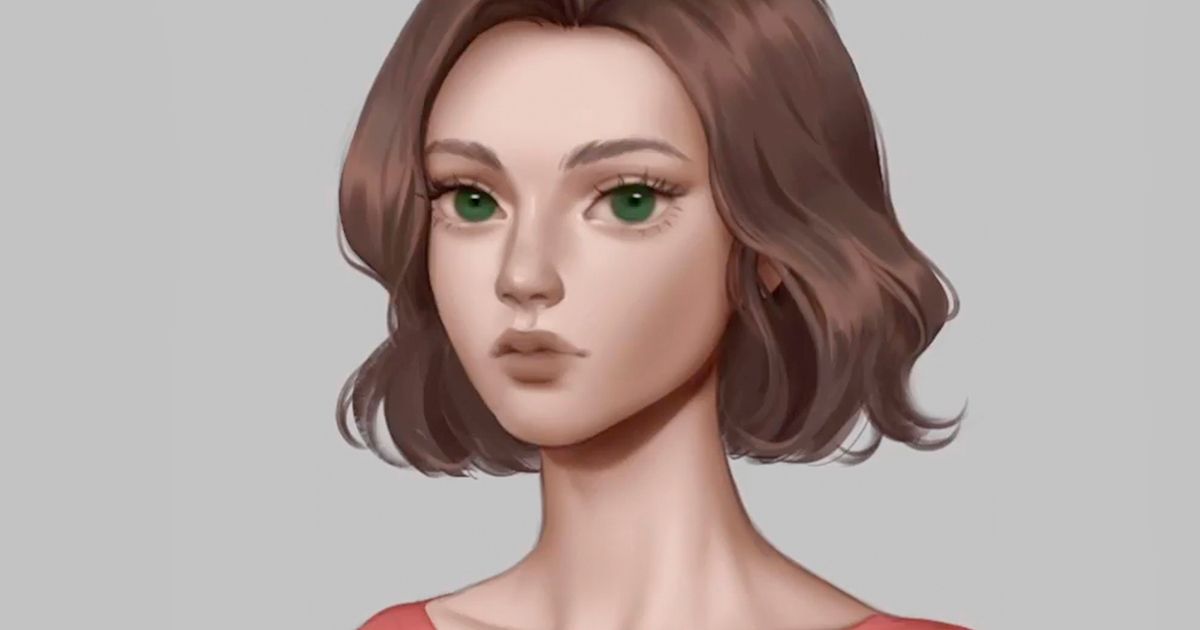
Though there are many elements to consider when creating an illustration, a portrait truly comes to life in its details. By adding personality and depth, these seemingly small aspects can transform a basic illustration into a larger work of art.
For many artists, drawing hair is one of the biggest challenges they face. From how it flows to the texture of the wisps, it’s a detail that can be difficult to capture if you’re starting from scratch. Similarly, eyes, the windows to the soul, are a powerful detail in conveying the humanity and internal depth of a character.
In this tutorial Karmen Loh, also known as Bearbrickjia (@bearbrickjia), demonstrates how you can use brushes in Photoshop to render eyes and hair, and how to use the liquify tool to refine your final image. Find out more below:
Rendering Hair in Photoshop
1. Use the lasso tool to select the bottom of the hair. Then, using a soft round eraser set at 50% opacity, begin erasing along the bottom edge. This will remove the section of your hair which will later be replaced by more detailed wisps and strokes.

2. Using a textured brush, begin adding streaks of hair to this lower area. If you’d like to make the brush more opaque simply open the brush settings, go to Transfer and under Opacity Jitter turn off the control using the drop down menu.

3. To add more detail, switch to a more compact brush. If these strokes look too opaque, simply return to the brush settings and turn on the Opacity Jitter.

4. Another method you can use to create hair with hard and soft edges is to work in layers. First, create a new layer and add large brush strokes to the bottom of the hair.

Then, use the soft round brush eraser along the edges of the hair. Continue to repeat this step, using new layers as you go, until you achieve the desired result.

5. After you’re satisfied with the result, select your hair layers and original layer, right click, and select Merge Layers.
6. To add in finer details, go to Shape Dynamics in the brush settings menu to adjust the minimum diameter. This controls how thick the point of your brushstroke is, and you can play with the slider to determine your ideal diameter. For small details, it’s best to set the minimum diameter to 0%.

7. Deselect the lasso tool and begin painting in more strands. Because of the minimum diameter, these strokes will end in a point.

8. Continue using the brush to add more detail to the eyelashes and along the hairline.
9. To further flesh out the area along your portrait’s hairline, colorpick the skin and then increase saturation and decrease brightness to create a shadow color. Set mode to Multiply and add shadow along the hairline. You can also take this opportunity to add to other shaded areas on the skin, like underneath the neck.
Rendering Eyes in Photoshop
1. Using the color sliders, adjust the color, hue, and saturation to try to match the eye color in your reference image.
2. Use a soft round brush to fill in the eye color.

3. Then, to begin adding detail, apply black to the pupil and along the edge of the iris.

4. To create depth, add shadow below the eyelid. Colorpick the skin and increase saturation and decrease brightness, then set mode to multiply and paint in the shadow.

5. To add reflections, set mode to normal, colorpick the eye, and decrease saturation and increase brightness. Use your reference image as a guide.

6. Using a semi hard round brush, add a white highlight to the eye. You can also use this to add highlights to the face, such as on the bridge of the nose.
Using Liquify to Adjust Your Illustration
1. Once you’ve finished rendering these details, you might realize that you’d like to adjust certain proportions or shapes in your illustration. A great way to check your results and see the piece with fresh eyes is to see it flipped. Go to Image > Image Rotation > Flip Canvas.
2. If you see any shapes you’d like to adjust the shape of, for instance in the hair, you can use the liquify tool by going to Filter > Liquify. Then, use the forward warp tool to adjust your image until you’re satisfied with it.
3. To make the elements of your illustration smaller, select the pucker tool in the liquify menu and click on the area until you achieve the desired result.

If you liked this tutorial, you can learn more about creating portraits in Photoshop from Karmen Loh through her online course, Digital Fantasy Portraits with Photoshop.
You May Also Be Interested In:
- Digital Painting for Characters: Color and Light, a course by Joel Santana
- Creative Portrait Illustration with Procreate, a course by Samuel Rodriguez
- Female Character Portraits in Procreate, a course by Natália Dias


0 comments