


How to Make a Rotoscope Animation in Photoshop
Learn how to create an animation with the rotoscope technique using Adobe Photoshop in just six steps
Rotoscoping is a technique that involves redrawing a shape—tracing each scene with any drawing technique—frame by frame, based on a sequence of real action images, like a video clip. This generates a silhouette with realistic movement that can be used as a reference to animate a character. The technique was used in films such as A Scanner Darkly or Waking Life by Richard Linklater.
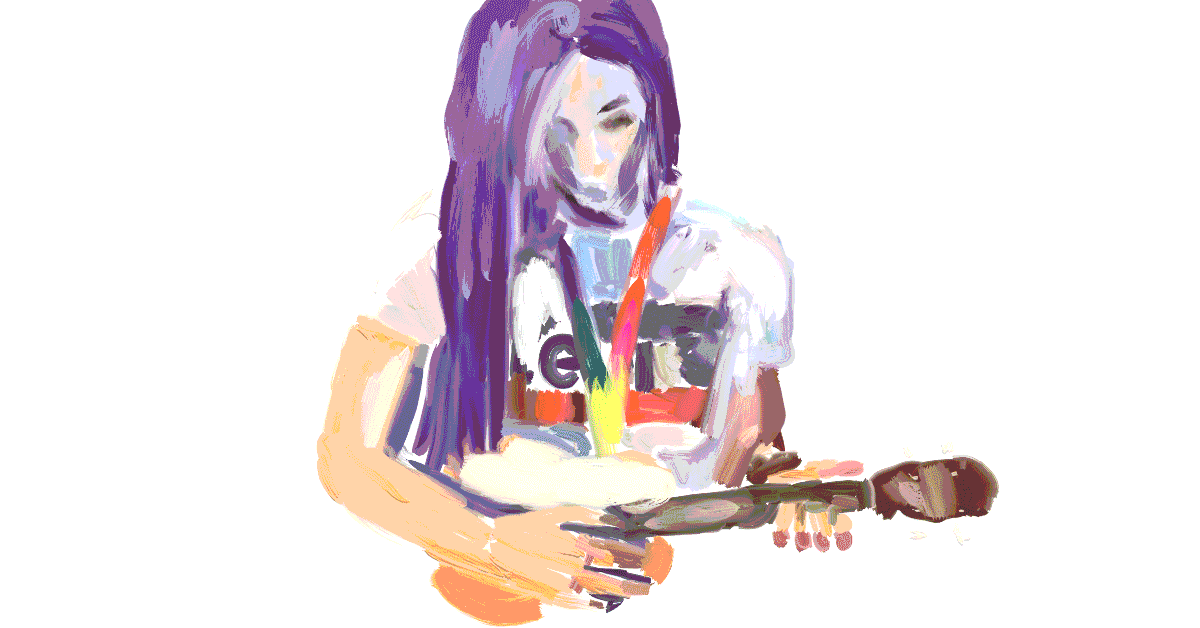
One of the experts in this technique is Gonzalo Cordero (@gonzalo_cordero), illustrator, animator, and motionographer who will teach us how to create a rotoscope animation in Adobe Photoshop, which is the perfect way to familiarize yourself with this kind of animation.

1. Import the video clip or your movie to Photoshop
Choose the video you are going to work on. Keep in mind the simplicity and length of the clip to obtain a better result. Open a new document in Photoshop, go to 'Window' - 'Workspace' and select 'Motion.'
2. Extract the frames from the video
Then, you have to insert the video. Go to 'File' - 'Import,' and there you will find an option called 'Import video to layers.' Click and select your video file.
A pop-up window will appear with several options to import your clip: you can add it entirely (From Beginning to End) or just a selected area (Selected Range Only). Choose the exact number of frames based on your willingness to experiment, but it is recommended to start by limiting the frames to 2. Do not forget to check the option 'Create Frame Animation.'

3. Organize the project
You will see all layers and animation frames grouped in the interface. It is recommended to place all the video layers inside a folder for better organization. Go to the animation panel options (the little icon in the upper right corner of the animation panel) and make sure the option 'New Layers Visible in All Frames' is selected.
Create also a folder for the drawings and another for the colors you will use for each video frame. Finally, create a new layer outside all the folders with the solid color or texture you want to use as the background.

4. Start drawing your rotoscope animation
Before you start drawing, go back to the animation panel options and disable 'New Layers Visible in All Frames'. That way, each new layer you make to will only be visible in the selected box in the animation panel.
To get started with drawing, go to the first frame of the animation panel, click on the drawing folder, and create a new layer. Then select a brush and start drawing on the video. Once you have finished the first frame, click on the second one, and repeat the process until you draw them all.

5. Pay attention to detail and color
Keep in mind that if you draw a lot of details when rotoscoping, you will have to draw them in each frame. Choose carefully what details you are going to draw and what you are leaving out. When you have finished drawing all your frames, you can color them by repeating the same procedure, but this time in the layers inside the color folder.

6. Save your animation
Once you have finished the drawing and colored it, hide the folder with the video frames and go to 'File > Export > Interpret Video.' Add a title to your creation and choose the format and quality you want to export in. Select 25 frames per second.
All set! You can now easily experiment and create all kinds of rotoscope animations.


Gonzalo Cordero is the teacher behind the course Rotoscopy: Draw a Frame-by-Frame Animation, where you will learn how to draw on a video clip to generate your artistic creations, in your own style and with the sequentiality of movements, expressions, lights, shadows and proportions of the original filming.
You may also like:
- Traditional Animation: Composition, Rhythm, and Camera, a course by Ezequiel Torres.
- 2D Animation with Photoshop: Draw, Camera, Action!, a course by Numecaniq.
- 2D Animation with Photoshop, a course by Flare Animation.


0 comments