


5 Steps to Basic Color Correction in DaVinci (TUTORIAL)
Learn the basics of solid coloring through primary correction with Leo Fallas
Primary color correction affects the whole shot of the audiovisual work that we want to color correct and is, therefore, the foundation of a consistent color, that contributes to the visual character and coherence of our videos.
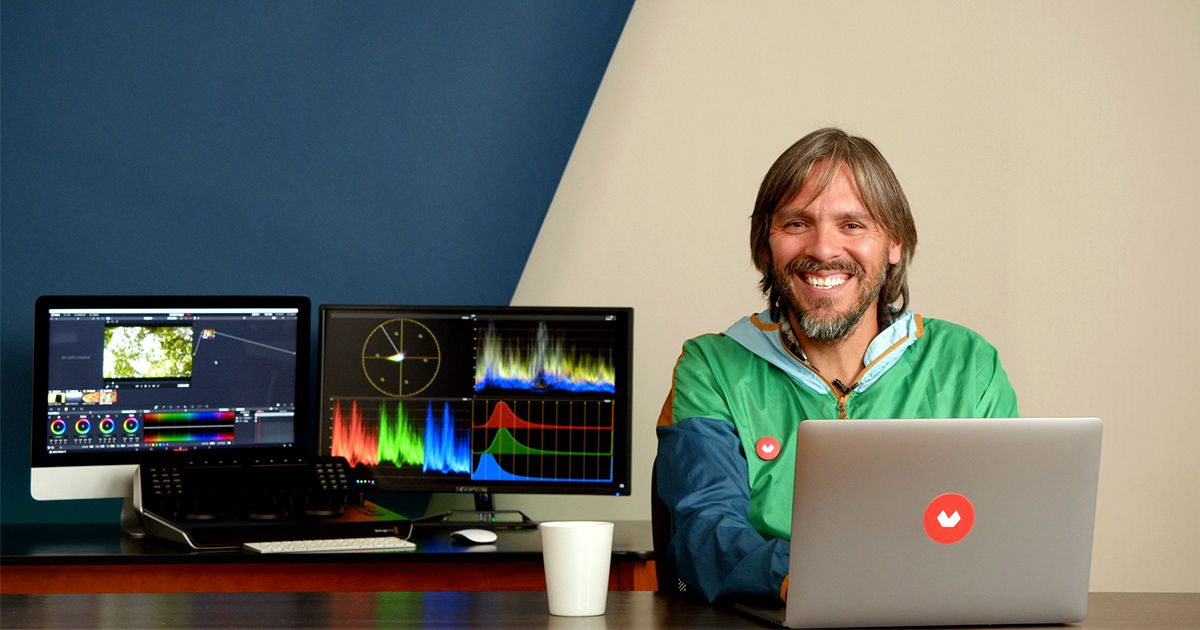
That is why Leo Fallas (@leofallas), colorist and postproducer, explains in this tutorial how to do so well, using colors, curves and other tools in DaVinci Resolve to achieve a perfect balance in our images.
5 color correction tops for DaVinci Resolve
1. Have your references ready
Before starting to correct the color of our audiovisual work, one thing that can help us in the process is to look for references of shots that interest us. When we have them, we will import these images into DaVinci Resolve and place them at the end of the timeline for easy and convenient reference at all times.
Another option is to right-click on the image and select Grab Still. This way, the reference image will be saved in a column on the left of our work area. When we go to color one of our shots, if we keep the right button pressed and we drag it over our video, we can clearly see the comparison between the two images in order to balance them and get closer to our color reference.

2. Change the exposure in Camera RAW
It is best to change the exposure levels on RAW material. In the Camera Raw section, we'll see that there are a number of aspects that we can modify to start editing the sequence. For example, we can start by changing the Tint to correct the color tone, as well as modifying the Color Temp to choose the colour temperature of the image we want.

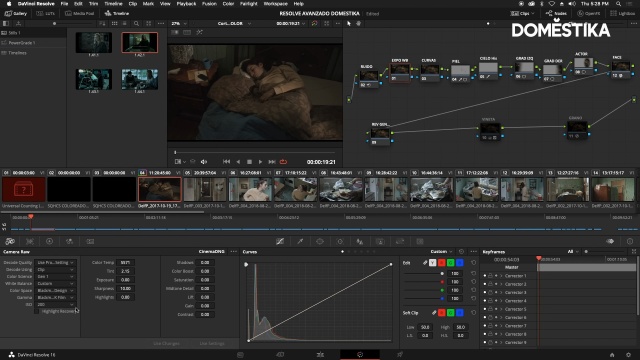
3. Use Primary tools
If on the other hand we prefer not to touch the RAW material, we can edit the nodes to color grade through the Color Wheel, specifically the Primaries Wheels. To begin with, we will modify the light of our image with Offset and start tinting it, then improve the contrast and saturation, and finally modify the hue using the Shadow, Highlight and Midtones wheels.
It should be remembered that it is not necessary to finish all the correction with just one node: if we need to, we can create and use several nodes so as not to modify what we have already edited.

4. Select Log for more subtle coloring
On the other hand, if we find that the changes we are making are too abrupt, we can work with the Log option on the third Color Wheels tab, instead of using Primaries Wheels. This allows us to edit the colours, lights and shadows in our shot in a much more gentle way.

Another option is using theScopes tool to tint the image and check which colors are predominant in our shot.

5. Use templates to facilitate your work
If you use DaVinci Resolve for various projects, you will notice that the steps to correct the color are usually repeated in each project. Therefore, it is very practical to have a node structure with common tasks that are always or at least almost always repeated in a color matching process.
If we have this basic structure and we start another project, we can import it by selecting Power Grade on the left side of the workspace, right-clicking and choosing Import. This way, we'll have all the node information applied to another image in our new project.
Once imported, we only need to right-click on that file and select Apply Grade. This way, that node structure will be replicated in our new file.
This does not mean, however, that we have to use this whole structure identically: if a node does not interest us for the shot we are working on, we can always turn it off or remove it from the structure with the E key, and replace it with Shift.
Once we have corrected the colors of a shot, we will have to assess whether we can apply these changes to the rest of the shots in our video, and continue experimenting to create our own aesthetics and narrative coherence.
If you liked this tutorial, remember that you can learn to master color in your audiovisual projects to convey emotions and involve the viewer in a unique environment in Leo Fallas' online course Professional Color Correction with DaVinci Resolve.
You may also like:
- Introduction to DaVinci Resolve for Color Correction, a course by Juanmi Cristóbal
- Introduction to Color Correction with Adobe Premiere Pro, a course by Sergio Marquez
- Digital Grading with DaVinci Resolve, a course by Sonia Abellán Avilés


0 comments