


@isaque_criscuolo
Photography Tutorial: How to Solve Problems on Location
Tips to help you overcome the challenges of an interior photography project, lose your fear, and accept any job with Tuca Reinés
Ambient photography allows you to capture the essence of a space through its best angles, lighting and arrangement. However, technique and experience are needed to bring out the best of each space.
As a photographer, you will not always have the opportunity to check the location and its light conditions in advance. Thus, it is important to learn how to deal with any obstacles you may have.
In this tutorial, Tuca Reinés (@tucareines), photographer and architect, teaches us how to solve problems in an interior photography project.

1. How to deal with location
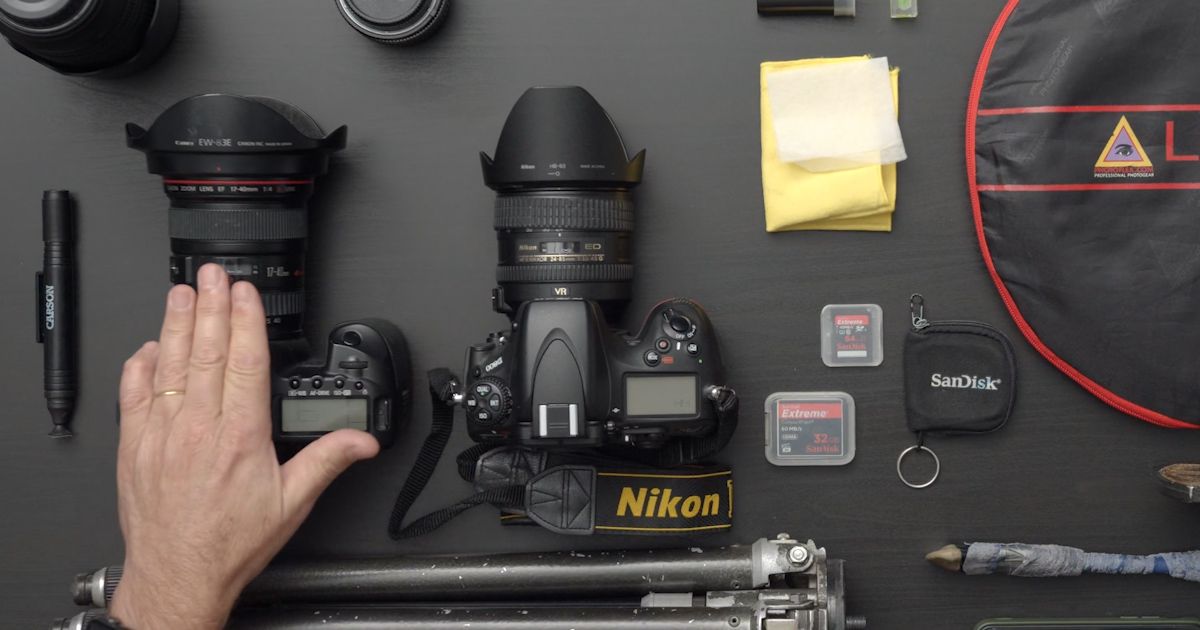
Location will always be the main challenge. So, keep in mind that you will have to prepare for a place’s potential characteristics: take enough and varied equipment in case you need to change your roadmap on the fly, depending on the light conditions, for example. Having a plan B is important, as there will always be more than one way to the perfect photo.

In cases like the above picture, taken on a rainy day, it's up to you to try and set the mood. Lower the shutter speed and you will get more depth of field.
2. How to photograph in environments with windows
The golden rule for any photograph made with natural light is to always prioritize the morning and the end of the afternoon, when the light is softer and provides better results.
If you have to photograph environments with one or more windows, try taking different shots with varying shutter speeds. Follow this order: 250s, 125s, 60s, 30s and 15s.
Then, check what speed best matches the indoor and outdoor lighting. This is a technique for obtaining different results in the same location, allowing you to work the light more easily.


3. How to do post production
After preparing for the location and facing some challenges, it's time for post. Now, you’ve got to edit the photos to get the final result you want. The first tip is to do the editing in Photoshop using the Highlights tool, which allows you to lighten or darken the interior and, thus, reach the desired balance between light and shadow.

Another option is HDR, a resource that merges different images, with different exposure times, to achieve the ideal light result. Keep in mind that HDR must be used very carefully to prevent the image from becoming very artificial.
Did you like these tips? Leave your opinion in the comments. And don't forget to take Tuca Reinés' course at Domestika, Interior Photography, to learn how to tell the story of a space through images, from the first steps to the final edit.
You may also be interested in:
- Adobe Photoshop for Photographers, a course by Oriol Segon
- Professional Photography and Videos with Your Cell Phone, a course by Nay Jimenez
- Professional Photography for Instagram, a course by Mina Barrio


0 comments